Converting maple & purpleheart crib to a bed
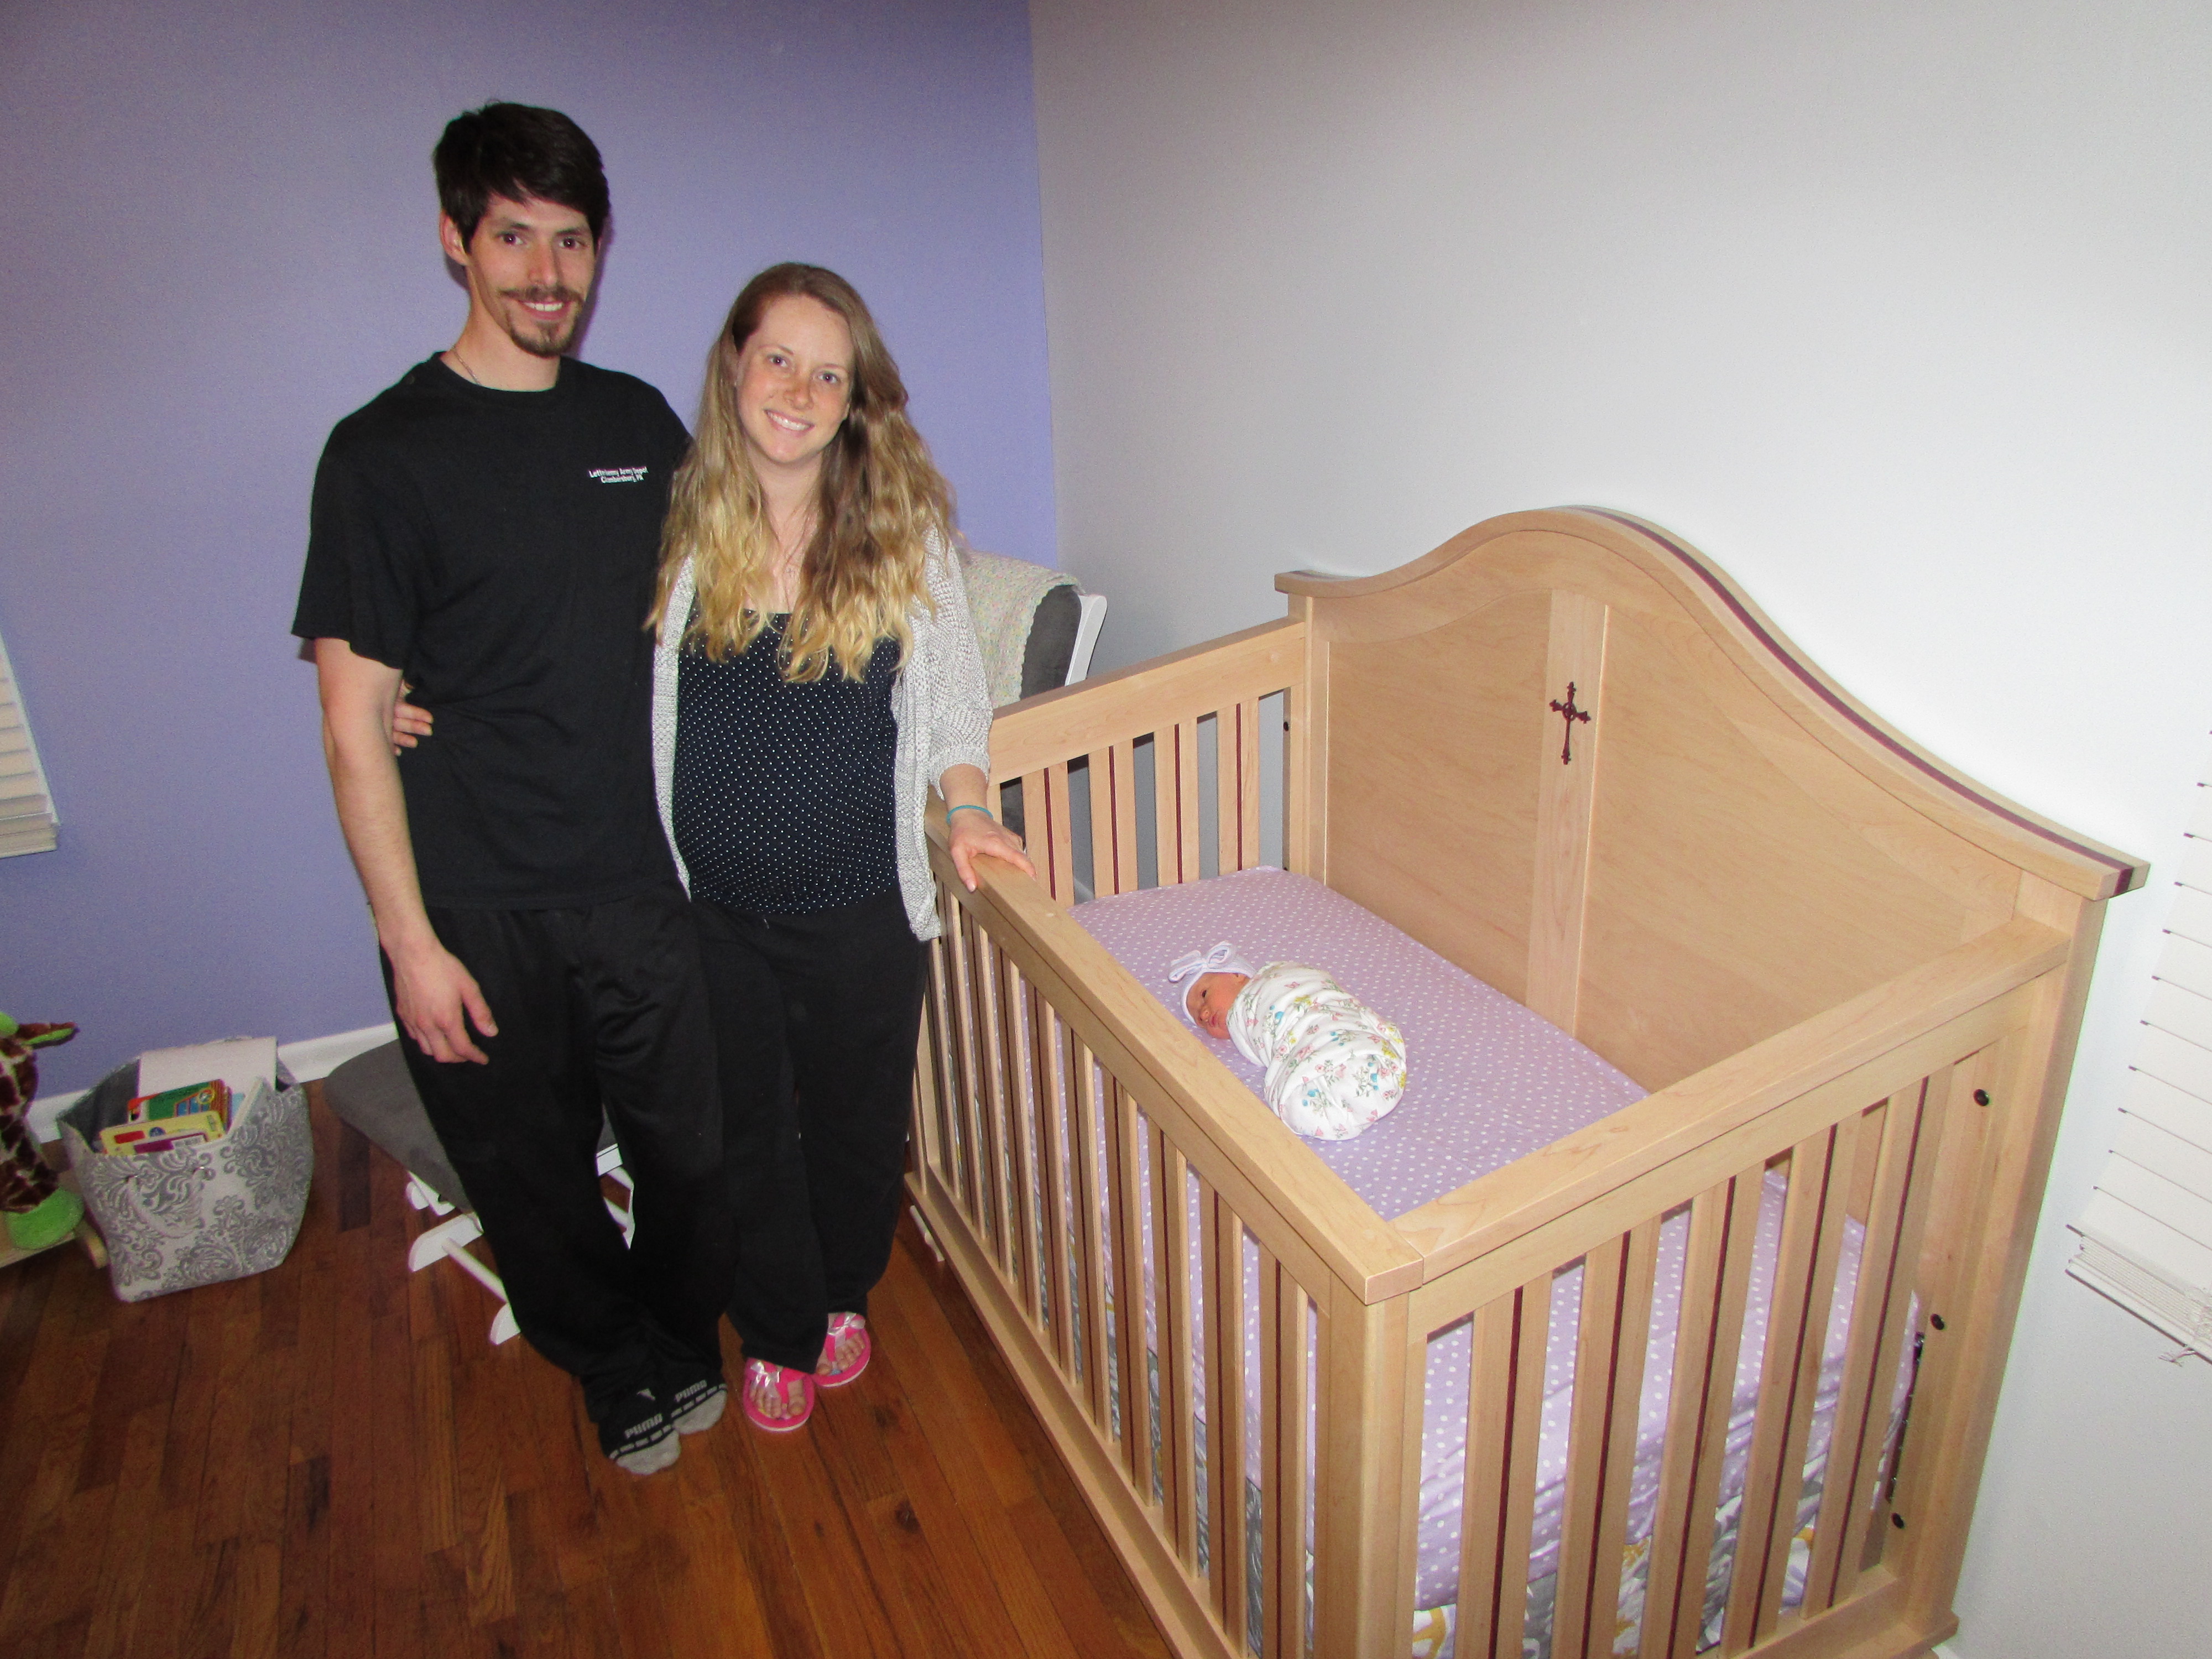
Remember the Maple & Purpleheart Crib that I made about three years ago? Well that little girl is not so little any more. Now that she is climbing out of her crib, Mom and Dad asked if the crib could be converted to a bed, in a way that it could go back to a crib if it was ever needed again.

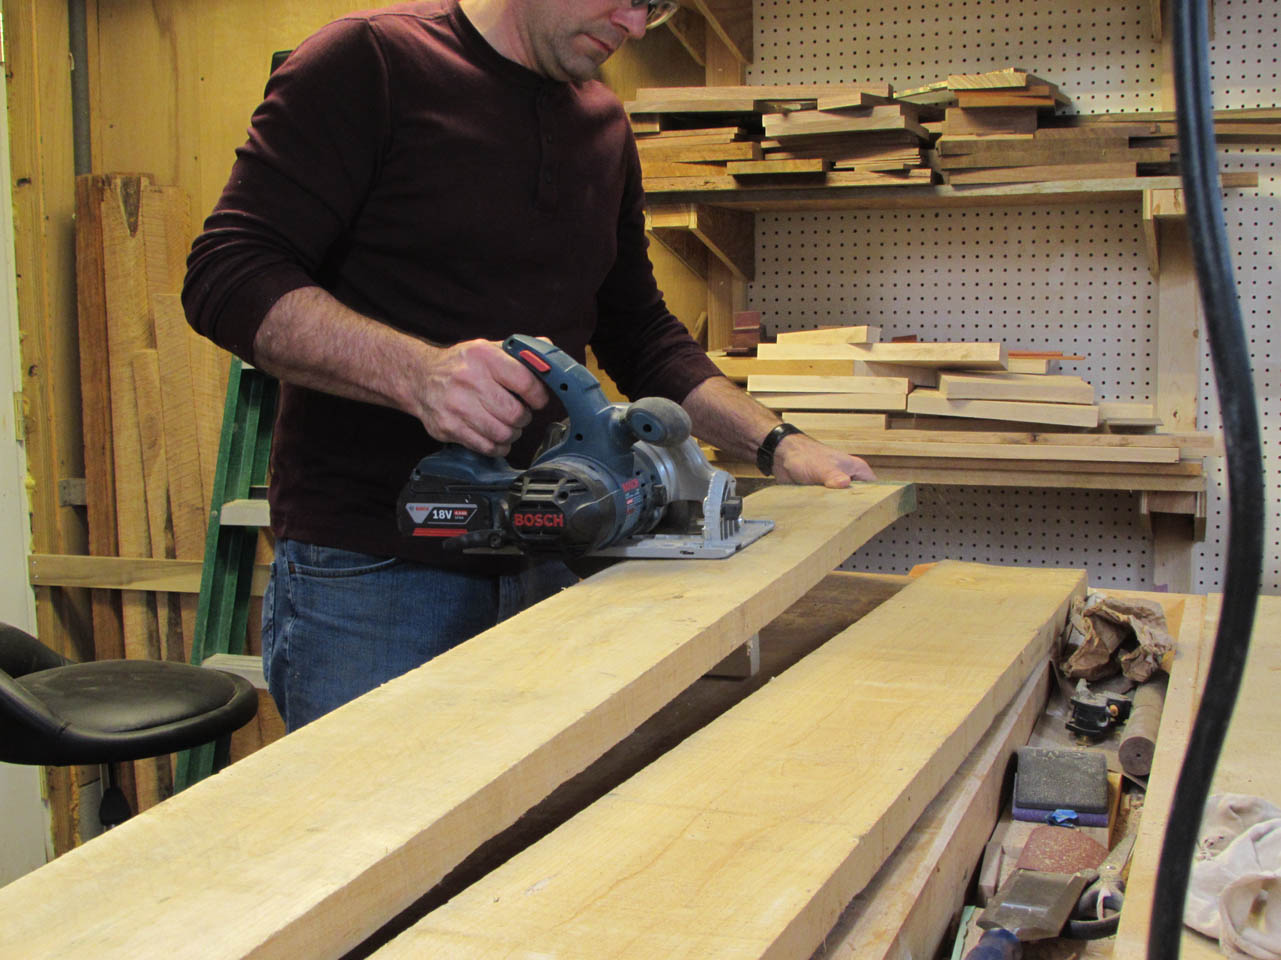
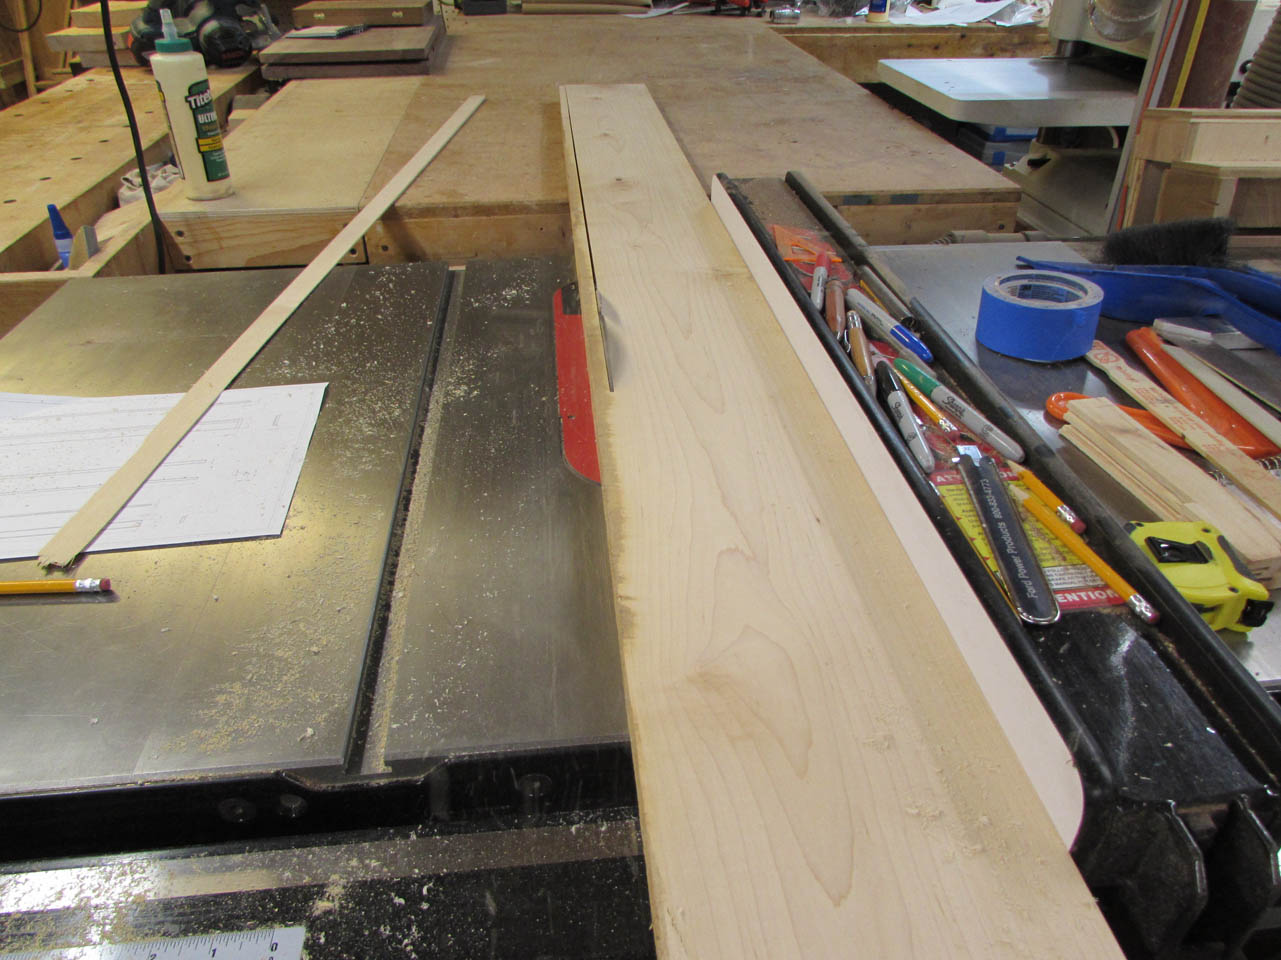
I pulled up my original designs and double-checked some of the dimensions. It seems that the simplest way to convert to a bed would be to replace the sides with bed rails. The feet are attached to the head-board and foot-board so if I remove the mattress frame and sides, I should be able to attach new sides and slats. This will be just the right size to accommodate a full size mattress (54″x75″). A standard twin mattress is only 38″ wide, and I couldn’t figure out how to make that work with the existing head and foot boards, so full size it is. I spent a lot of time on the computer, making sure I could fit everything without disturbing the crib hardware. Here is what I came up with: BED PARTS.pdf. I will be attaching to a rather heavy head and foot board, so I wanted good, stiff sides and rigid hardware to hold it all together. I started by breaking down some 5/4 hard maple. I rough-cut the boards to length, then started cleaning them up.
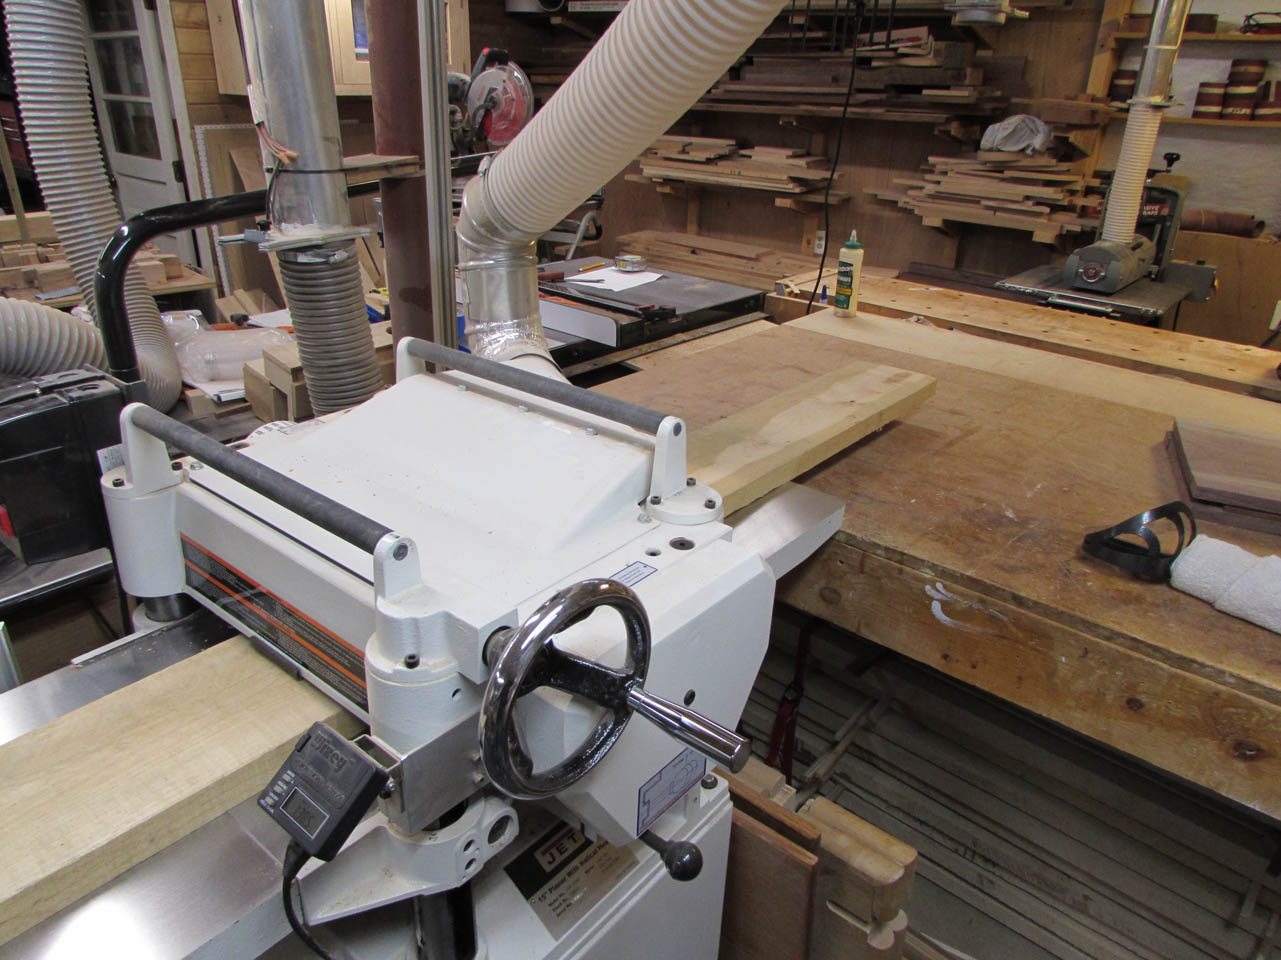
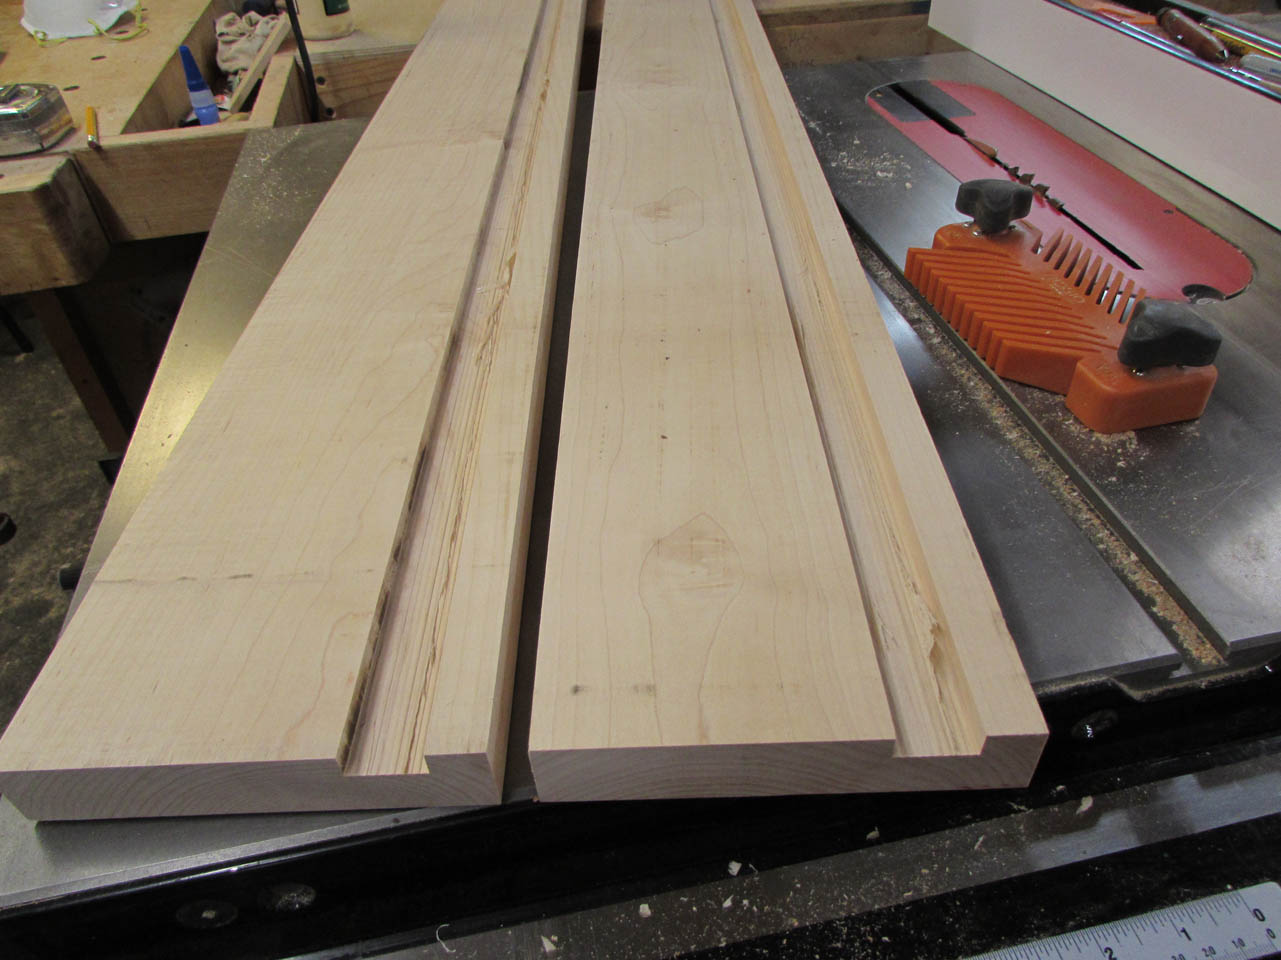
All three boards were rough-sawn, but very straight. I planed both faces down smooth and left the boards 1-1/8″ thick. Then I cleaned up the sides and cut them down to width on the table saw.
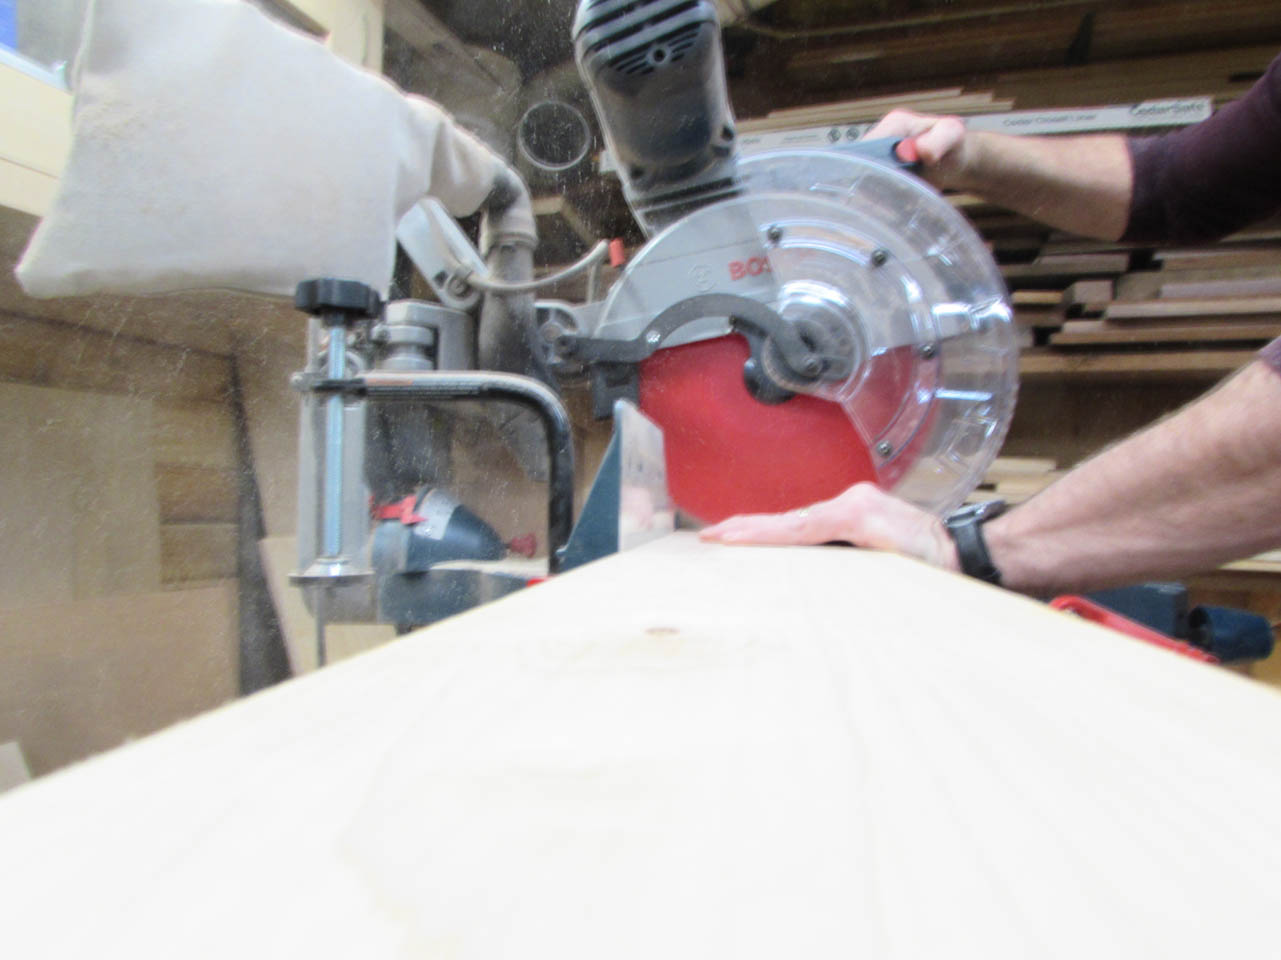
I used the miter saw to cut away any planer snipe and make the boards the correct final length.
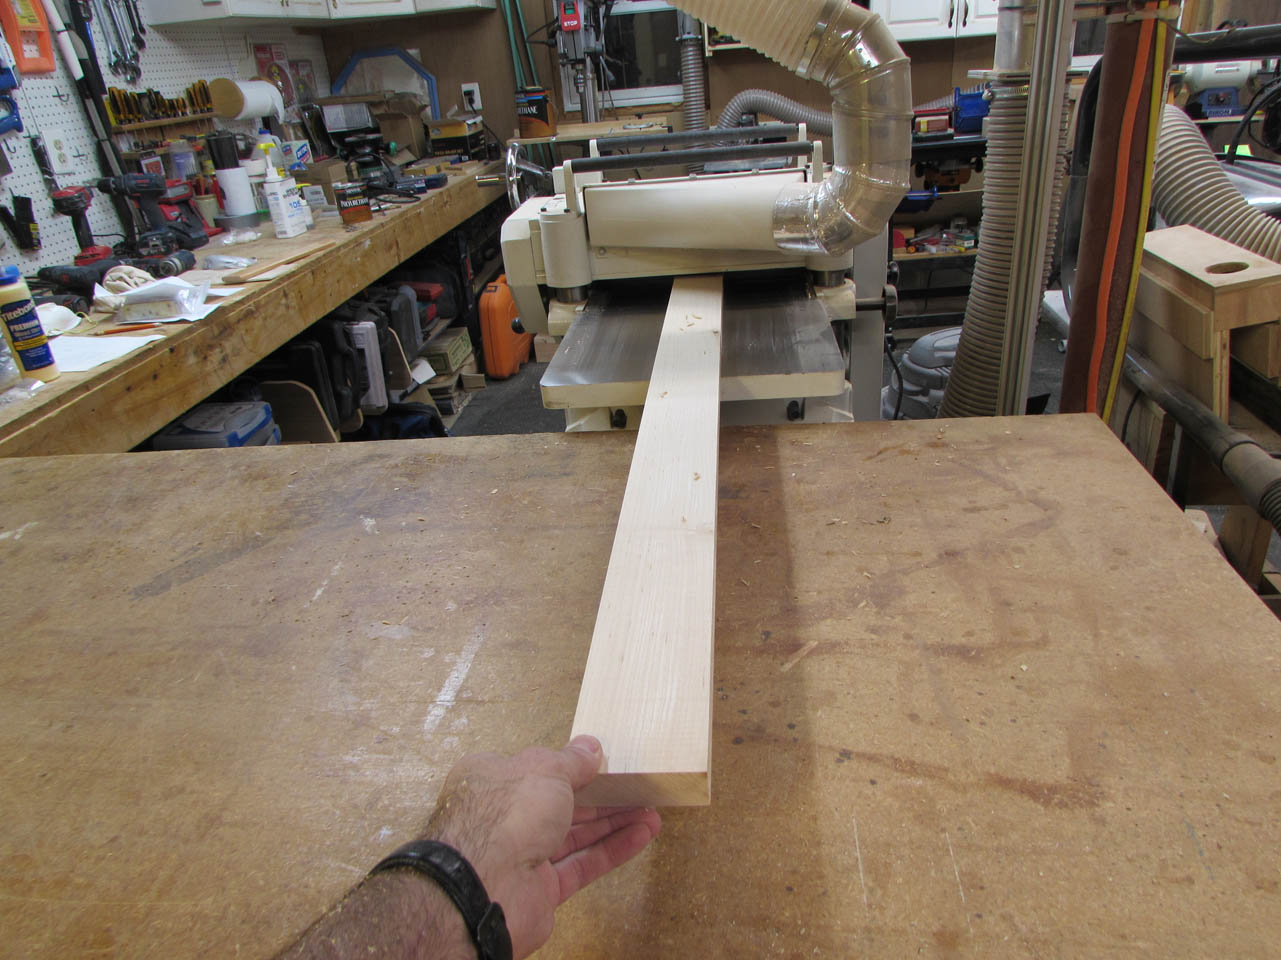
Once the sides were cut down, I also cut the two slat ledge support pieces. I planed the remaining maple board down to 1″ thick, then ripped two pieces for the supports.


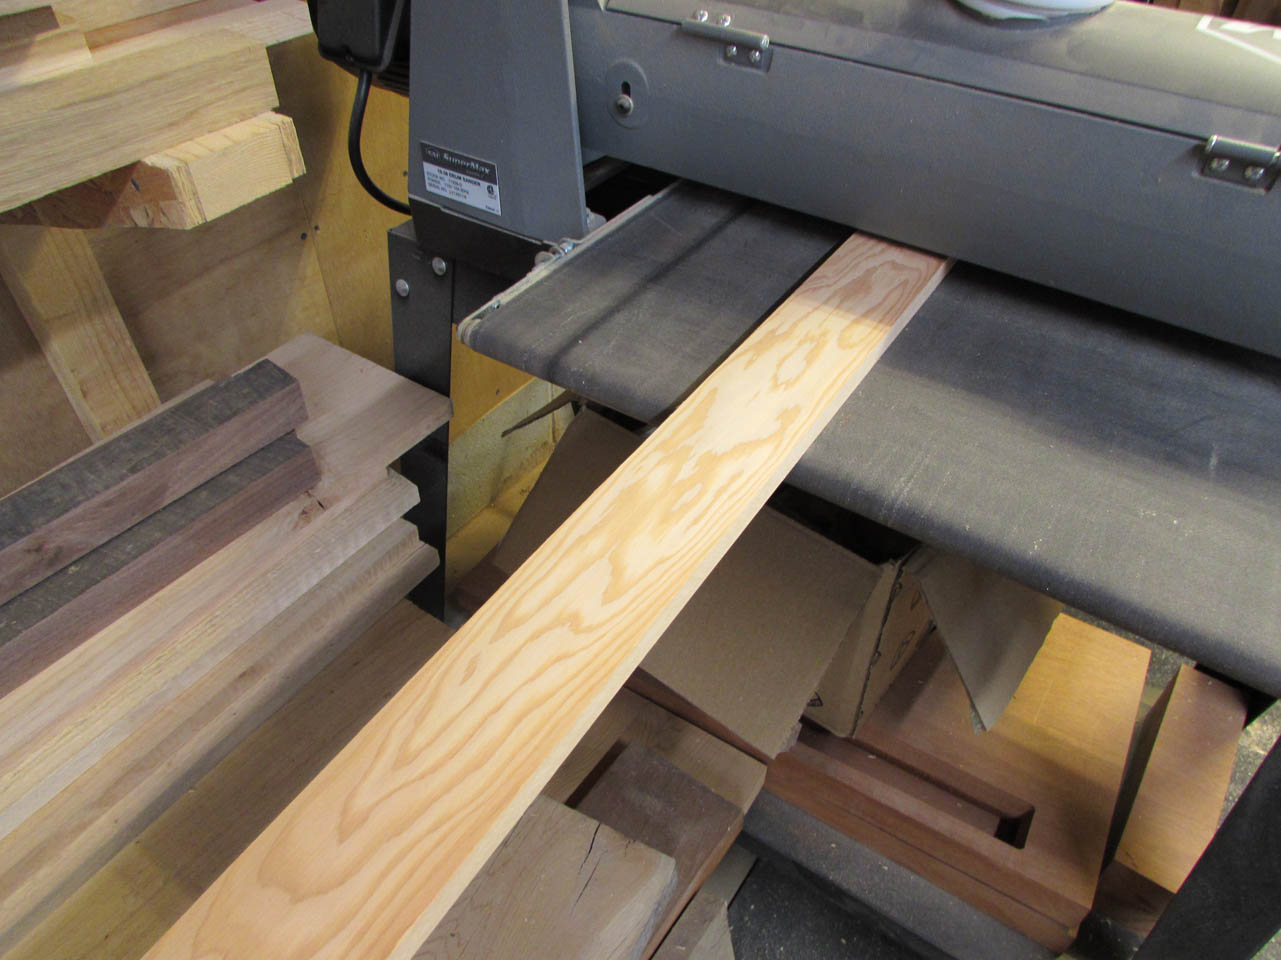
After the maple was prepped, I moved on to the bed slats. I acquired some beautiful, straight-grained Douglas fir flooring.
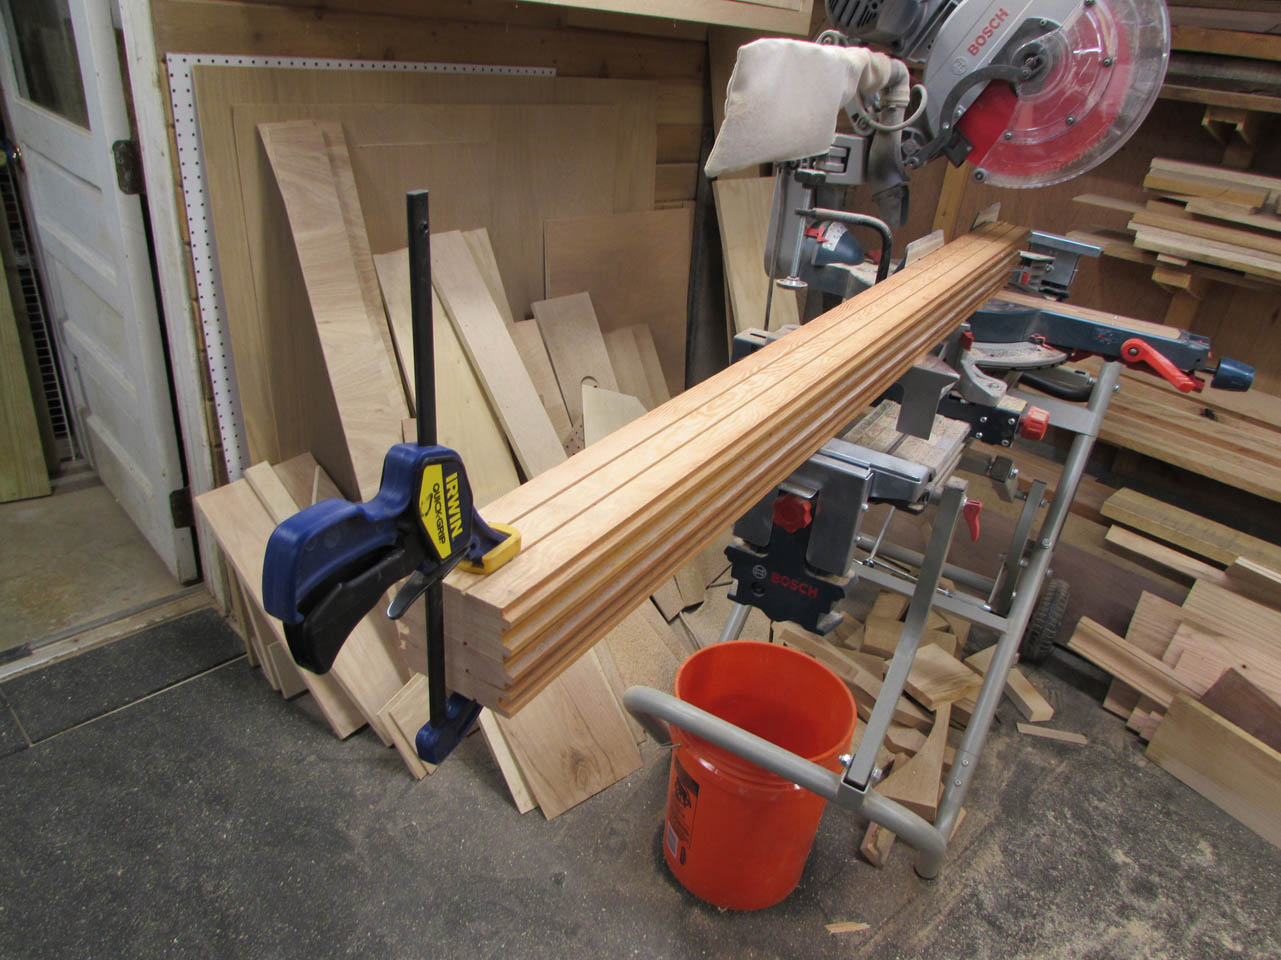
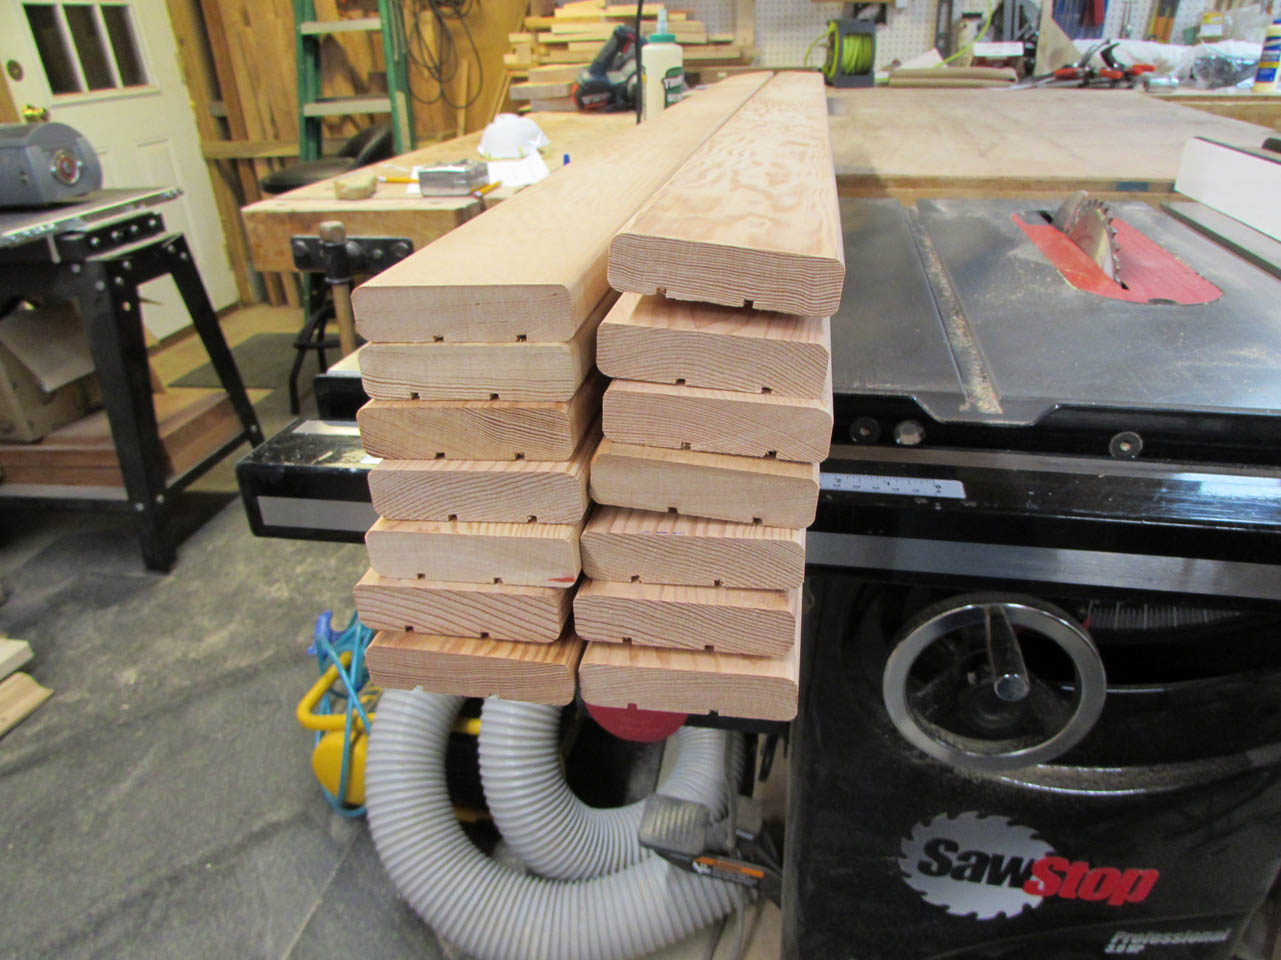
I cut all of the boards to the exact same length, then cut off the tongue and grooves.


Once cut down to size, I ran them all through my drum sander, to save me from having to hand-sand them all.

They clean up nice…

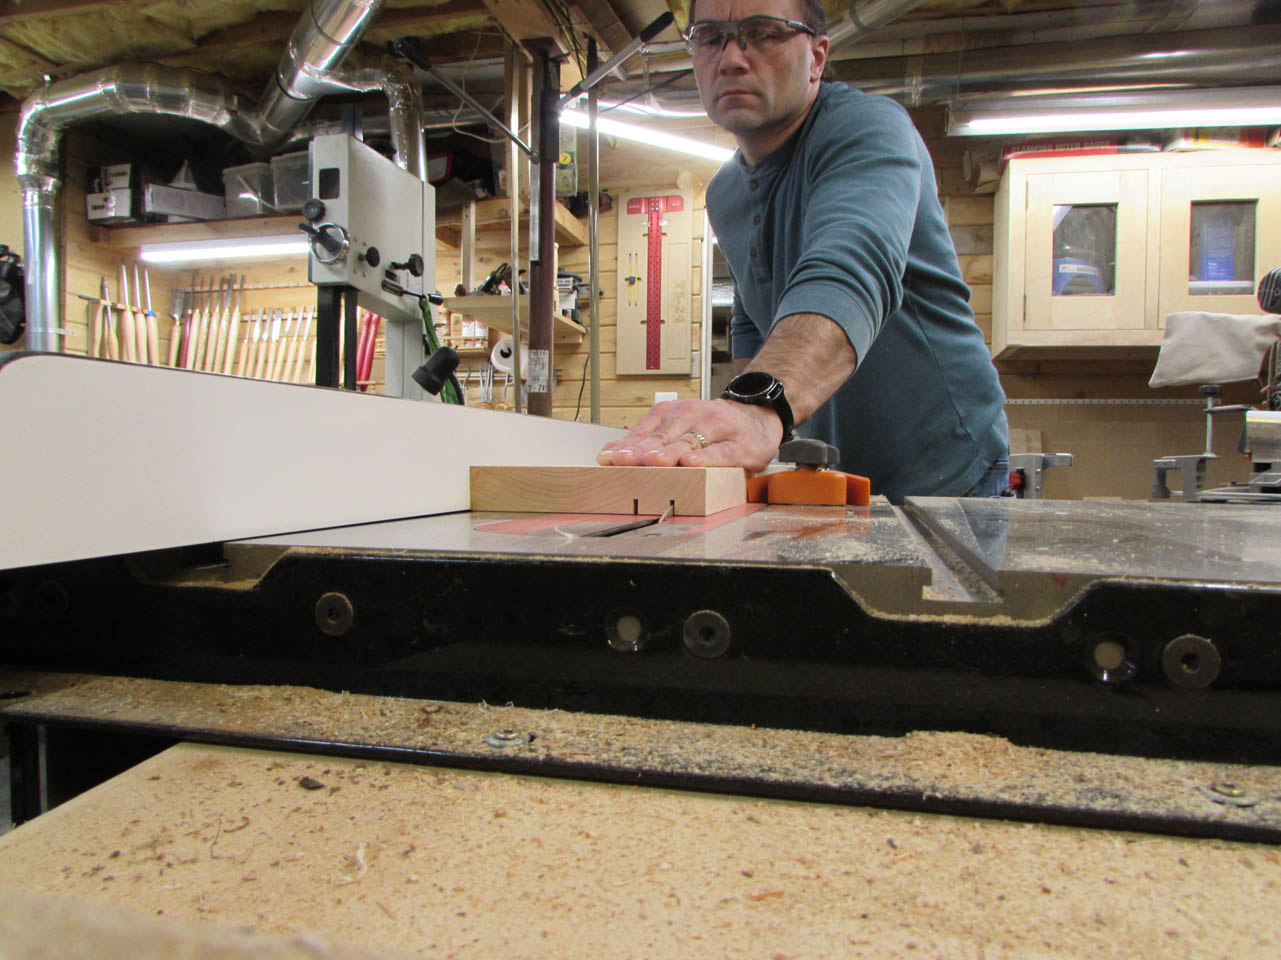
I decided to ease all of the sharp edges with a 3/16″ radius on my router table. That way there are no sharp edges if someone is crawling under the bed.
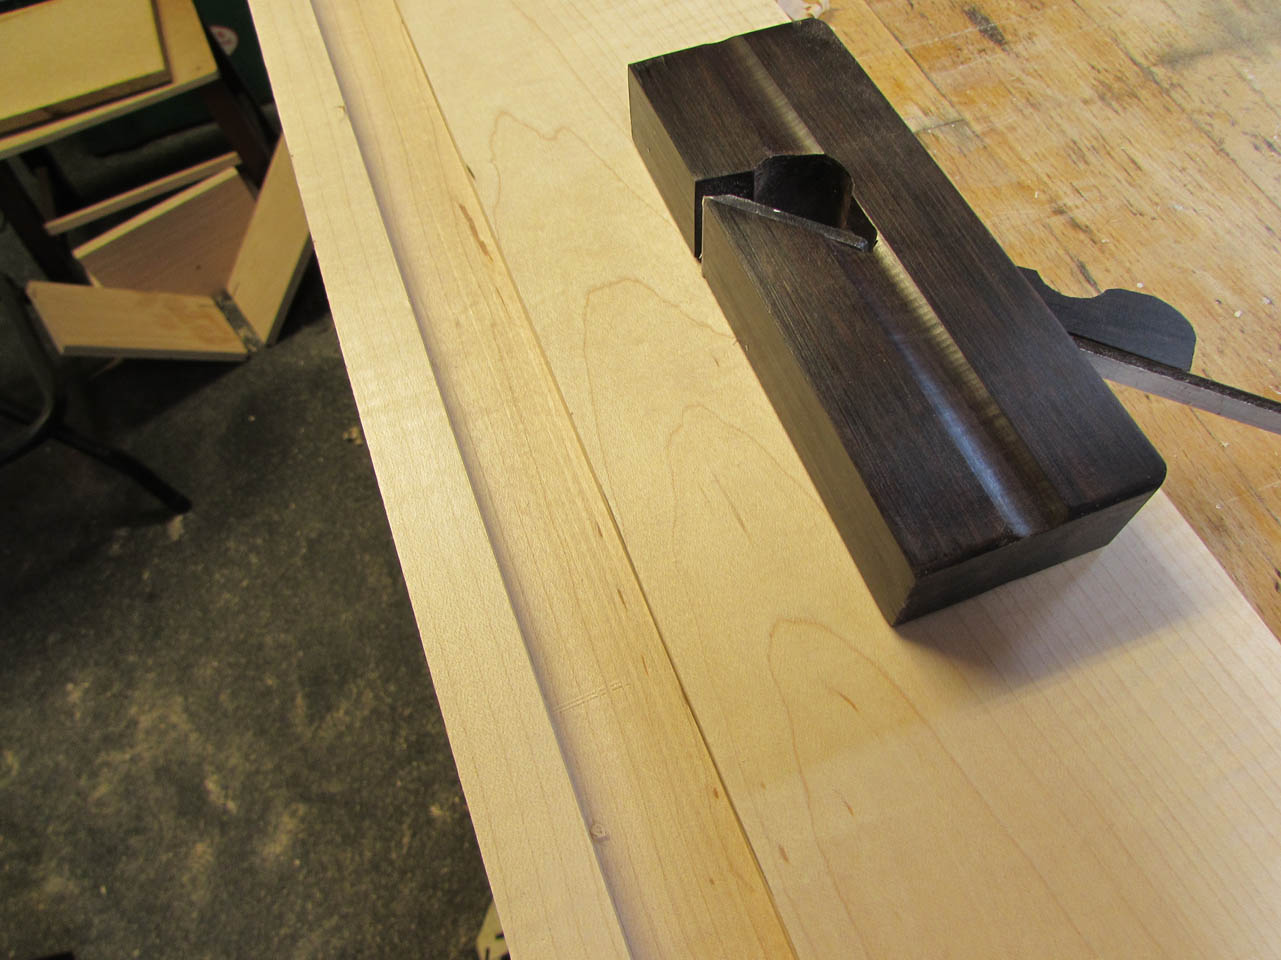
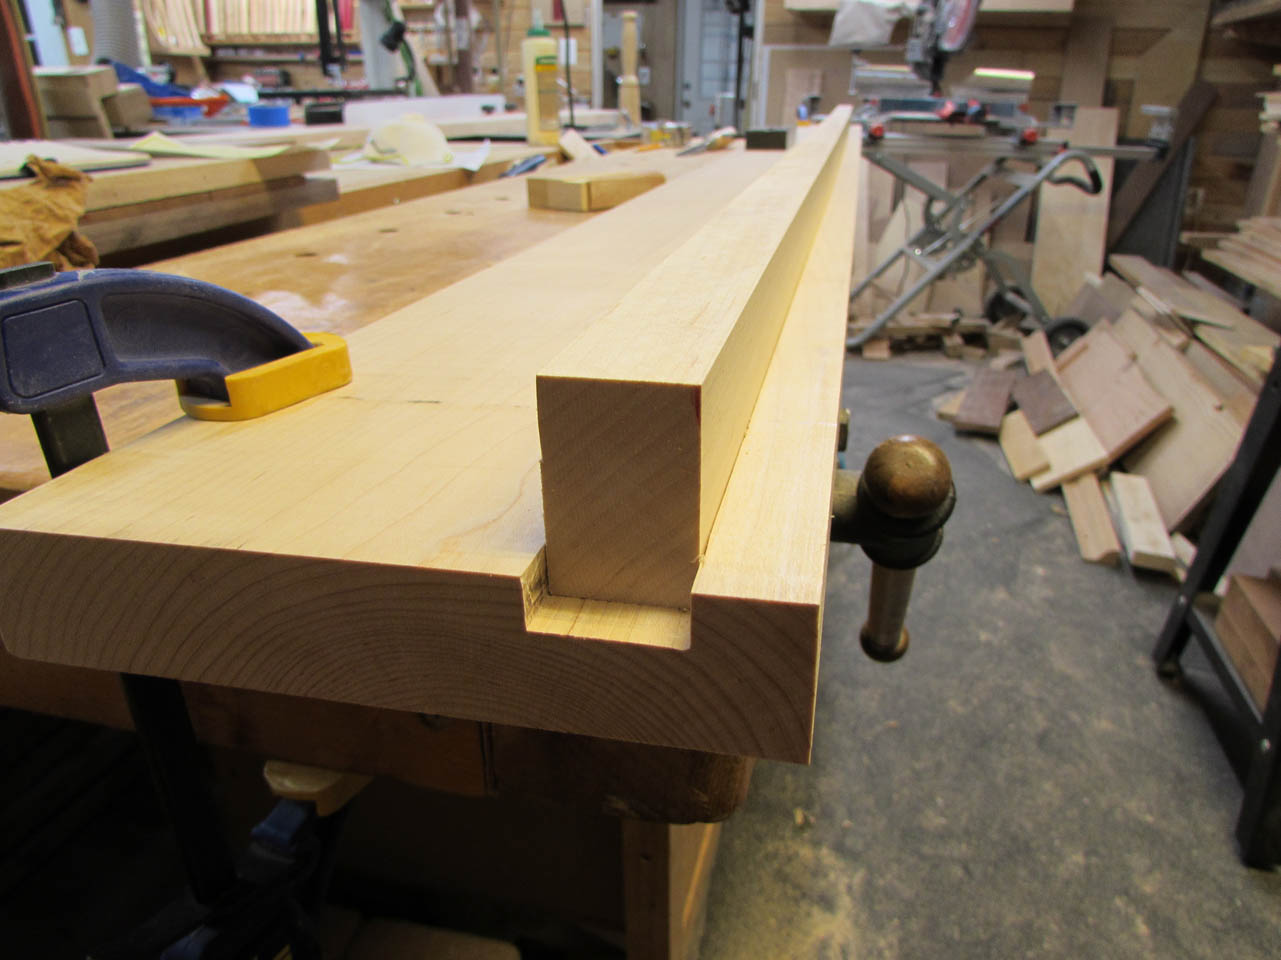
Switching back to the maple, I made several passes on the table saw to create the channel that will receive the slat support board.

The groove is flat bottomed, but a little rough.

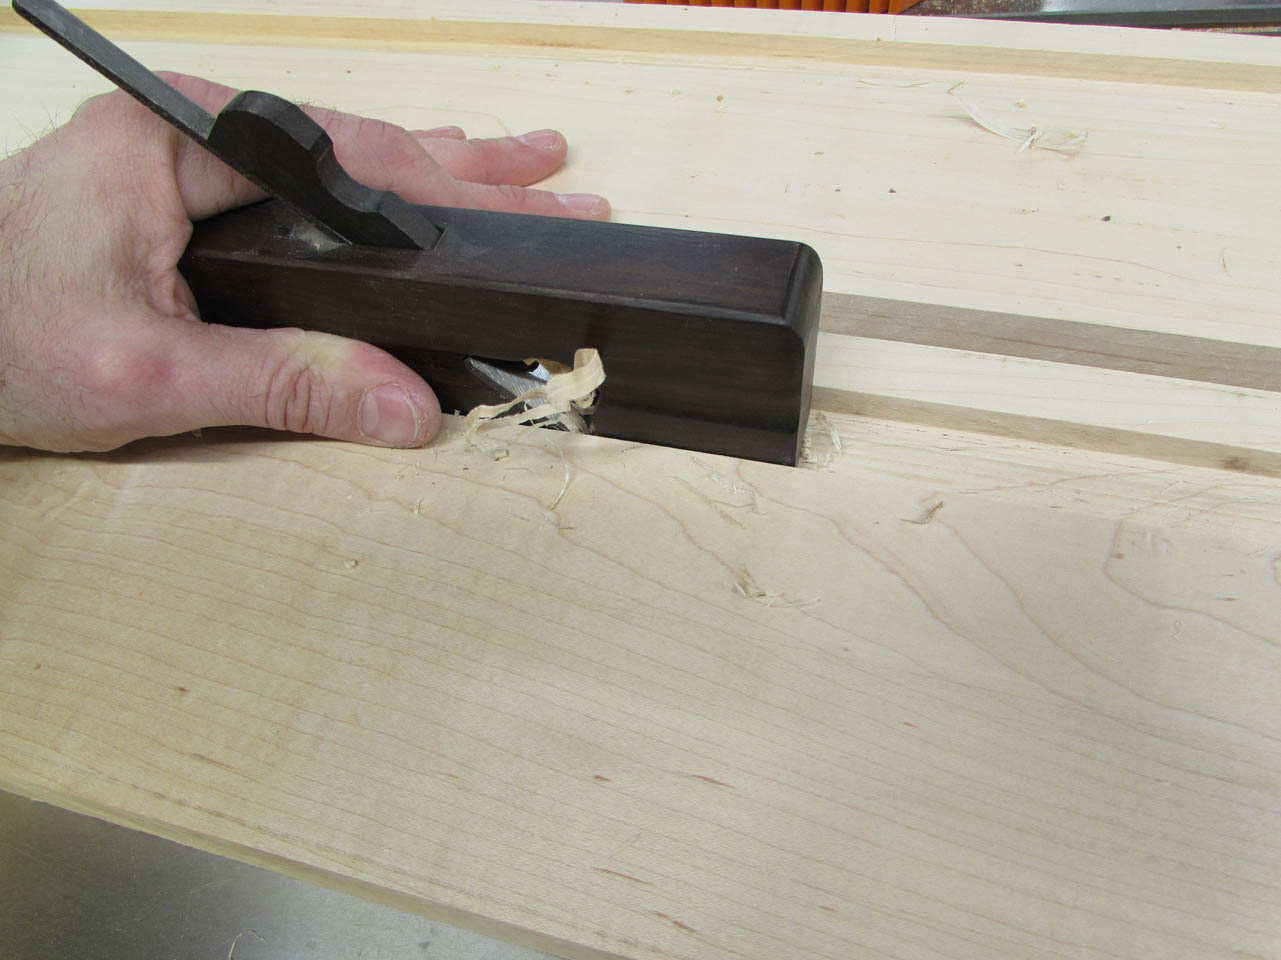
I discovered that my shoulder plane was exactly the correct width so I set the blade very shallow to take small cuts and cleaned out the fuzzy bits on the bottom of the groove.
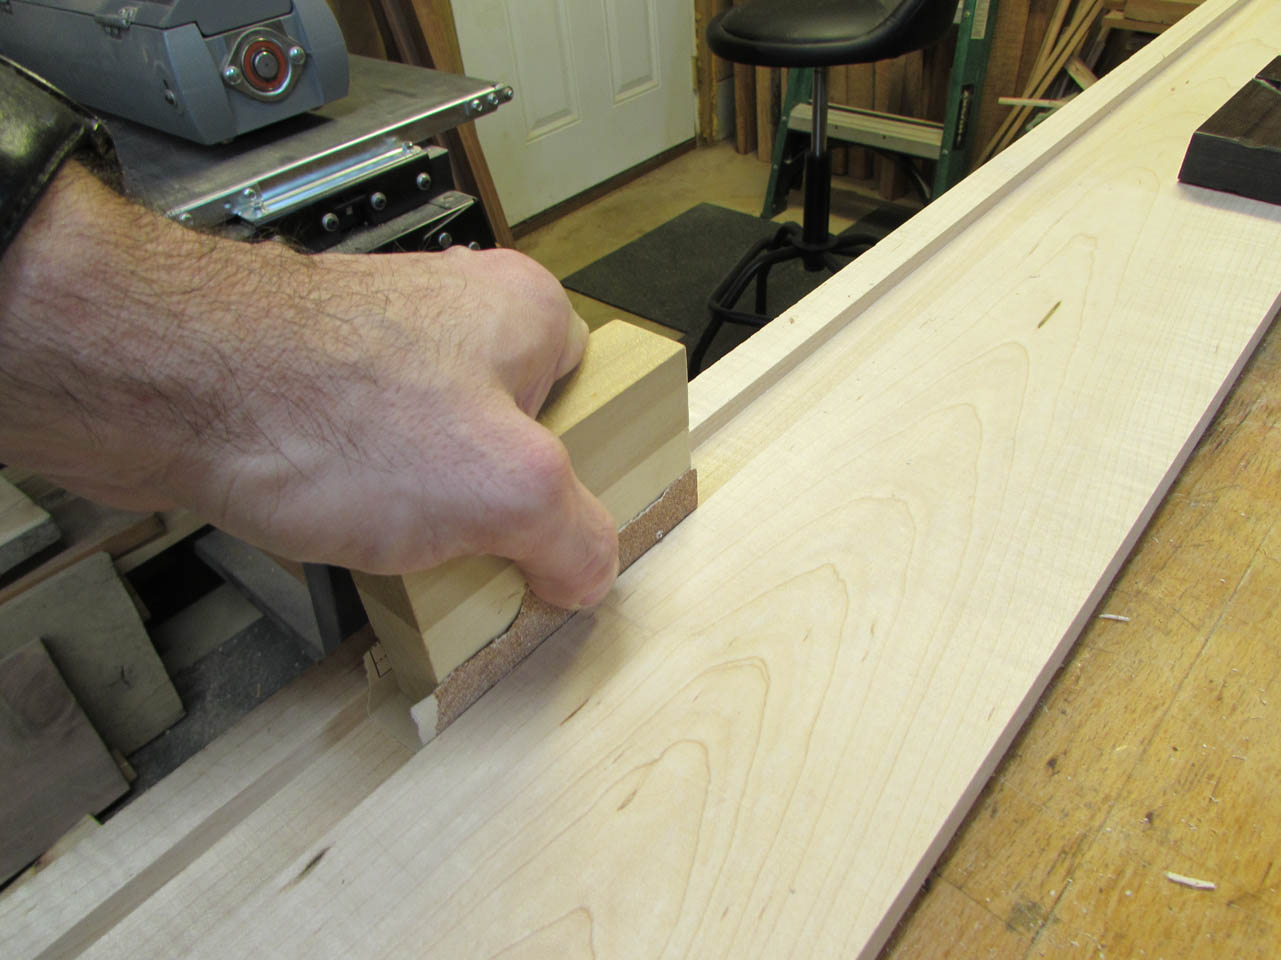
I cut a block of scrap the the right size and wrapped a piece of sand paper around it to finish cleaning up the bottom.
The slat support piece fit in perfectly with some gentle persuasion.

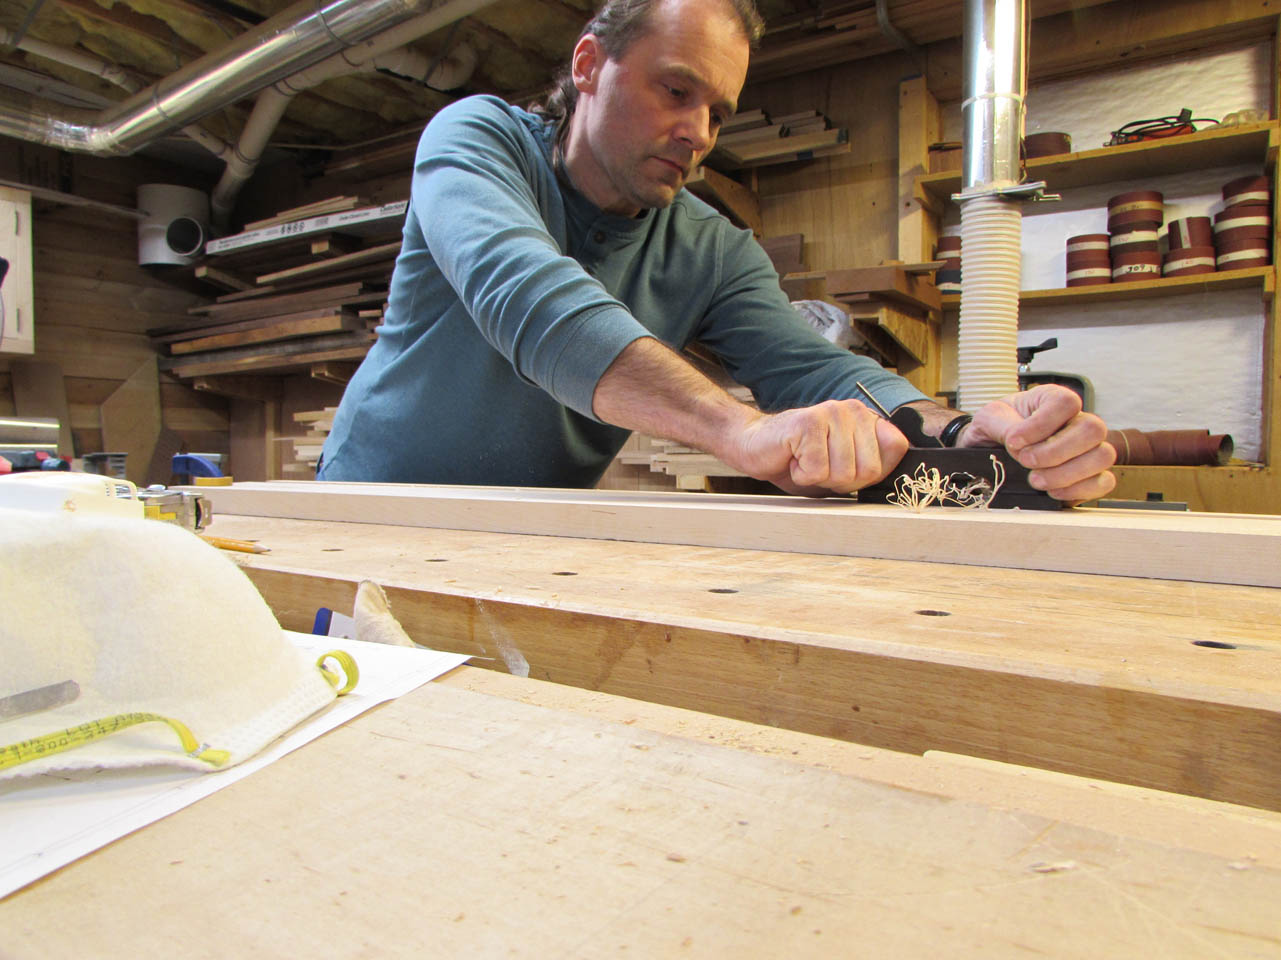
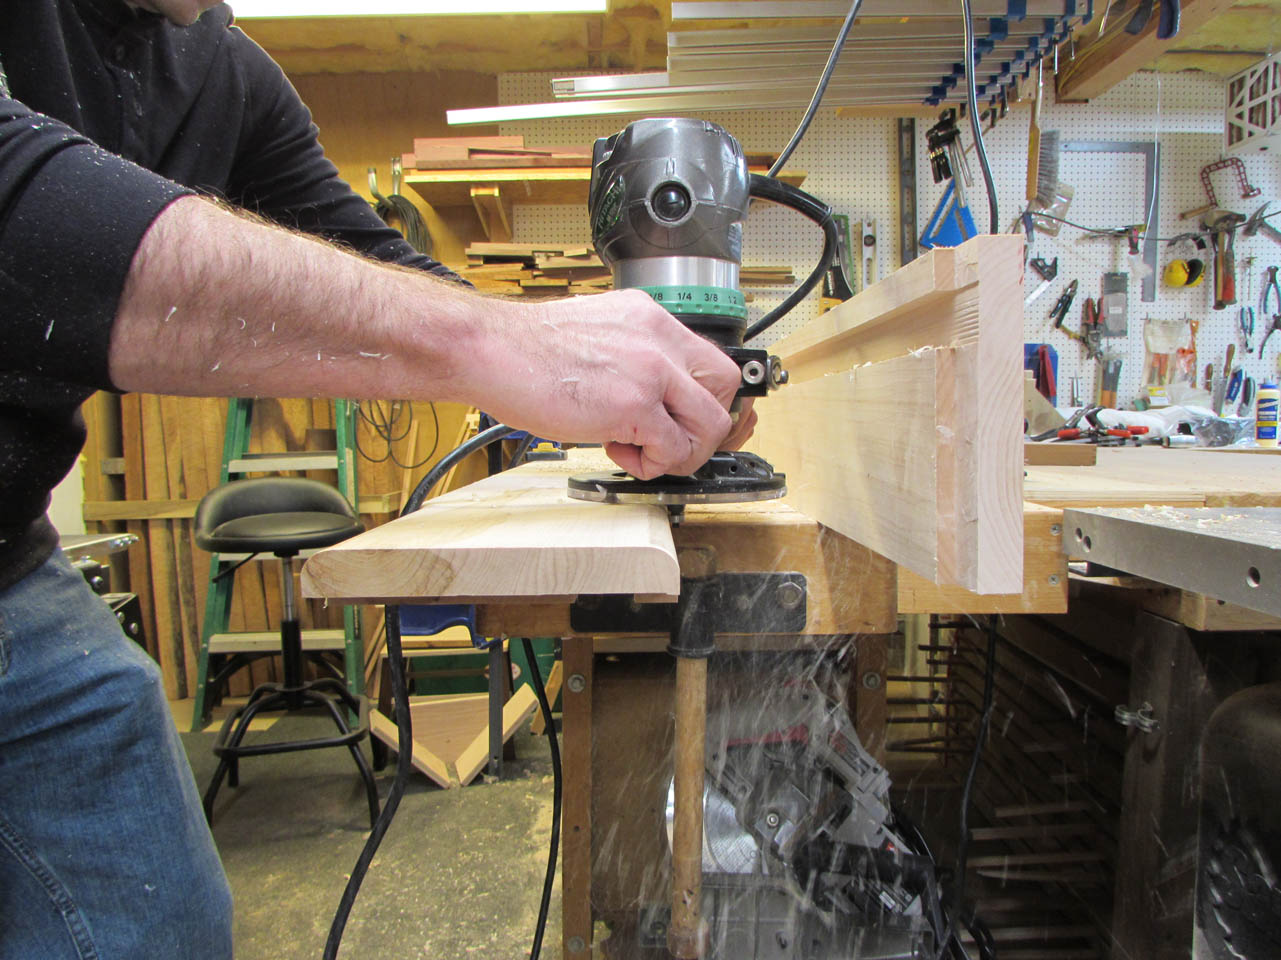
To accommodate the mounting hardware, I have to reduce the thickness on the ends of the sides. To do this, I set up a home-made Tee-square guide for my router to ride against, then set a 1/2″ cutter to the proper depth in my router.


I ran the router back and forth to cut away the end. Since the maple is hard, I did this in two passes, lowering the router each time.

Then I installed a 1/2″ radius bit in my router and rounded off all of the exposed edges.

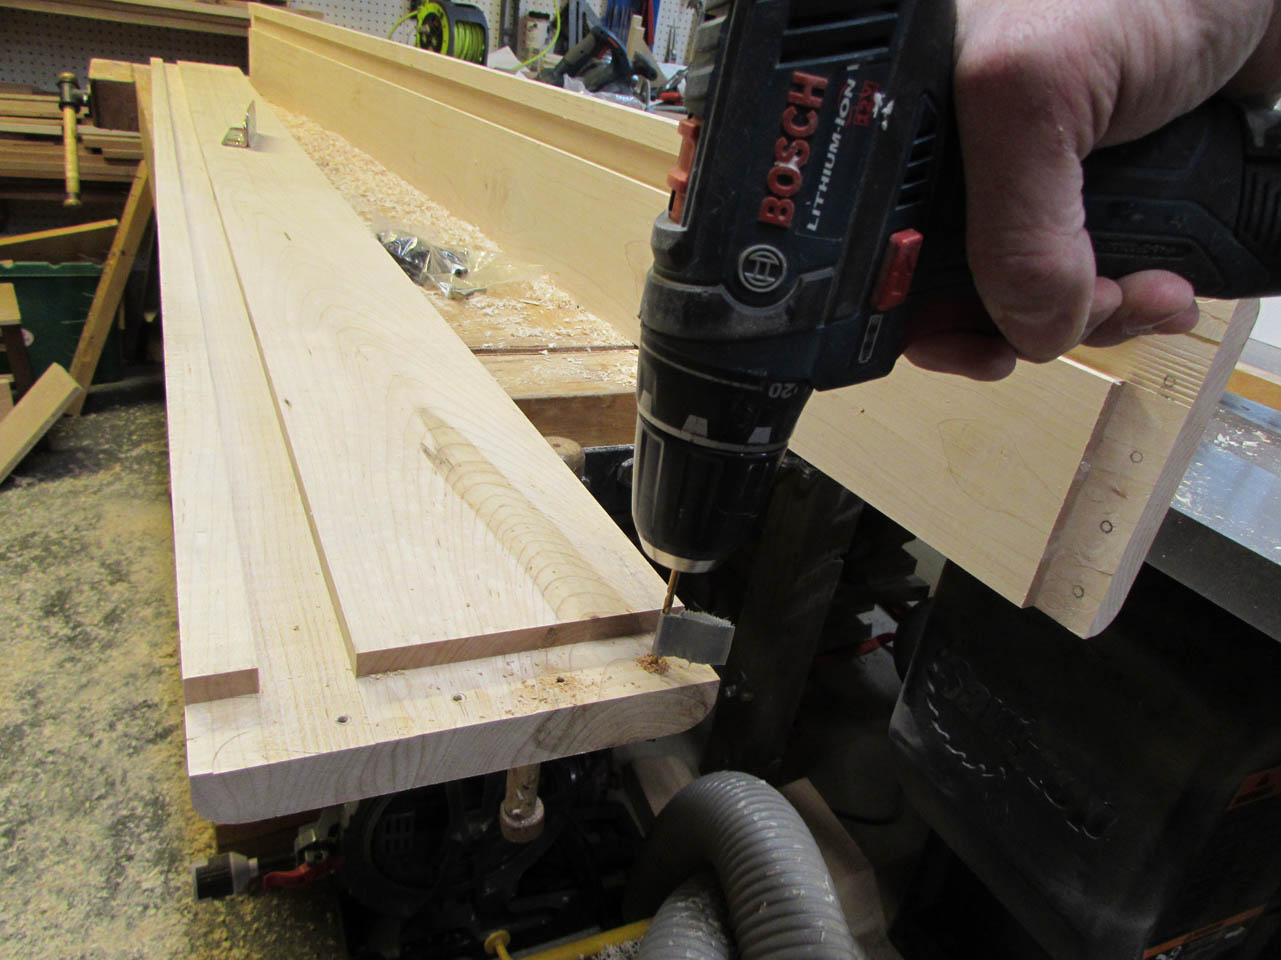
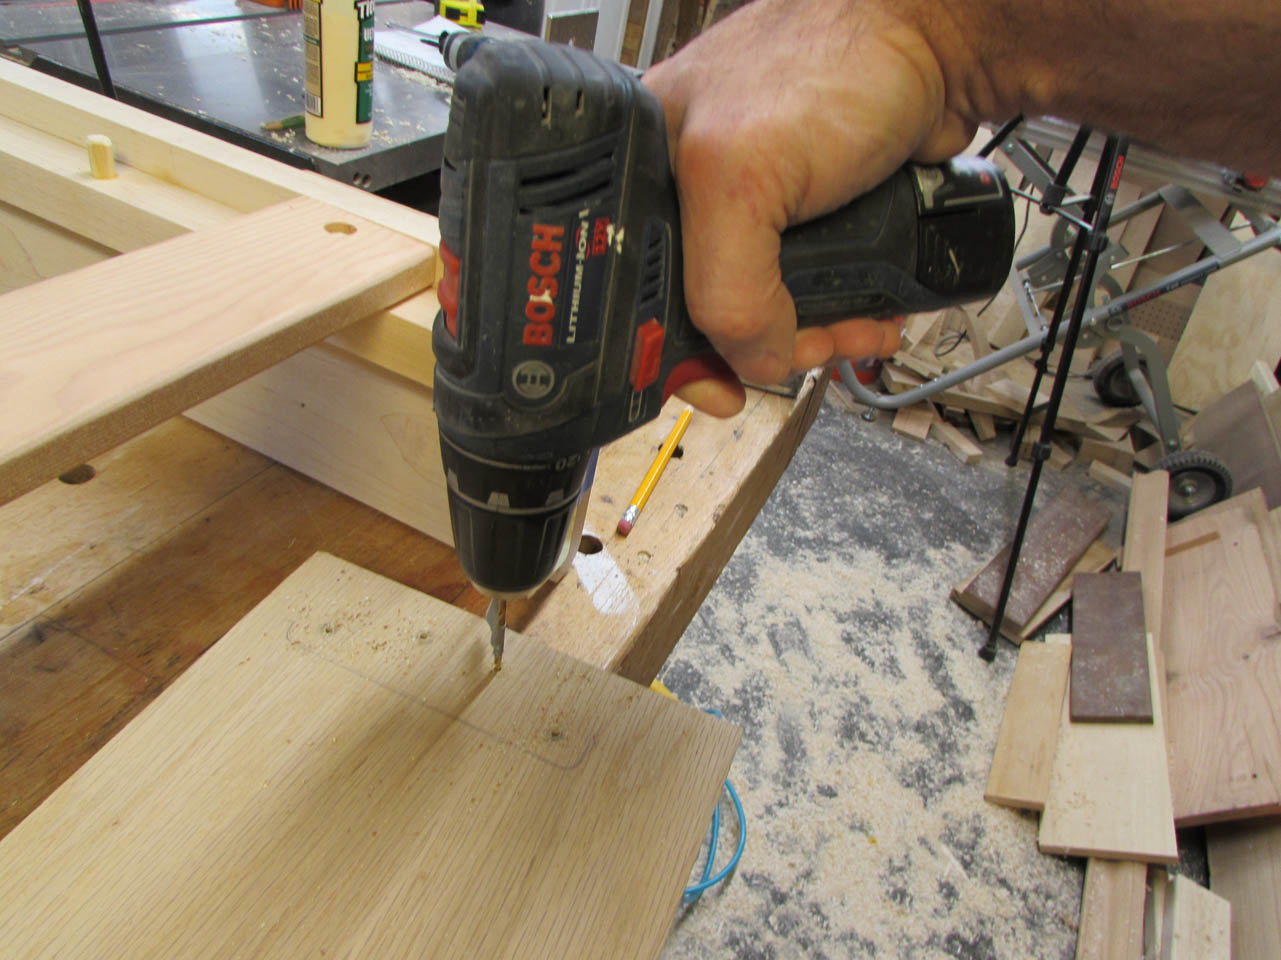
After sanding everything down, I started marking the holes for the bed rail hardware.


I used an awl to mark the center of each hole, then pre-drilled mounting holes, using a piece of tape to set the depth. I did not want the holes to punch through the face side of the maple.
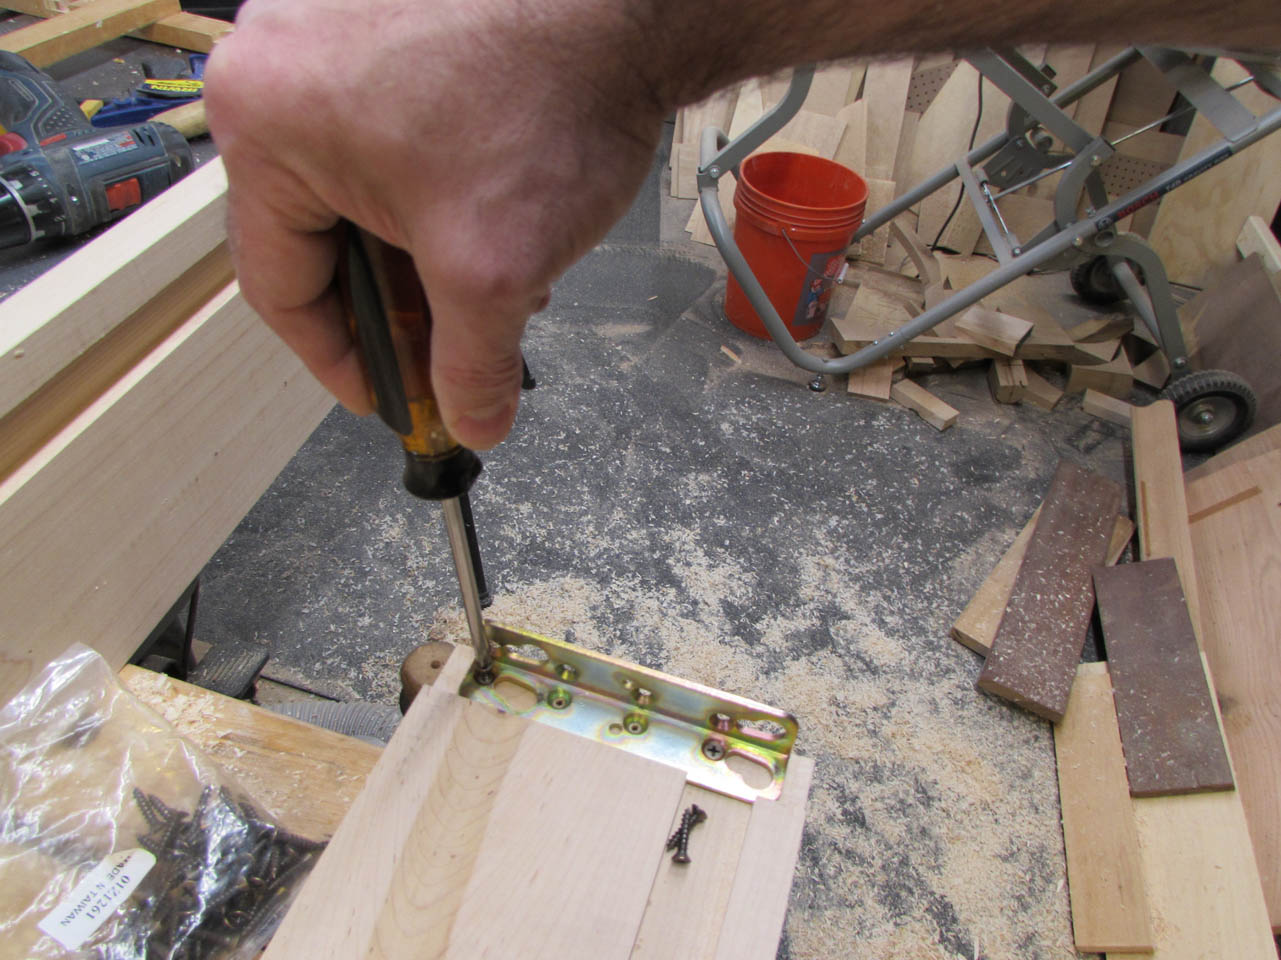
I installed the screws by hand to make sure nothing stripped or broke.

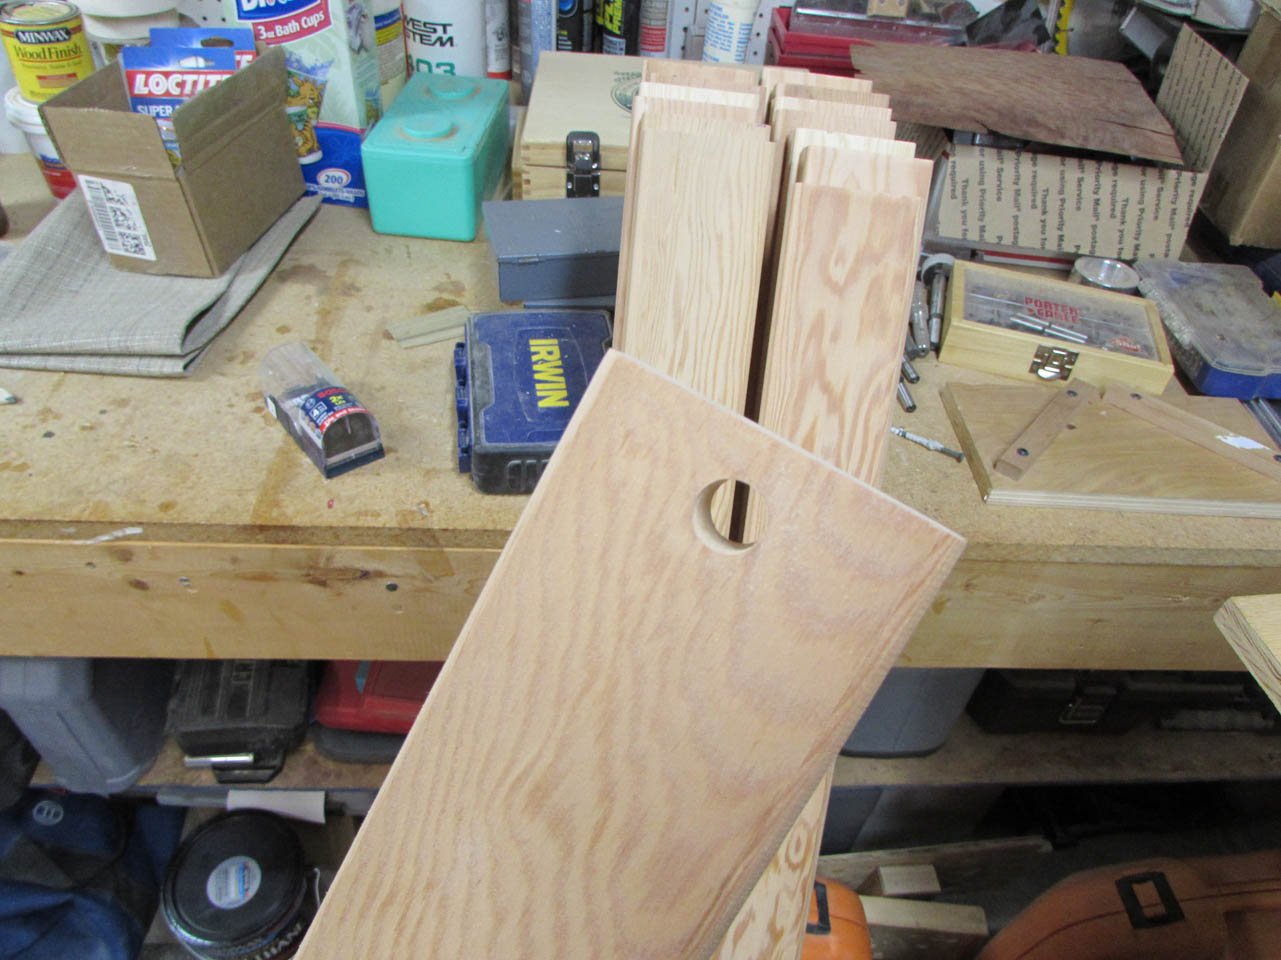
Bouncing back to the slats for a bit, I created a jig to mount on the drill press, that will allow me to drill a hole in each end of the slats, at the exact same location.

With the hole cut slightly over-sized, this will allow the slats to be installed in any direction.

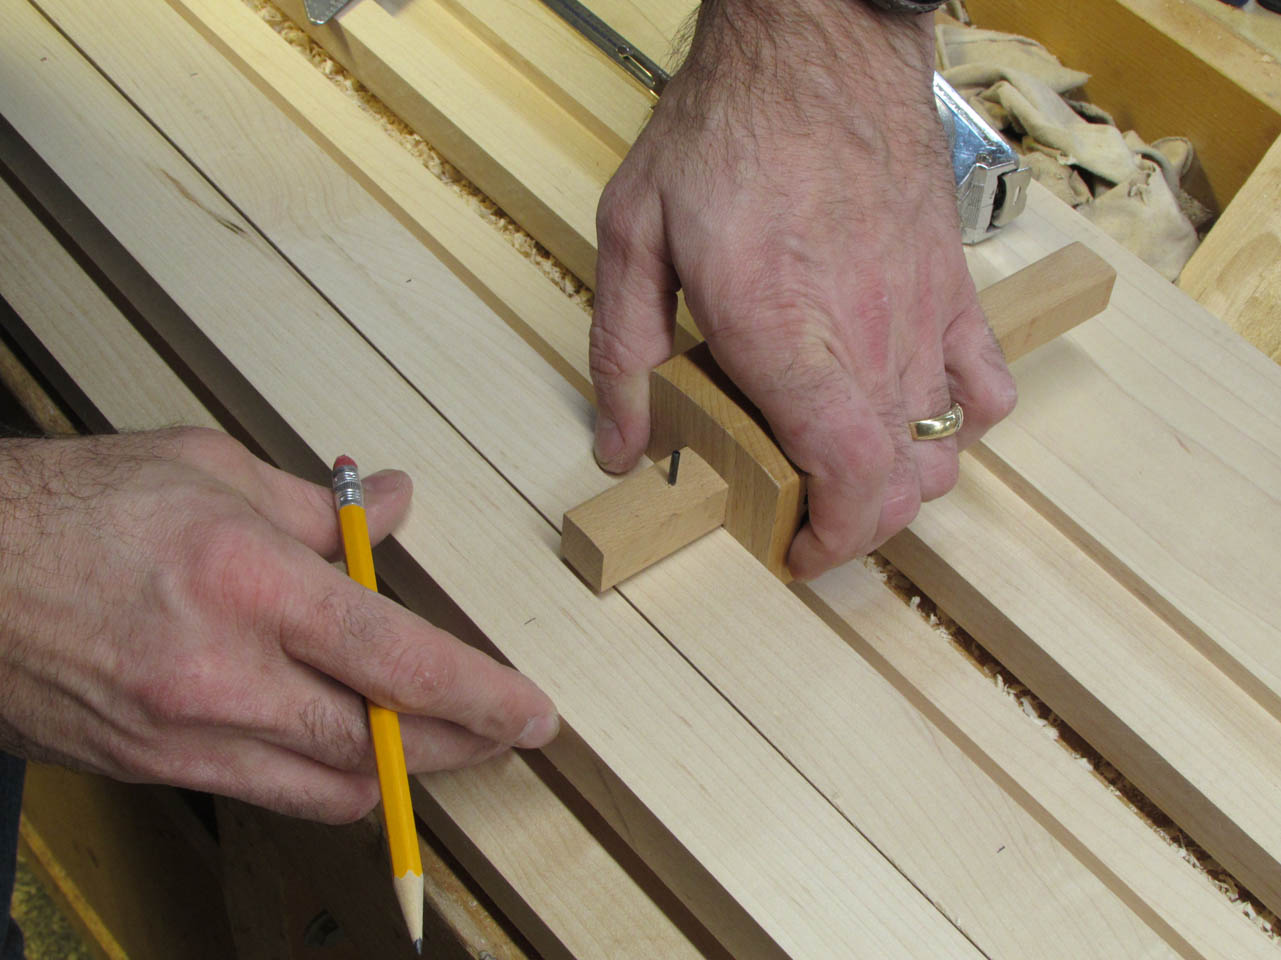
The next step was to divide the length of the slat support by the number of slats and lay out the locations of the dowel pins.

I used my marking gauge to get the exact same dimension from the side, for each one.

While my wife was drilling out the holes for the dowels, I was cutting the dowels down on the band saw.

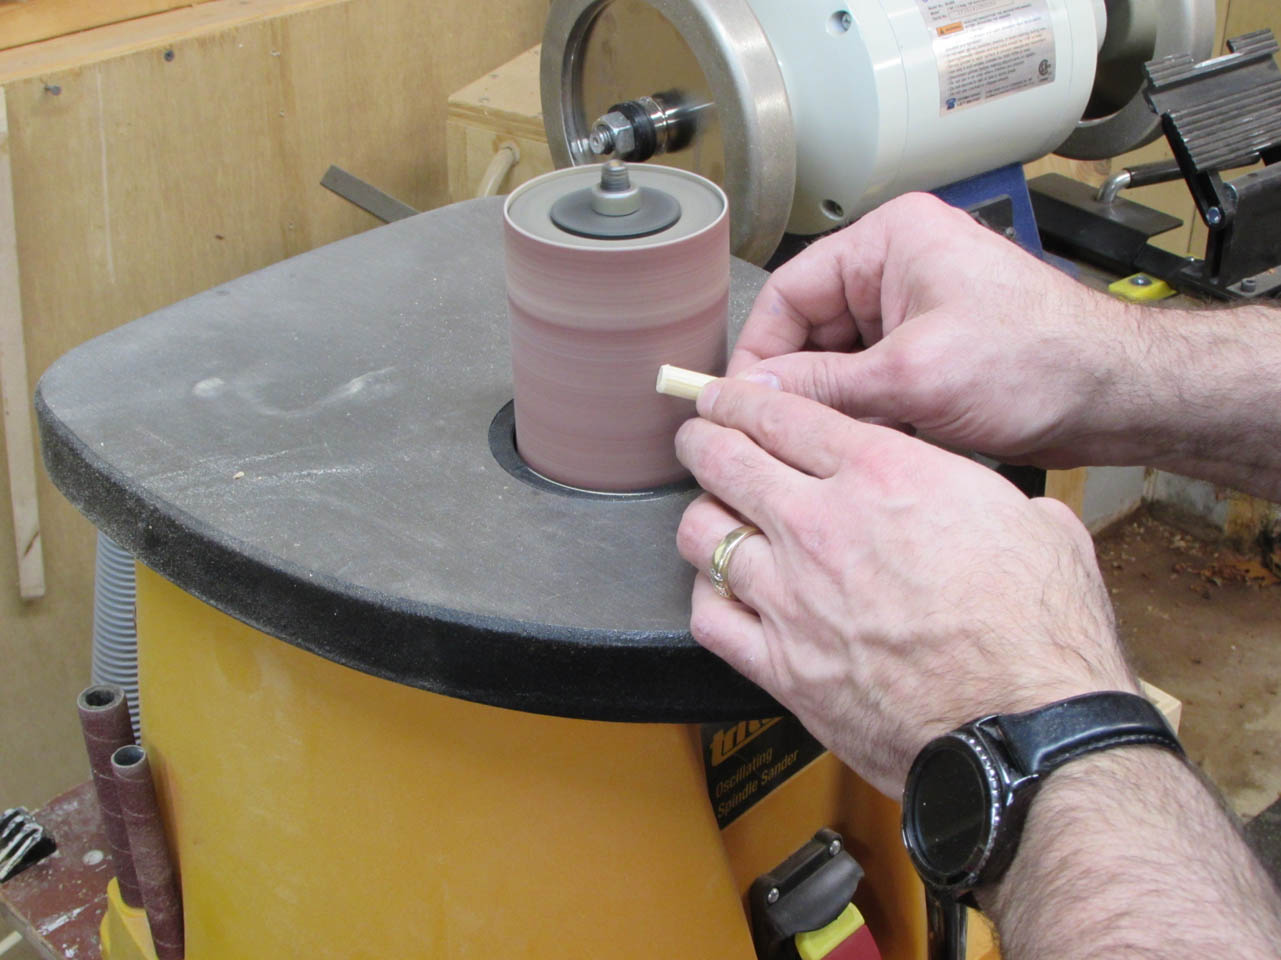
I used my spindle sander to chamfer the edge of the dowels to ease installation.


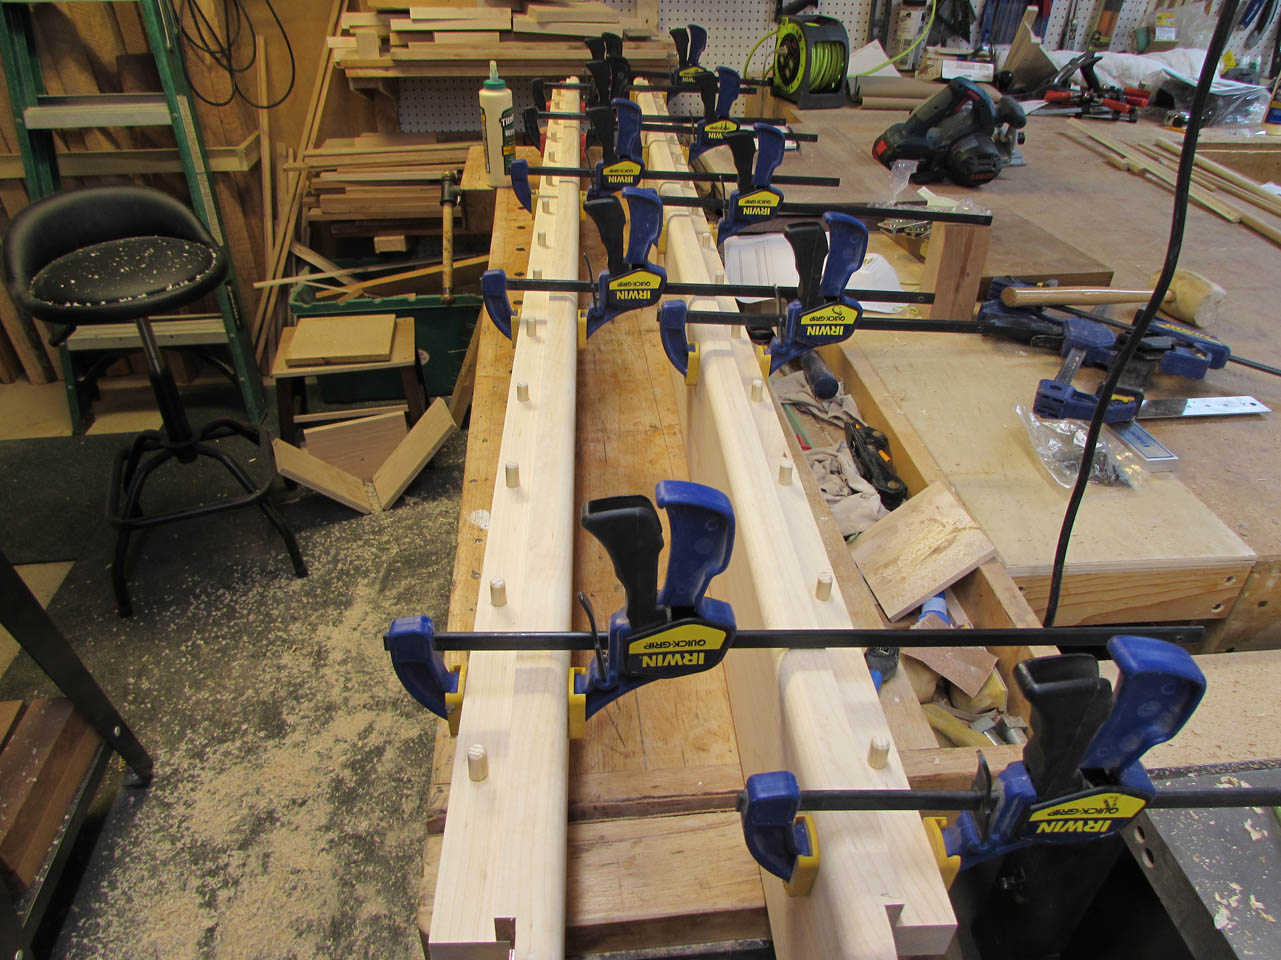
I applied glue to the groove in the sides and tapped the support rail into place.

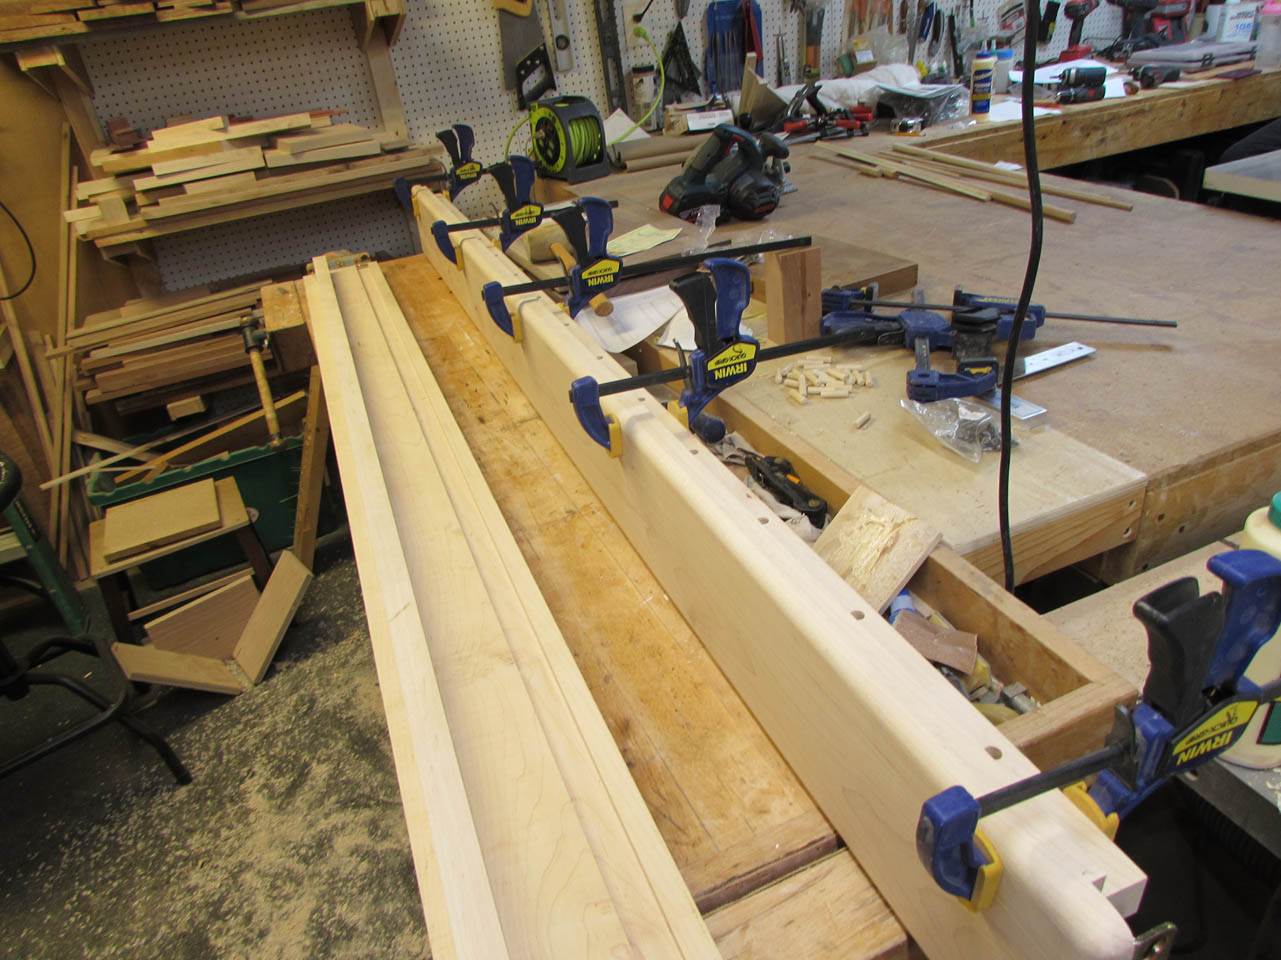
I clamped up the rail until the glue dried.

While the glue was drying, I dipped the dowels into some wood glue and installed them as well.
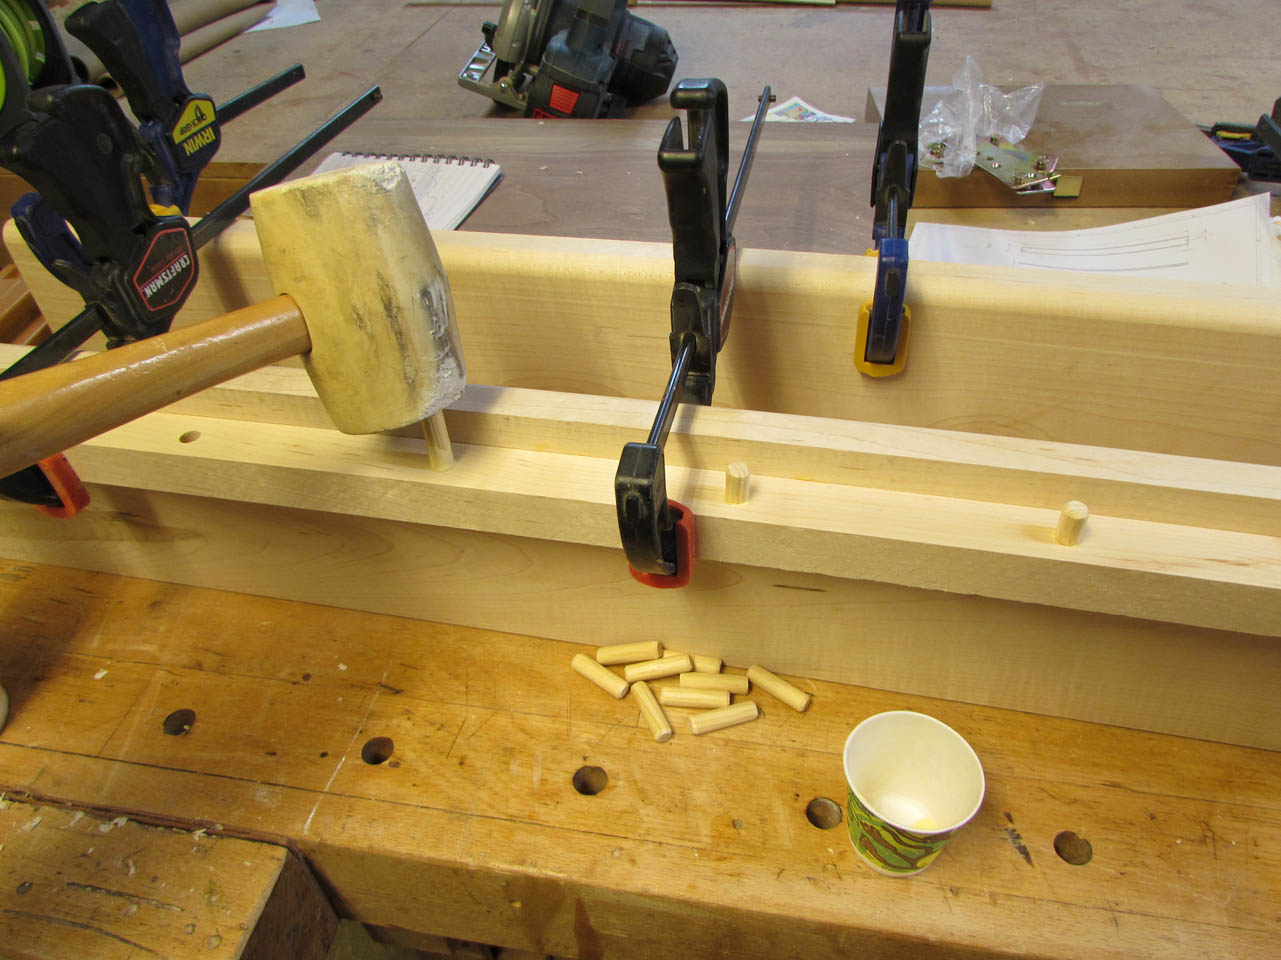
I tapped each one firmly into place and let it all dry.
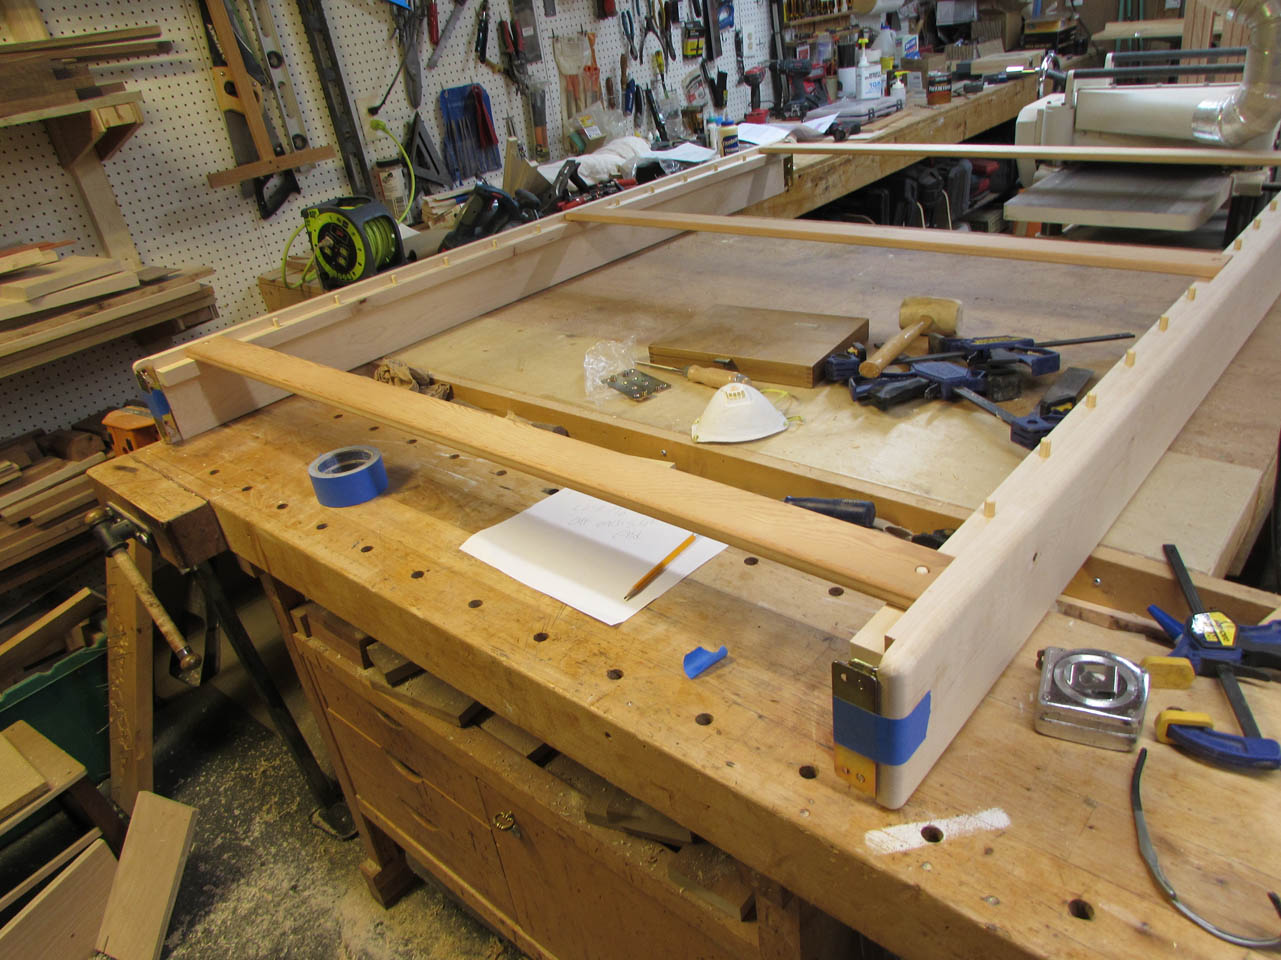
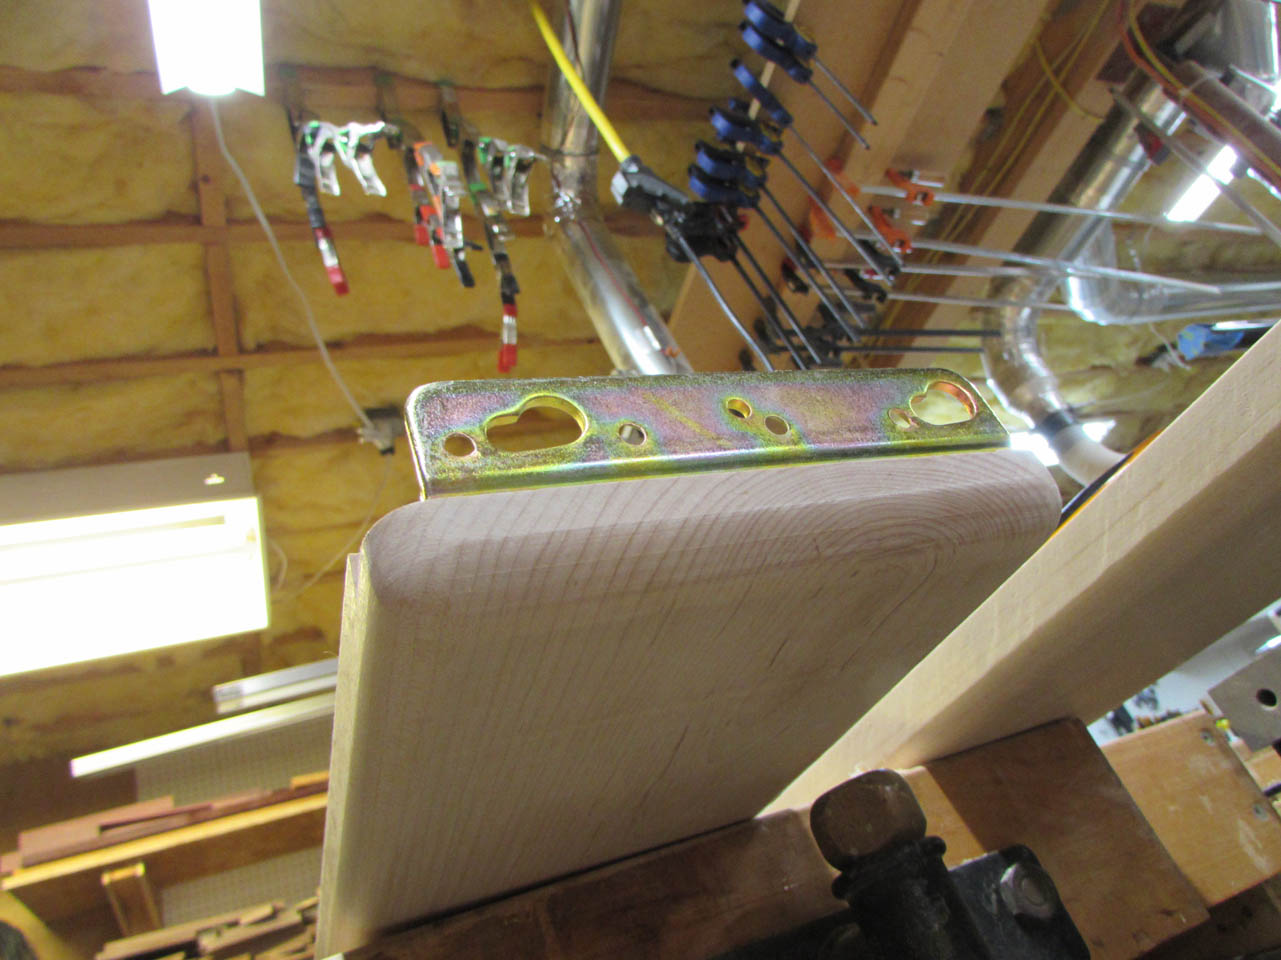
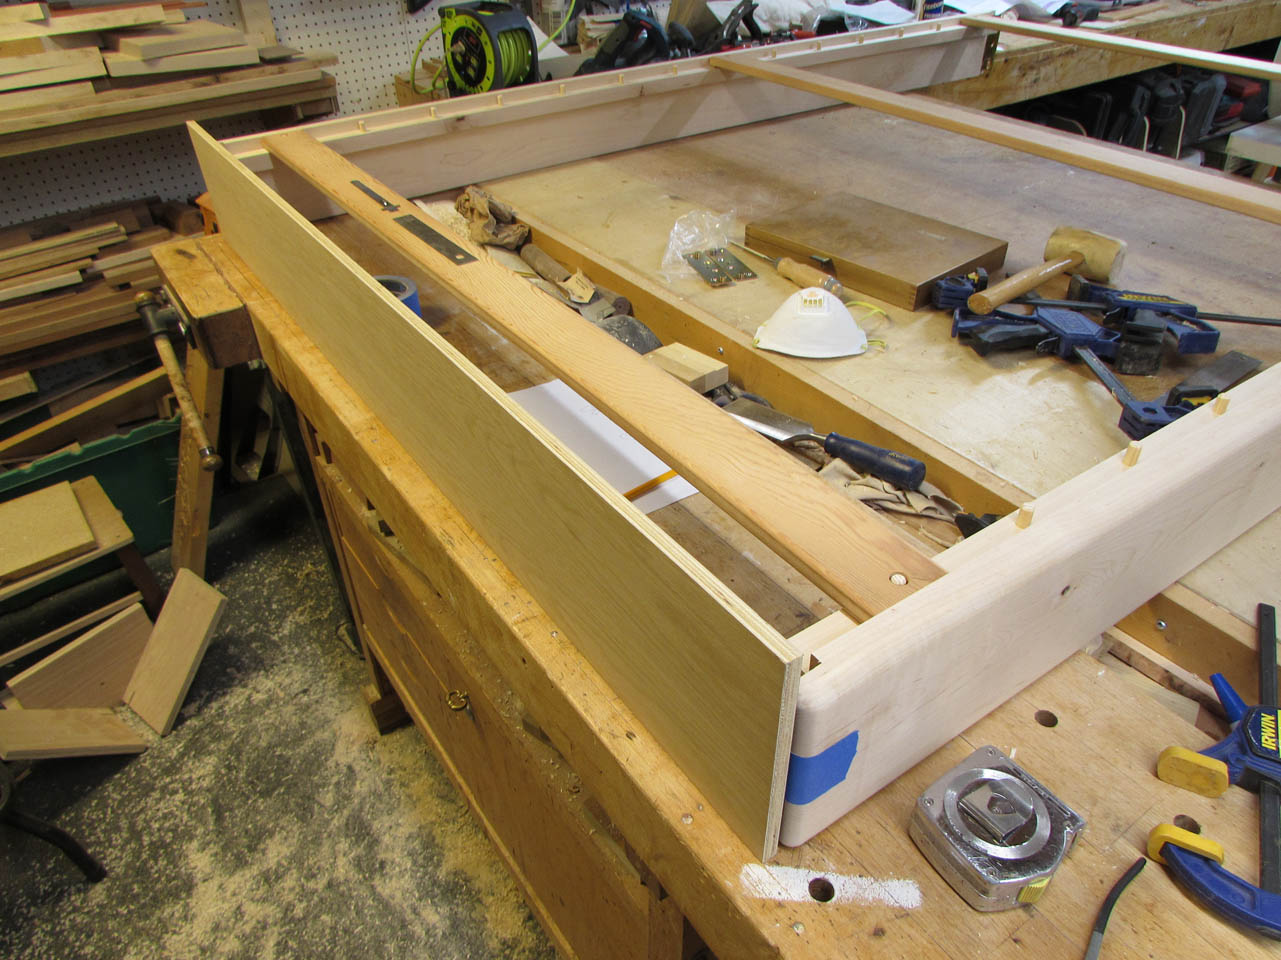
When dry, I installed a few slats and squared up the whole assembly. Then I taped the receiver plate to the mounting brackets and placed a scrap piece of plywood up against the end to mark the receiver plate location.

After I marked the outline of the plate, I removed the plates and located them against the lines I just traced to transfer the hole locations.
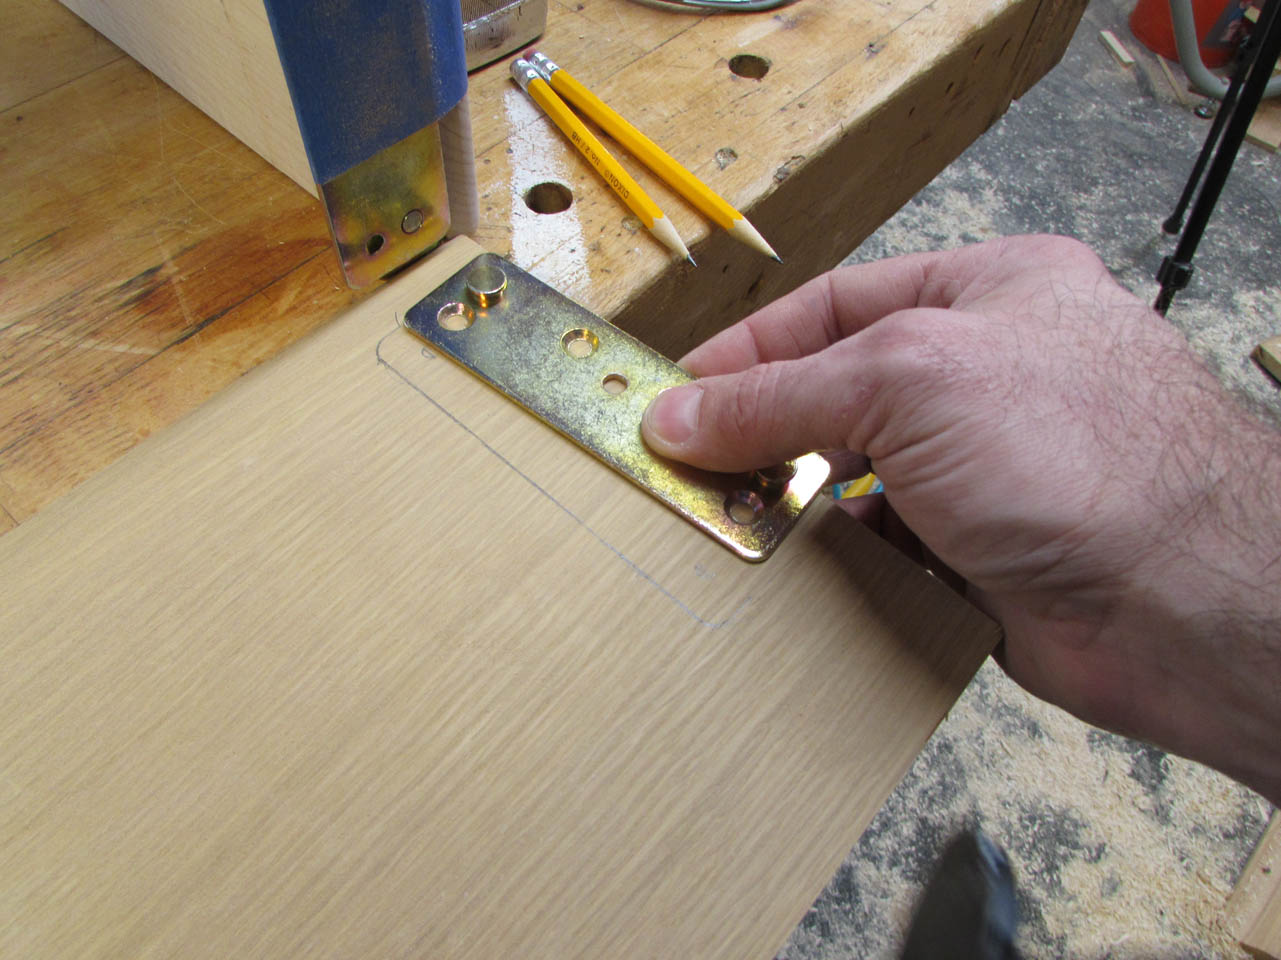

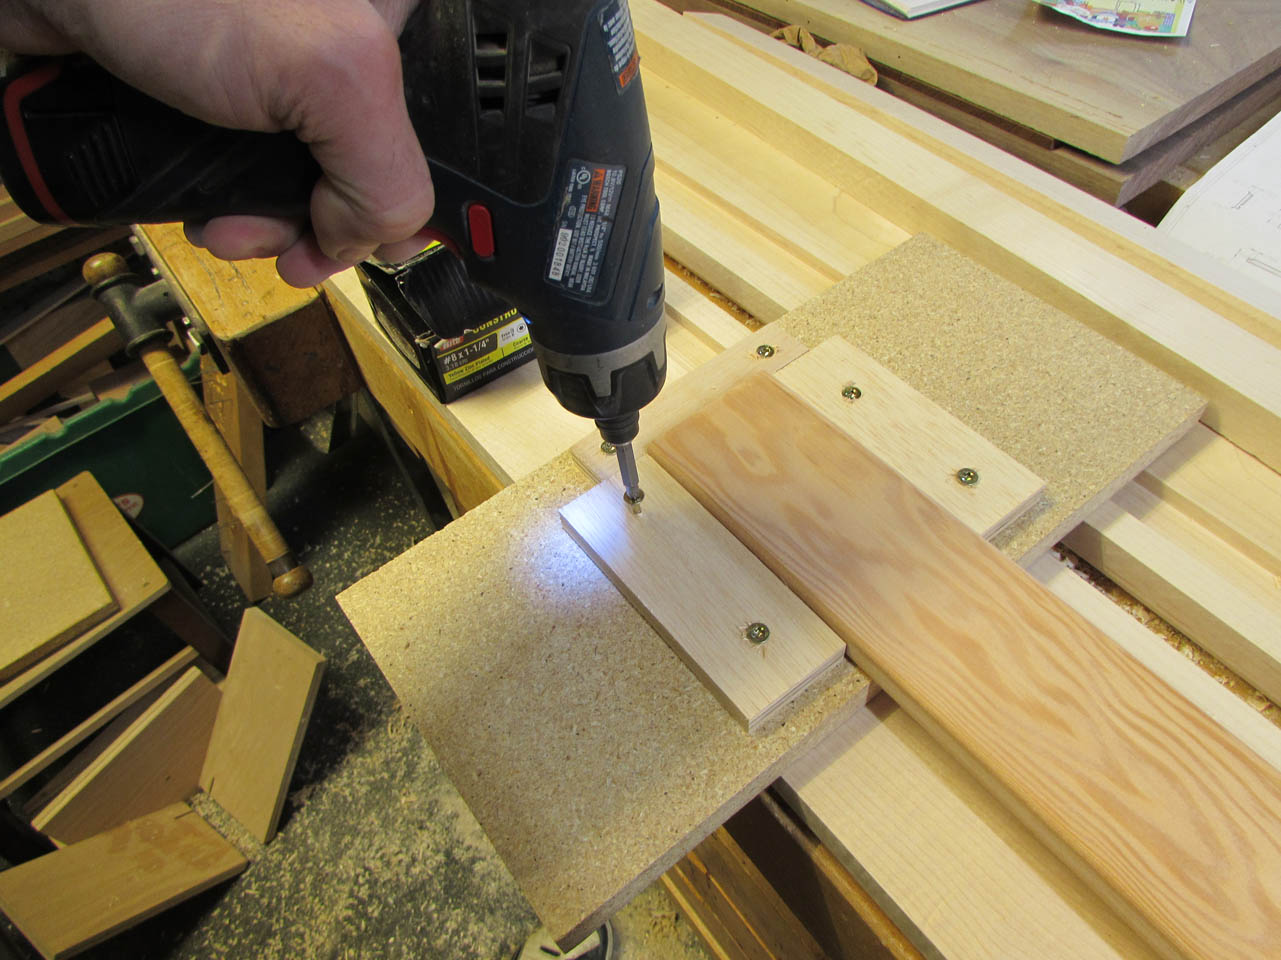
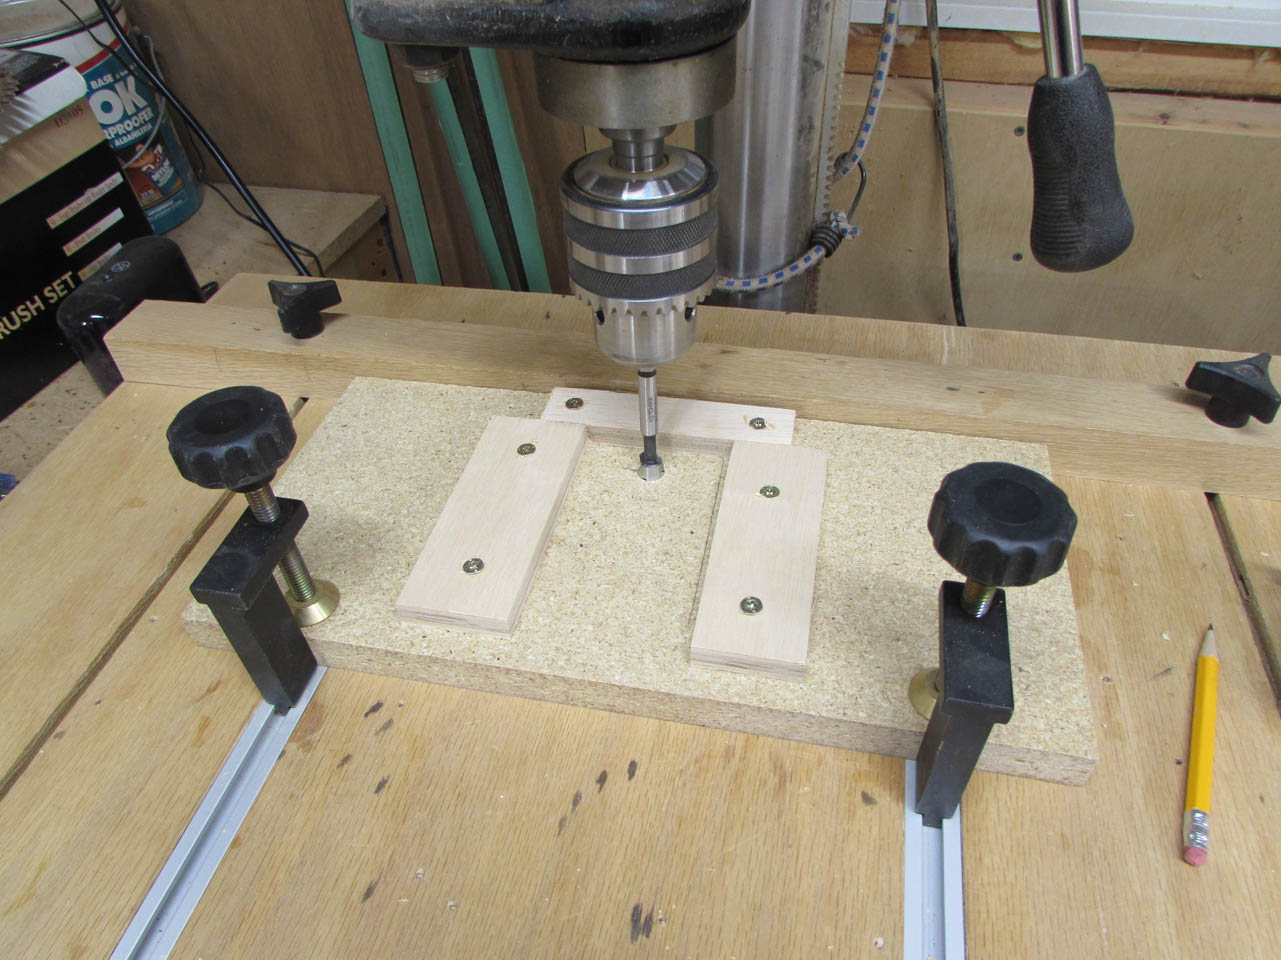
After the holes were marked and drilled out, I had a drill template. I marked the holes and which end they were for, then flipped the board over and repeated the process on the other side. Now to drill out the head and foot boards, I only need to clamp this board in place and drill the four mounting holes on each side.

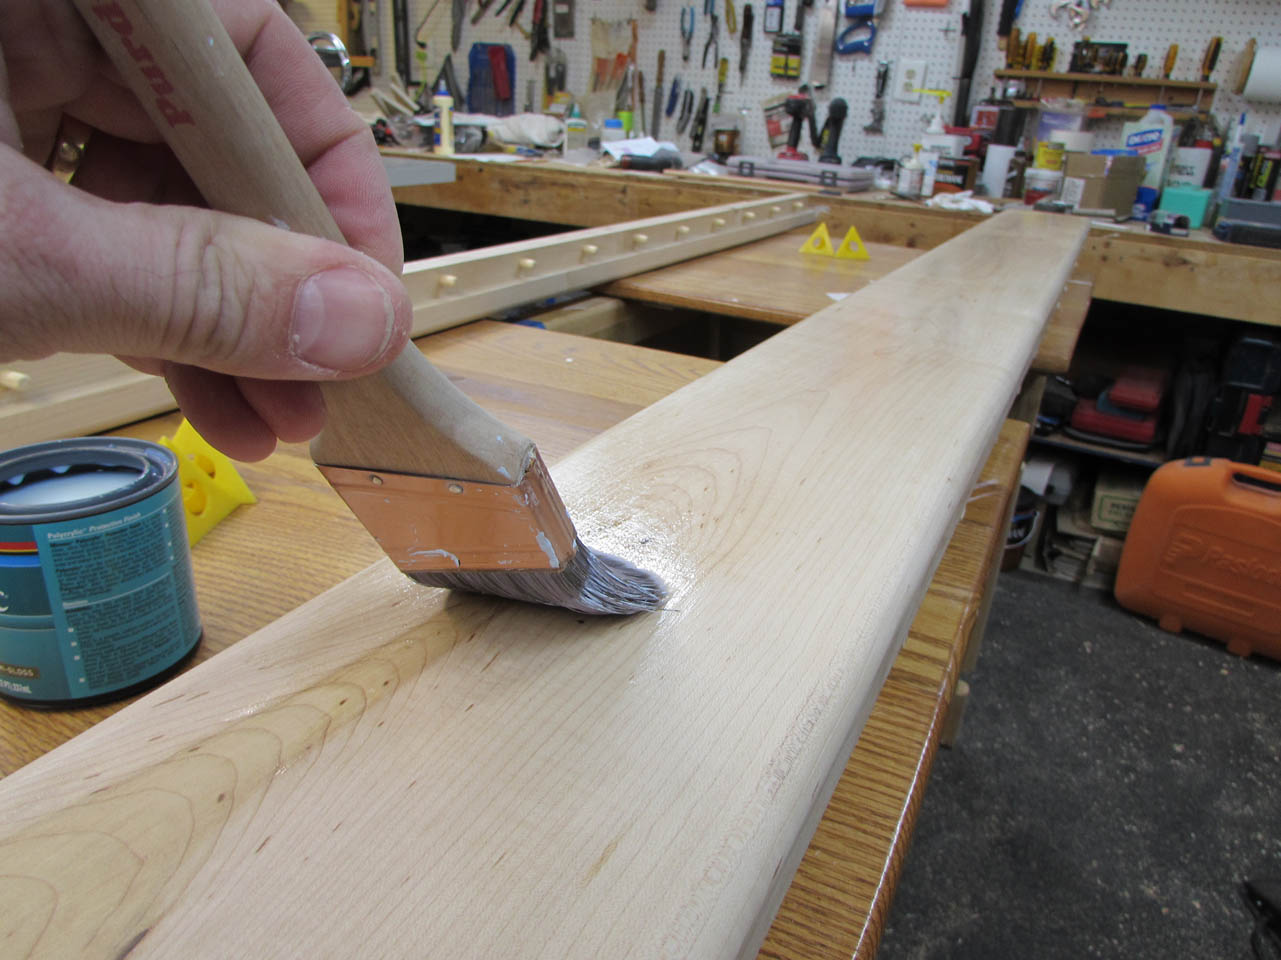
With that all complete, I gave everything a final sanding and started applying finish.

I am using a satin, water-based polyurethane so after the first coat, I sanded back the raised grain with 220 grit paper, then proceeded to apply two more coats, waiting about two hours between each coat.

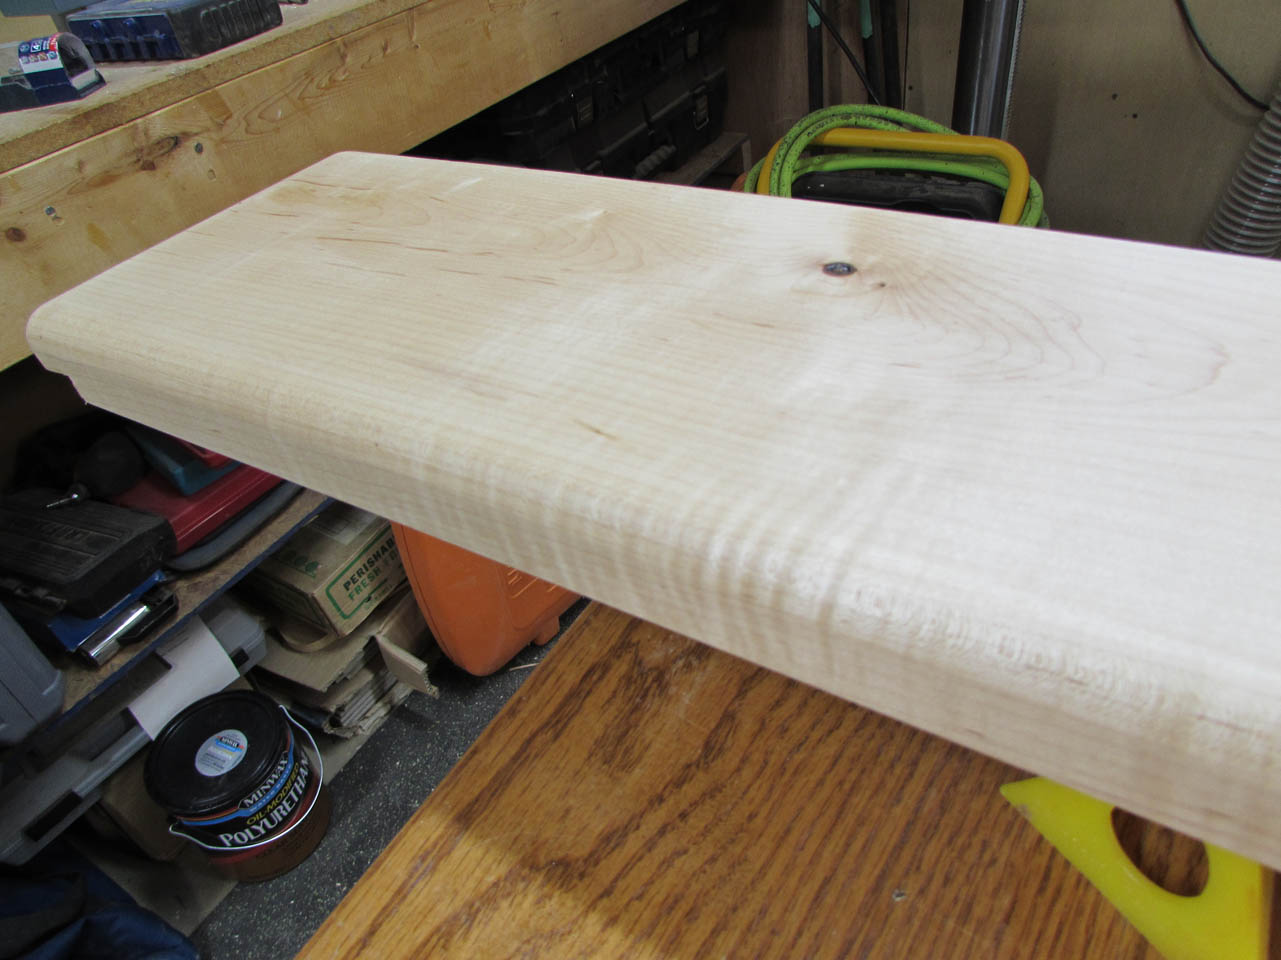
Look at the curl in that maple. It has a very subtle grain, but it is very pretty.


After the finish was dry, I re-installed the hardware and test-fit the bed slats.

I did not remember to take pictures of the installation, but it went very smoothly. Once I removed the sides and mattress frame, I only needed to clamp the template in place, centered on the head and foot boards, then pre-drill holes for mounting the receiver plates.
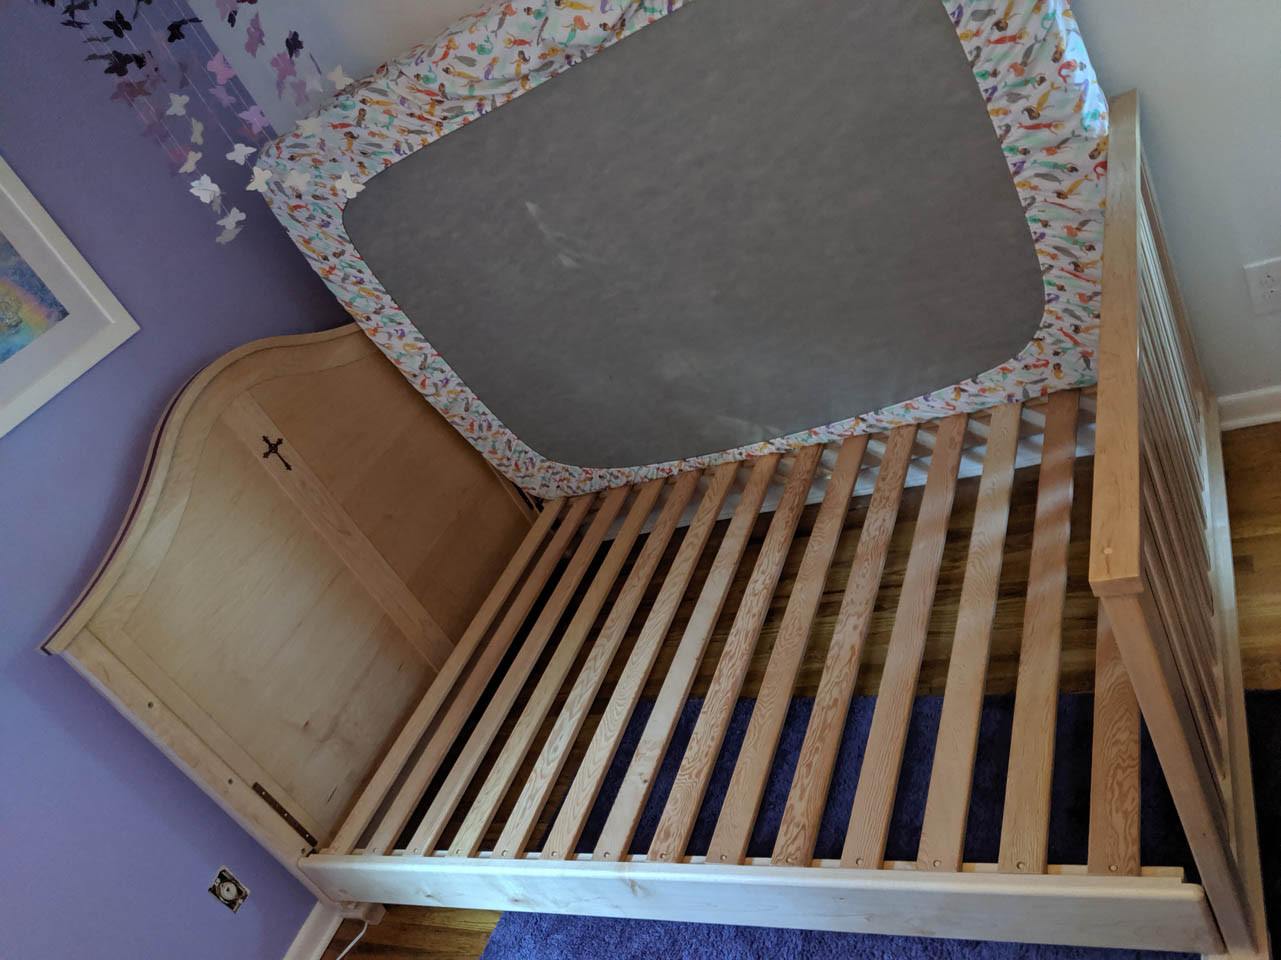
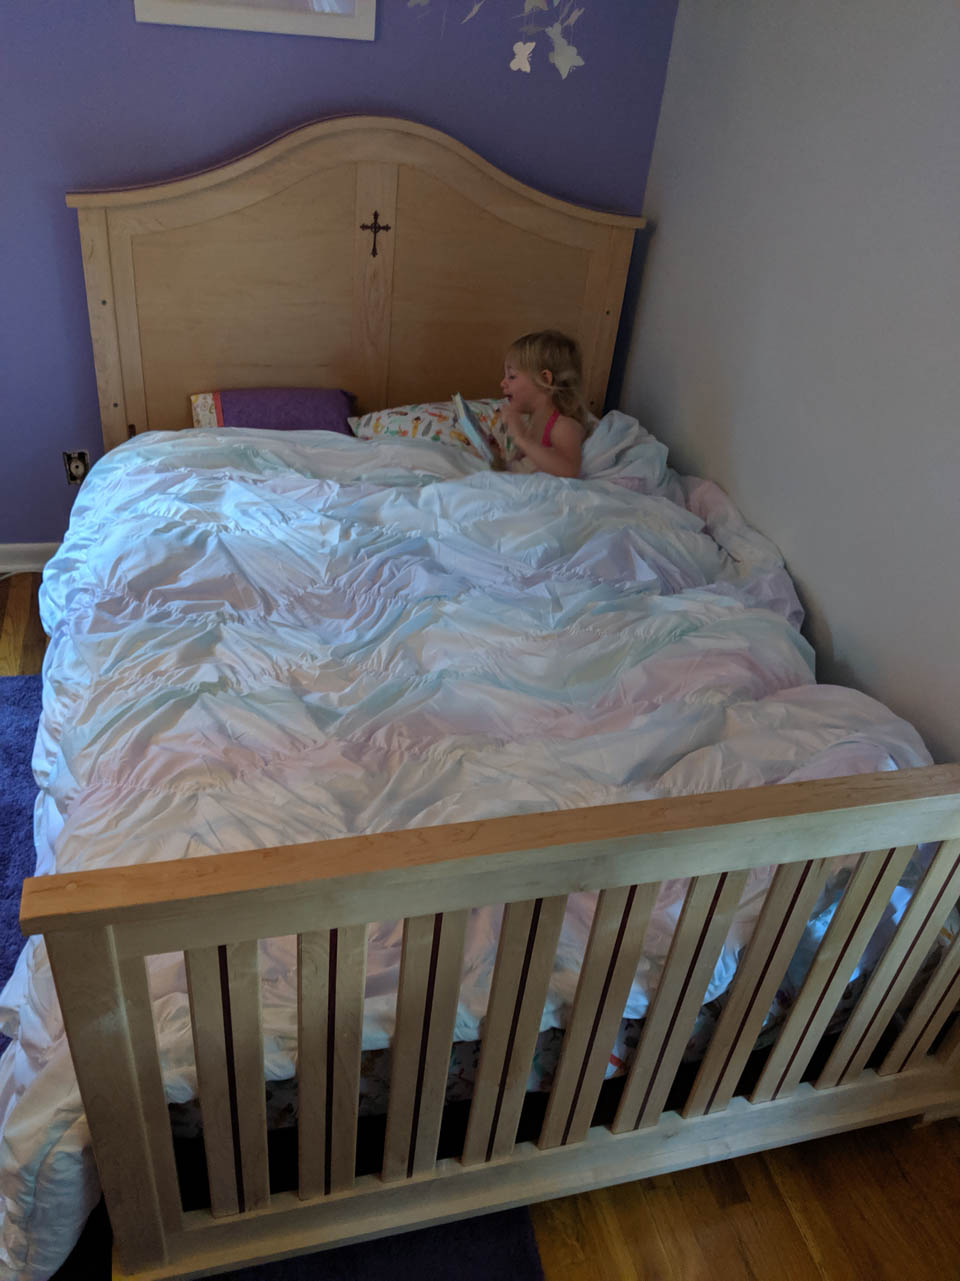
The rails latched easily together and everything held rigidly in place.
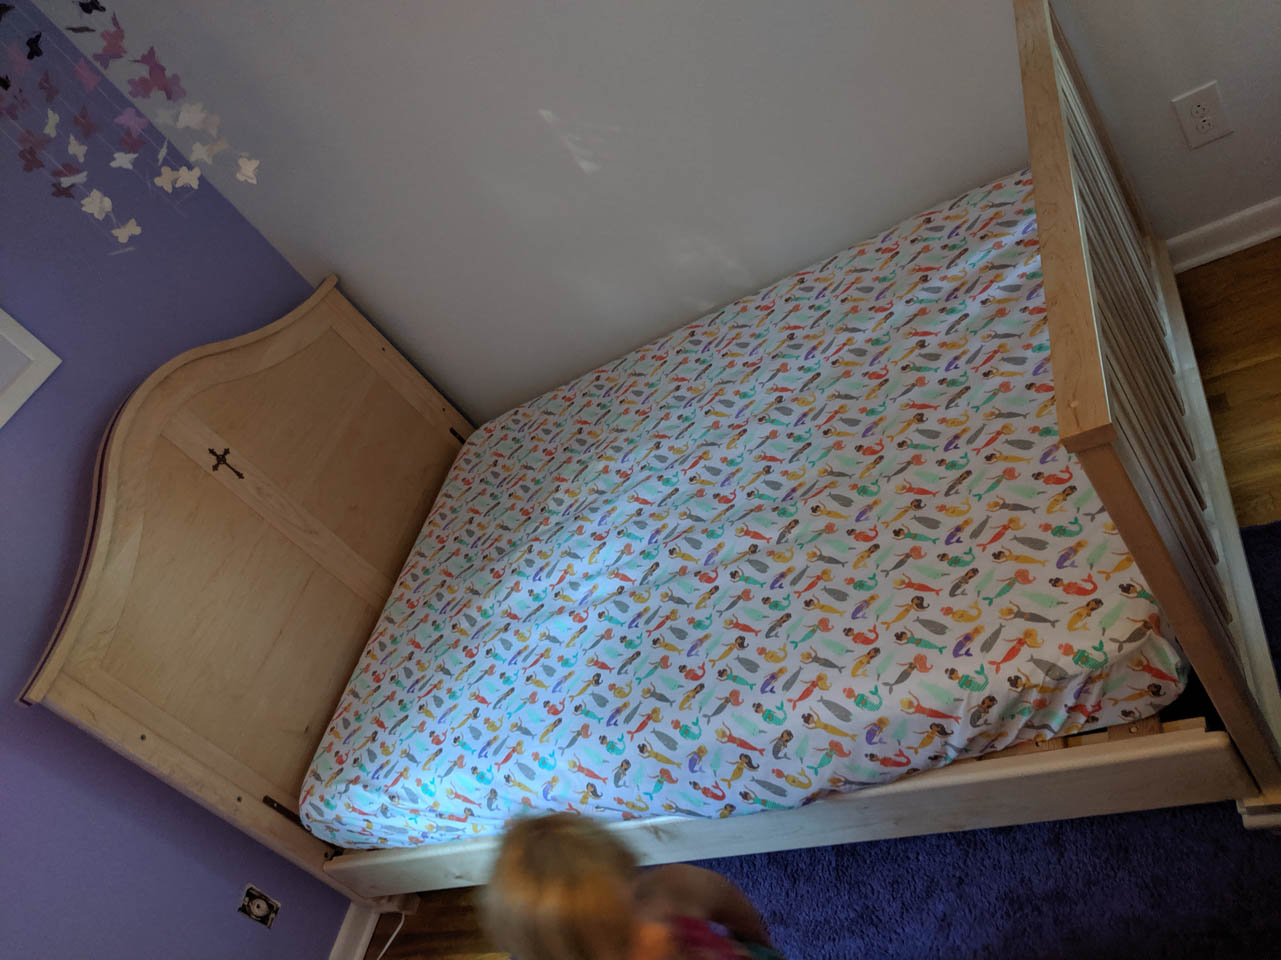
The mattress was dropped in place with the mermaid sheets already installed. Little Charlotte grabbed a book and her comforter and settled into her new bed.