Vicenç’s guitar – day one
WOW, it has been a busy summer. I haven’t put up a post in a couple of months. Sorry about that. I have a couple of new projects coming though, and this guitar is one of them.
This is my friend Vicenç. He lives in Barcelona, Spain, but he is visiting the USA for six months. His company sent him here to work on a project, in a different building, but on the same campus where I work. I met him when he first started working here and he expressed an interest in building his own guitar, with some local American wood. Something he could take back home with him, along with the experience.
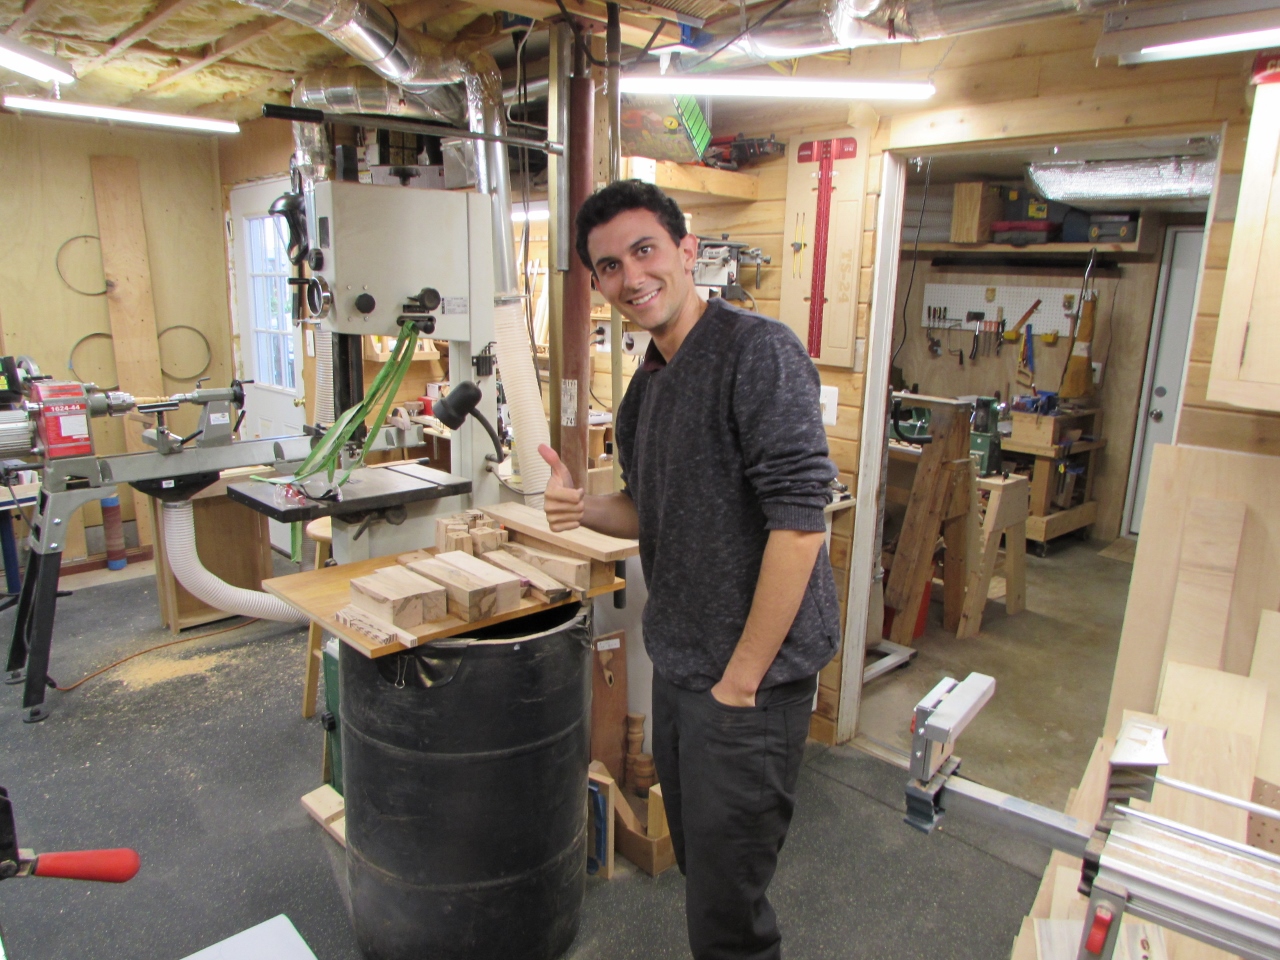
Over the last few months, we came up with a design, and Vicenç purchased all the hardware. Now that we have everything we need, we finalized our design and it is now time to pick out wood.
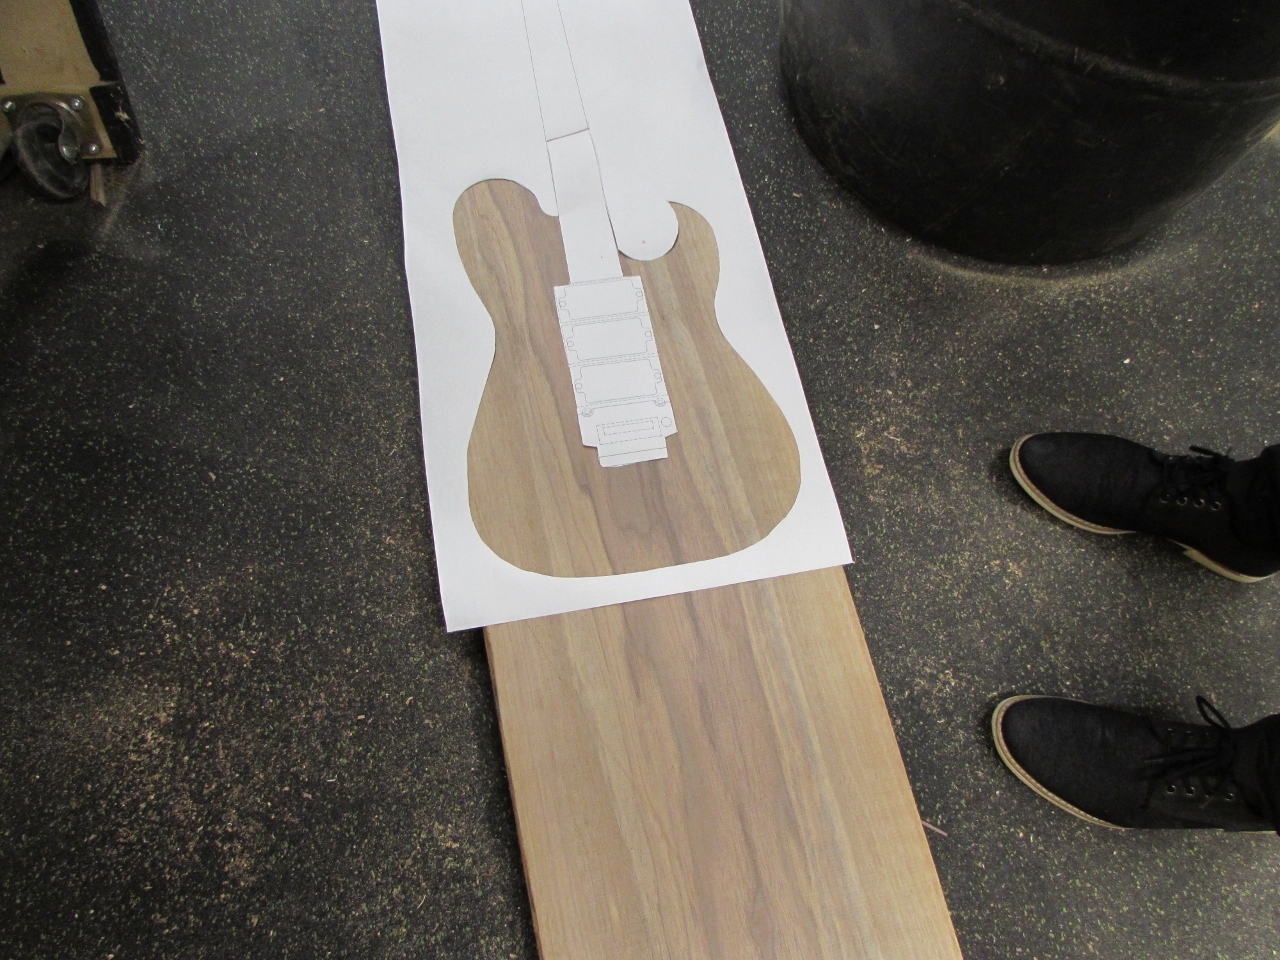
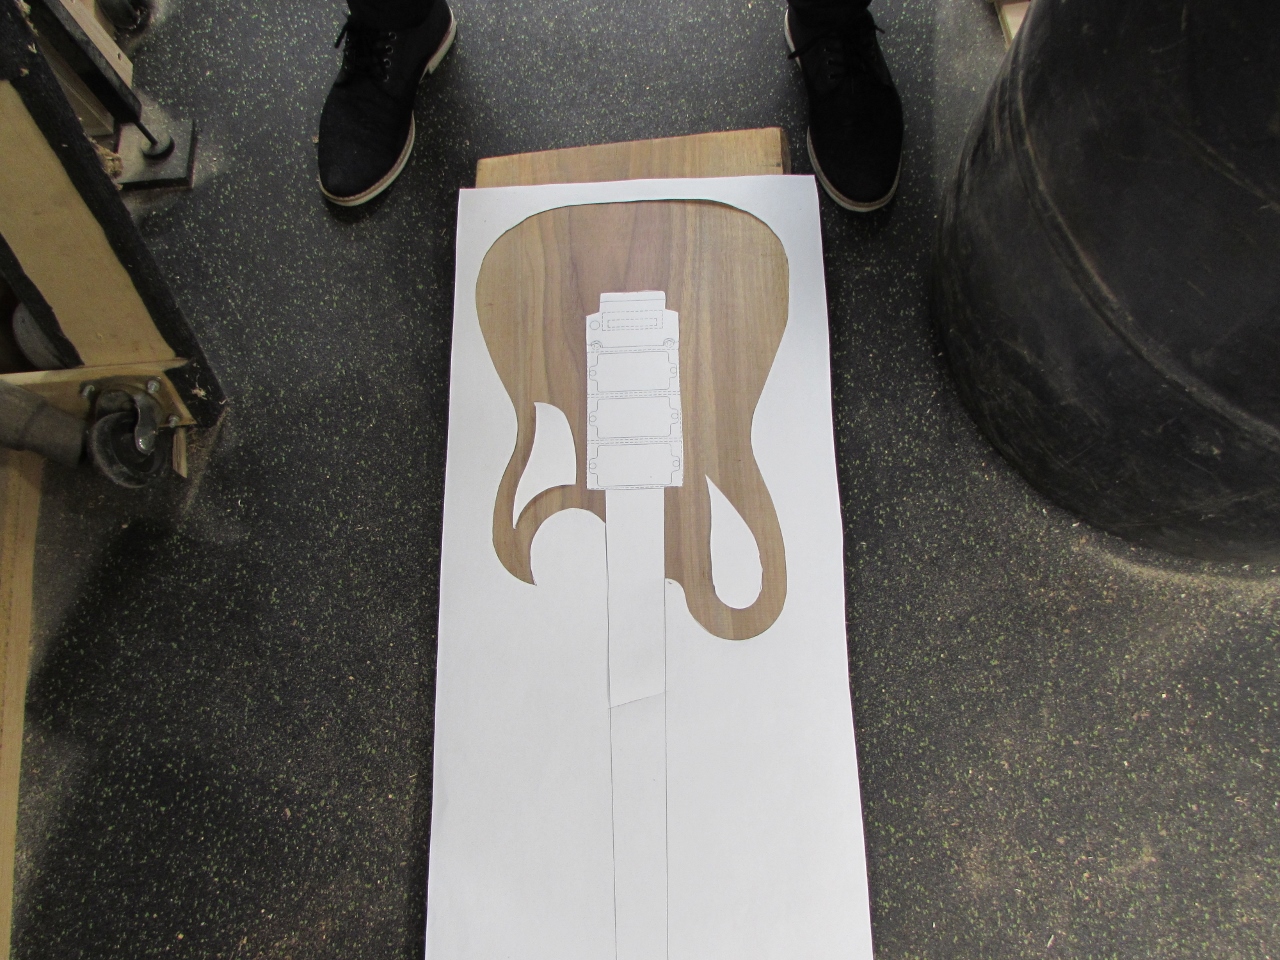
I printed out a full size version of the guitar and cut out the body. This way, he can see exactly how the grain of the wood will look.

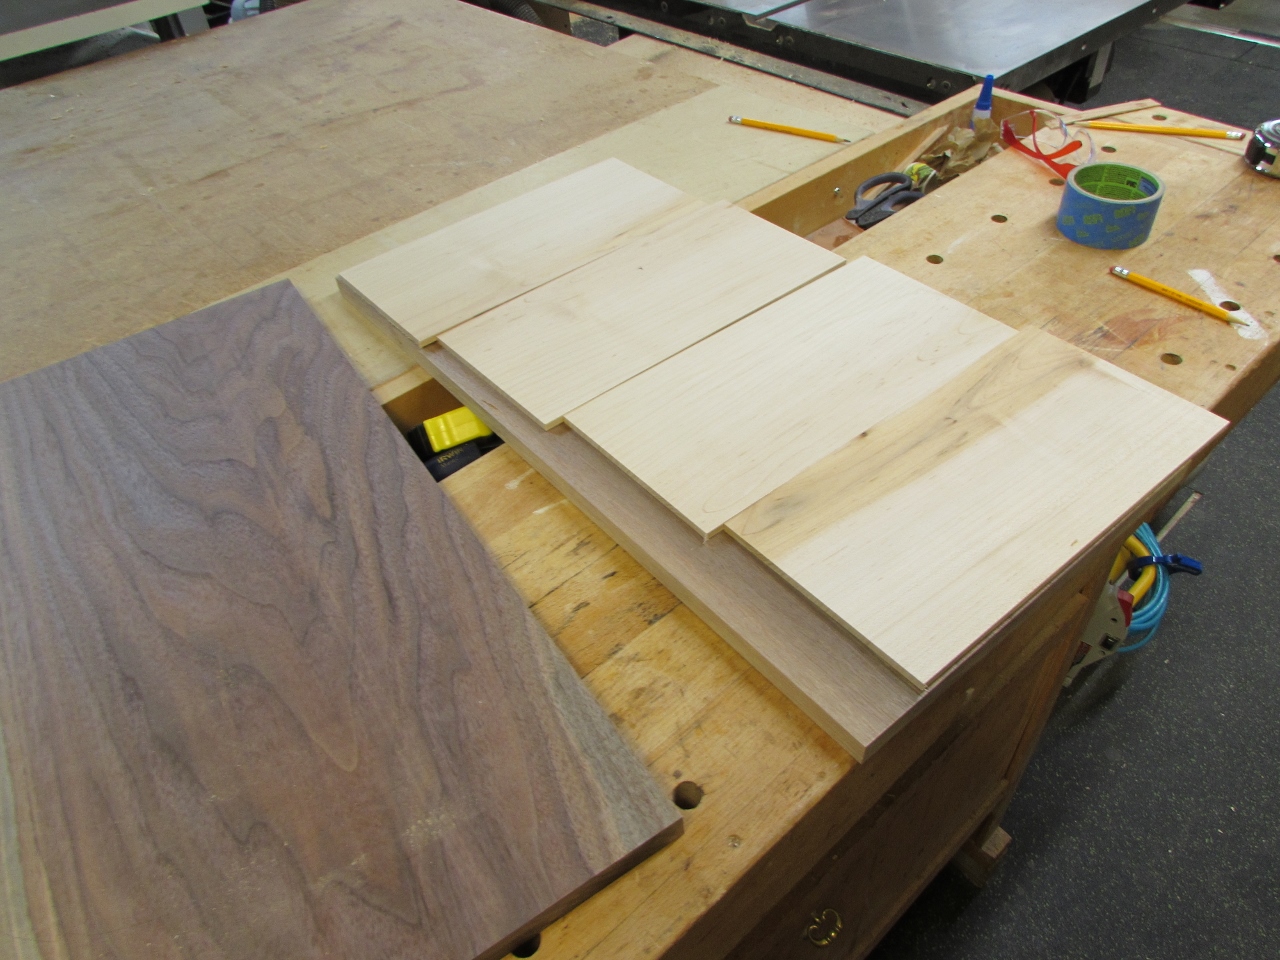
After a lot of consideration, Vicenç picked two pieces of walnut. These will be the front half and the back. He wants a couple of holes to go all the way through the upper part of the body so we are also going to put a 1/4″ thick slice of hard maple, between the two slabs of walnut. We will rotate the maple so that it’s grain is perpendicular to that of the walnut, adding a lot of strength, as well as a white stripe through the middle of the body.
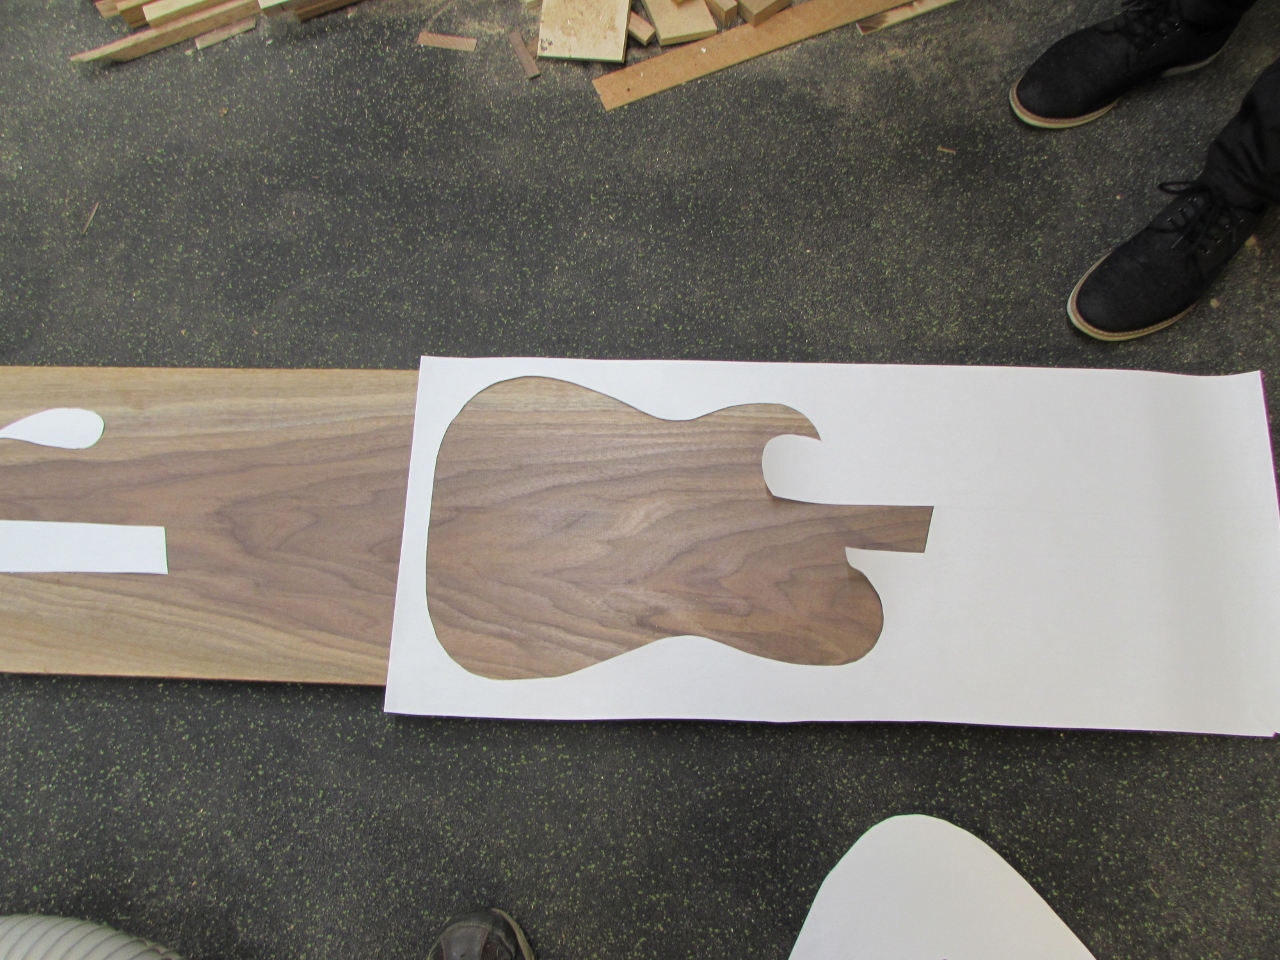
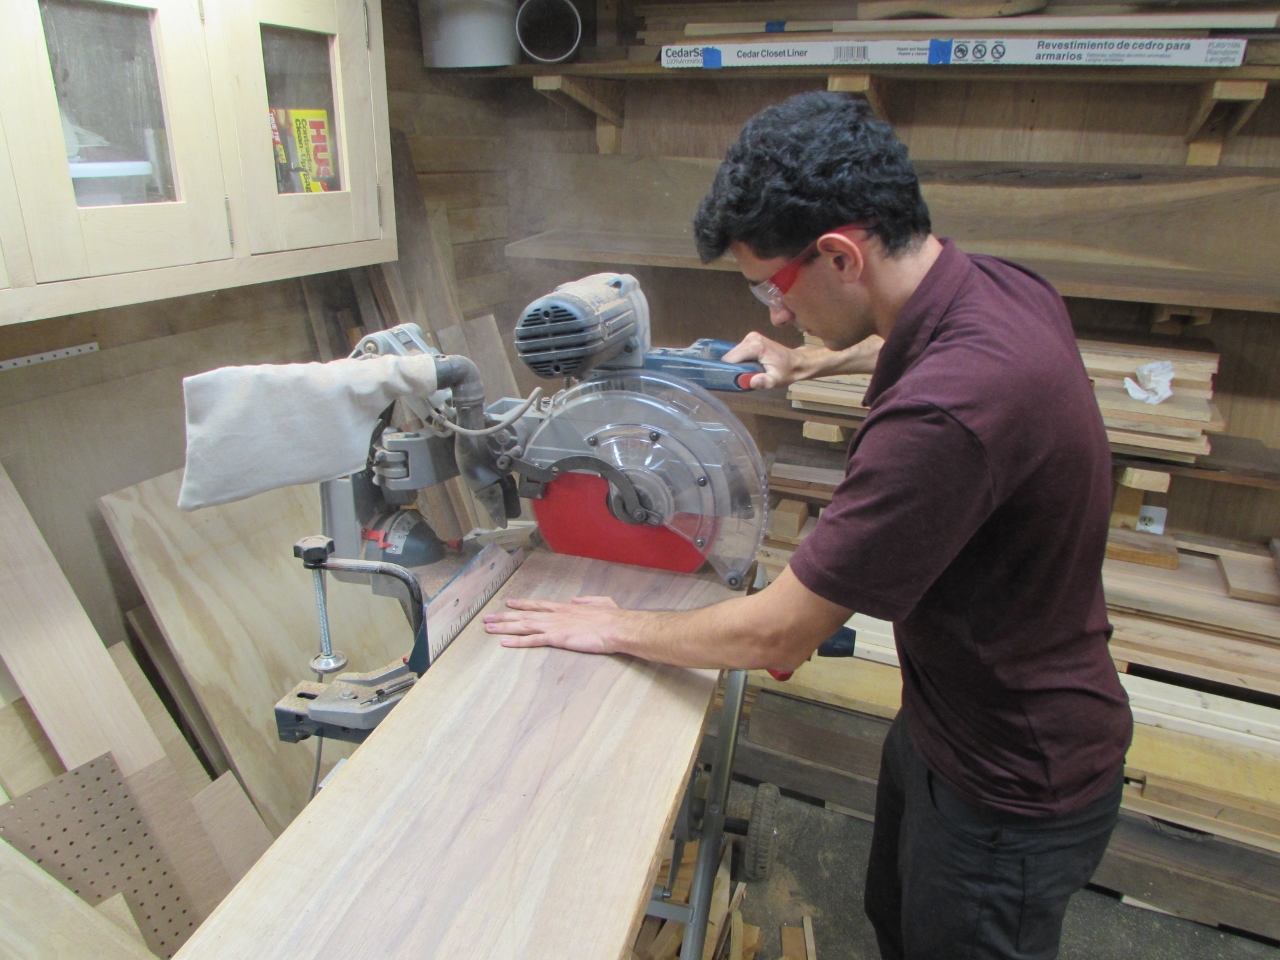
Since he has two more weeks before leaving for home, we will have to rush a bit. We decided to carve the main portion of the guitar body on my CNC router instead of doing it all with hand tools. The CNC will require a few inches to either end of the carve, so I traced the outline and added 4″ to each end.
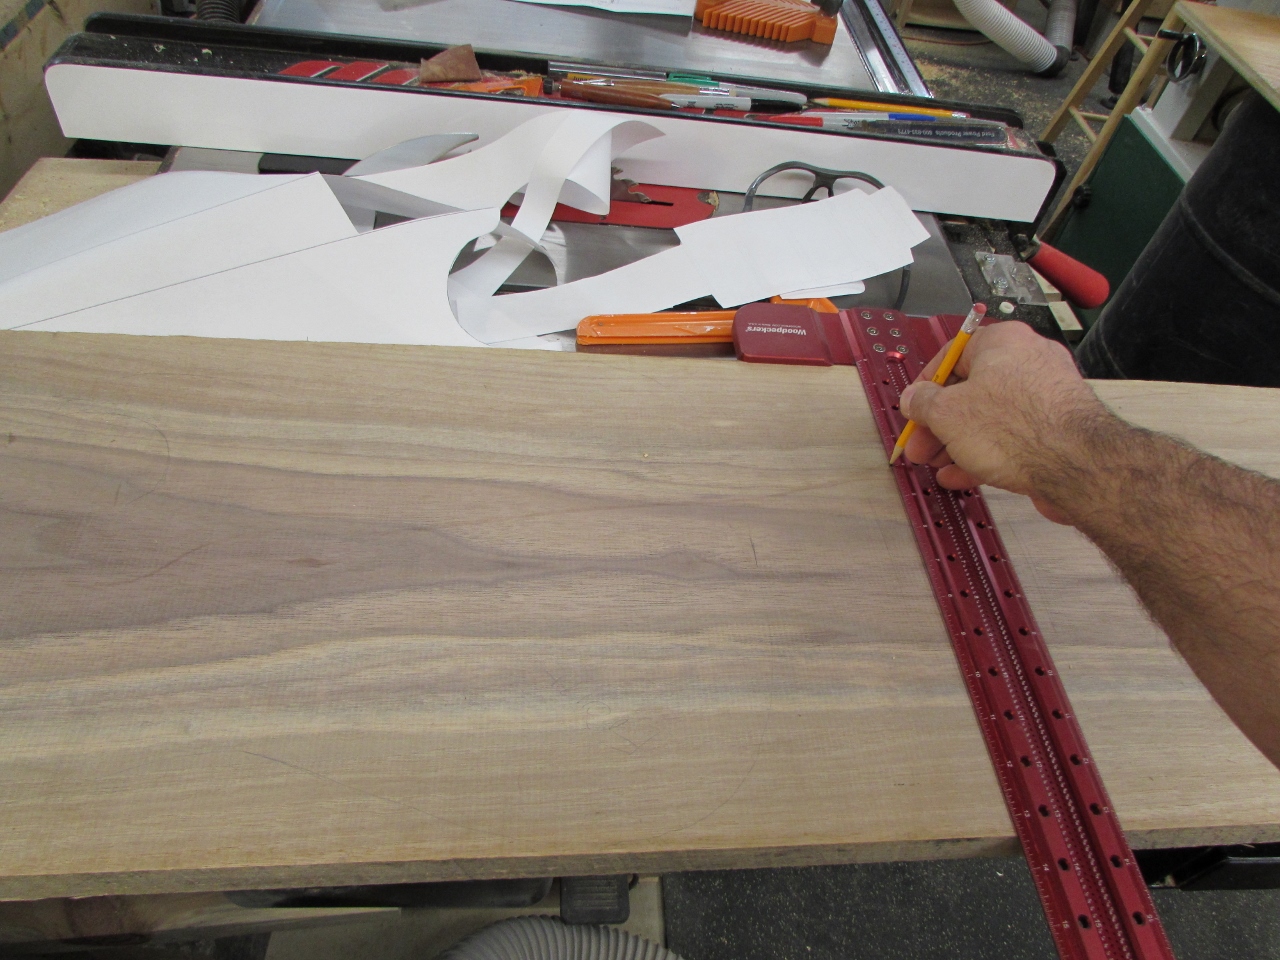
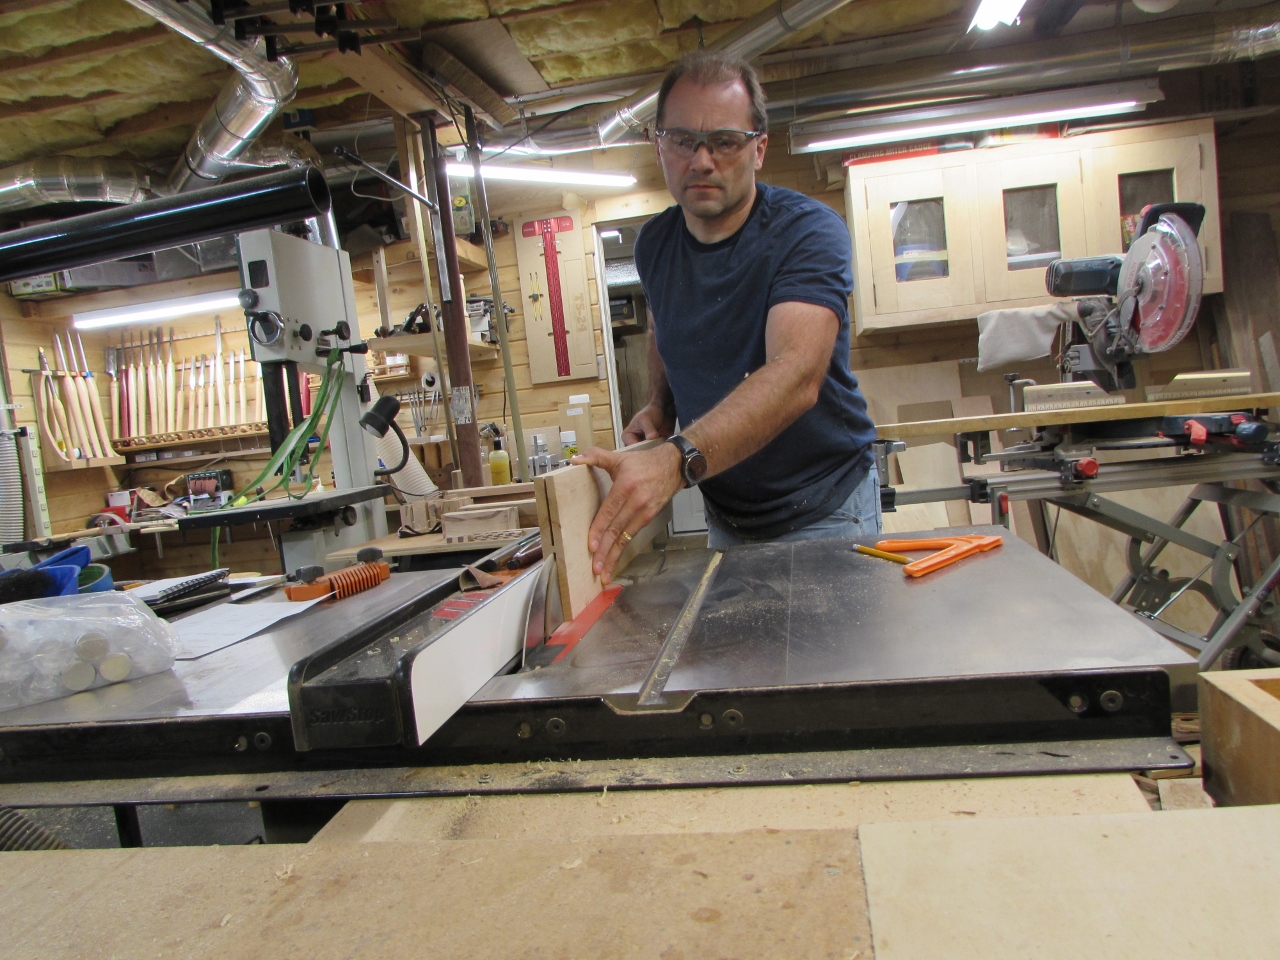
I marked the cut lines and showed Vicenç how to cut them down on my miter saw.
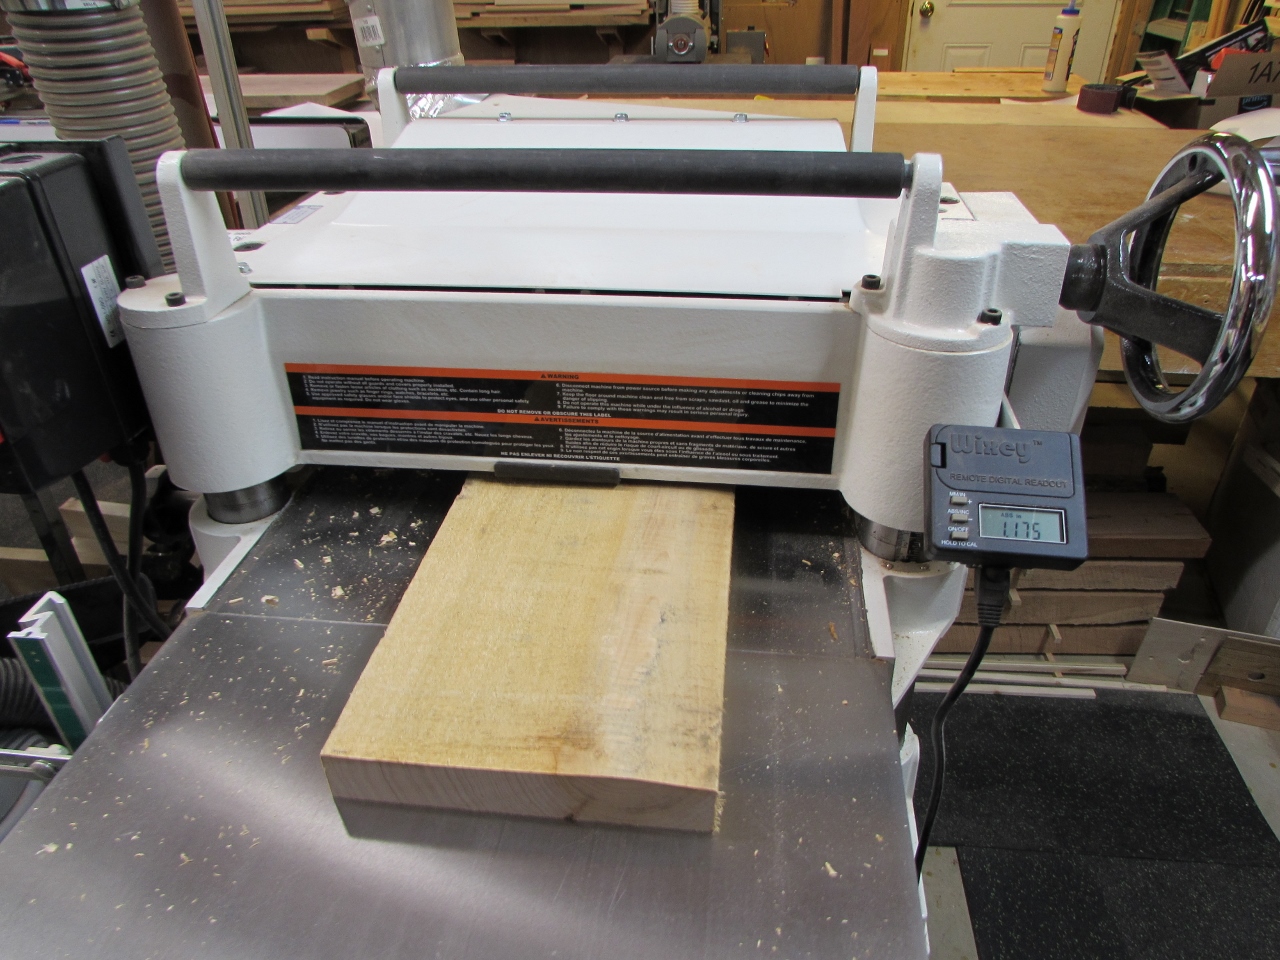
Next, we grabbed a chunk of maple and flattened the rough surface, on my planer.

After we cleaned up the edges as well, I used the table saw to cut most of the way through the middle.
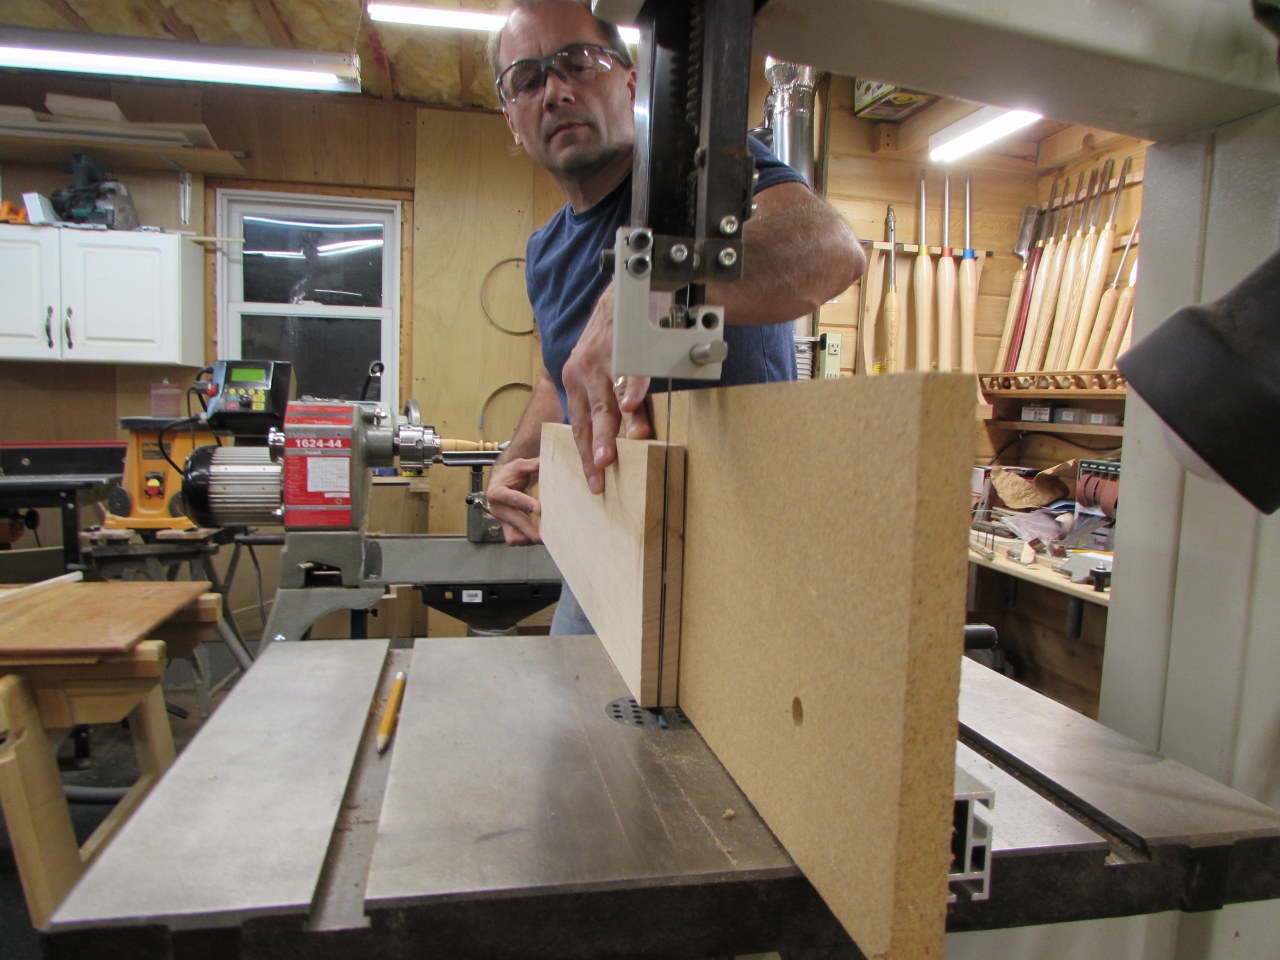
I finished re-sawing the board over on the band saw since the table saw blade wasn’t quite tall enough to reach the center.


It is really hard wood, and we had some burning, but I cut the pieces thick so we could plane them down to 1/4″.

A couple of passes through the planer and the burn was gone.
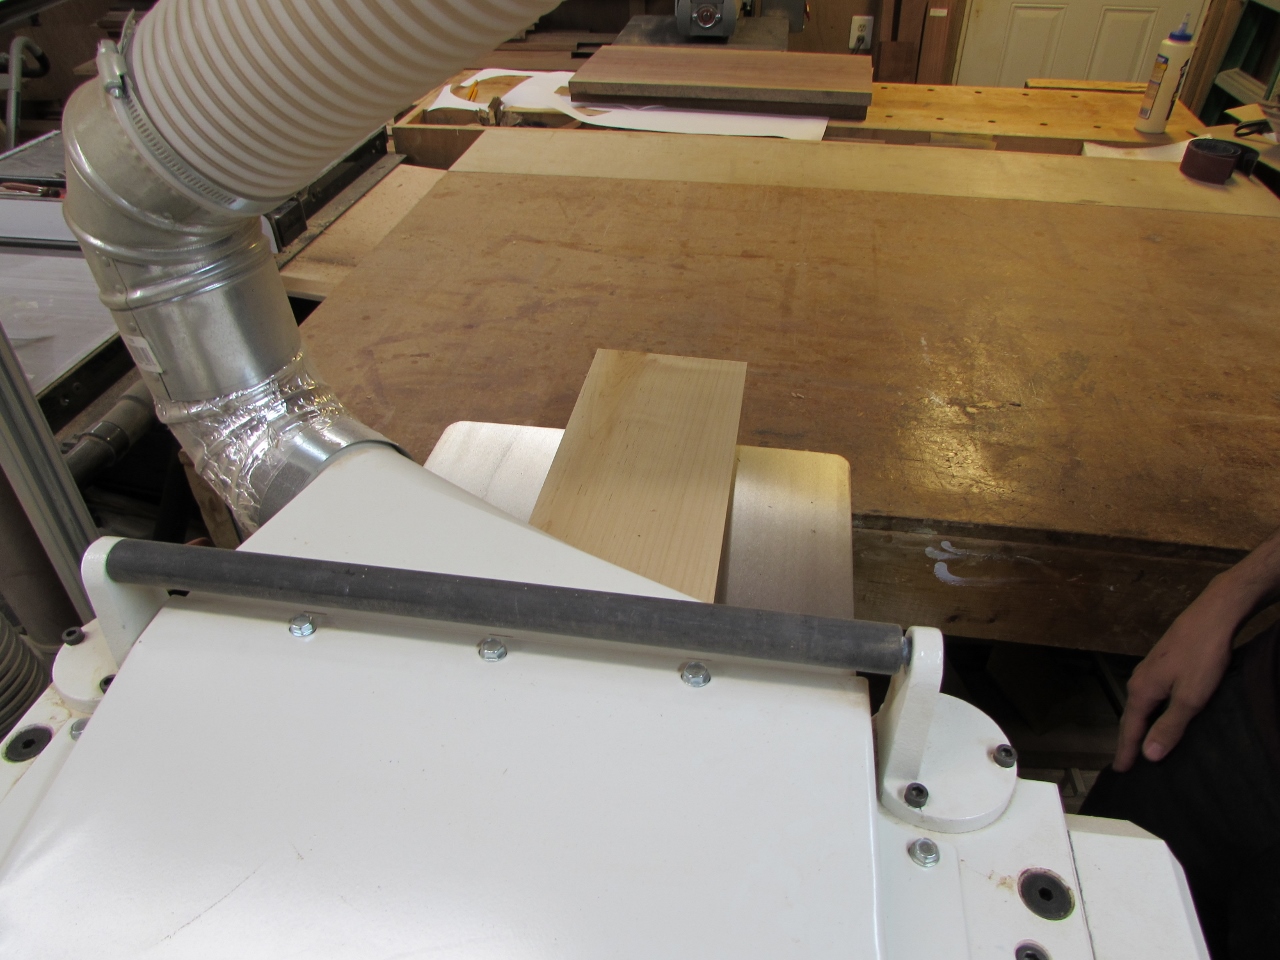

We ran it through one more time to reach the desired thickness.
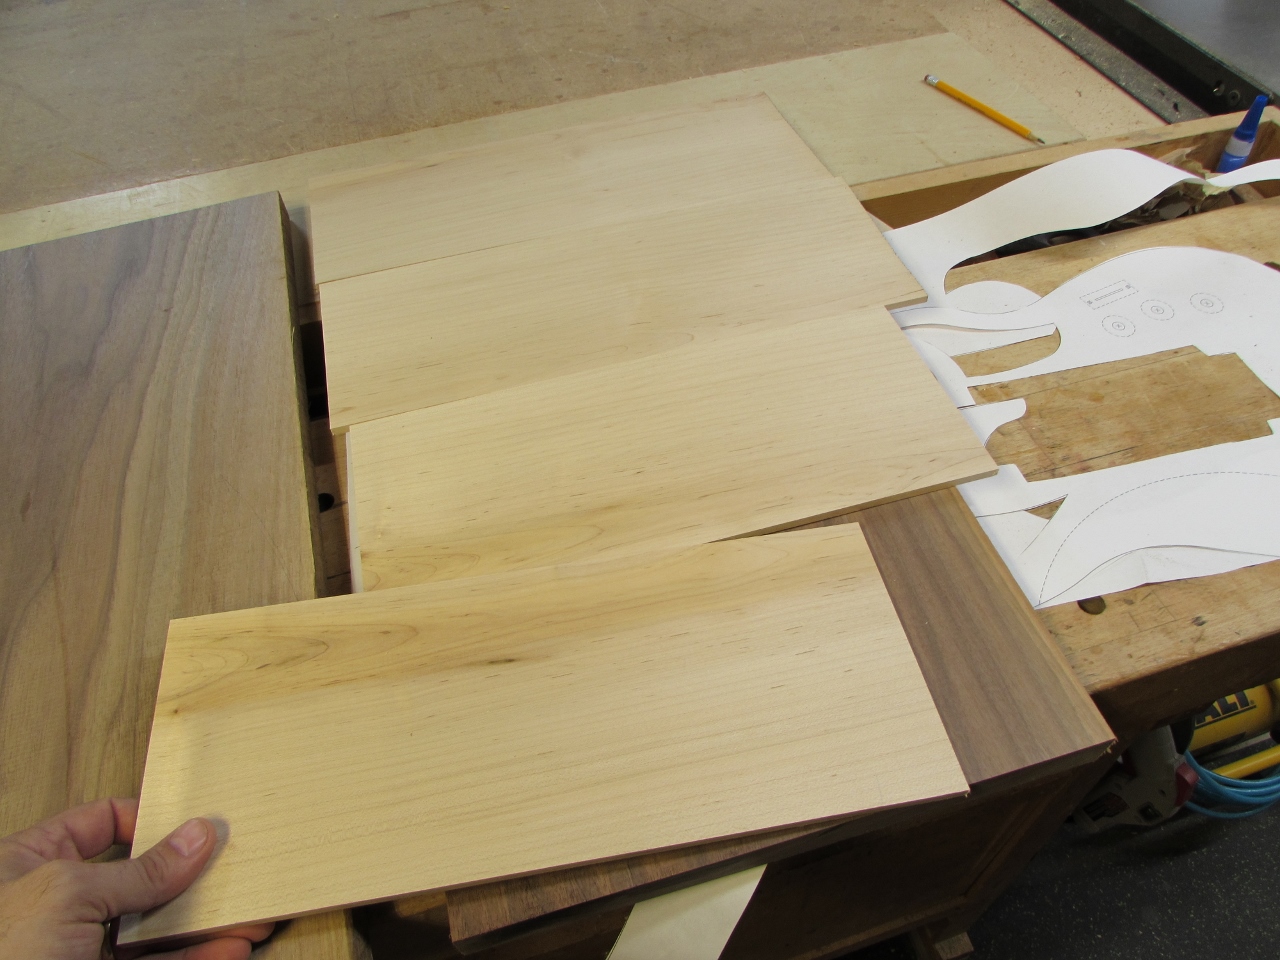
I cut each of those boards in half and we had enough to complete the center layer.
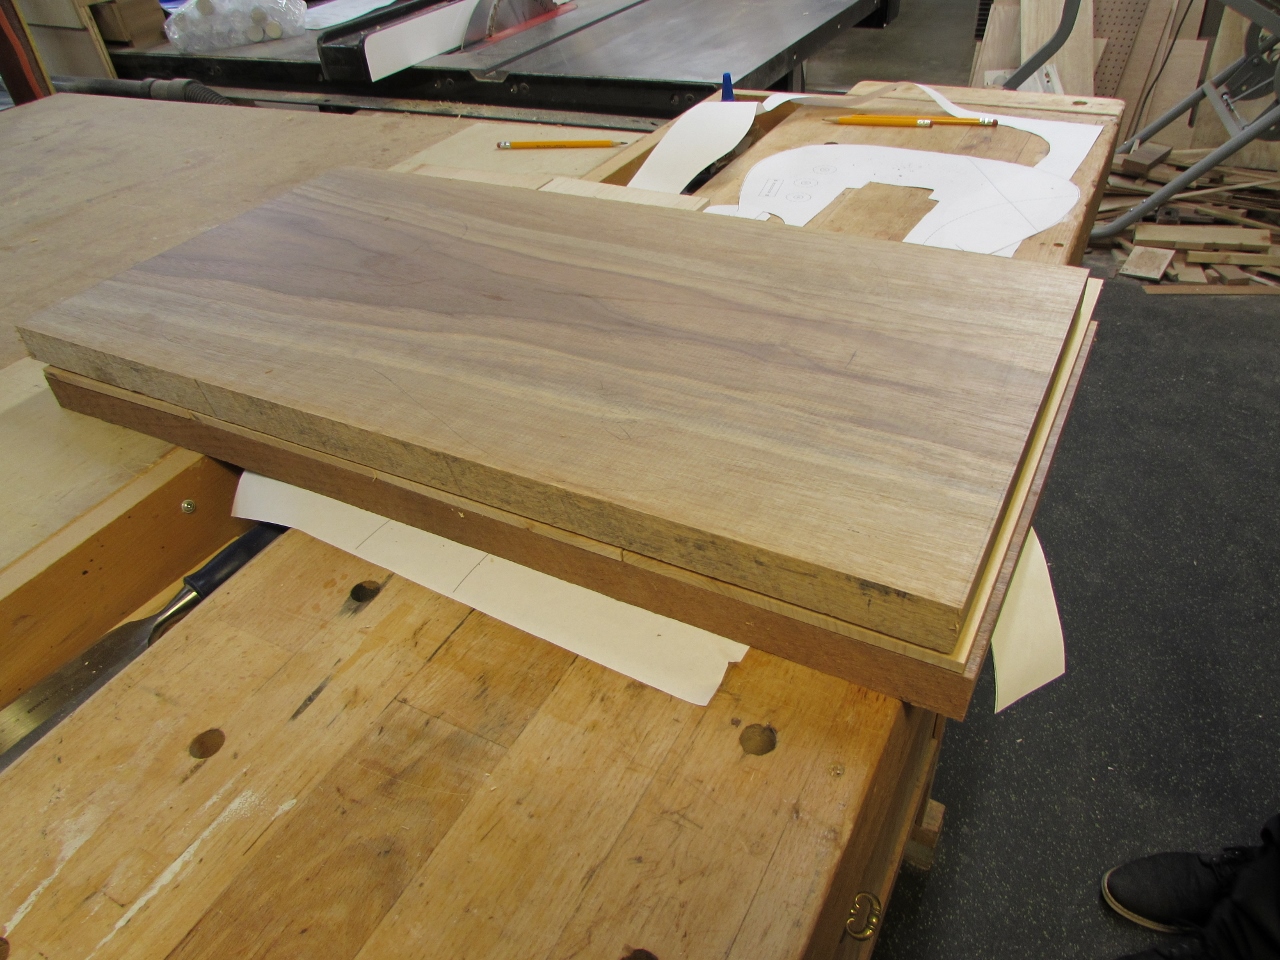
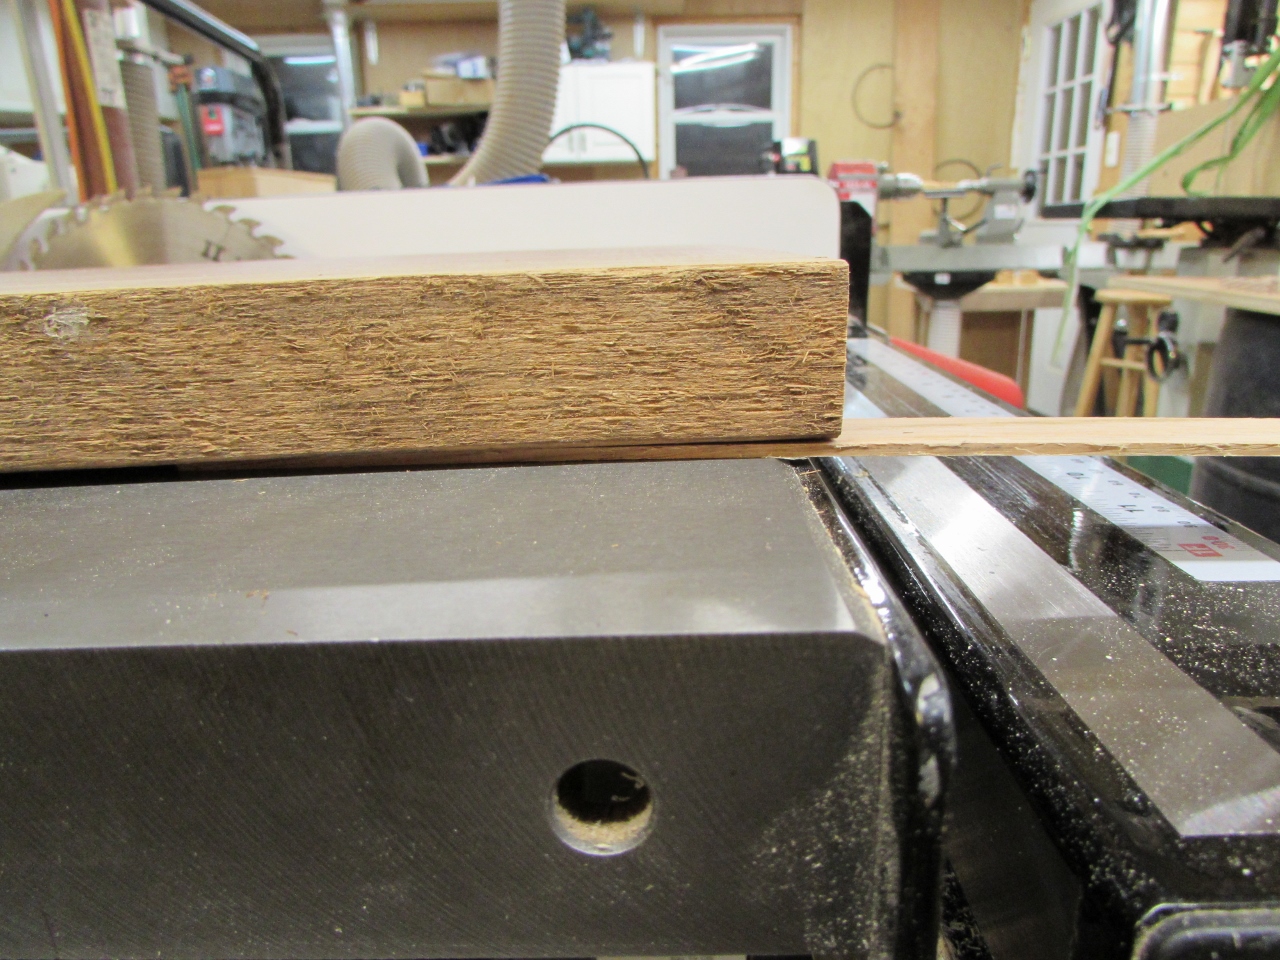
These walnut slabs are about 14″ wide so they have a little twist. I need to flatten them out before the CNC can work with them. I laid each one on my table saw to see how much of a twist we had. Looks like one end was up about 3/32″. I cut a shim to that thickness, and placed it under the board to stabilize it. Looks pretty good.
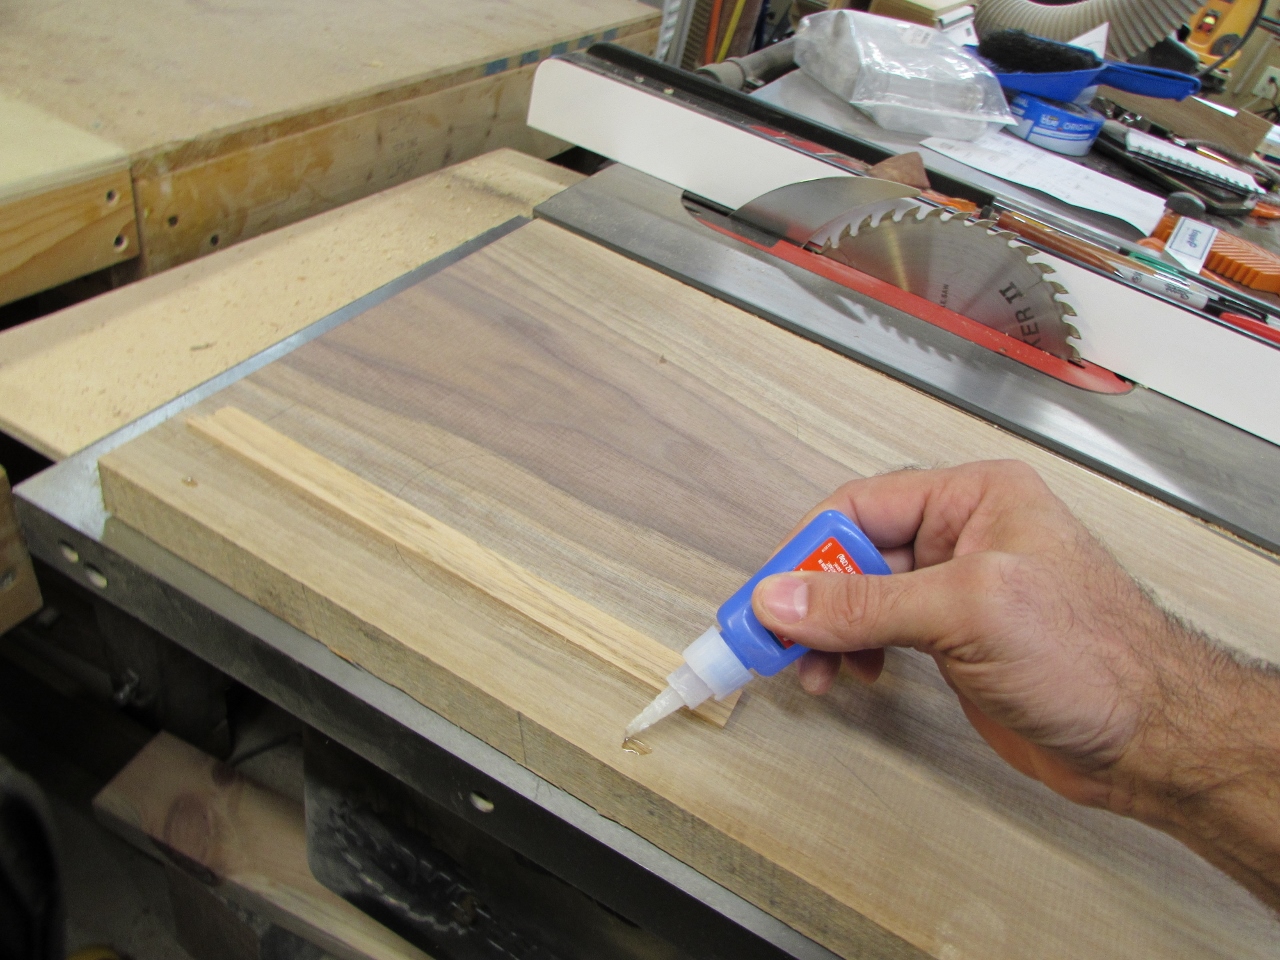
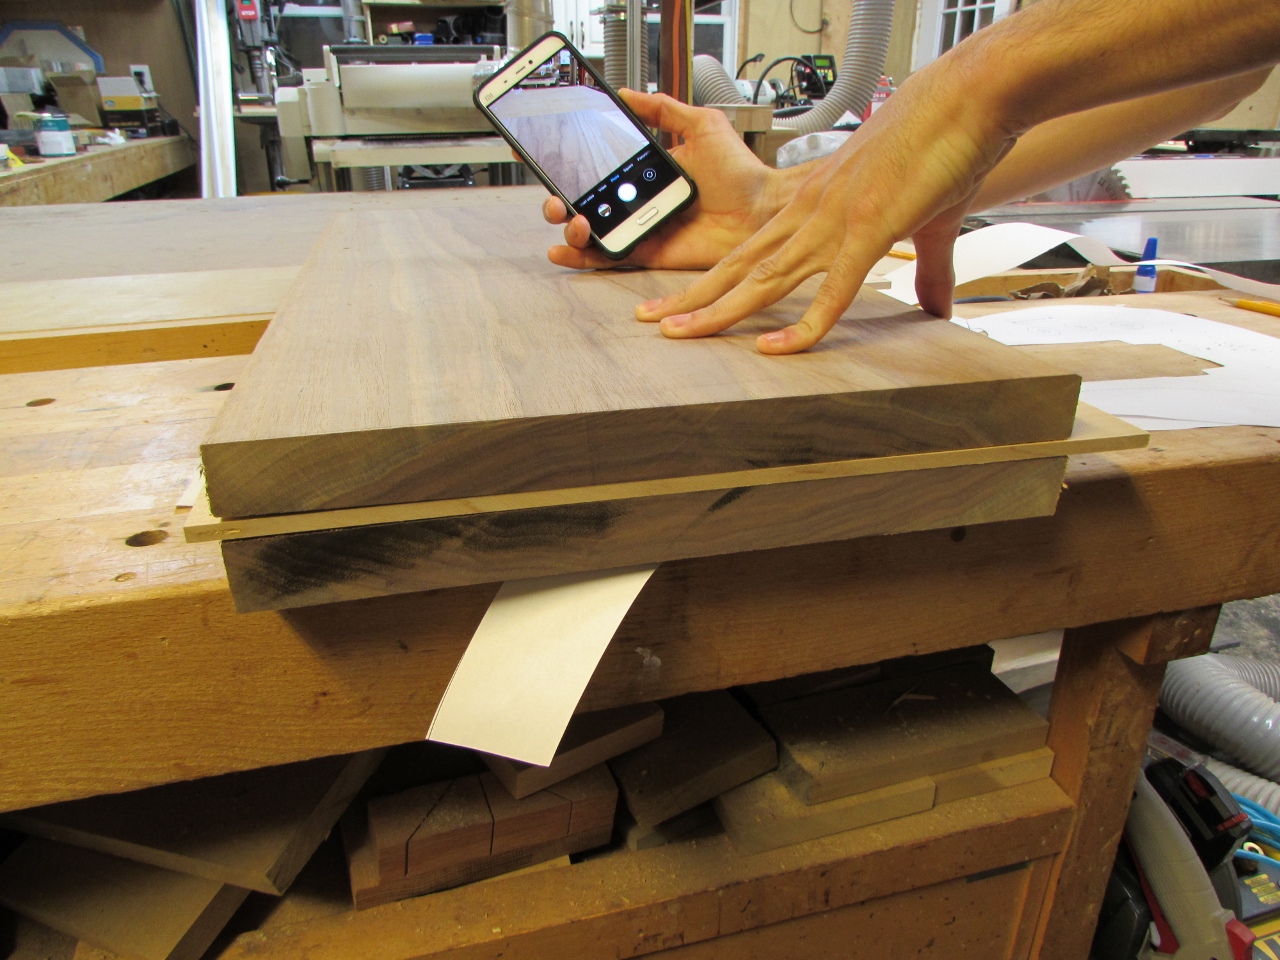
When I had the correct thickness piece, I flipped the walnut over and glued the shim on with two drops of CA glue.

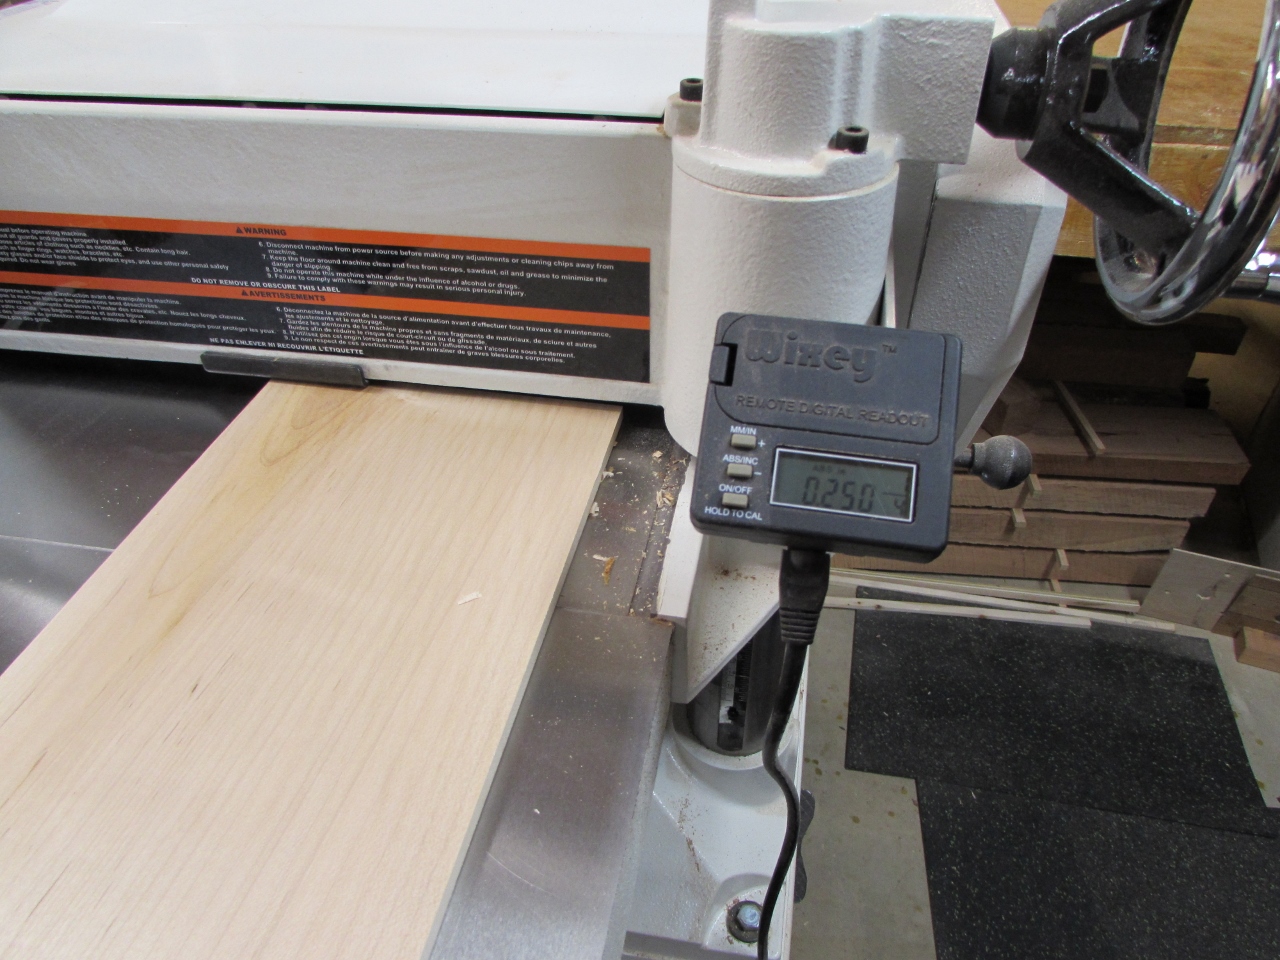
I placed the shim side down on the planer infeed table and took off about 1/8″ until the entire top was flat.

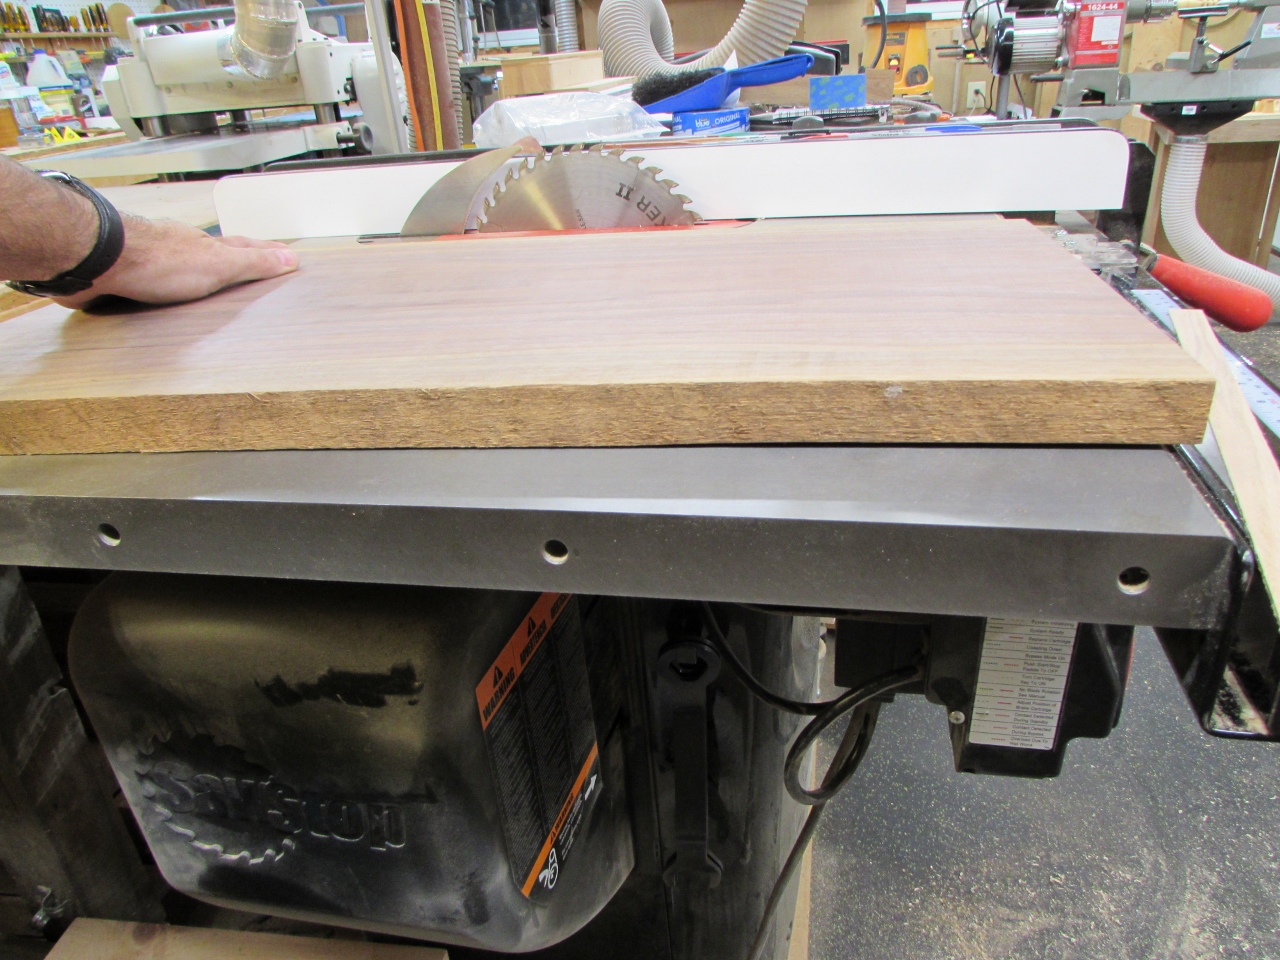
Then I flipped over the slab and removed the shim to plane the opposite side parallel to the first side. Then I proceeded to continue planing until the slab was 3/4″ thick.
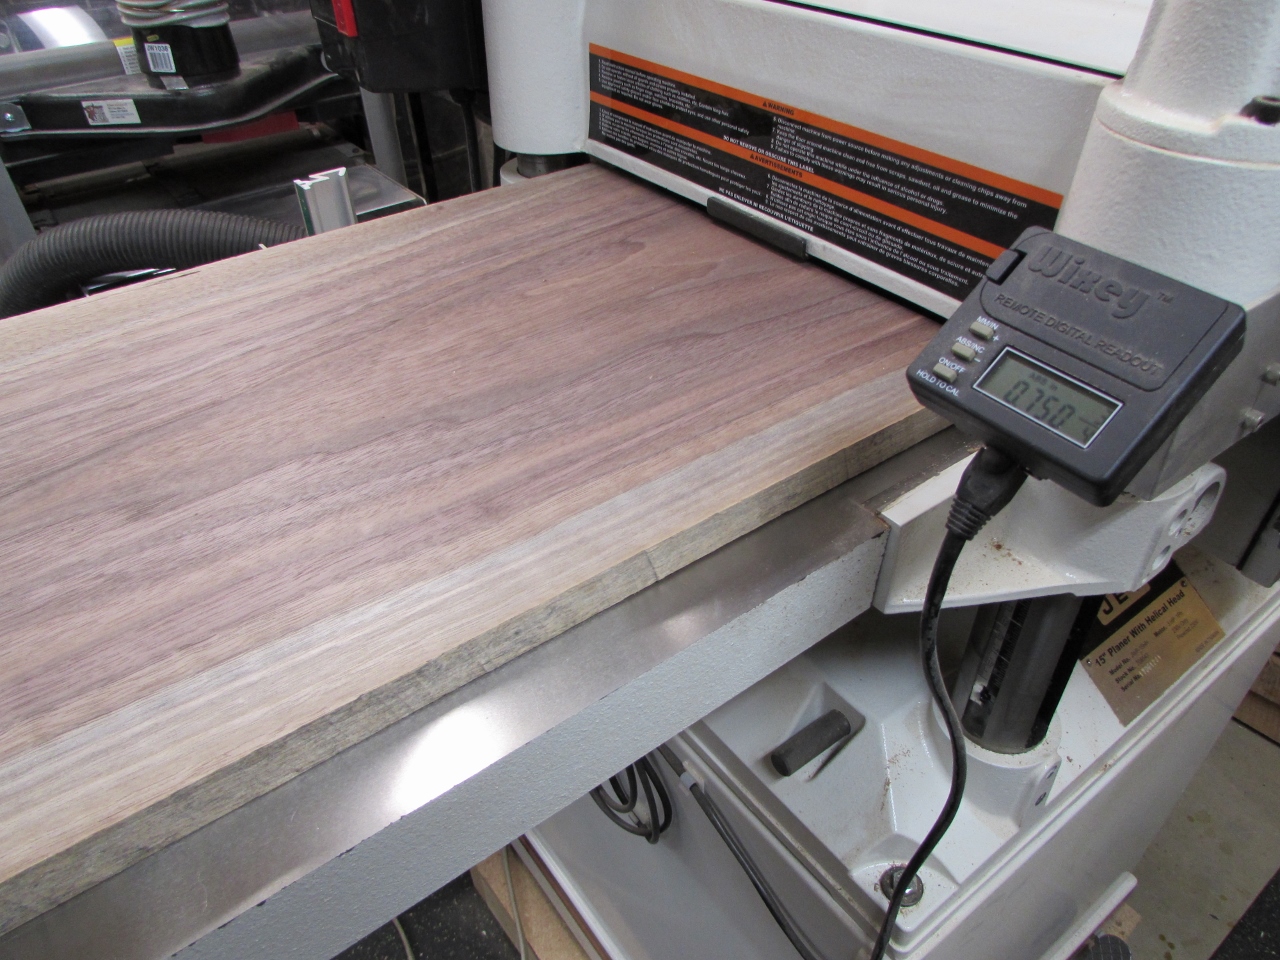
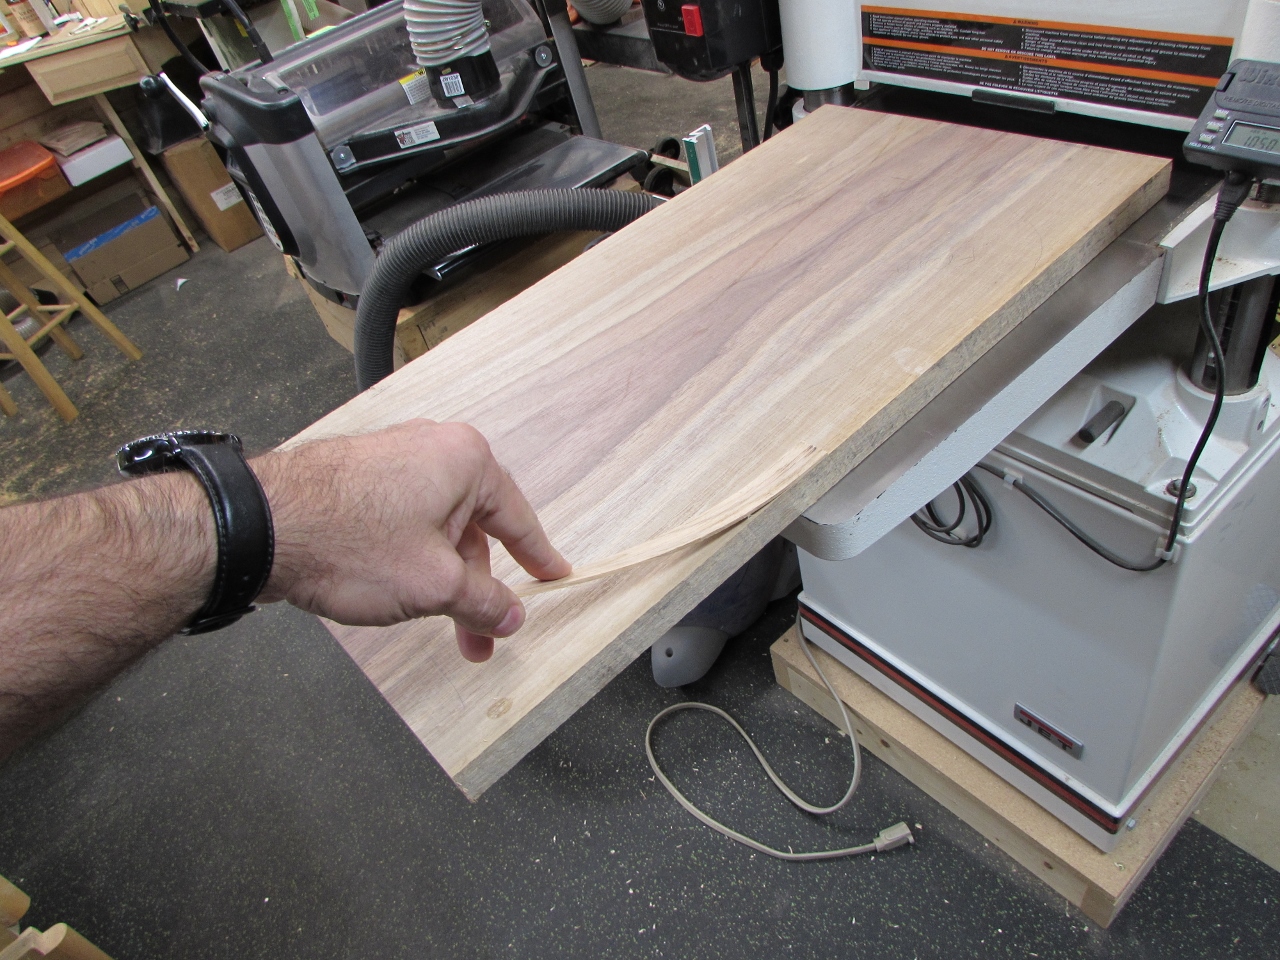
And here are the two finished slabs.

Planing over 1/4″ off of each of those slabs over-filled my dust collector.
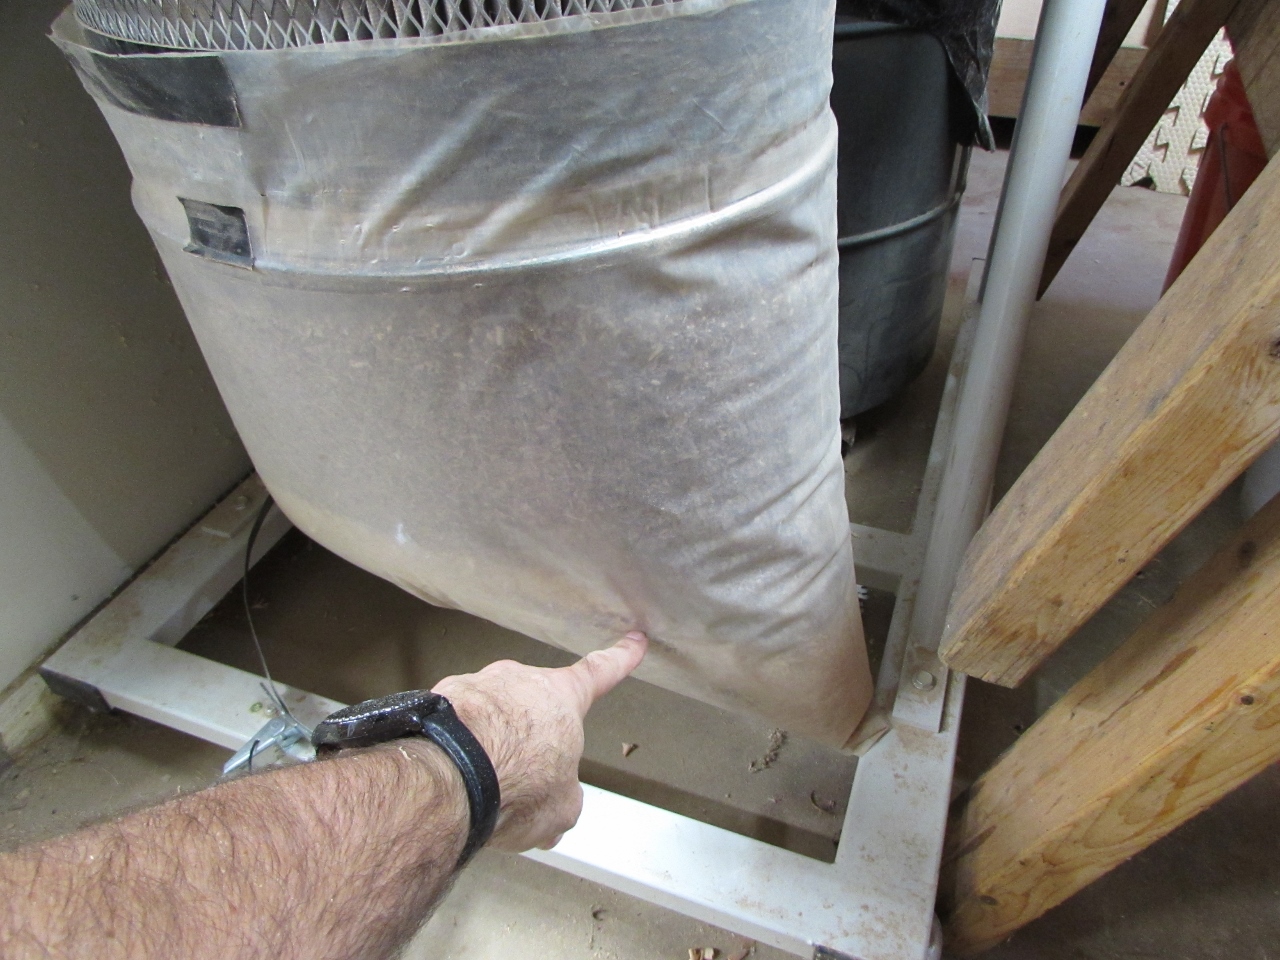
The walnut is hard to see through the dusty bag, and I thought the light dust on the bottom was the top of it. I was wrong…
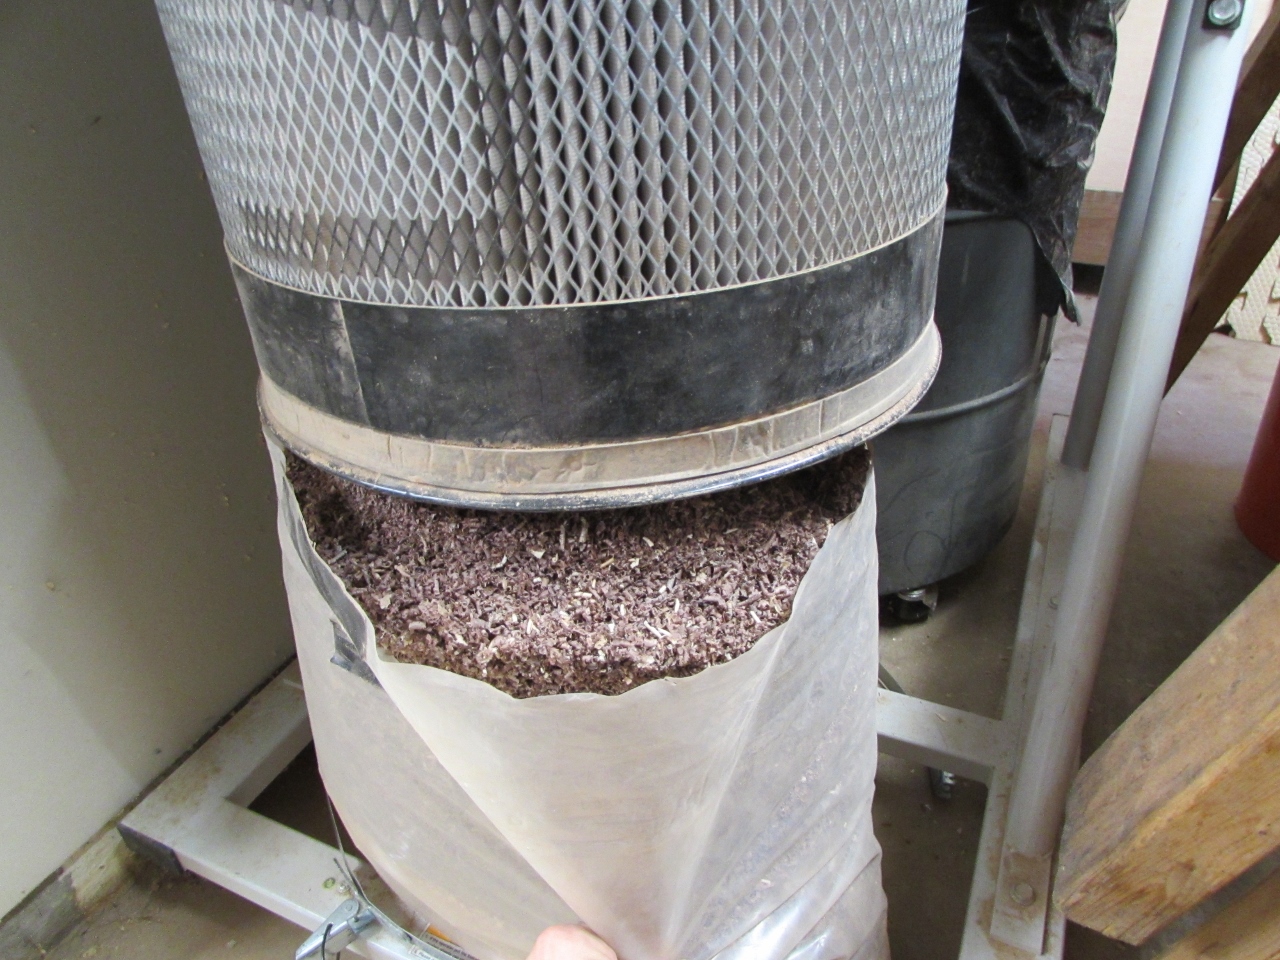
And this was the over-flow bag. I filled it, the 20 gallon bin, and half of the pleated filter, OOPS!
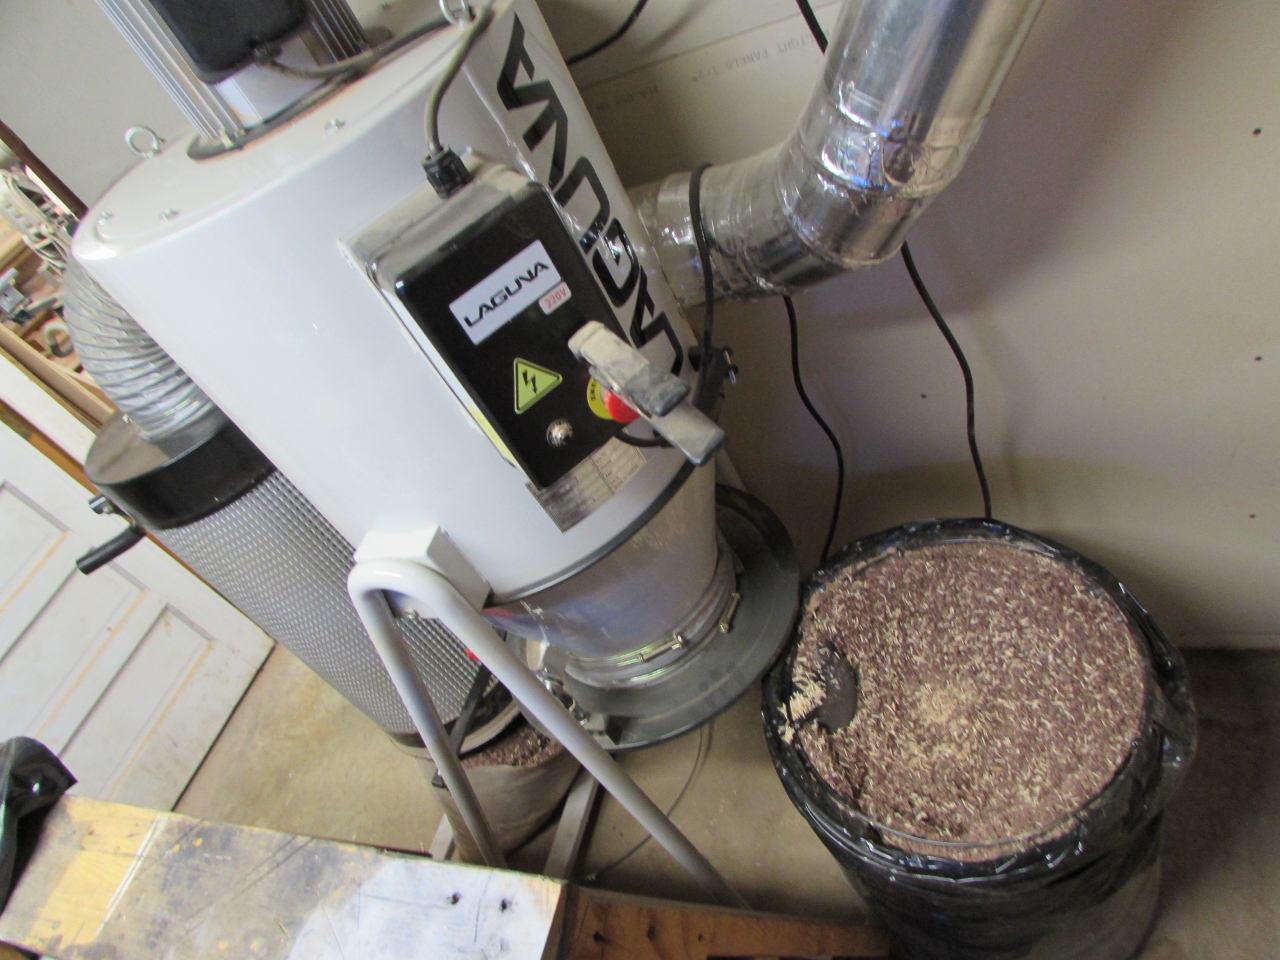
Not a problem really, just a big mess. About 40 gallons of sawdust total, not all from the walnut and maple, but most of it was.

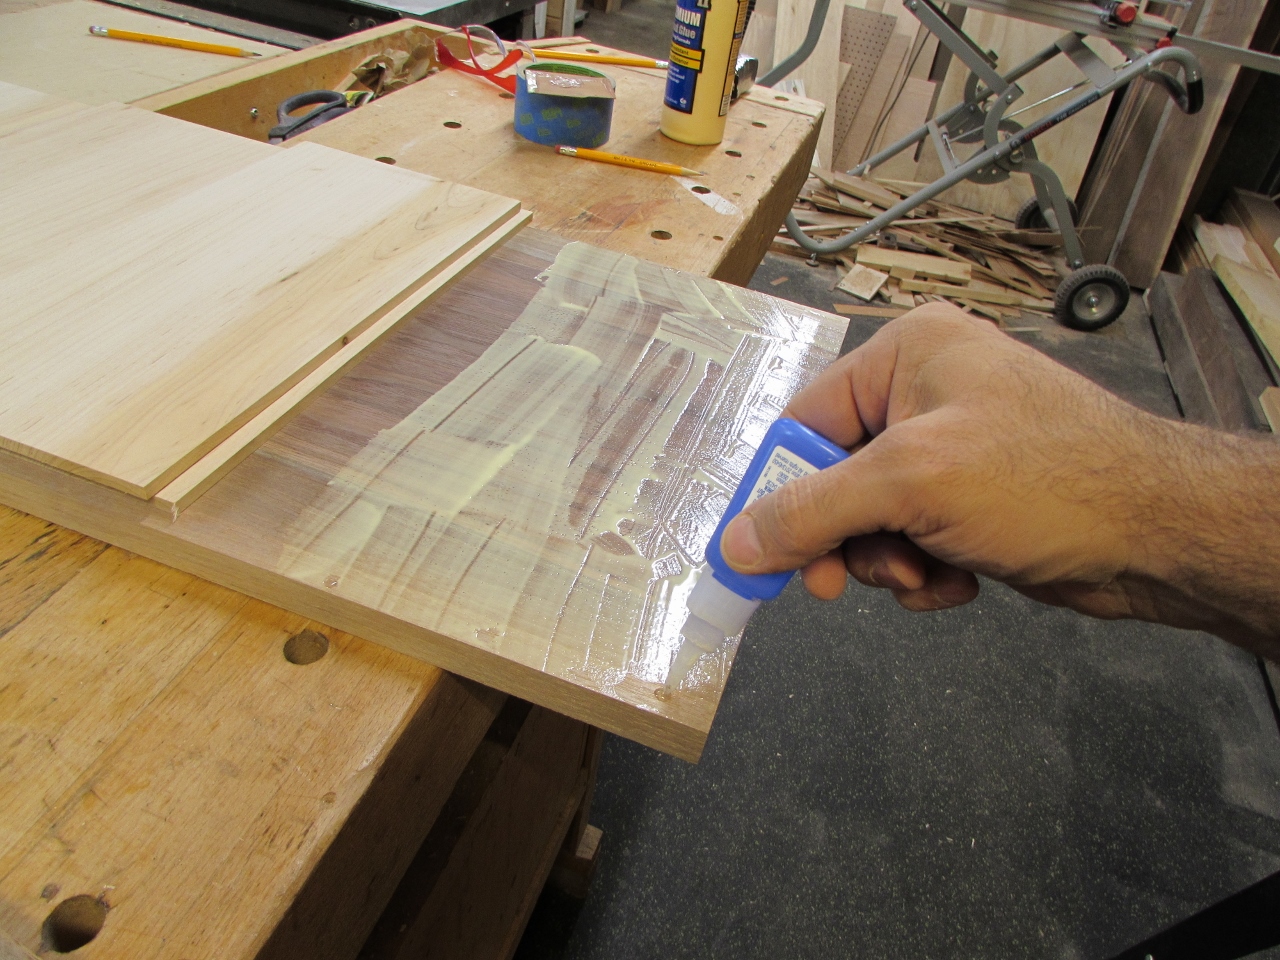
Anyway, with the walnut and maple cut to size, it was time to attach the maple to the front board.

The glue dries out pretty quick, so instead of spreading it all over, I just did one board at a time. I used a piece of veneer to spread the glue evenly around, then put a few drops of CA glue around the edges to hold the board in place. It can move a bit when you clamp it, and the CA dries fast and holds the board steady.
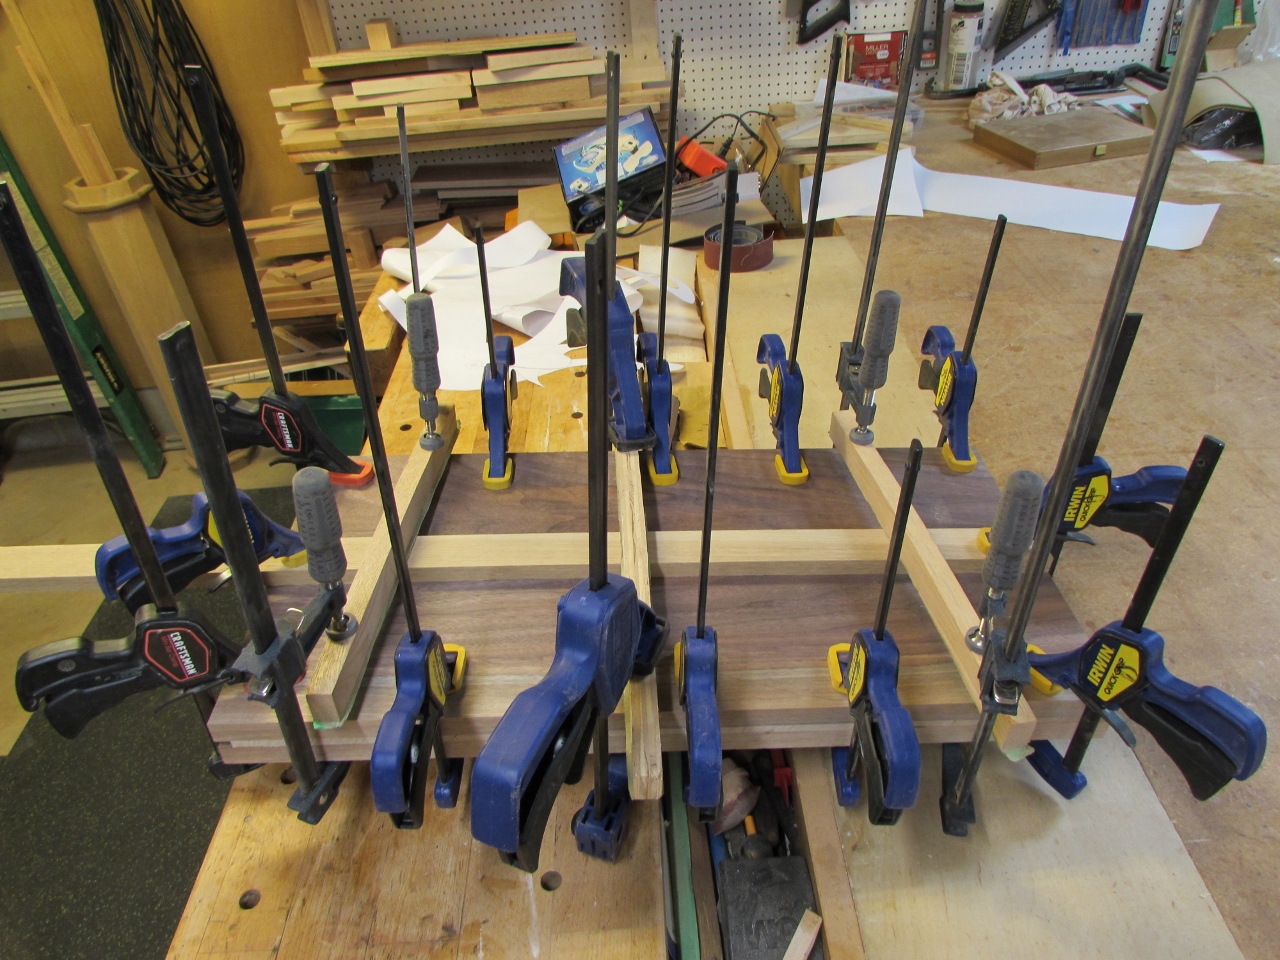
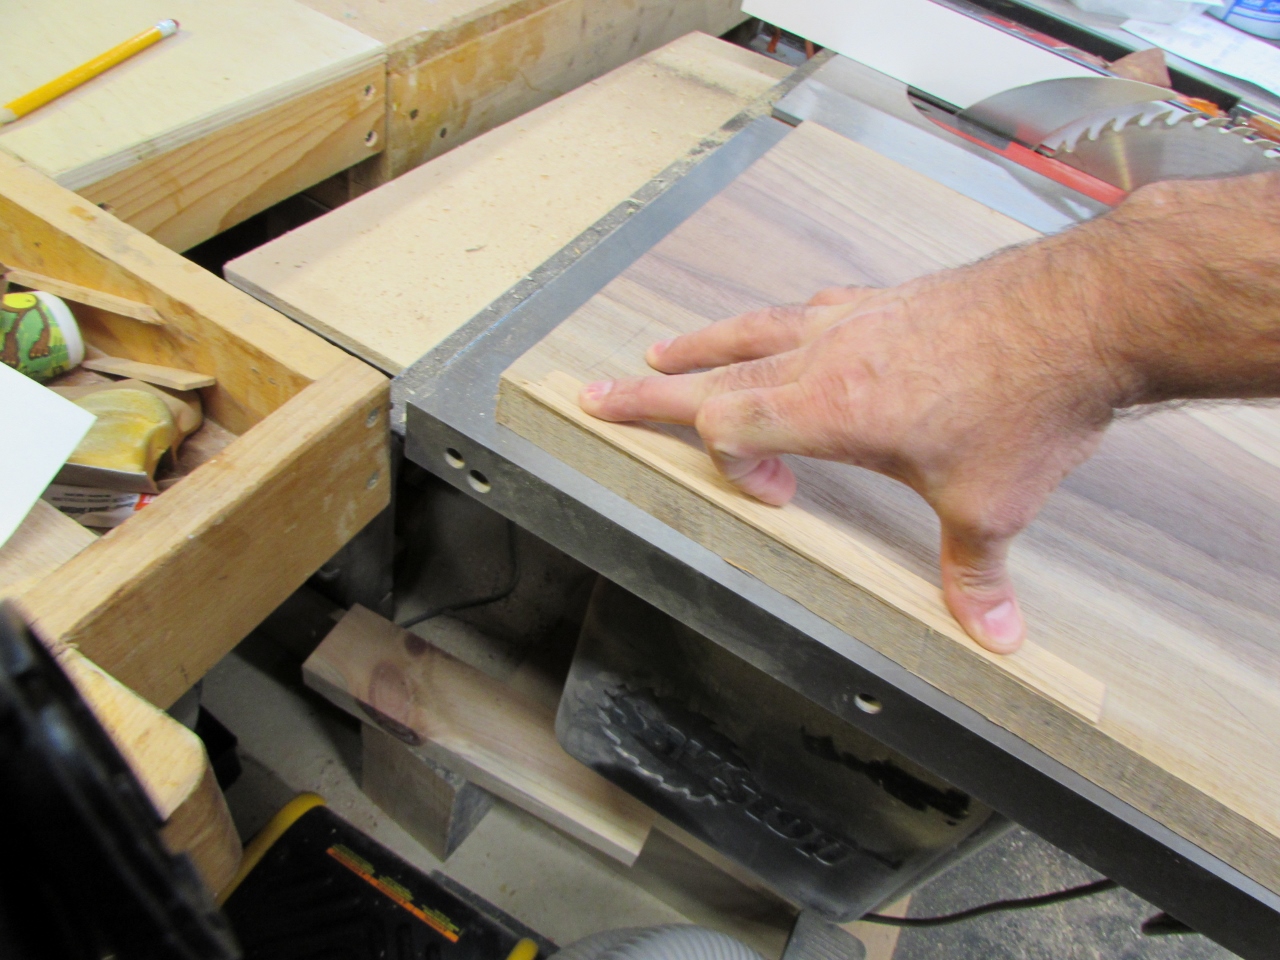
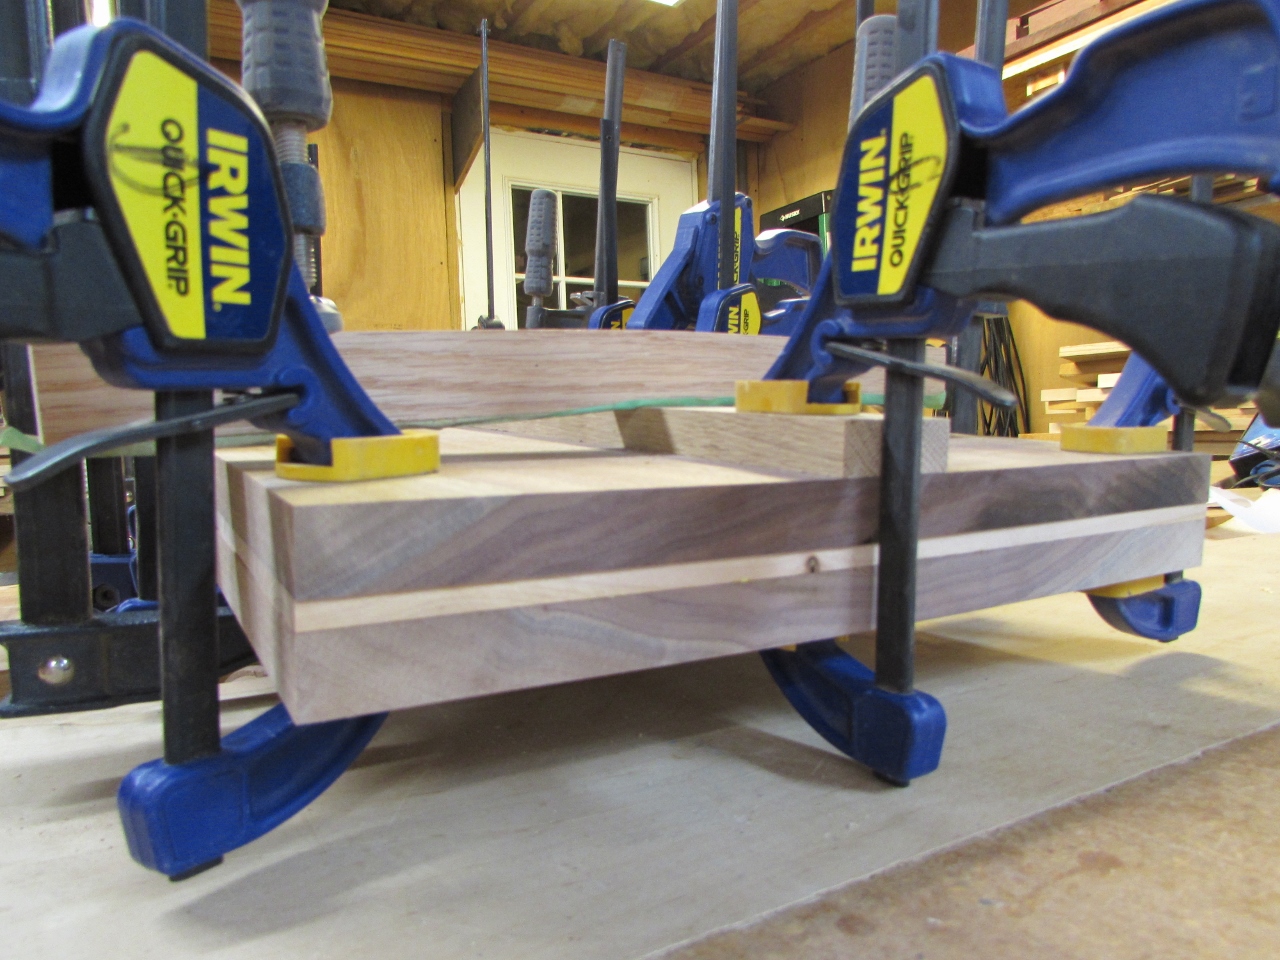
I clamped the first piece in place, then repeated the process for the next three.
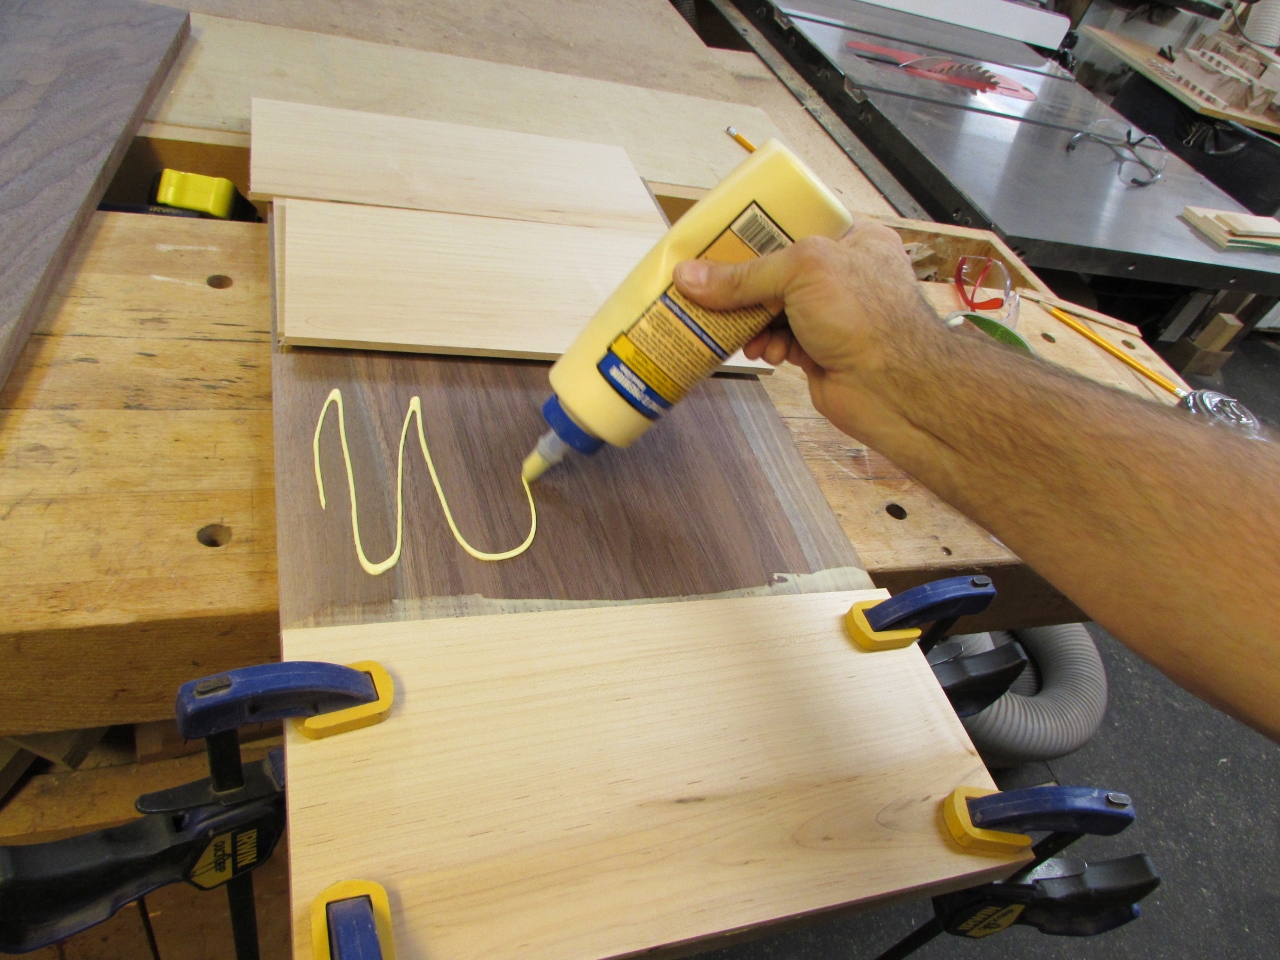
To get some clamping pressure in the middle, I laid the other walnut board on top, and an additional strip of wood up the center, then ran three boards perpendicular to it and clamped them on the ends. As they bend down over either side of the center strip, all of the pressure is moved to the center.

So that is all that I can do for now. I need to finish up my CNC program so I can get these body parts all carved out this week and hopefully get Vicenç back out here next weekend to finish it up.