
Illuminated display columns
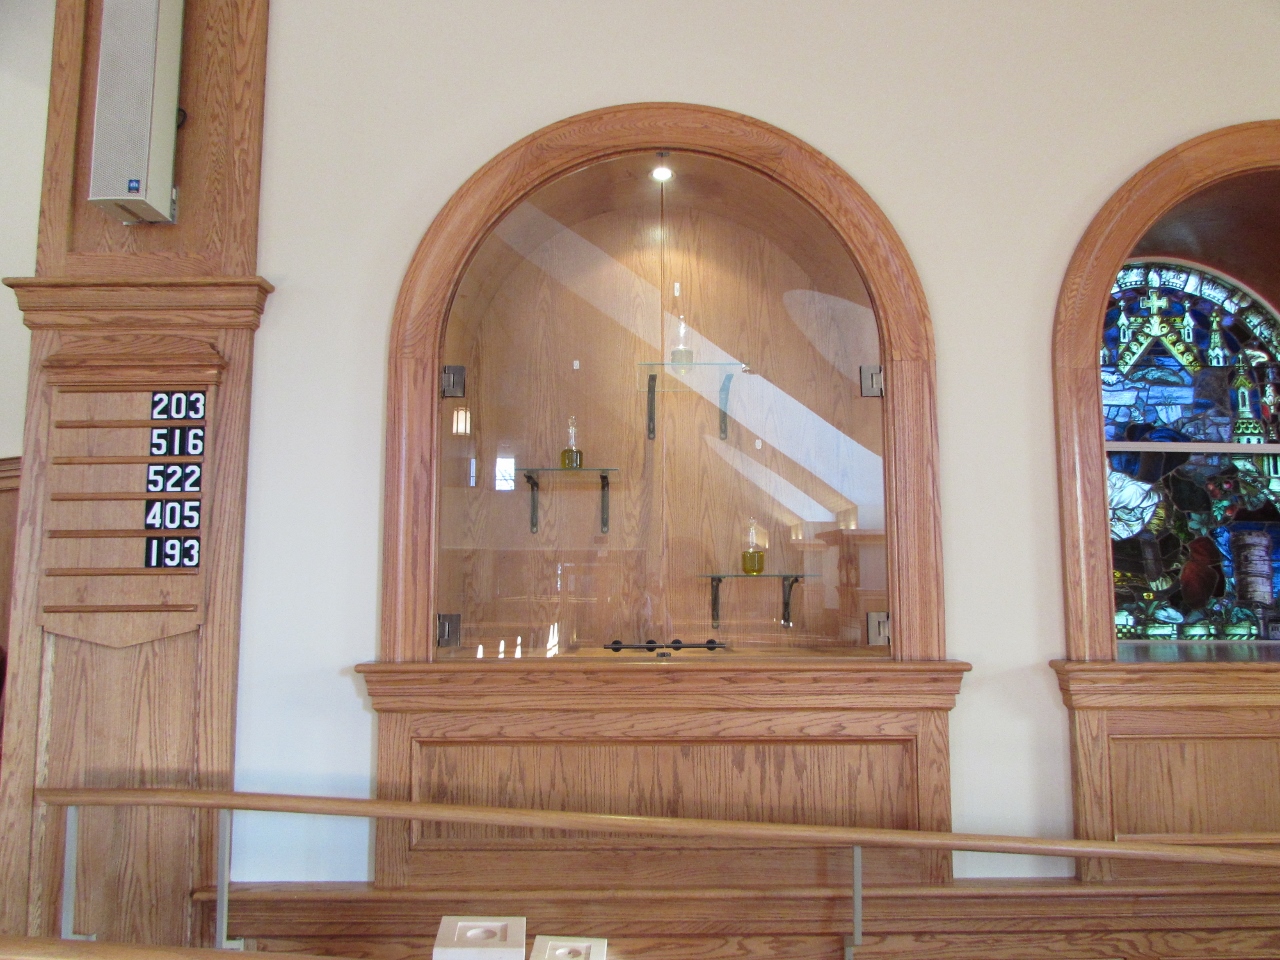
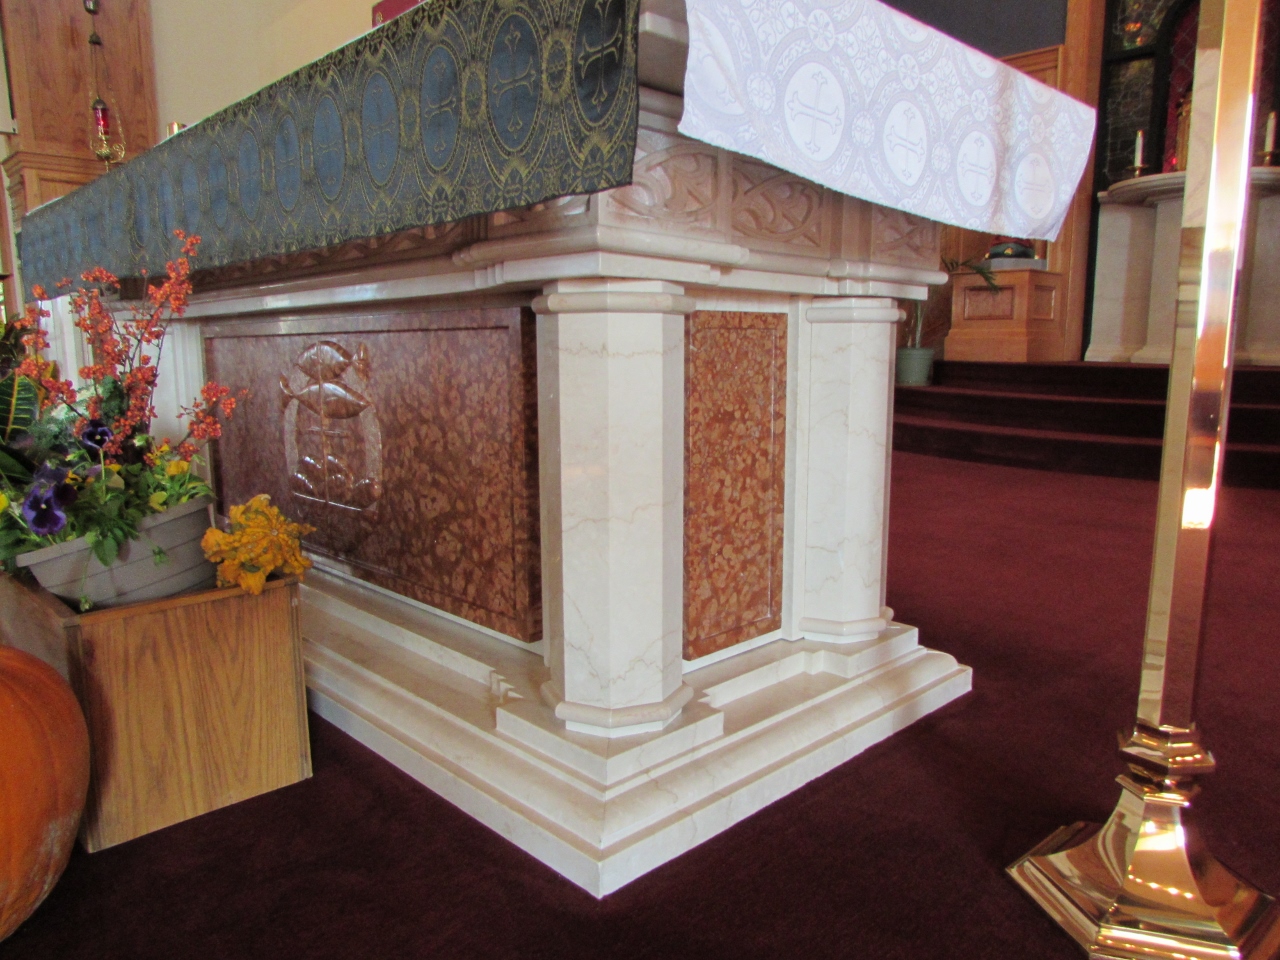
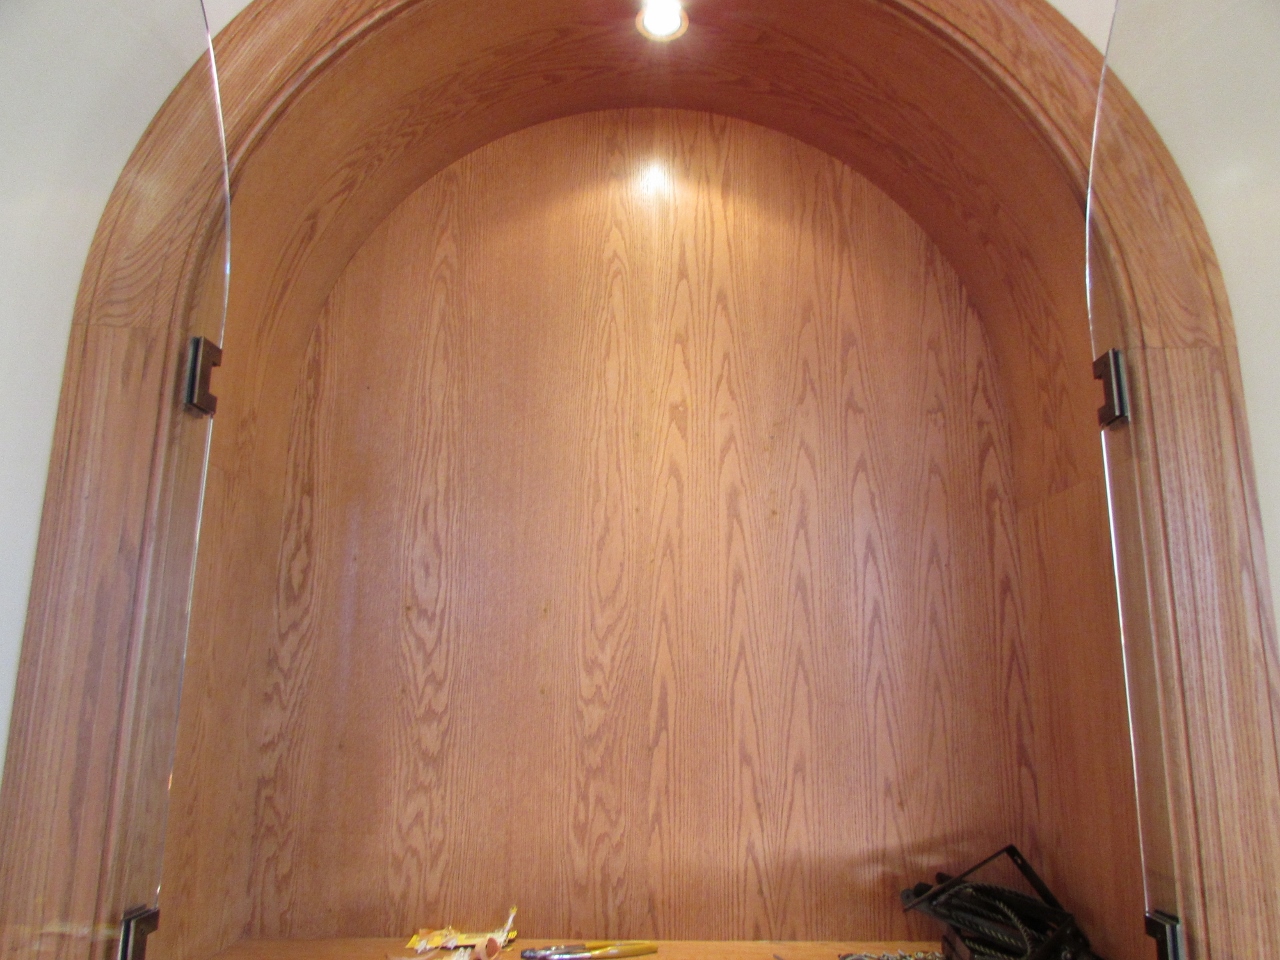
I have another interesting challenge to work on for my church. The Ambry is the alcove where the holy oils are displayed. Not a lot of thought went into the display initially, we just had some brackets and simple glass shelves. They served the purpose, but did not really highlight the oils. Unless they were up close, most people didn’t even know what was being displayed. I was given the task of creating a display that highlighted the oils better. After a lot of thinking and a few discussions with different individuals, I decided to build some columns that would mimic the altar, then place a LED light in the top to illuminate the oils.
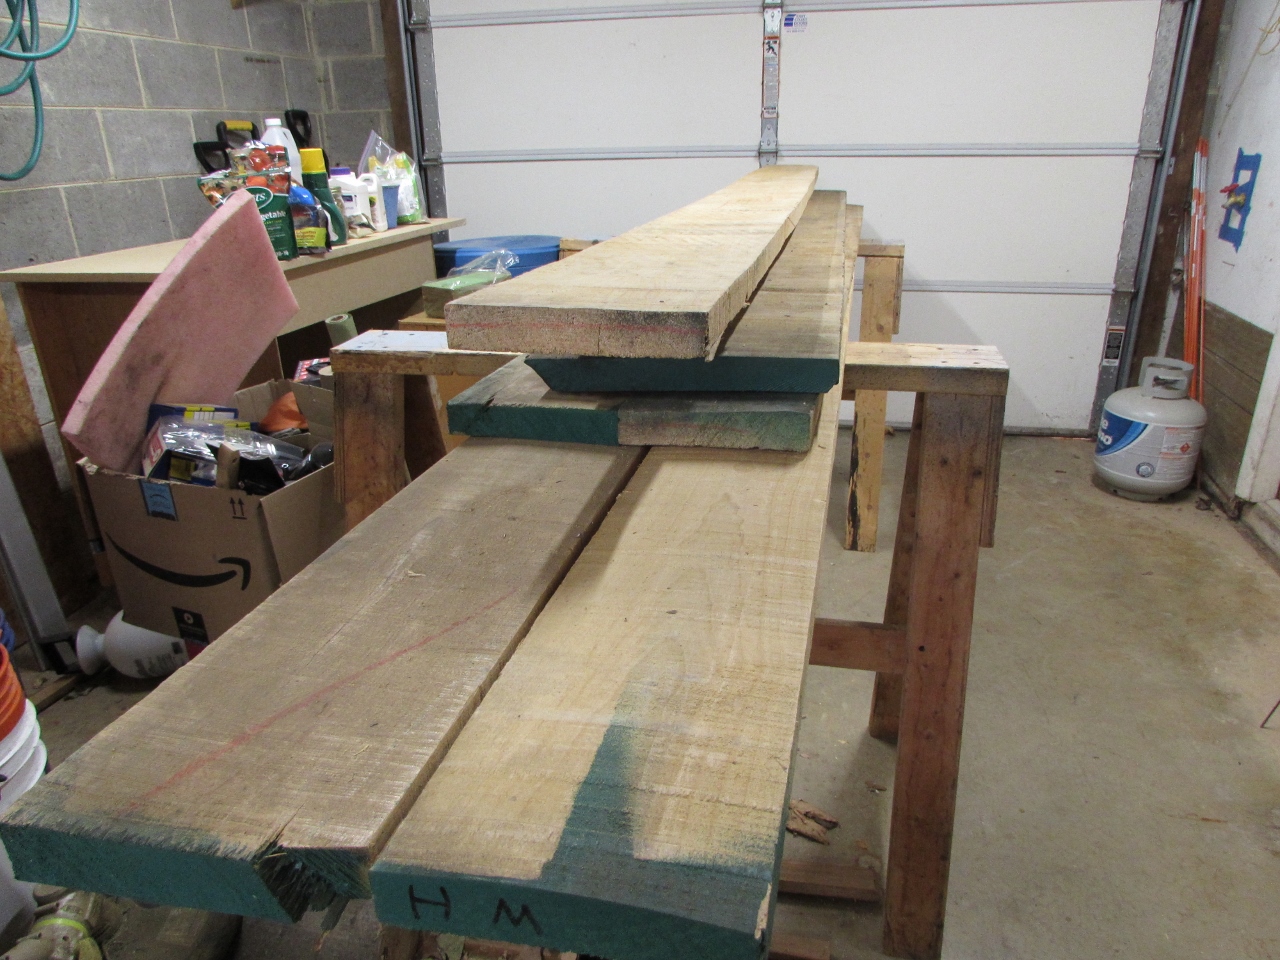
Instead on the red oak I would normally use, I am going with 5/4 maple. I want to match the lighter tones of the marble on the altar as well as contrast the oak in the alcove. I got some great maple donated by Vintage Lumber, in Woodsboro, MD.

The wood was about 1-1/4″ thick, but with a bit of twist. I set up my planer sled, by adjusting the screws to support the high spots in the boards.
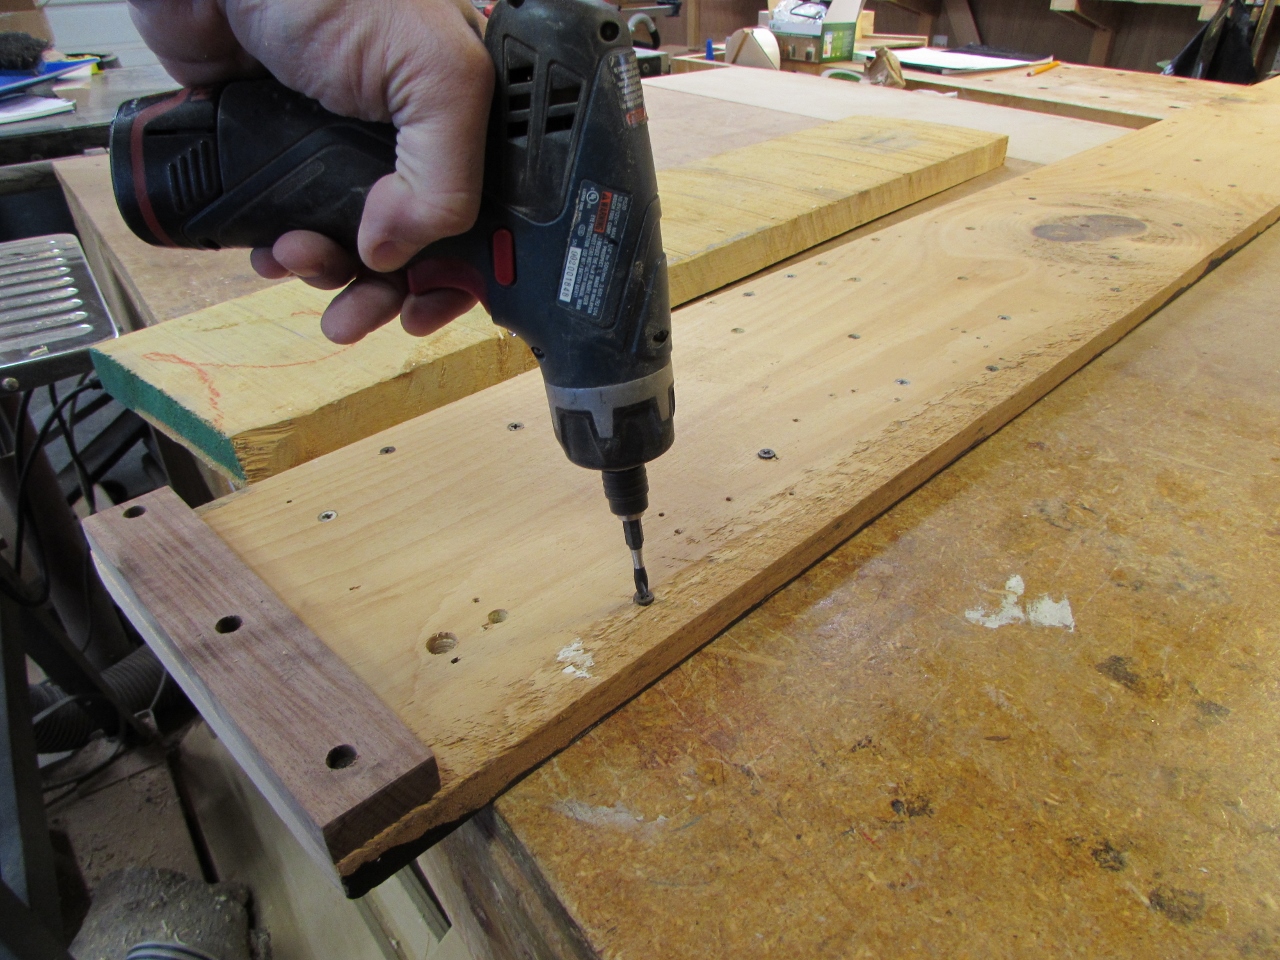

Once the boards were fully supported with no rocking, I planed one side flat. Once flat, I removed the sled and flipped the boards over to plane the other side parallel. In the end, I wound up with about 1-1/8″ thick, flat boards.

I cut them to the approximate lengths for the columns, then cleaned up the sides.

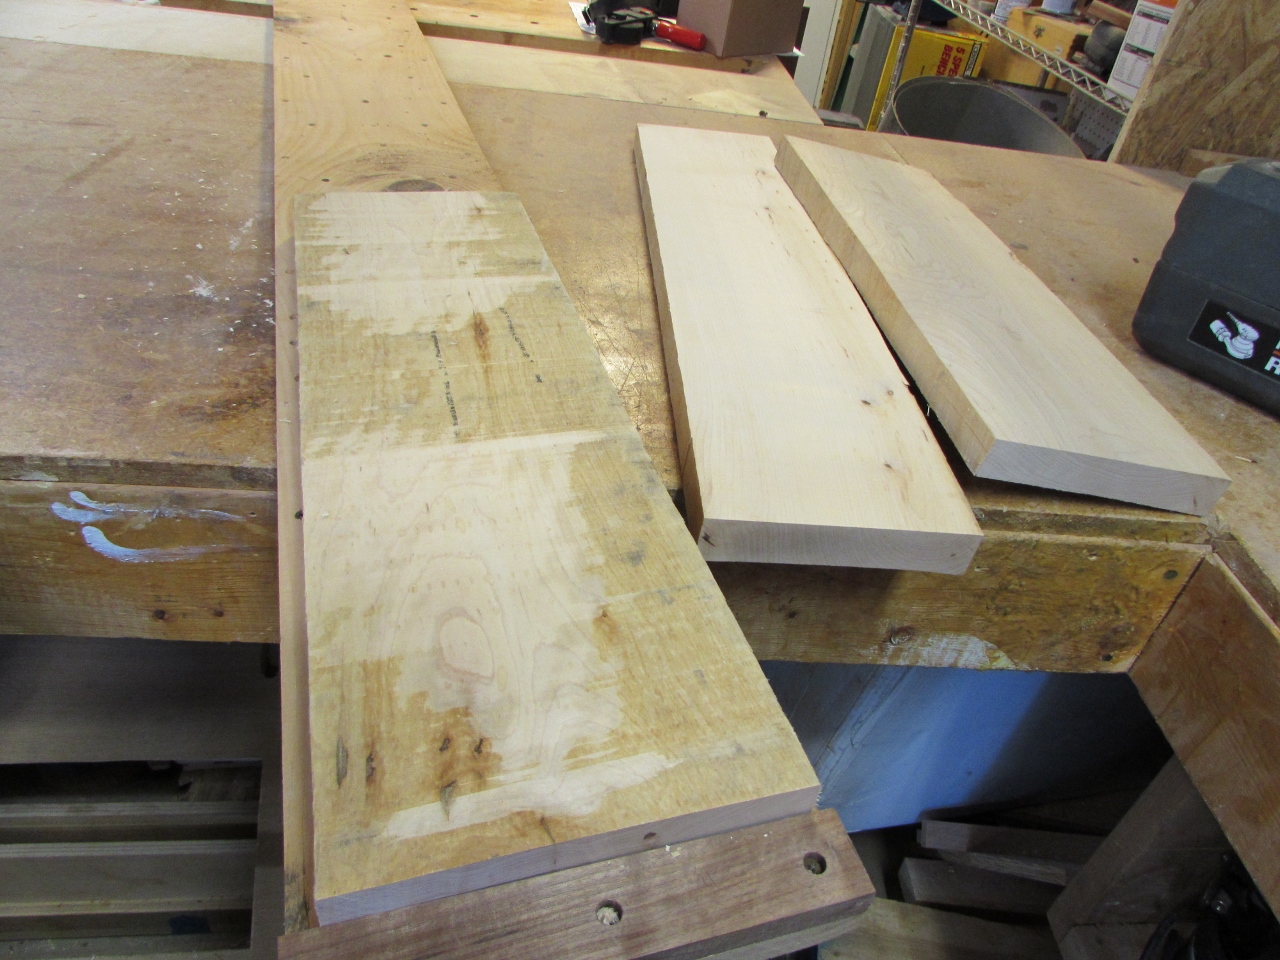
Rinse and repeat for about a dozen boards. This is some hard maple. My Rigid lunch box planer has been a workhorse in my shop for over 10 years, but this stuff really pushed it to its limits, taking off only 1/32″ at a time. I think it is time to upgrade…

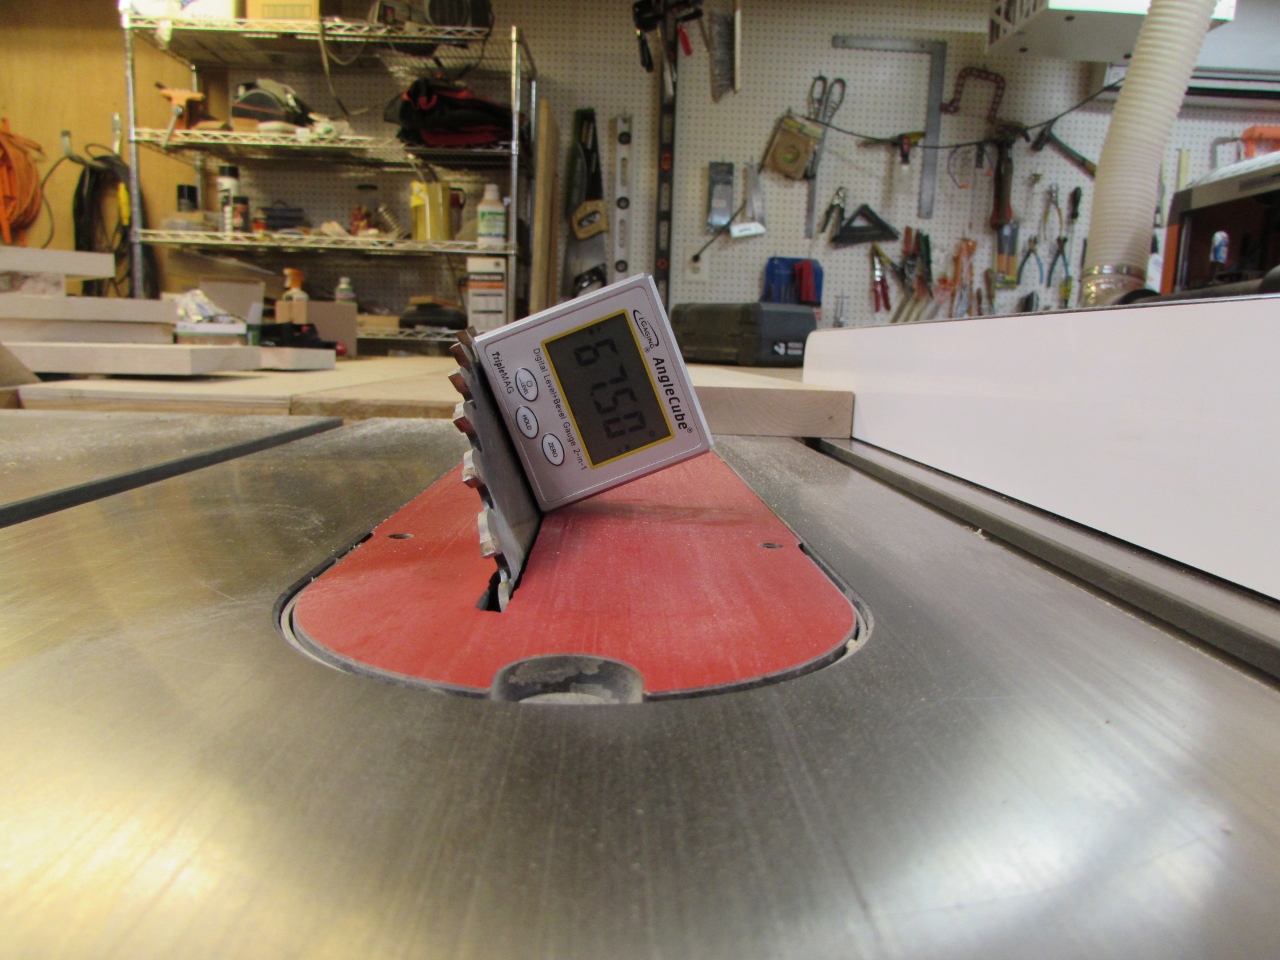
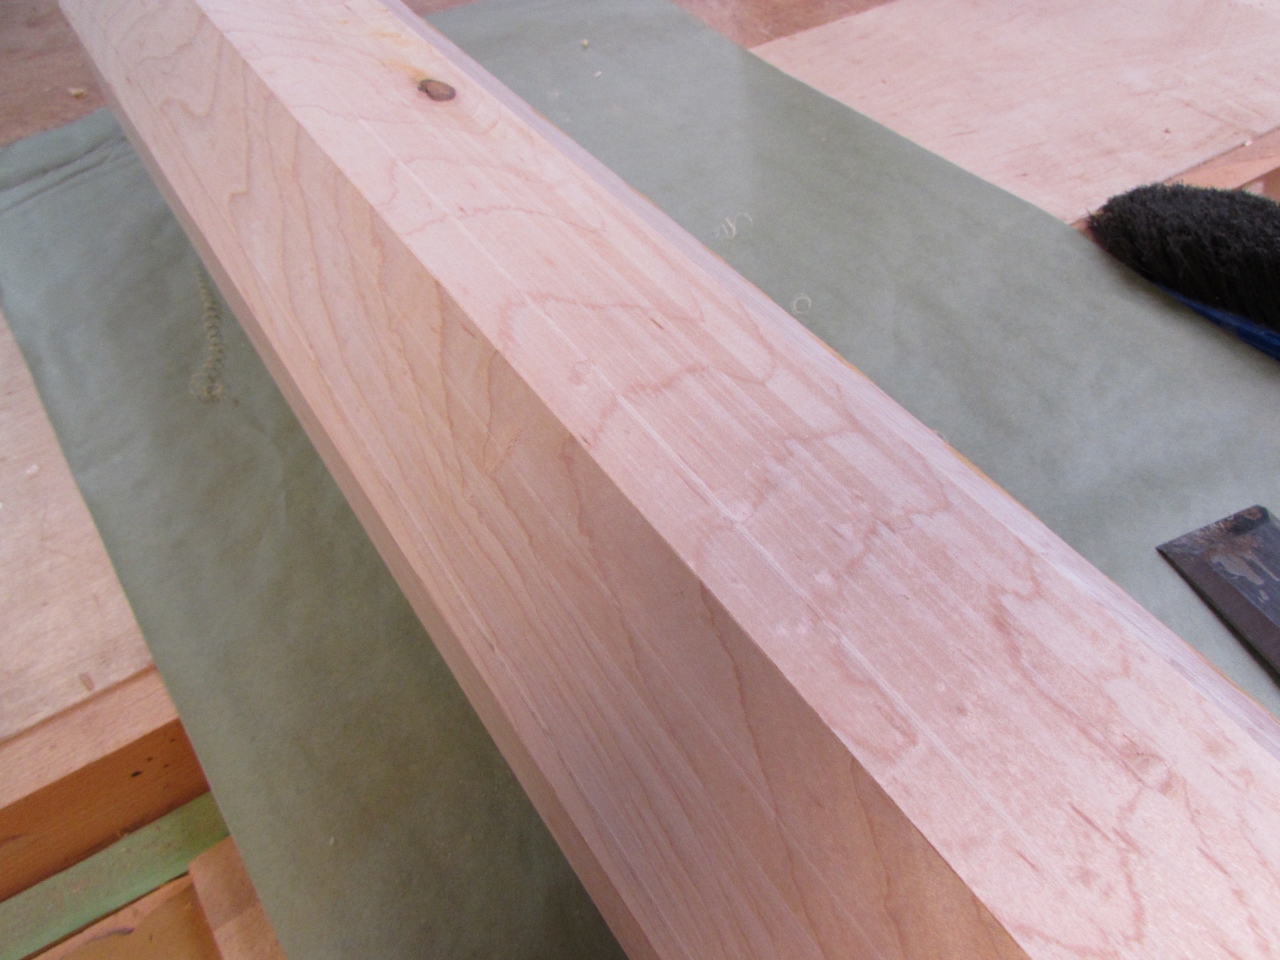
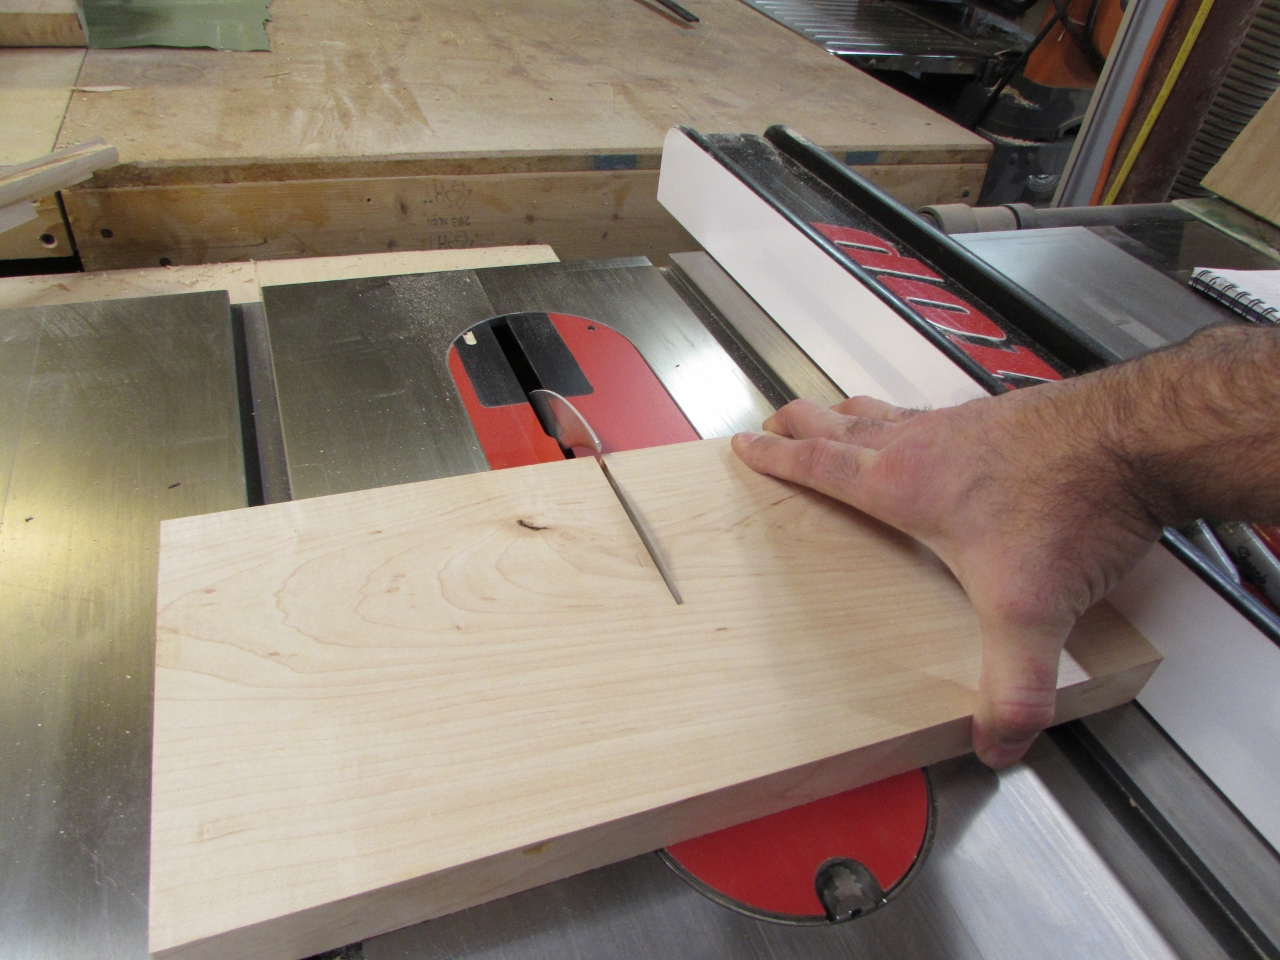
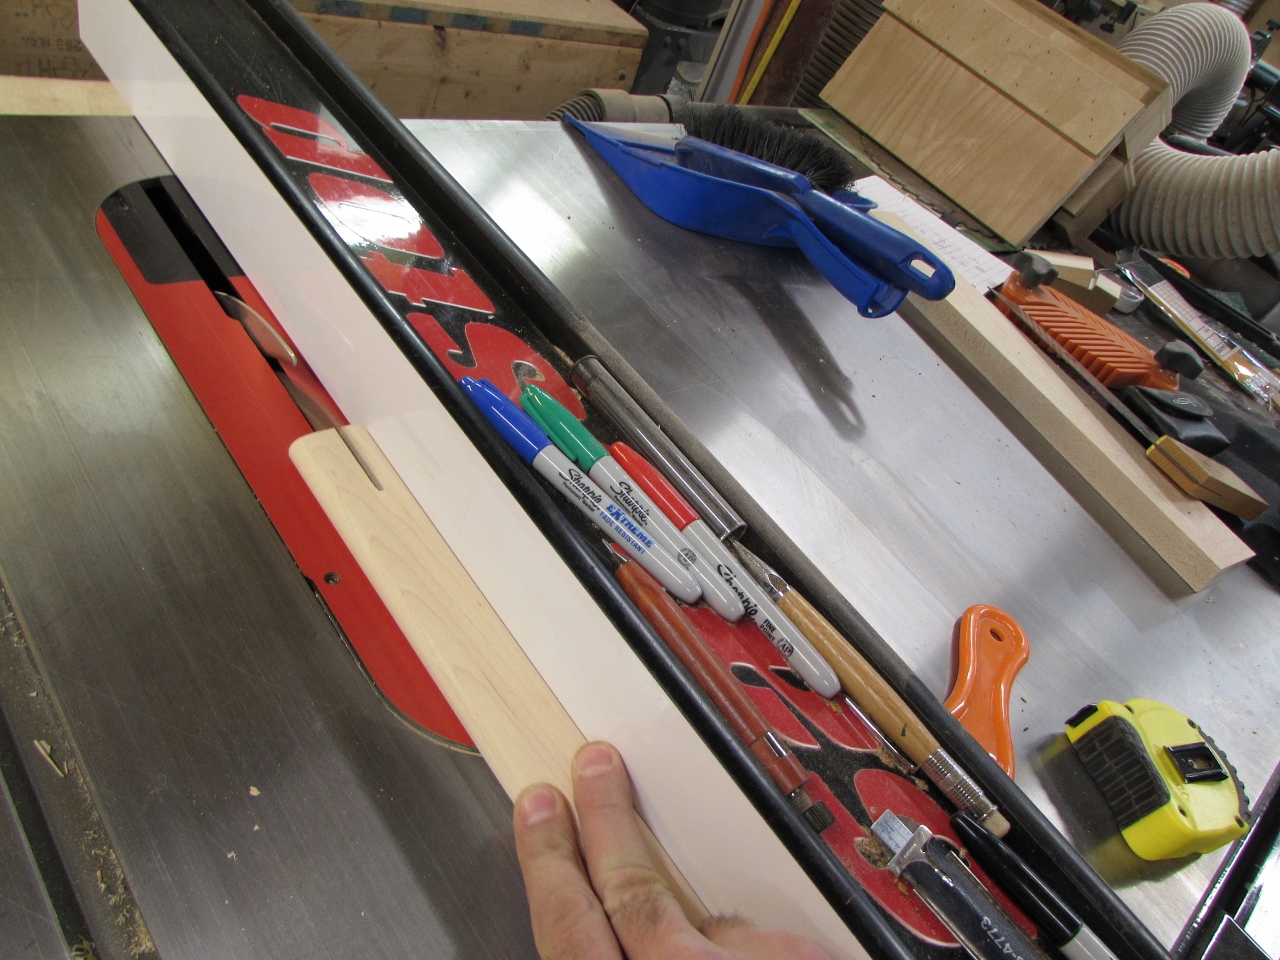
Once all my stock was milled to size, I set the table saw blade to the proper angle for making octagonal slats.
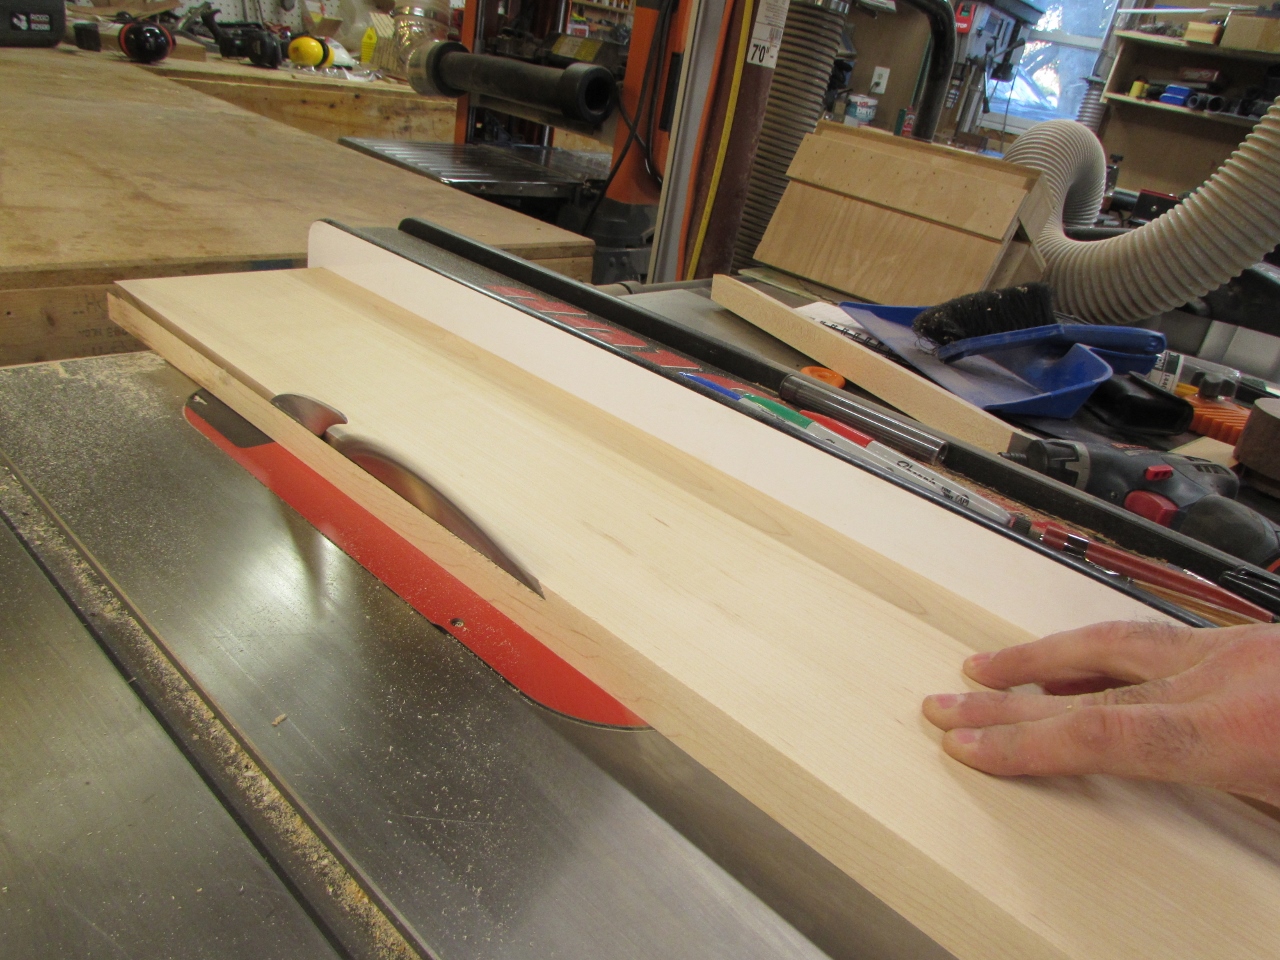
I ran all of my boards through, creating one angled edge on each.
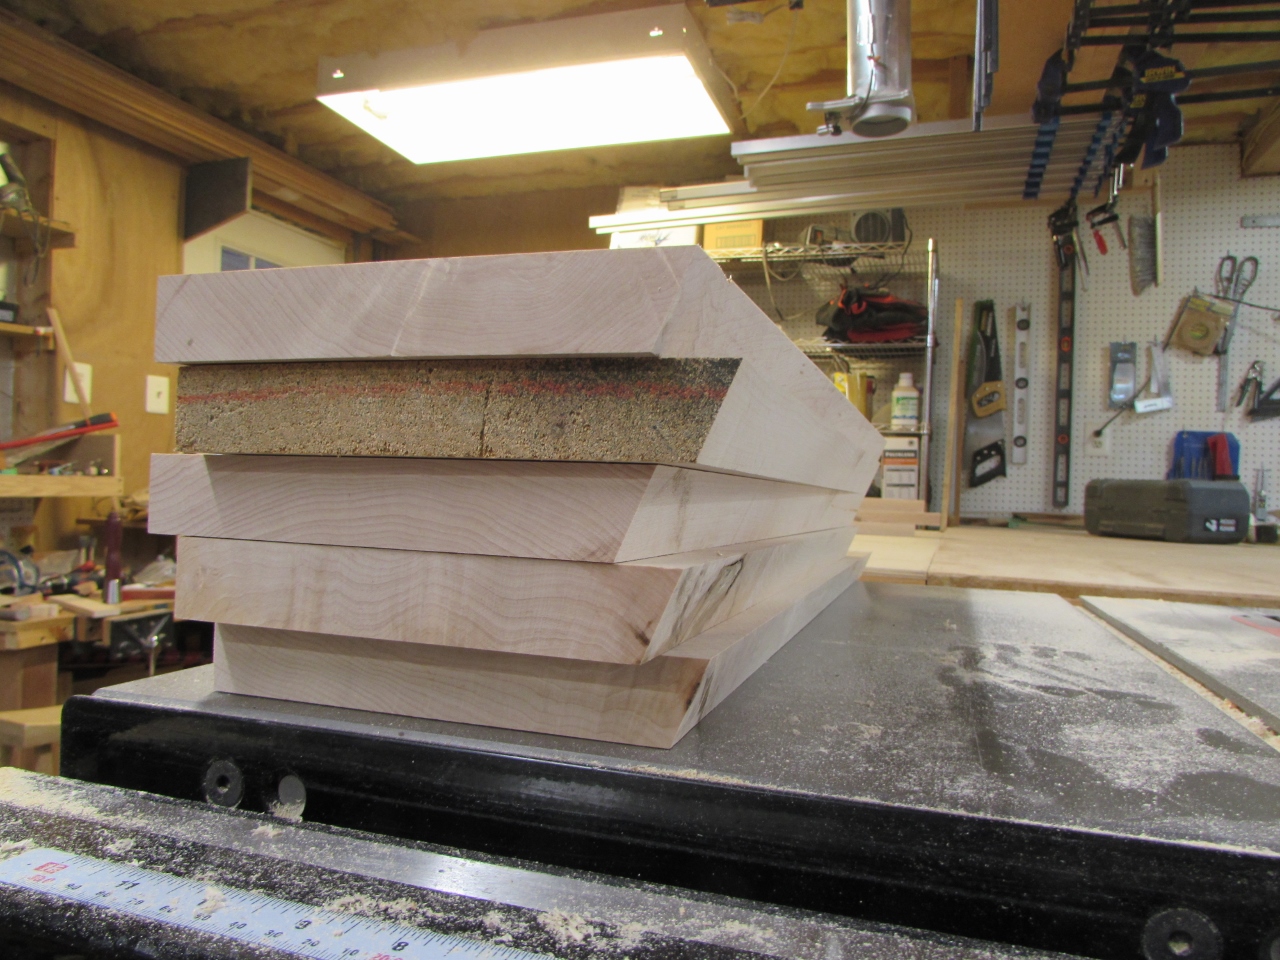
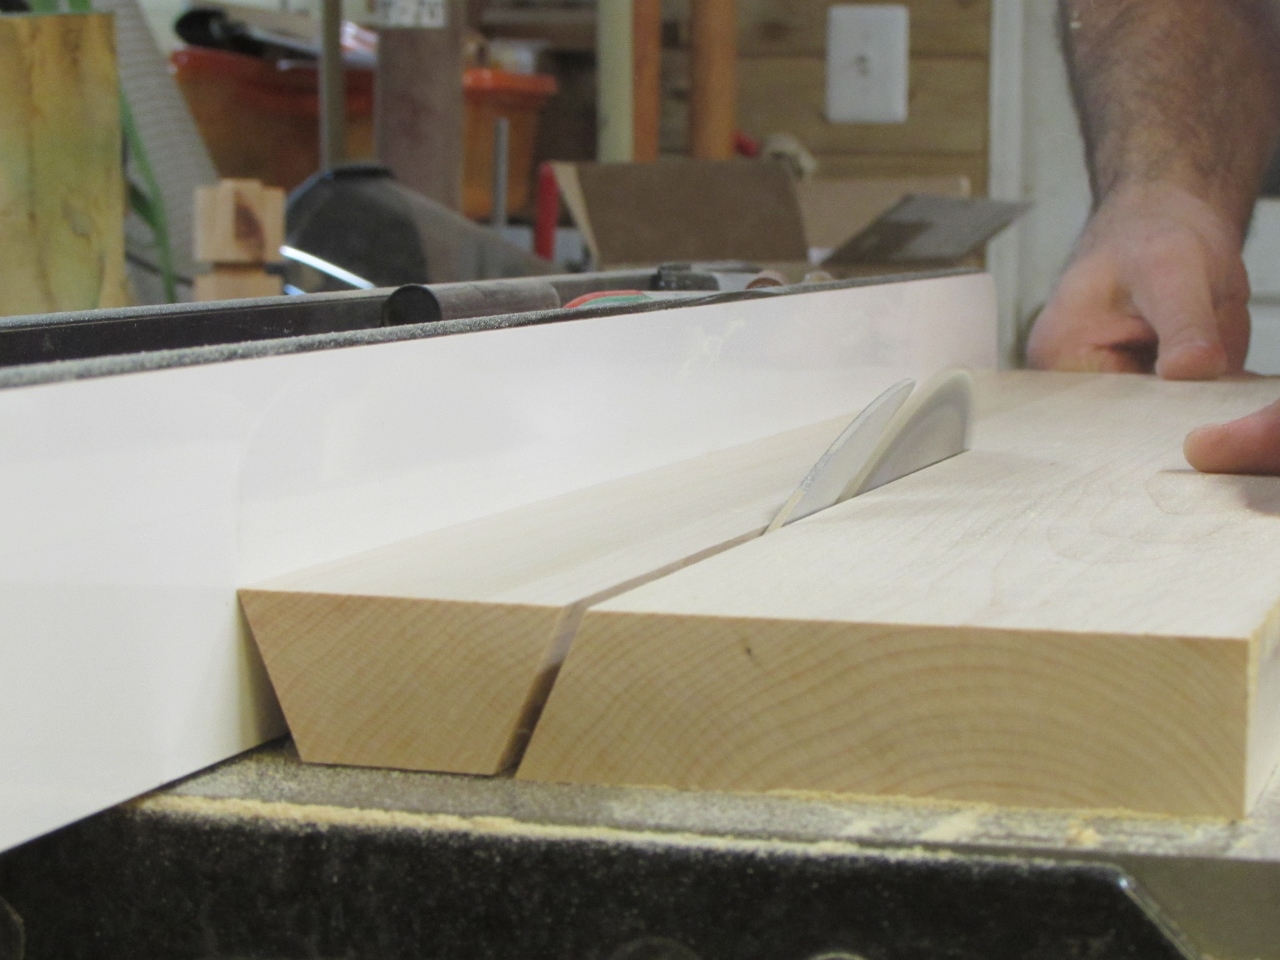
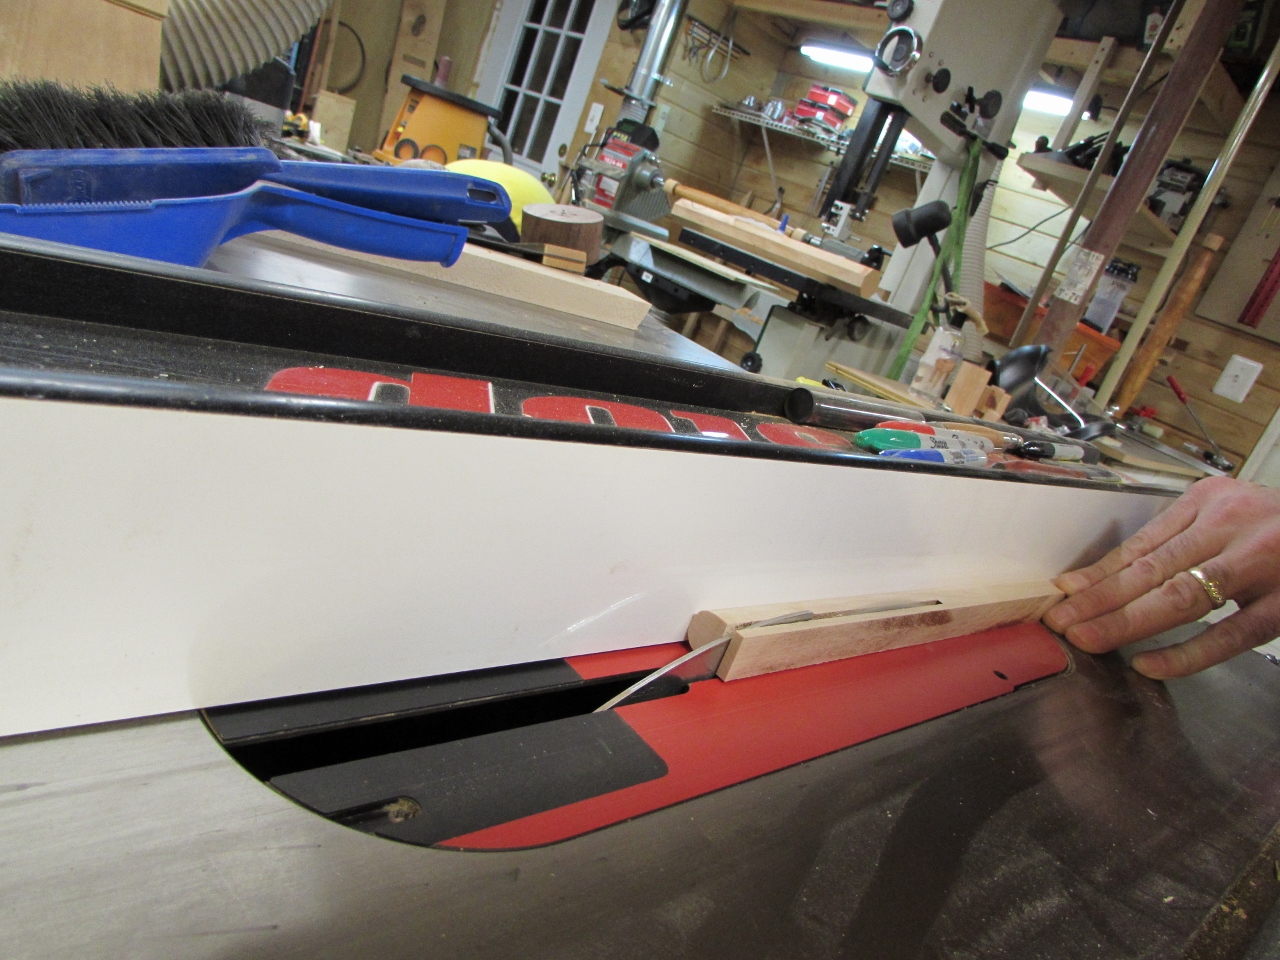
Next, I picked a with (2-3/4″) pretty much at random, and cut the opposite side angle. I then flipped the boards over to cut the next, alternating back and forth to cut as many slats from a single board as possible.
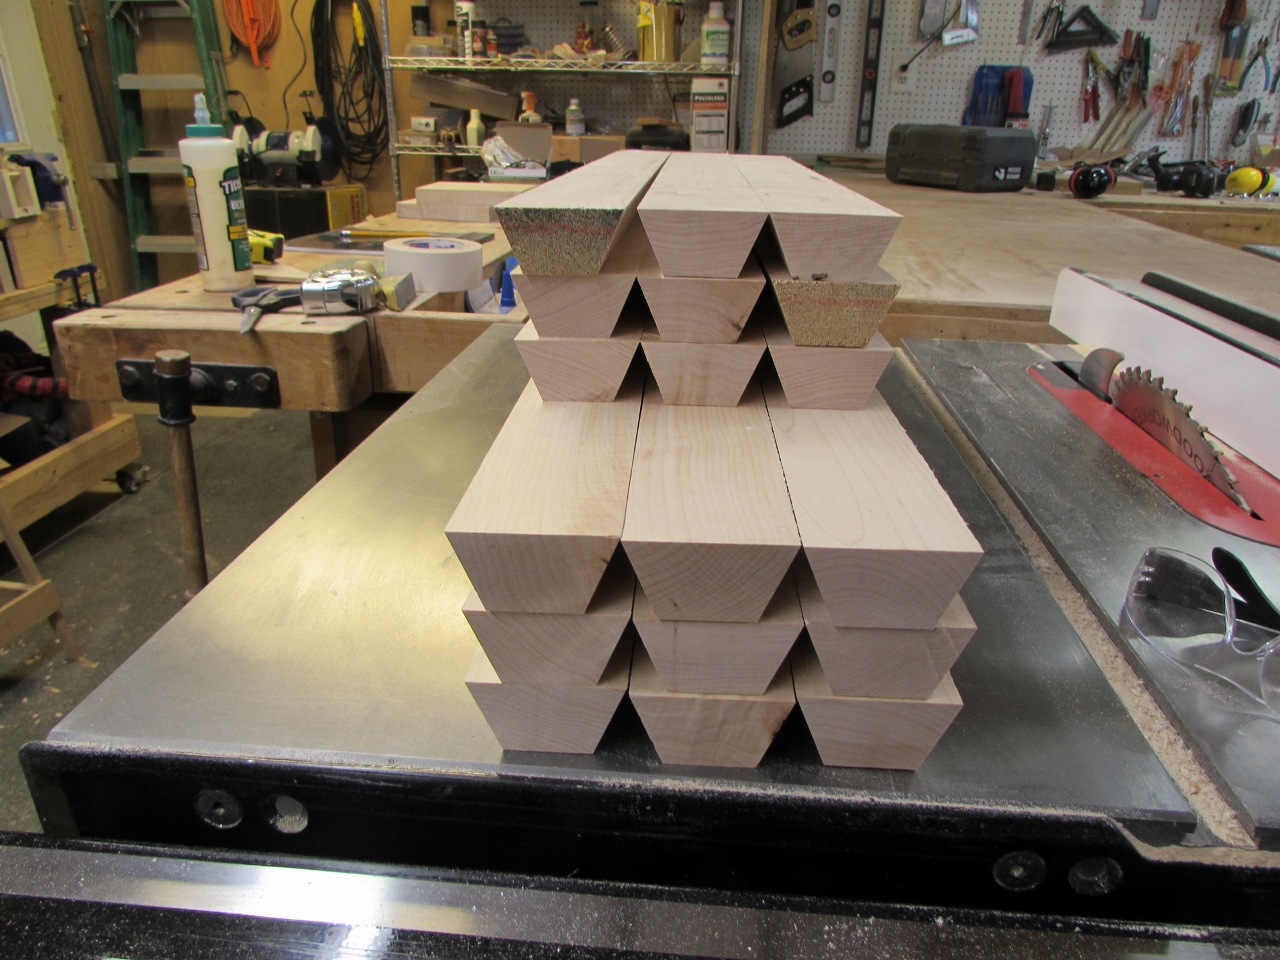
Once cut, I laid out eight slats, one for each side of the octagon, then I tried to match the grain as closely as I could.

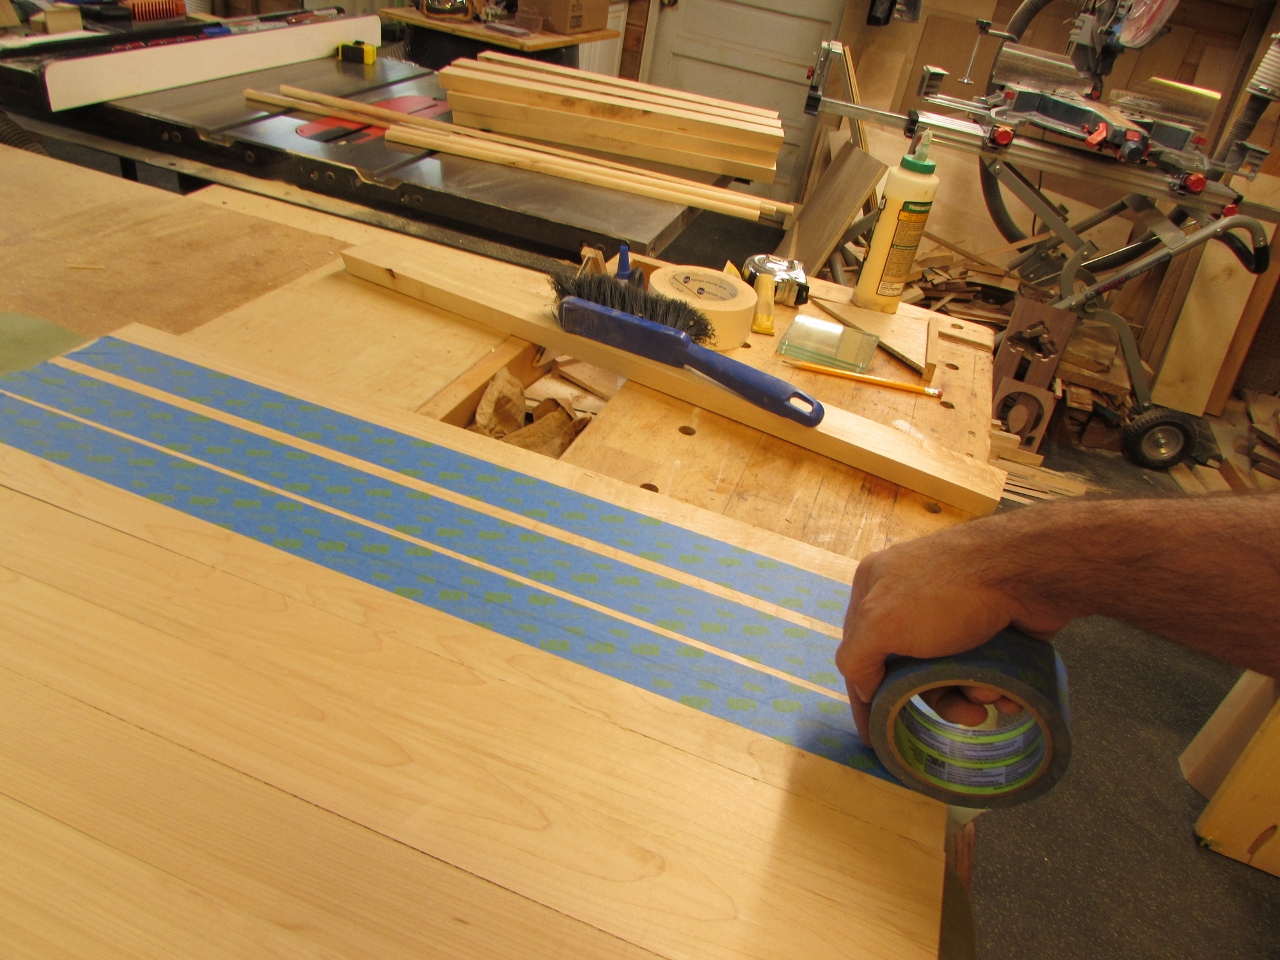
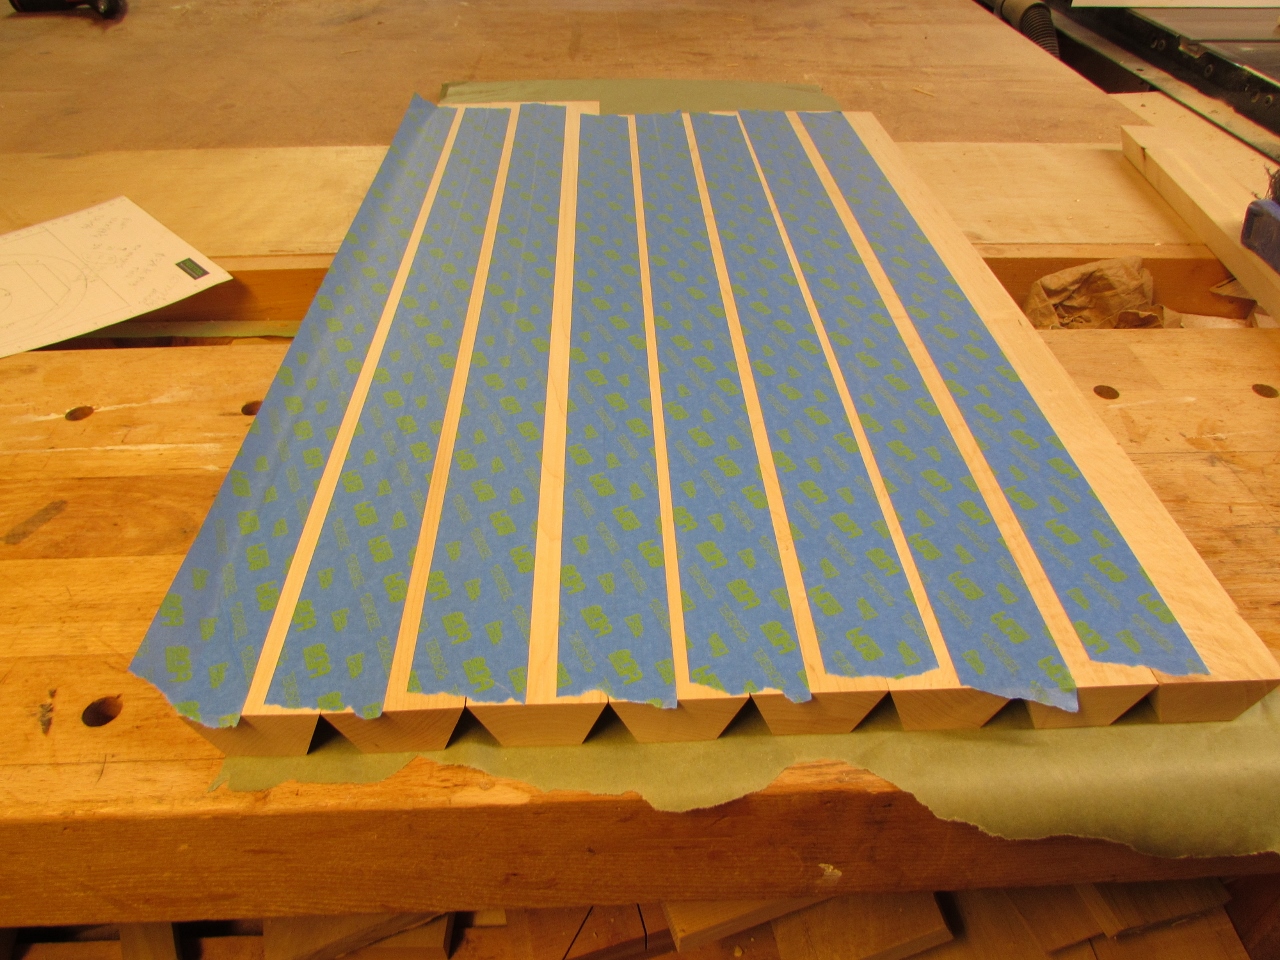
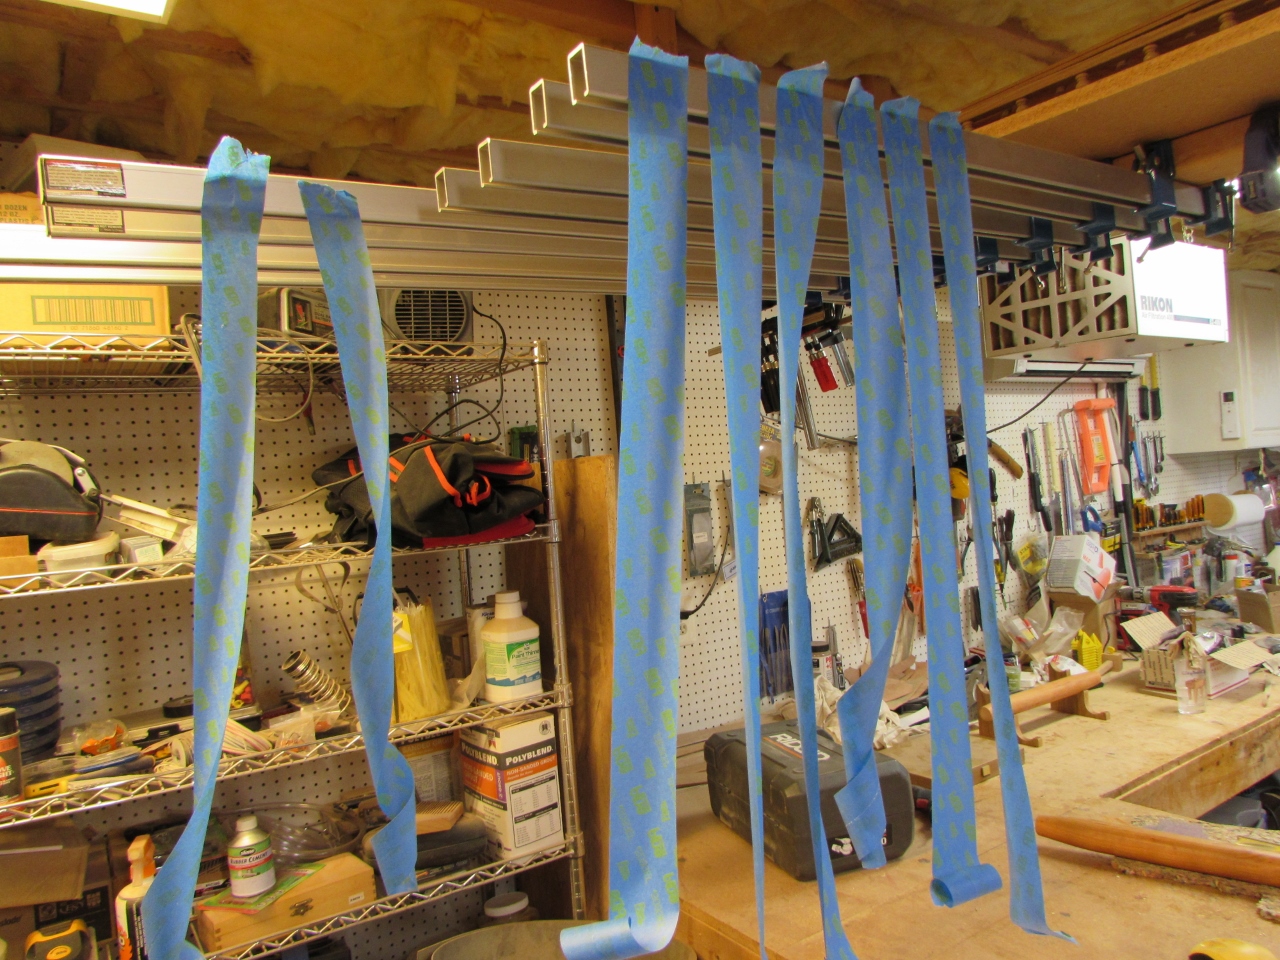
I used 2″ wide painter’s tape to attach each slat, creating a hinge point at each seam.

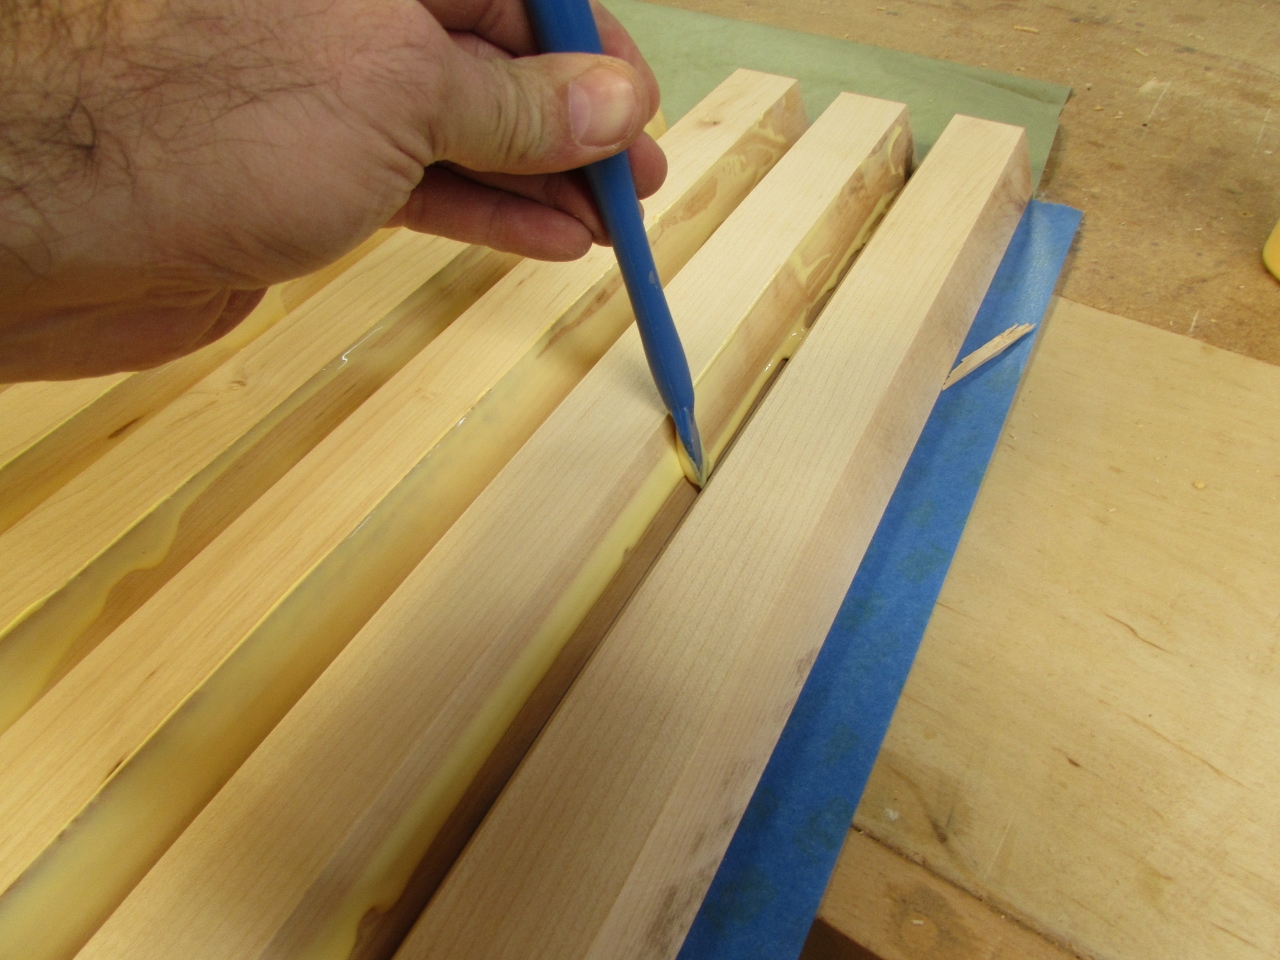
After they were firmly taped together, I rolled them up and flipped them over to start applying wood glue. I had to work quickly to get it all spread before any of it started to dry.
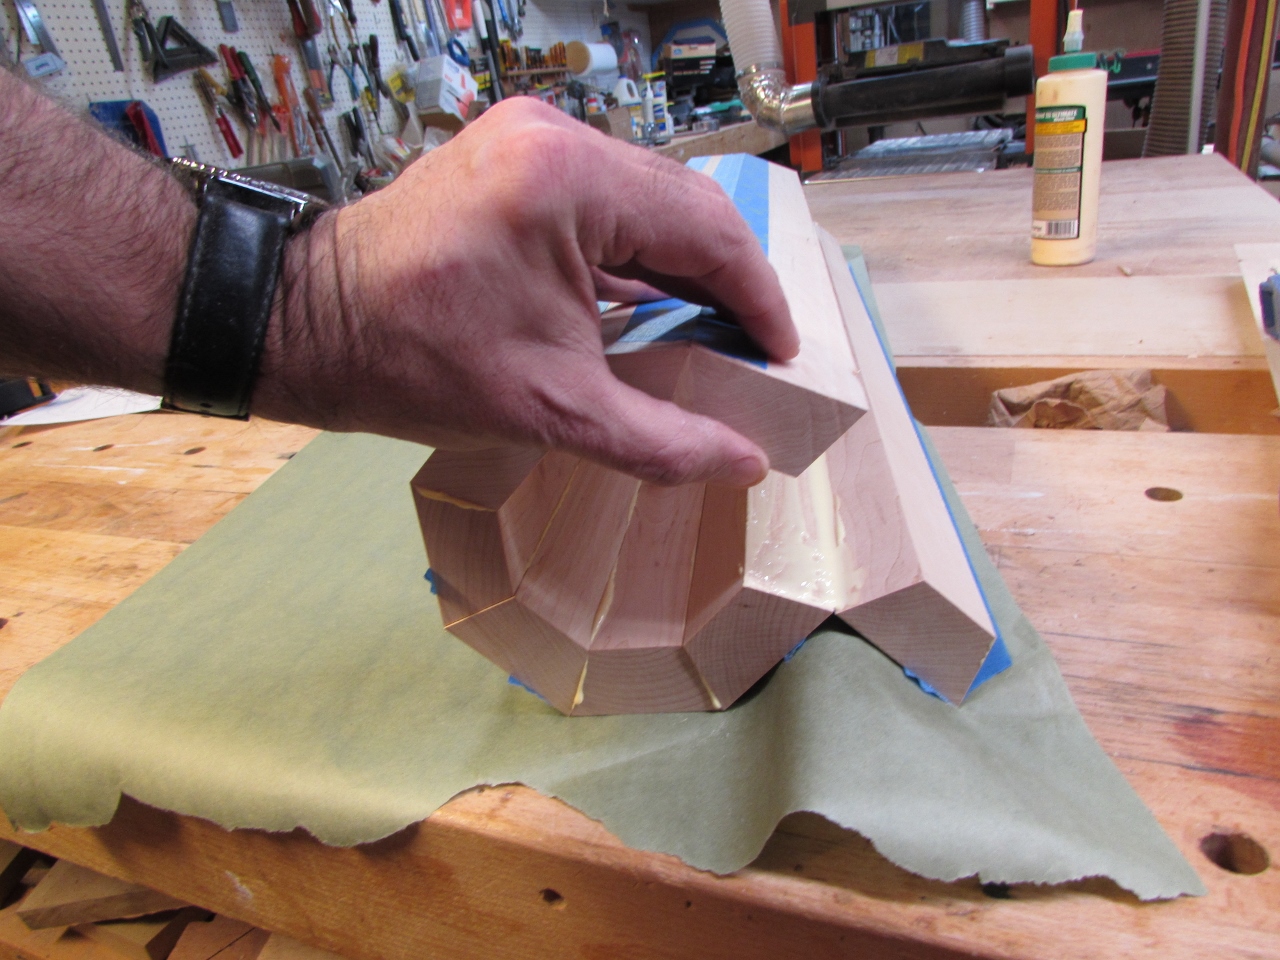
I rolled up the glued sections, ignoring all the squeeze-out, and taped together the final seam.
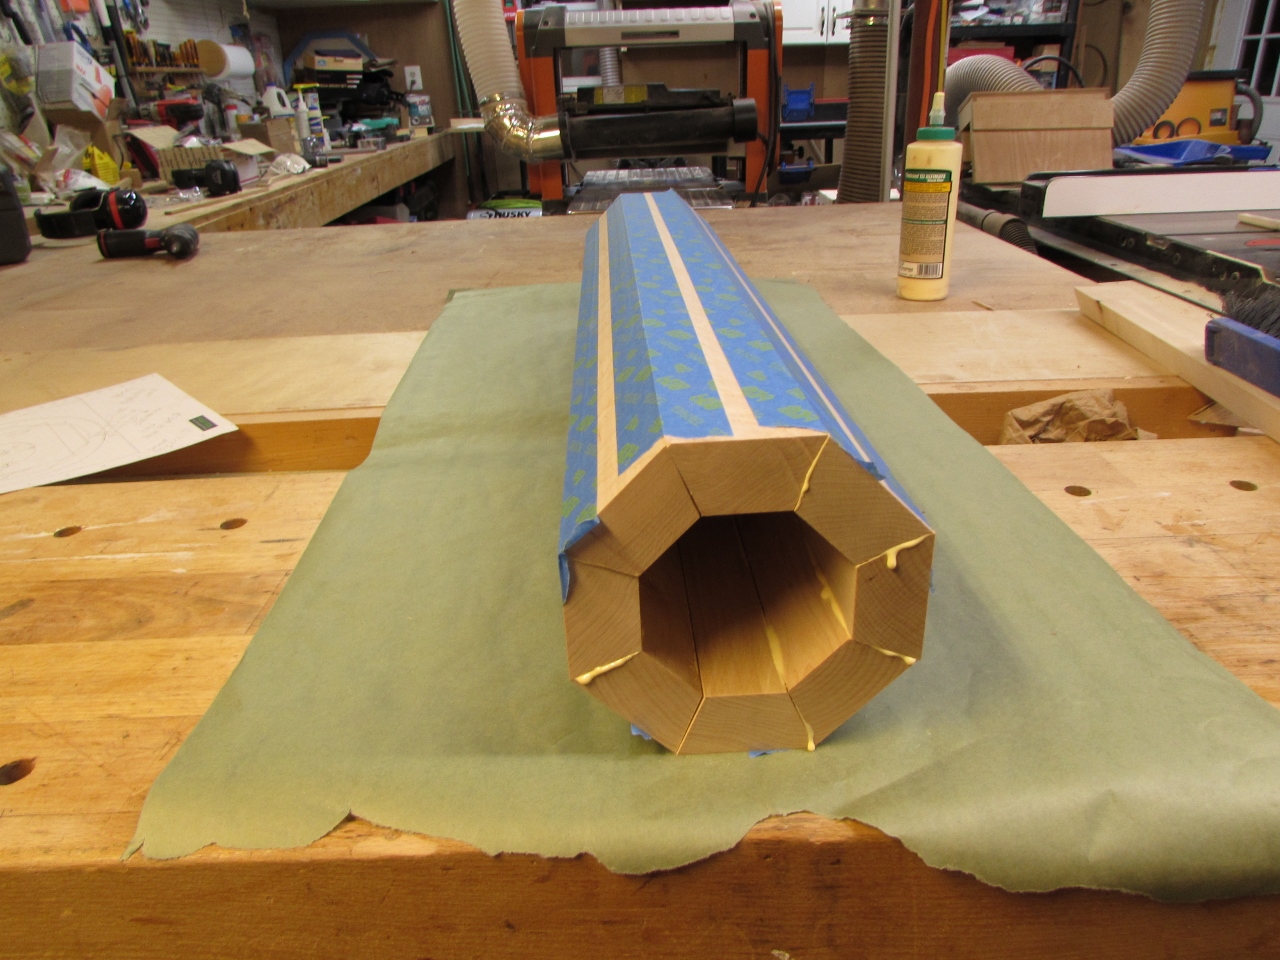
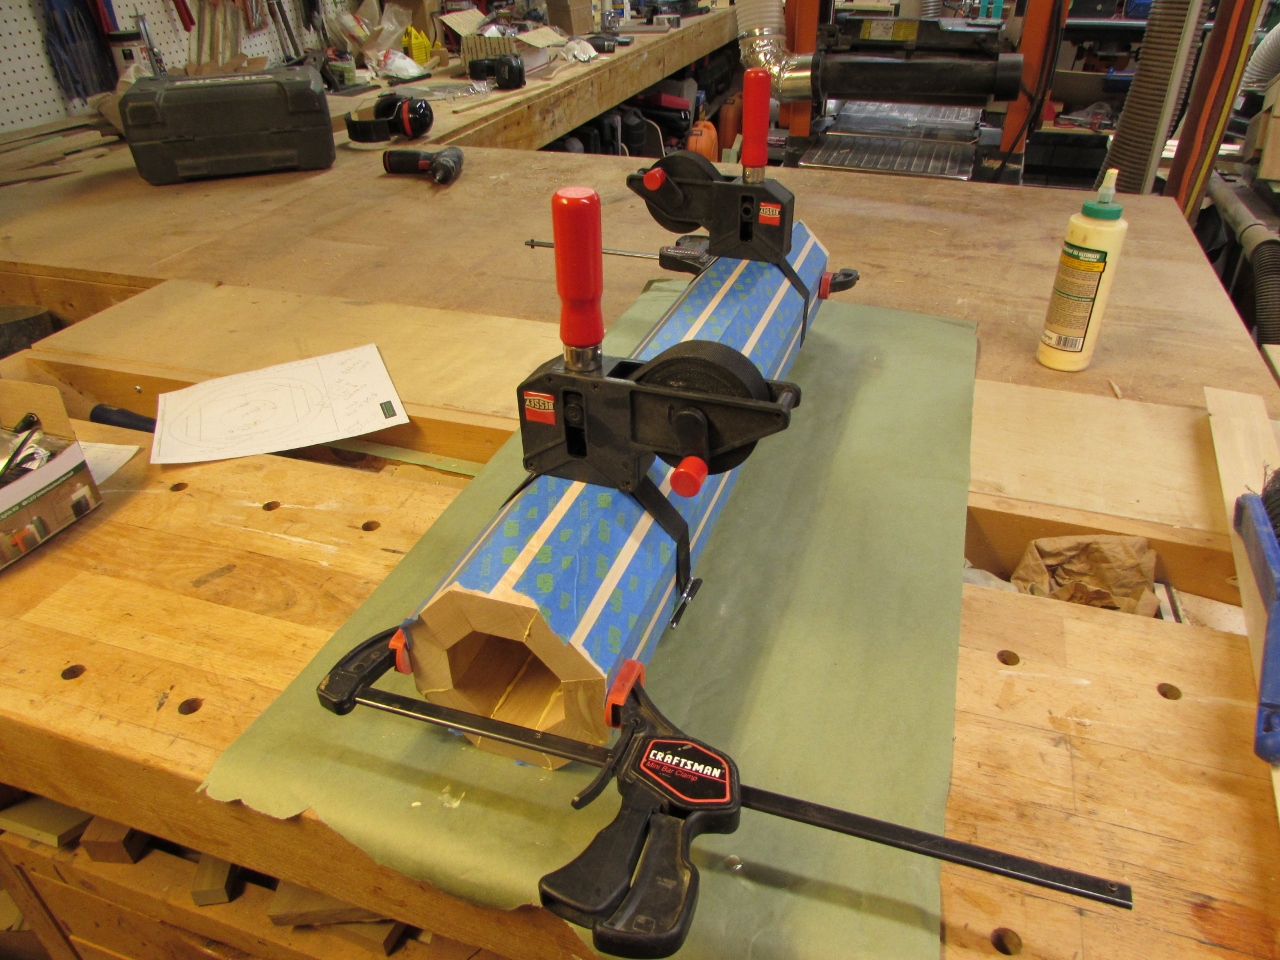
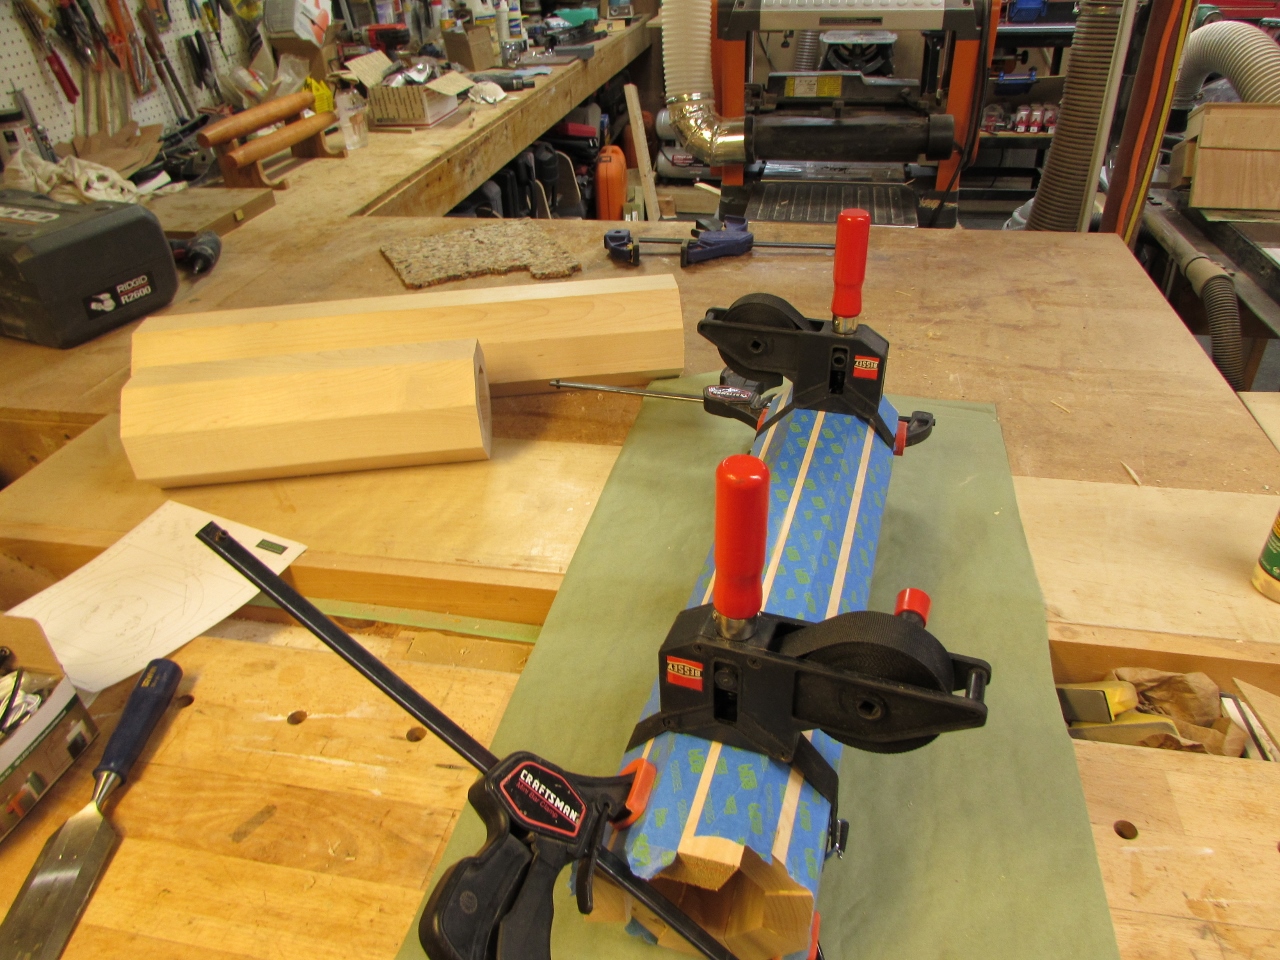
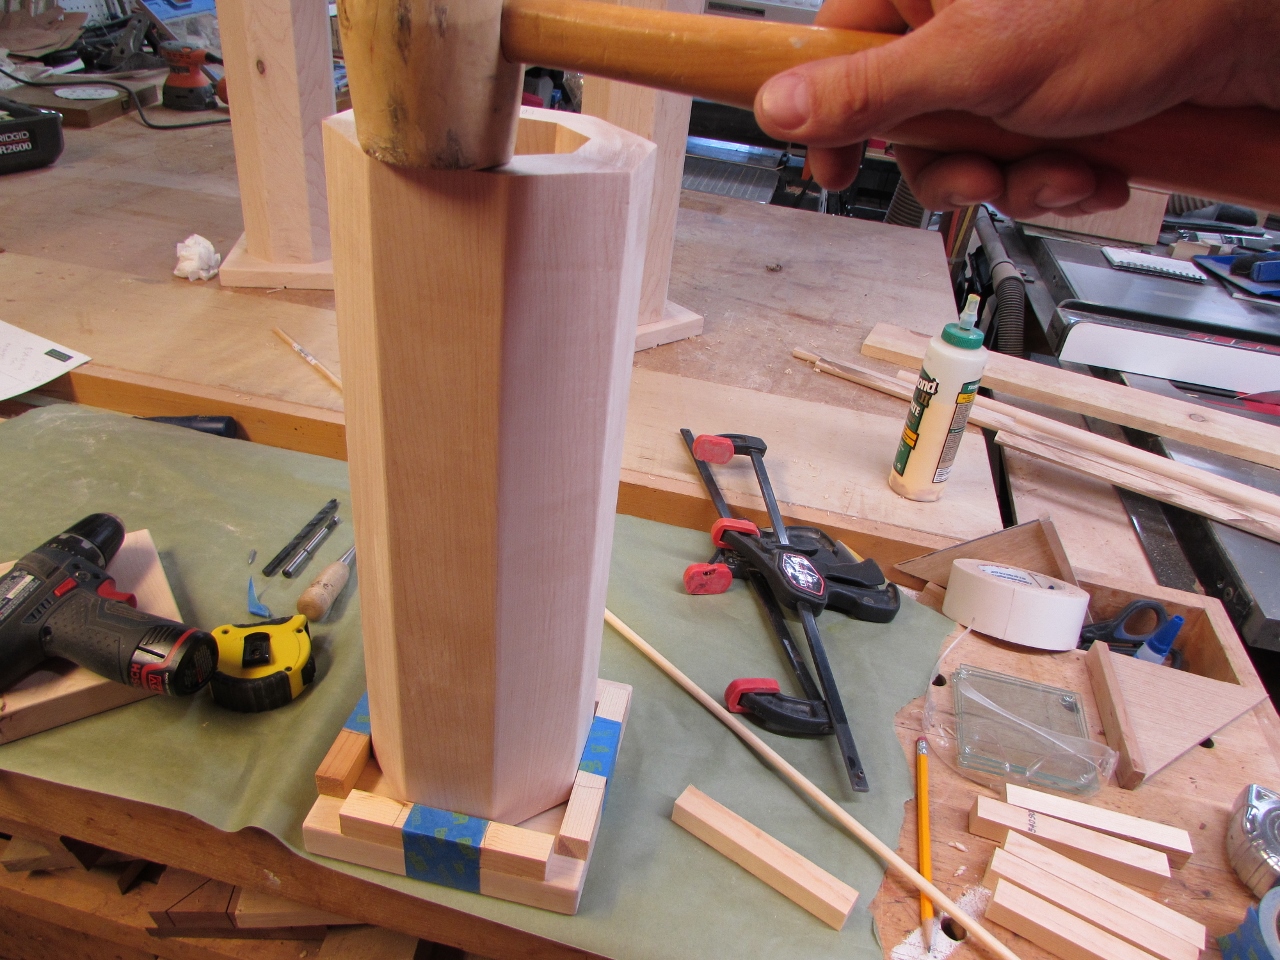
I used two band straps to get even clamping pressure, all the way around. I only have the two band straps, so I am doing one column at a time. I threw on a couple of extra clamps to help where I thought it might need a bit more of a squeeze. I let each column sit and cure for about an hour before pulling the straps off to put on the next one.

While I was having so much fun glueing, I also started a carve on my CNC.
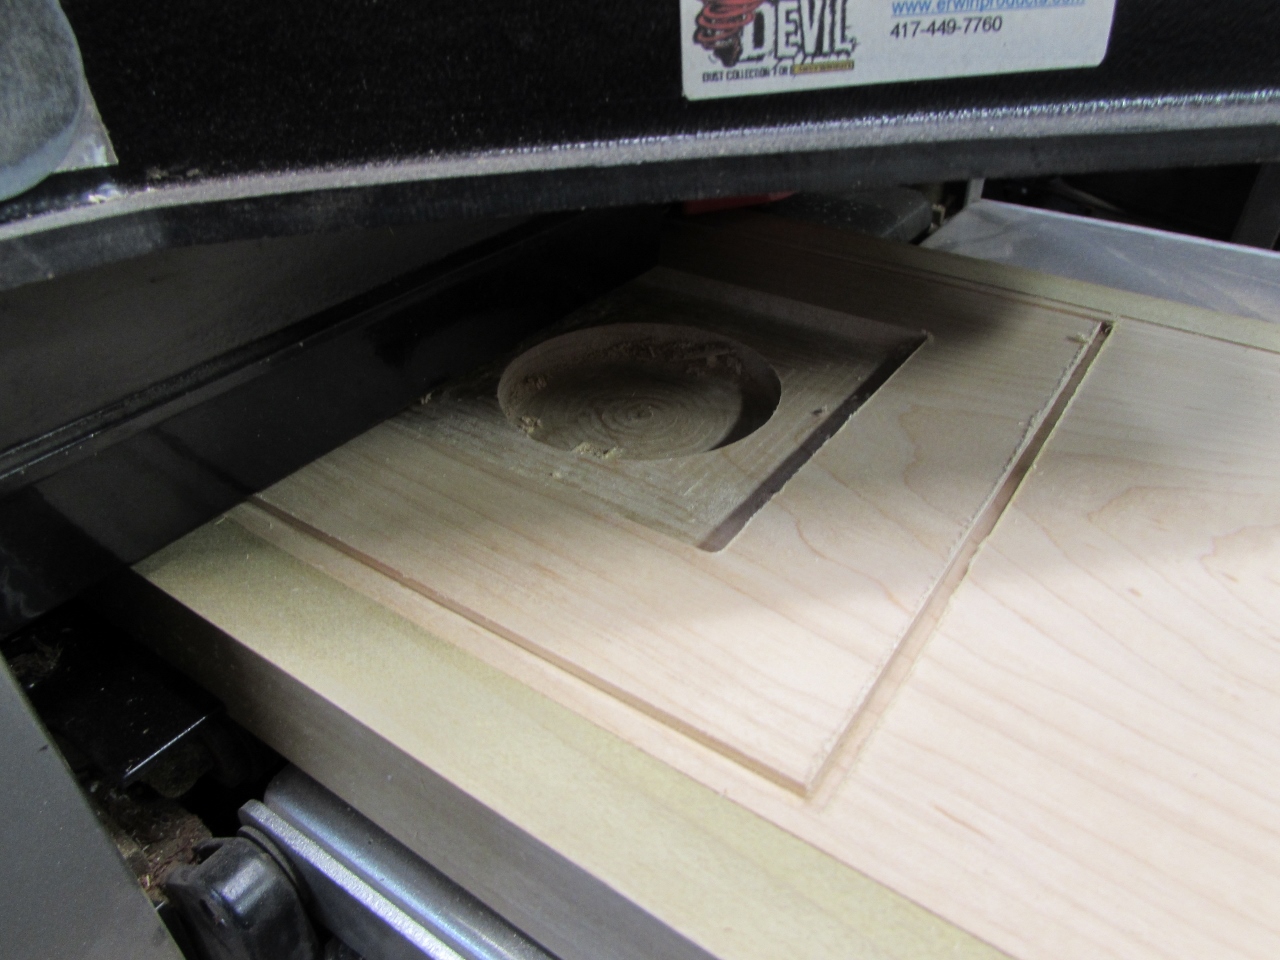
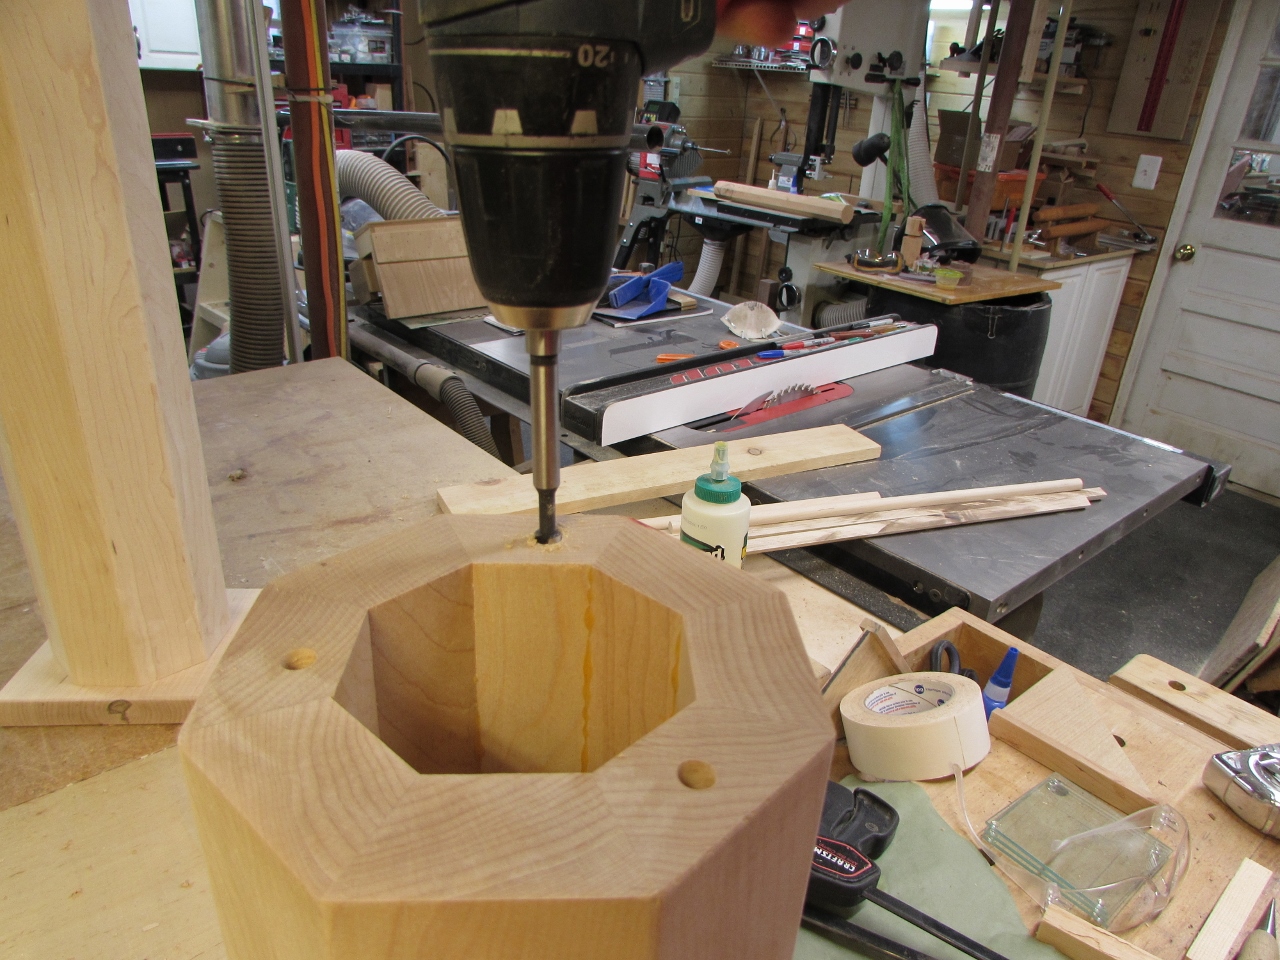
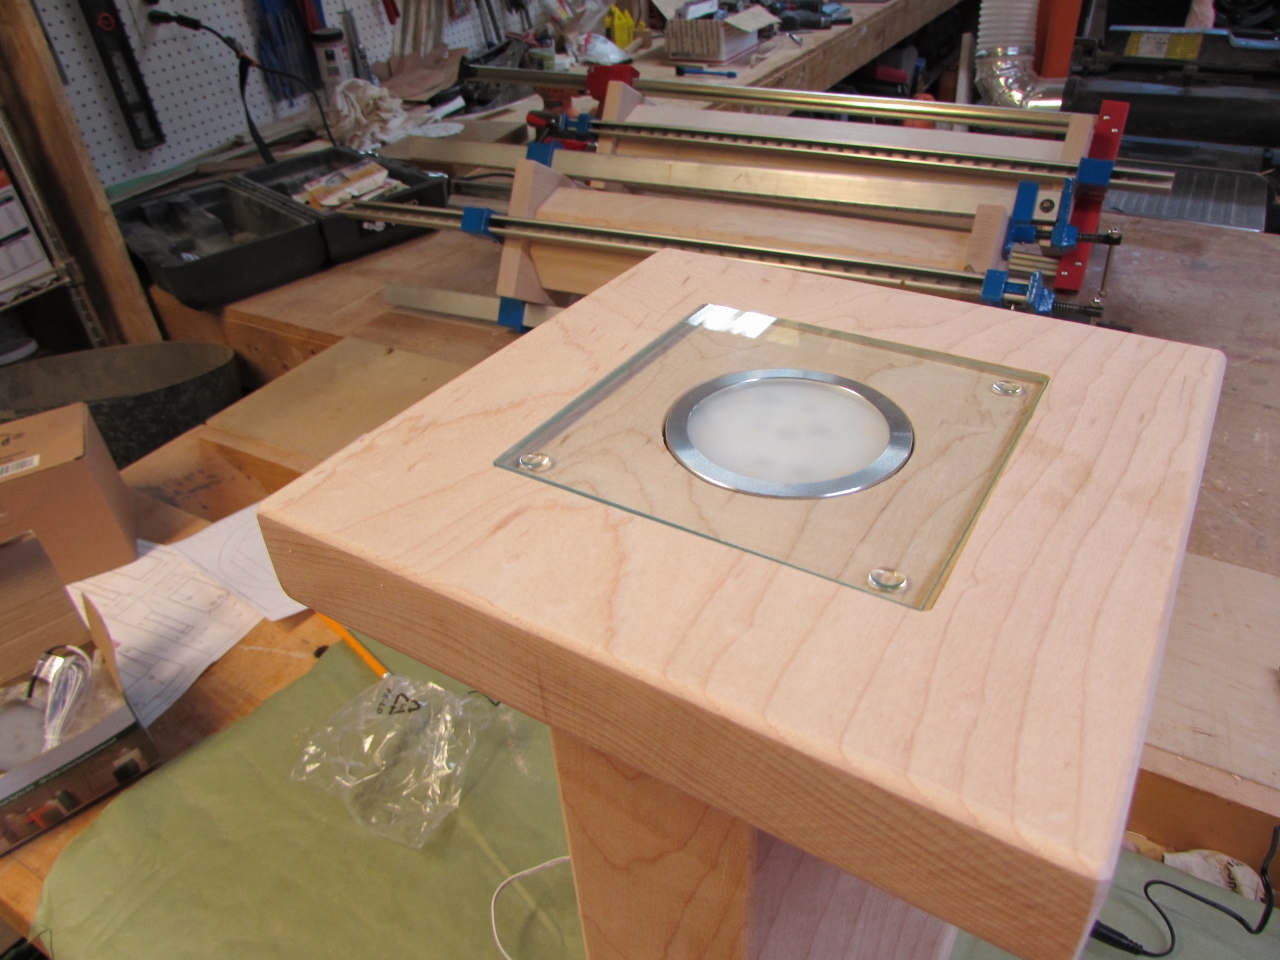
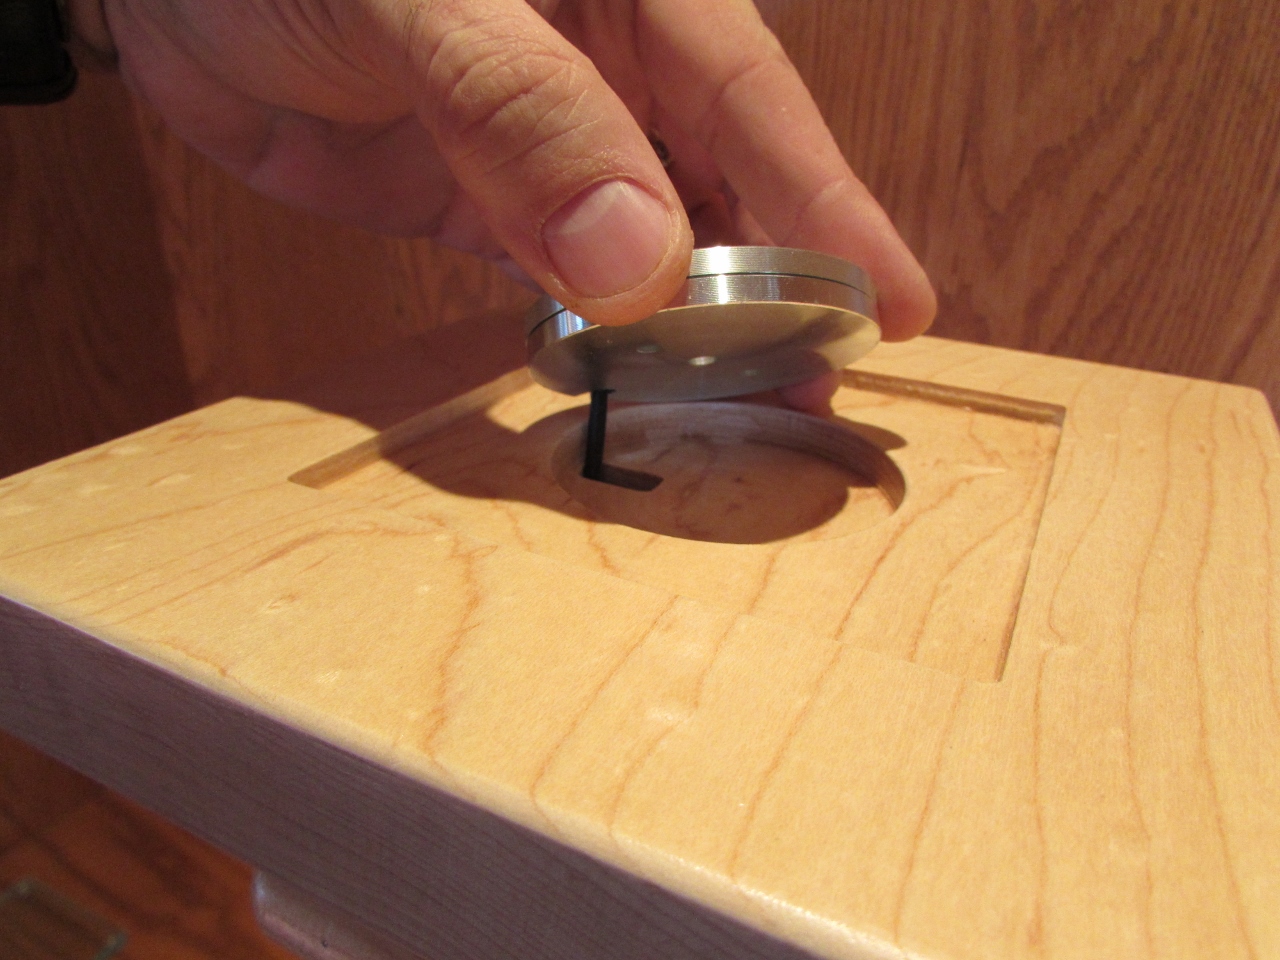
I need three column tops that have pockets for the LED light as well as the protective piece of glass. I could have laid these out and routed them by hand with my router and a chisel, but with the CNC I can multi-task.
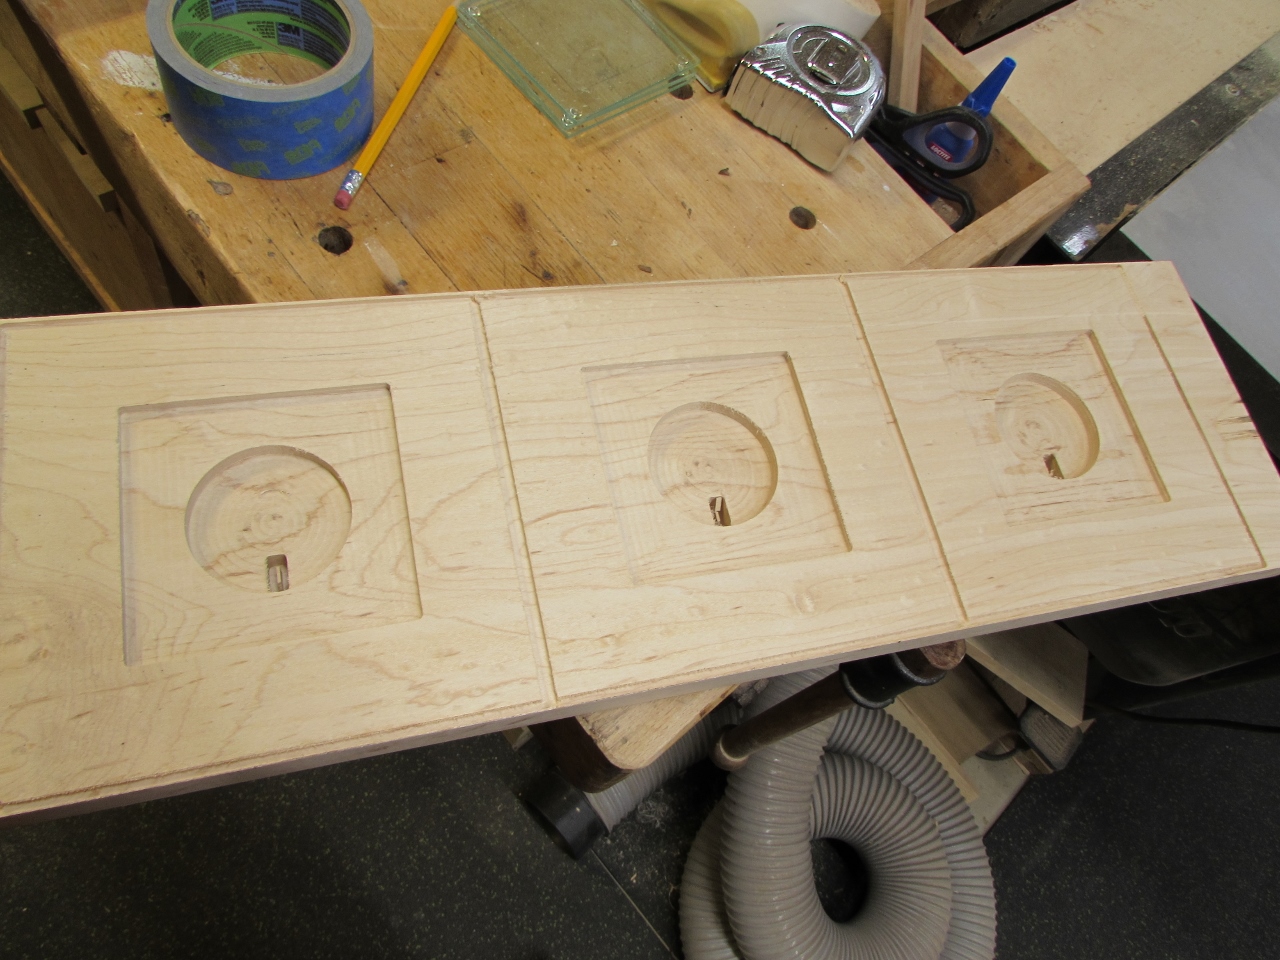
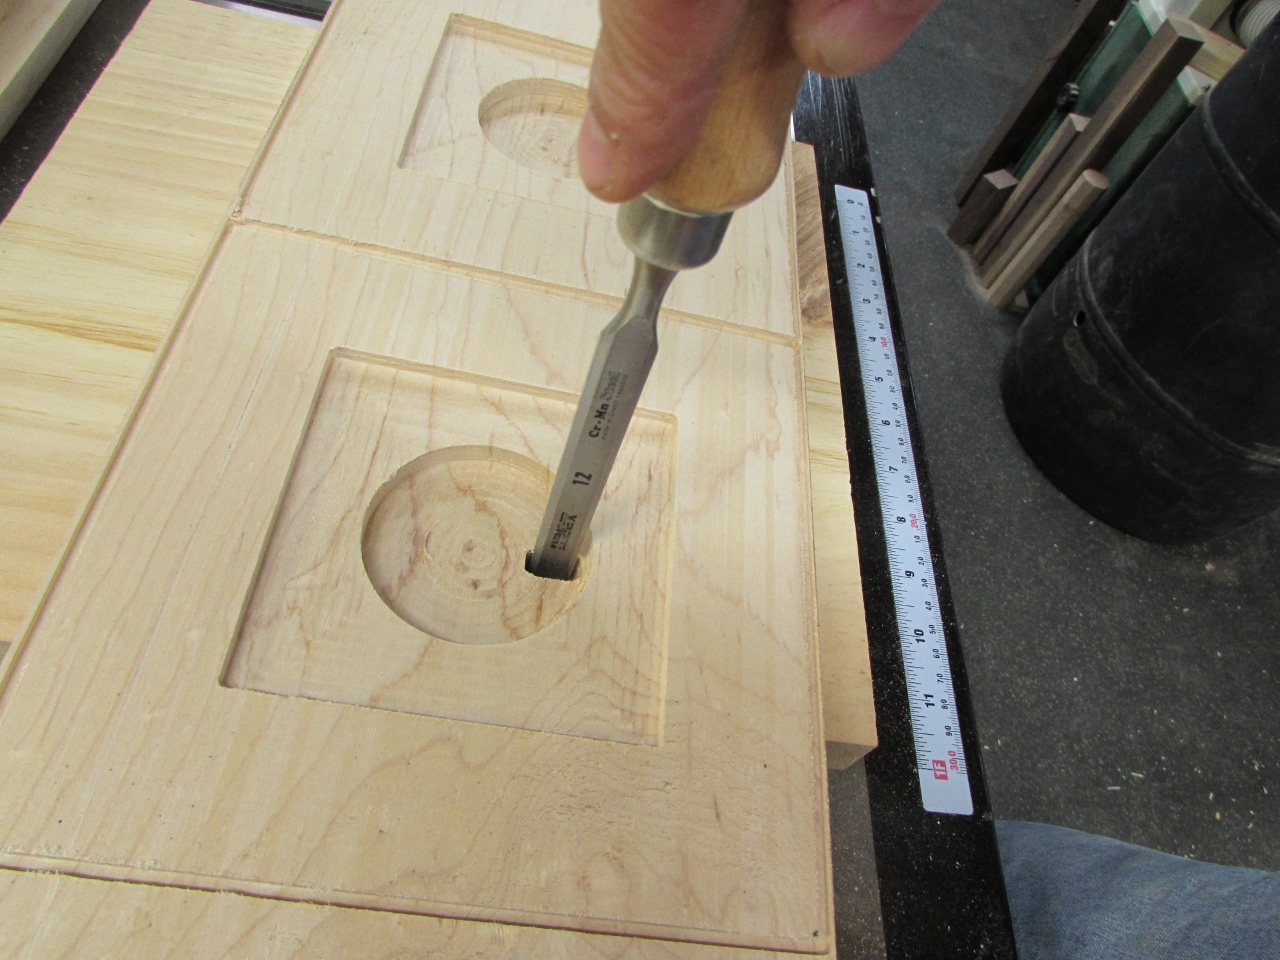
I only have the bits to carve 1″ deep, so I finished the rectangular through hole up with a chisel.
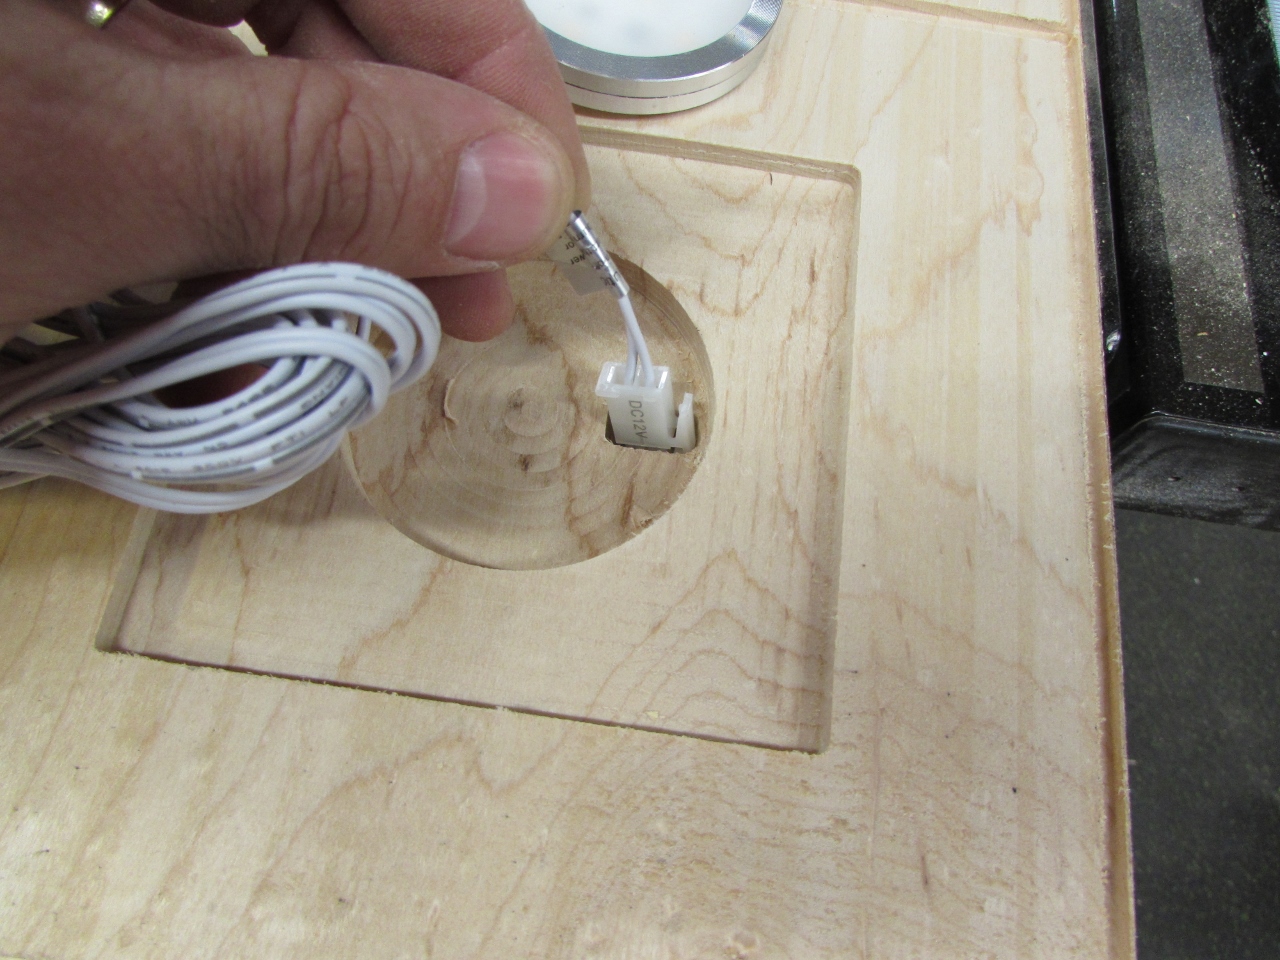
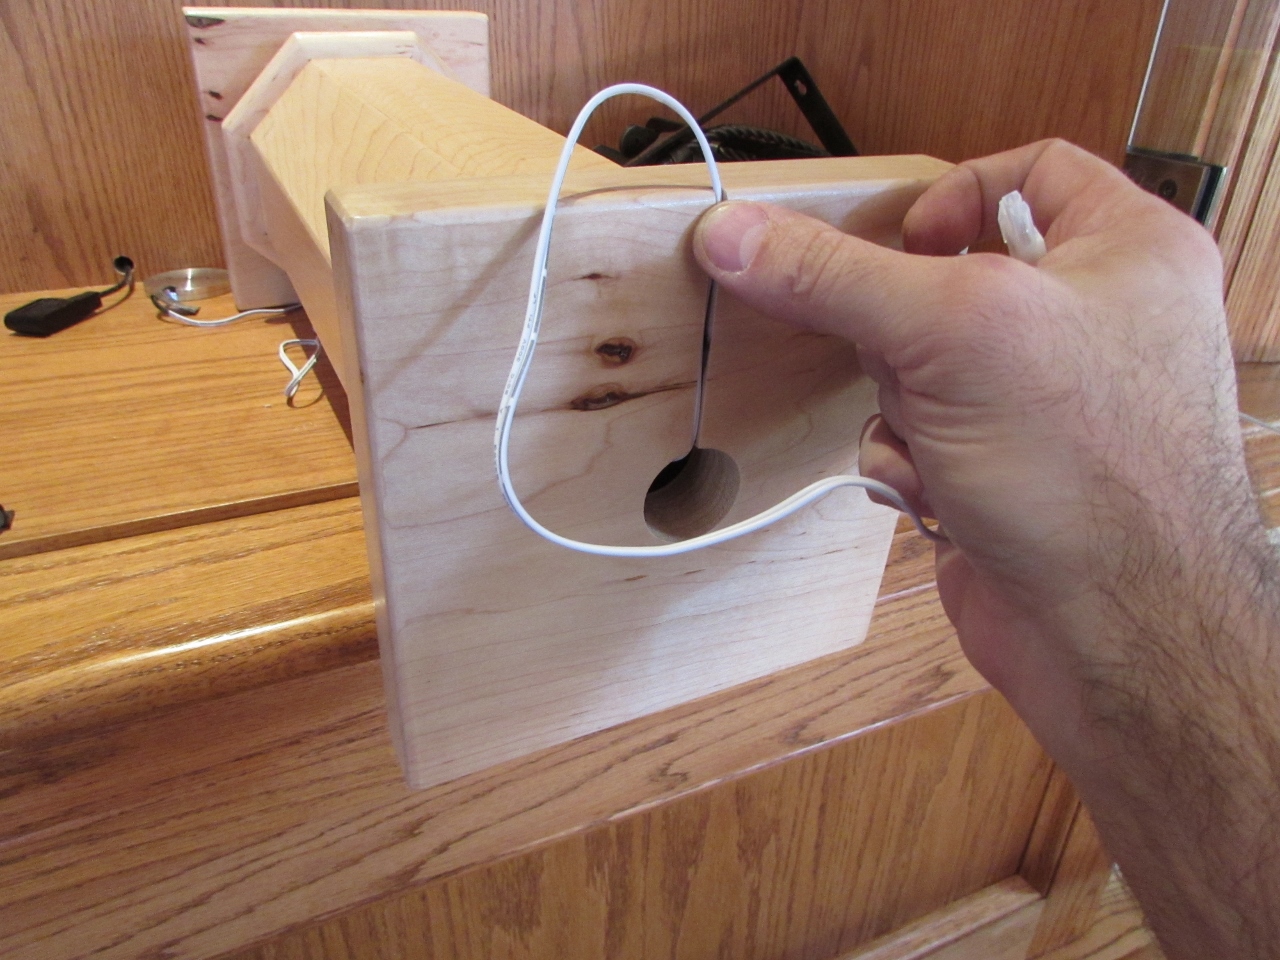
This hole will be for my LED electric wire, so I did a test fit to make sure it worked before everything was assembled.
I also test-fitted the tempered glass coasters that I bought to be a protective shield above the LED.


Once I was happy with the fit, I cut out all of the 7″x7″ top pieces.


Jumping back to my drying columns, I pulled all the tape, saving as much as I could to re-use them.
With the tape on the seams, most of the glue squeeze-out was all on the inside. Very little clean-up was required on the outside.
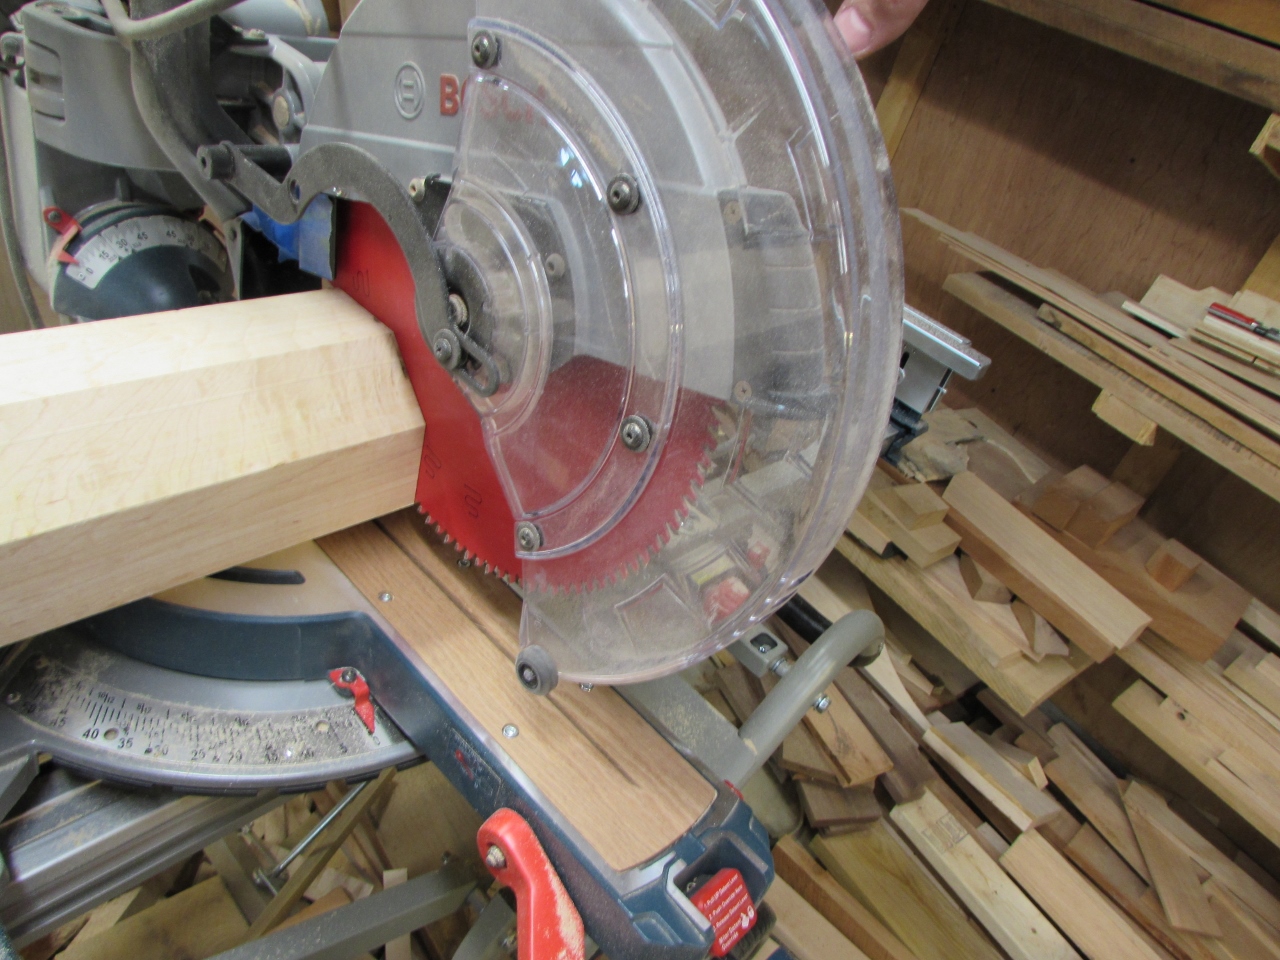
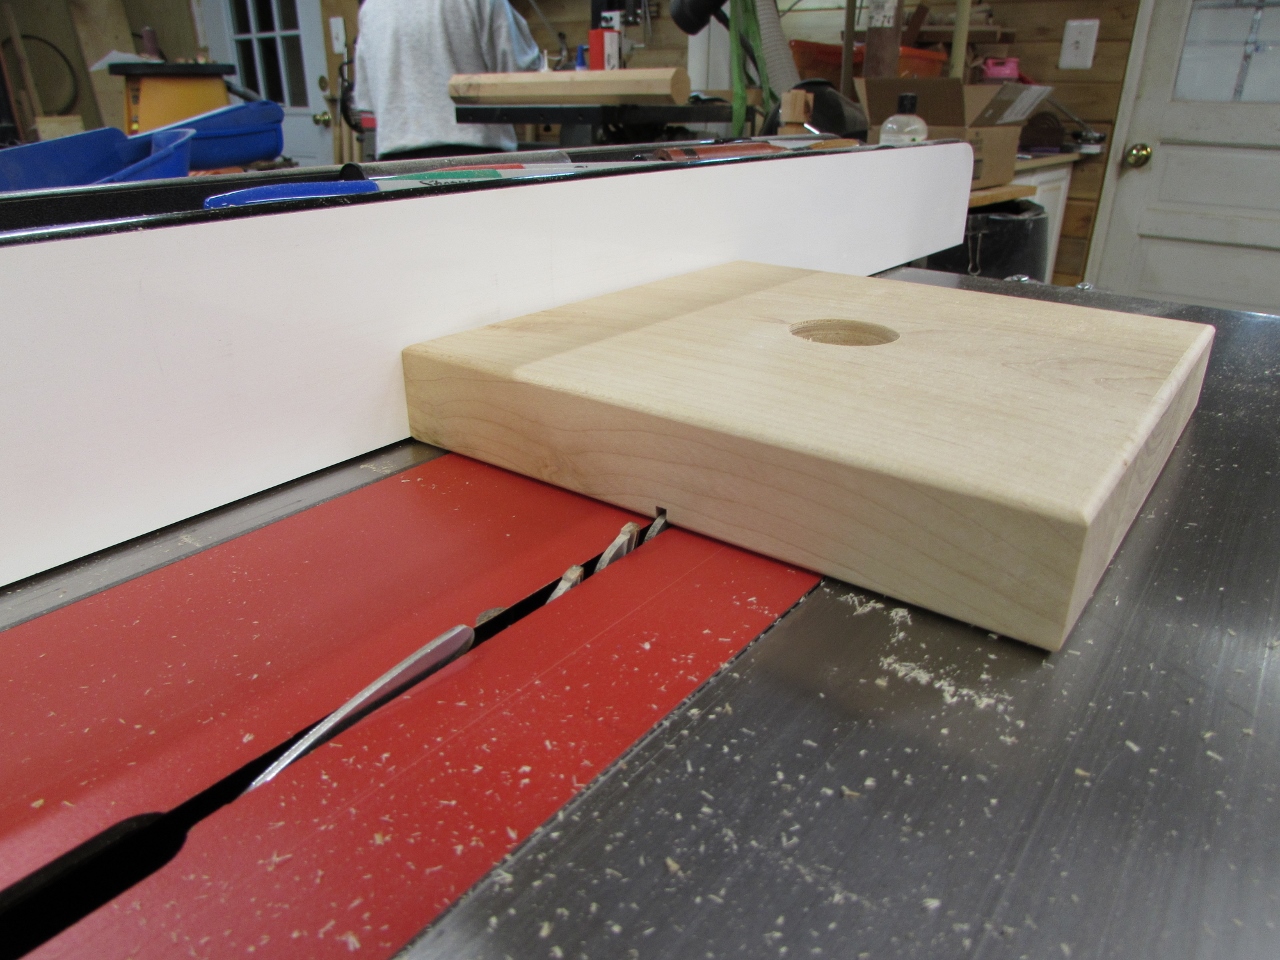
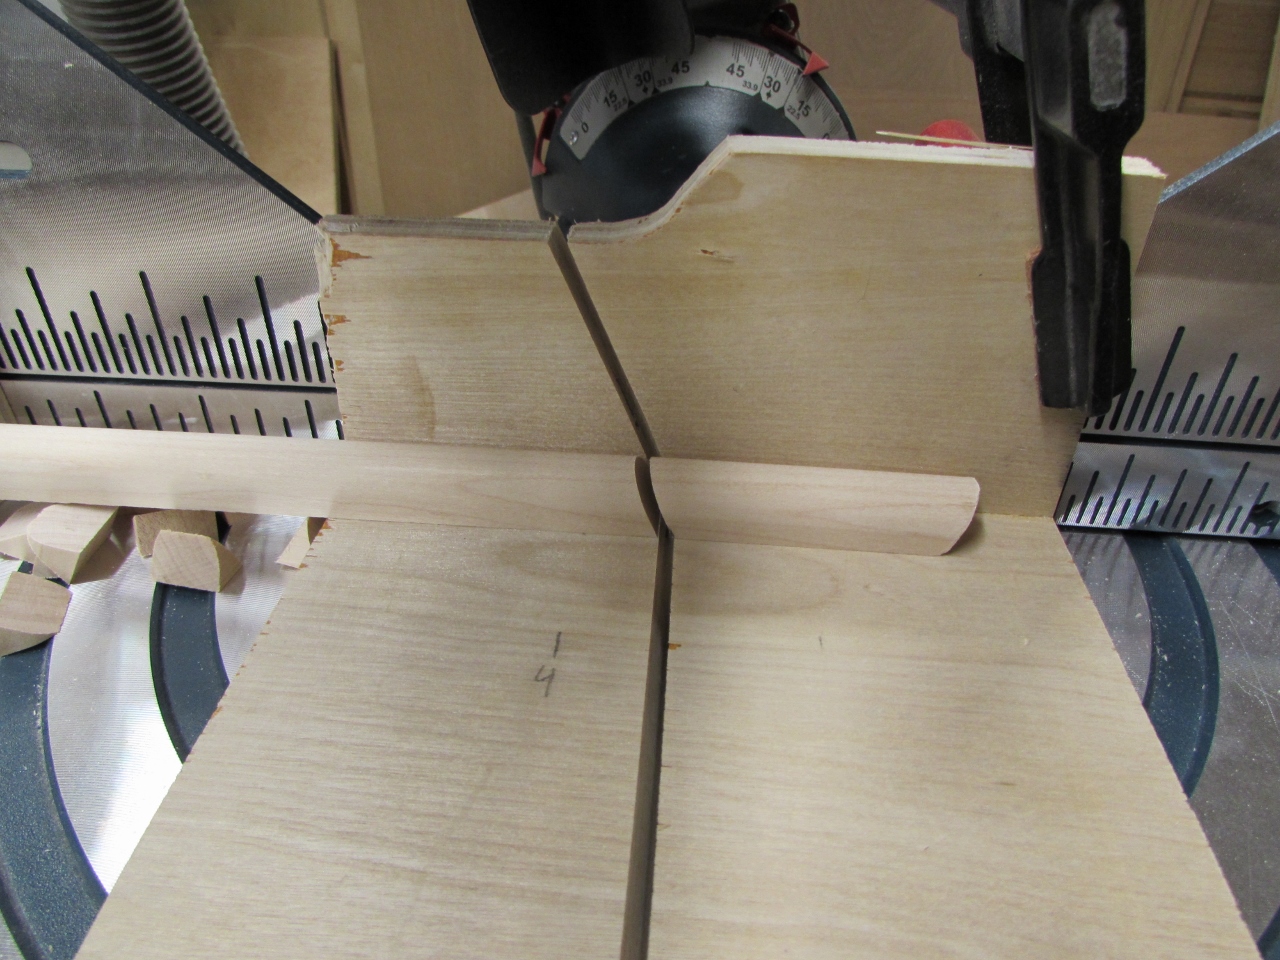
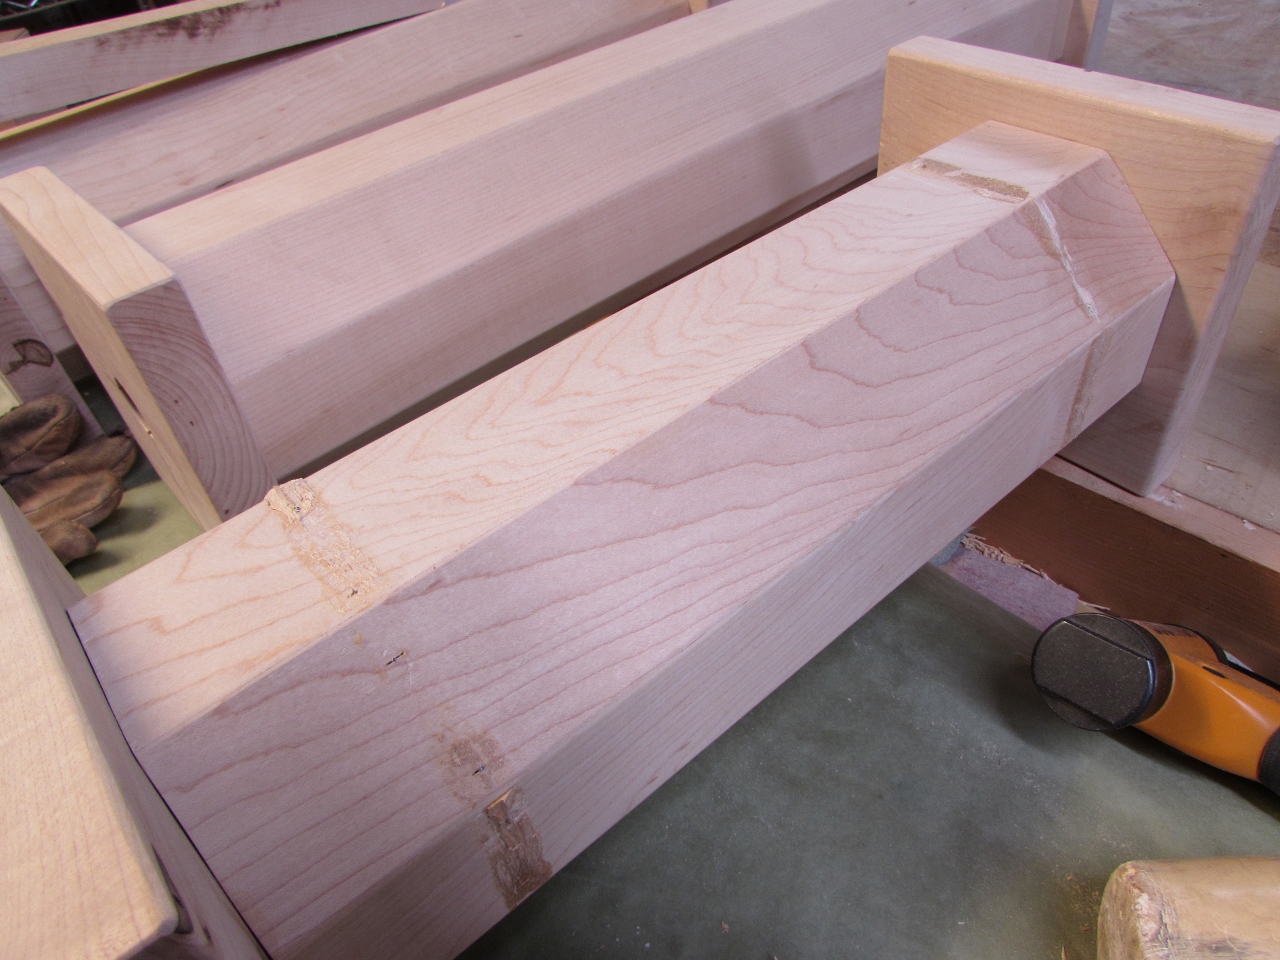
When the columns were dry, I cut them down to the proper length.
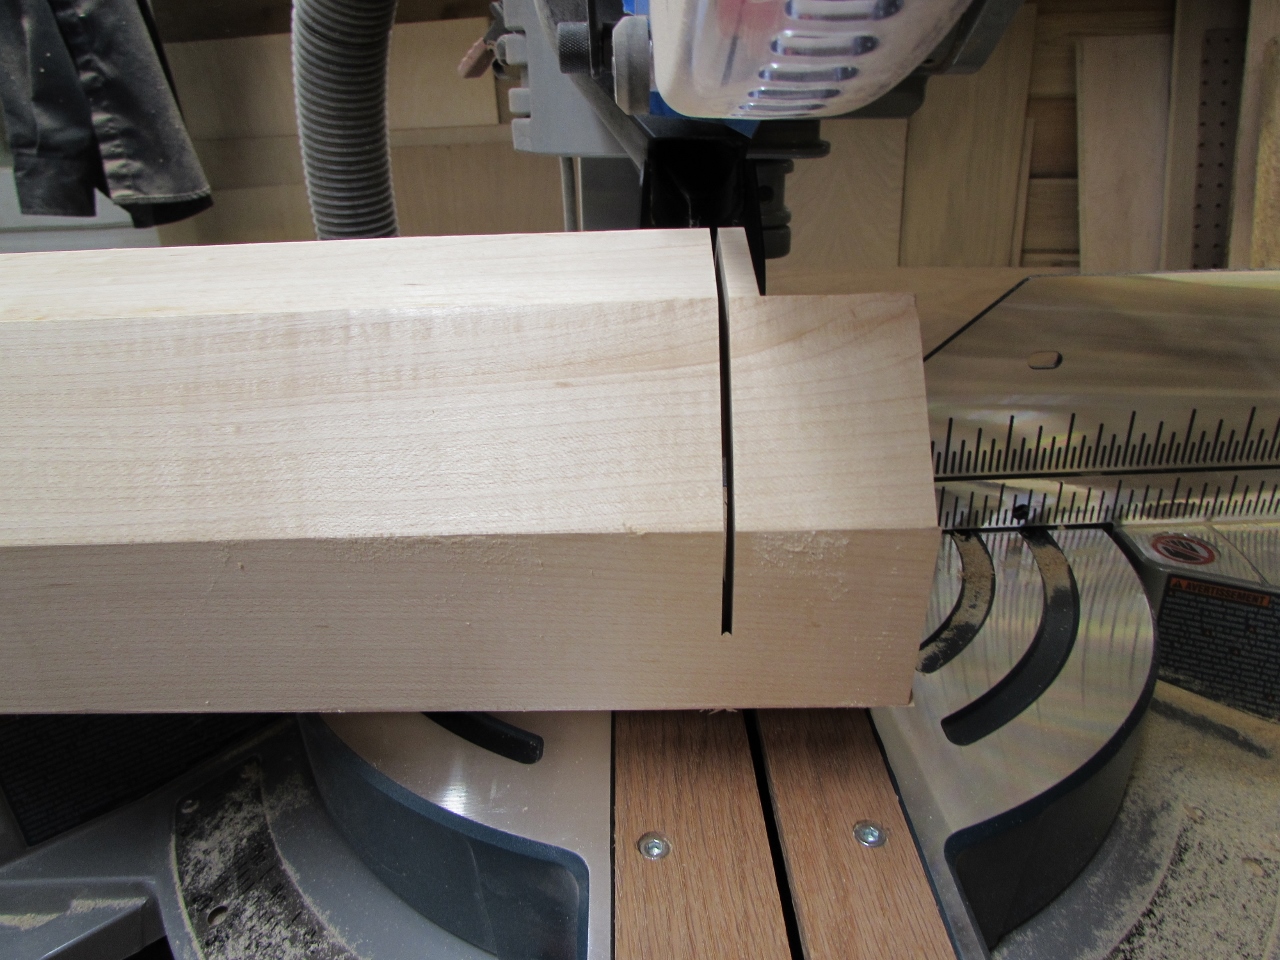
My miter saw could cut most of the way through so I finished the cut with my pull saw.


One column down, and two more to go.
While the next one was drying, I cut out three 7″x7″ pieces for bases.
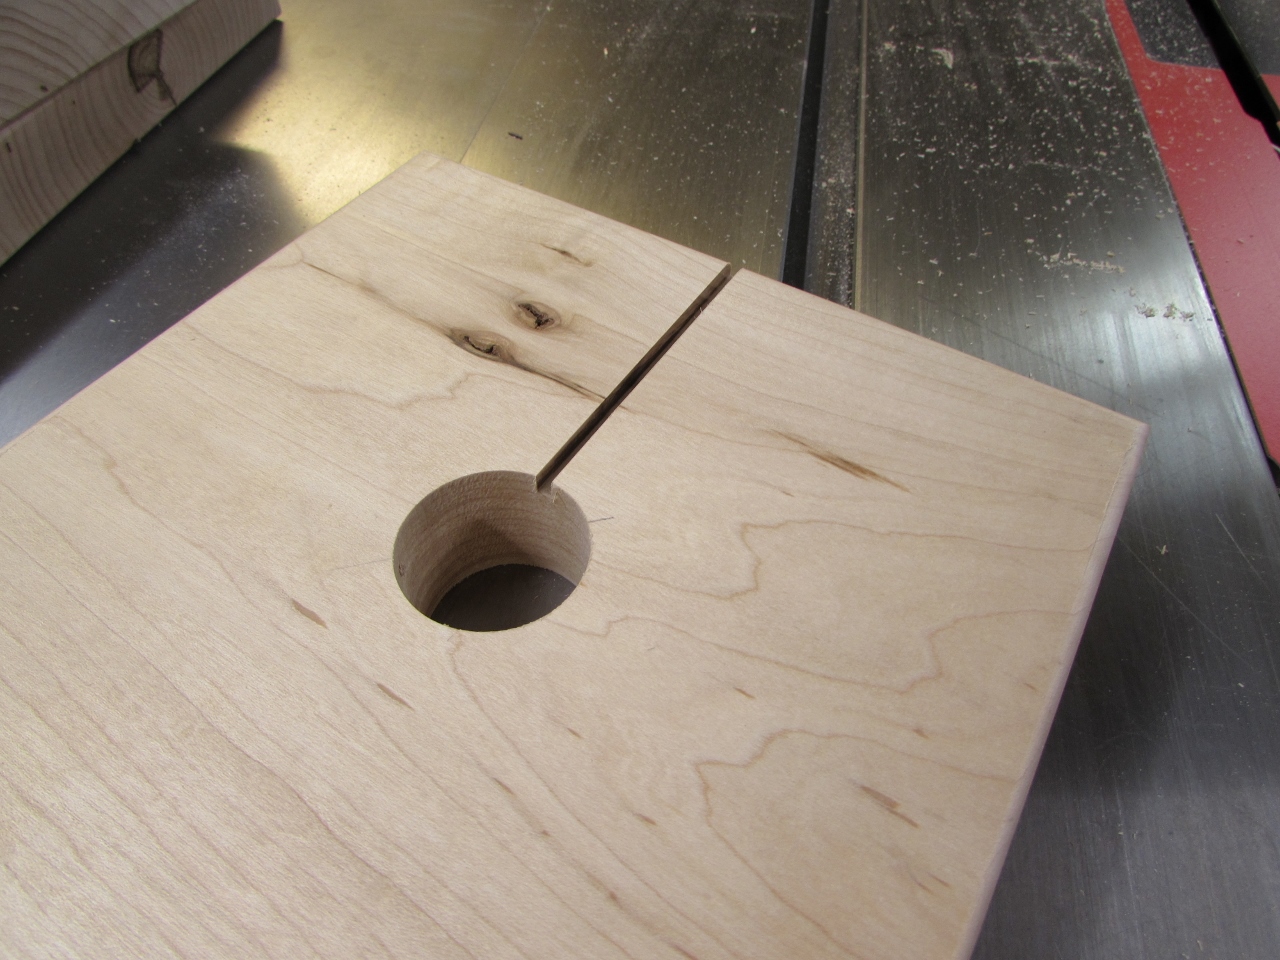
I rounded all of the edges on both the tops and the bottoms, then drilled out a 1″ diameter hole in the bottom pieces, to pull the wire out of.

I cut a kerf-wide groove in the bottom of the base pieces for the wire to run through.
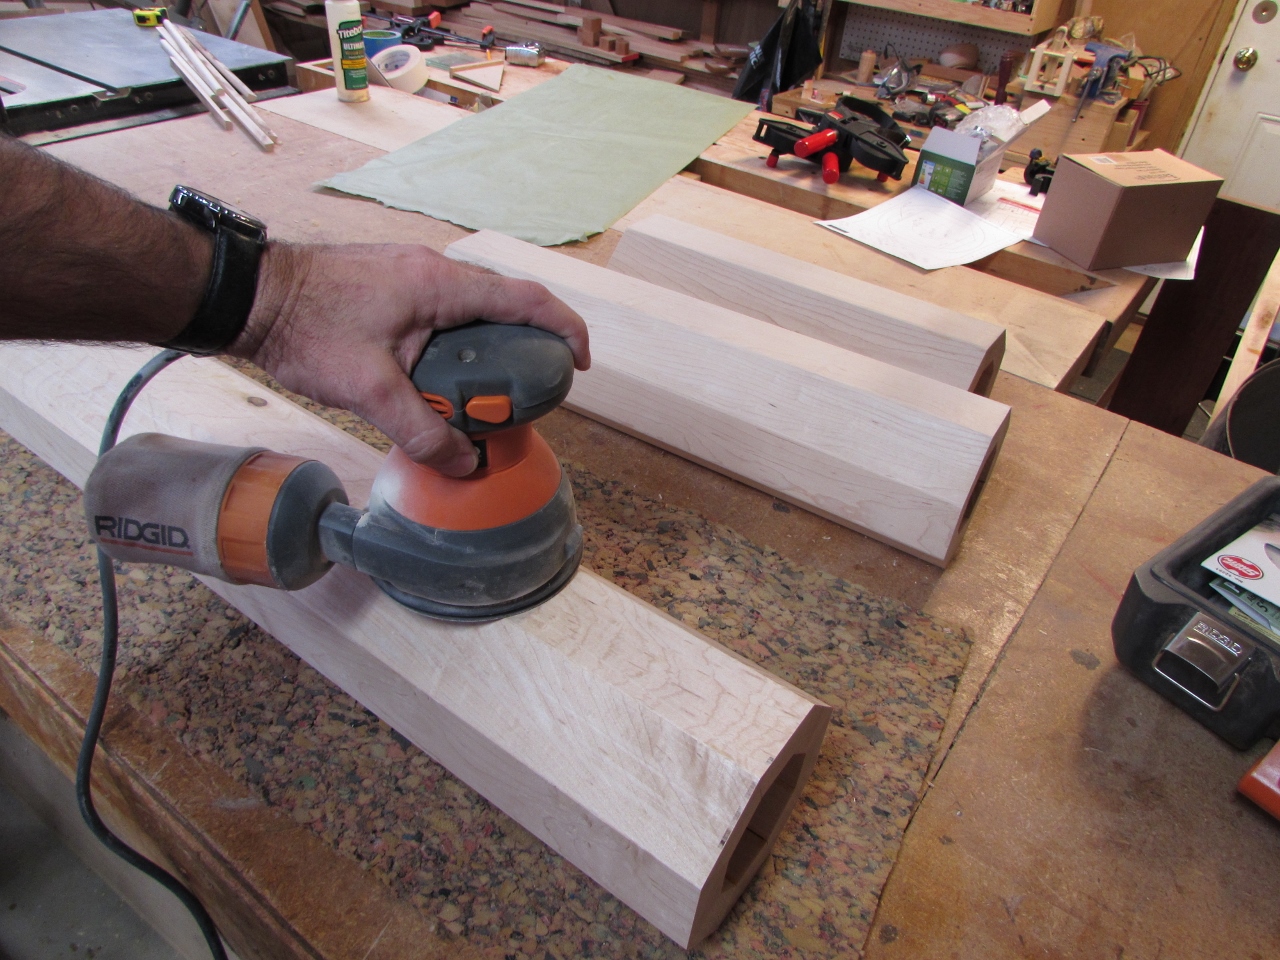
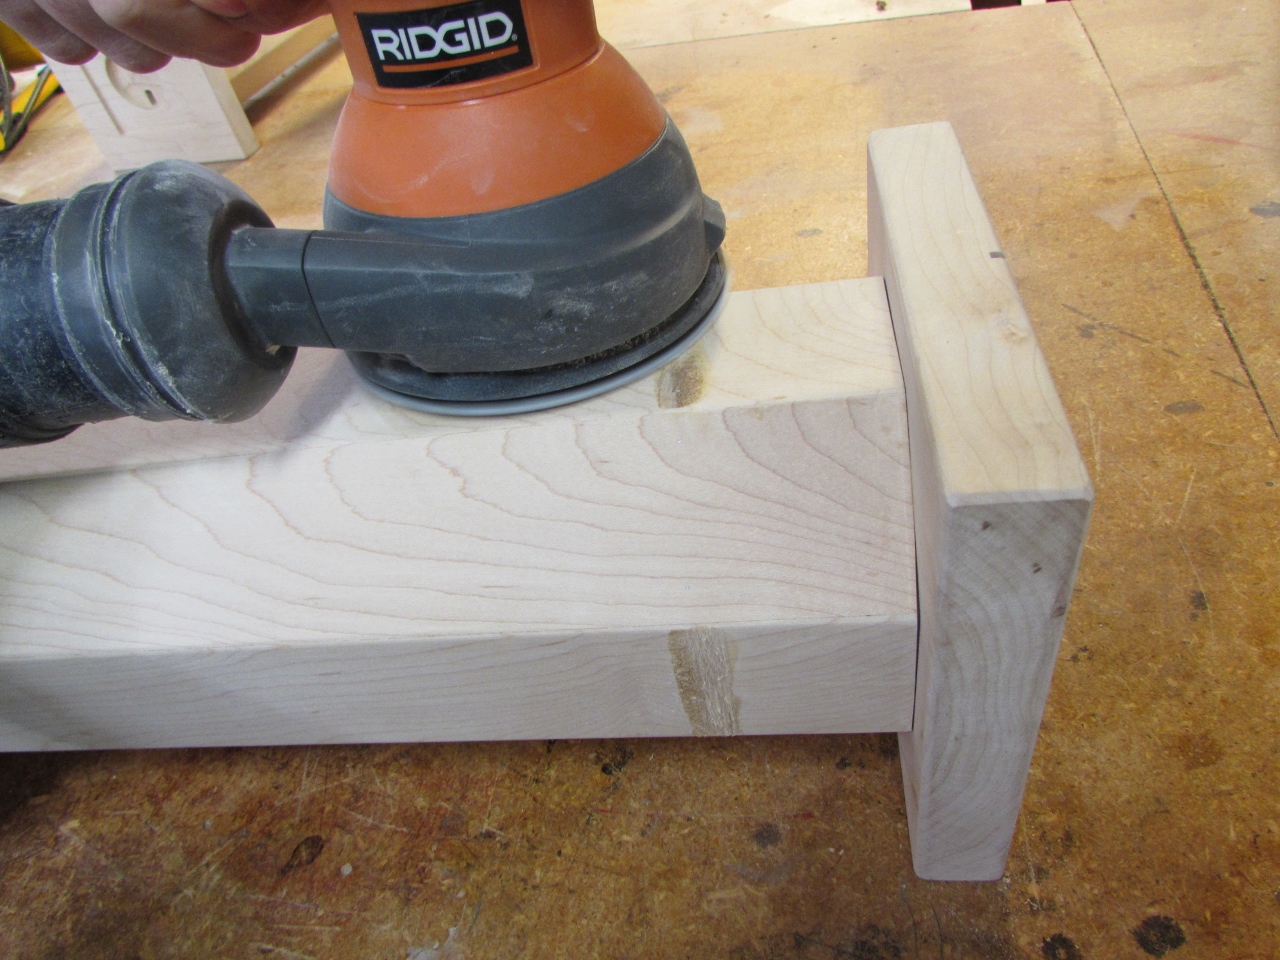
Then it was time to sand everything down.

I even got in a little hand-sanding in the smaller areas.

Now for the hard part, I want to attach the top and bottom without any visible fasteners. I have decided to use dowels, but it is hard to lay the holes out perfectly on both the plate and the column.

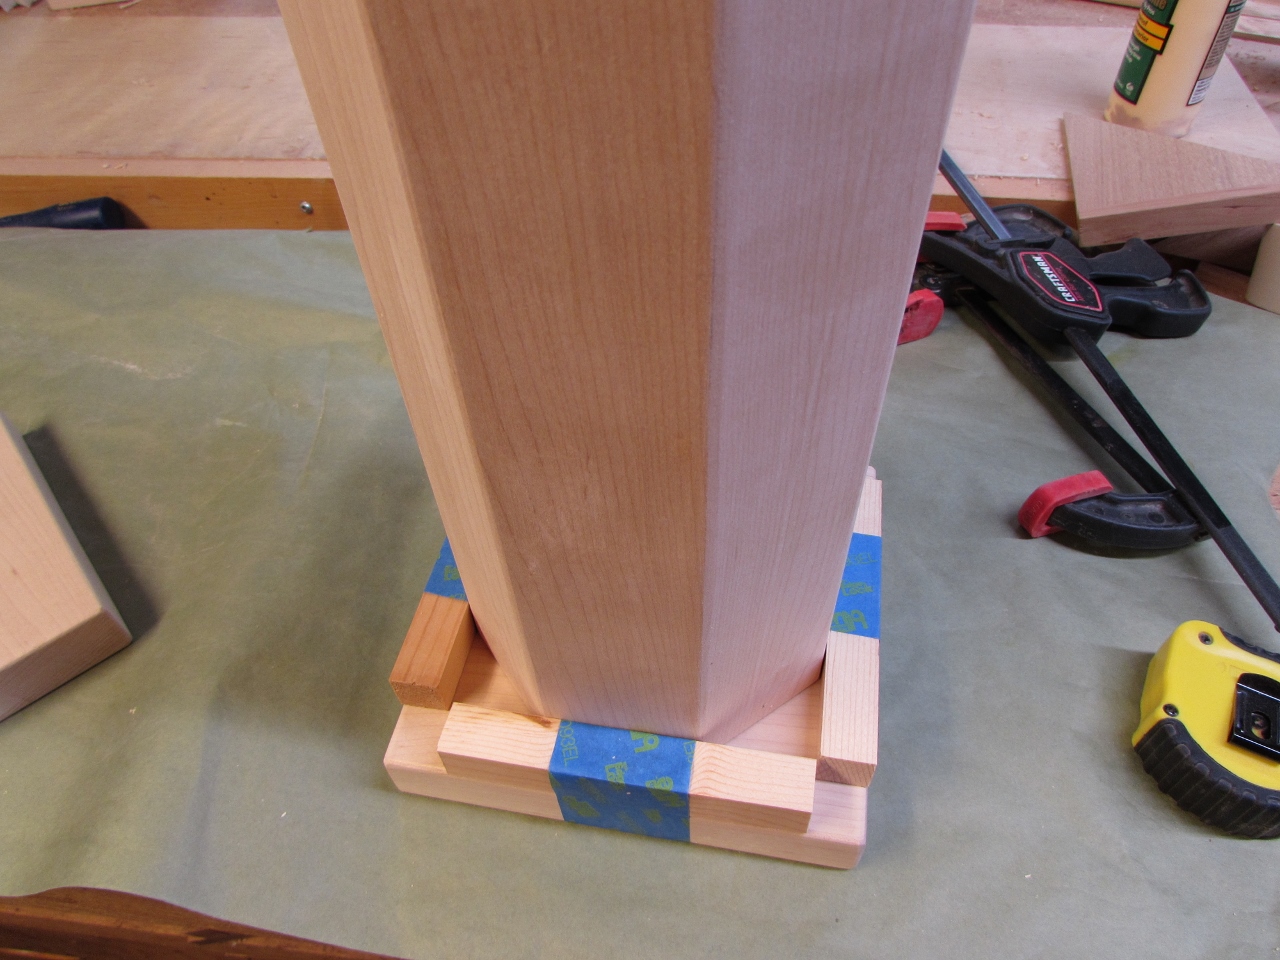
I start by creating spacers to go all the way around the plate, to locate the column approximately in the center.
Then I drill three holes to set my center-marking pins. I have never had a drill bit do this before… It just bent as soon as I started drilling. Usually they break under a lot of stress, this one just bent for no reason.
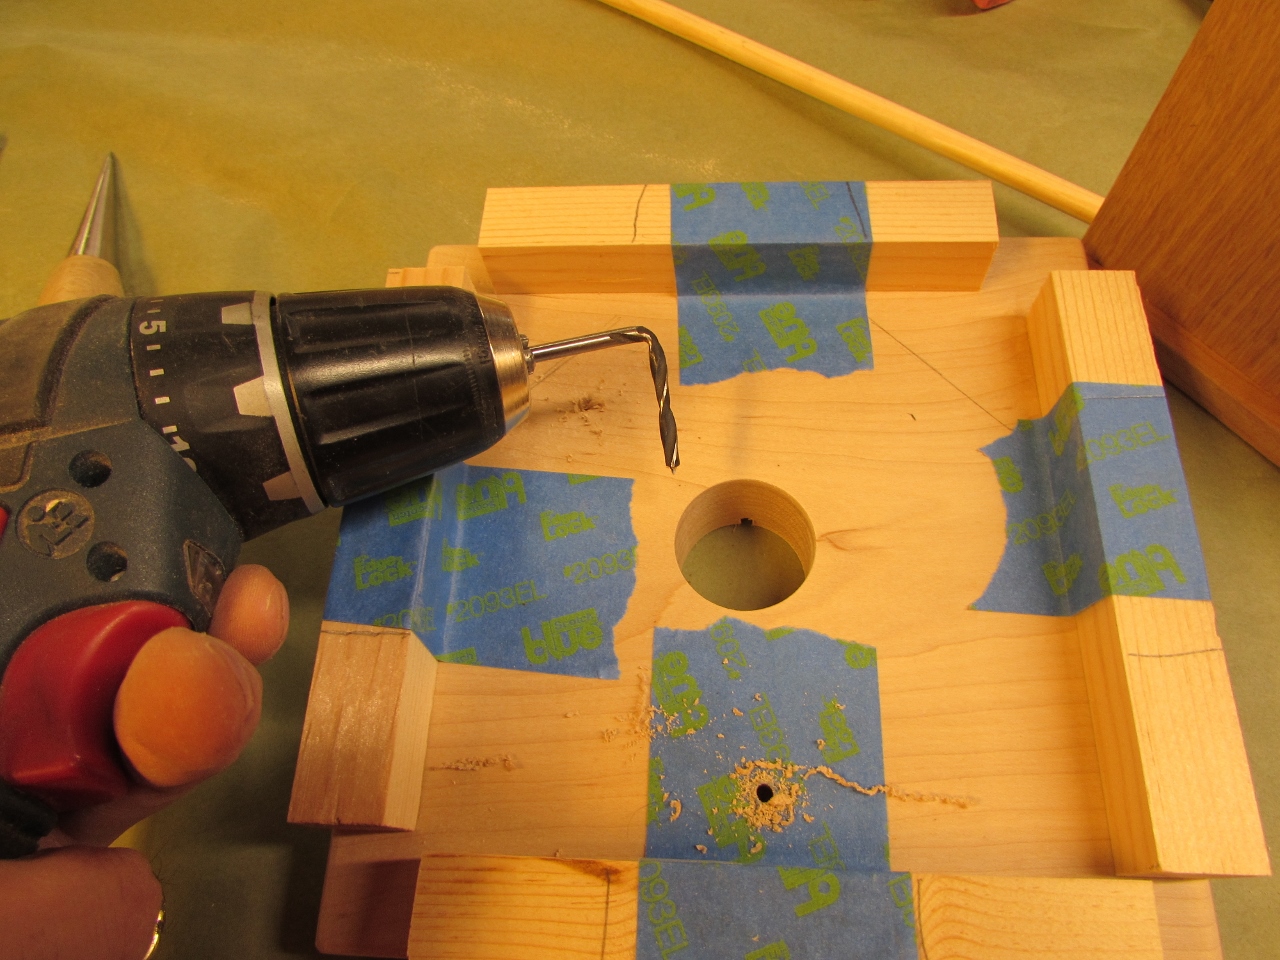
After switching bits, I drilled three holes at the approximate center of three of the slats.
I used three cut-off nails as center markers. I pressed them into the holes with the points sticking up.
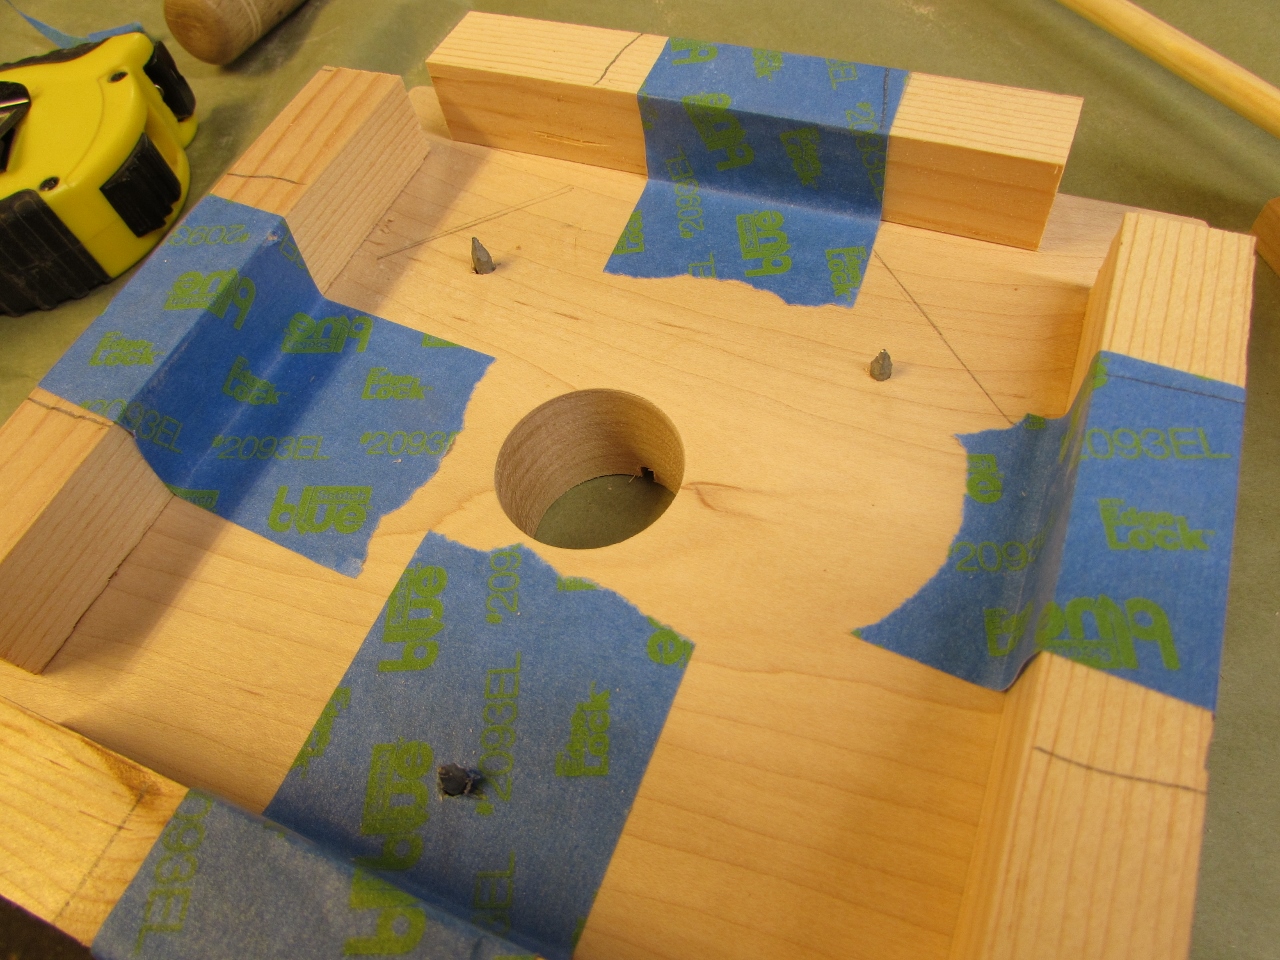
A gentle tap above each screw put a dimple at each location from the point of the nails.

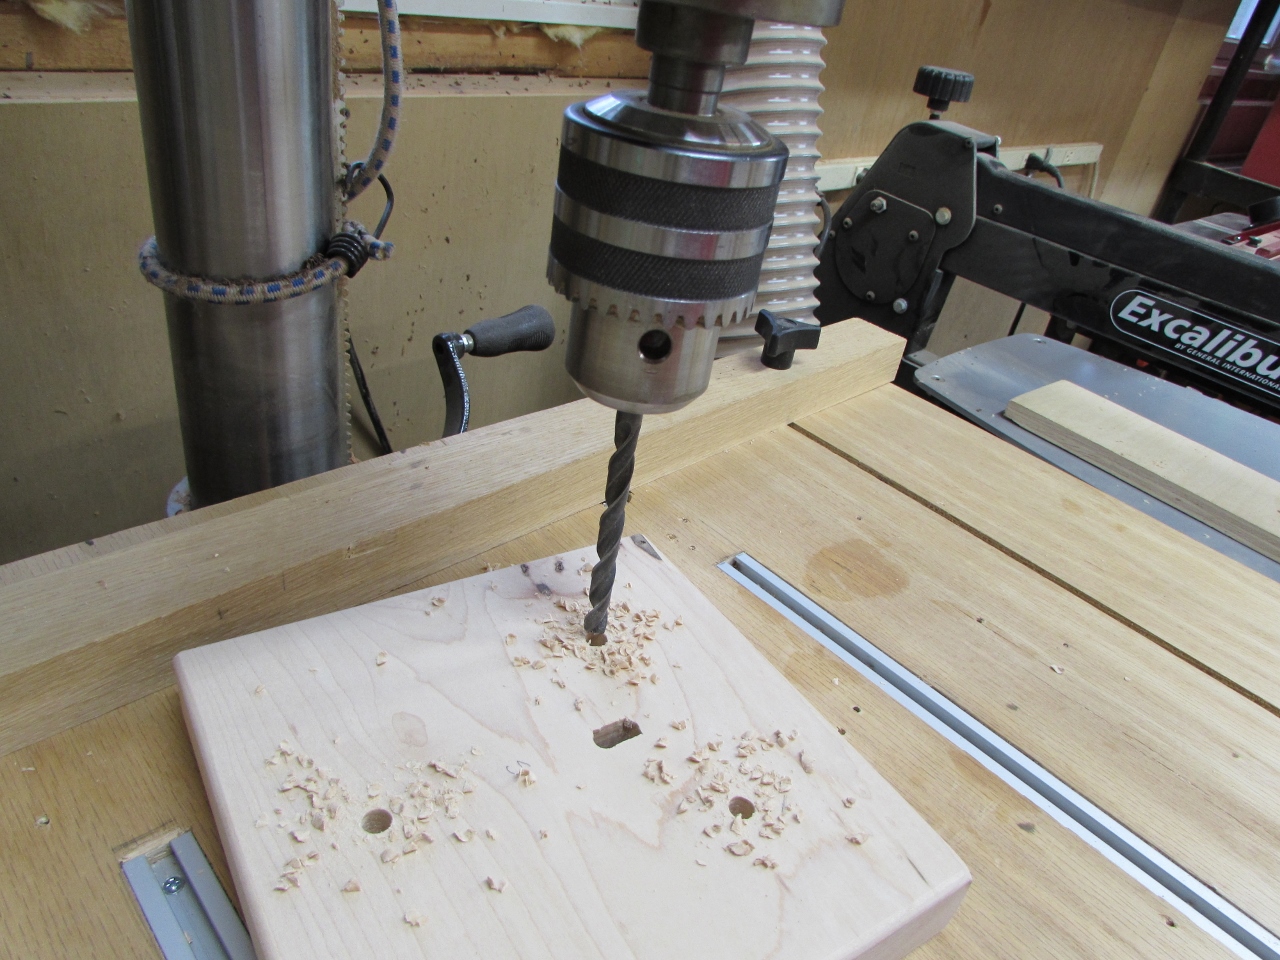
I repeated for the opposite side as well, then using the point as a center point, I drilled a 5/16″ diameter hole at each location.
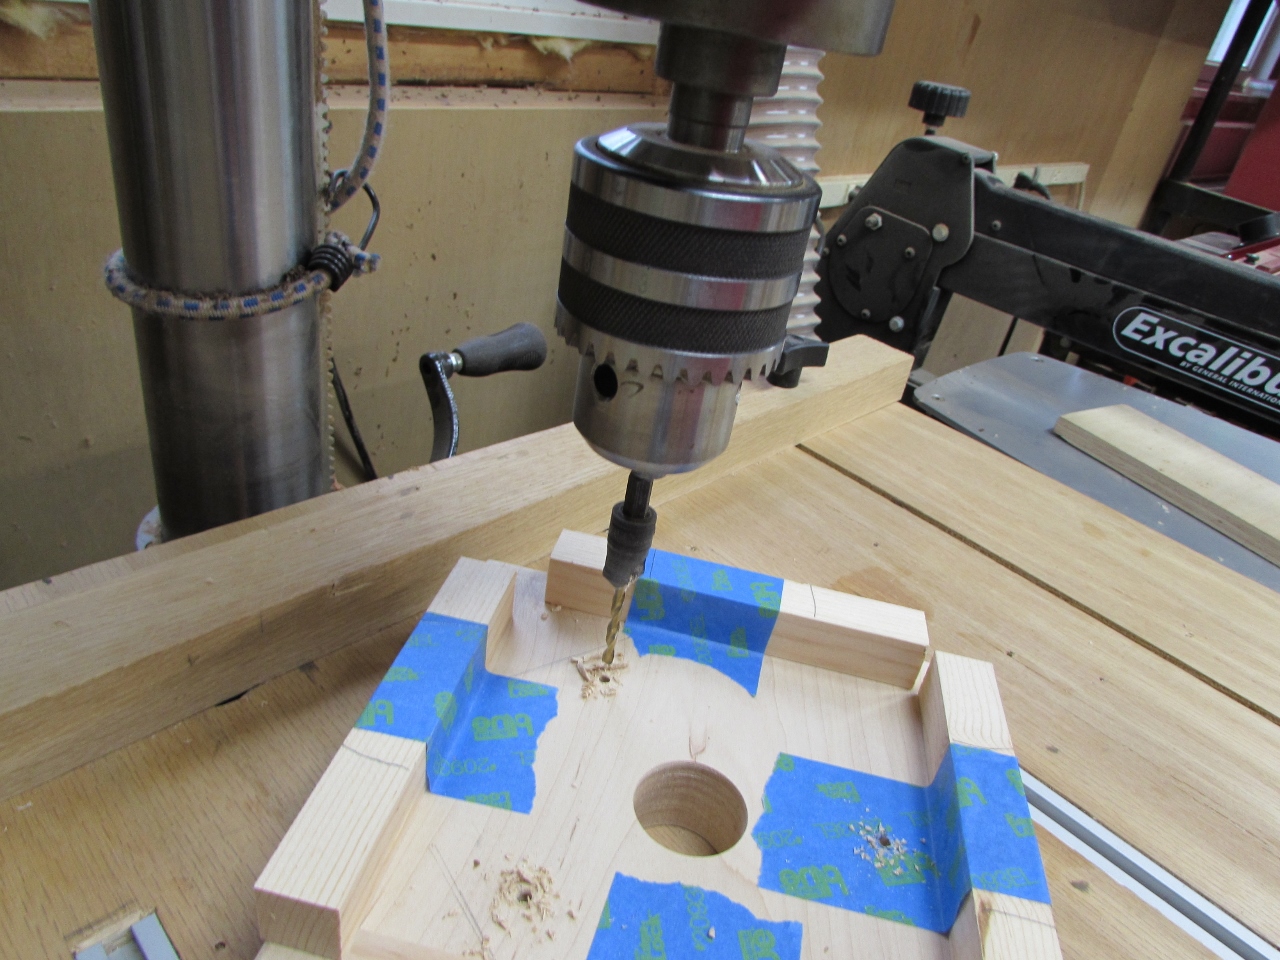
On the drill press, I drilled a corresponding 5/16″ hole where my nail holes were.
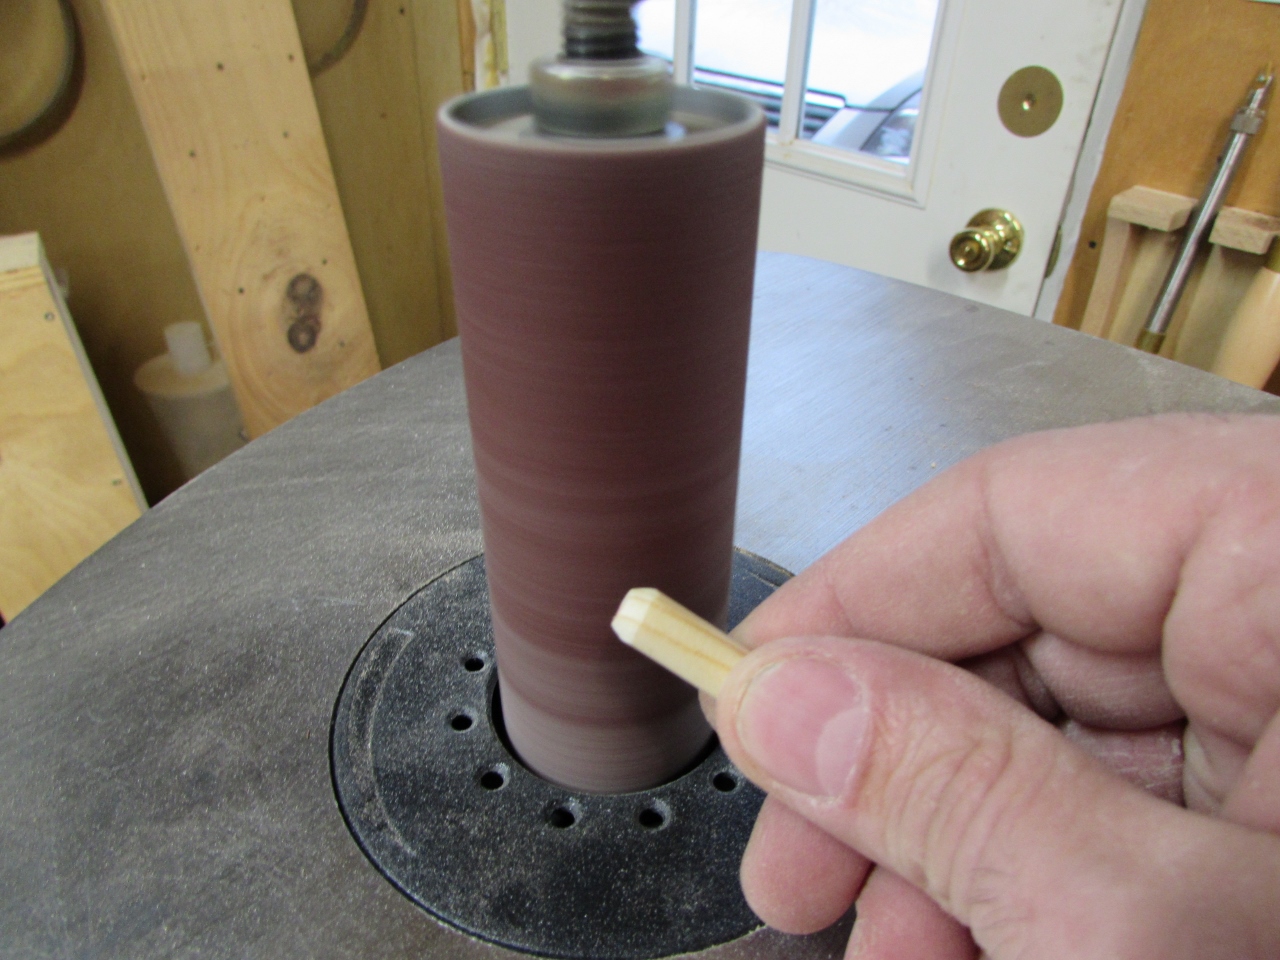
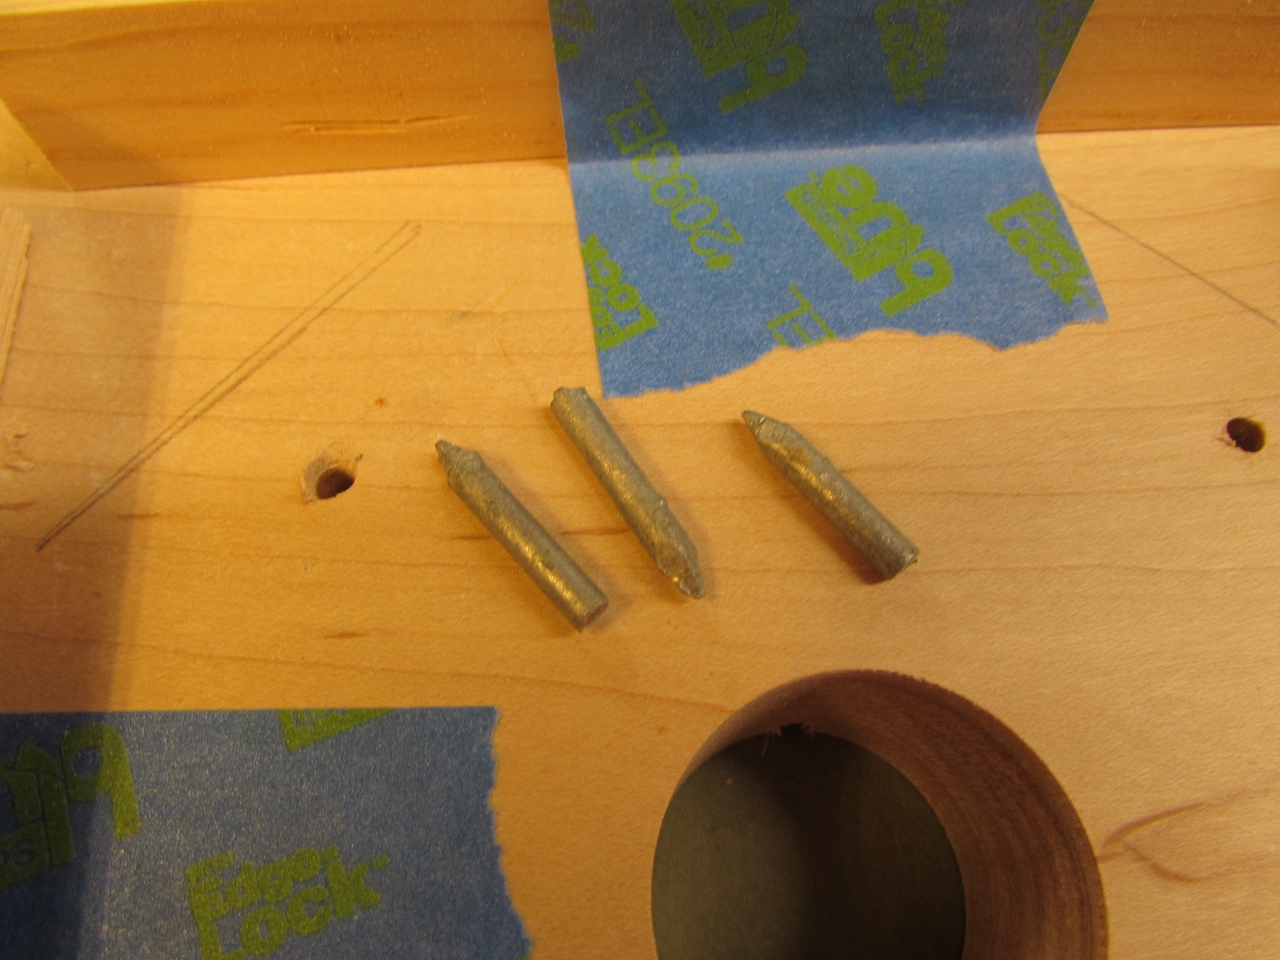
I cut down some 1″ long pieces of 5/16″ dowel, and tapered one end on my sander.
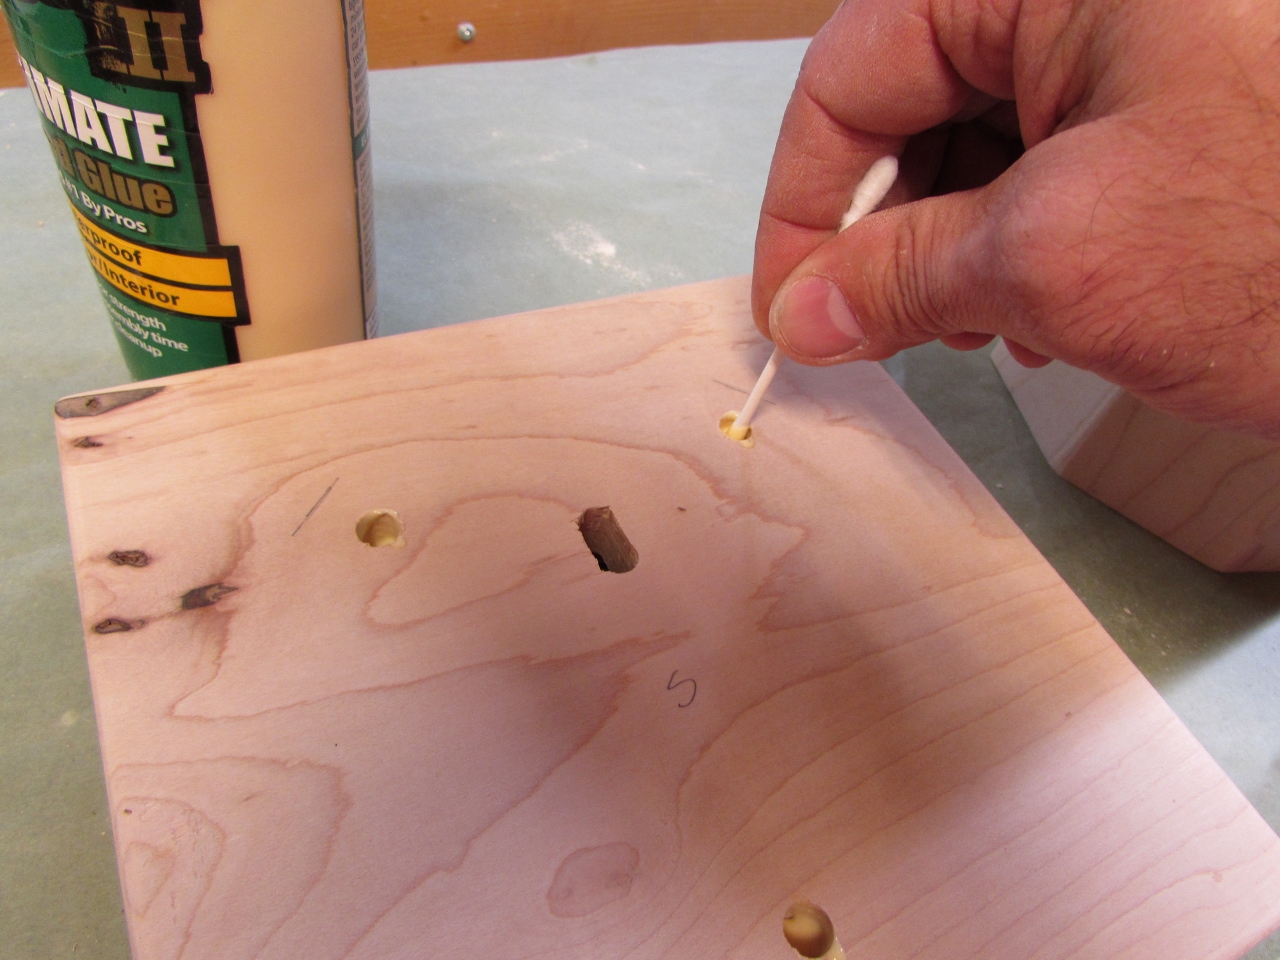
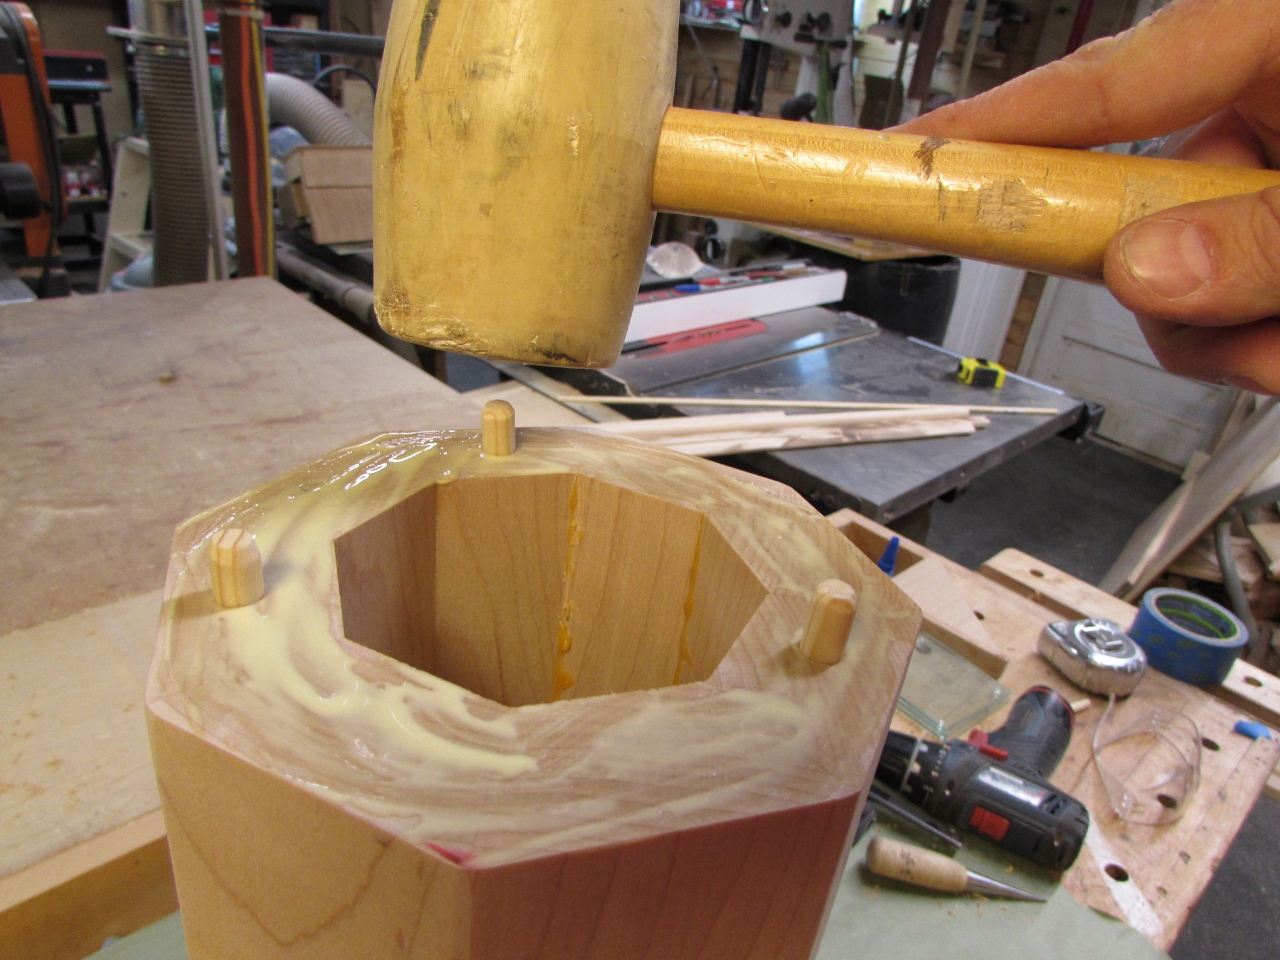
I applied glue to each hole as well as the column ends, then pressed the dowels in place, leaving the tapered ends pointing up to ease installing the plates.

Once both ends were capped, I used three clamps each, to hold them till they dried.
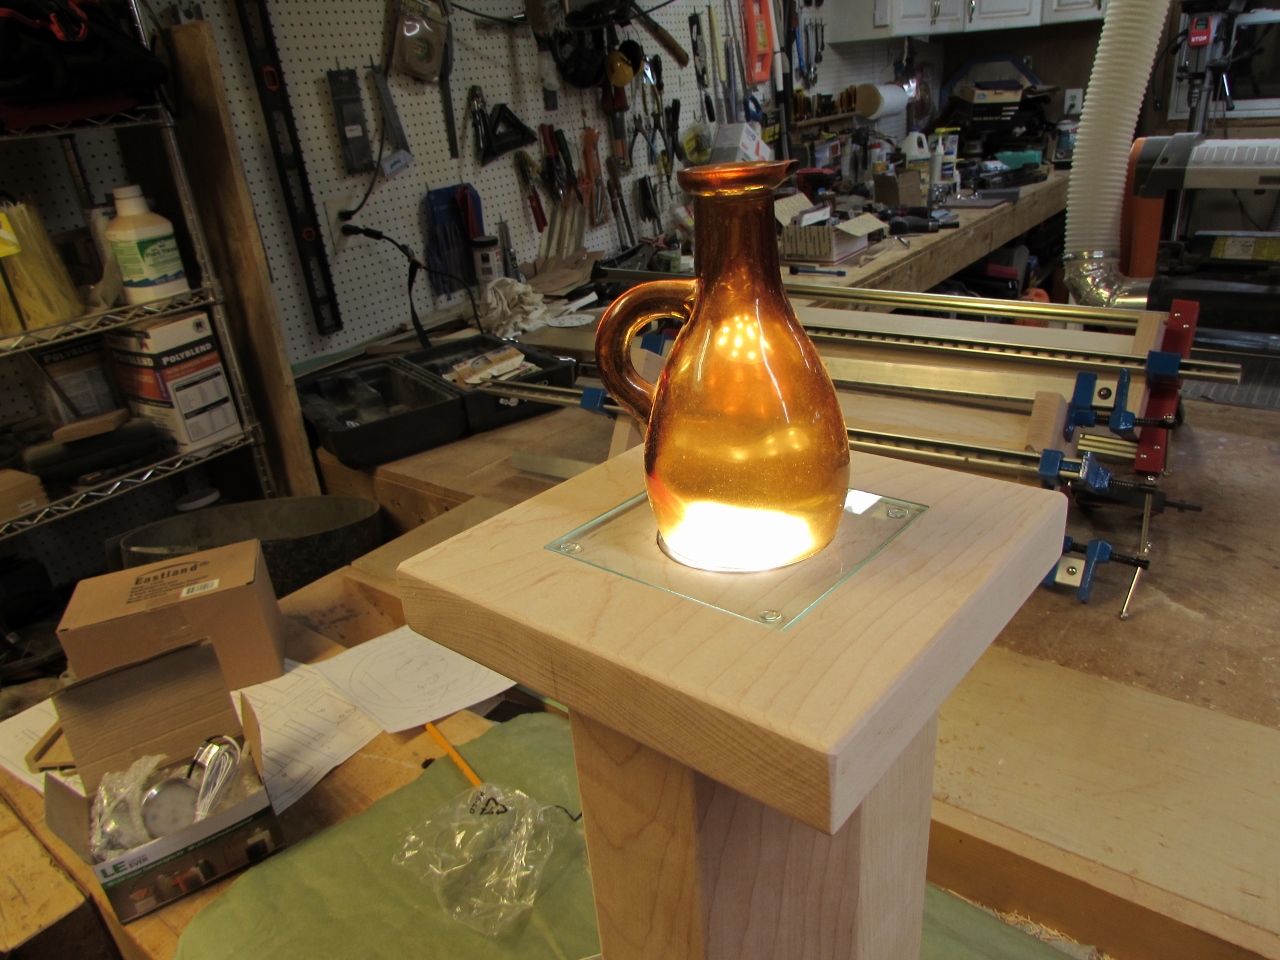
When they were set, I tested one of the lights to see how well it would illuminate a bottle. Not bad.
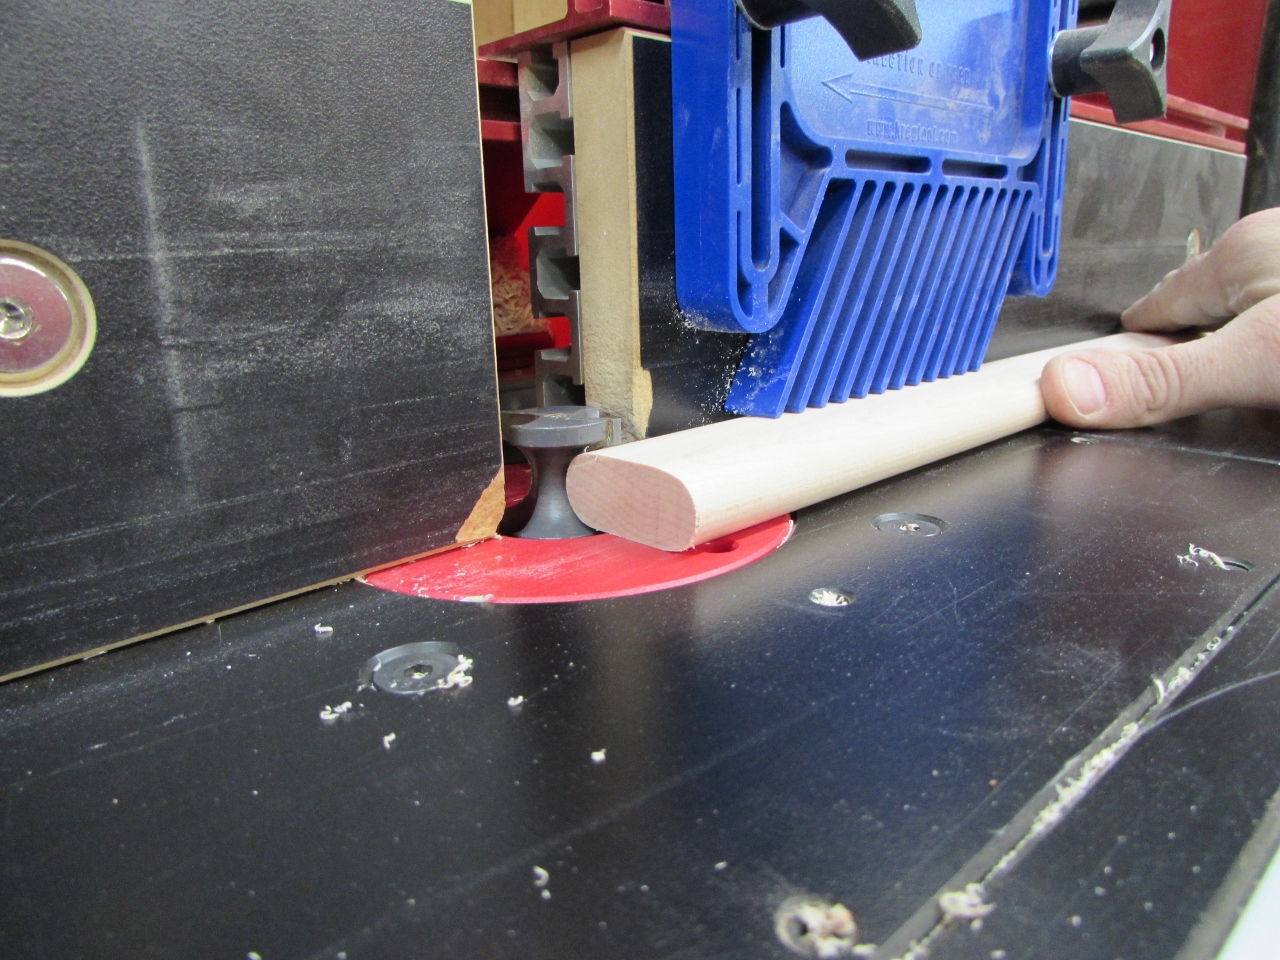
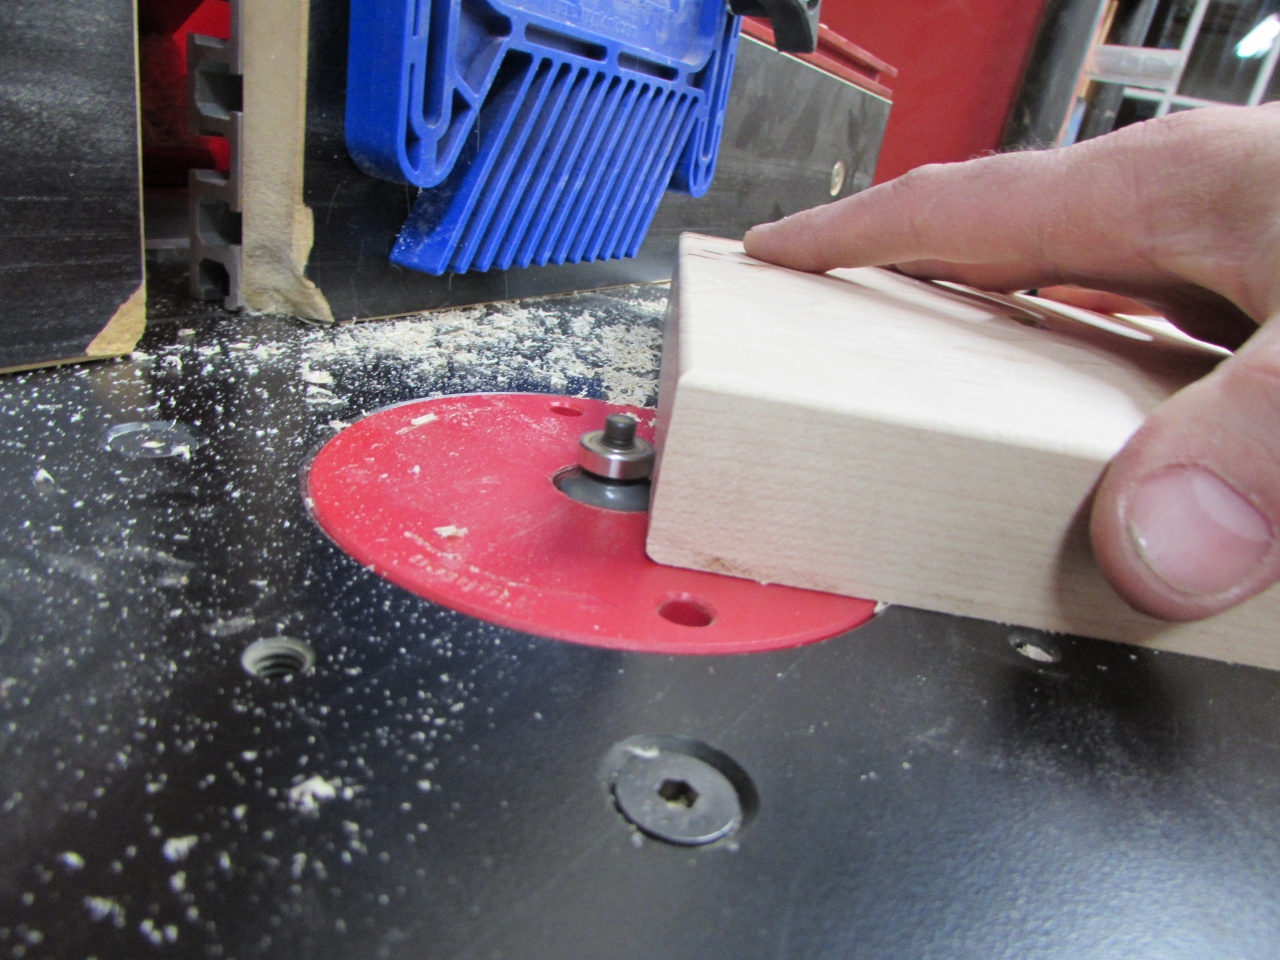
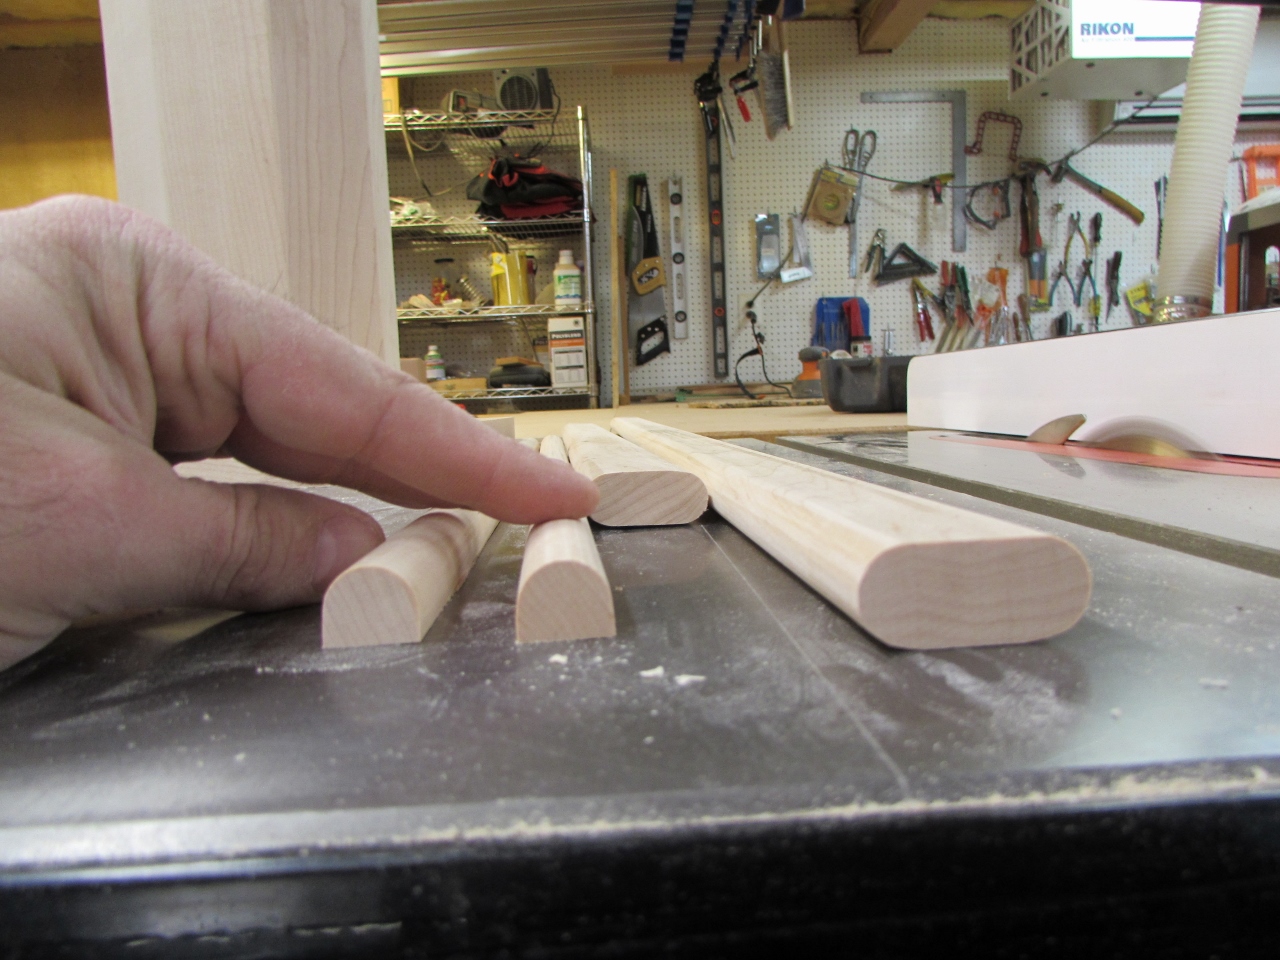
The next step is to put a bead around the top and bottom of each column. I start by cutting some 5/8″ thick by 1-1/4″ wide strips, then I routed a half-round onto each side.
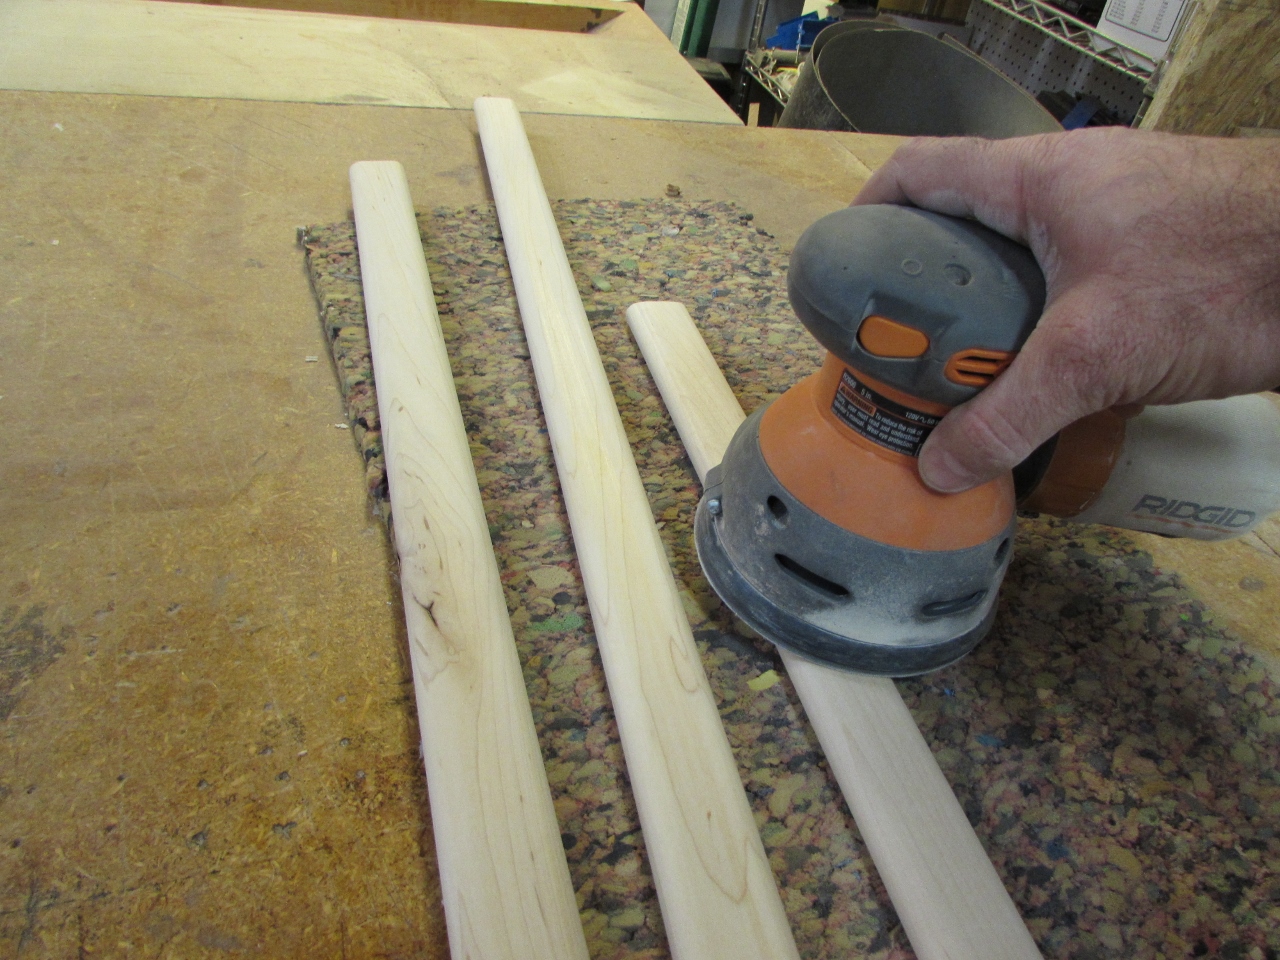
I sanded down all of the strips next.

Then, I set my table saw fence to 1/2″ and cut off the first side.
Flipping the slat over, I cut off the other side as well, leaving only a small strip of waste.

With the beads done, I created a spacer to hold them evenly off of the base. I arbitrarily selected 2″ because that was what I thought was on the columns of the church’s altar.

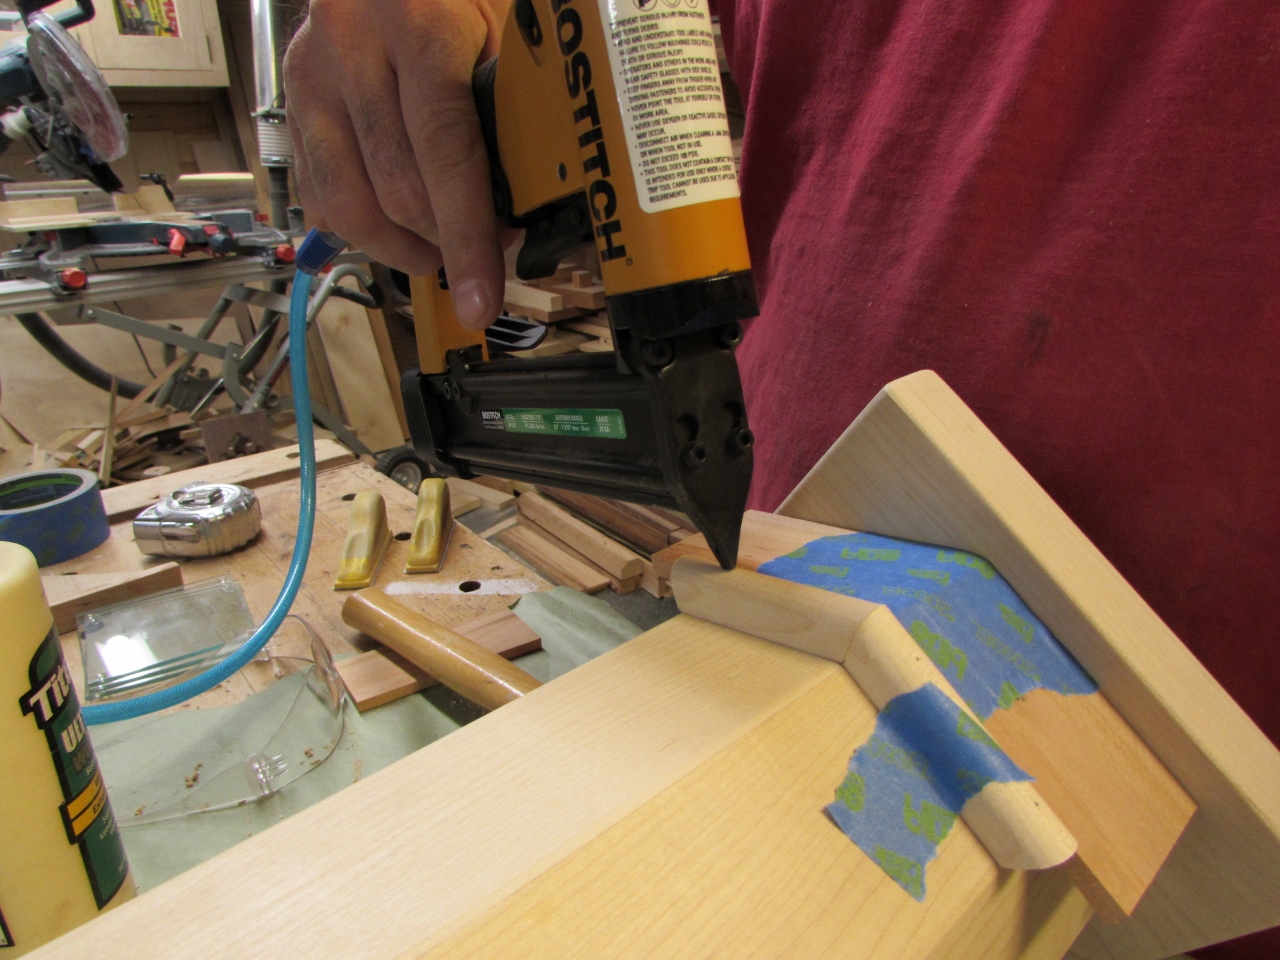
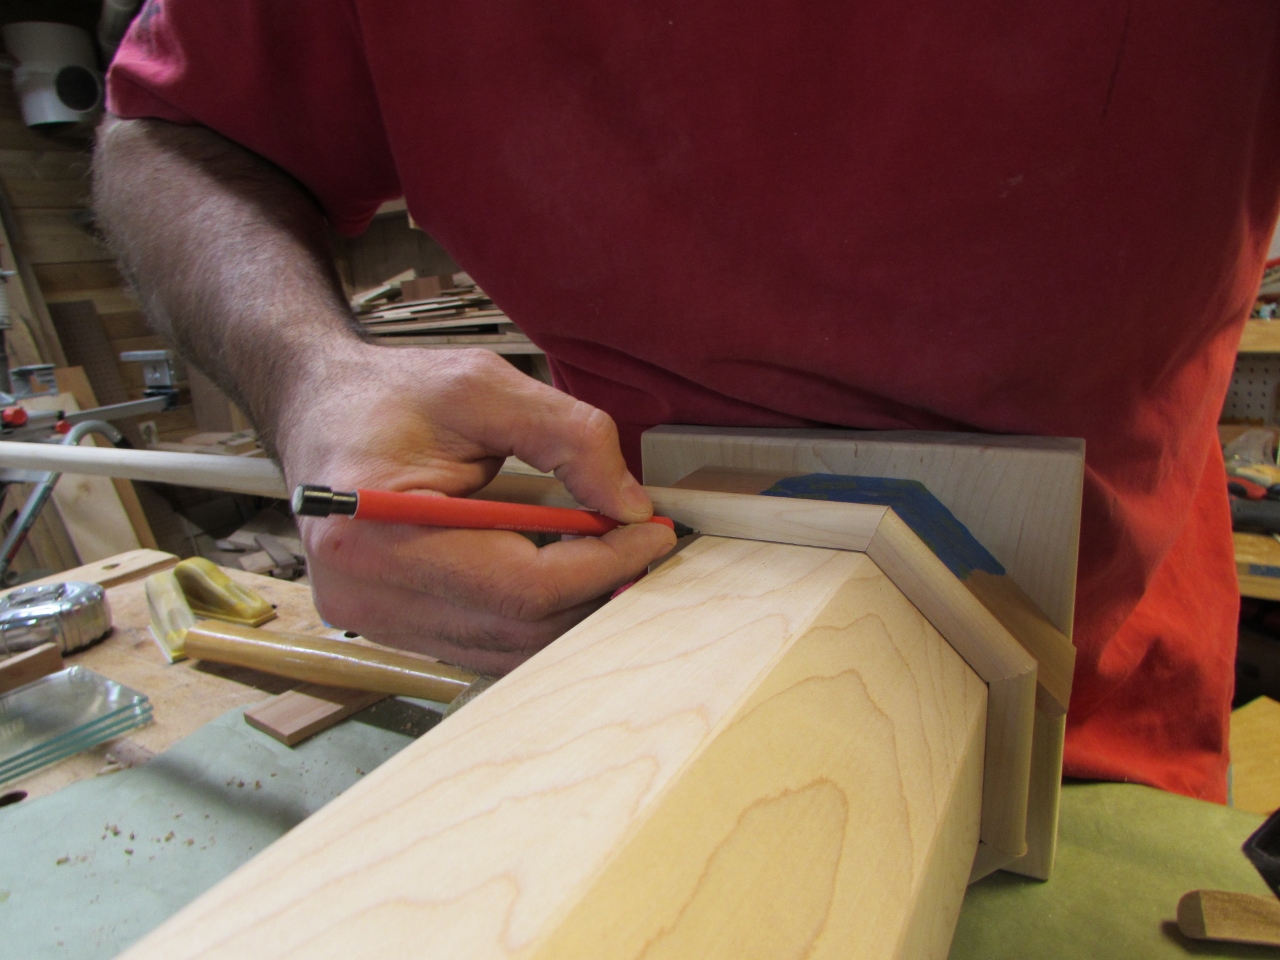
I set my miter saw to 22.5 degrees and started cutting sections of the bead.
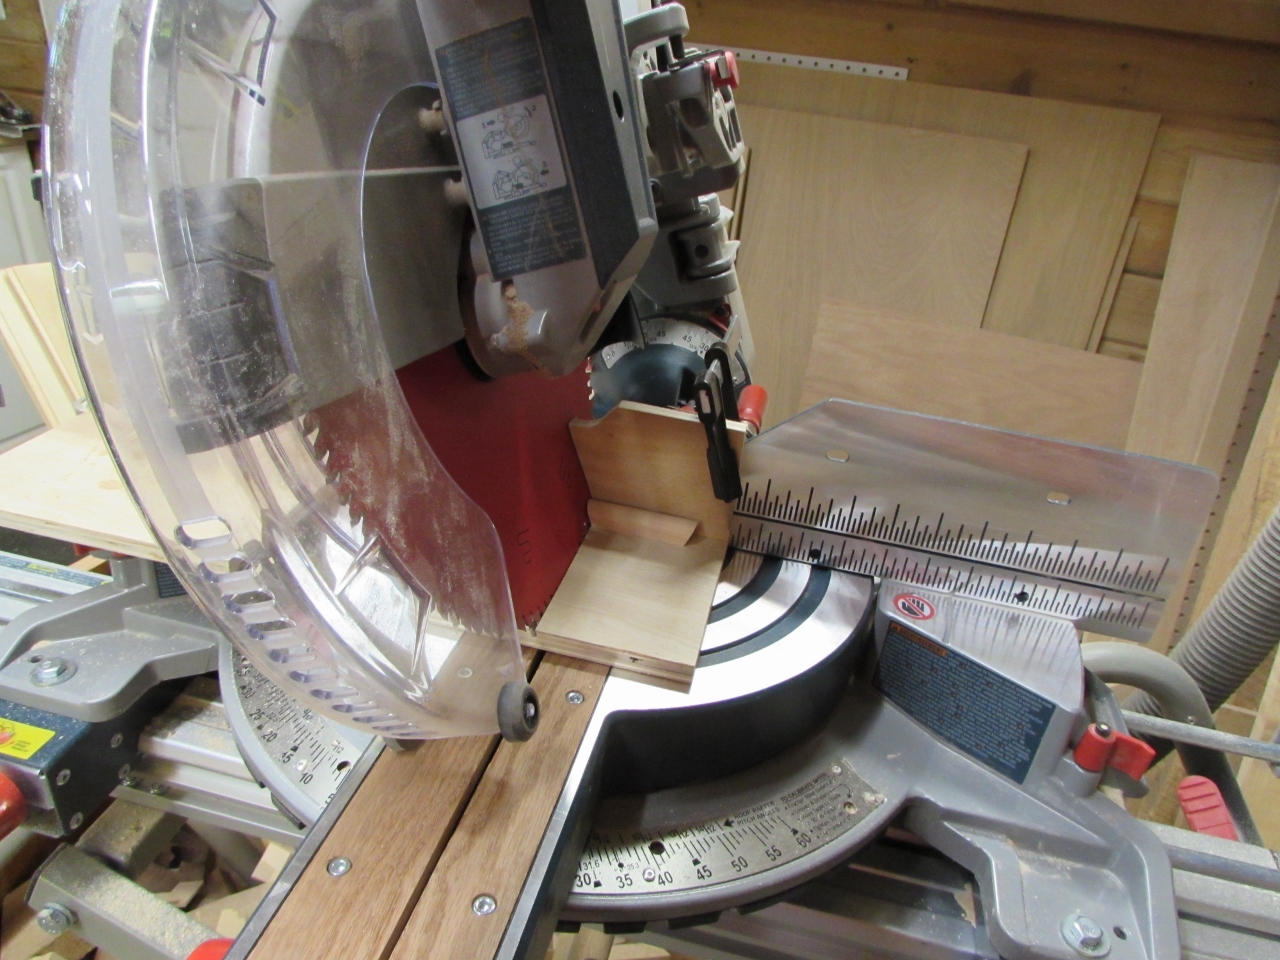
I used a sacrificial plywood fence for safety while cutting smaller parts. It also made it easy for me to place my pencil mark accurately at the cut line, for better accuracy.
I marked and cut each one, one at a time, then glued and pin nailed them on.
Being very careful and doing them one at a time took a long time.
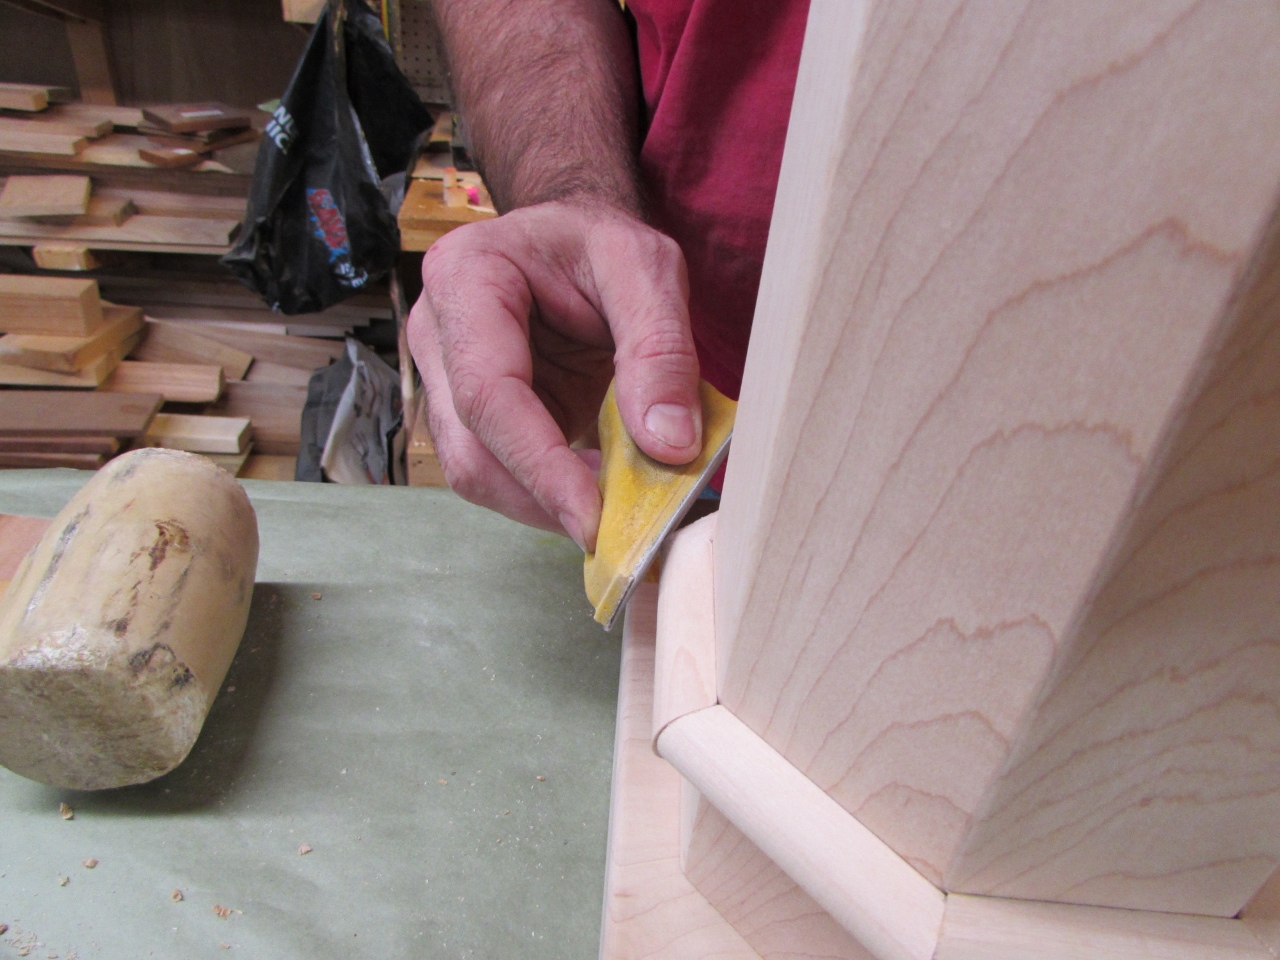
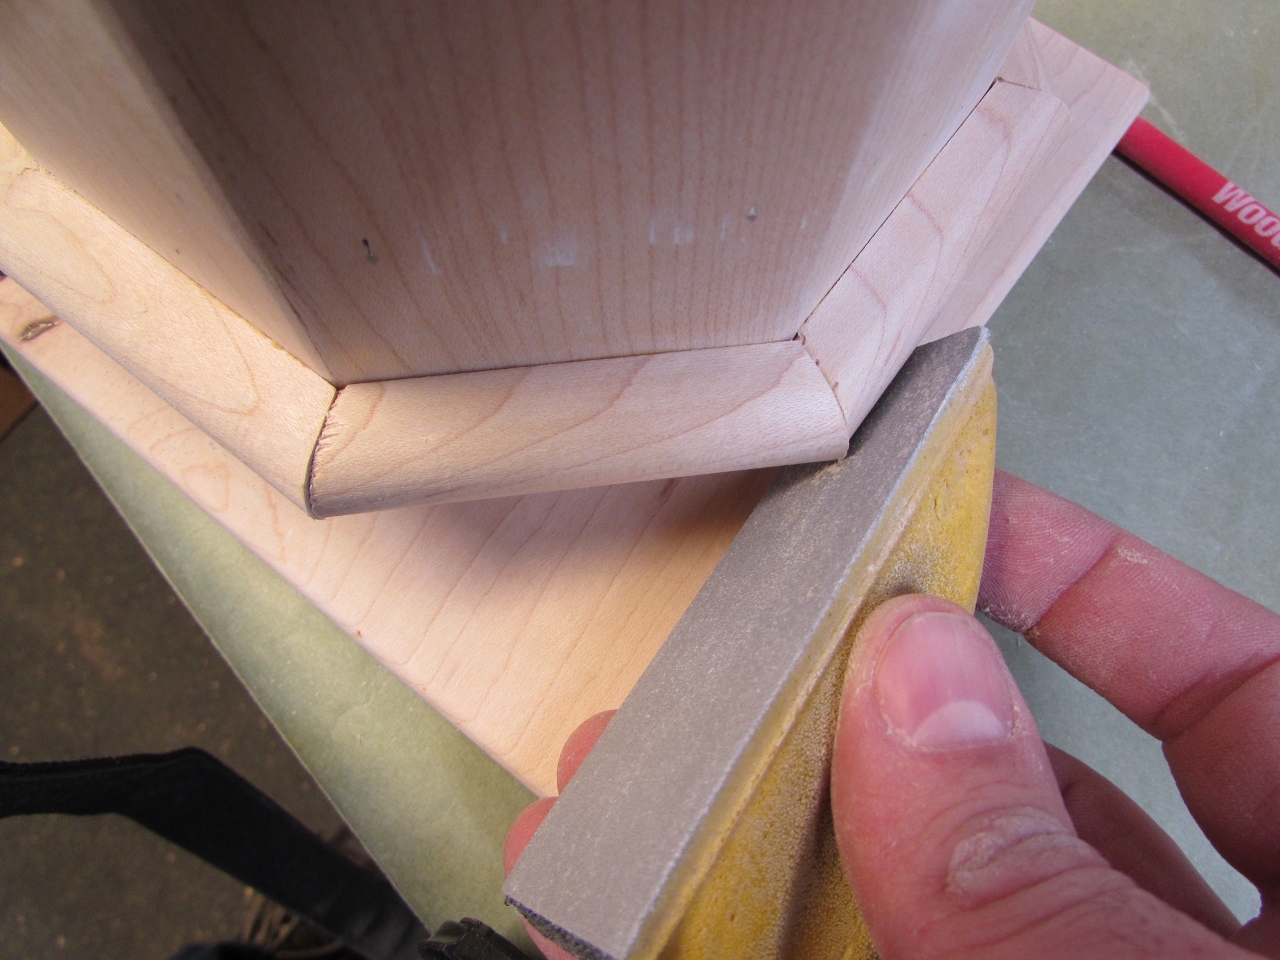
When the ring was complete, I hand sanded all of the joints smooth. This pressed saw dust into the glue-soaked joints that had gaps, effectively filling all the gaps for a seamless look.
When it was all done, I took a step back and cringed… That was definitely not the correct look. Luckily I had only done one.

When I went to church the next day, I got a picture of the columns I was trying to emulate. They were only 3/4″ off the base at most.
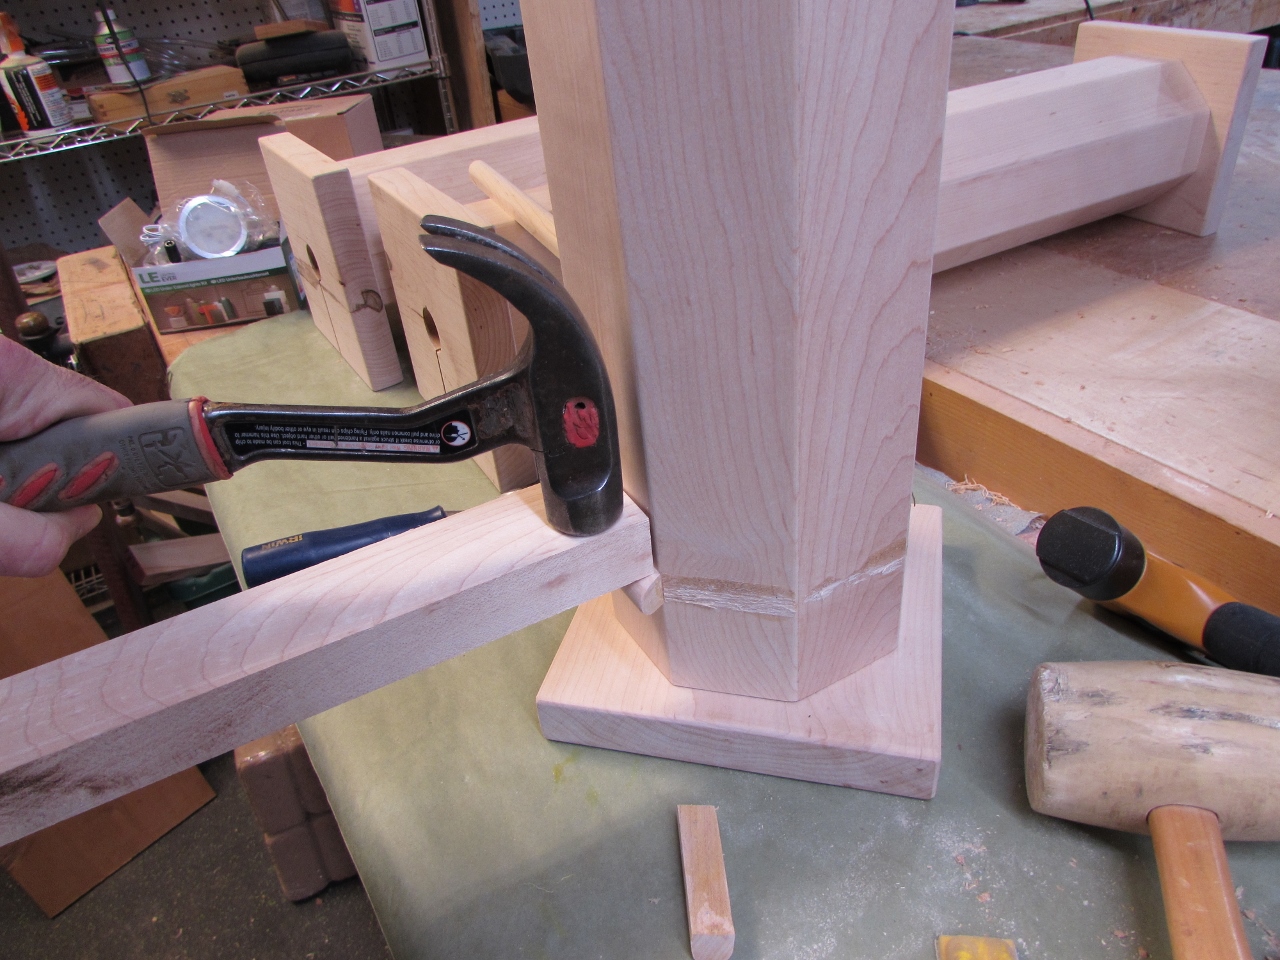
Time for a re-design. With a hammer and block of wood, I knocked off the beads I installed the night before.
Luckily it was the bead that tore apart, not much from the columns. That allowed me to sand away most of the damage.

Once sanded, the column looked normal again. Thank goodness. I really didn’t feel like starting over again.

I got back to work attaching beading only 3/4″ up off of the base this time.
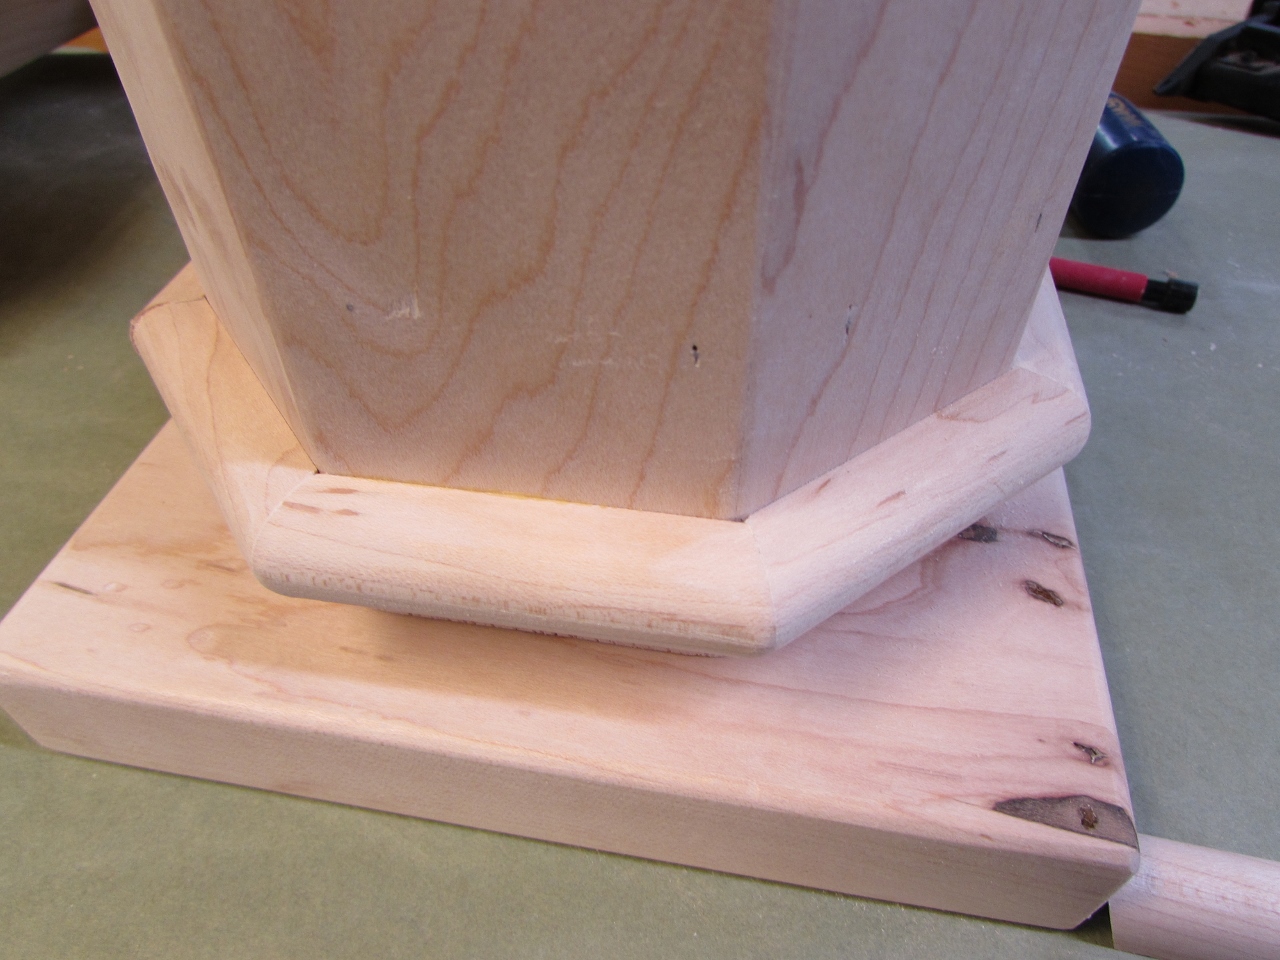
All said and done, it looked 100 times better.
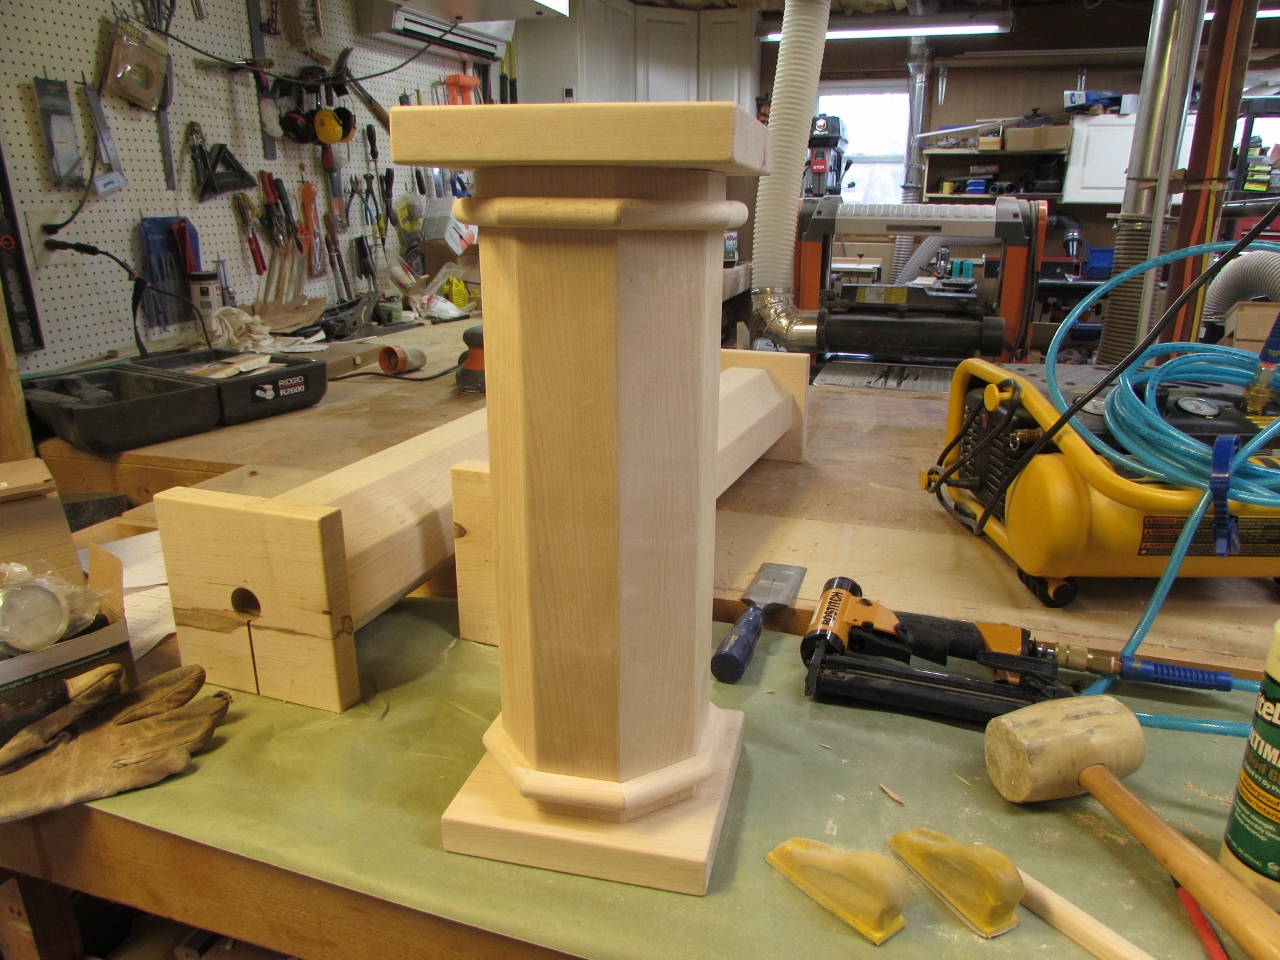
Two hours later, I had the other two done as well.
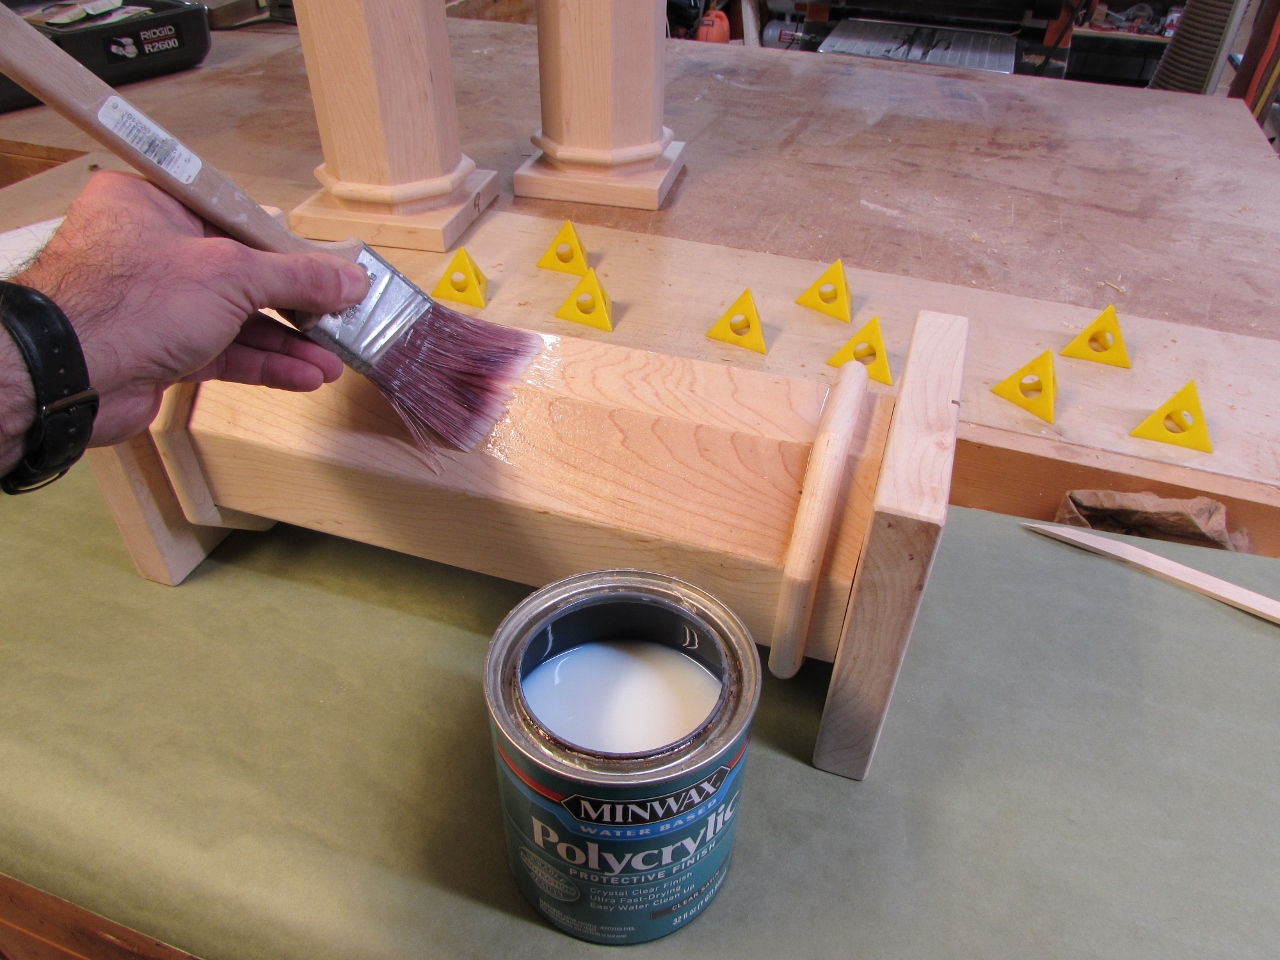
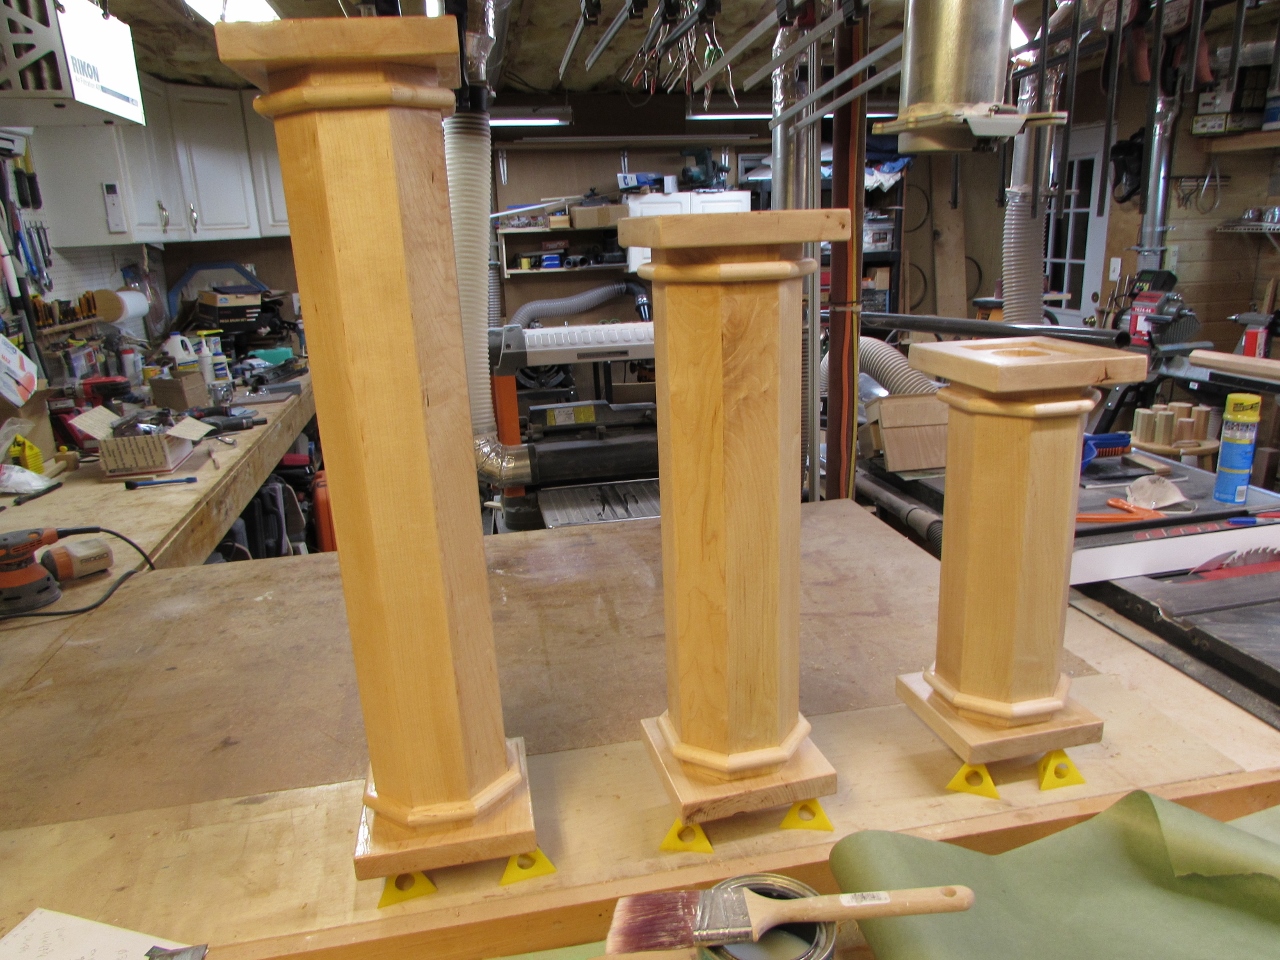
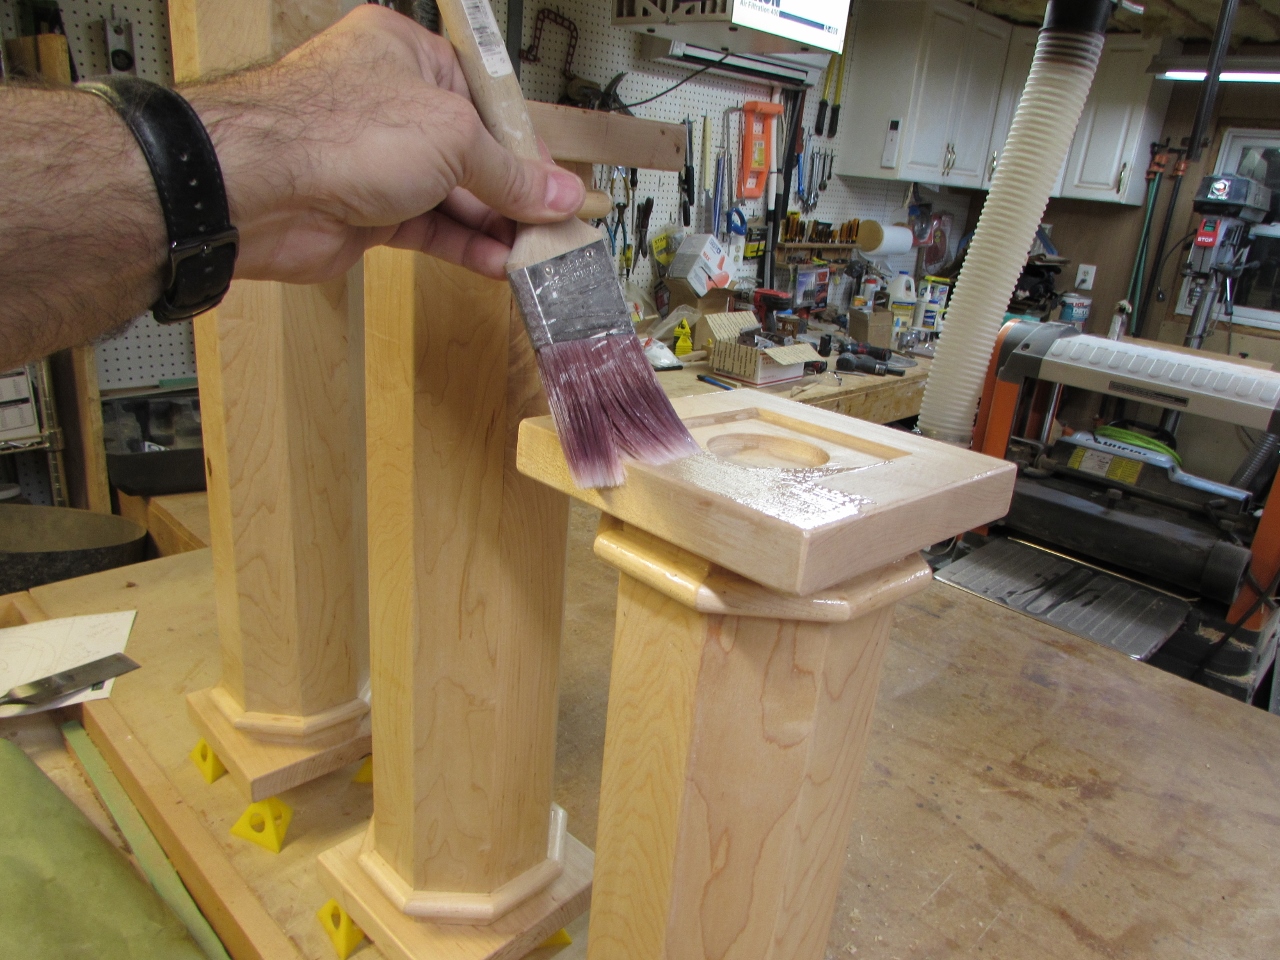
The finish on these will be a satin, water-based poly. This is to keep the color unchanged, and to keep them from being to glossy and reflective.

After the first coat was dry, I sanded them down with 400 grit paper and applied a second coat.

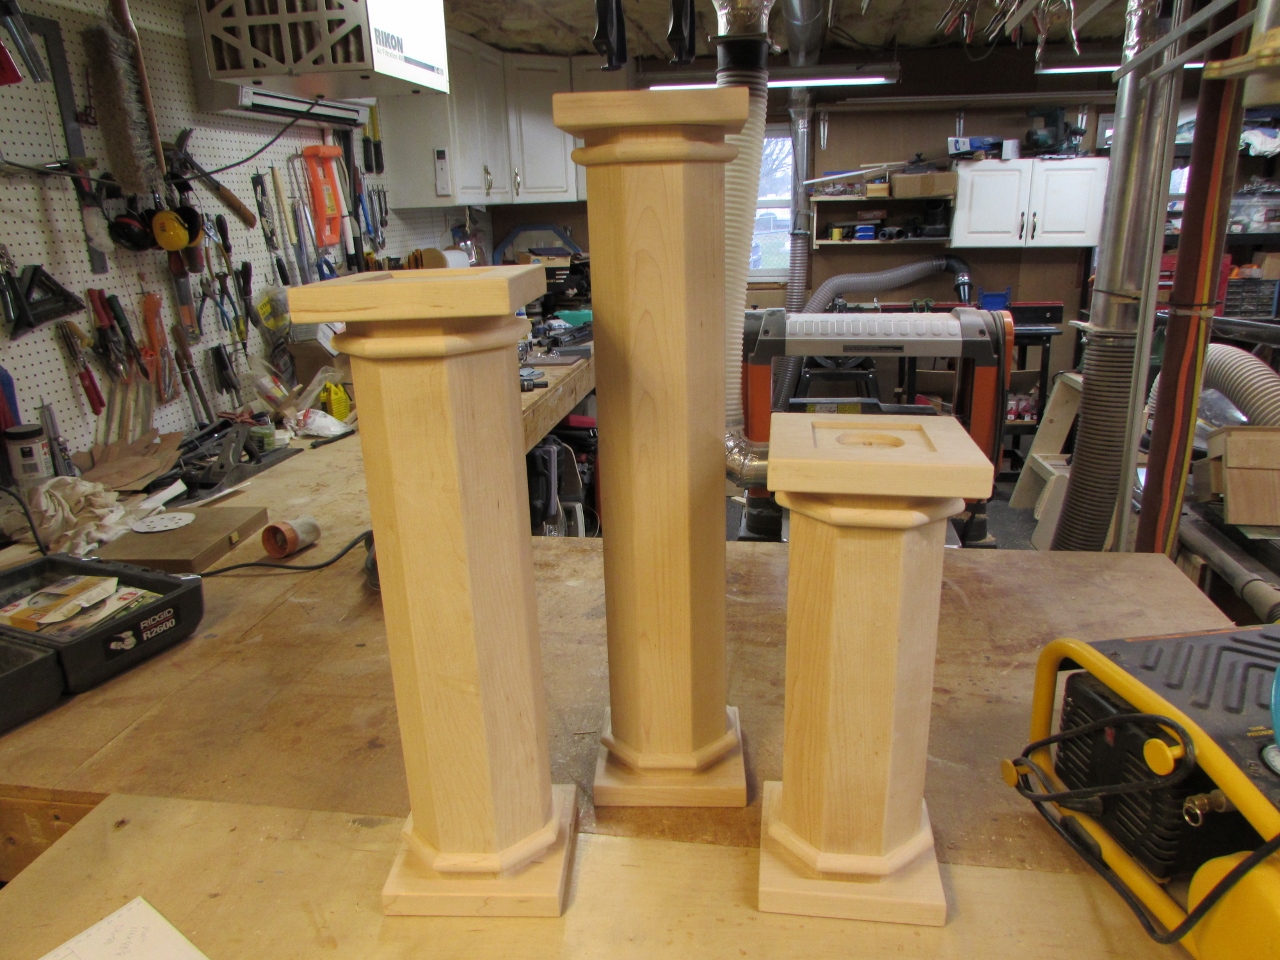
Yeah, they are done. Time to install them.
I start by removing the old brackets and shelves.

Then I fill all of the screw holes with a putty pencil.

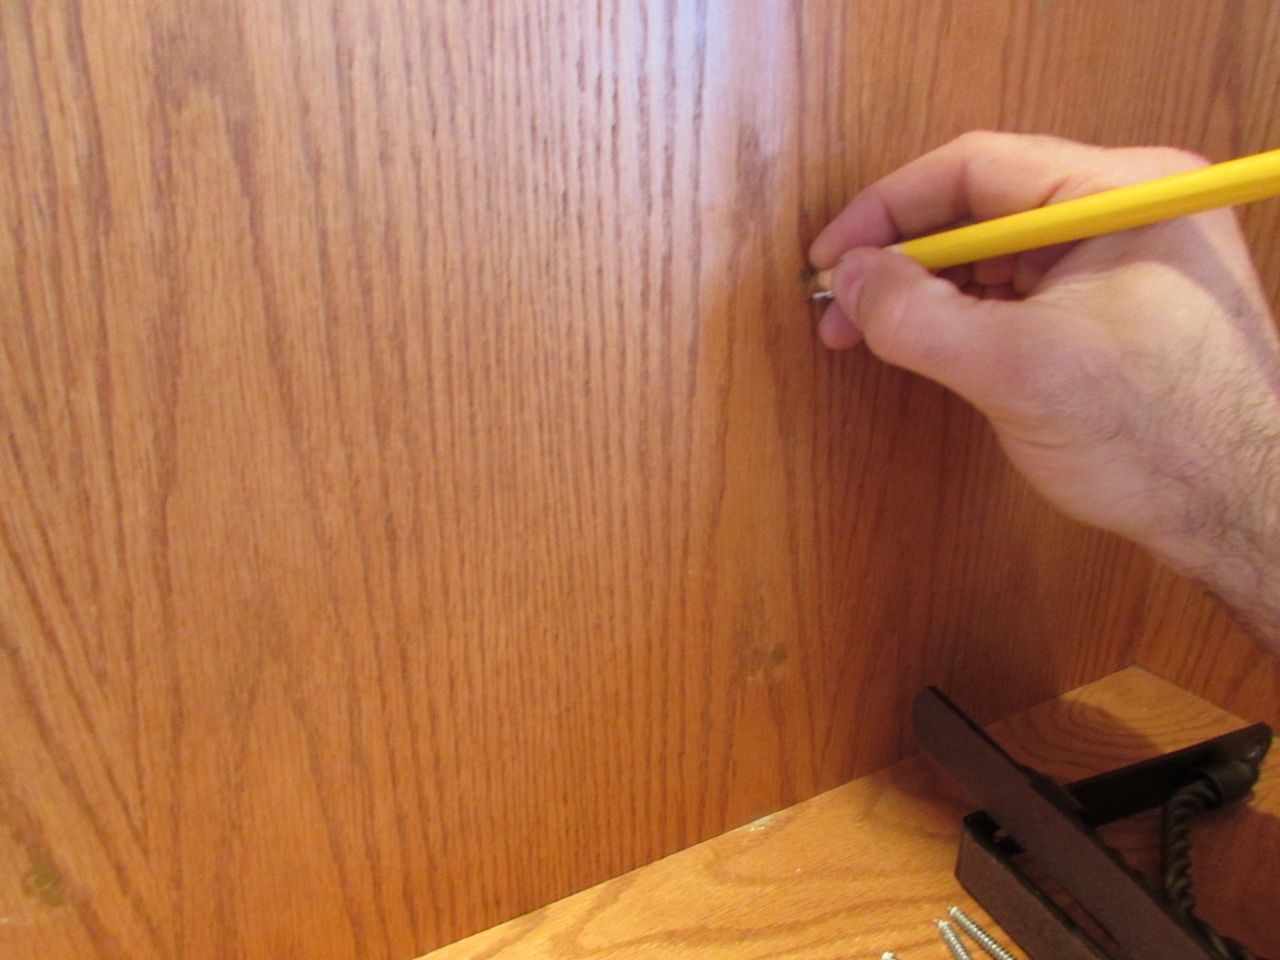
I found a long drill bit that was just slightly larger than my power cord, and drilled a hole through the wall, making sure to avoid any studs or wires in the wall.


I taped the power cord to the end of a second smaller diameter drill bit and used it to fish the wire through the wall.


Next, I installed my LED lights and ran the wires through the columns, leaving all of the excess wiring inside the columns.

With the lights installed, I plugged them in.


They look pretty good with the overhead light on, but they really stand out with it off and just the oils glowing, even in full daylight.
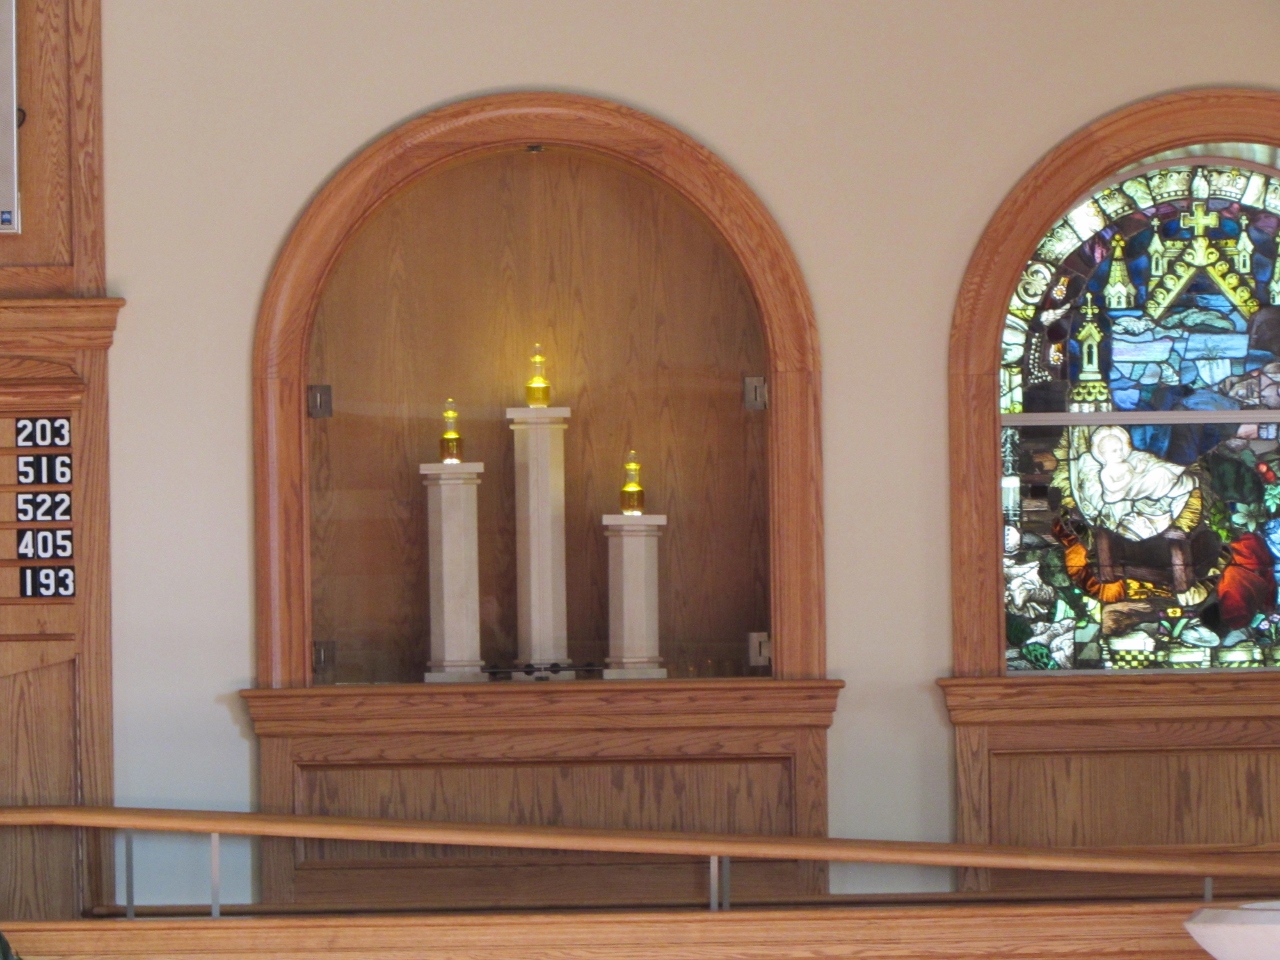
The color of the satin maple matches the wall paint perfectly (completely by chance) and the marble of the baptismal font nicely as well.

This was a fun little project (except for the beading). Time to start on the next one…

Lawrence- I keep forgetting to tell you- these look great. i never thought the glass shelves were inadequate until I saw this install. Very nice.
Where did you find the LED and the glass coasters? Getting ready to start an Ambry once our Priest has chosen a design to base one on. It will be a tabletop version, but I know he wants it lit.
I got both from Amazon.
coasters:
lights: