
Erin’s Fireplace bar – day 3
I acquired a nice piece of oak to make the corbels from. It was 2″ thick, 7″ wide, and clear of any knots.
We will be able to stack two pieces to achieve the 4″ width we want for the corbels. Since it is all straight, clear grain, the glue joint should be barely noticeable.

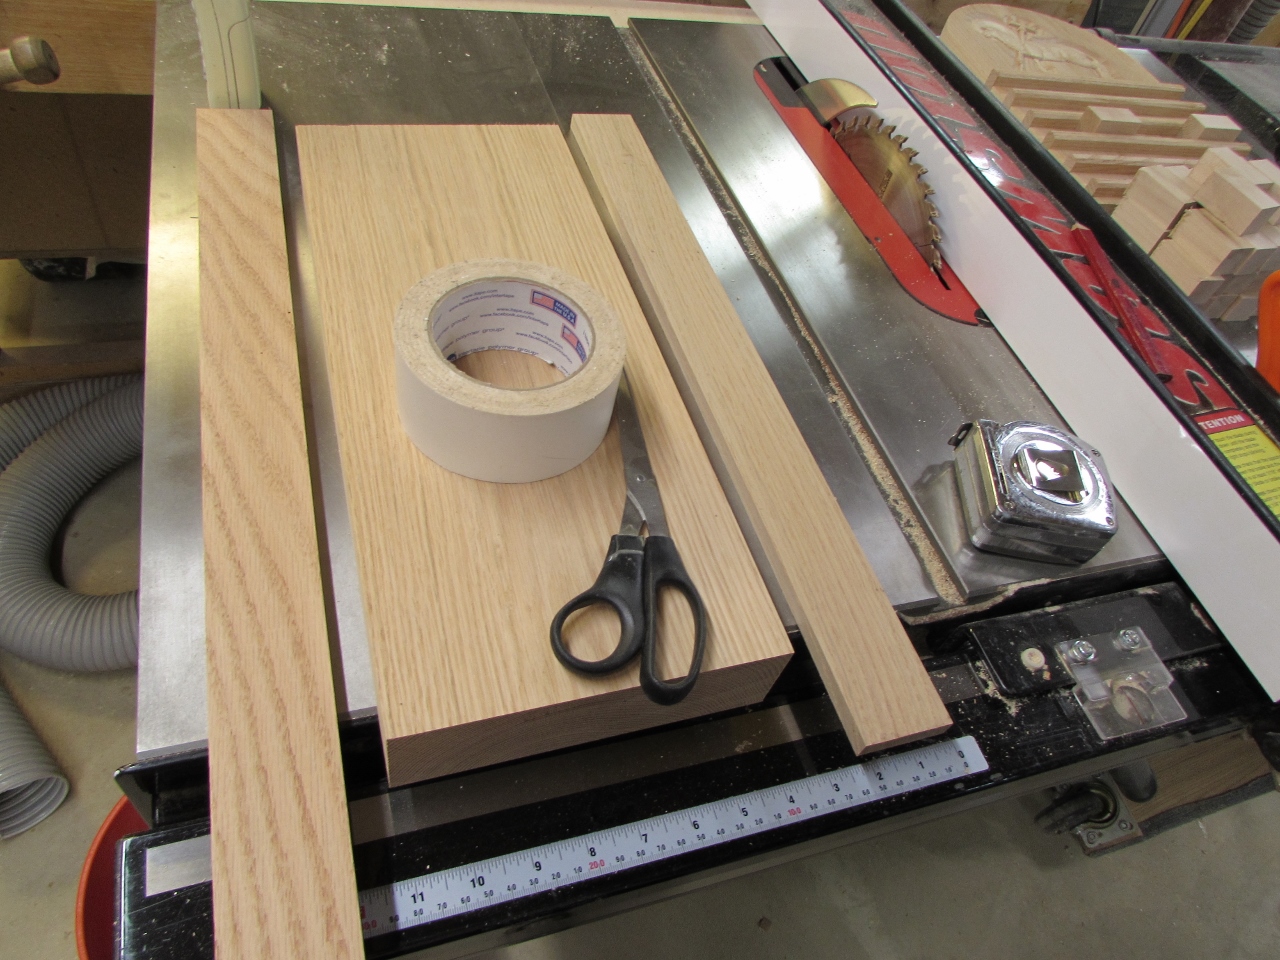
Once I cut the big board into two 15″ long pieces, I then needed to make it a bit wider for the CNC. The corbels are 7″ wide, but to carve them, the CNC requires 1/2″ of wood, additionally around each side of the carve. Since it is going to be cut away, I just added a 1/2″ strip to each side with some double-sided tape.


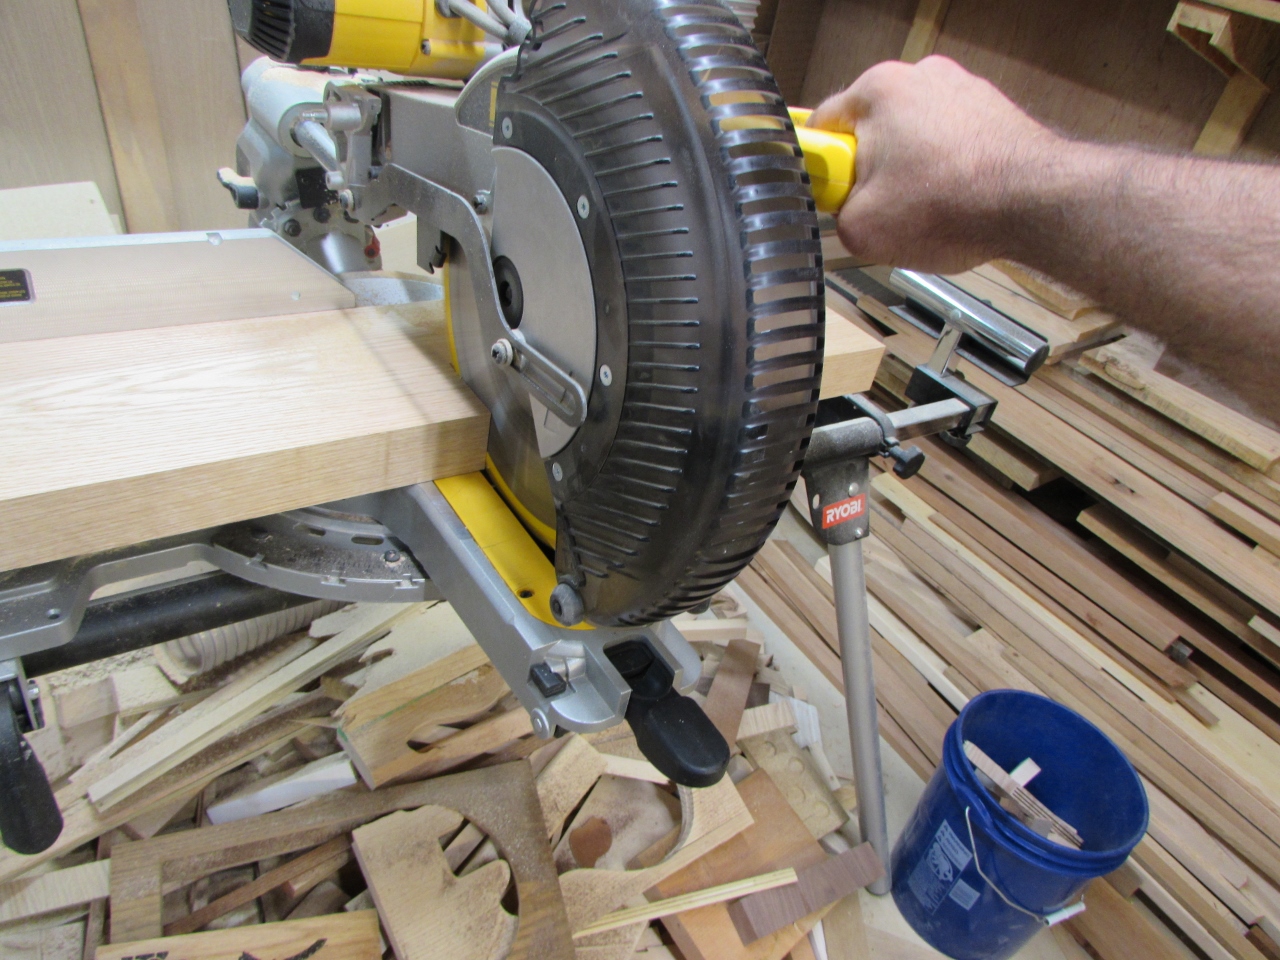
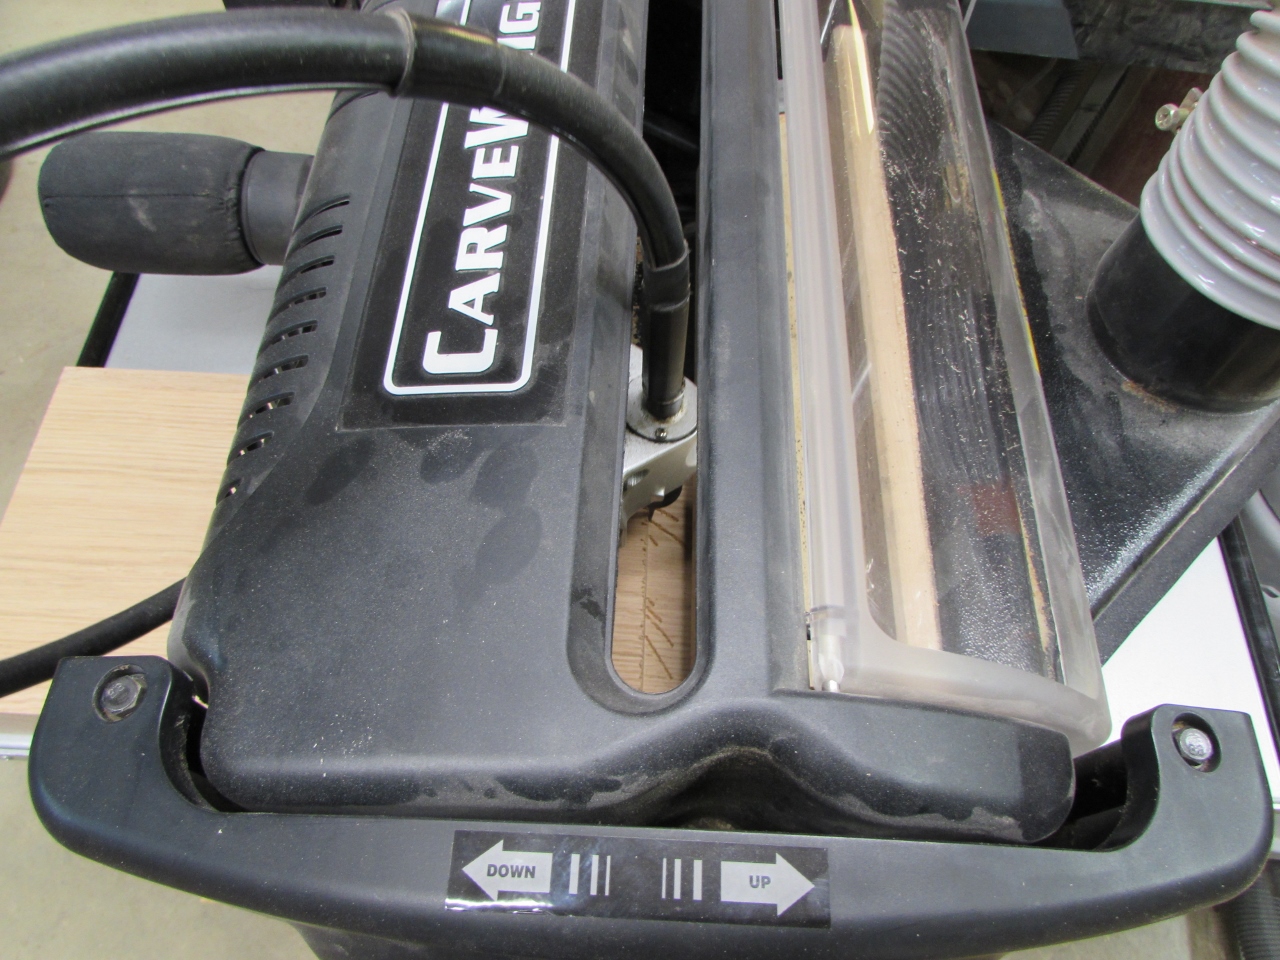
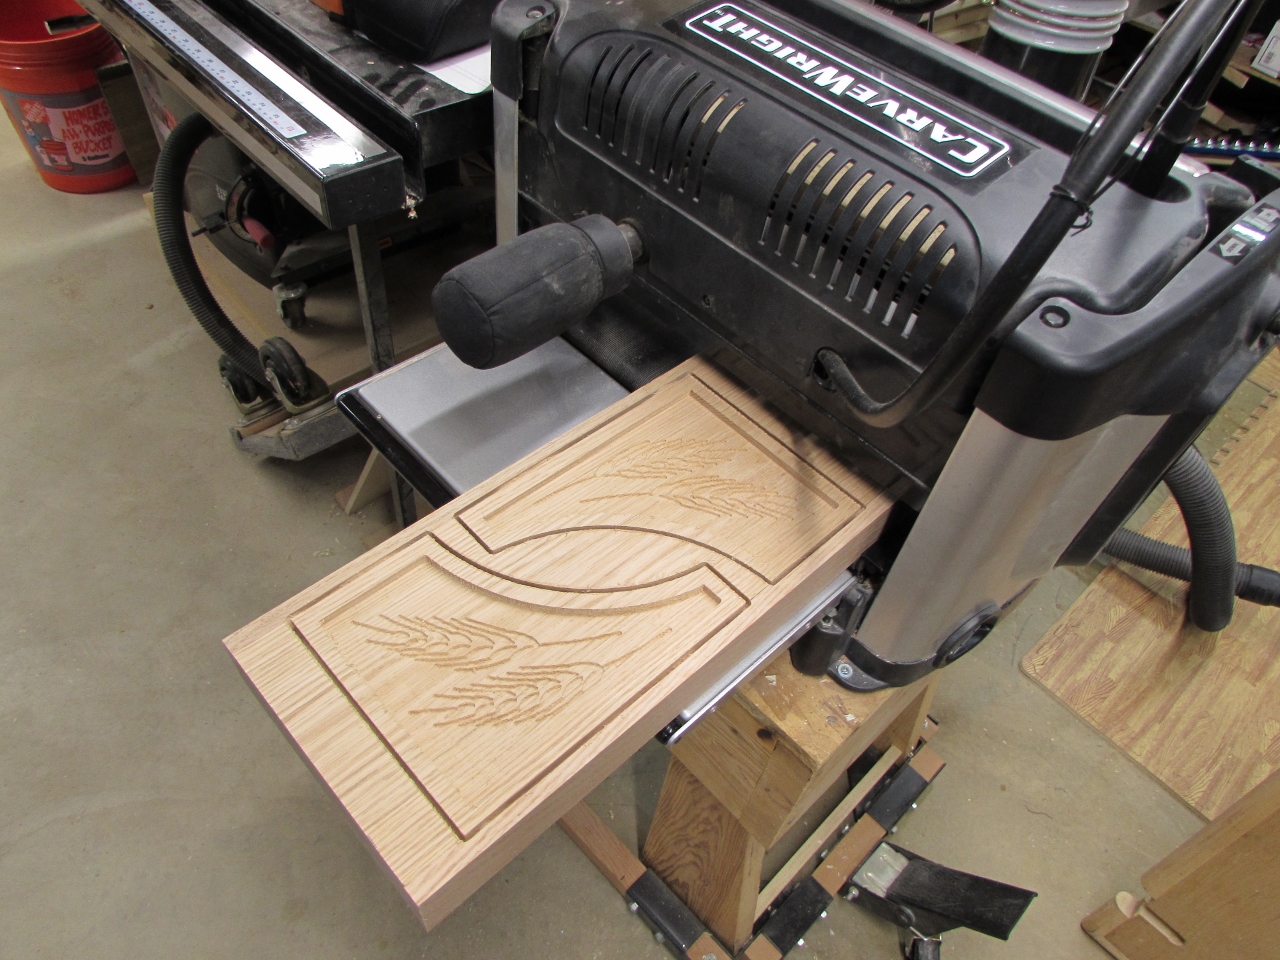
With the block now 8″ wide, I trimmed off the long ends and loaded the board into the CNC and started the carve.
When that carve was complete, I loaded the second board and carved just the outline of the corbels, then set the two carved blocks aside for Erin to work on later.

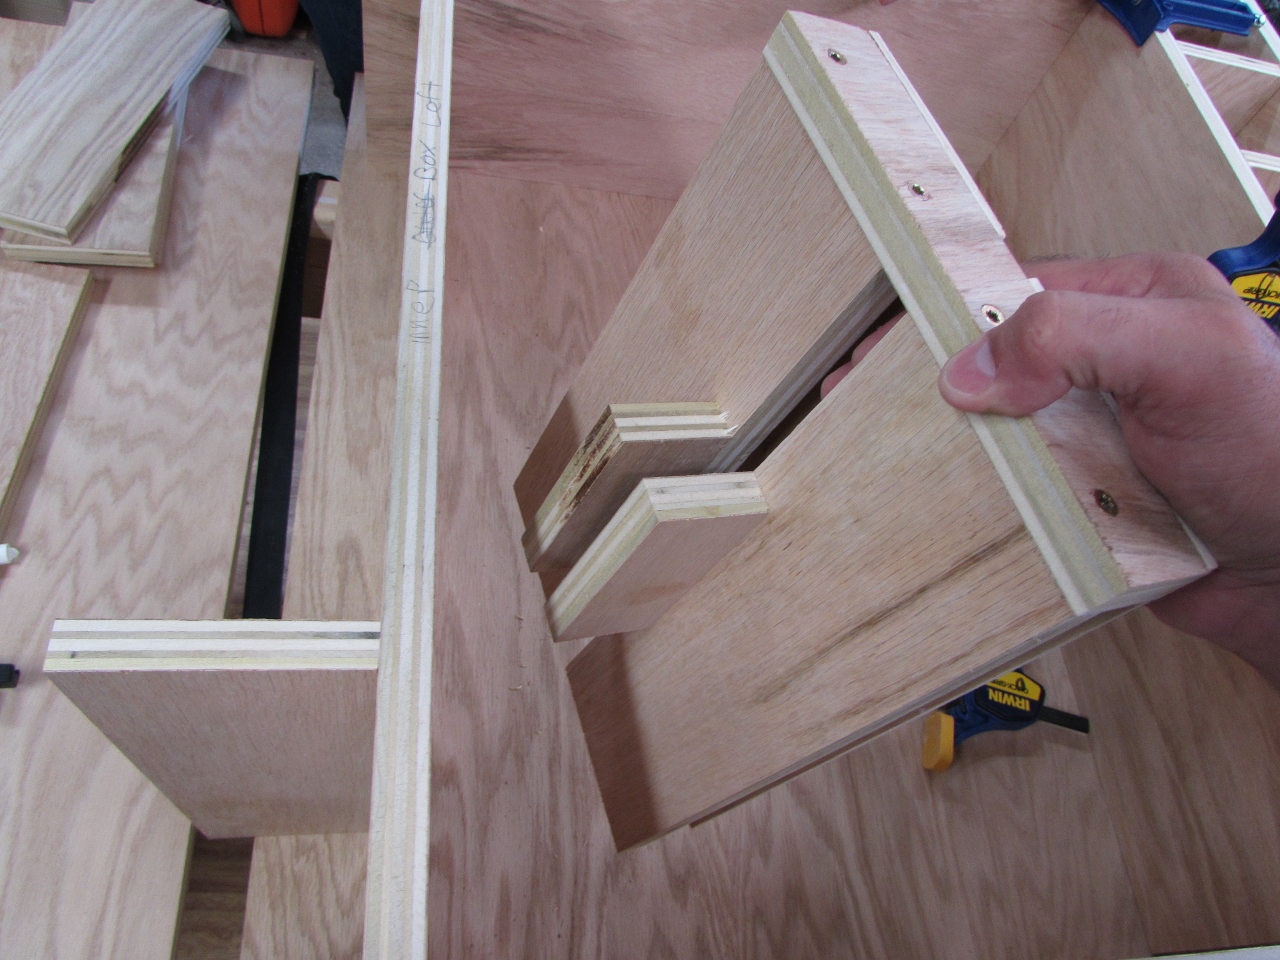
The carve on the corbels took a few hours so while that was running, I took the opportunity to rummage through my scrap pile to find some wood to build a jig for installing the shelves around the cabinet.

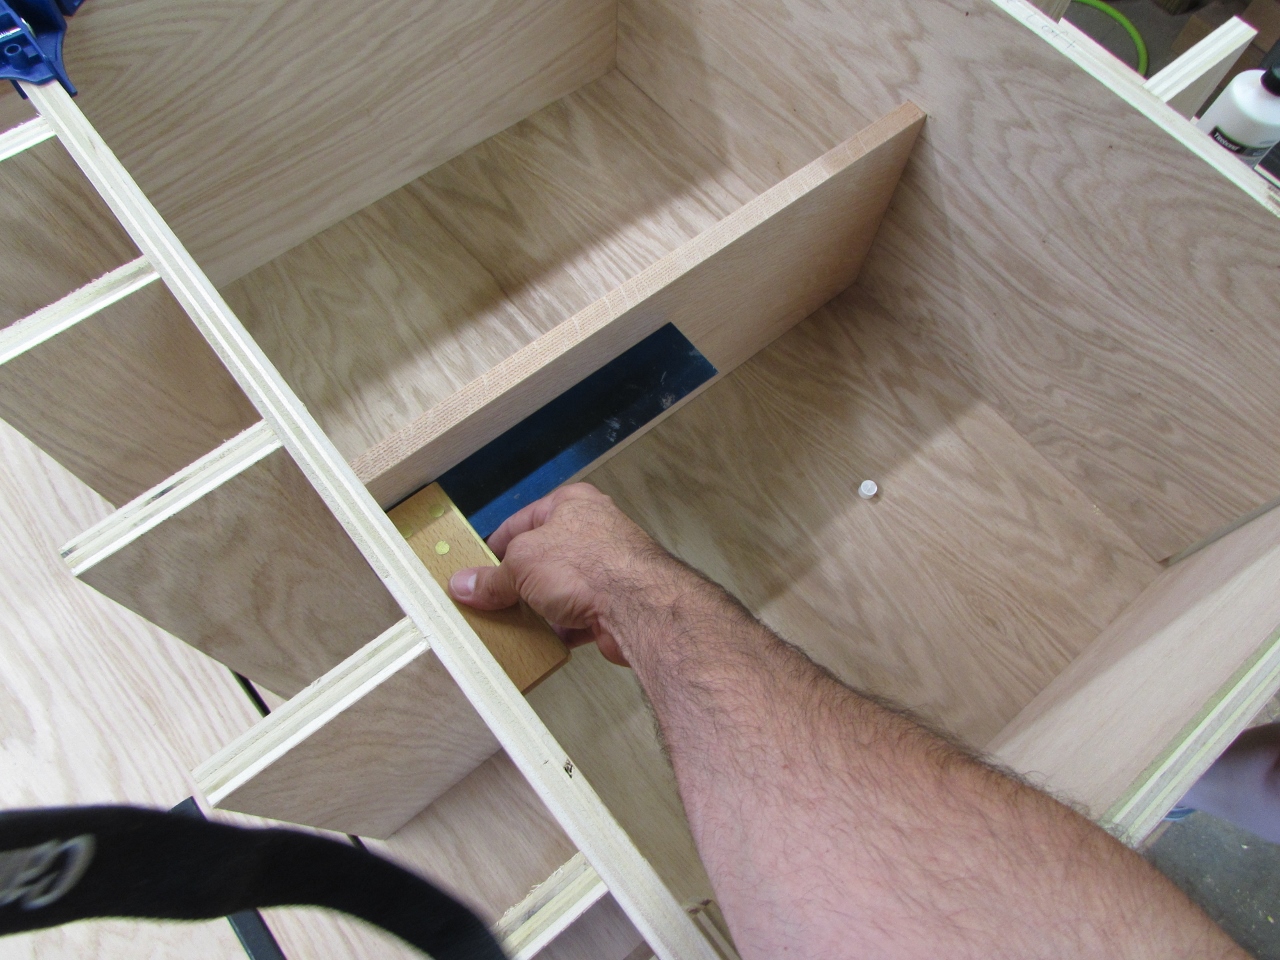
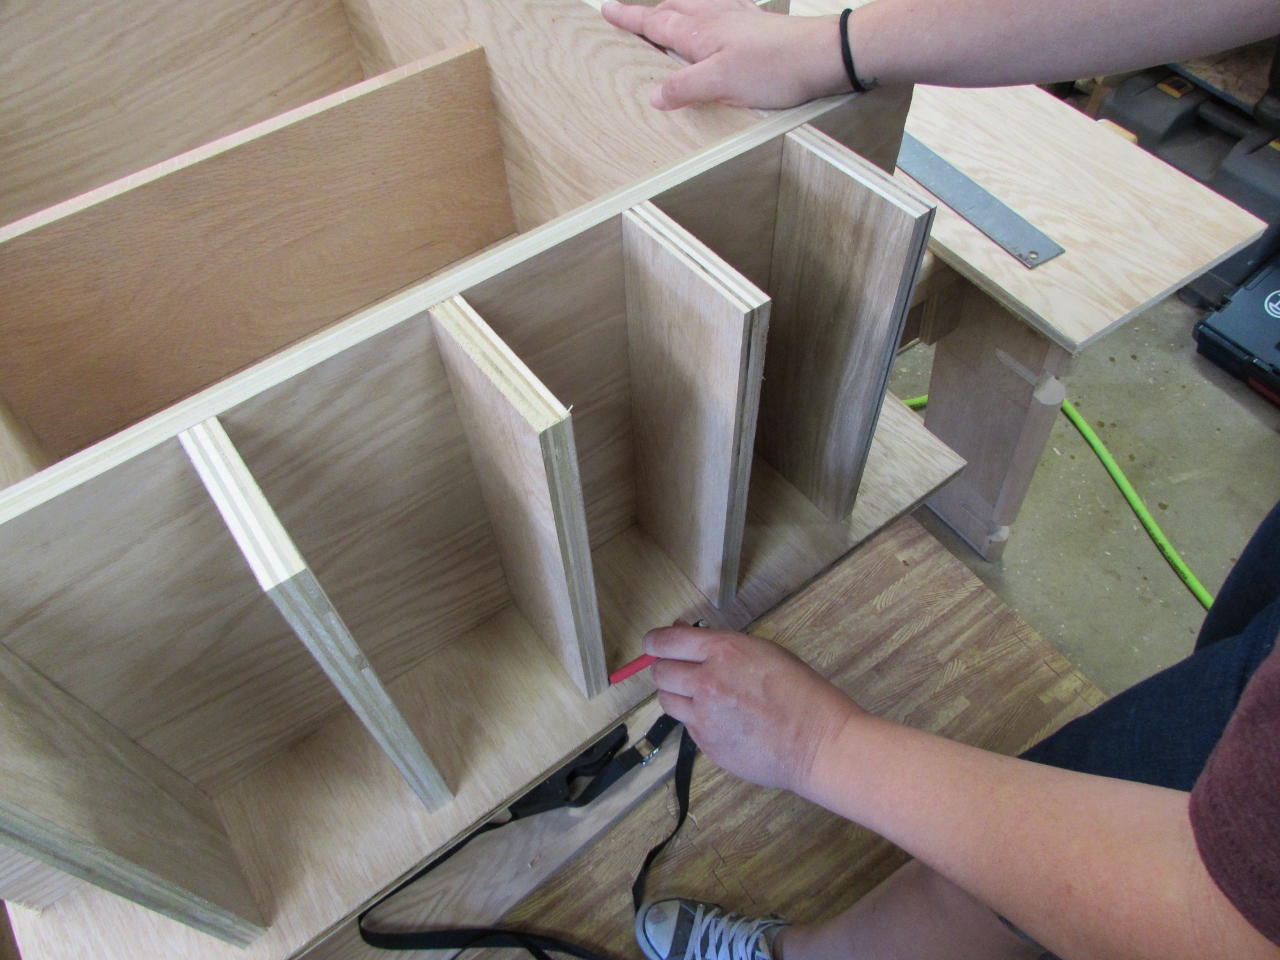
The jig was designed to give me exactly 4″ of space on either side, with a flange in the center to hold the shelves perpendicular to the wall.

We applied glue to the edge of the shelf and inserted it into the jig.

I placed two pieces of 1/4″ plywood on the opposite side to act as a guide for the nail gun, as well.

As long as the nails shoot straight, the jig slides right off with the shelf left exactly where it needs to be.
With the first one in place, Erin just worked her way up to the top, then repeated the process on the other side.

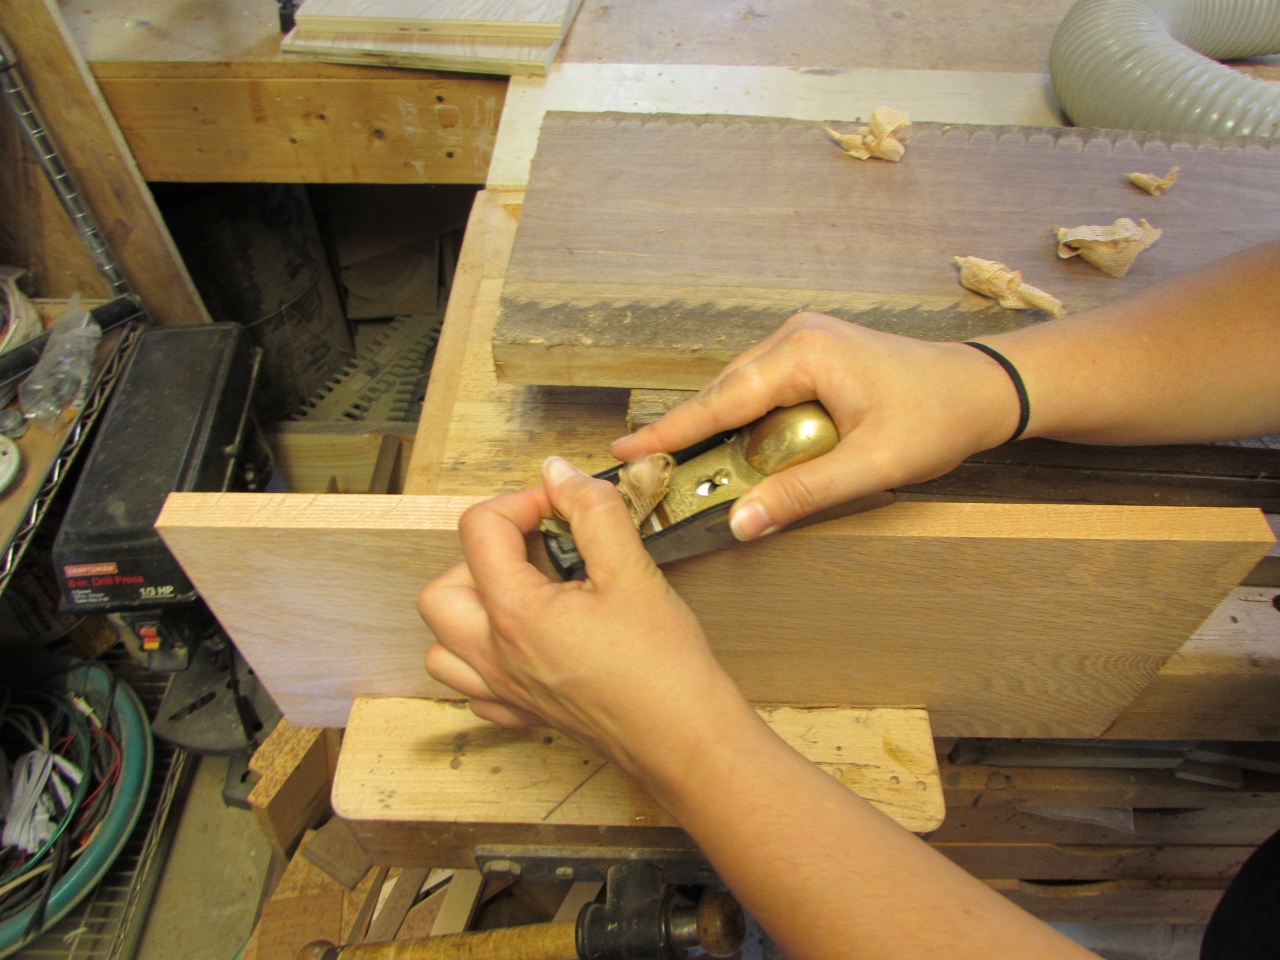
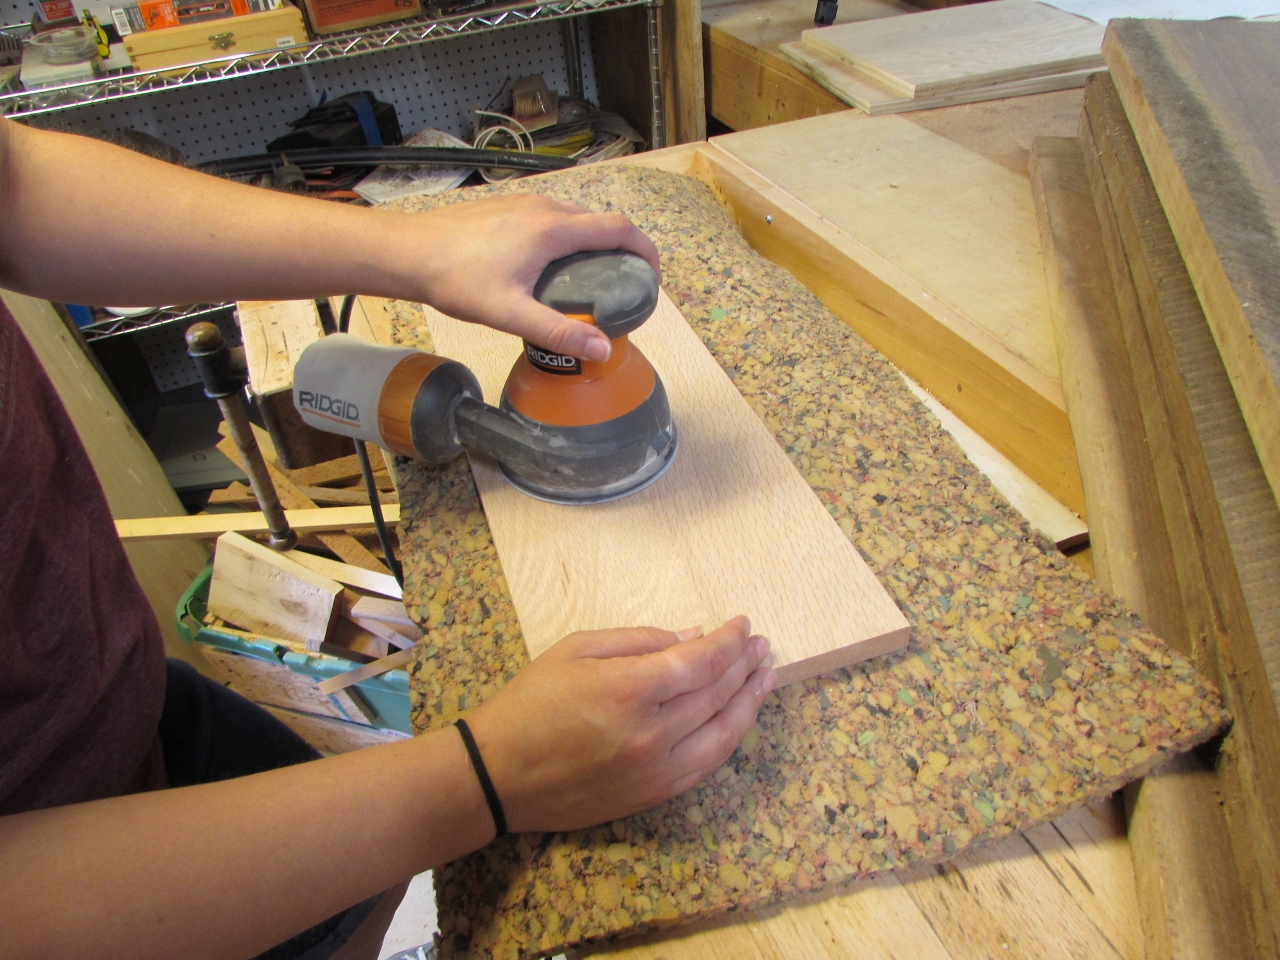
Before inserting the center shelf, Erin cleaned up the edge with a block plane, then sanded the top and bottom of the shelf.
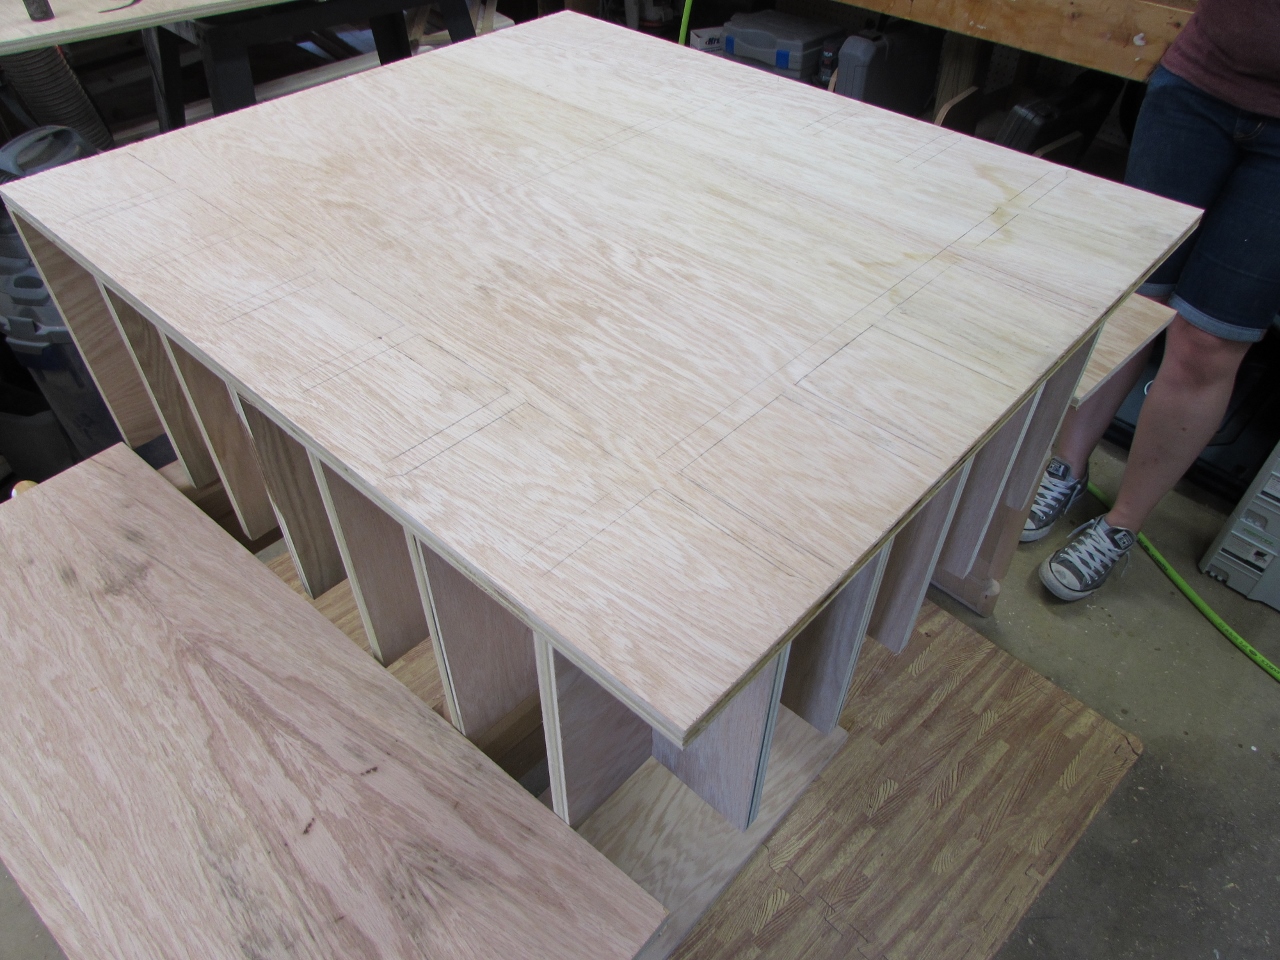
We glued and nailed the shelf into place, then moved on to the top.

Once the main body was assembled, we flipped over the back panel over, and traced the outline of each board on it. This will tell us where we can nail when we attach it.

Erin applied glue to the back side of the shelves, then we carefully lined up the back panel and laid it in place. Next, she nailed the panel on, staying in between the lines that we just traced on the back of the panel.
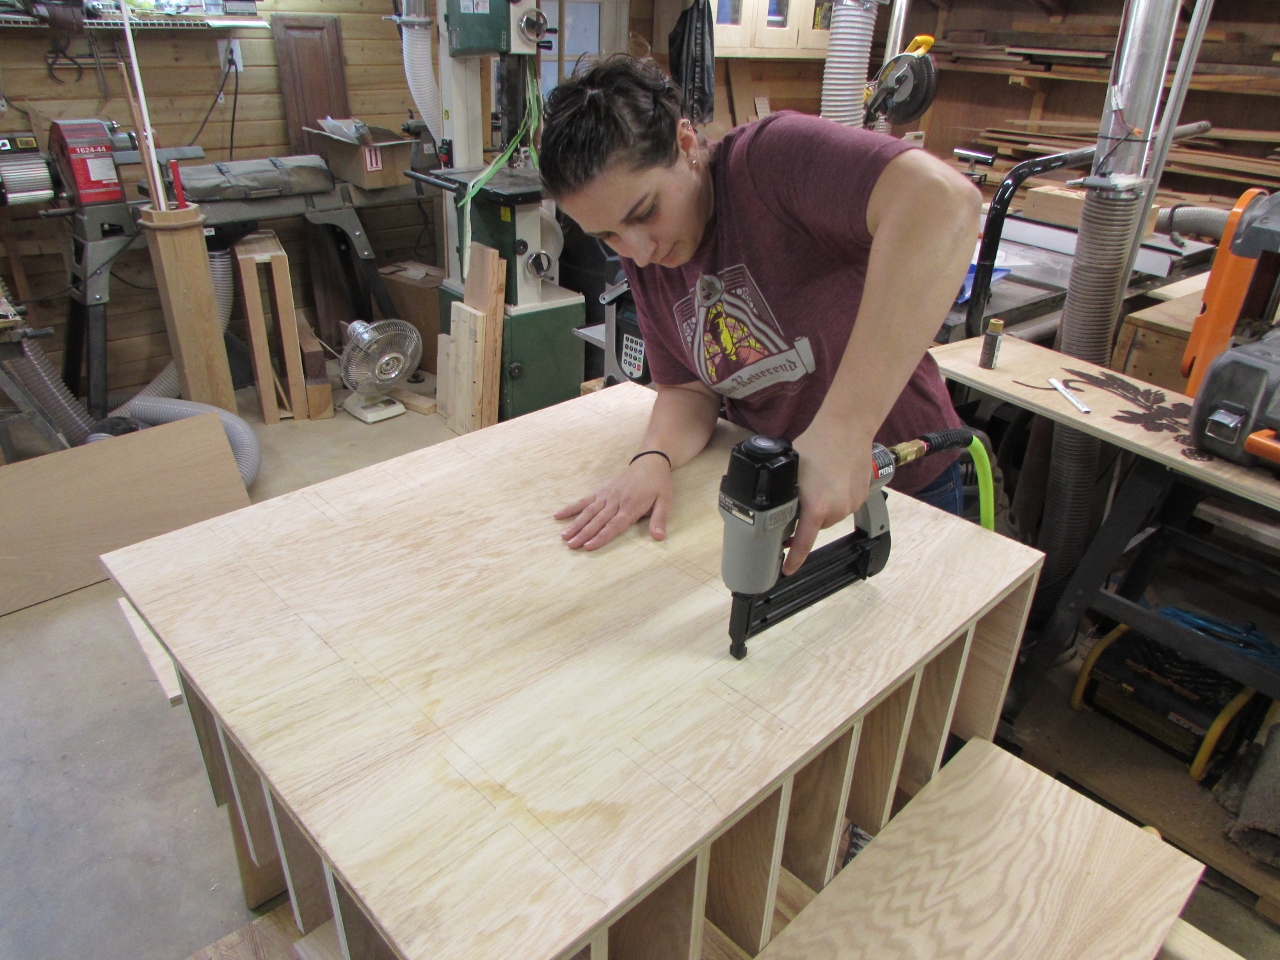
Yeah! The interior portion is complete. The assembly will stop here for now because it will be very difficult to apply the finish if we add the top and sides. We will have to apply the polyurethane to the cabinet and sides separately, then assemble them later.


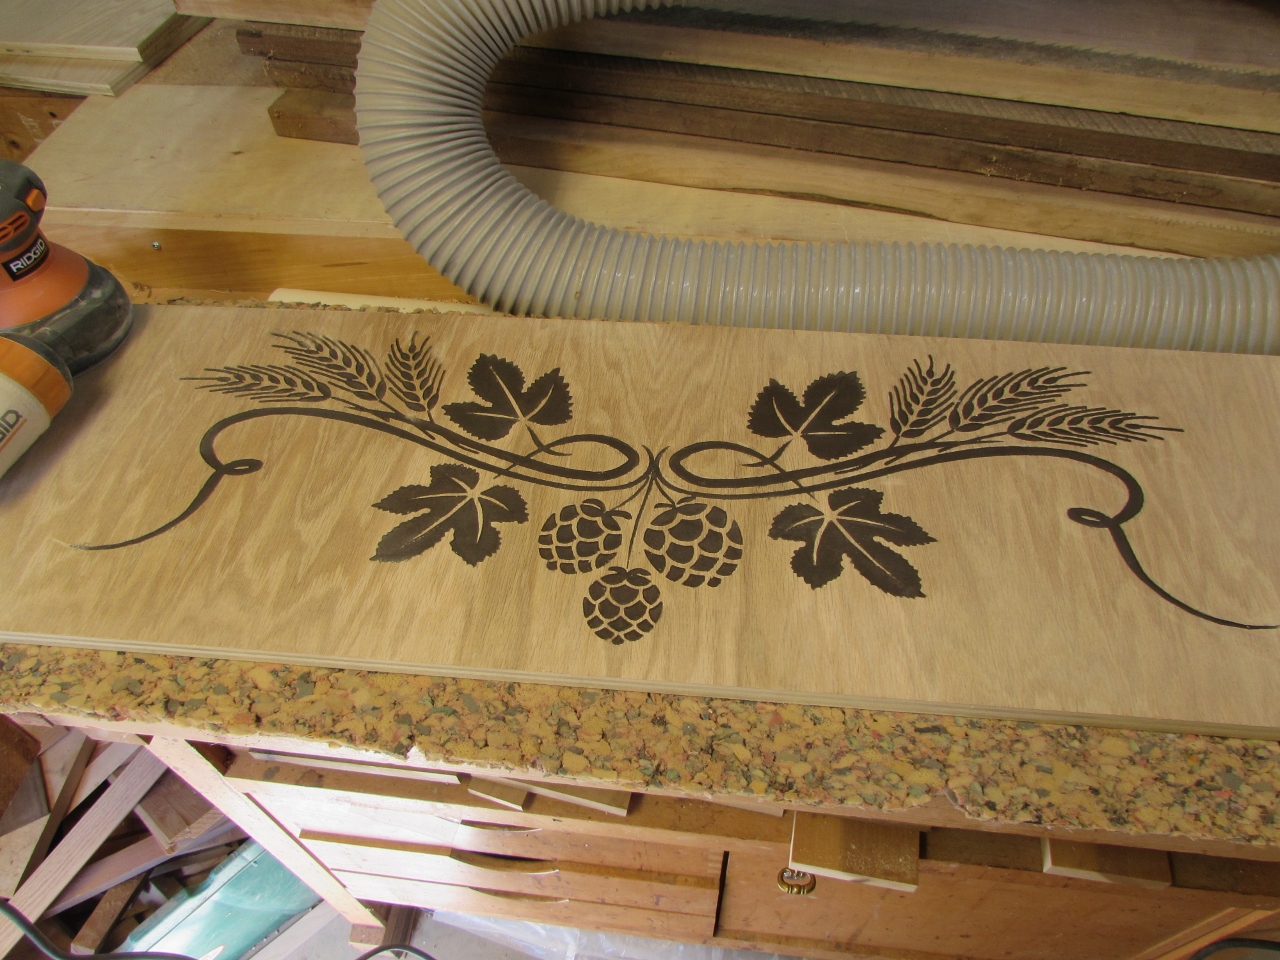
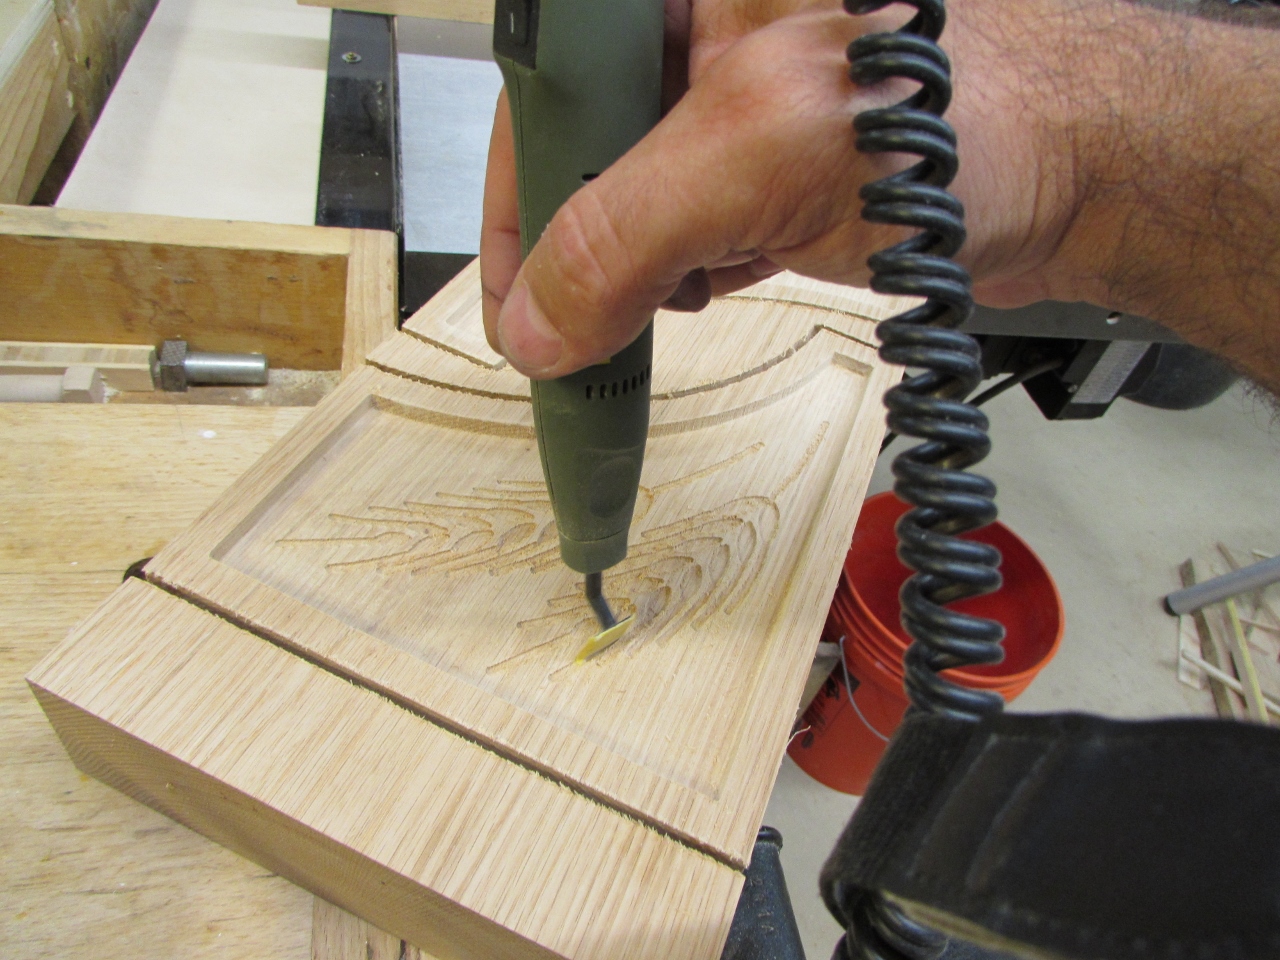
Erin did do her homework and finished painting the carved face board, so I had her work on carefully sanding away the excess paint while I worked on sanding the carved corbels, with my Proxxon pen sander. It is a little small, but good for sanding the details.

Erin finished her sanding job, long before I finished mine…
After Erin went home, I spent some time painting in the wheat stalks.

