
Erin’s Fireplace bar – day 2
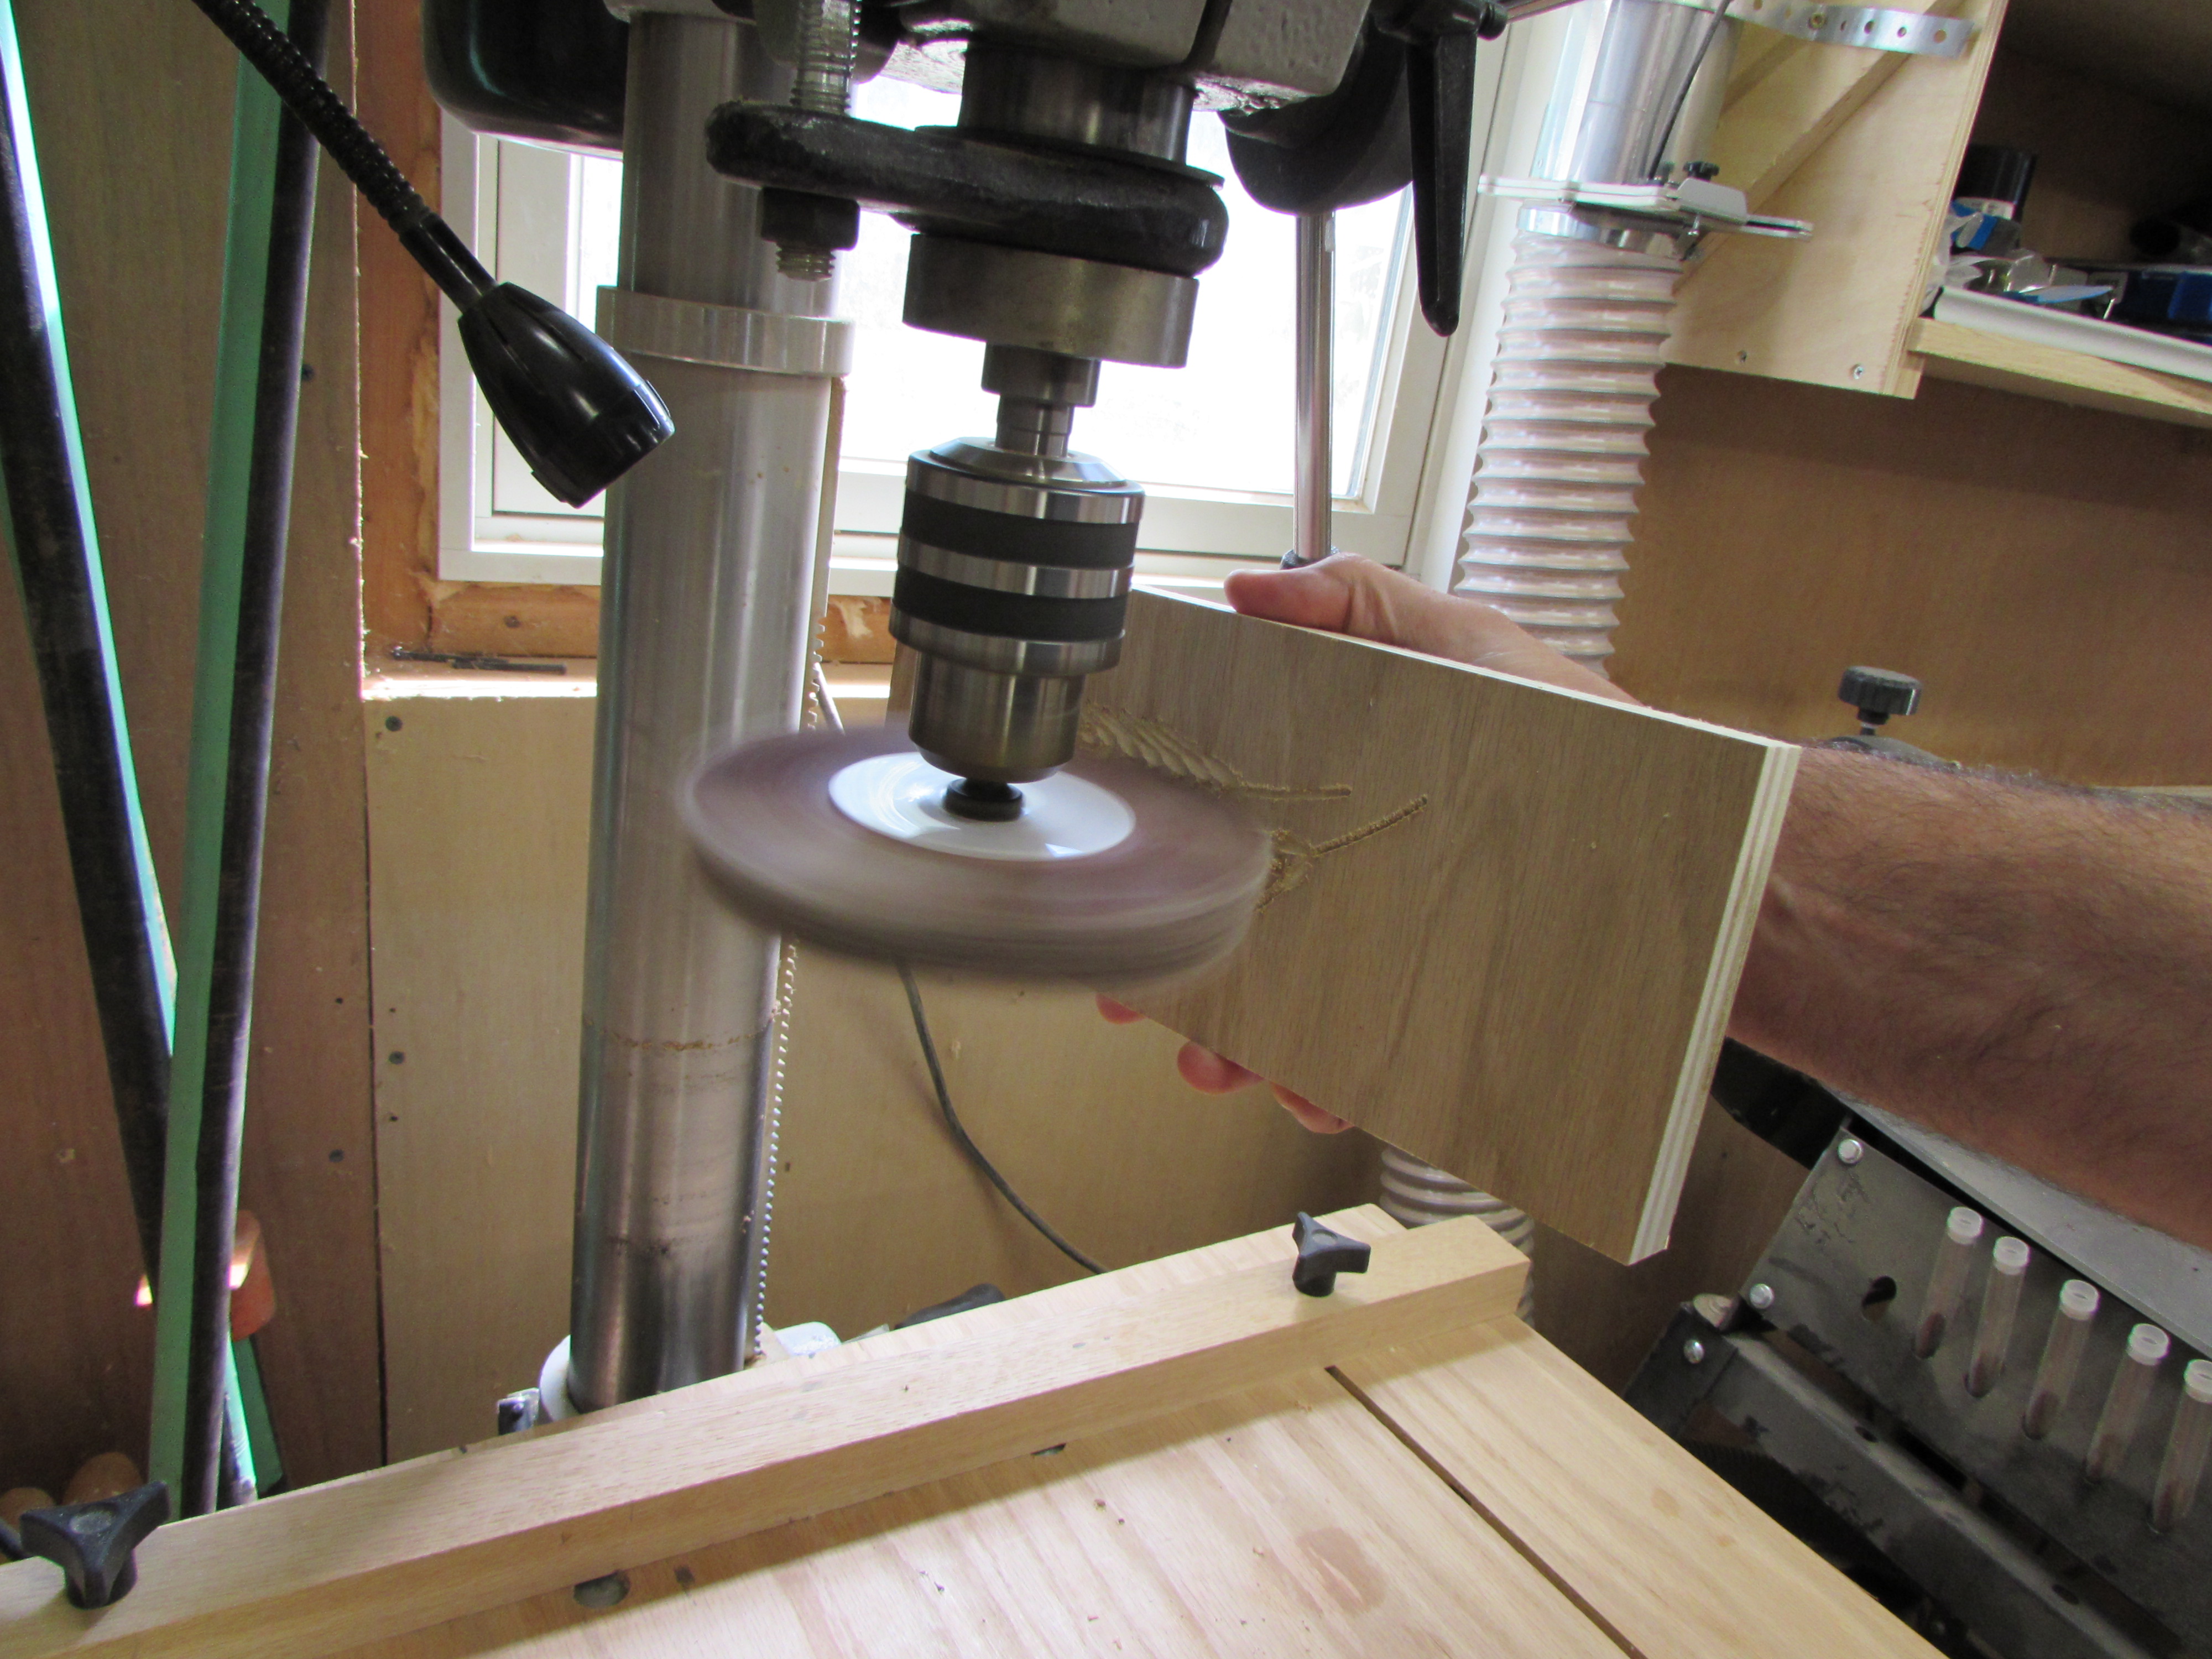
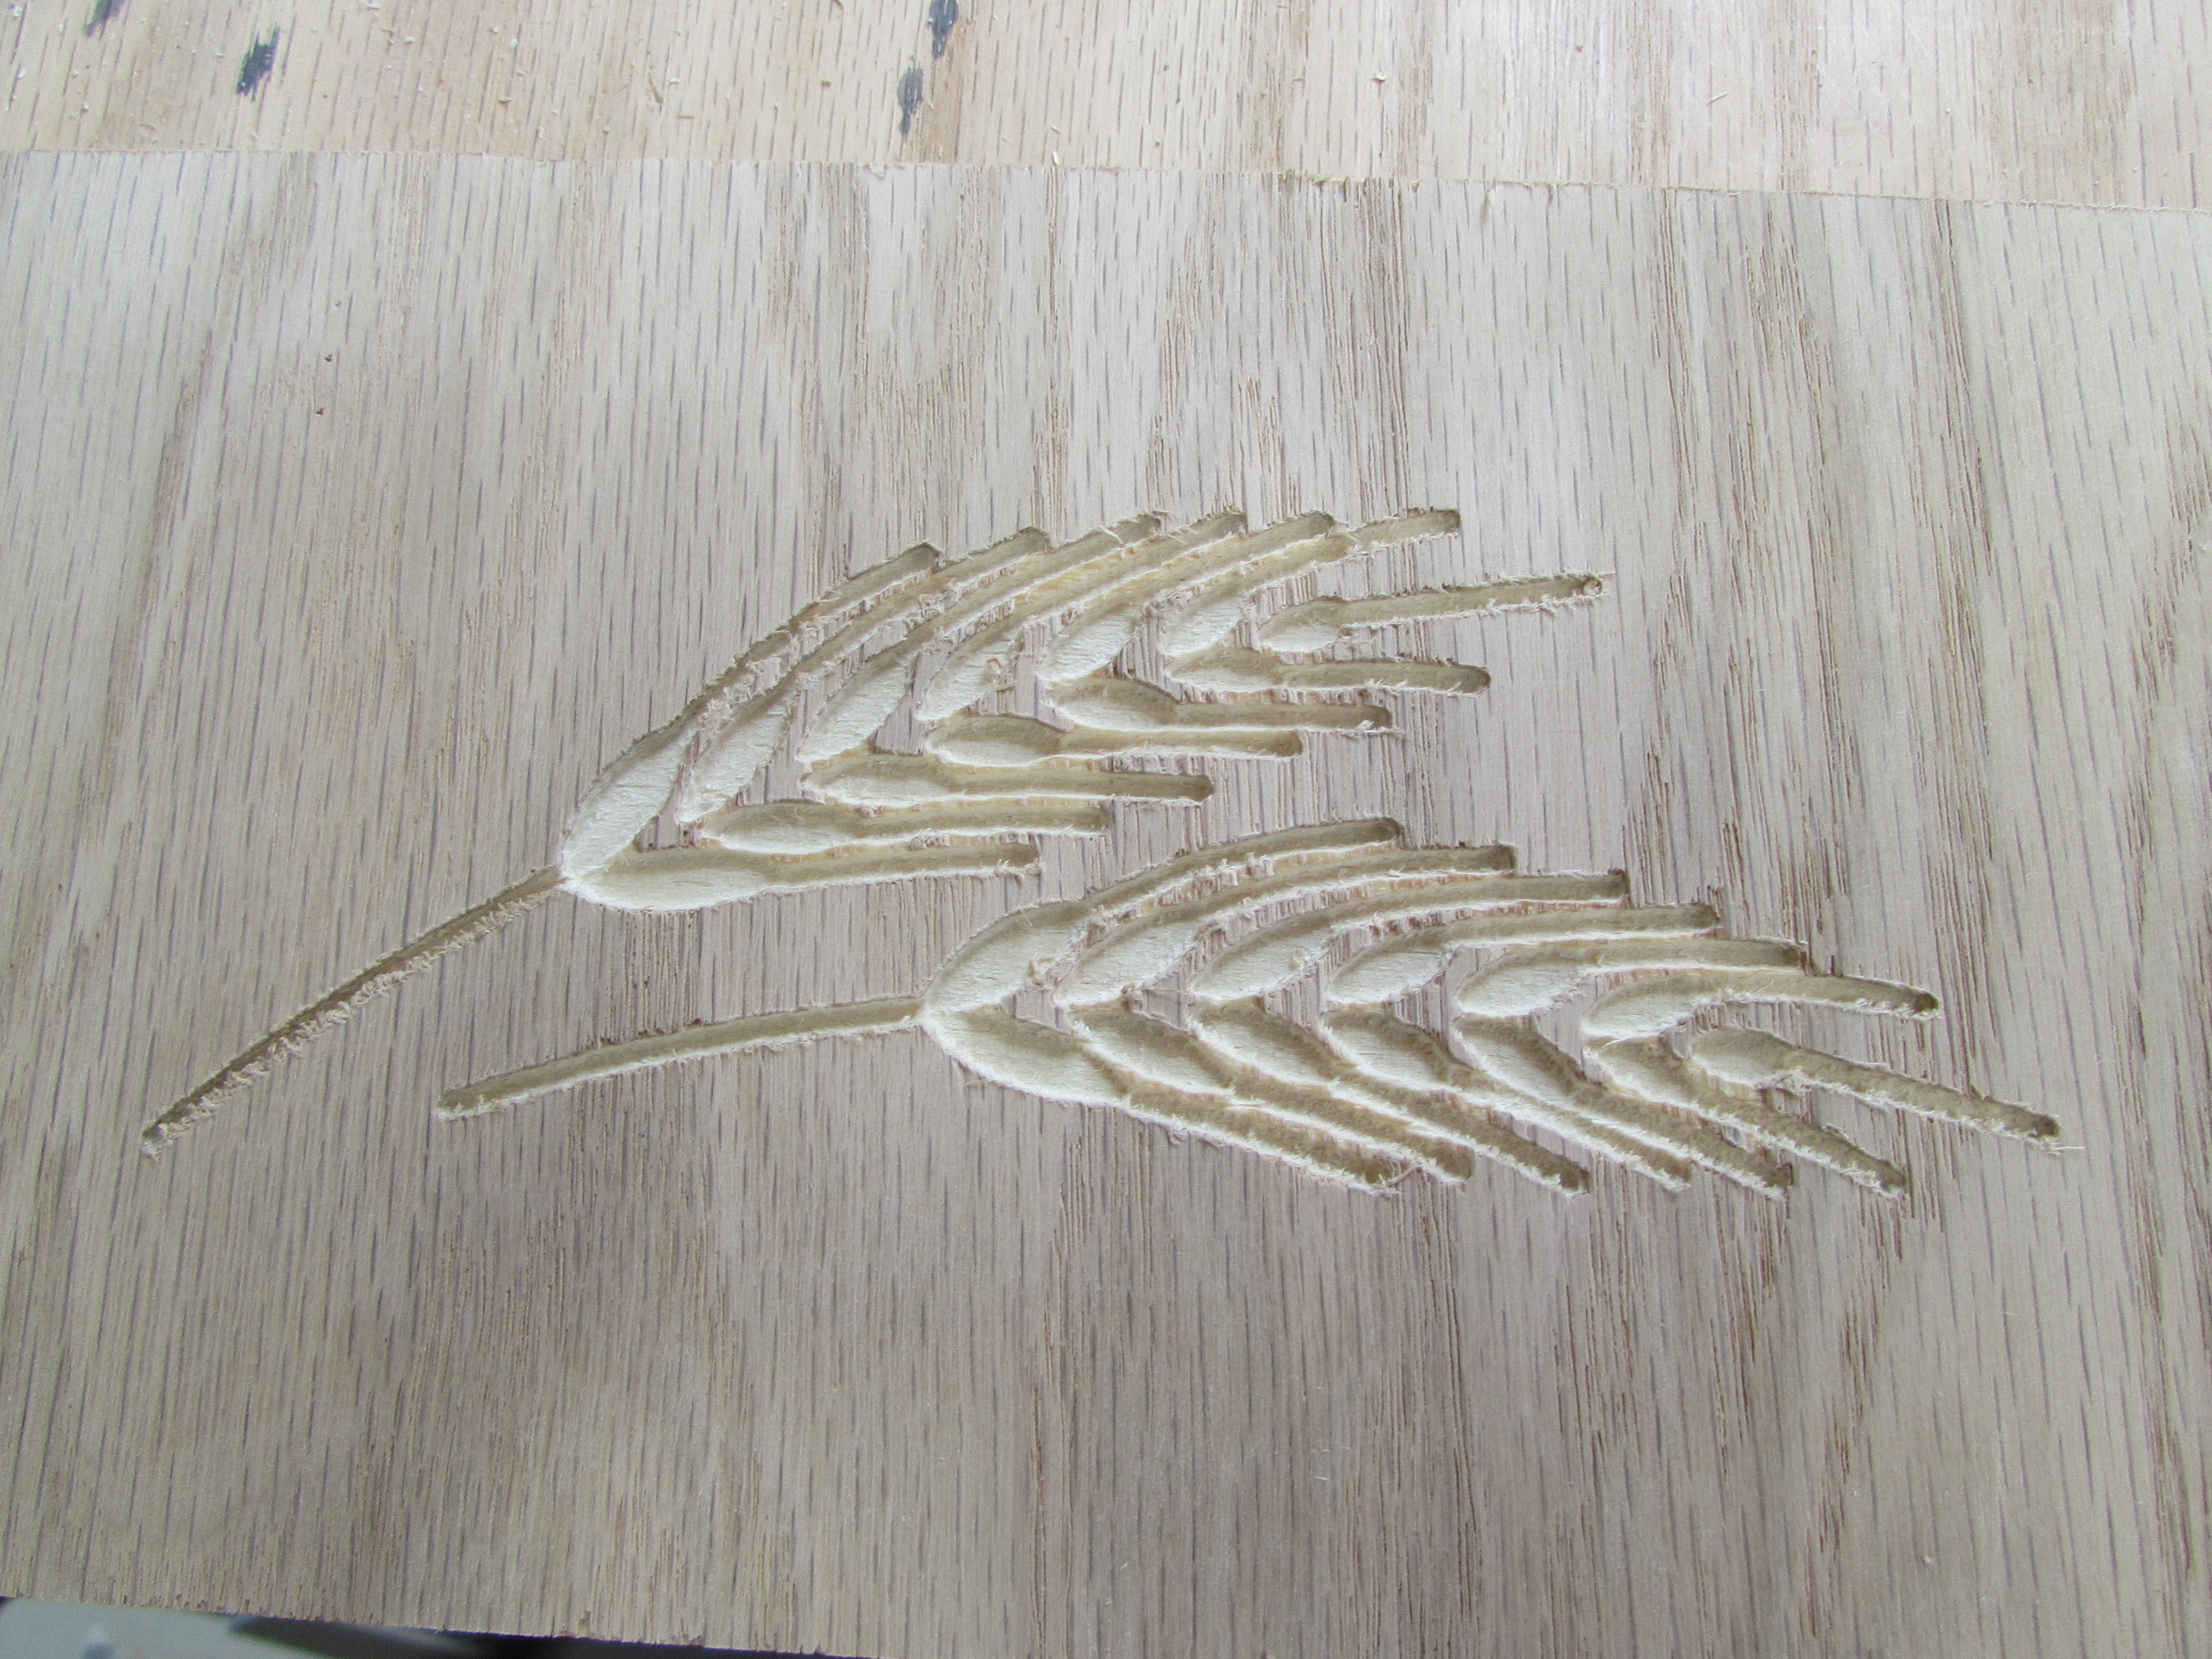
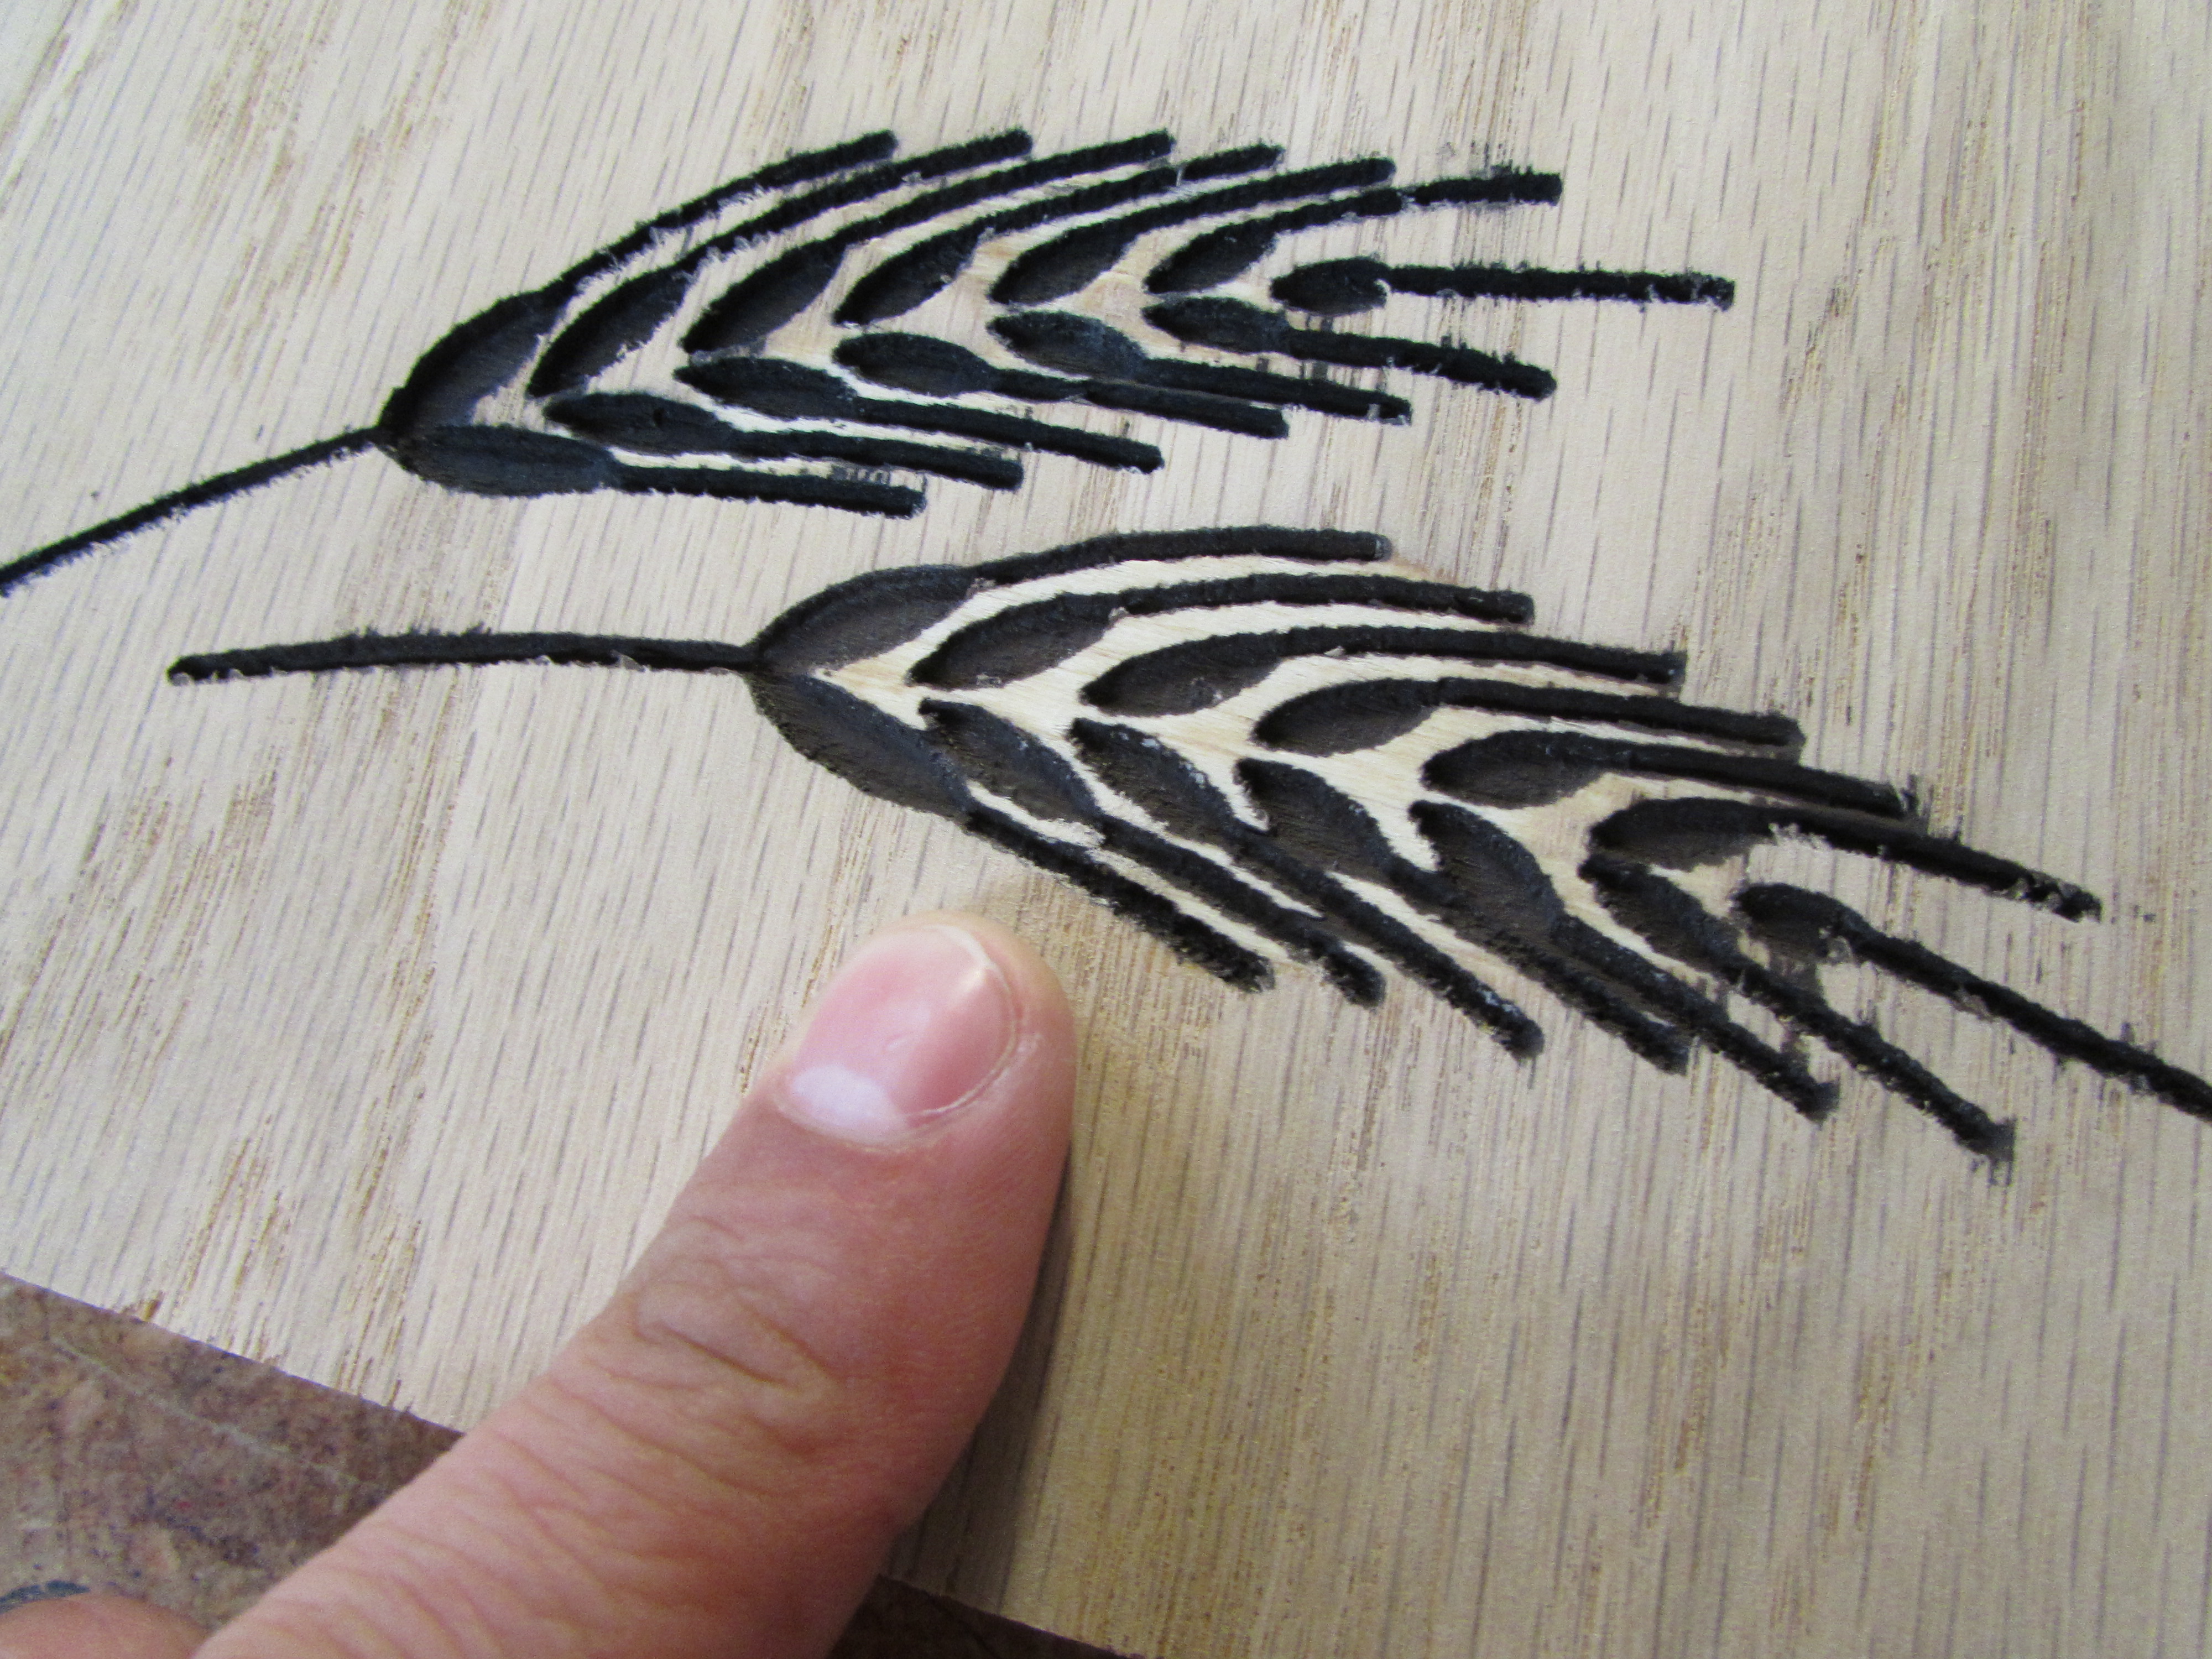
So the plan is to do some carving on the front of the fireplace, just below the mantle, and on the sides of the corbels. I am not so worried about carving the corbels, because they will be made of solid oak, but I am not so sure about the plywood. The veneer that they use today is so thin that you can sand right through it. I don’t know what kind of tear-out I will run into. I decided to do a couple of tests to see what I would run into. I started with the Wheat that I planned to carve into the corbels, because it had more detailed areas than the larger carving, that will go in the front. I used my 1/32″ carving bit, and ran it 1/16″ deep.

After cleaning the test piece up with my mop sander, I found some of the detail kind of blended together and some of the veneer tore away. I decided to continue with the test to see how it would finish out.
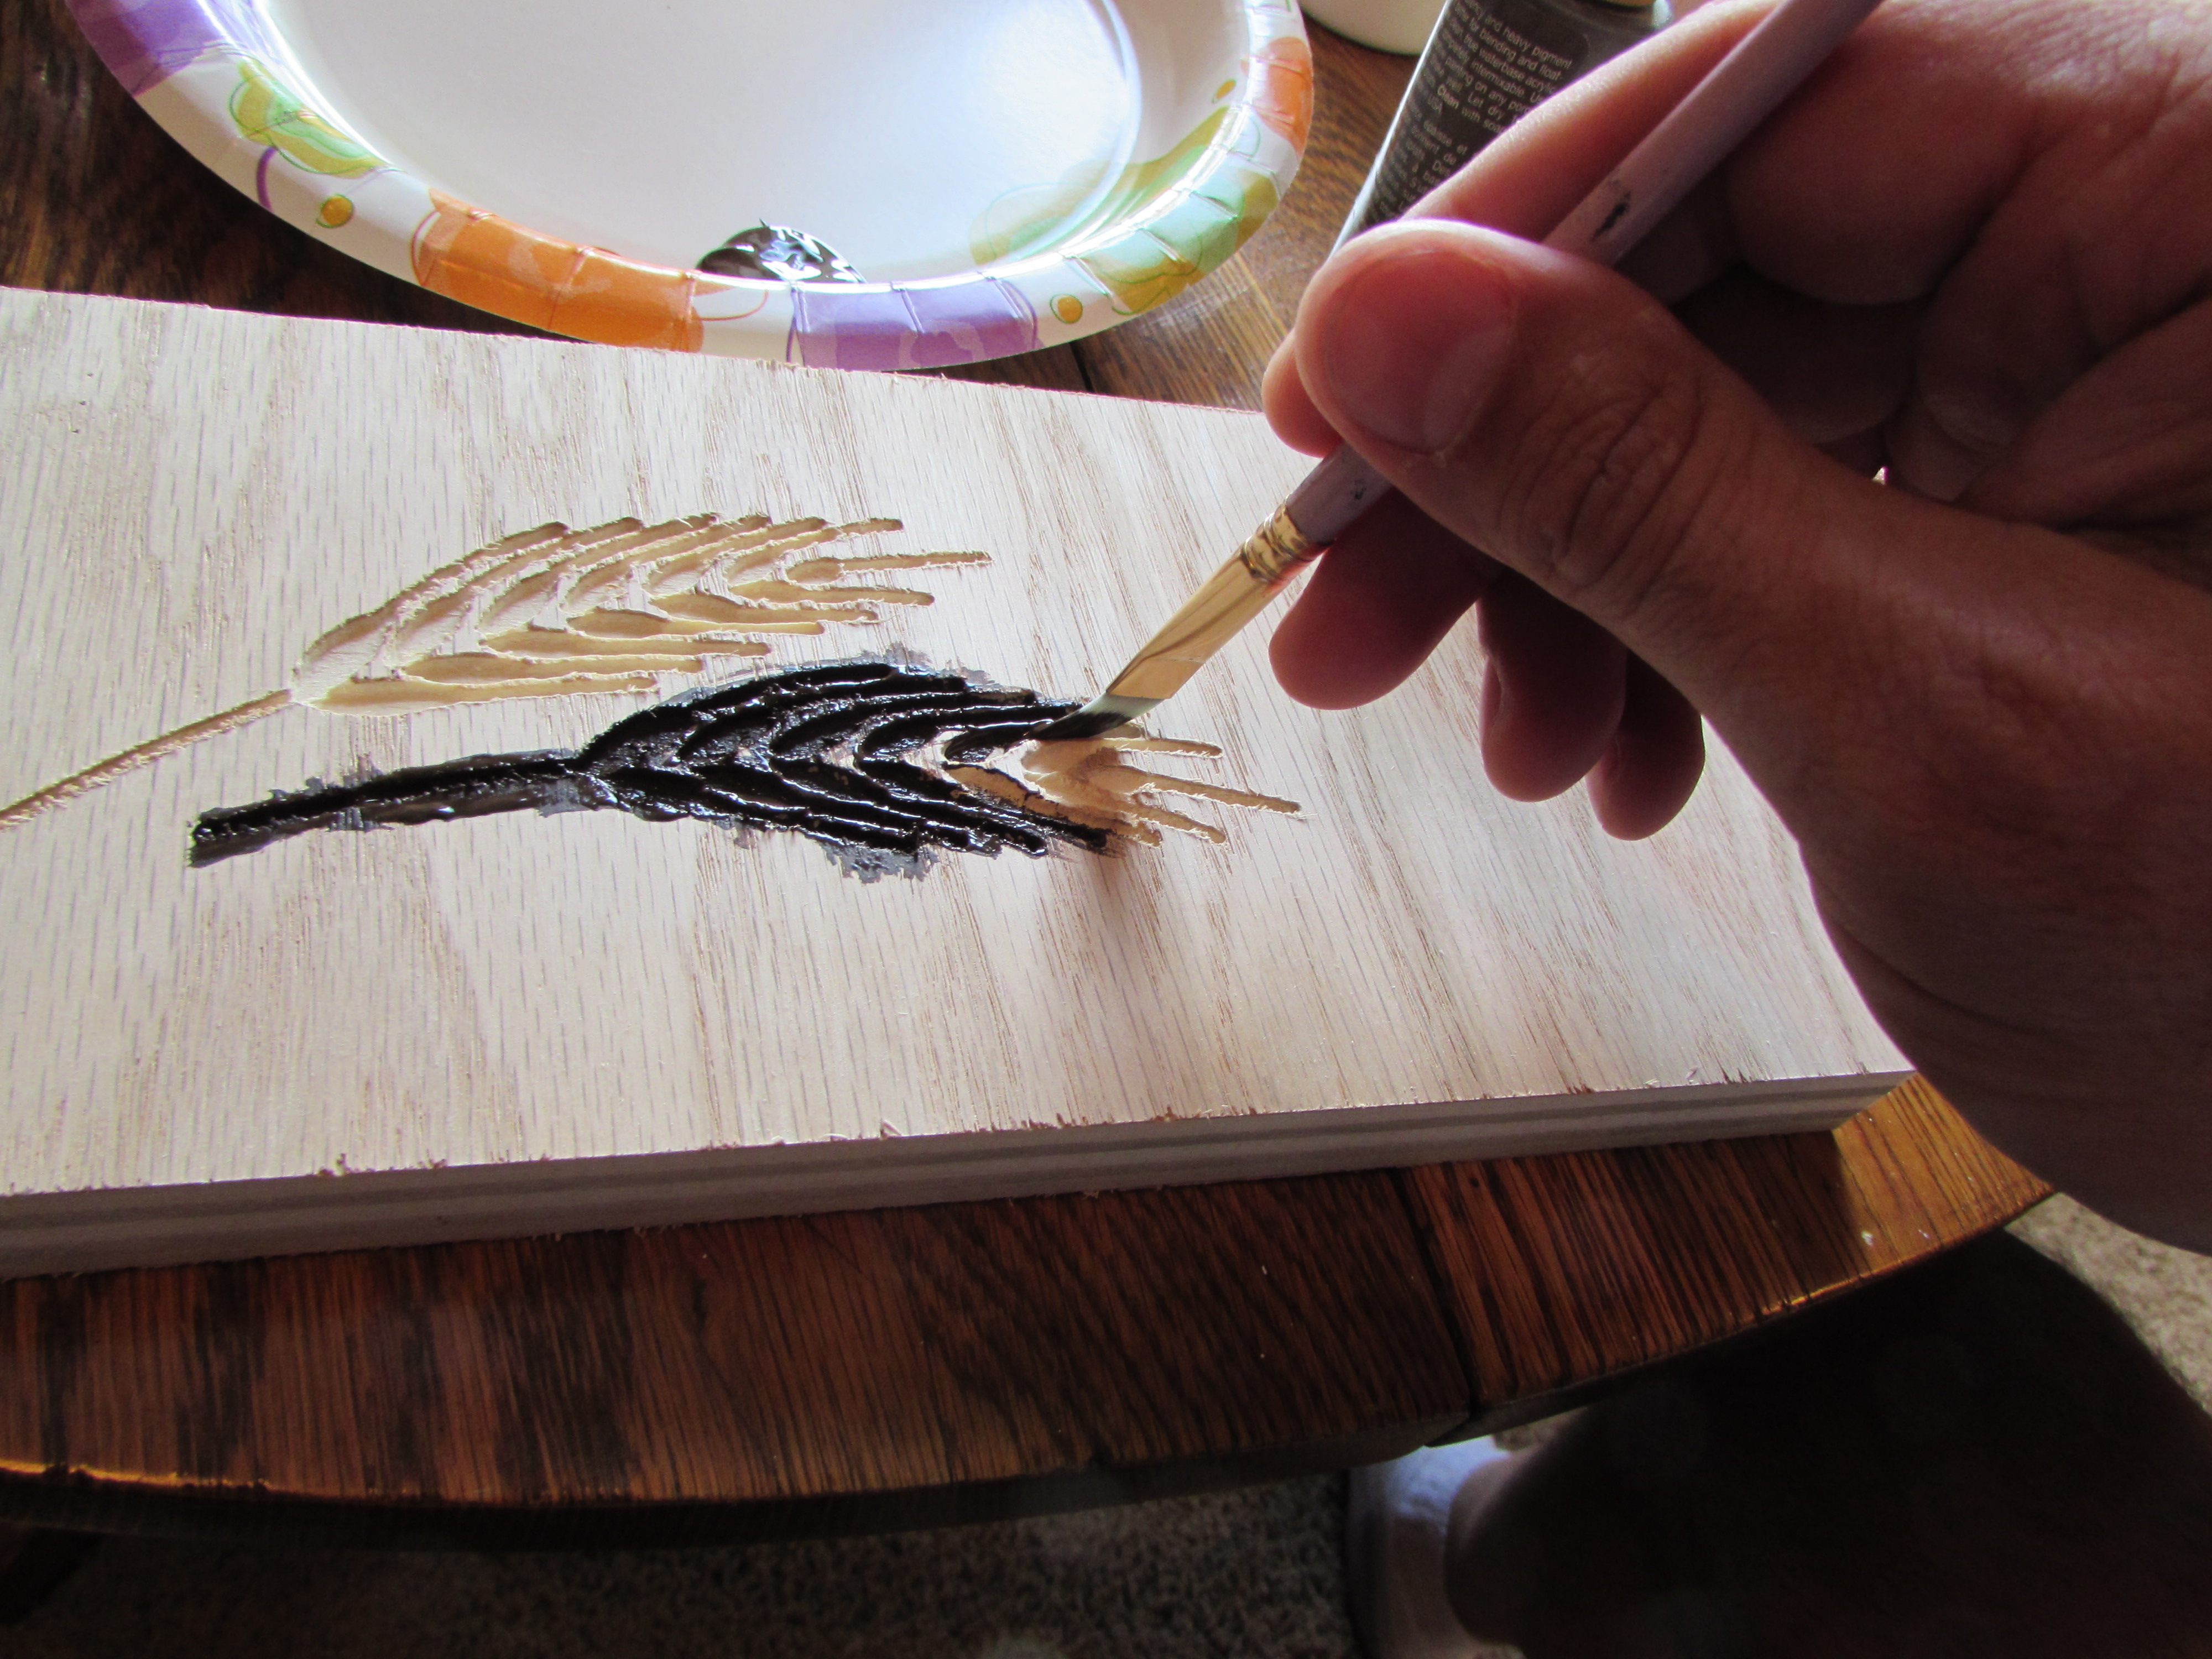
I painted each piece of wheat with acrylic paint. One black, and one brown.
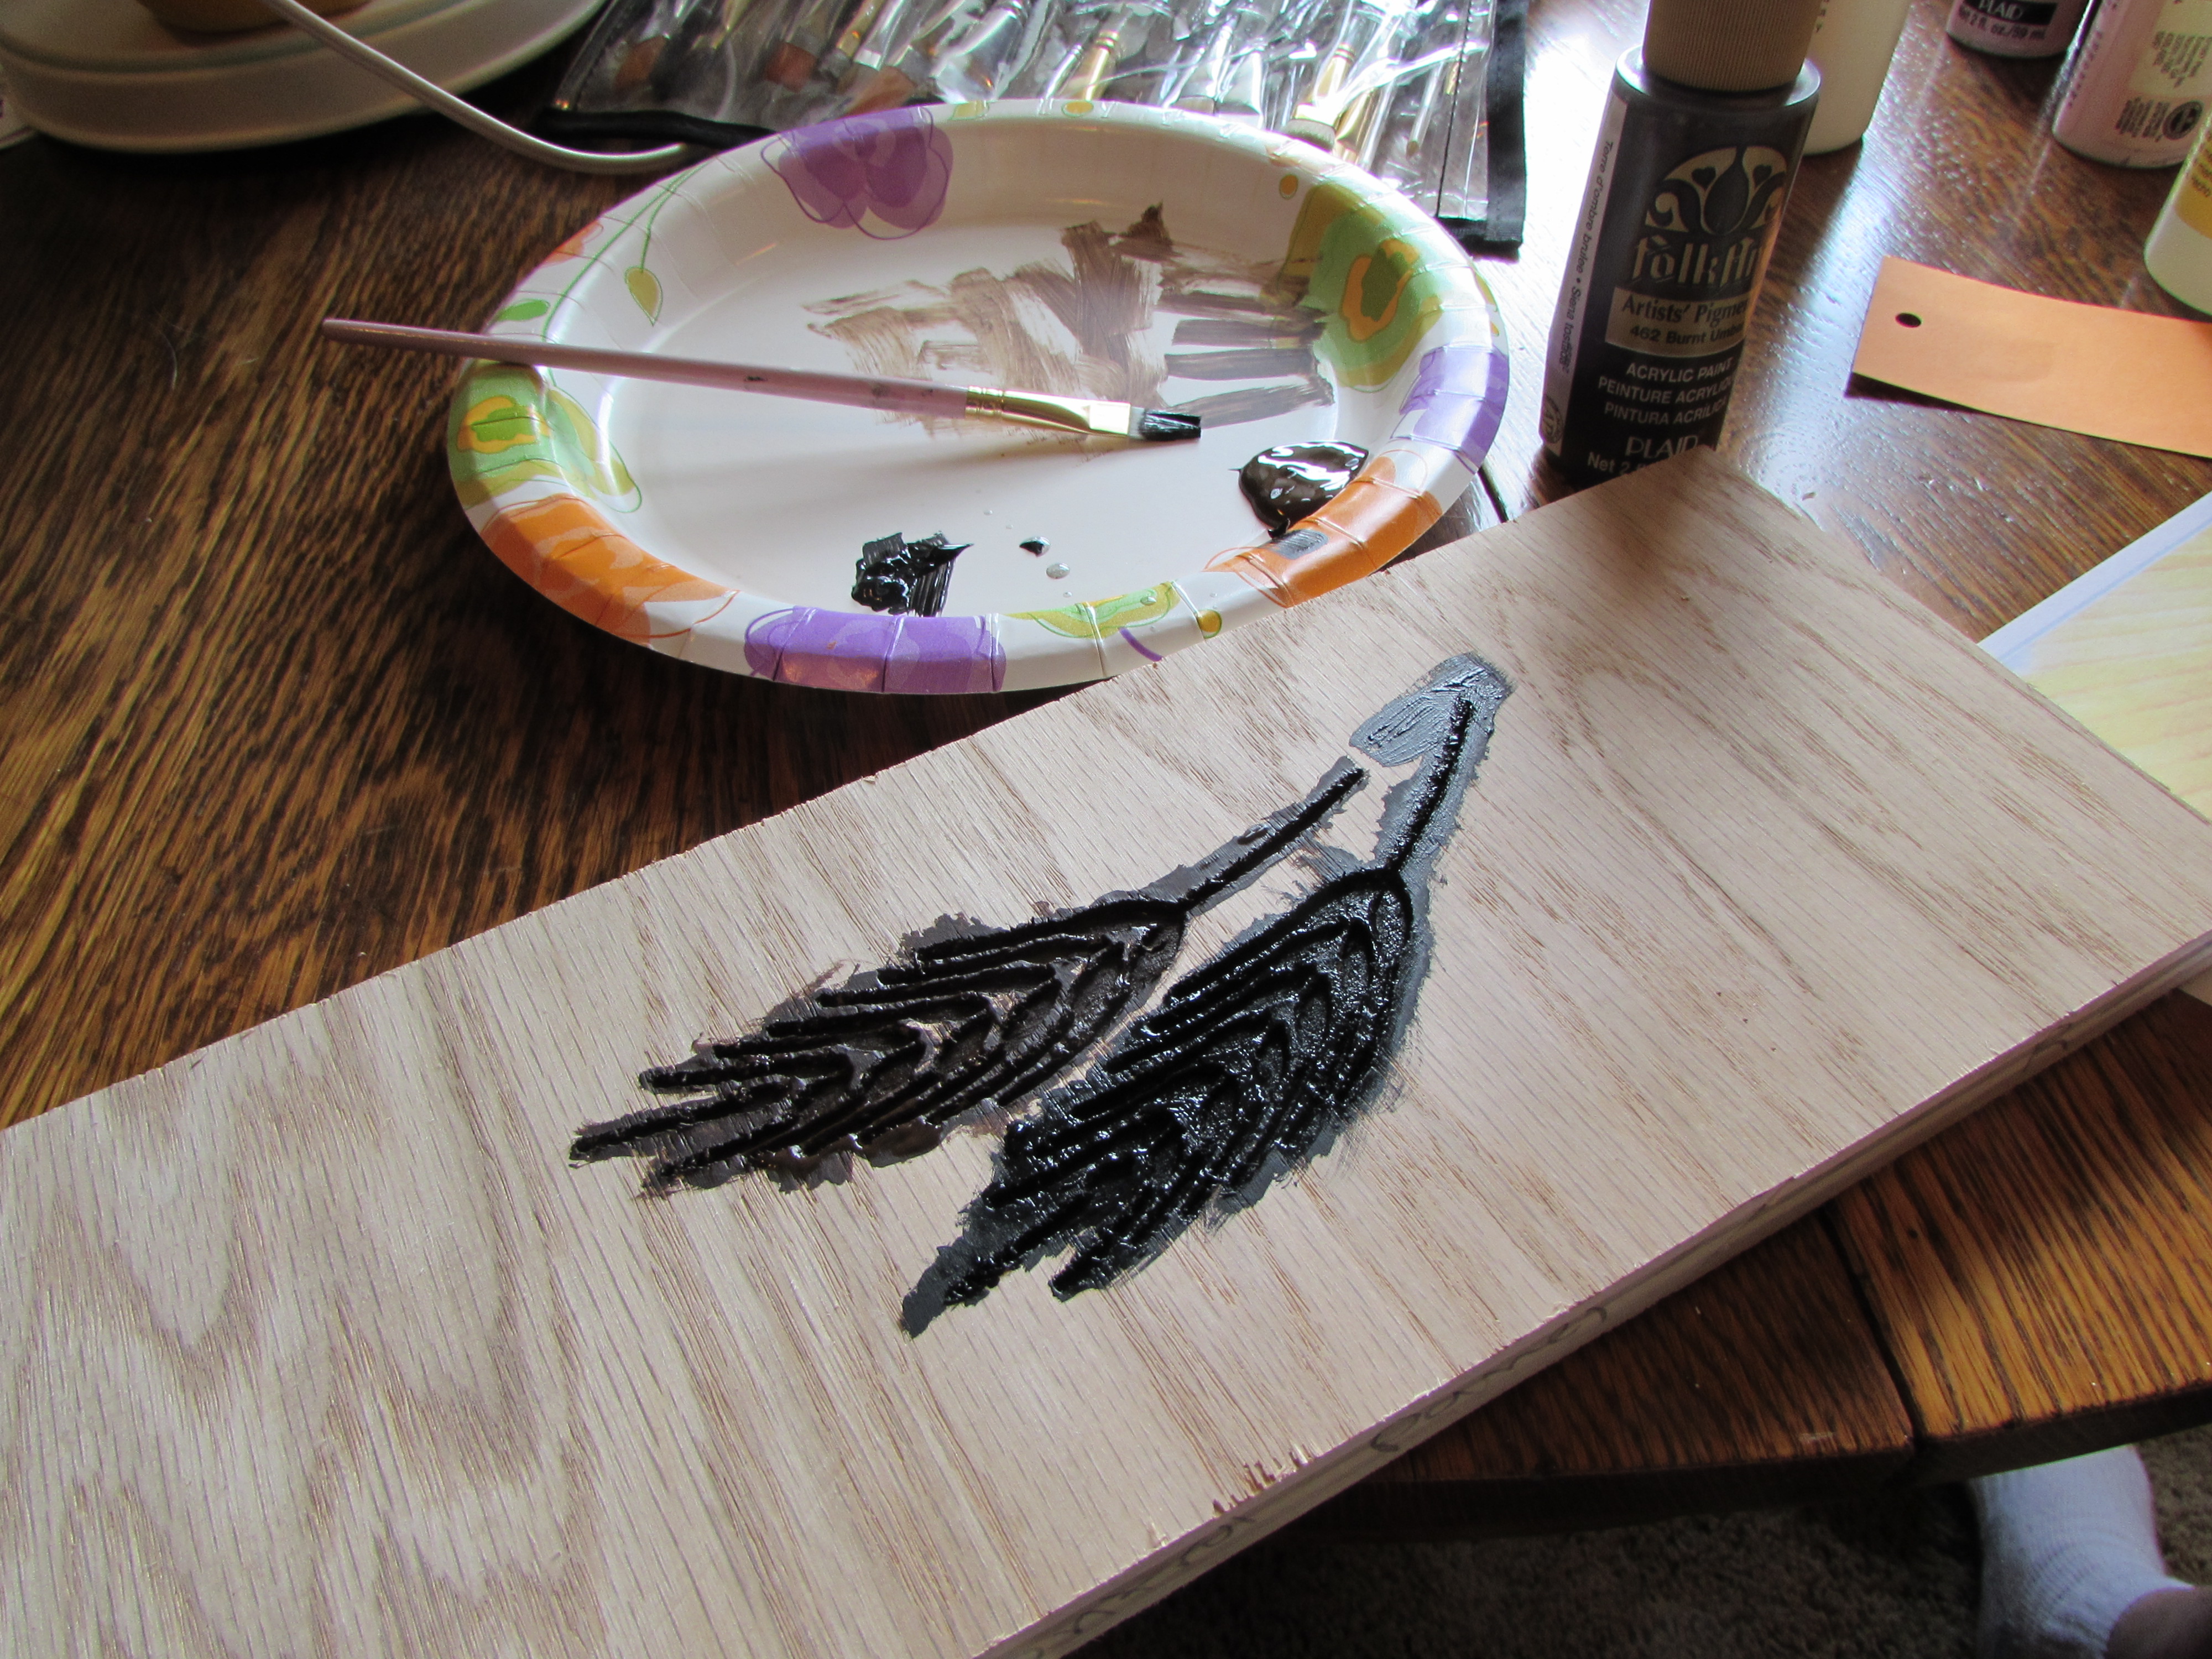

After the paint dried, I sanded away the excess paint. I also managed to sand away some of the veneer, trying to clean up the damaged areas.
Since I did not feel that the result was acceptable, I sat back down at the computer and increased the size of the image as well as increasing the size of the carving bit to 1/16″. By moving to the larger bit, the software in my carver automatically slowed down. I also decided to decrease the depth to .04″. I used a piece of the wheat and part of the front picture as well, in the new test carve.

Aside from the large void in the center of the plywood, I think it turned out a lot better. After painting and sanding, I was happy enough with the results to press on to the main image.

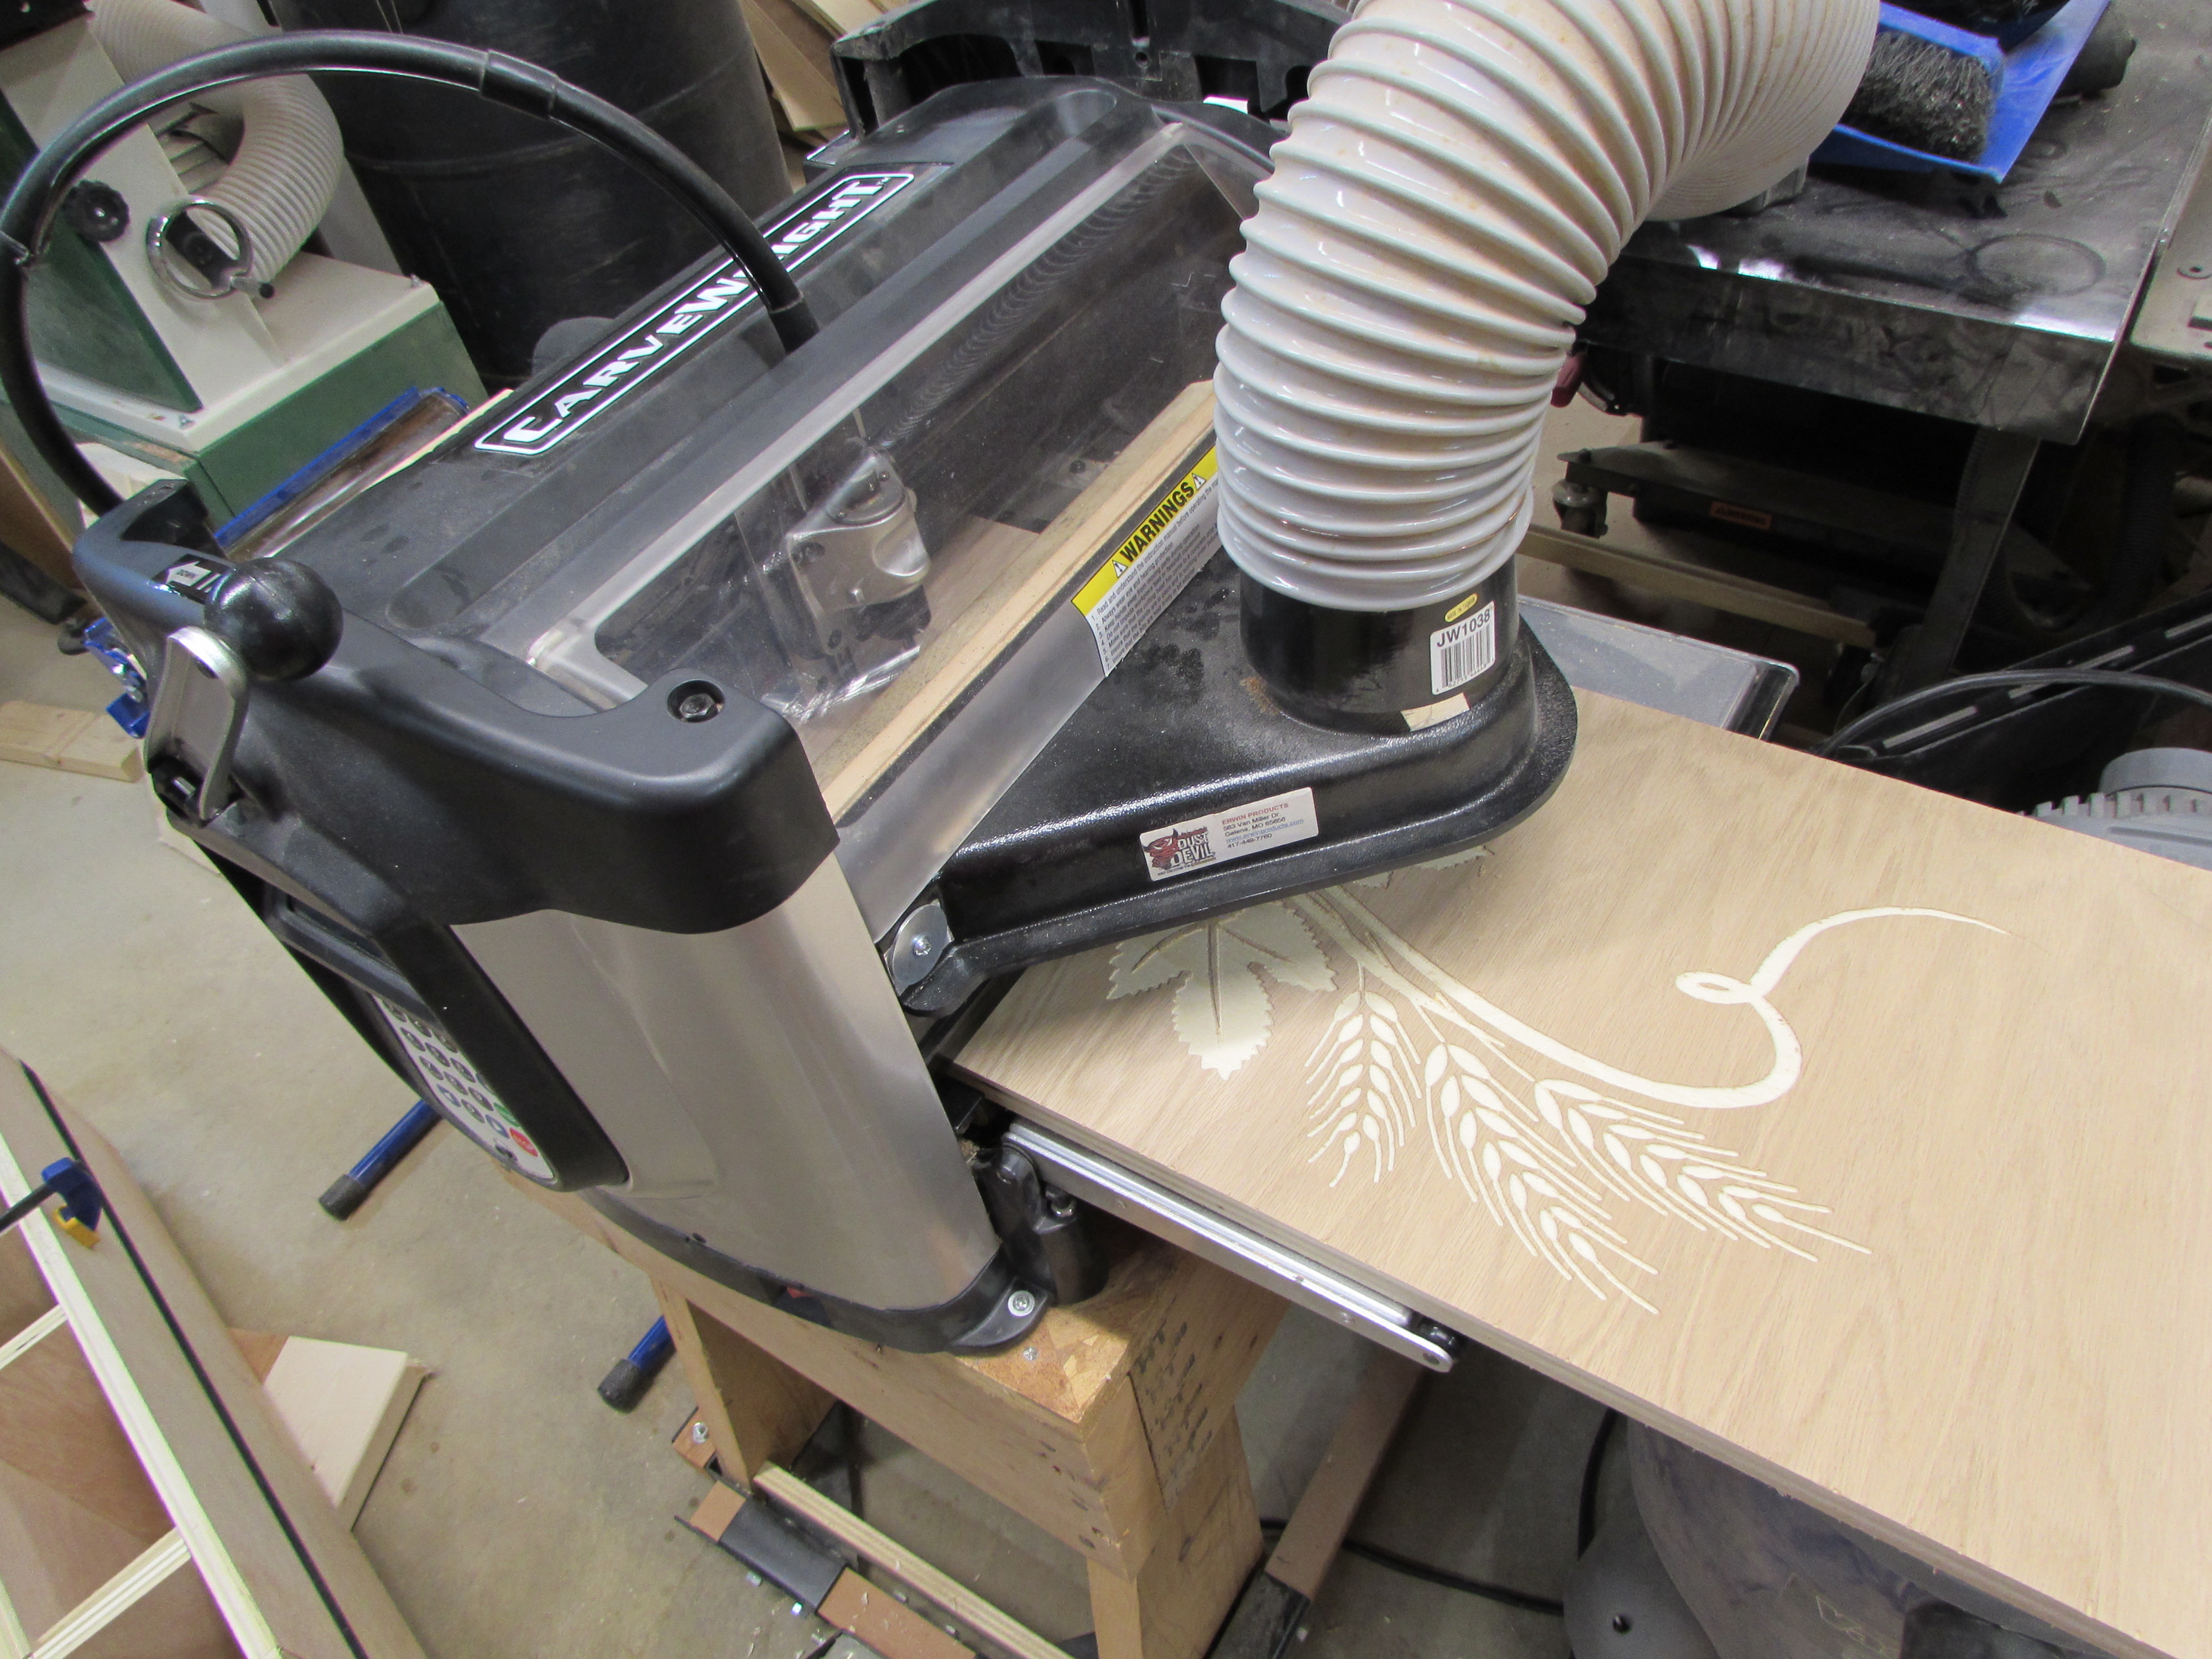
I loaded the carver with a 12.5″x48″ piece of plywood and started the carve. 4-1/2 hours later, here is the result. Looks pretty good.
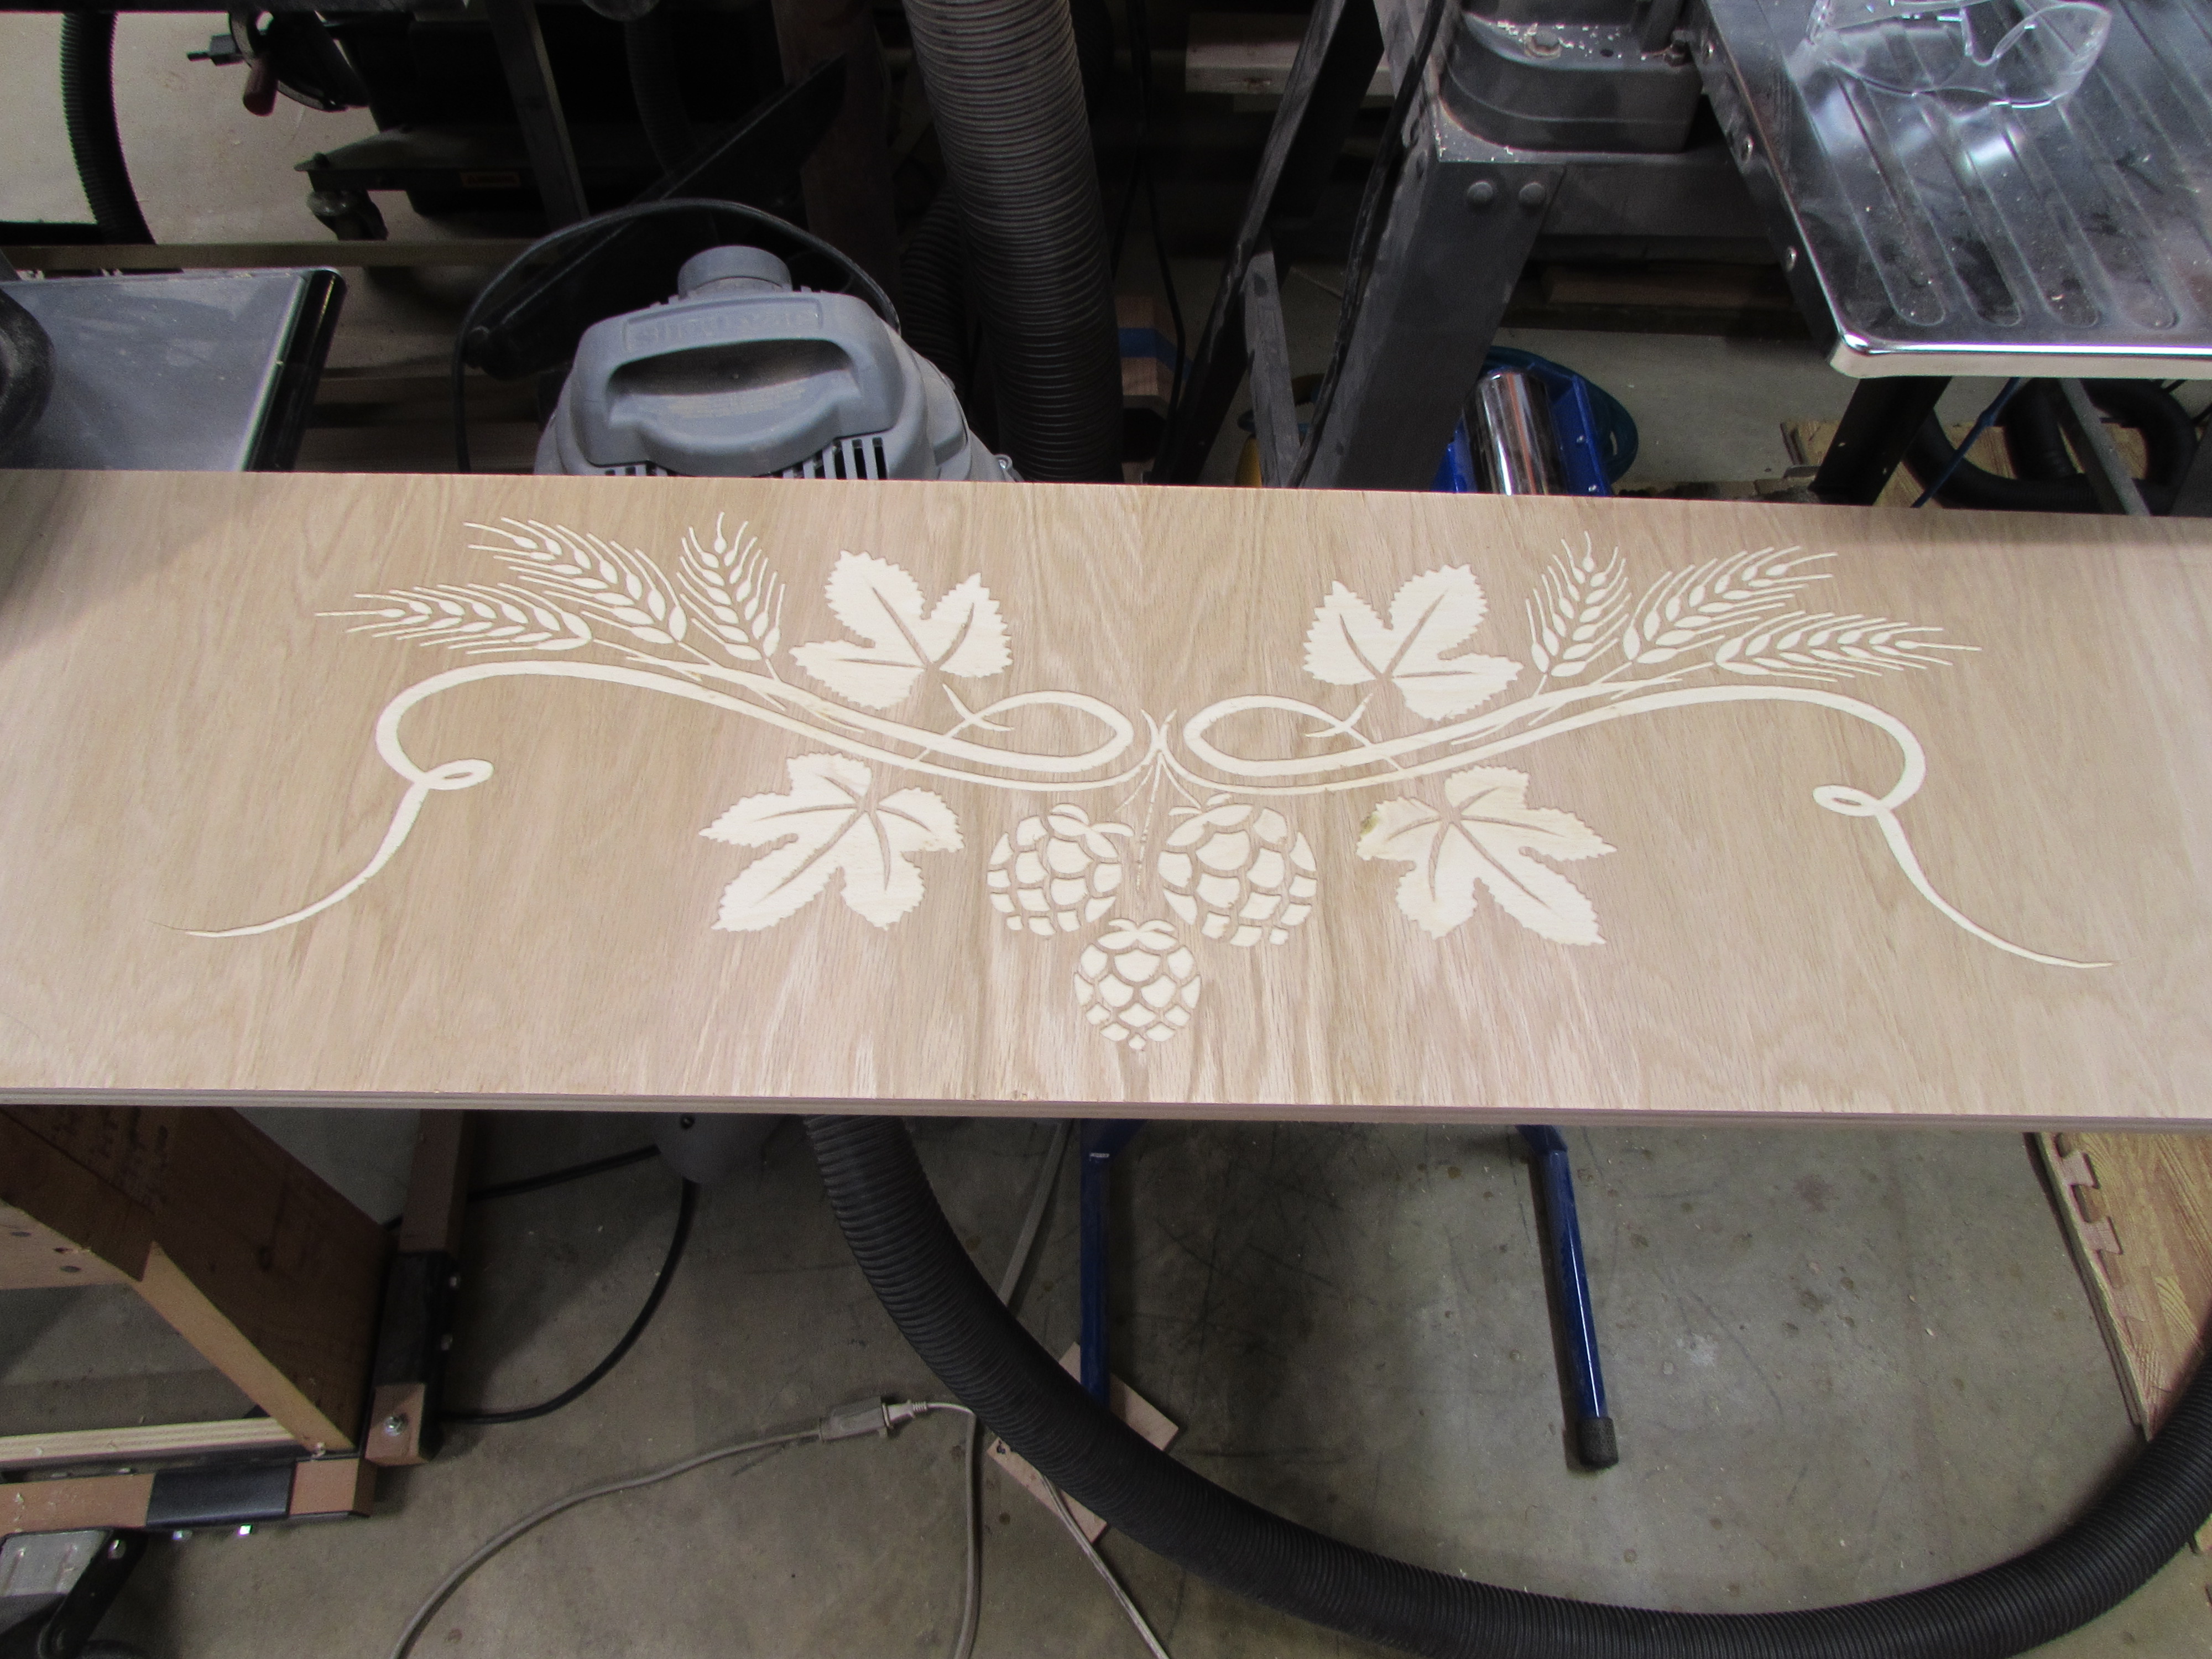
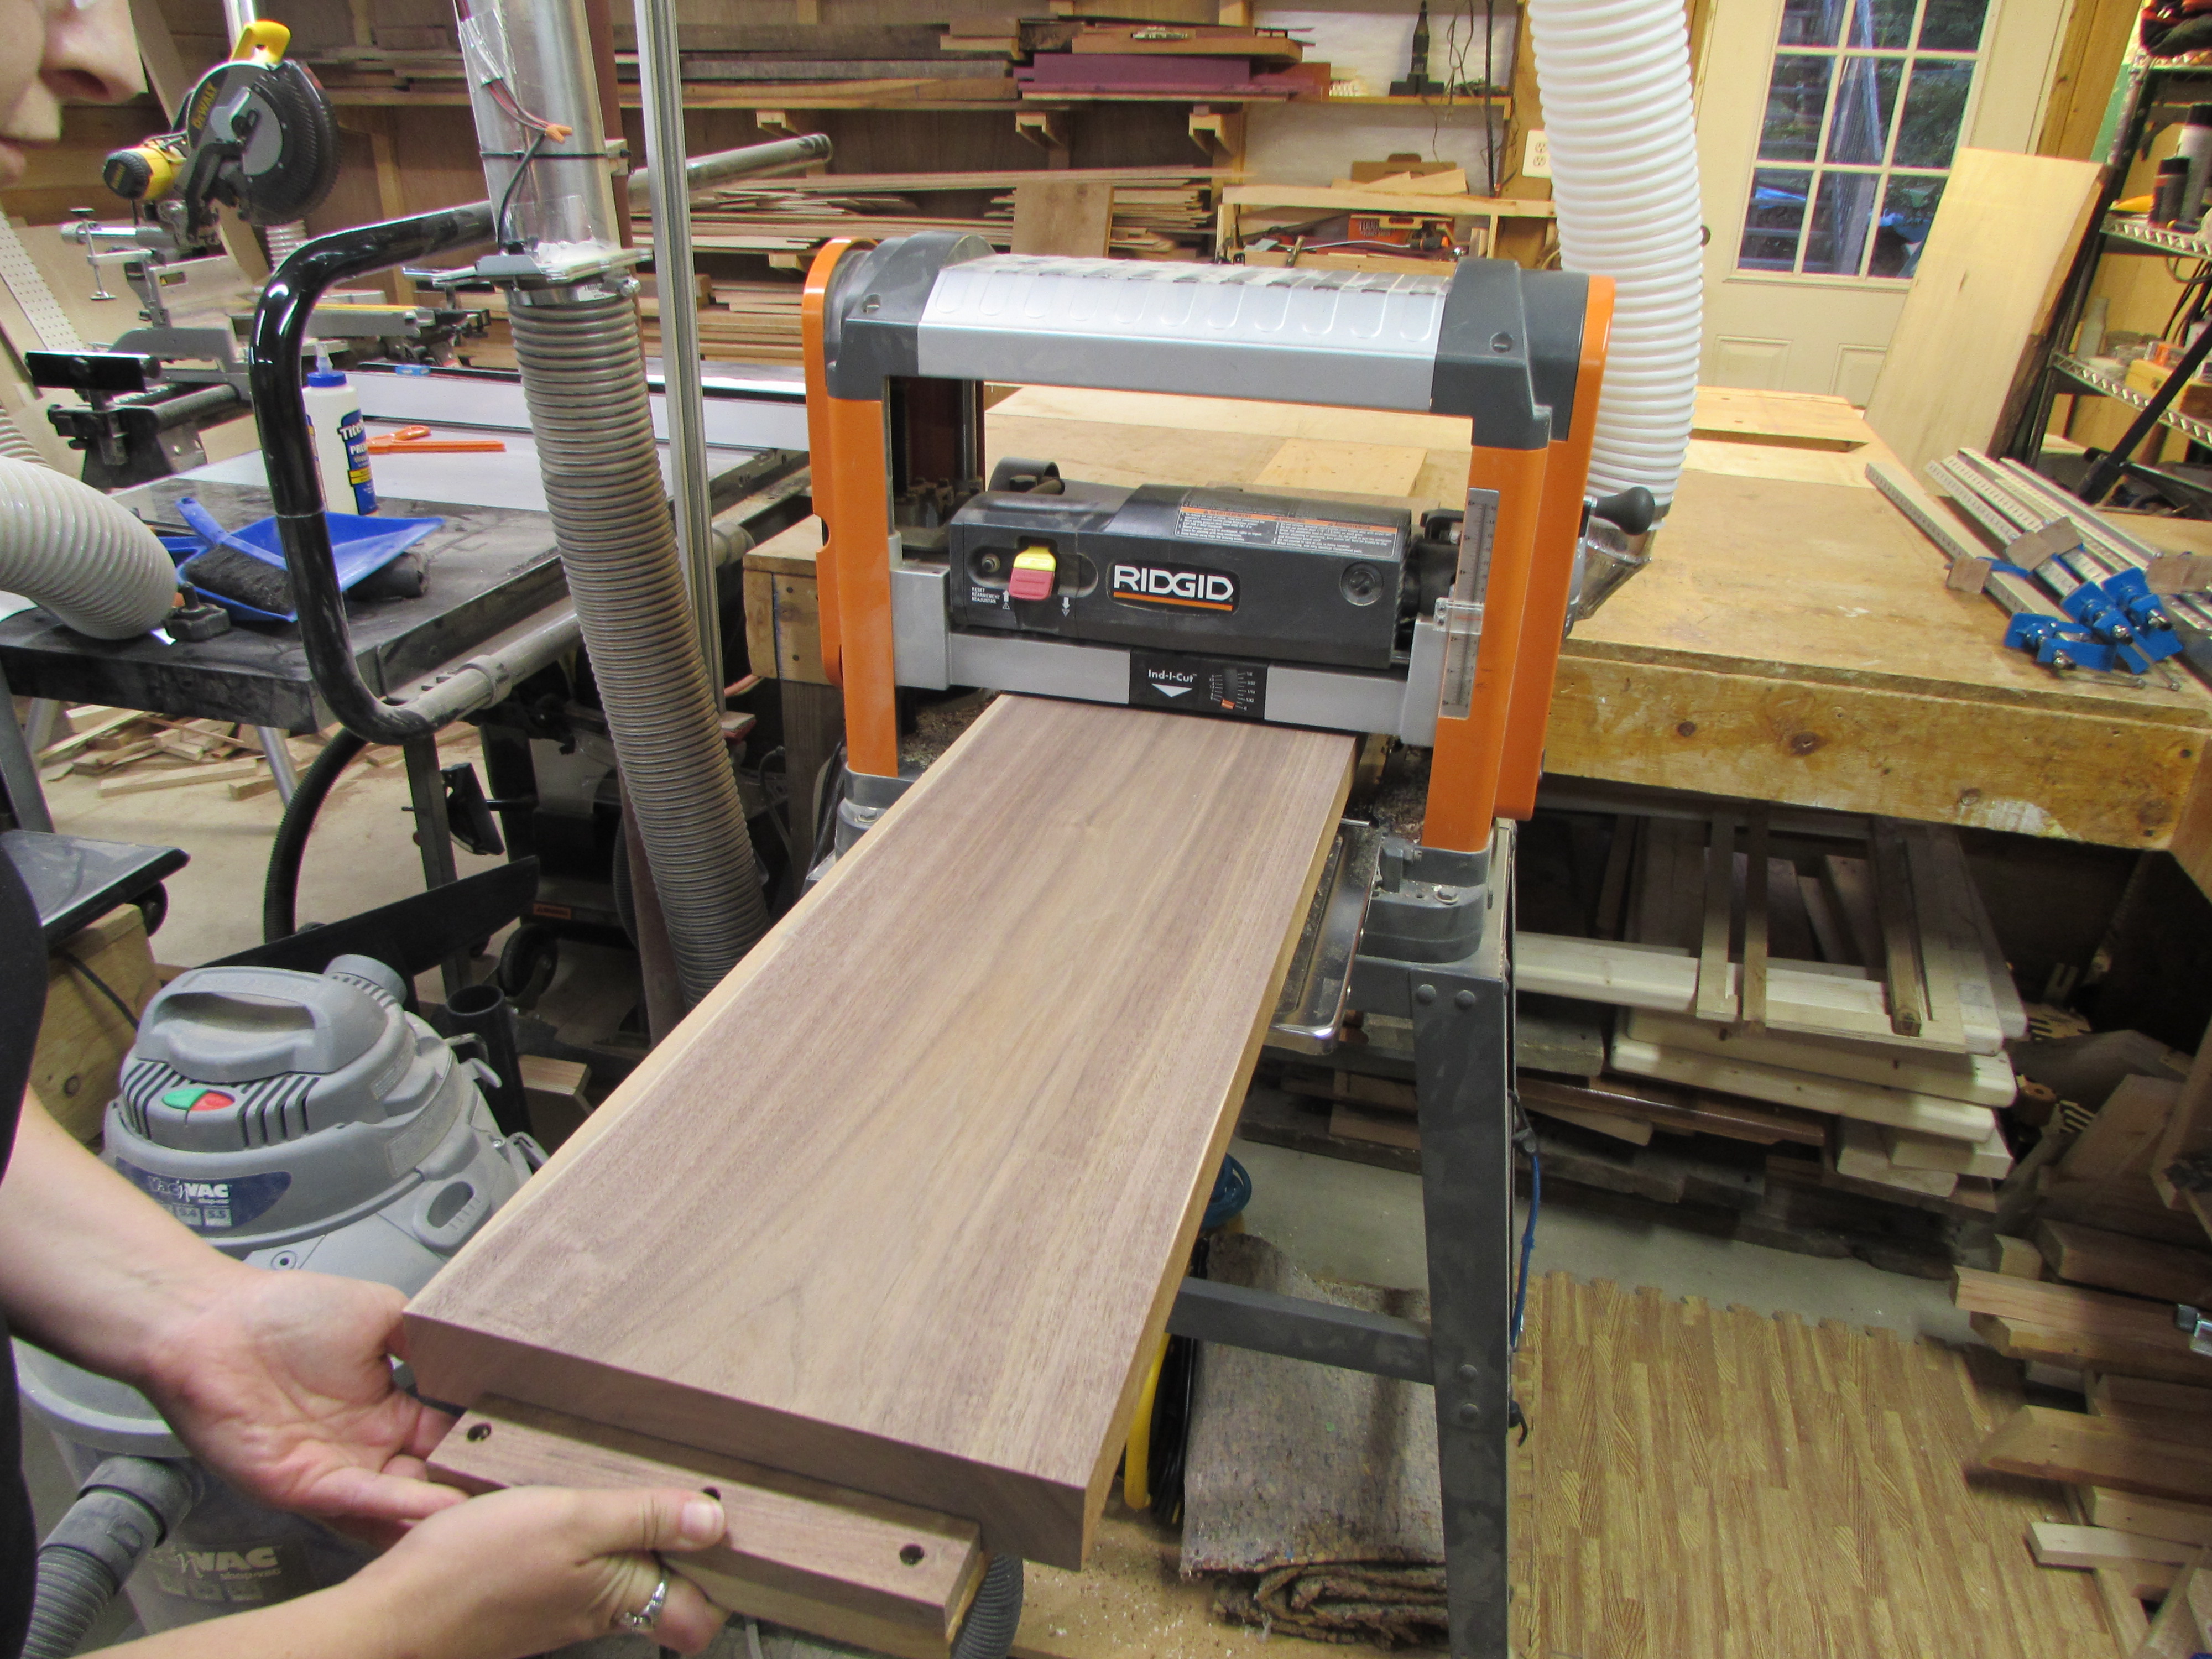
After I finished with the carving, I handed it off to Erin to take home and paint. She will bring it back later this week and we can sand it down to see the final product. Erin had a few hours to play last night, so I showed her how to use the planer. She pulled the clamps on the panel that she glued up a couple of days ago and planed it down to 3/4″ thick.

We set that panel aside to use later and grabbed a large piece of walnut to cut and plane down to become the new mantle.
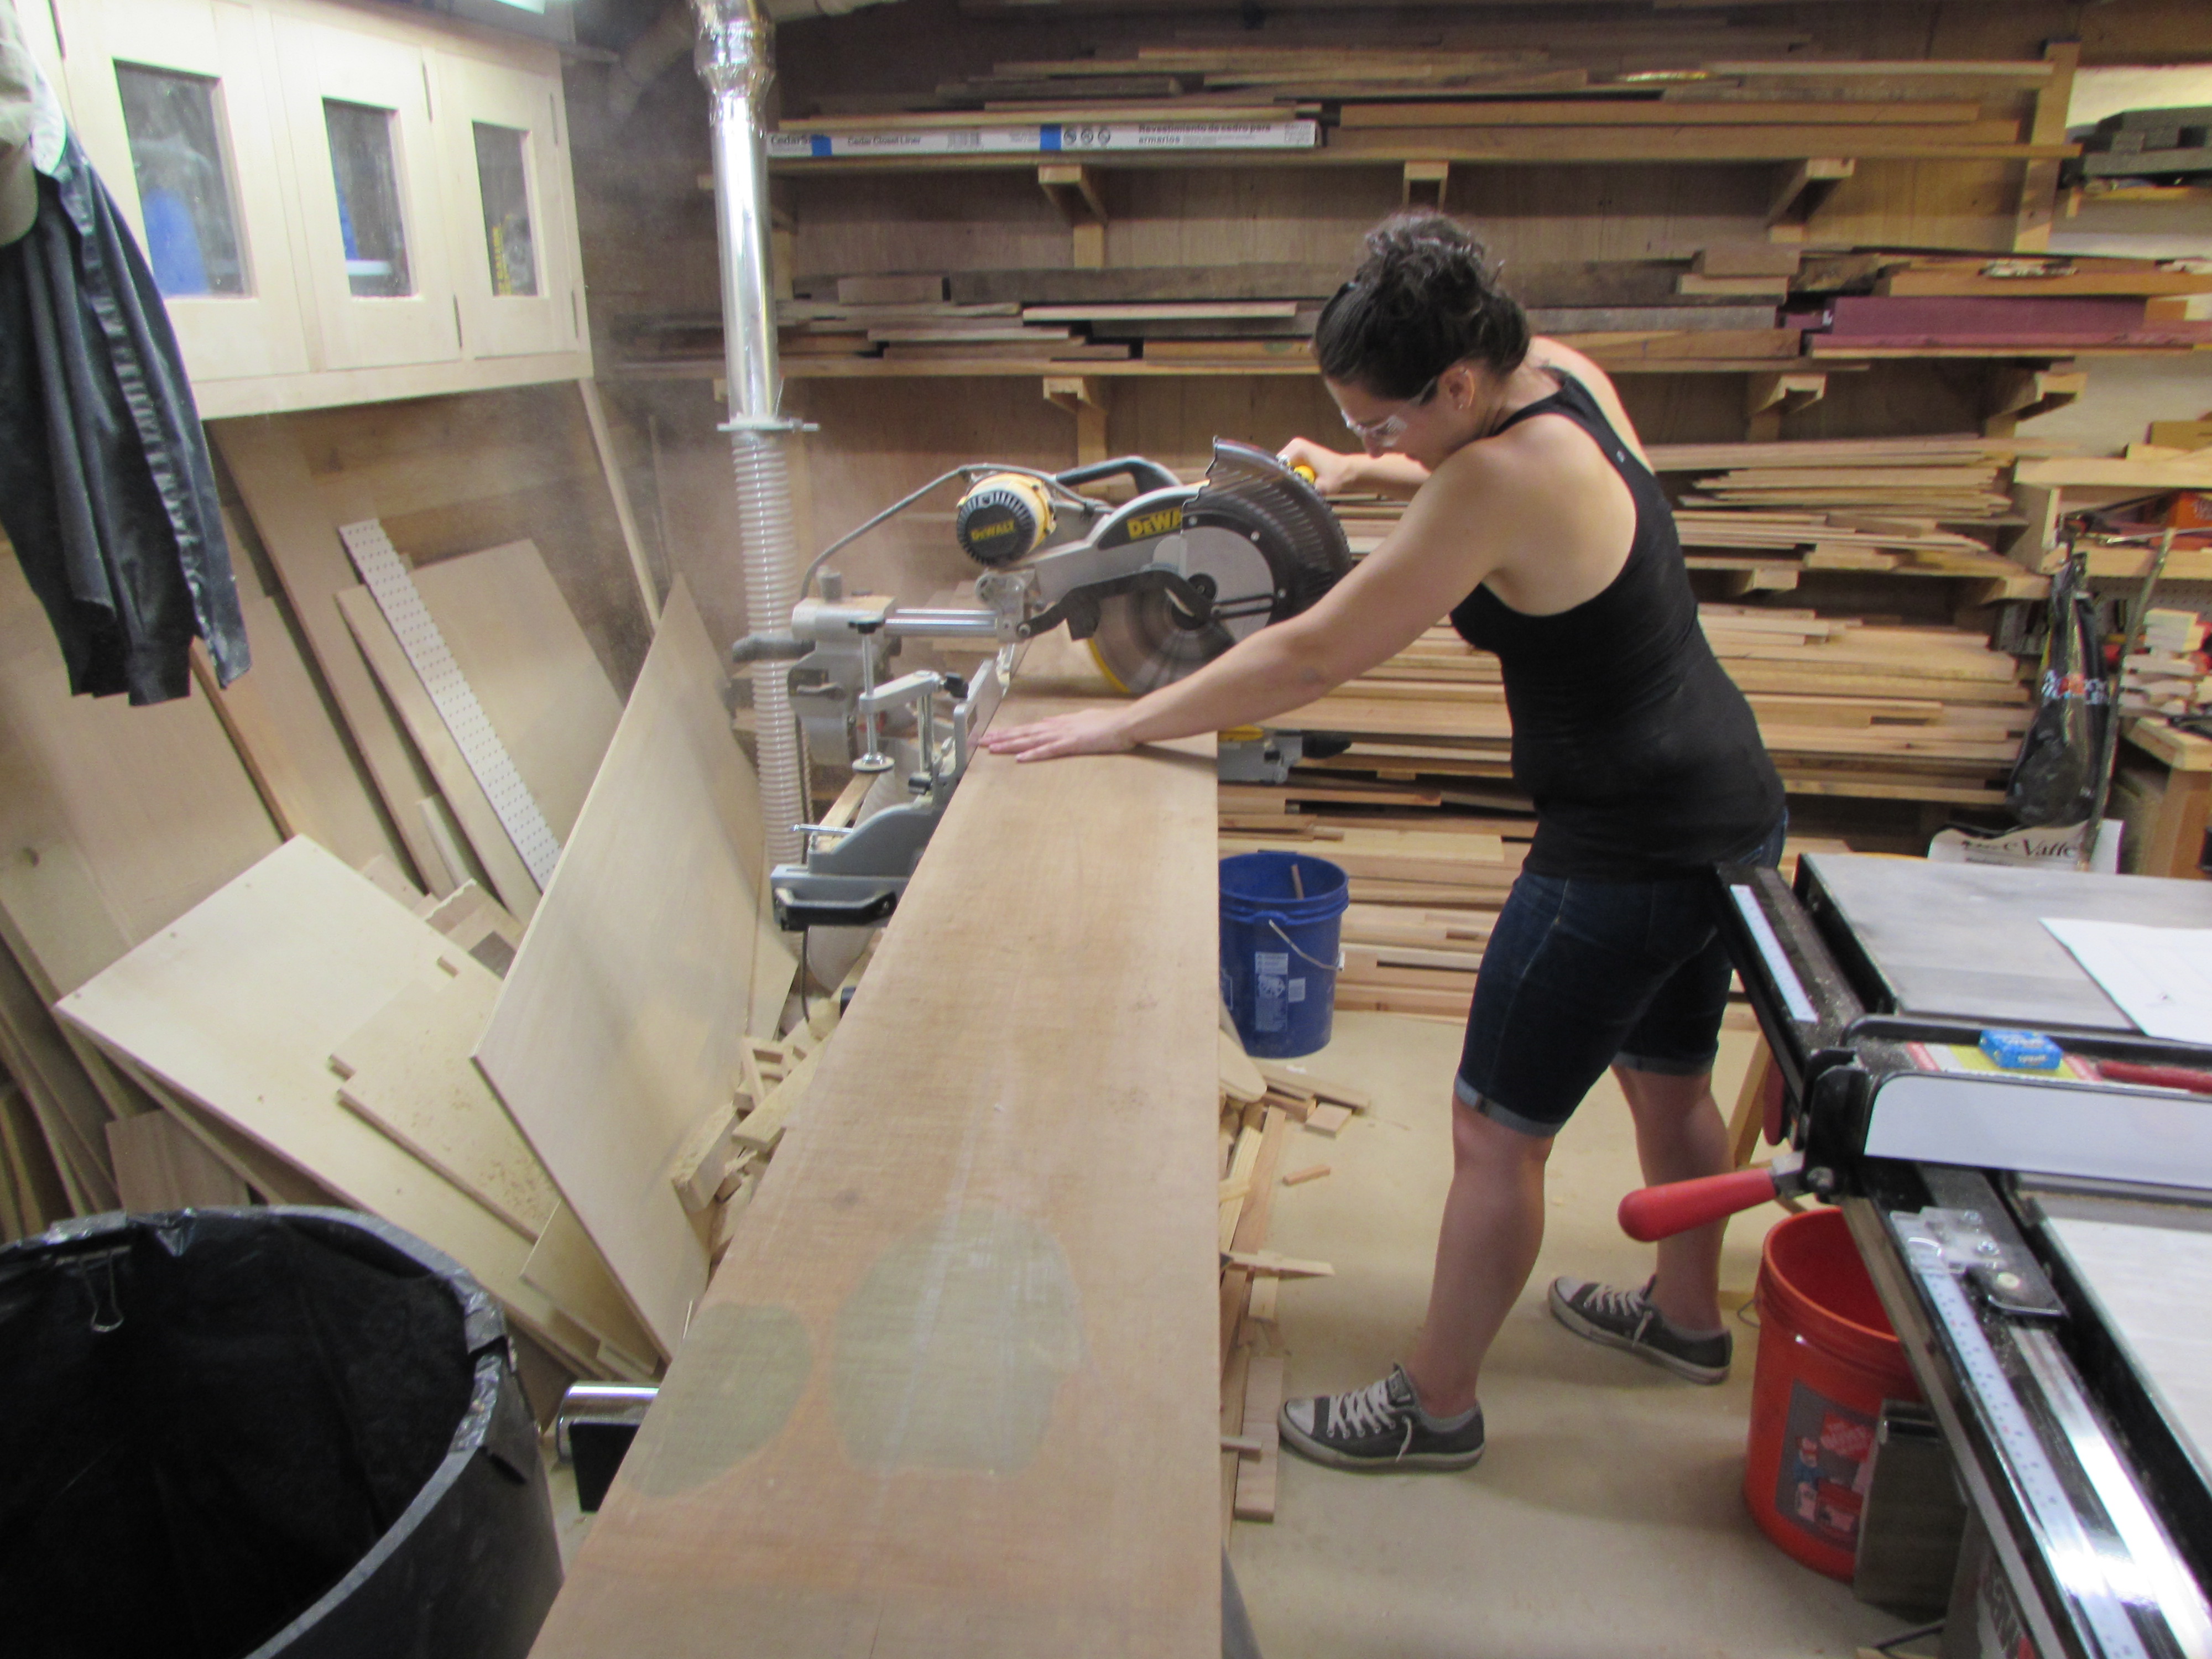
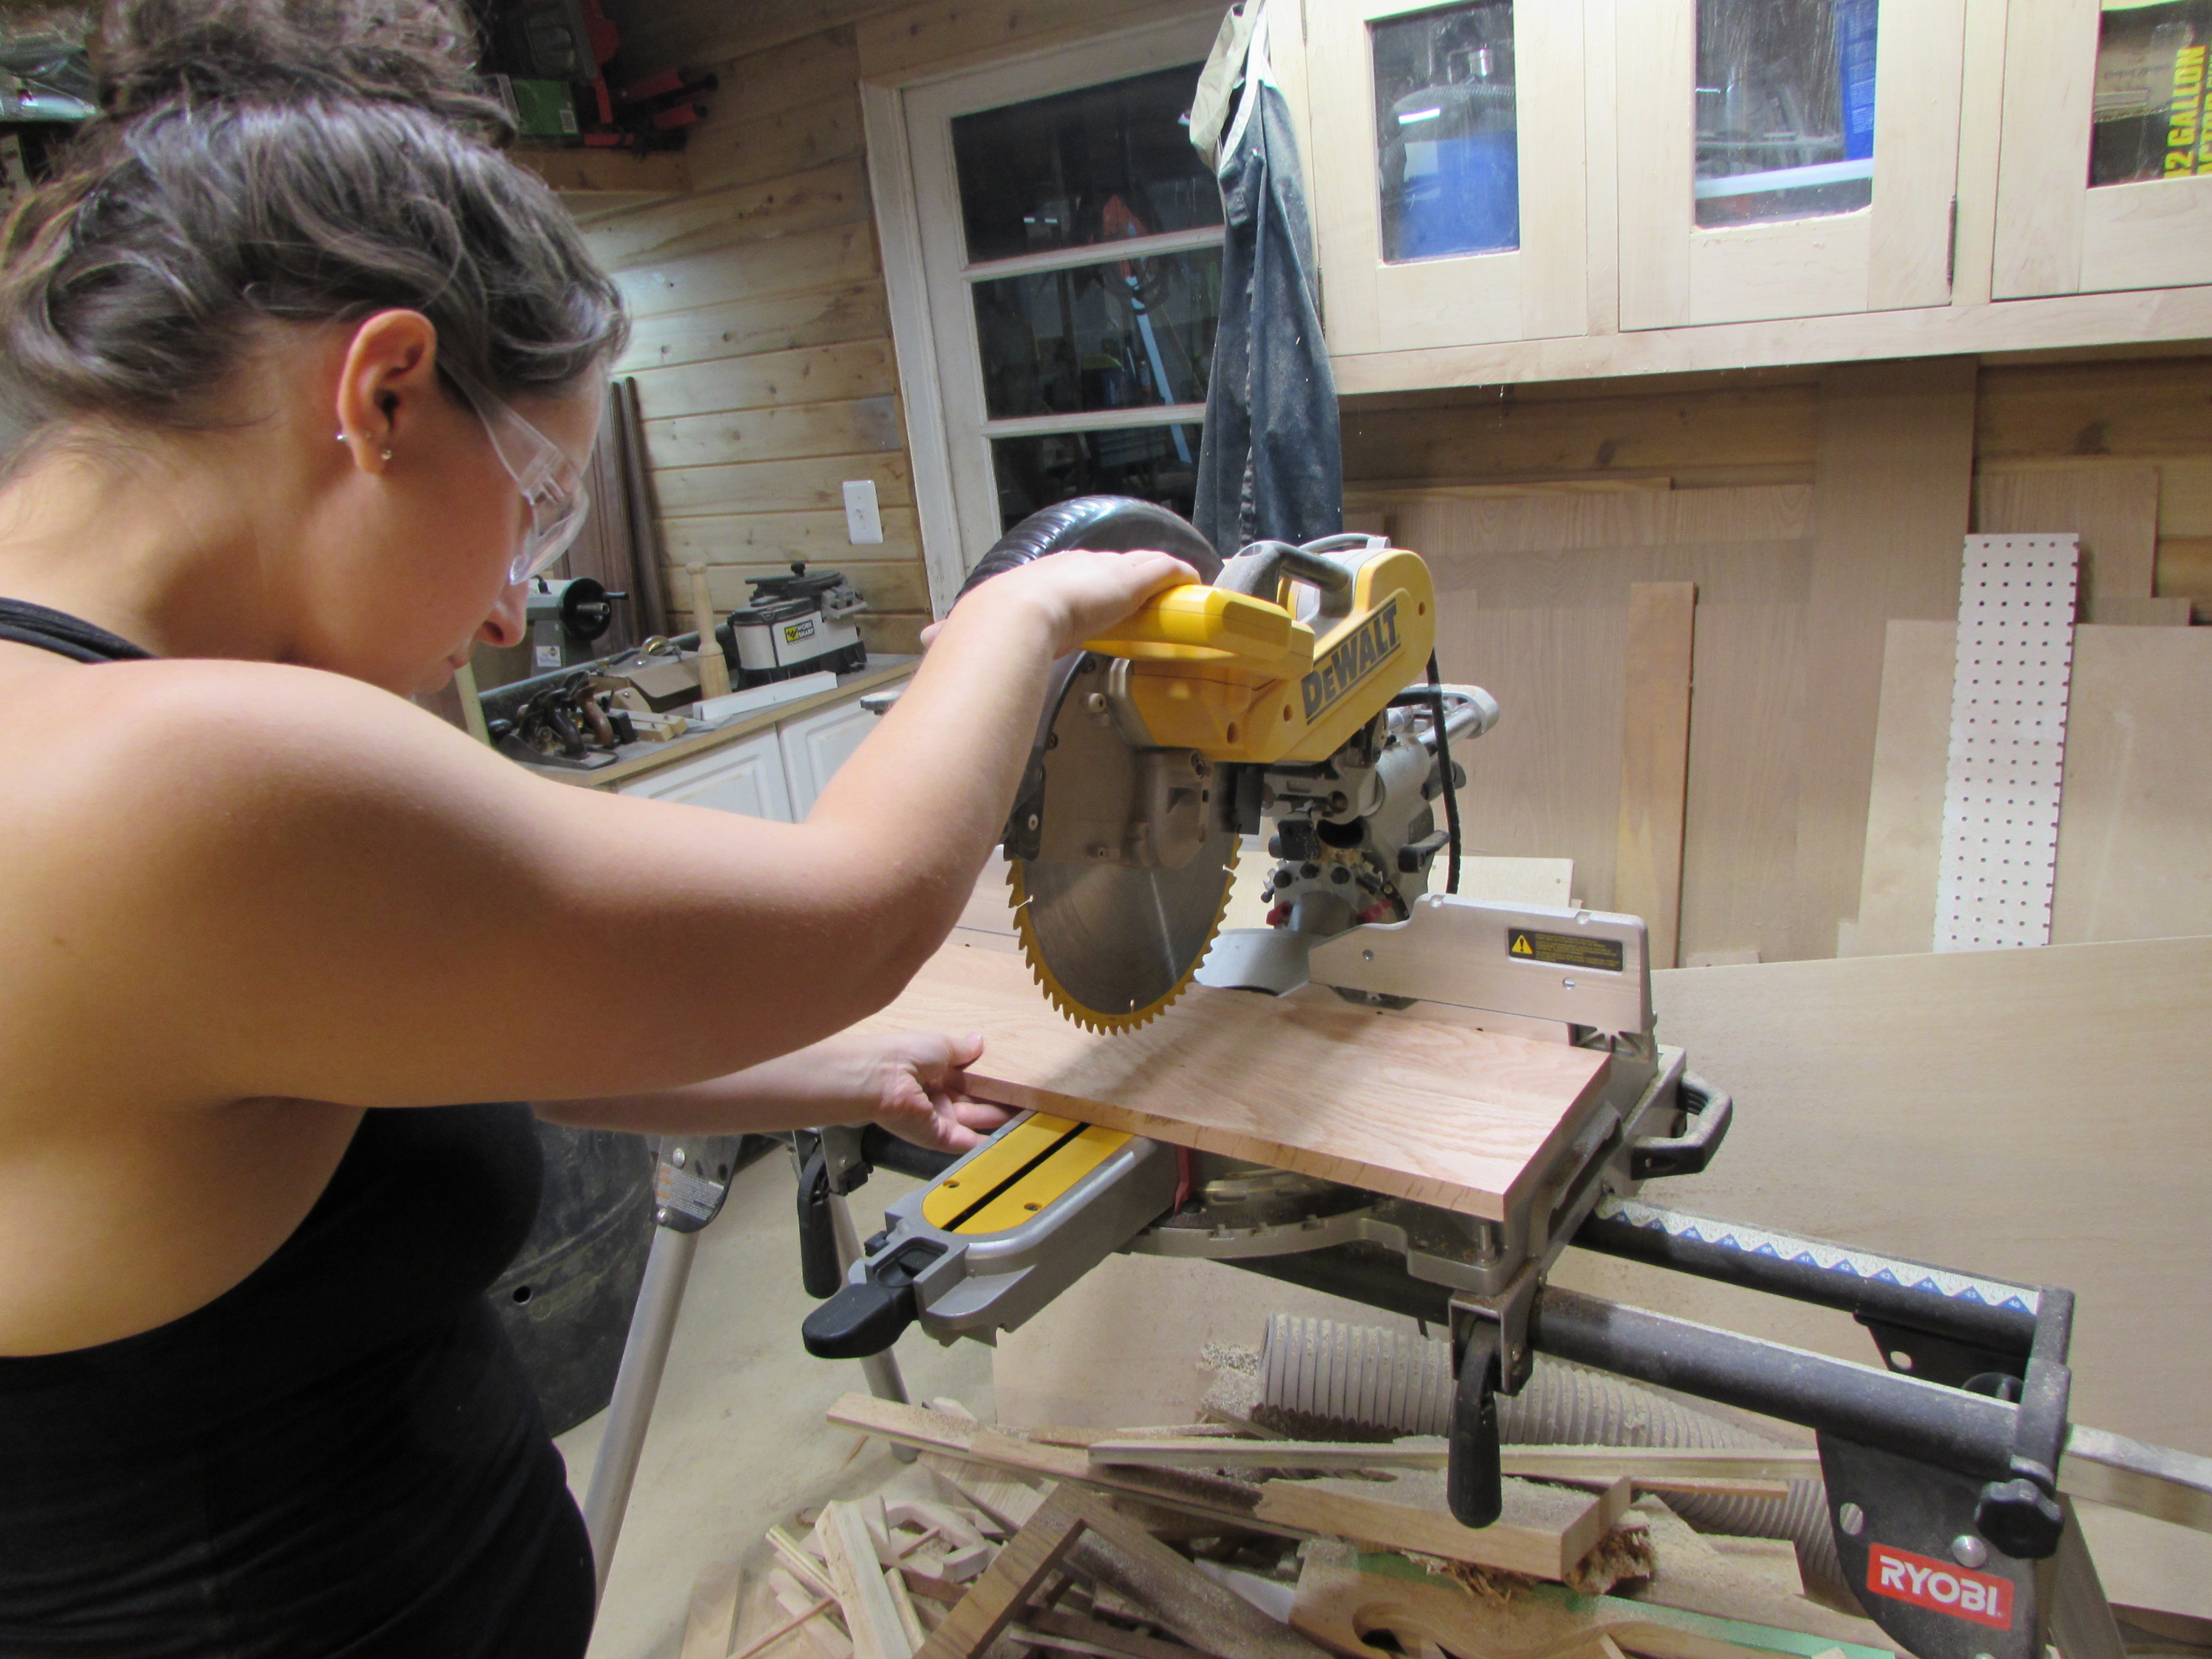
I happened to have a 2-1/4″ thick piece of air-dried walnut that was nearly 12″ wide and about 9′ long. We only needed 5′ for the mantle so she cut it down on the miter saw.

We ran the plank through the planer to clean it up and see what we were working with.

Looks a lot prettier with all of the rough saw marks and dirt removed.

Since this board was air-dried, without anything forcing it to remain dead straight, the board had developed a twist. If you held down one corner, the opposite corner went up nearly 1/2″ in the air. We really need the board to be flat, so I pulled out my homemade planing sled. The planer puts a lot of force down on the board when it is cutting and tends to just roll the board as it cuts. To fix this, I have screws all over my sled that can be raised up to support the high spots on the board and prevent the planer from pushing those areas down. It basically forces the planer to cut off the high points on the top, creating one truly flat side.
After one flat side is achieved we can remove the sled, and flip the board over to plane parallel to the good side. Luckily we were only planning on a 1-1/2″ thick mantle anyway. By the time we planed the twist out of the 2-1/4″ thick piece, 1-1/2″ was all that was left…
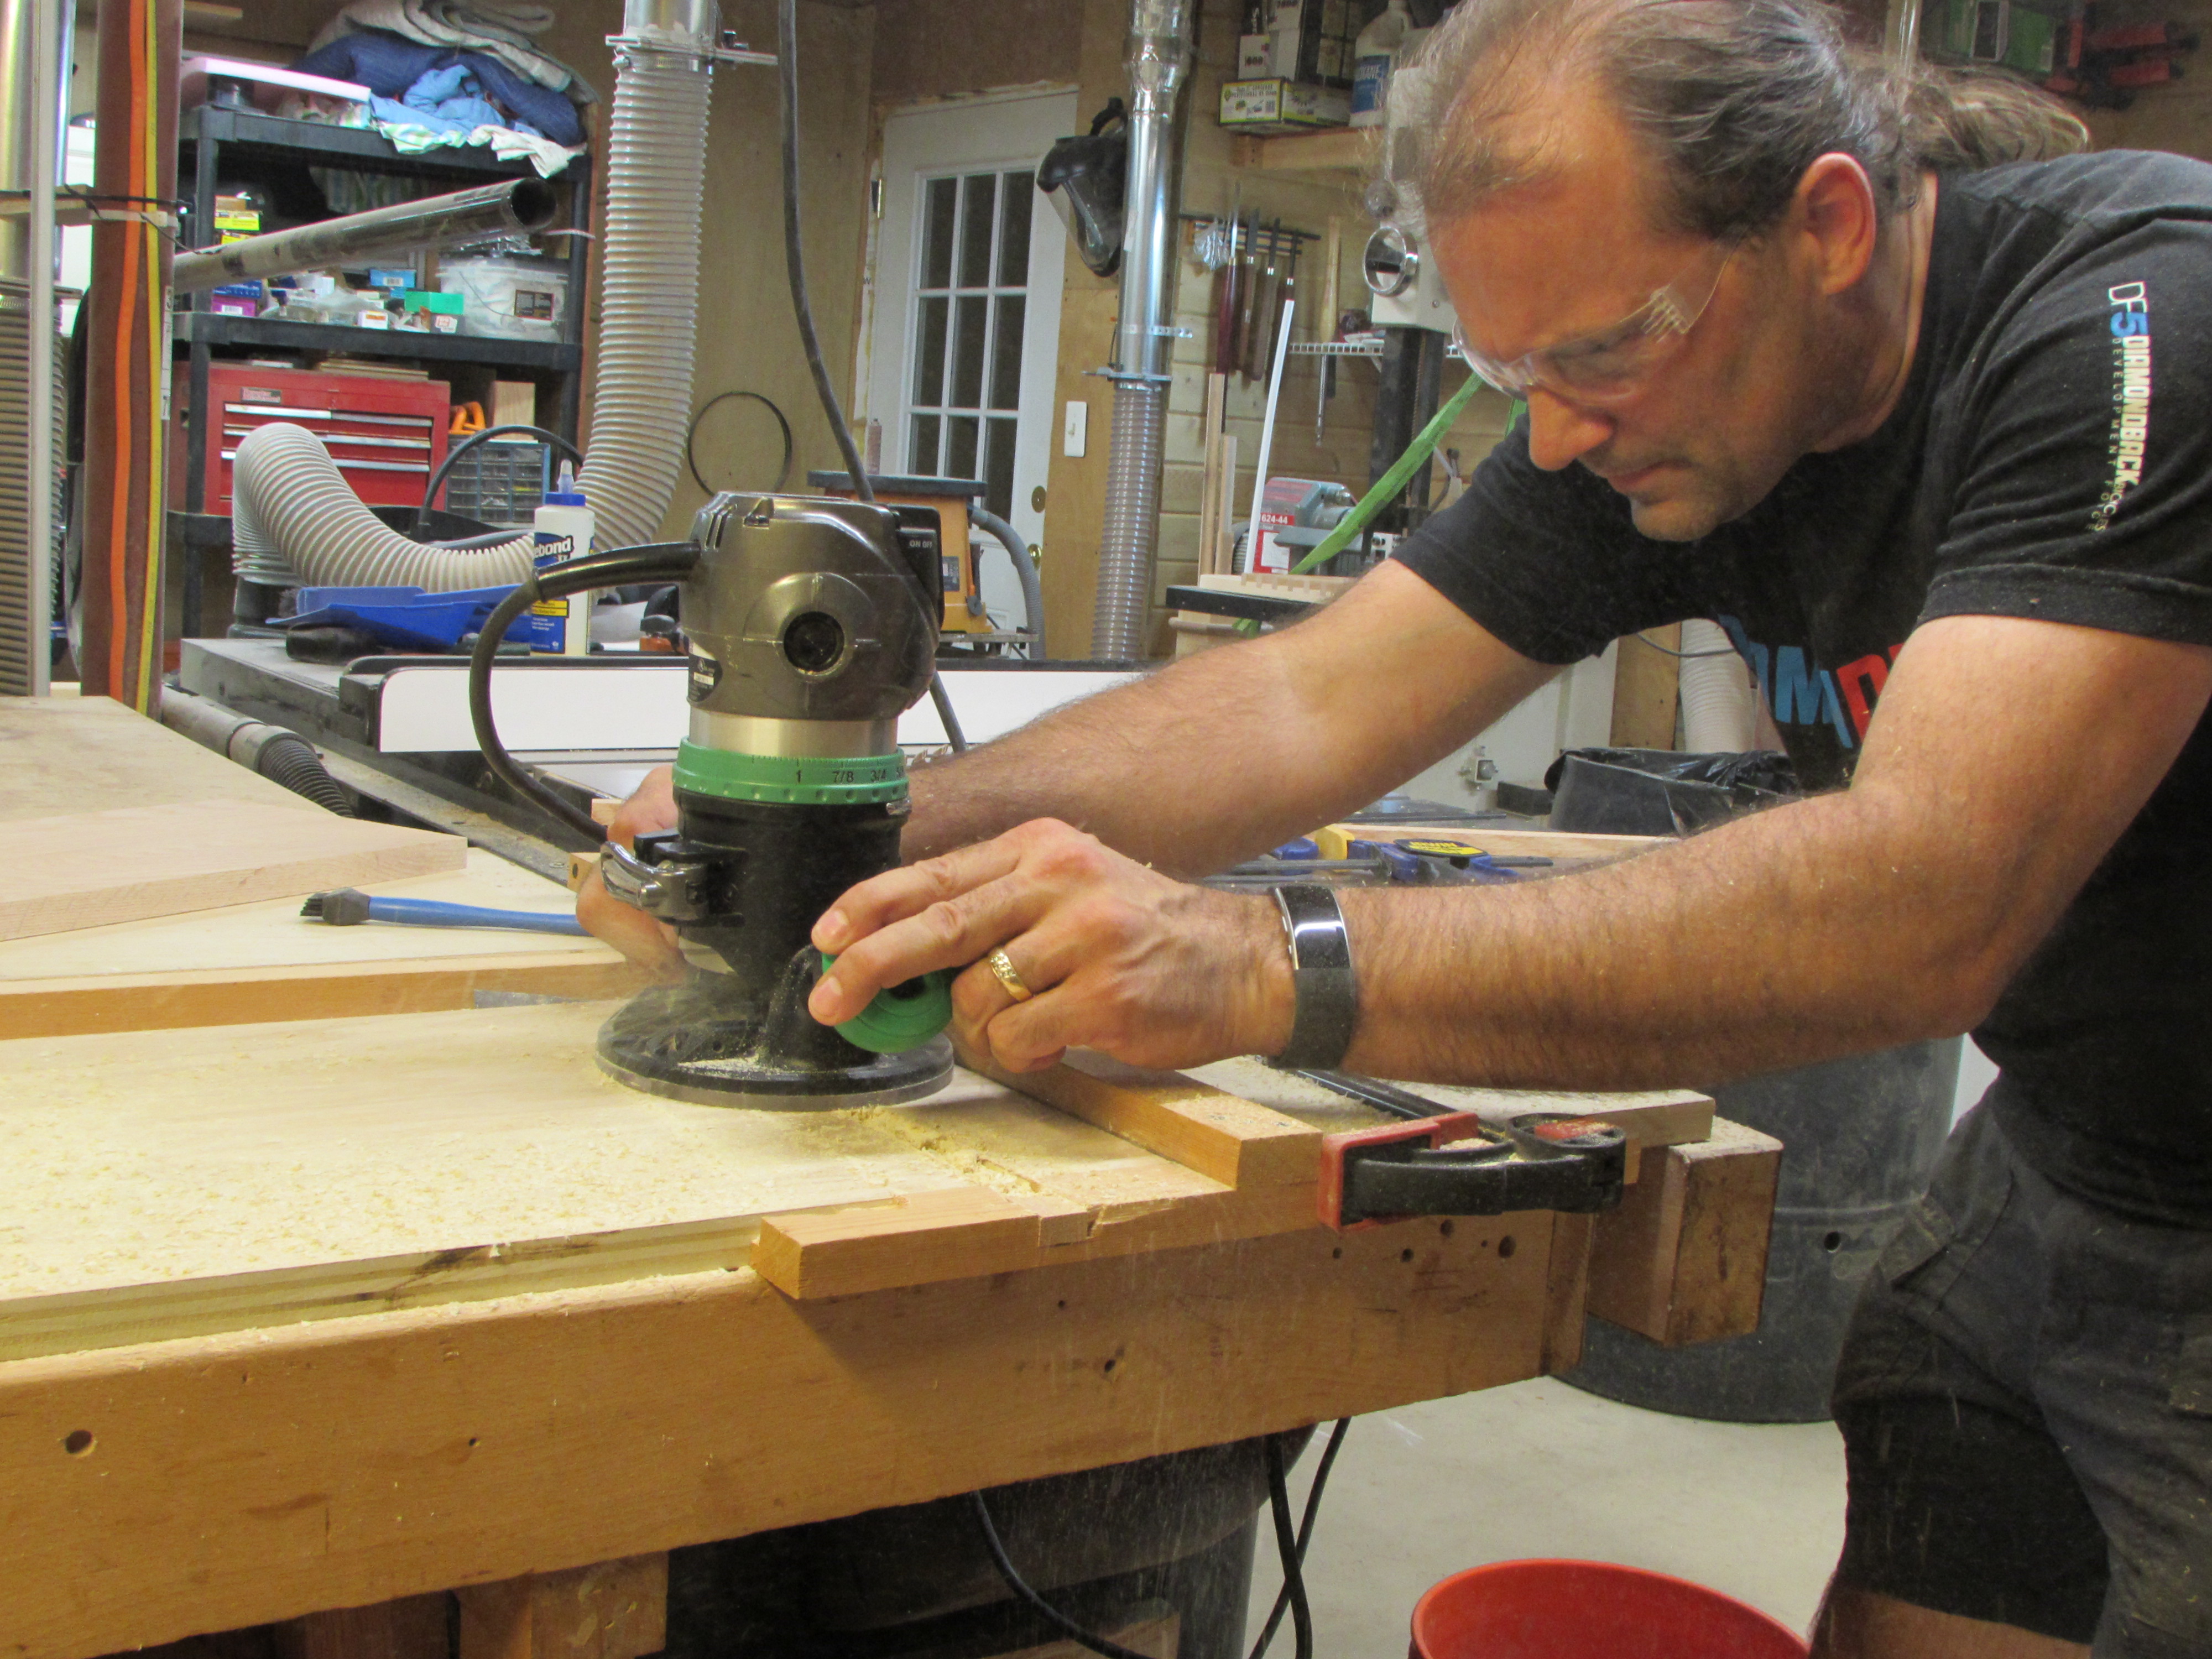
With the board planed flat, we cleaned up the fuzzy sides on the table saw, then I placed a 1/4″ round-over bit in the router and let Erin round over the top and bottom edges.

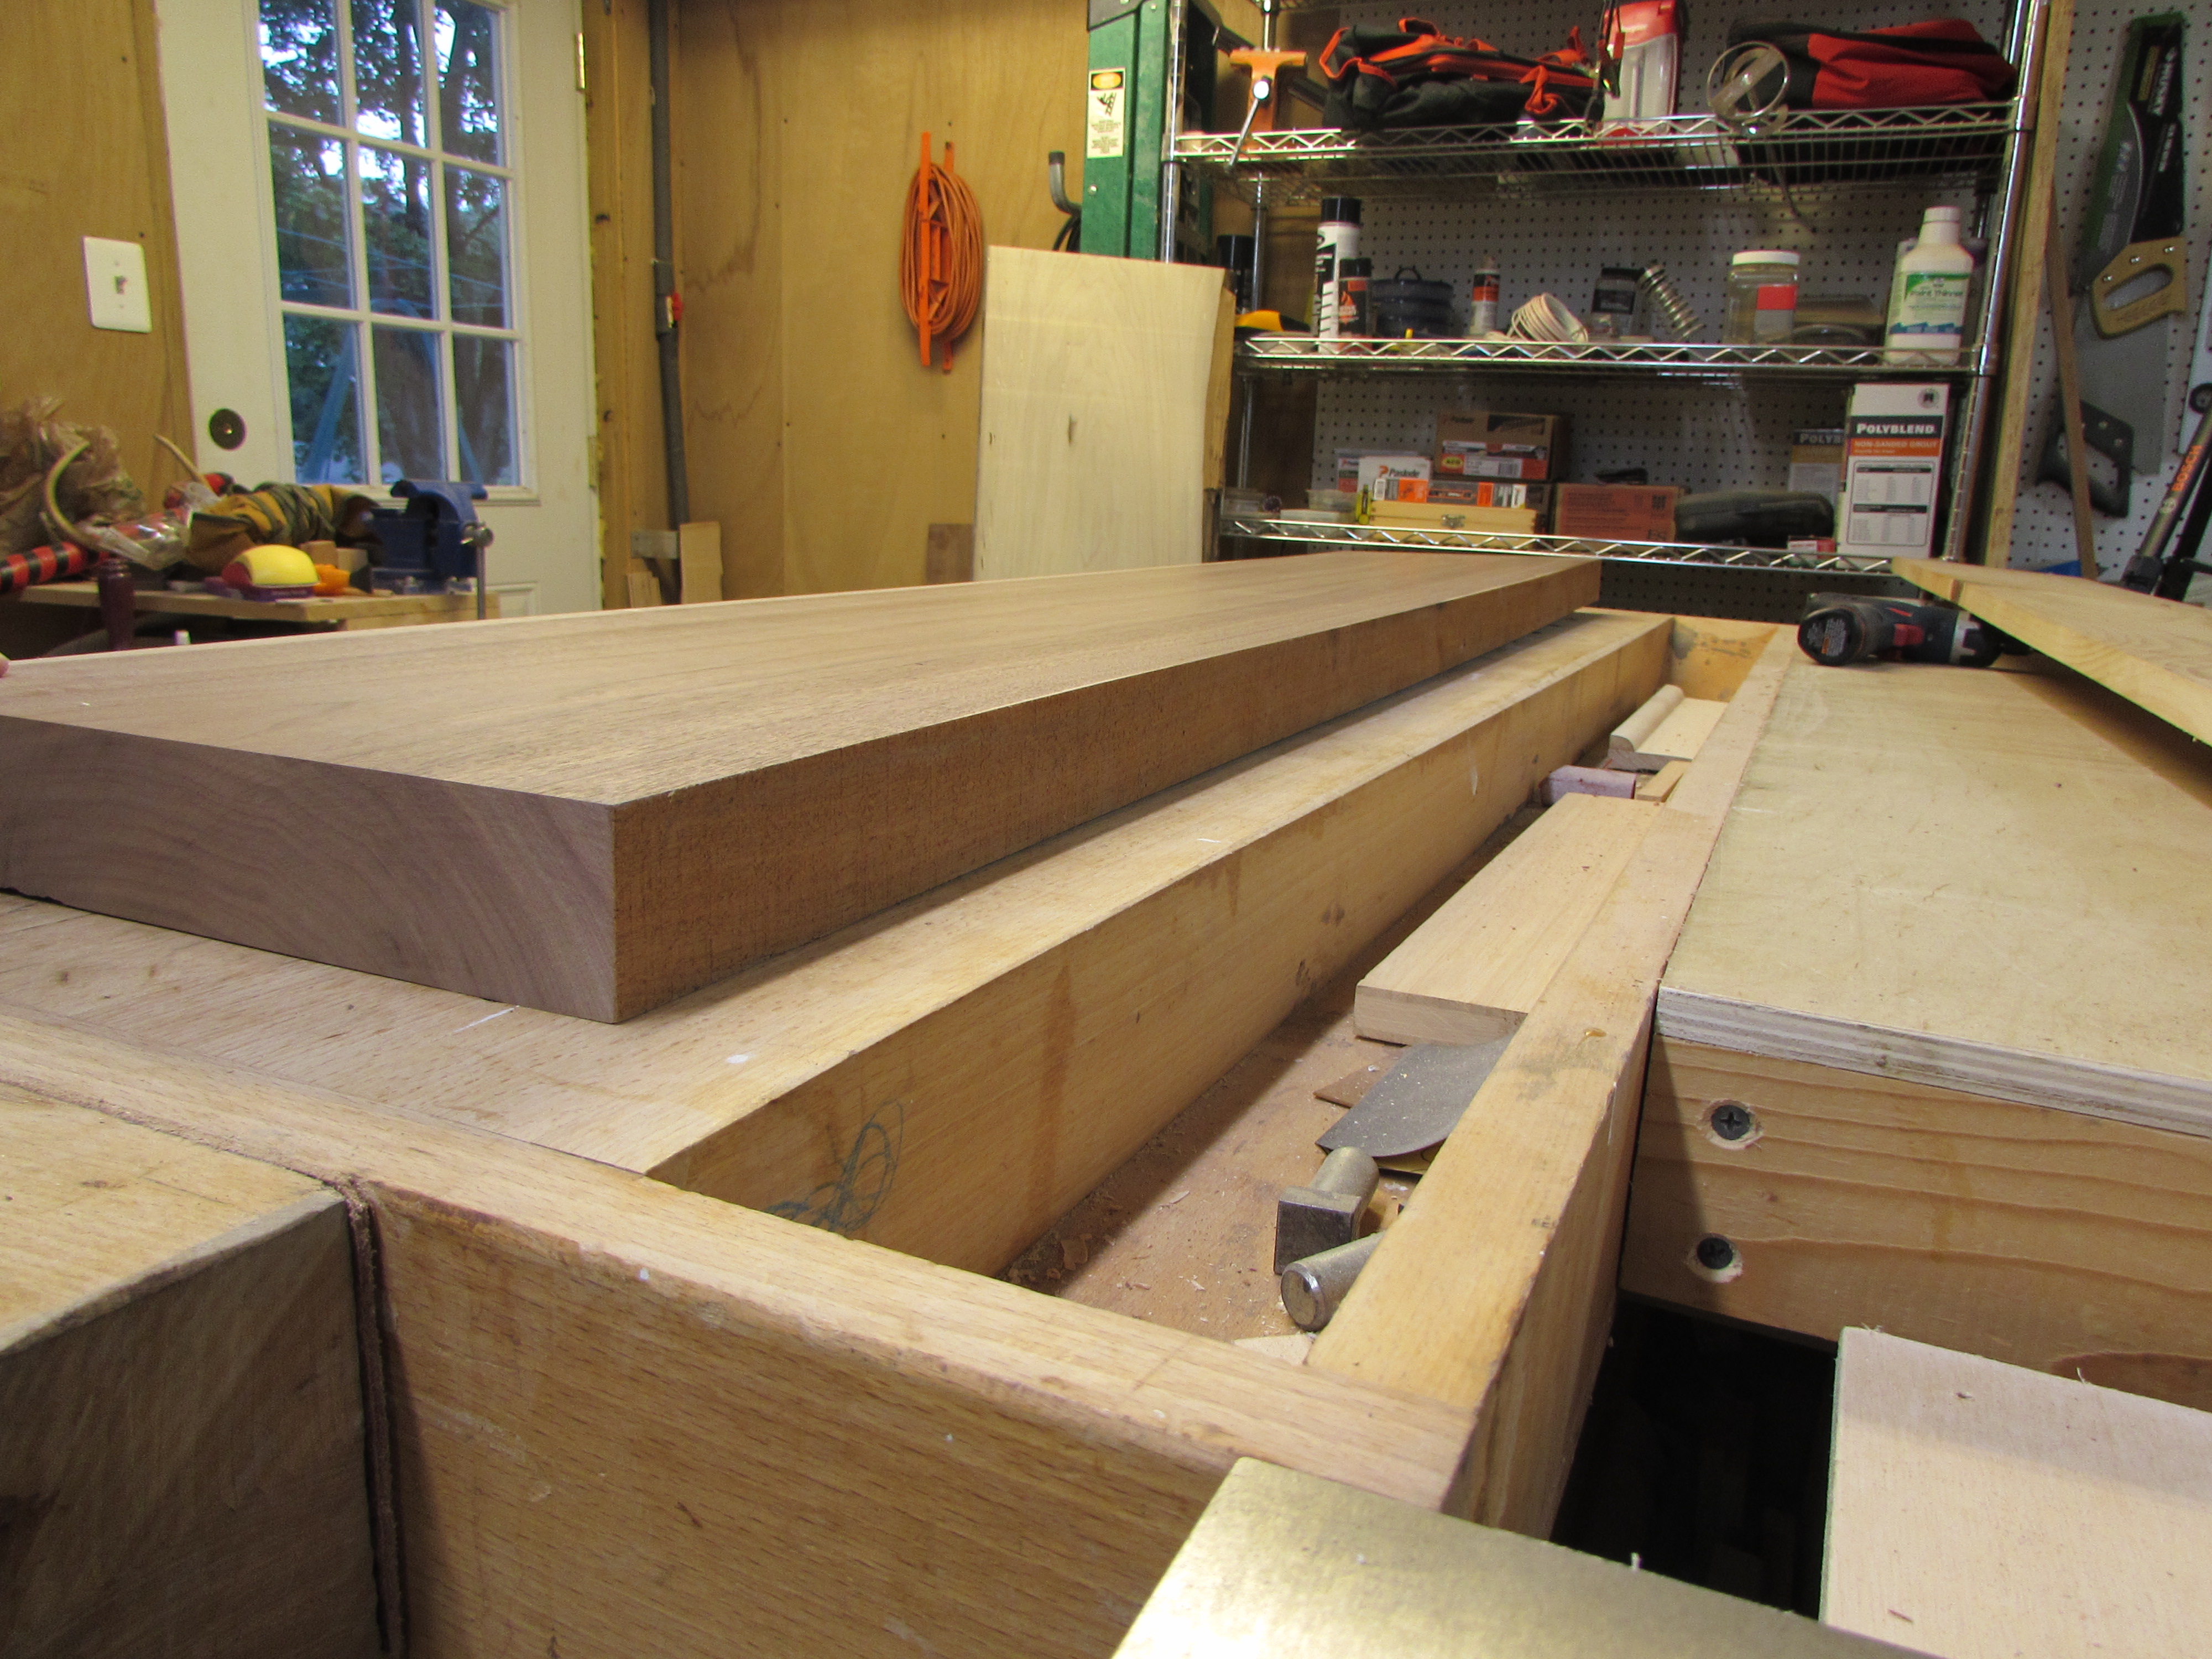
With the mantle mostly complete, we moved back to installing the shelf that Erin planed down earlier. I pulled apart the dry-fit storage cabinet and laid out the two pieces of plywood that make up the sides of the cabinet.

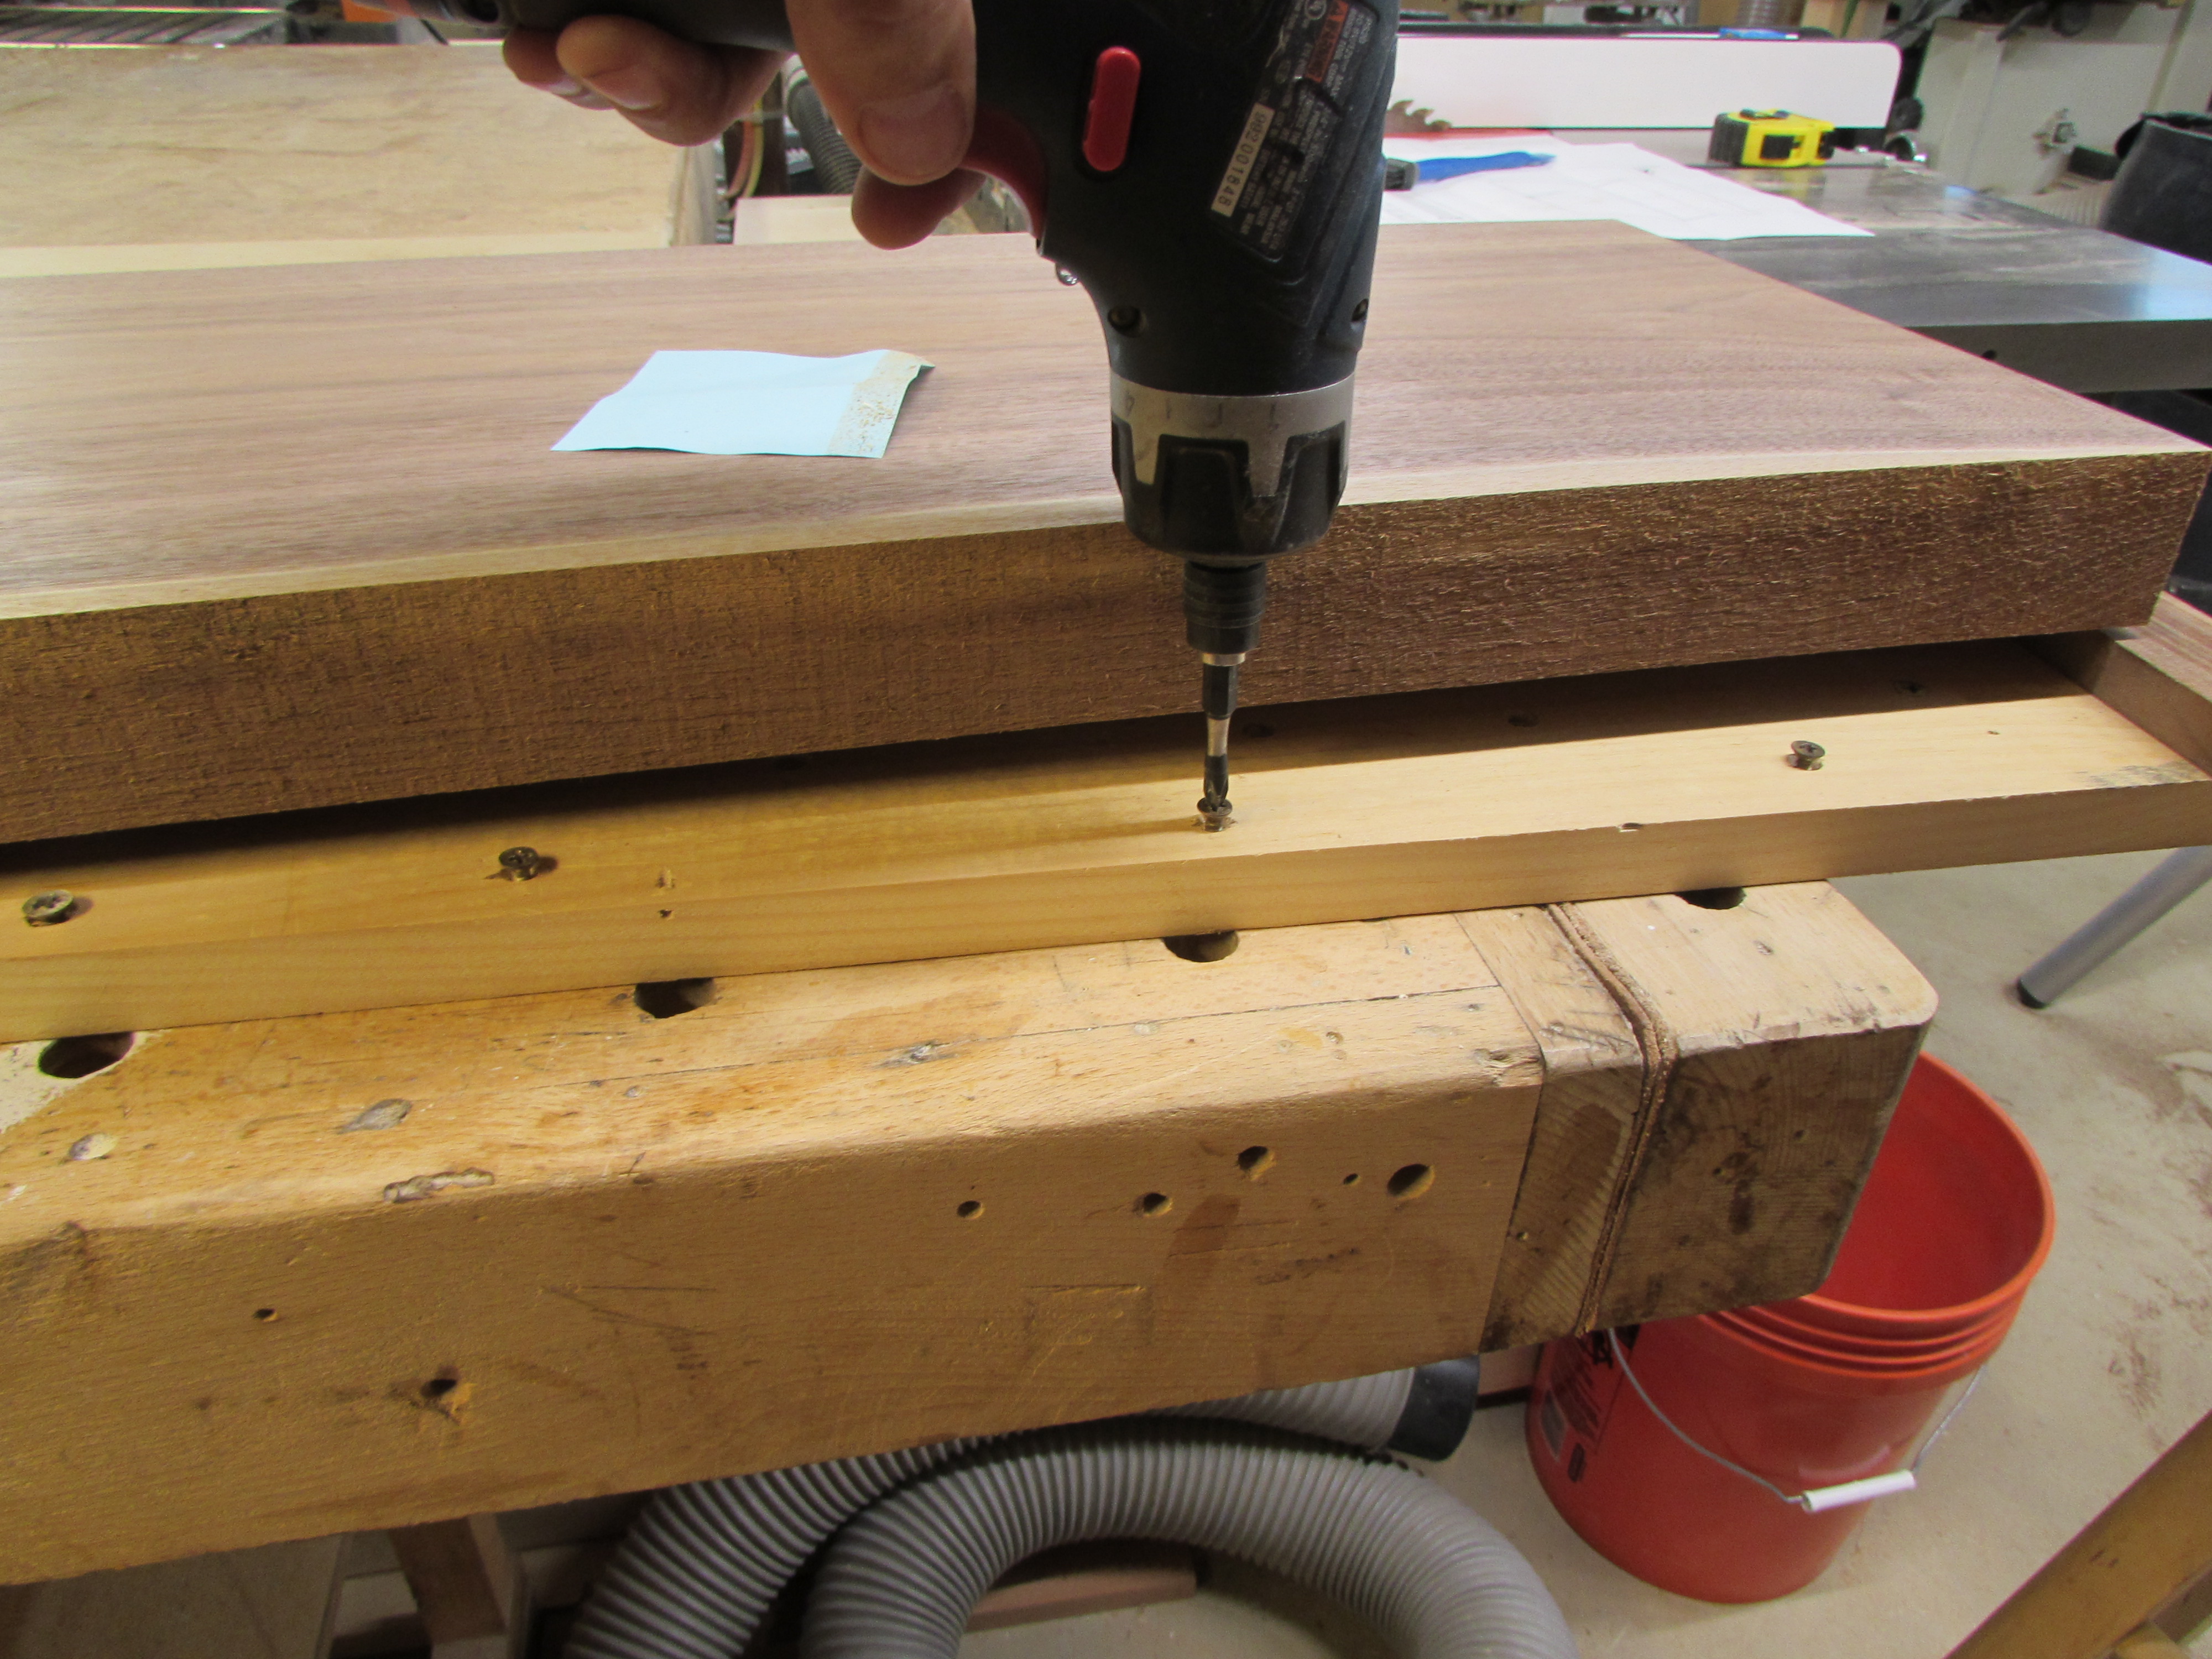
I marked out the shelf location, 14″ down from the top end, then placed another mark 3/4″ below that. This located the dado that we will be cutting for the shelf to rest in. I clamped a homemade tee-square to the board for a straight edge to run the router along. There is a notch in the top of the tee-square, that I line up with the marks. I am using a 3/4″ router bit to cut the dado and I set it 1/4″ deep. Pulling the router tight to the tee-square, I run it to my mark, 8″ out. I repeat this for both boards, making sure the dado is the exact same dimension down from the top so the shelf will be level.
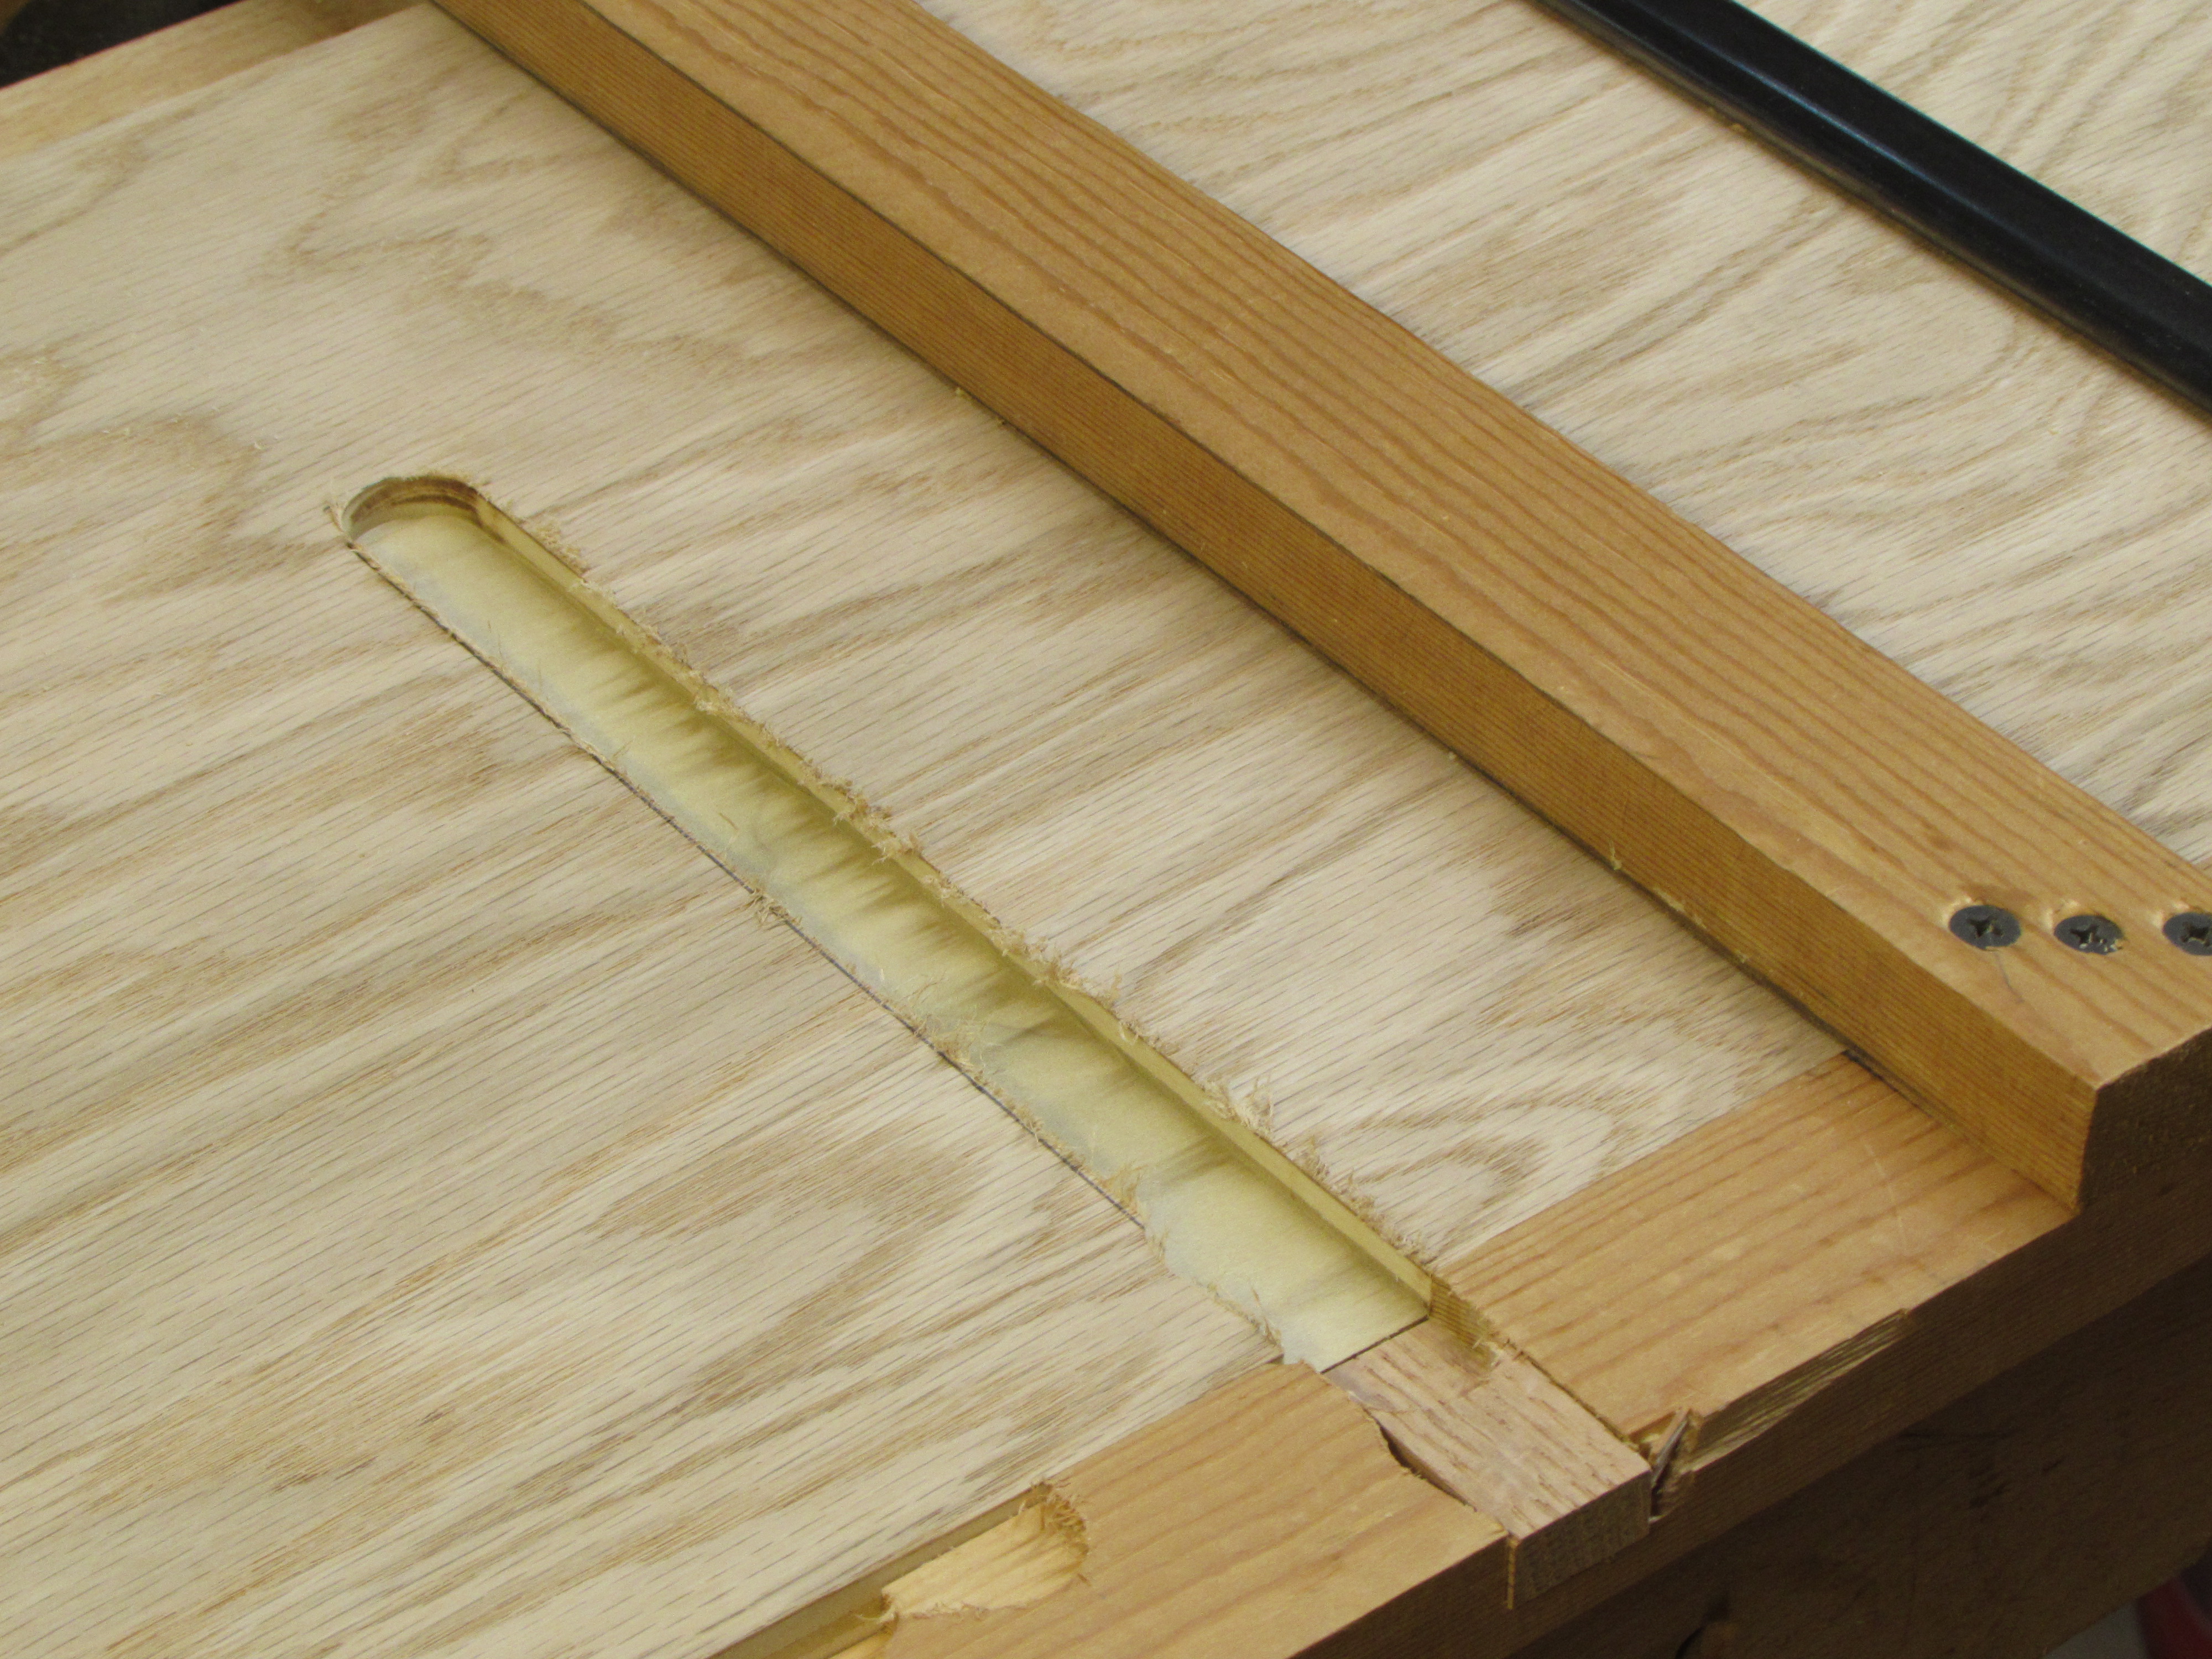
Since the router bit is round and the shelf is square, I handed Erin the chisel to clean out the ends and square them up.

Erin marked the shelf and cut it down to the required length, then we pressed it into place. Perfect fit.
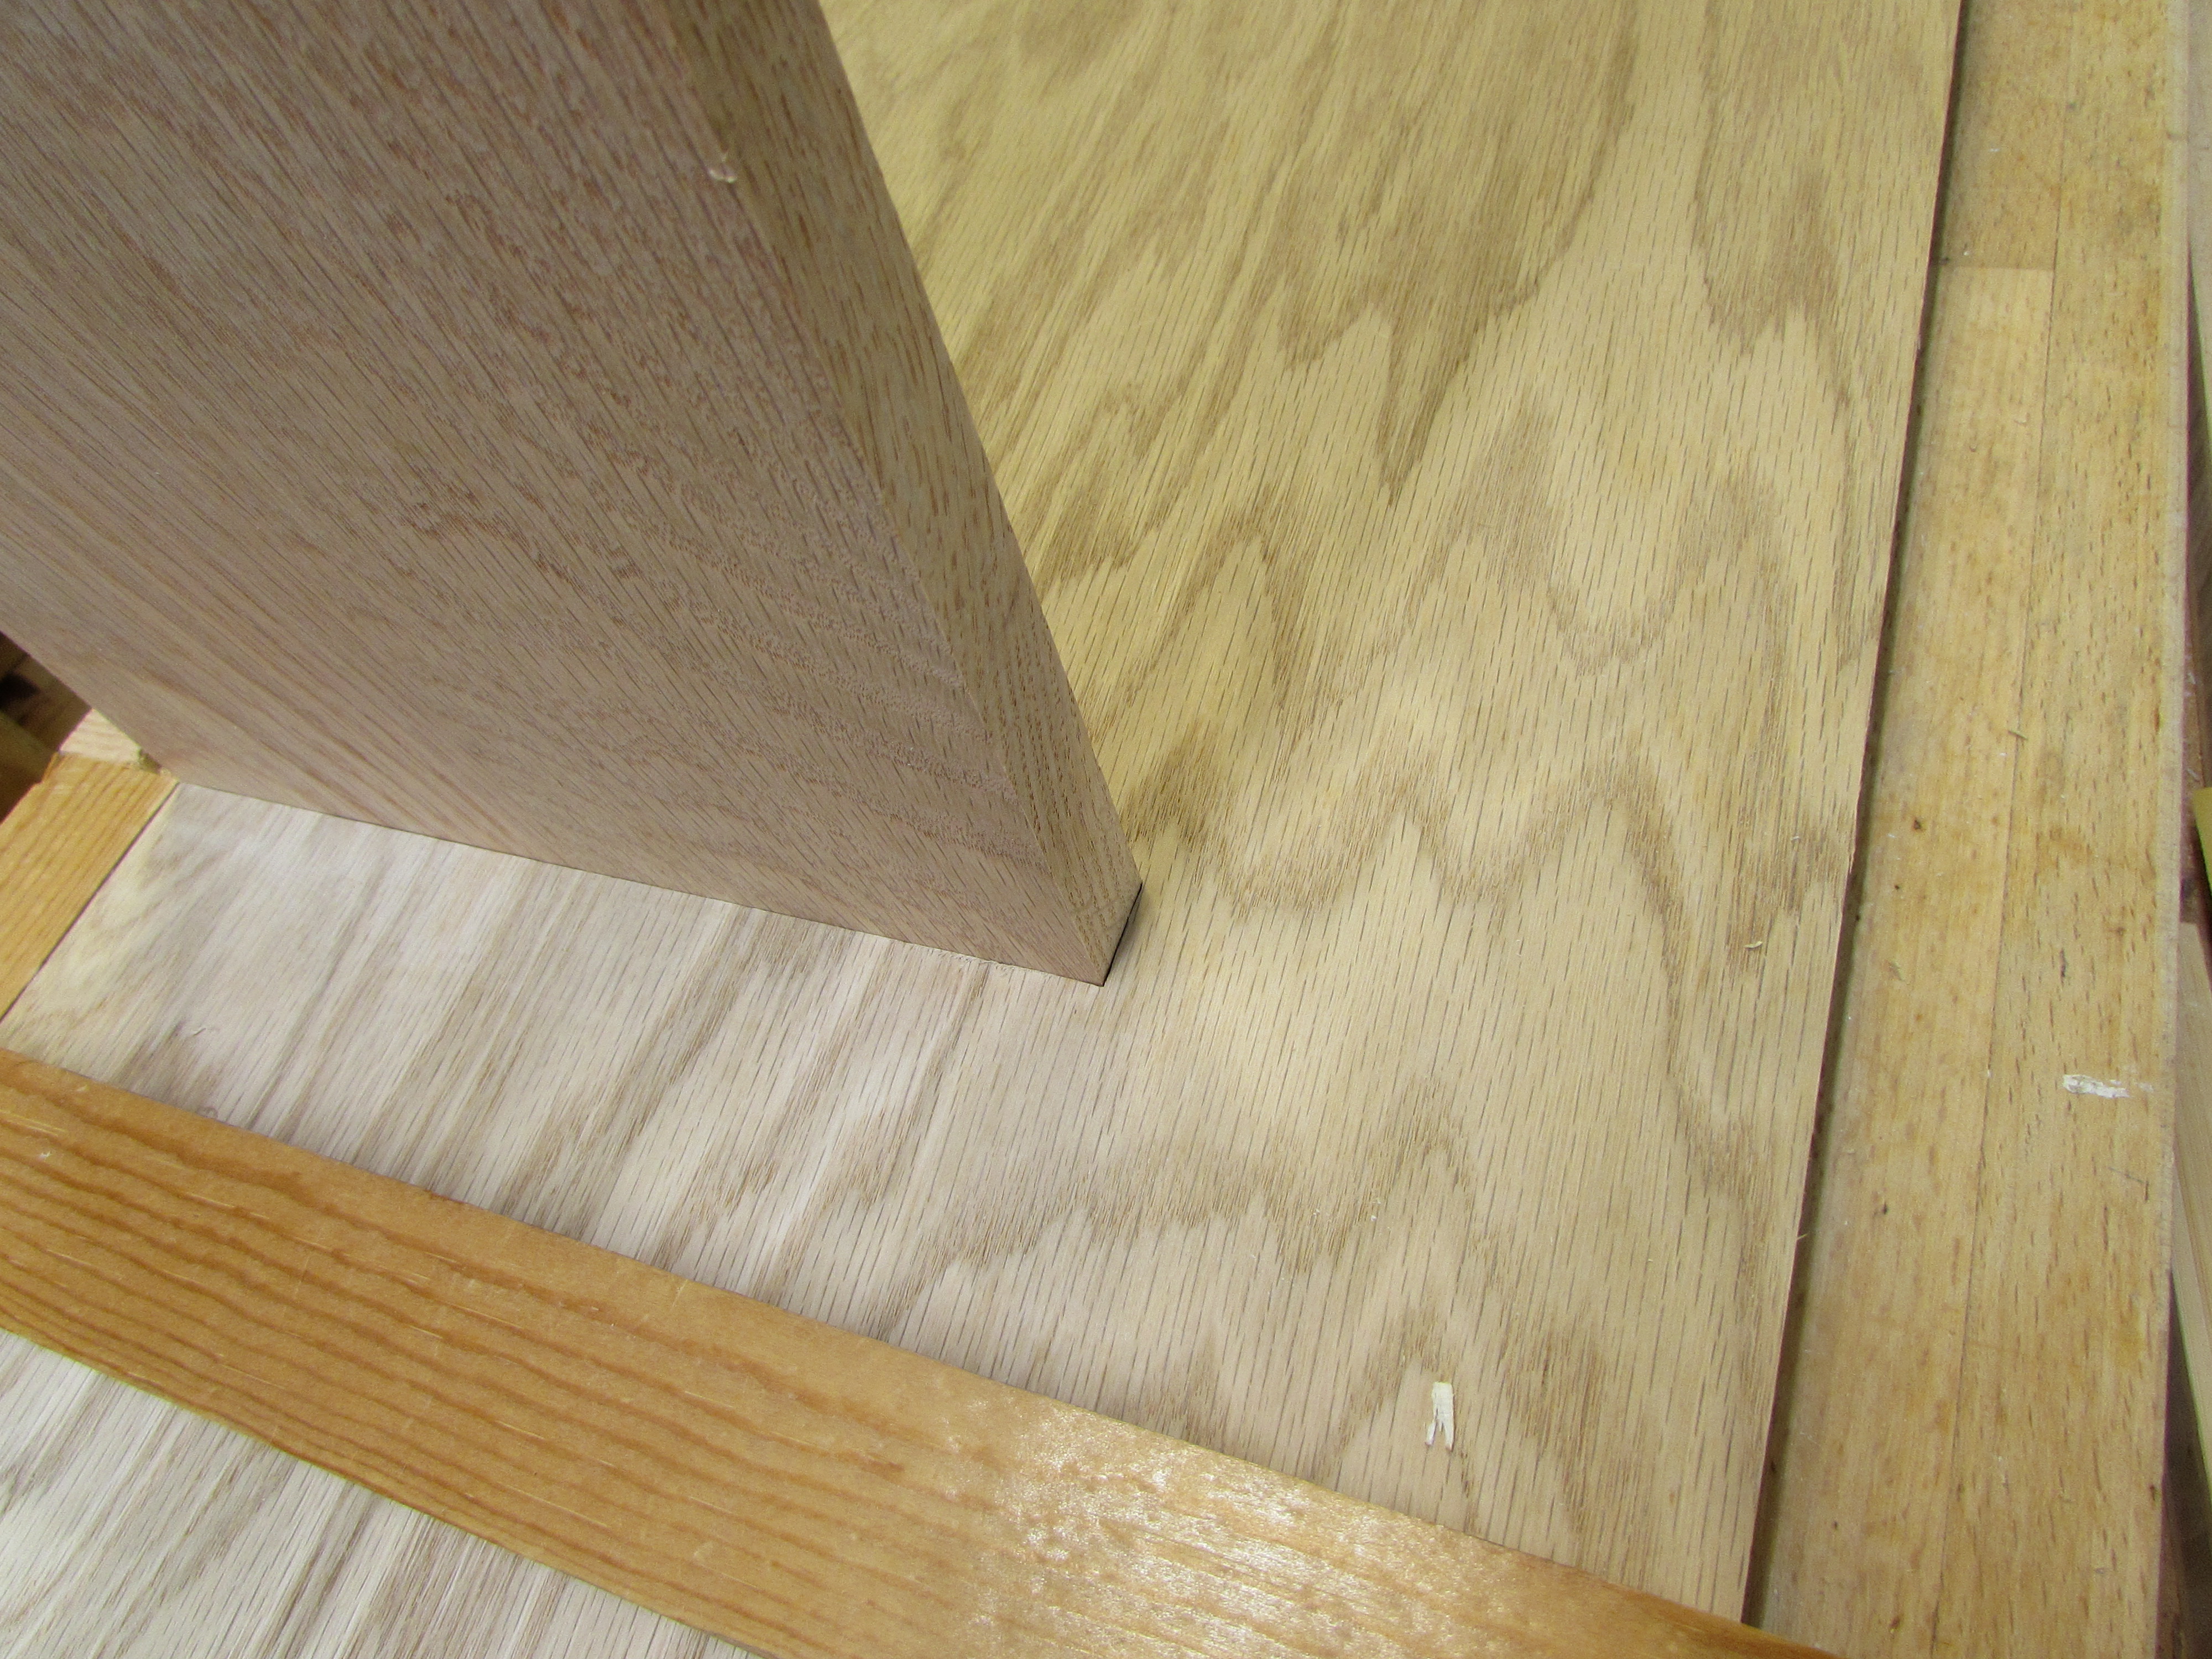

The last thing we did was to reassemble the shelf to make sure everything fit correctly.
