
Bathroom Vanity – day 8
As the holidays approach, it seems to be getting harder and harder to get into the shop. I was going to try finishing up this cabinet this past week, but I came down with a head cold. So I am slowly getting back to it…
I am nearly ready to paint, but I need to completely disassemble all the drawers first. To make sure everything goes back into the proper place, I assigned a number to each drawer and its face. The orientation of the number helps me to remember which end is up on the faces.

Next step is to remove the rails from the drawers.

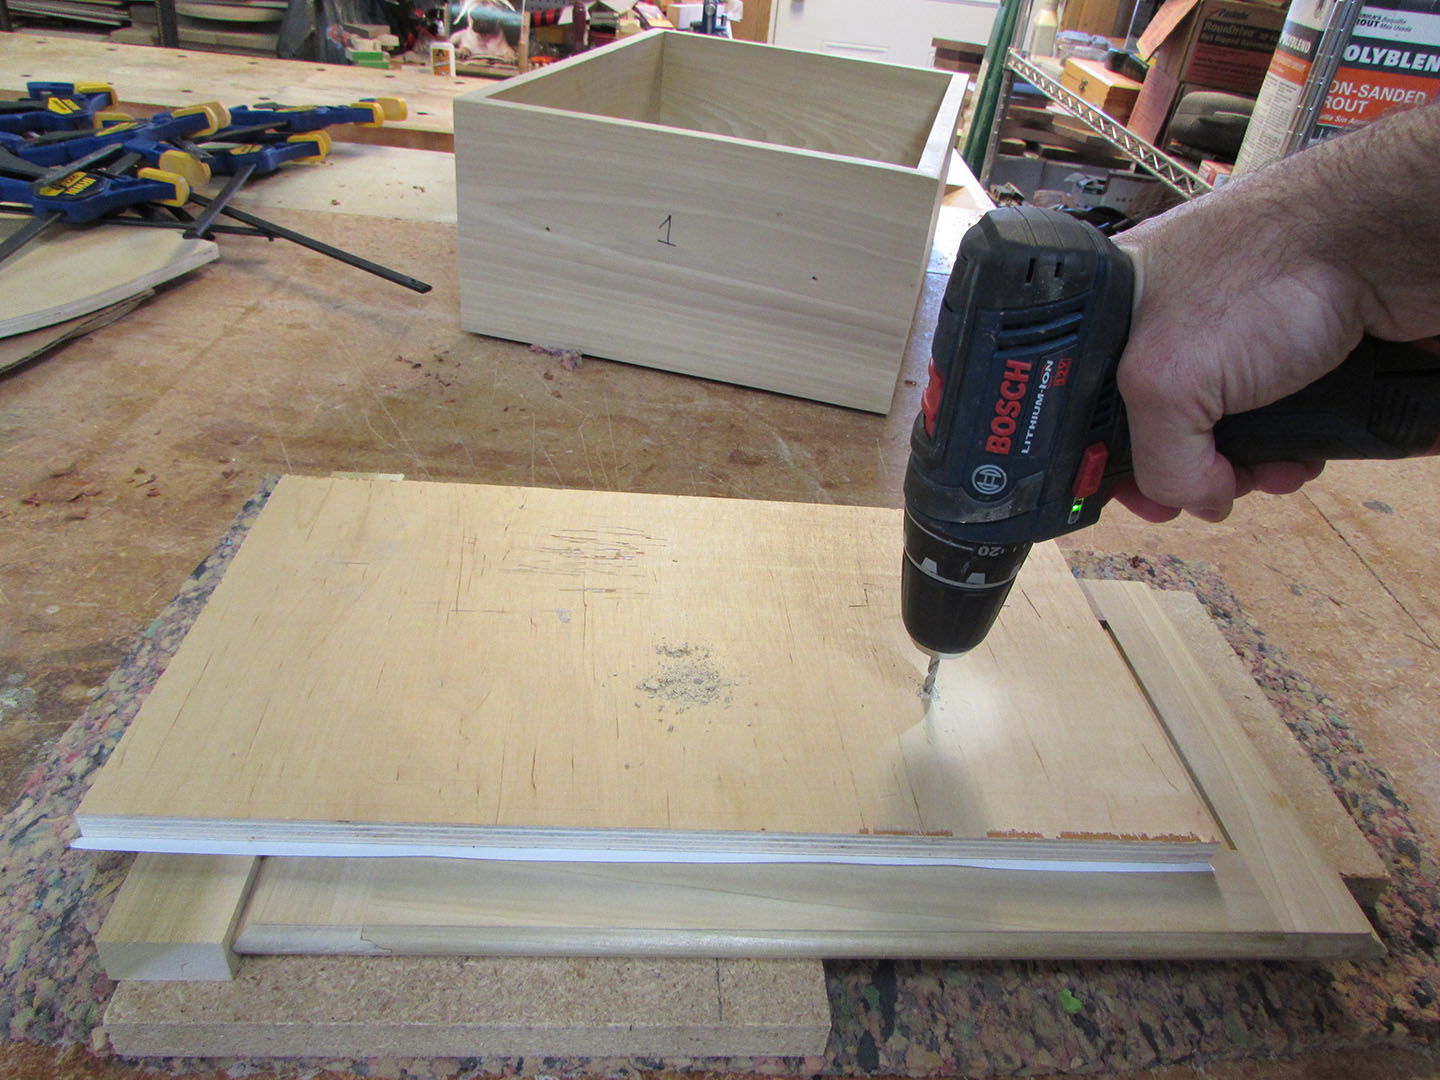
My client has picked out the drawer pulls that they are going to use, so I now have dimensions for the mounting hardware. To make sure the hardware is mounted exactly in the center of each drawer, I decided to make a simple jig.
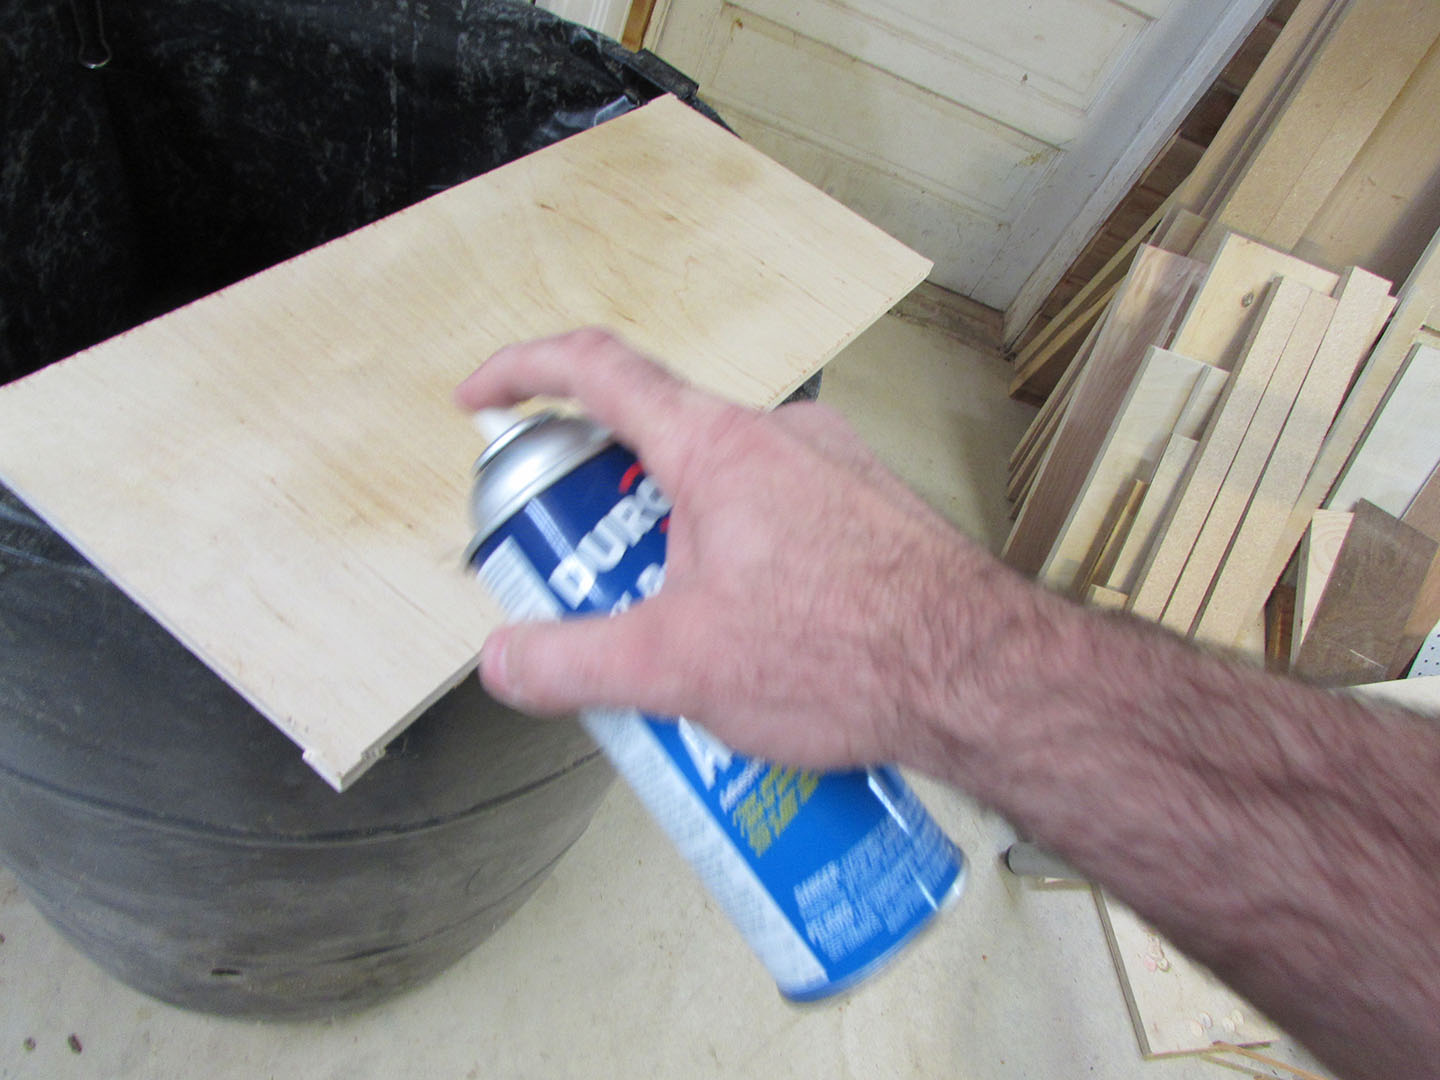
Each drawer is exactly the same size, so I laid one out on the computer and centered the two holes (96mm apart) on the center of the drawer face, then printed it out full-scale. I have a large format printer so I could do this. This could also be laid out by hand. I used spray adhesive to attach the paper to a scrap piece of plywood, then trimmed away the excess so glue would not get on my drawers.

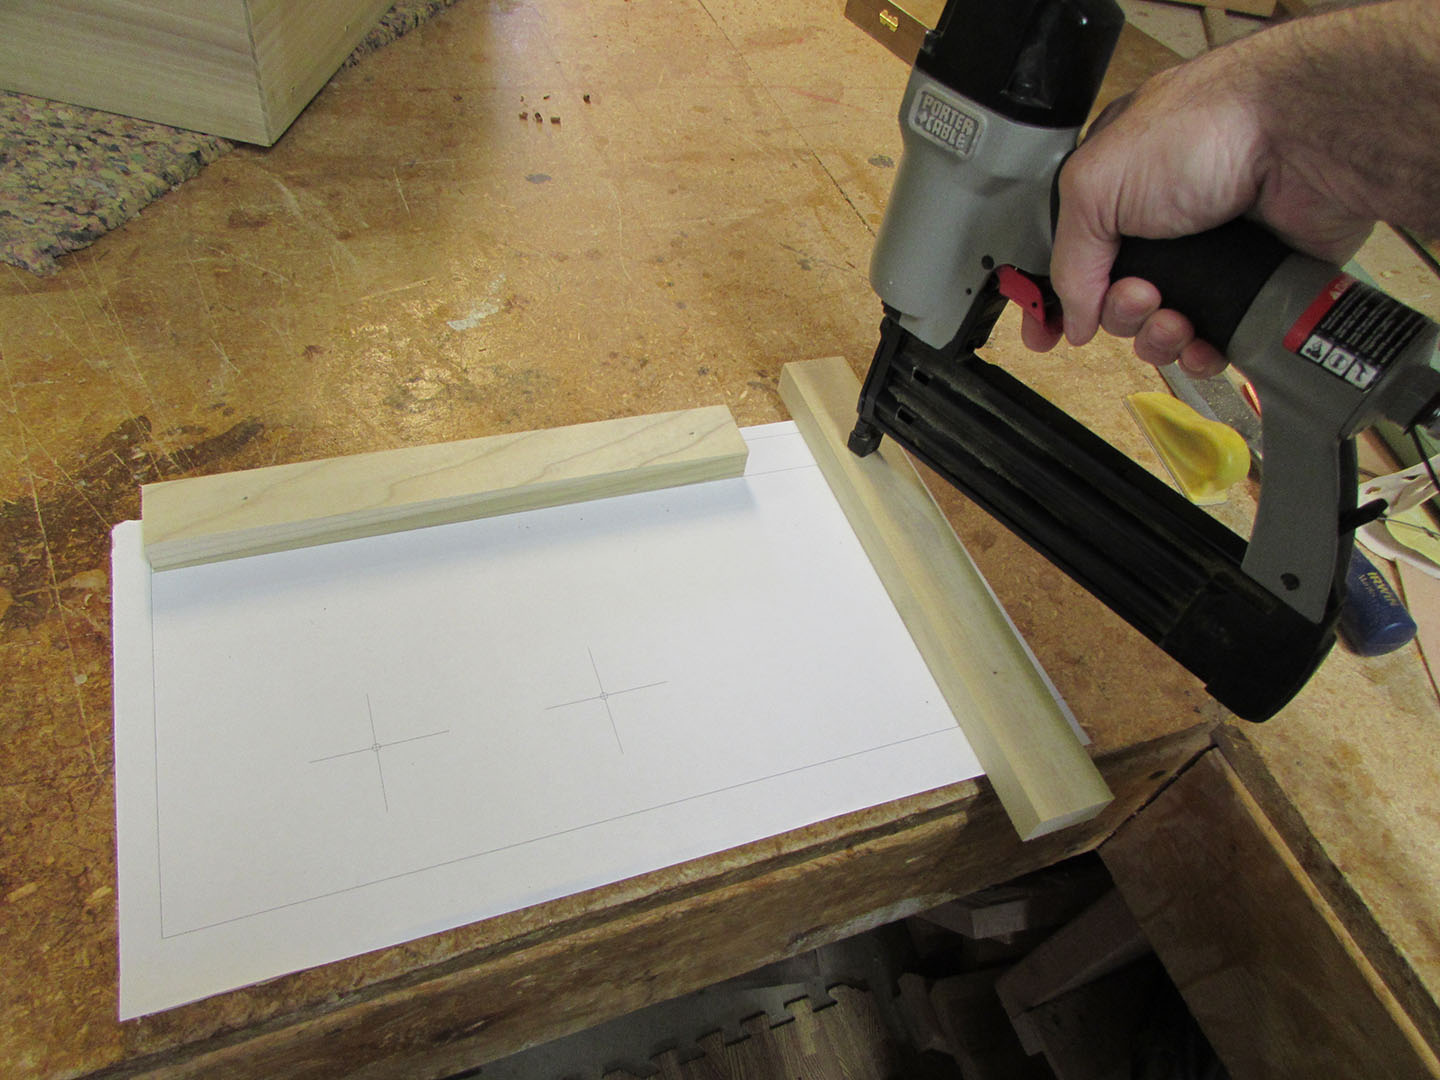
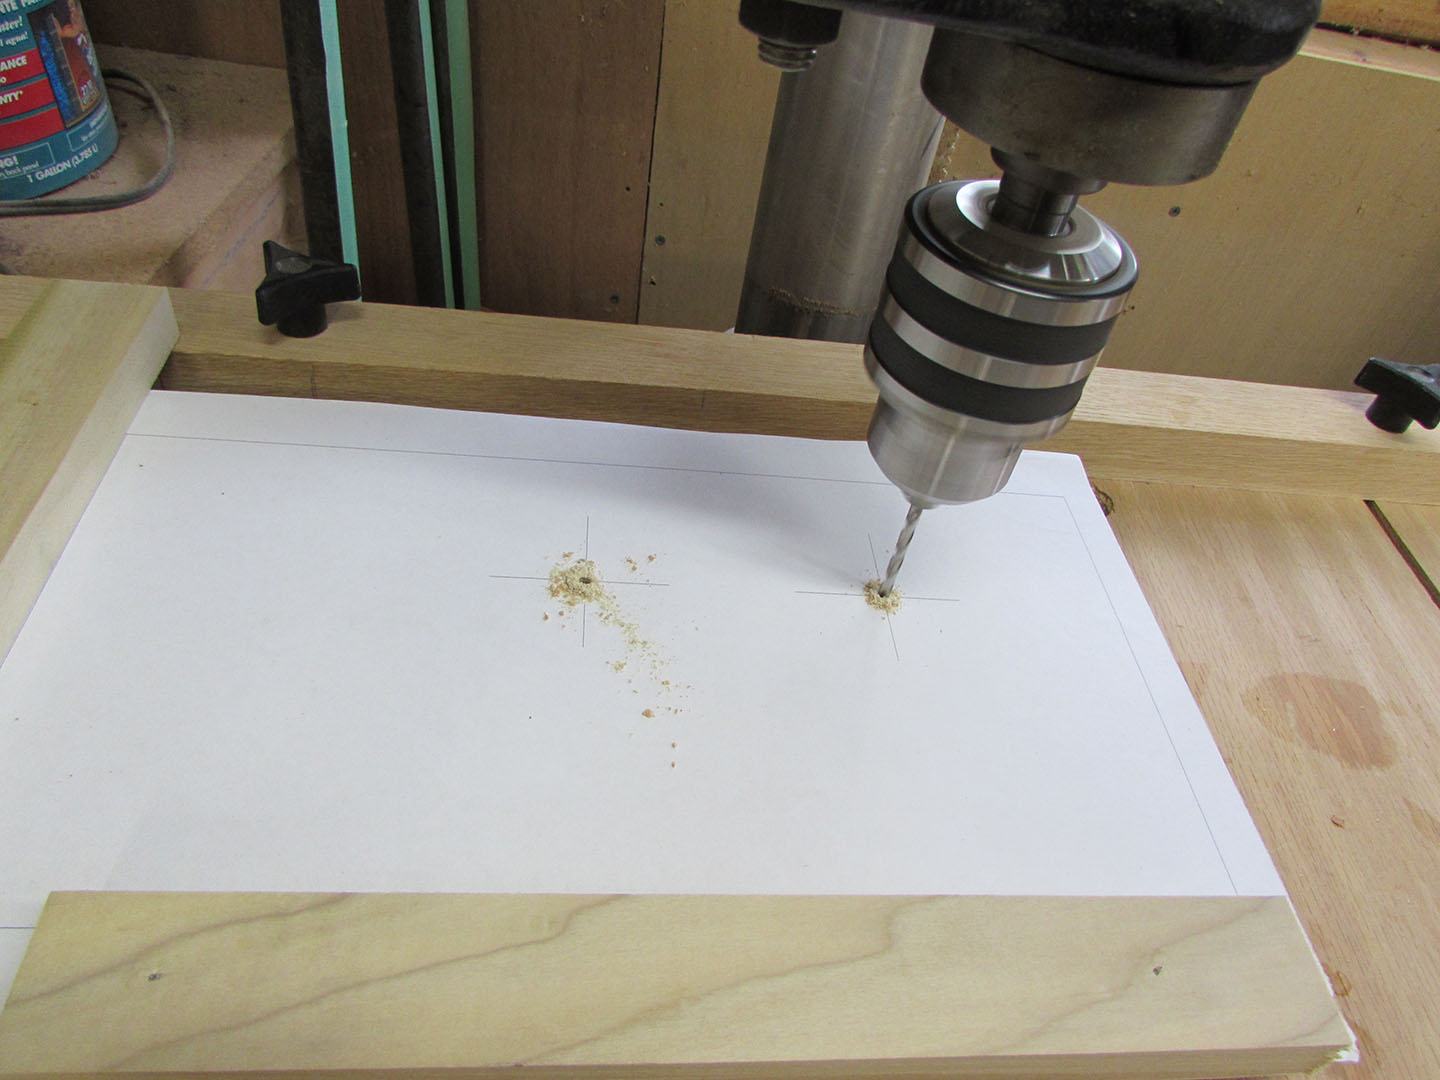
Laying two scrap blocks along two sides of the pattern, I attached them with brads. Next, I drilled out the two holes that I laid out on the pattern.
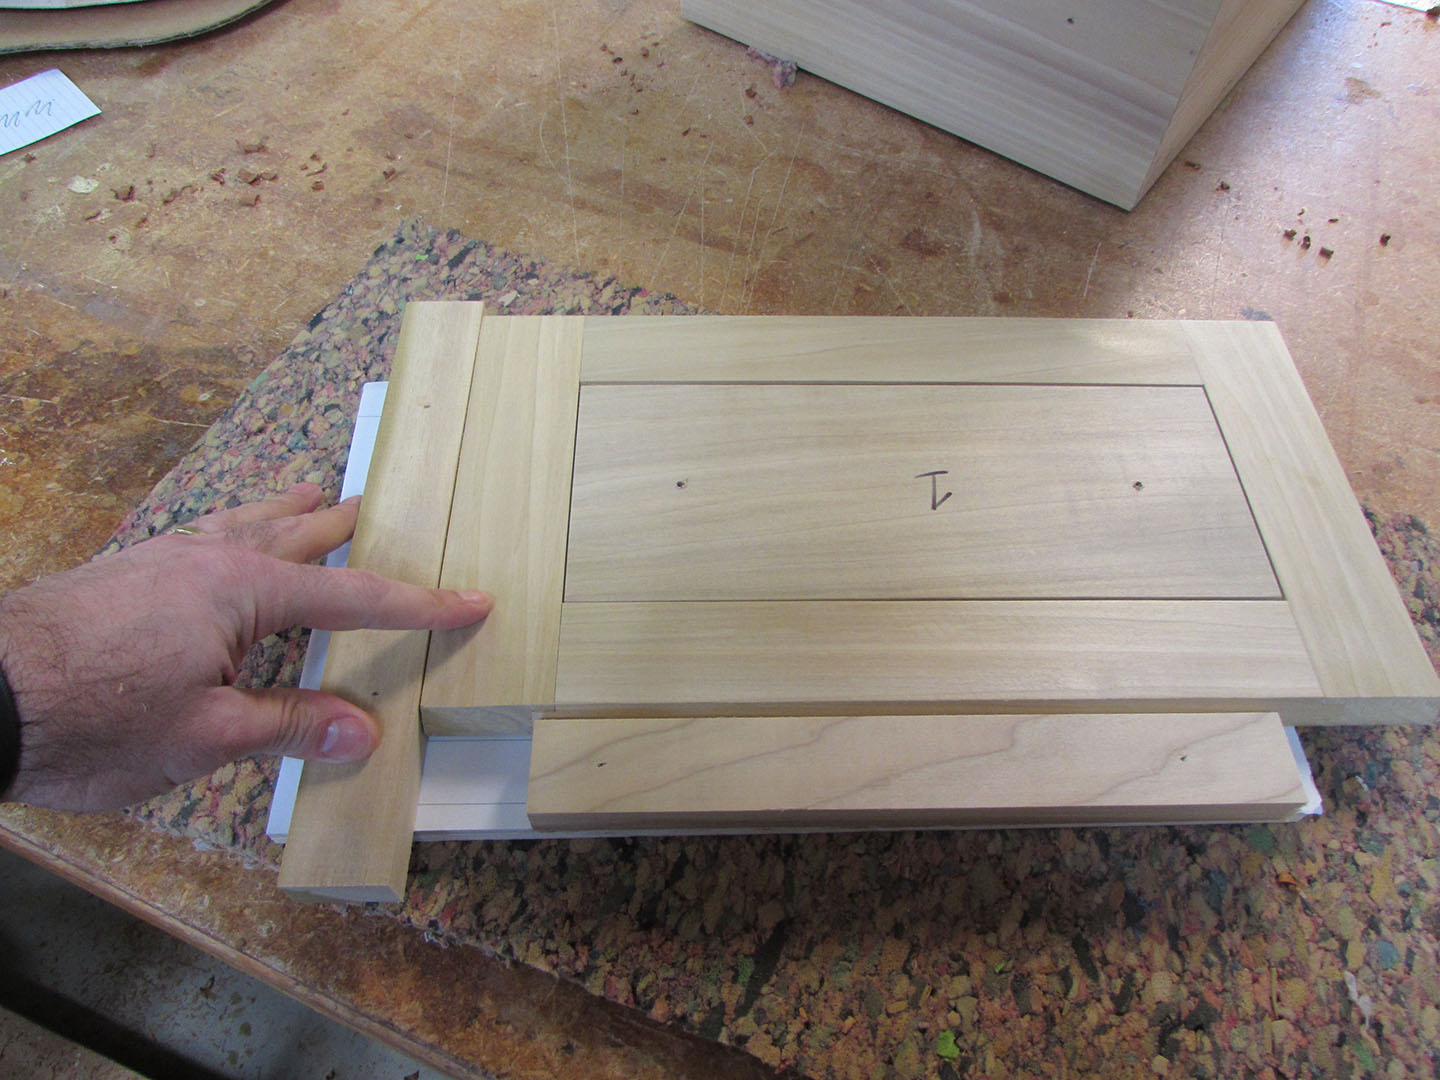
This creates a simple frame that I can slide the drawer face into, to align the holes perfectly in the center of my drawers.
Not an attractive jig, but very effective.

Once all the holes were drilled, I flipped the drawer face over and drilled a shallow counter-bore, centered on each hole, for the head of the screw to rest in. This will allow the drawer face to be re-attached to the drawer later.

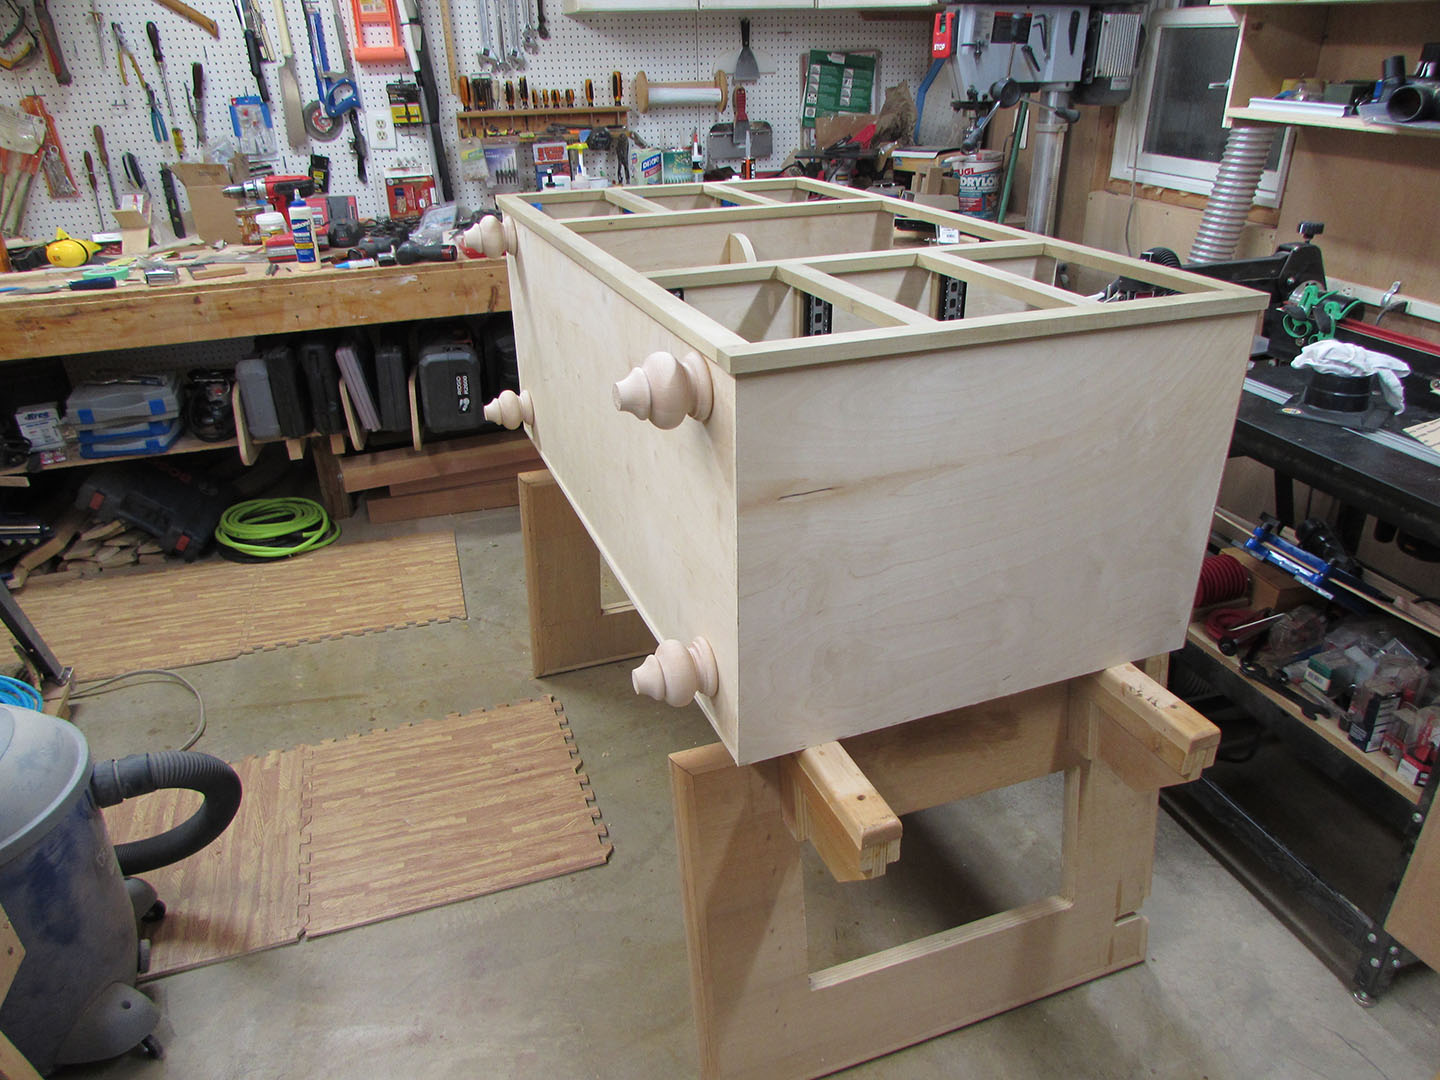
With the last of the woodworking out of the way, it was time to prep for painting. I set up my knock-down workstation, at the lower elevation, and had my son help me flip the vanity onto its back.
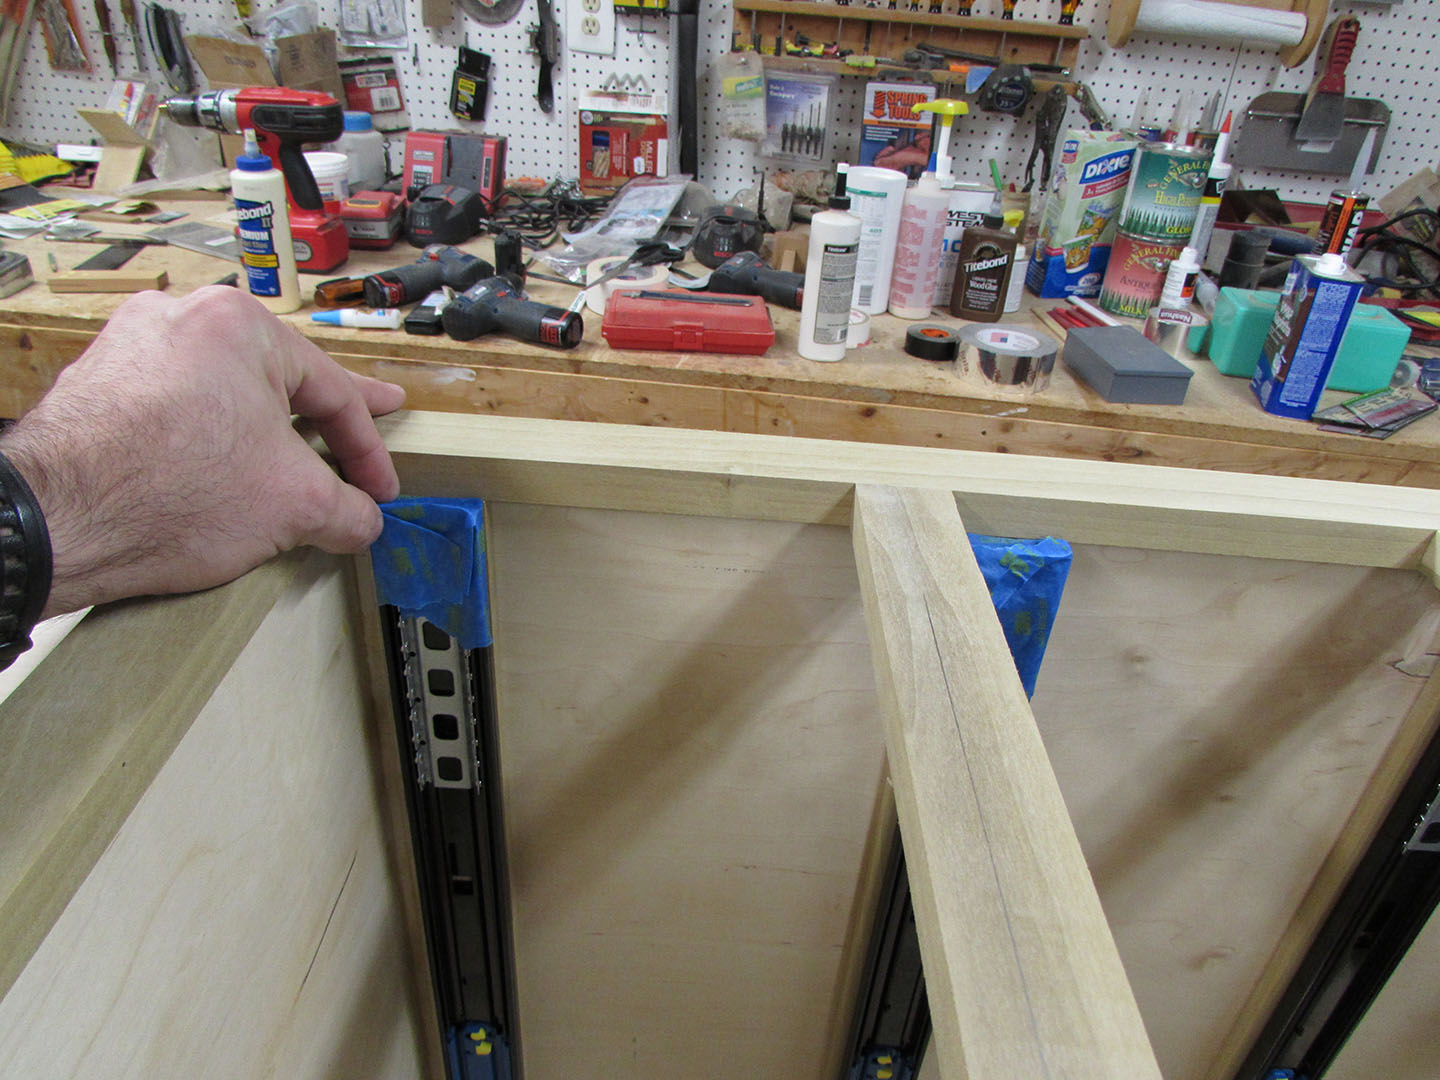
Next, I wrapped painter’s tape around the ends of the drawer slides to protect them from paint. Since nothing in the drawer cavities will be visible, with the drawers installed, I am not worried about painting too far past the face frame. I left the rails installed and just protected the ends.
Final bit of prep was to ease all of the sharp edges of the face frame with 220 grit paper. If the corner is too sharp, the paint can crack more easily.

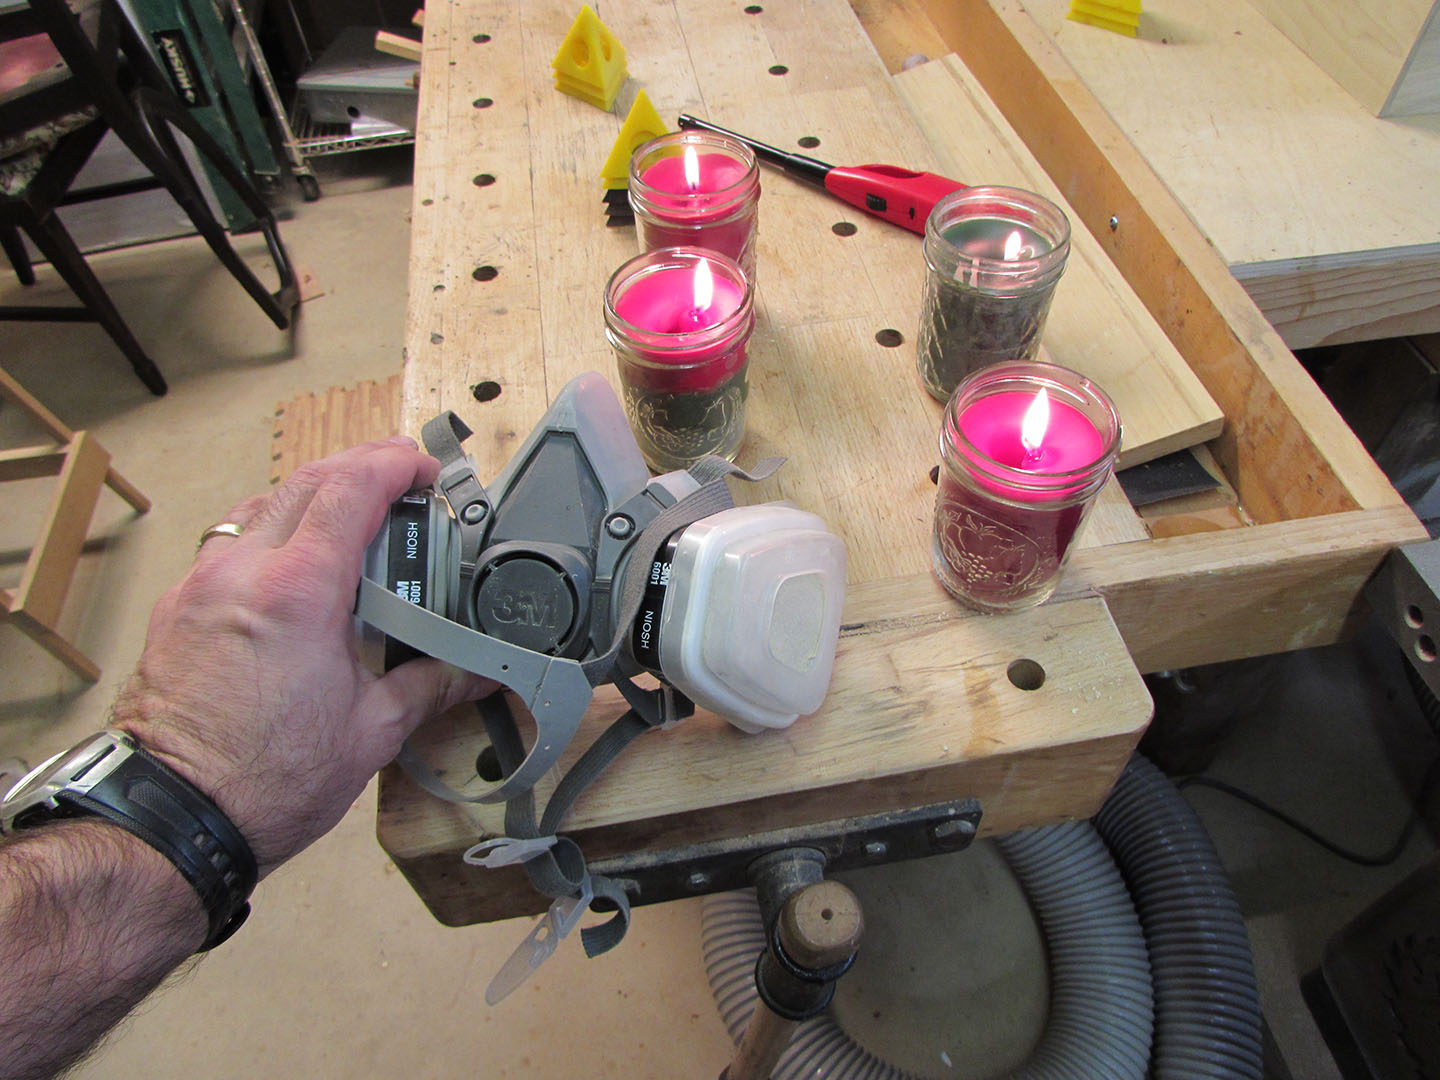
My wife is not terribly fond of when I do finishing, because by shop is not well ventilated, and the fumes tend to get into the house. I have discovered, over the past few years that lighting a couple of candles helps with burning off the fumes created by solvent-based finishes. Some finishes are flammable, so I never burn the candles near the finish, but several feet away. I have also started using a respirator when finishing. I figured that it is never too late to attempt to save what brain cells I have left.
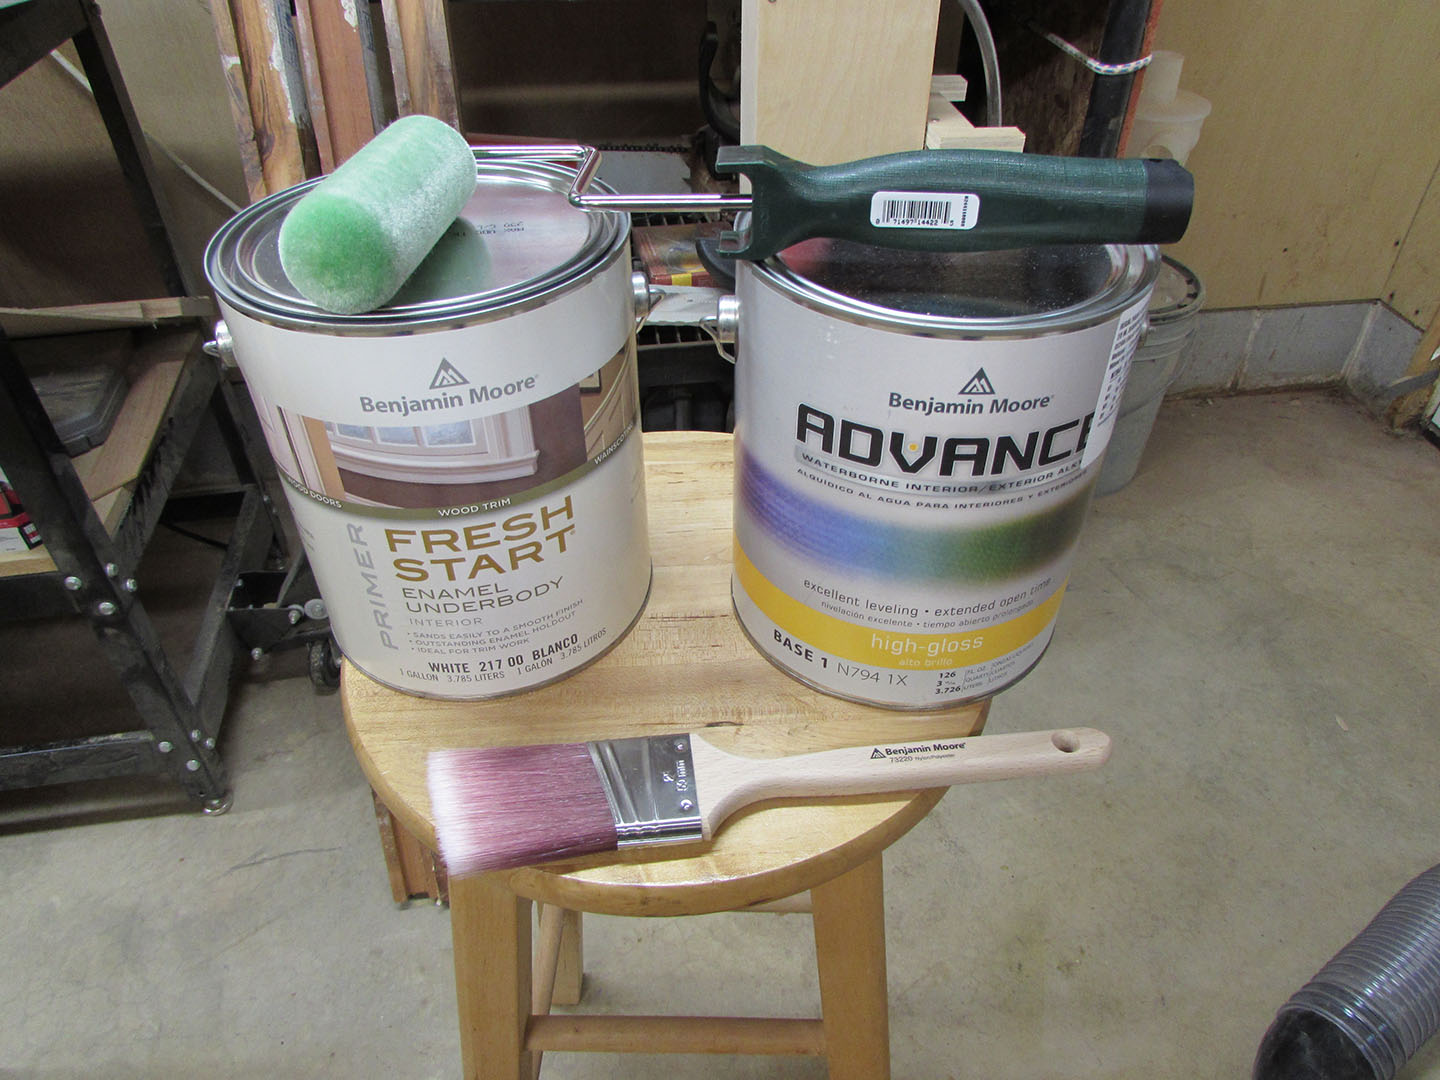
What kind of paint do you use on a bathroom vanity? I have no idea. I have a friend who is a cabinet maker, so I asked him. He sent me to Benjamin Moore, and said use whatever they recommend…
The recommendation was a solvent-based primer that was very thick and sticky and a waterborne interior/exterior alkyd paint, a good brush, and a fine nap roller.
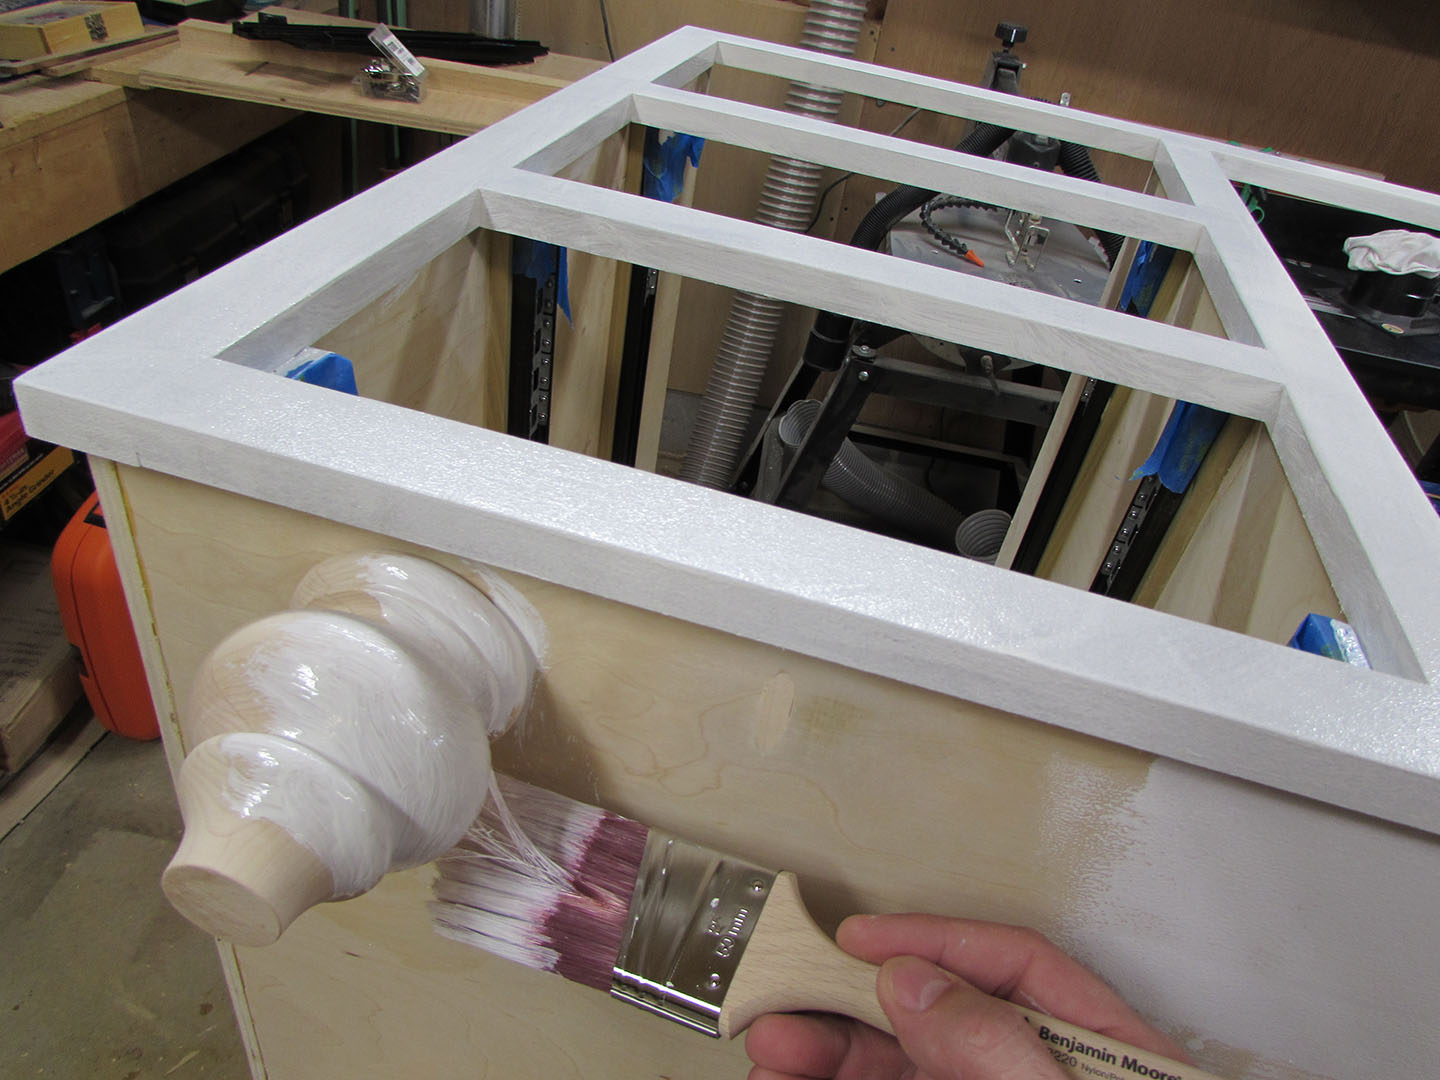
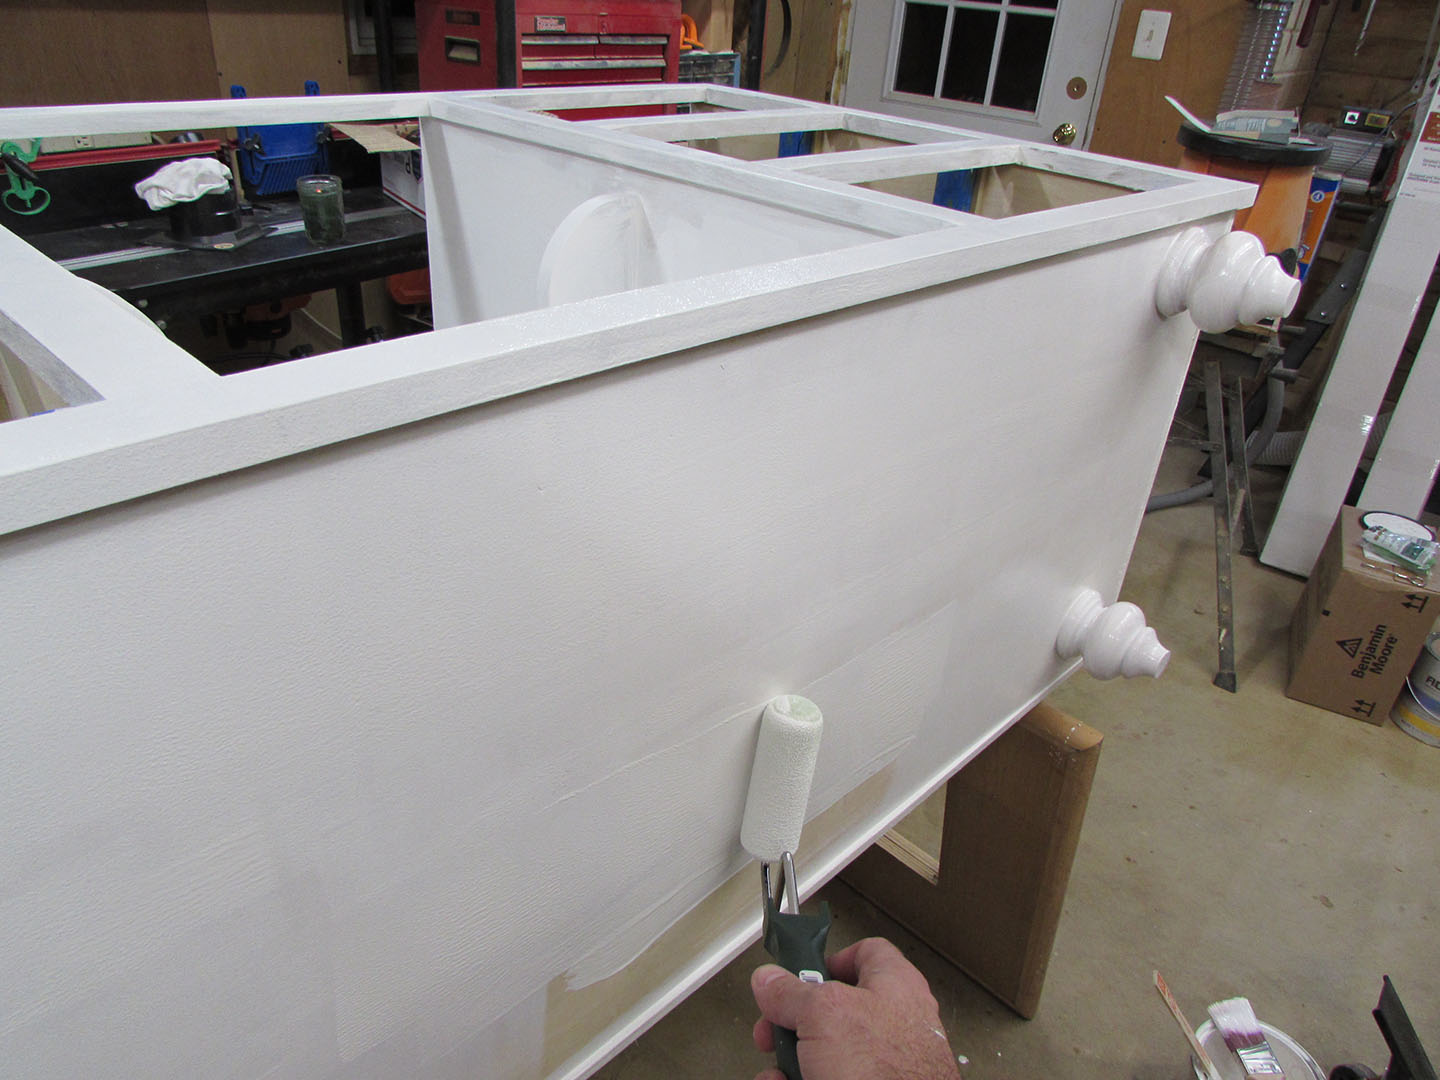
Since I have never painted a cabinet before, I started the same way I would paint a house. Cutting in the corners and rolling the larger areas.
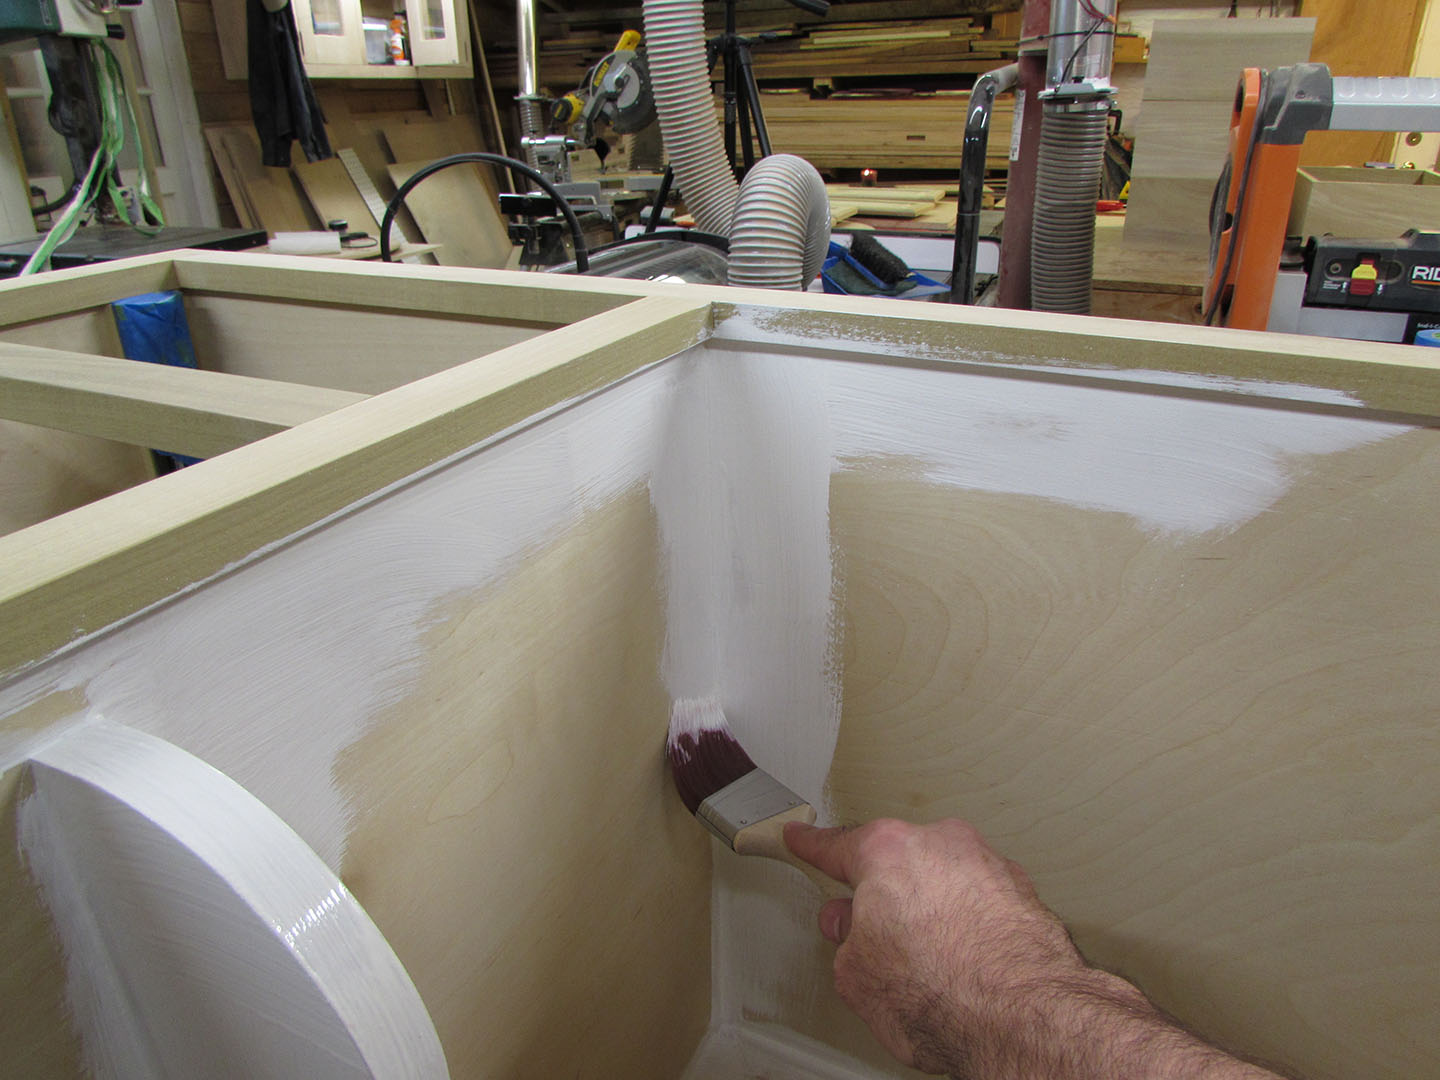
This primer is sticky and messy.

It apparently covers really well, but i am getting it all over my hairy arms and it doesn’t come off easily…
Rolling the primer is a lot easier than brushing it on.

The panels proved to be a bit of a challenge as well. I left a small unpainted area on the back and set the faces on a block, then painted the front as well., mostly with a brush.

After several hours of work, the drawer faces and the cabinet are primed, but the drawers themselves are still unpainted. The respirator was pressing on all of my inflamed sinus areas and I was getting a pounding headache. Pretty sure it wasn’t the fumes causing it, but I don’t know. I had to clean up the brush with lacquer thinner, the roller was a total write-off. It started falling apart when I tried to clean it. I will try to finish up with the priming tonight and get the painting started later in the week. Hopefully the paint will be thin enough to spray. I am really not fond of brushing and rolling all of the nooks and crannies on this project…
