
Bathroom Vanity – day 4
I placed all of my pocket holes in locations that would not be easily seen. Being just slightly OCD, I decided I needed to fill the holes. I had a box of maple plugs, so I pulled them out and started inserting them. The first thing that I noticed was that the plugs were all different lengths.

The shortest ones were a perfect fit, but the longer ones stuck way out. I cut the longer ones down on my band saw, to match the shorter ones. the last thing I wanted to do was sand down 1/8″ of a maple plug in a tight corner…
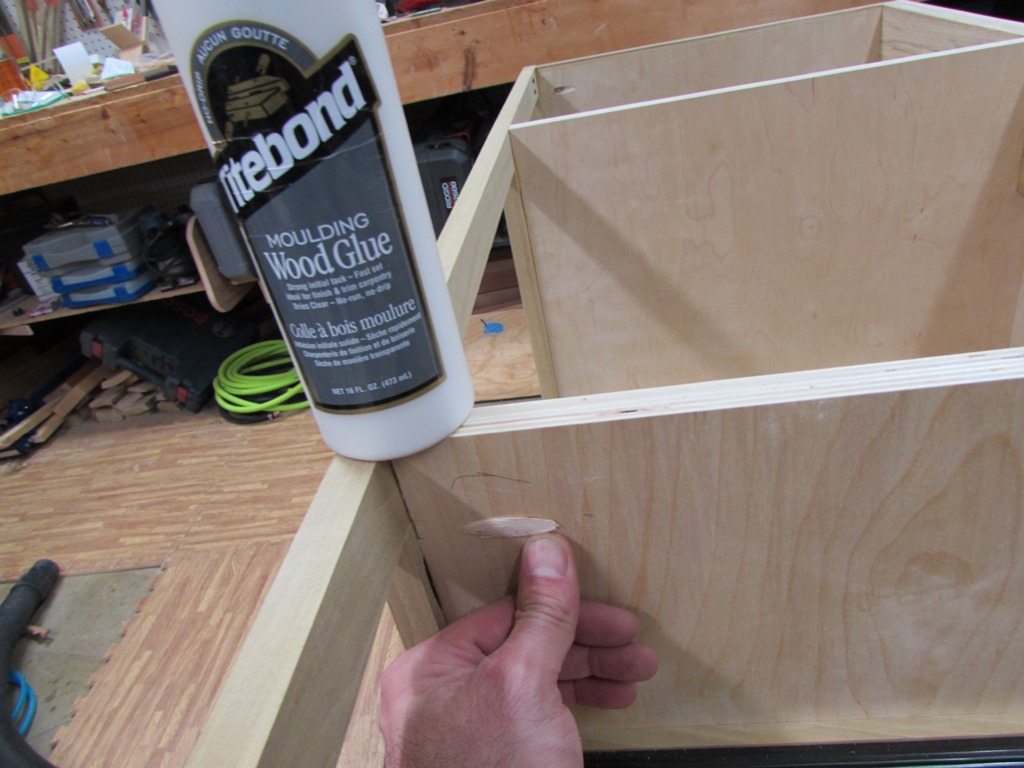
Once shortened, I dabbed on a bit of glue, then tapped the plugs in place.
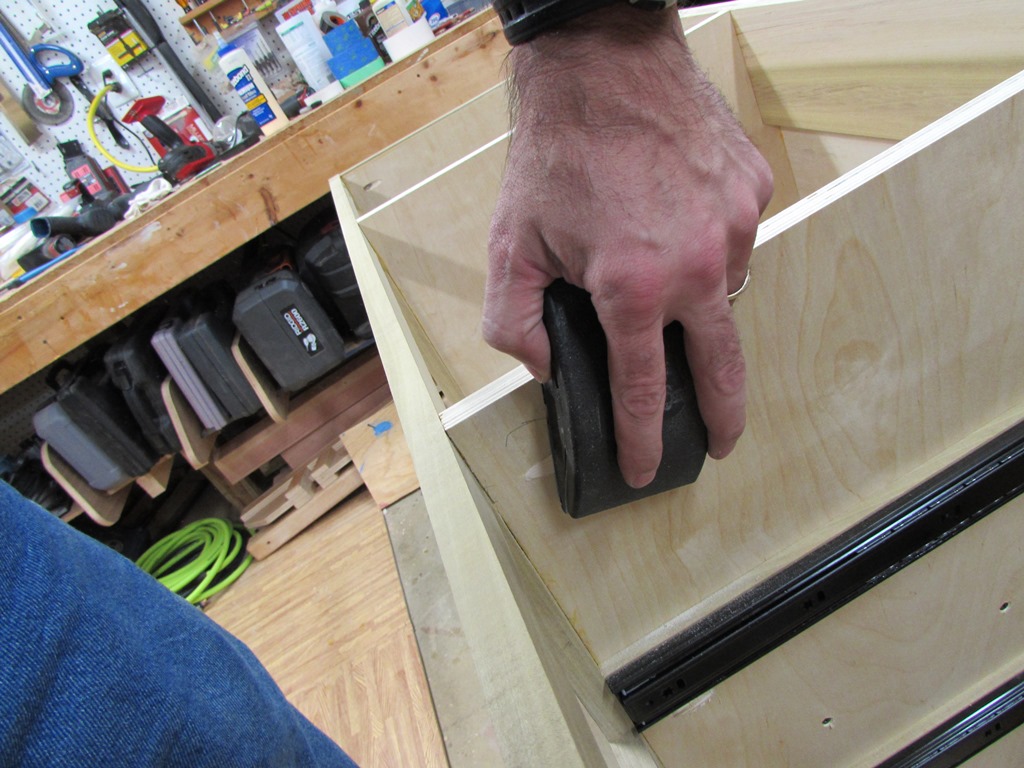
I started by hand-sanding the plugs flush, but after the first one, I switched to the orbital sander. It is faster, and does a nicer job.
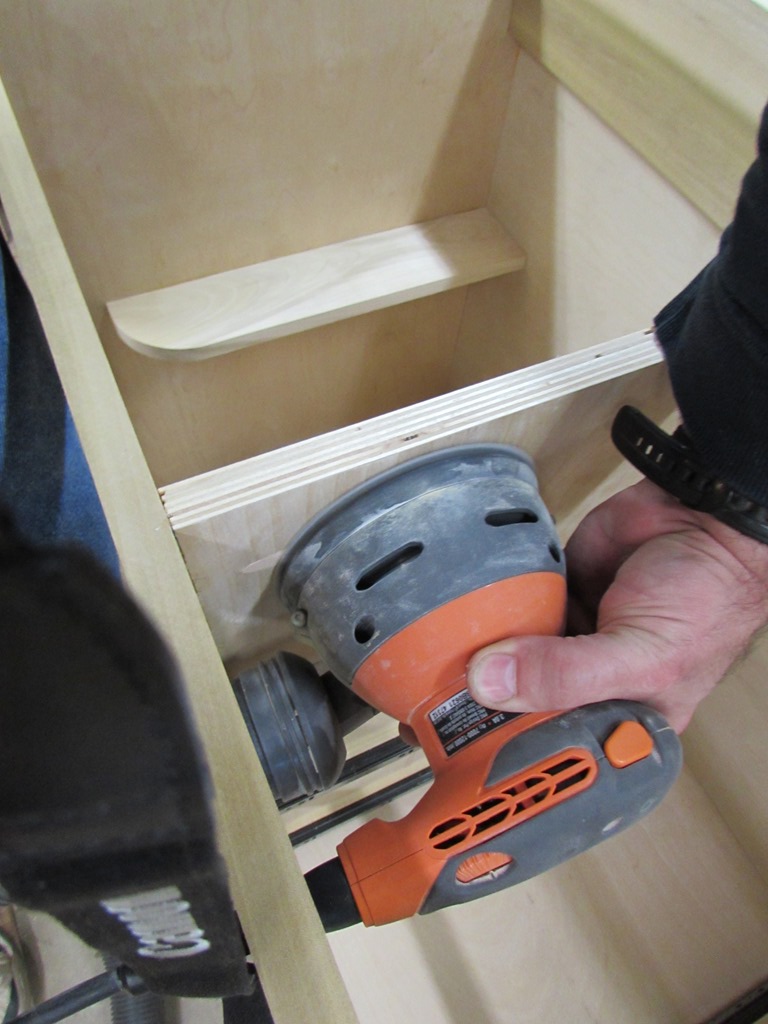
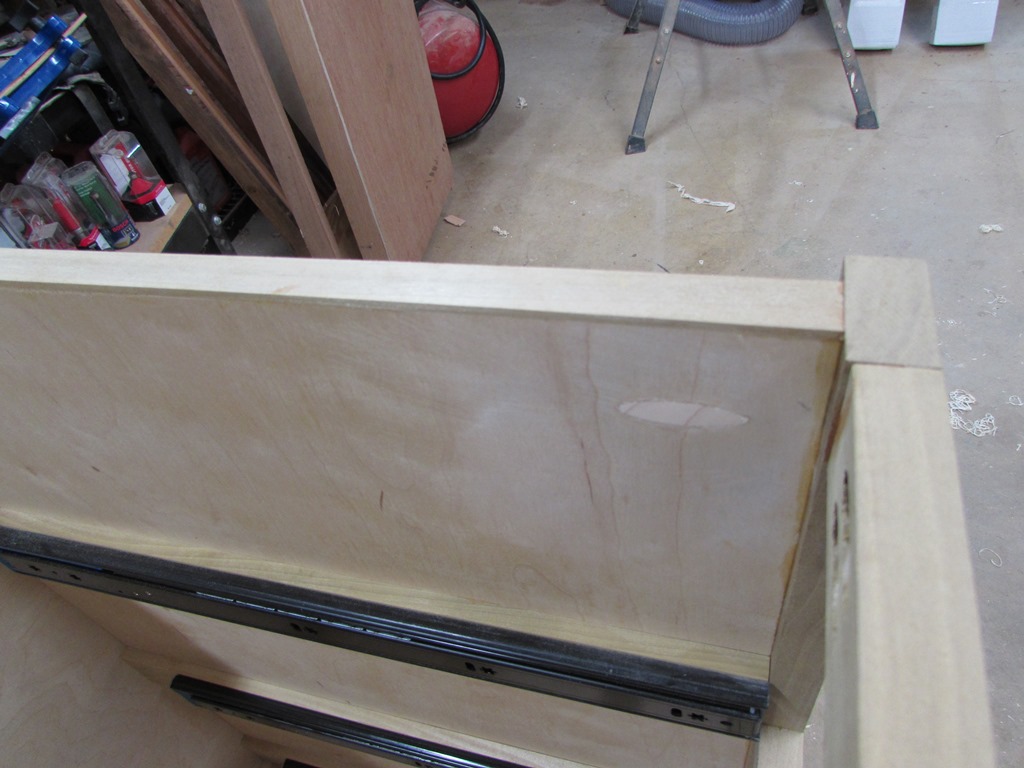
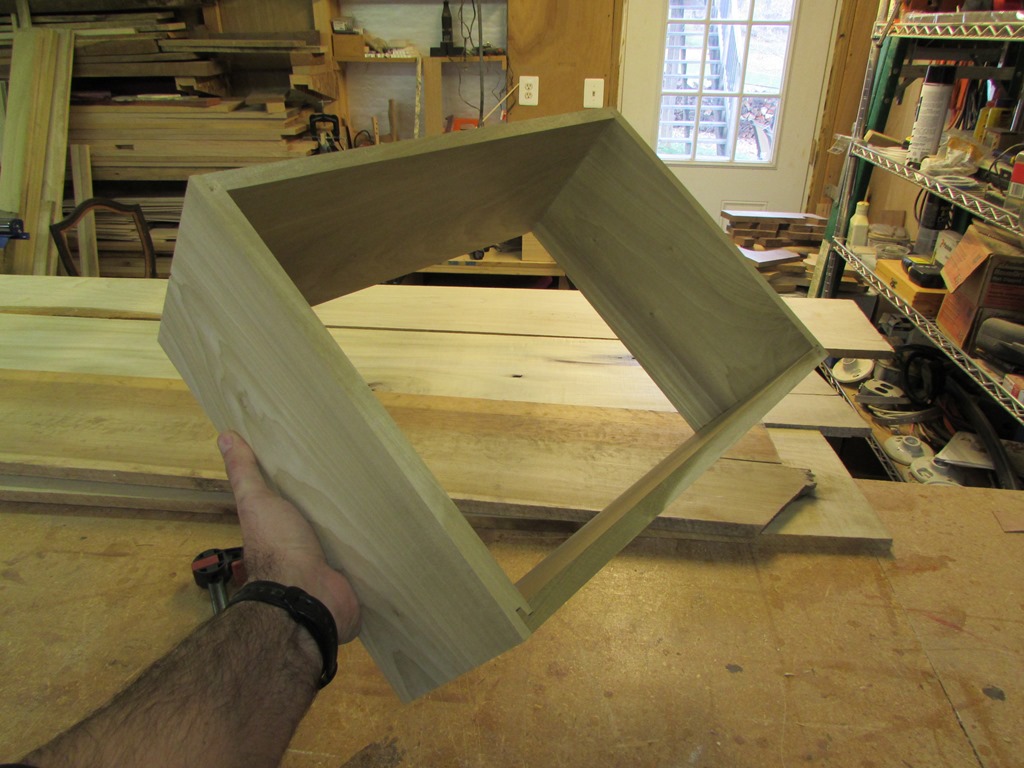
After I did the holes inside the drawers, I flipped the carcass over and did the four on the bottom. Like I said, nobody would ever see them, where they were, but now they are definitely buried for good.


Now that I have exhausted everything I can think of to avoid doing the drawers, it is time to start on them. I calculated how long each side of the drawer was, then added them together and added a couple of inches. This gave me a board length that would be long enough to create all the sides for a single drawer. I cut six boards this length, then planed them down. This is easier than cutting and planing 24 individual boards. If I did them separately, I would have to add a couple of inches to each board to allow for sniping on the planer. This way, I only waste about 2″ per drawer rather than per side. It also guarantees grain match and thickness for each drawer, if you want.
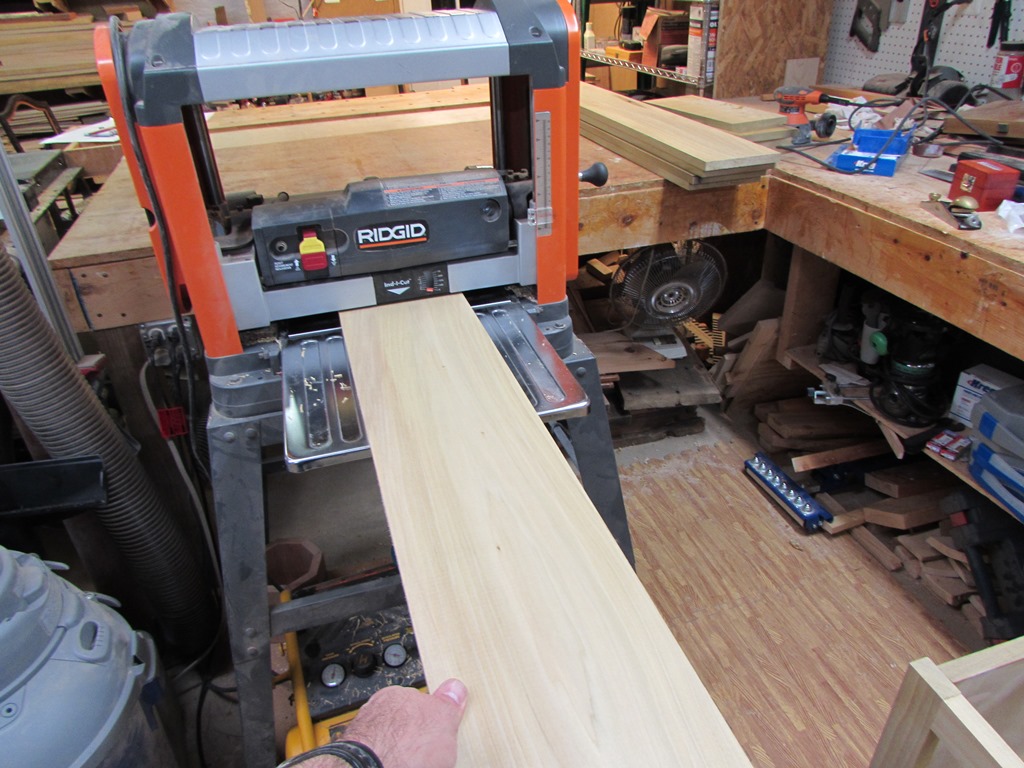
I got tired of fighting with my planer, and took a few minutes to change the blades. It gets harder and harder to push them through when things get dull.

I briefly played with the idea of using a lock miter for the drawer corner joints. Mainly because I think they look cool. But, they work best with 3/4″ thick sides, and I really wanted to thin the sides out a little.

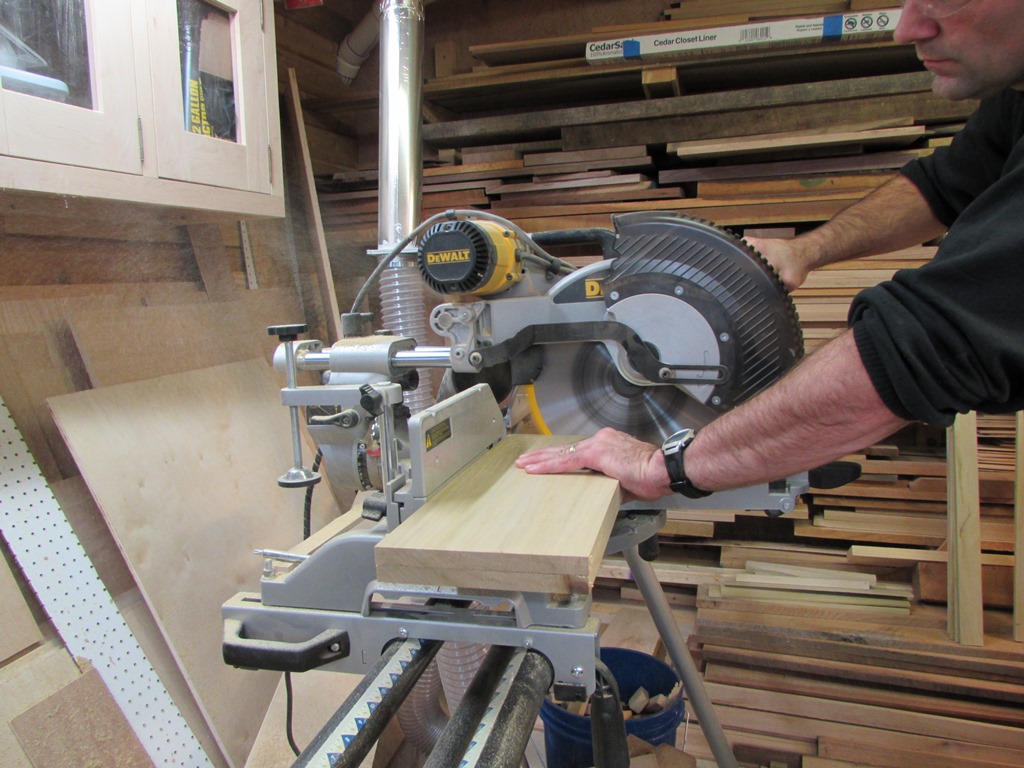
I also realized that I had a drawer lock bit, that came with my cabinet door bit set. I have not had a chance to use that bit yet, so I planed the drawer sides down to 5/8″ thick and set up the bit.

After a few tests on some scrap, I was reasonably pleased with the outcome.


So I ran the first set of drawer sides through and put it together.


The bit profile is kind of a neat design because the lock is tapered. The more you press the sides together, the tighter the fit.

Even with no glue, the drawer holds together great.
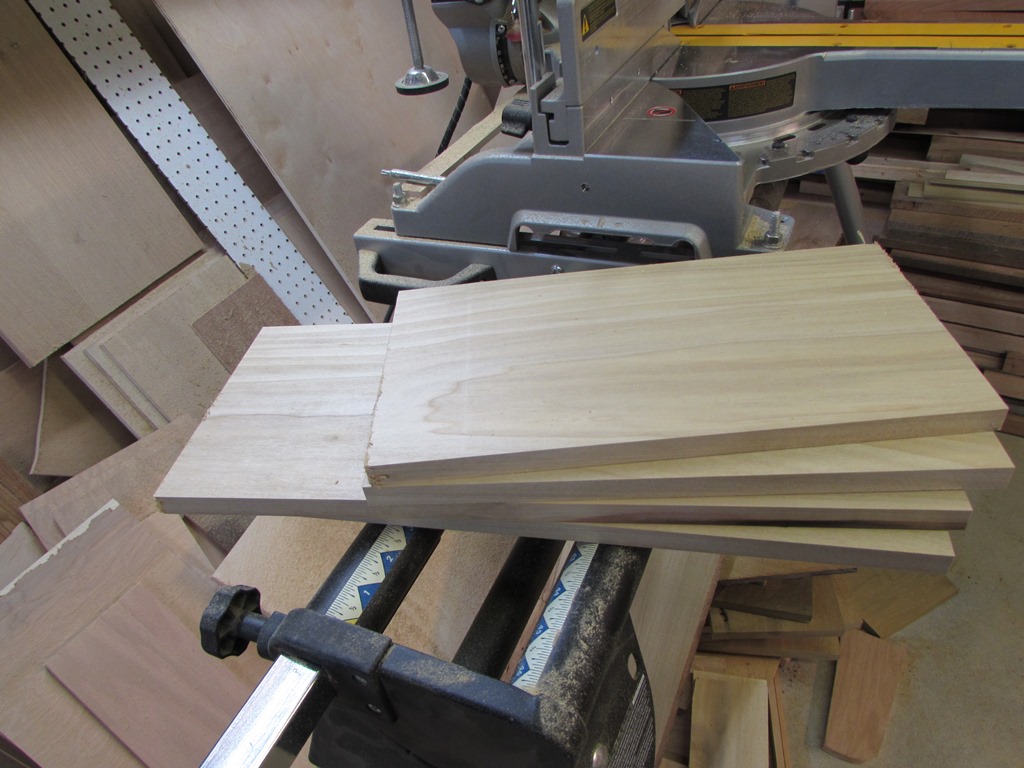
I tested the fit to make sure I had the size correct, then got to work on the other five.

I marked the length of the end and the side and over-cut them by 1/8″ or so. Then I laid the two ends or sides together with the cut ends flush and cut them both to the exact same length together.
This will help insure that all the sides are parallel as well as square.
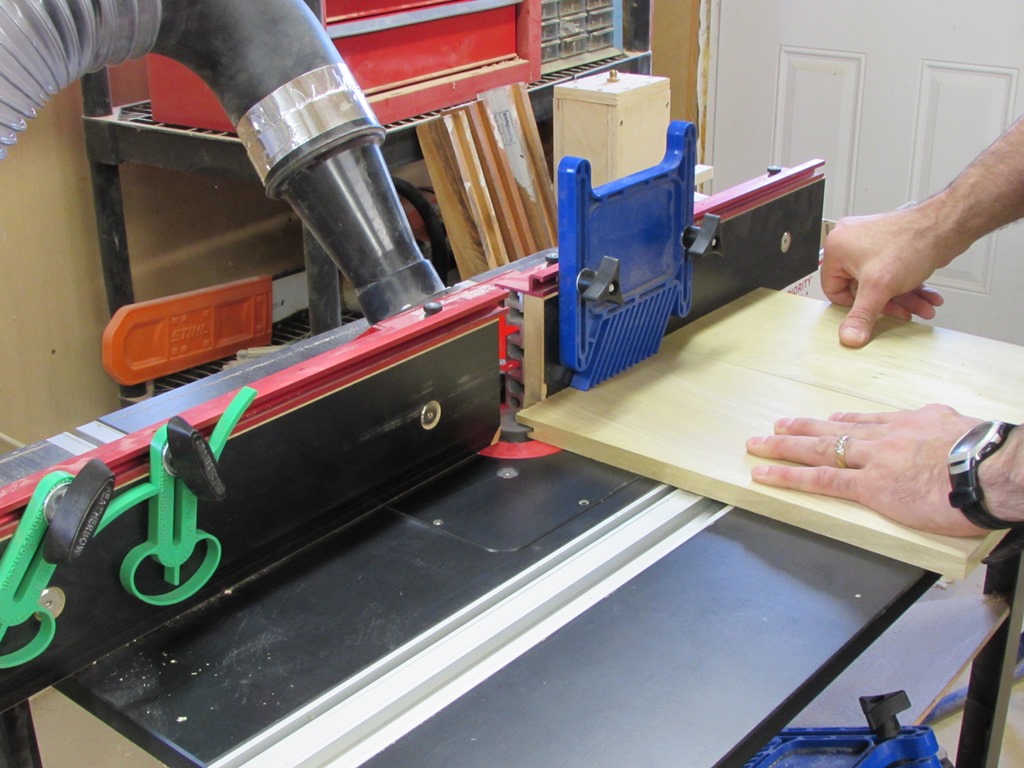
My sample cuts had a lot of tear-out when they passed by the router bit, so I fixed this problem by pushing the first piece through with the second. Once the first one was through the cutter, I flipped it around and placed it behind the second. This always kept a piece of wood behind the one being cut, avoiding all the tear-out. Please note that I had feather boards assisting in holding the work in place. I wouldn’t try juggling the pieces around, like that, if I didn’t use them.
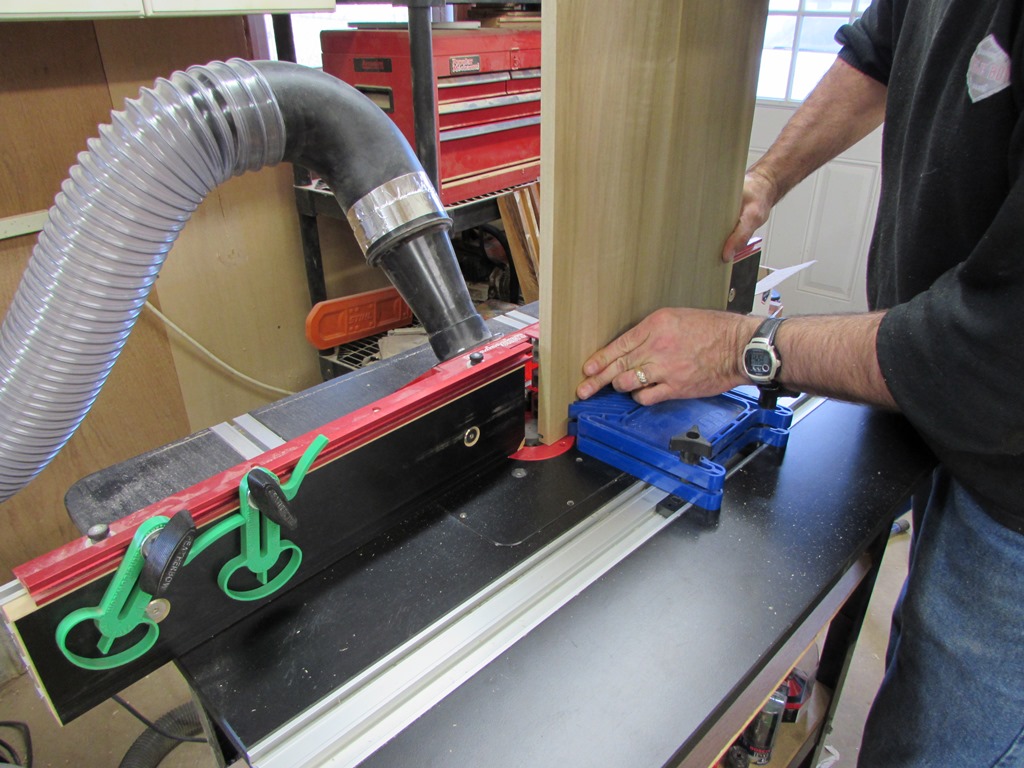
To create the slot on the bottom of the drawer, I made two passes with the table saw. This created a 1/4″ wide dado to accept the 1/4″ thick piece of plywood for the drawer bottom.

For the drawer bottom, I measured from inside the dados, with three sides of the drawer assembled, then subtracted about 1/16″ to give a little room for expansion. Remember, this is a bathroom vanity, there will be moisture in the air. All wood expands when moisture gets to it, even plywood. This is also why I will be making drawer faces that will mount to the front of these drawers. If I made them inset so they were flush with the face frame, I would have to leave a good size gap to prevent expansion from binding the drawer shut. So while the raised panel faces are more work, they do have a practical reason for being used, and I think they look better anyway…

Speaking of adding drawer faces, now is the perfect time to pre-drill the mounting holes for them. I will be using 1″ long wood screws to hold the faces on, so I need to counter-sink two holes through the front drawer panel. I was going to use my standard counter-sink bits, but I remembered the stop-collared bit that I bought for pre-drilling deck screws. The collar spins, preventing you from setting the counter-sink to low into the wood. I also realized that if I stacked all the faces, with the edges flush, I could drill through the first board, and that would create the pilot hole in the next one in the stack. This means that all of the holes would be in the exact same location. That way, you only have to measure and mark the first one.


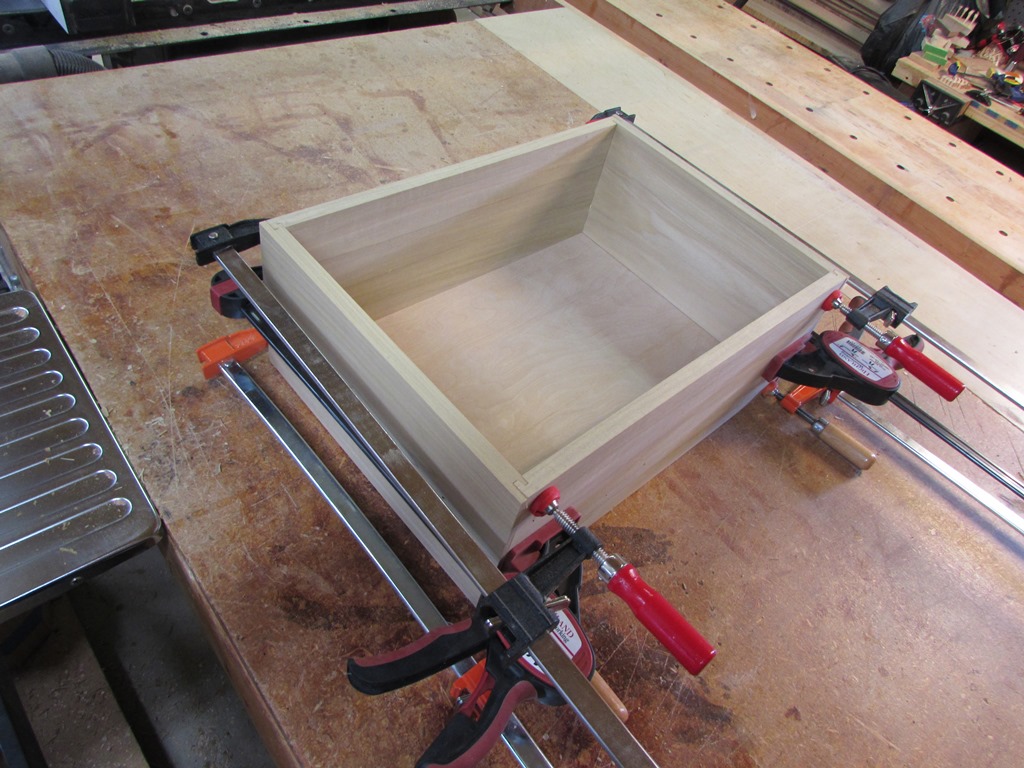
Next step is to assemble the drawers. I applied glue to the side pieces, in the groove and along the outside edges. I added the front and rear face, then inserted the bottom panel. Then I applied glue to the opposite side and pressed them all together.

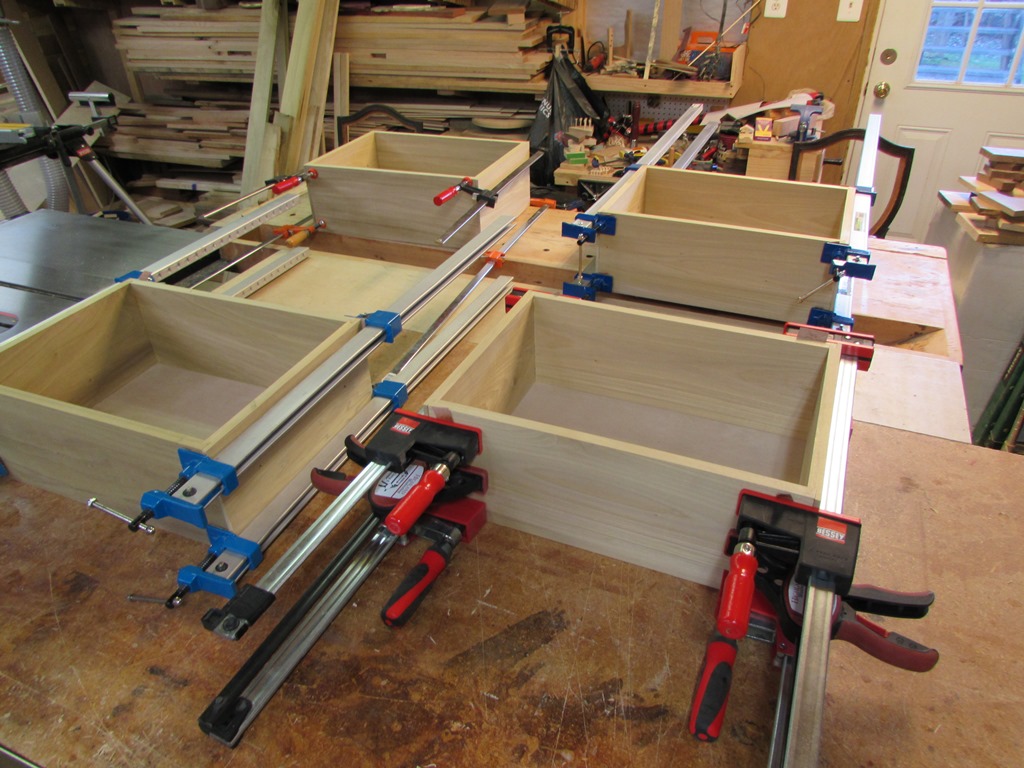
Since the press fit was even tighter with the glue introduced to the joint, I used three clamps on each side.
That meant I only had enough clamps for four of the drawers at a time. This slowed me down a bit, but after a half hour or so, I pulled the clamps off of the first two and glued up the last two.

Once the drawers had set for a bit, I pulled the clamps and started sanding them down.
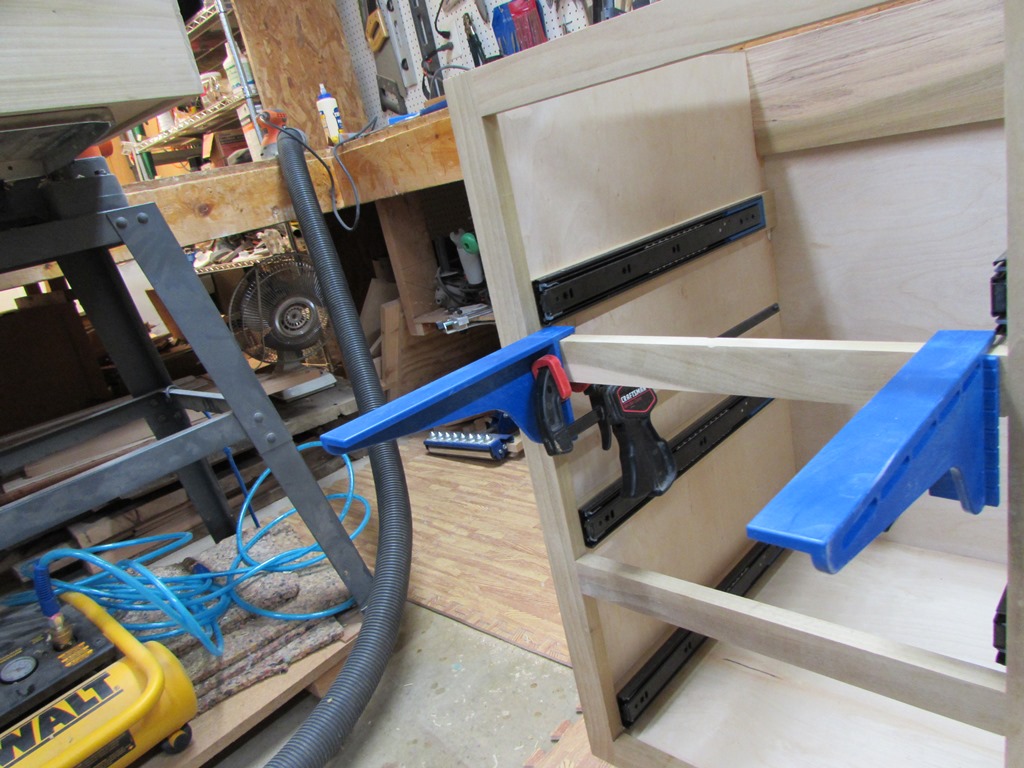
I have a couple of Kreg drawer supports that help you hold the drawer in its extended position. This is like having an extra set of hands. They are not quite long enough to hold the drawer exactly where I need it, but they do help. I set the drawer all the way into the cabinet and marked where the end of the slide should be, then extended it fully and installed the screws.
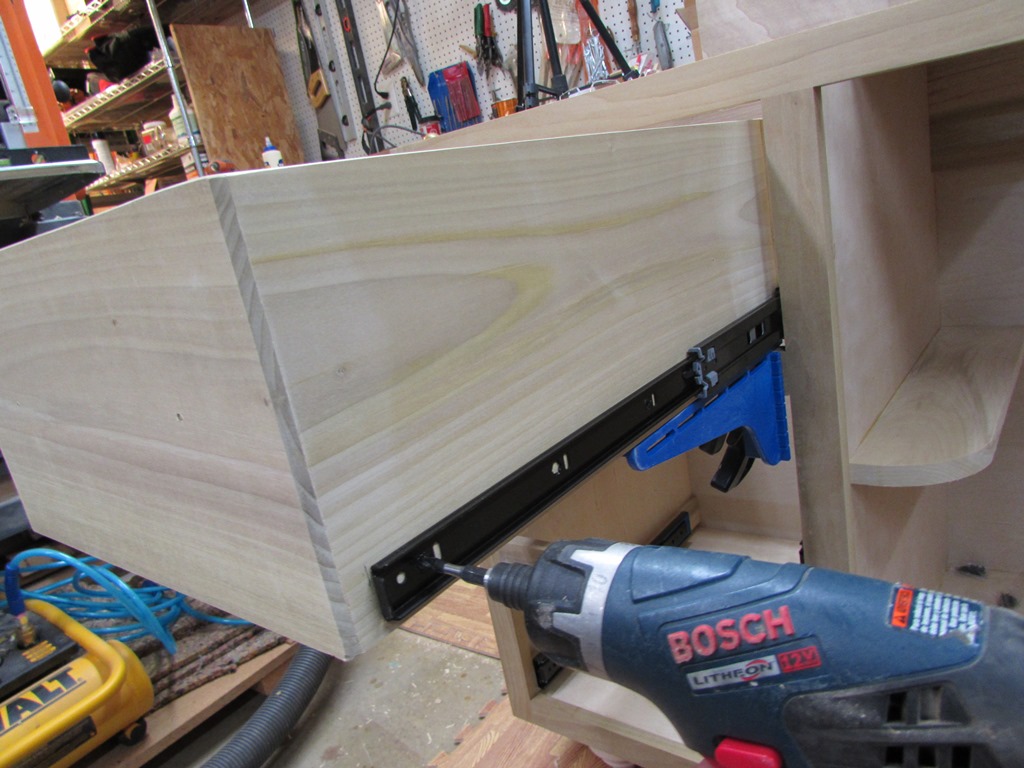
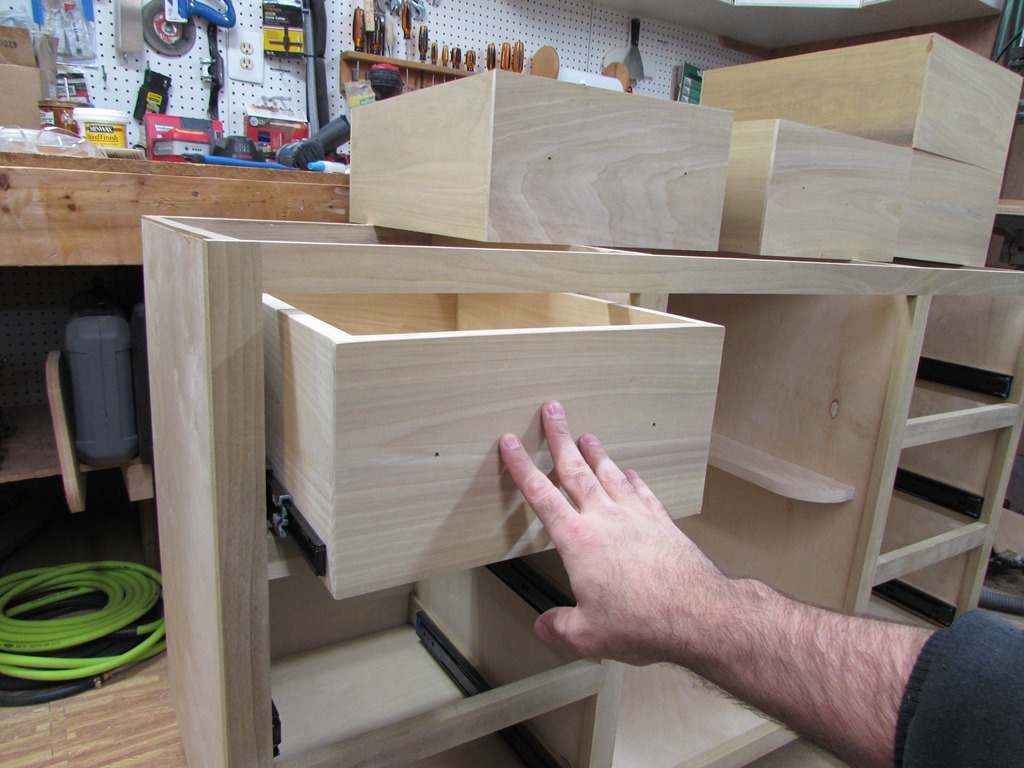
I installed the slides so when the drawer was closed the face was set in about 1/8″. With the soft-closing springs pulling the drawer shut, this should allow the drawer face to pull tightly closed when installed.
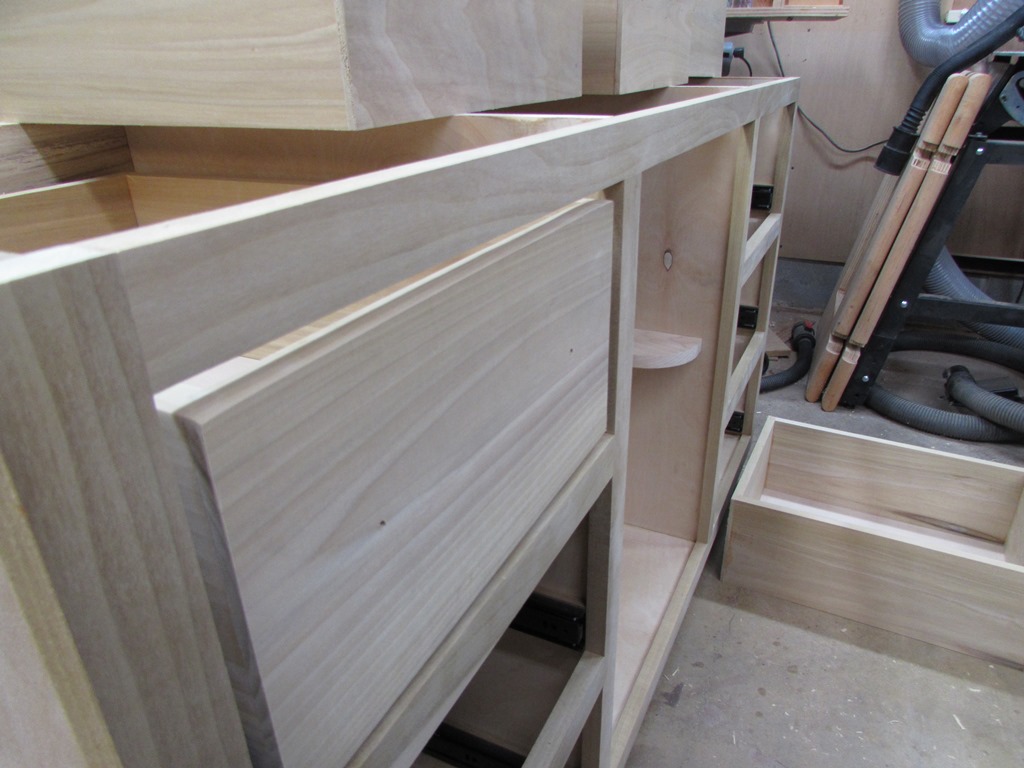
I got the first three drawers installed before I ran out of time yesterday. But they went together smoothly enough. Three more to go, then it will just be the faces and the cabinet door left to do.

