
Bathroom Vanity – day 3
My main focus today was getting the drawer slides installed so I can determine the actual size of my drawers.

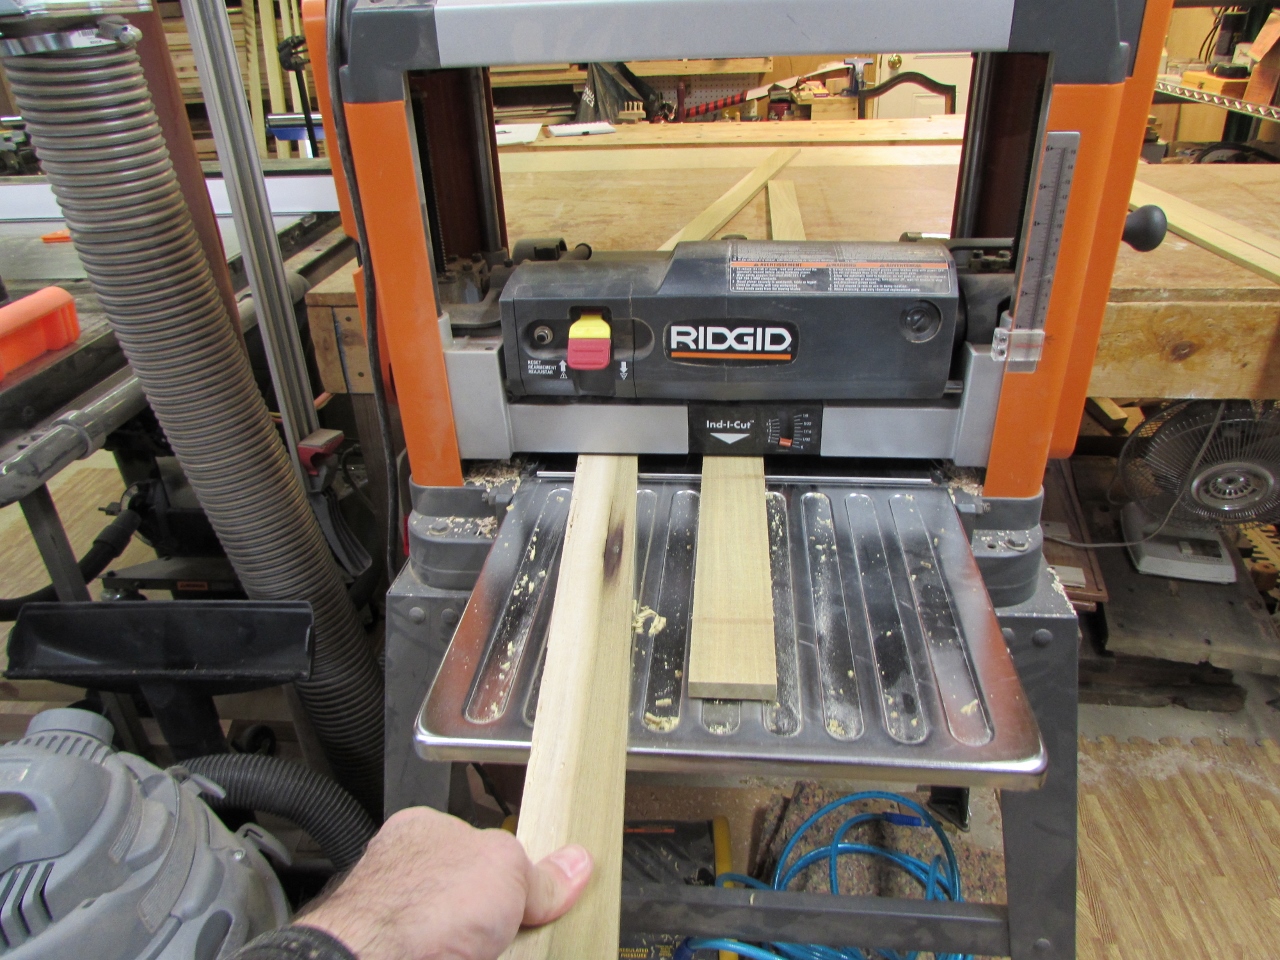
Since my face frame extends 3/8″ past the plywood, I will need to create spacers to hold my drawer slides 3/8″ off the wall, so the drawers can open properly. I measured the full inside depth of the cabinet to get the length (20″) and the height of the slide to get the width of my spacer (2″). I ripped six 42″ long boards, 2″ wide, then turned them 90 degrees and ran the 2″ boards through sideways with the fence set 7/16″ off the blade.

This left them just over 3/8″ thick, leaving me just enough material to plane both sides once or twice to clean them up.
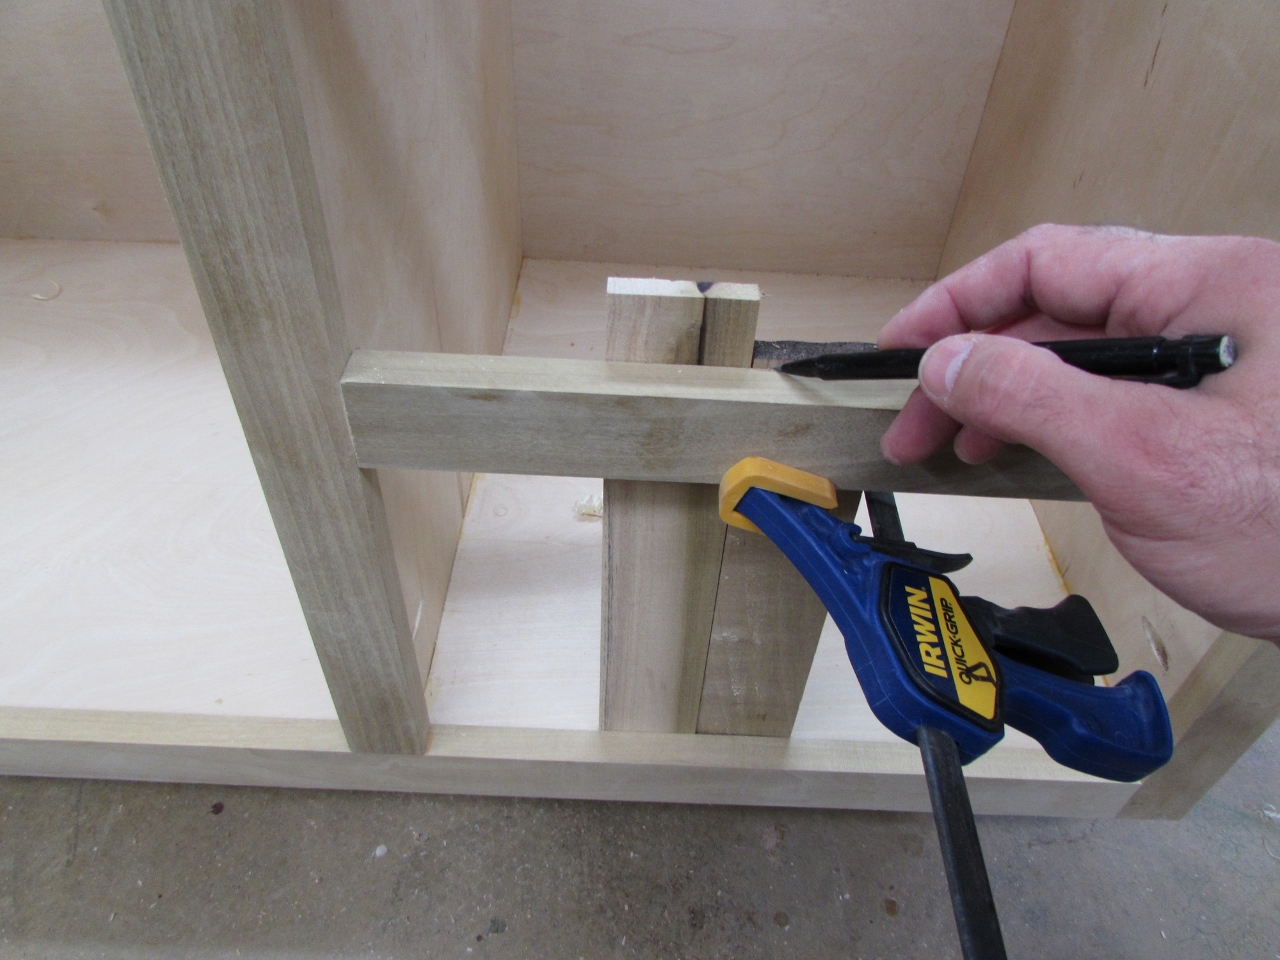
With the boards cut and planed, I clamped them all together and marked them at 20″.

I cut six the 42″ boards down to twelve 20″ long spacers. I cleaned the edges up with a block plane and a bit of sand paper.

I used some scrap to create blocks that I could use to accurately set the height of each spacer. I want my slides to set just above the horizontal face frame boards, so I marked my blocks right at the tops of the horizontals, then cut them. I repeated the process for the second set as well.
I added some glue to the back of my spacers and nailed them in place, starting with the highest one and working my way down, using a 3/8″ piece of scrap to set the height of the bottom ones.

Installing them went very smoothly and only took a few minutes. Using the scrap blocks made setting the correct height way easier than measuring and marking each one.

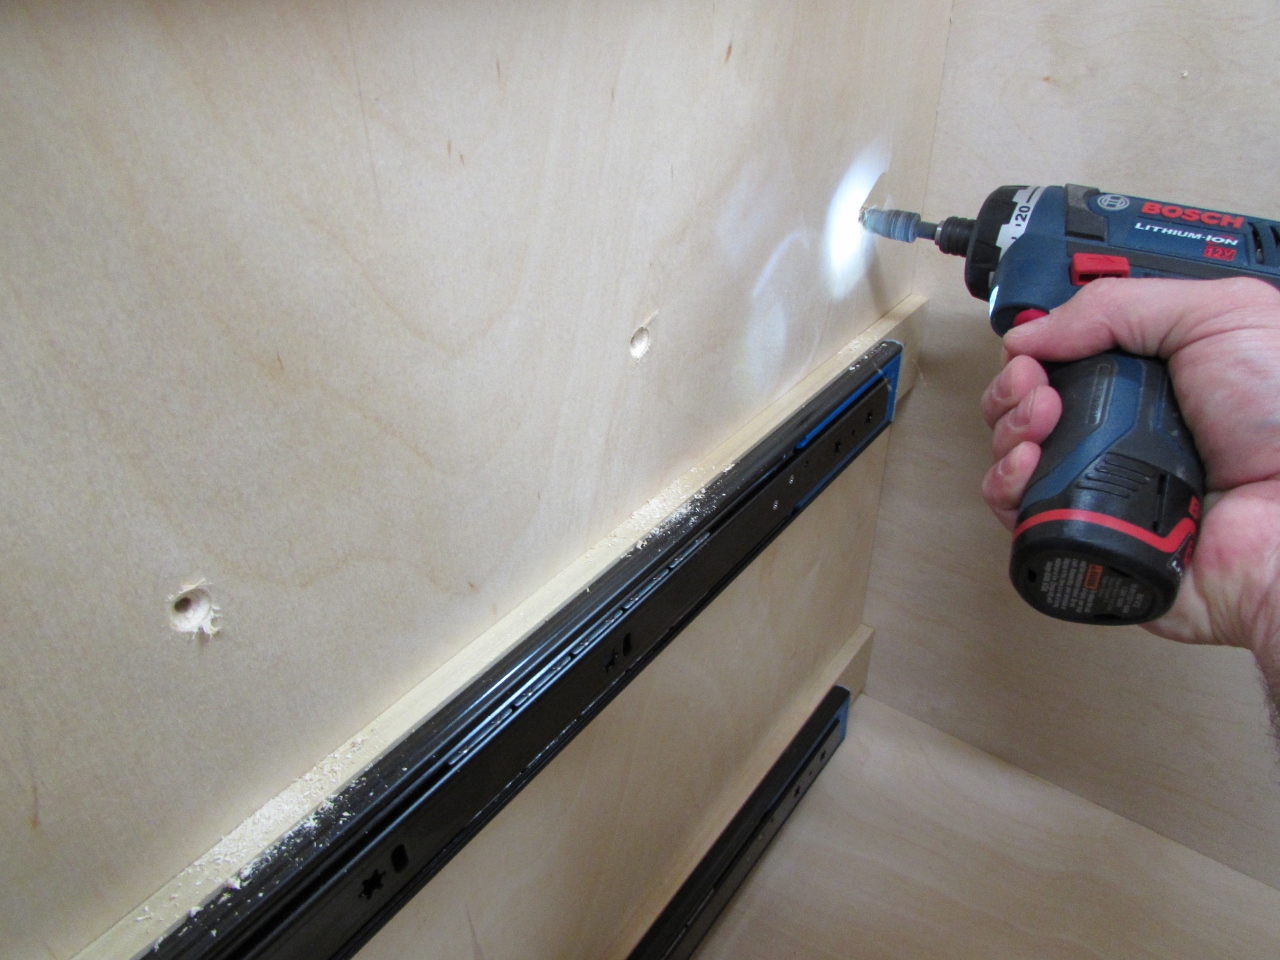
Since I put a bit of thought into the spacers and their locations, setting the slides in place was a breeze. All I needed was a block of wood that was thicker than the spacers. I clamped a scrap piece of 1″ thick pine to the wall, set right on top of the spacer. Next I butted the top of the spacer up against it, and held the front of the bracket flush with the front of my block. Holding the slide with one hand, I was able to run in the three screws that hold it on.
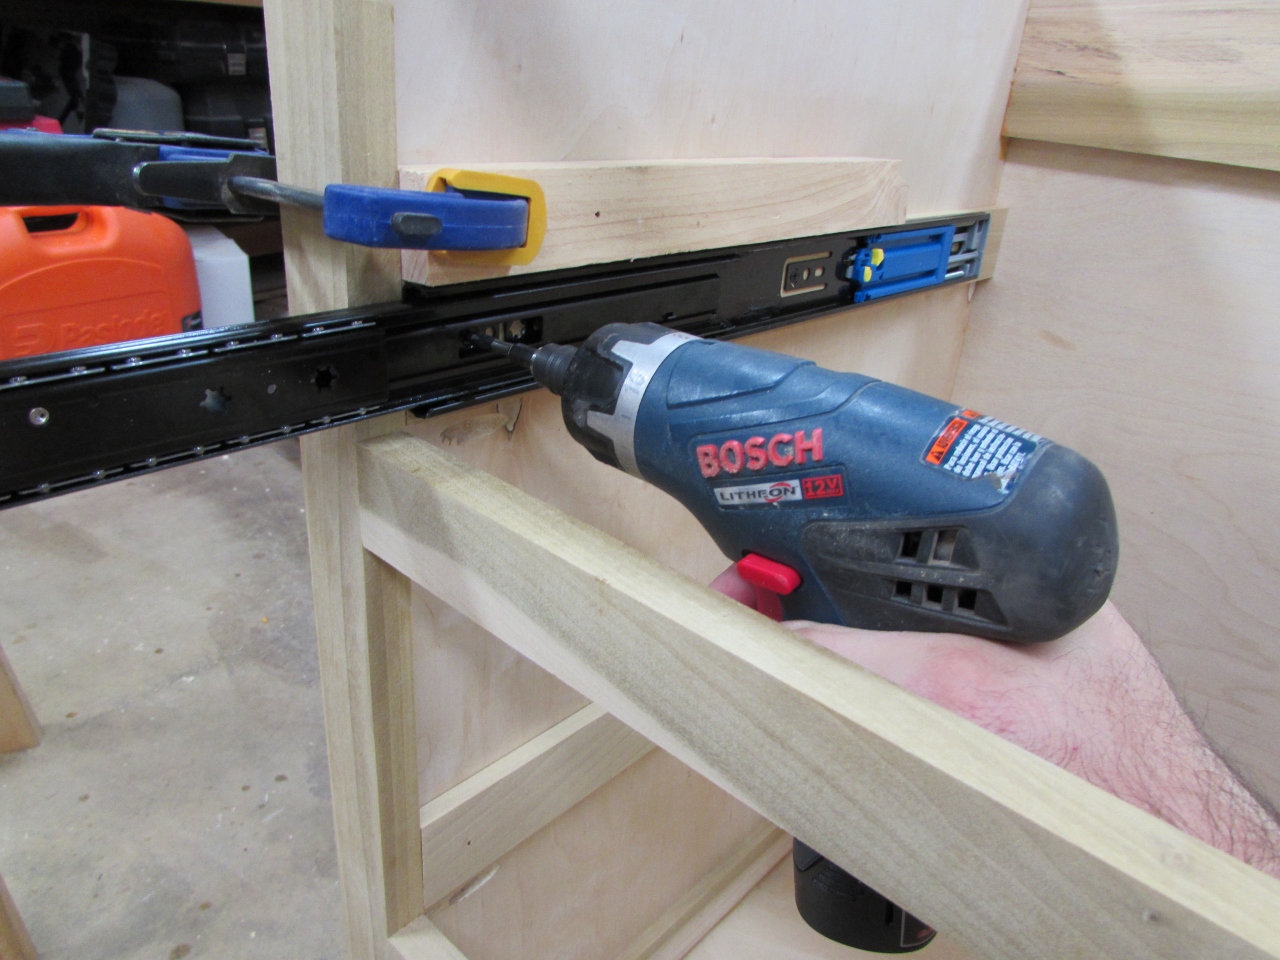
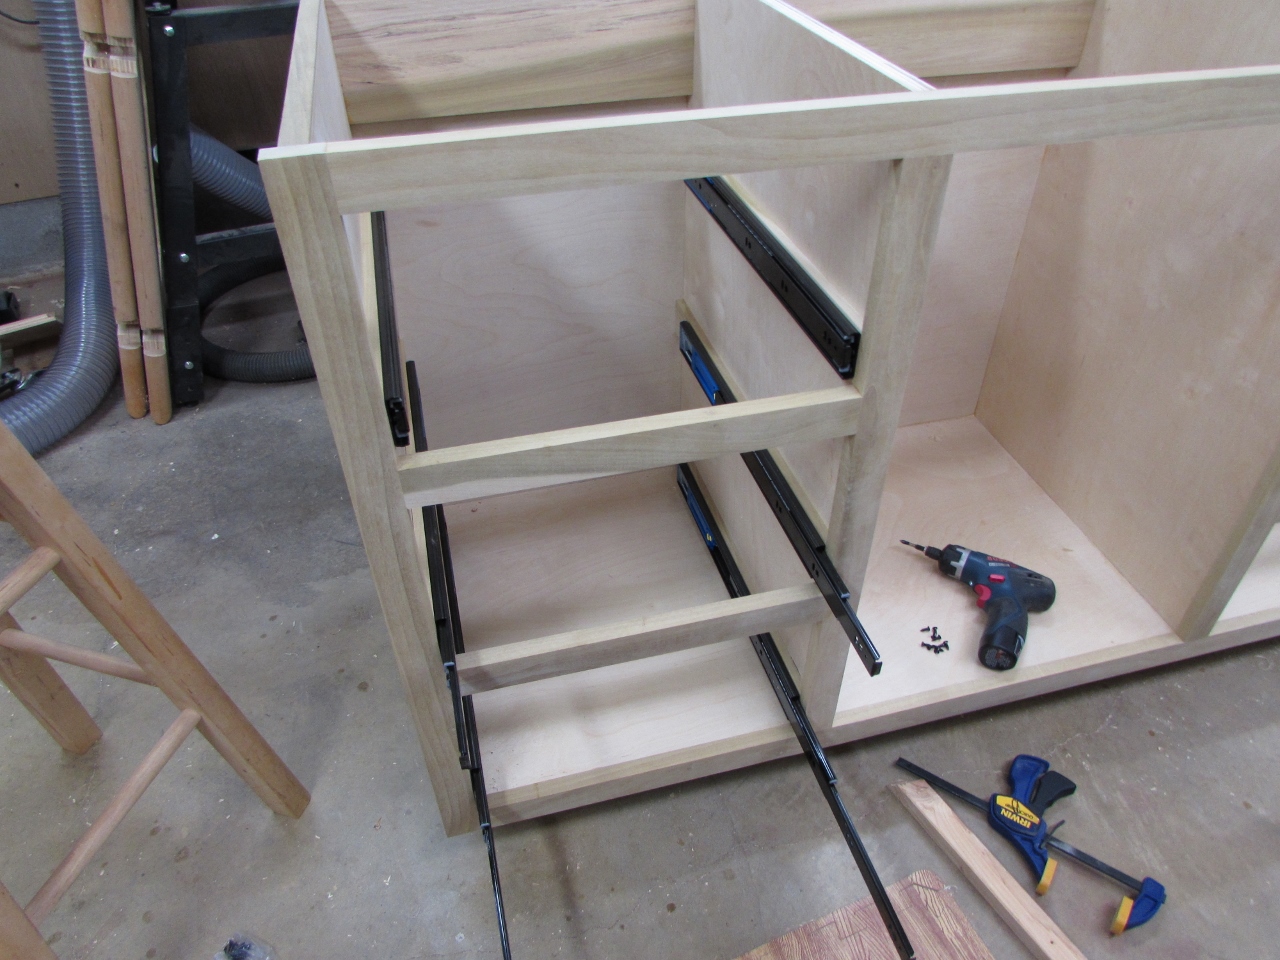
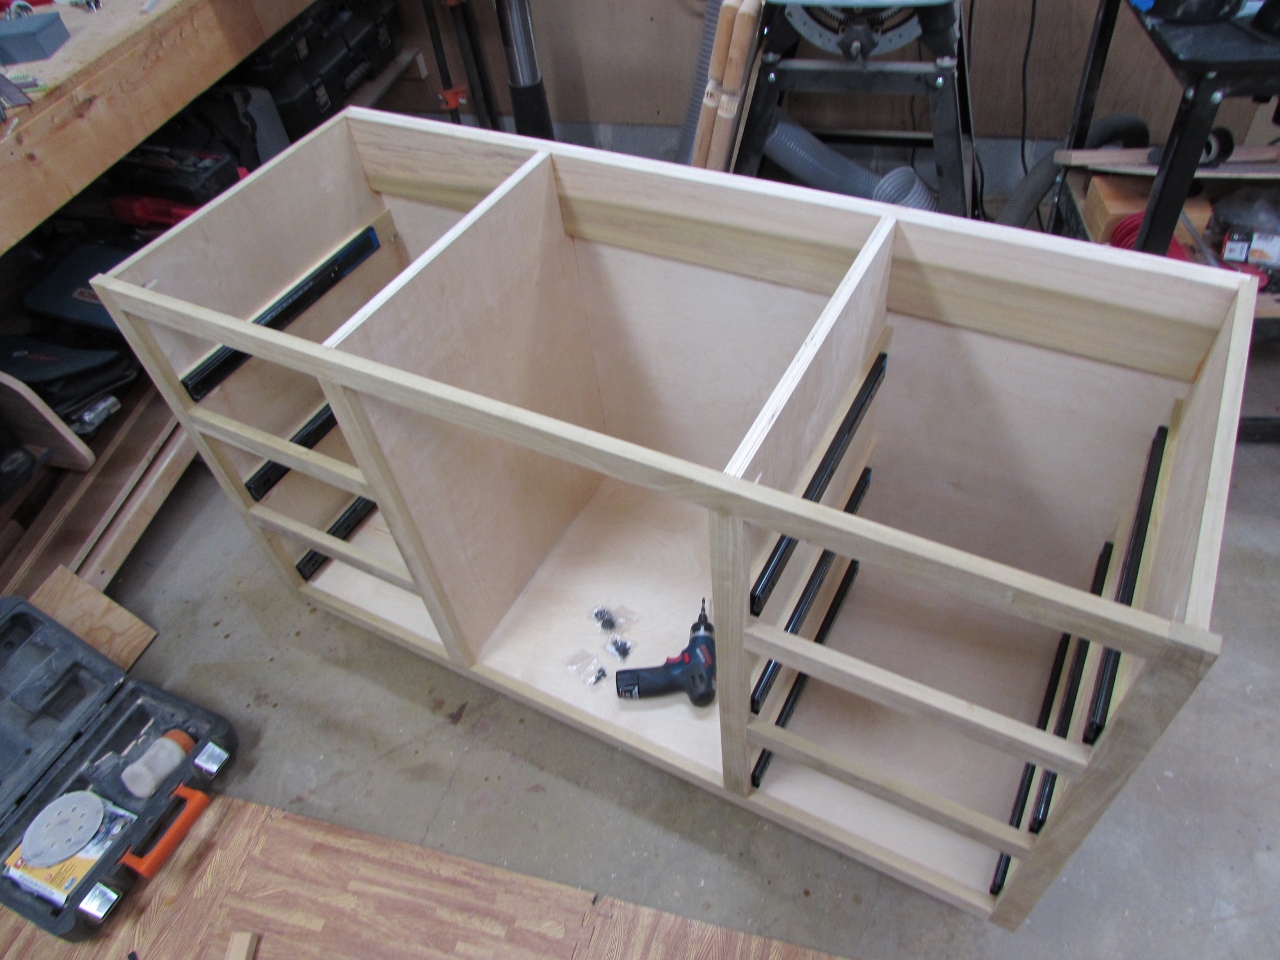
I repeated the process twelve times and the slides were installed. I measured the distance between the inside of the brackets, checking them open as well as closed, and came up with 13-1/2″ so that is the new width of my drawers. Something you should note about the slides is that they may be covered with grease or oil. Be very careful where you put your fingers. If you get grease on the wood, it will affect your finish. The finish cannot be absorbed into the wood if there is grease or oil in the way. Solvent-based finishes will have better luck than water-based or paint, but it still may cause discoloration.
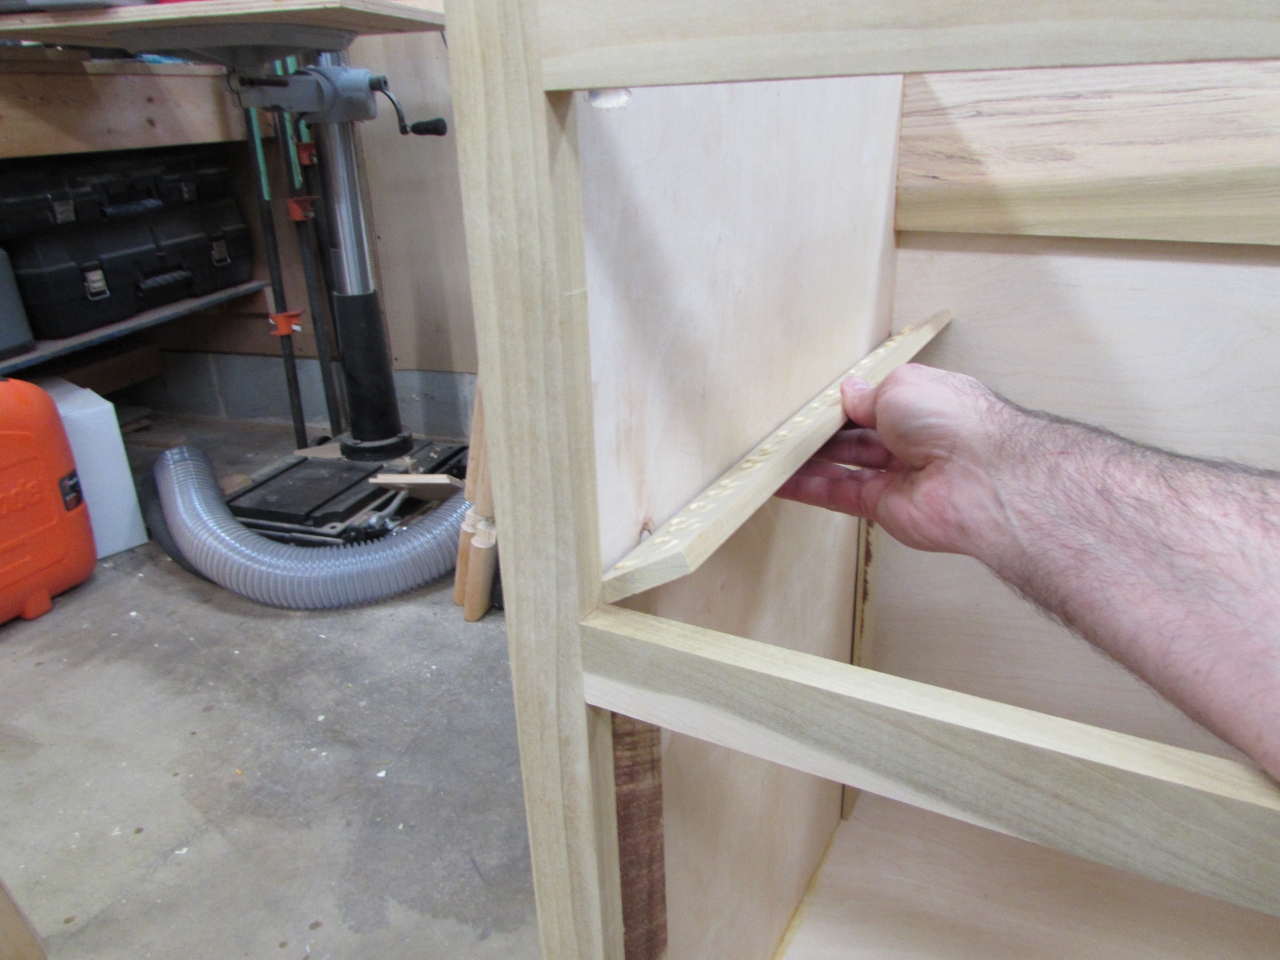
Before moving on to the drawers, I want to add the side shelves for the cabinet section. To do this, I cut two pieces of poplar down to 4″ wide and 19″ long. My plan calls for a 4″ radius on the end, but I grabbed whatever I had that was close. What I grabbed was the 6″ to 4″ splitter for my dust collector. the outside of the base is close to 7″ across, so that is close enough.
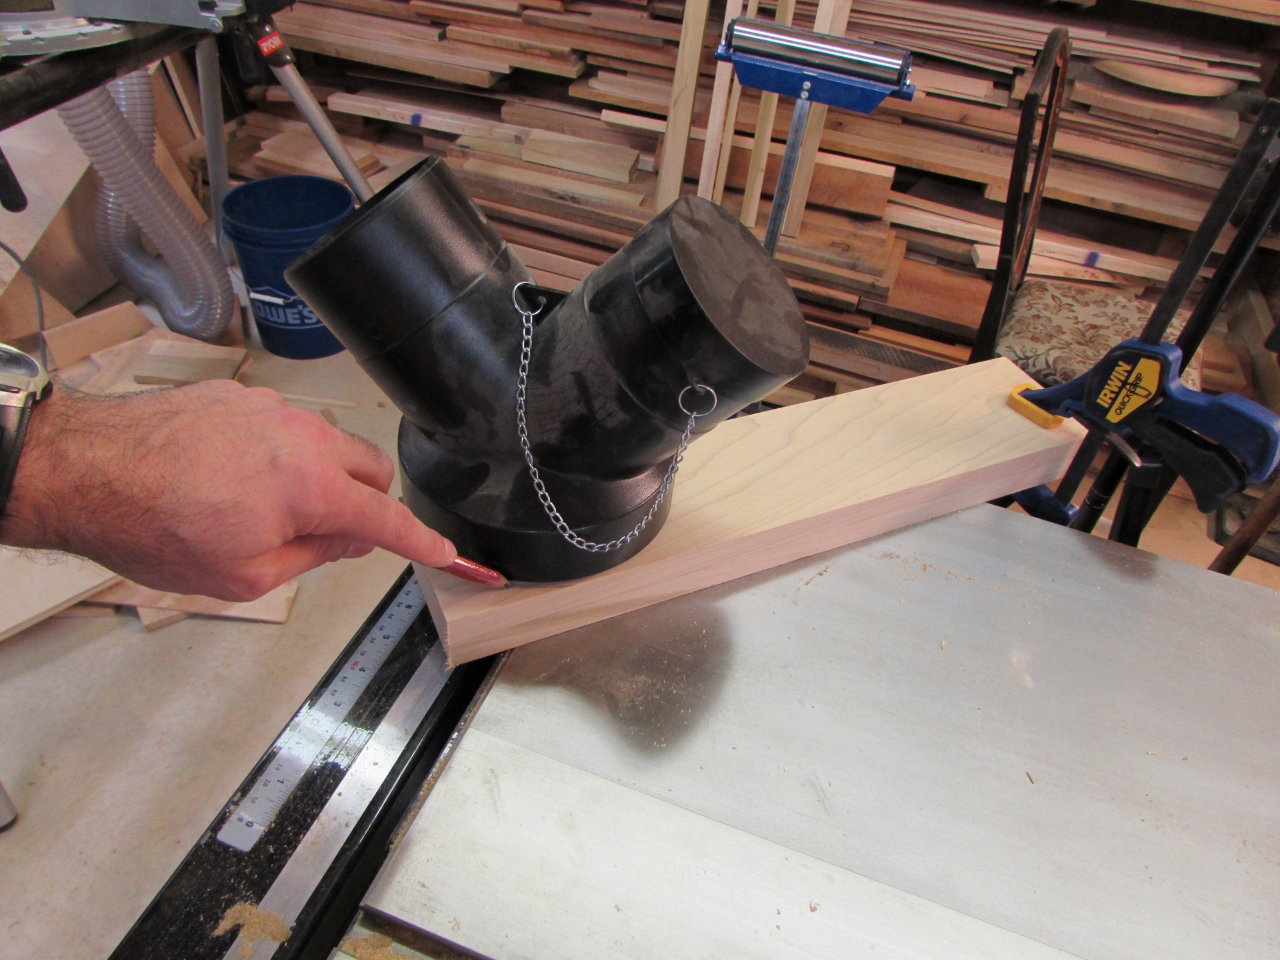
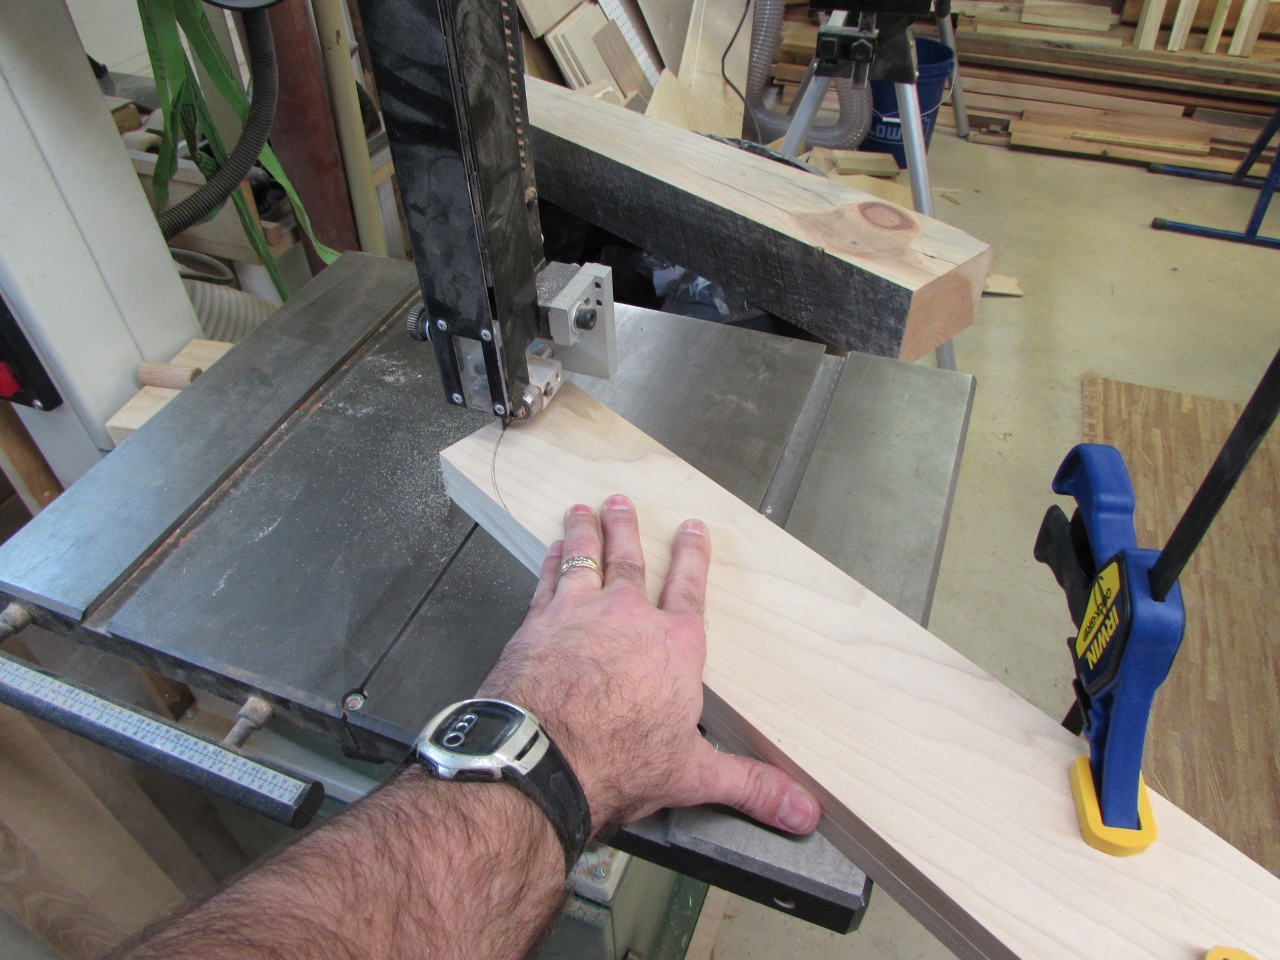
I traced one quarter of the circle, then clamped the two boards together and cut the curve on my bandsaw.
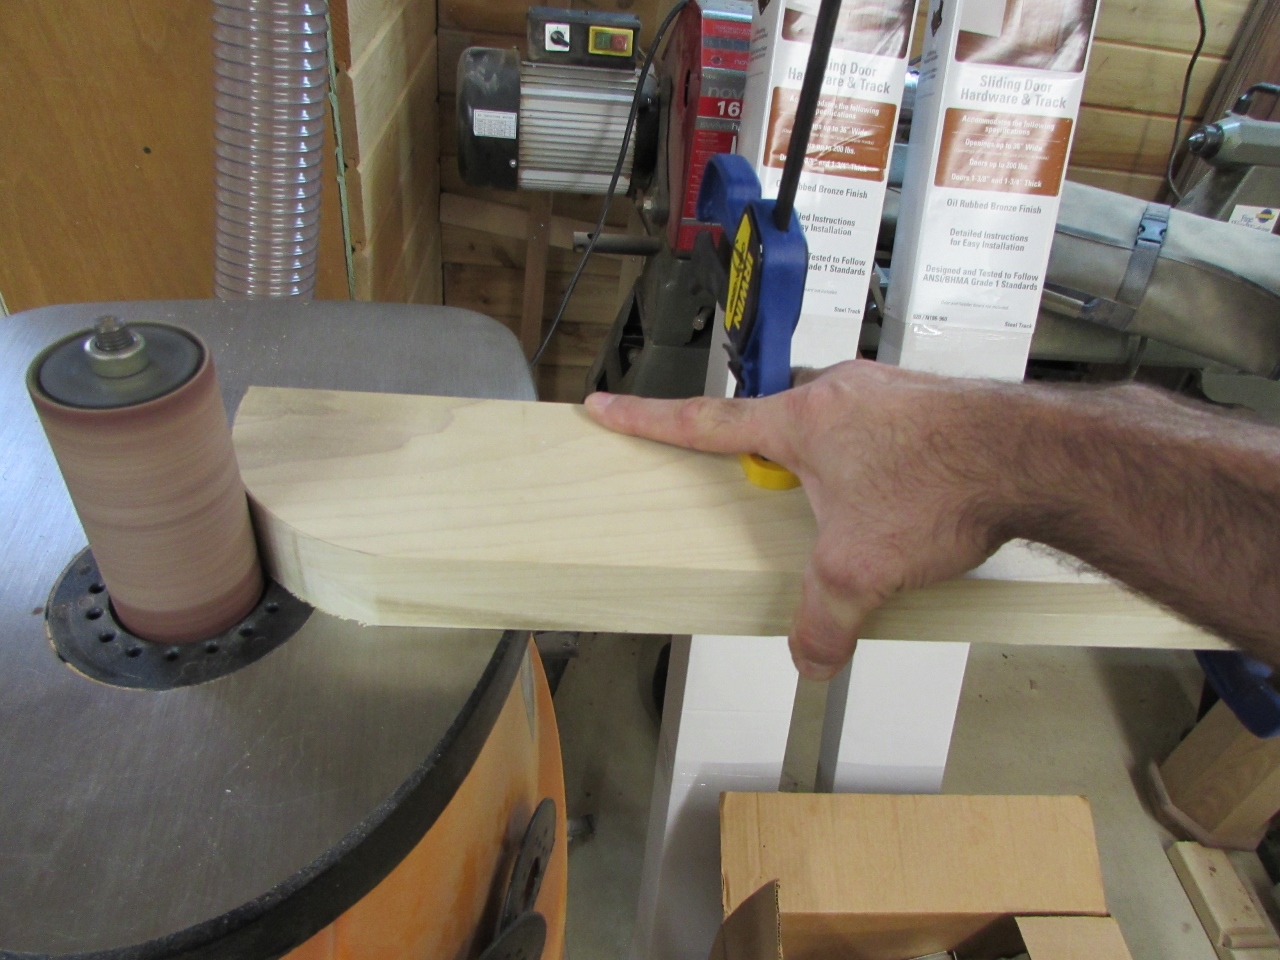
A quick bit of sanding and the shelves were done.
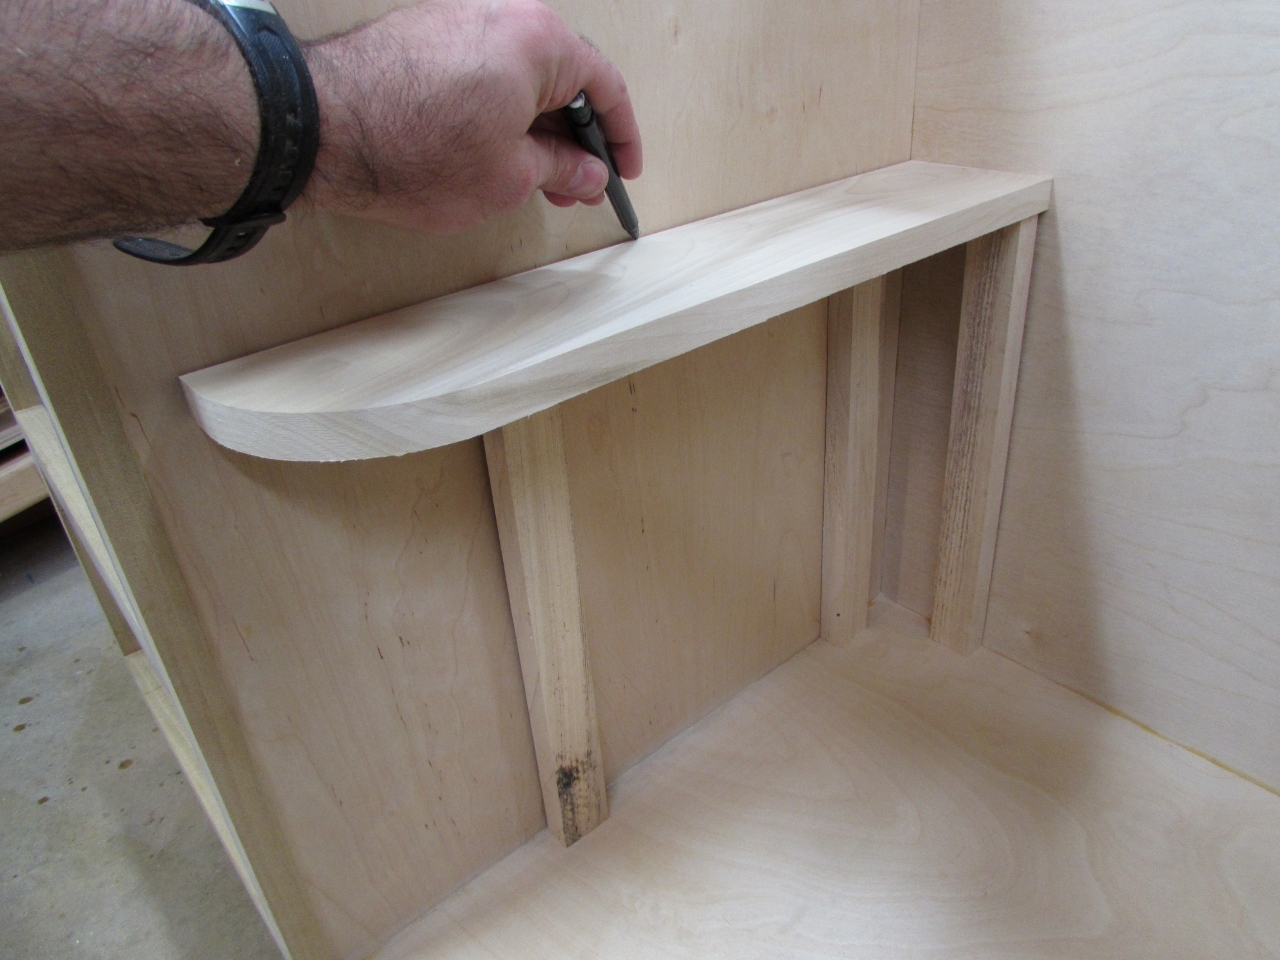
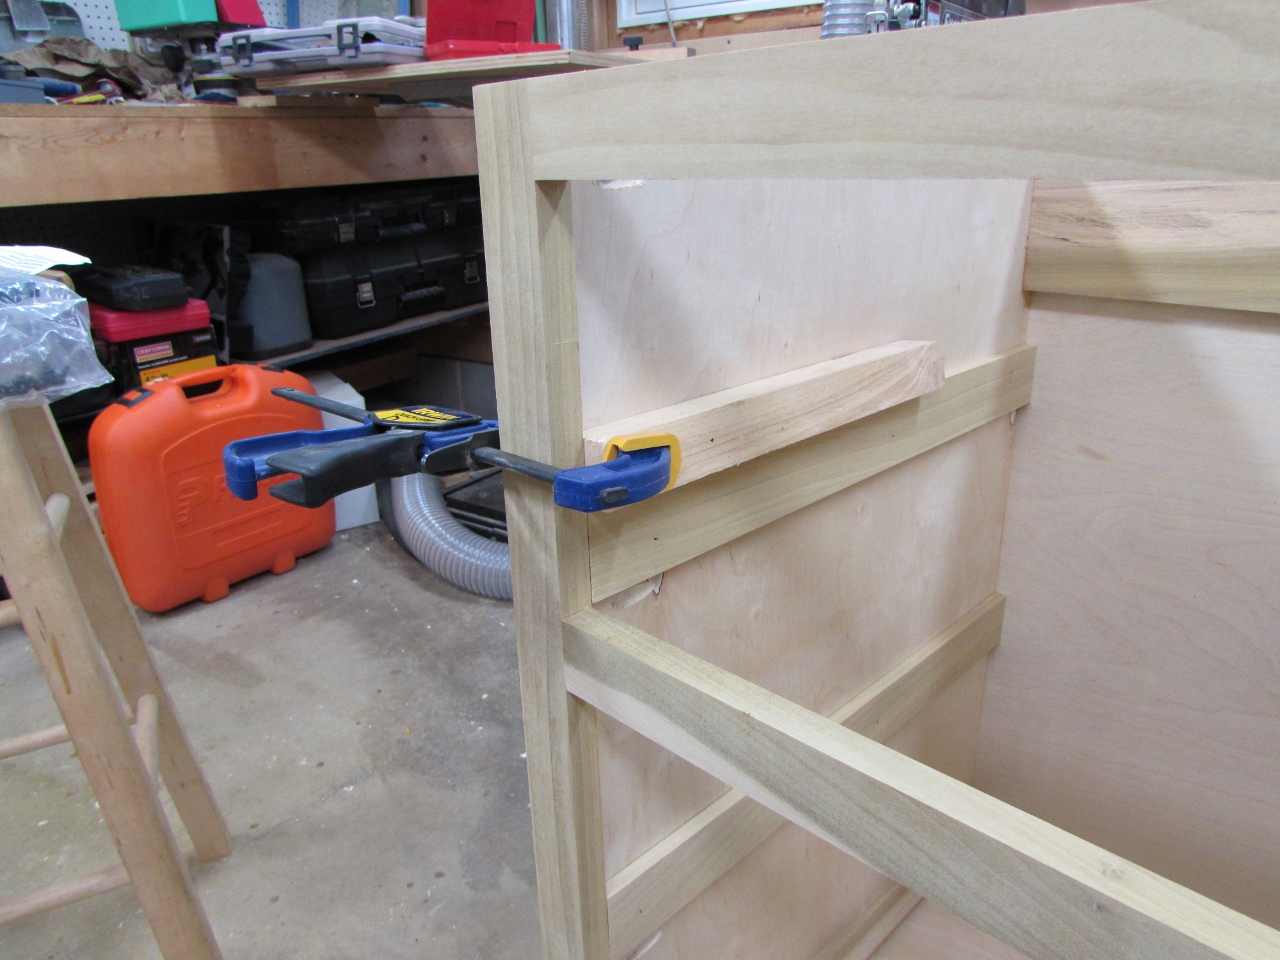
I made a couple of 14″ tall scrap blocks to set the height, then marked the top with a pencil.
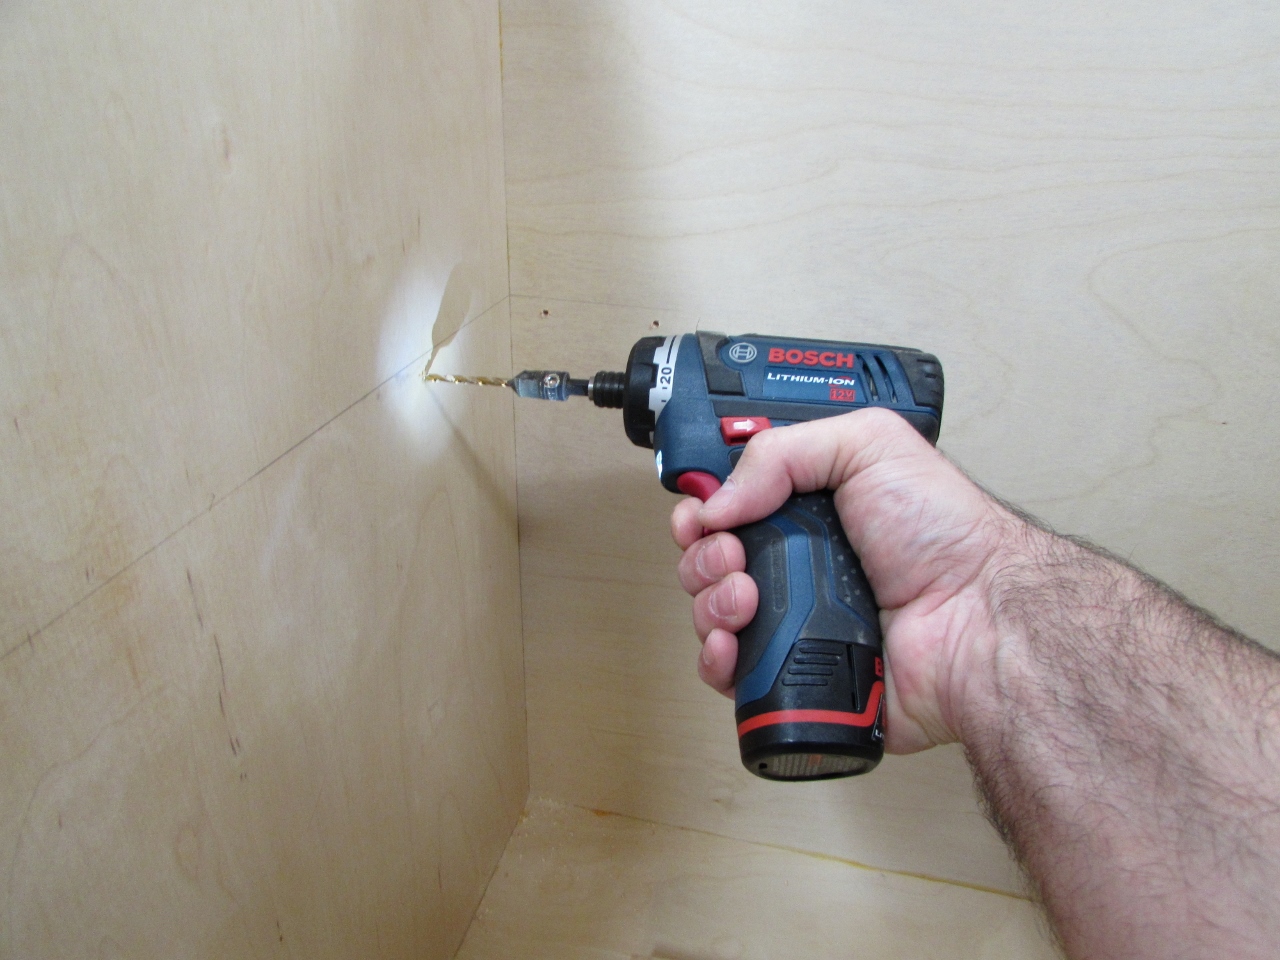
I decided to hold the shelves on with 2″ wood screws, so I drilled five pilot holes down 3/8″ from my line, three on each side, and two on the back side of each shelf.
Then I counter-sunk the holes from the opposite sides, where the screw heads will not be visible.

I applied a bead of glue along the side and back, then screwed the shelves in place, using those three scrap blocks to hold the height while I screwed it in.
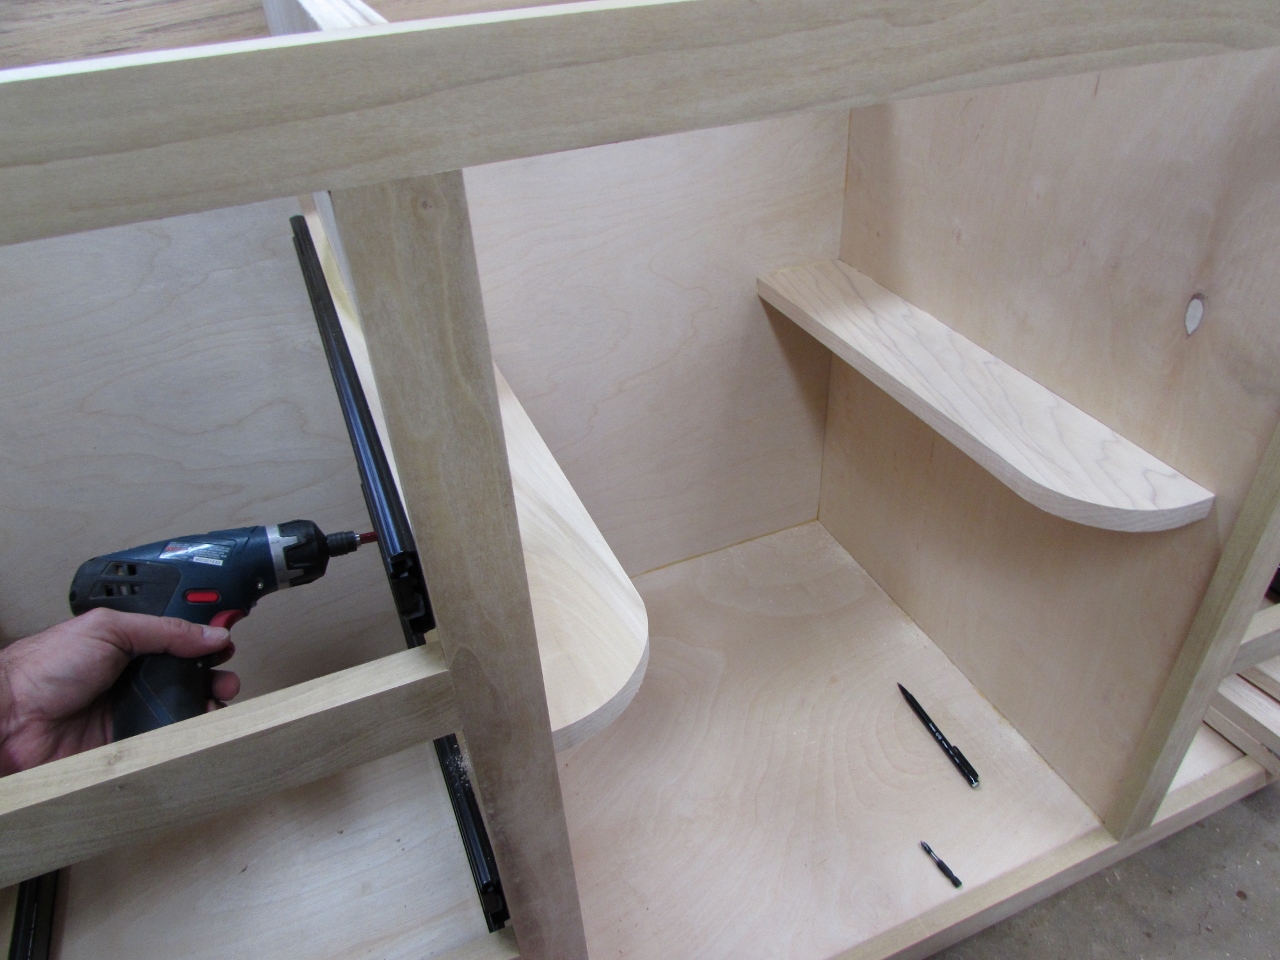
Doesn’t seem like much, but the cabinet is done now and all I have left is the door and drawers.

