
Guitar-shaped cutting board
A friend of mine noticed some rejected guitar-shaped pieces of wood in my scrap pile. They were left-over from the Baritone guitar build. He wanted to know if he could have them to make a cutting board out of. As much as I like re-using scraps, I didn’t let him. They were chambered bodies so a lot of the cutting surfaces were 1/8″ thick or less. I was afraid he could cut right through. I also try to avoid walnut for a cutting board because some people have tree nut allergies and prepping food on a walnut cutting board could potentially cause a reaction. Instead, I offered to make a quick cutting board from other scraps. I have lots of short or thin scraps of cherry and maple lying around, so I got creative.

I had a 48″ long piece of 5/4 maple, that was about 5-1/2″ wide. I cleaned up the edges on the table saw, then cut it in half.

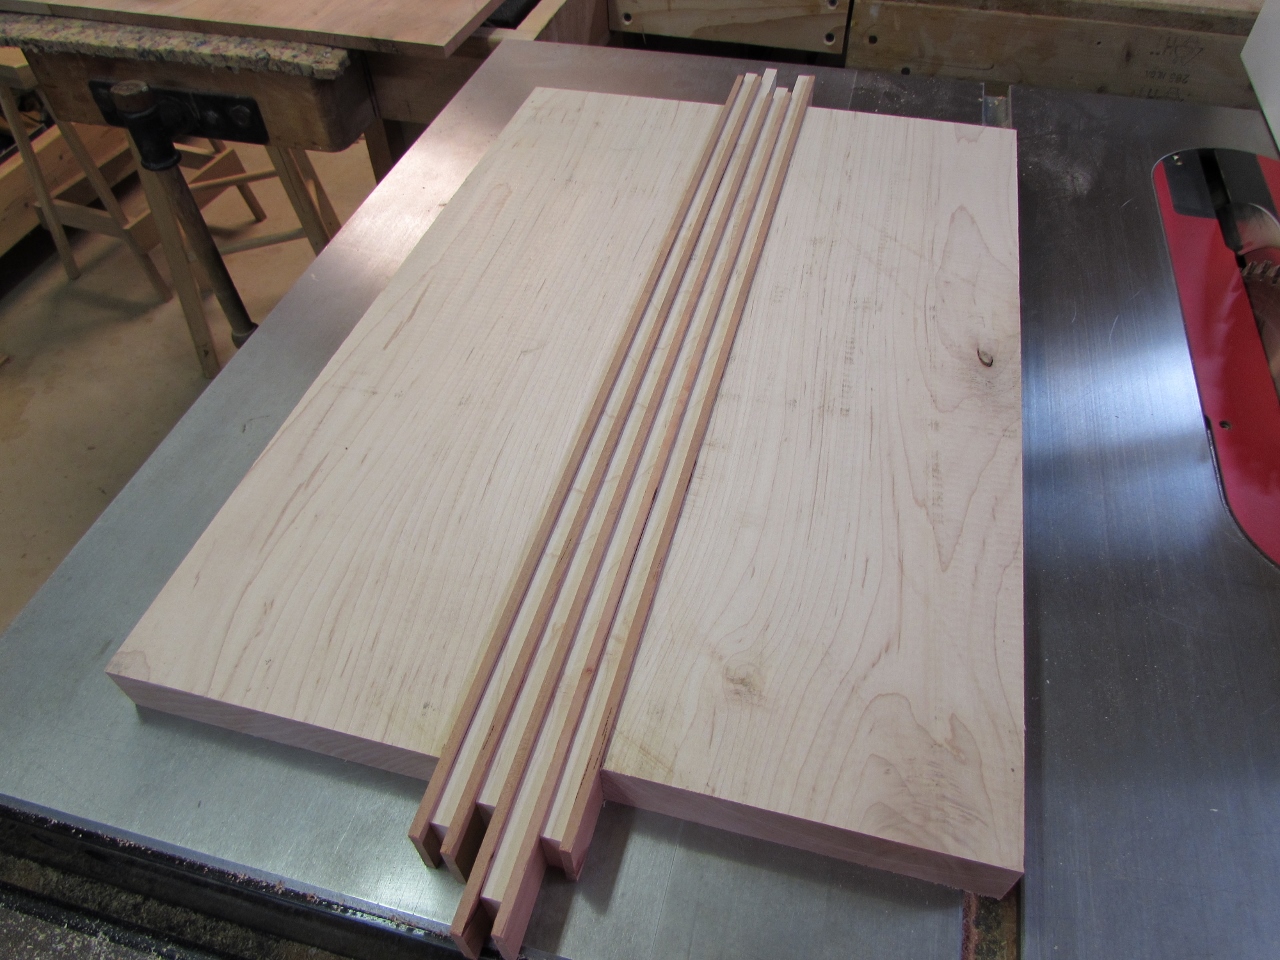
I had some thin cherry and maple off-cuts that I wanted to cut into thinner strips. These could be alternated to represent guitar strings, down the center of the board.

I wanted to create the 1/8″ wide cherry strips and 1/4″ wide maple strips in a way that was easily repeatable. The safer way to cut them, is to place the main board against the fence and cut the strips off on the opposite side. That requires you to keep moving the fence. I decided to try a different approach. I used some double-sided tape to hold a shorter piece of cherry against the fence, that came just past the edge of the blade. When set 1/8″ off of the blade, this would allow my strips to fall to the side, and not get caught between the blade and the fence. That could cause the strip to get kicked back at me. This method should avoid that…

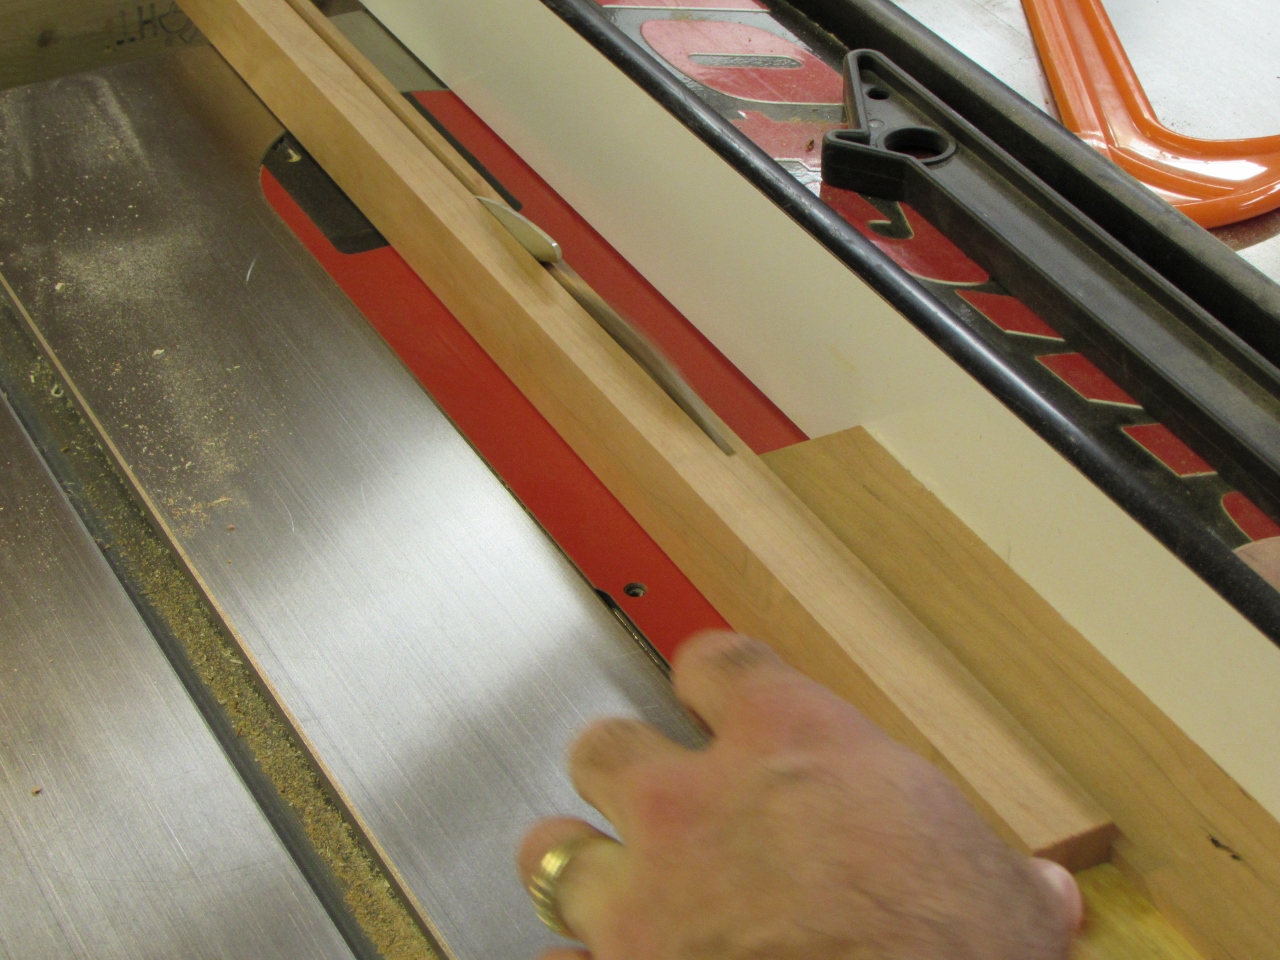
I wound up needing a sacrificial push stick, and I used my feather board to hold the thinner strips in place, but it seemed to work well.

I was still a little nervous cutting the thin pieces, so I probably won’t make a habit of using this trick, but the strips were all cut the exact same size, and that was the goal. When finished, I laid them all together. Not too bad looking.
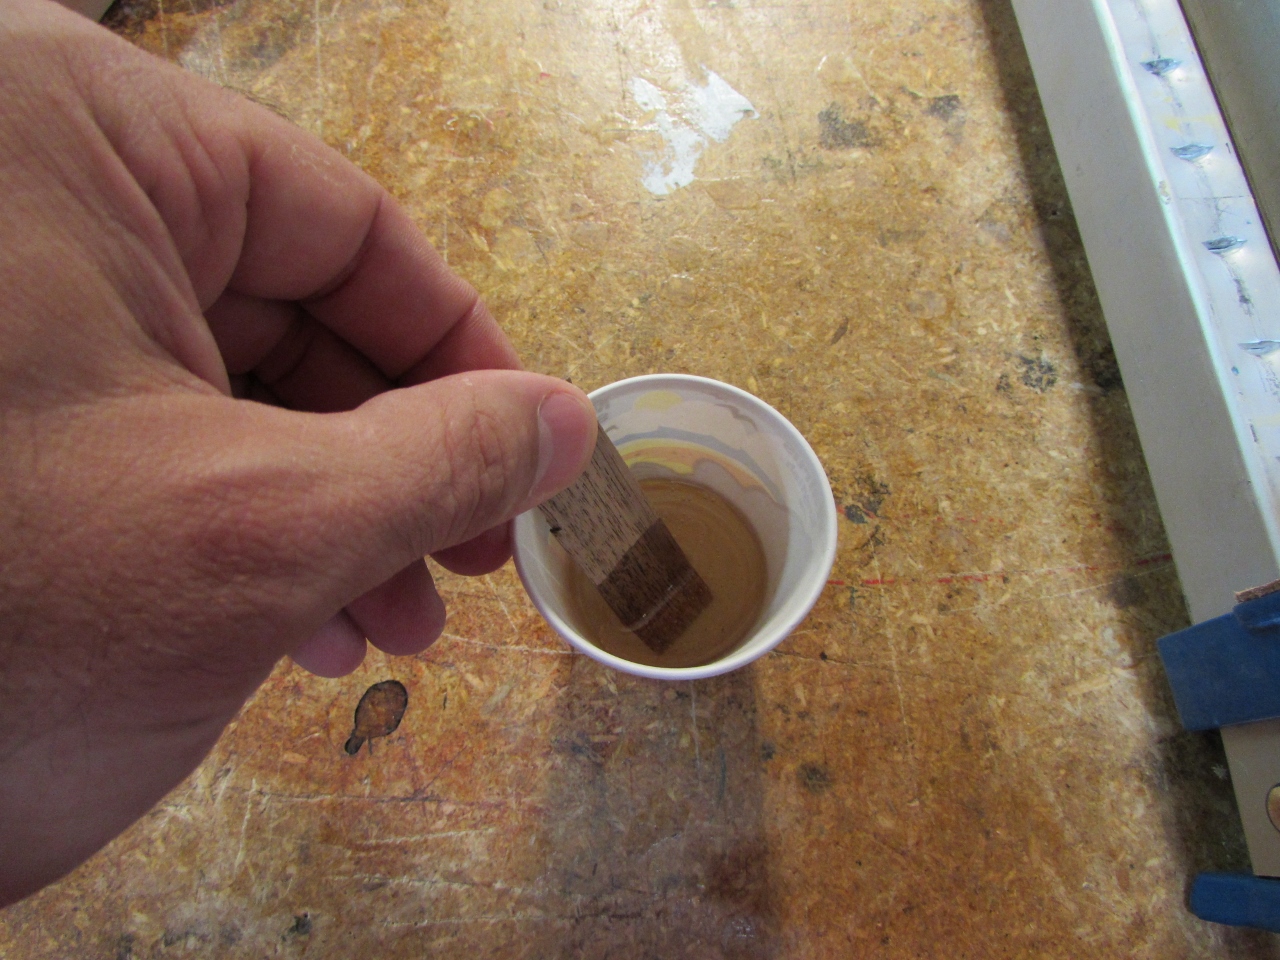
I use a really good saw blade and my boards come off the table saw with a really flat, smooth face. I rarely need to do much to them before joining them in a panel. Occasionally I wind up with a small gap here and there, but not usually. A cutting board can’t have any small gaps or bacteria can start to grow in them. The gaps would be very hard to clean. I decided to make sure there would be no gaps by using epoxy to glue the strips together.
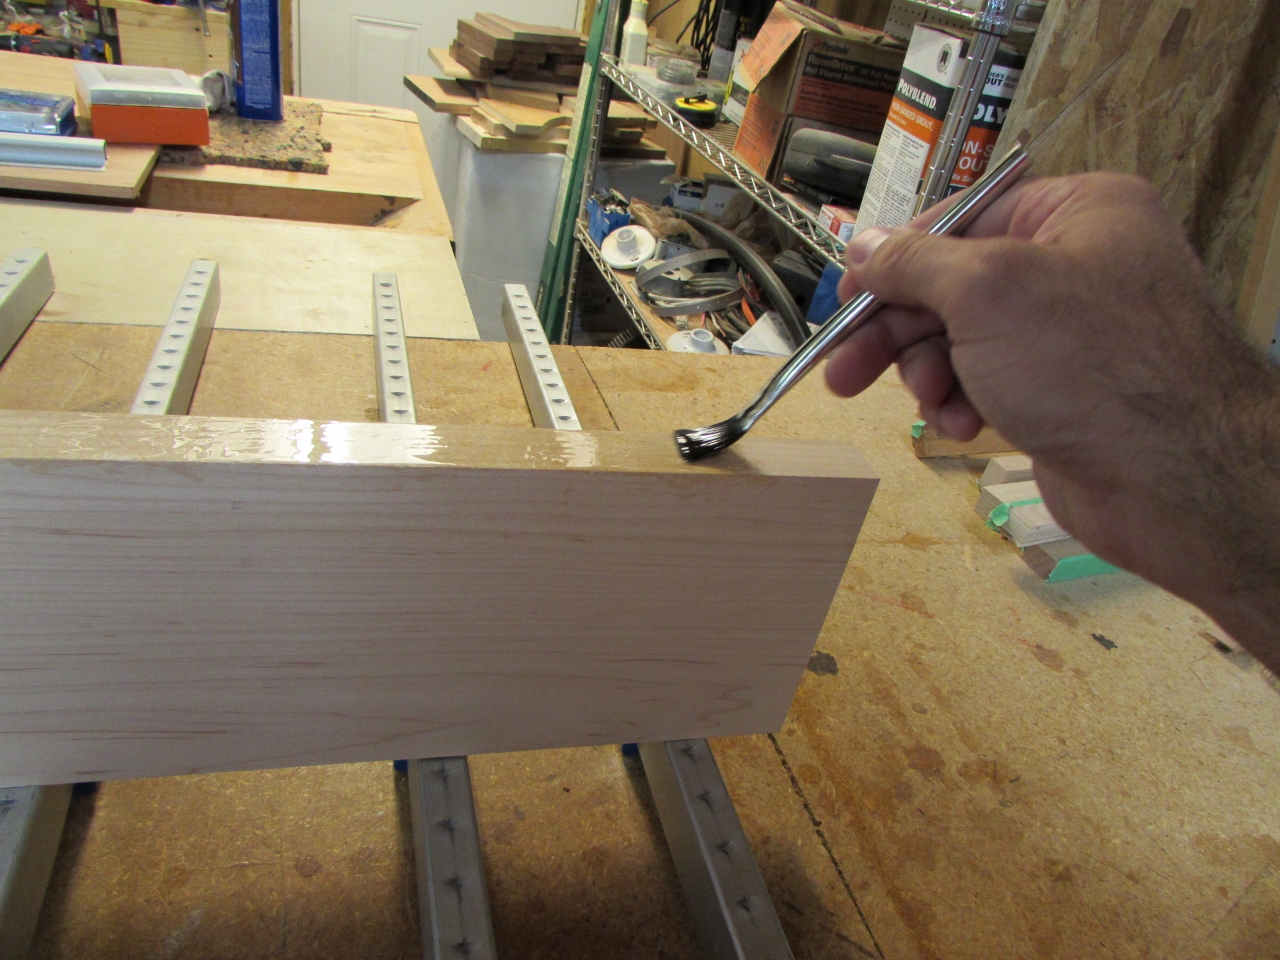
I spread a liberal amount on each strip. The epoxy will seal and fill any gaps.

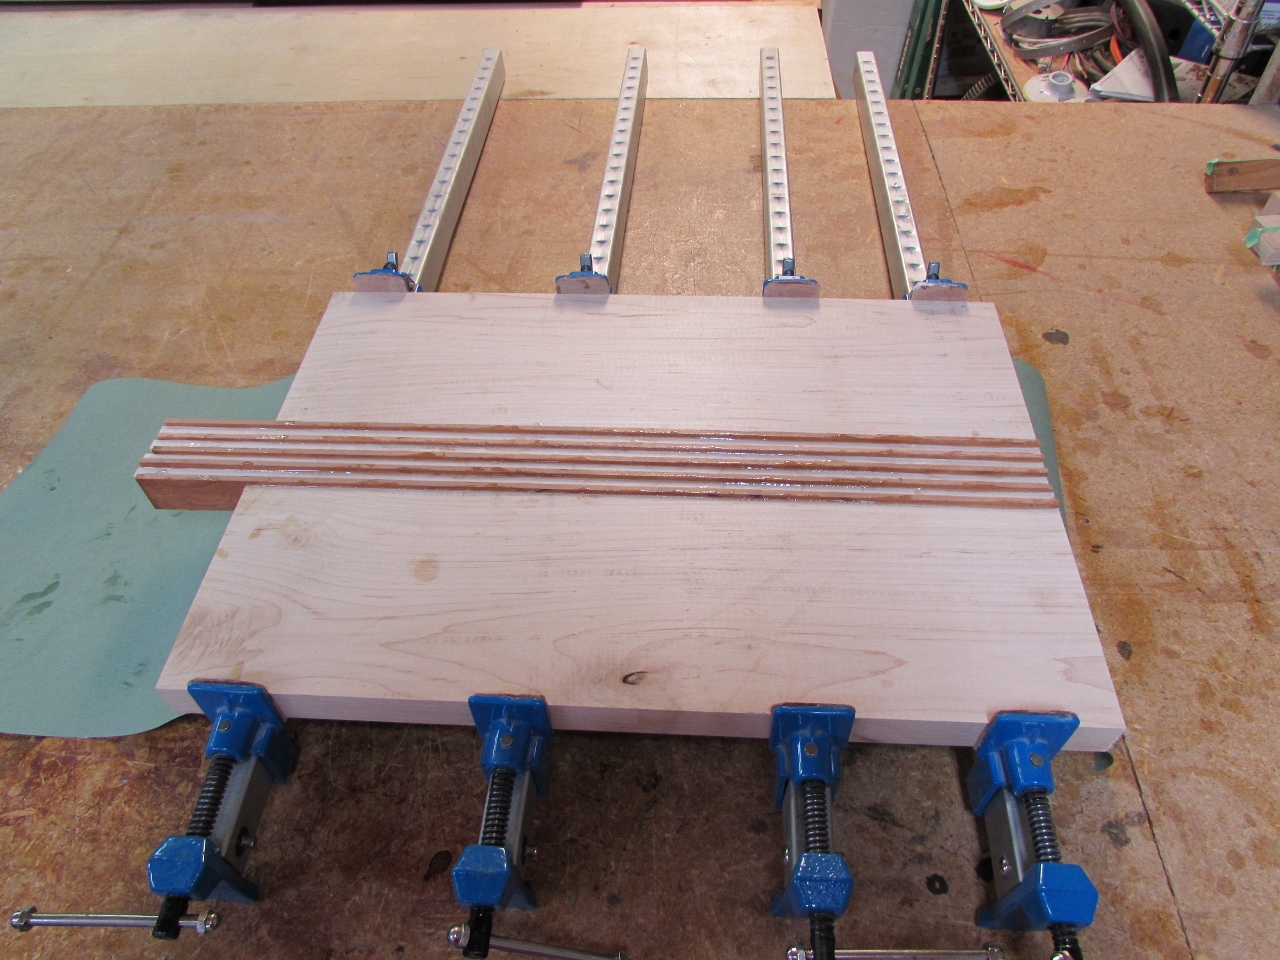
Since the epoxy would stick to my clamps, I laid some paper on them before clamping the board together.
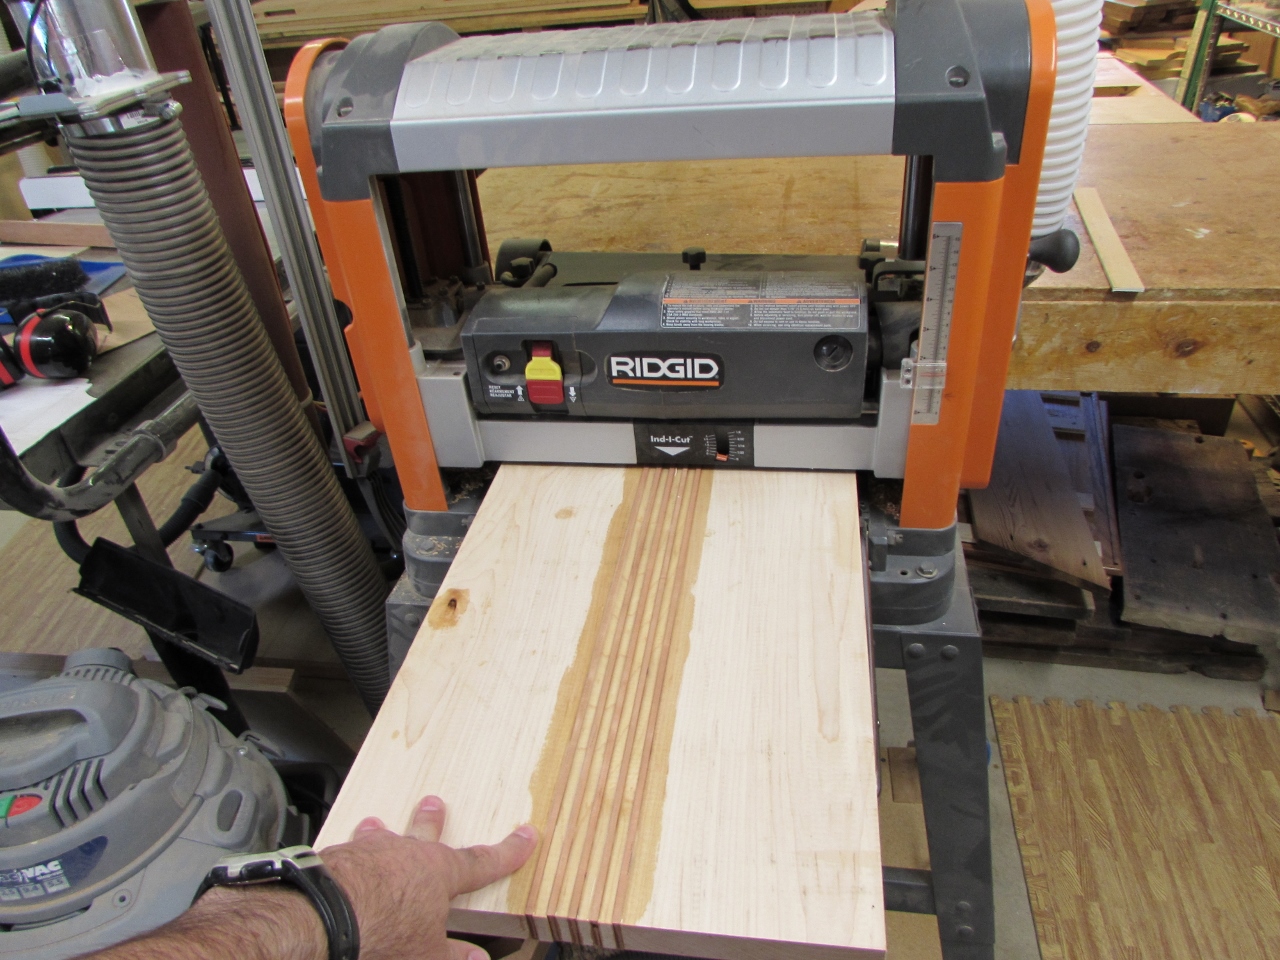
I let the epoxy cure over night and planed it all down smooth in the morning.
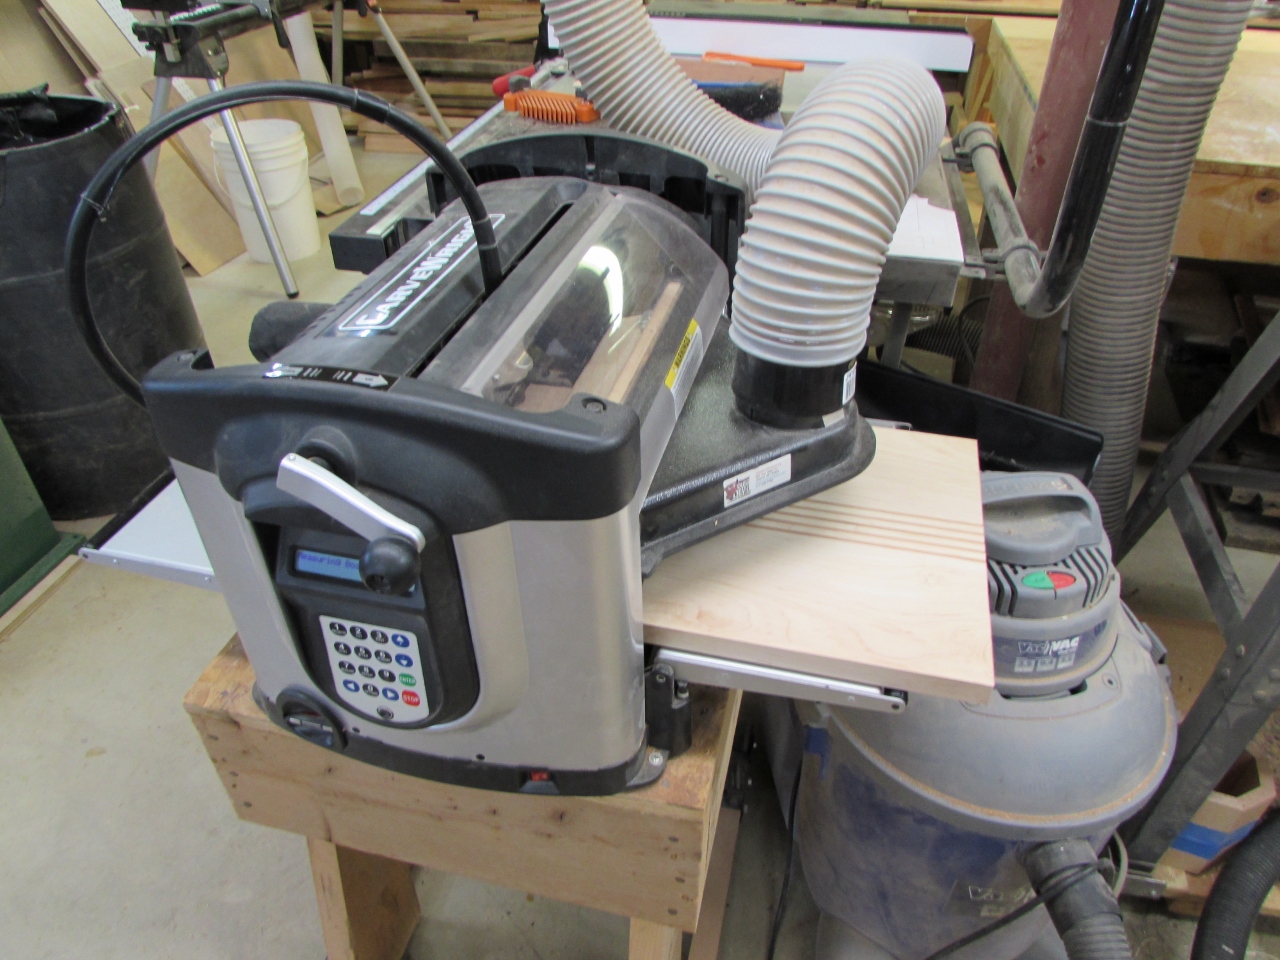
I could easily cut this board out on my band saw, but I wanted to cut a blood groove around the outline of the board to help prevent liquids from rolling off the board. This could be done by hand, with my router, but I decided to use my CNC instead.
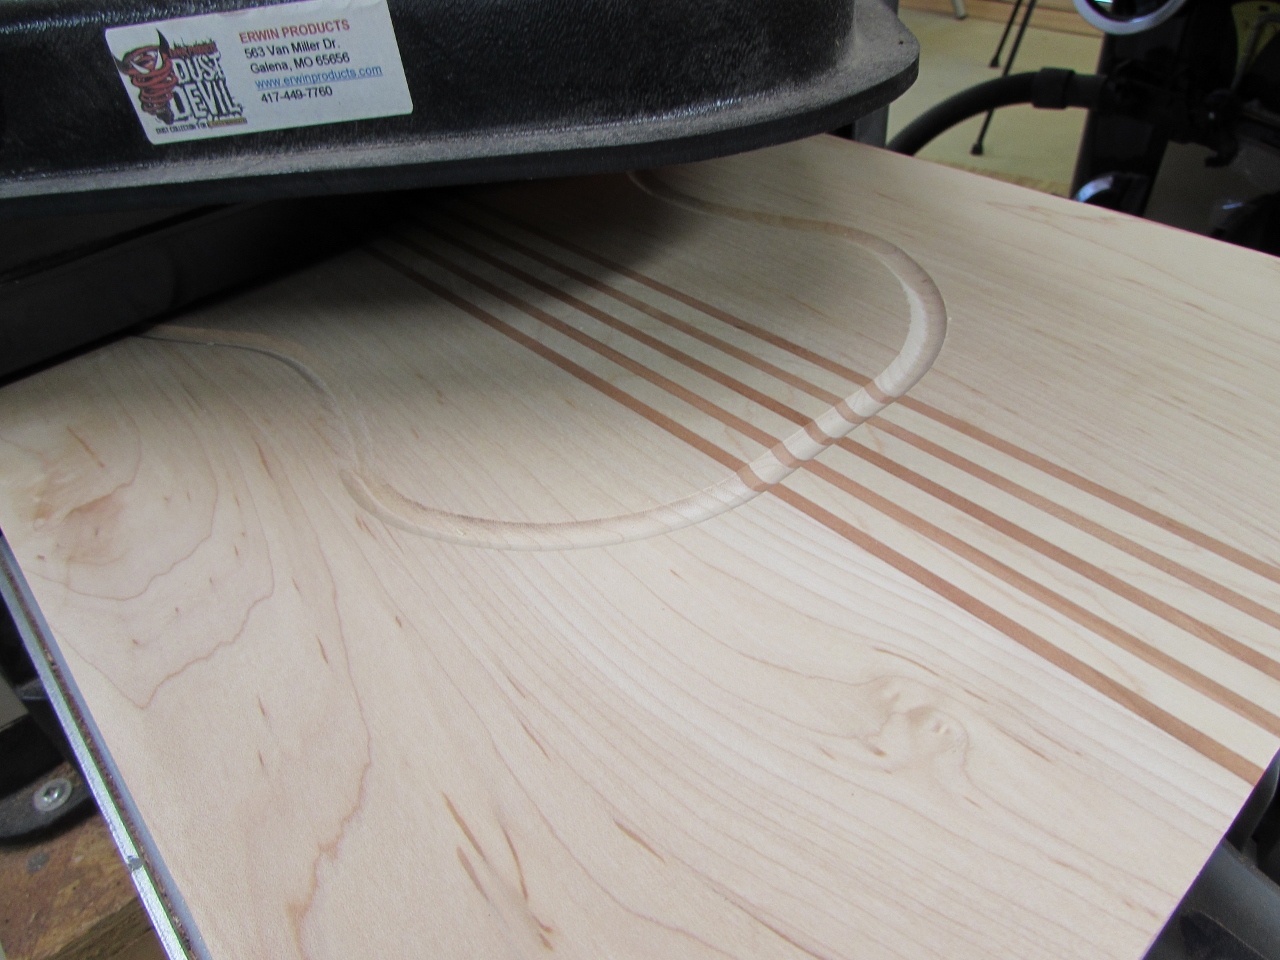
Of course, my CNC started to have tracking errors and shifted the outline cut 1/16″ with each successive pass. After noticing this, I stopped the carve, and decided to finish up on the band saw.

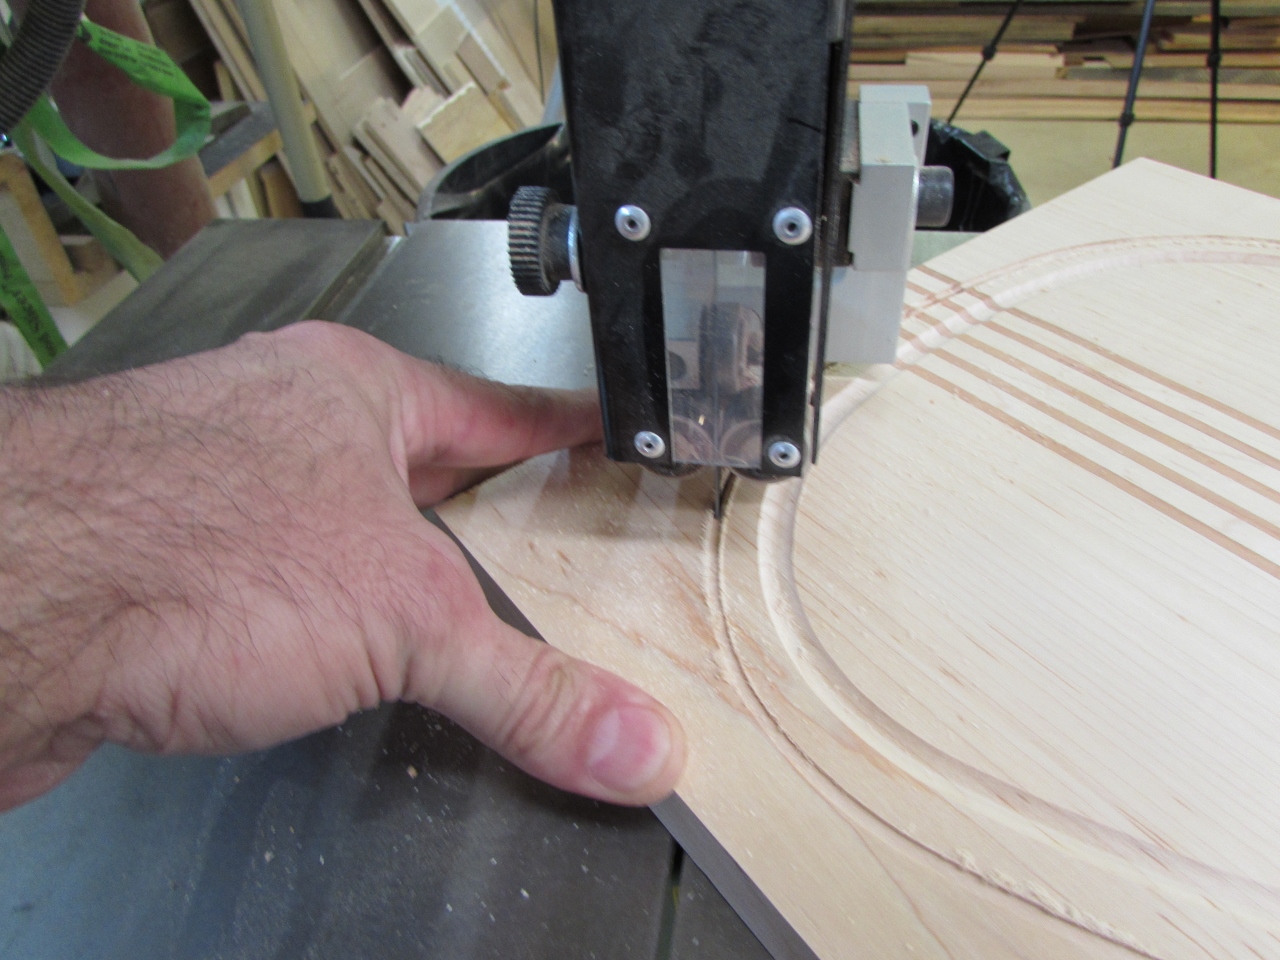
I stayed to the outside of the cut, leaving a fair bit that would need to be sanded away.

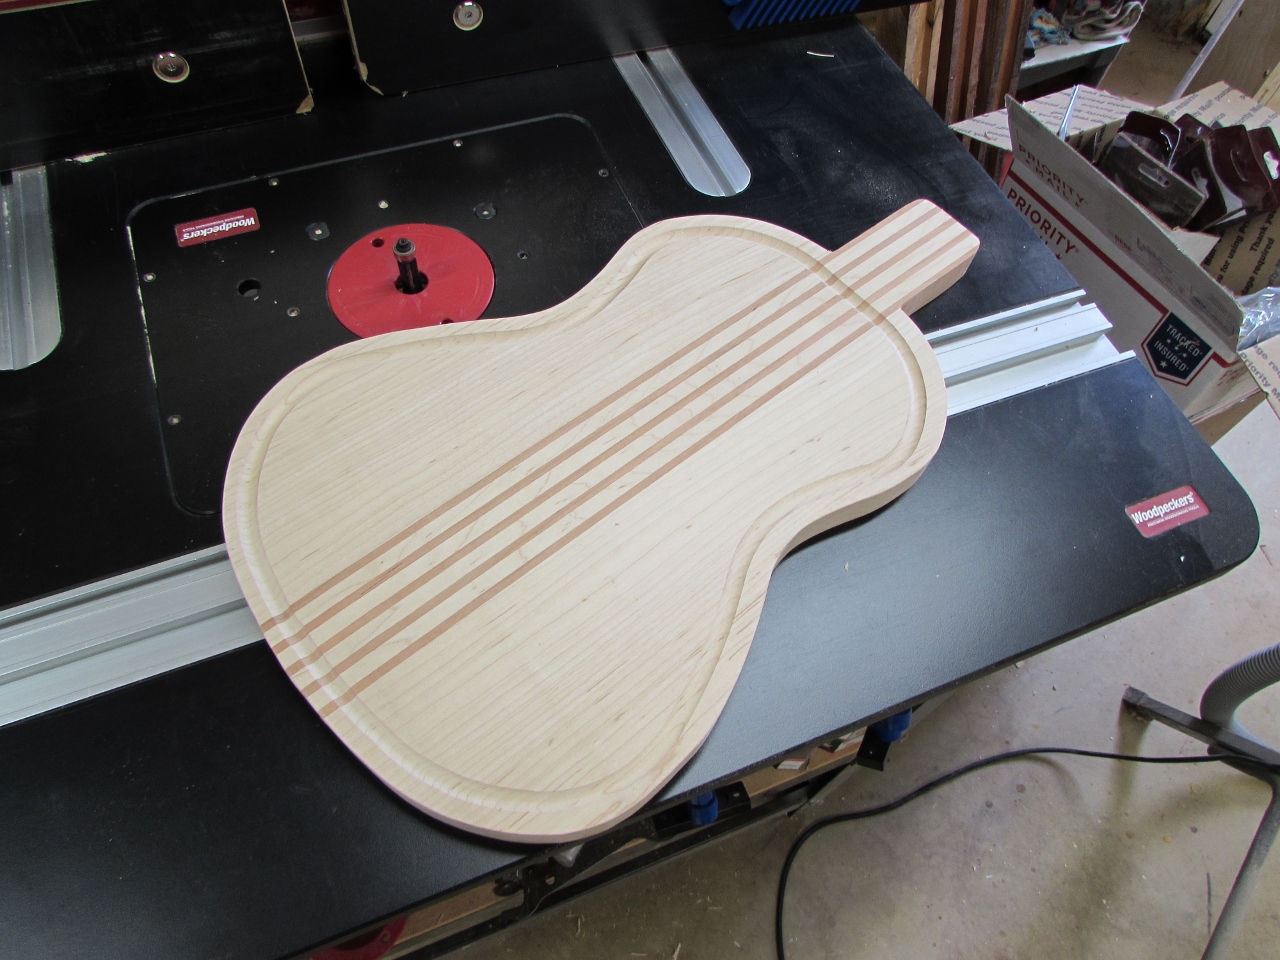
Since I had a good 1/8″ deep outline from the first cut on the CNC, I decided to try a flush trim bit on my router table. I followed along the edge and cut away most of the excess.

I did have a bit of tear-out at the peaks of my rounded sides, so I cleaned them up on my spindle sander.

I will leave the final sanding, to my friend. He will also need to give it a couple of coats of mineral oil, to seal it up, but after that, it should be ready for use.
Not counting the dry-time of the epoxy, this project only took about 2 hours. I liked the way it turned out, the cherry makes a nice accent.
