
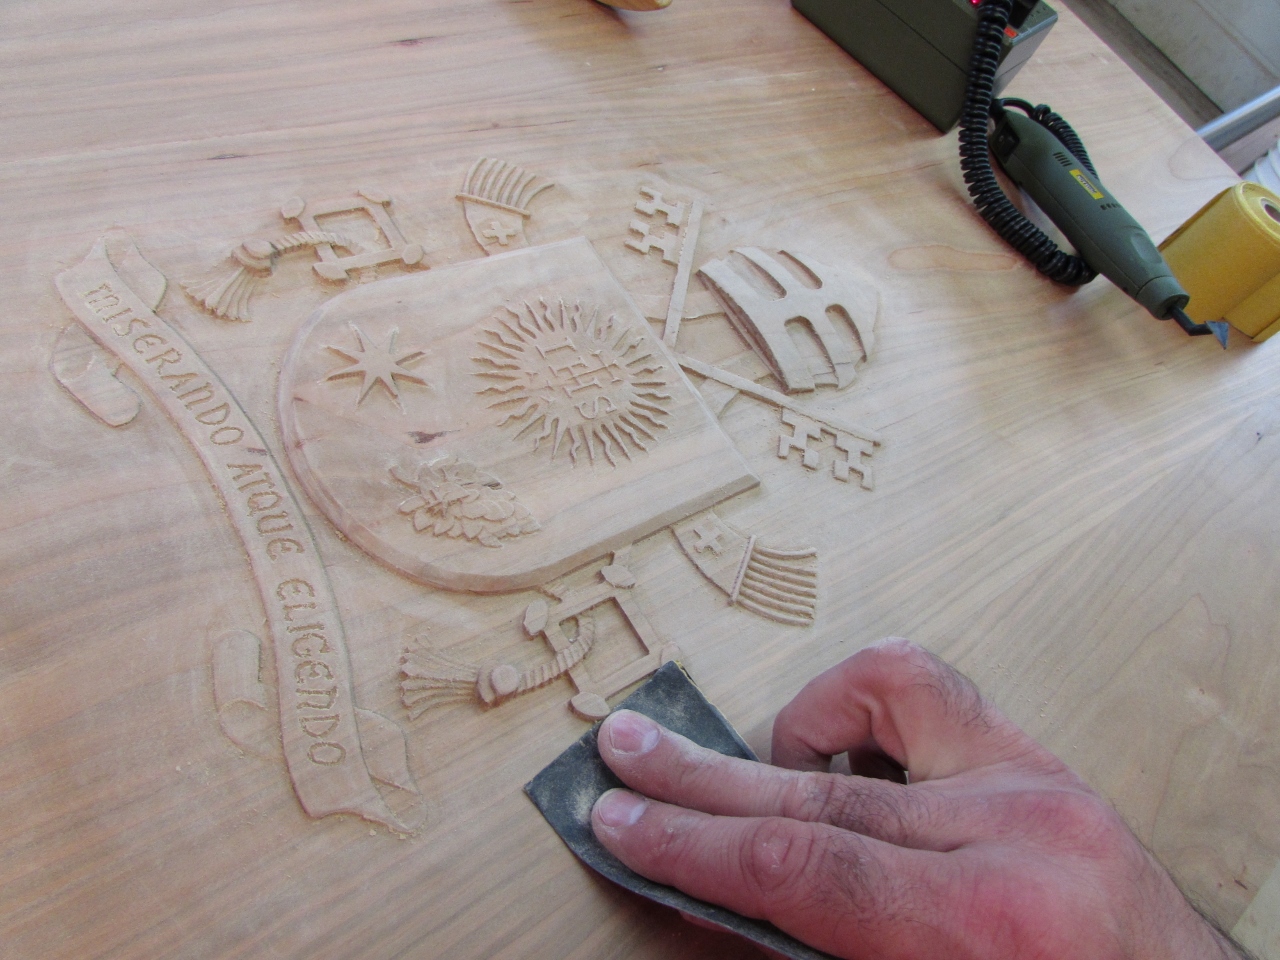
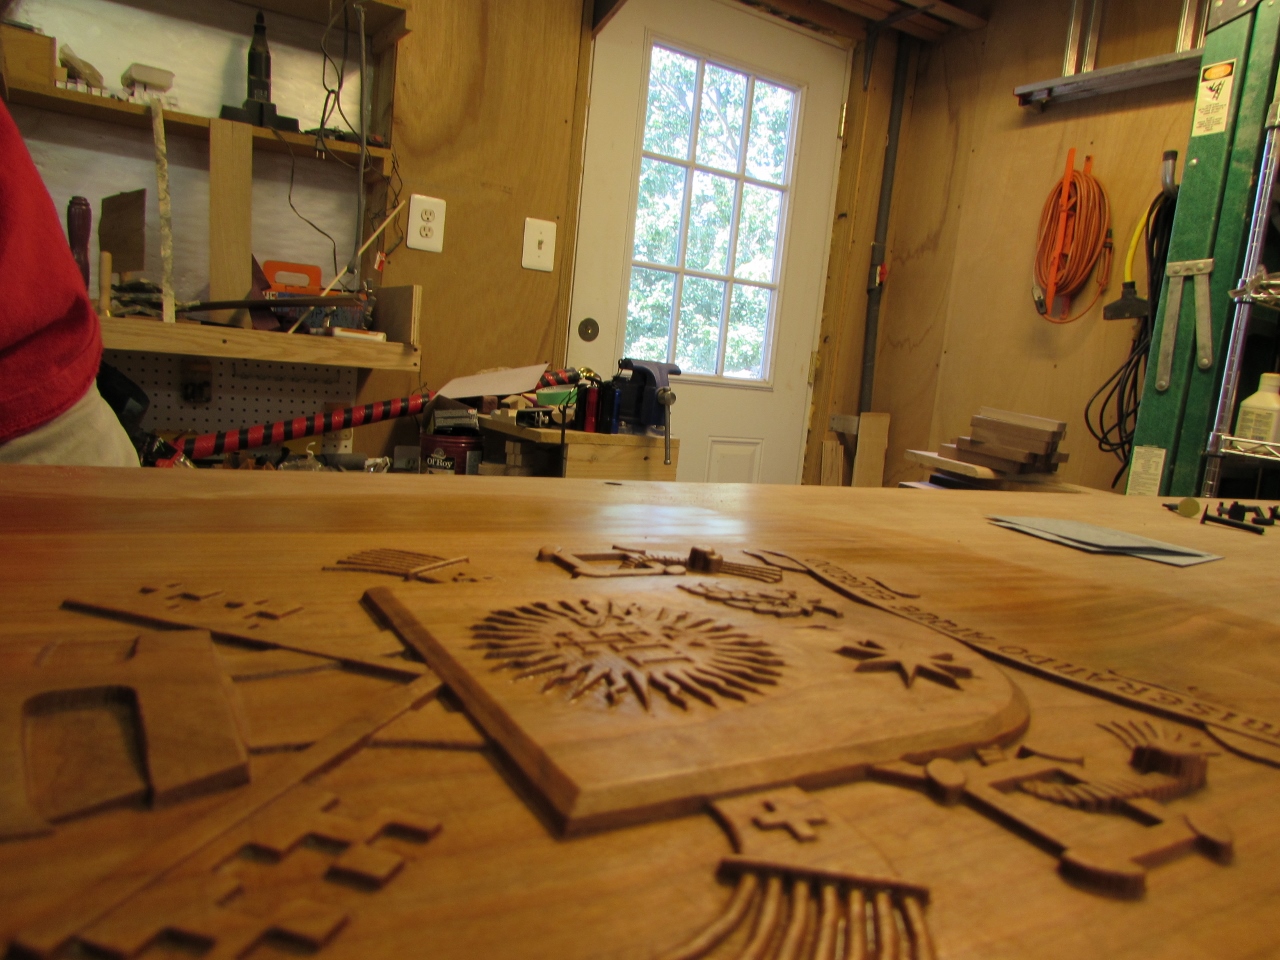
Detail sanding the Papal seal
I have been avoiding the hard part of the Papal seal carve. I have to detail sand all of the nooks and crannies. The cut marks that are left behind by my Carvewright CNC router are very shallow, but they show up every 1/32″ over the entire carve. To tackle this problem, I invested in several detail sanding options.
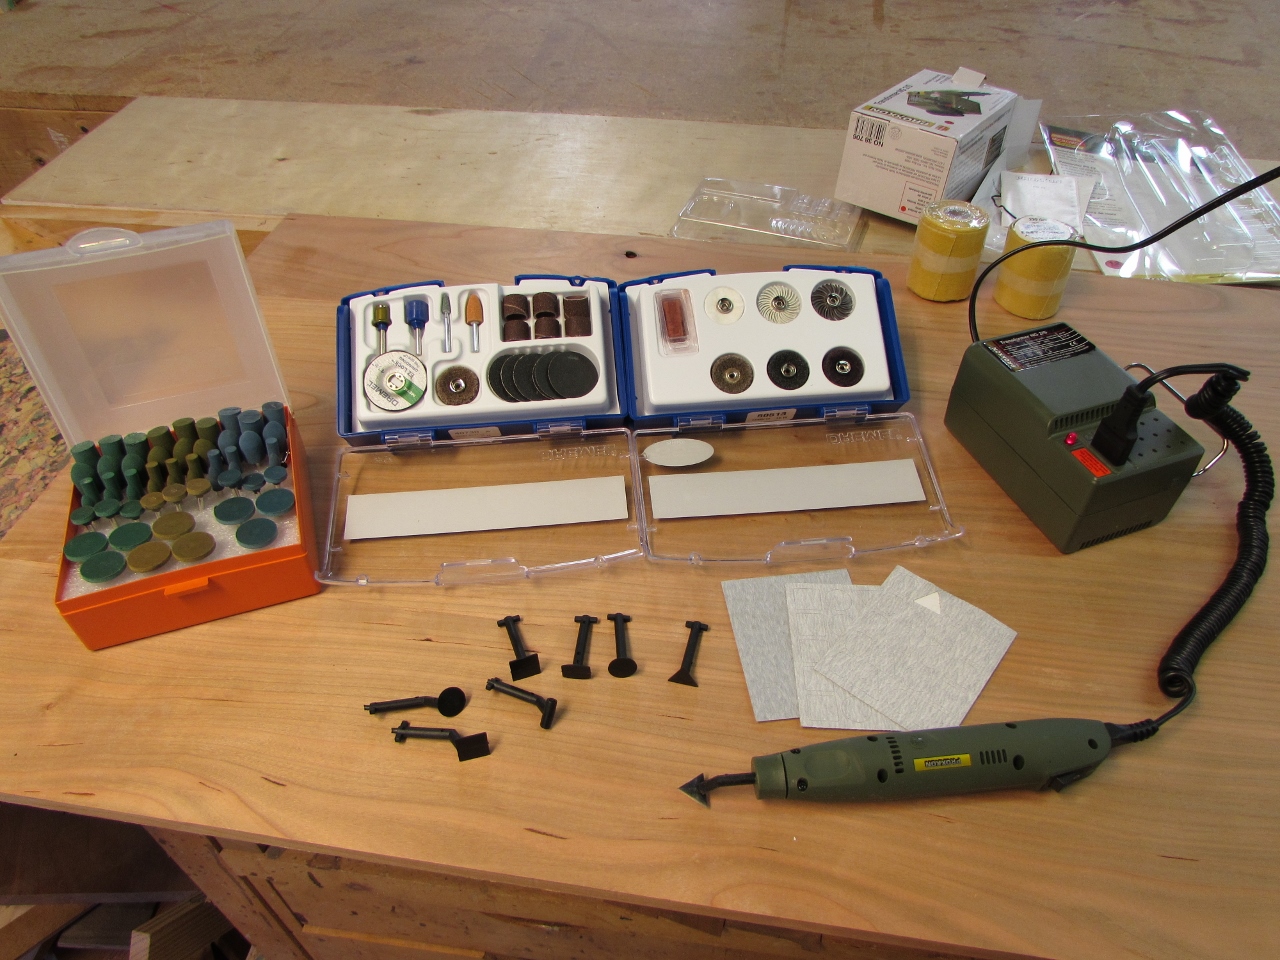
Dremel has come out with a new EZ Lock system that makes swapping out different sanding and polishing wheels a lot easier, So I bought two different sanding/polishing sets.
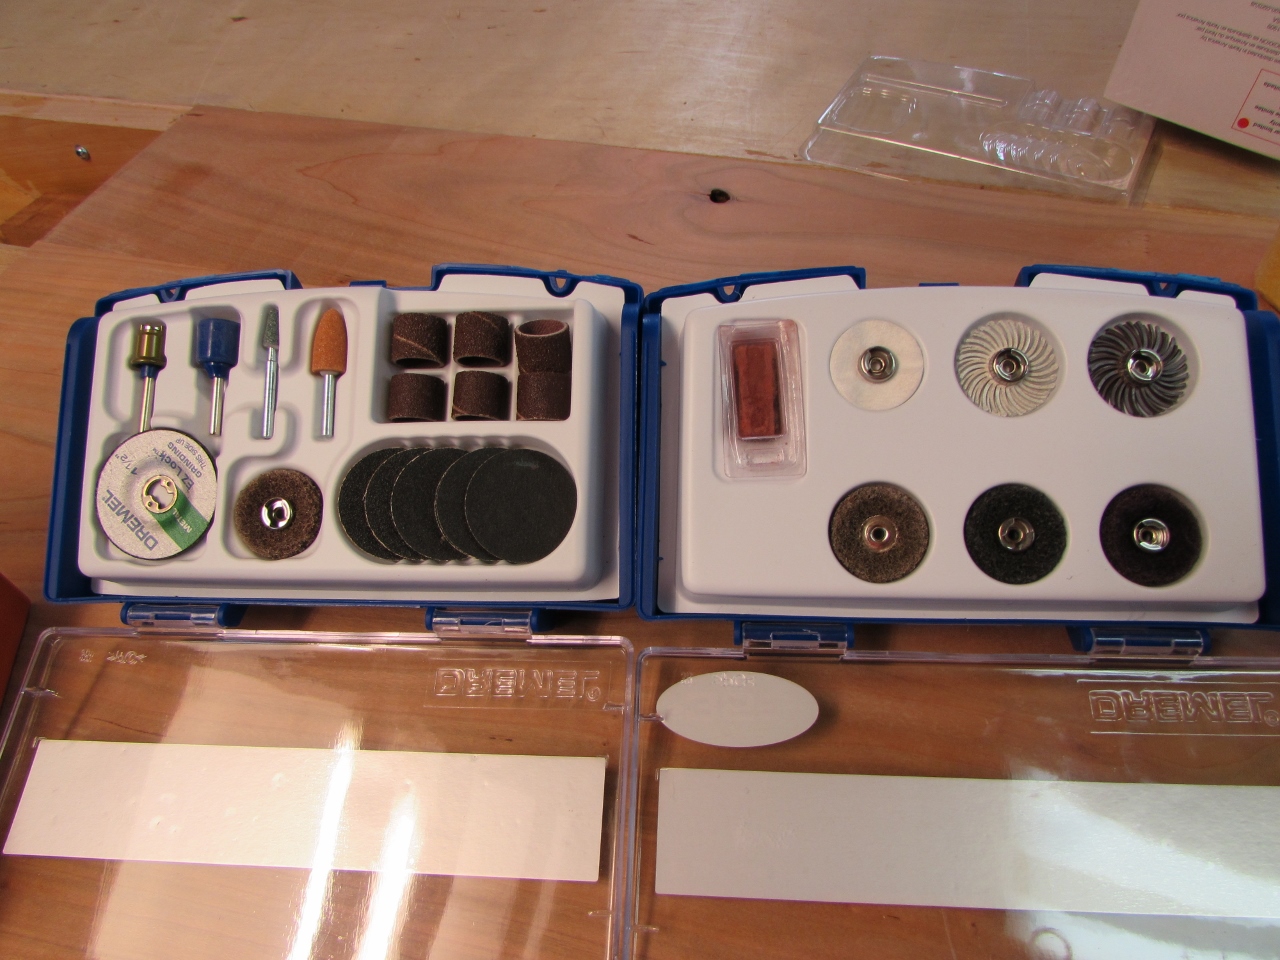
I also ordered this set of different polishing bits for use on a rotary tool. After getting these two sets, I decided that they are probably not what I want for the level of detail, I need on the seal. Also, most of the polisher bits are made of a plastic or rubber, embedded with some kind of aggregate. I don’t want any plastic embedding itself into the wood, preventing stain from soaking in, so I am going with a third option.

This is the Proxxon 28594 12-Volt Pen Sander and the Proxxon 38706 Transformer
I found them on Amazon, and after reading the reviews, I decided to order one. Most people seemed to like the sander, but they all complained about the included adhesive sand paper. Taking the advice of several reviewers, I ordered additional adhesive backed sand paper as well.
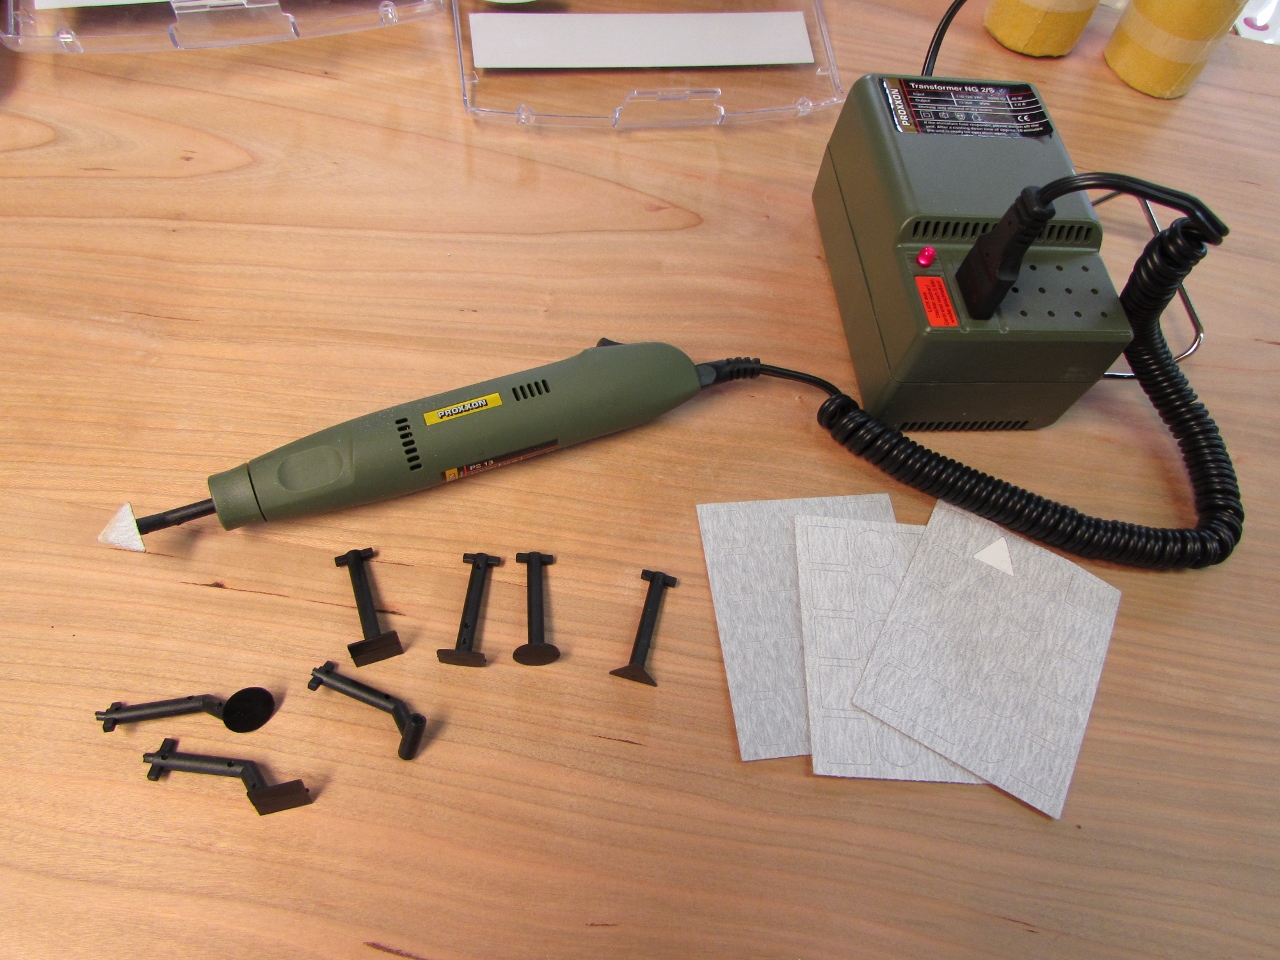
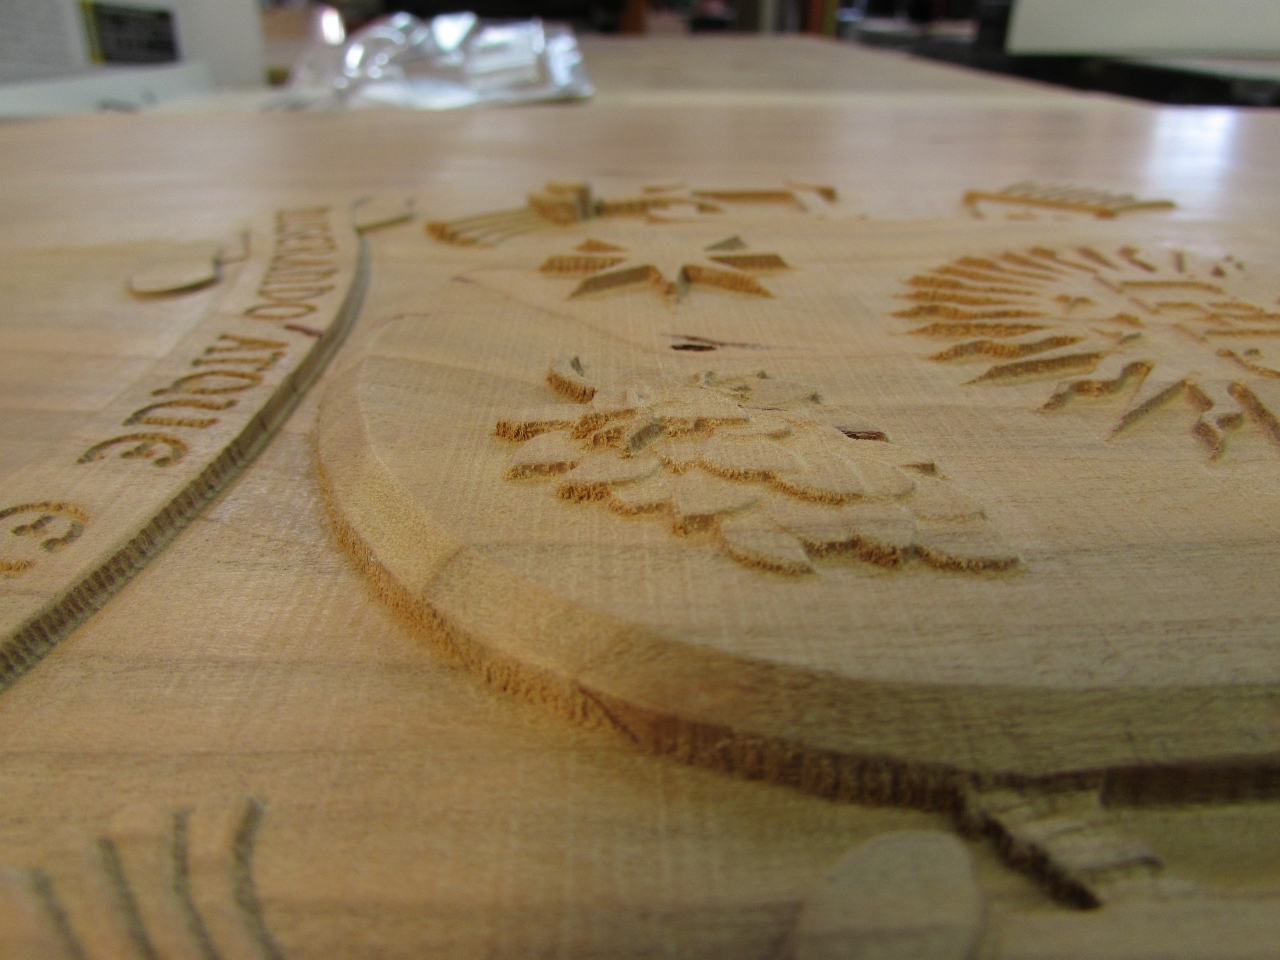
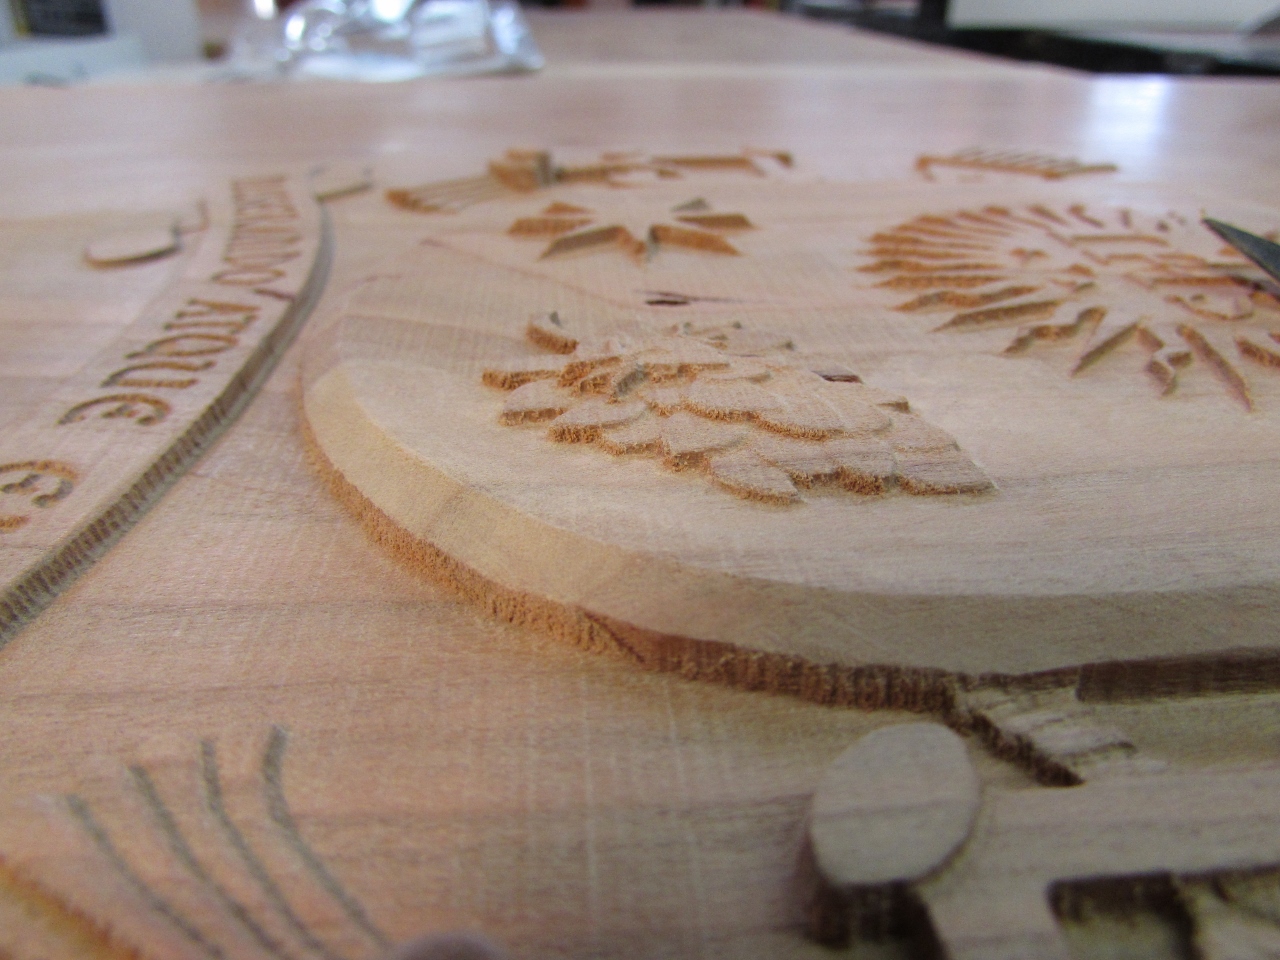
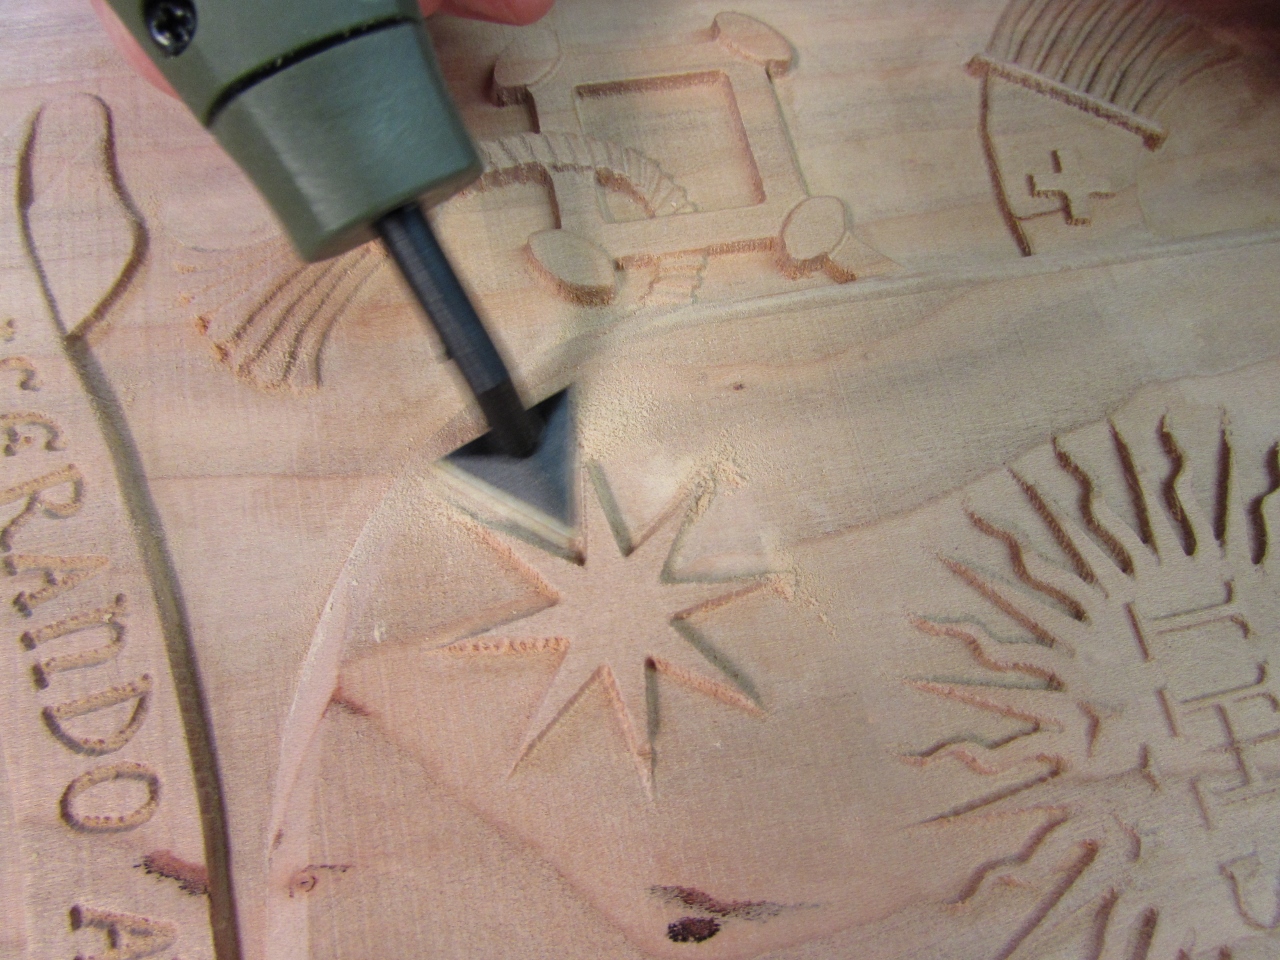
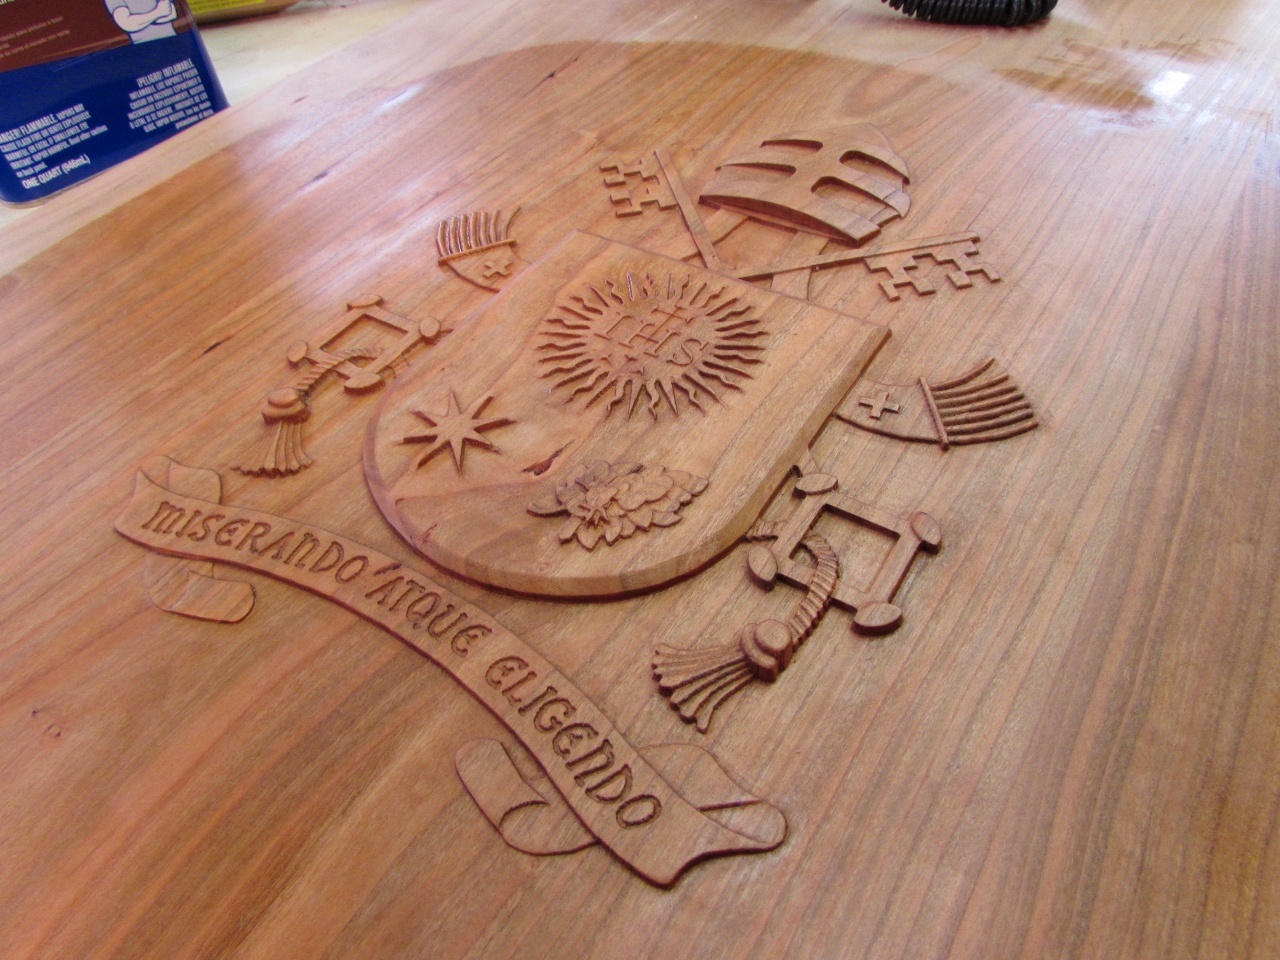
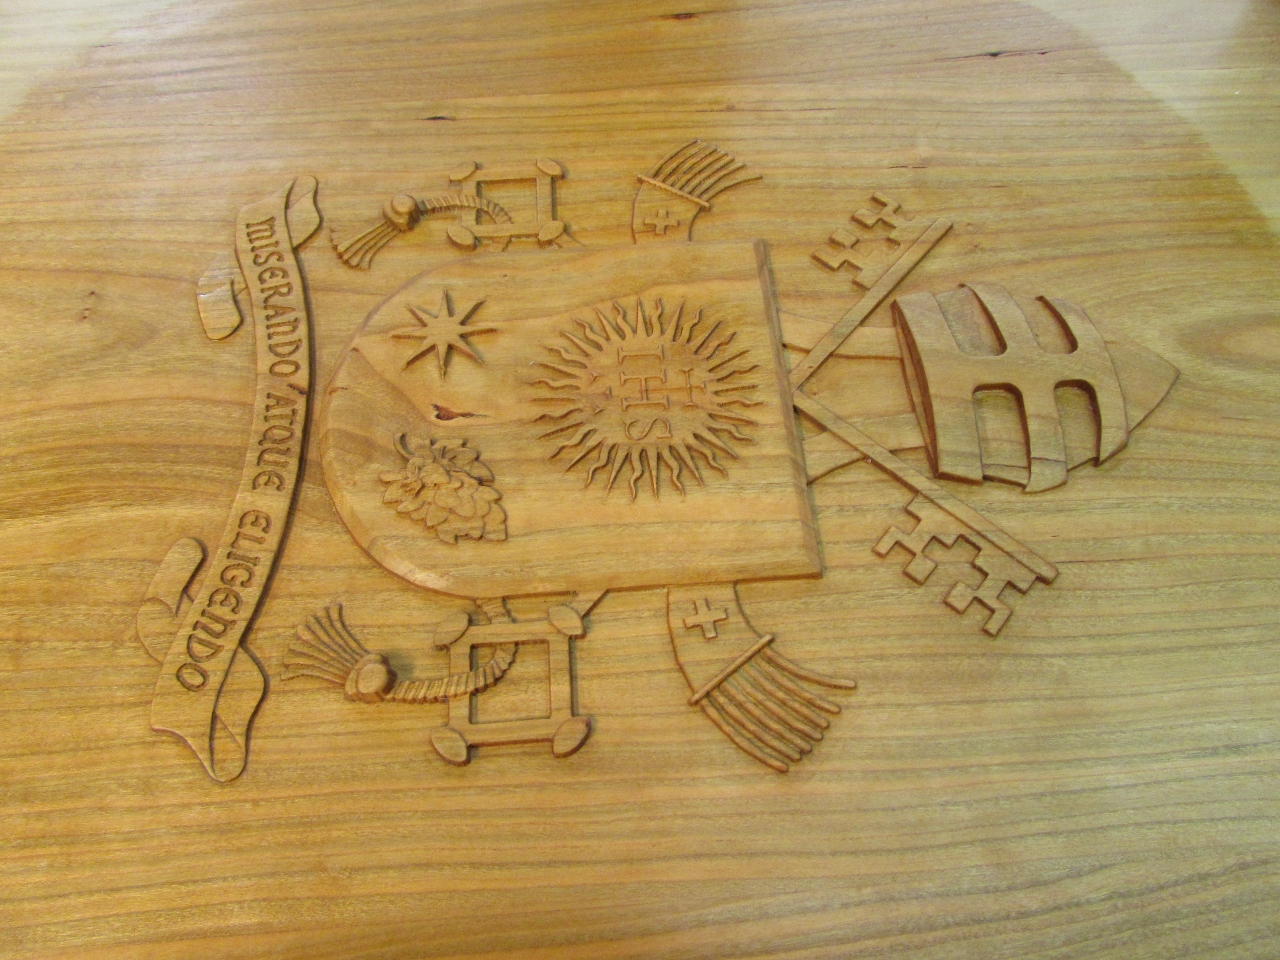
The sander comes with several different shaped sanding heads. I loaded in the triangular-shaped one to try first. Below is a close-up shot of what I am trying to sand down.
I started with the included sand paper. The coarsest grit they had was 180.

It seemed to work well enough, but it only sanded a few square inches before the paper needed to be replaced.
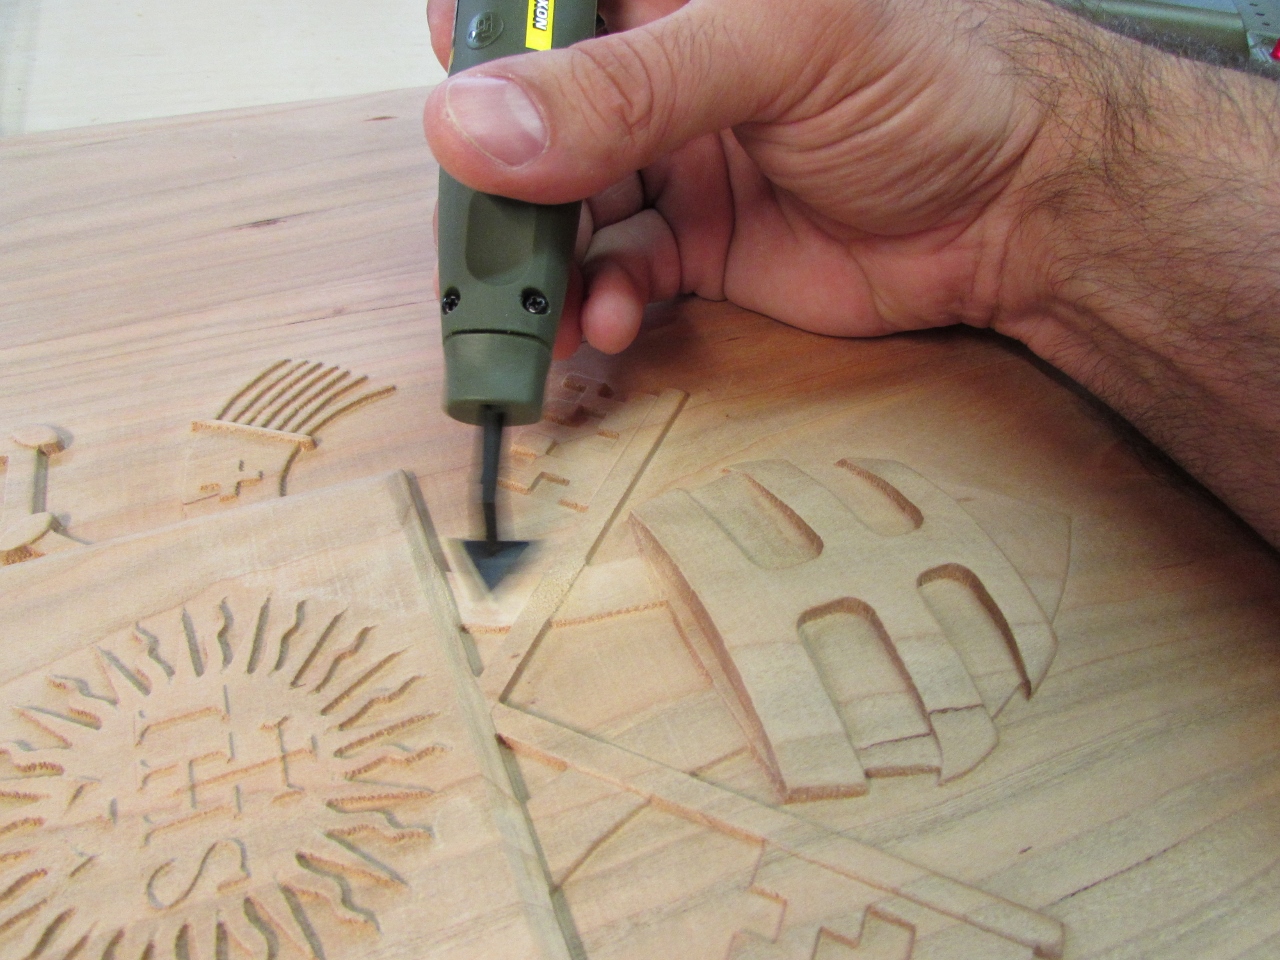
The triangular head seemed to fit really well into the tight, angled spaces.
I wanted to try some of the other shapes, so I cut some adhesive paper off the roll and trimmed it to match the square sanding head.

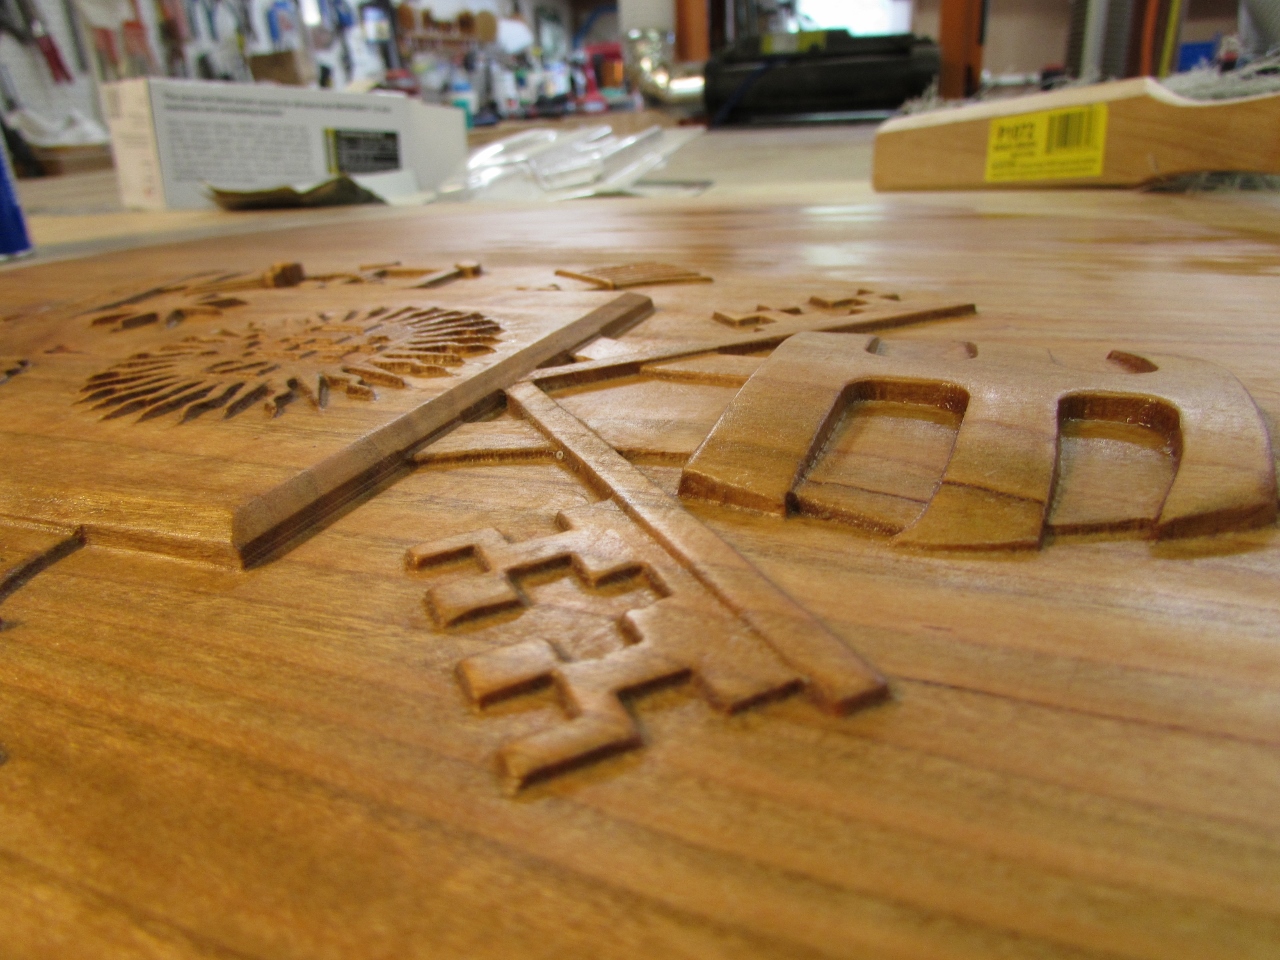
I used the square head to work on the edges of the shield. The sanding arm wiggles back and forth about 1/8″, and it moves very rapidly. Surprisingly it doesn’t vibrate your hand as much as you would expect. It feels more like an electric tooth-brush, than a sander.
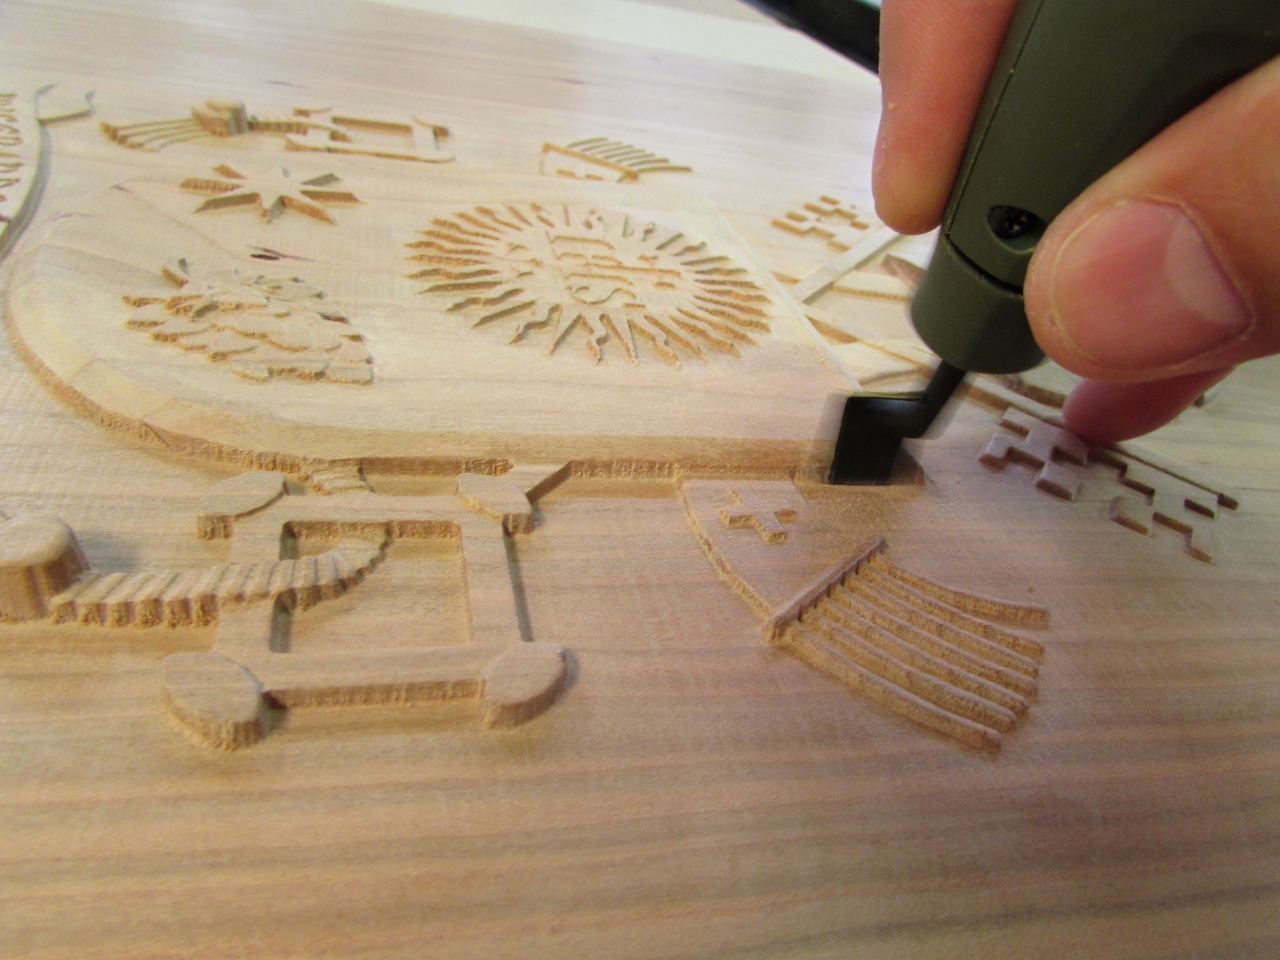
Next, I switched to the round head and tried sanding the larger face areas.
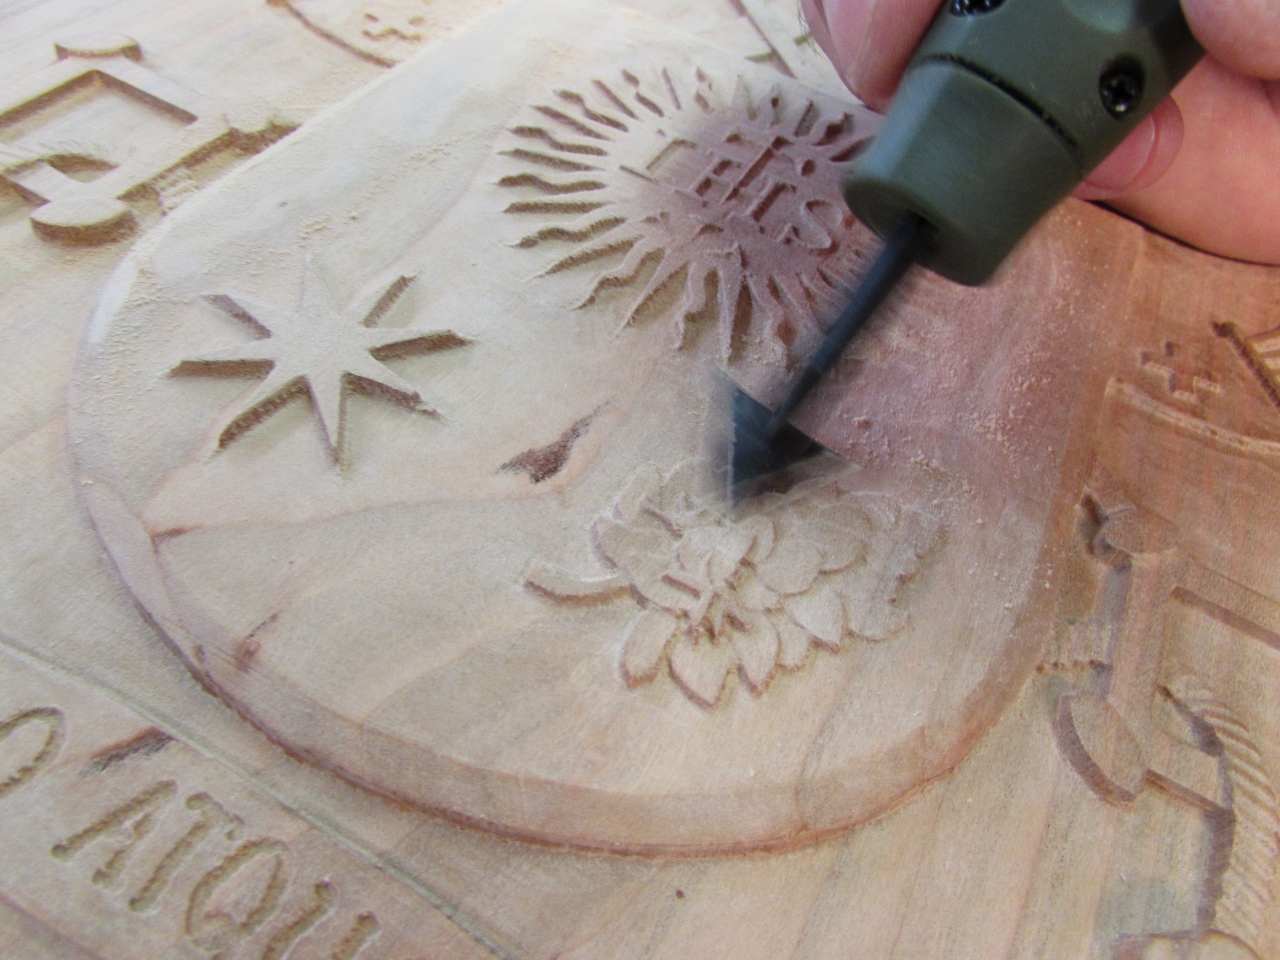
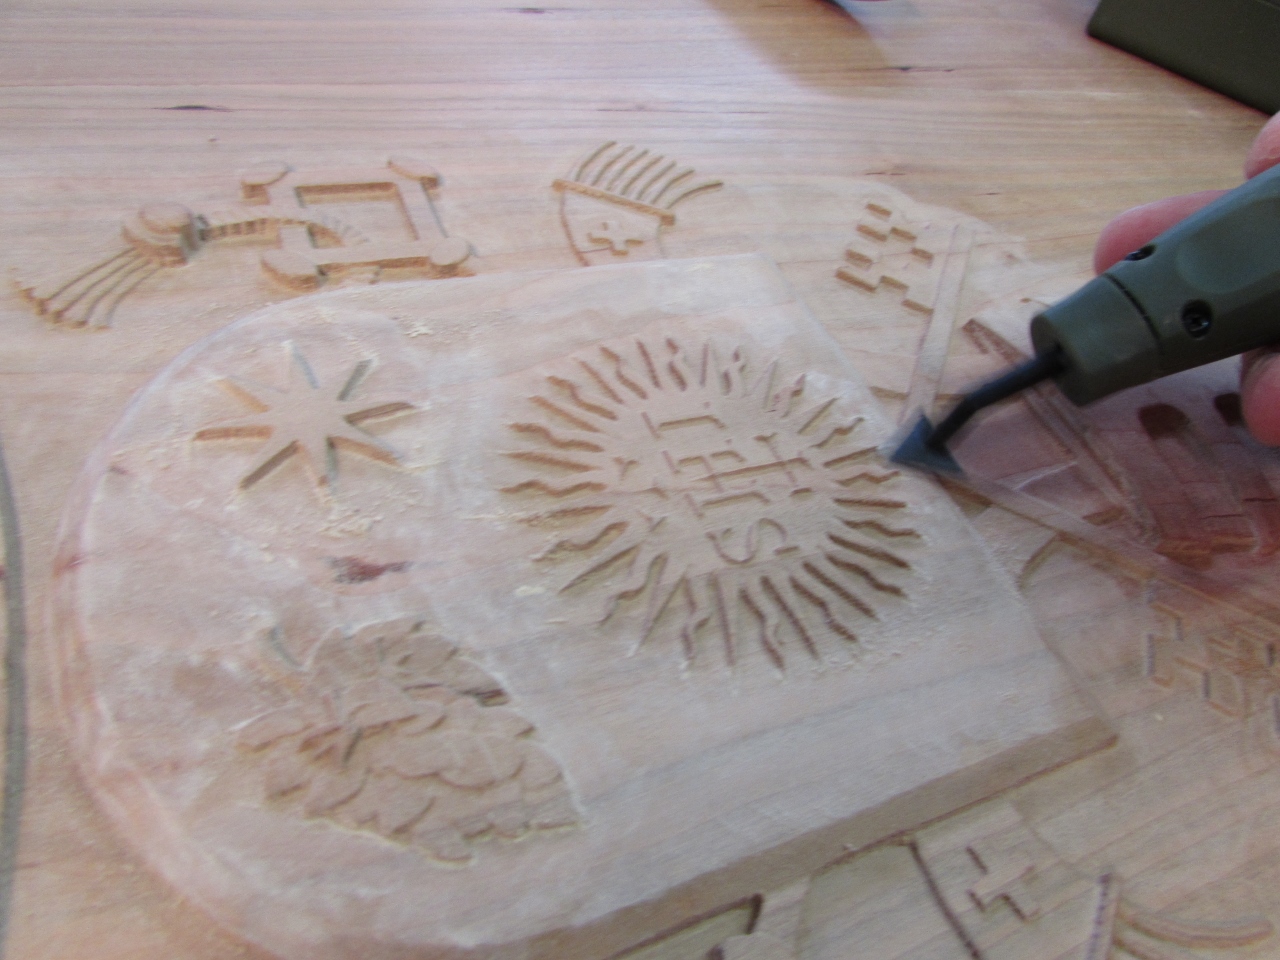
In the end, I went back to the triangular head, because it fit into the tightest places. The sand paper that I purchased separately lasted a lot longer than what came with it.
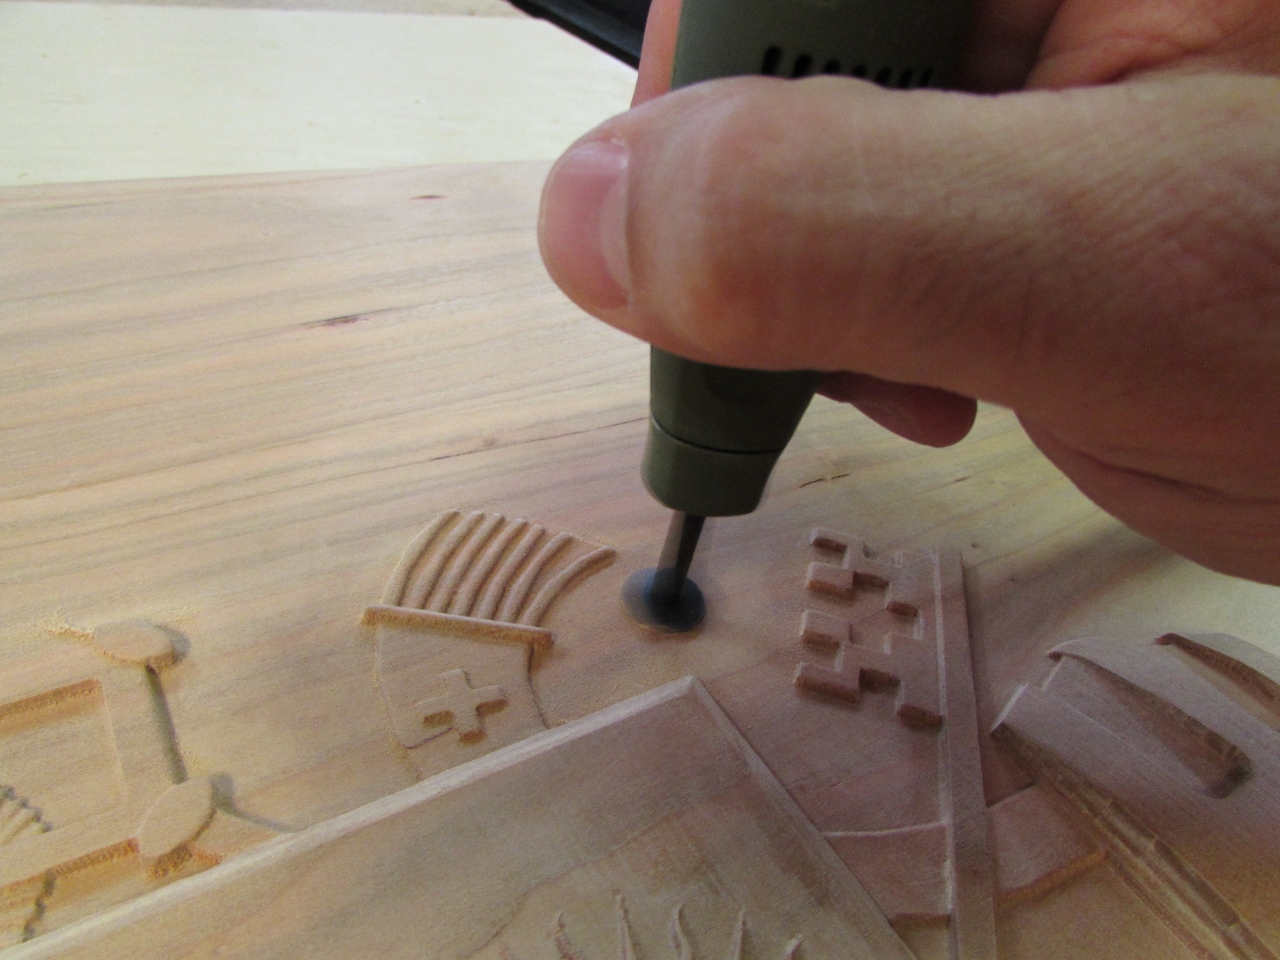
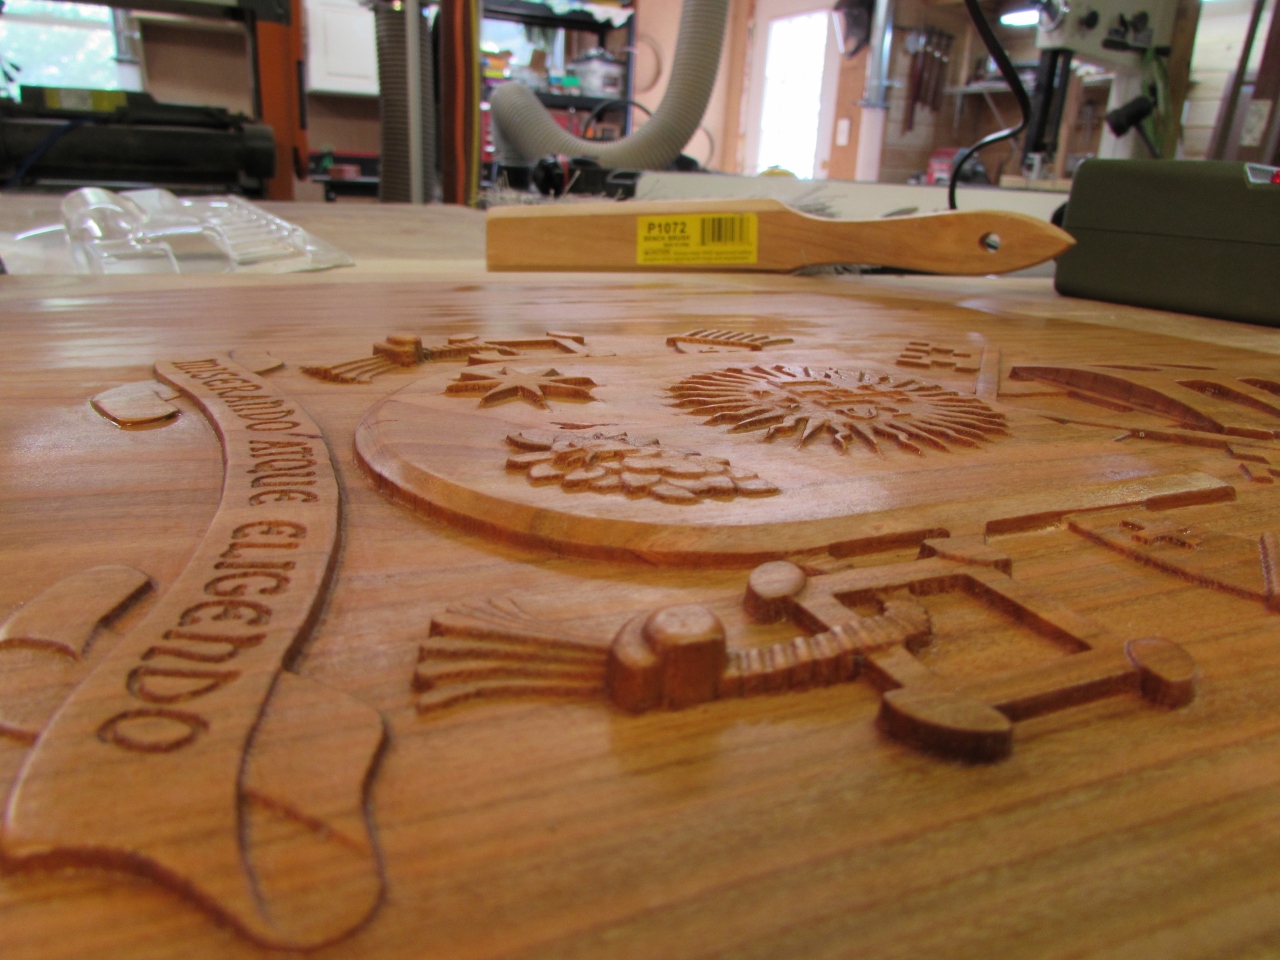
It was even pretty useful at sanding the delicate leaves of the Spikenard flower.
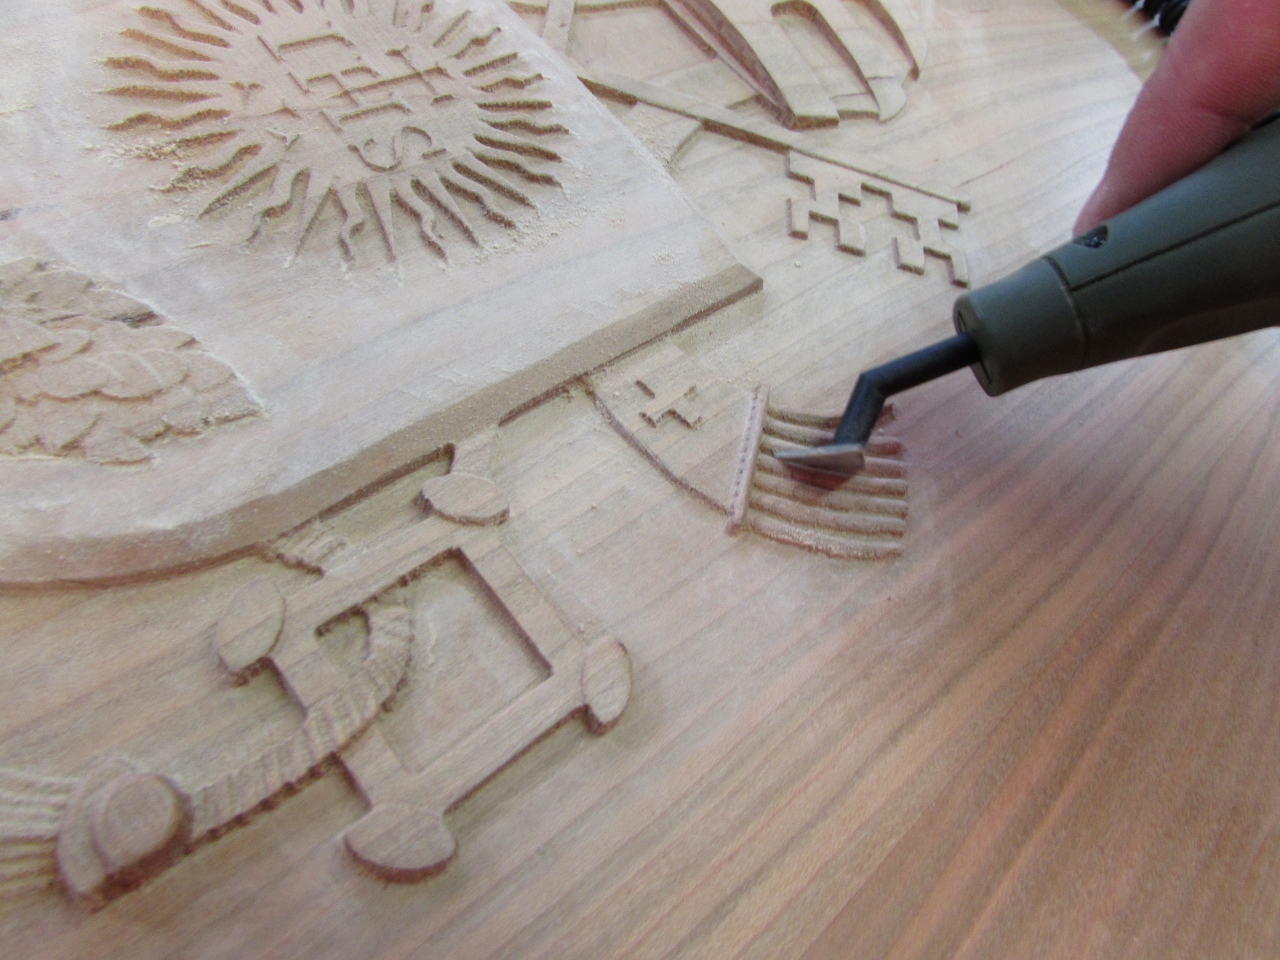
I tried edge sanding between the tassels, with limited success. I could possible wrap the adhesive backed sand paper around the sanding head, making the edges more abrasive, but then it would have been too thick. Oh well, it did remove the fuzzies at least.
I worked my way through both grits that I purchased, 150 and 220. Then I hand sanded with some 400 grit paper.
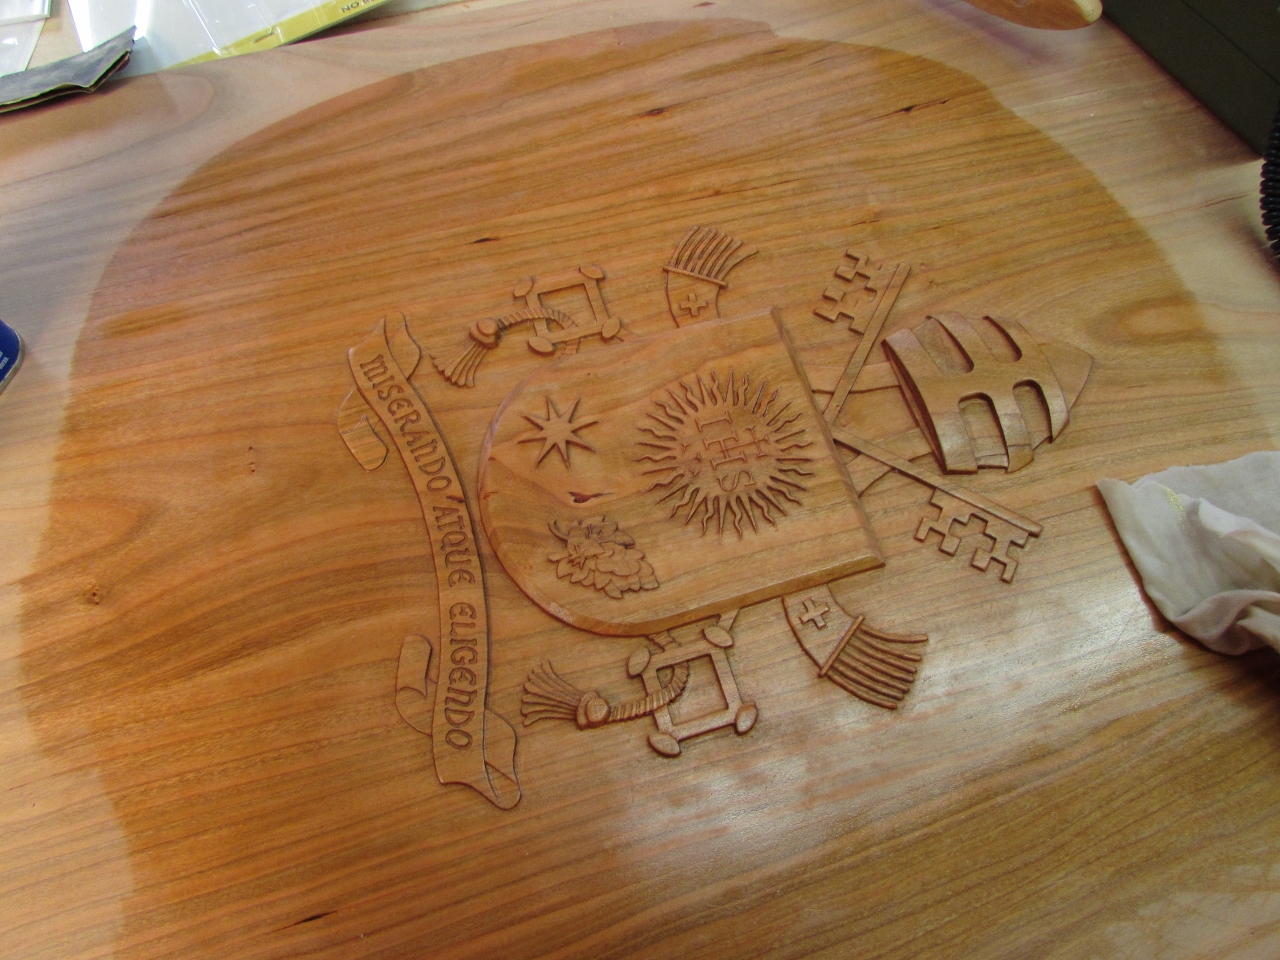
After cleaning away the dust with some Naphtha, and looking at the seal from several angles, I could still see some areas that needed attention, but overall the sander worked better than I had expected.

Pingback: Papal Altar For DC Mass Designed By Catholic Students, Built in Md. « CBS DC