
Purpleheart & maple bass guitar – day 6
I got up bright and early yesterday to put the sixth and final coat of Tung oil onto the guitar body, before I went to work.

Prepping for the last coat
After each coat, I sanded the surface down with 400 grit paper, to remove any dust motes that may have stuck in the previous layer, and to prep the surface for the next coat.
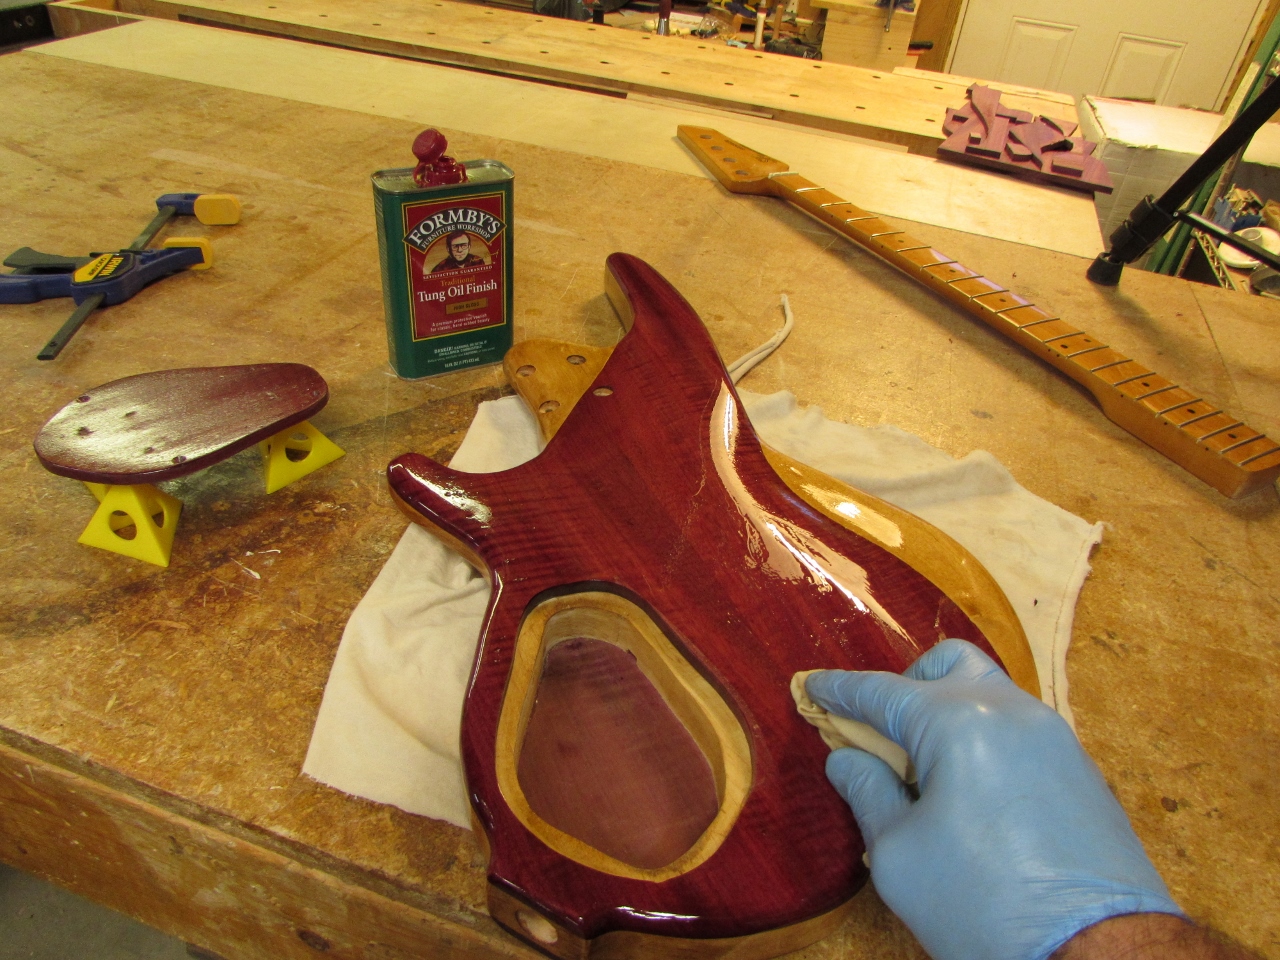
Sixth coat of Tung oil
After six coats, the body really shines.

Looking pretty
When I got home from work, it was ready to be buffed out. One day, I might invest in a buffing wheel, but until then, a crumpled up piece of a brown paper bag will do.
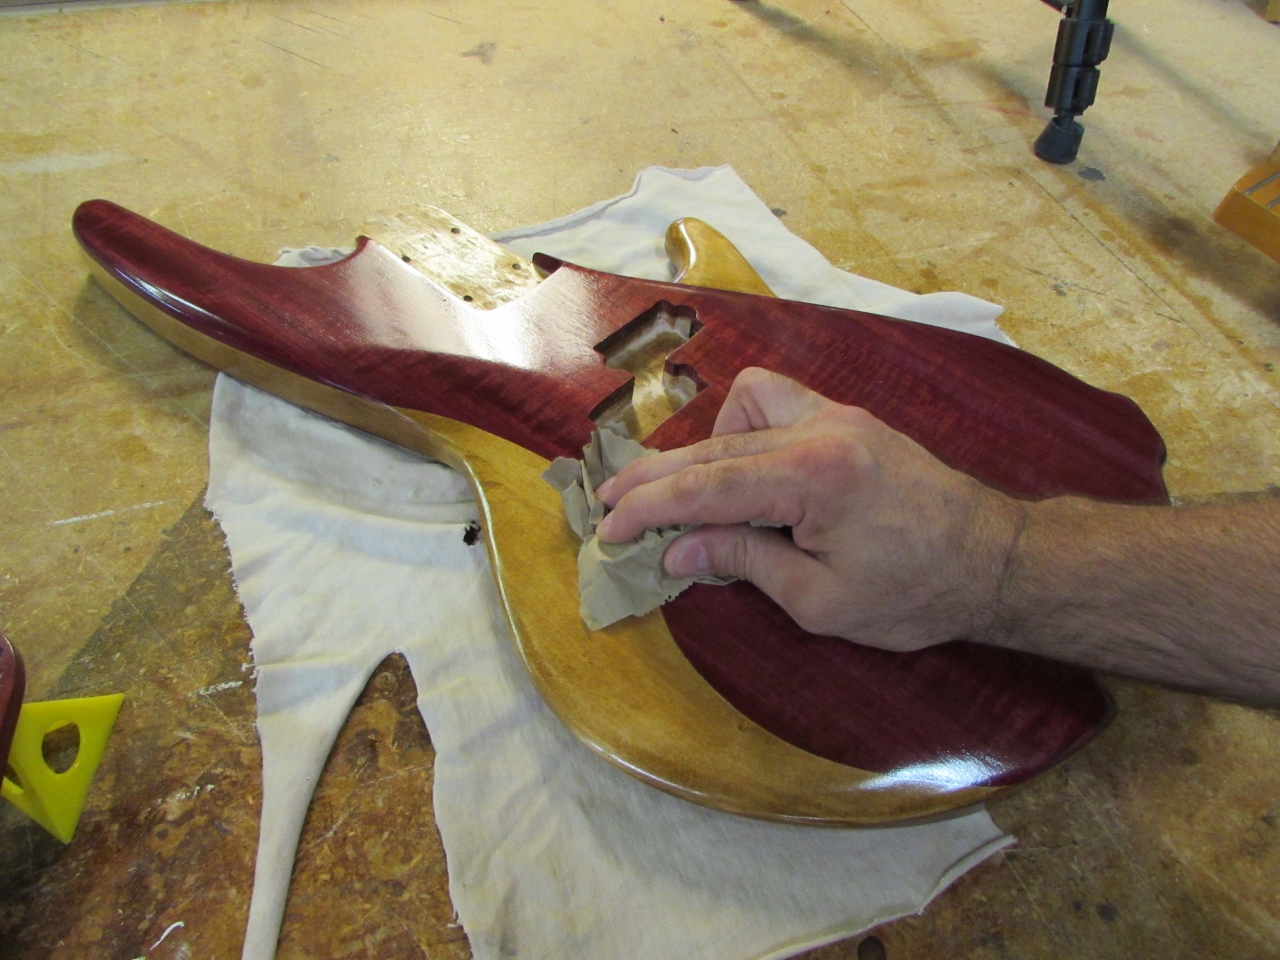
Rubbing down with brown paper
After I took down any dust nibs with the paper, I applied a coat of paste wax.

Applying a little paste wax
After letting that dry for a few minutes, I buffed it off with a soft cloth.

Finish complete

Drilling mounting holes for the tail piece
With the finish as complete as it is going to get, I moved on to installing the hardware. I located and pre-drilled the holes for the tail piece, and attached it.

Mounting the tail piece
Things slowed down a bit when I installed the long, skinny screws for the pickups. One broke off in the body, and I stripped the head off another. I may come back later and drill out the broken screw, but for now, I shifted slightly to one side, and put in another one.

Installing pickups and breaking screws
I decided to drill a slightly larger pilot hole for the rest of the screws, to help prevent binding.

Drilling larger holes…
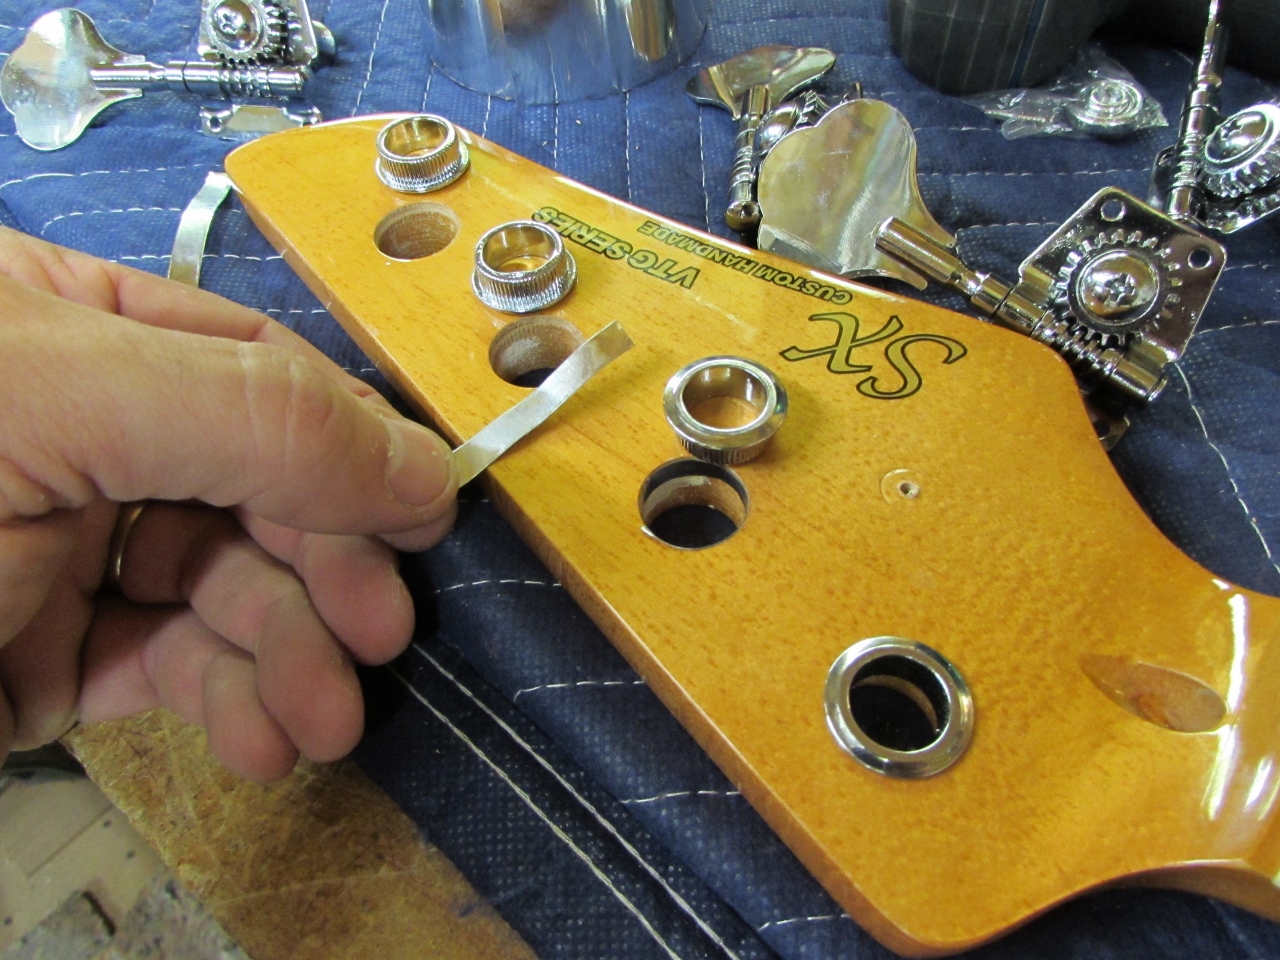
Aluminum tape to reduce the opening size
The bushings, for the tuning heads, are supposed to press in tightly, but mine were loose. To correct this problem, I cut a sliver of aluminum tape, and wrapped it around the rim of the hole. Now the bushings press in very snugly. I installed the four screws, each, into the back of the tuners to hold them in place. And, yes, I managed not to break or strip any of them…
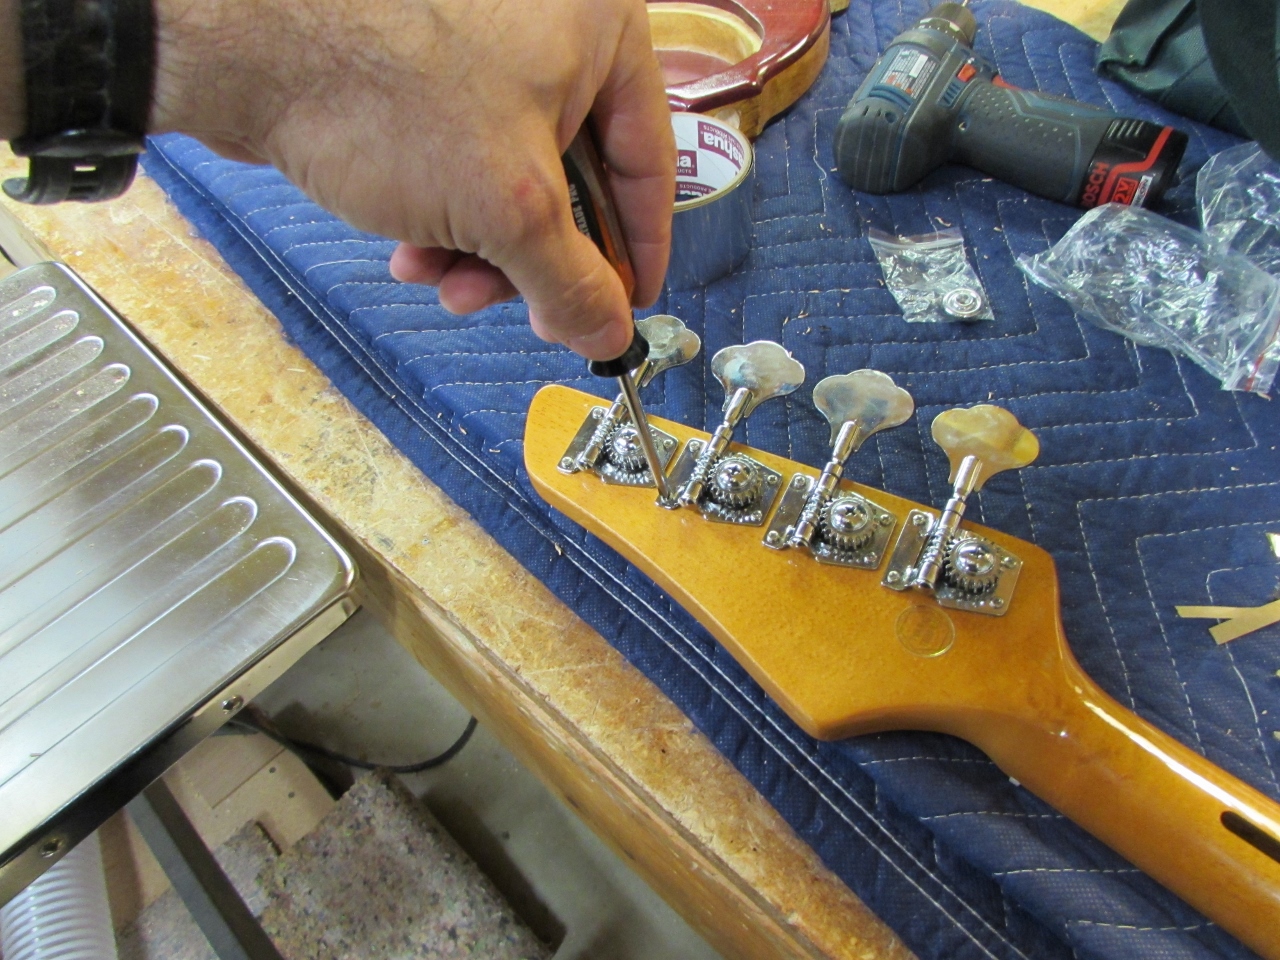
Installing the tuners
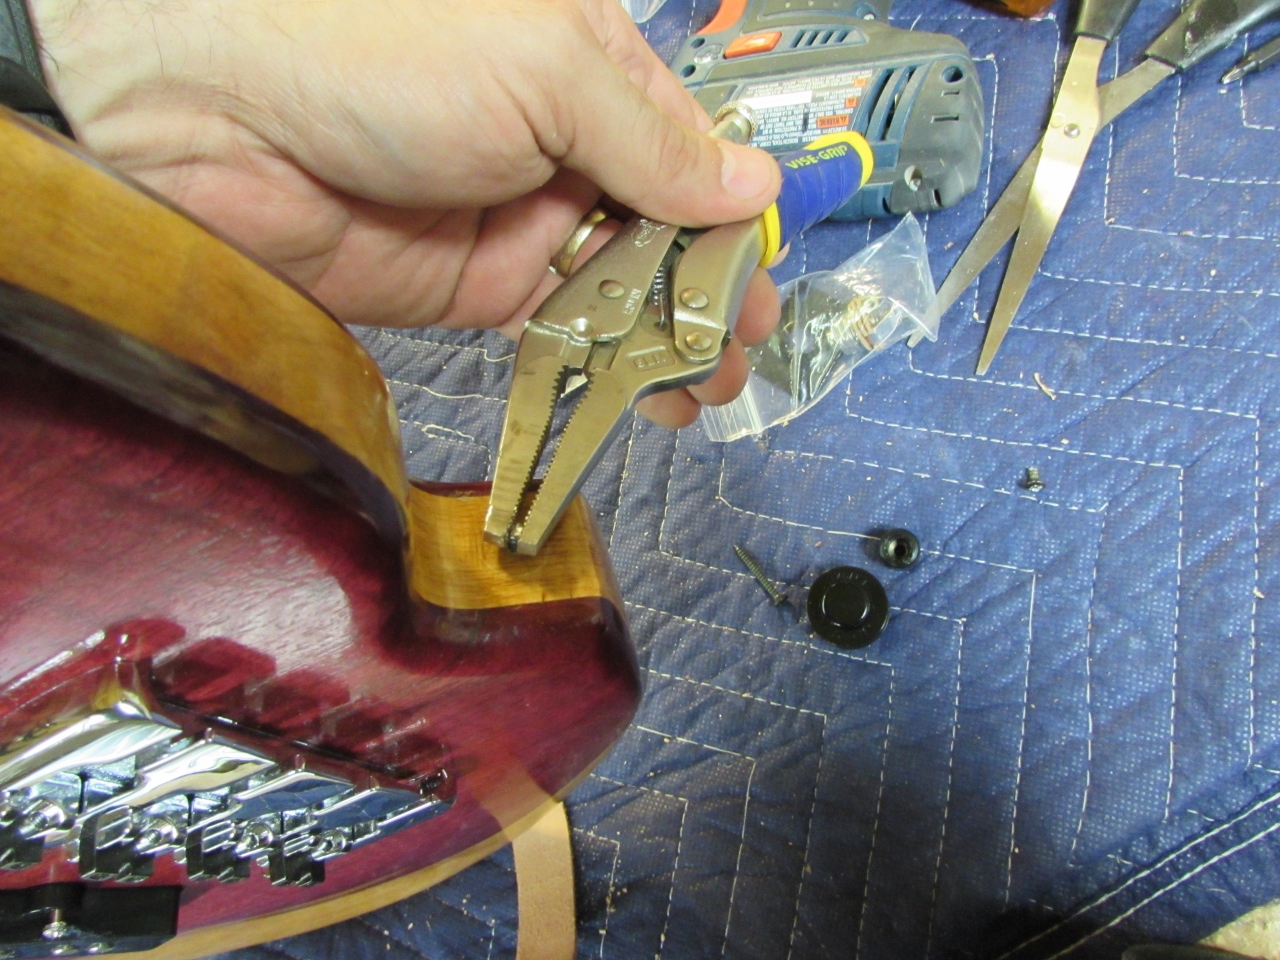
Breaking more screws…
Of course, when I started installing the strap buttons, I promptly broke another screw. Honestly, I am taking my time and installing them by hand, they just give me really cheap screws! Luckily, enough of the screw was sticking out, that I could get my vice grip pliers to lock on to the stub. I was able to carefully remove the broken bit without damaging the finish too much. Man, I am running out of extra screws…

Locking strap buttons installed
I moved on to drilling the holes for the tone and volume knobs next. At least they wouldn’t break easily.

Drilling out the pot. holes
Before installing them, I lined the control cavity with adhesive-backed copper.

Installing the copper shielding
It is starting to pull together. With all the trouble with the screws, I really got slowed down. Looks like it will be one more day before I can finish up.
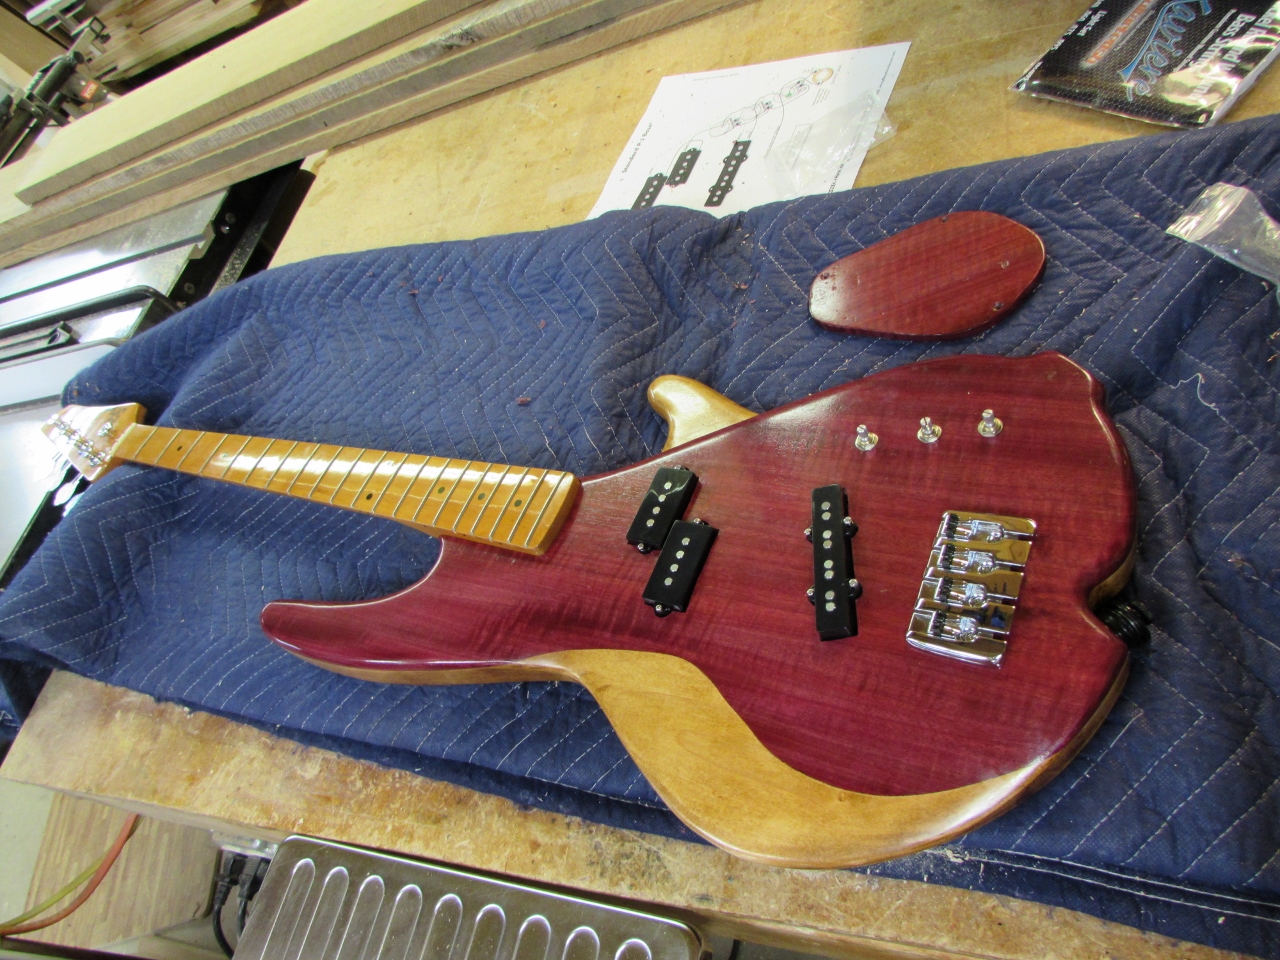
Almost done
