
Purpleheart & maple bass guitar – day 1
My friend Rick gave me a bass guitar neck. Now that I have the neck, I have to build a body to go with it… I did some searching on the web until I found a design that I thought looked like a challenge. I found one, that I liked, at Conklin Guitars. I cut and pasted in the pickups and tail piece that I wanted, then I referenced the image into my Cad software. This enabled me to create a full size image that I could print out full-scale. I decided not to use the CNC on this guitar because I wanted the challenge of shaping it by hand.
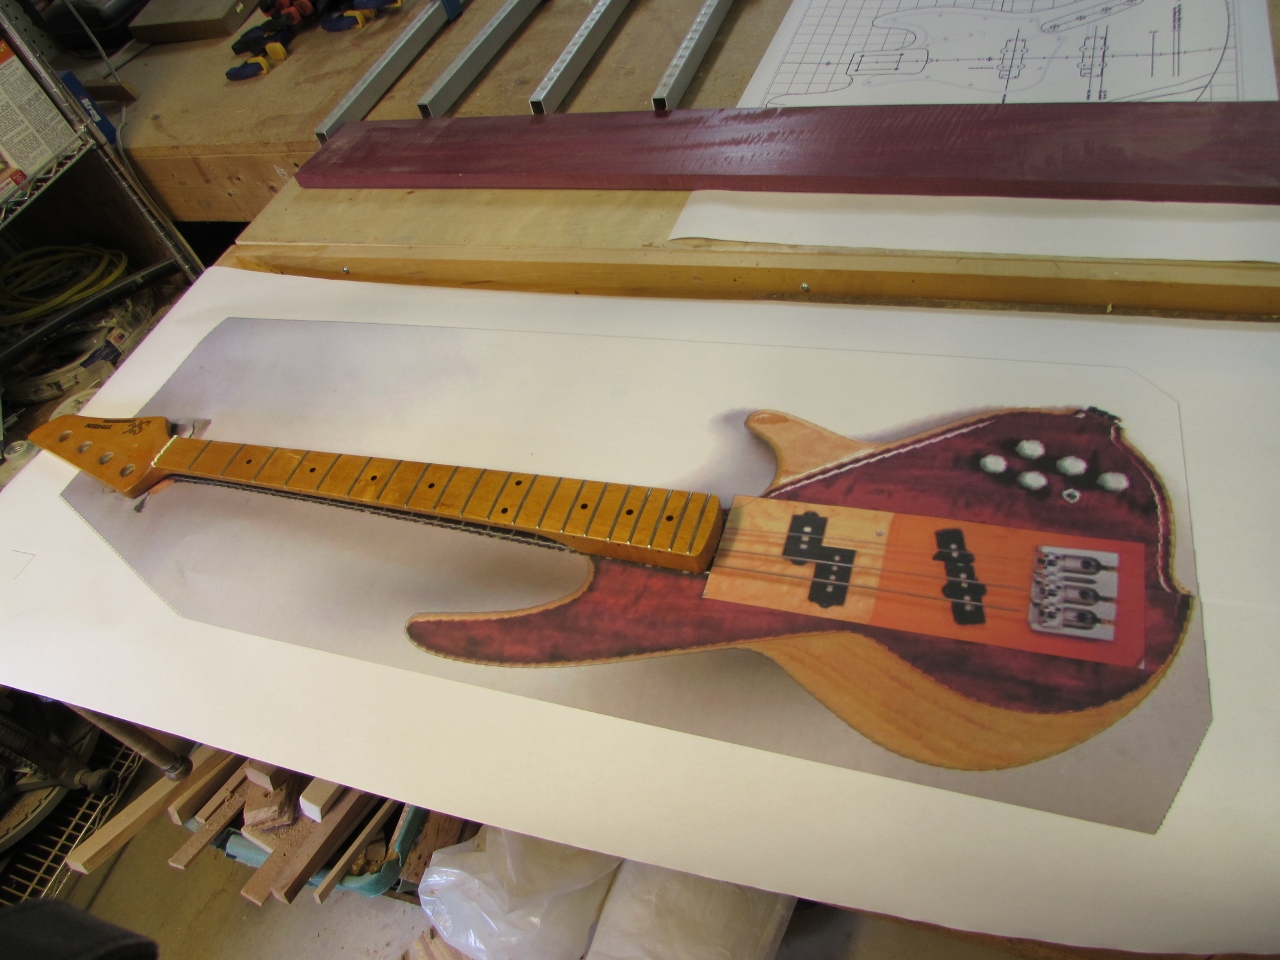
My cut and paste design
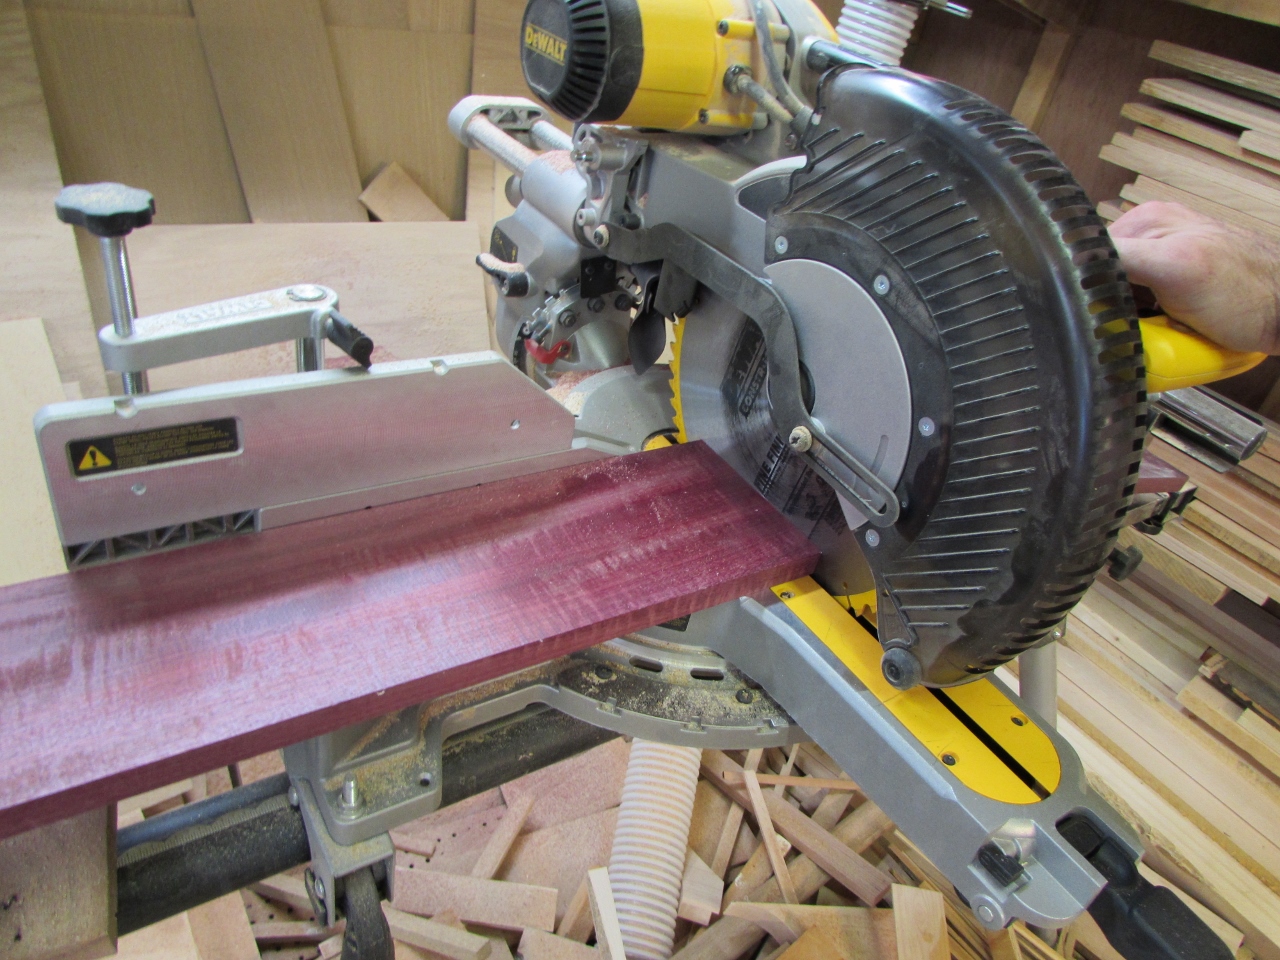
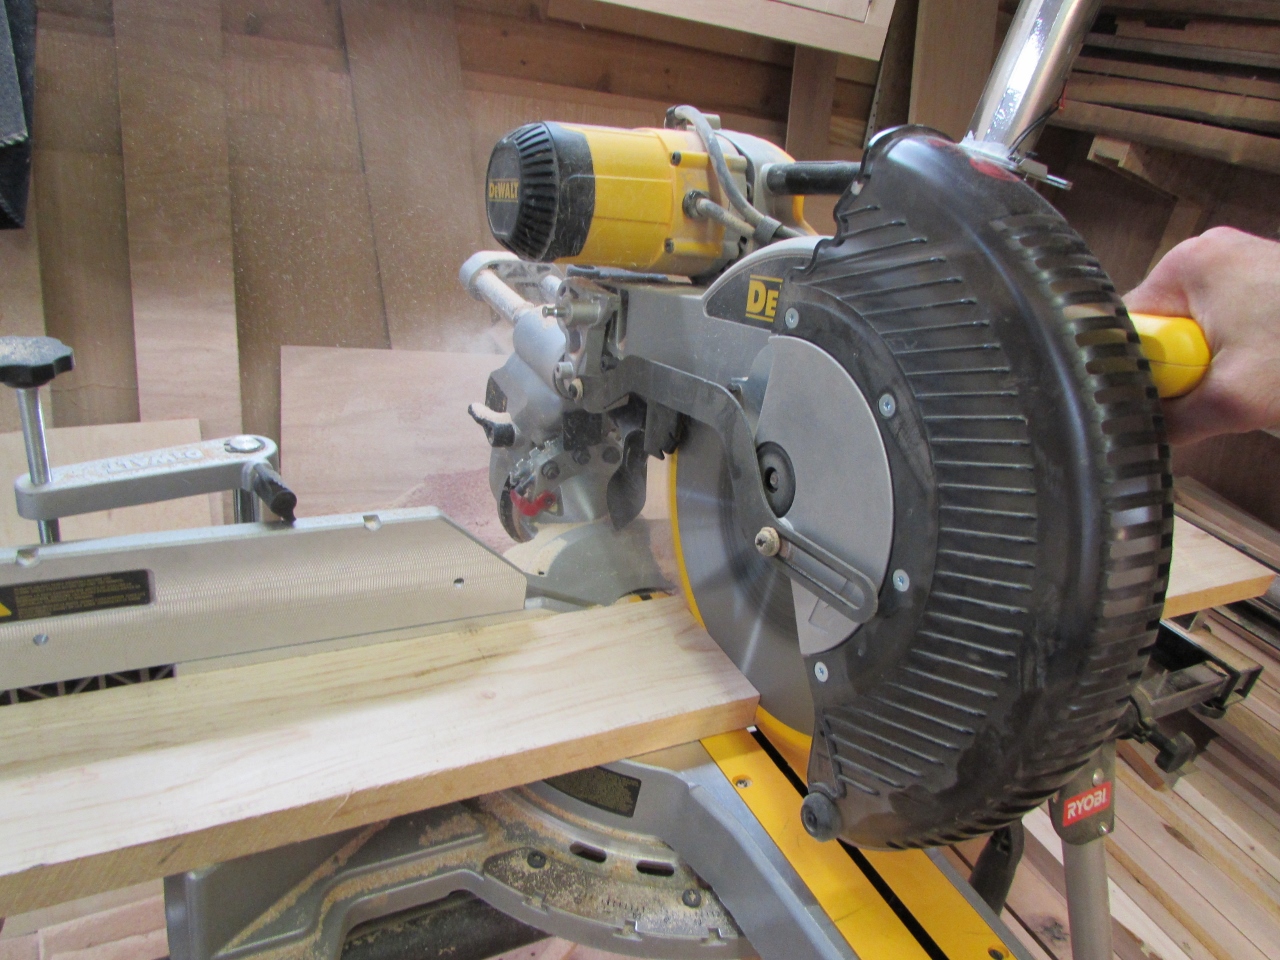
Cutting the purpleheart 24″ long
I started with a 48″ long, 6″ wide piece of curly purpleheart. This should be just enough to cover the front and rear of the guitar. I cut the board in half on the miter saw, then re-sawed it on the band saw to create four pieces, roughly 3/8″ thick.
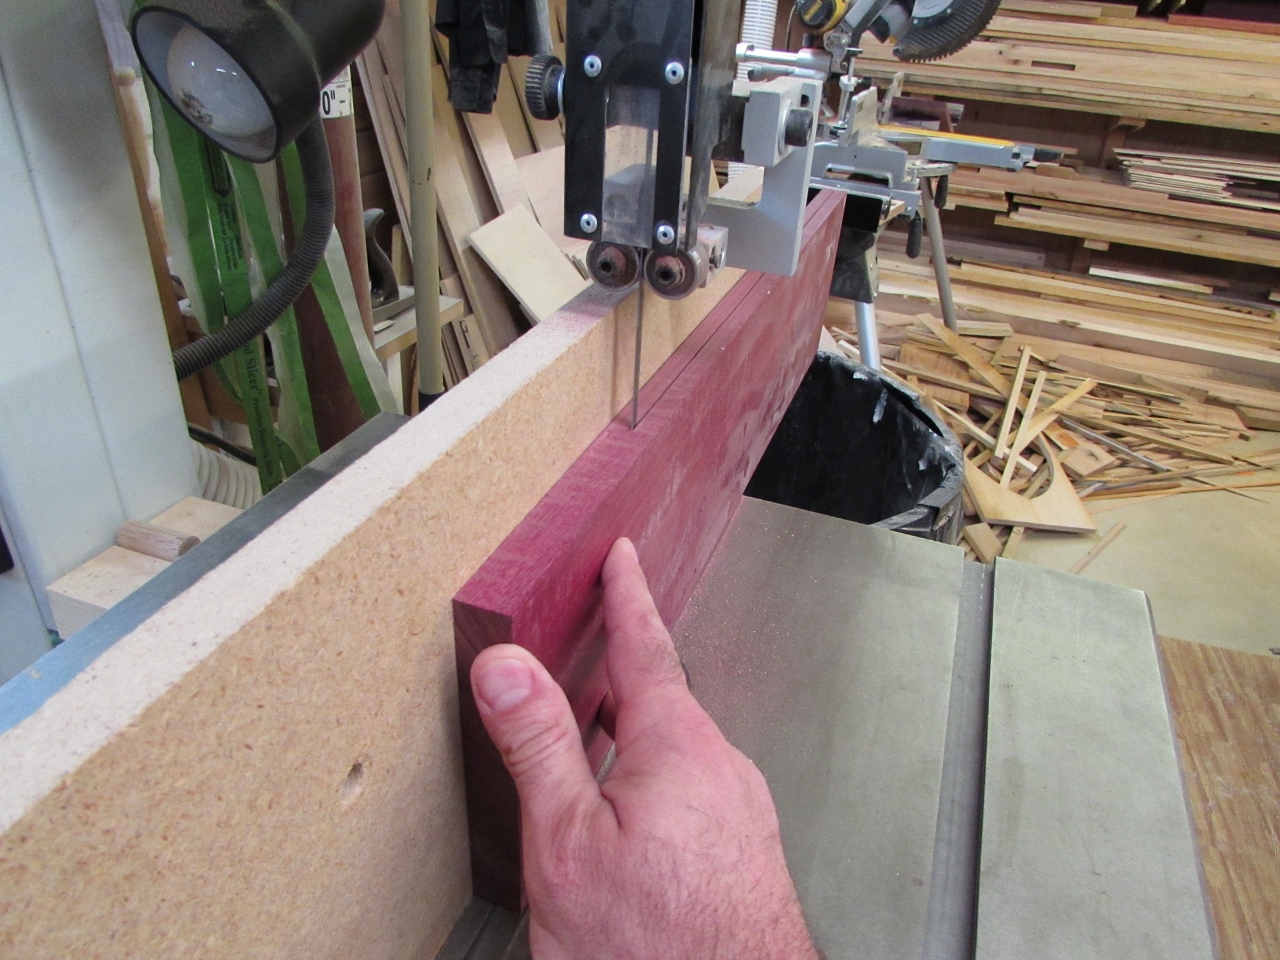
Resawing it in half
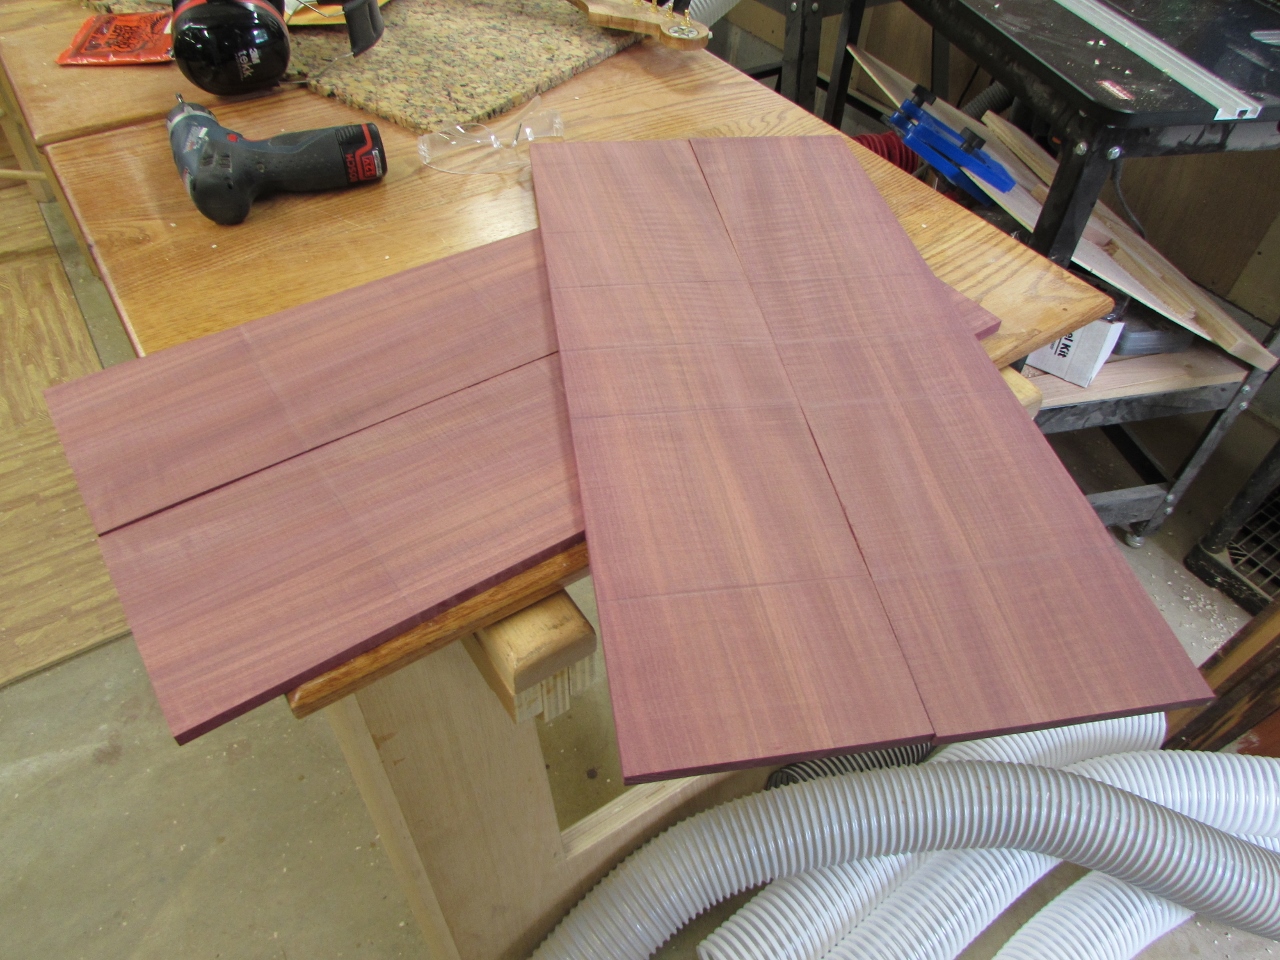
Boards re-sawn
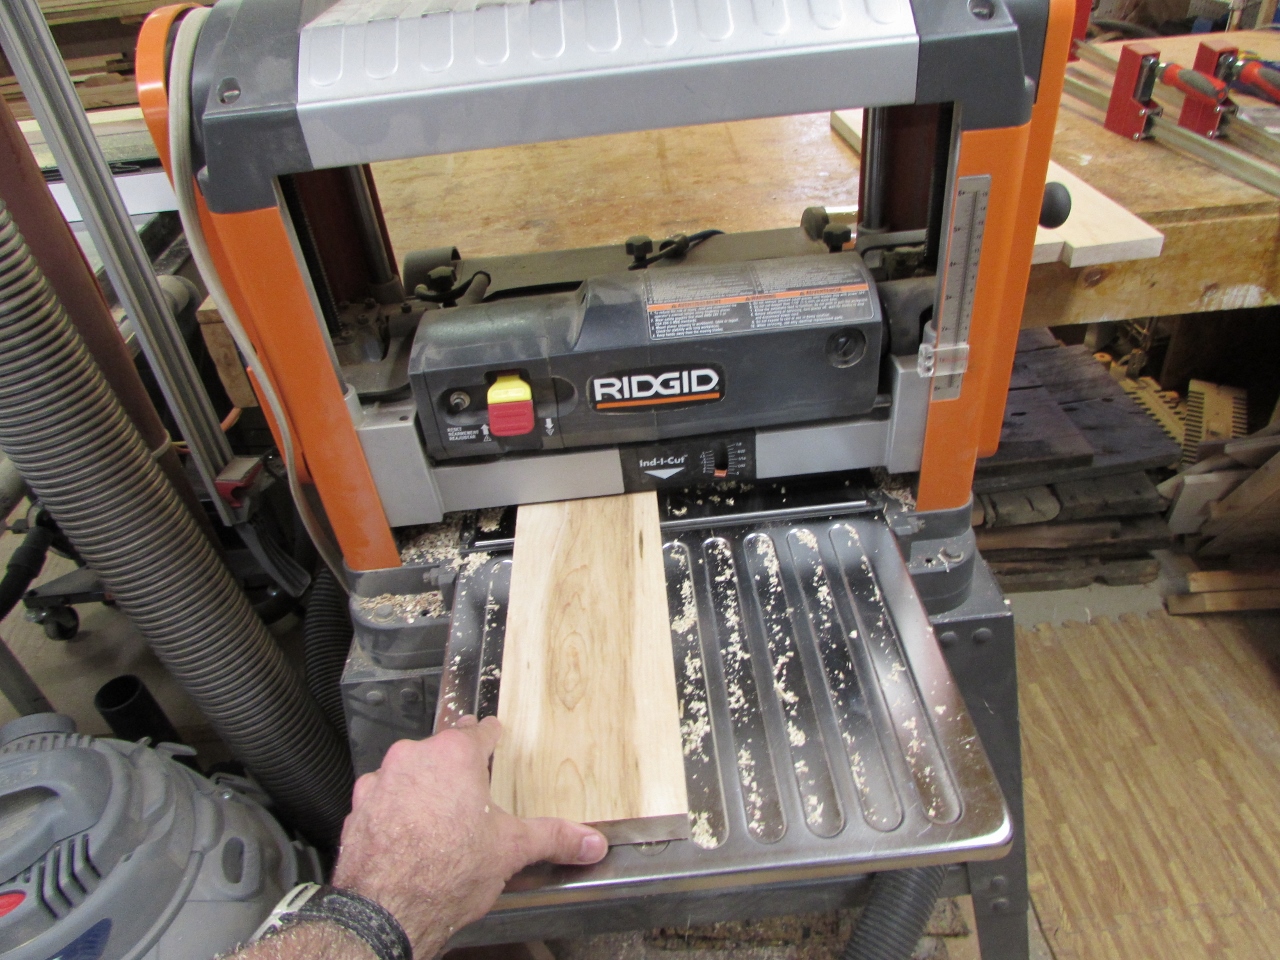
Purpleheart is notoriously hard to plane without creating tear-out. I still needed to plane it down a bit to flatten the surfaces. I will just have to rely on extremely sharp hand planes or a lot of sanding to achieve a good finish.
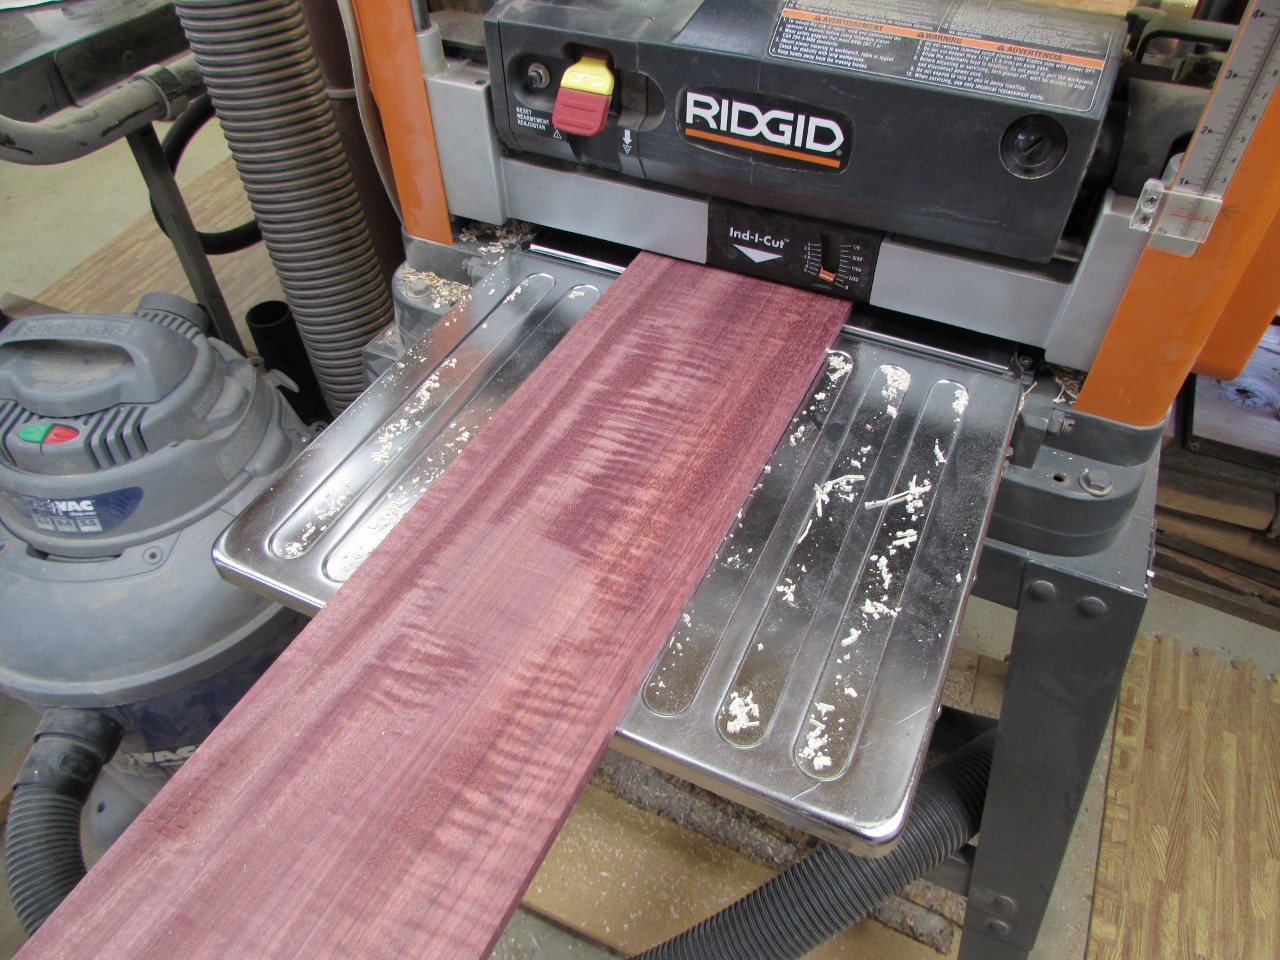
Attempting to plane it smooth

Denatured alcohol to remove any oils
Being a tropical, South American wood, it tends to be very resinous. I rubbed down the edges with denatured alcohol to remove any oils or resins from the glue surfaces, at least for the time it will take to glue the boards up.

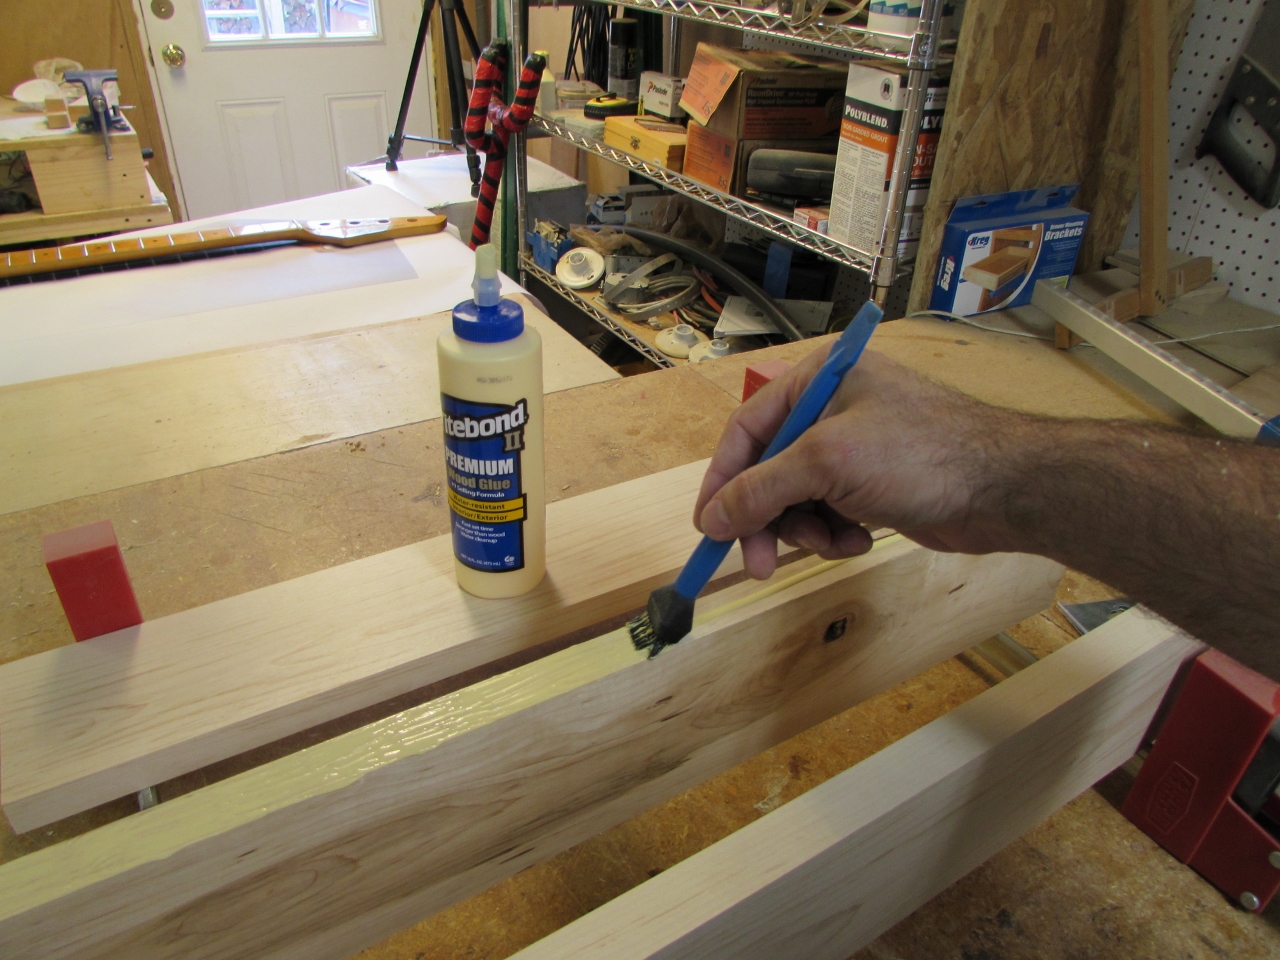
Applying glue
I book matched the panels and applied glue to the edges, then clamped both panels up.
Both faces clamped up
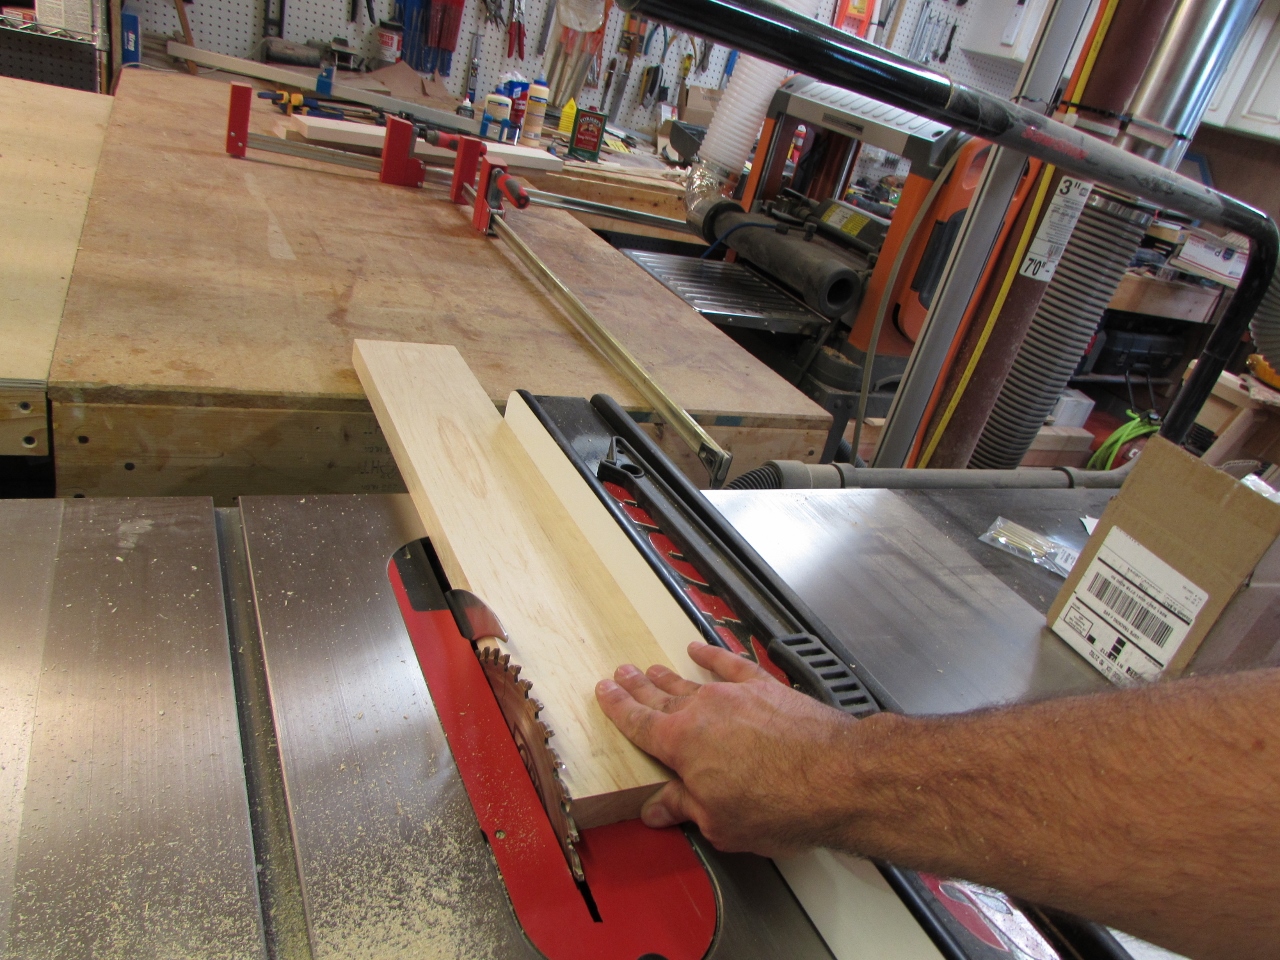
Cutting down the maple
The core of the guitar will be maple, to match the neck. It is not as dense as the purpleheart, but it offers a nice visual contrast. I cut and ripped a piece of maple, from my stock pile, down to 24″ lengths.
Jointing the edges
Planing the maple
Then I planed the pieces down and glued up a panel.
Applying glue to the edges
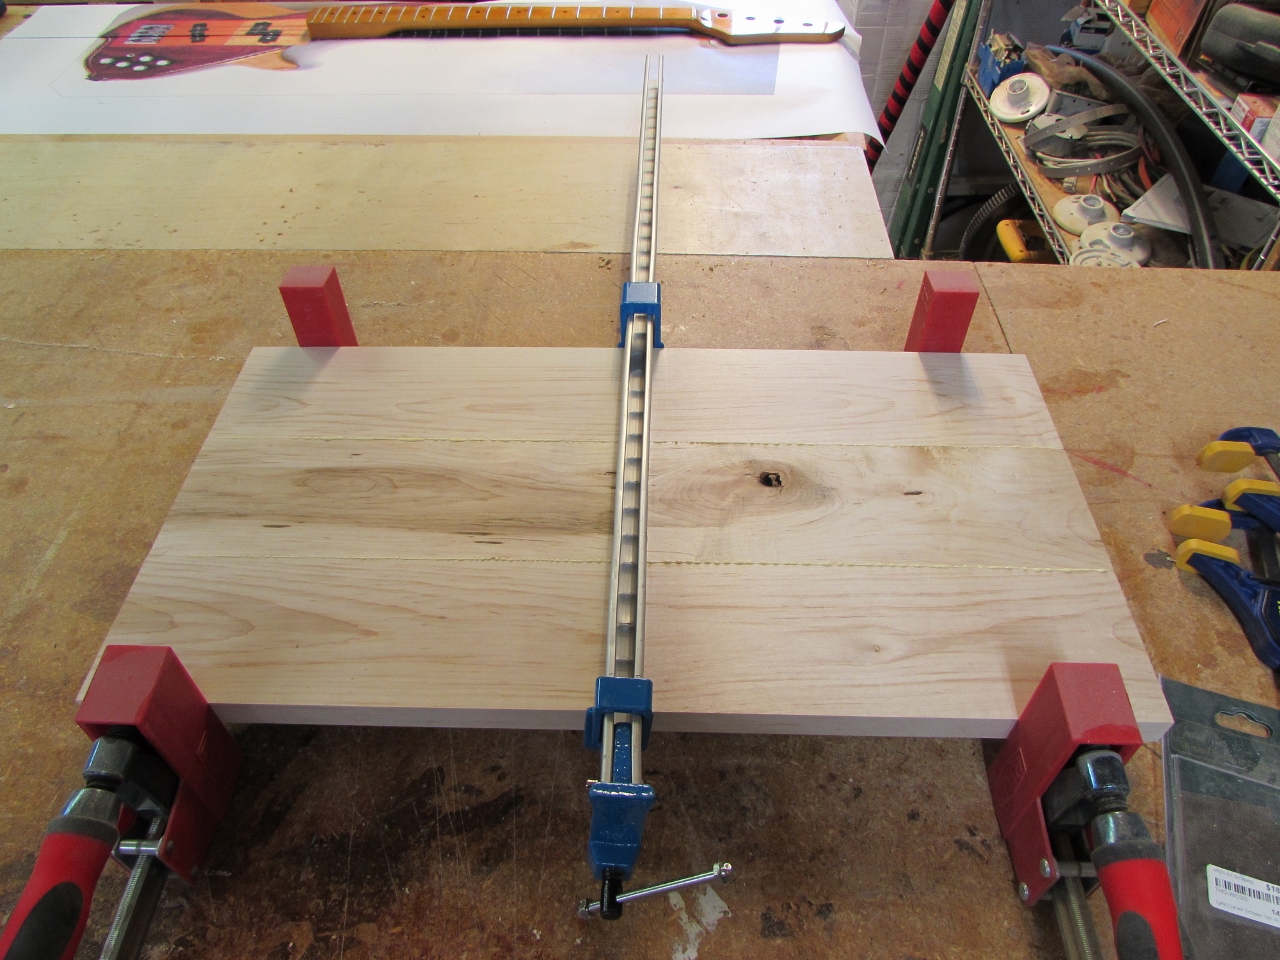
Maple clamped up
When the glue was set, I pulled the clamps and scraped off the excess glue, while it was still pliable.
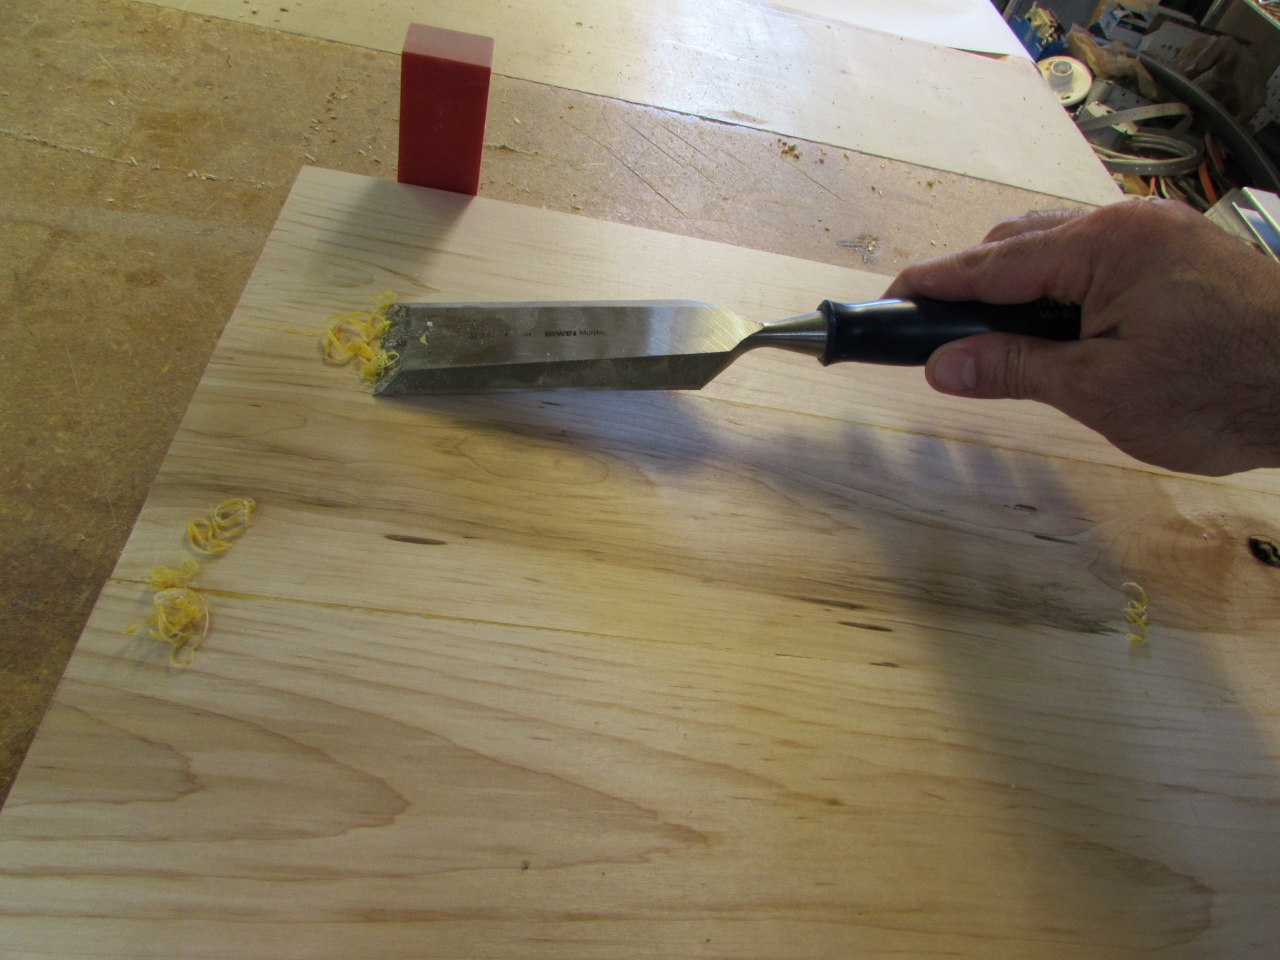
Scraping off the excess
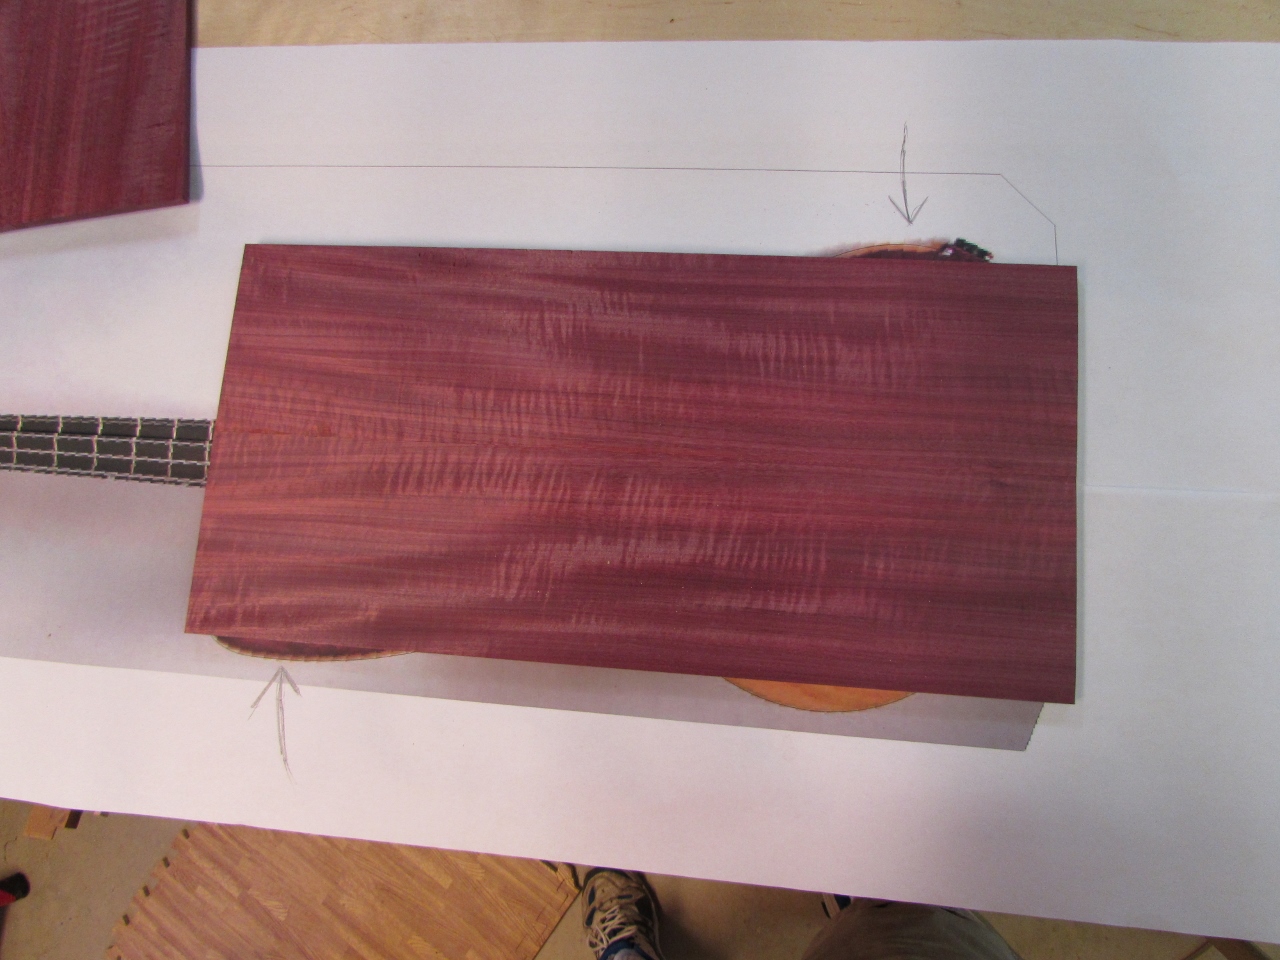
Purpleheart is a little narrow
Checking the purpleheart against the plan image, I noticed that it was a bit too narrow. Since these were book matched boards, I reasoned that I could cut pieces from the unused corners and attach them to the opposite sides, and it will still be book matched.
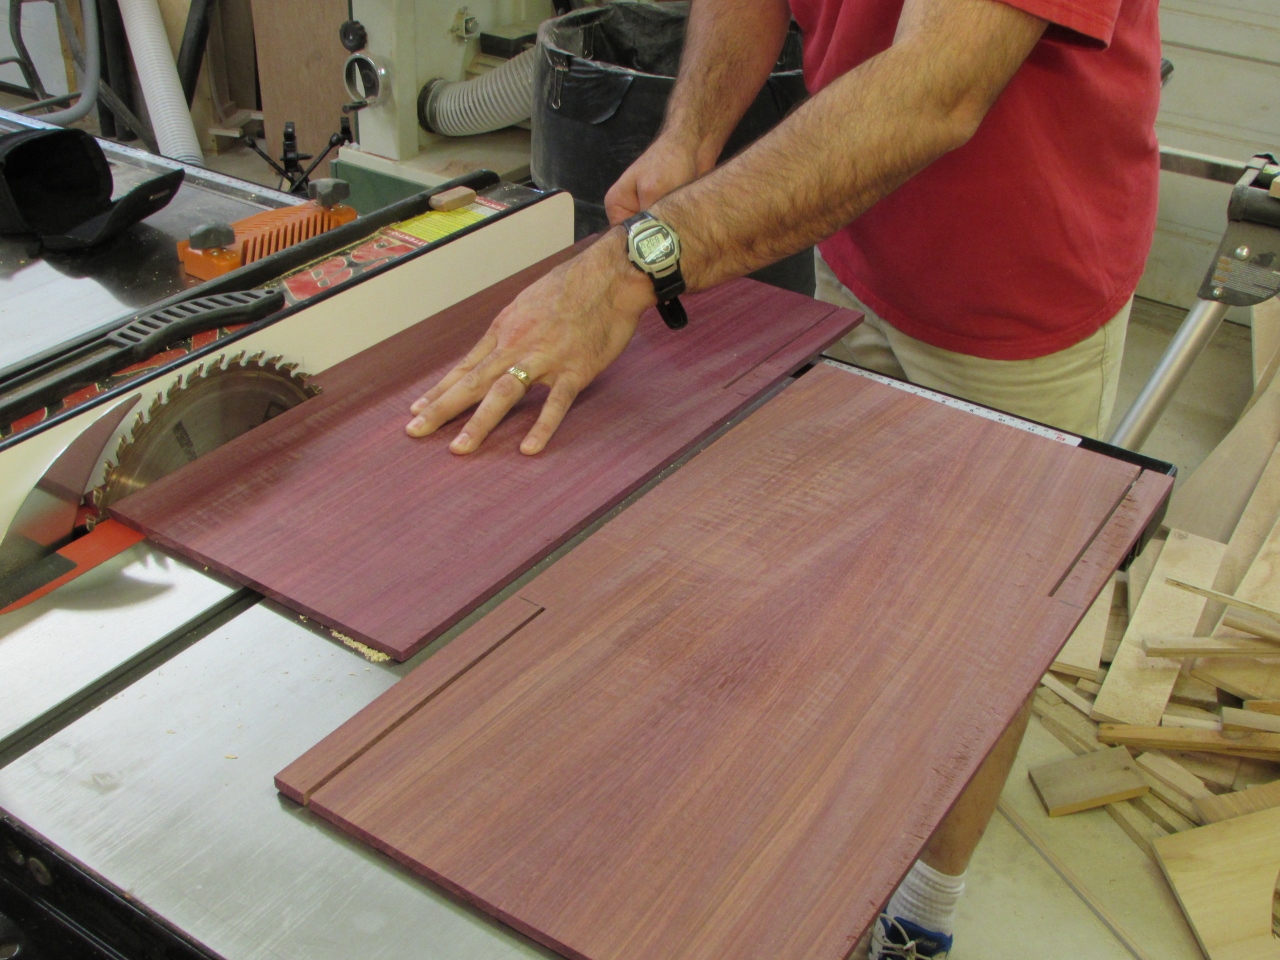
Cutting a 1″x8″ piece form the unused corners
I cut a 1″ wide strip about 8″ into the panel, on opposing corners, then finished removing the blank on the band saw.

Finishing the cut on the band saw
As I cut each piece, I taped it to its future location, so I wouldn’t forget which corner they went to. It isn’t a book match if it is the wrong corner…
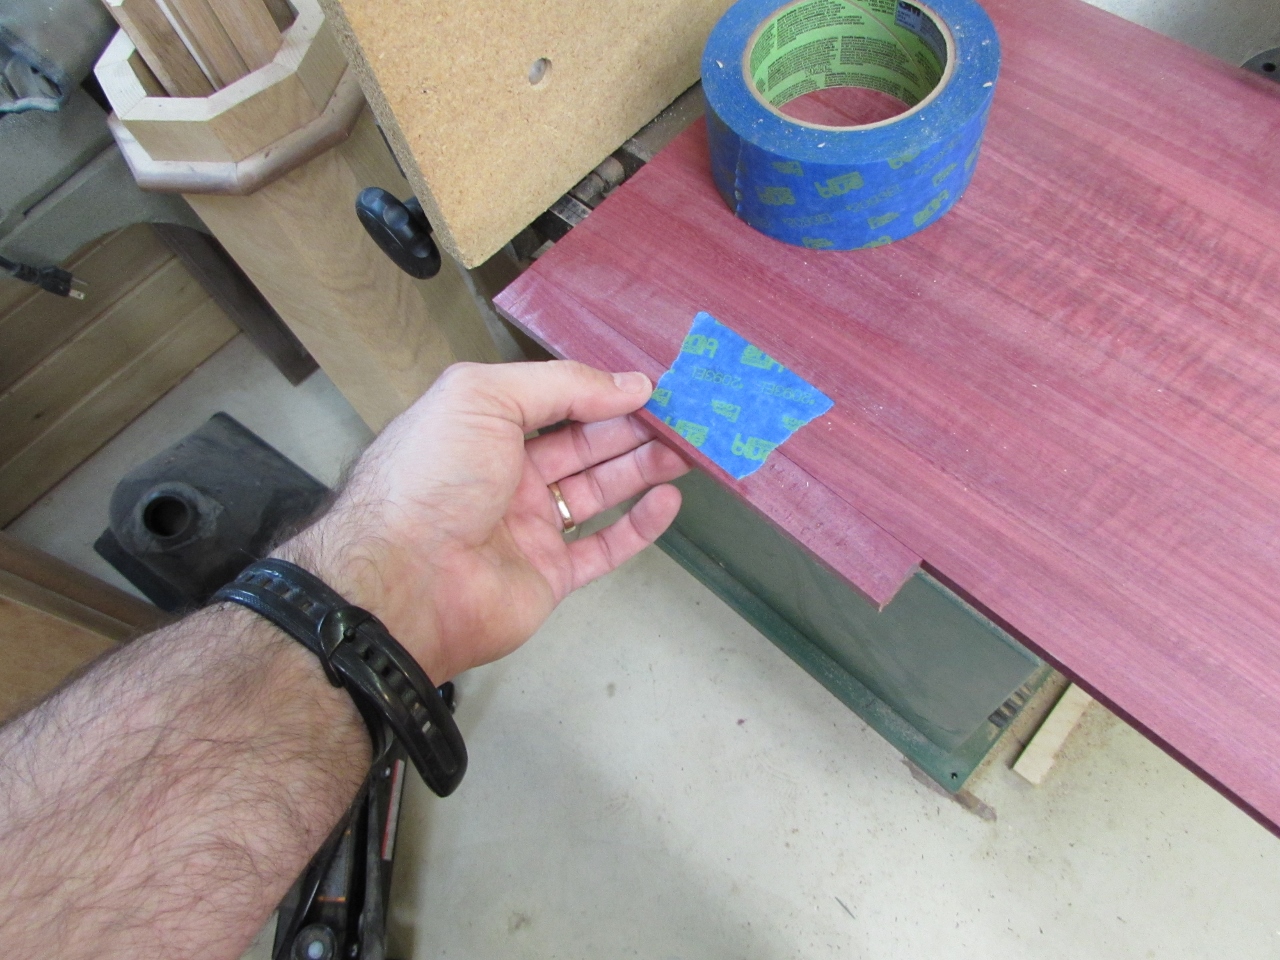
Taping the piece in place

Now it will be large enough
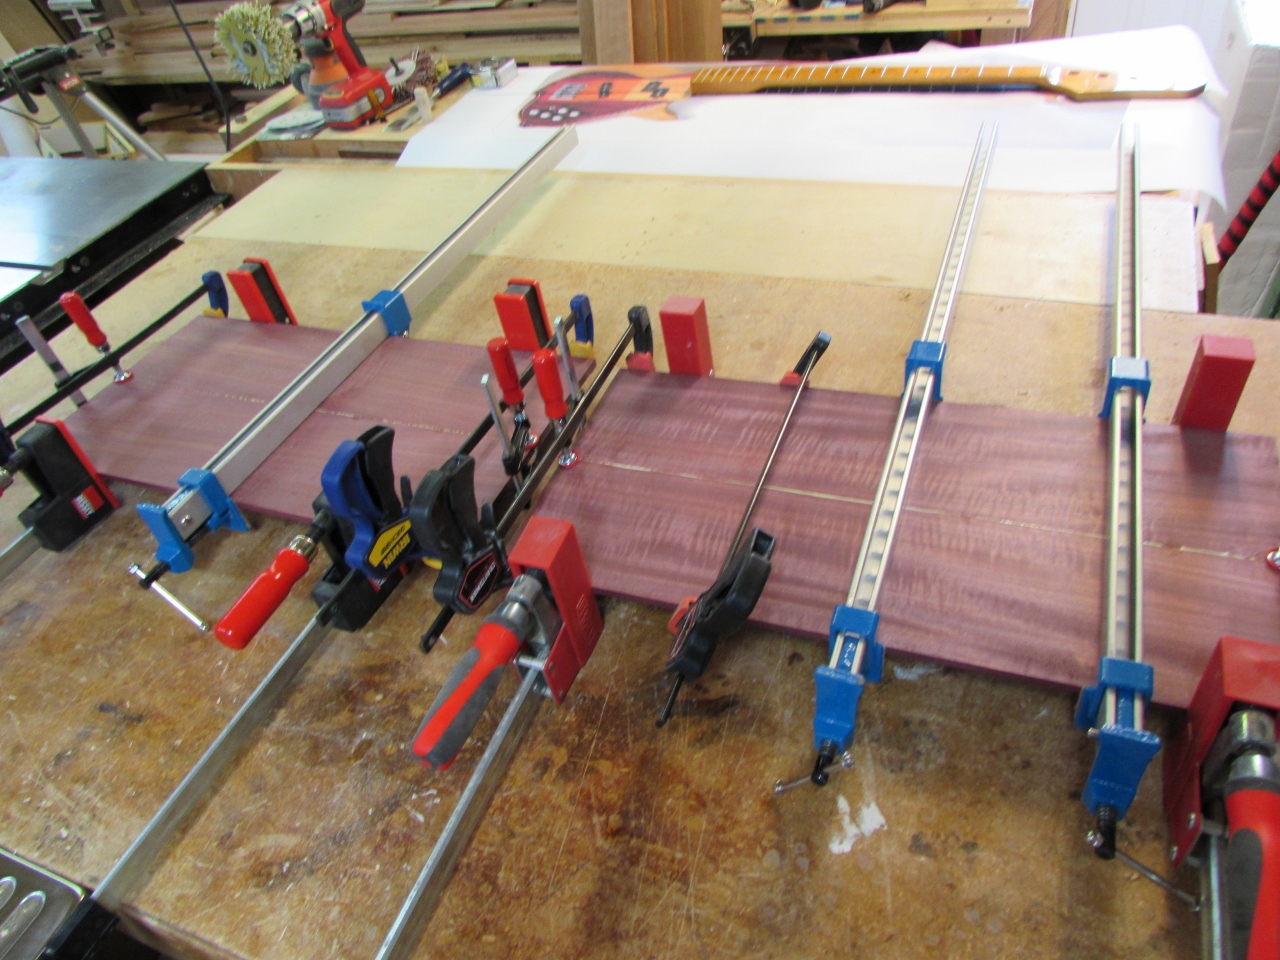
After verifying the panels were now the correct size, I glued and clamped them up.
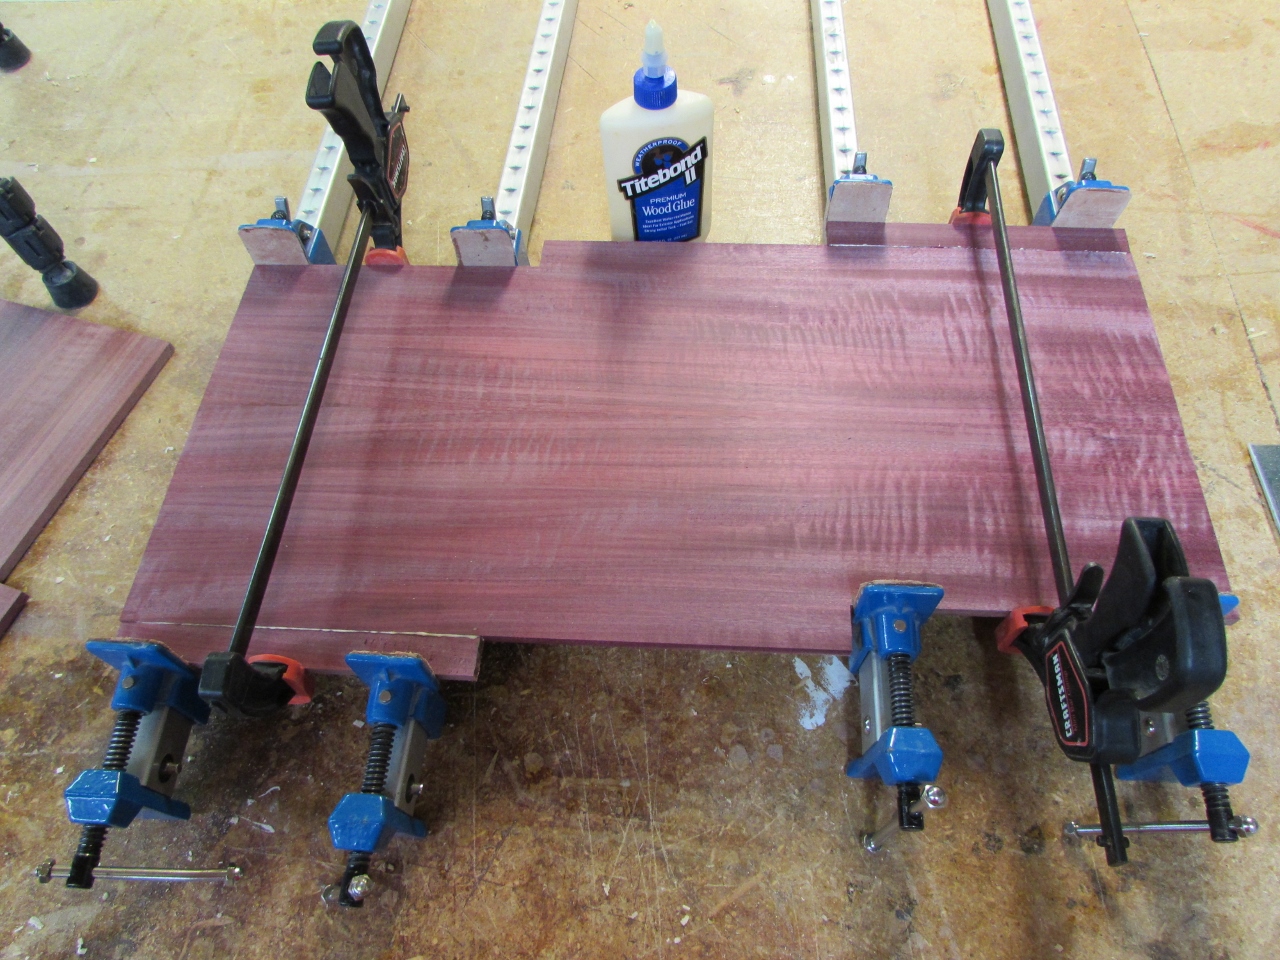
Glueing on the little pieces

Clamped and drying
While they were drying, I wanted to do one more thing before packing it in for the evening.
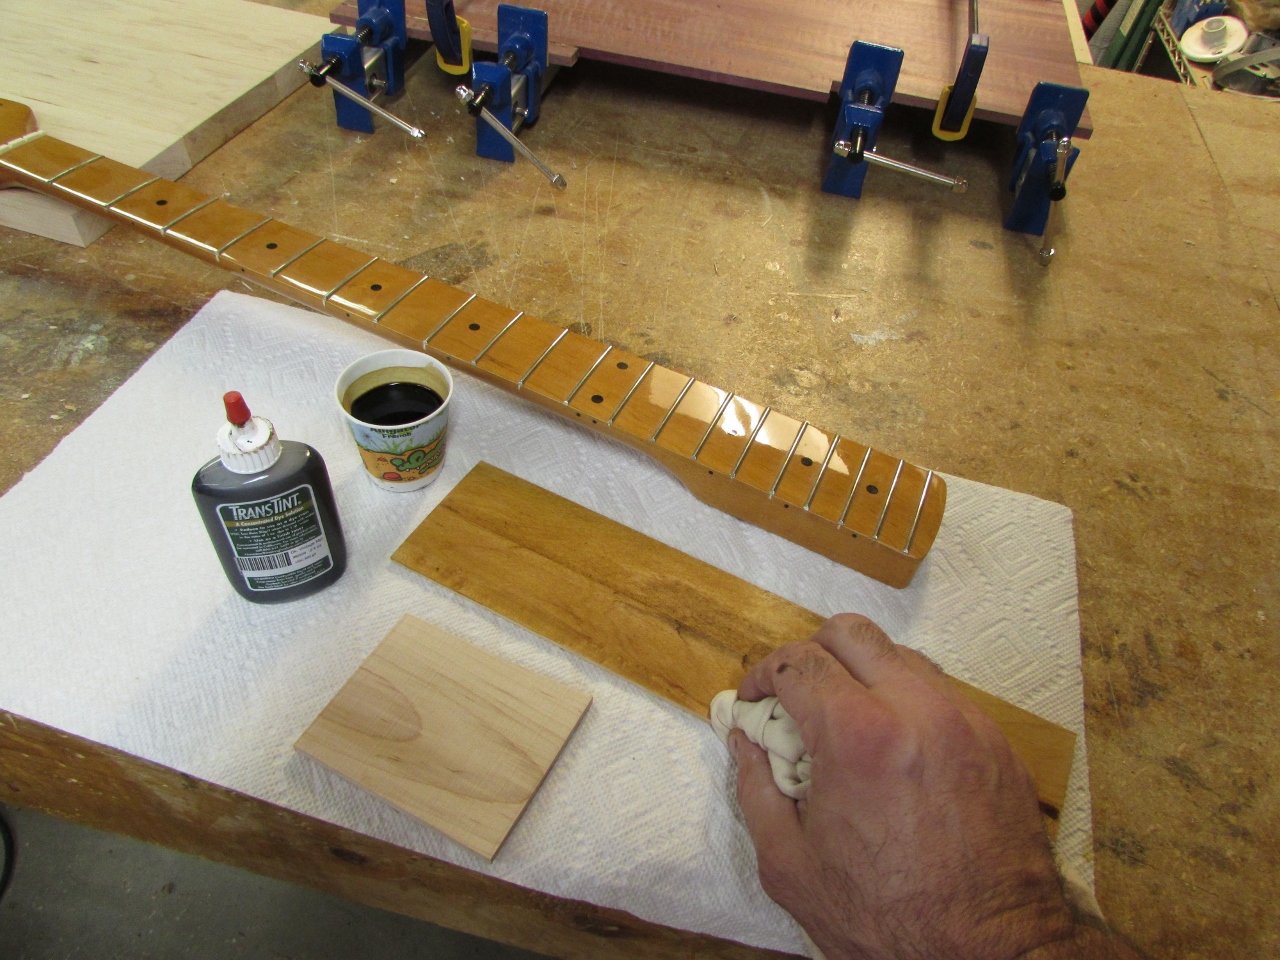
Experimenting with dyes to match the neck
The neck, that Rick gave me, was a pretty amber color, and the maple I have is natural white. I will have to match the colors, or the guitar will not look right. I experimented with the dozen or so, oil based stains, that I have, and I couldn’t achieve the color. So for this project, I am going to try dyeing the maple. I bought some Vintage Maple dye, by Transtint. It is a water-based dye, so I won’t be able to use a solvent finish to cover it, so I will probably end up using Tung oil. I filled a Dixie cup with water and added several drops of dye. I don’t know how many because the tip of the bottle is not good at releasing one drop at a time. I just kept adding a bit at a time till I achieved a good color. You can see, in the picture above, that I got pretty close. You can also mix these dyes in alcohol, but I wasn’t happy with the results of earlier experiments. Maybe because I didn’t want to waste so much experimenting. The alcohol will dry faster, and not raise the grain as much as water, but water is cheap, and I am not in a hurry. I applied two coats of high gloss Tung oil to the dyed board before packing it in for the night. I will be adding at least four more coats, over the next few days, to see if I can get close to the finish on the neck.
Almost midnight again, done for today.
