
Deck rail planter
My wife wants to grow some herbs on the deck so I picked up a plastic window box, at the store. I have some cedar siding left over, that a friend gave me, so I am going to make a planter that will hang off the deck rail.
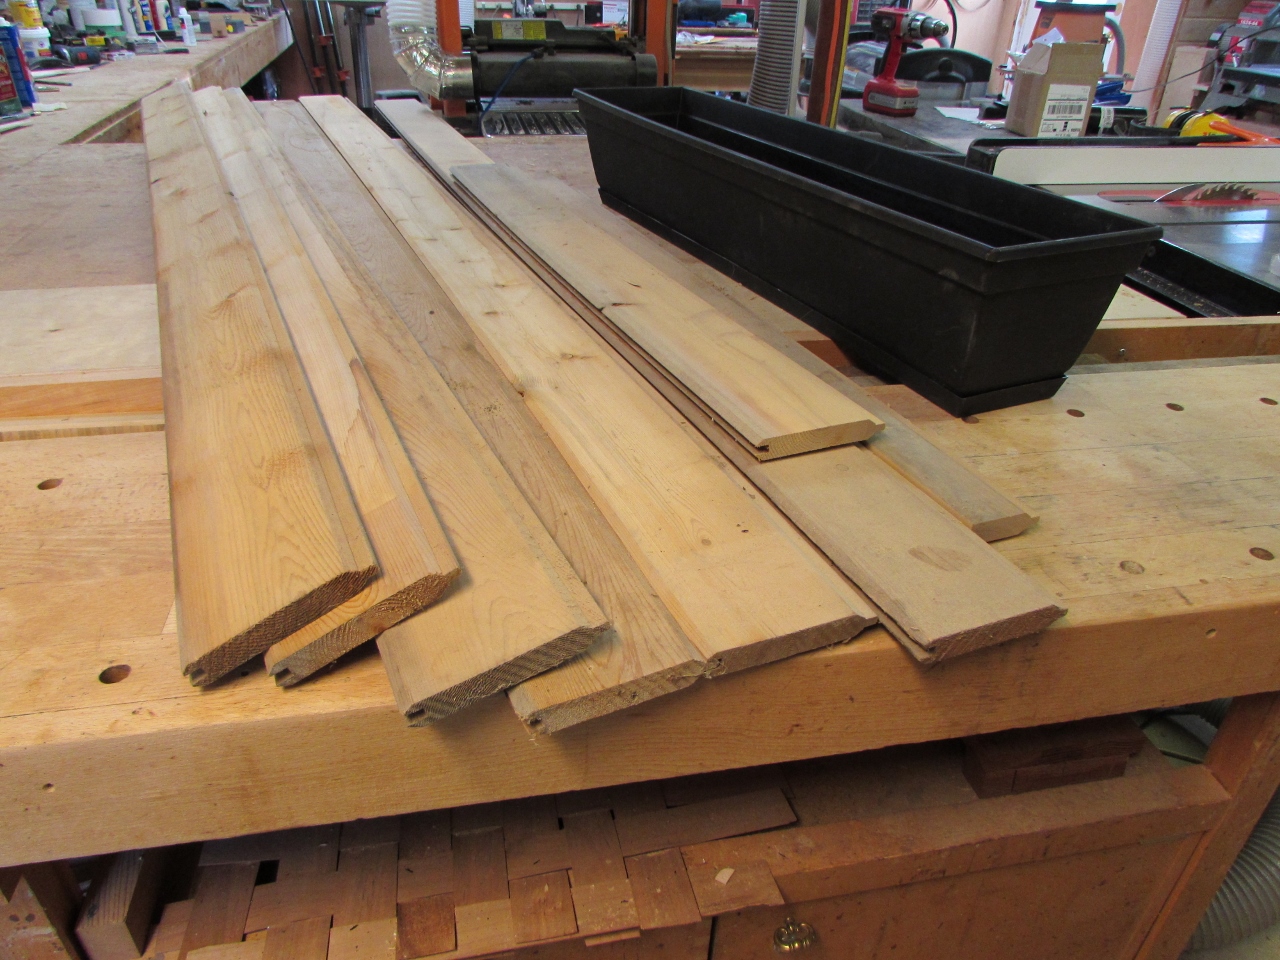
Scrap cedar siding and a window box
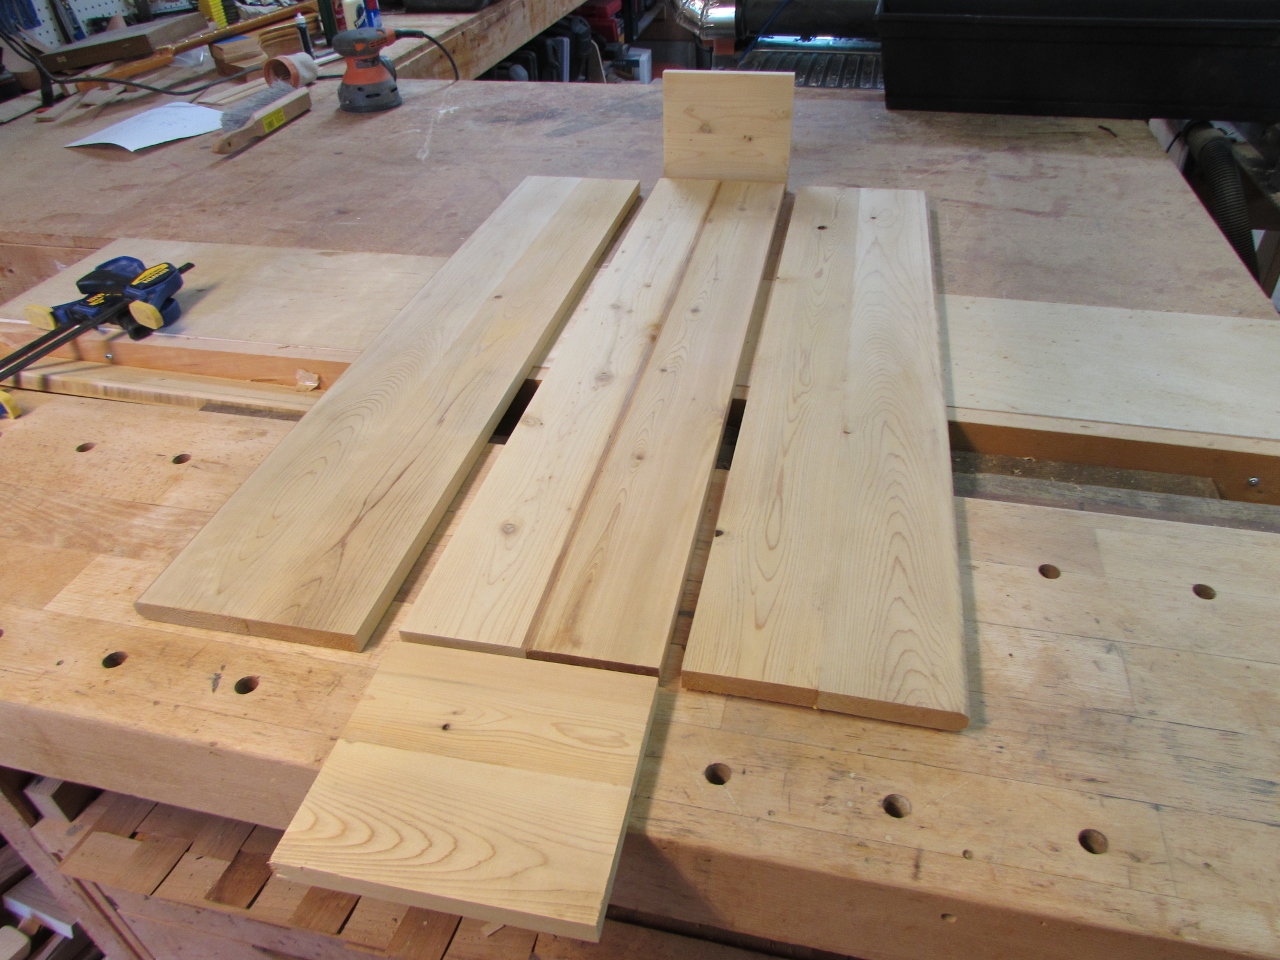
I measure the box and cut six pieces of siding to 37″ long. These will be the long sides and the bottom.

Cutting the cedar to length
The siding has a tounges and groove profile, but it was designed to allow for expansion and contraction, not to act as a glue joint.

Not going to use that joint
I sat down and sketched out exactly what I needed, so I could make the best use of the pieces that I had.
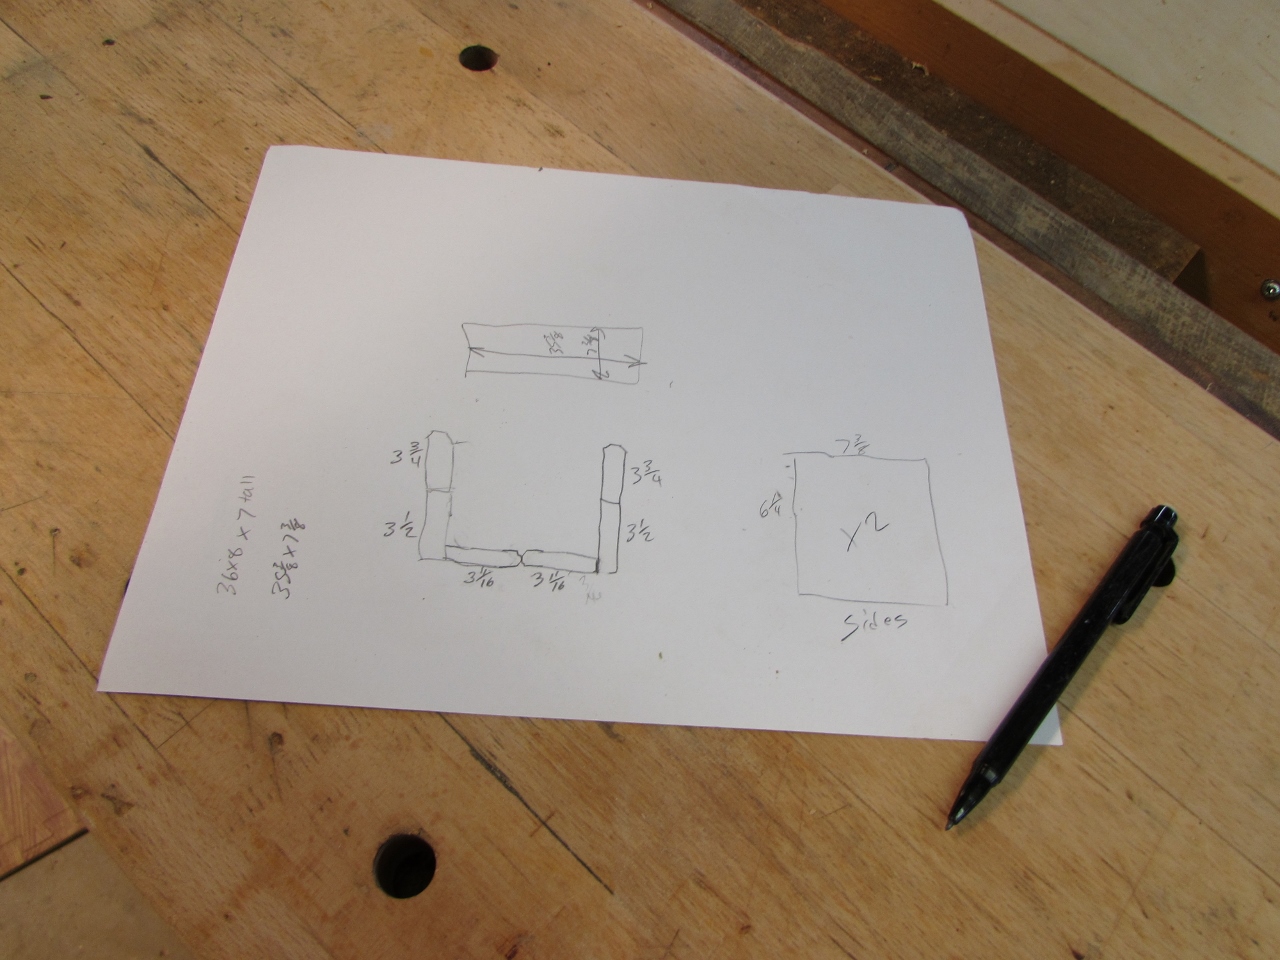
Quick sketch of my plans
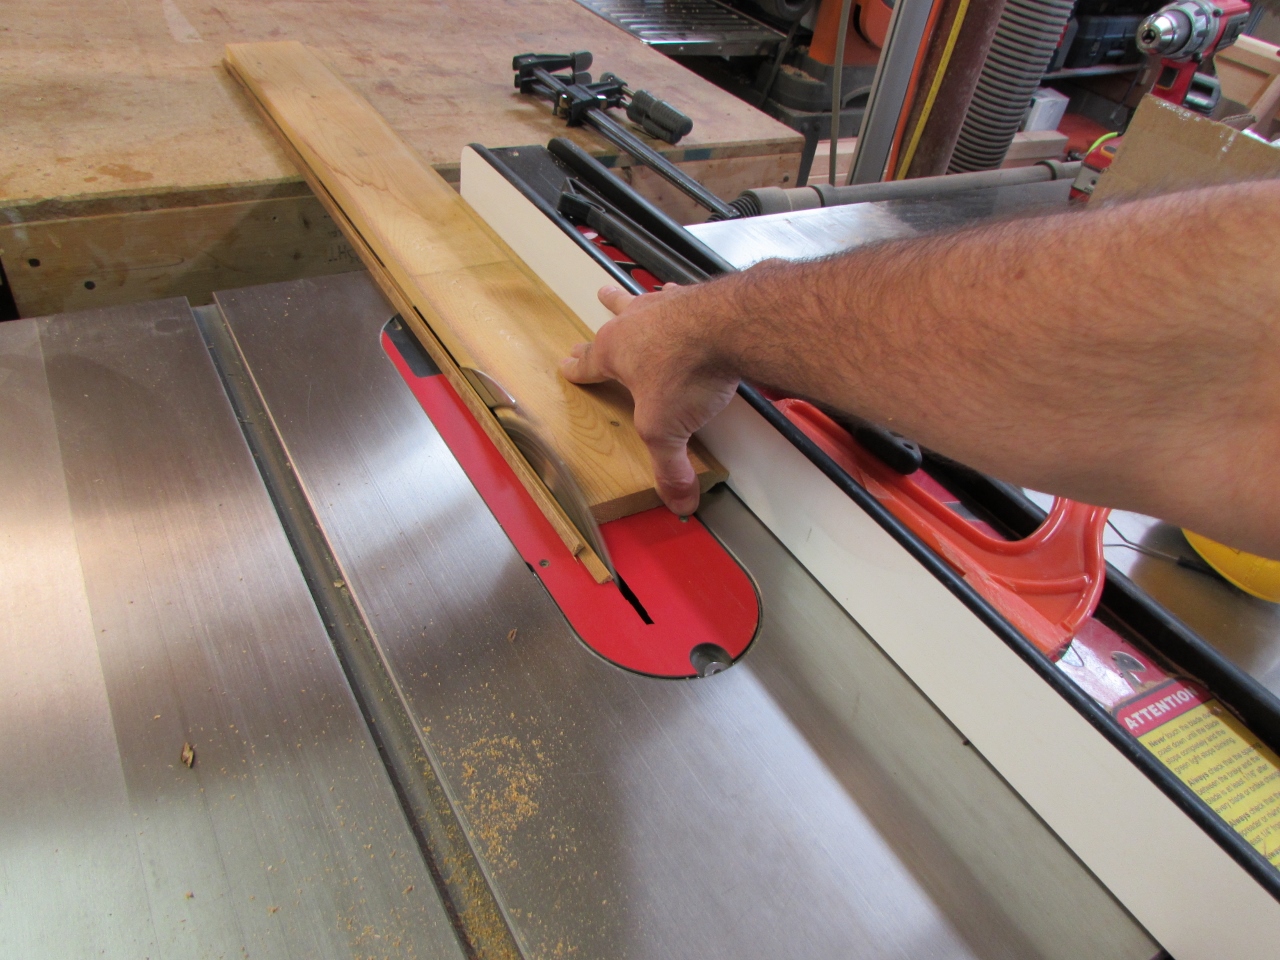
Ripping off the grooves
I decided rip off the tounges and the grooves to create a good solid face for gluing.

Ripping off the tounges
I also cut down four pieces to be the end caps.

Cutting the sides

Glueing up the panels
I glued together all of the separate panels and let them dry for an hour or so.

Drying…
While they were drying, I went to the hardware store to pick up the hardware I would need.

Scraping away the excess glue
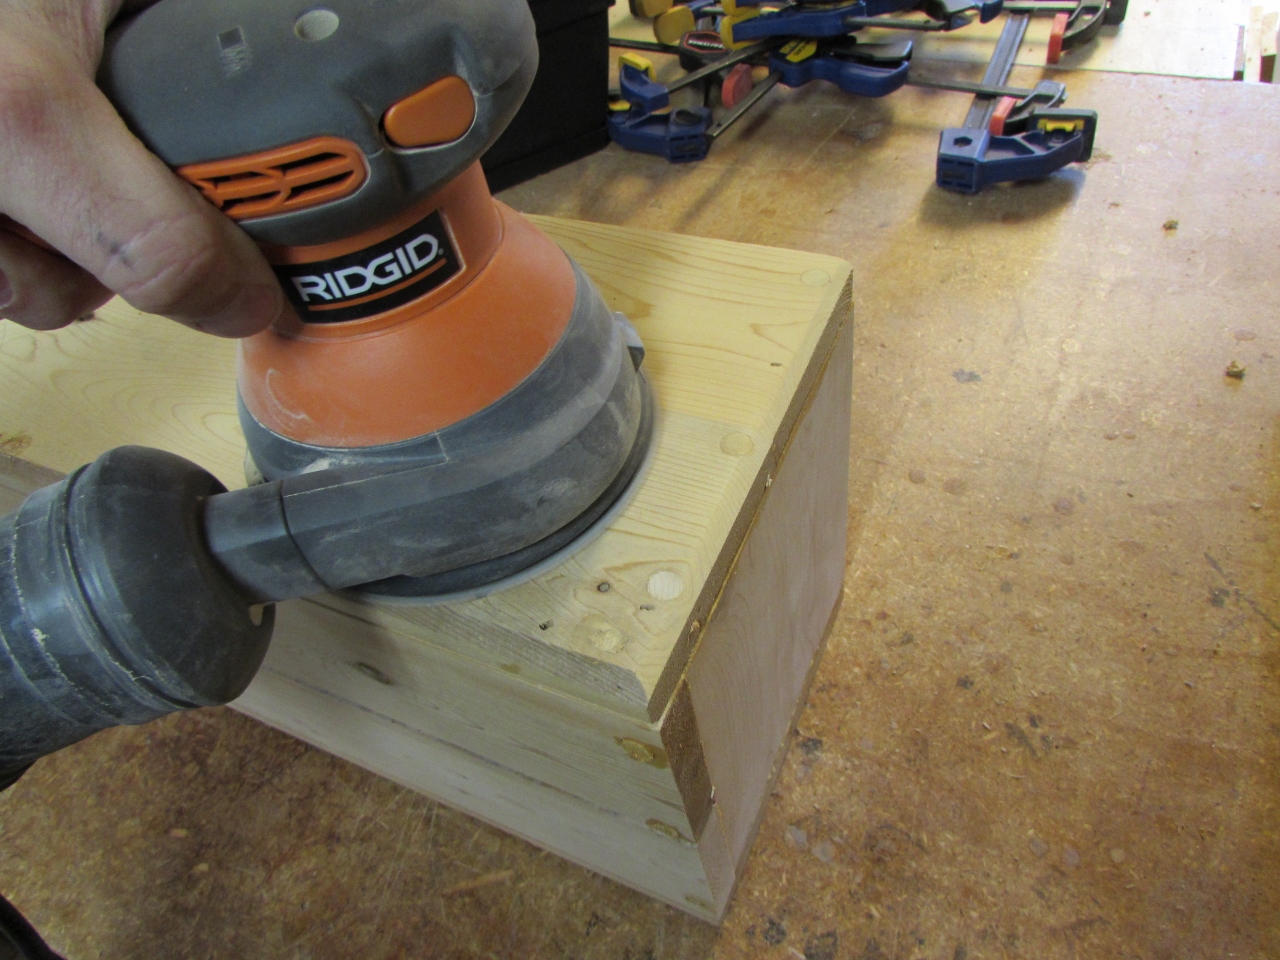
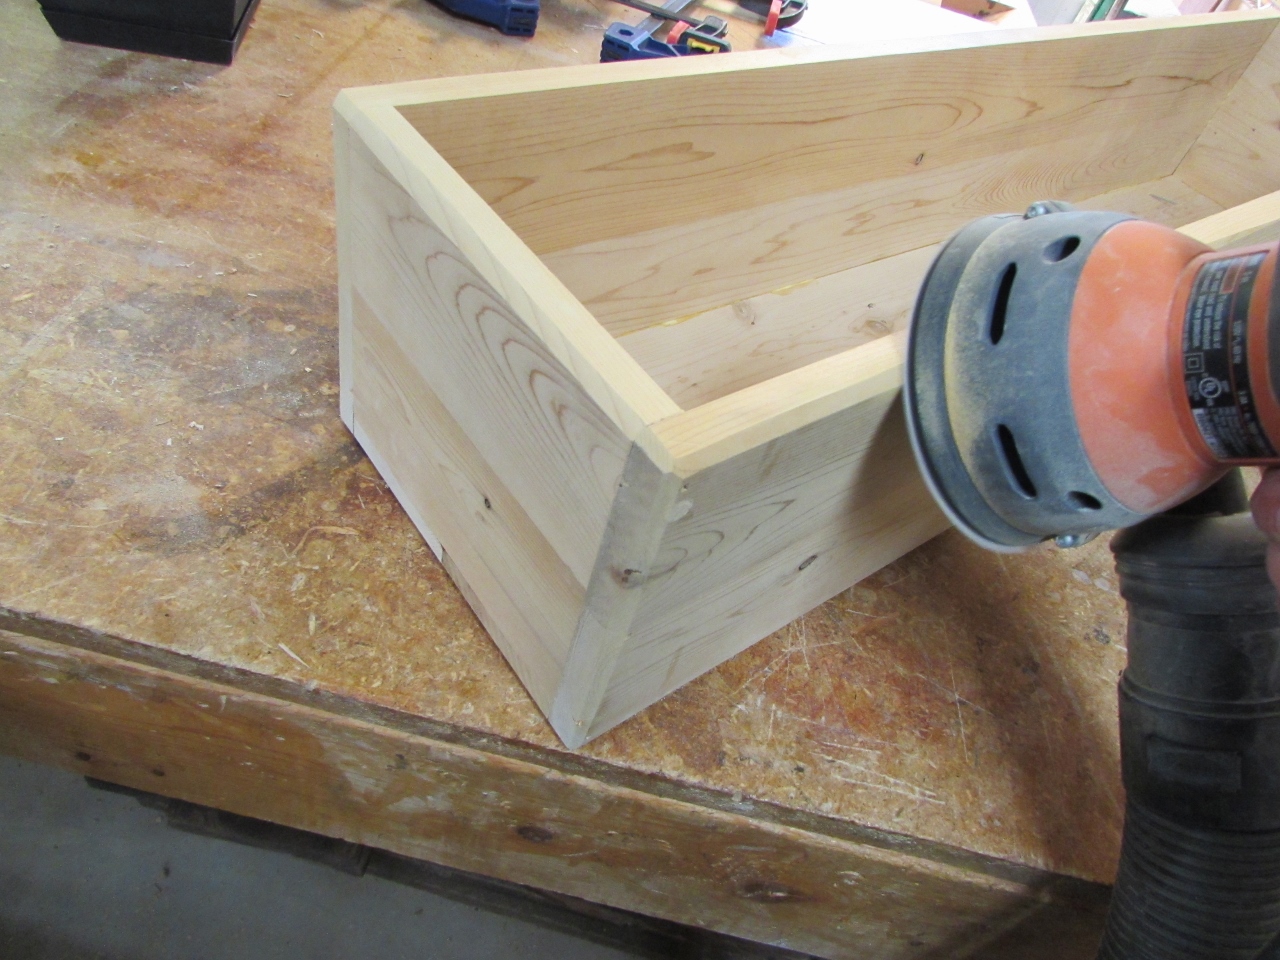
When everything was dry enough to remove the clamps, I scraped off the excess glue with a wide chisel and sanded down all of the panels.
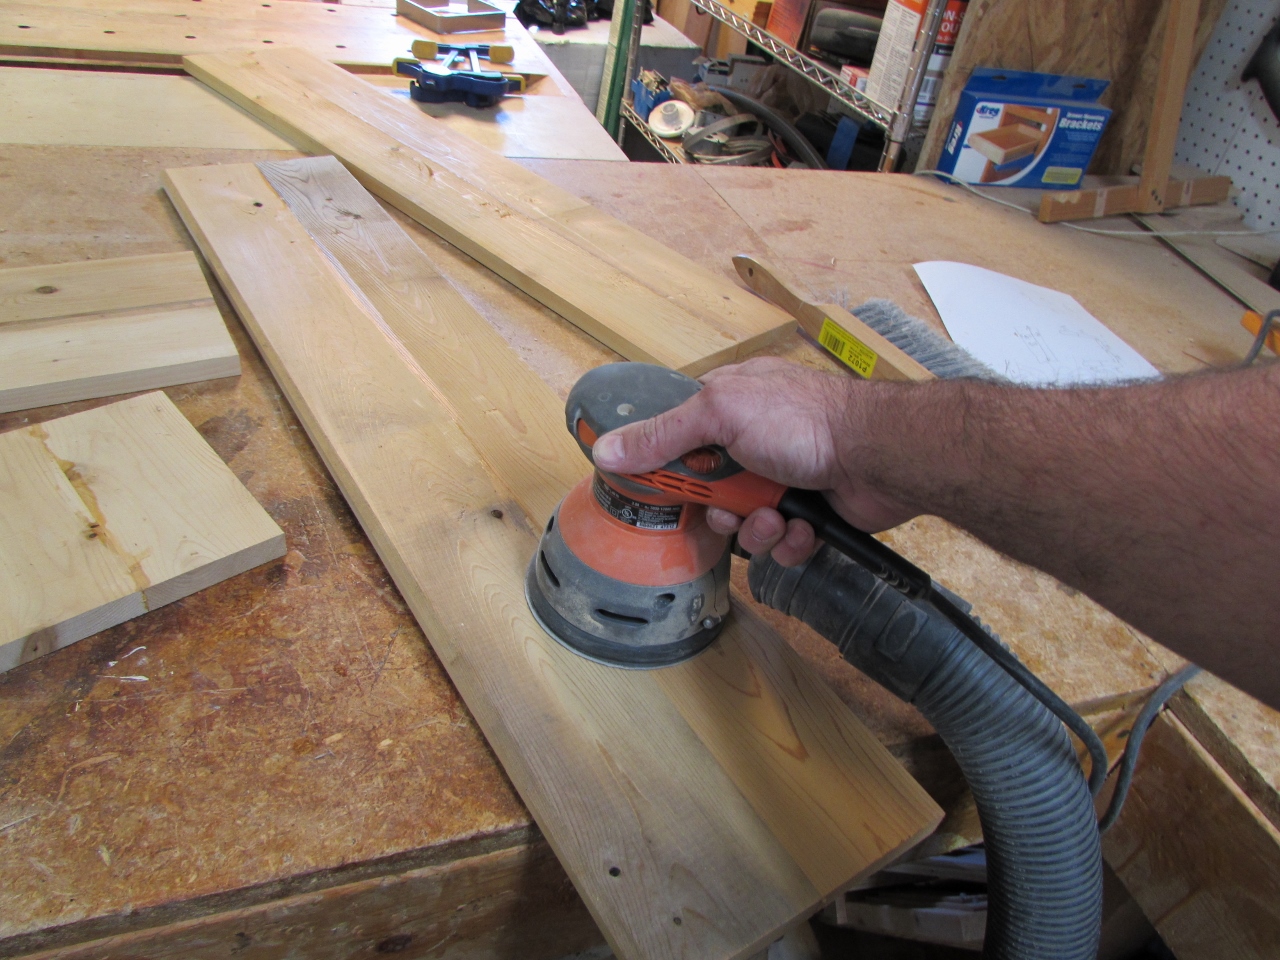
Sanding with 80 grit
Cedar is really soft so I only used 80 grit paper. It worked really well taking off the glue and the grey weathered surfaces.
Laid out
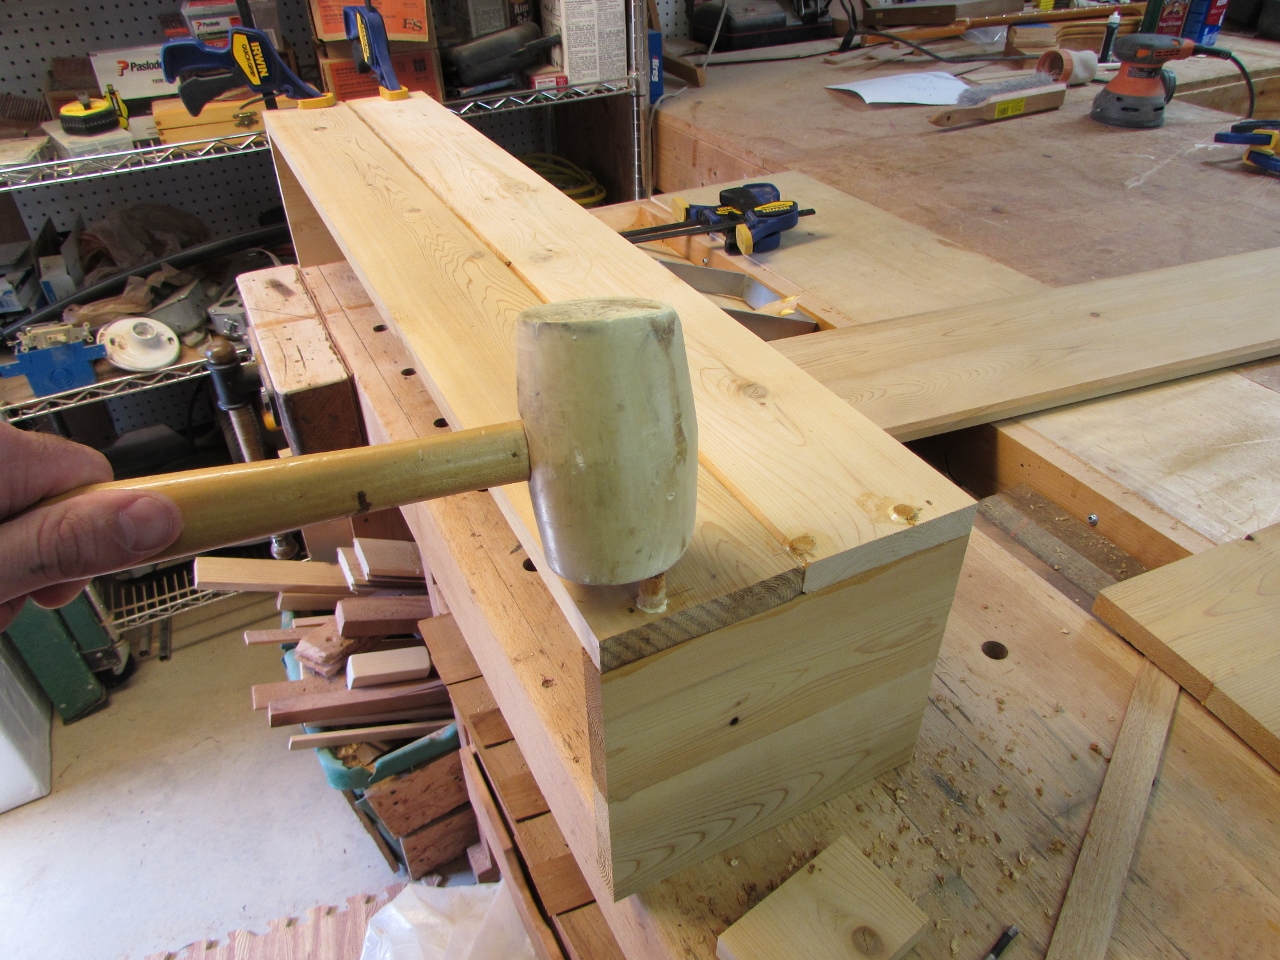
I applied a little glue to the bottom of the end caps and tacked them in place with my 16 gauge brad nailer. The glue is Titebond II and the nails are galvanized, so everything should hold up well out in the weather.
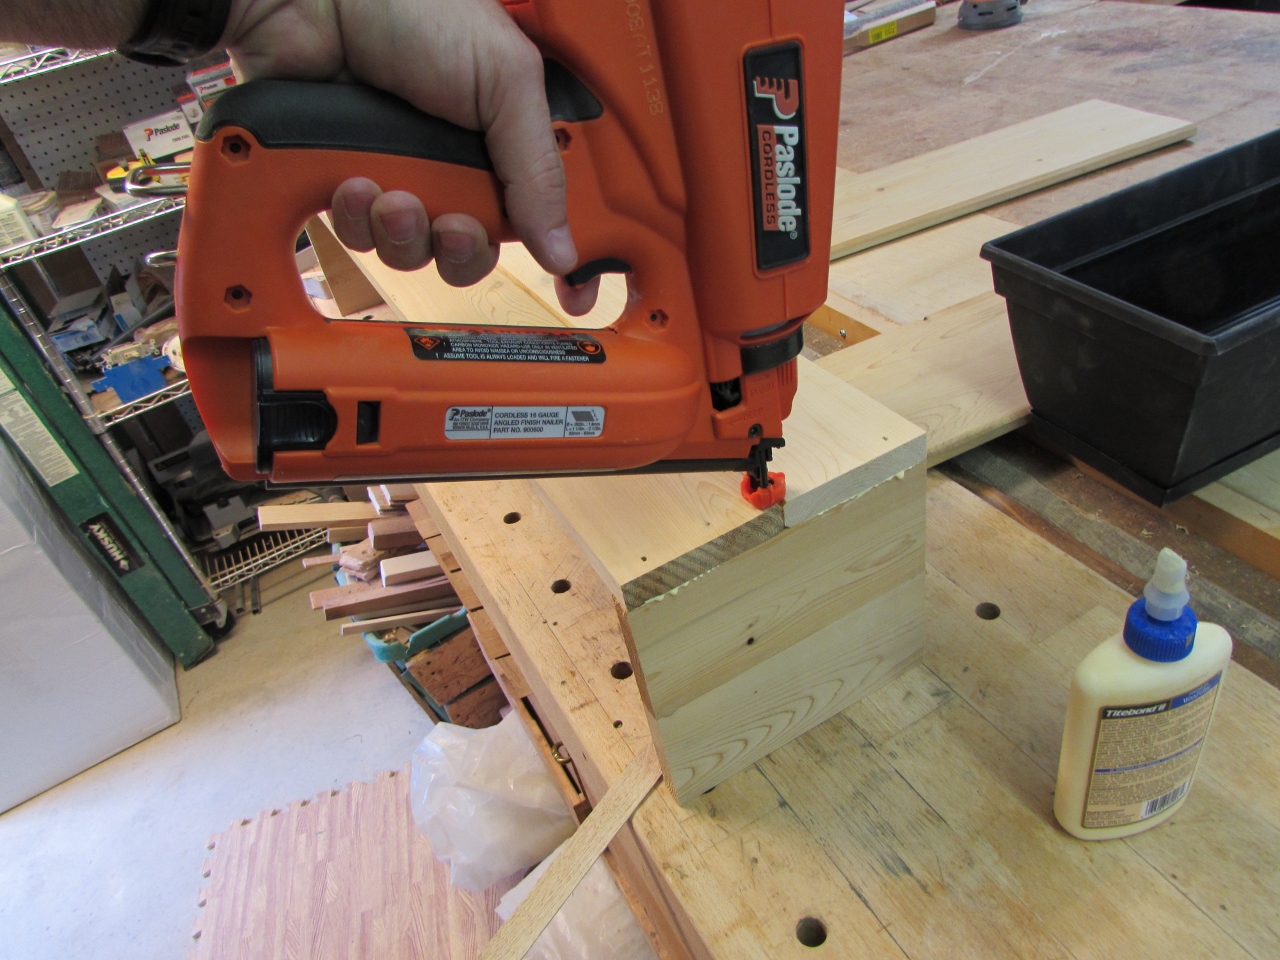
Tacking sides in place with brads
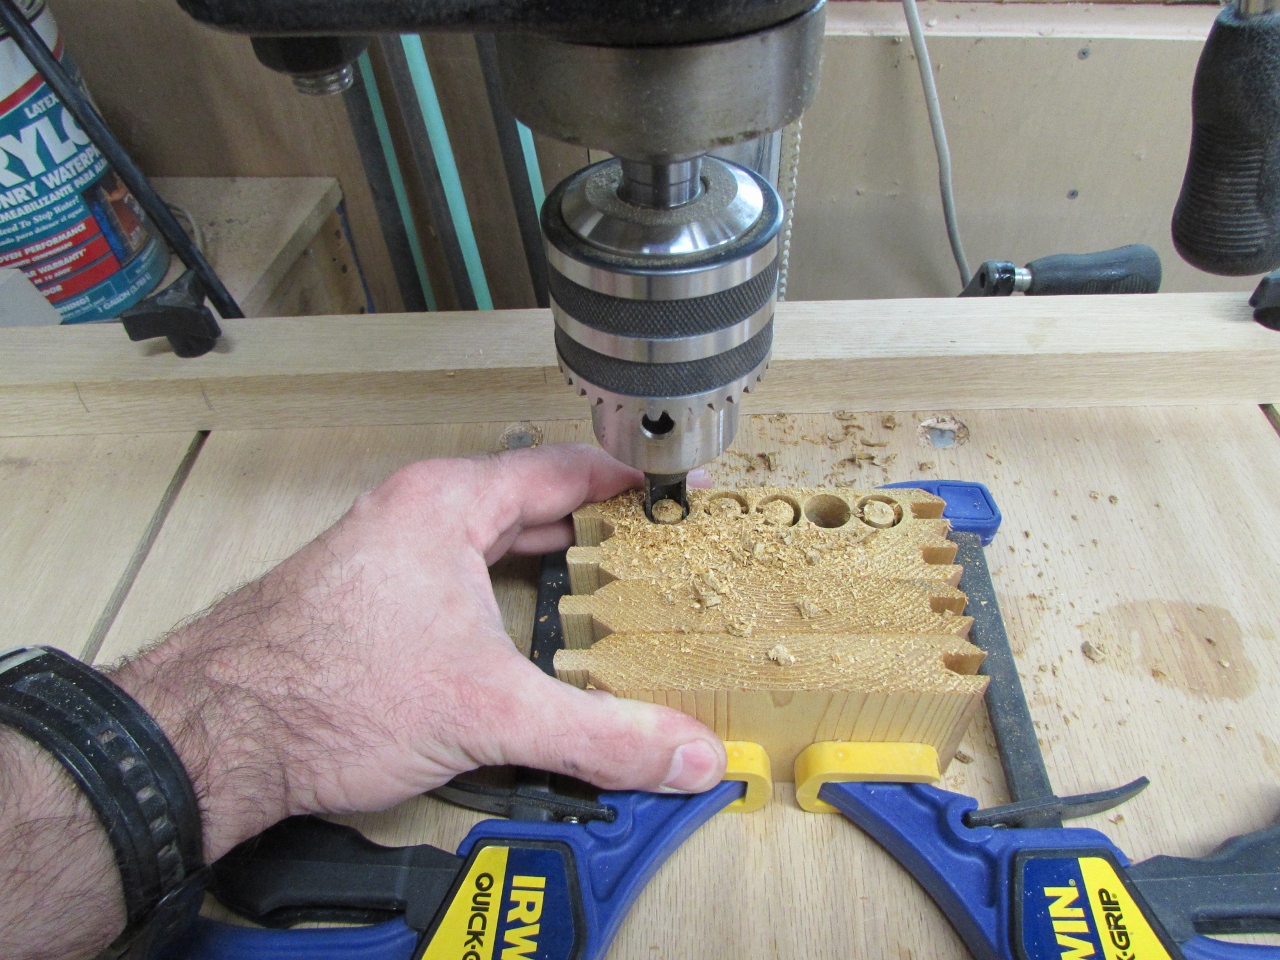
Making end grain plugs for dowels
Since there will be a large amount of wet dirt in the box, it will probably be fairly heavy. To add a bit more support, I want to pin all the joints together with dowels. since I don’t have any cedar dowels, I decided to make some. I cut and clamped up a bunch of scrap pieces of cedar, with the end grain pointing up and down. Next, I used my plug cutters to create 1″ long plugs at 3/8″ and 1/4″ in diameter.

Lots of plugs
I cut off the part that was still connected to the plugs and they came away free.
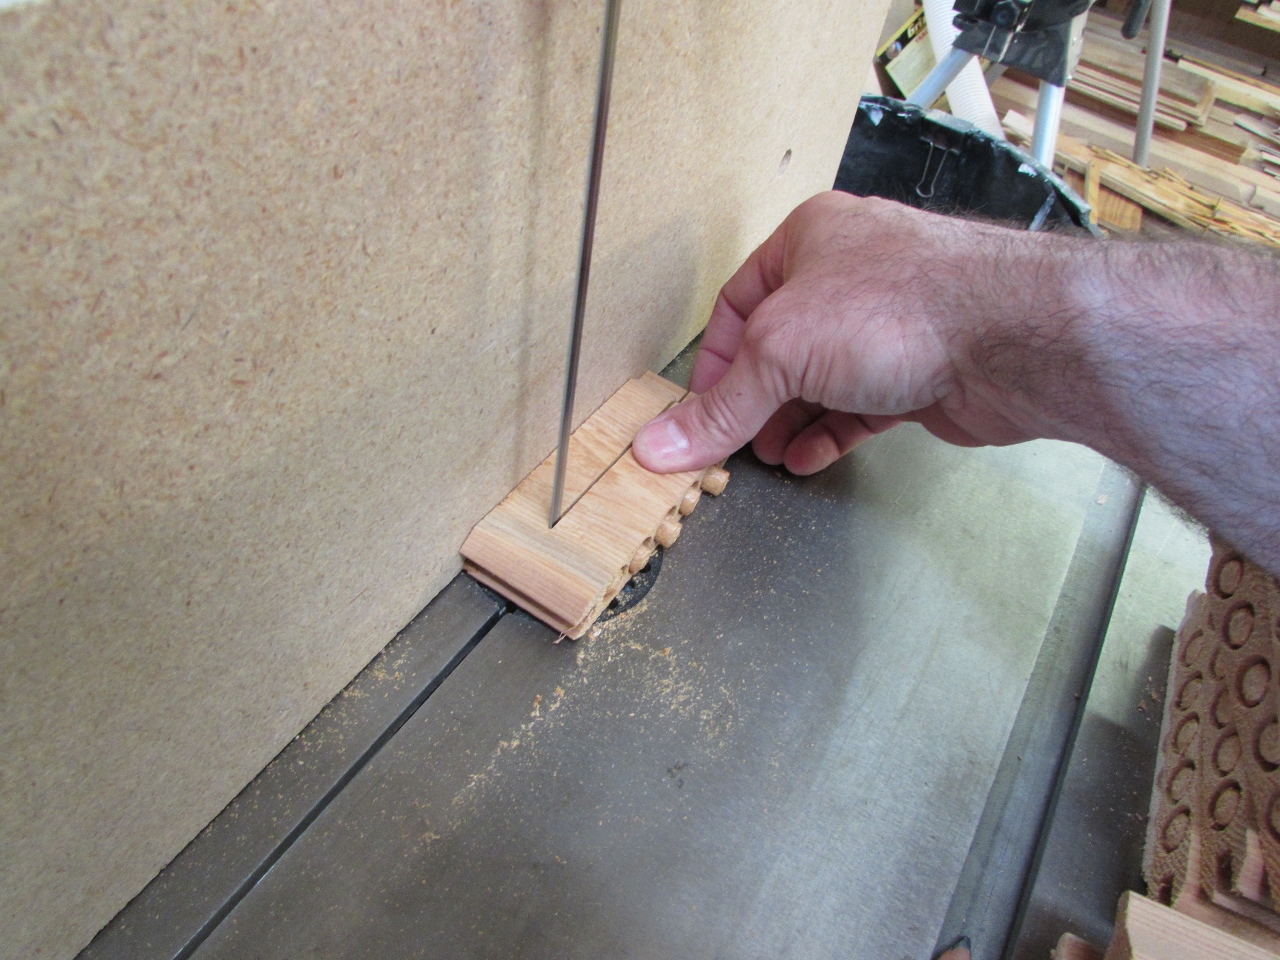
Cutting the plugs free
I cut more than I needed because I didn’t know how they would turn out. They were a bit fuzzy, but straight and strong.
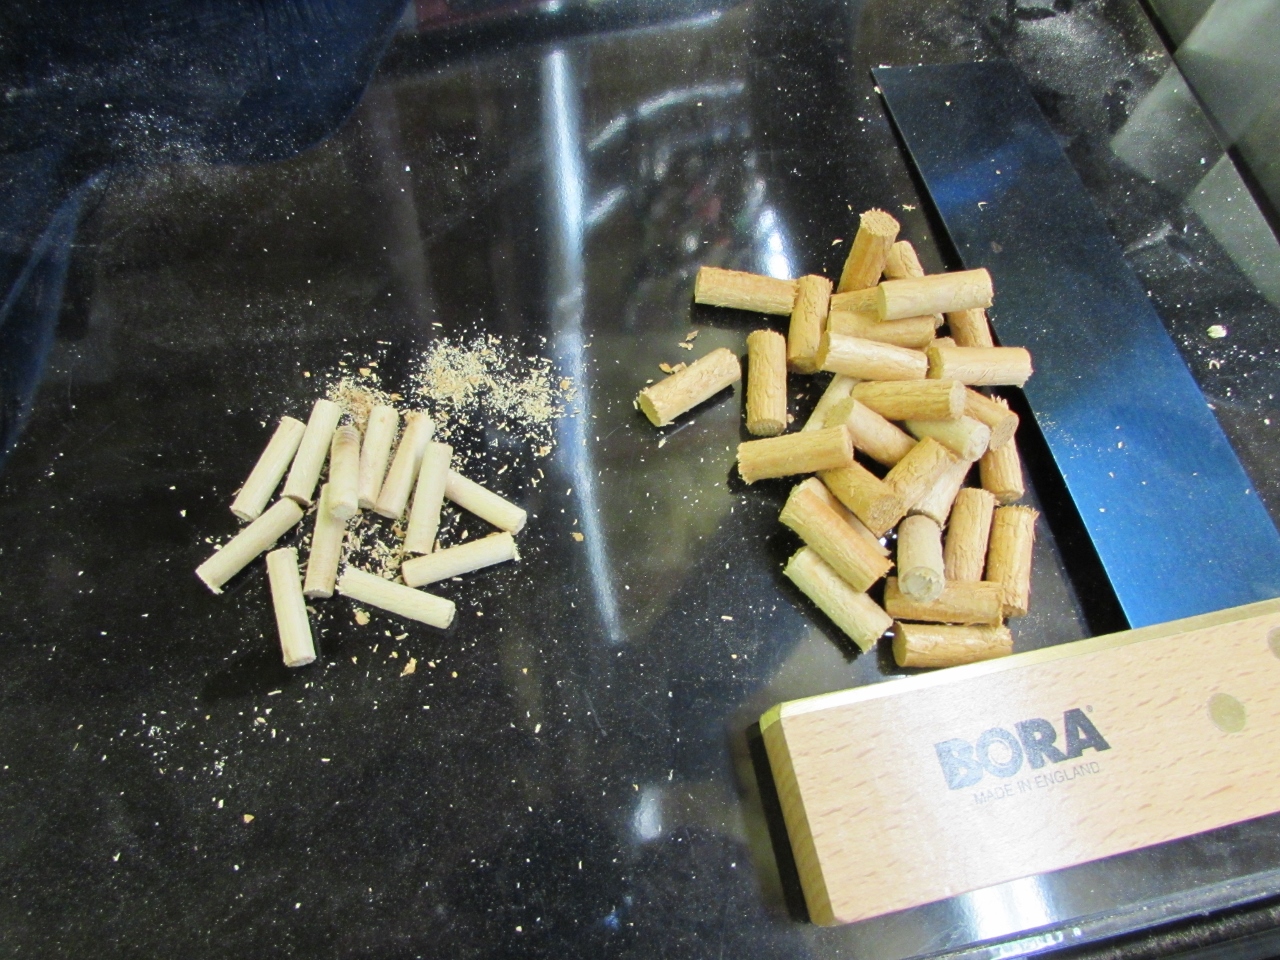
1/4″ and 3/8″ x 1″ long dowels

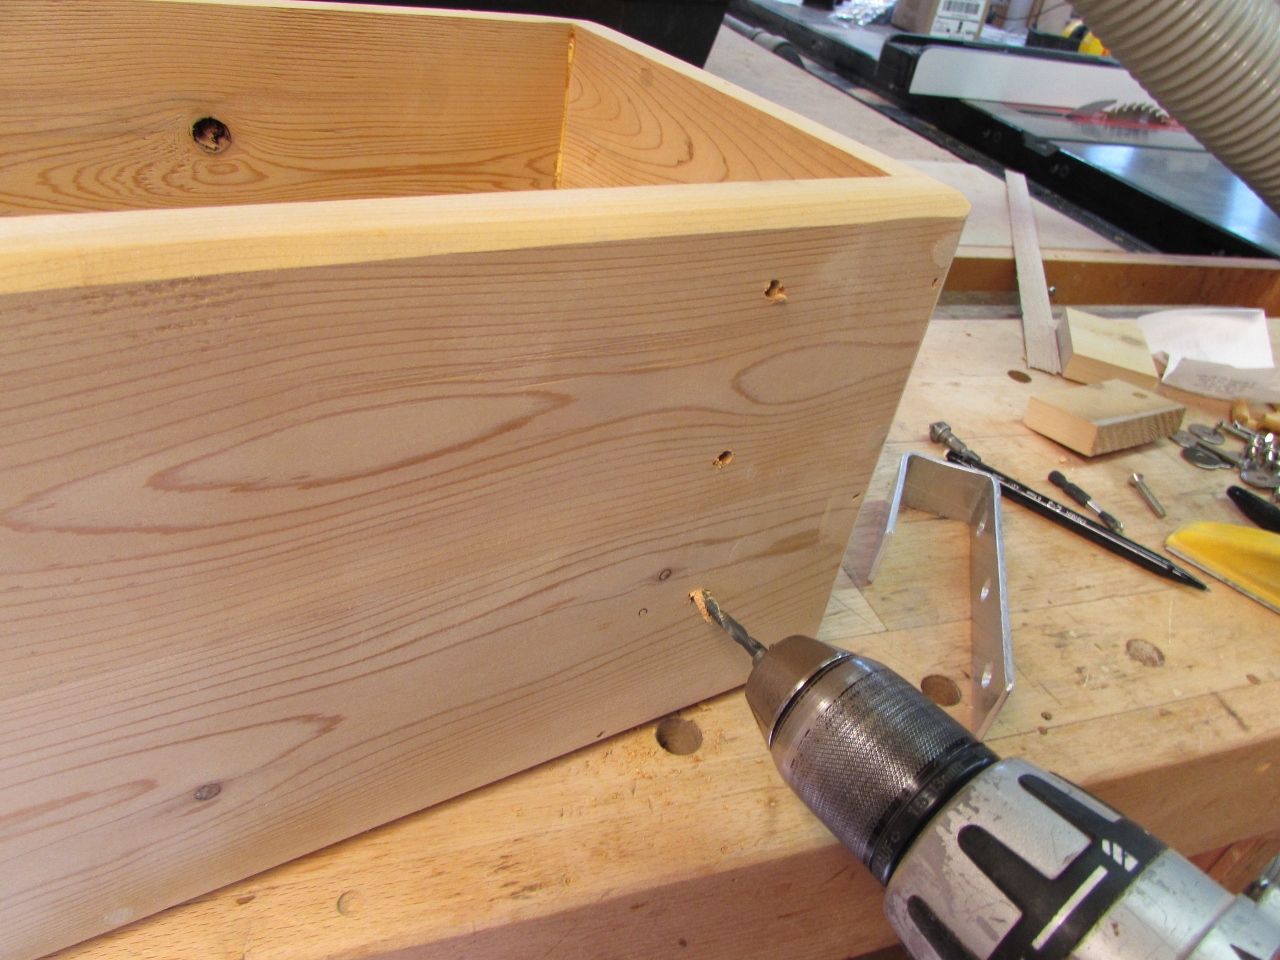
Marking the depth
The next step was to mark the depth of the dowel, on my drill bit, then start drilling holes.

Drilling the holes for the dowels
I put glue in the holes and twisted the dowel in, but it made a lot of mess when I tapped them in place.
Setting the dowels on the bottom
I decided to try thinly coating the dowels in glue by rolling them in the glue before inserting them. This worked better, but it was still a little messy.

Applying glue

One side done
I applied glue to all of the joining edges before nailing and doweling them. Hopefully all three of these joining methods will be strong enough together.
Applying glue to the second side
Sanding everything flush
When the glue was dry enough, I sanded all of the dowels and the joints to clean up all the excess glue. I also sanded a 45 degree angle on all of the outside edges.
Adding a 45 degree bevel to the edges
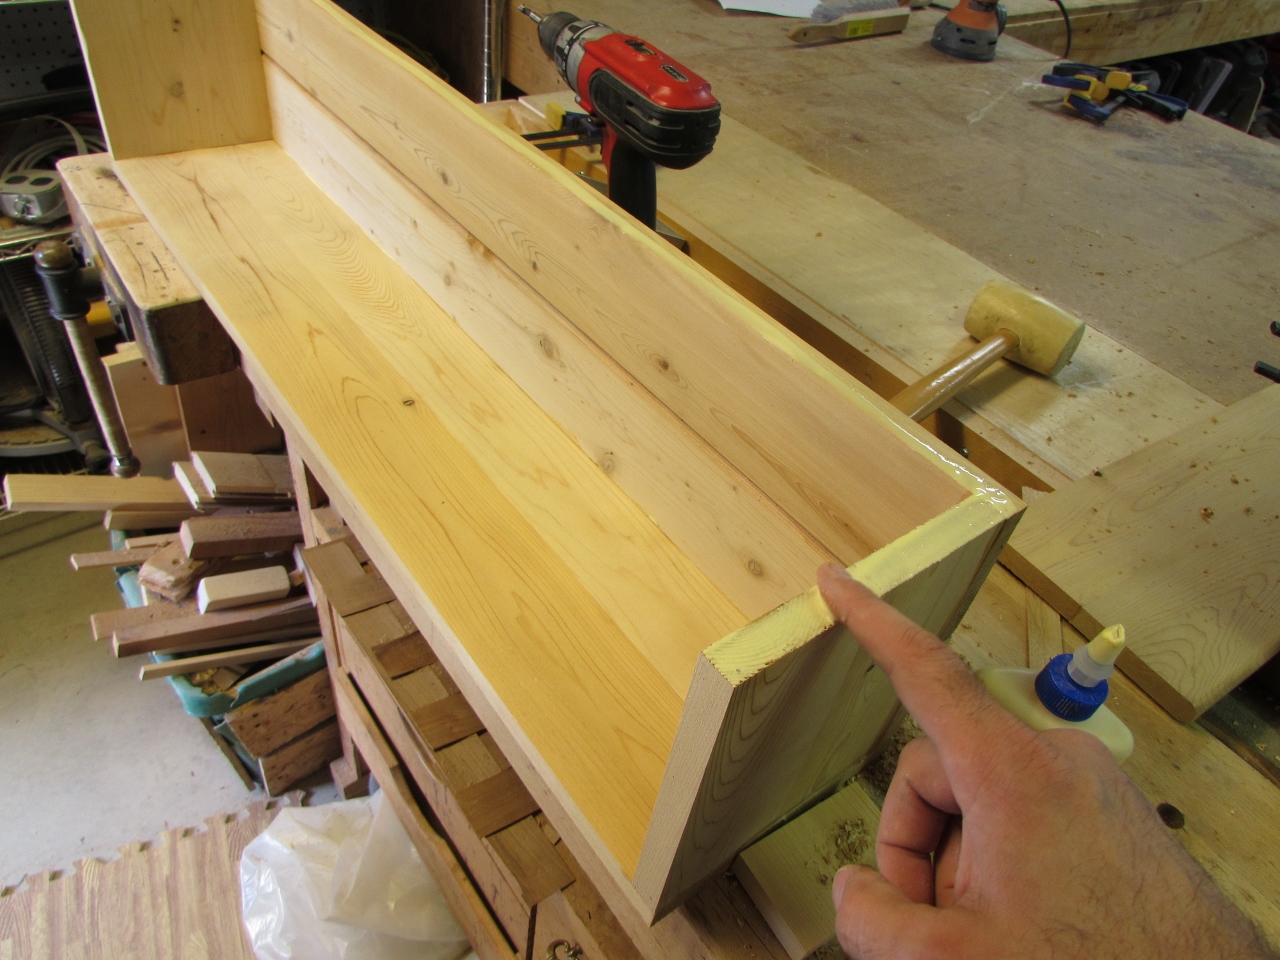
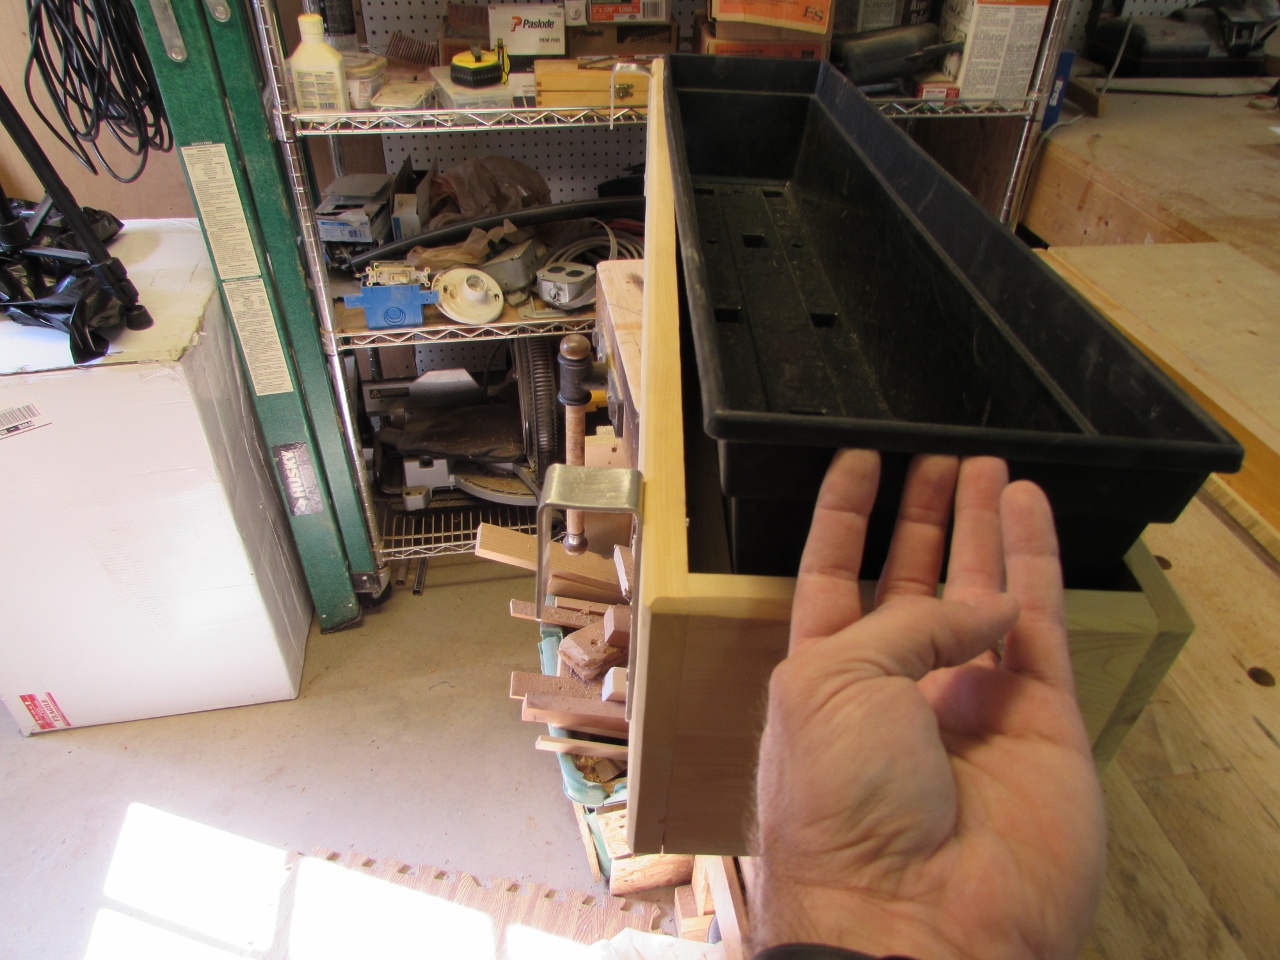
I test fit the window box and it set in there perfectly.

window box fits perfectly
The last thing the box will need is drain holes, in the bottom.

Drilling drain holes
Now for the hanging hardware.

Bending come aluminum hooks
I have a couple of strips of 1″ wide x 1/8″ thick aluminum that will work well for my hanging hooks. I marked and bent them so they could fit around a standard 2″x6″. I just clamped the metal on the line, that I marked, and bent it by tapping it with a hammer. 6″ long on one side and 3″ long on the other. I cleaned up all of the edges with a file.
Filing away the rough edges

Drilling the mounting holes
Next I drilled three holes into each strap. I should have drilled and counter-sunk the holes before I bent the metal, but I carefully bent the hook back out of the way, trying very hard not to bend it at the corners. If I unbent the corners, they would crack.

Counter sinking the holes
After I finished counter-sinking the holes, I gently bent everything back the way it was, and sanded all the edges smooth.

Cleaning up with sand paper
I laid the hook against the box and marked the hole locations with an awl.

Locating the holes
Drilling
Then, I drilled a hole at each point.
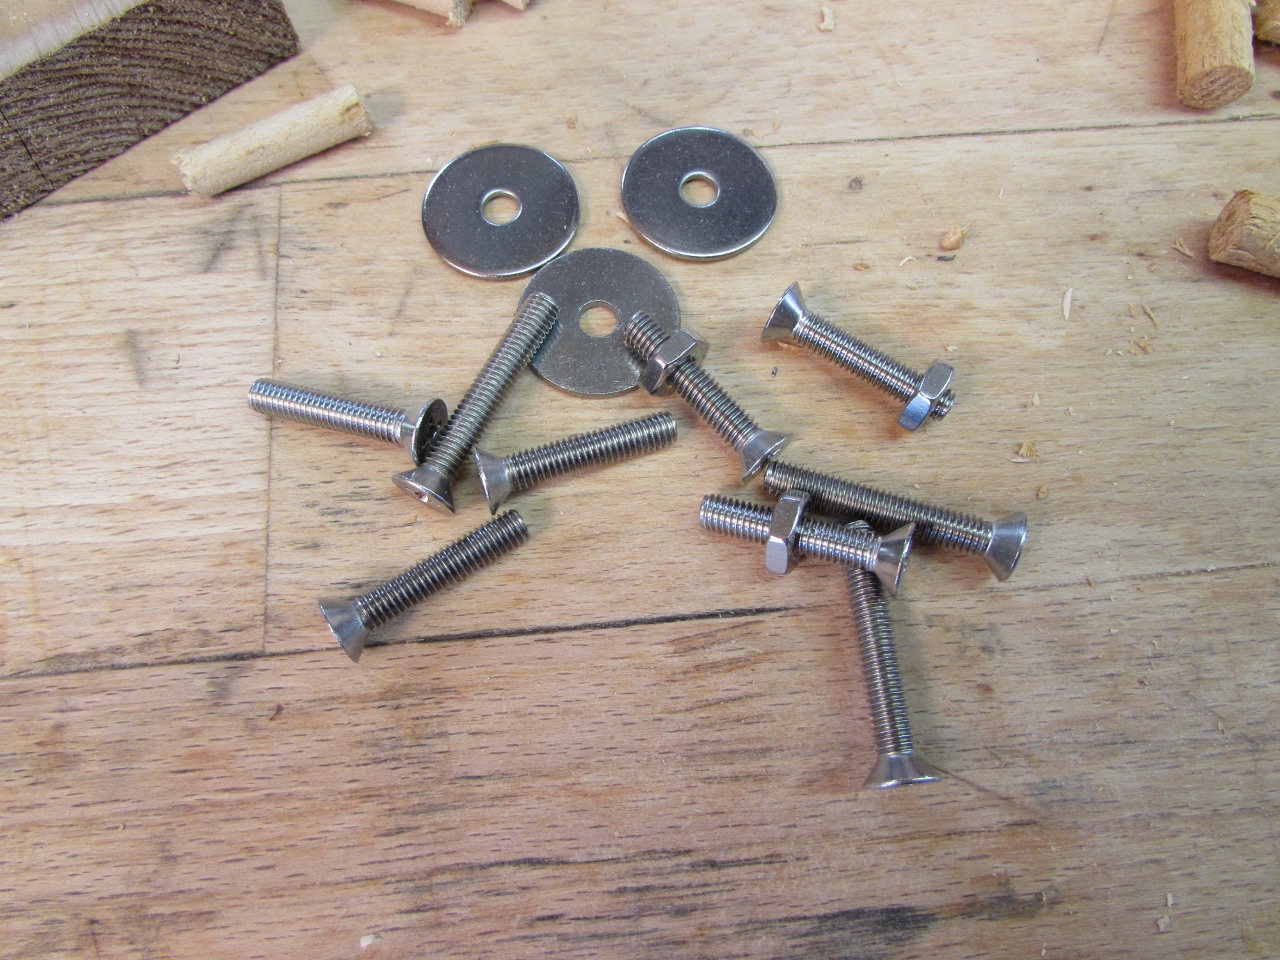
Stainless steel hardware
I bought 1″ and 1-1/4″ screws for the mounting. I wanted to use the shorter ones, but everything was just too thick, so I had to go with the longer ones.
1″ screws are too short
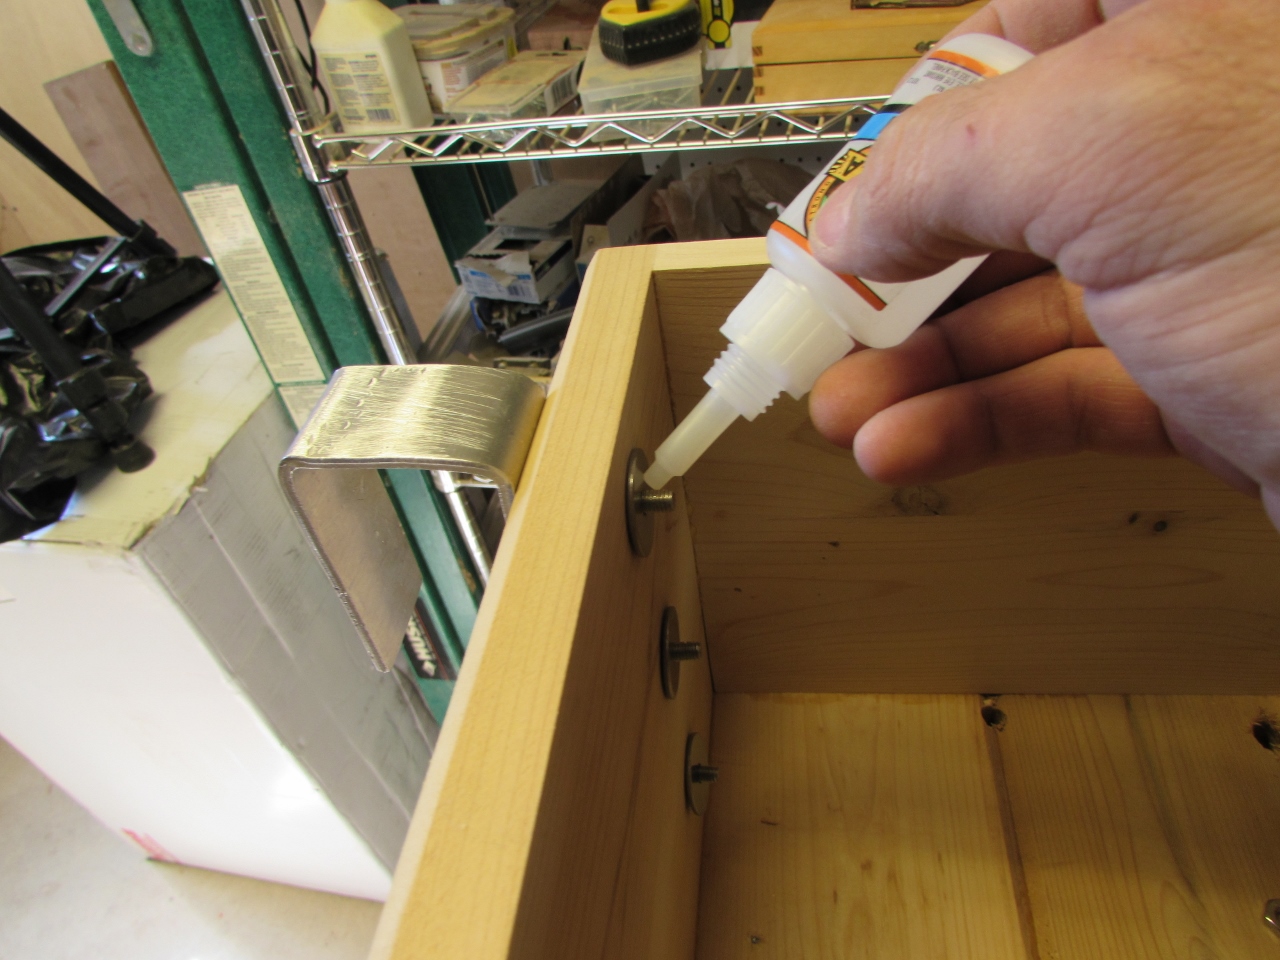
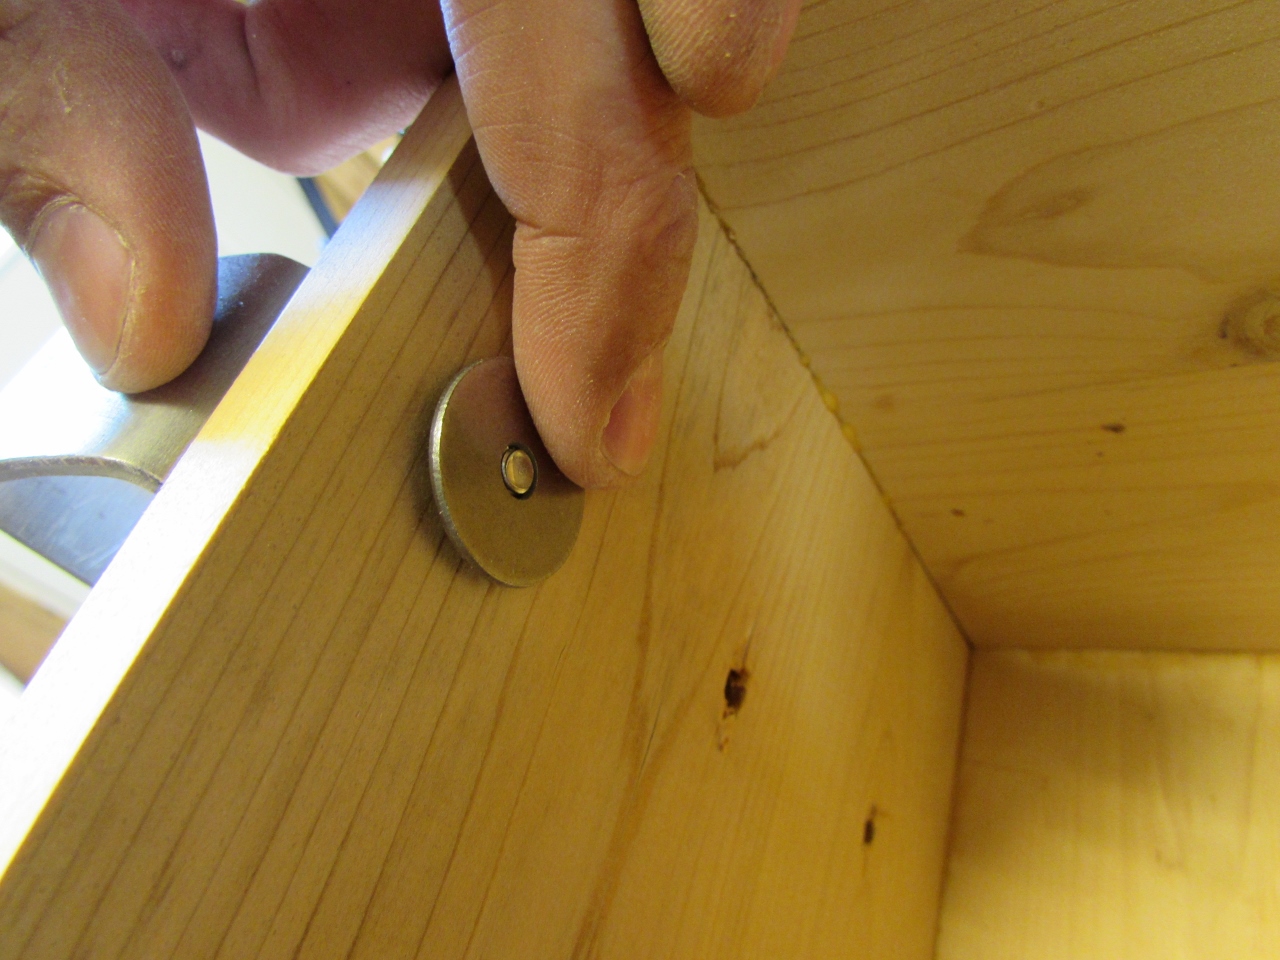
Adding CA glue to lock the nut
I used a little CA glue on the threads before tightening the nuts, to hopefully prevent them from loosening up over time.

Glued and tightened
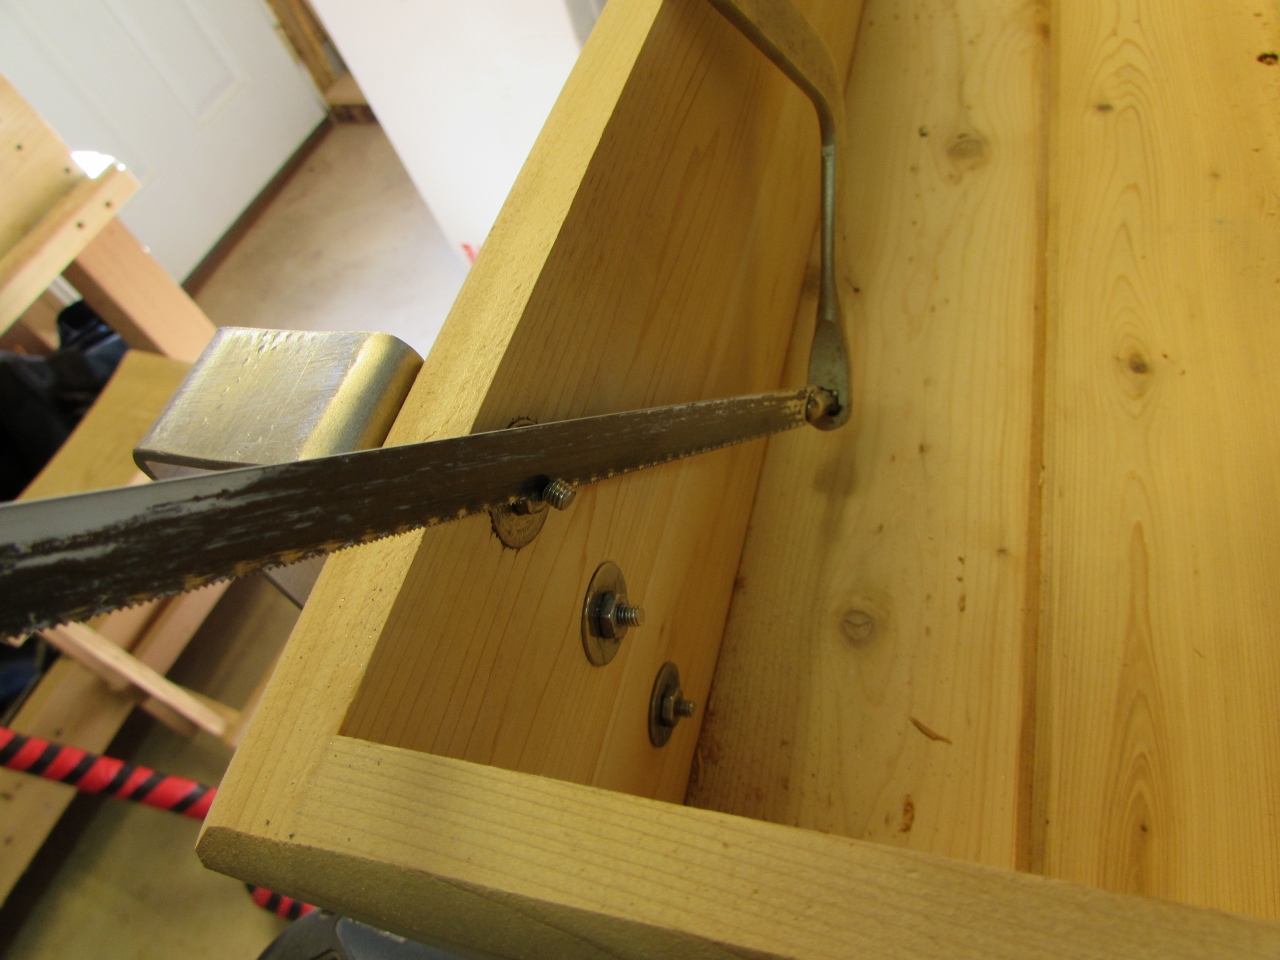
Cutting the top screws flush
Since the window box is tapered, I had to cut back the top screws a bit. After that, everything fit perfectly.
Fit test
My top rail is a vertical 2″x6″. A lot of deck rails have a horizontal rail. You could easily bend the aluminum to accommodate that as well. You could even screw the hook to the rail if you are worried about it moving.

Hanging from the rail

Can be hung on the inside
I wanted to be able to move mine, and take it down over the winter.

Or from the outside
I hung mine over the outside of the rail and made sure the drain holes were only along the front edge, so the water wouldn’t drip on the deck.
I chose the outside so it won’t
drain on the deck
If my wife likes this one, I have enough cedar to build more…

The wife loves it!! Thanks honey!