
Making pick guards on the CNC
My friend Rick asked me to make a couple of pick guards for some electric guitars that he is repairing. I thought this would be a good project for my Carvewright CNC. He gave me a tracing and a broken pick guard to work from. I scanned them both and redrew them in AutoCAD. I exported them to DXF files that I could import into the Carvewright software. After about an hour or two of drawing, I had the files ready for the carver.
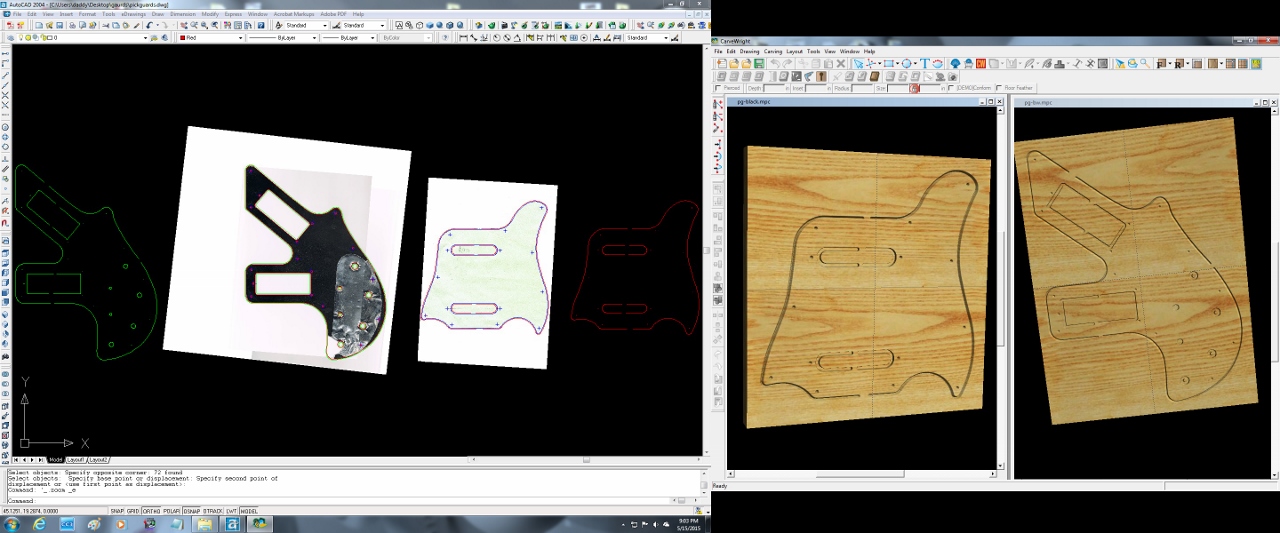
Cad program screen capture
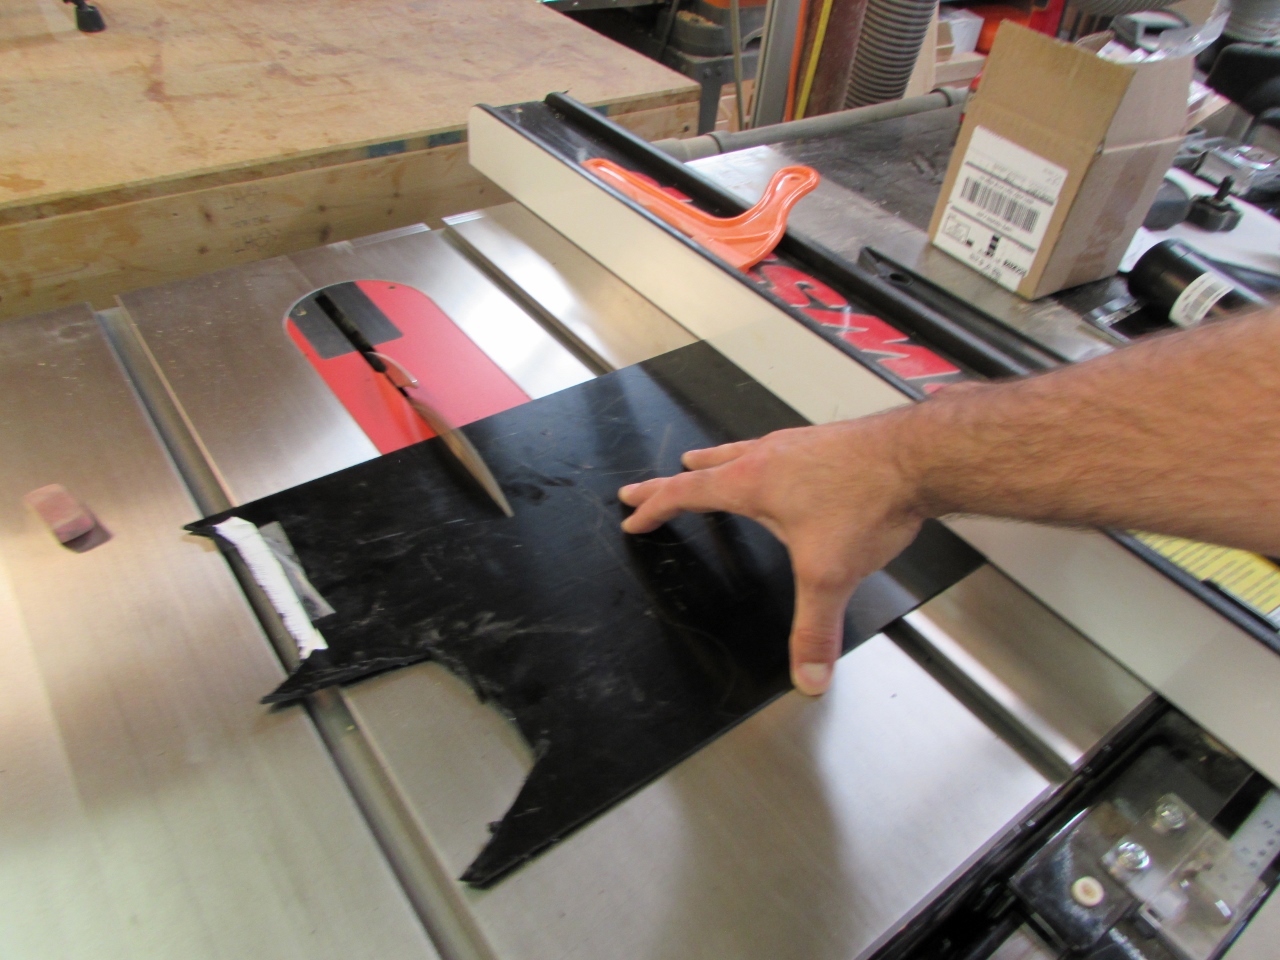
Trimming down the plastic
I cut the plastic sheeting, that Rick gave me, down to the sizes I wanted.

Size check
Next, I grabbed a scrap piece of plywood from my old work bench, that I just tore down in the garage. Man, the blue paint on that board takes me back 20 years. It was from the paint, on the trim, of my oldest son’s bedroom when he was first born. He is a sophomore in college now. Time flies…
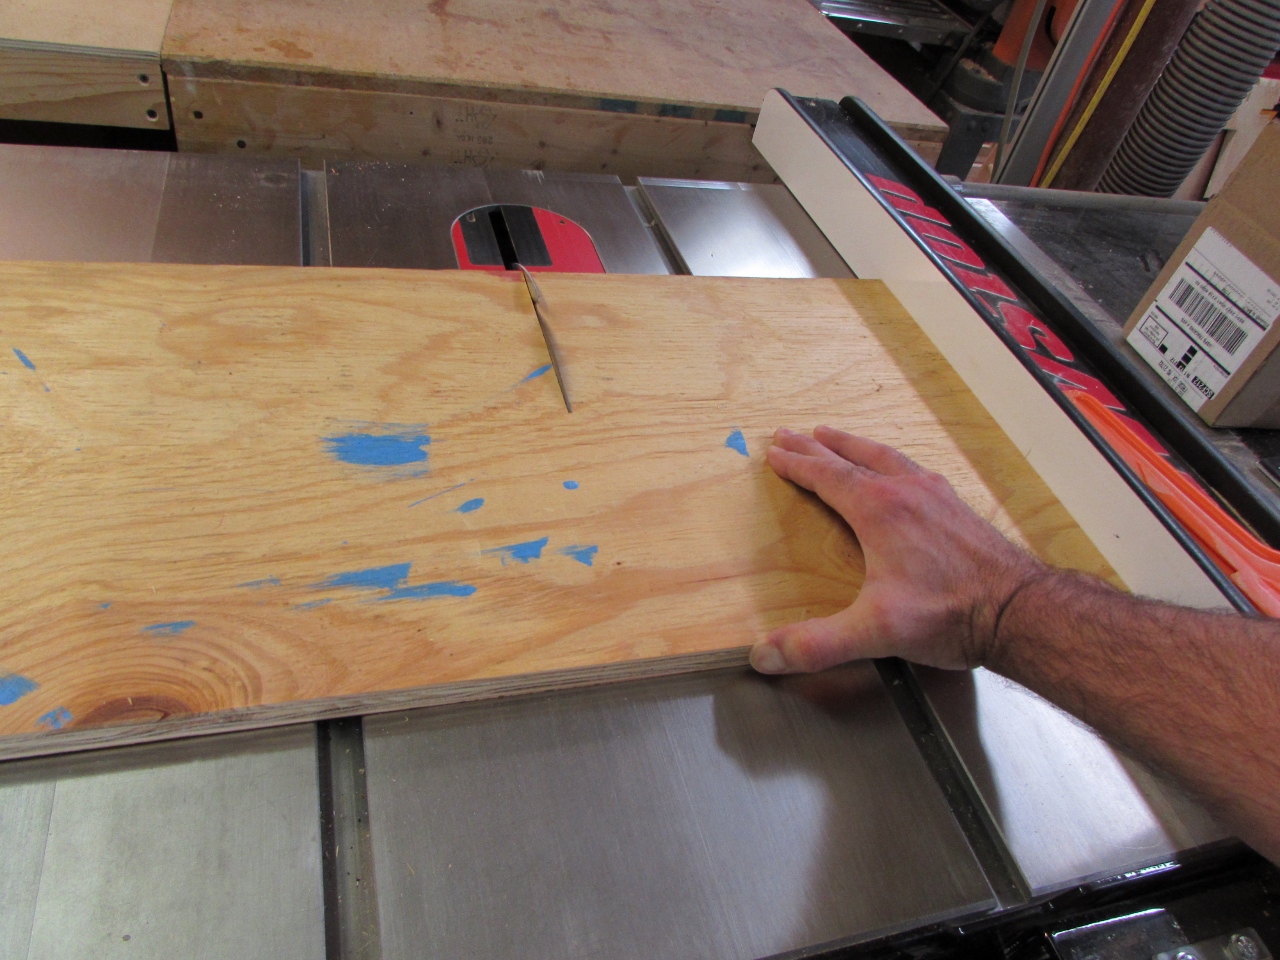
Cutting scrap backer boards
I cut the plywood to the same size as the plastic, then I attached the plastic to the wood with double-sided tape. Since the carver doesn’t carve anything below 1/2″ thick, I have to thicken the plastic up or it will get rejected.

Applying double-sided tape
I loaded the boards into the carver and they got rejected anyway. Apparently the optical sensor couldn’t handle the shiny plastic. I covered the plastic with painter’s tape and ran the carve again, with much greater success.

The CNC doesn’t like the black plastic
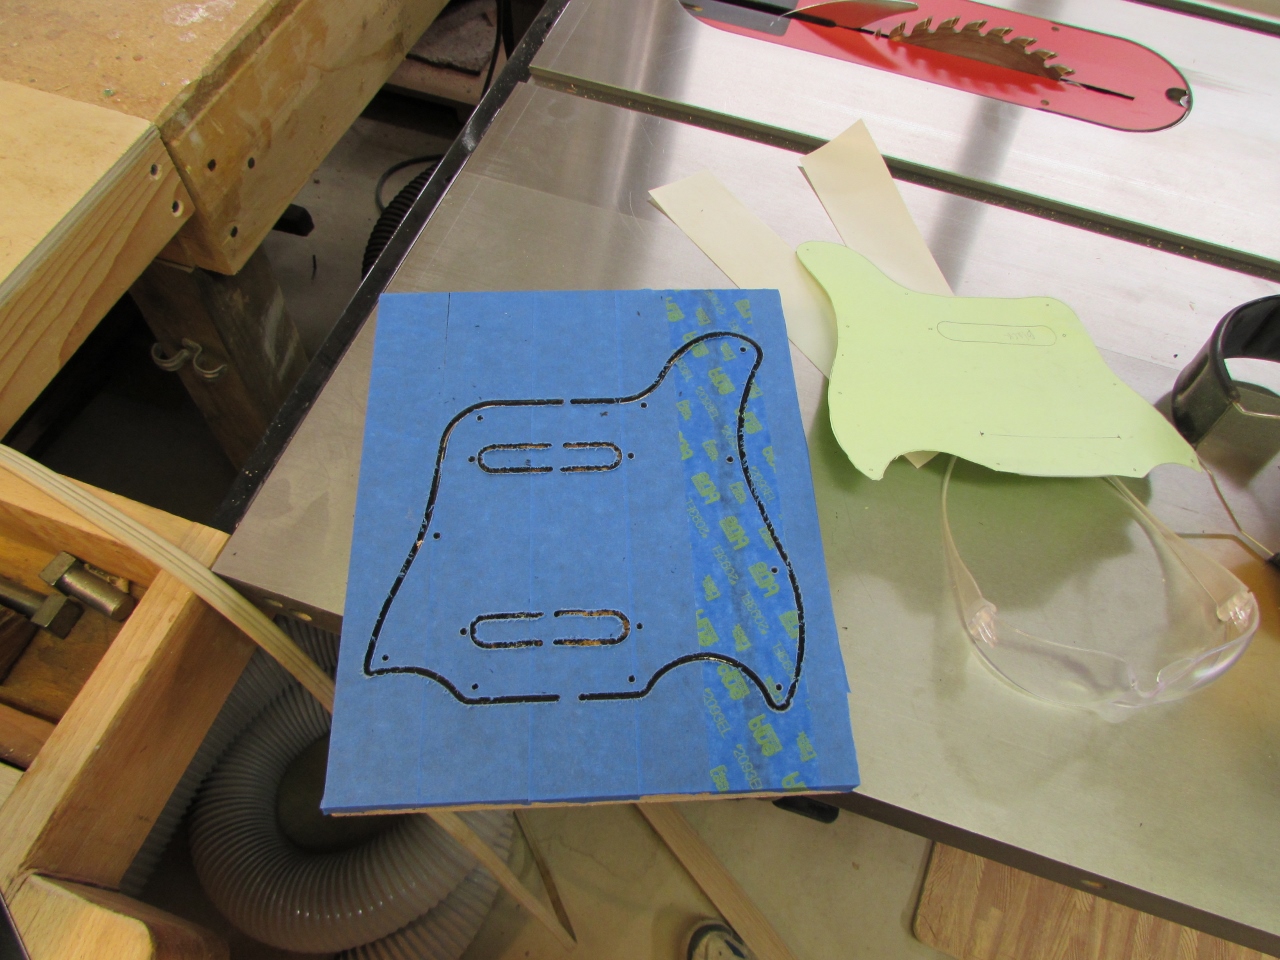
I pulled off all the tape and cut the tabs. When I compared it to the original, I realized that I had mirrored this one, in the software, quite by accident. I don’t think it will be usable, but I don’t have enough extra plastic to re-carve it. The best thing to do was move on to the other one…
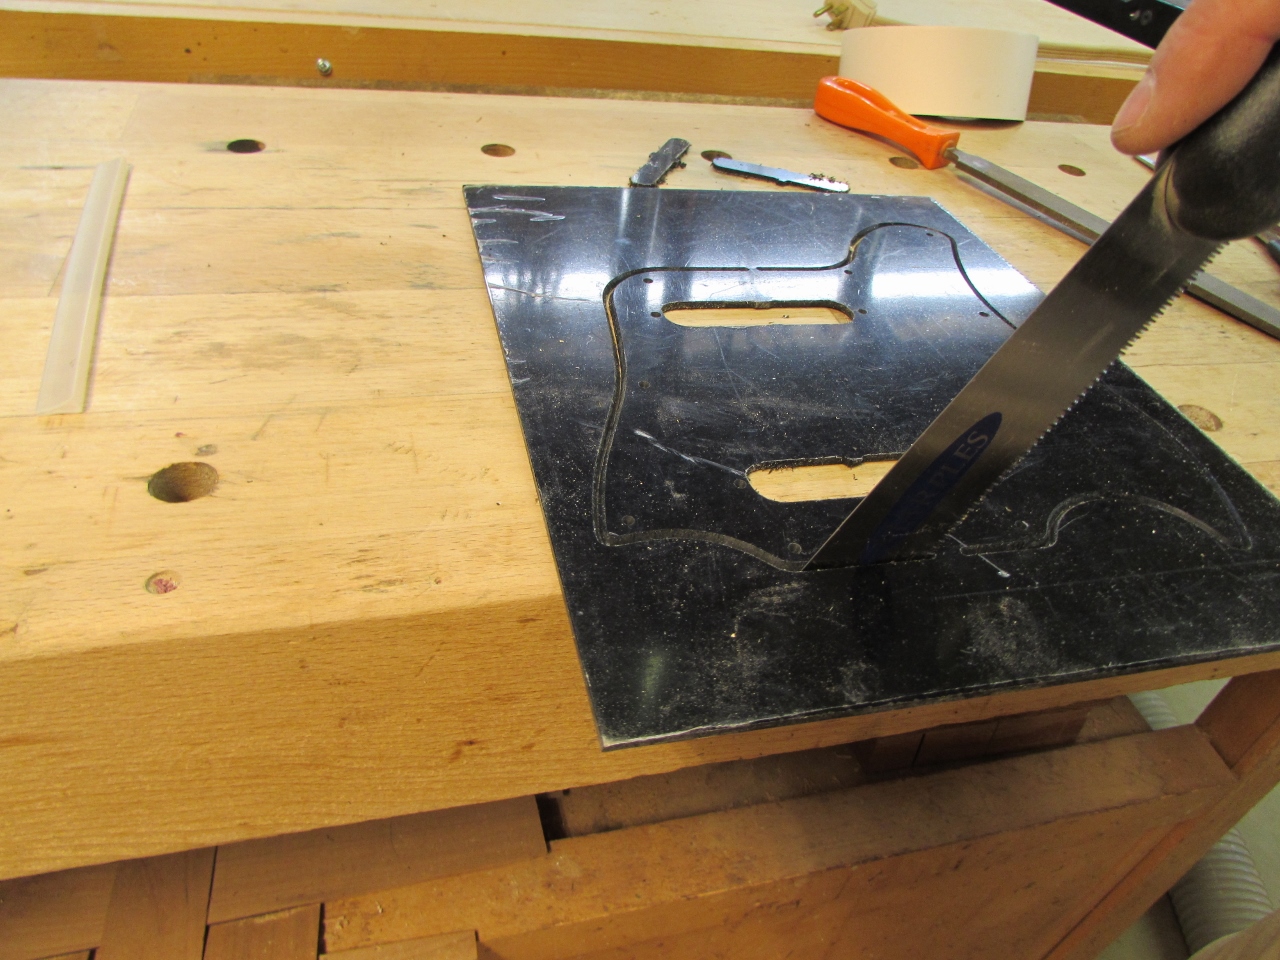
Cutting the tabs
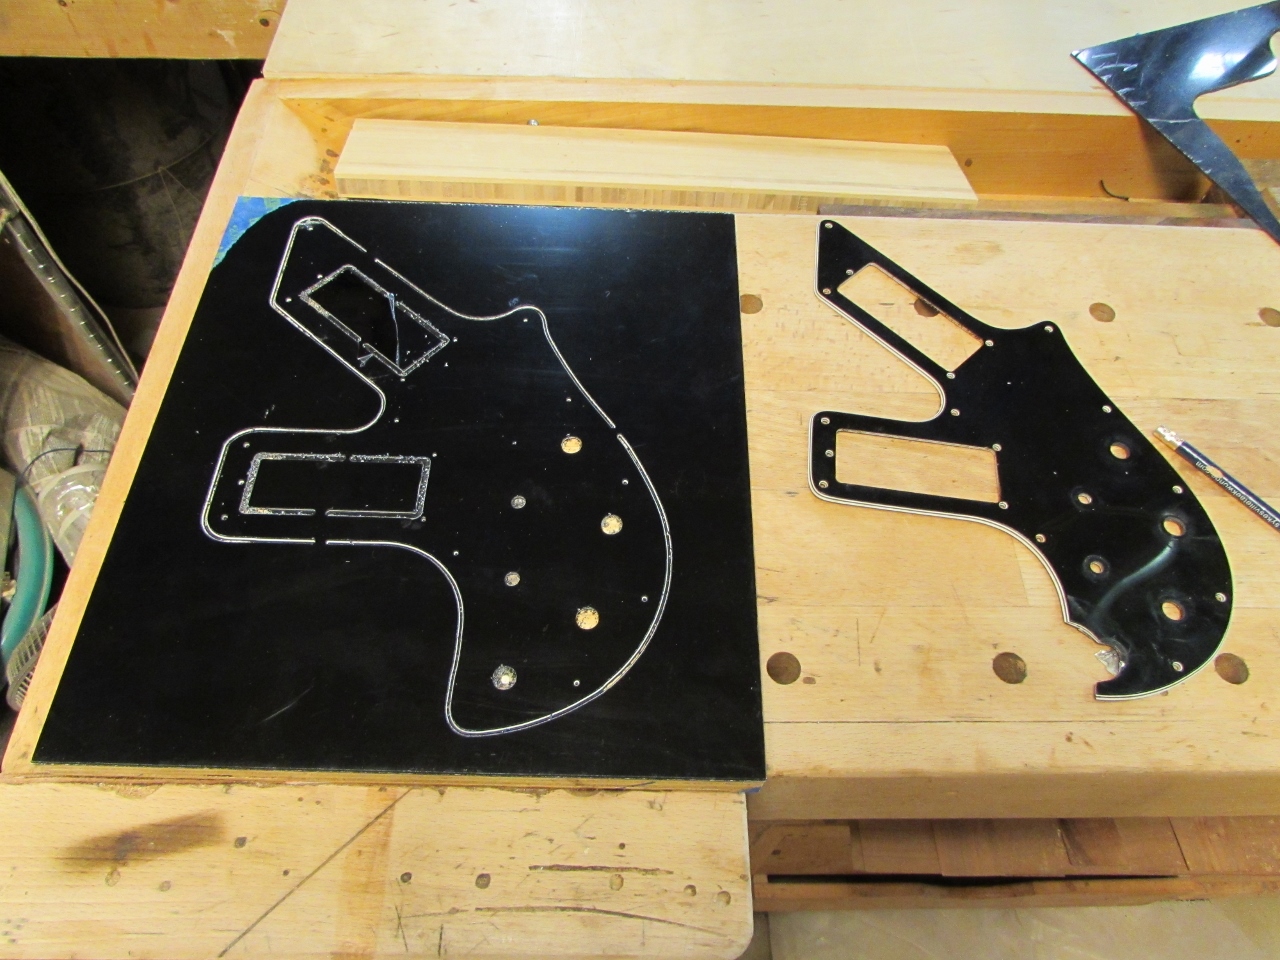
Second one cut
The second one was more complicated, but I managed to get it in the right direction at least…
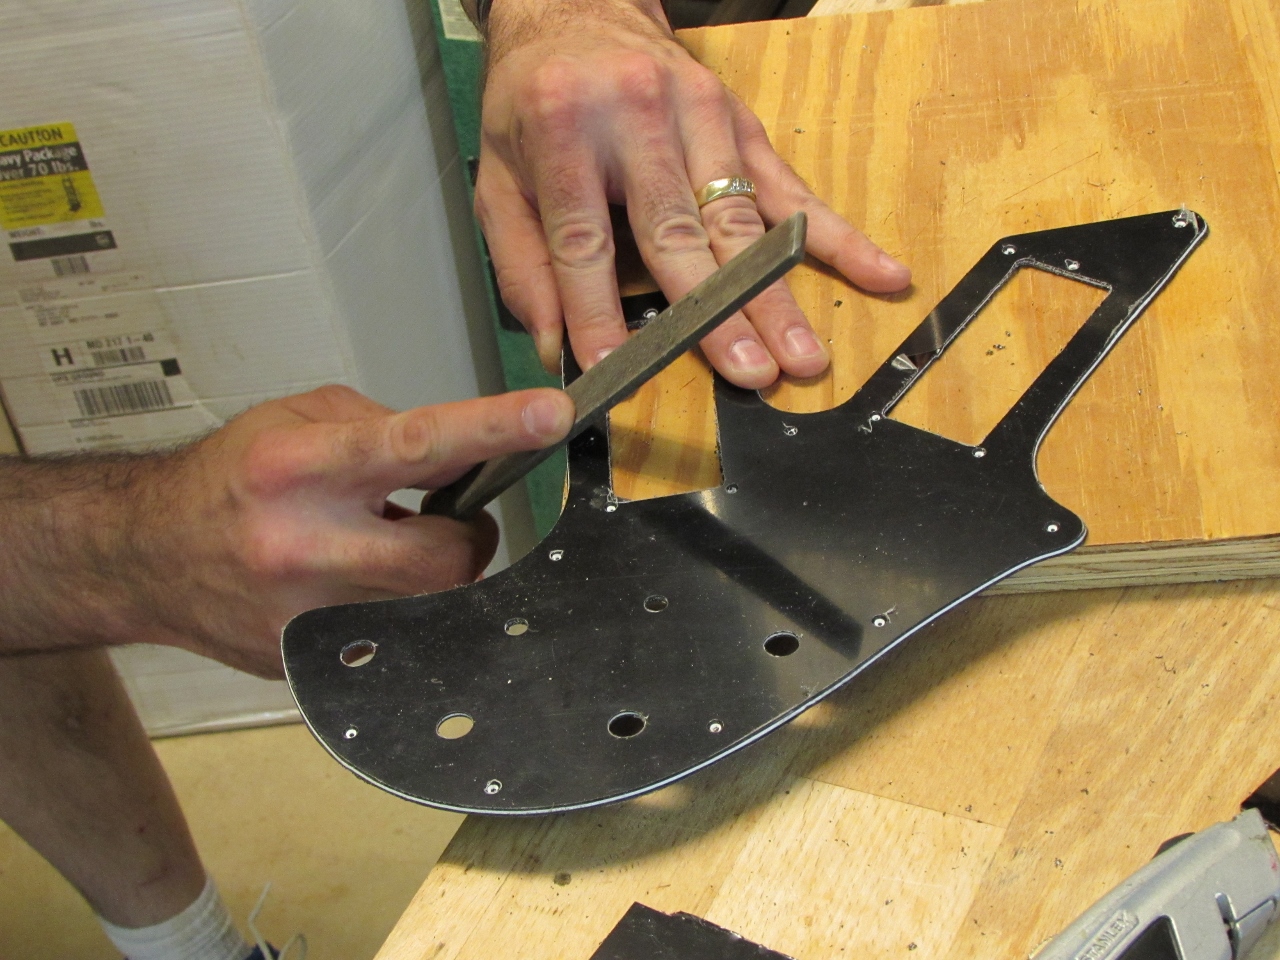
Filing the tabs
I filed off the tabs and sanded all the rough edges.

Sanding all the rough edges
I think it turned out pretty good. I cut the outline with a 60 degree Vee bit to bevel the edges so they don’t cut anyone.

Looks pretty good
Oh well, not bad for an evening’s work. I will have to see if I can get some more plastic and replace the backwards one.
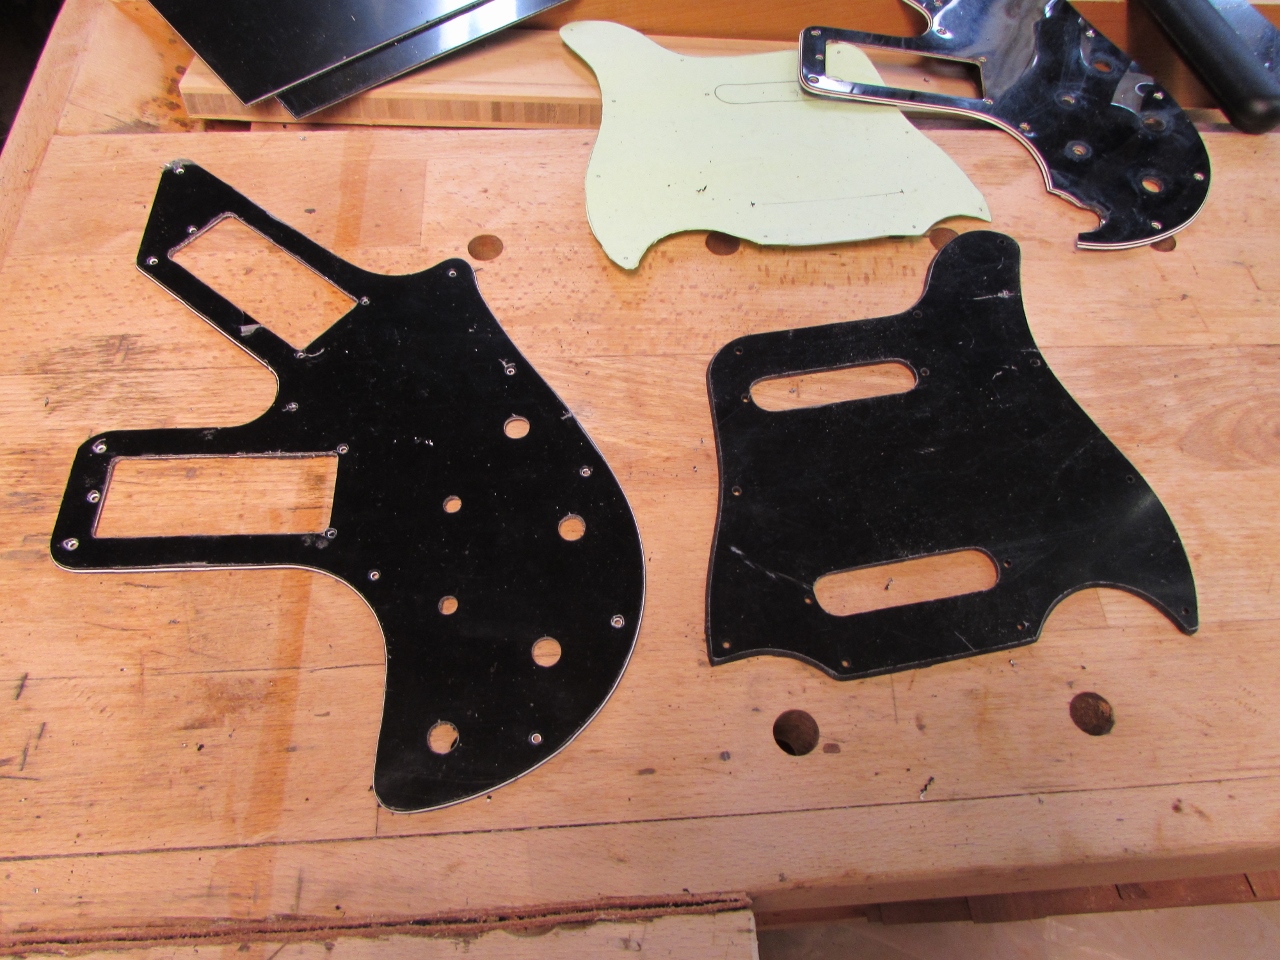
Finished pick guards

Pingback: نحوه ساخت محافظ پیک روی دستگاه cnc – مرجع آموزش