
Reception desk – day 1
I haven’t had much time in the shop over the last couple of weeks, but I put some time in today. I am starting on a two-level reception desk for my church. I have it mostly designed, but I still have a few details to work out. Those details will be easier to figure out on the desk than on the computer, so I decided to start, then refine my design on the fly. Here is a PDF of my concept if anyone wants a preview:
reception desk.PDF
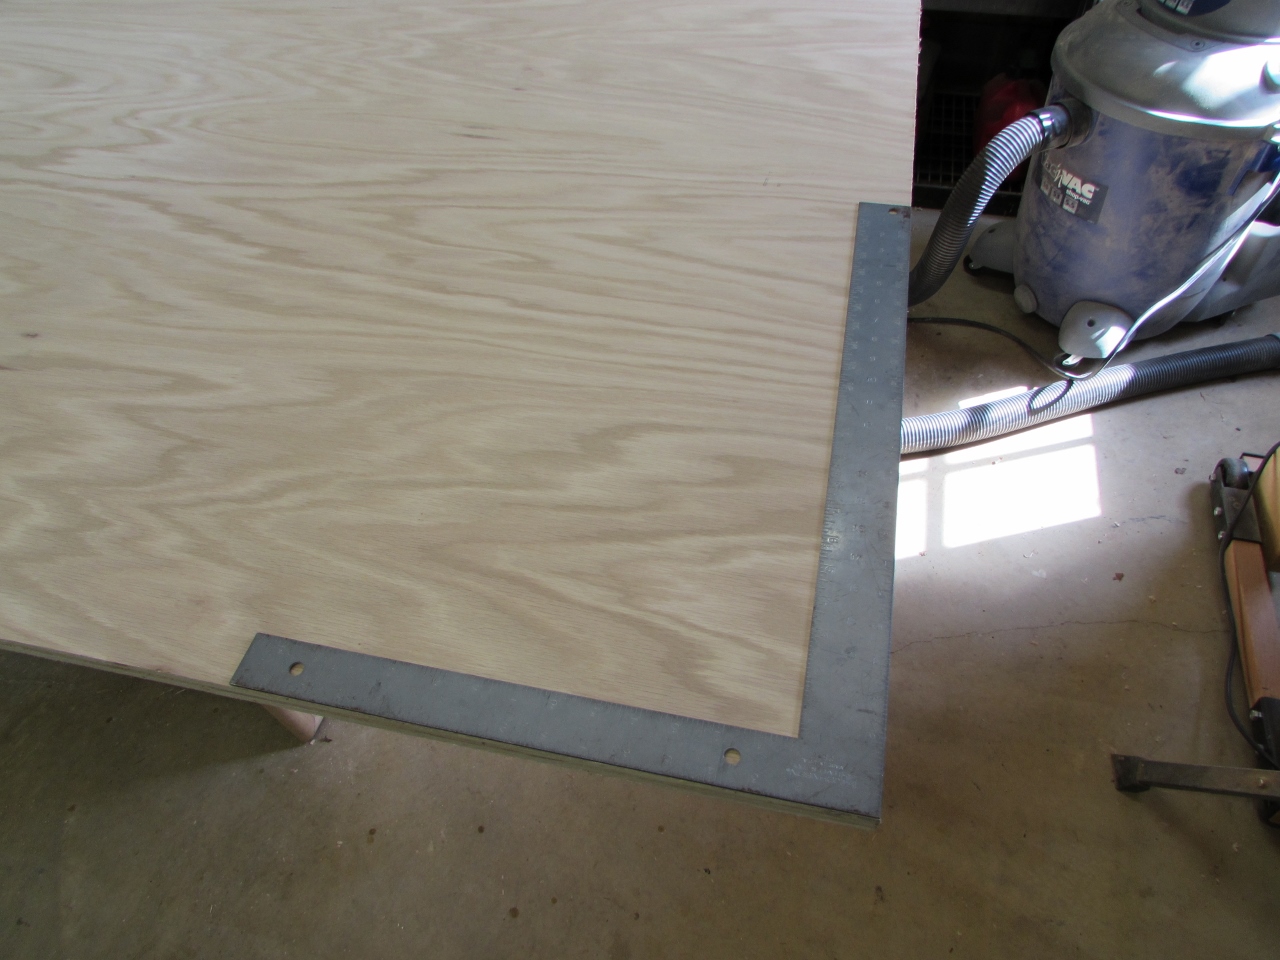
Checking plywood for square
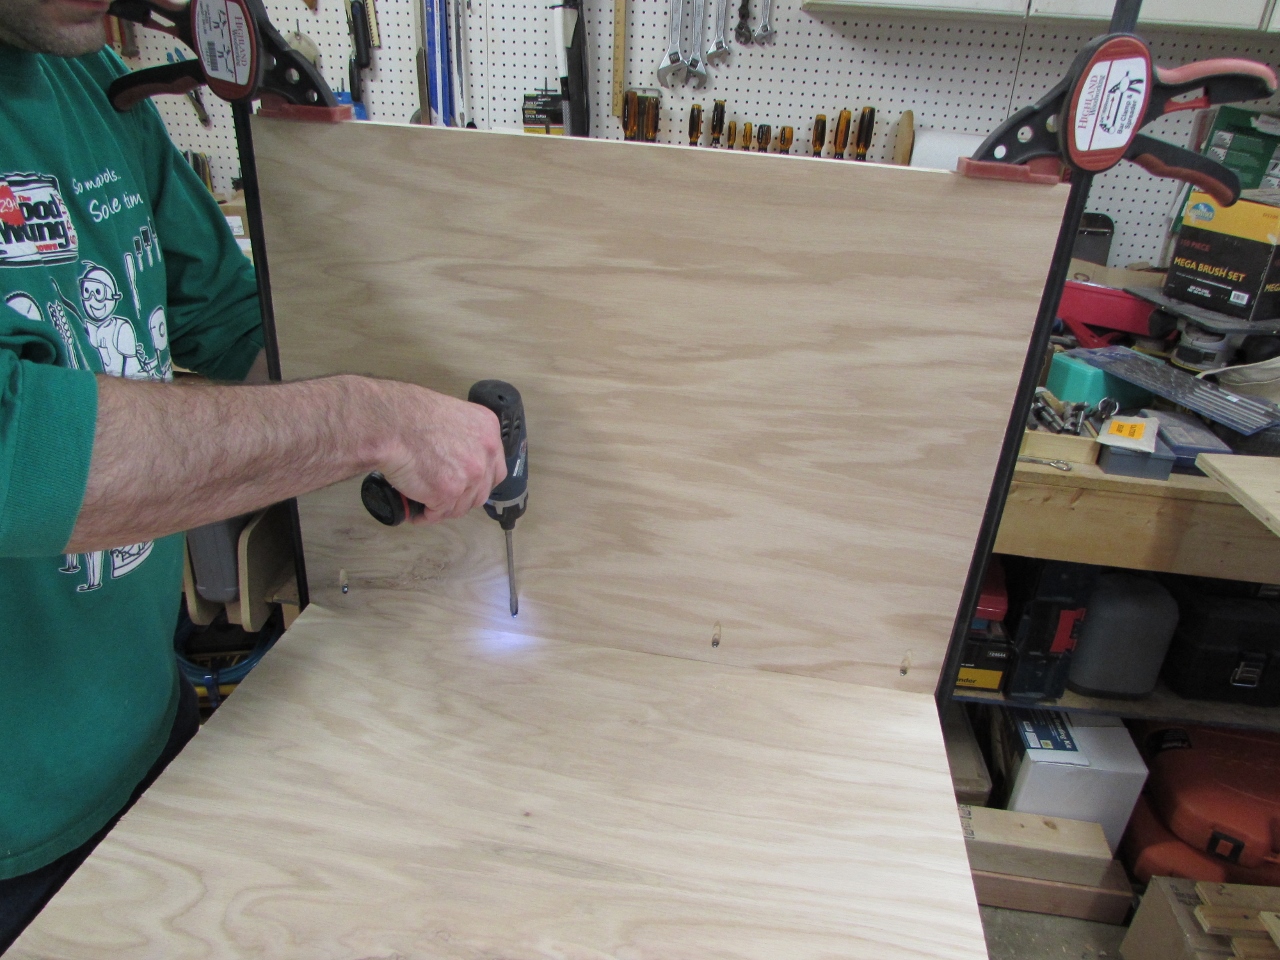
First thing I need to do, is break down the plywood. Since I want the grain to be oriented vertically, I need to make the front out of two pieces. Before I begin laying things out, I check the plywood to see if it is square. The first side was, but the opposite end was way out.
One side is way out

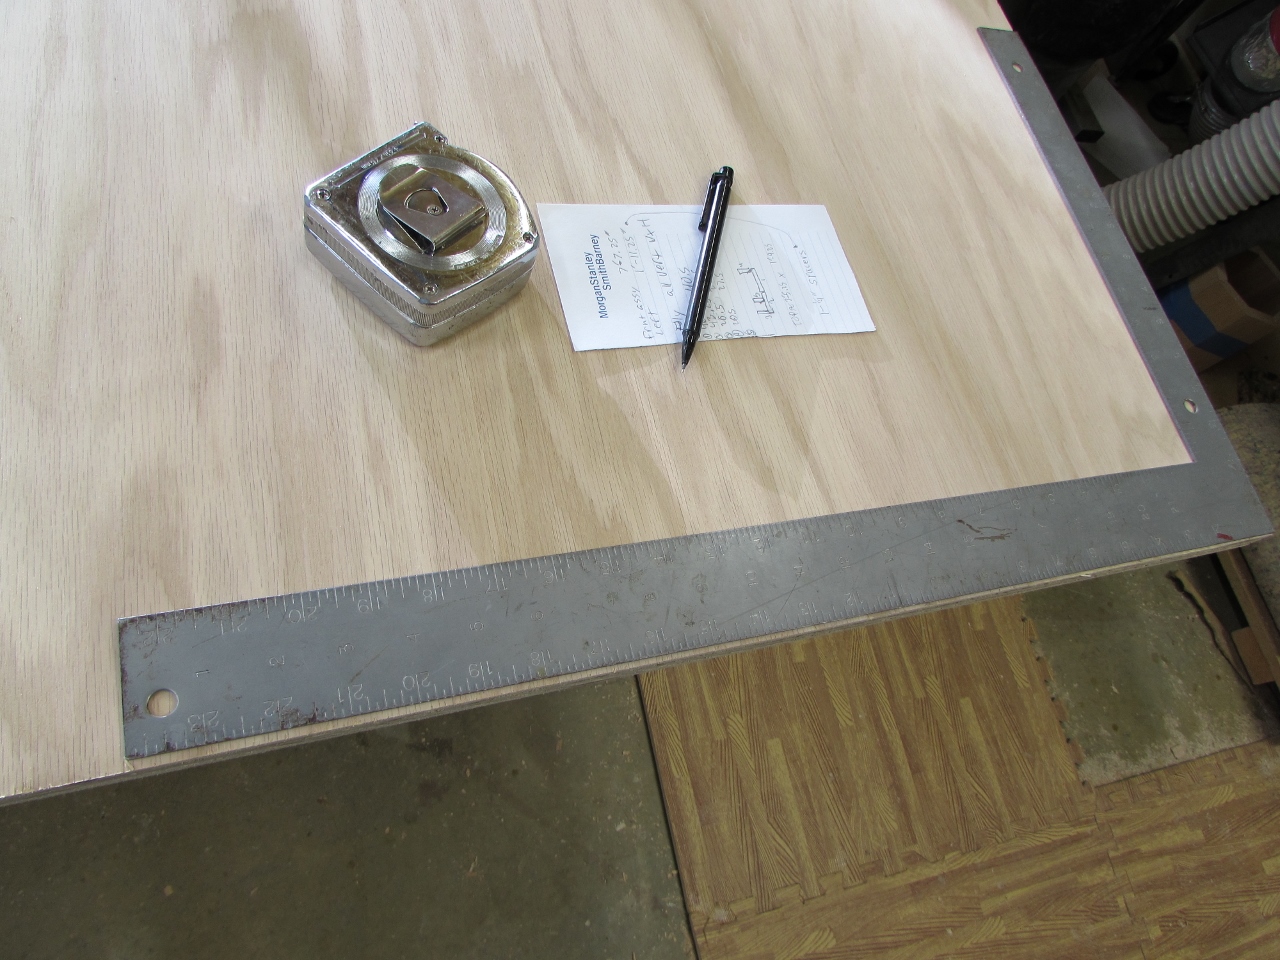
Pulling my marks from the square side
I pulled my measurements from the square end and cut the plywood to length with my track saw.
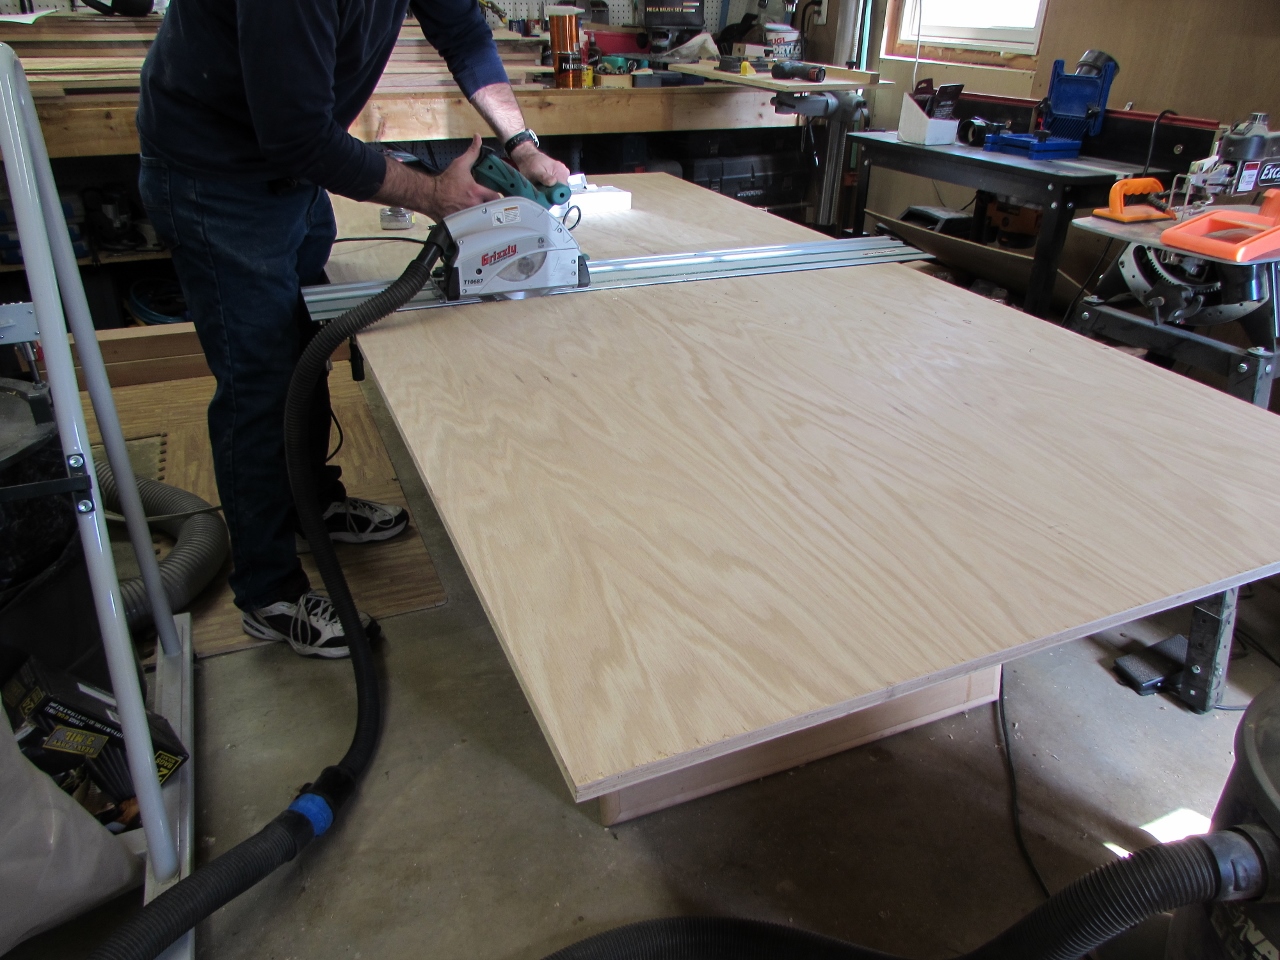
Cutting the panels down with the track saw
Once the two front pieces were cut to length, I ripped down another sheet to give me sides and the top.

Ripping down the side panels
I set the top piece aside to be figured out later, and ripped the sides to length.

Cutting the sides to length
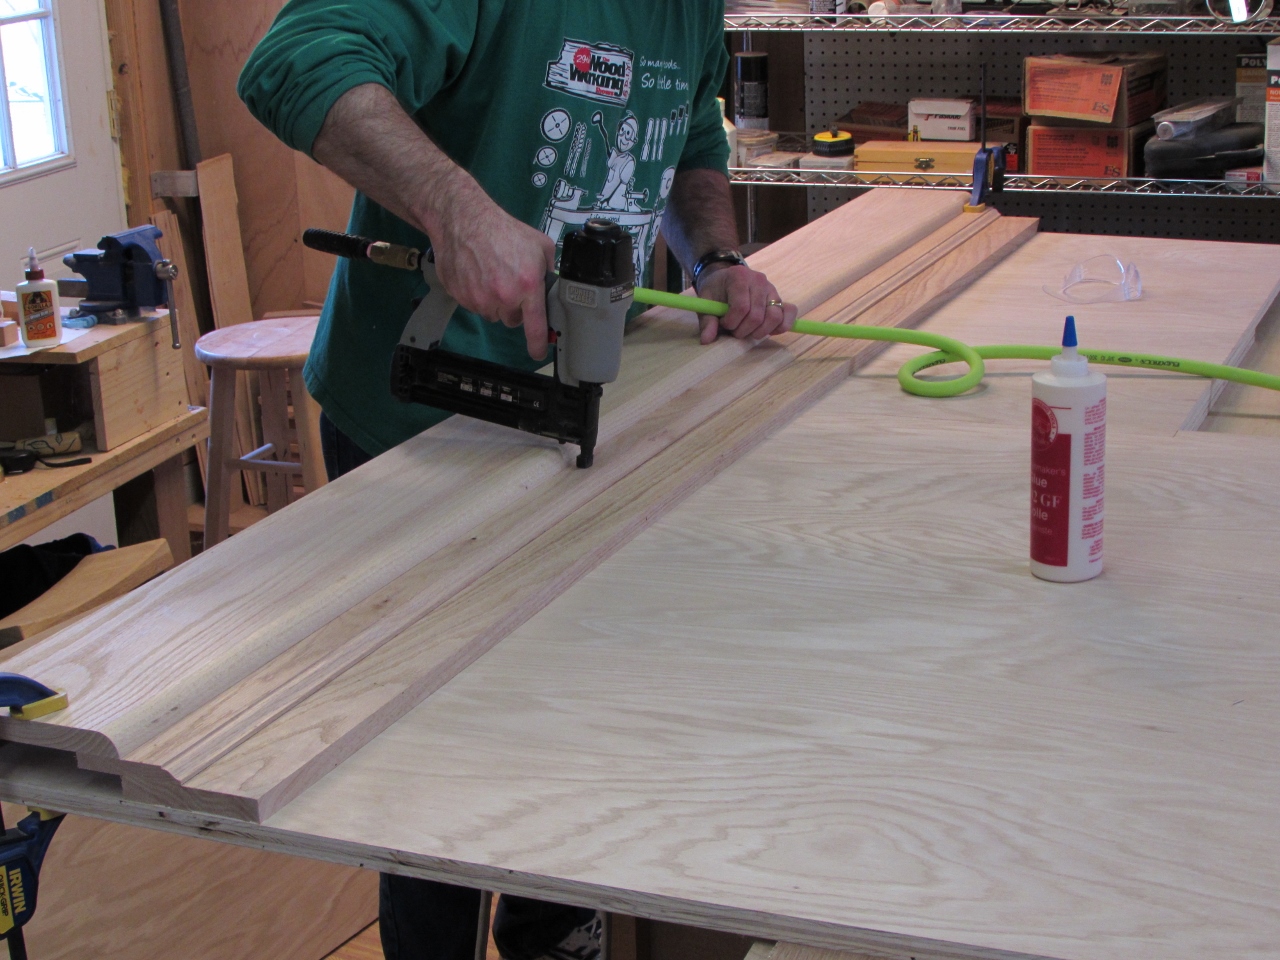
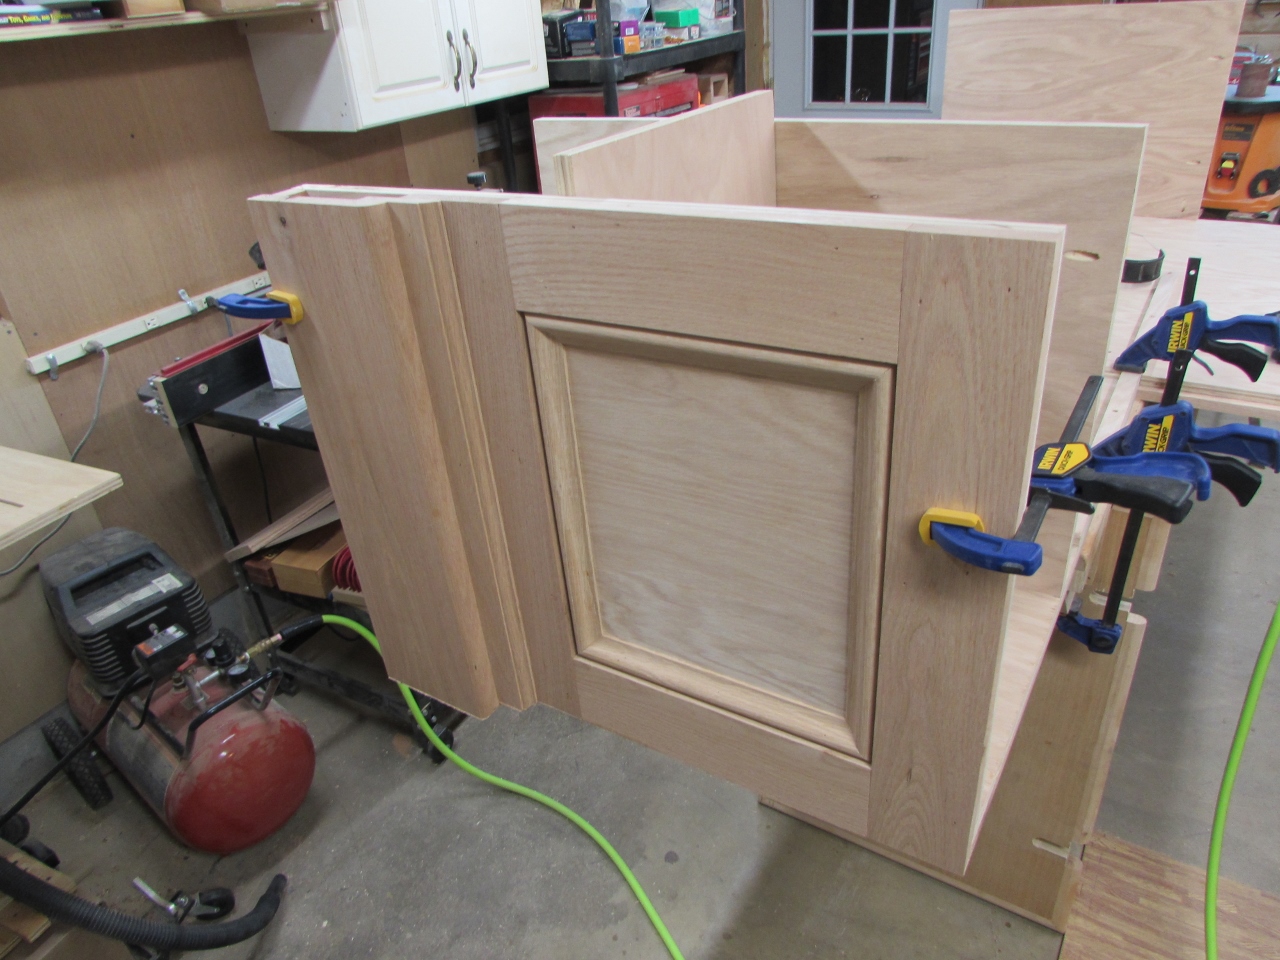
I already cut the trim, for this desk, a couple of weeks back, when I was working on the statue bases. The base trim will be a three-piece layer up. I marked a line to locate where the pieces would be lined up.

Marking the location of the base trim
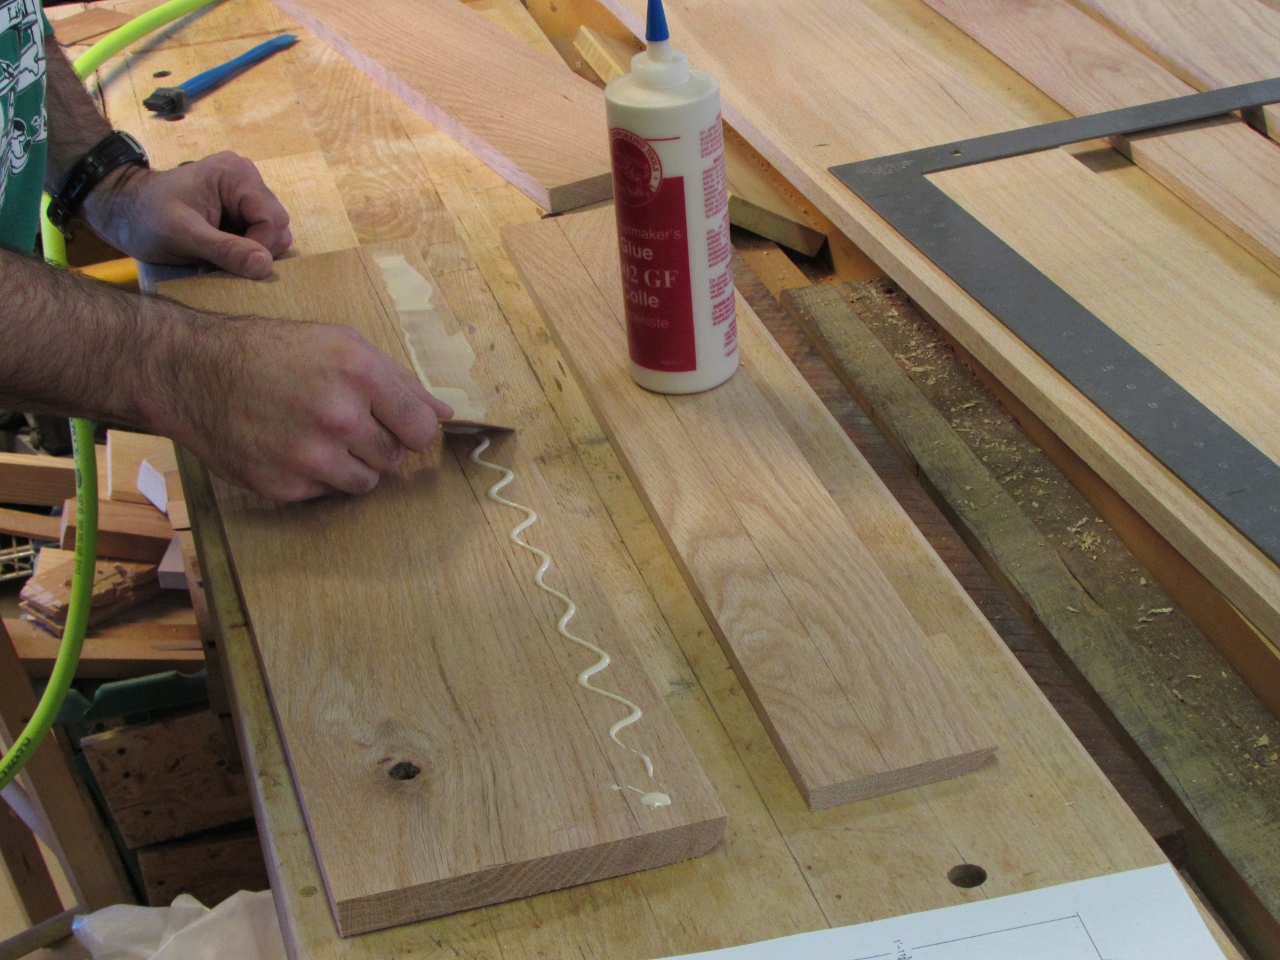
Applying glue
I applied glue to the attachment location and nailed the trim together from the back.
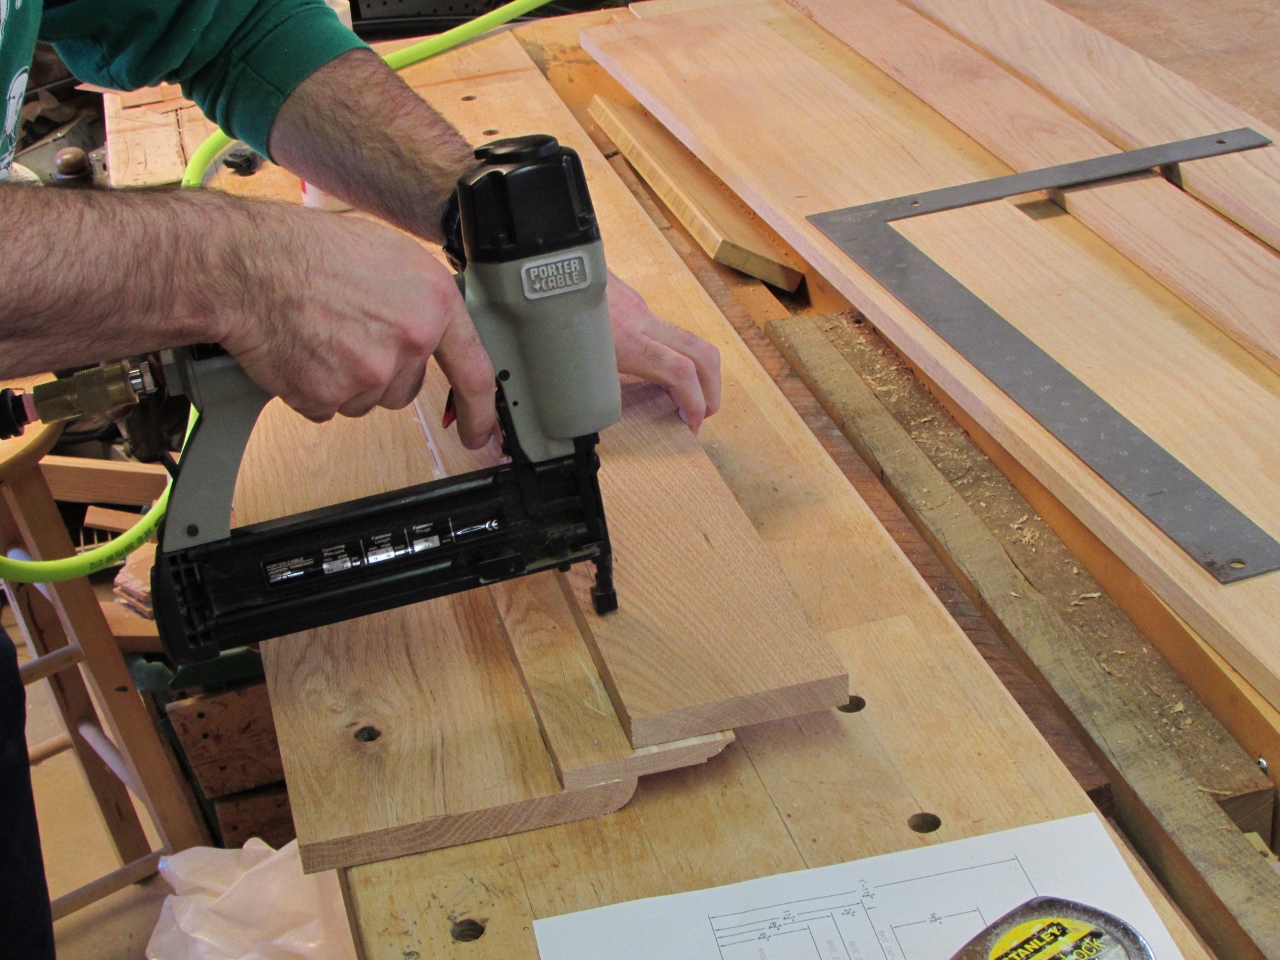
Nailing the layered up trim
I did a 2′ long section for the side and an 8′ long section for the front.

Assembling the long piece as well
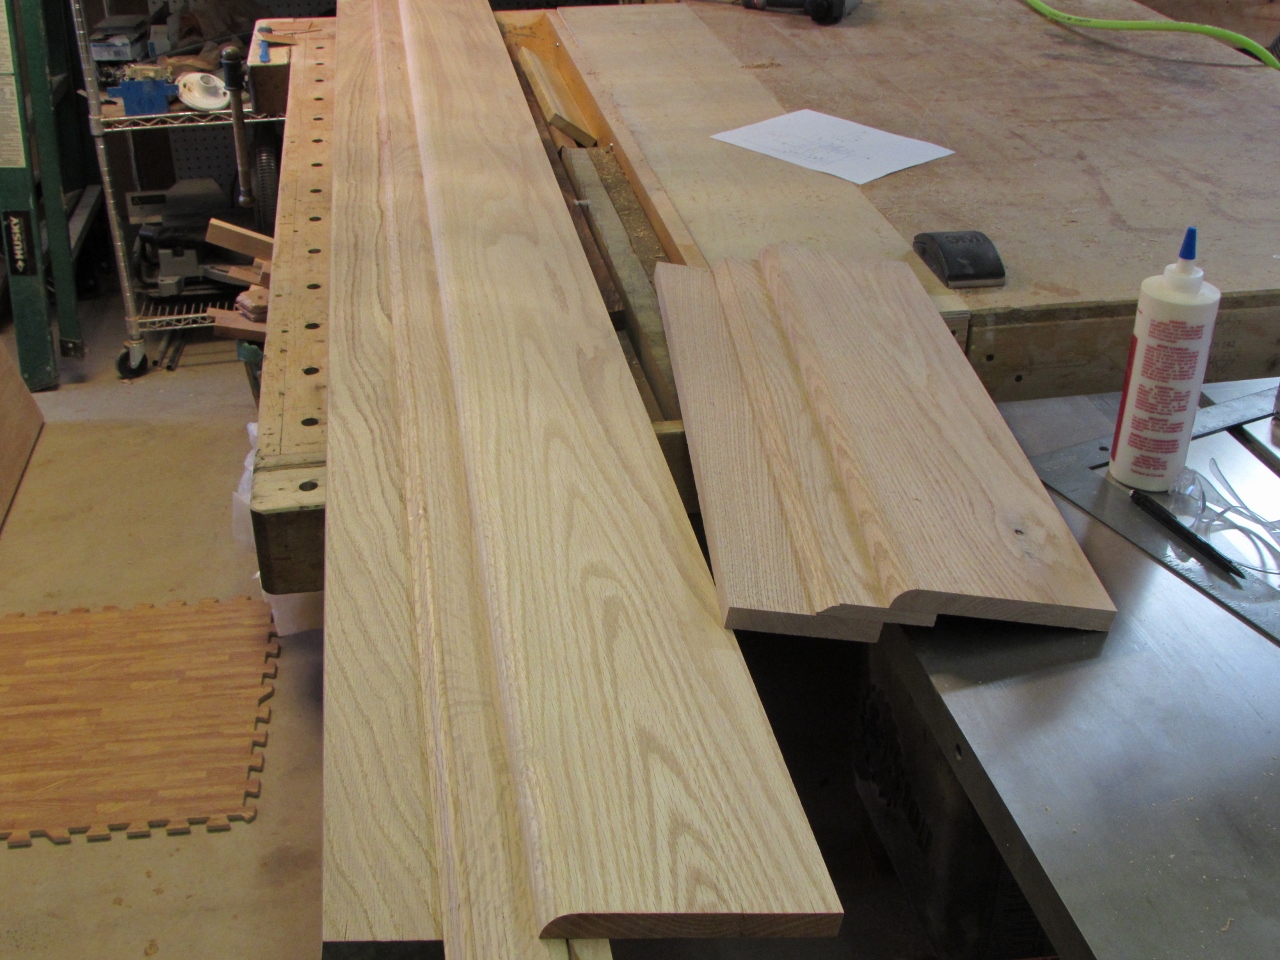
Trim assembled
I allowed those to dry and moved back to the plywood for the front.

Ripping a notch in the right front panel
The right panel will be taller than the left and I want to cover the seam with a piece of wood, but the way I want it to go together, my center piece of wood won’t fall center on the seam. I cut a notch in the right plywood panel to allow the left panel to move over and center my seam. This is one of those details that is being designed as I go…

Cutting the short side by hand

The notch will allow trim to be centered over the break
Before I can attach the trim to the front, I screwed on some temporary reinforcements to the back side of the joint. This will hold the panels together until the trim gets glued and nailed to the front.

Screwing on temporary supports to the front panels
Attaching bottom spacer
I needed to attach a spacer to the bottom of the front panel for mounting the trim.
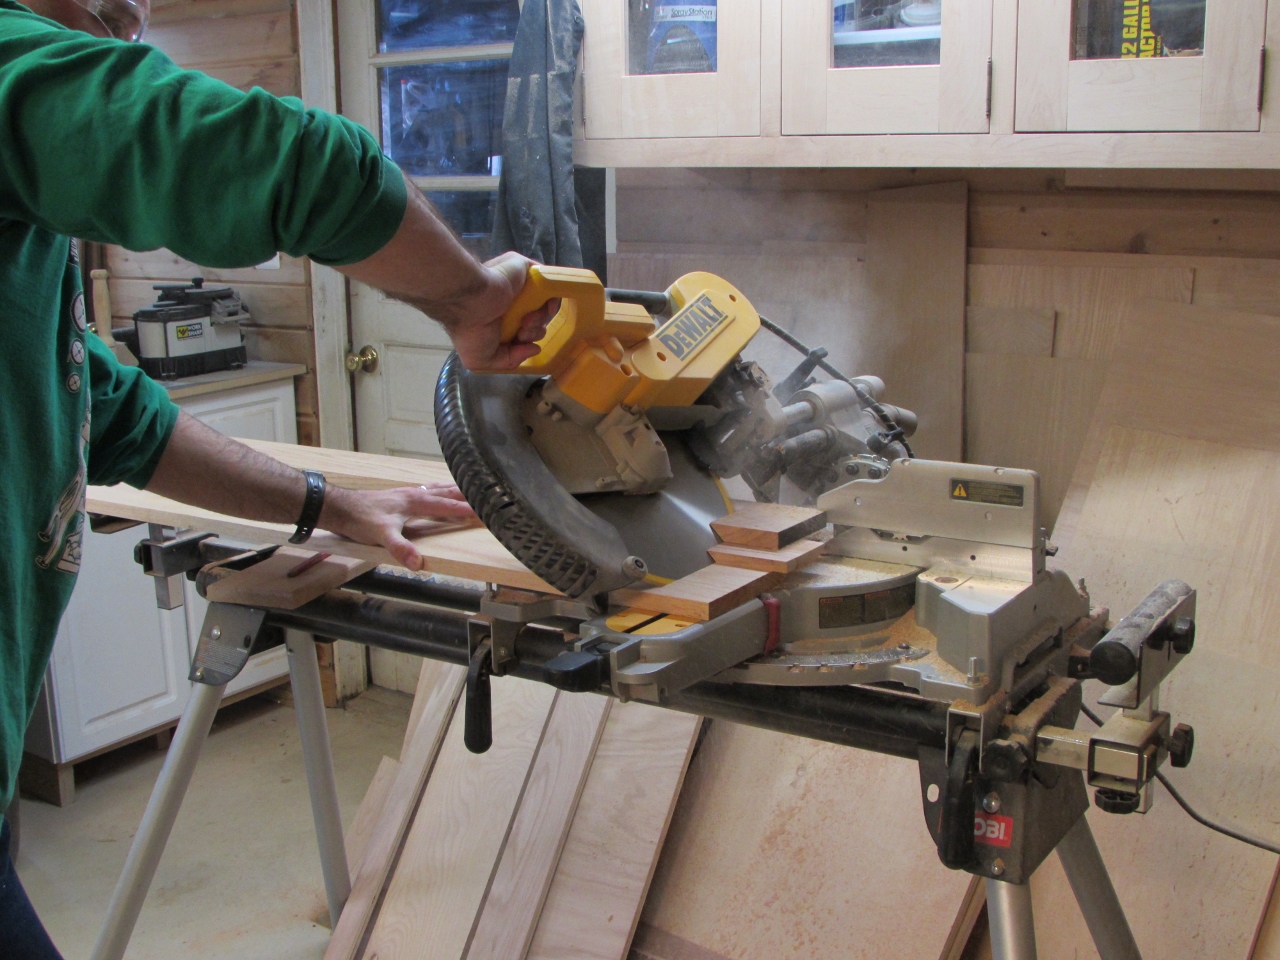
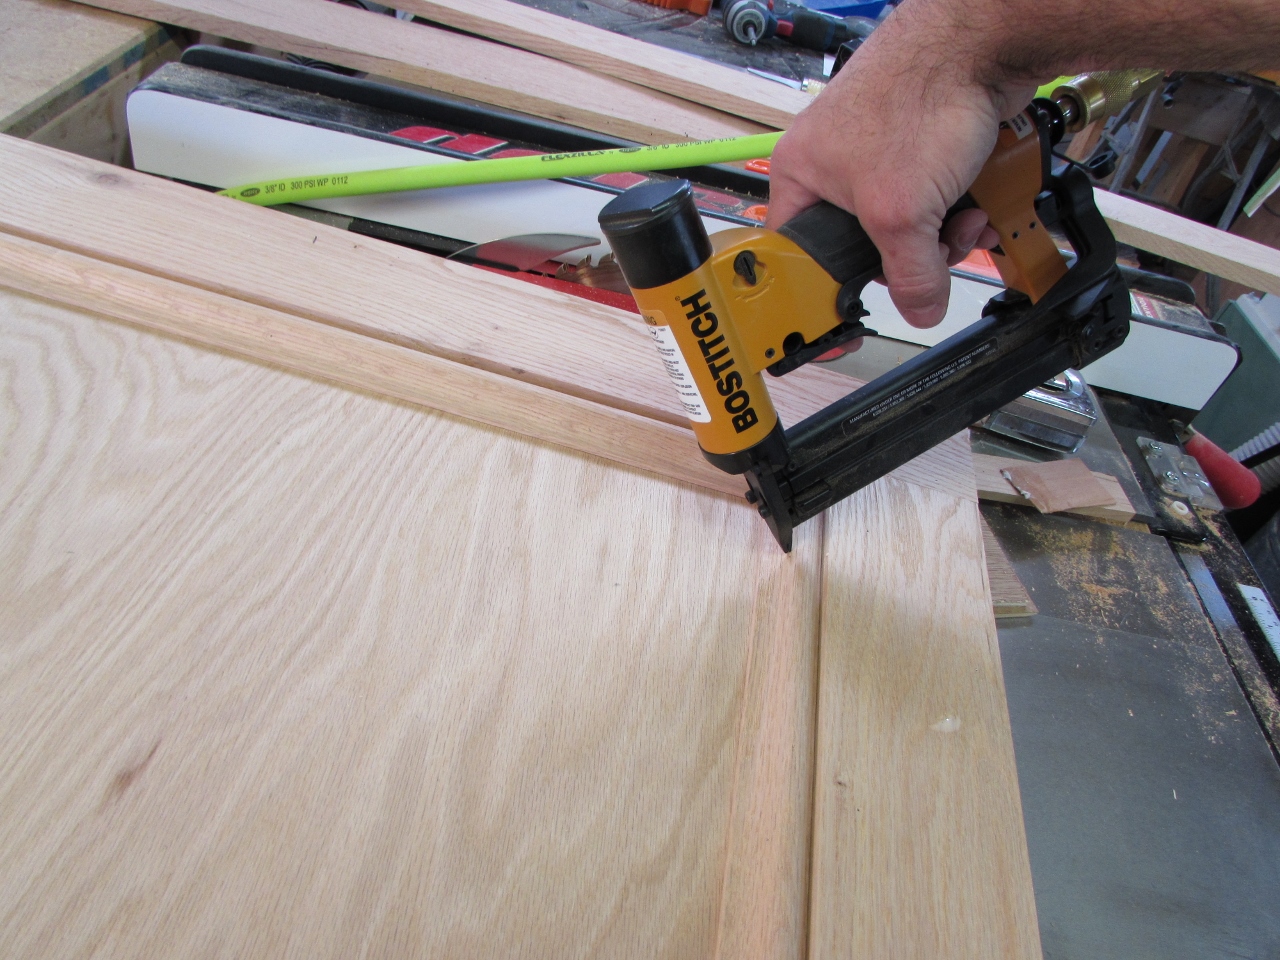
Mitering the base trim assembly
Next, I cut a 45 degree miter on the 8′ long trim assembly, then applied glue to the back.

Applying glue to the trim
Nailing the long trim piece in place
I flipped it over and nailed it in place. The next step was to frame the outside of the taller side.

Attaching the trim frame on the right side

Sanding down the base cap trim
I sanded down and cut miters on the base cap trim.

Cutting miters on the base cap
I glued the trim and held it in place with some pin nails.
Attaching the base cap
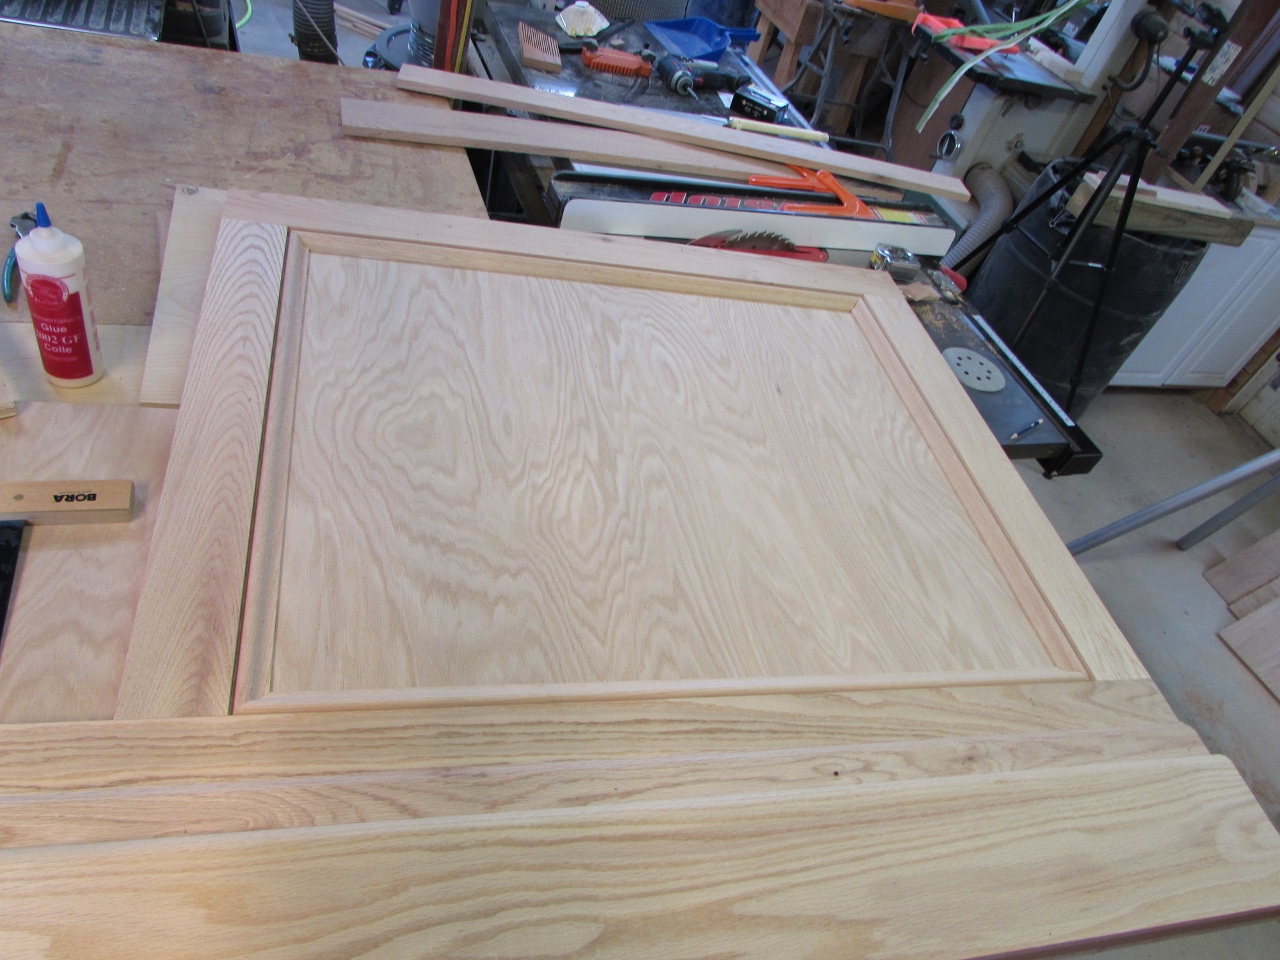
Right side done

Ripping a 45 degree angle on the left vertical
Before I frame the shorter side, I cut a 45 degree angle on the pieces that will go on the left edge. These will be part of the mitered corner.

Attaching the left side frame

Base cap attached
I finished installing the trim on the left side and stood up the panel to take a look.

Front panel complete
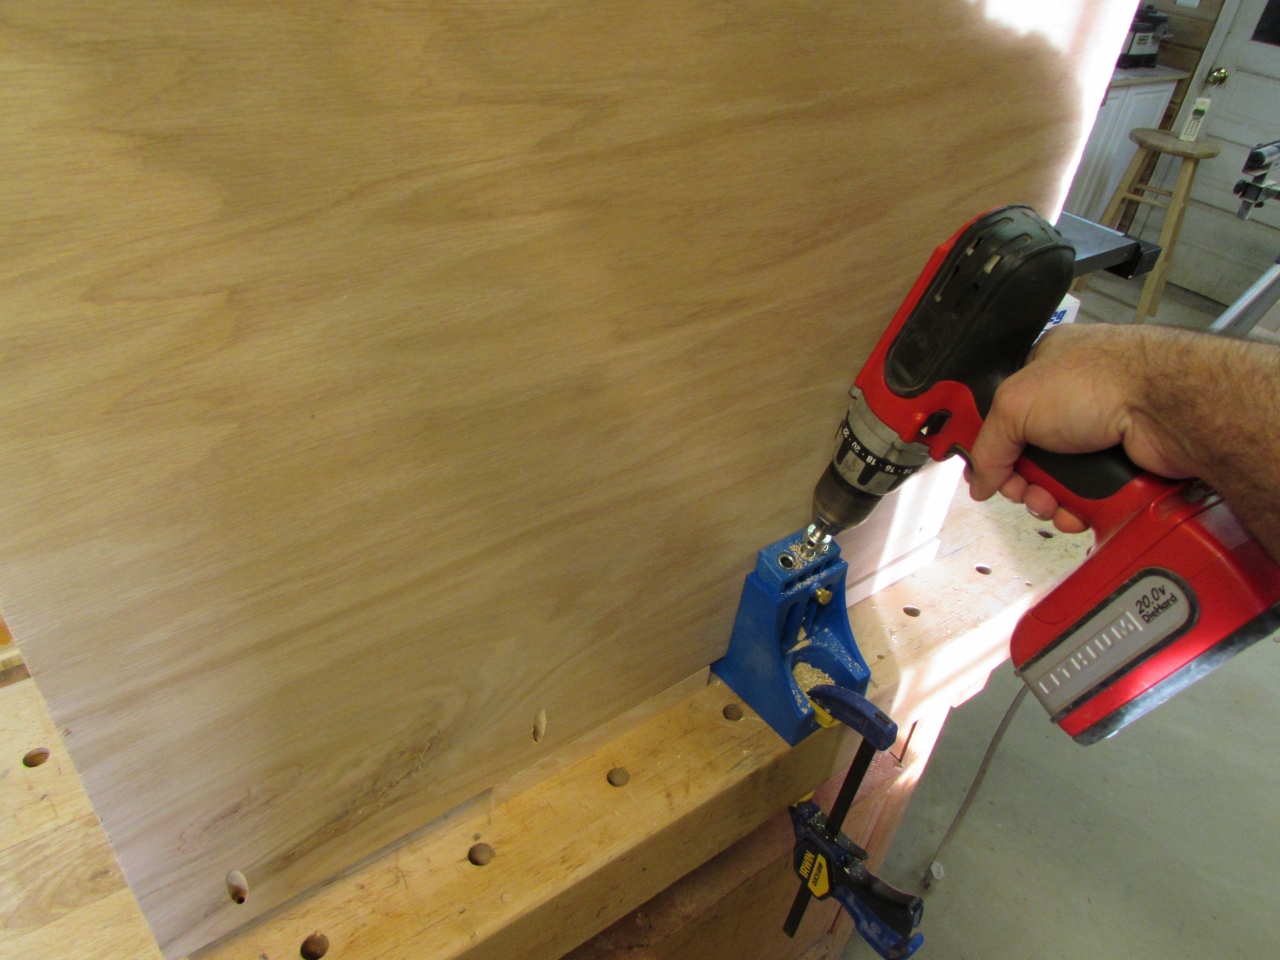
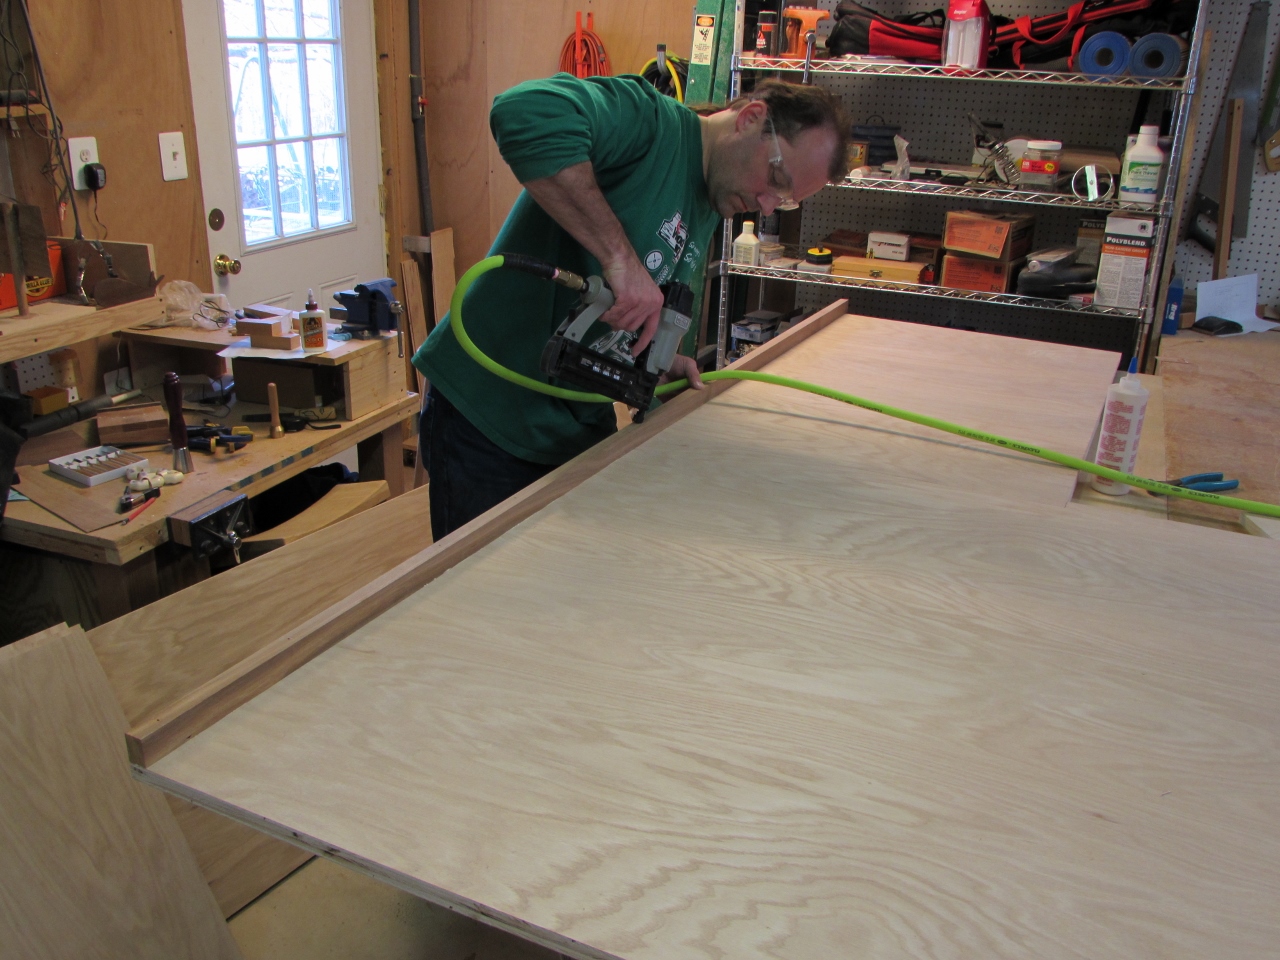
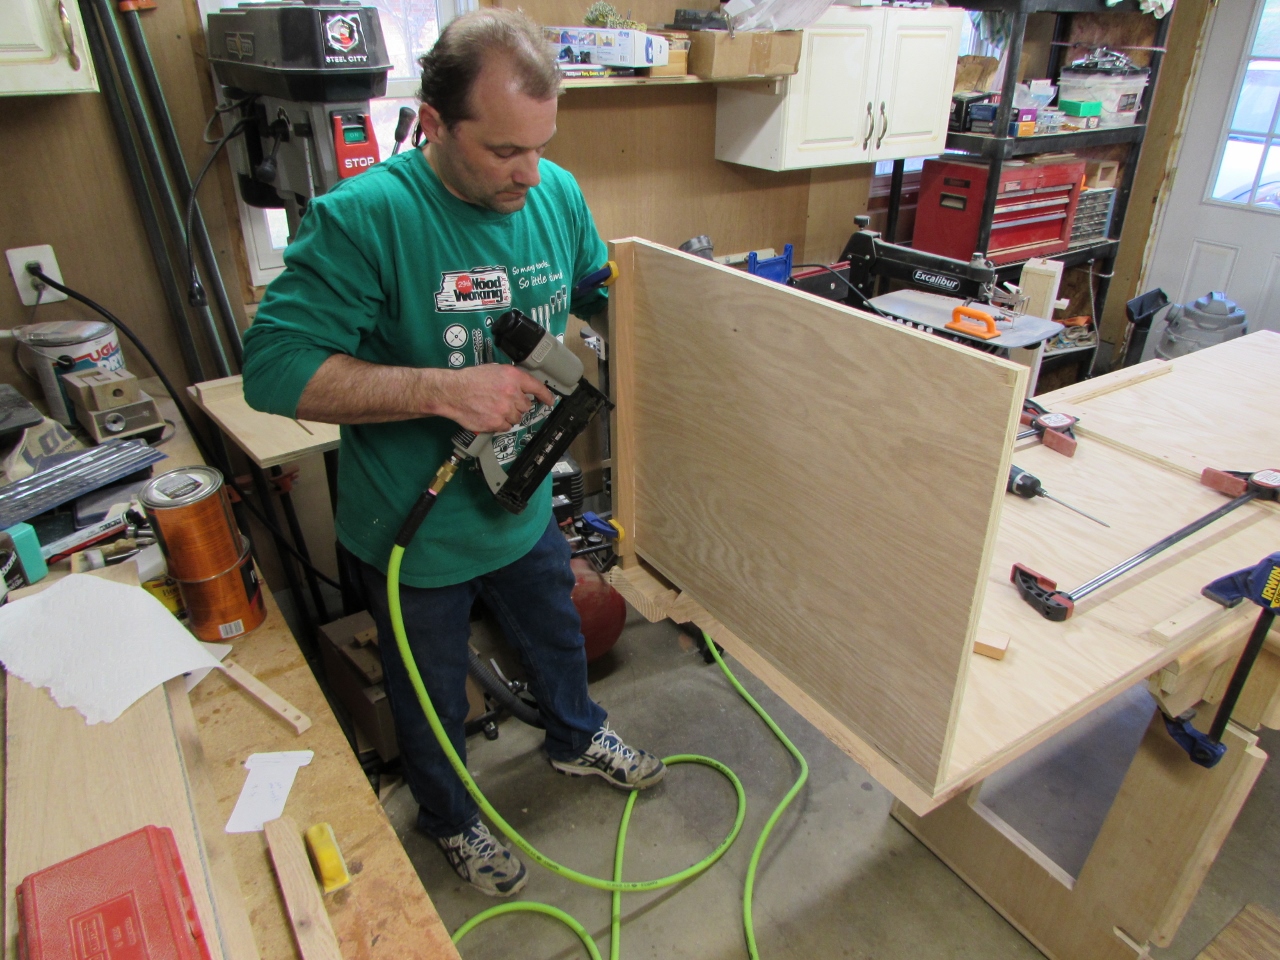
Drilling pocket holes in the side panels
I grabbed the three side panels that I cut earlier. I set up my Kreg jig and drilled pocket holes to attach them to the front panel, as well as the top.
Attaching the side panels
I laid the front panel, face down on my knock-down work station, then attached the sides.
Attaching the base spacer
I also added the spacer for the base trim. The third panel was for the side of the cabinet. It was attached 14″ away from the short side.
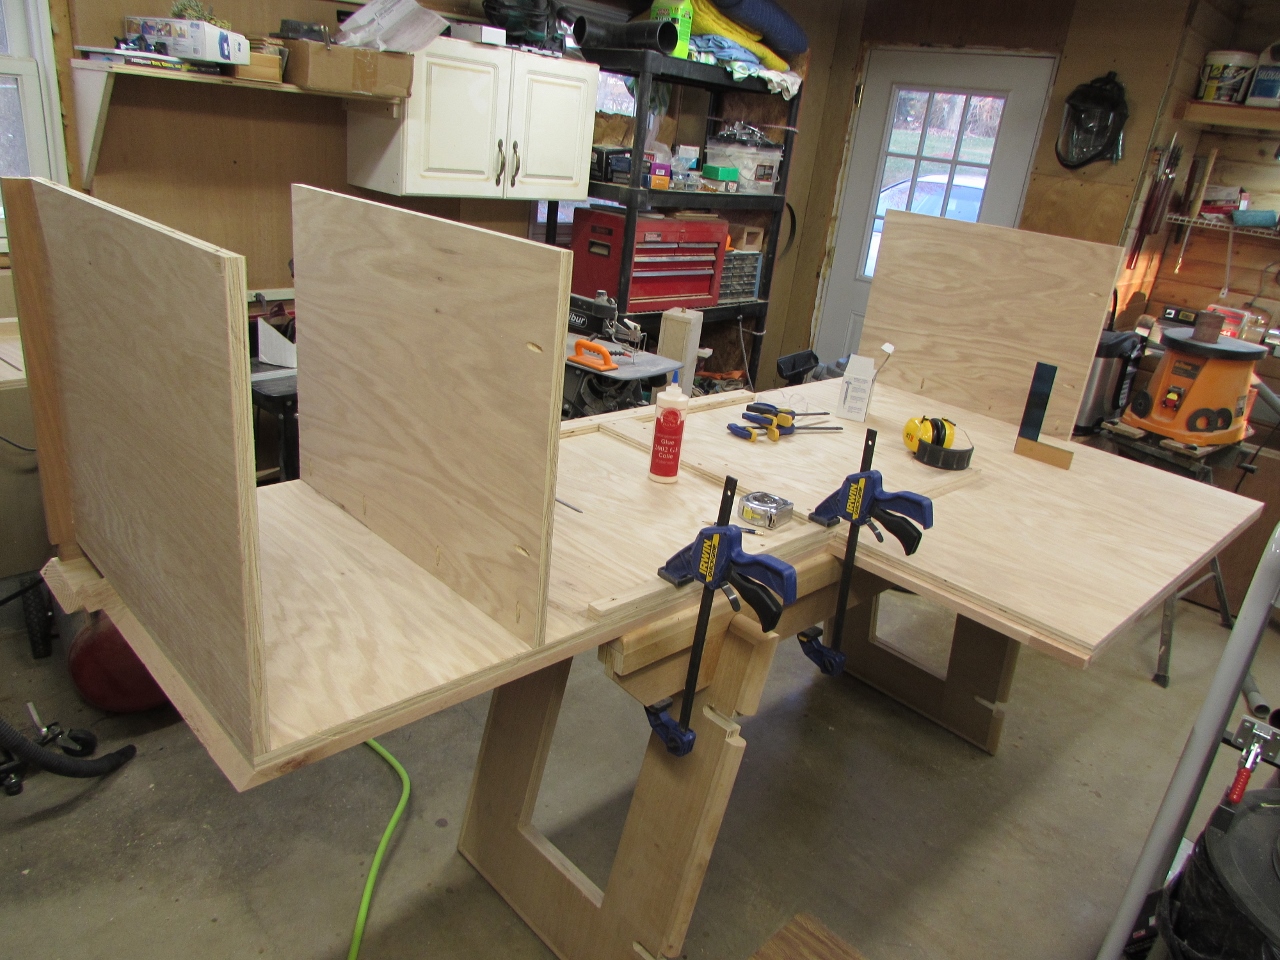
All sides installed
I cut a piece of plywood to the inside dimensions of the cabinet and used it to square up the sides so I could install the trim.

Attaching the base assembly

Attaching the side frame and base cap
I took my time and trimmed out the side to match the front.
Side trim complete
I am going to stop here for the day. I still need to do a bit more planning on how I want to trim the inside of the desk to ensure that it will remain square. It is also now too big for me to move by myself, so it will stay face down until I get some extra muscle to help me flip it. Oh well, not too bad for one day’s work. Hopefully I will get more time this week to keep working on it.

Nice work! Looks great so far.