
Statue bases – day 4
To save myself a lot of tedious detail sanding later, I decided to sand down all of the base cap trim, before installing it.

Sanding down the base cap
I cut all of my trim down to about 1″ oversized, and put a miter on one side. This makes the pieces more manageable with the mop sander than keeping them 4′-8′ long. It also makes it easier to mark and cut each piece as I install them. The mop sander is basically a stack of sand paper, bolted together, that has the edges cut into 1/4″ wide strips. Then you spin it very fast, it spreads over the surface of whatever you press into it, and gently sands away the rough edges. I have discovered that the mops last a lot longer when you spin them at a higher velocity. This one is running at about 1500 rpms, and it does a nice job of smoothing out any chatter marks from the router bit.
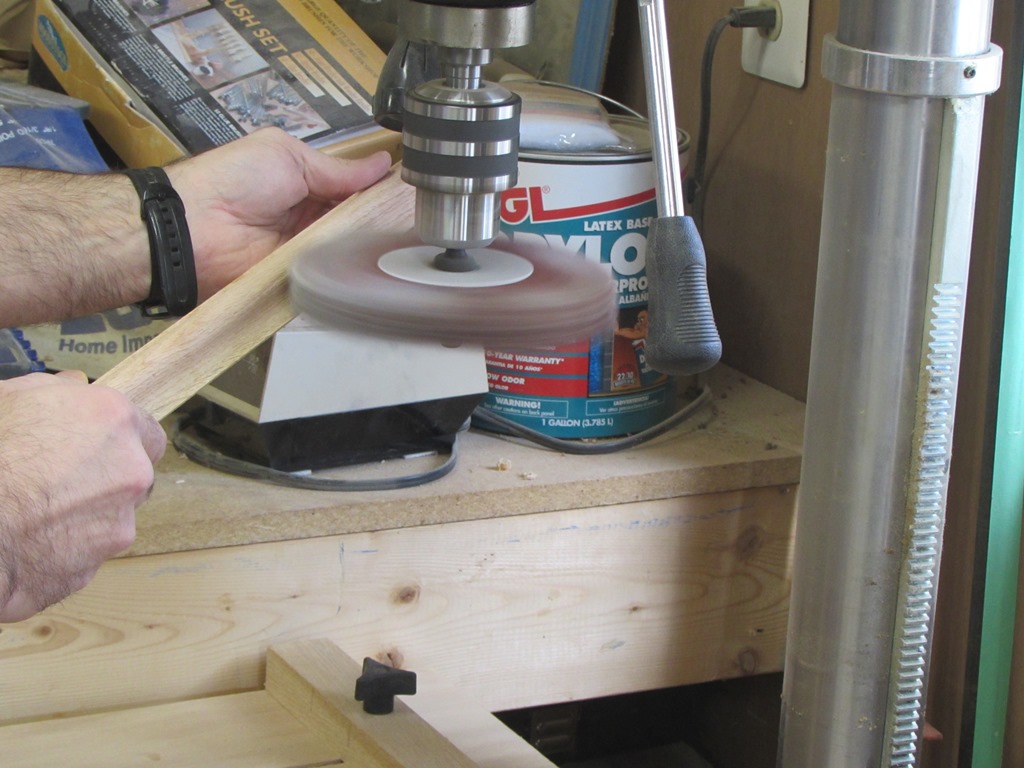
Using a mop sanding wheel
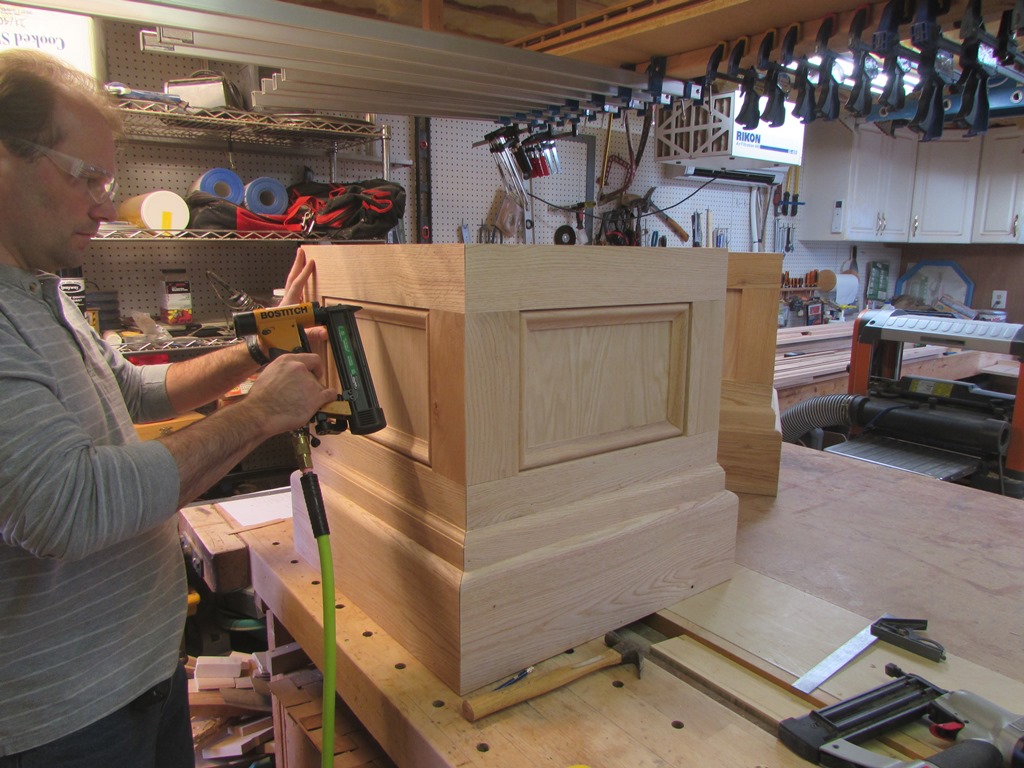
Attaching the rest of the trim
Once sanded, I went ahead and quickly installed the rest of the base cap on the bases.

Base cap installation complete
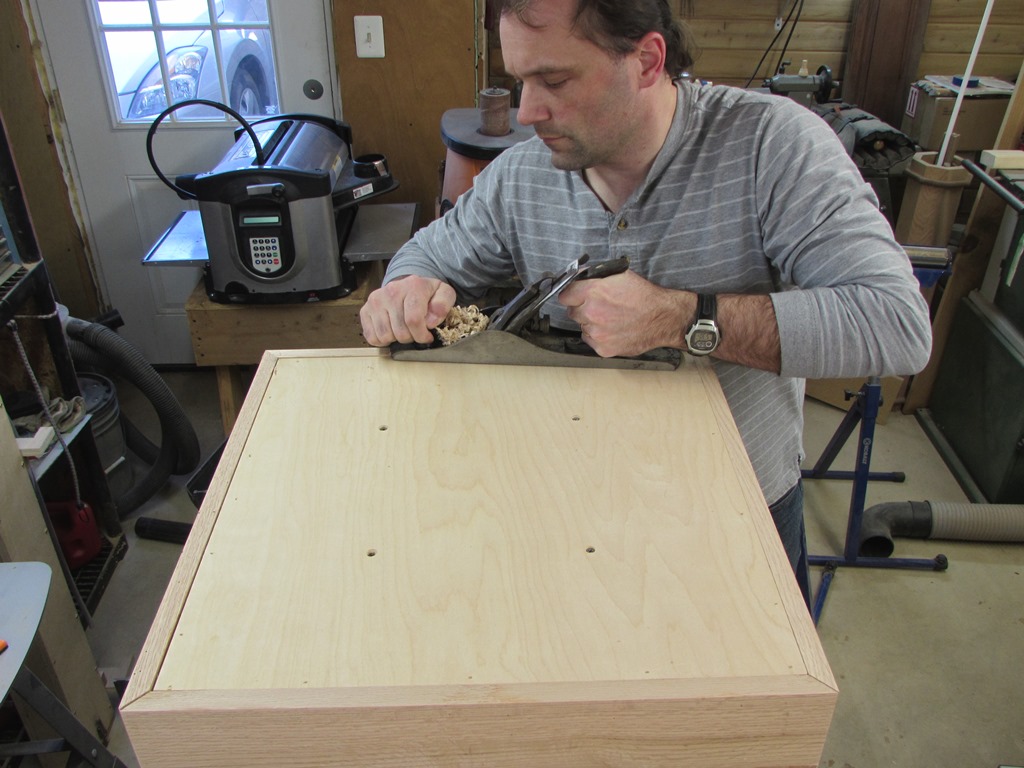
Trimming the top trim down flush
Before adding tops to these boxes, I want to make sure that the tops are completely flat. The trim on two sides is about 1/16″ too tall, so I used my jack plane to bring the edges down flush. I plan on glueing the tops and they need to be dead flat for there to be a good glue bond.
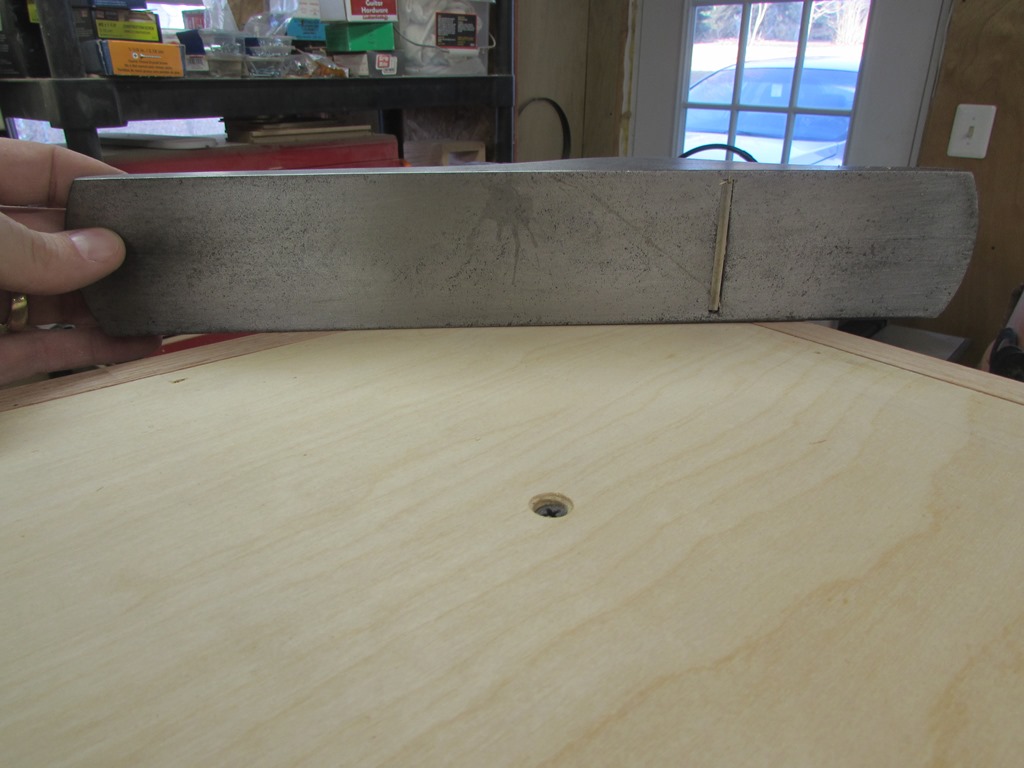
Checking all the top edges
I gave the boxes a final sanding to smooth down the surfaces and prep them for finishing.

Final sanding
The final phase of this project is making the top. I saved a couple pieces of oak plywood, that I now cut down to size.

Trimming the tops down to size
To create an edge banding, for the plywood, I once again cull through my off-cut pile. The scraps are getting thinner and thinner. When this project is done, I will cut the thin strips into kindling for the wood stove. nothing goes to waste…

Rooting through my off-cuts again

Cutting down the edge banding
I am going with super simple for the edge banding. I am cutting and planing strips down to 1/2″ wide and 3/4″ tall, and simply glueing and nailing them on.

Planing the bands to size
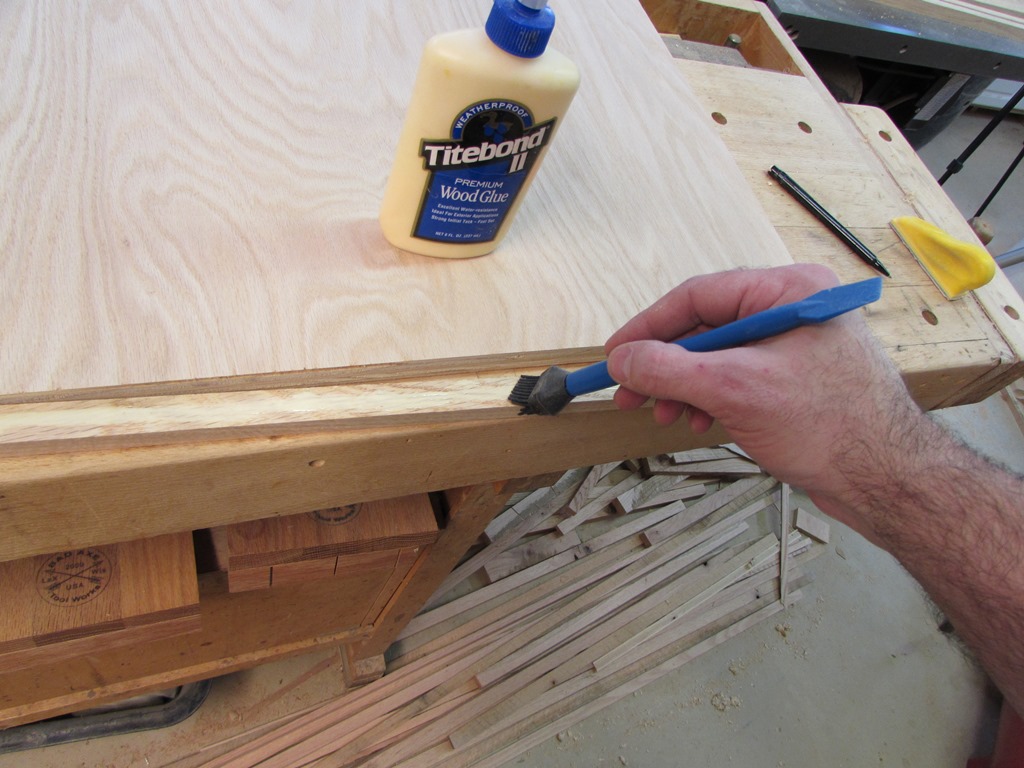
Add a little glue
I am even going with simple butt joints instead of miters. A couple of reasons for the simple tops. If you scroll down to the last picture, you will see the old tops from the last set of bases that I made. The bases are sitting on them. I made them from solid, kiln dried red oak. They each had additional stiffeners glued and screwed to their bottoms, and they each had a 200 pound statue standing on them. When the seasons changed, humidity found its way in (or out?) and the tops curled up at least 1/2″ on the front and the back, lifting the statues. You could push the statues and they would rock. I pulled the old solid tops off and replaced them with plywood ones like these and I haven’t had a problem since. The simple edge banding has worked well on the other two bases, so I am sticking with it. If I mitered the corners of the banding, I am afraid that one side or the other will expand and leave a sharp edge sticking out. Also, if there is a problem, These would be easier to repair, in place, with a 1000 pound statue sitting on top of them…
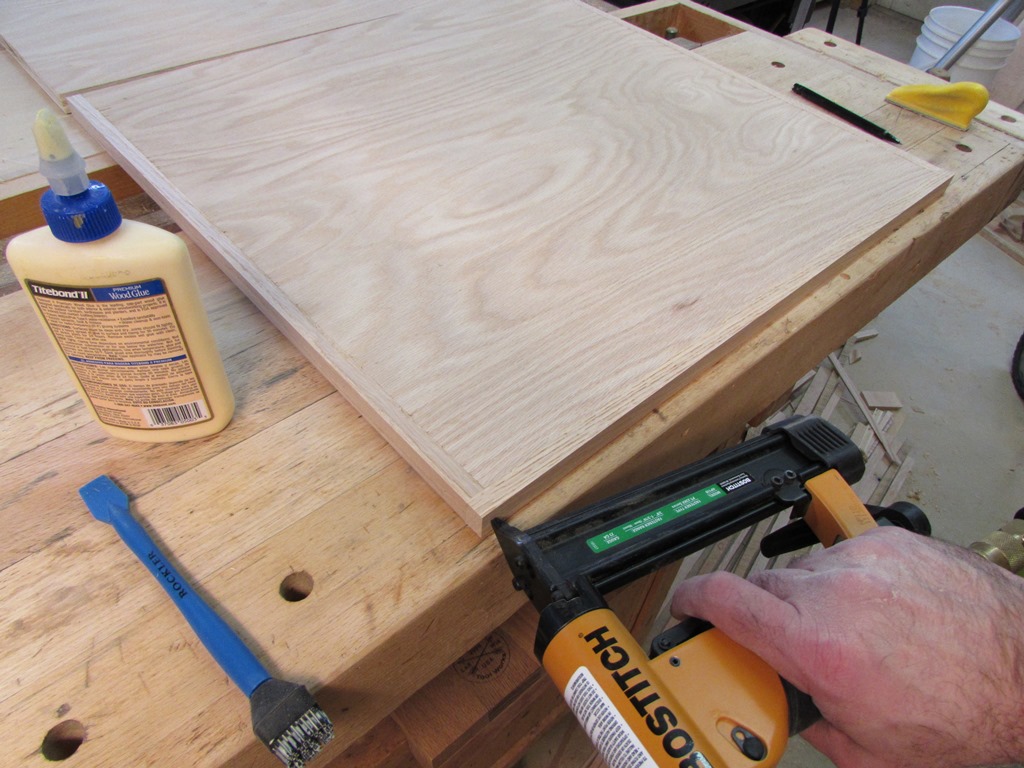
Pinning on the edge banding

Adding a round-over, top and bottom
To finish off the tops, I used my 1/4″ round-over bit to round the top and bottom, then I used my orbital finish sander to smooth it all down.

Final sanding on the tops

Covering the base tops with glue
Final step is to spread wood glue liberally across the tops and shoot a couple of brad nails in to hold the tops in place while the glue dries.

Holding the tops on with brad nails
Construction of both bases is now complete. Hopefully I will have time this week to stain and finish them with a couple of coats of polyurethane.

Construction complete
In case you were wondering, when I recovered the old base tops, I left them sitting in my shop for several months. They eventually uncurled most of the way and I repurposed them as floating work tops for my knock-down workstation.

Very nice work, nice to see someone else doesn’t like to throw out the cutoffs 🙂
I have a nice pile too.
Yeah, even though I have several hundred board feet of wood, I still save any useful scrap…