
Statue bases – day 3
Before installing the base trim on the boxes, I need to install the bottom spacers. I once again turned to my pile of off-cuts for some 20″ long pieces that I could get 1-1/4″ of width from.

Ripping the spacers
Once they were cut down, I selected the smoothest side and planed a small chamfer on either side. I did this because this side will face the floor. Since most of the pieces were planed, the corners are very sharp. I didn’t want anything on the bottom that could snag the carpet it would be sitting on. Since the bases will be very heavy, I just assumed they would be slid around instead of carried.
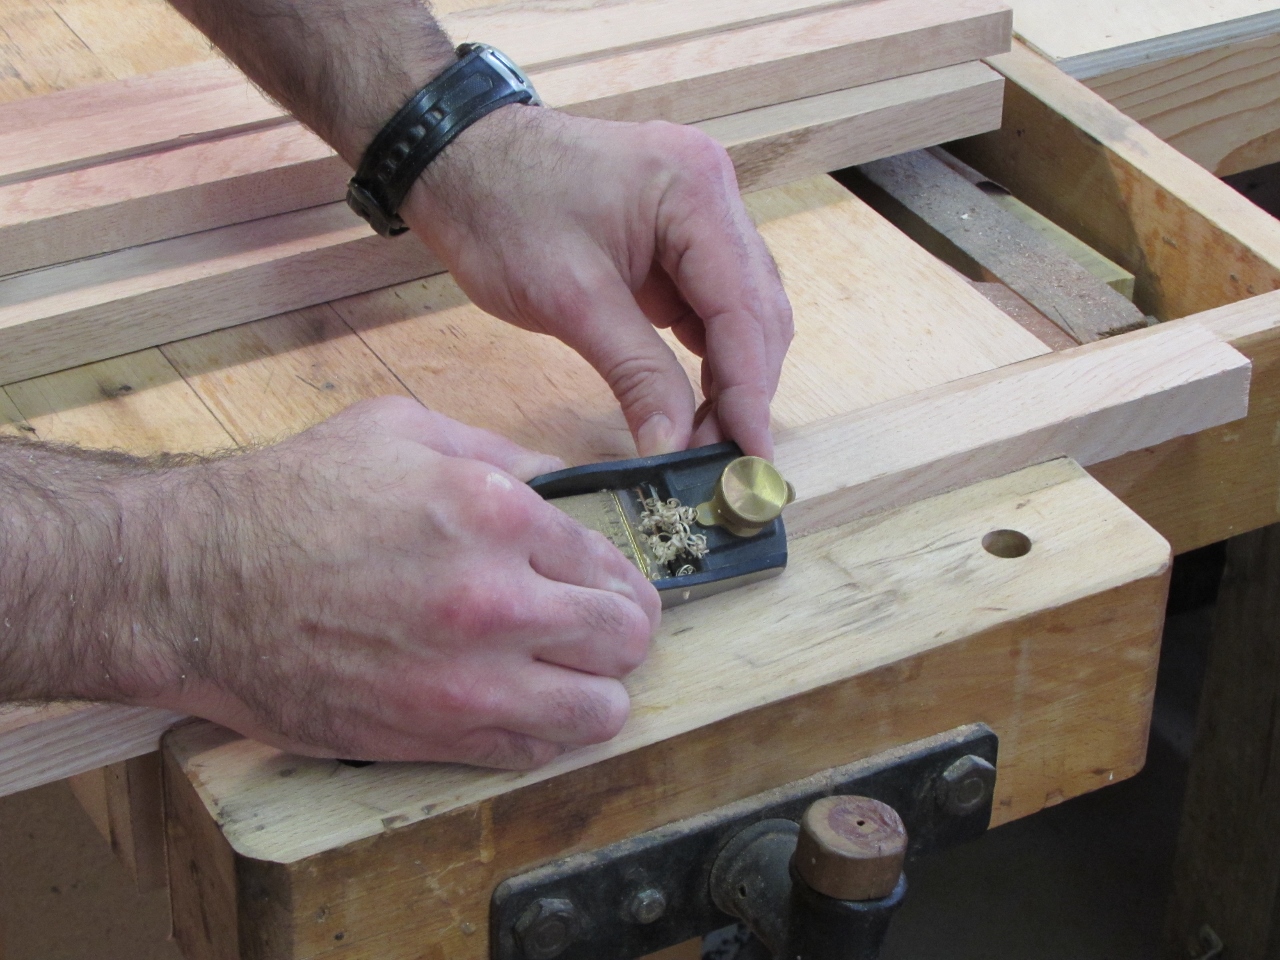
Placing a slight chamfer on the bottom side of the spacer
I installed the spacers with some 2″ long brads, around each side of both bases.

Nailing on the spacers
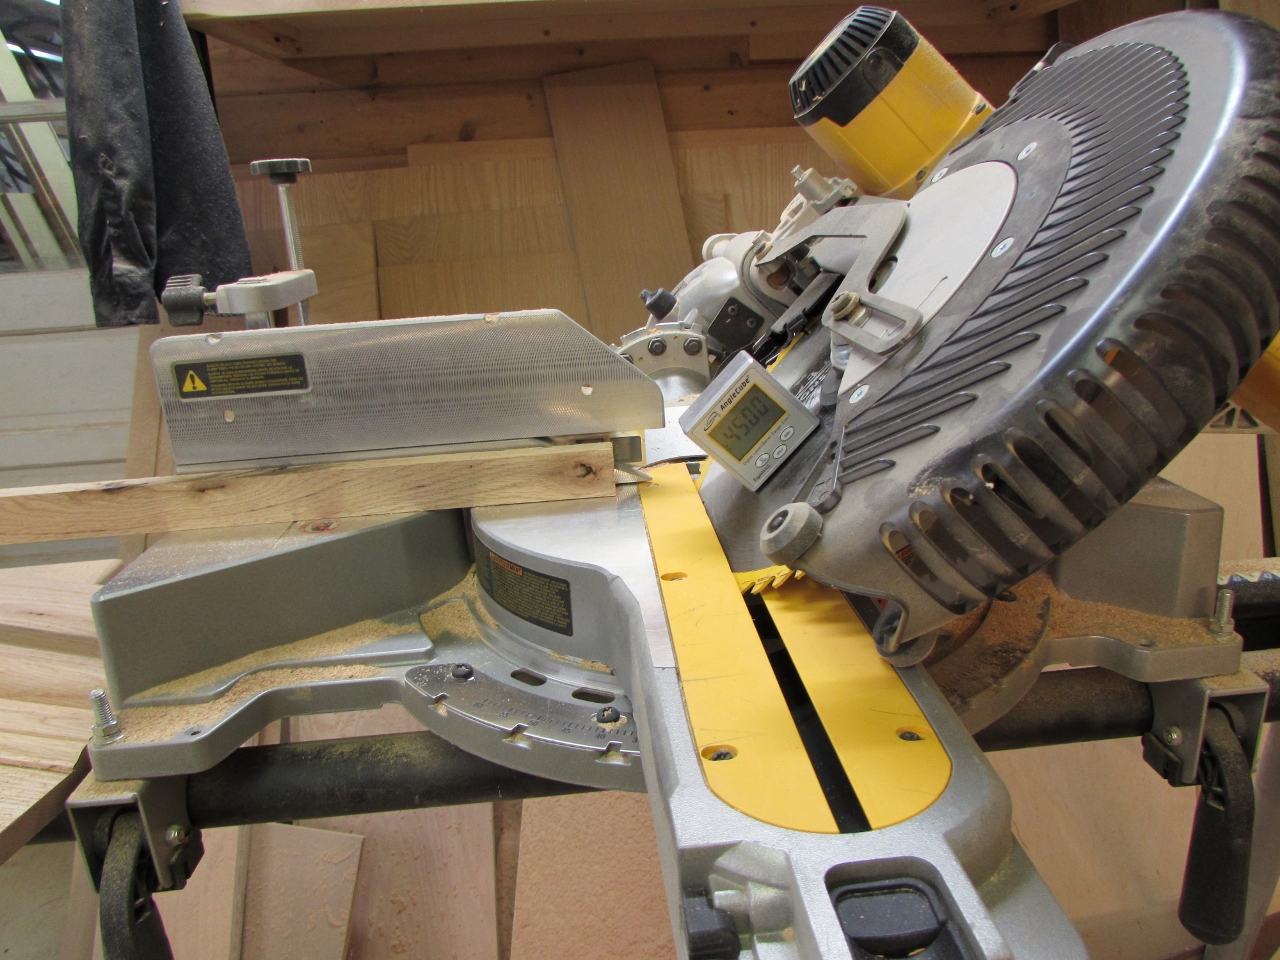
Using a digital gauge to set the angle
Before I miter the base trim assemblies, I used my digital gauge to make sure the blade is set at exactly 45 degrees. Next, I place a 1-1/4″ spacer up against the fence, and clamp down the base assembly. I cut a 45 degree miter along one side, then grab another piece and miter the opposite side.
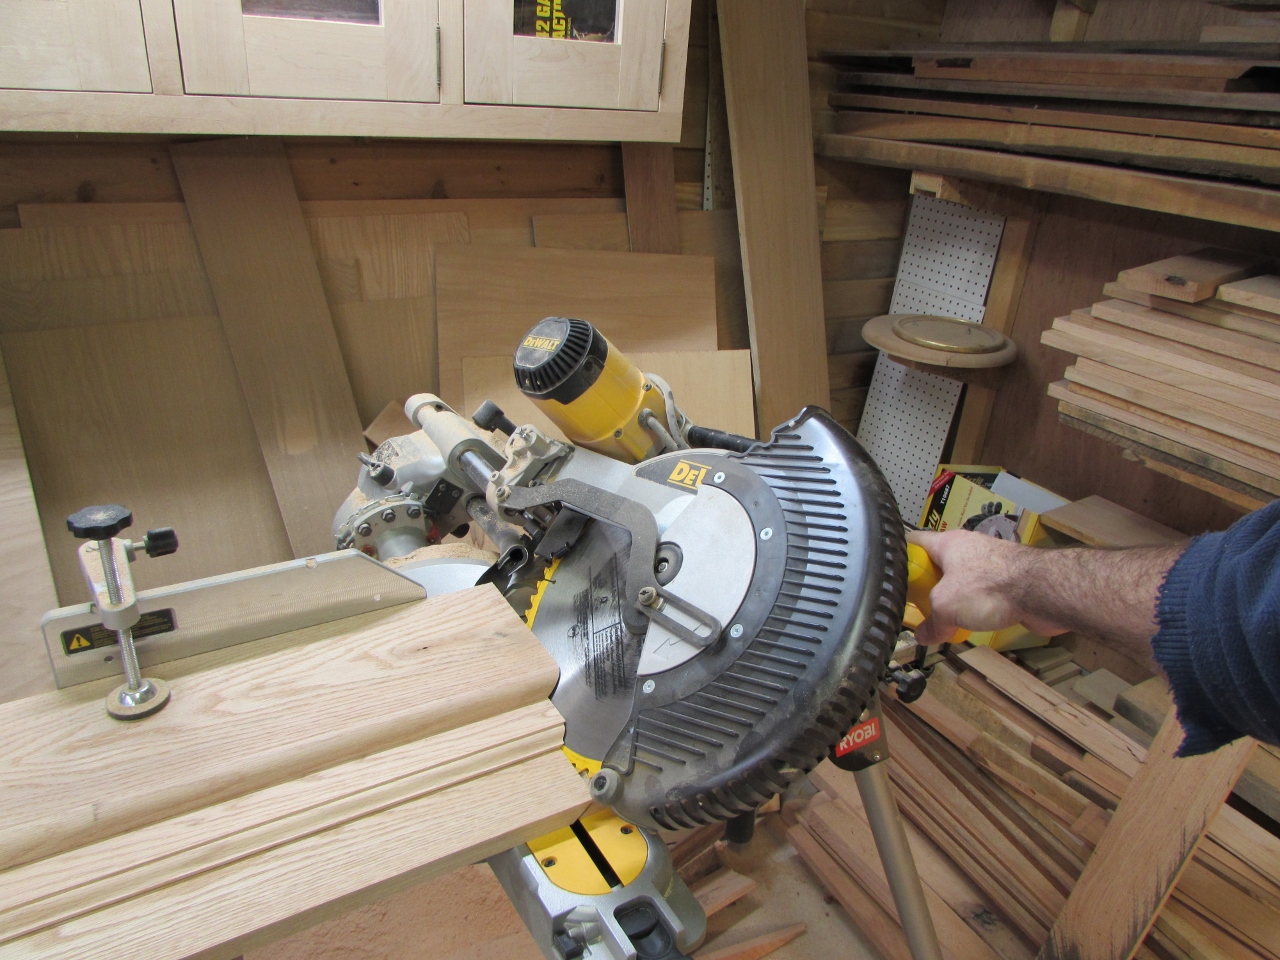
Mitering the base assemblies
Butt the miters at the corners
I butted the two pieces together at the corner and marked the opposite ends for cutting. I make sure to cut the piece about 1/8″ too long, then cut it back to the correct size a little at a time, checking each time. If I were to try to cut it exactly to my mark, I would probably cut it too short.
I cut the miters long and work back
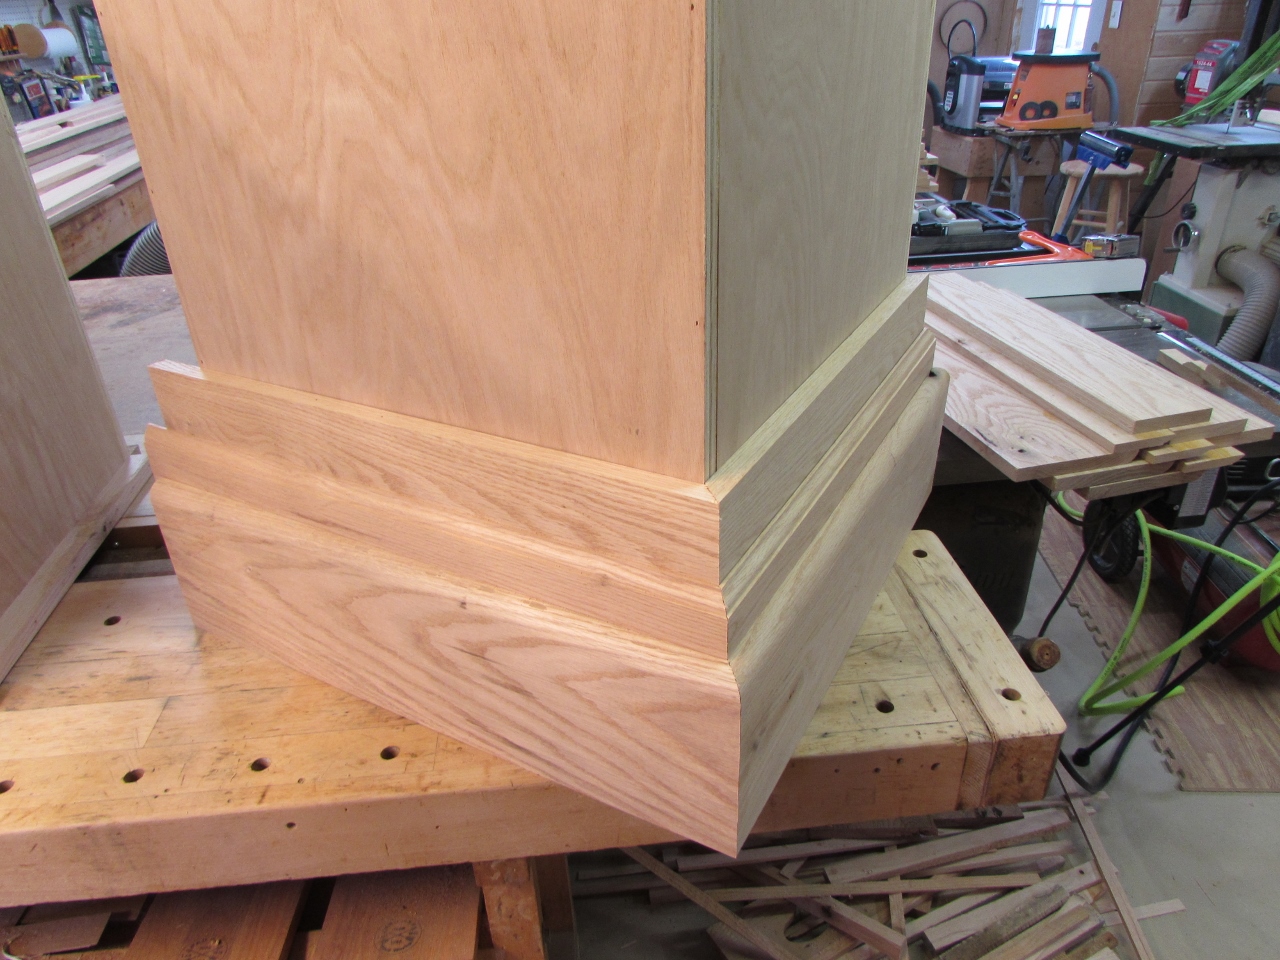
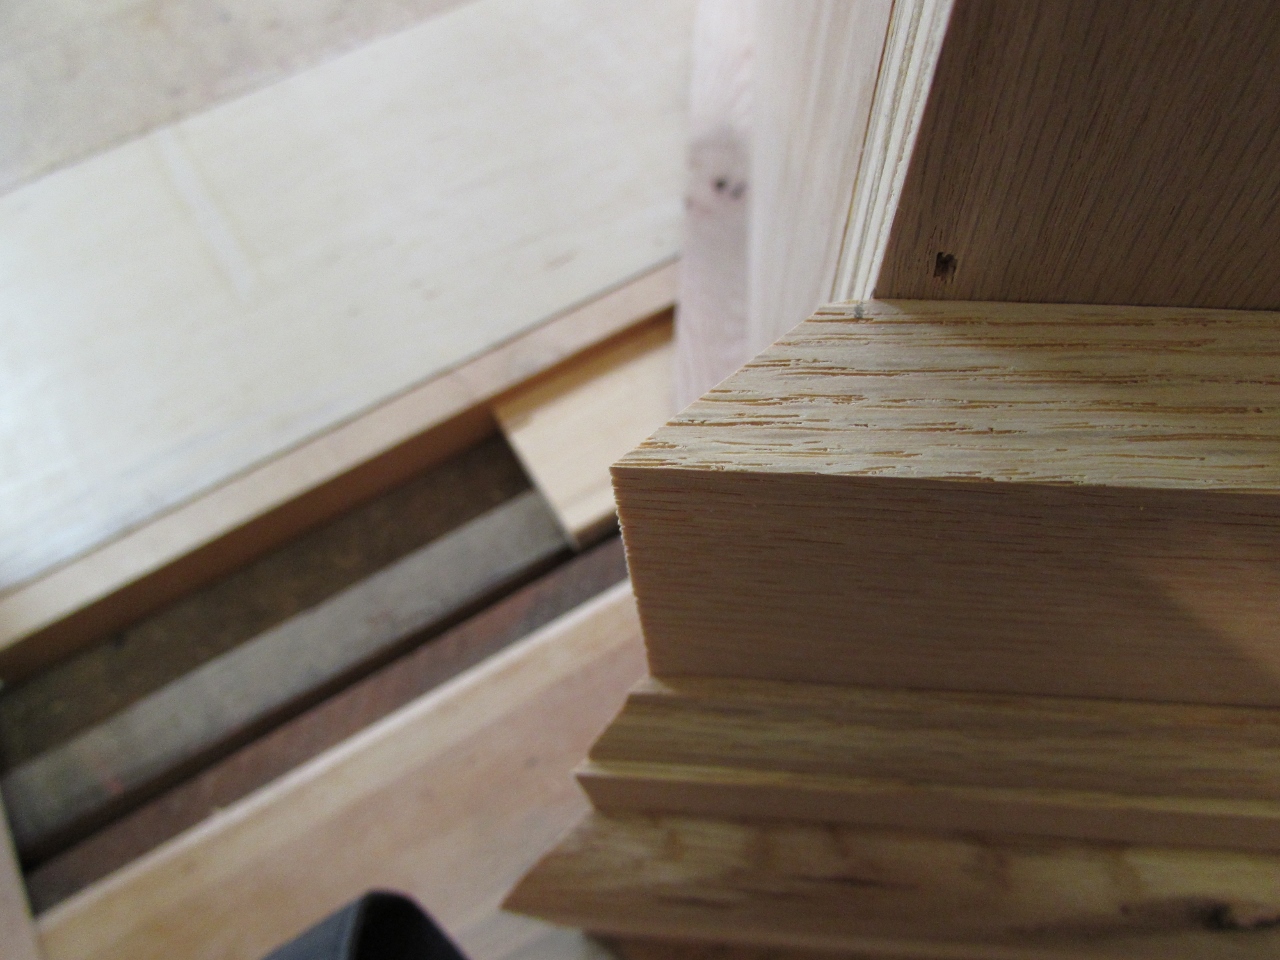
Remember when I marked the corners so I could match the grain flow? Well, it worked better than I expected. Take a look at that grain. It flows nearly perfectly across all three pieces.

Look at the grain flow around the base

First base done
I took my time and worked my way around the boxes, nailing the first one in place with the brad nailer, then each one as I got it cut to the correct size.

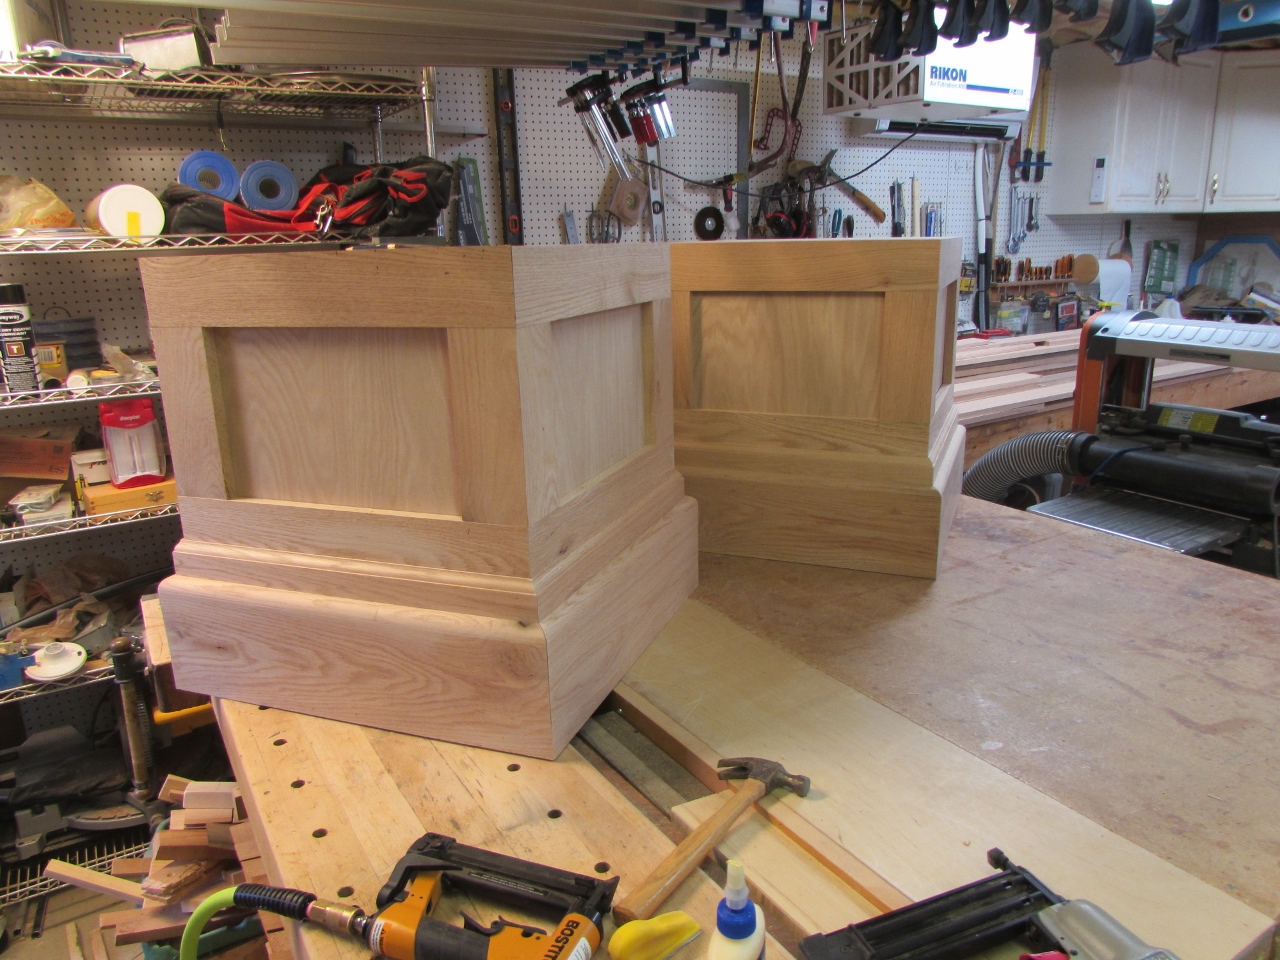
Both bases done
The bases are installed on both boxes now, and the grain flow looks really good on three sides. Since you can’t expect the grain from the first piece to match the end of the last piece that goes on. We will just place that side against the wall…

Cutting the 45 degree miter an my verticals
Next up, the vertical corners. I set the table saw to cut a 45 degree angle down the side of all my corner pieces.
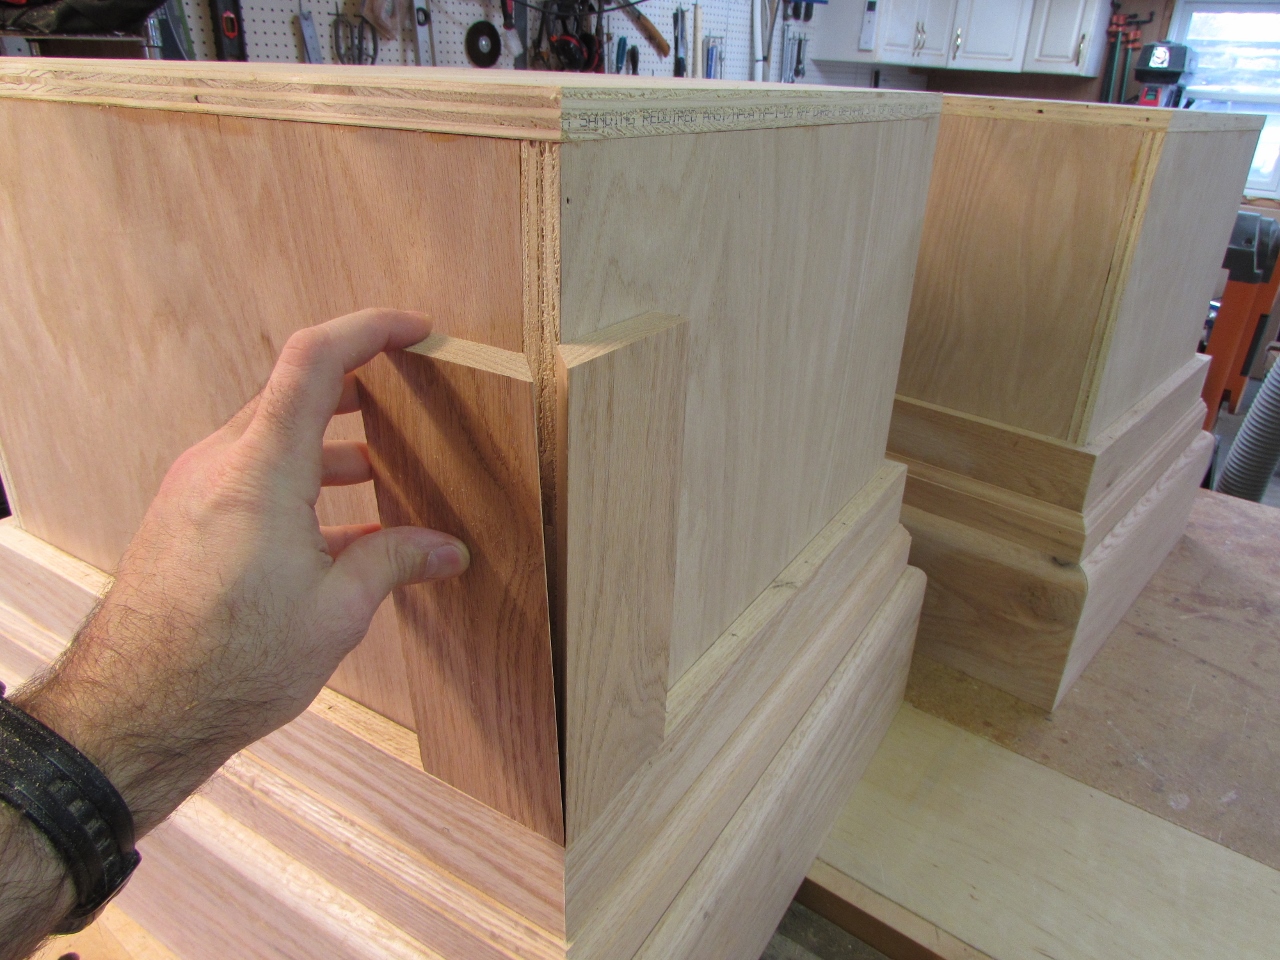
Checking the fit
I test them on the corner of the box to make sure I have the correct height.
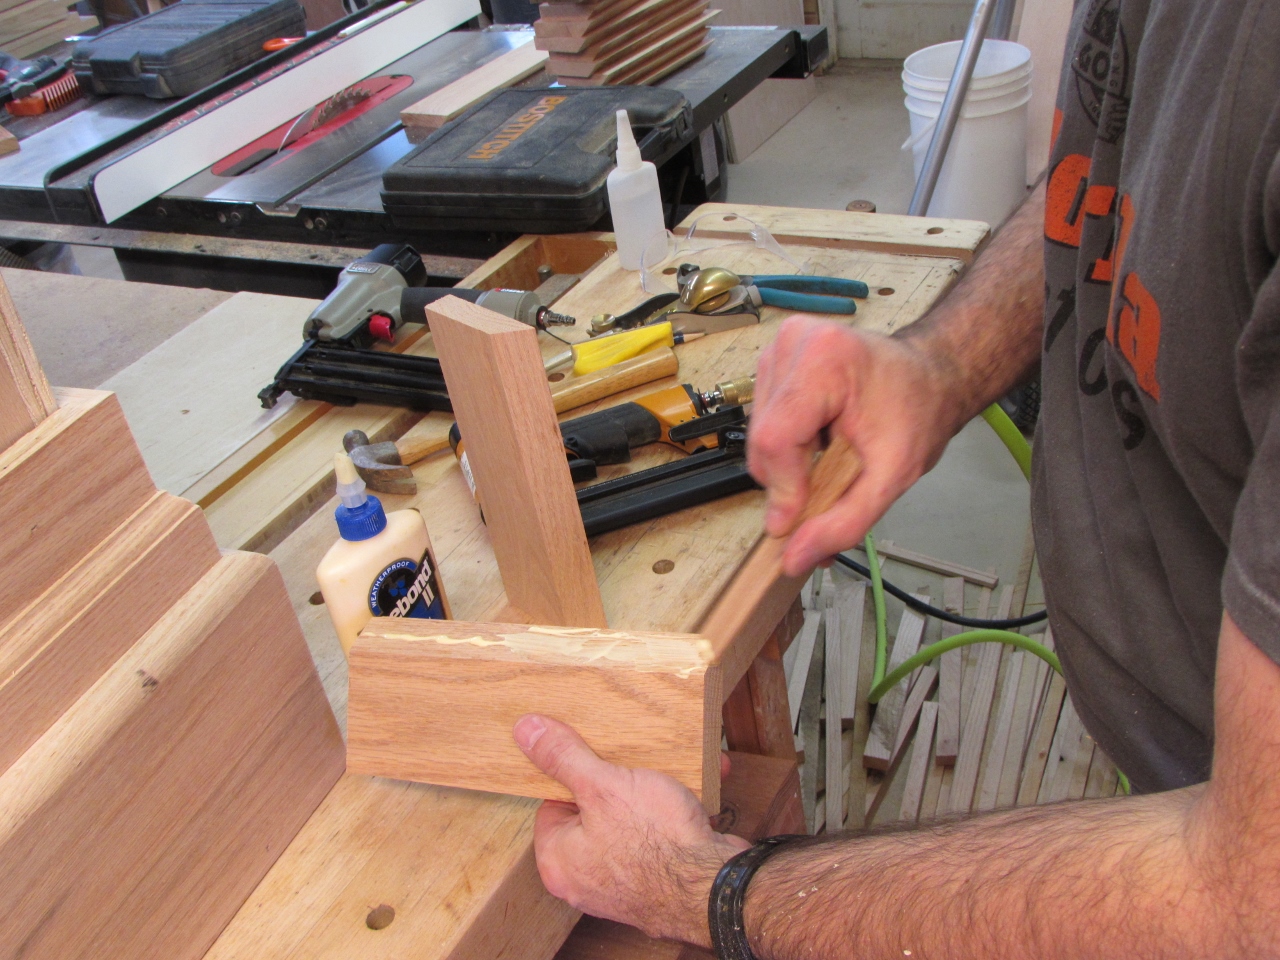
Applying glue to the miter
I apply glue to the miter and assemble the corner with the 23 gauge pin nailer.
Pin nailing the corner together

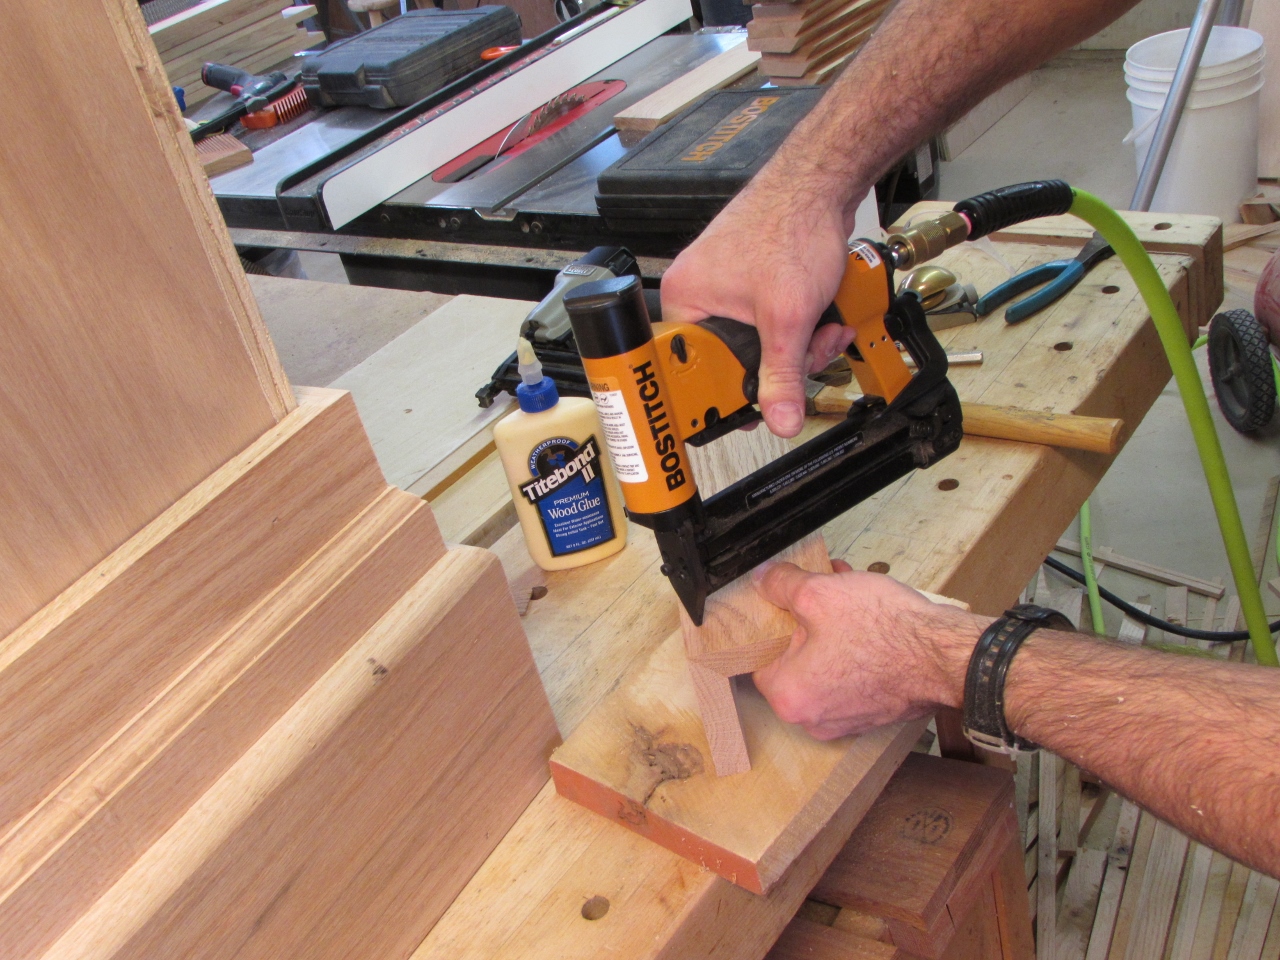
Applying glue to the inside of the vertical corner
I then apply glue to the inside of the corner piece and Pin it to the side of the box.

Pinning the corner in place
After they are installed, I repeat the process that I used to cut and assemble the base, with the top pieces.

Repeating the process with the top band
Making sure they line up flush with the top, I glue and pin them in place as well.

Pinning on the tops
Both boxes with vertical corners and tops
The last piece of trim to cut and install is the base cap.

Cutting miters on the base cap trim
I carefully measure and cut the base cap.

Carefully cutting and fitting the base cap
After checking to make sure all four pieces fit perfectly within the frame, I apply some glue and pin them in place as well.

Applying a little glue

And pinning it on
It has been a long day, so I am going to knock off after getting the first panel done.

First panel framed in
Hopefully tomorrow I will be able to finish installing the base cap and maybe start working on the tops. After midnight again though so it is time for bed.
