
Rob’s Burr puzzle block
It has been a while since Rob has been over to my shop, but he was able to come over last night and he had a new project to work on. He found a link to some cool puzzle boxes called Burr Puzzles. It was in the April 2012 issue of American Woodworker magazine (Now part of Popular Woodworking magazine). Here is a link to the article, which also has plans: Burr Puzzle Boxes
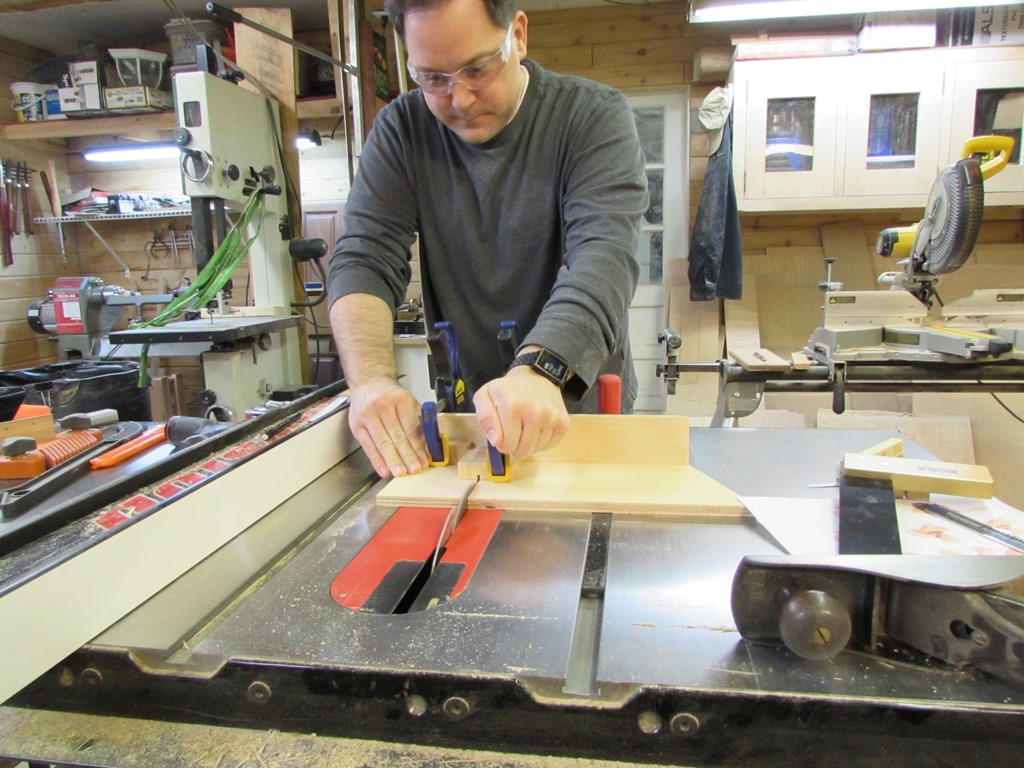
Rooting through my meager supply of wood scraps, Rob found a small piece of Bamboo plywood, that he thought would look cool for the block pieces. We chose the medium-sized puzzle block to build. It required six, 3/4″x3/4″x2-1/2″ blocks. We attached a small piece of veneer to the table saw fence (just before the blade) to prevent binding, then used the fence as a stop block, with the miter gauge to push the wood. This allowed Rob to make repeatable cuts, producing the six blocks required, plus a few more for test cuts. Since the off-cut piece would be left between the fence and the blade, he used a push stick to keep it from accidentally hitting the blade and flying off somewhere.

Ripping the blocks
The next step was to do a bit of sanding to de-burr any of the fuzzy edges.

Sanding the edges
Jig with a stop block
I had a scrap piece of plywood, that was already assembled into a 90 degree “L” shape, so I screwed it to the miter gauge to create a small sled that the blocks could be clamped to. This kept our fingers safely away from the blade. A stop block, clamped to one side, allowed Rob to make exact repeatable cuts. Rob laid out the required cuts on the blocks, then by making several passes, on the table saw, cut the required dados.
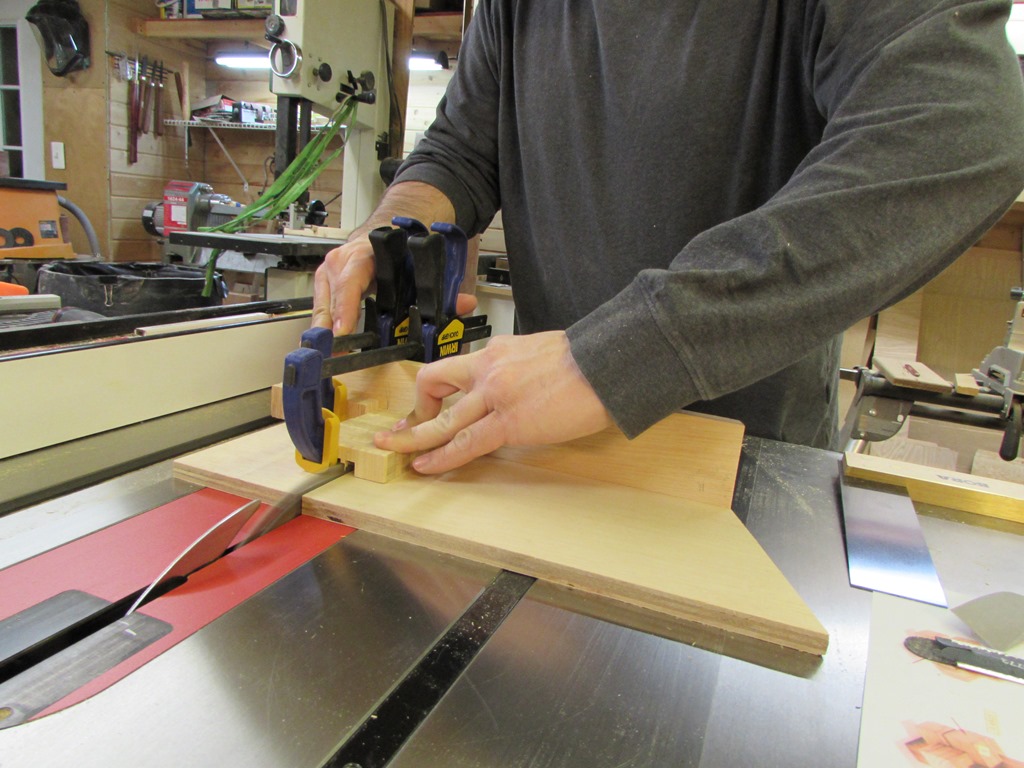
First dado cut
Using a square, Rob was able to clamp up several blocks at once to save time cutting the dados.

Cutting several at once

First assembly
Rob found the first attempt to assemble the puzzle a bit difficult.
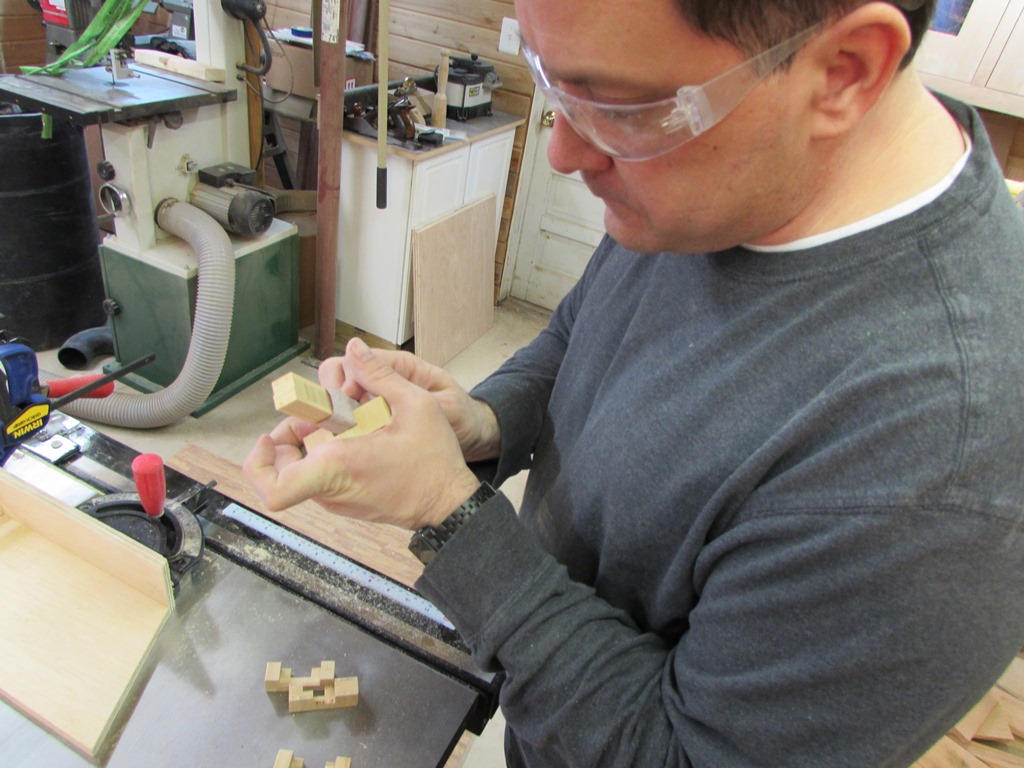
Sanding the dados
After sanding down the dados a bit and breaking the edges with a bit of sand paper, everything went a lot smoother.
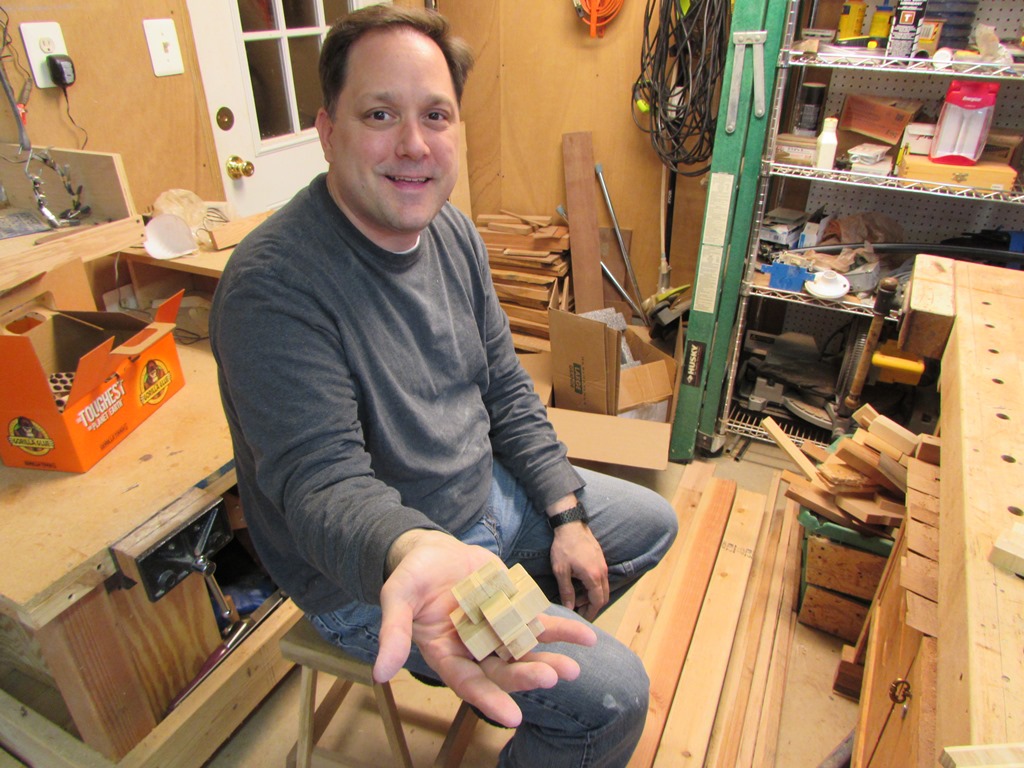
Finished puzzle block
This was a cool little project, that only took about 2 hours. If I had taken the time to build the jig, that they had in the plans, we probably could have batched out several of these in the same amount of time.
