
12′ Cherry Conference room table – day 7
Another long day today, but I made a lot of progress.

Cutting away the excess
I started today by cutting away the excess trim and dowels sticking past the trim on the tops.
Locating one of the tops
Next I located one side of the tops then put a few pocket screws in through the frame, to hold the top in place.
Holding the top down with a couple of pocket screws

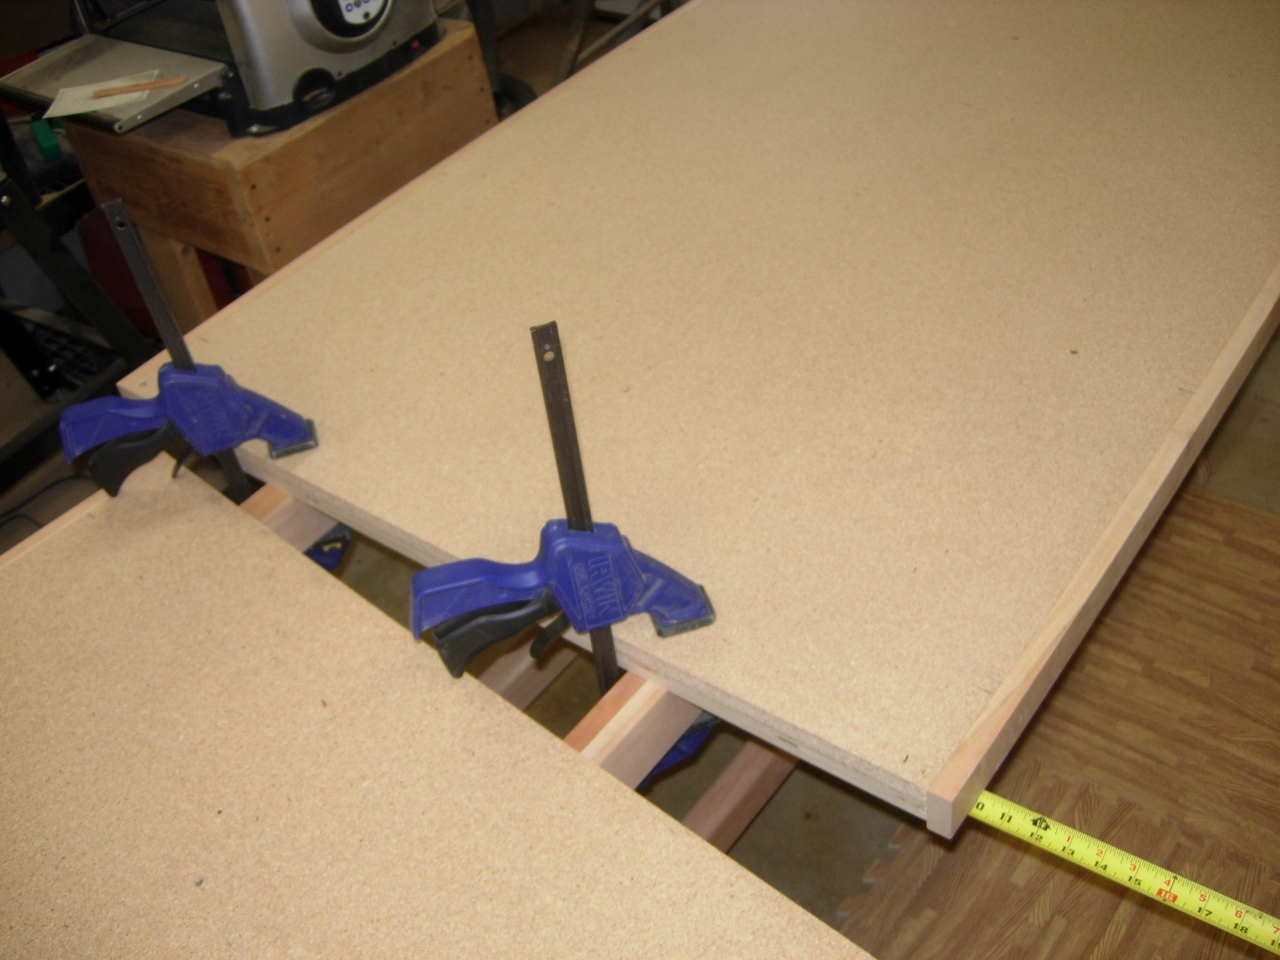
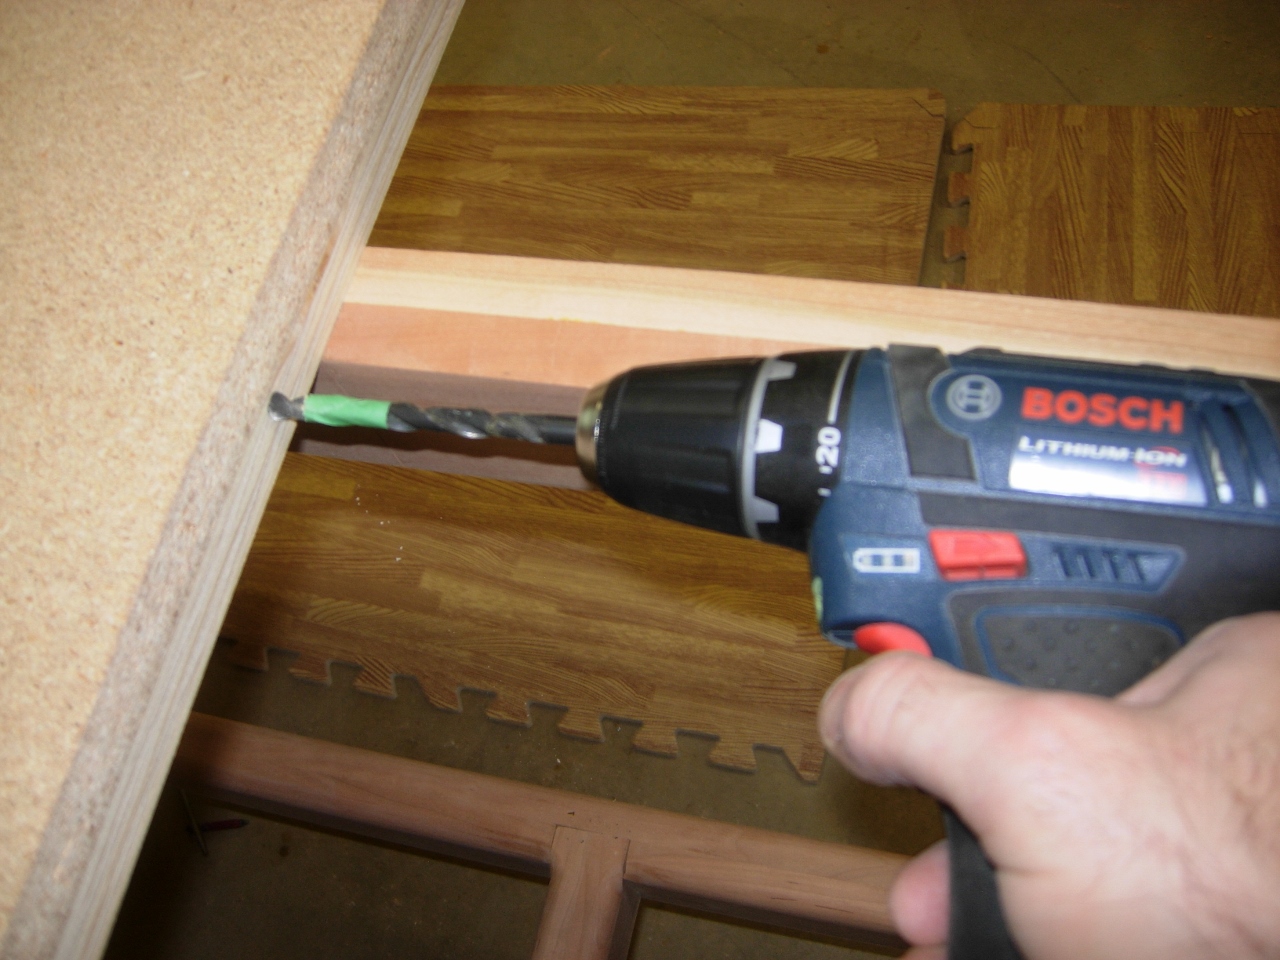
Installing some locating pins
I purchased some brass locating pins, to align the table tops. I drilled four holes to set the pin sides in. I slid a receiver over the pins to drive them into place. I did not want to hit the pins themselves with the hammer.
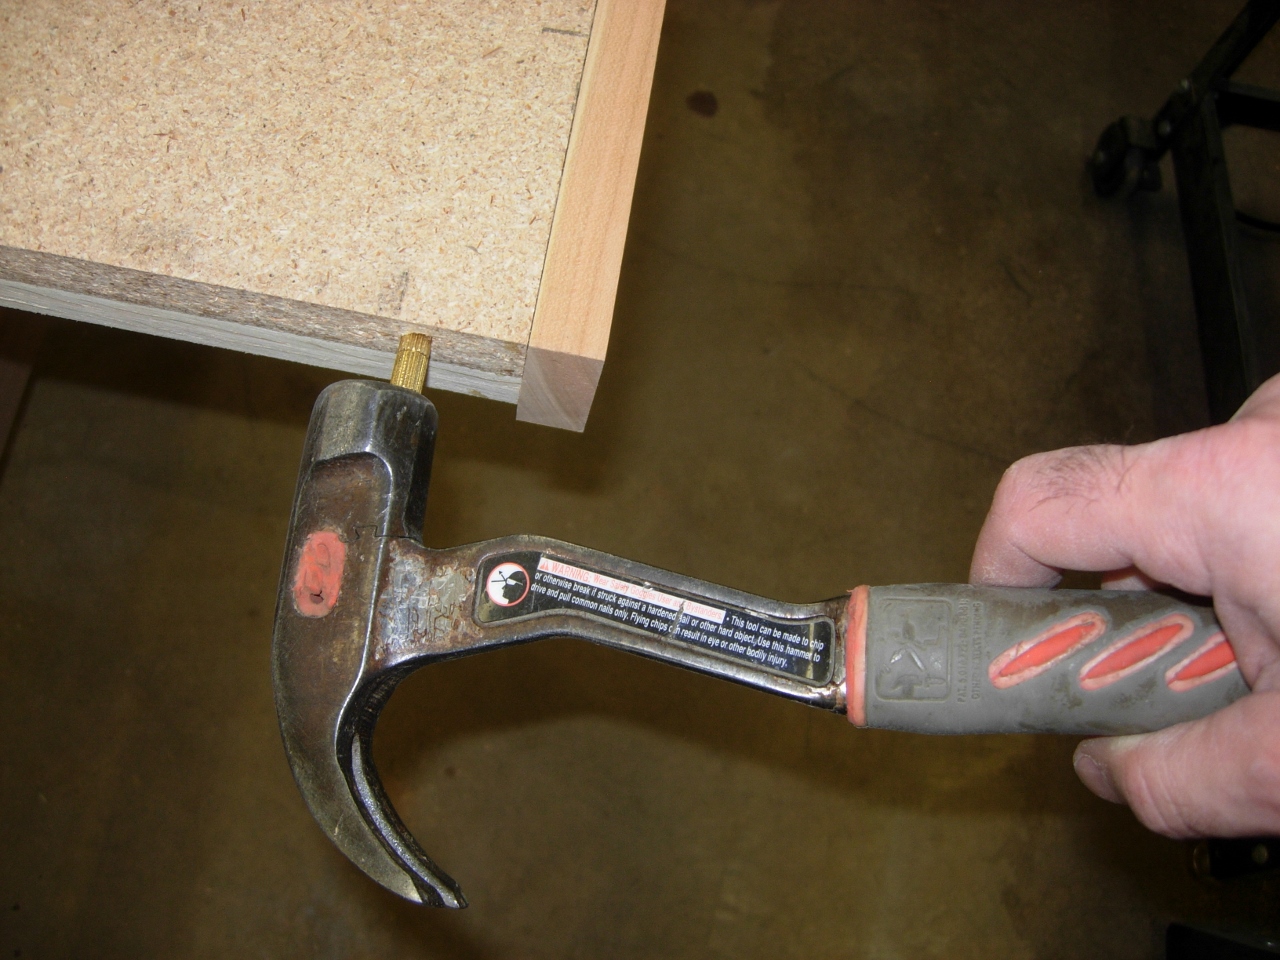
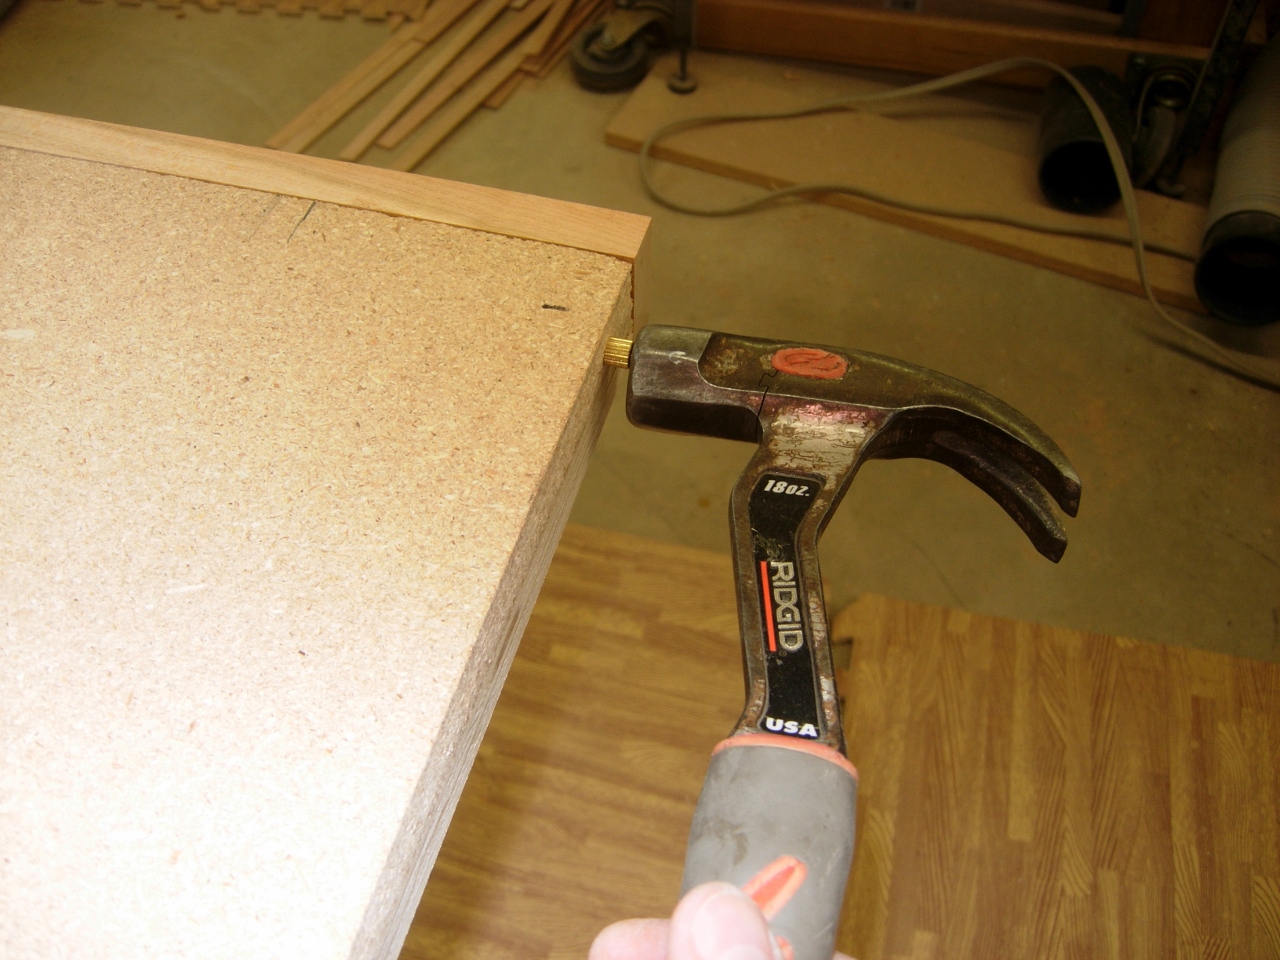
Tapping into place
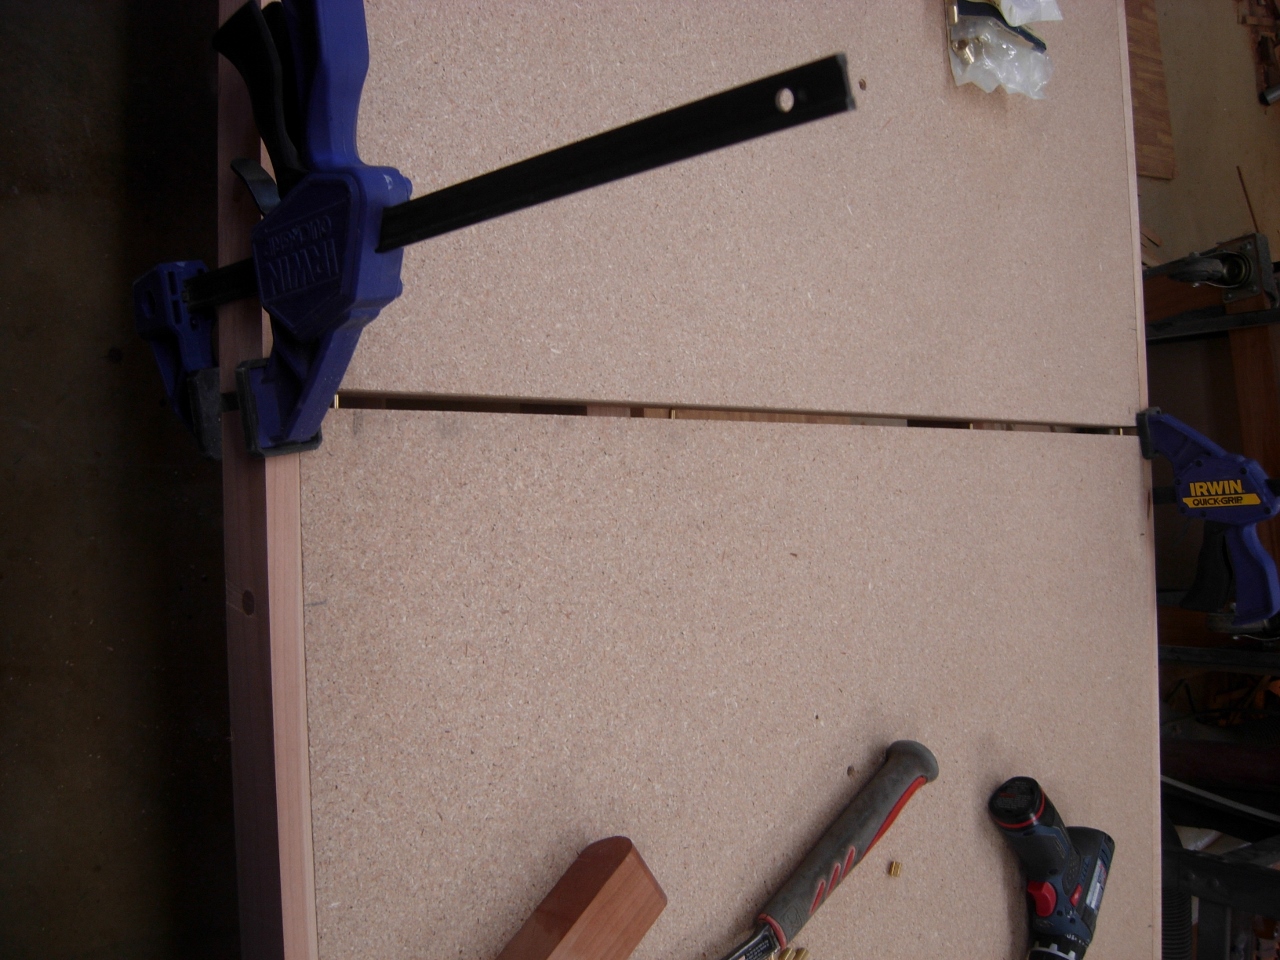
Using the pins to mark the holes
I carefully lined the table tops up and used some clamps to hold the alignment, then smacked the end with a rubber mallet, driving the pins into the fixed table top. After I slid the pin side away, there were four dents in the fixed side that I drilled out for the receivers.
Drilling in the dents
Setting the receivers
After tapping them into place, I slid the tops back together. One side was a bit elevated so I flushed it up with my smoothing plane.

A little high on one side
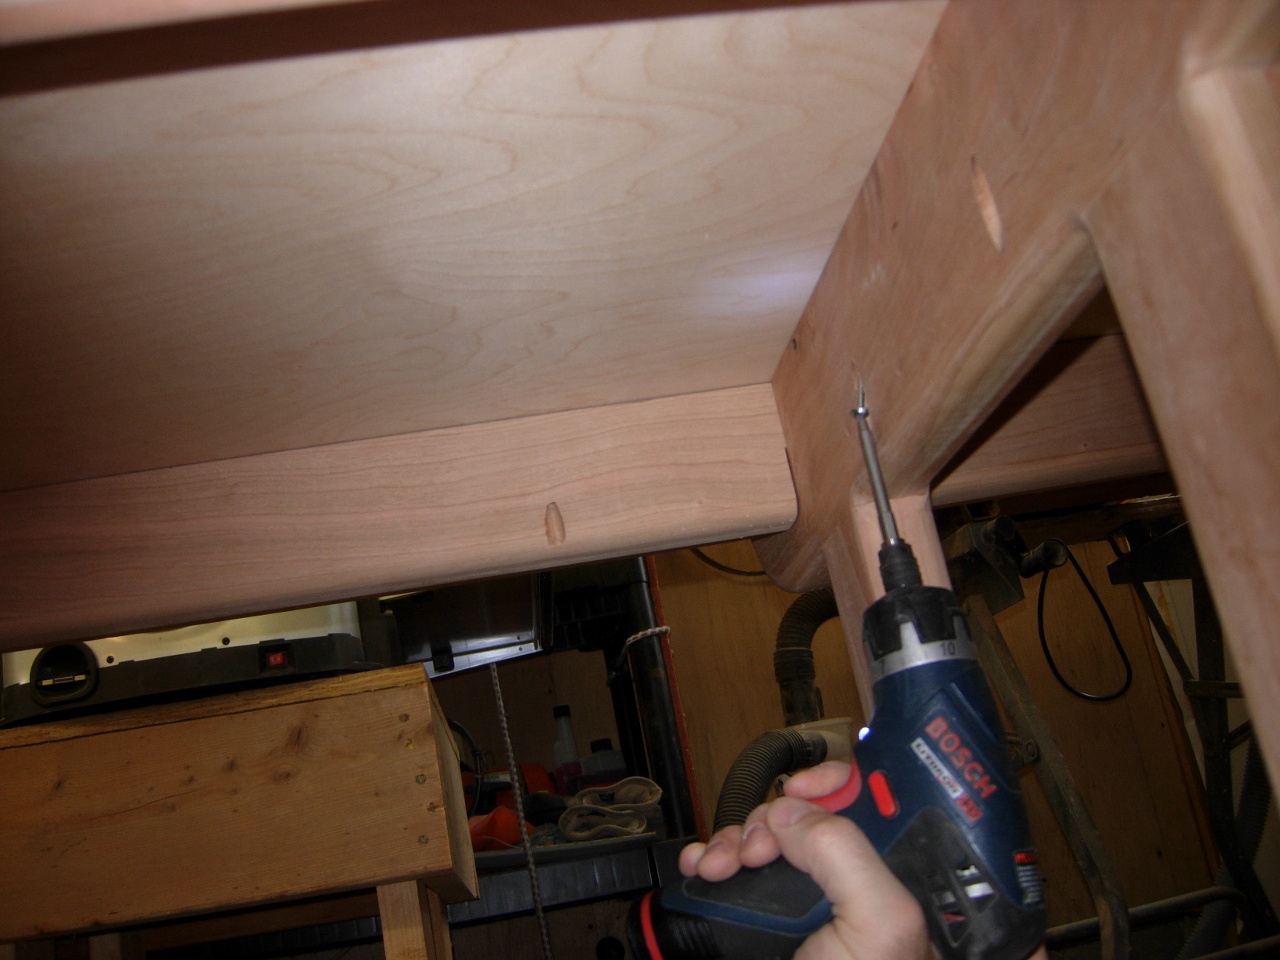
With everything lined up, I climbed underneath and added a couple of draw latches at the seam. Hopefully this hardware will hold everything in its proper place until I can screw the tops down when I install them at the church.
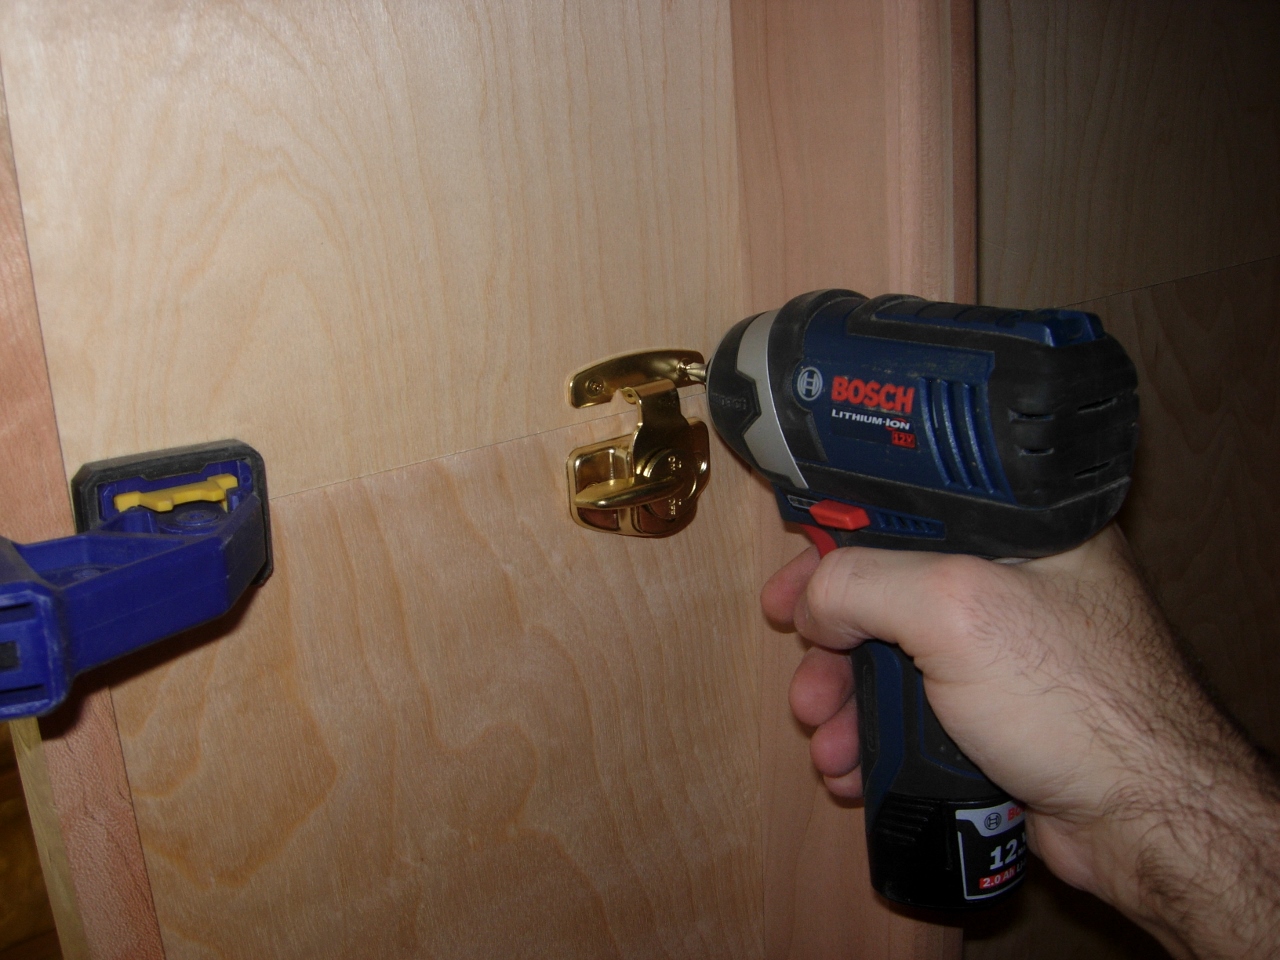
Adding some additional captive hardware

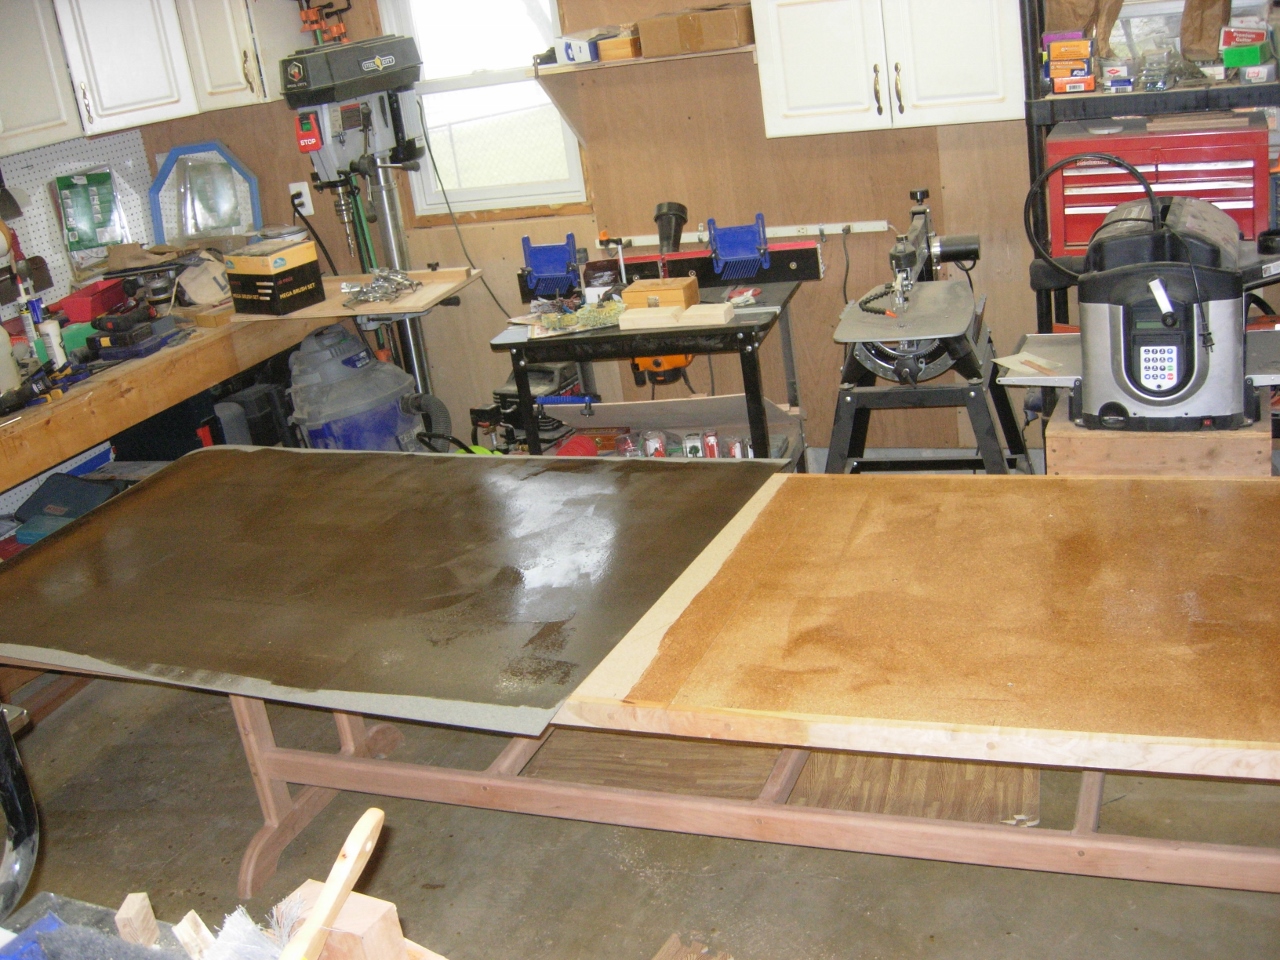
Cleaning the surface
I had my assistant brush off all the saw dust to prepare the tops for the Formica.
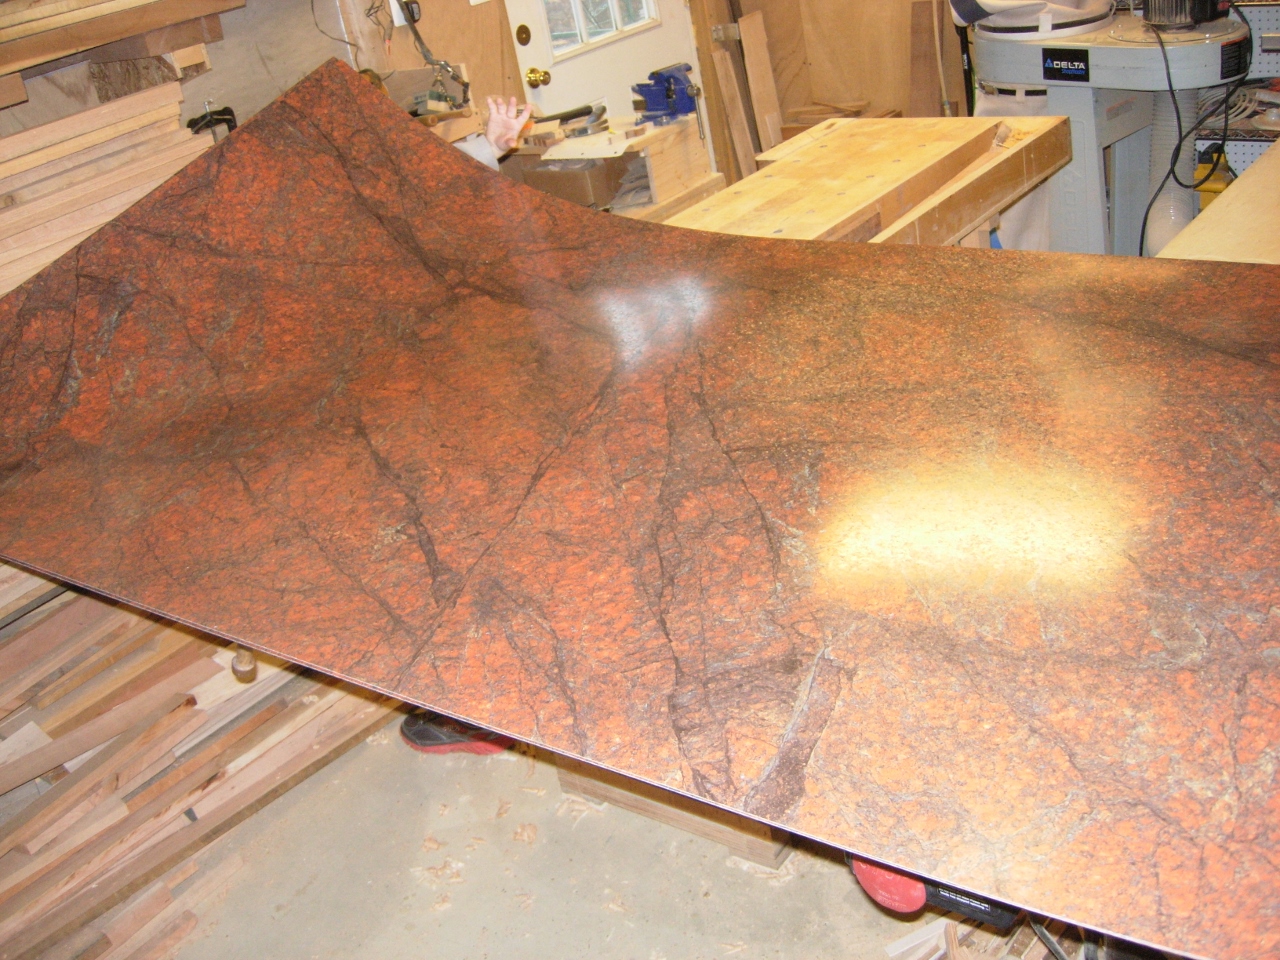
Unrolling the Formica
He also helped me unroll the Formica and acted as outfeed support. See his hand sticking out in the picture above?

Cutting away the extra
Both of the sheets were about 24″ too long, so I trimmed away the excess on the table saw.

Applying the adhesive with a roller
I laid one of the sheets face down on the left and rolled out the contact cement, in a thin layer and allowed it to dry for about 20 minutes.
Let it dry for 20 minutes or so
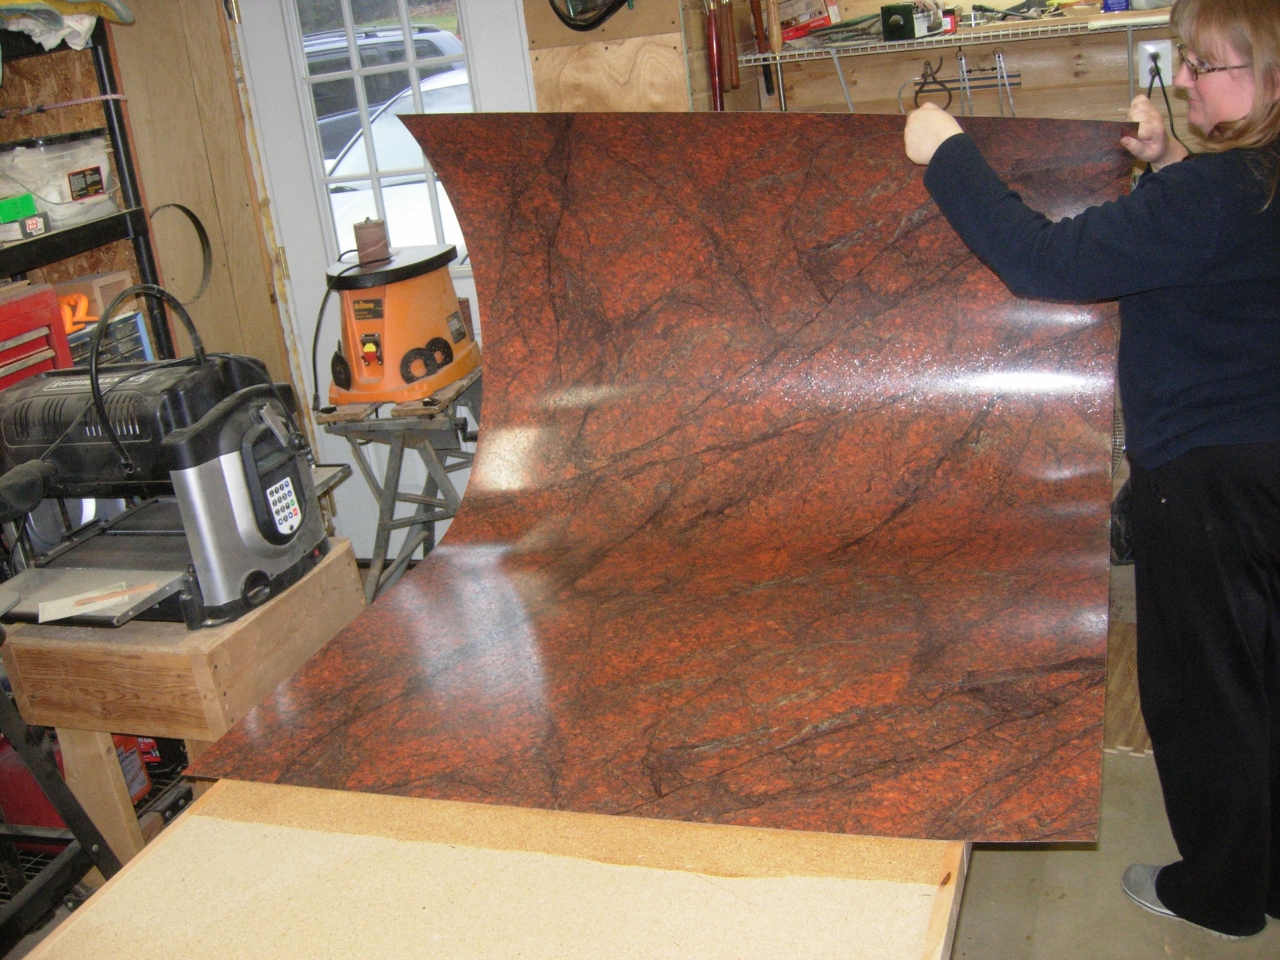
My lovely assistant helps lay down the formica
My lovely assistant helped me line up the edge and install the first sheet of Formica. The glue bonded to itself instantly, all I had left to do was roll out the surface to apply pressure to make the contact permanent.
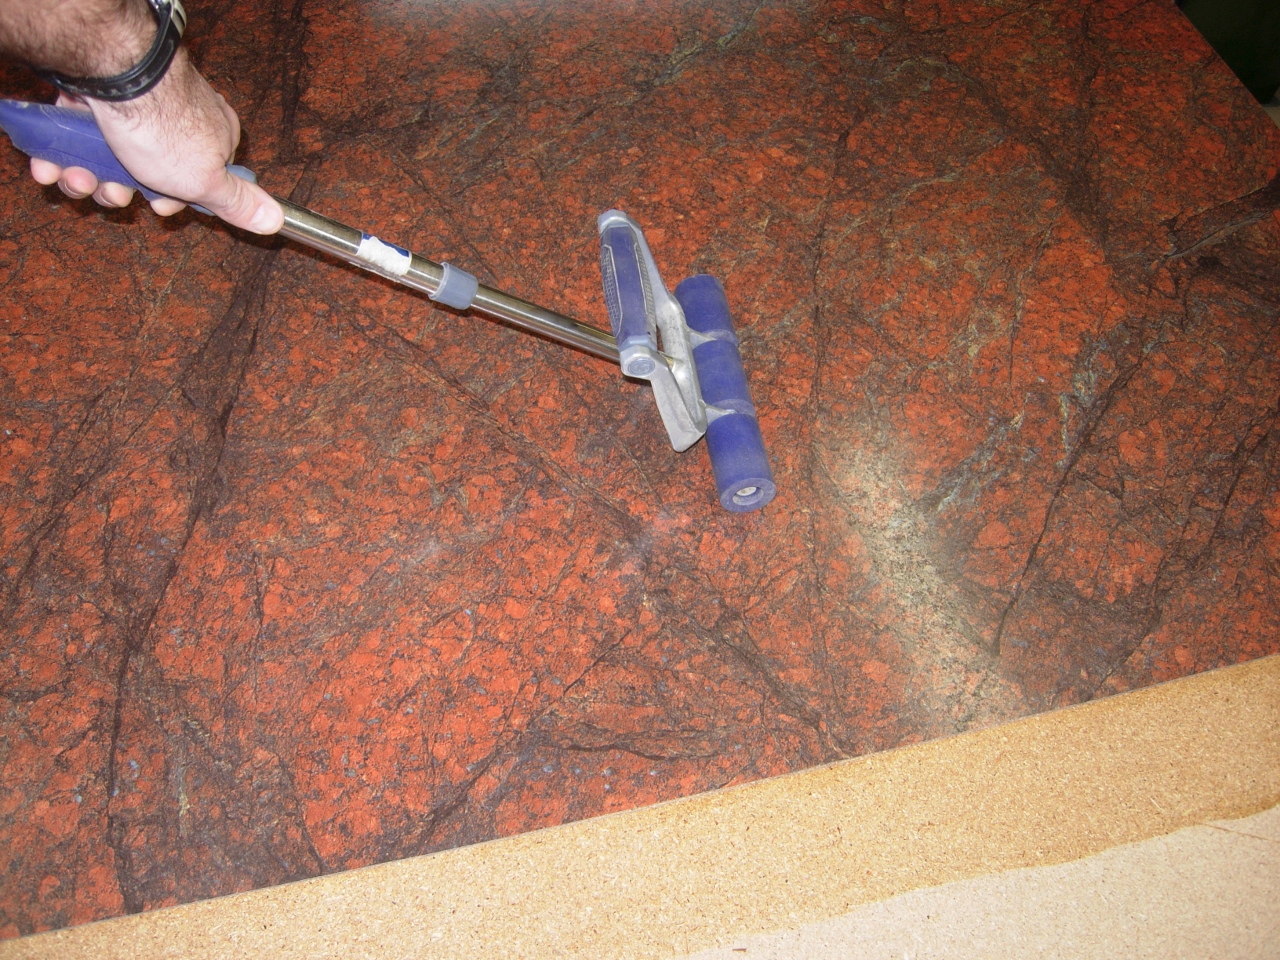
Roll the entire surface and it is ready to trim
Next I grabbed the second sheet and laid it face down on the one I just installed, then applied glue to both sides.
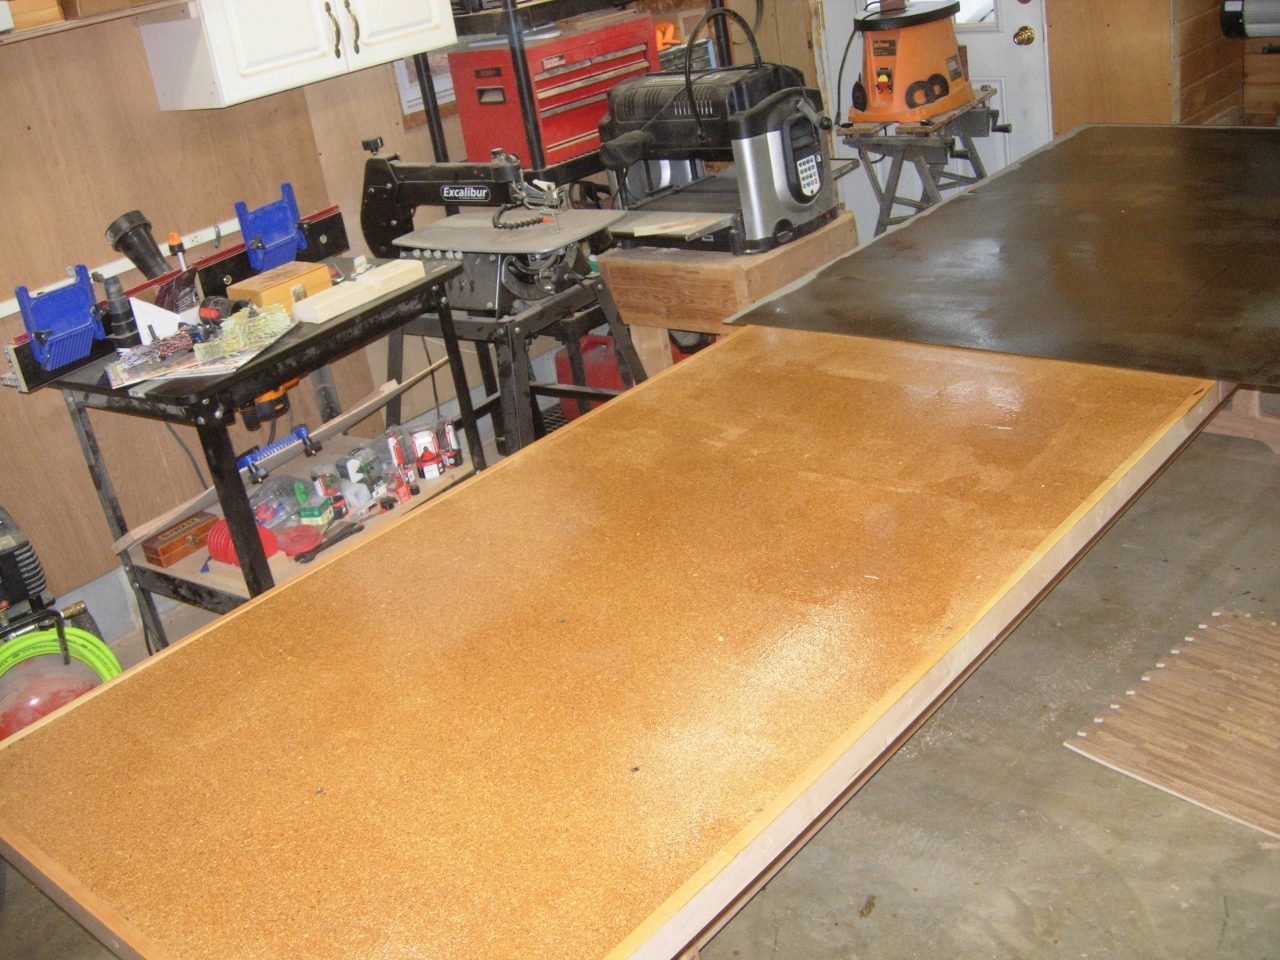
The second half is glued up
I repeated the installation on the second sheet and I was ready to trim everything up.
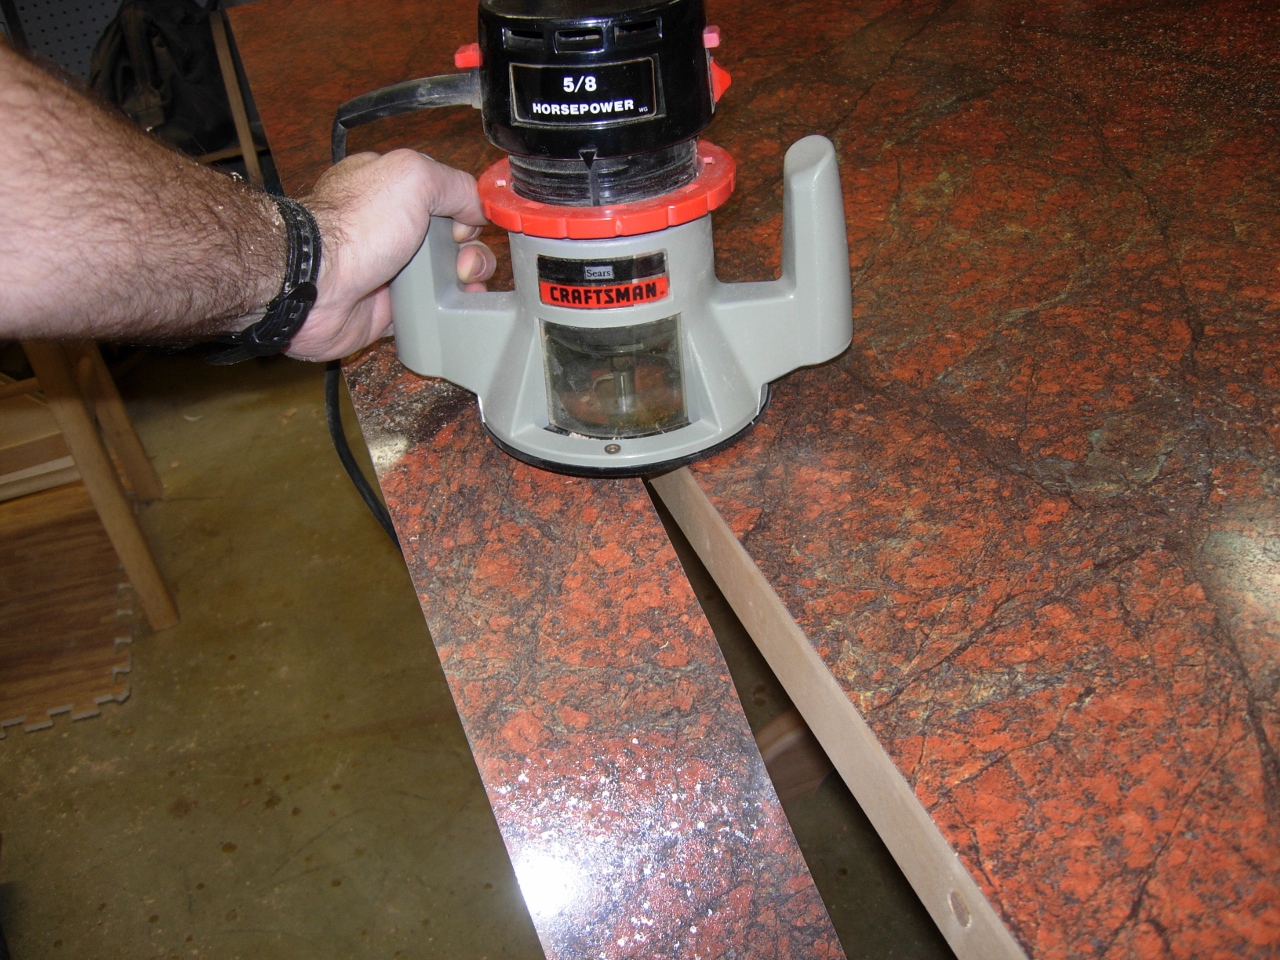
Flush trim bit in a router to trim away the excess
I started with the flush trim bit to cut away all of the extra material. Then I used the 1/2″ round-over bit to cut a radius all the way around the table. The Quadra-cut bit worked great at trimming the Formica with no chipping.

Follow up with the round-over bit

Top all trimmed
With it all trimmed, I sanded down all of the trim and rolled the sander on to the edge of the Formica to clean up any sharp edges.

Final sanding of the trim
The last little detail was a gap at one of the corners. I cut a little shim and glued it into the gap.

Glueing a shim into a gap
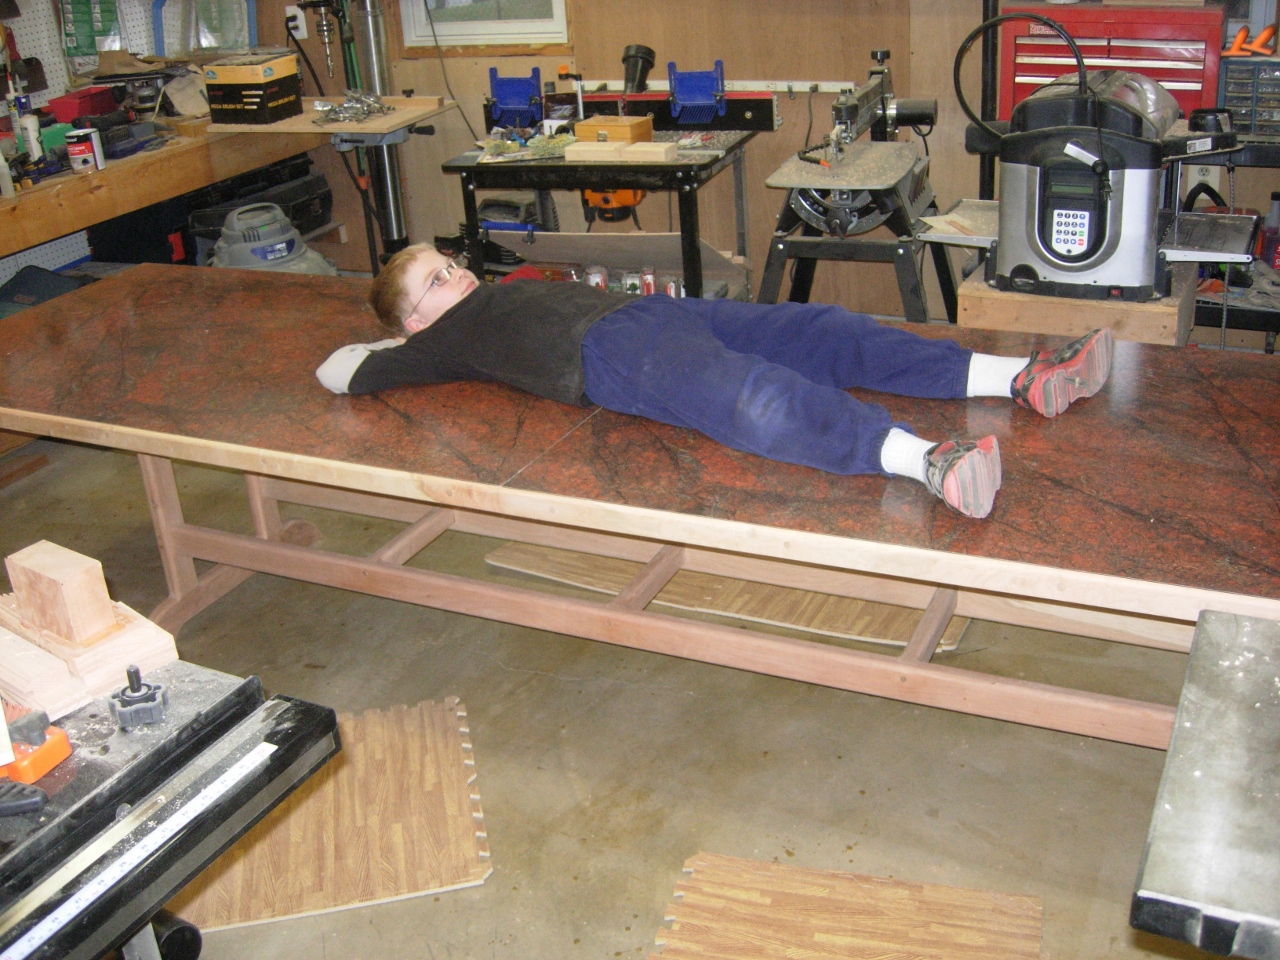
Load testing
While it was drying, I had Adam do a load test, then I planed and sanded the shim.

Shim planed and sanded

Mixing up wipe-on poly
Since I have to finish a lot of vertical wood in the base, with a lot of intersections, I don’t want to deal with runs. I decided on using a wipe-on poly finish. I mixed 50% polyurethane with 50% thinner (Naphtha in this case. It smells better than paint thinner.) This will give me a really thin layer of polyurethane for my first coat. I like that because it will really soak in and dry quickly.

Applying the finish to the tops
I applied finish with an old Tee shirt and just wiped away any excess. No drips…

Applying finish to the base
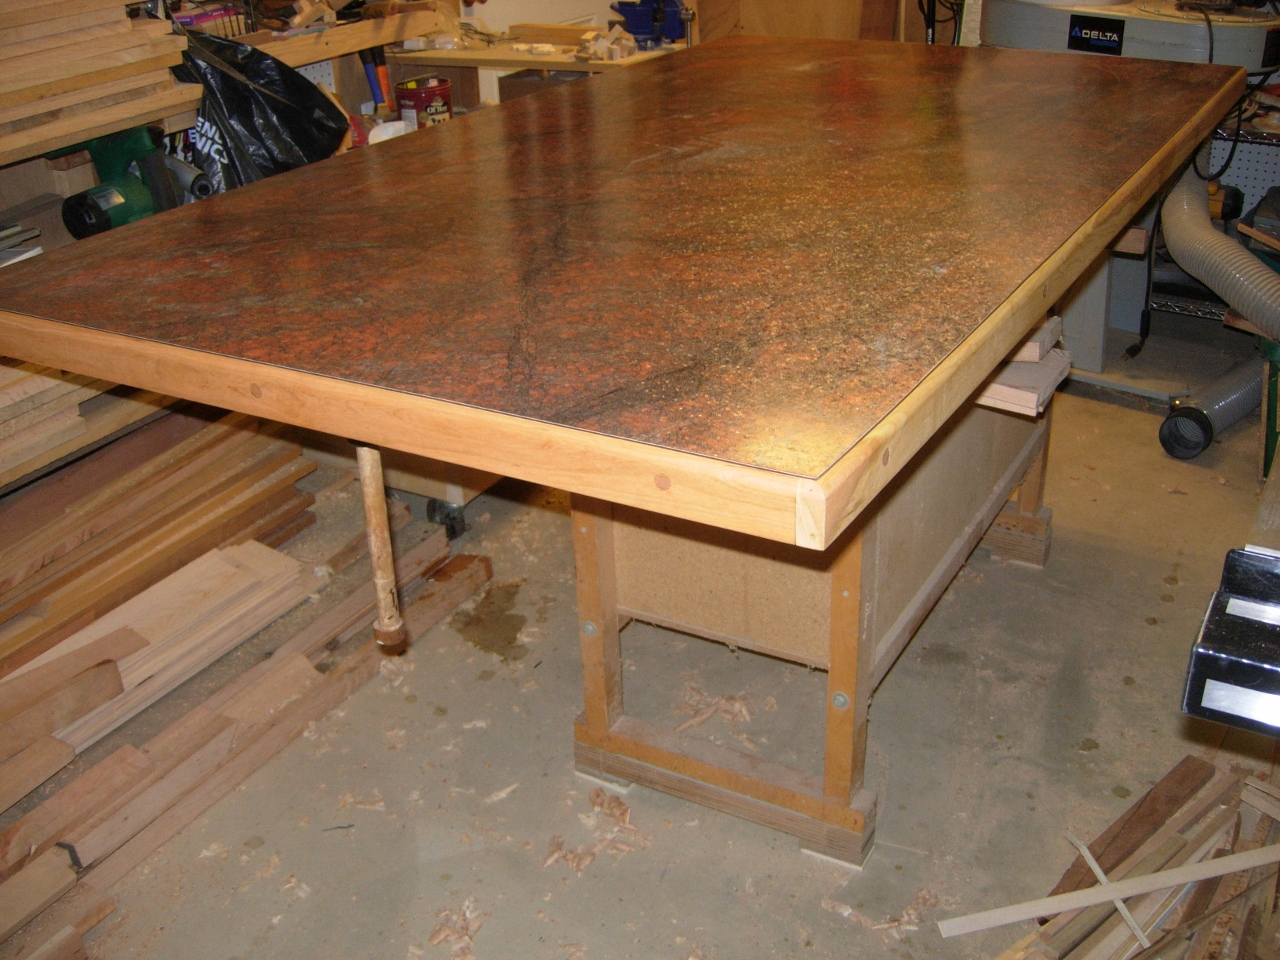
First coat applied to the tops
The first coat went on quickly and easily. It dried in a couple of hours , so I applied a second coat tonight. The second coat was a little thicker using about 30% thinner to 70% poly this time. I am going to let it dry overnight then hit it again in the morning.
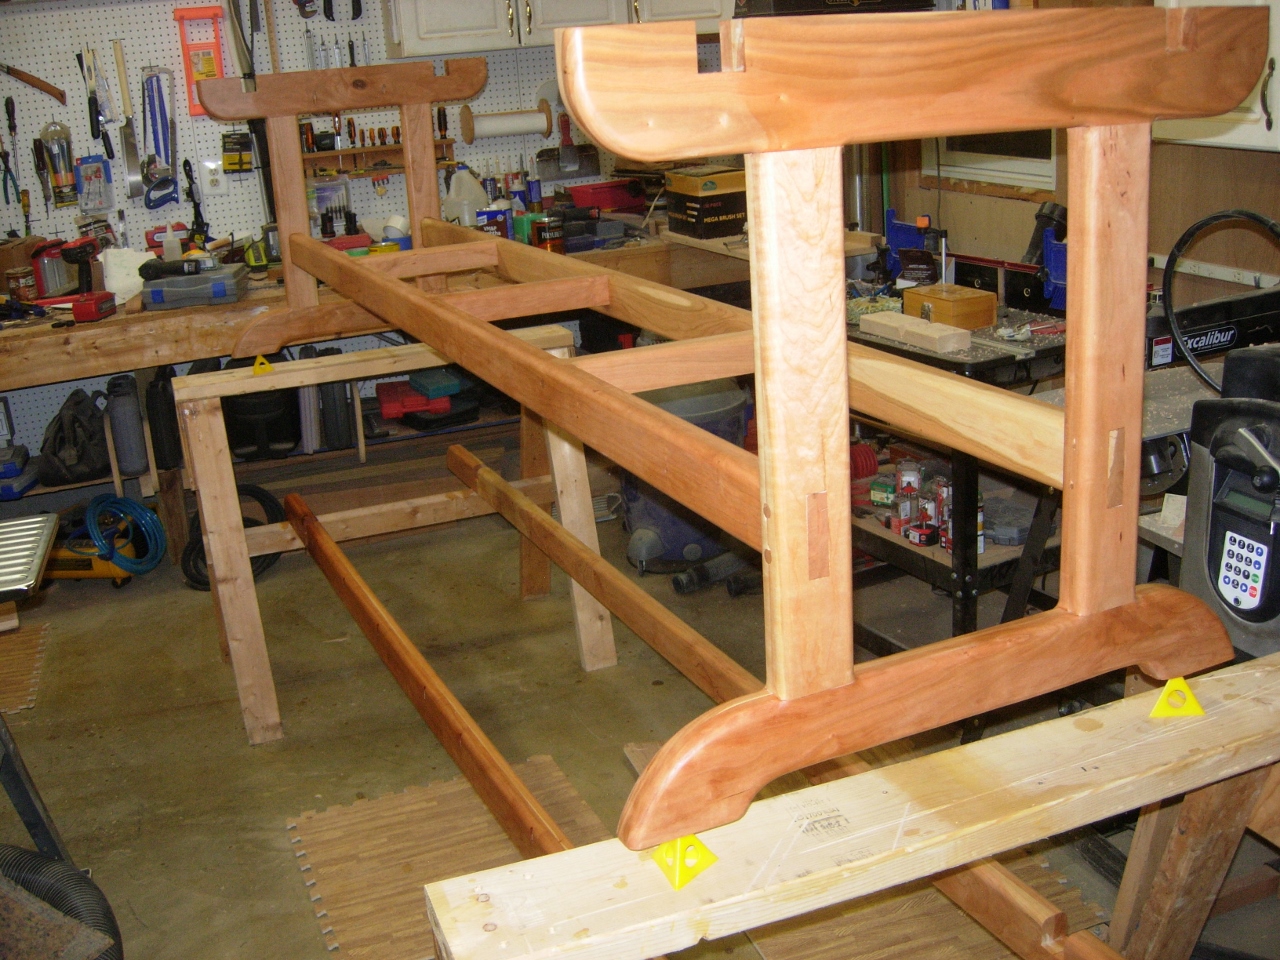
First coat applied to the base
I will probably do about four coats in total, more if I think it needs it. Hopefully it will be done tomorrow.
