
Rob’s sofa table – day 5
I have been busy the last couple of weeks and have not had much shop time. Rob come over last night though and we made some progress on the sofa table.

Re-sawing the drawer pieces
We started with the drawer sides. They need to be 1/2″ thick, so we re-sawed the 3/4″ boards that were set aside for the sides and rears of the drawers, then planed them down the rest of the way.
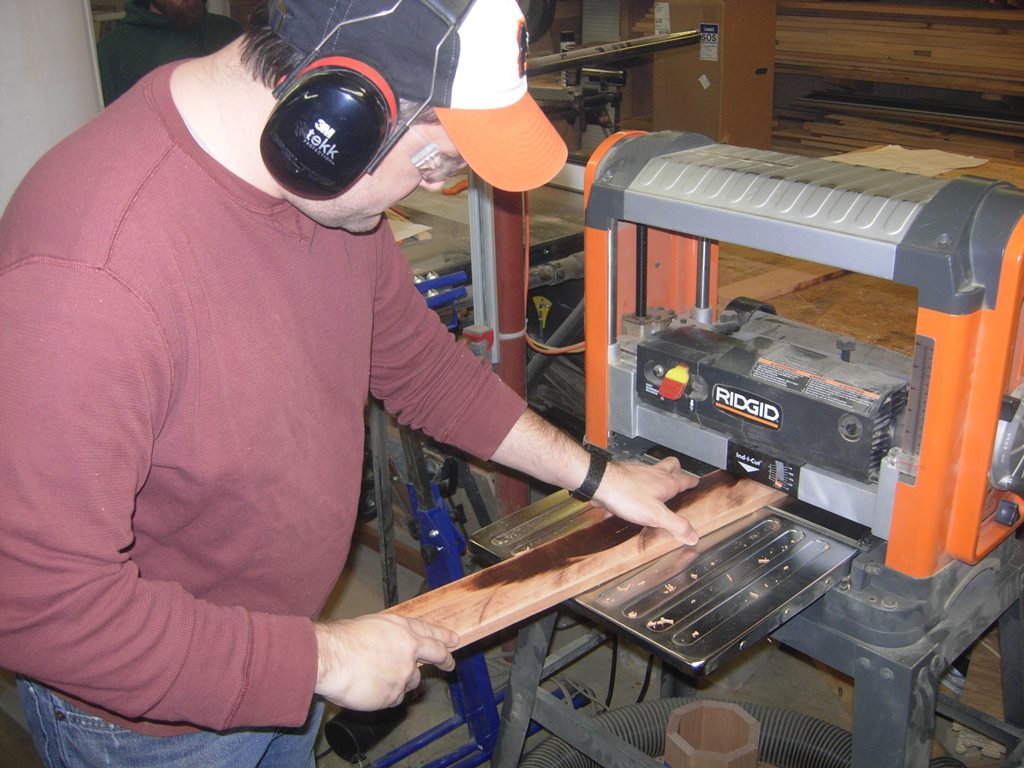
Planing drawer pieces to final size

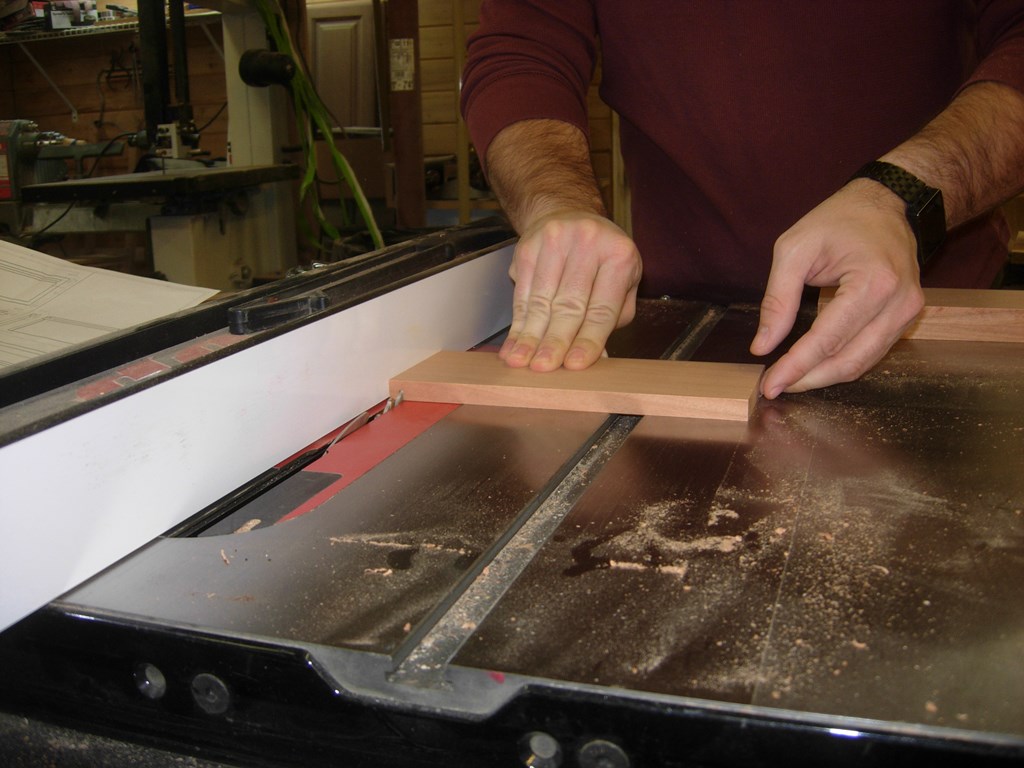
Cutting to length
Rob cut the pieces to length, then cut the vertical grooves in the side pieces.
Cutting the vertical grooves

Cutting the horizontal grooves
He then rotated the sides and cut the bottom groove. When the sides were done, Rob cut a small chamfer on the bottom, back corner of the drawers.

Cutting the relief on the back corner
He then did a bit of planing to clean up the burn marks on the edges.
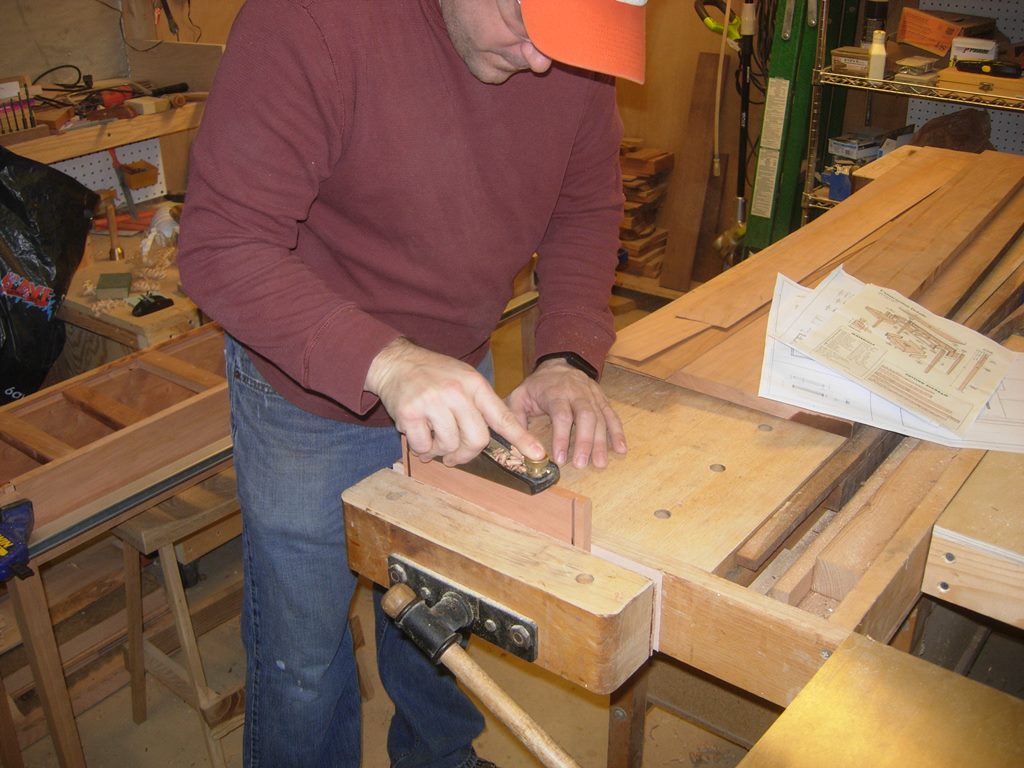
Cleaning the edges
After the sides were done, he cut the rabbets on the drawer back pieces.

Cutting the rear drawer piece
Bouncing around a bit, we decided to leave the drawer faces till later, and work on cutting out the drawer holes in the front apron.
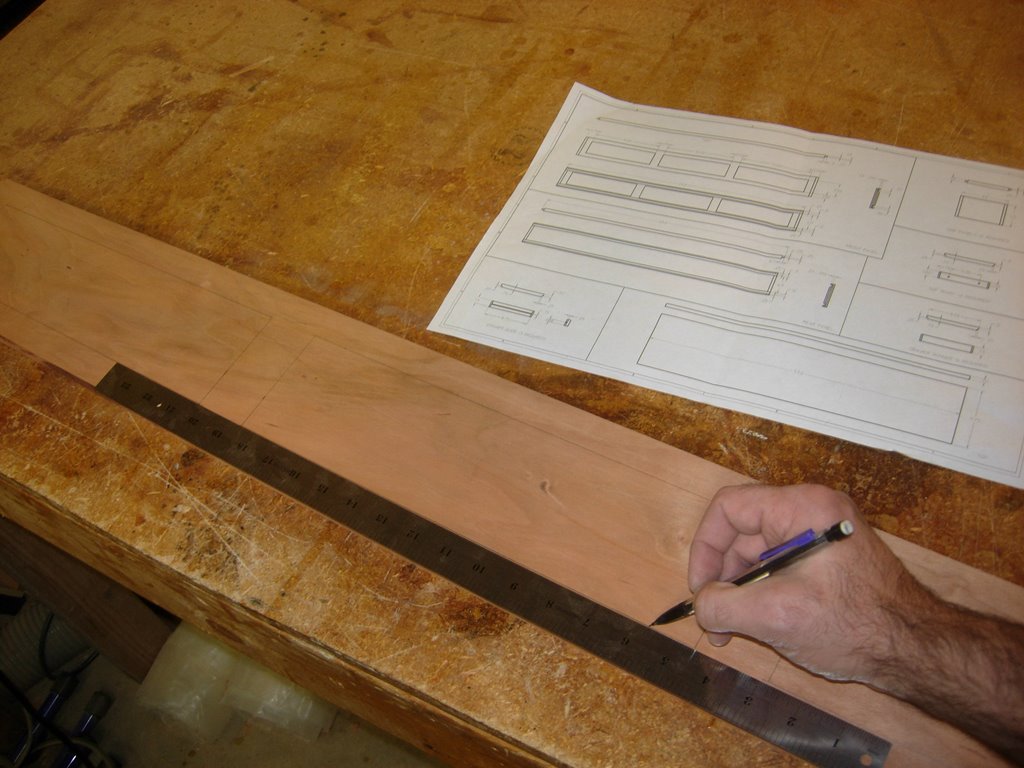
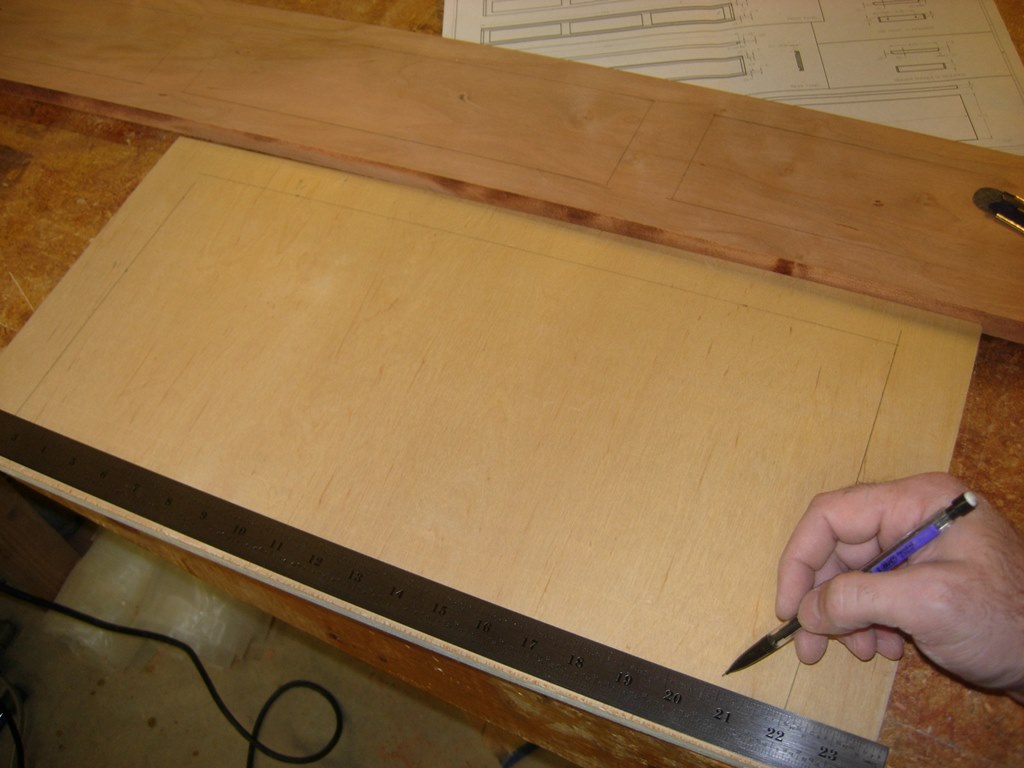
Locating the holes in the front apron
I laid out the three holes to get an idea how big my routing jig would have to be.
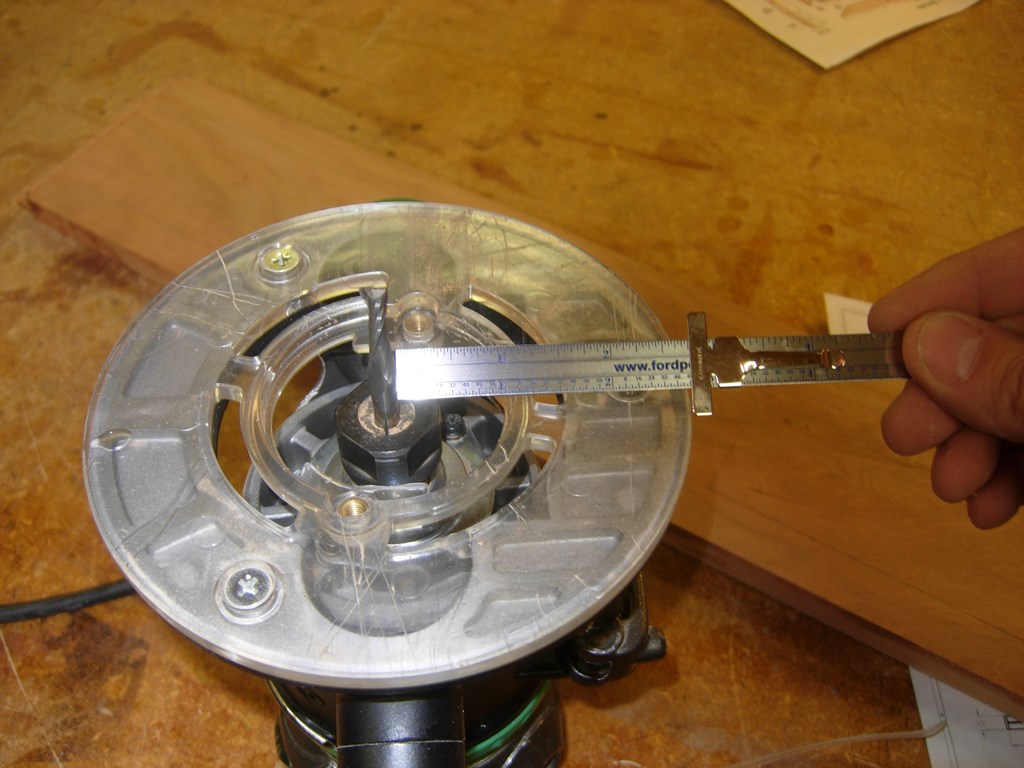
Measuring from the bit to the edge of the base
Next, I measured the distance from my router bit to the edge of the base plate of my router. Doubling that dimension and adding it to the hole dimension, I laid out a larger rectangle on a scrap piece of plywood.
Laying out jig dimensions

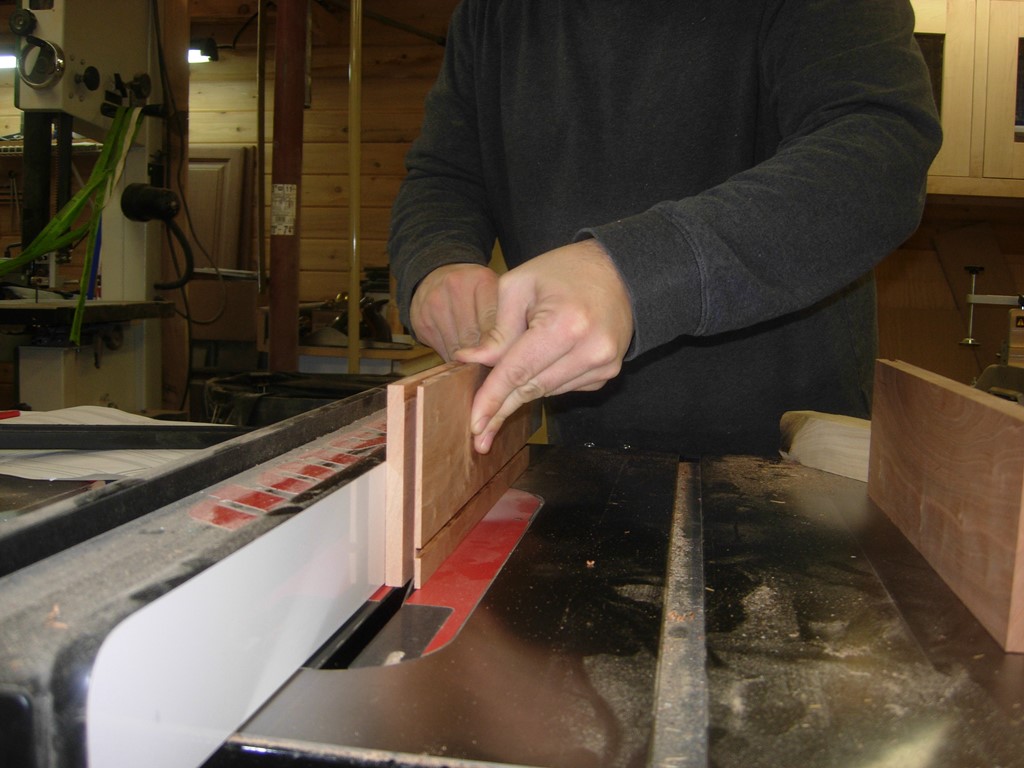
Raising the blade through the board
I set the fence to match my marks, then raised the table saw blade up through the board, to cut most of the four sides. Then I hand-sawed out the corners, leaving a rectangle in the middle.
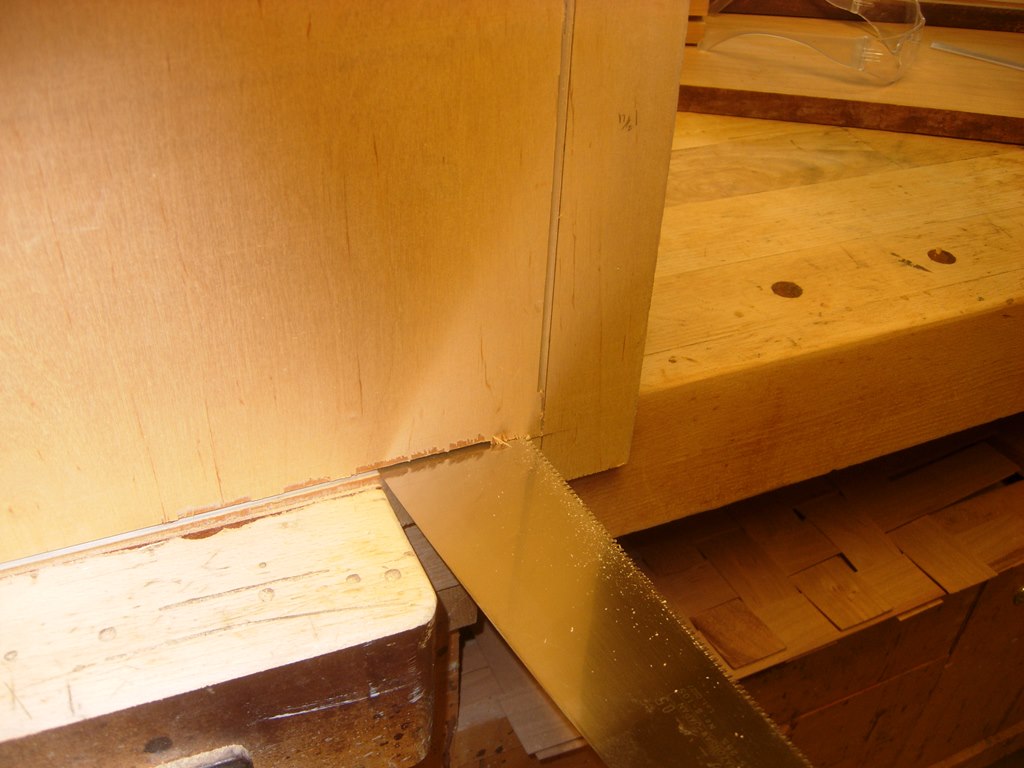
Hand-sawing the corners

Mounting rails to the jig
Placing the frame over the apron board, I attached some permanent rails to hold it centered over the area to be cut. Leaving one of the rails long allowed me to clamp the new jig into place.
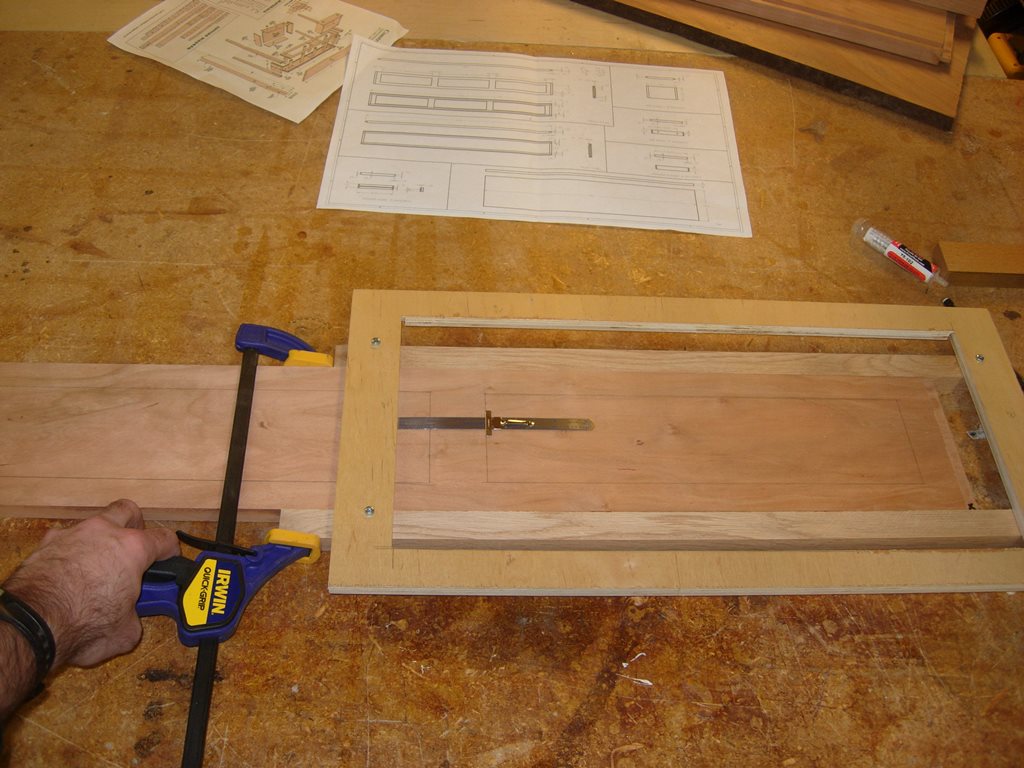
Clamping the jig in place
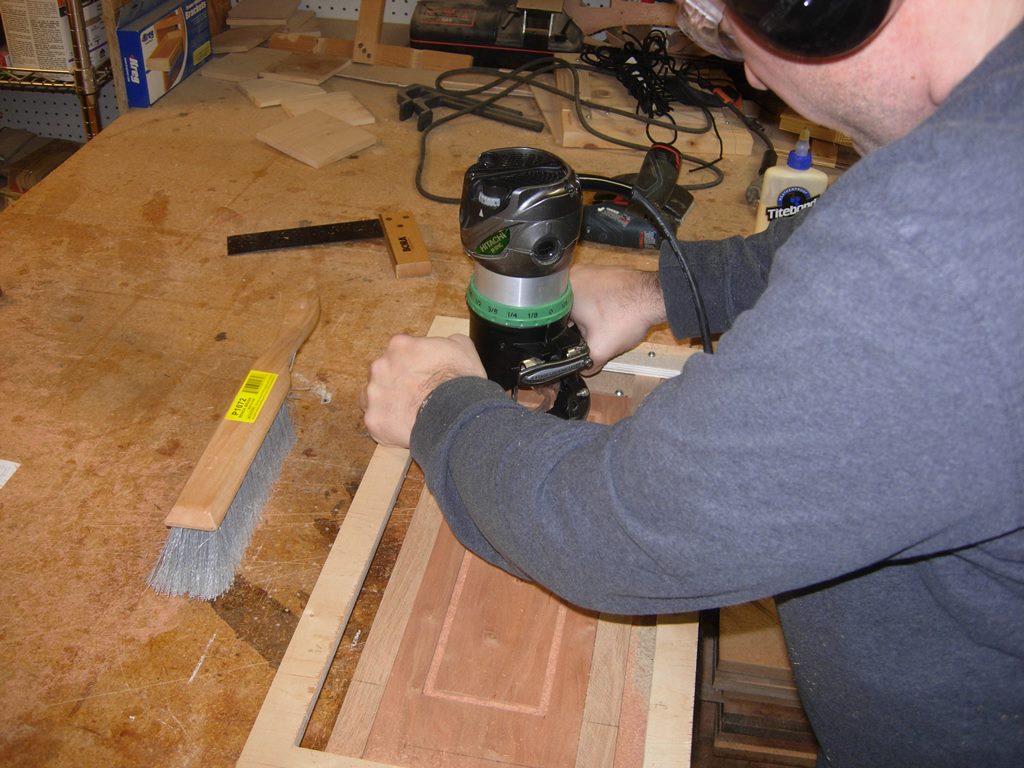
Cutting the face holes with the router
Keeping the router tight to the edge of the jig, Rob ran the router around the frame to cut a rectangular opening. We dropped the bit down 1/4″ at a time until the plate, in the center, was cut out.
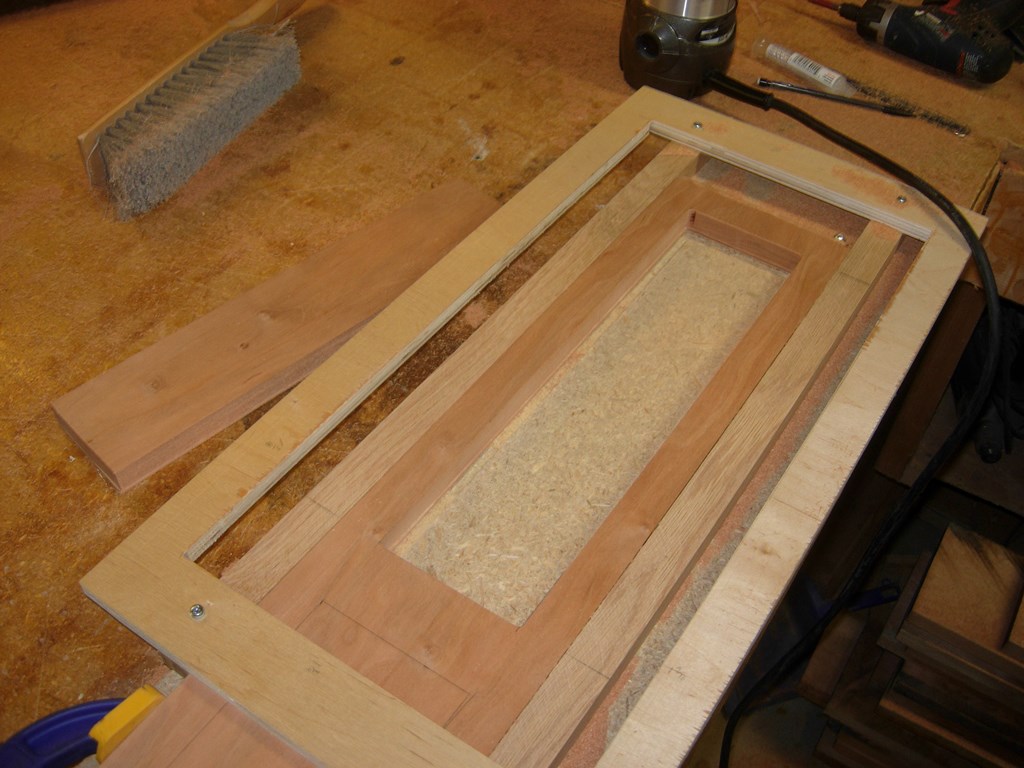
First hole cut out
We then unclamped the frame and slid it down to the next one and repeated the process.

Cutting the last hole
When we were done, we had three new drawer holes.
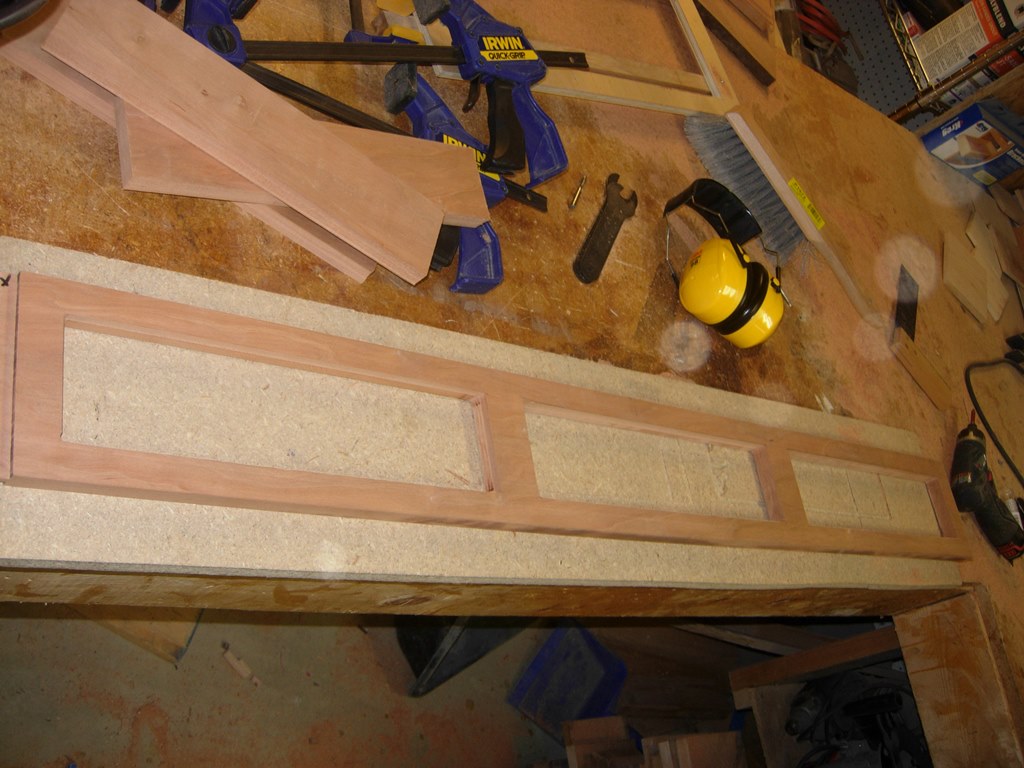
Holes in apron all cut out
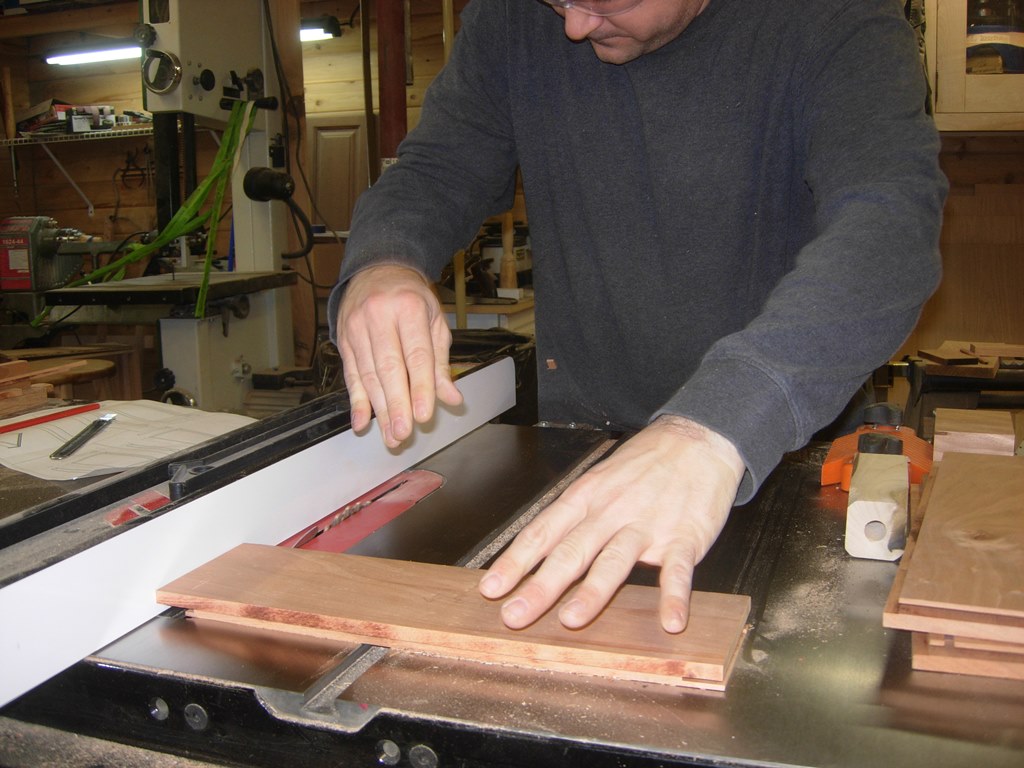
Drawer faces, cut 1
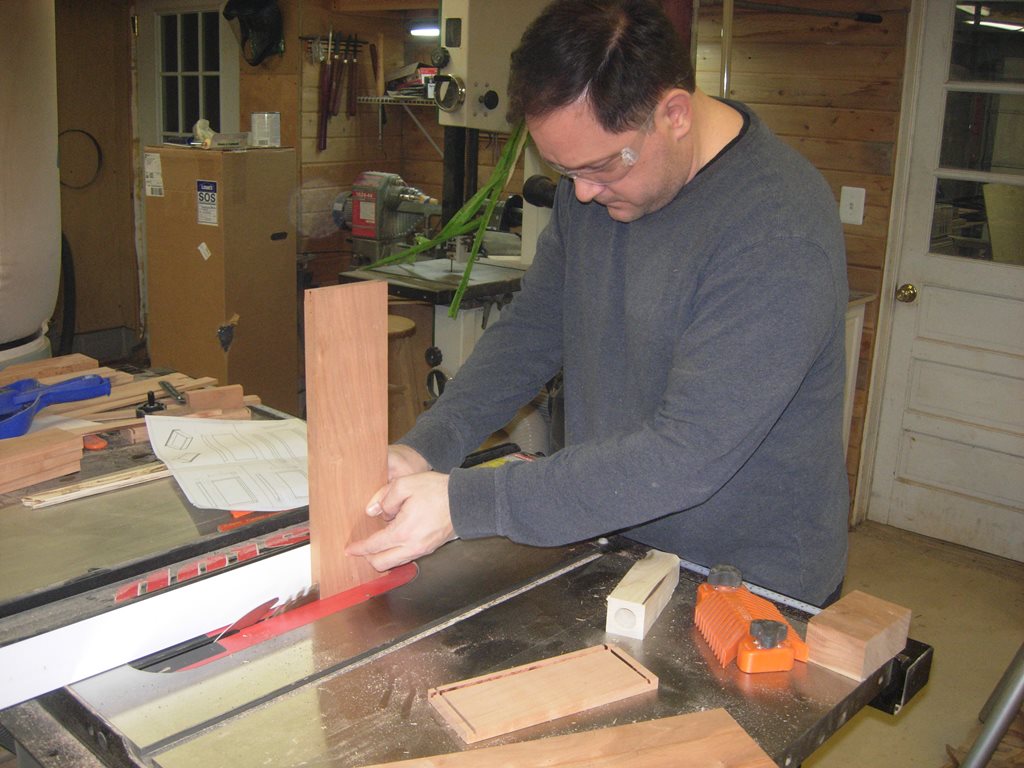
Moving back to the drawer faces, we carefully set the blade to do some mildly complicated grooves around the edges. The PDF attached in the first post, of this project, explains the cuts, so I will just show the steps we took.

Drawer faces, cut 2
Drawer faces, cut 3

Drawer faces, cut 4
Drawer faces, cut 5
We did test fits every step of the way, to make sure all the sides would fit tightly together. Loose joints would leave us with drawers that would break easily.
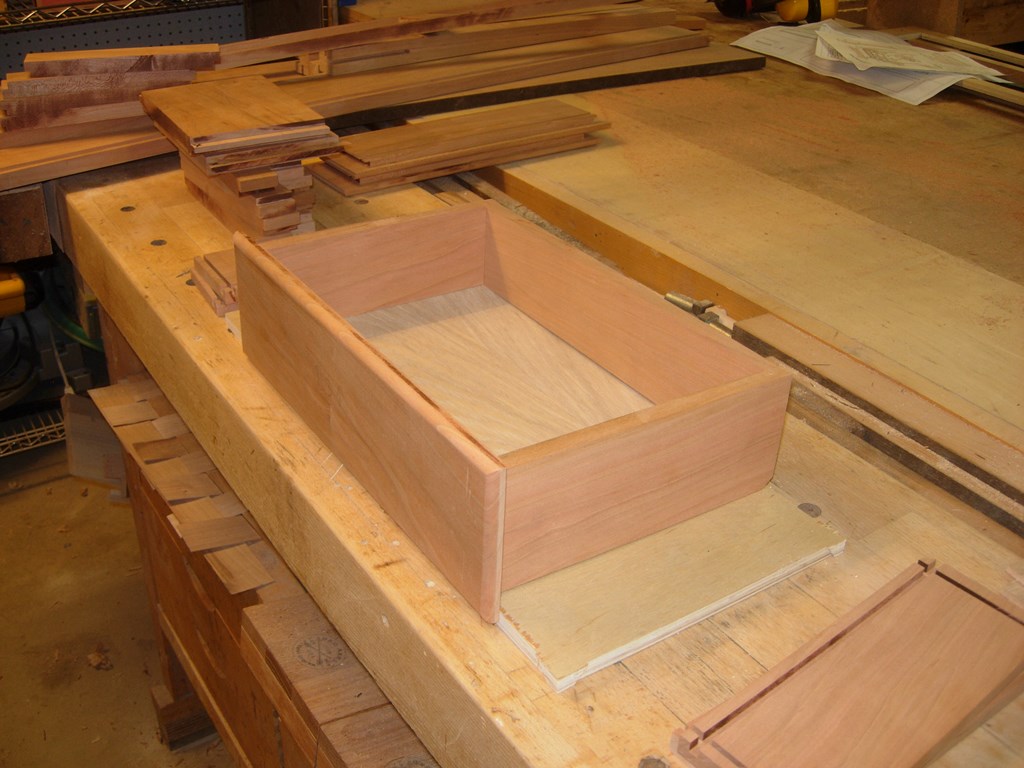
Dry-fitting the drawer
When we were satisfied with the fit, I took a measurement and Rob cut down the plywood for the drawer bottoms.
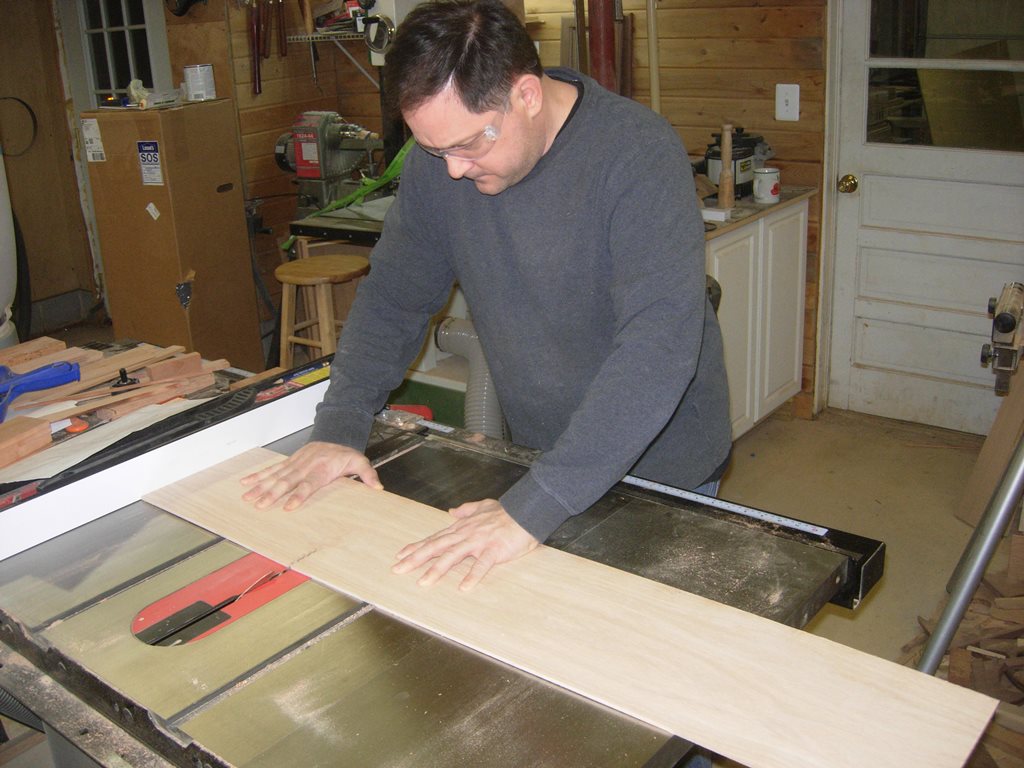
Cutting plywood bottoms

Rounding over the edges of the drawer face
The last thing we did for the night was round over the drawer faces with a 1/4″ round-over bit.
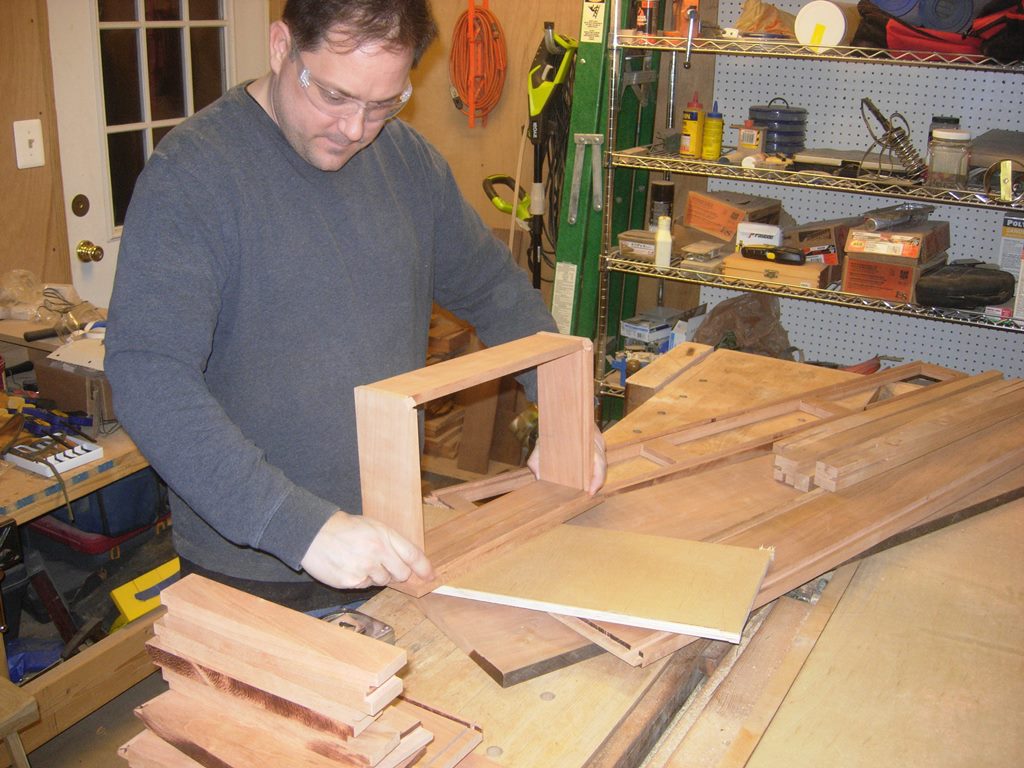
Fully assembled drawer
The drawer joints are nice and tight because the drawers stay together without glue, well enough to test out the fit in the holes in the front apron.
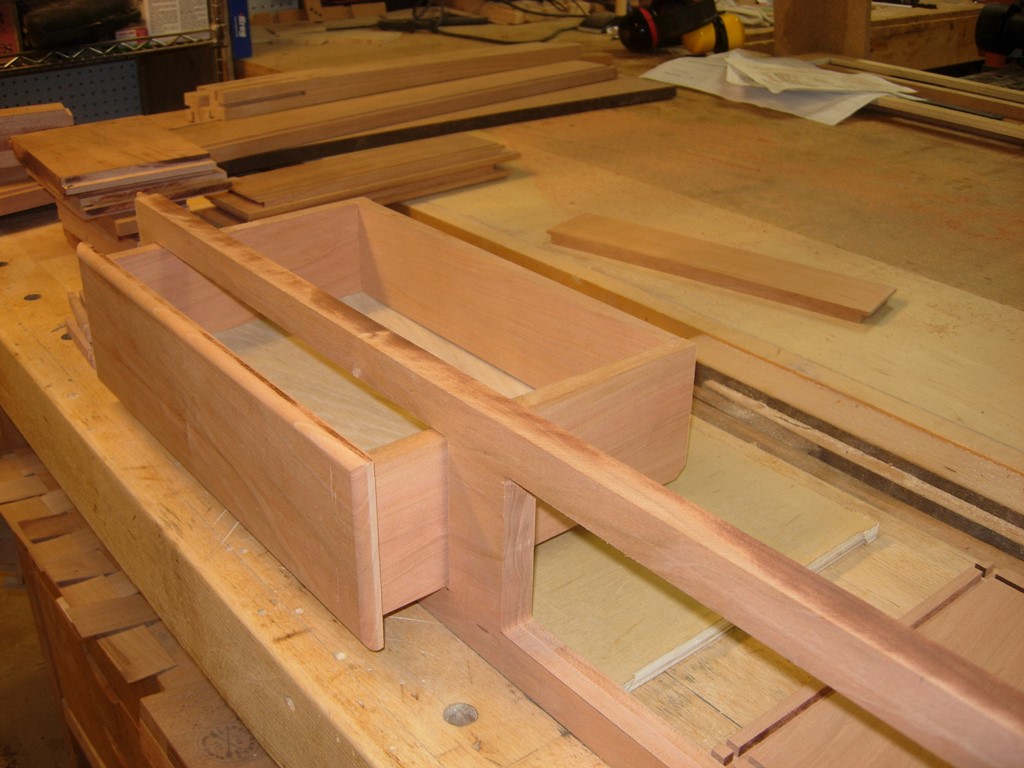
Test fit in apron holes
Looks like we are down to clean-up and assembly. The only other piece to cut will be the top.
