
Rob’s sofa table – day 4
A small milestone was achieved today. This is my 300th post. When I look at the stats, on my blog, I am amazed to see that my site has been viewed by more than 100 different countries. I currently have had 29,900 views. I think it is really cool that I can reach so many people. Thanks for viewing, I hope that some people can take away a bit of knowledge from these pages.

Over 100 countries
I try to learn something new with every project. My goal in posting my successes and failures is to pass what I learn, on to someone else. It is appropriate then that today’s post is of a project that I am working on with my friend Rob. Nearly a year ago, Rob asked me to work with him in the shop. He wanted to be able to create projects of his own. We only have a few hours a week to work on his projects, so I often try to add a new way to do something. We have cut Dados and tenons on the router table and the table saw in the past, so today we learned how to do it with a hand-held router.

Ripping down to size
We started by ripping down the front and rear panel to the proper width. We left them a little long to allow for the slim possibility of mistakes…
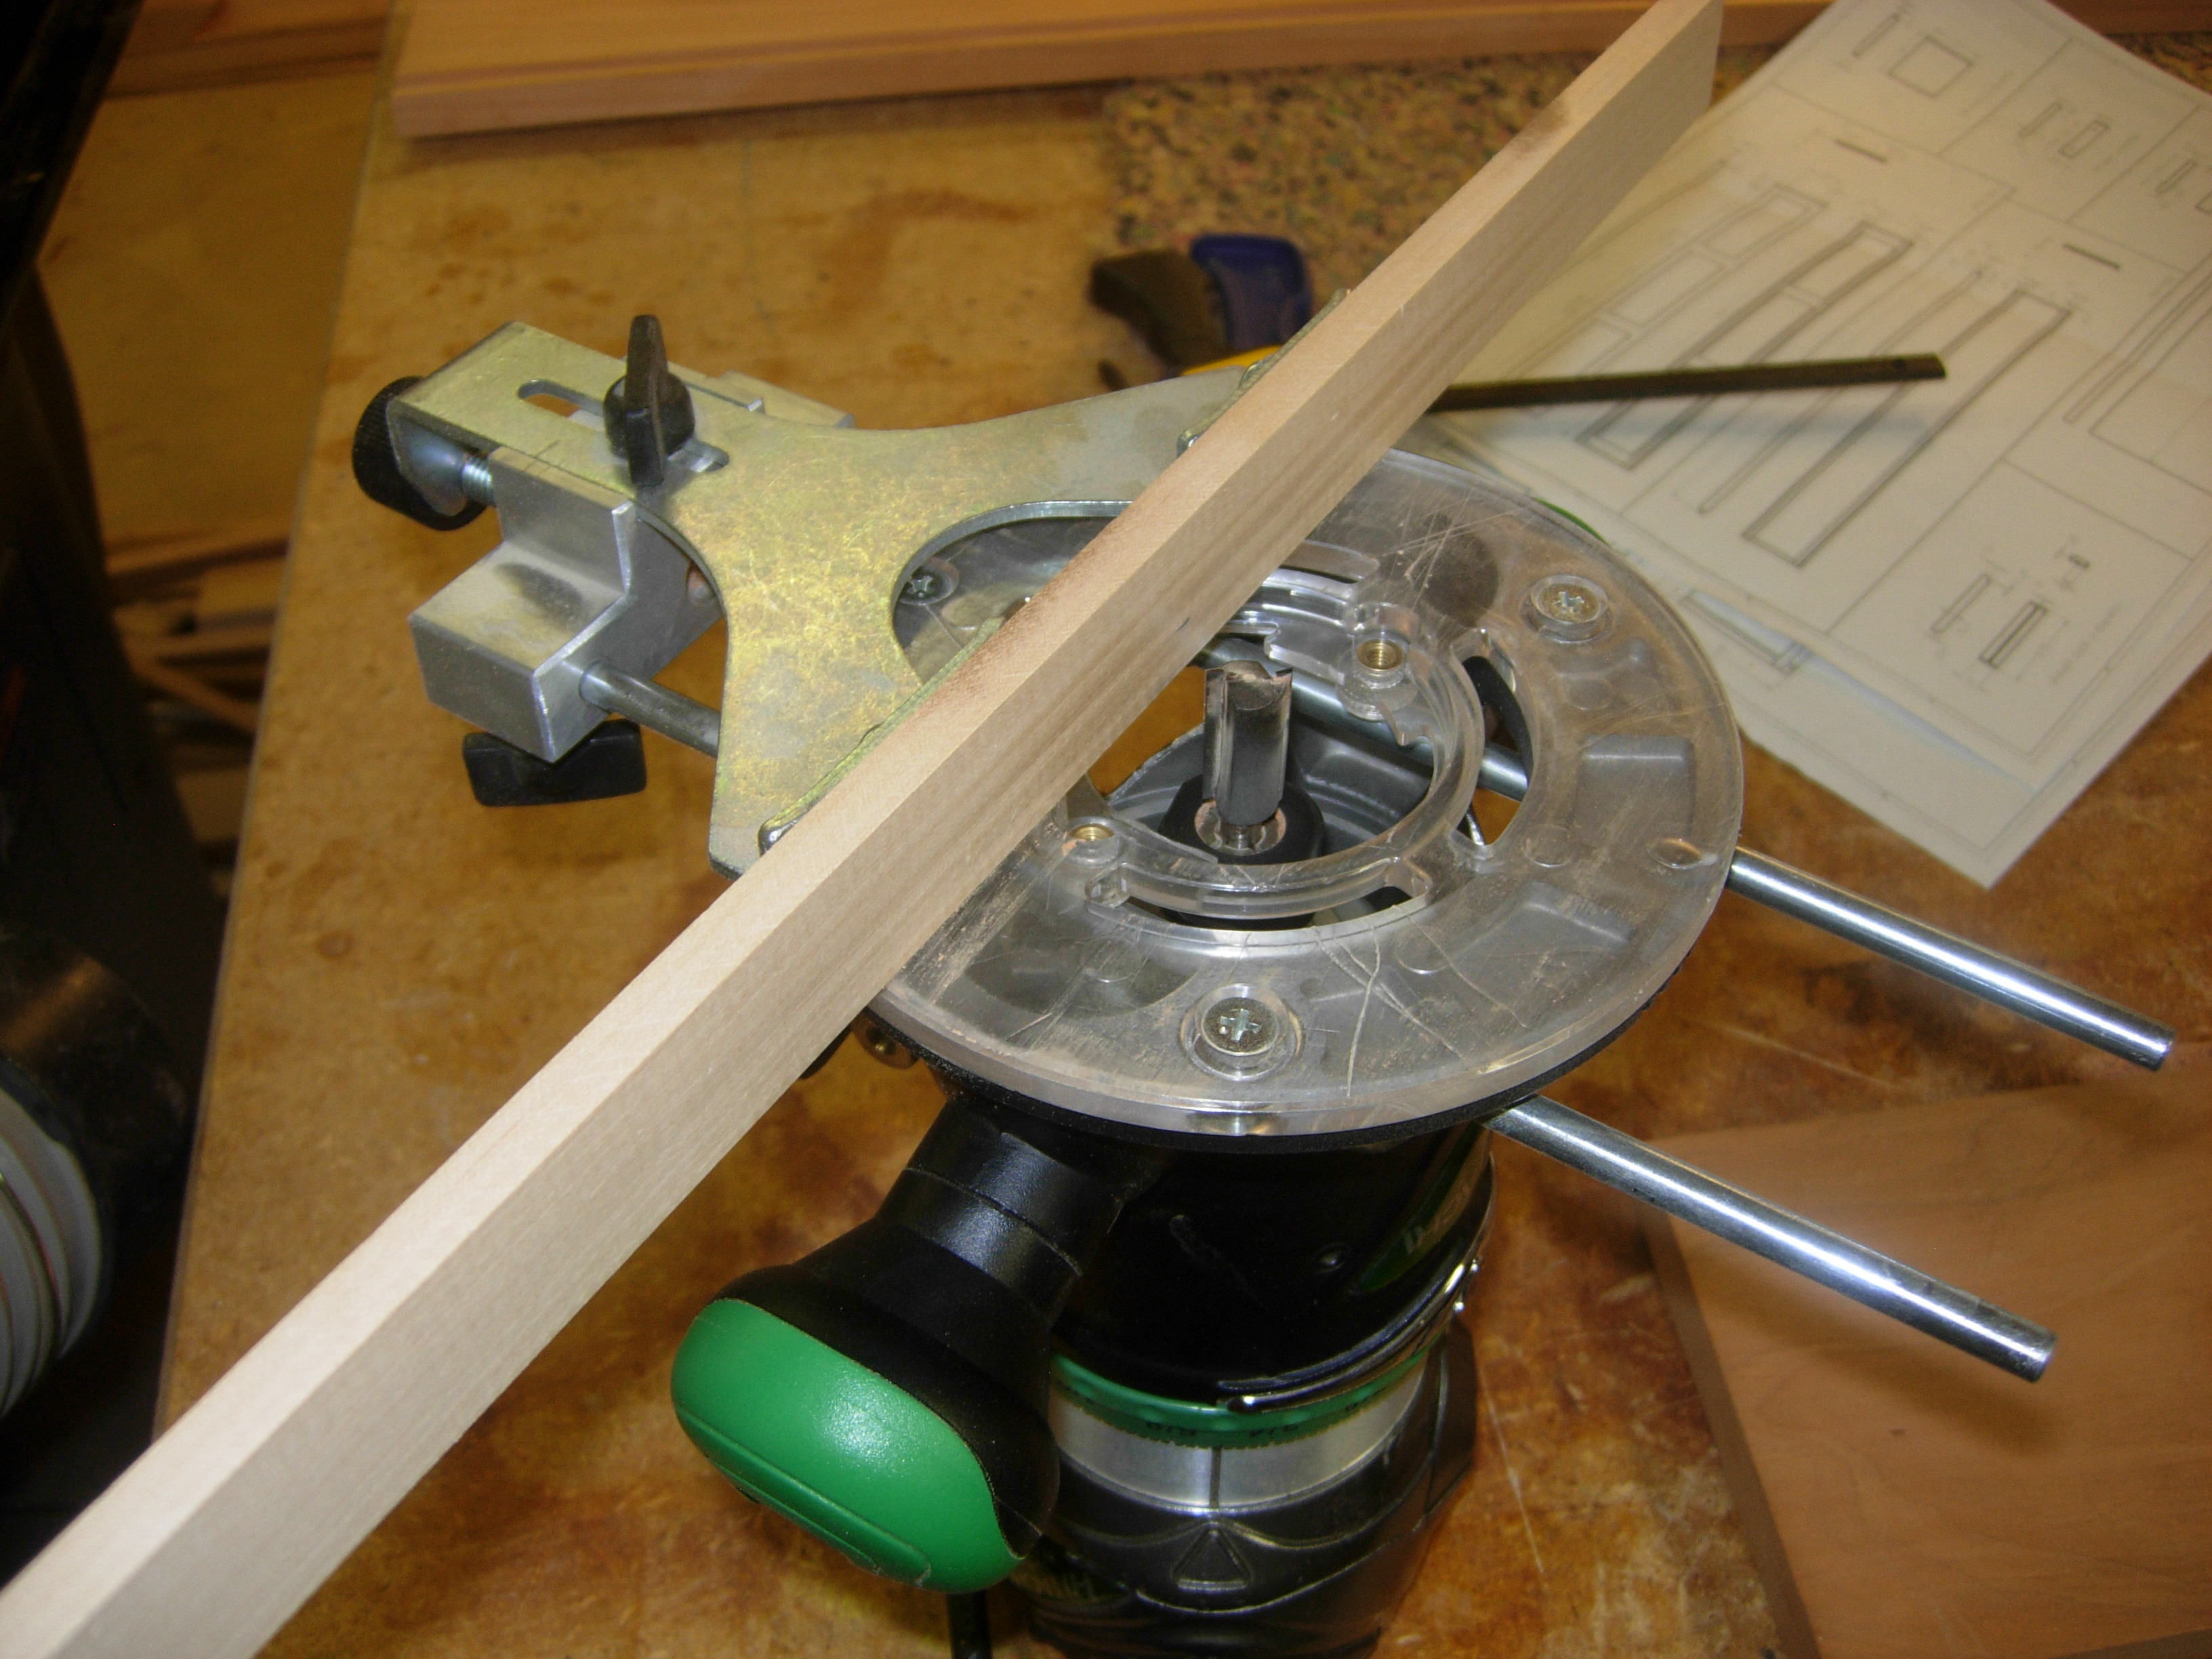
Setting up the guide rail
I have an edge guide for one of my routers, that I have only used once before. I added a longer fence to it than the 5″ wide one that it came with. The longer fence makes it more obvious when you are not completely level or up against the material. The fence also makes setting the bit depth really easy. I mark the depth on the fence and raise the bit up to it.
We need a 1/2″ wide, 5/16″ deep channel cut 1/4″ in from the top and bottom on the inside face. I set the bit and fence to those dimensions and we clamped down one end of our board.

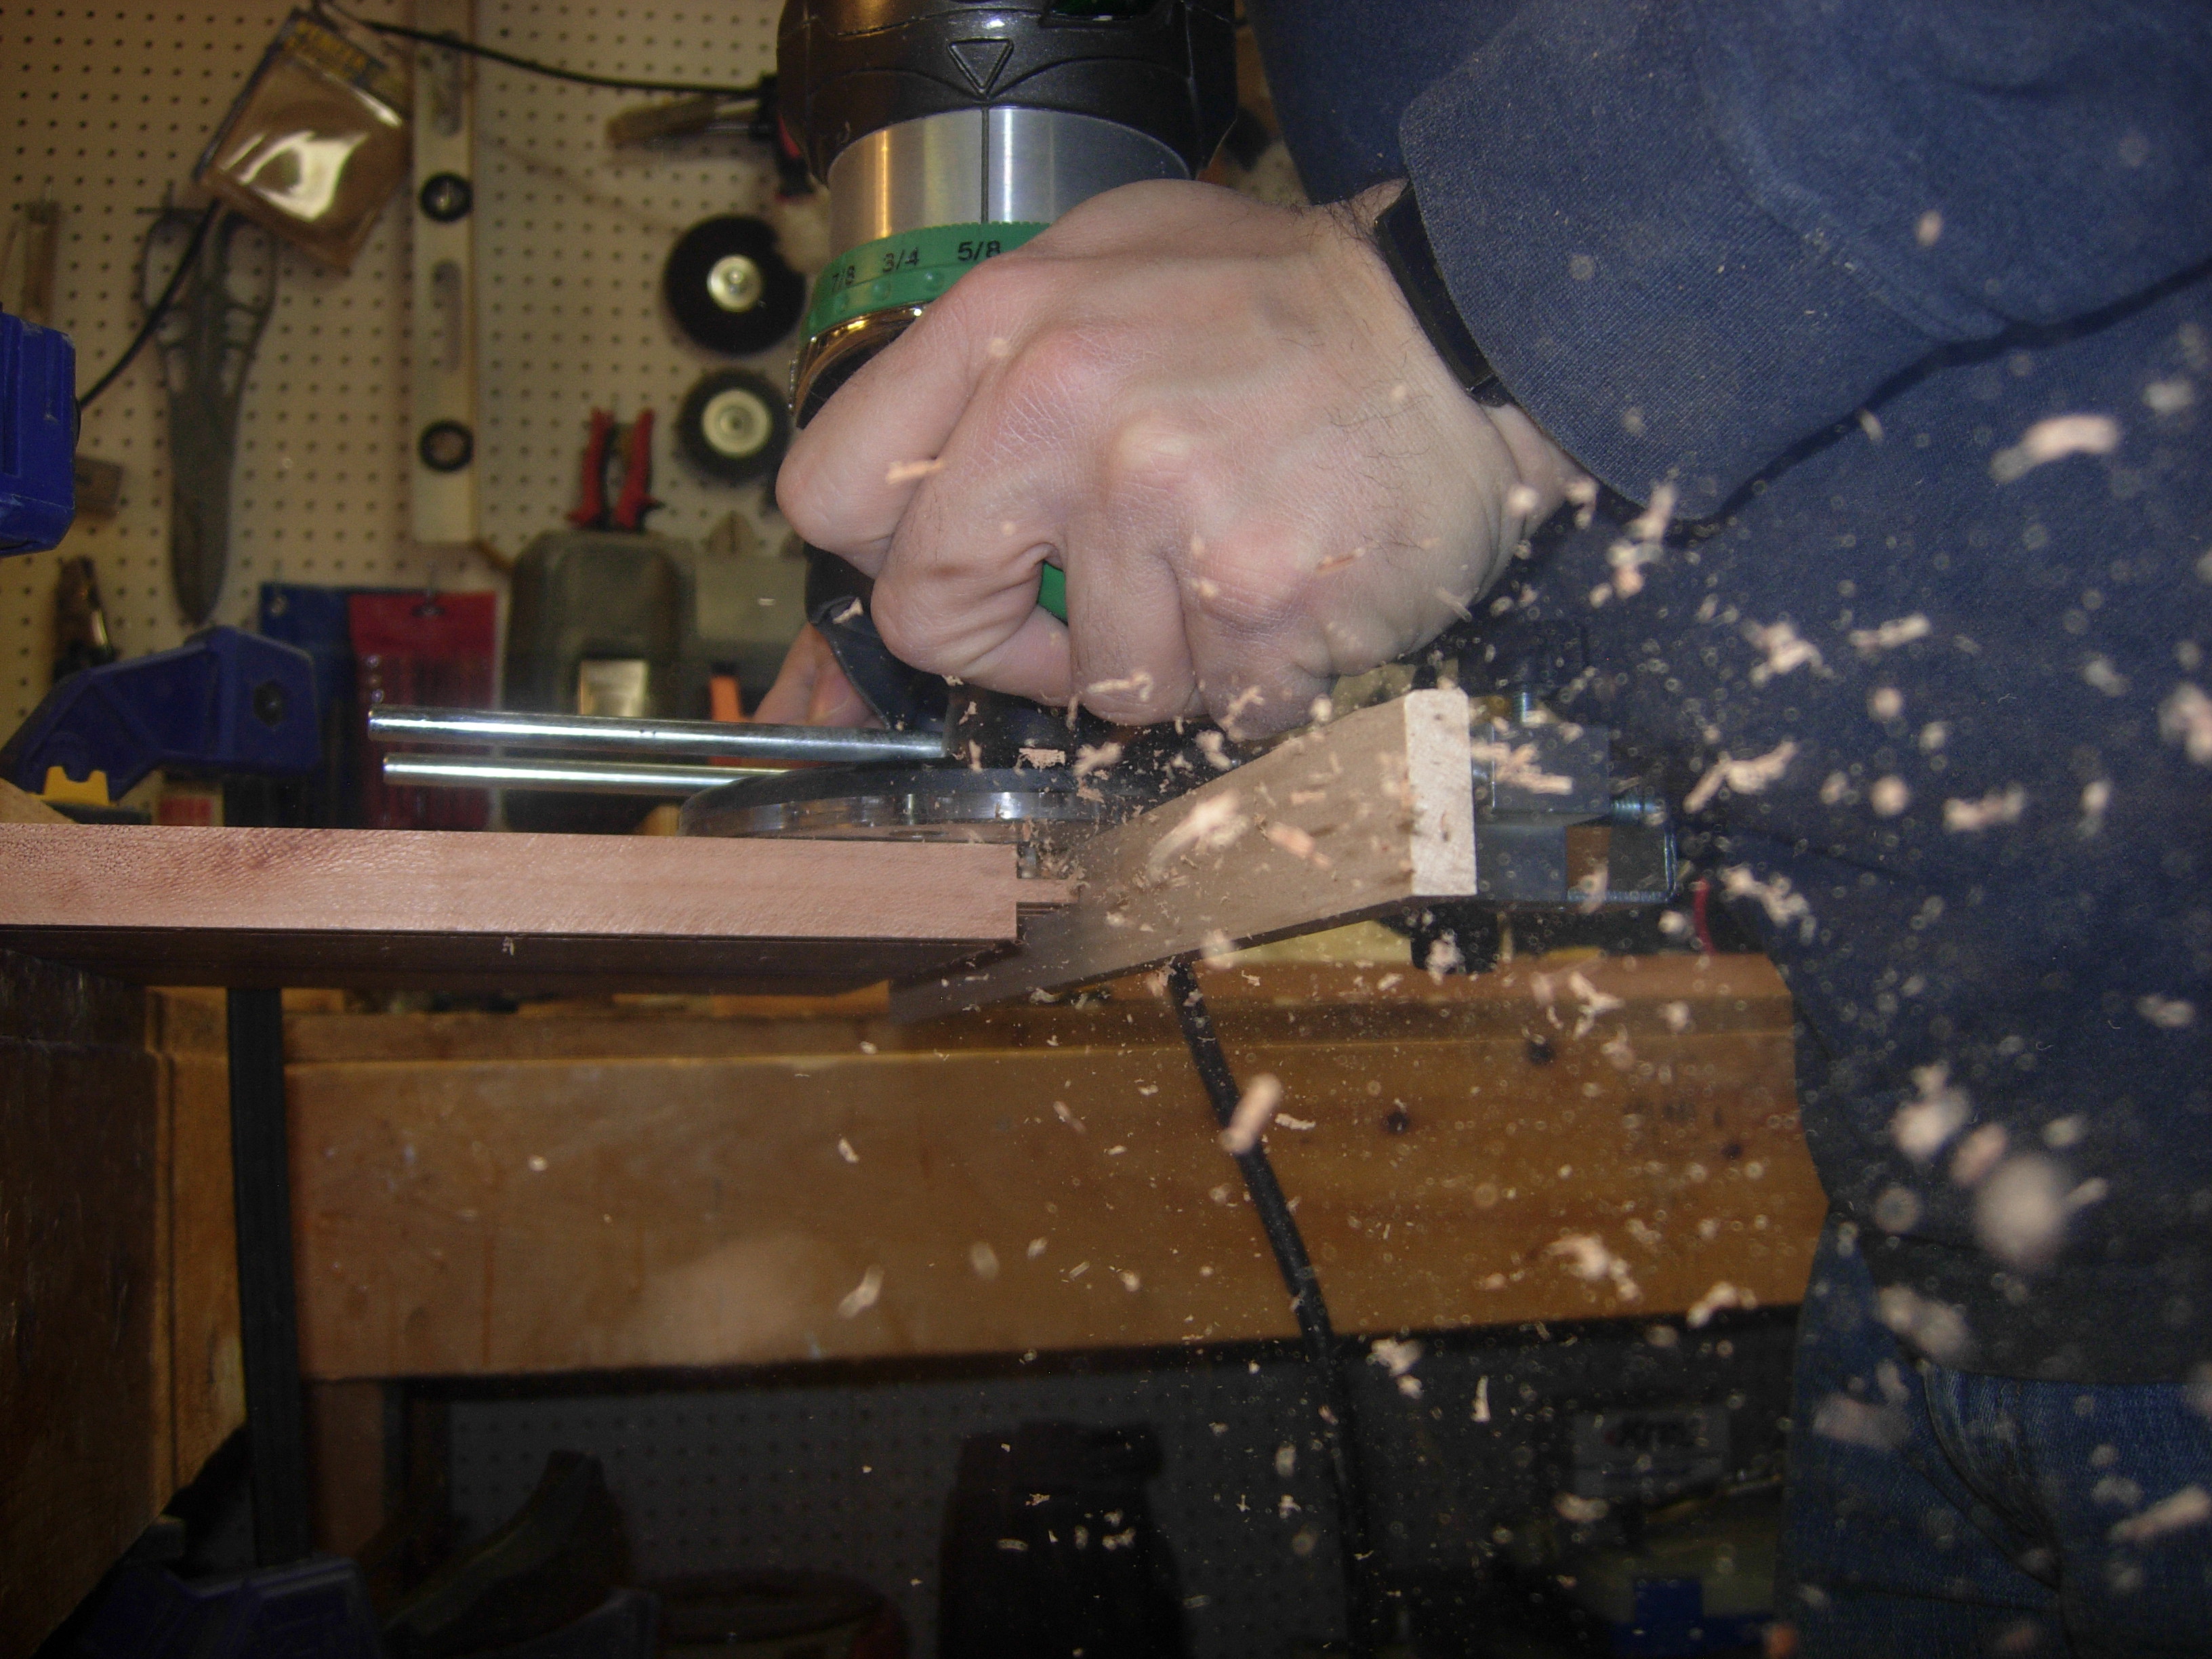
Routing the top and bottom channels
I set the dust collector to catch most of the dust, and Rob started the cut.

Action shot…
When he got to the first clamp, we turned off the router and switched the clamps to the left side, then he completed the cut. The router did a nice job of cutting a consistent groove, down the length of the board. This same cut can be done on a router table or on the table saw, but if your board has the smallest bow to it, it will rise up when you are cutting, leaving the dado shallow in places. The portable router will ride along the surface of the board leaving the depth exactly the same along the entire cut.

Finishing the cut

Setting the fence to the bit
The next step was to cut the tenons on the ends. I adjusted the fence to be right up against the bit. My thought was to save a bit of time by clamping both boards side by side, then routing the edge. This kind of worked, but one board flexed up slightly and the other down. This left a high point when we cut from one to the other.

End cutting two at a time
I had the bit cutting a little too deep and the tenon wound up being too thin. Also I forgot to account for tear-out at the end of the cut and we ripped off a big chunk of the top/face of the front.
Cut a little too deep
Thankfully we left the boards long. Rob cut the new tenons off and we tried a new approach. We clamped a block to the outfeed side and tried cutting one at a time.

Trying a different setup
The outfeed block worked great and with the depth of the bit adjusted, we went ahead and flipped the board to cut the back side.
More successful with an outfeed block
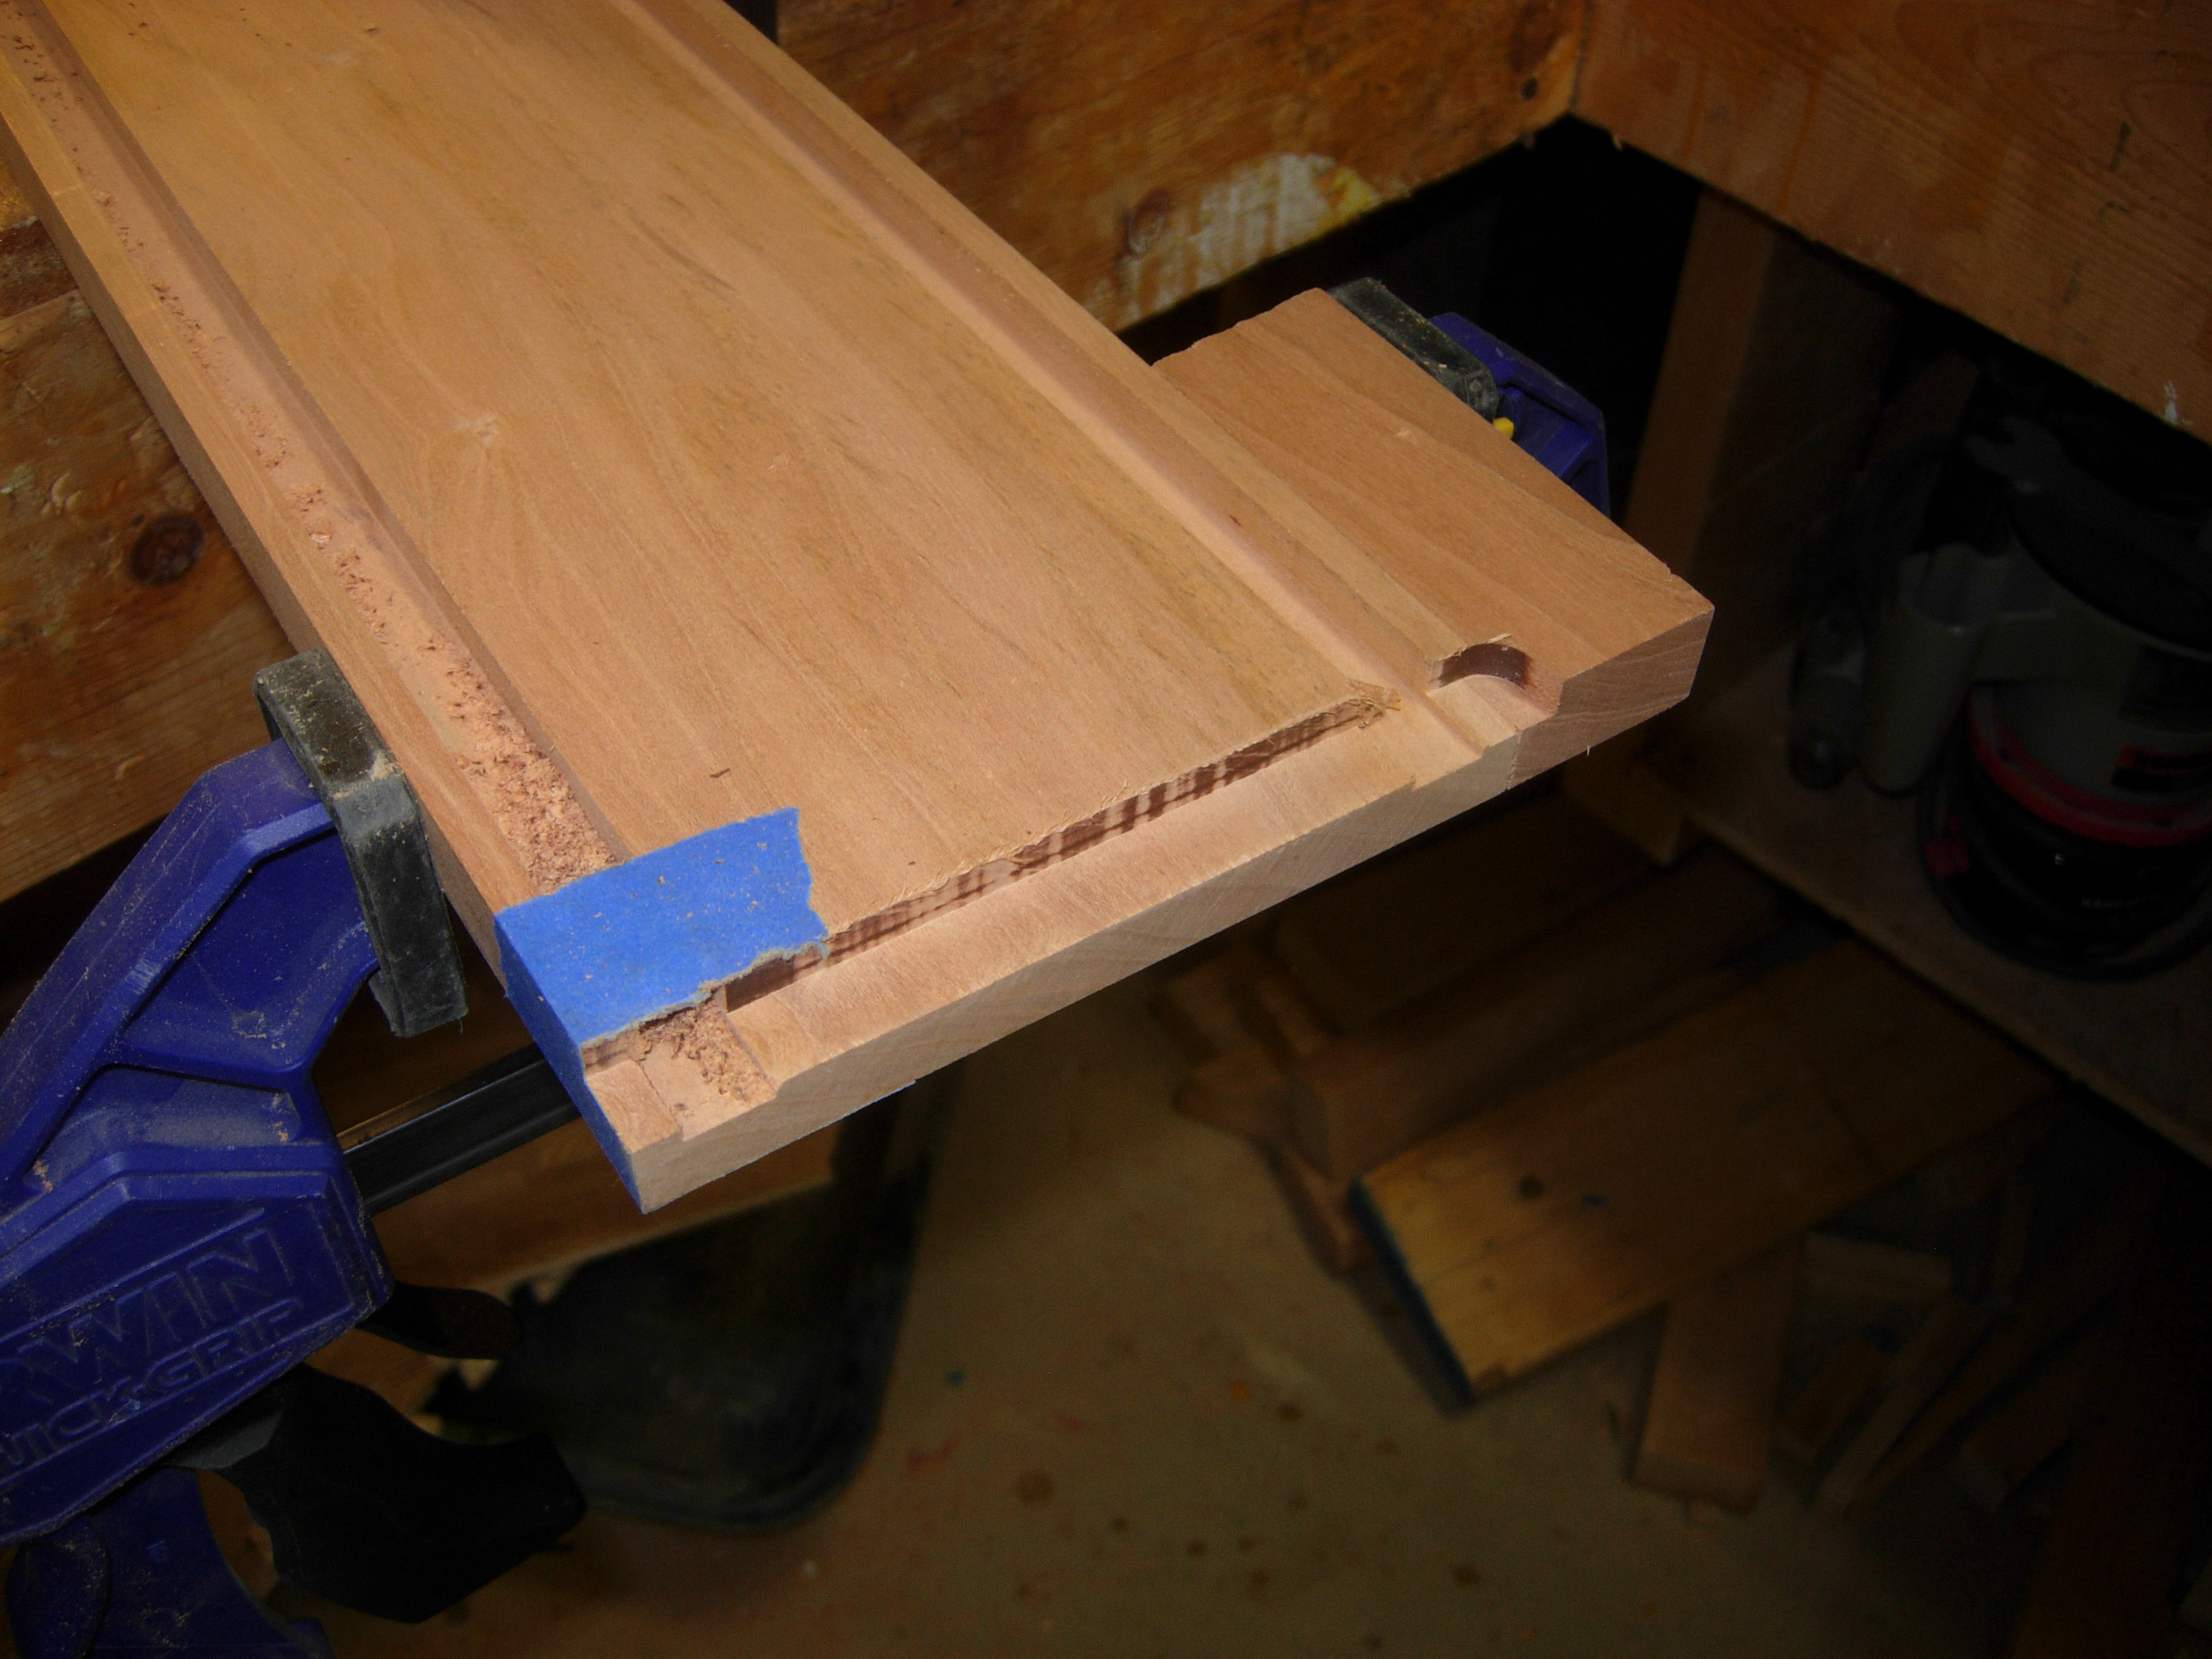
Rob proceeded to cut the other three ends in the same way. When complete, I used my bull-nose plane to take down the tenons a couple of thousandths so they were a perfect fit into the legs.

Completed cut
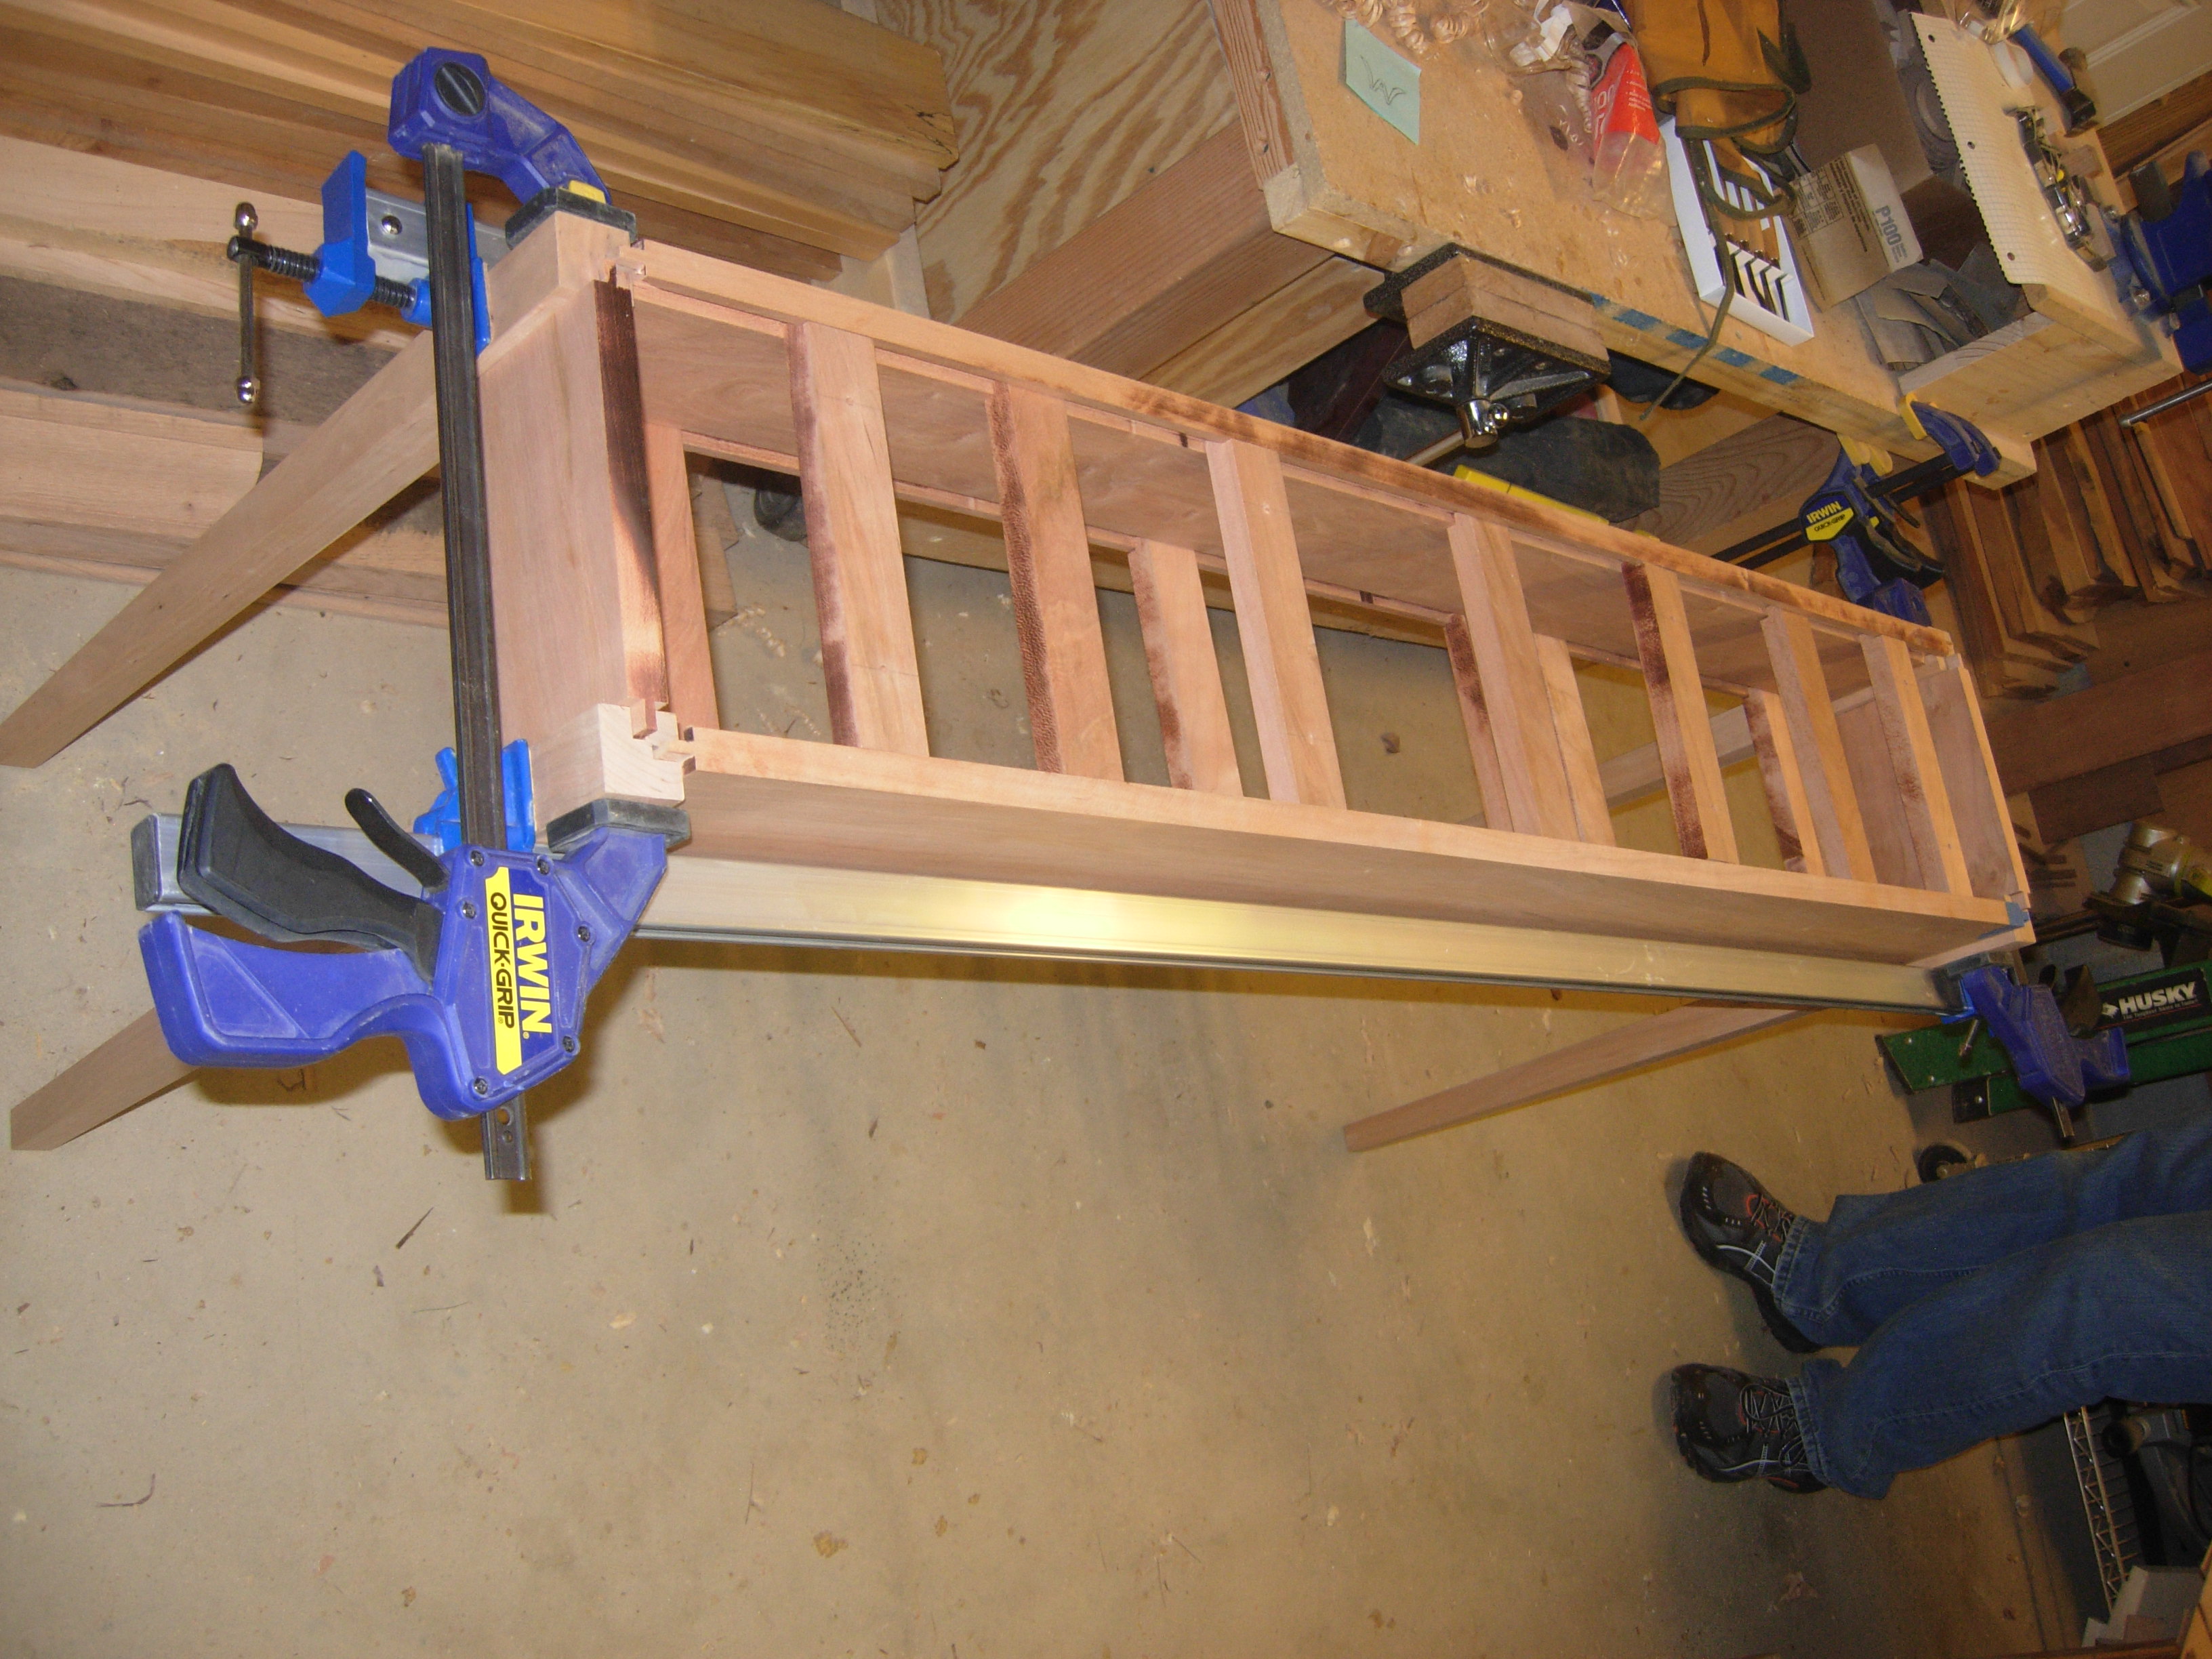
Carcass clamp up
Before we knocked off for the evening, we did a quick dry assembly to see how well everything was going to go together. The front, rear, and sides still stick up because the tenons haven’t been trimmed, but it all went together snugly. Next week, we should be able to cut the holes in the face, for the drawers, and cut down the top. Then all that will be left will be the drawers and finishing.
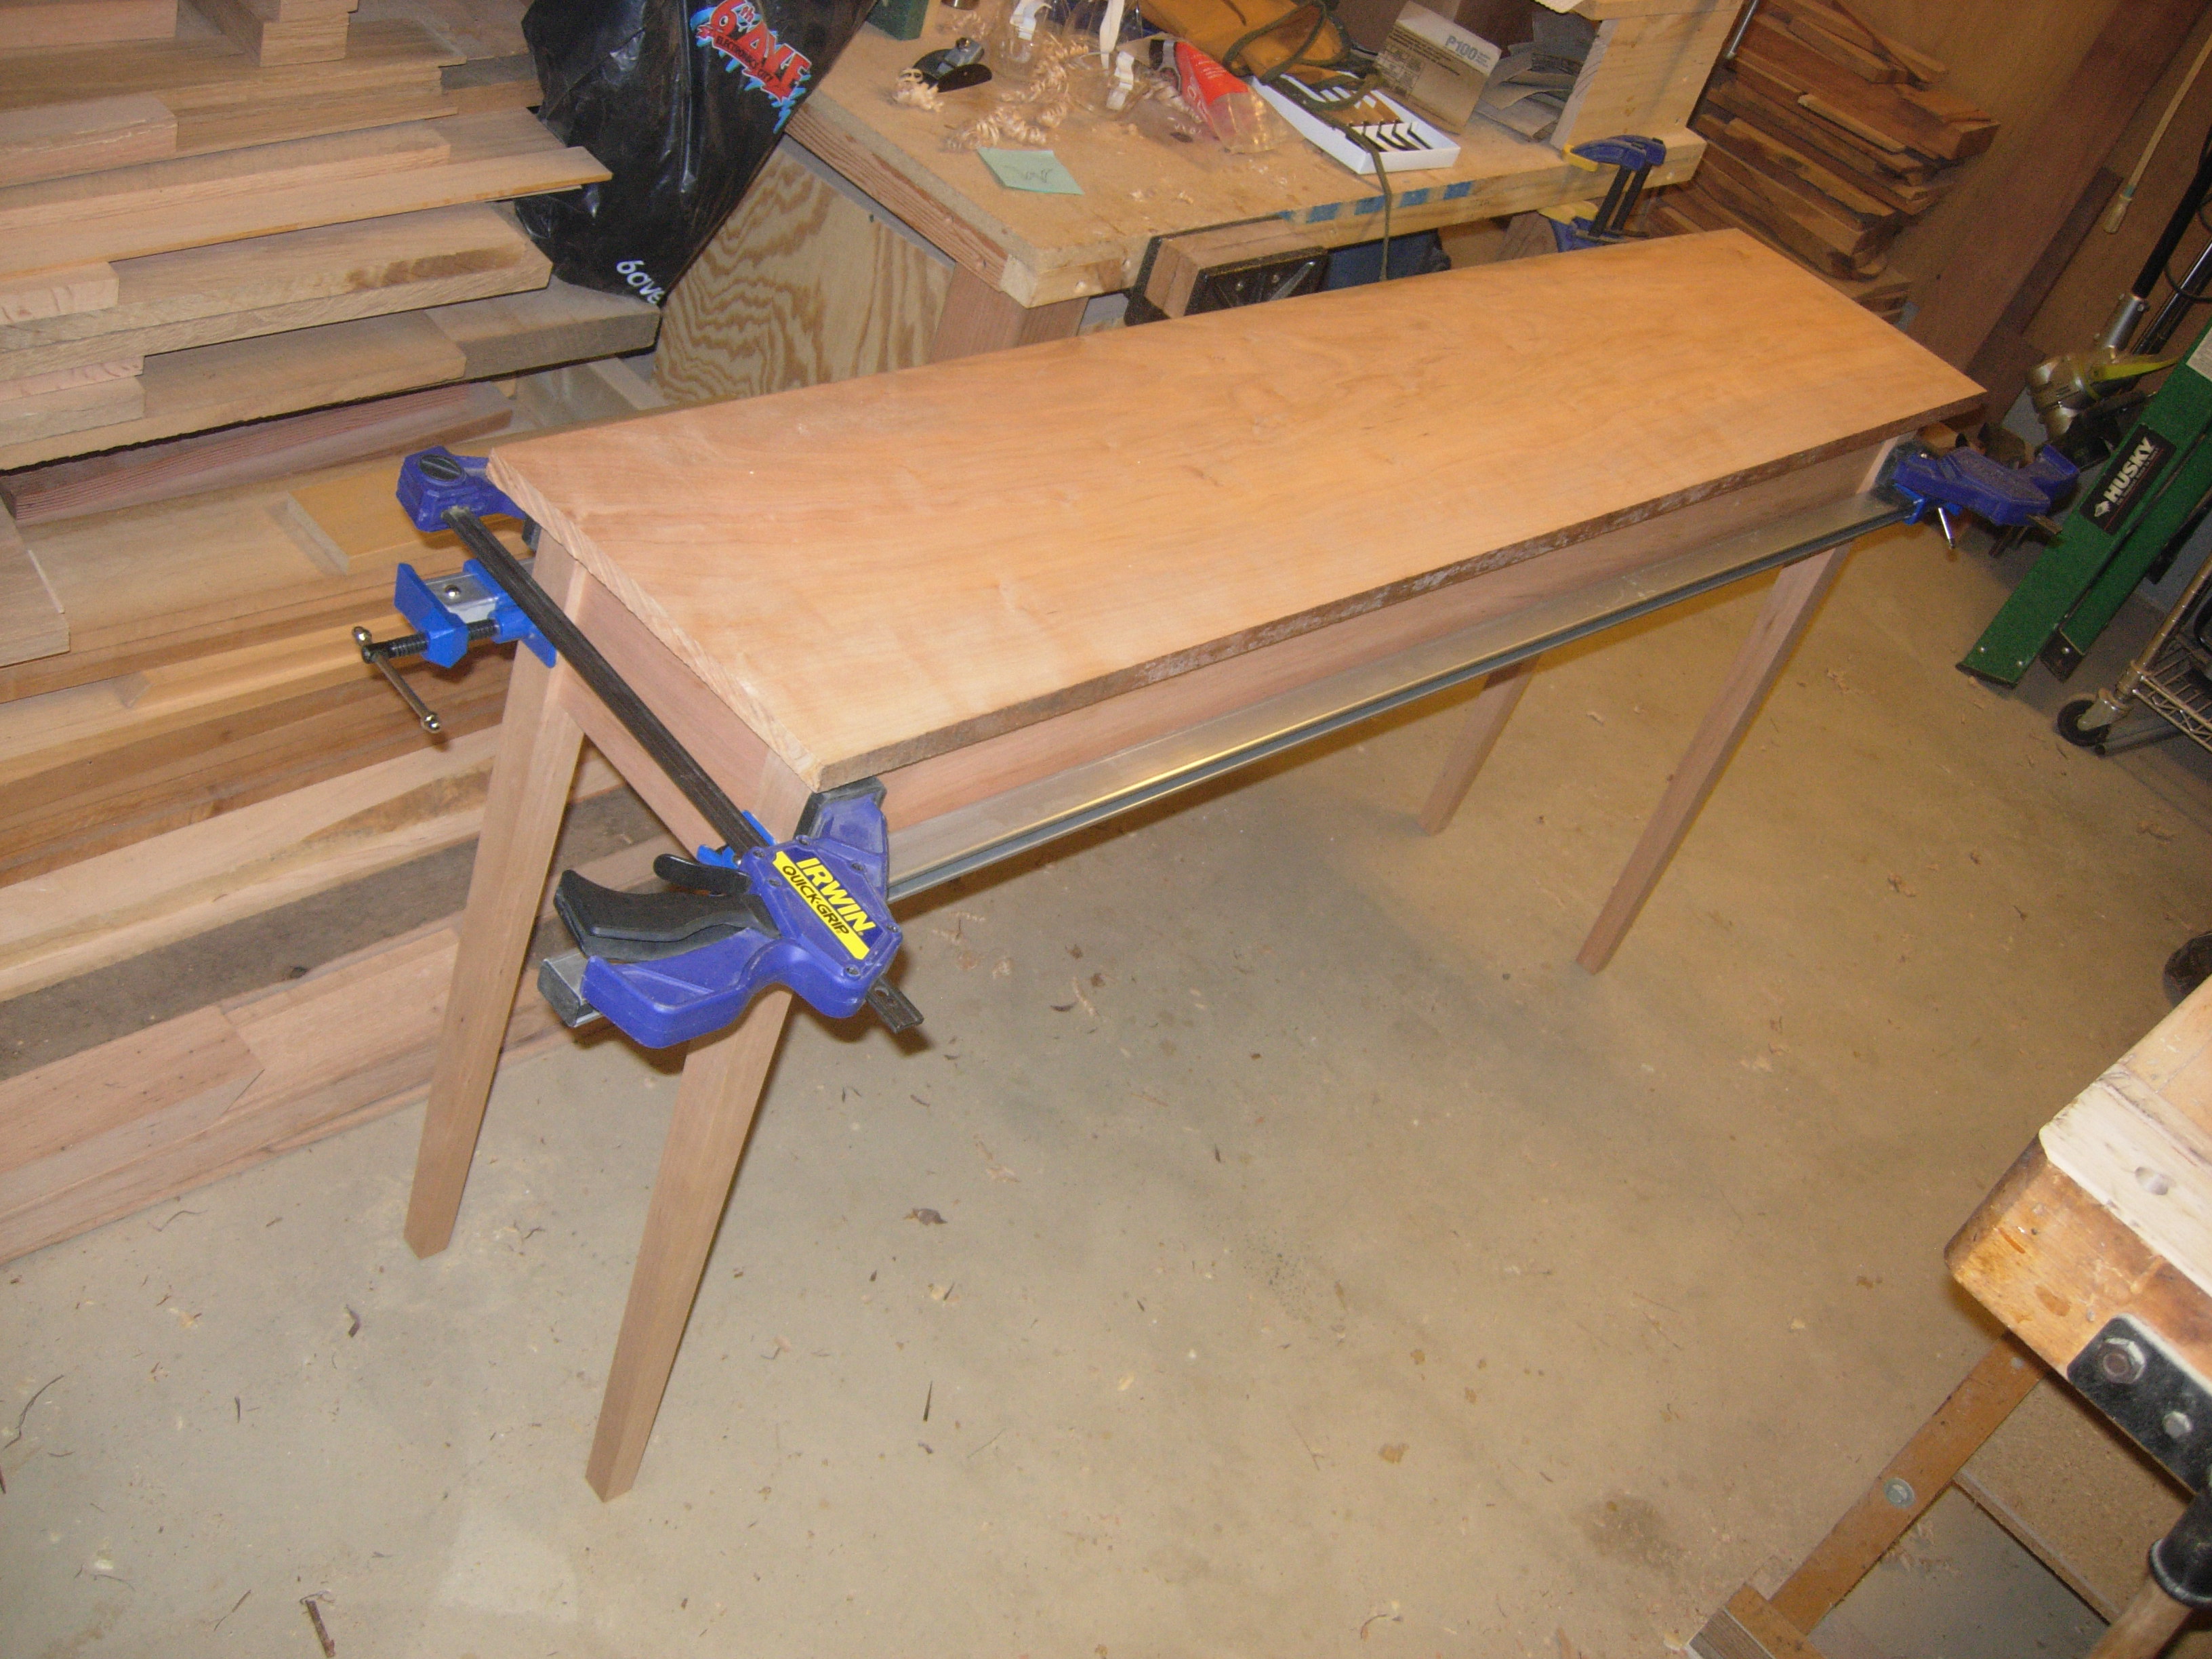
With the top on, just to see what it looks like

Yeah! Over 30,000 hits!