
Headless guitar concept – day 4 complete
I gave the body of the guitar, and all the wooden hardware, four coats of low-gloss Tung oil, then let it sit for 24 hours. Yesterday morning I applied a coat of past wax before heading off to work.

Applying paste wax

Rubbing out the wax
When I got home from work, I rubbed everything down and started installing the hardware.
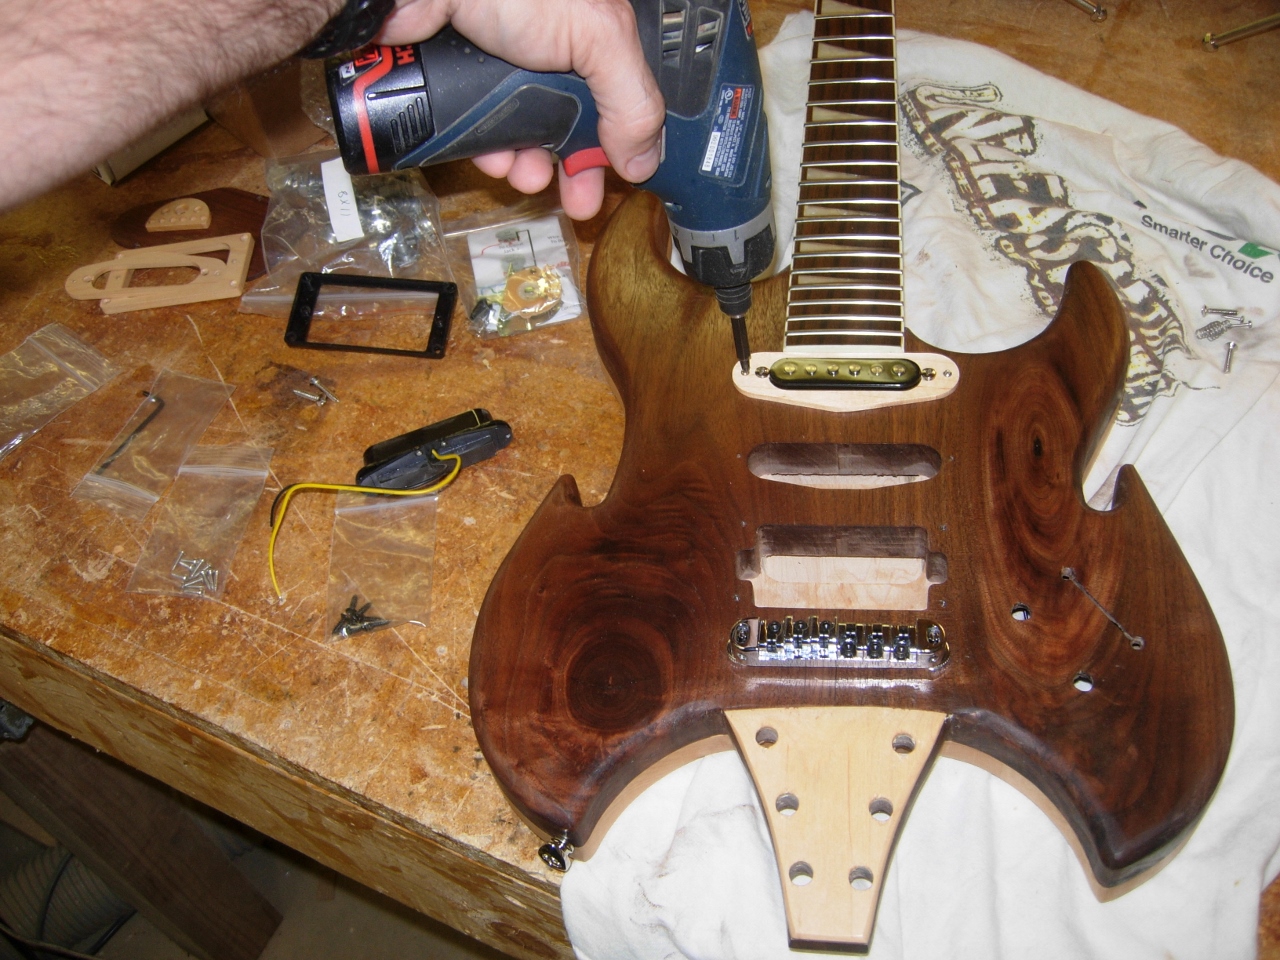
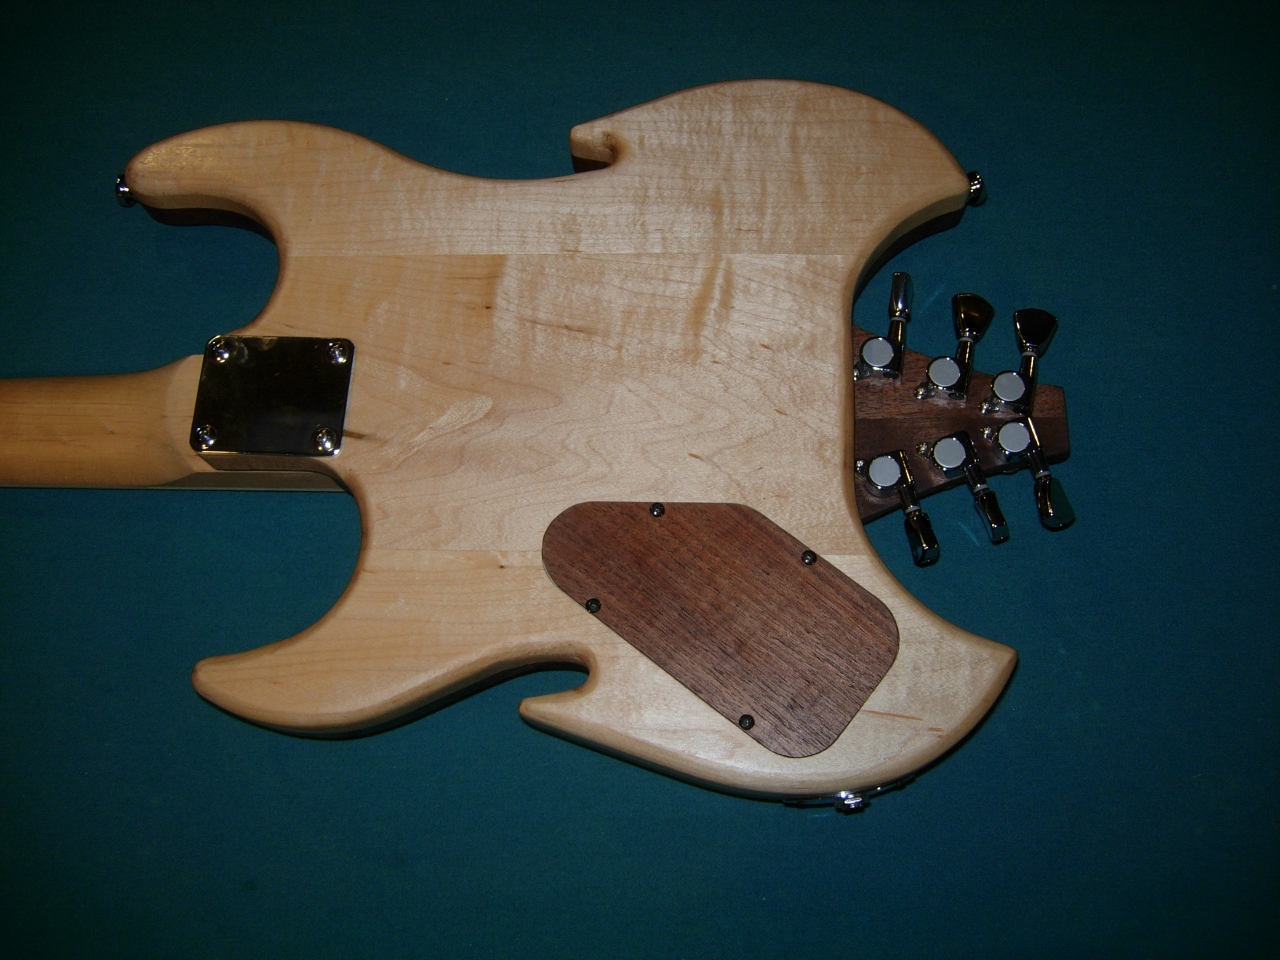
Installing the hardware
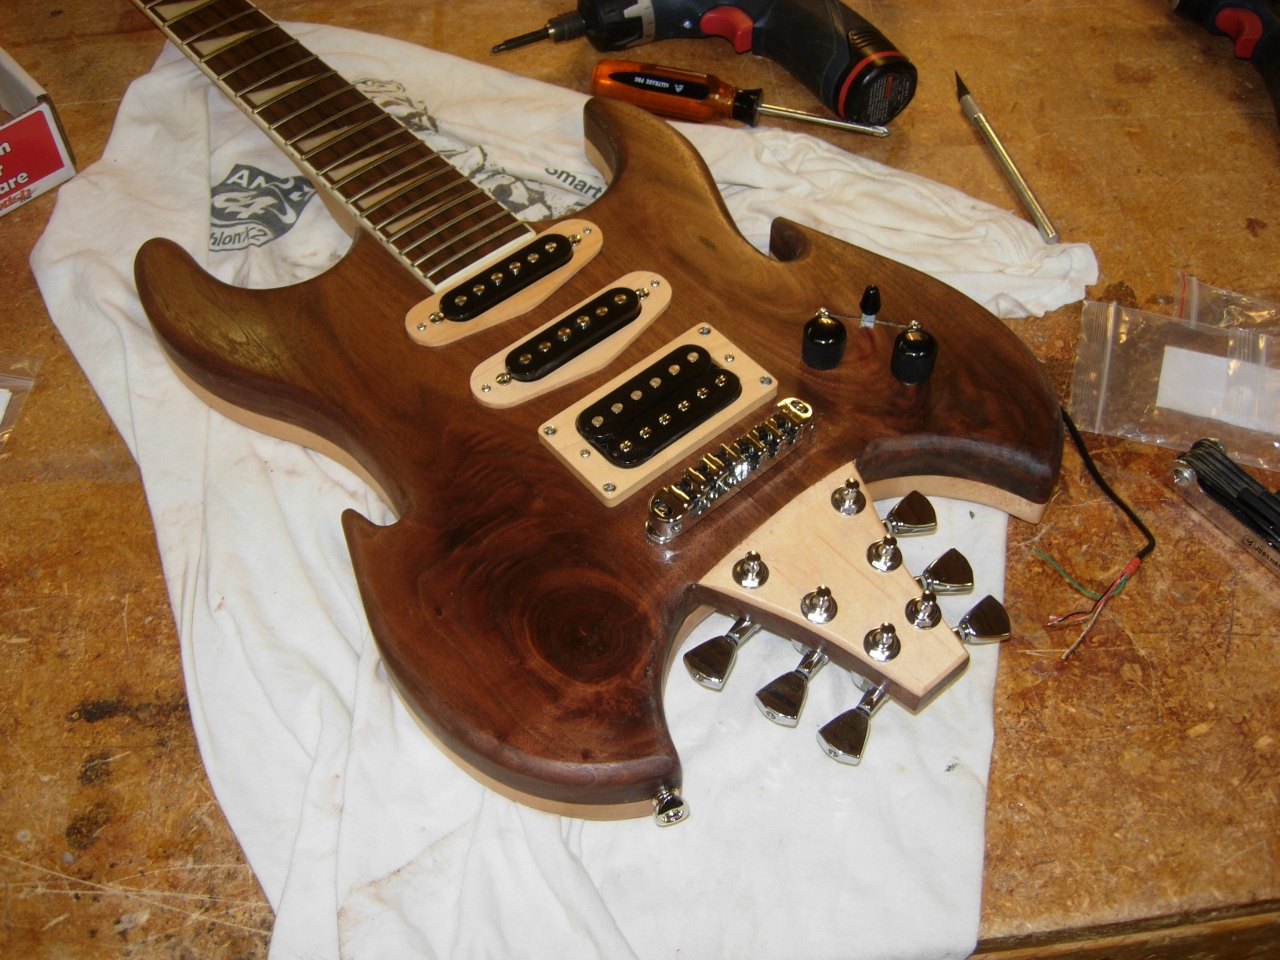
Hardware installed
Once the hardware was in place, I wired up all of the components.
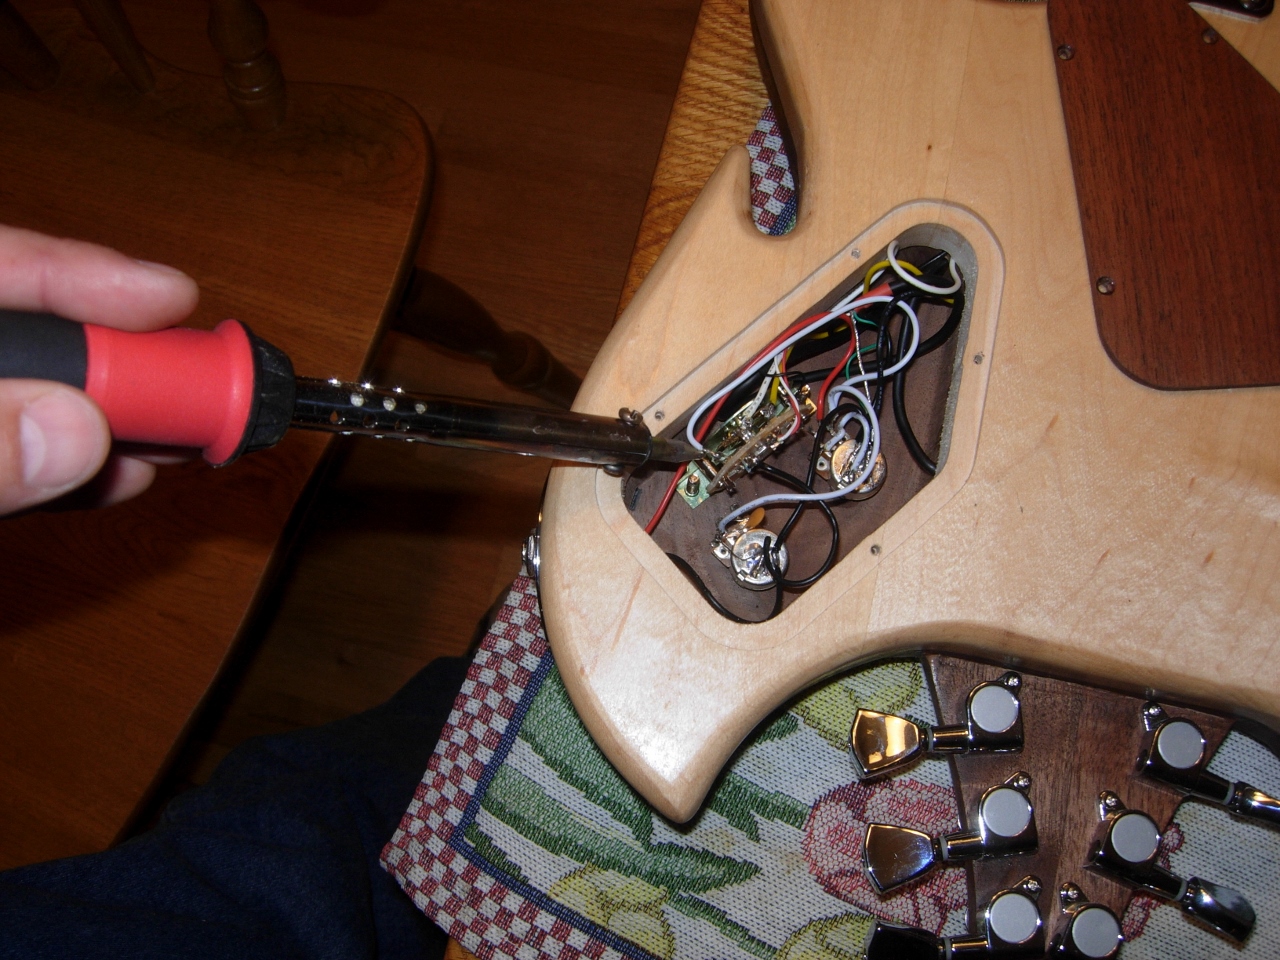
Wiring complete
When I started stringing the guitar, I noticed a small problem. The strings were too high at the base of the neck. I don’t play guitar, but from what I understand, the lower the “action” the better.
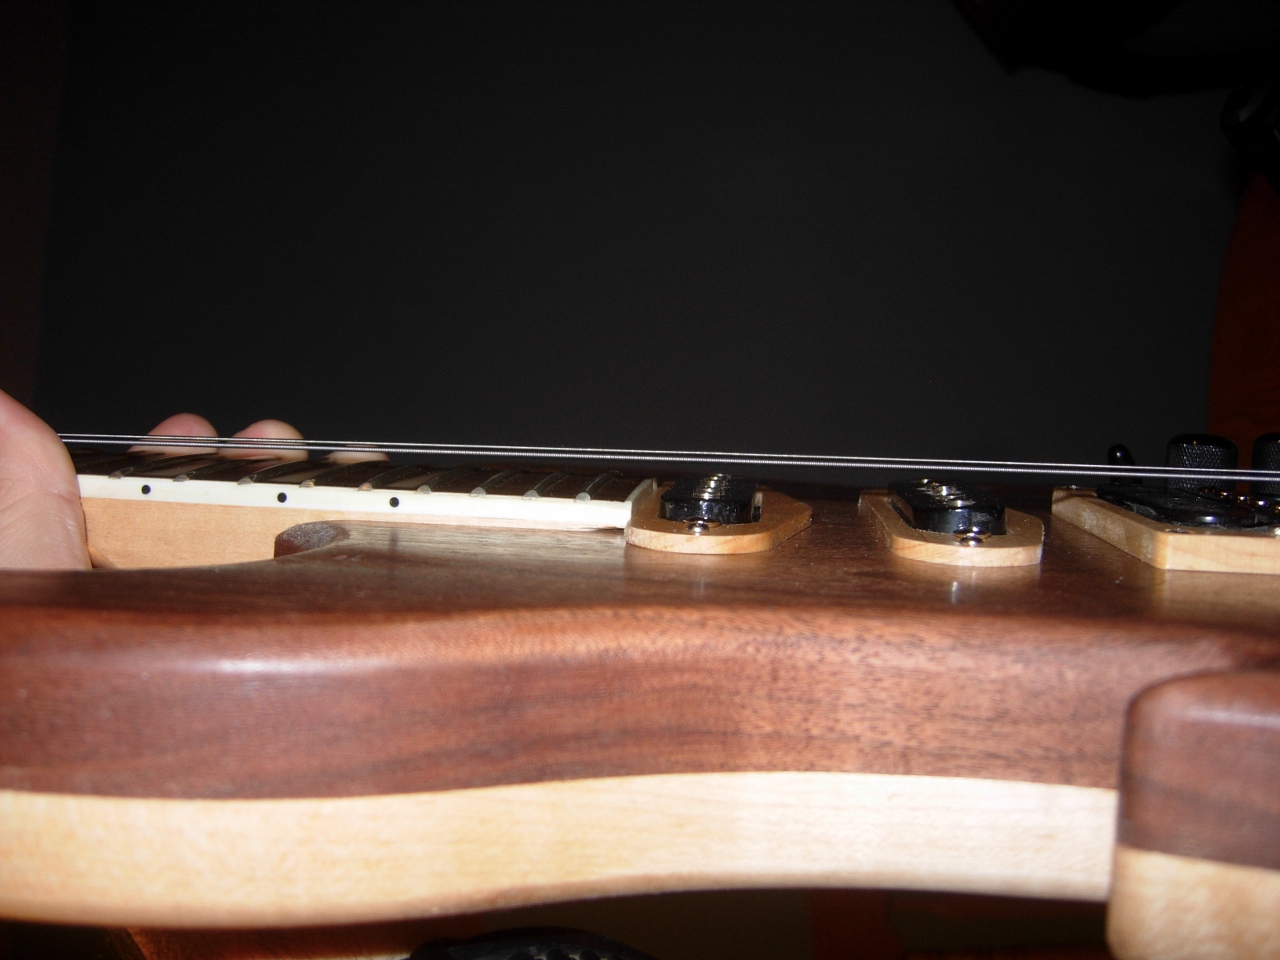
Action too high
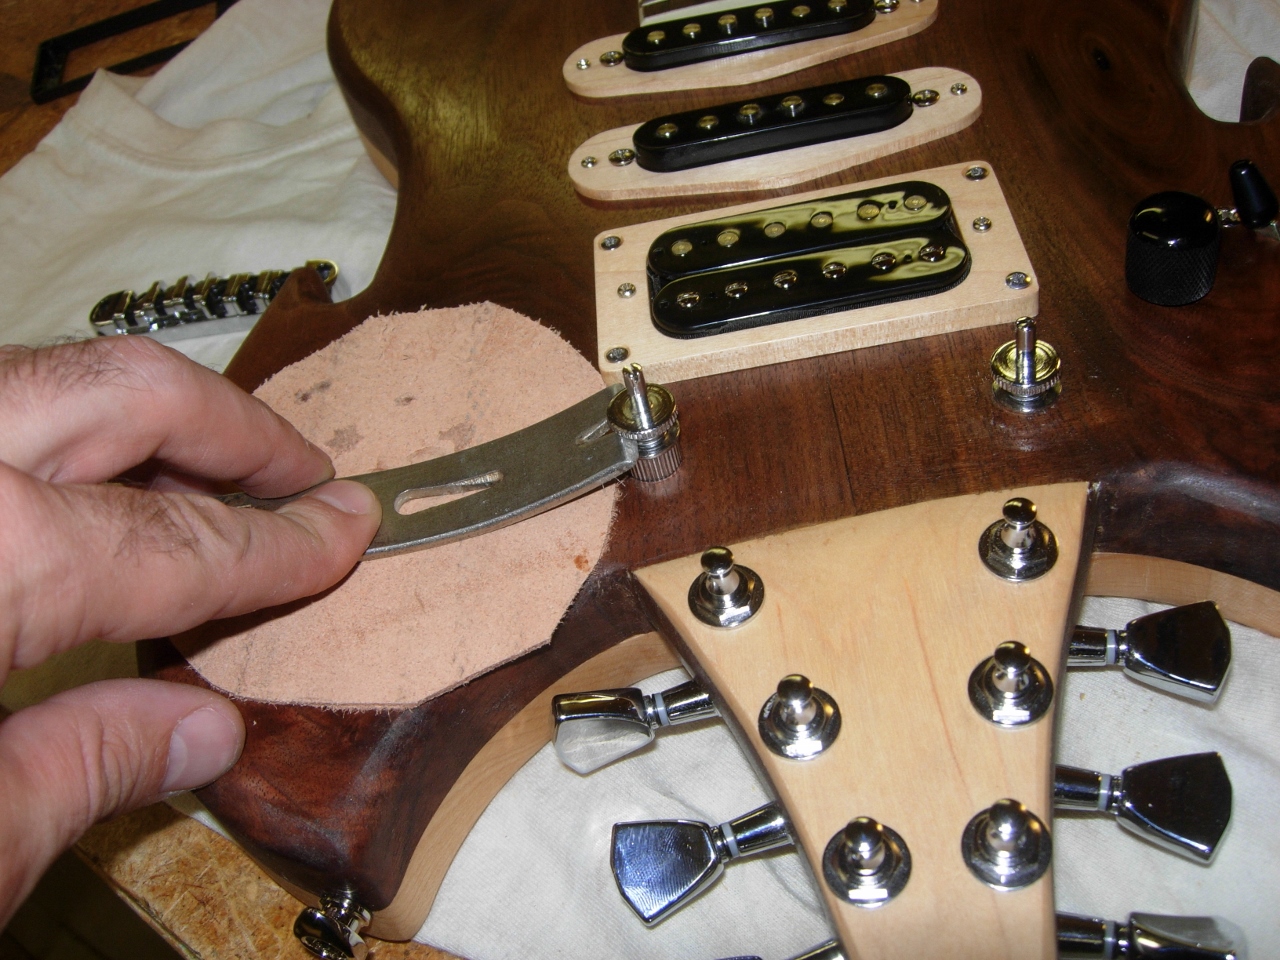
Gently removing the tailpiece studs
Since the tailpiece was as low as it could go, I decided to lower it further by creating a couple of counter-bores for the mounting studs.

Counter-boring to recess the studs
I brushed on a coat of Tung oil just so the raw wood wouldn’t stand out.
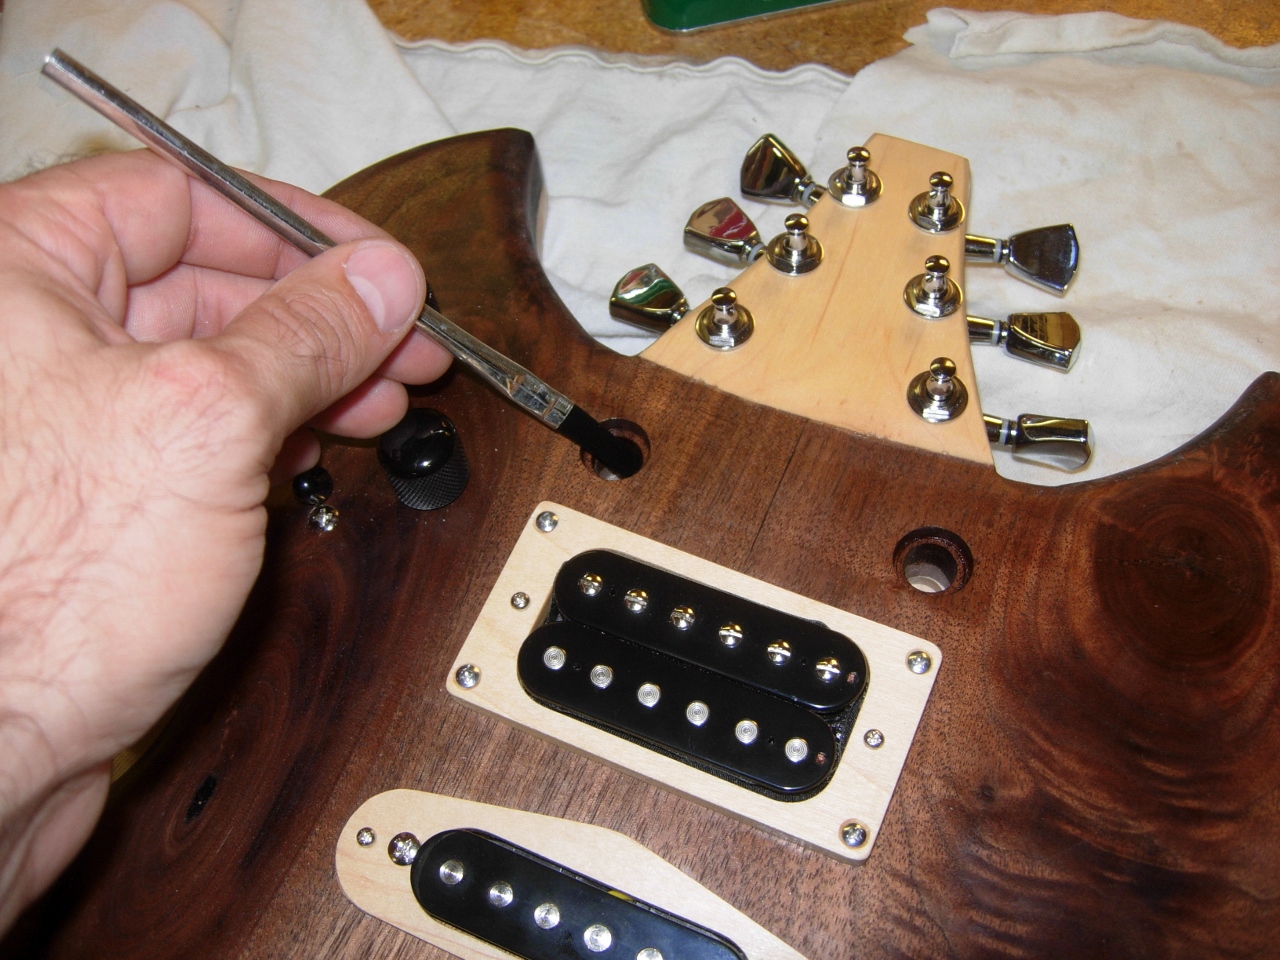
Adding a little Tung oil to the holes

Setting the studs back in place
I gently set the studs back in place and reset the tailpiece. Now the body of the tailpiece is nearly down to the surface of the guitar

Tailpiece reinstalled 1/8″ lower
After wiring it back up, the action was a lot lower. I let my son, Ian, tune it and put it through its paces.

My son doing a fit check
I shot a couple short videos of him playing.
I believe the first one is with the guitar switched to the neck pickup.
I believe the second one is the middle, single coil, and the humbucker at the bridge position. Ian thought is sounded great and it balanced perfectly from the strap.
Yes it does fit on a stand.
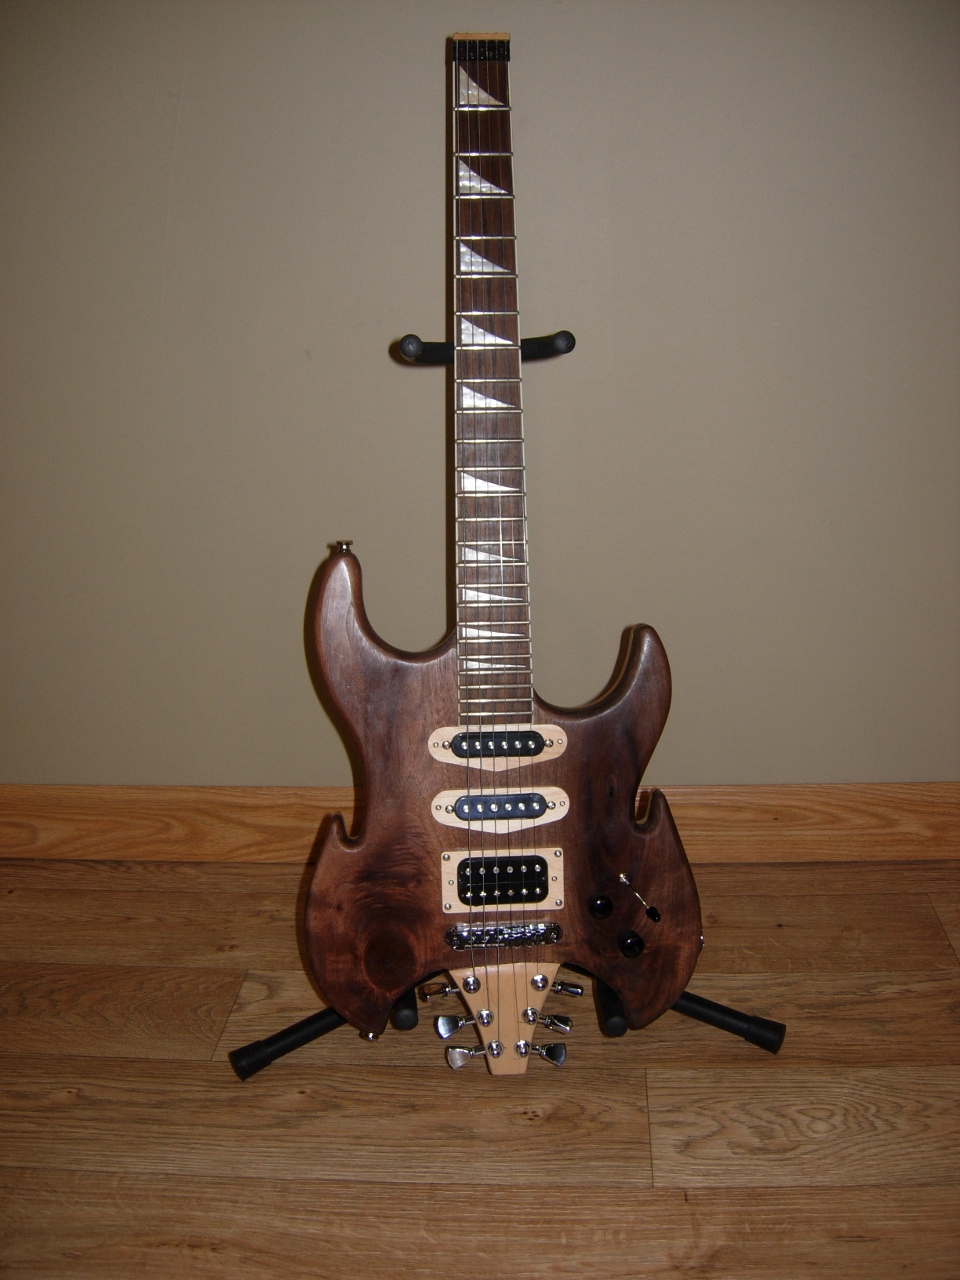
I even made sure that it would sit in a stand. Here are a few shots of it complete. Maybe one day I will even learn how to play one…

Front shot

Front close-up
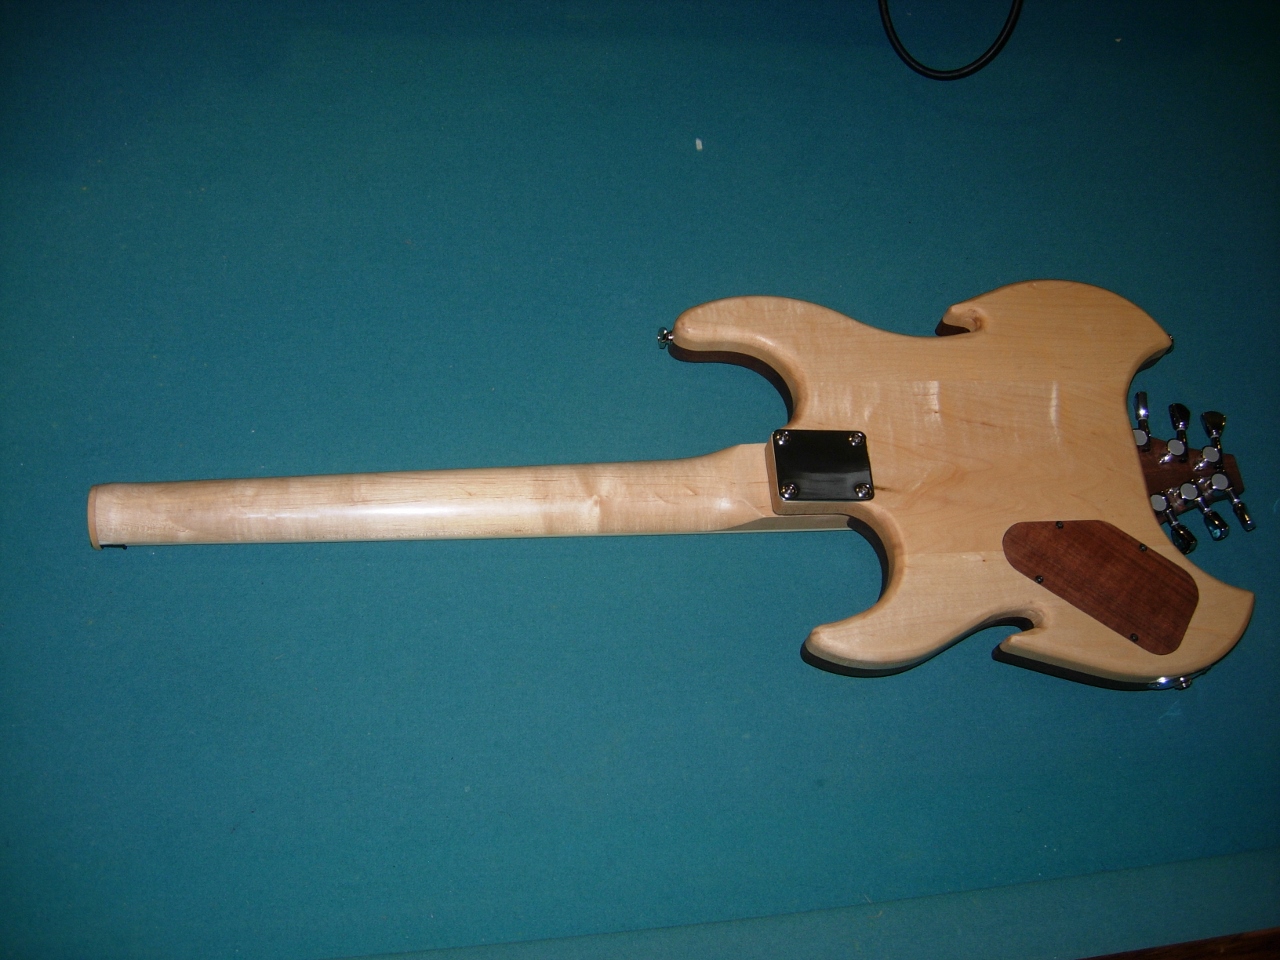
Rear shot
Rear close-up

Aweome!