
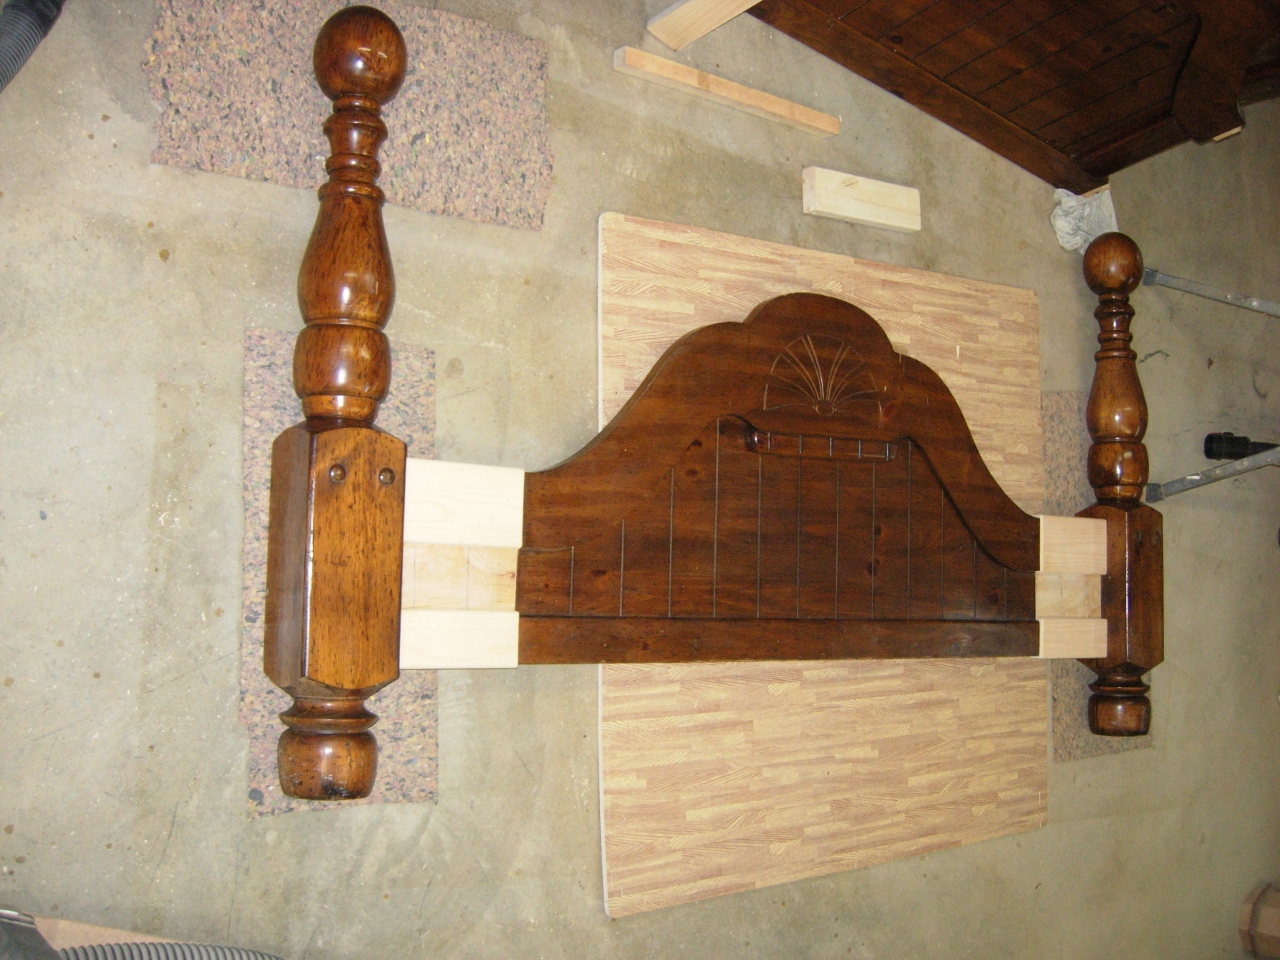
Bed upgrade – day 3
I had a chat with the clients this past weekend. They wanted to know if I could extend the beaded panel through the extensions. I admit the head and footboards did look a little stretched out, so tonight I am going to see what I can come up with. Since the footboard is the first thing you will see when you walk into the bedroom, I will start with it.
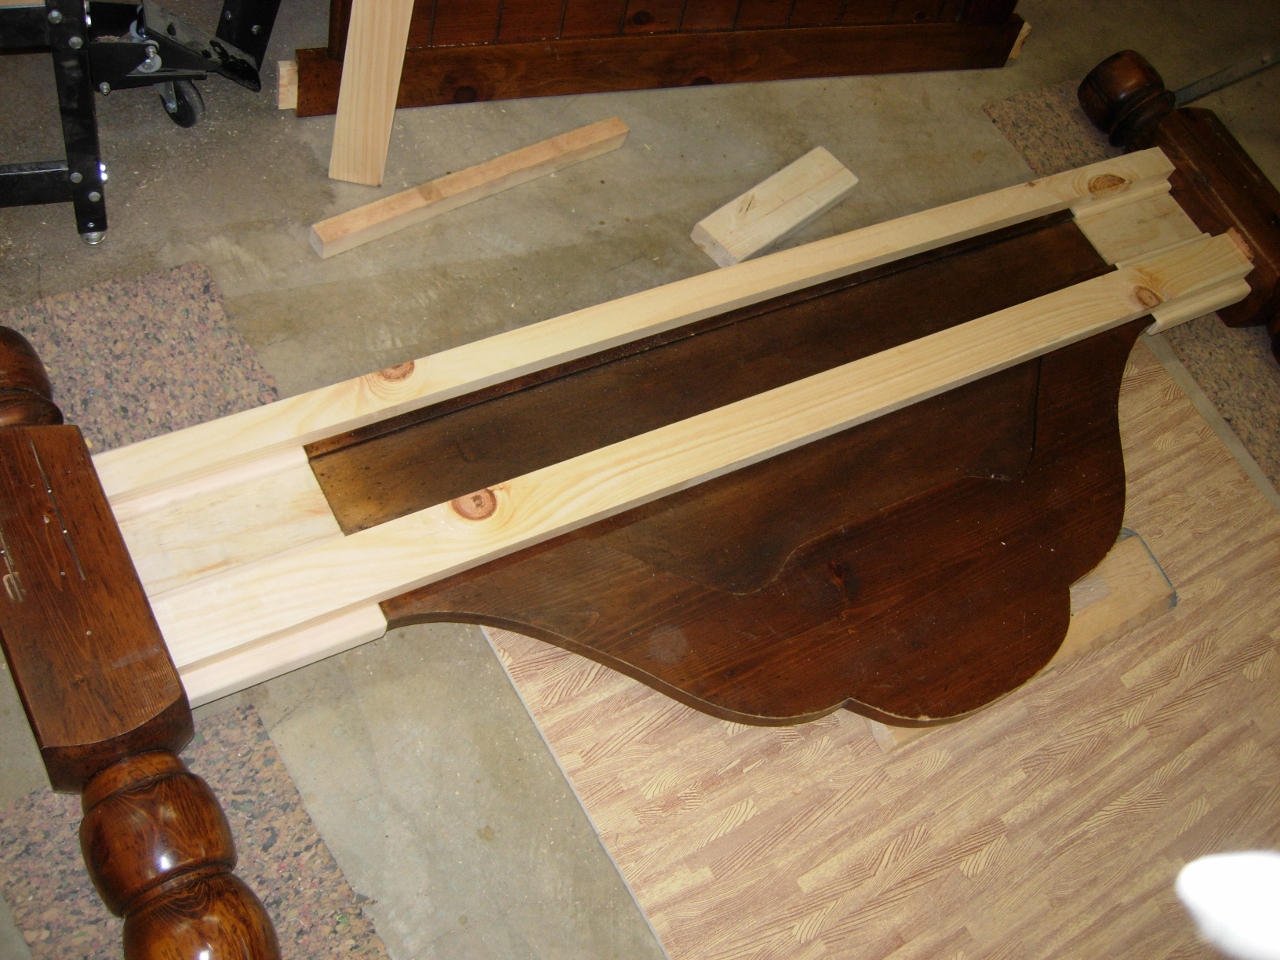
Left over plywood for an insert
I have quite a lot of left over plywood pieces from the last few projects. After rooting through it for a while, I realized that all of it is oak and maple. The only piece of pine plywood was the board that was used in the packaging of my new scroll saw. It was about 16″ wide and 40″ long. There are a couple of mounting holes drilled through it, but if I cut around them, there should be just enough to do the job.

Locating the dados
I started by locating the extensions and marking where the face of the existing panel fell, then I marked a line 5/16″ towards the back side. This line marks the location of the dado that will have to be cut to accommodate the new plywood piece.
Cutting the dados on the table saw
I made a few passes on the table saw to create the required dados, then cut out a test piece of plywood.

Cutting the plywood for the panels

Test fit
It fit pretty good, so I marked out the vertical grooves needed to match the existing panel.
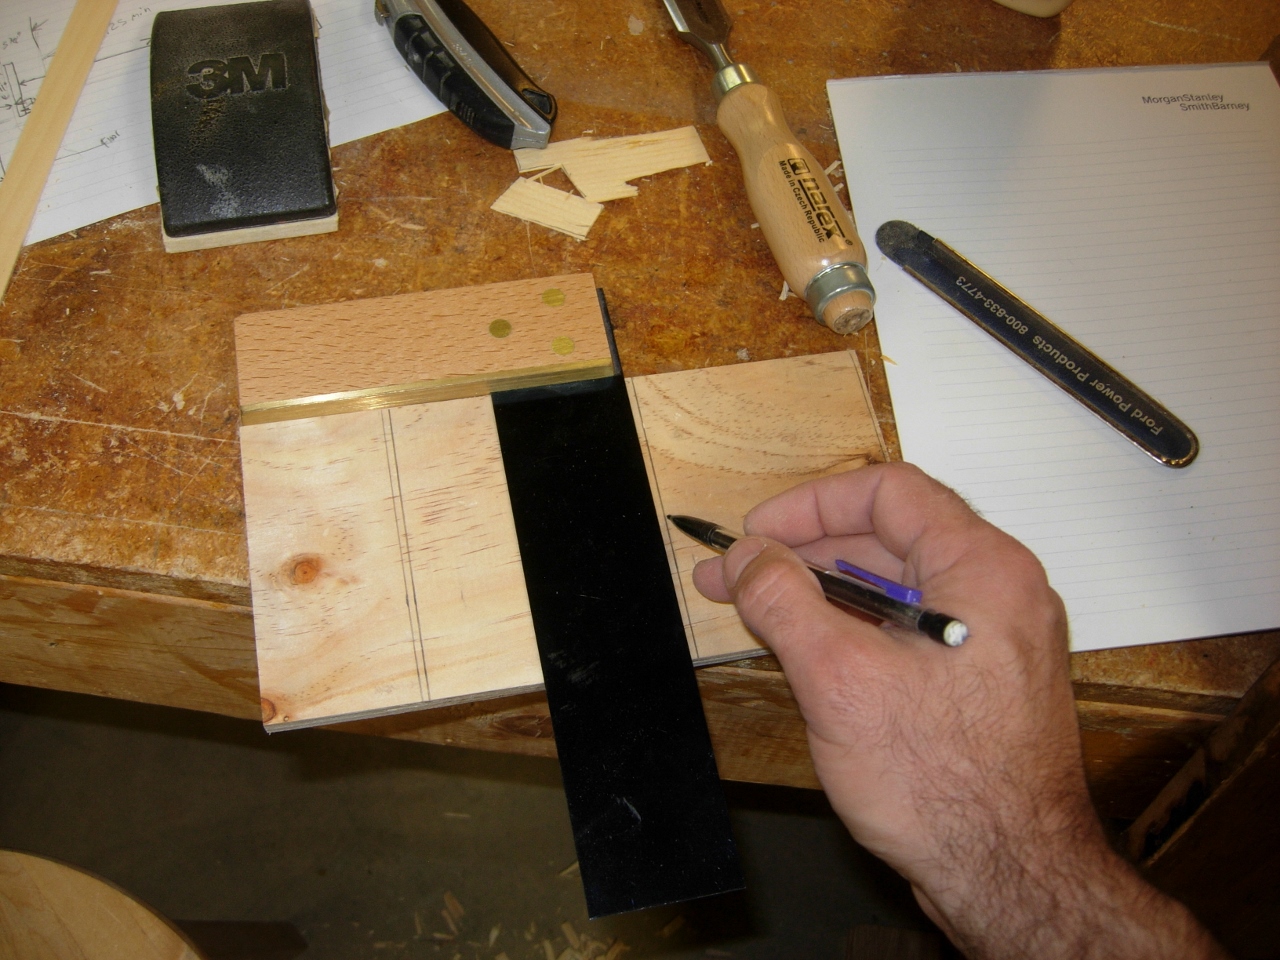
Marking out the grooves
I laid the plywood face down and cut a couple of 3/32″ deep grooves in the plywood.
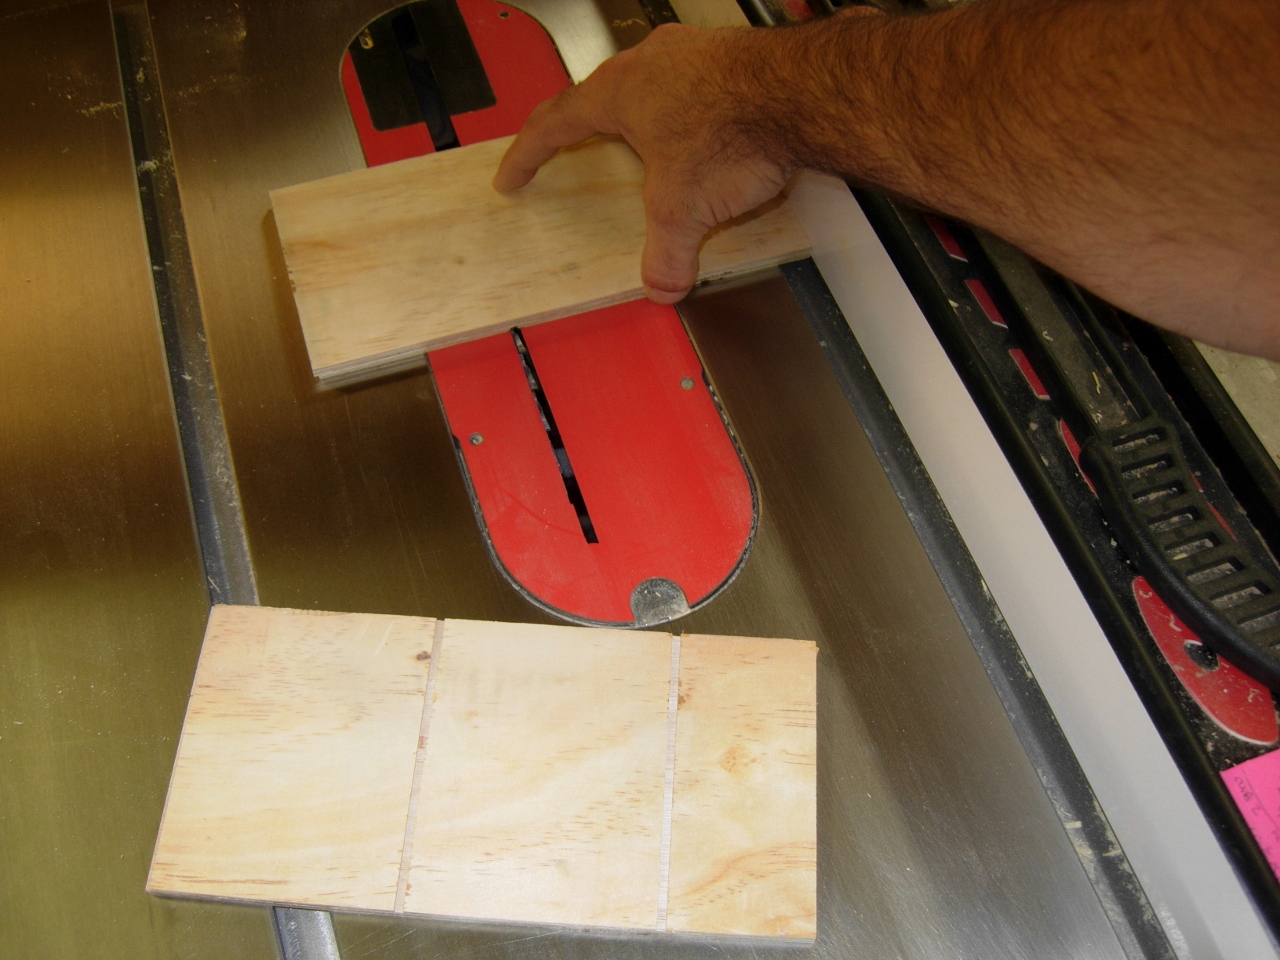
Cutting the grooves

First side looks pretty good
the panel lined up perfectly on the left so I made a second for the right side. It will look a lot better once I stain it, but you can get a sense of what it will look like.
Both sides complete
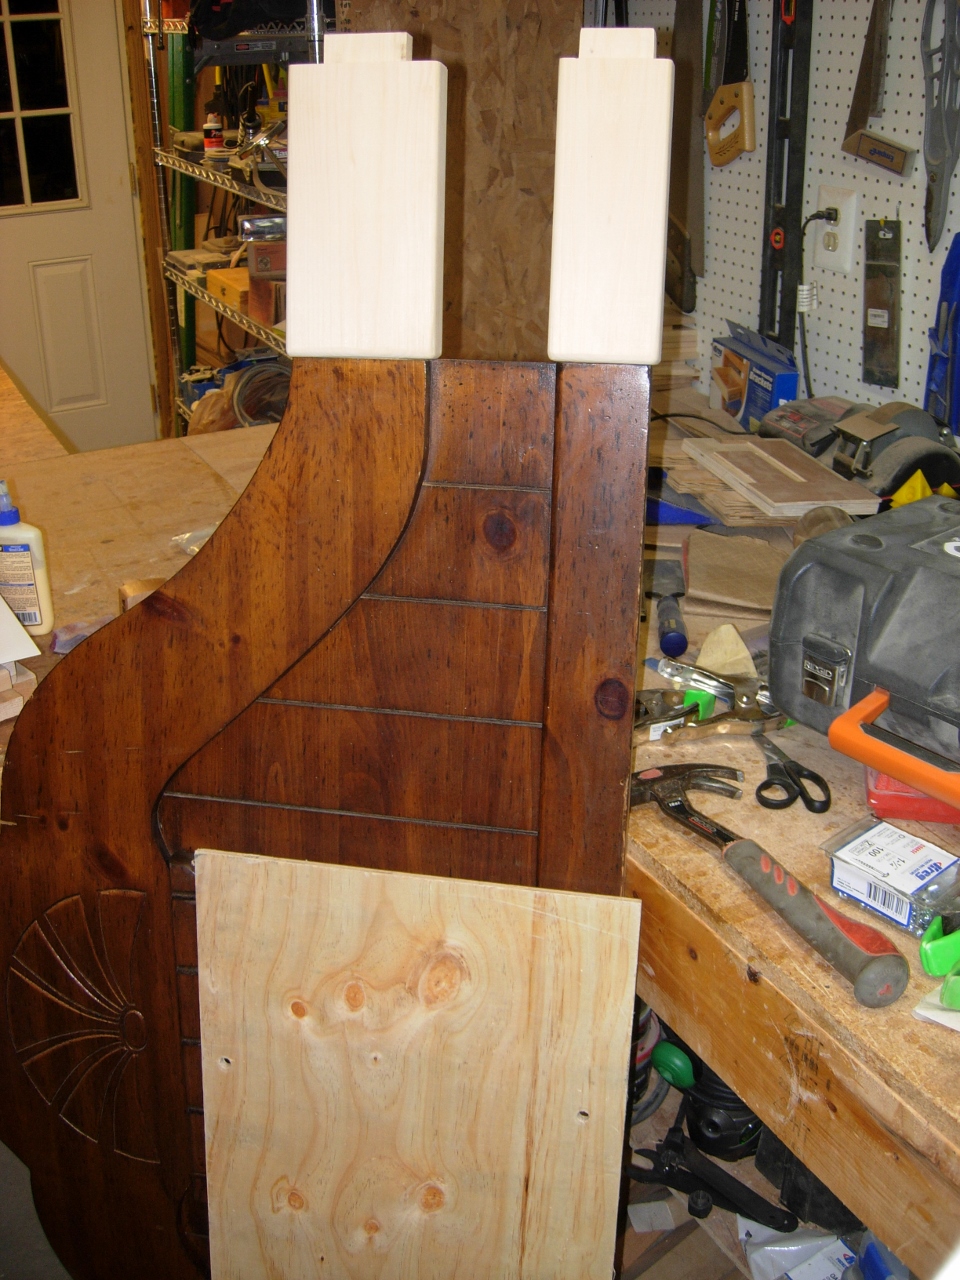
I am afraid that the extensions will weaken the stability of the head and footboards so I decided to add two pieces of bracing to the mattress side of the footboard.
Some structural bracing
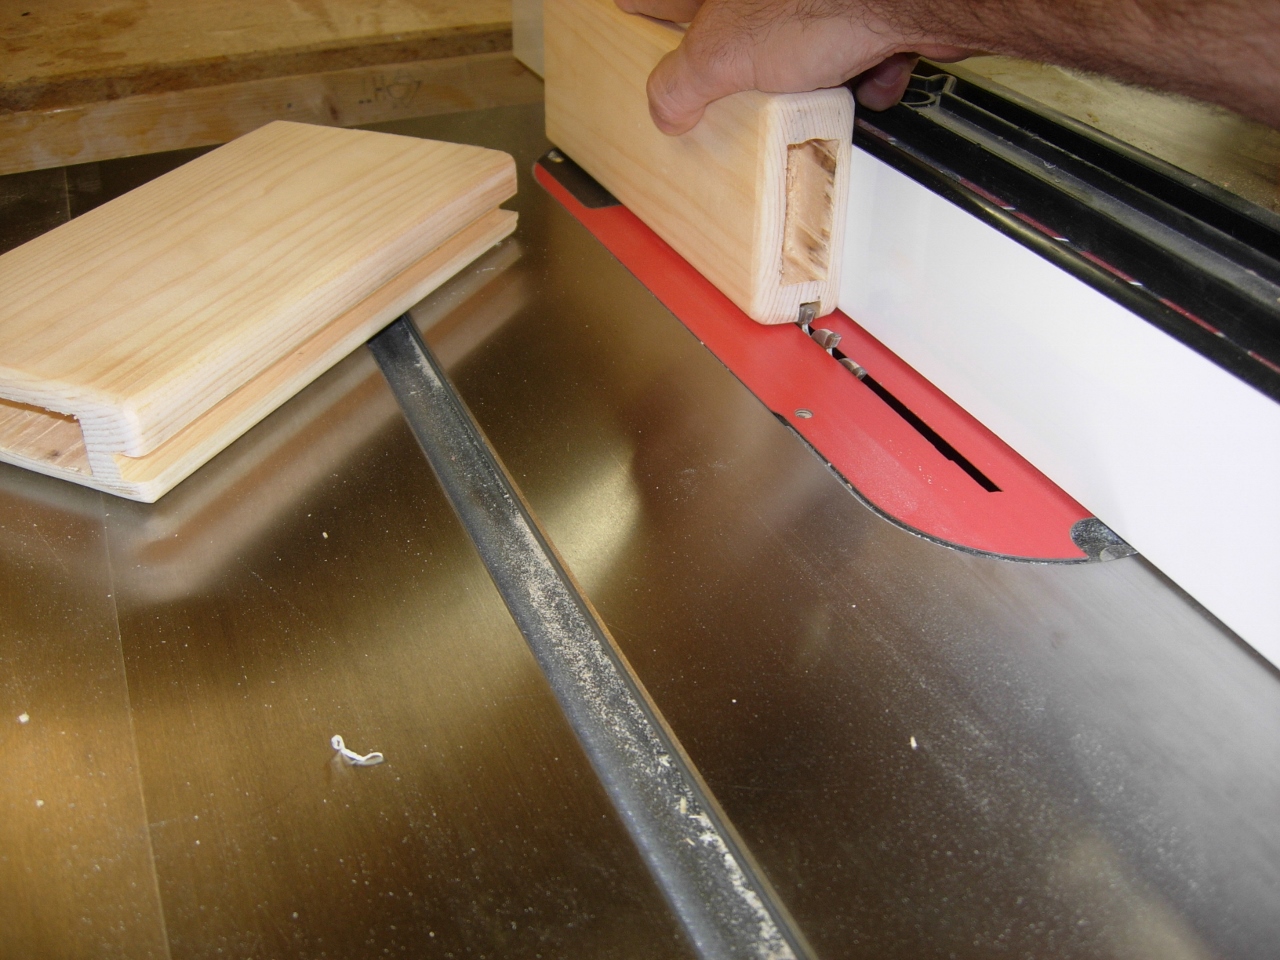
Since the extensions are about 1/4″ thicker than the rest of the boards, it will be necessary to cut a shallow step into each end. 90% of the cut was made on the table saw, but it left a triangle of waste left to be removed.

Creating a shallow step
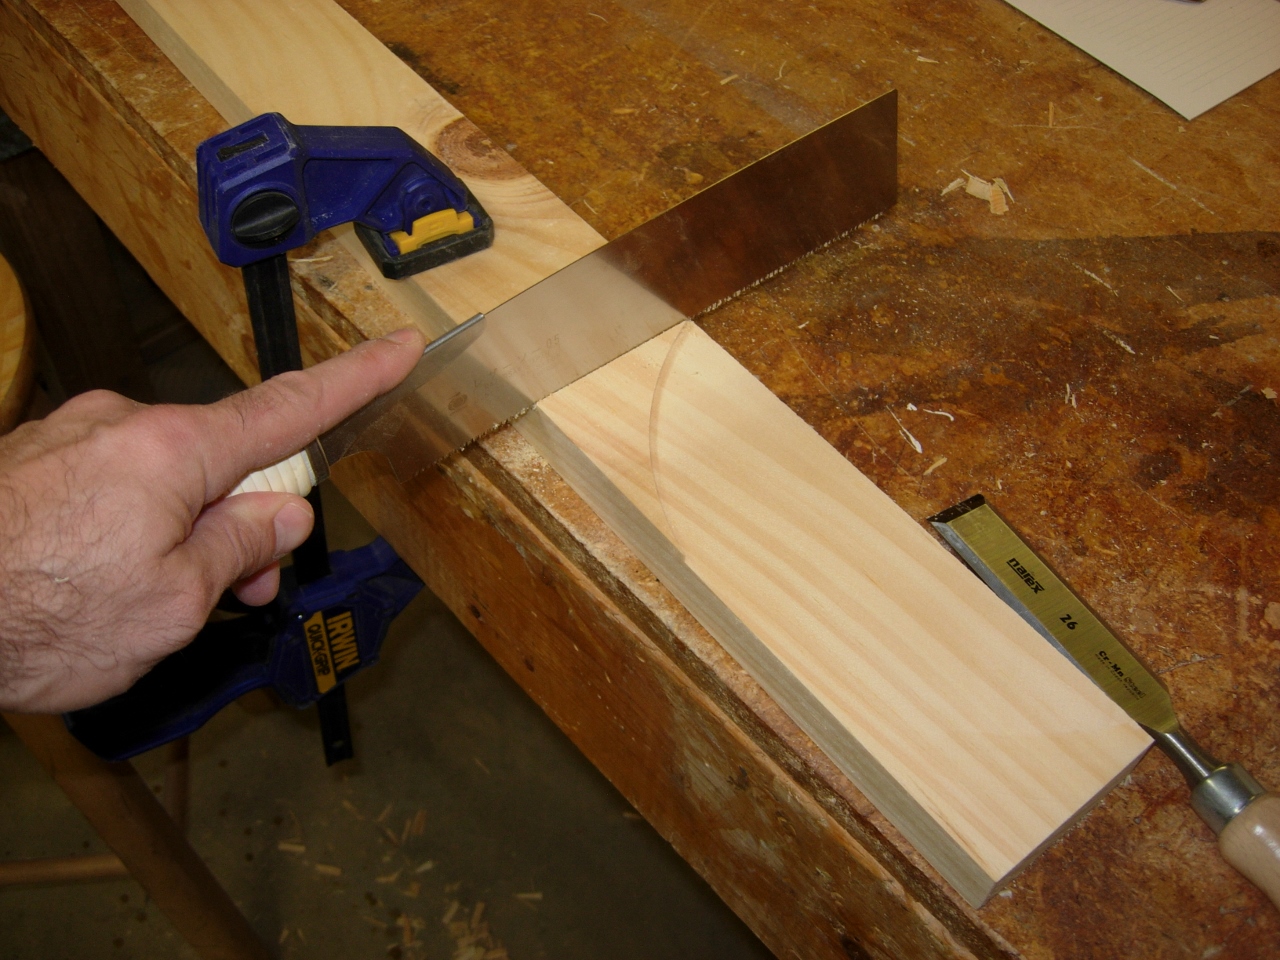
Cutting the stop point
I used my pull saw to cut the stop point down to the new elevation. I originally intended to chisel out the waste, but the chisel wanted to dig out more that I planned, so I simply turned my saw sideways and flush-cut the rest away without a problem.

Flush cutting away the waste

Bracing test fit
After clamping the new bracing in place, it drew everything in line. Now the footboard is straight and flat. I decided to stop there for the evening since it is approaching midnight. I will probably leave the footboard for now and move on to the headboard next.

The bracing draws everything up tight
The layout of the headboard is different and I was really worried about how I was going to do it, but after doing some careful measurements, I determined that it won’t matter a bit what I do. Only 4″ of the panel will stick above the mattress, and 90% of that will be obscured by pillows and blankets. I will look a little closer at the headboard tomorrow, now it is time to go to bed.

Going to bed? It’s only midnight. I thought you were” The Midnight Woodworker”? I guess you’re only “The Eleventh Hour Woodworker”. Go ahead and get some rest, I don’t want you to make any mistakes. I’ve been there.