
Bed upgrade – day 1
I have a new challenge on my shop floor this week. A friend of mine asked me to upsize a headboard and footboard from a queen to a king. They also need matching side rails and a support frame. I picked up the head and footboards a couple of days ago, and I have been contemplating exactly how to do this.

Queen size footboard
The first step is to see how this thing was put together, then pull it apart again.

Pulling the screws
I started with the footboard. There were triangular blocks, glued and nailed over the mortises. The glue was no longer bonded to the wood, so the gussets came off fairly easily. Beneath them were wood screws, toenailed through the mortises.

One side down
After removing the blocks and screws from both sides, the footboard separated easily from the posts. I don’t know what king of glue was originally used in the assembly, but it no longer held anything together.

Footboard disassembled

Removing the gussets from the headboard
I moved the footboard to one side, and laid the headboard on my piece of foam. I repeated the process, using an old chisel to separate the gussets from the headboard. Once the screws were pulled, I only needed a few whacks with a rubber mallet to loosen the posts

Headboard disassembled
I stopped by my buddy Dave’s and picked up some pine and poplar for this project. Since I don’t know exactly what I will need yet, I grabbed enough to get started. 6/4 pine for the head and footboard extensions, 5/4 pine for the side rails, and 4/4 poplar for the frame.

Pine and poplar

Cutting some extensions
I decided to start with extending the footboard. I have a few ideas on how, but I figured I would start with the most basic one and see what it looked like. I calculated that I will need to add 9-1/4″ to each side of the head and footboard to make it wide enough for a king size mattress. The footboard is made primarily from 1″ thick material, so I decided to make my extensions from 6/4.
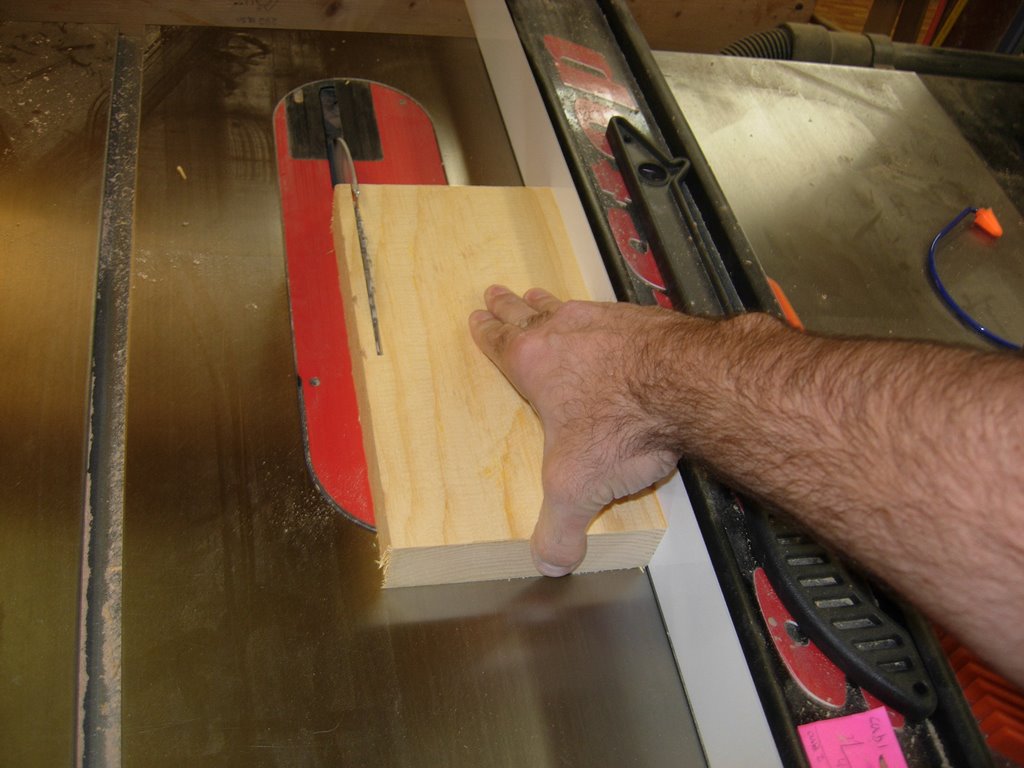
Ripping to the proper width
I cut two blocks long enough to make a 1″ tenon on the post side. I sized them to be 1/4″ larger, all the way around, where they will attach to the existing tenon.
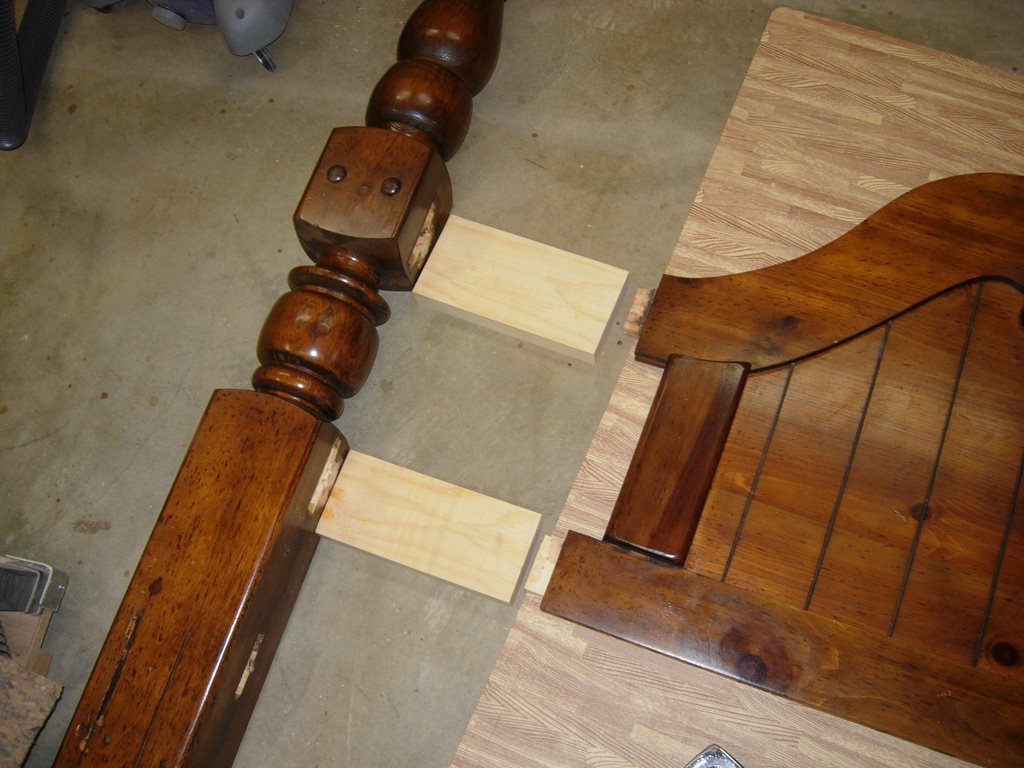
Visualizing the extensions

Marking the mortises
I used a marking gauge to layout the mortise to accommodate the existing tenons.
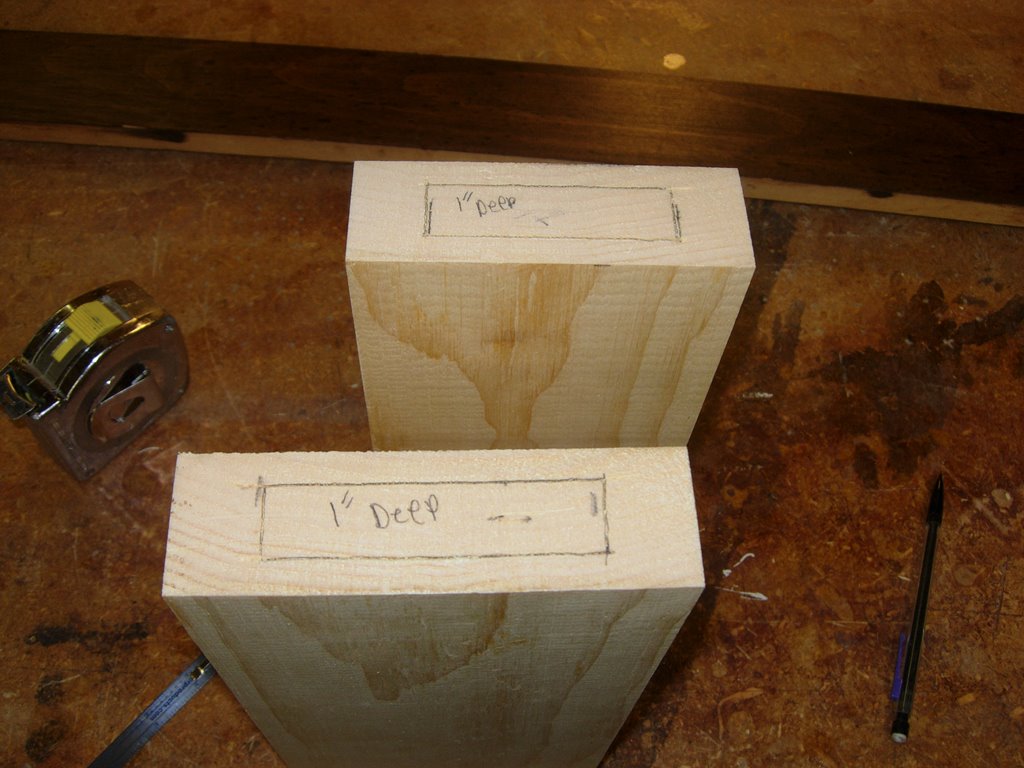
Mortises ready to be cut
Its running late, so I am going to knock off here for the evening. Hopefully I will be able to cut these out tomorrow and see what it looks like dry-fit.
