
Desktop nameplate
My mother has a lot of trouble with her eyes. Lately she has found a really good eye doctor that she just loves. She wanted to have something made for him, so she asked me to make him a name plate, on my CNC router, for his desk. After thinking about it for a bit, and routing through my scrap pile, I decided to make the main body out of walnut, but Veneer a thick layer of maple on it, then cut the name through the veneer to highlight the letters.
Maple veneer
I haven’t done lettering on the CNC yet, so I spent some time fooling with the program until I found something that I hoped would work.
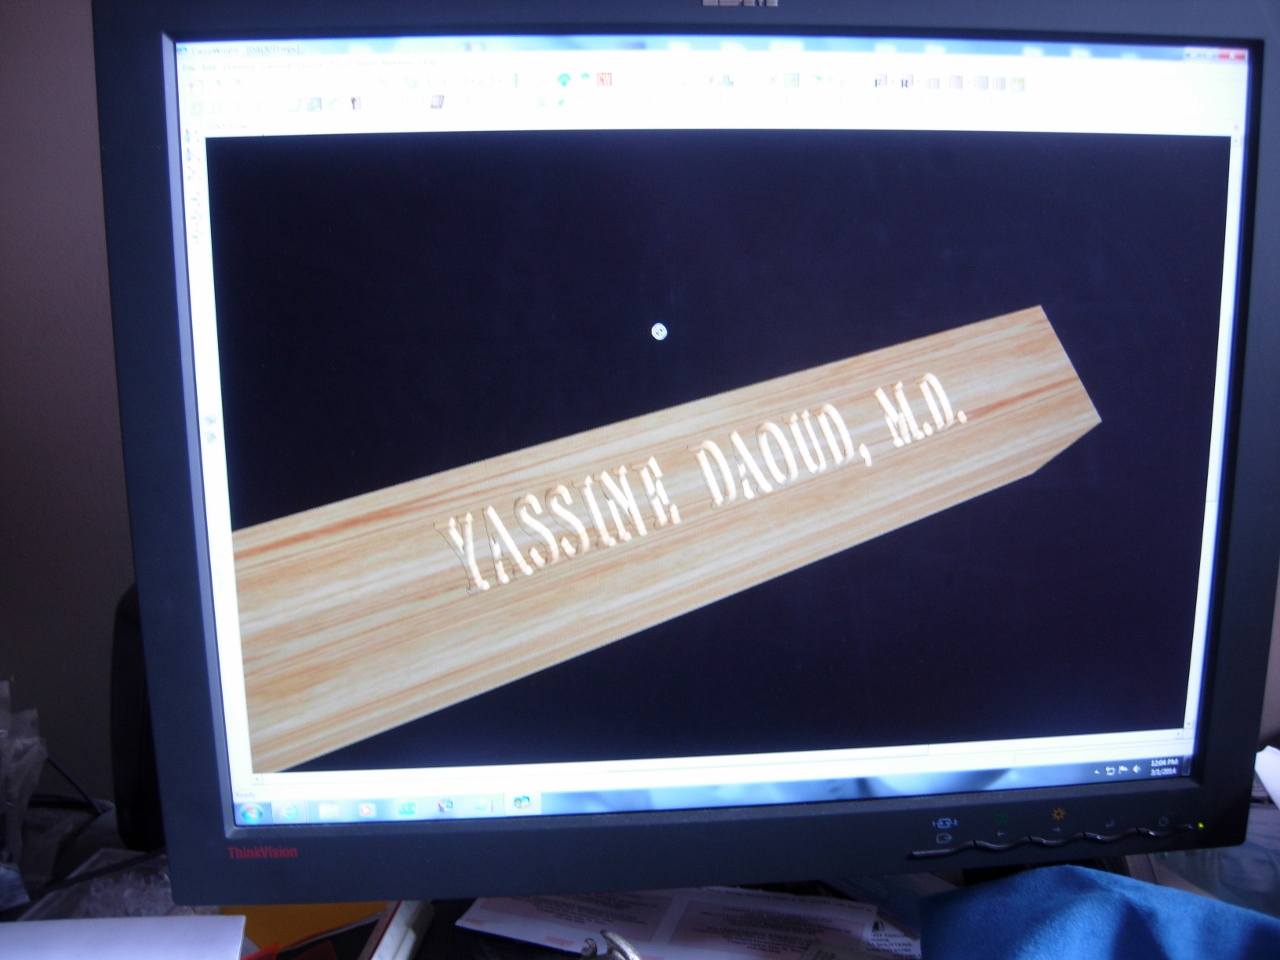
Programming the name
After I trimmed the veneer to match my block of walnut, I loaded the block of wood in, and let the program run. I used a condensed font to try to get everything to fit on an 8″ wide area. I used the 1/16″ ball-nose carving bit, thinking that would give the details the best result.
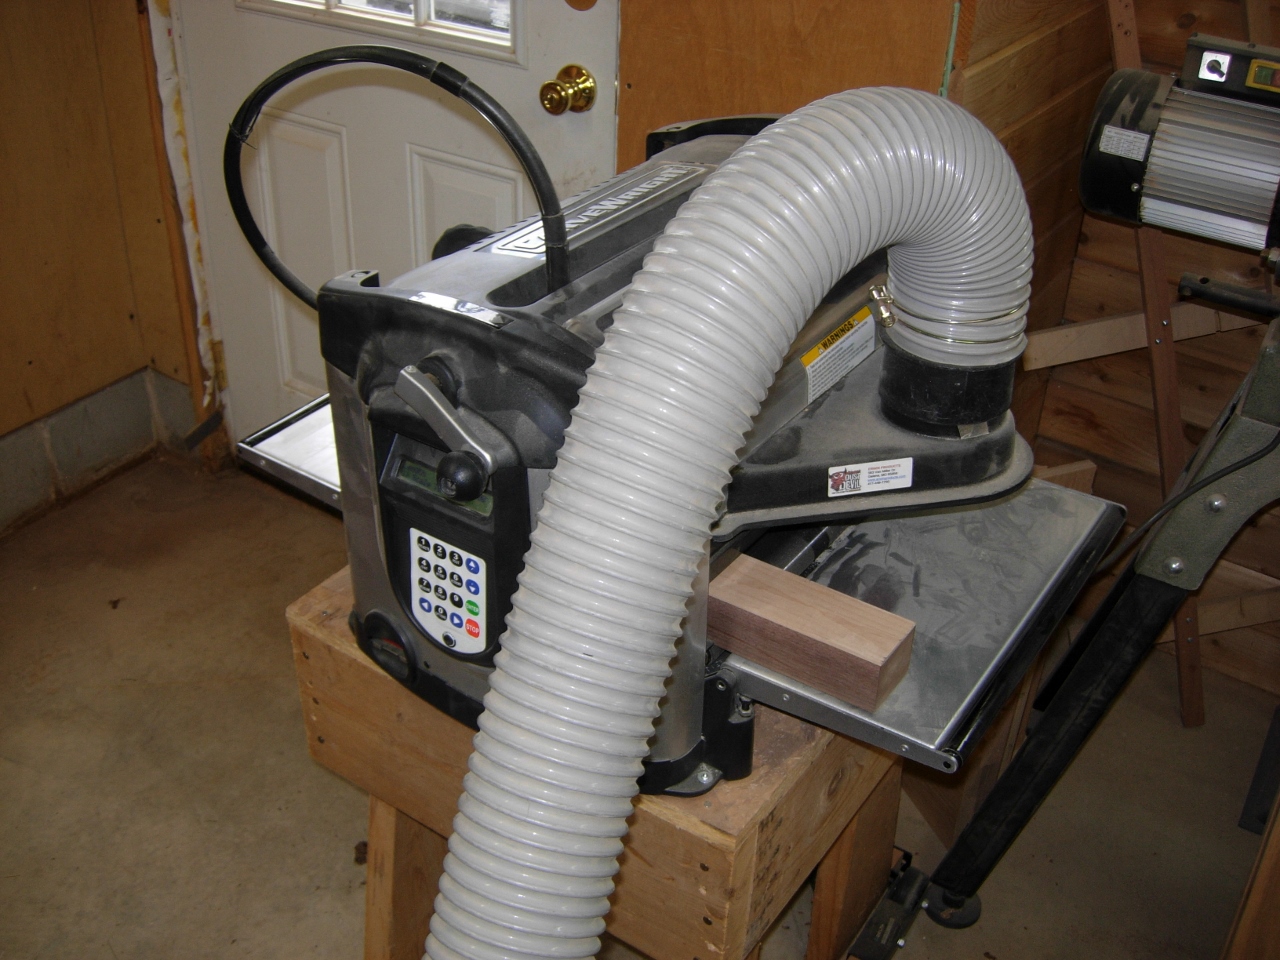
Loading up the CNC
When the program was complete, the name was readable, but didn’t look quite the way I had hoped.
Program complete
After cleaning out the fuzzy bits, I noticed that the really thin bits, like the centers of the “A” and points of the “E” were chewed up or missing.
Cleaning up the carve
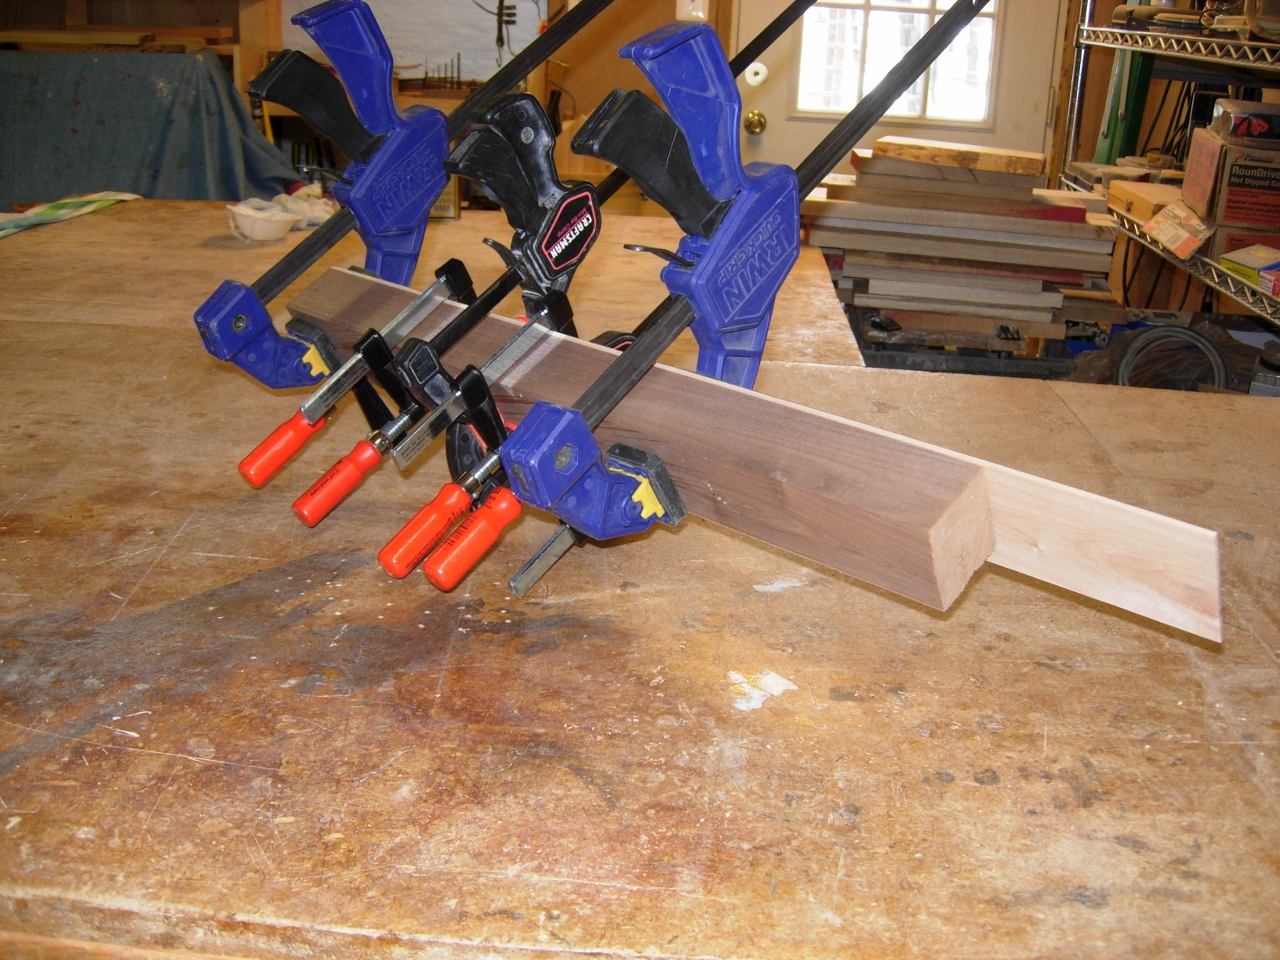
Clamping a new piece of veneer to the opposite side of the block, I went back to the computer and tried something different. Instead of using the program’s text tool, I drew the text in another CAD program and imported it as lines. That enabled me to use a 60 degree Vee bit instead.
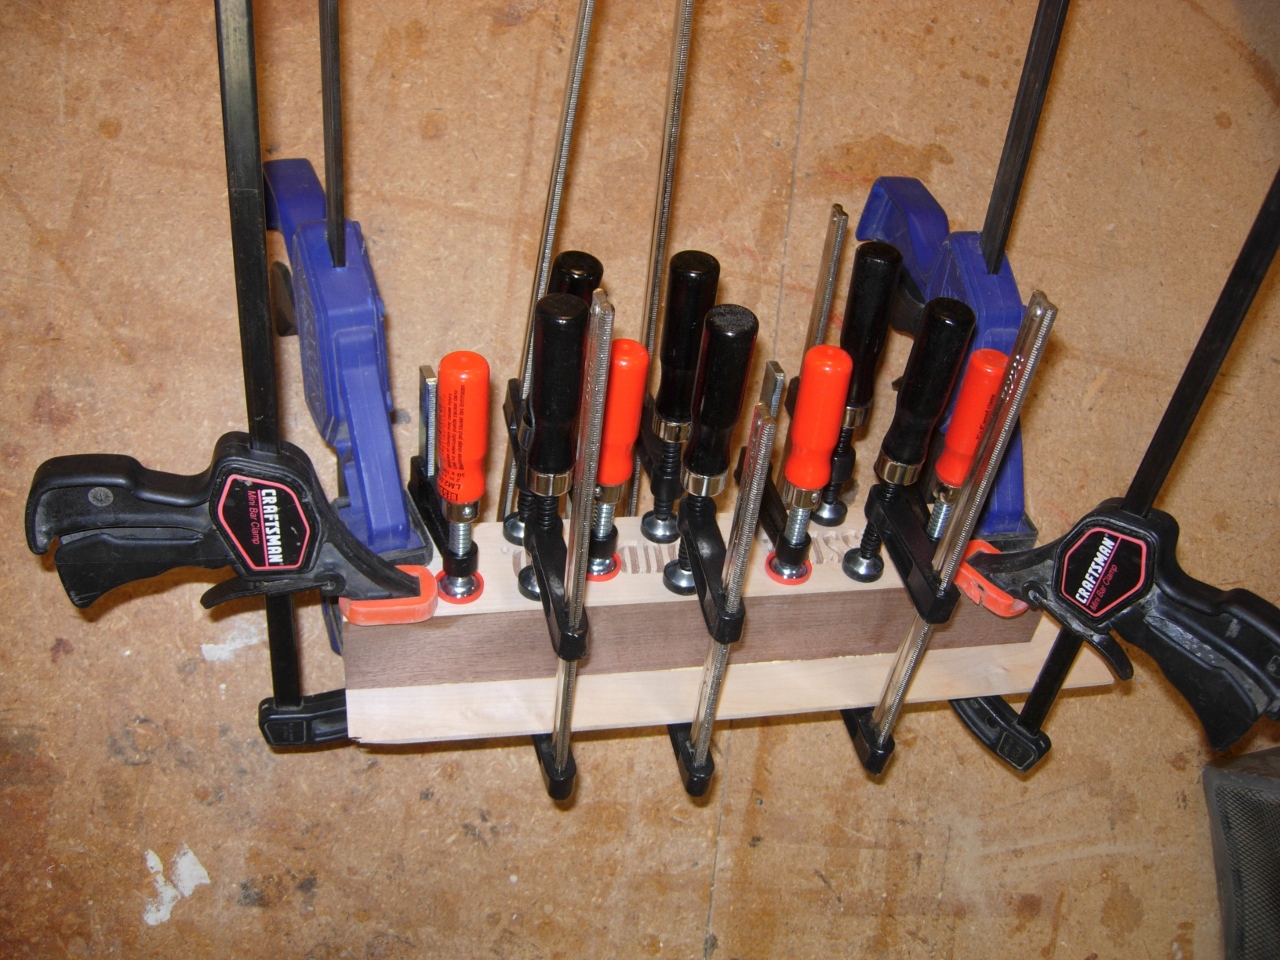
Veneering the other side to try again
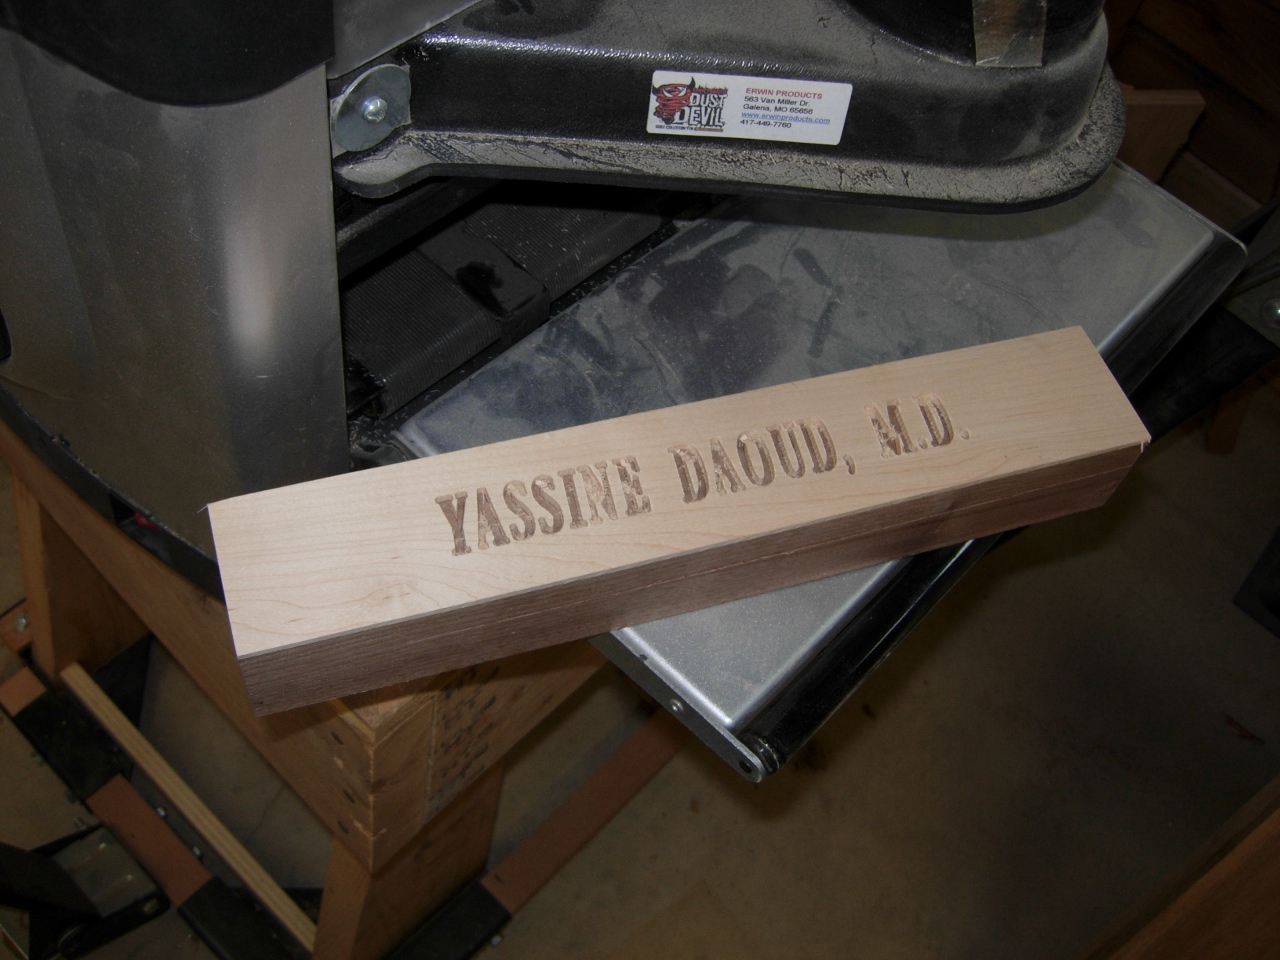
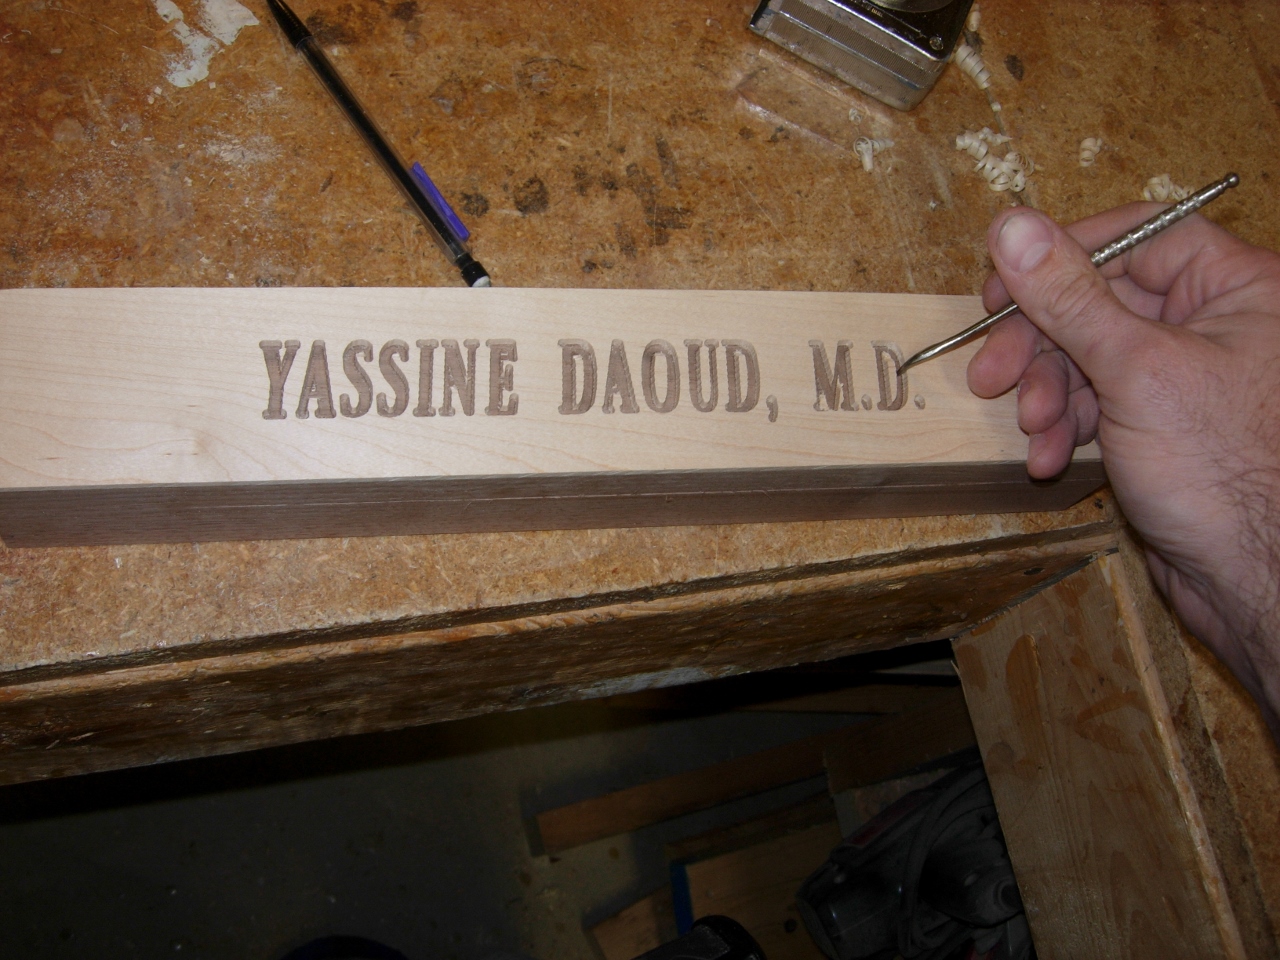
I also made the text 10″ wide and a bit taller. I was a lot more pleased with the outcome the second time around.

Run number two looks much better
To angle the plate back a bit, I changed the angle of my table saw blade to 30 degrees, then cut the bottom back.
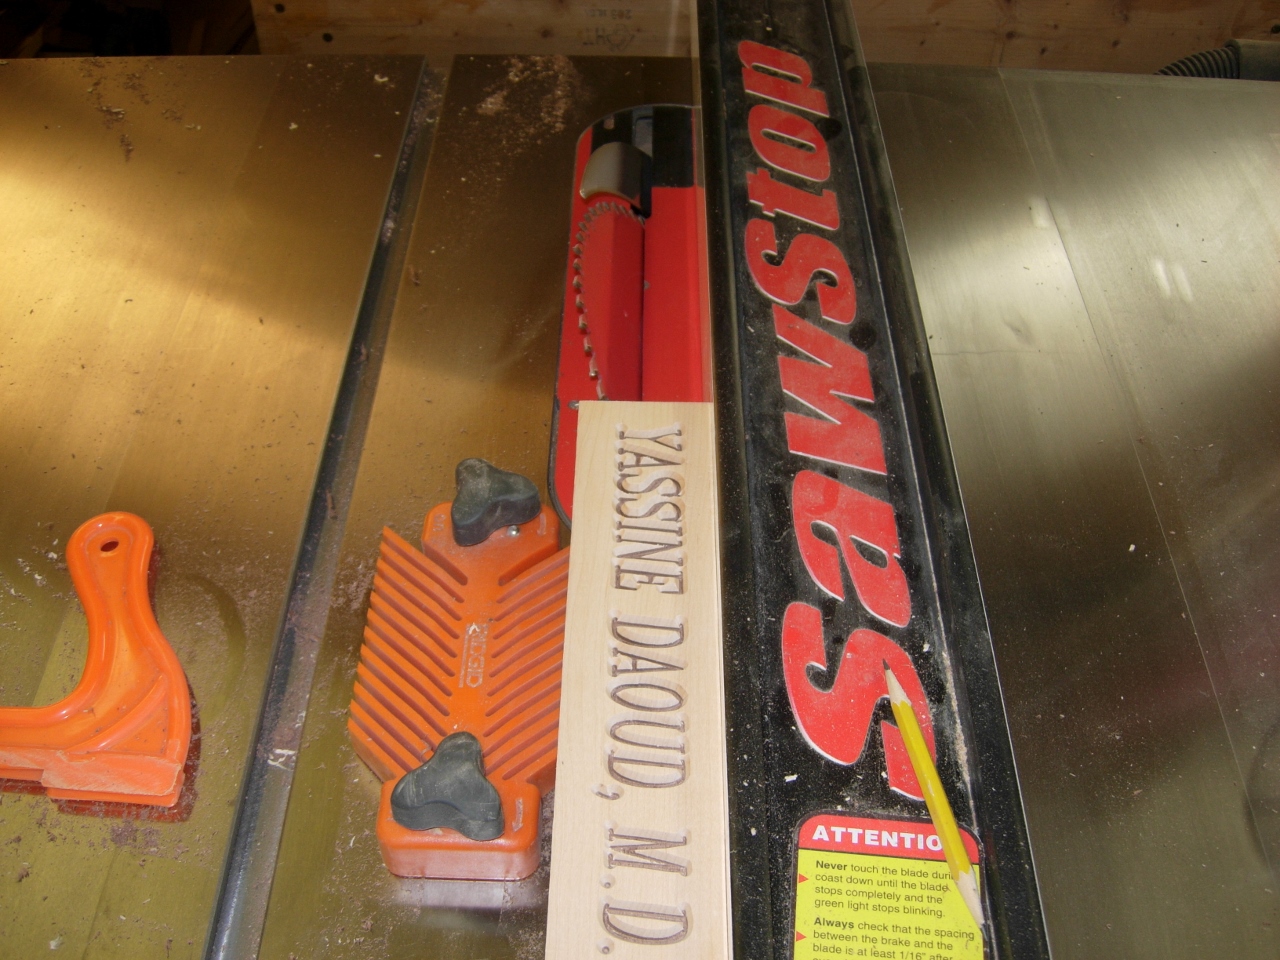
Cutting a few angles
I rotated the block to sit on the angled surface and angled the back as well. Next I placed a 45 degree chamfer bit in my router table and beveled the edges around the face.
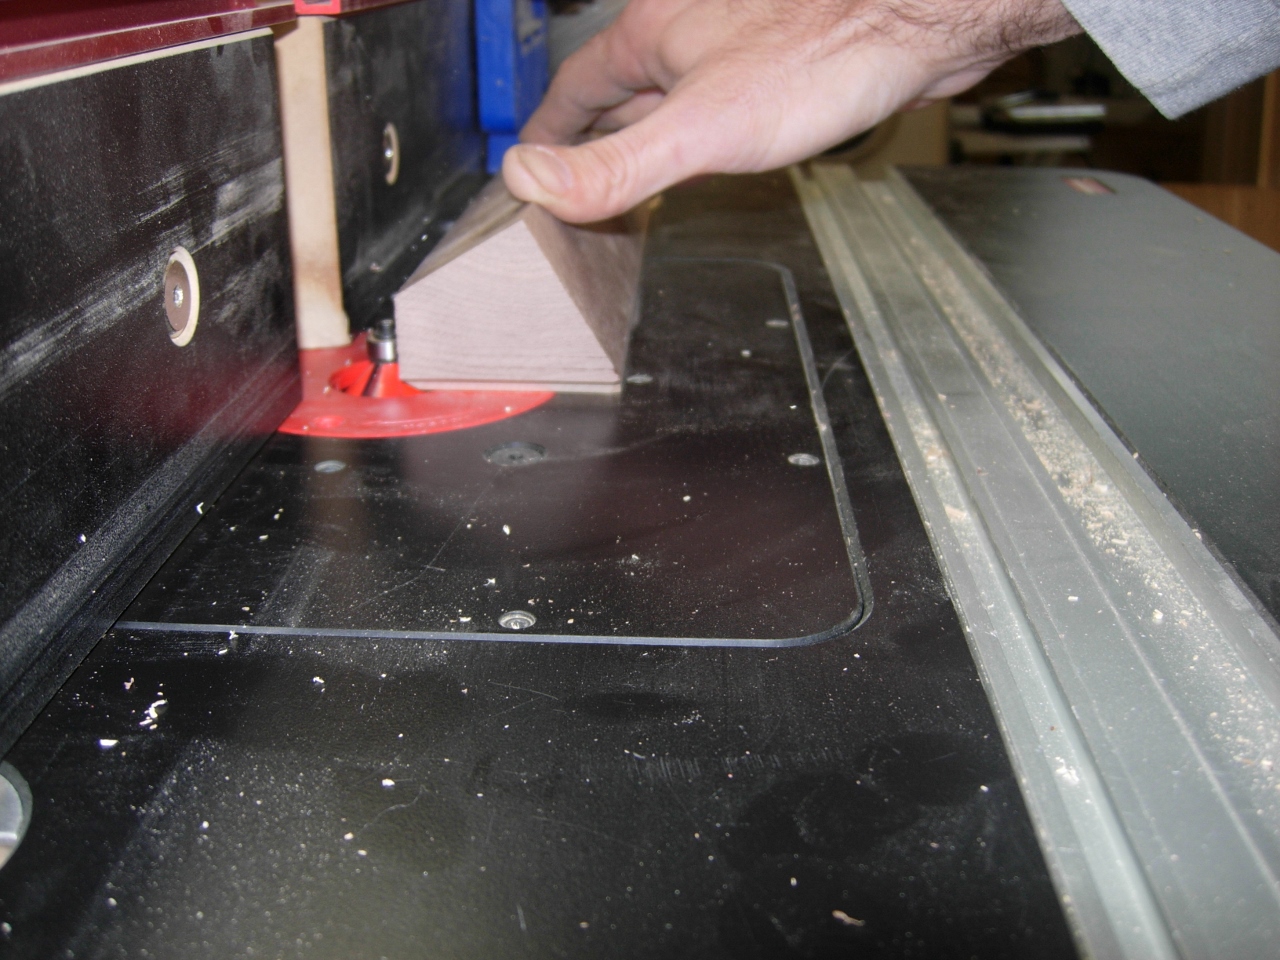
Running a chamfer around the face
I think it turned out pretty nice. At least it turned out the way I envisioned.

Sanded and ready for finish
The last thing to do is give it a coat of Polyurethane. I will sand it down tomorrow and give it a second coat to finish it up.

Applying the polyurethane
I just want to point out that this project did not need to be done on the CNC. I have made dozens of signs over the years by using the router freehand. A router template or panagraph could also be used to make a similar project. It was requested that this one be done on the CNC, so I took the opportunity to learn a couple of new ways to create text.

Pingback: بیت های روتر cnc و ساخت پلاک نام افرا – مرجع آموزش