
Altar cloth and storage cabinets – day 9
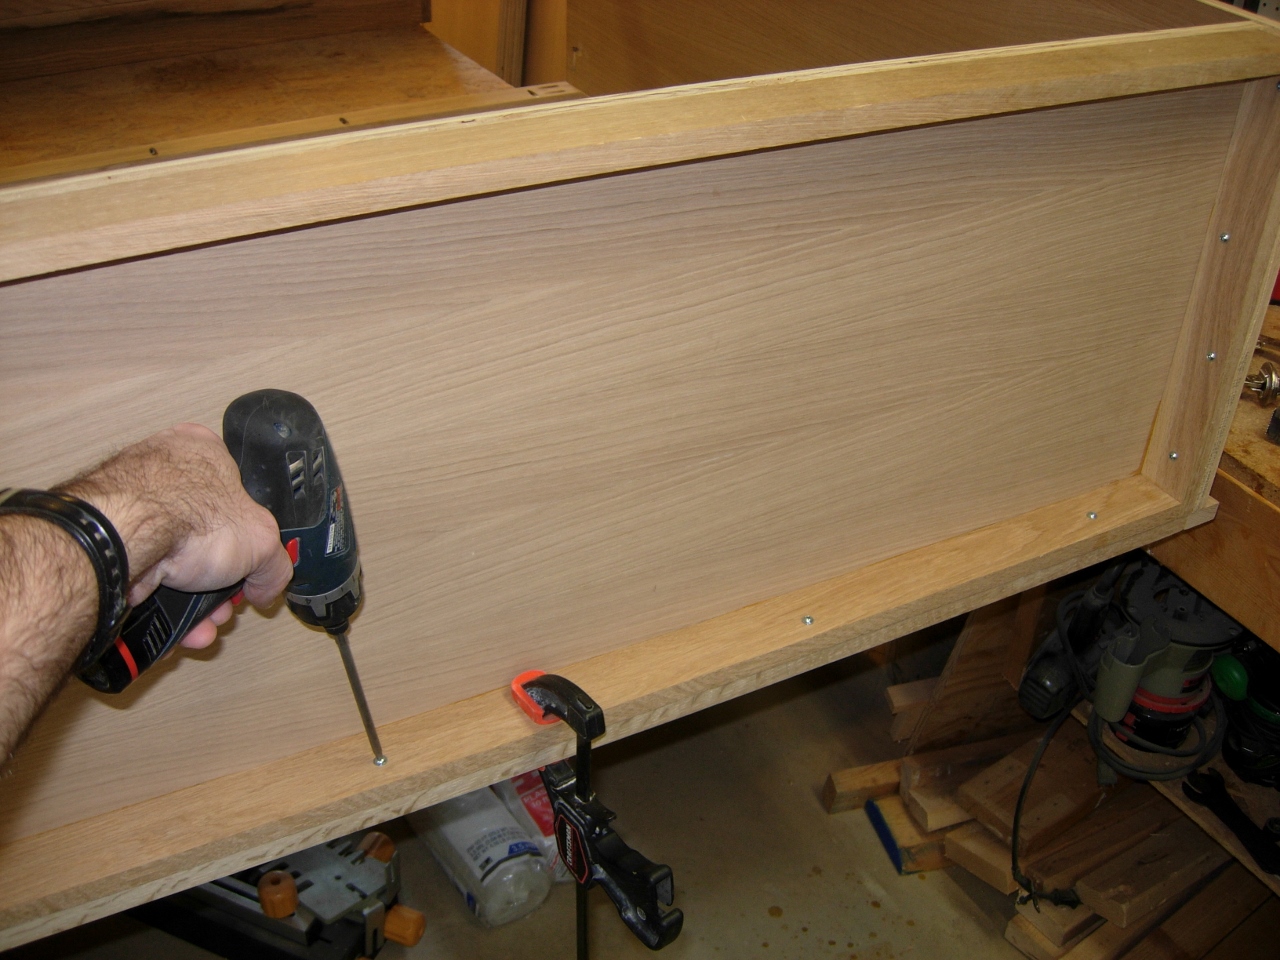
Long day in the shop today, but I made a lot of progress. I went ahead and pinned all of the drawer corners with dowels, to help prevent the sides from splitting and to offer extra strength when the drawer is pulled open.
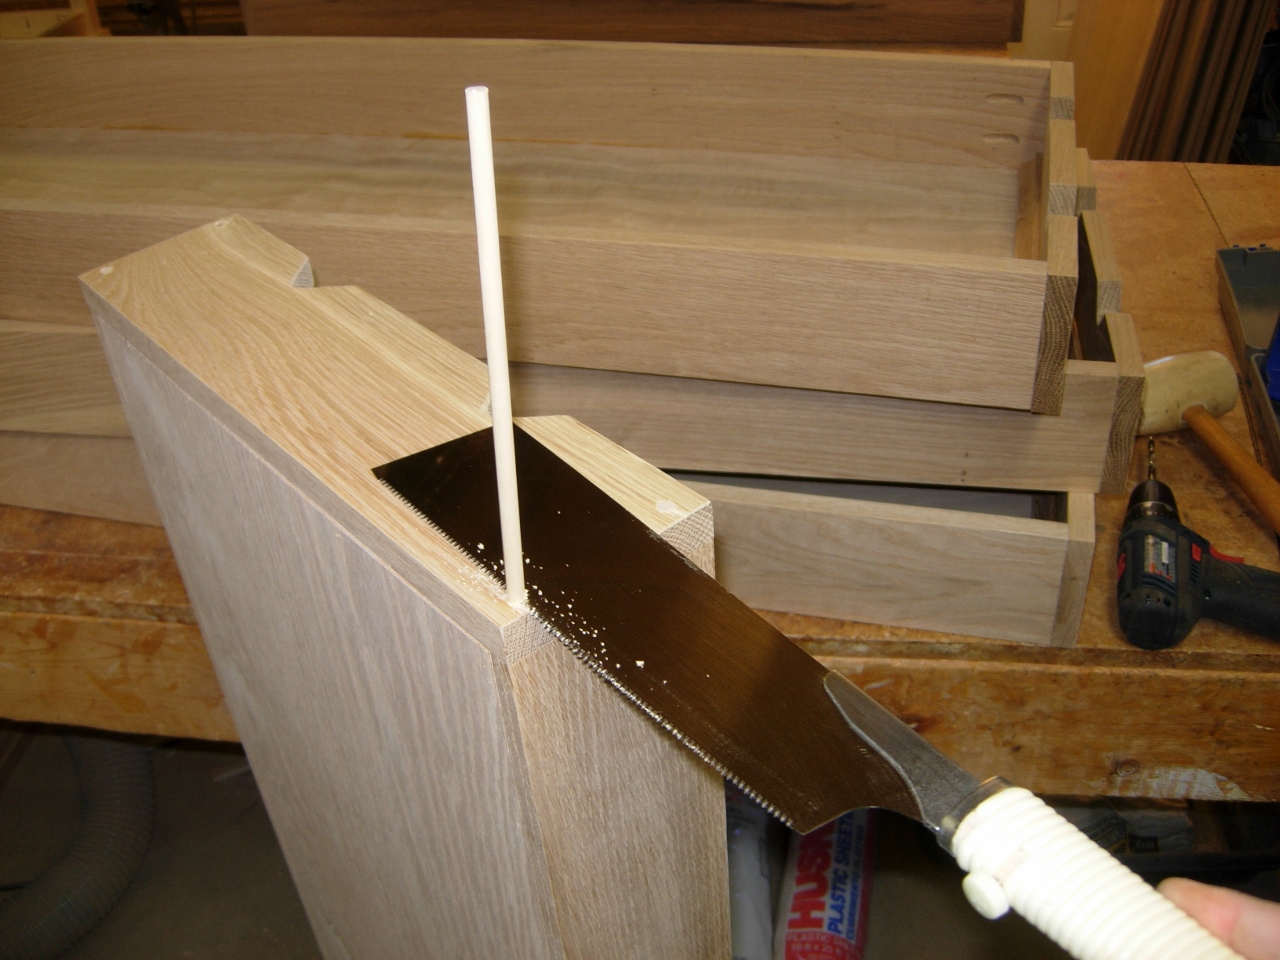
Pinning the corners

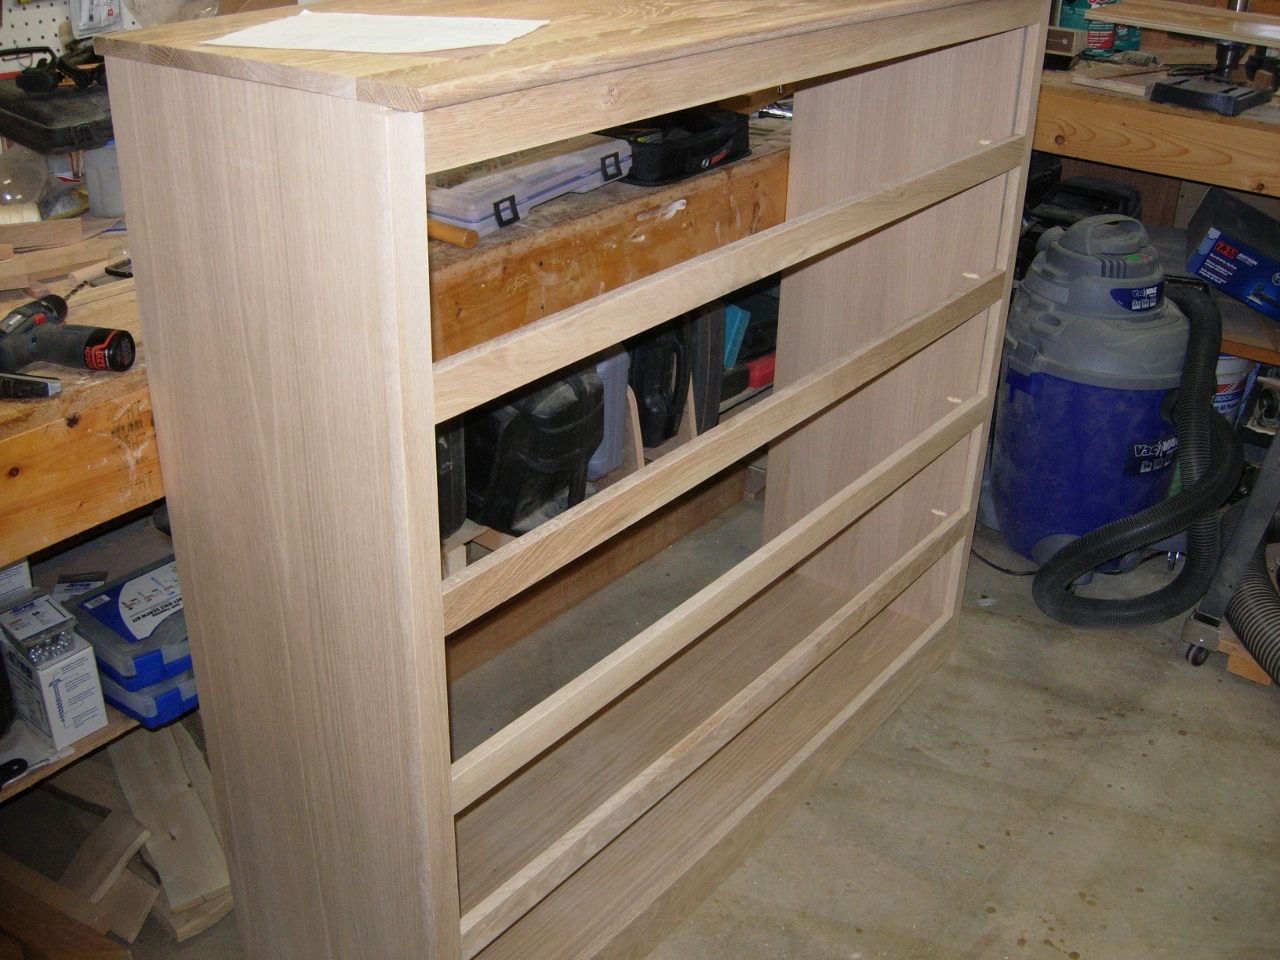
Drawer bodies complete
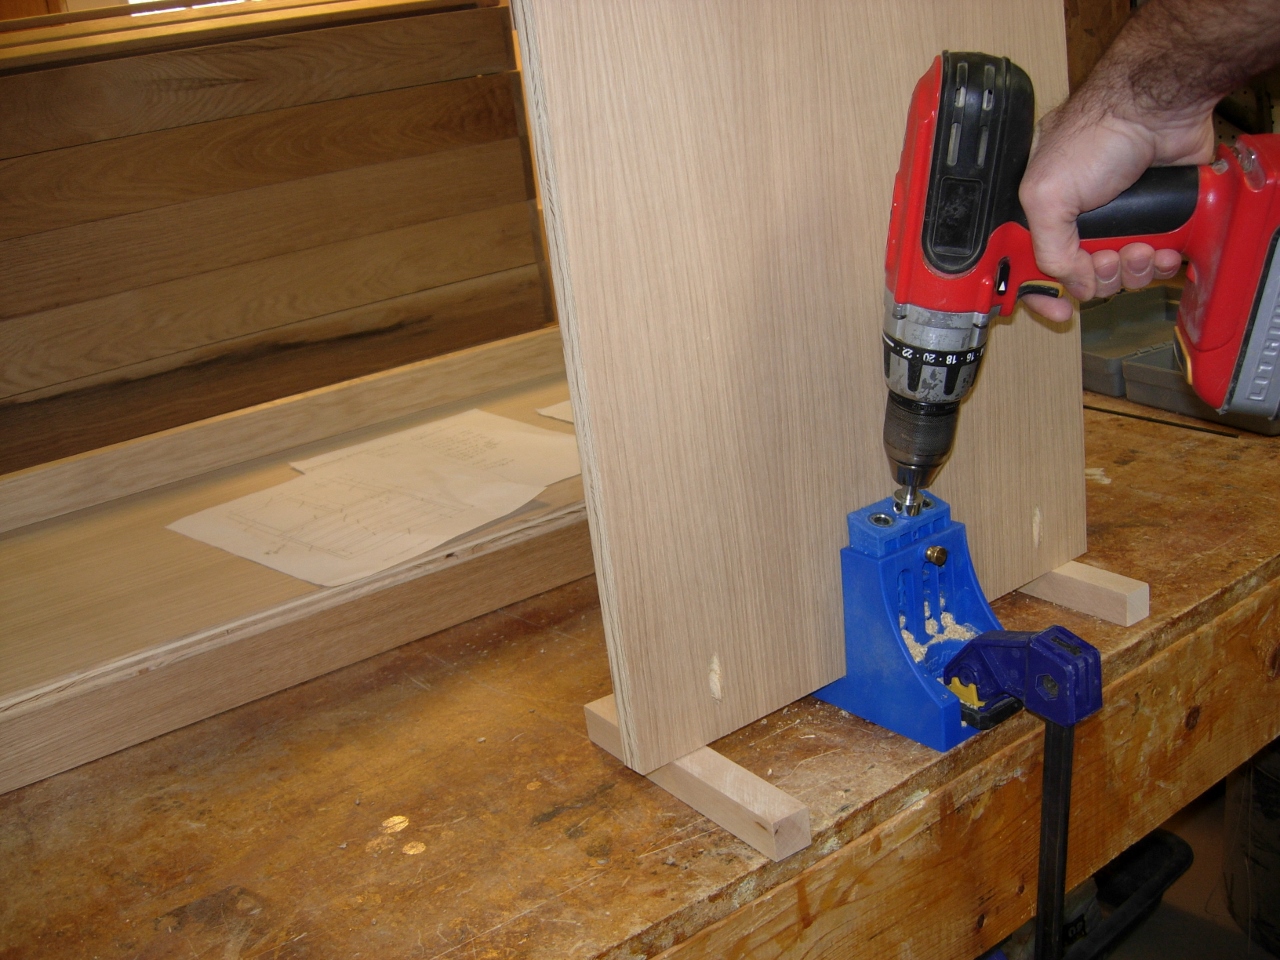
Drilling the top attachment pocket holes
With all of the drawers complete, I moved on to prepping the sides and top supports by drilling holes to hold on the solid top.

Drilling out the upper back support
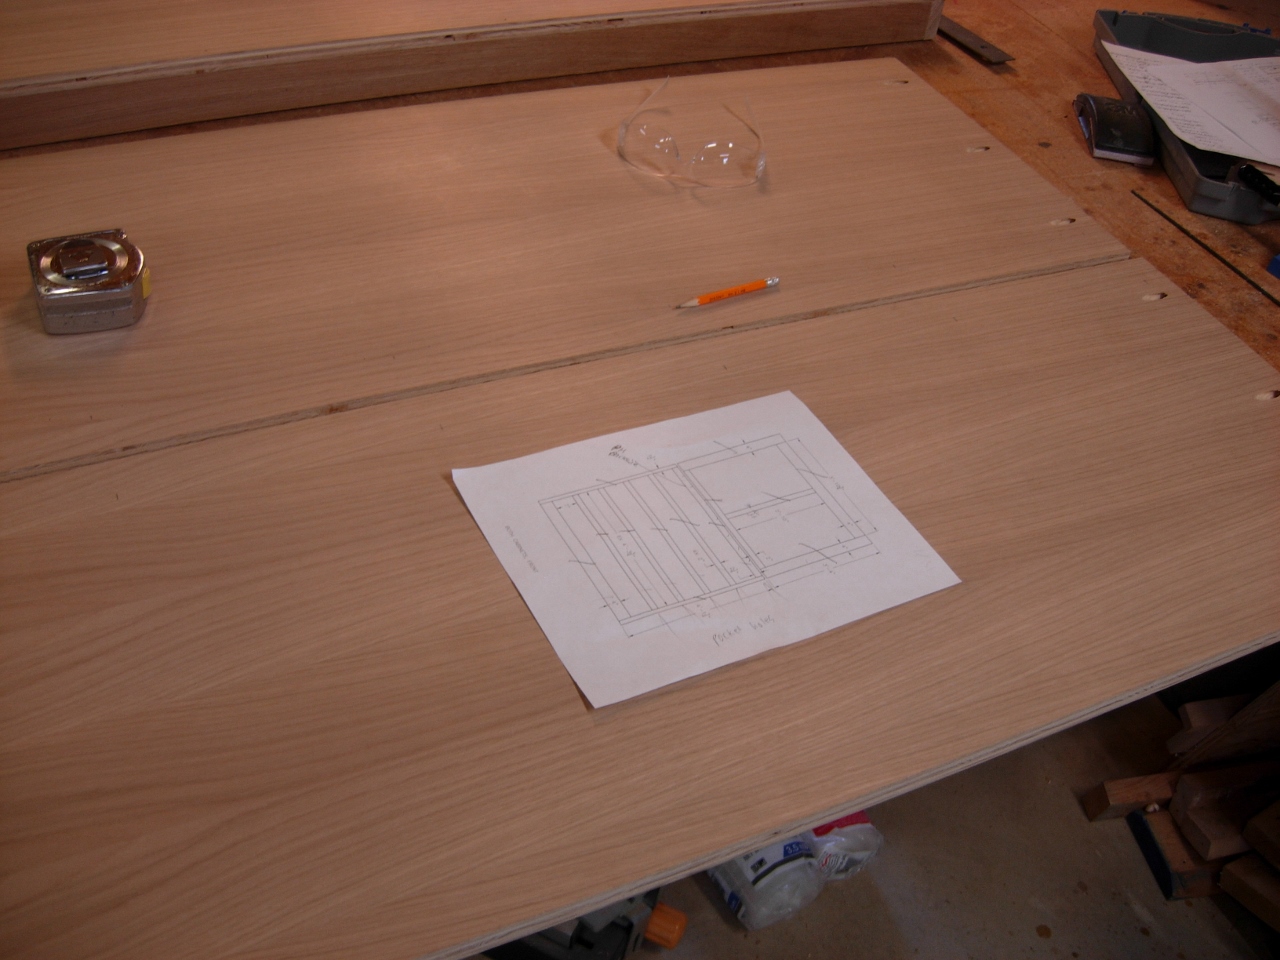
Laying out the holes to attach the face frame
Next, I laid out the locations, along the front edge, for assembling the face frame. I wanted my holes to fall where the cross-bars would be.
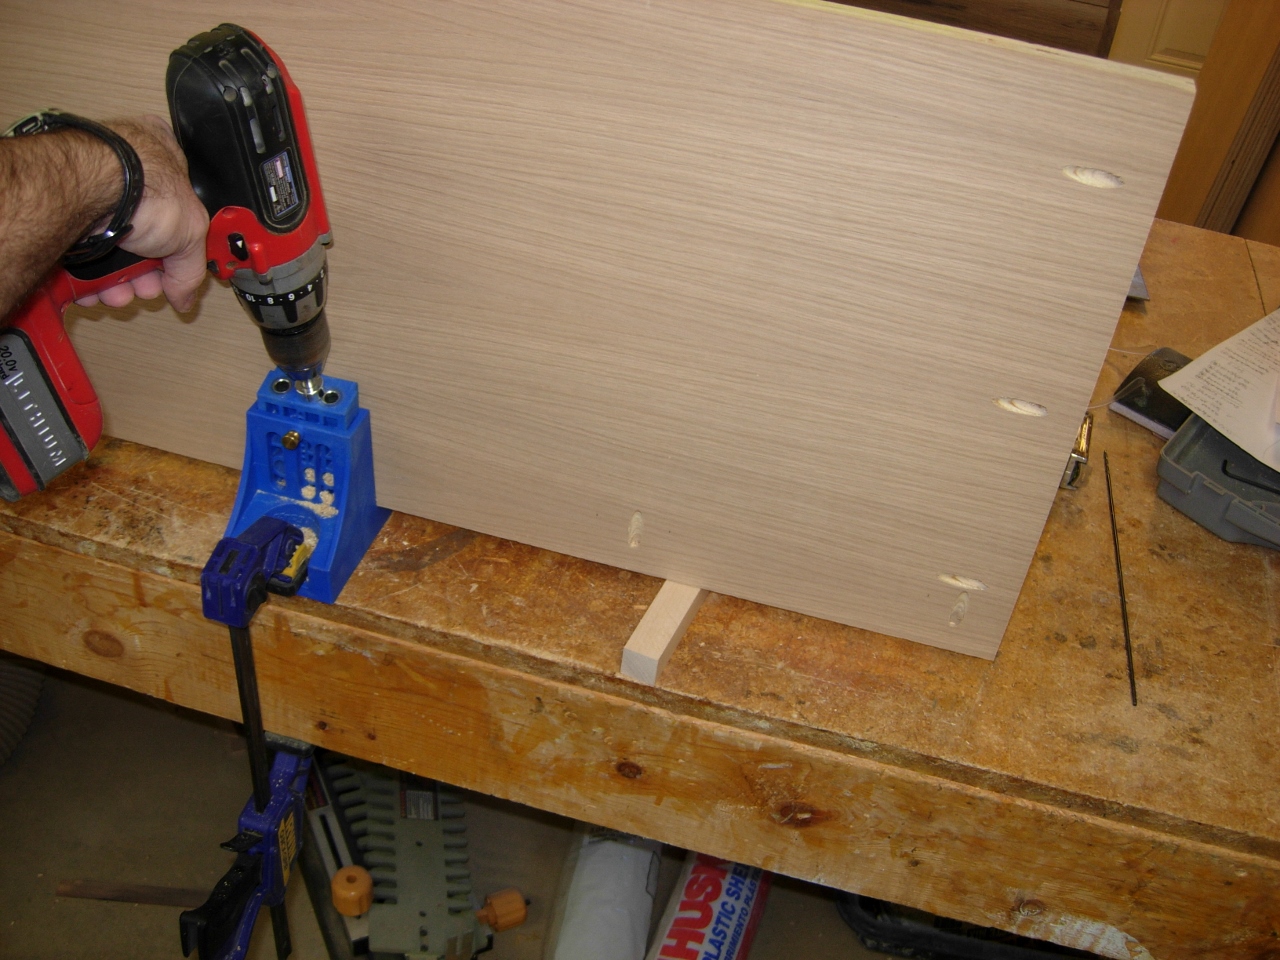
Drilling the face attachment holes

Sides and tops drilled and ready
I clamped the sides to the base and screwed them together on the bottom, where it wouldn’t be visible.

Attaching the base
Next, I assembled the rear, upper support, that will attach to the top panel. The other top support, that I pre-drilled, will be the top piece of the face frame.

Attaching the upper rear support
I cut the rest of the horizontal face frame pieces to the exact same width.

Cutting all the face frame horizontal pieces
One cool thing about using pocket holes for assembly is that if you cut your ends square, they automatically assemble perfectly square. I checked each one as I went, but found no problems.

Assembling the face frame
When the face frame was completely assembled, I leaned it against the front and placed the top panel on as well, for a dry-fit. The face frame overhangs at least 3/4″ past each side because I still have to add the 4″ trim on those sides. I will get to that once all of the internal parts are assembled.
Face frame and top dry-fit
Since everything seemed to line up perfectly, I went ahead and attached the face with pocket hole screws.

Attaching the face frame to the sides
I clamped the bottom of the face to the base and screwed that on as well.
Attaching the face frame to the base
Next big challenge was to align and install the drawer slides. The slides will attach in the center of the drawers, so to calculate where the slide needed to attach to the side, I took half of the drawer height (2″) and added 1/4″ so the drawer would clear the cross-bar at the bottom of each opening by 1/4″. I made a 1-3/8″ spacer to help me achieve this height every time. I set the slide on the spacer, then held it square to install the screws.
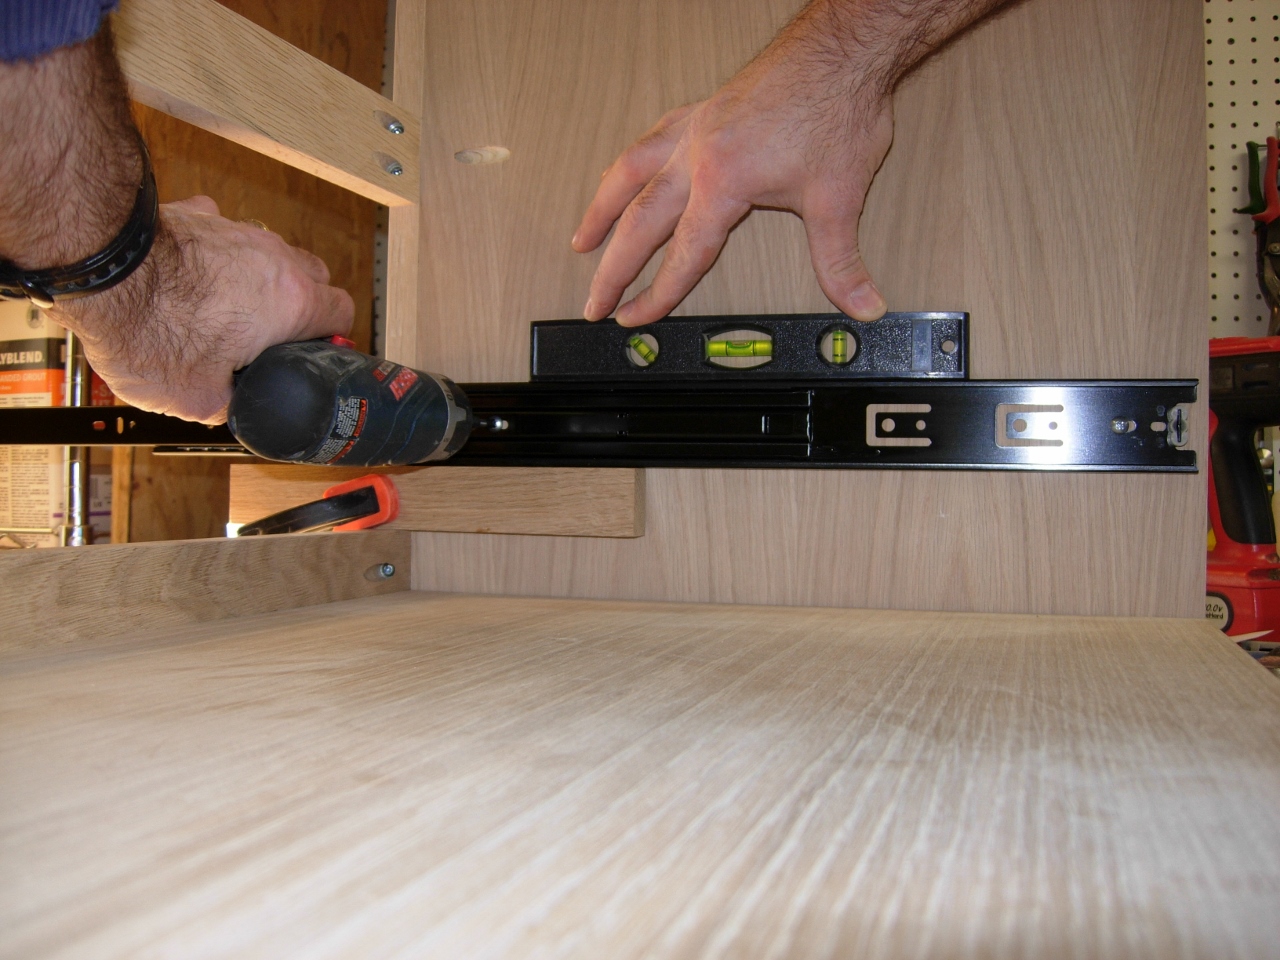
Setting the bottom drawer slide
I drew a line down the center of each side of the drawers, then centered the screw holes on that line and inserted those screws as well. For this first, bottom drawer, I just stacked up several blocks of wood to hold the drawer where I wanted it.
First drawer attached
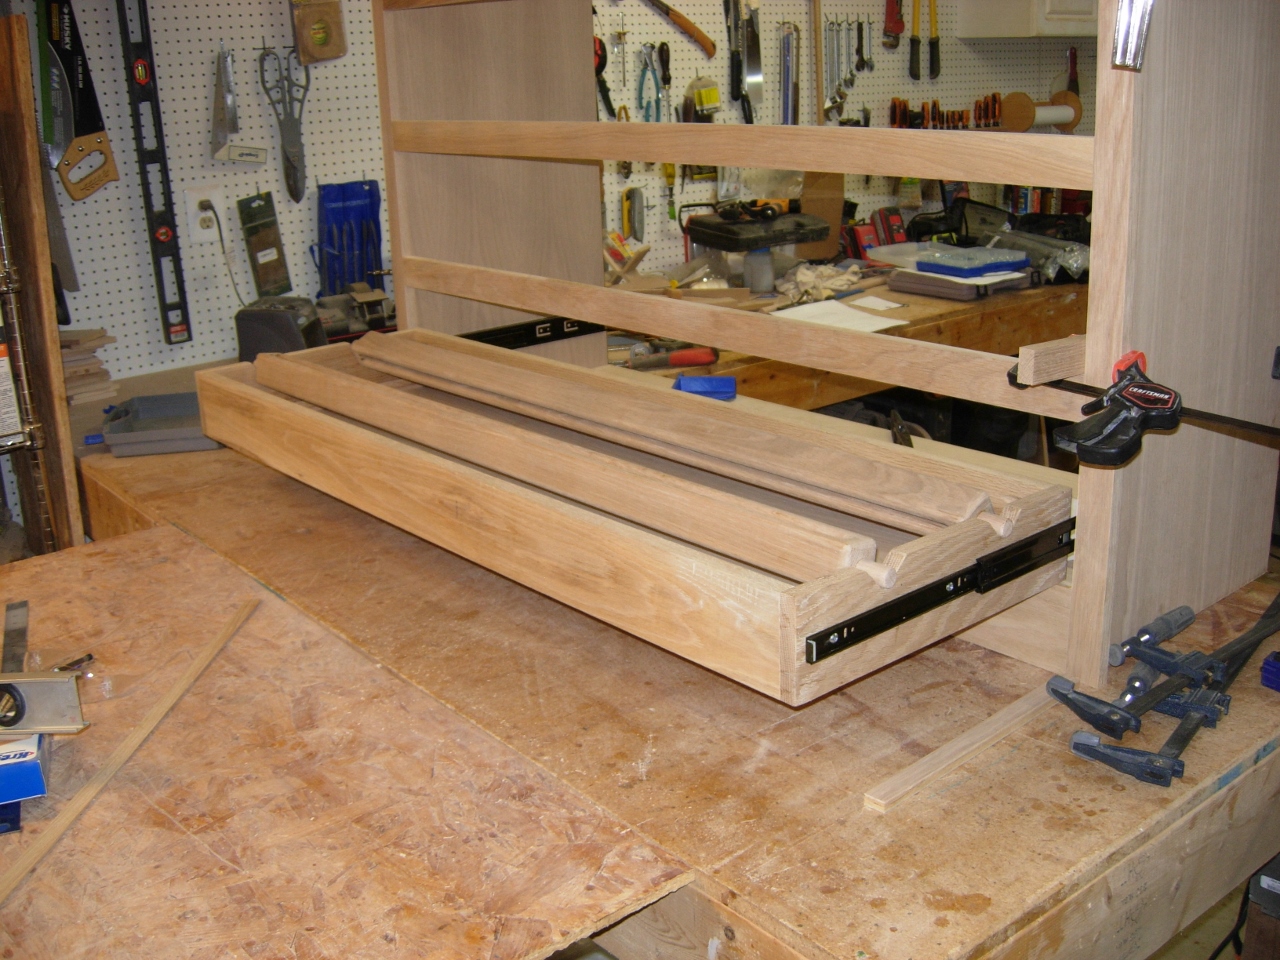
For the next four drawers, I clamped on my Kreg drawer supports in conjunction with the spacer on the front, to help me install the slides

Attaching the next row
The support is designed to flip around and clamp to the face frame as well, to support the drawer. Luckily the top piece of the support was exactly 1/4″ thick which is the same as the gap that I wanted under the drawer.

Setting the support to hold the drawer
The support easily held the drawers, so I adjusted the slide to line up with my center line and attached the screws.

Attaching the slide to the drawer

Drawers all installed and functioning well
The drawers assembled a lot easier than I expected, and they work perfectly.
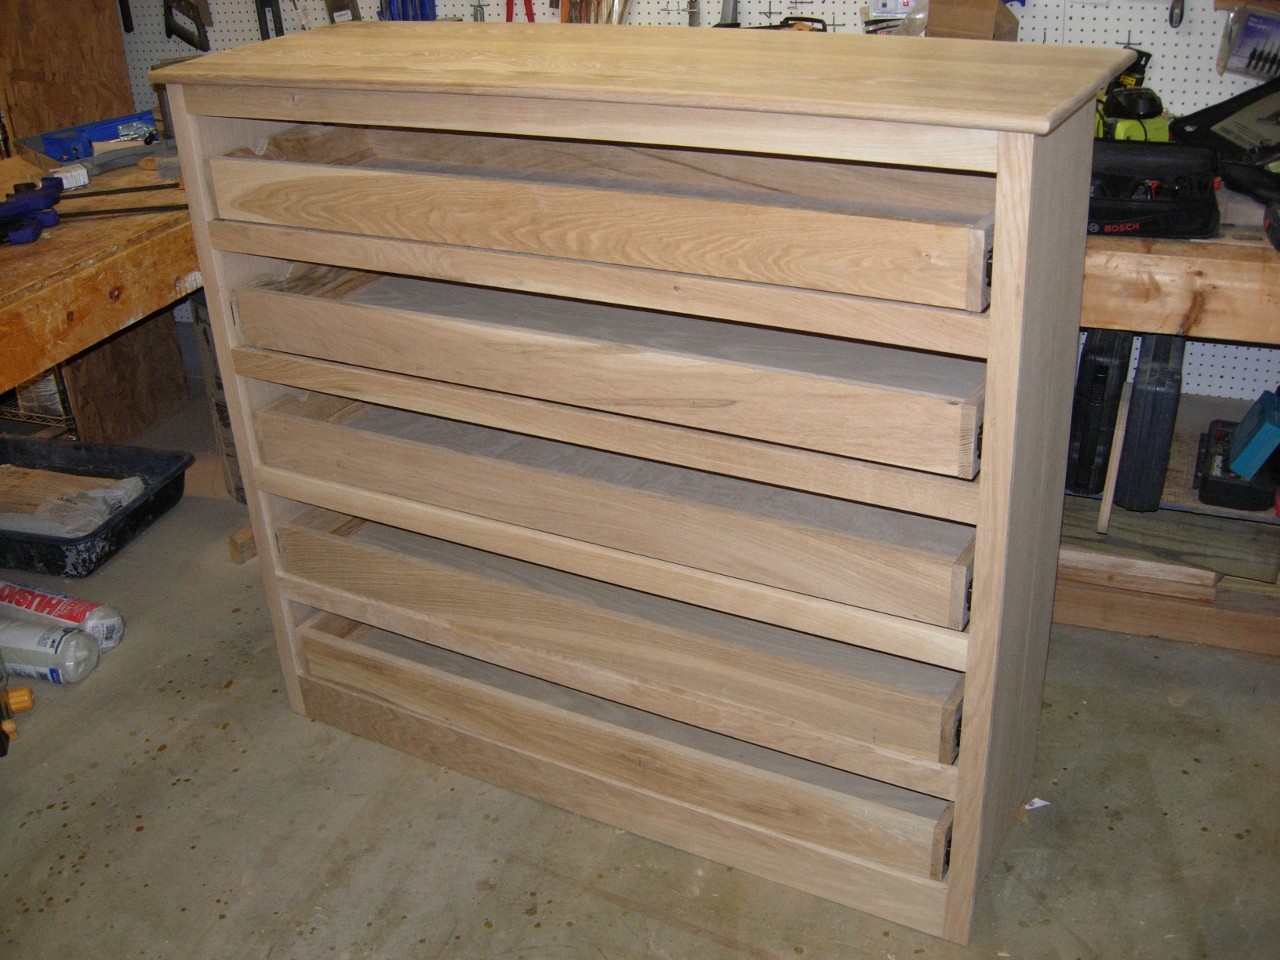
Drawers closed and top set in place
I still need to finish shaping the edges of the drawer faces and locate the hardware, before I can install them, so I will probably finish the cabinet assembly first, and save those details for later. The next thing I will work on, will probably be the side trim, and the rear panel. done for today though…
