
Dining room table extension rails – day 1
Sorry I haven’t been posting much over the last month, but the holidays and the extremely cold weather have kept me out of the shop for a while. The weather warming slightly, and a large backlog of projects have conspired to get me back to making sawdust.
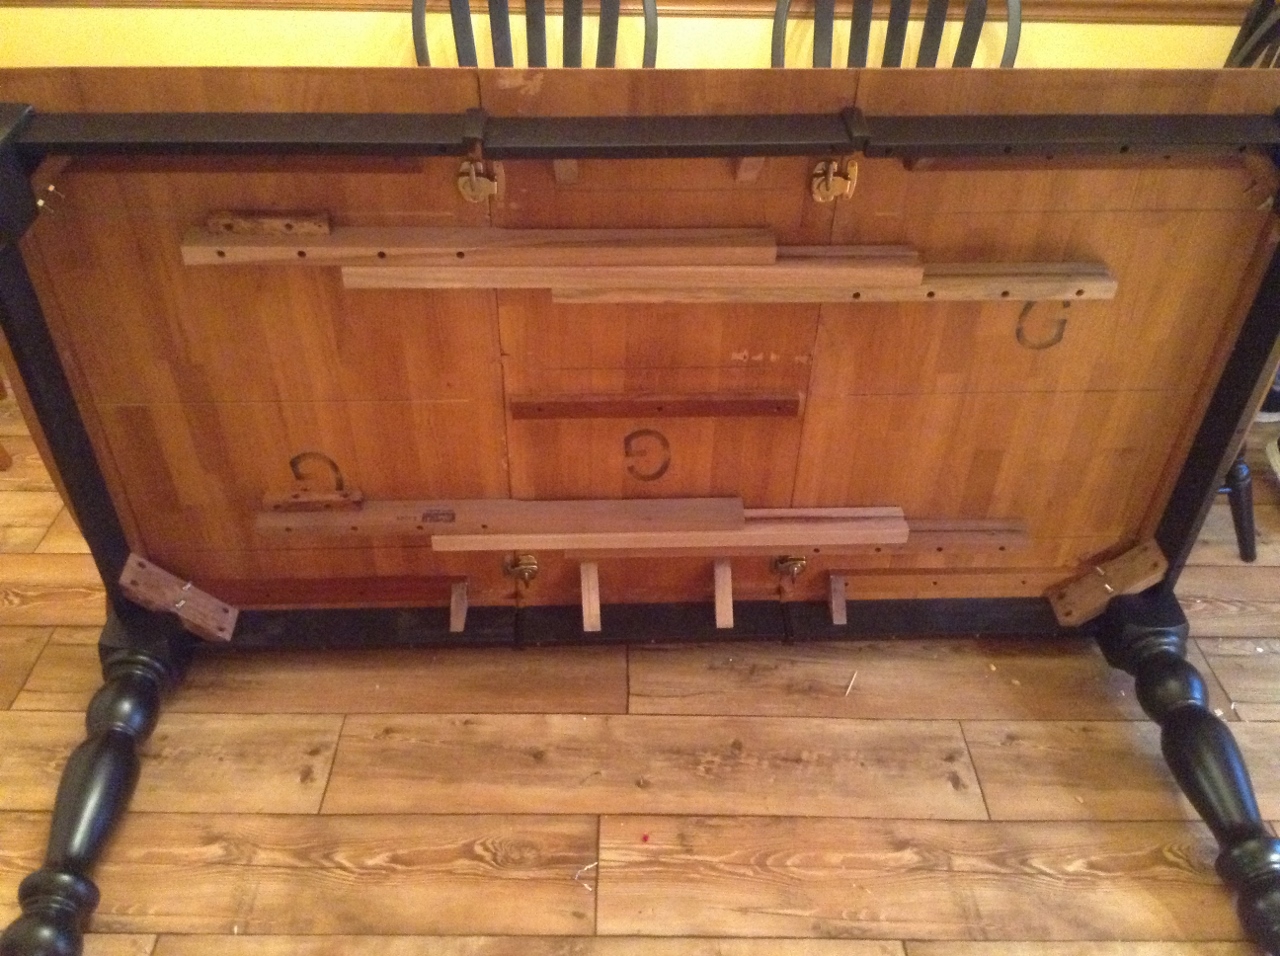
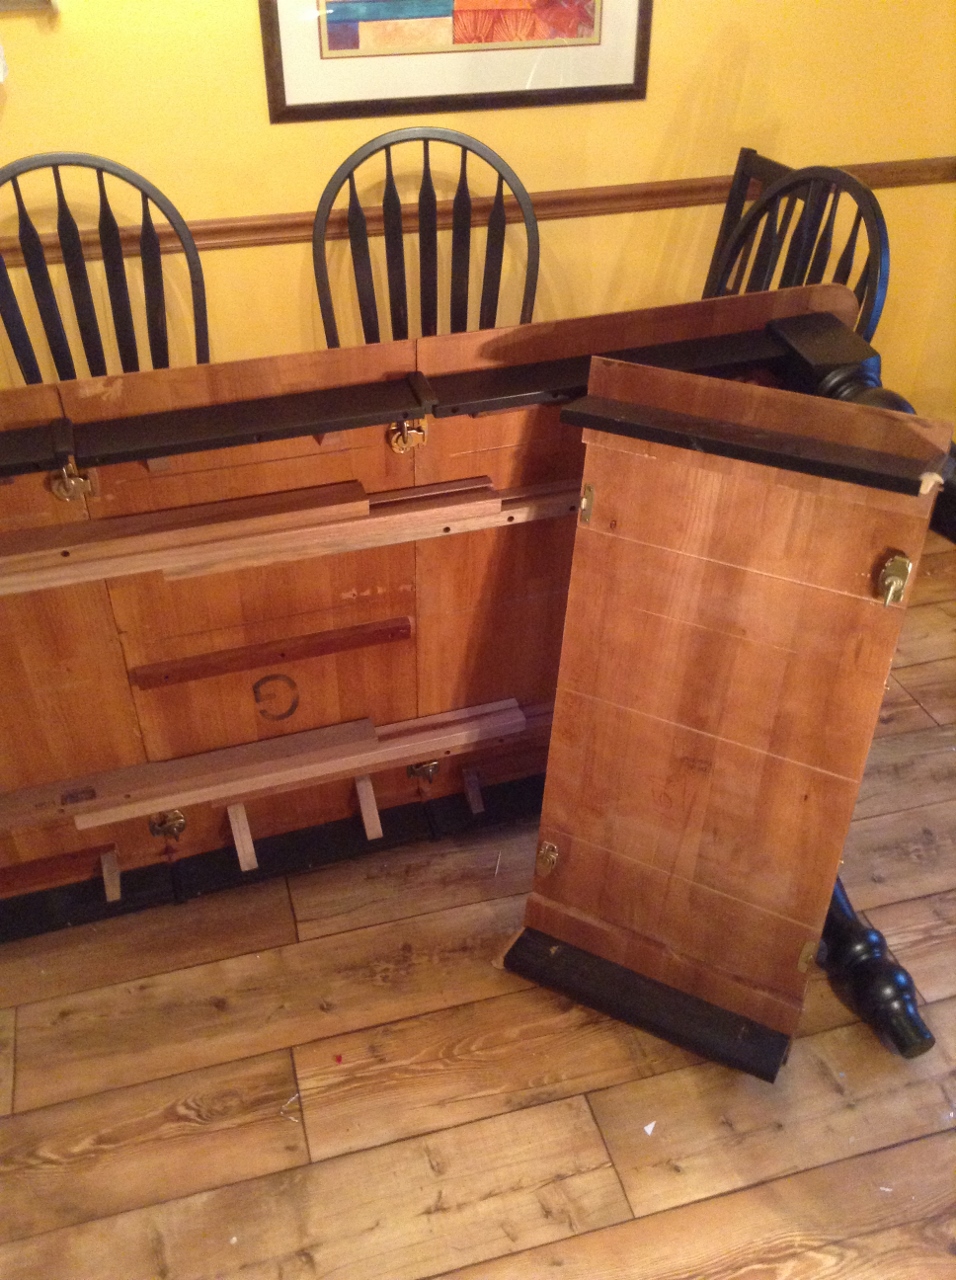
The next project on my “to do” list is this dining room table. Some friends of mine bought it for their dining room. While it wasn’t quite big enough for them and their five kids, it was close to what they were looking for, and the salesman threw in an extra leaf. The salesman neglected to mention that the extra leaf would not fit within the existing adjustable support rails…
The table that is too small…
The leaf to be added
After discussing the options of buying longer extension rails ($100+) or dealing with the small table (not an option), Karen mentioned that the table didn’t need to be adjustable anyway, just bigger. I have some extra hard maple on my wood rack, so I suggested that we try making some heavy-duty, non-adjustable rails and see if they would support the table without sagging.

Picking out my boards
I pulled a 6″ and two 4″ pieces of maple out of the pile. I marked them and cut them to length on my miter saw.
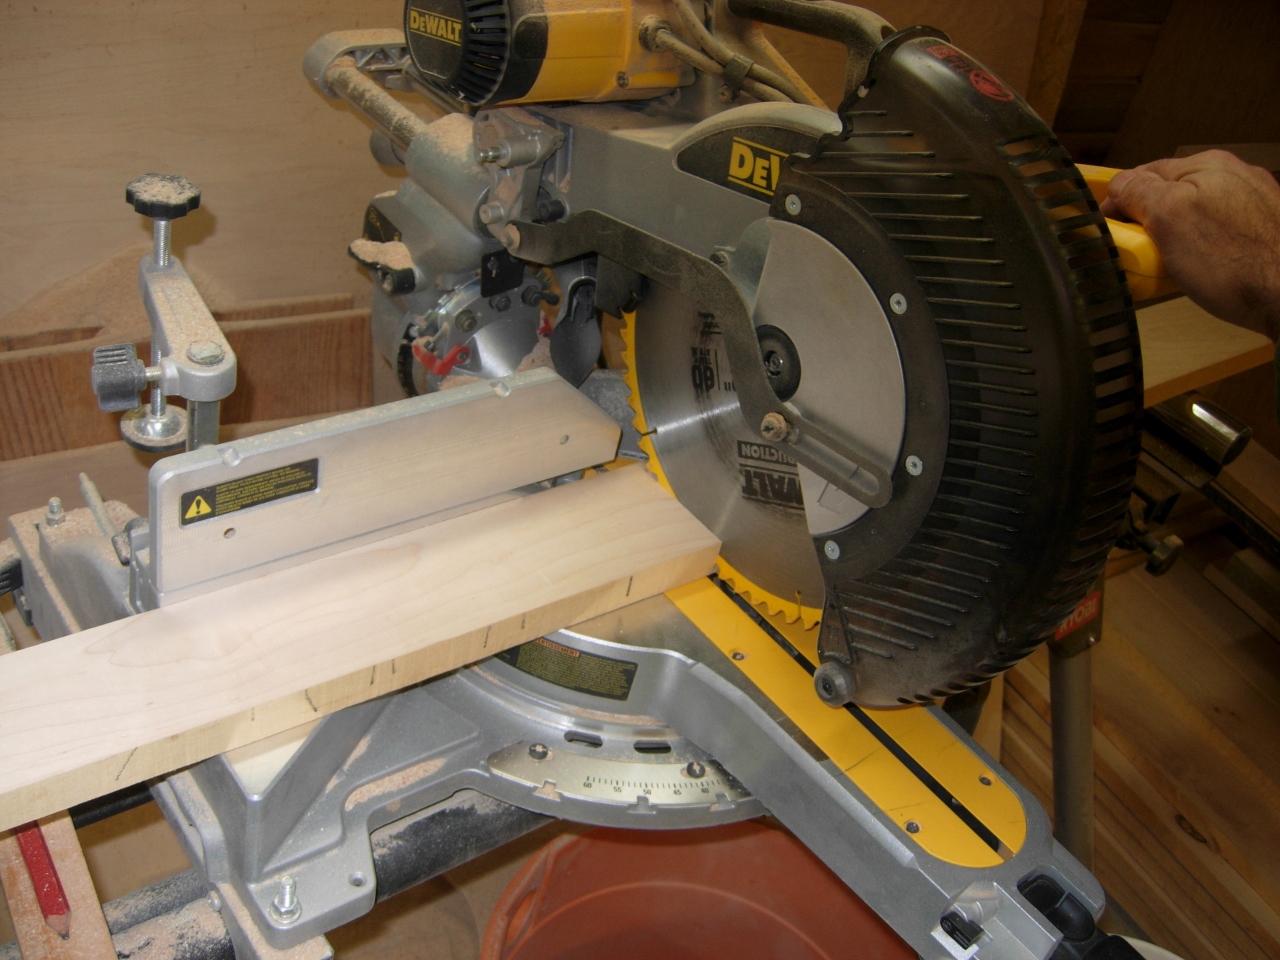
Cutting to length
I ripped all of the rails down to 2-3/4″ x 1″ on the table saw.
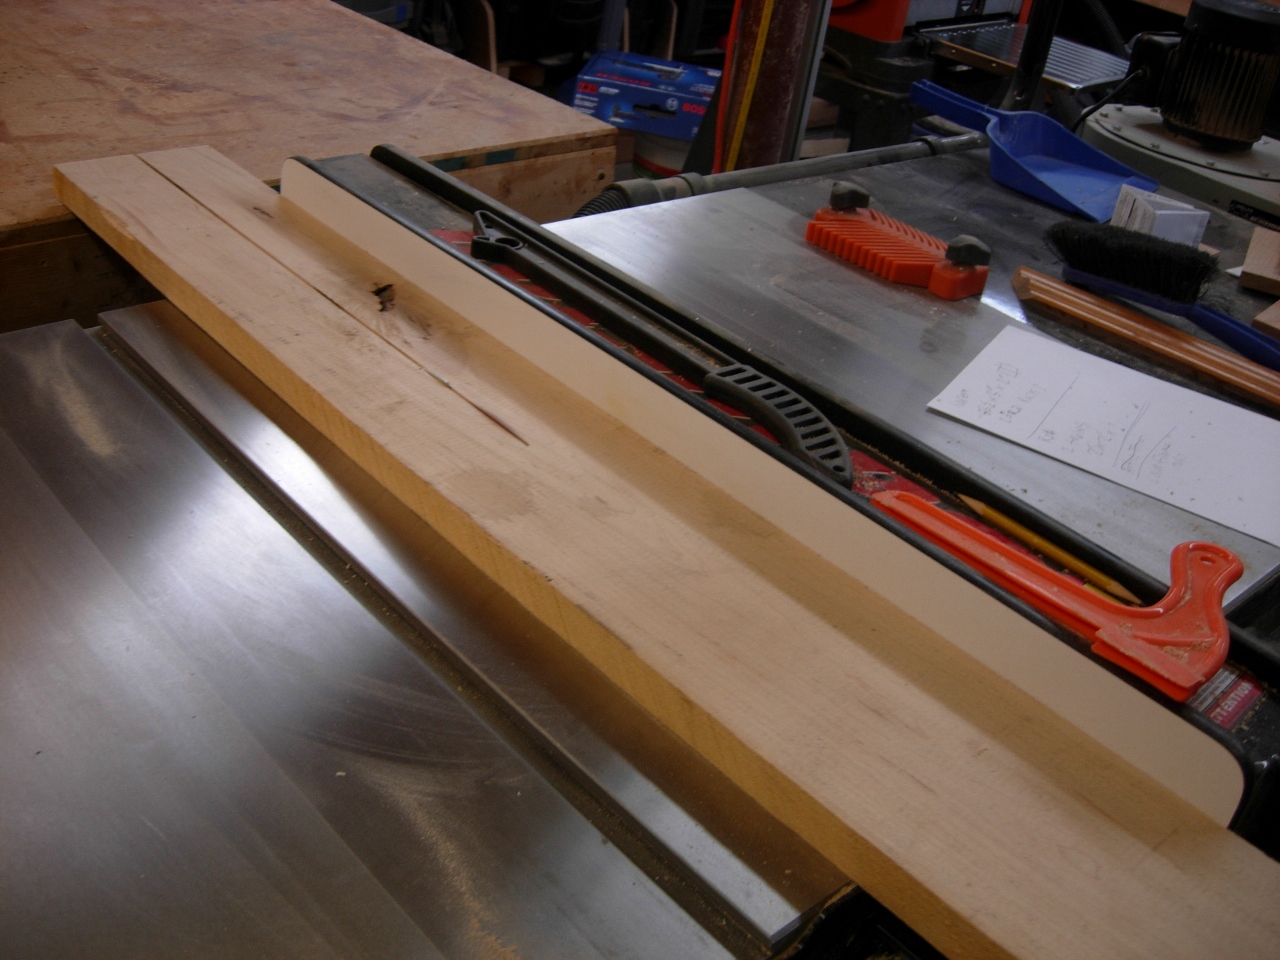
Ripping to the proper width

All my rails, cut to size
I located the center of the first board and marked it. This is where the two leaves will meet. I also marked the opposite edges of each leaf. When I laid out the locations for my pocket holes, I stayed at least 2″ away from the edges of the table tops and the leaves. Since I don’t intend to glue the rails to the table (unless it sags), I am going to use quite a lot of screws instead. I will be using pocket hole screws. They have a washer head, that gives them a large flat surface that will draw the rail tightly to the table top. Regular wood screws would just split the rails when you tried to tighten them.
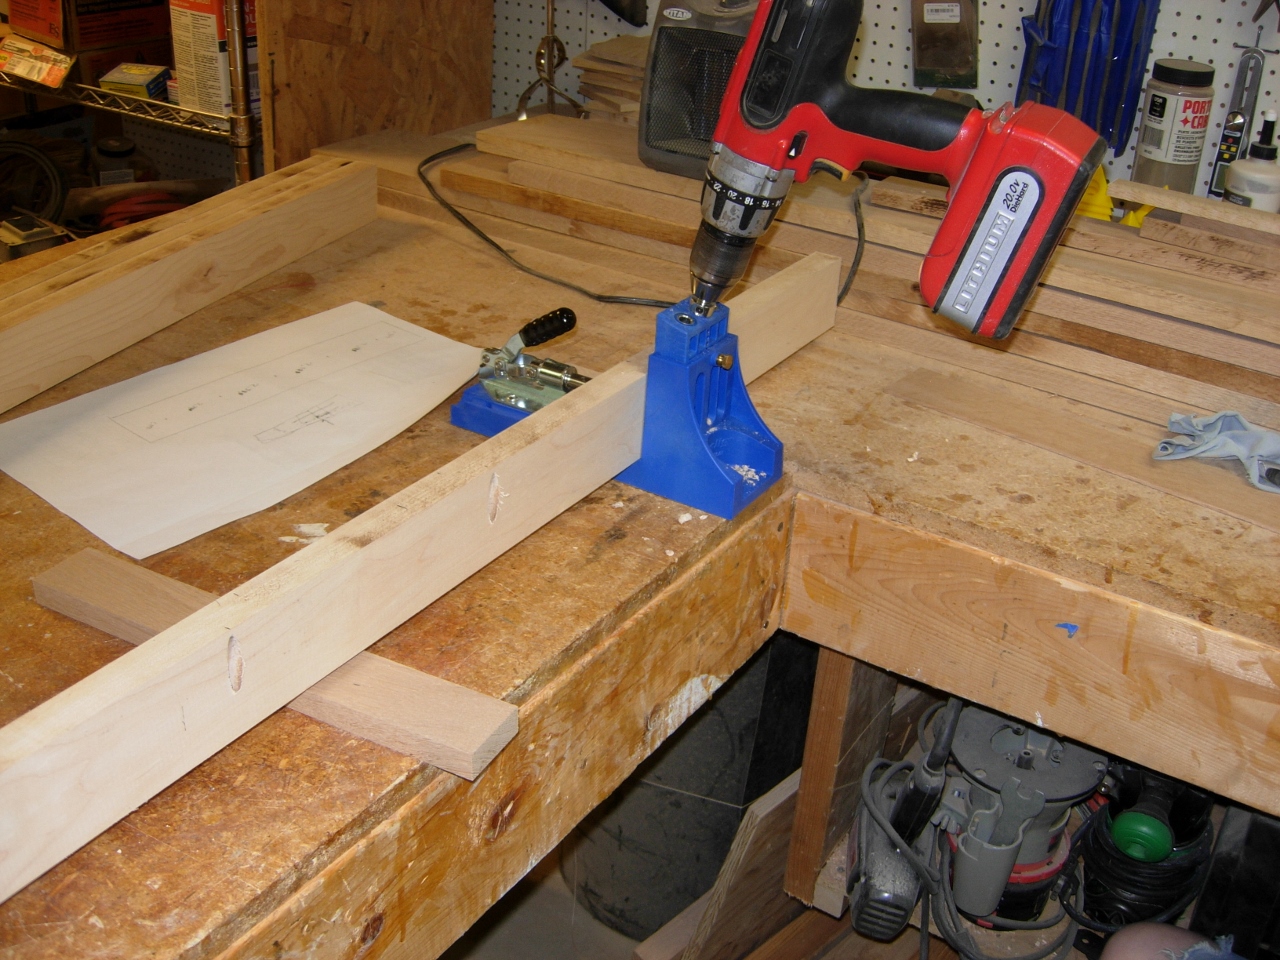
Drilling pocket holes
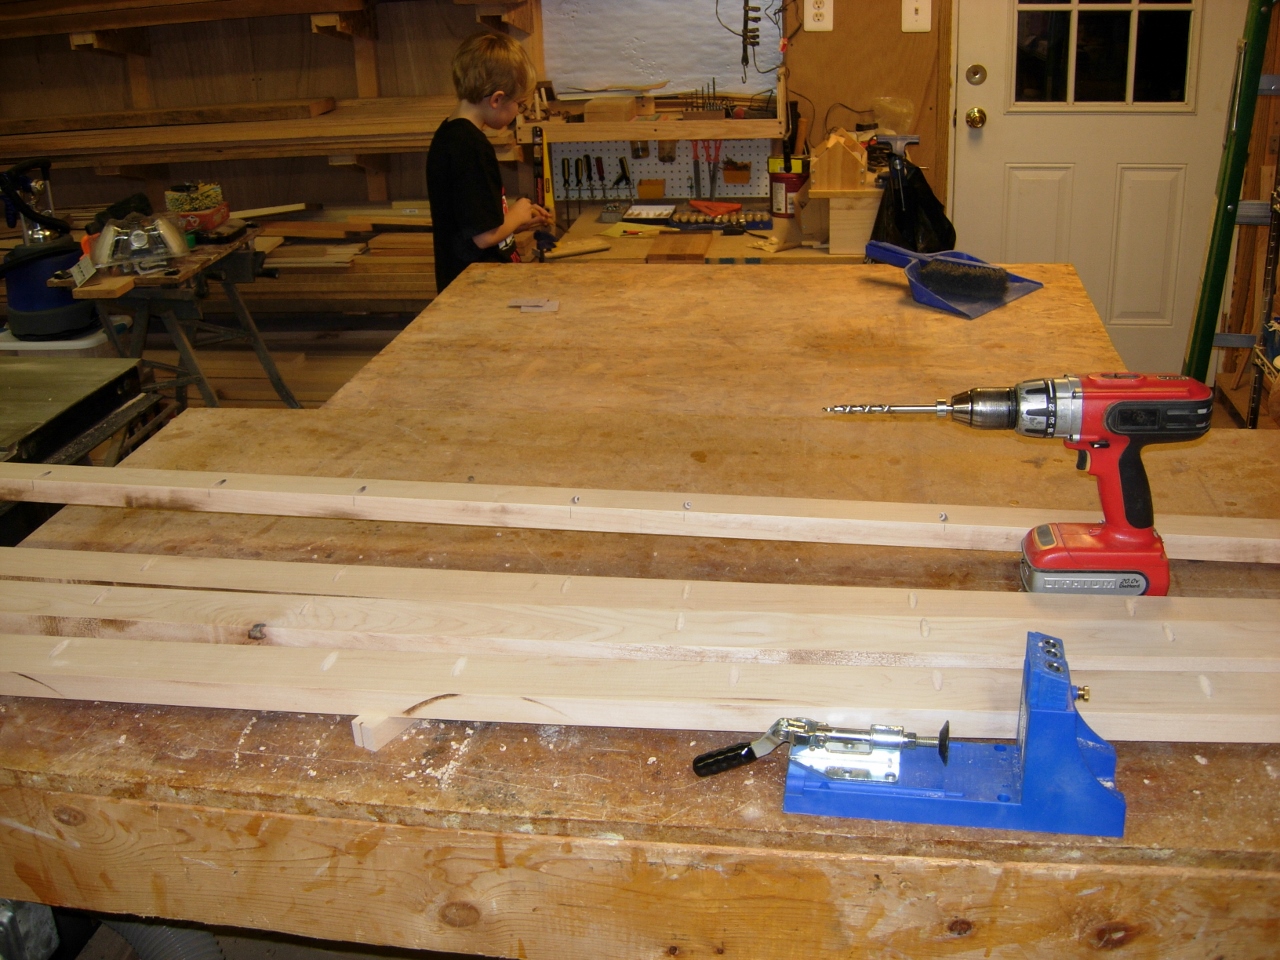
After I drilled out the first board, I transferred all of my marks to the other boards.

Copying the layout to the other rails
I am laminating two rails together for added strength, so I made sure to shift the screws on the opposing rail 1″ to the side, so the screws didn’t line up and split the wood of the table top.
See Adam in the background? He got a set of carving chisels for Christmas, so he has decided to teach himself to carve. He opted to play with the chisels, rather then helping me today. I will post some of his work, once he starts creating new works of art.
Pocket holes, complete
After all of the holes were drilled, I paired up the two sets of boards, and applied a lot of glue.

Spreading the glue
I was lucky enough to increase my collection of clamps this Christmas. Otherwise I would have had to clamp one at a time or use my larger clamps. I got lots of small, light duty, clamps that are perfect for long glue-ups like this.
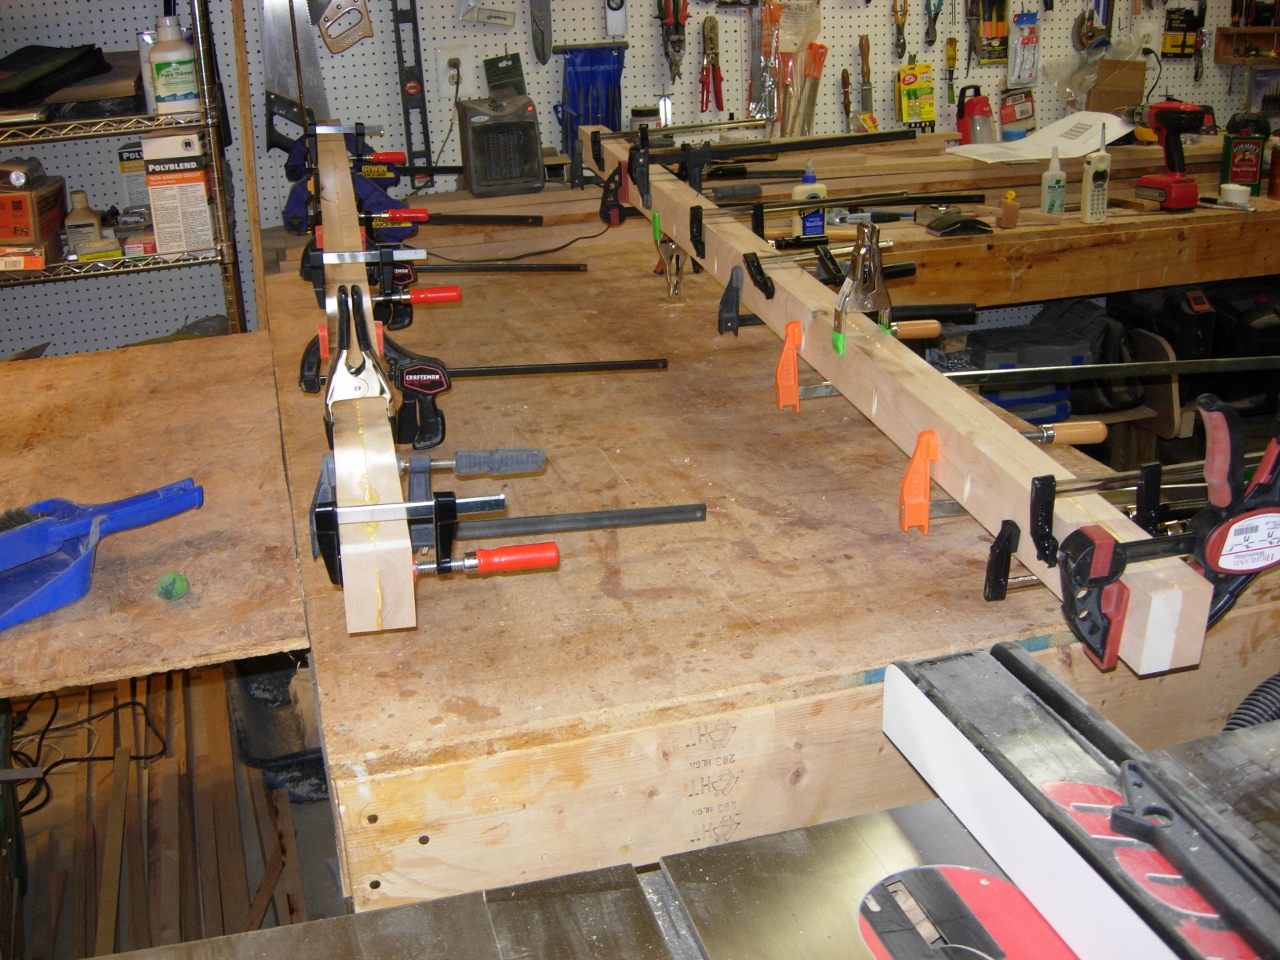
Clamping the rails together
I will leave the rails to dry tonight, then plane down the top and bottom to remove the glue squeeze-out tomorrow. That will also leave me a perfectly flat surface for mounting to the table. I probably won’t get to install them until later in the week.
I will be starting on a couple new projects this week as well, so I should be back to posting regularly again. A friend of mine wants me to show him how to build a couple of end tables, so we will be starting them this week, and I have a couple new cabinets to build for Saint Joseph’s church in Emmitsburg, MD, to match the large storage cabinet that I did for them last month. There are a few more projects on this month’s list, but I am starting these first…

Pingback: Dining Room Table Extension Rails – Diner Table Decoration