
Raccoon mount stand
I have a friend who has quite a few stuffed and mounted hunting trophies. To free up some wall space, he wants to relocate a wall mounted raccoon which is attached to a large branch. He wanted a free-standing base that he could hang the trophy from. The base he came up with is about 24″ long and 8″ wide. It is made from 6/4 oak to give it enough weight so the raccoon doesn’t pull it down.

Cutting up the 6/4 base
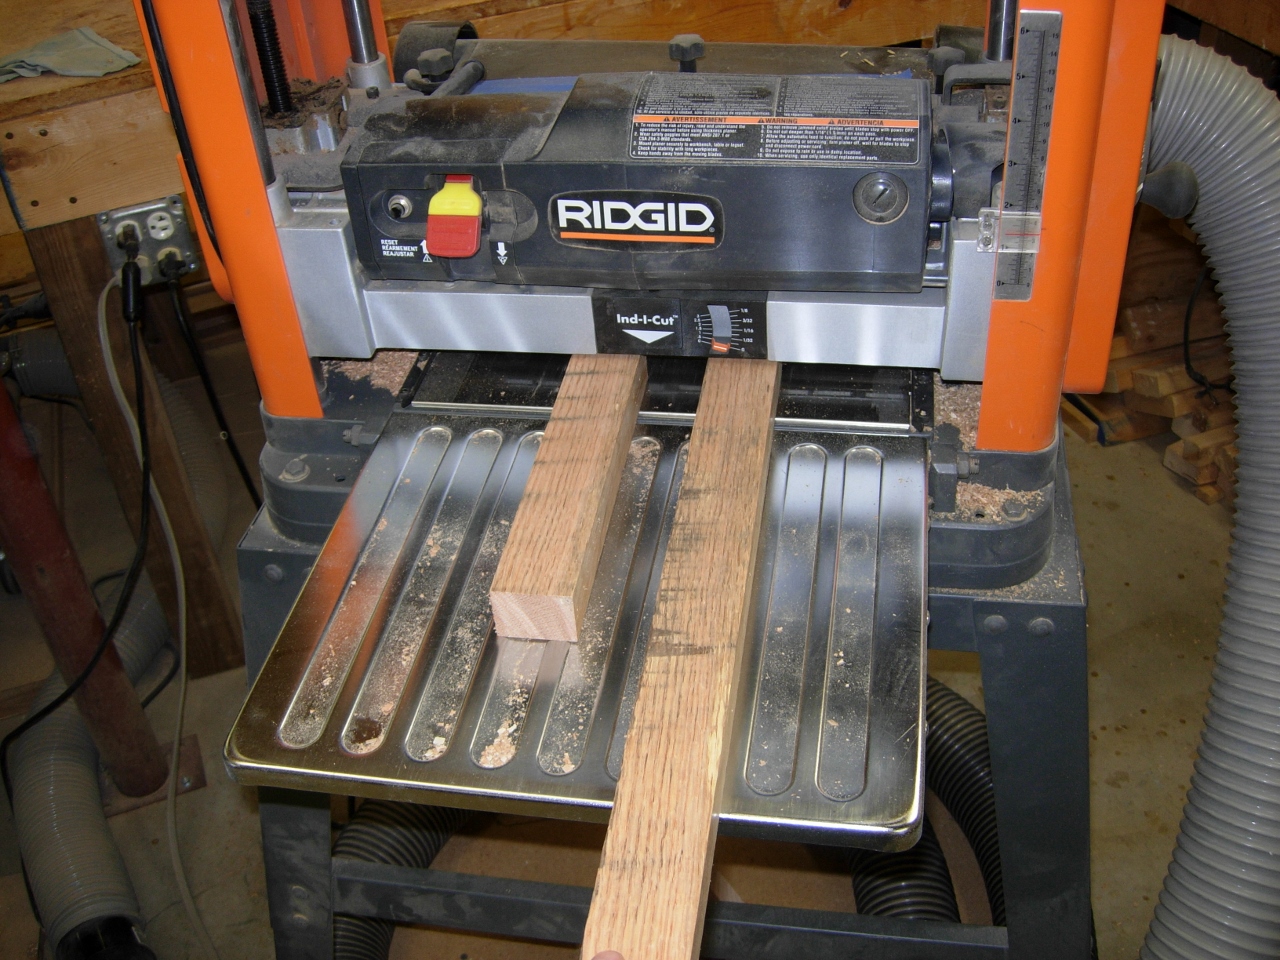
The only piece of 6/4 red oak that I had available was a little rough around the edges. I cut off a 26″ long piece and planed it down.

Planing the base smooth
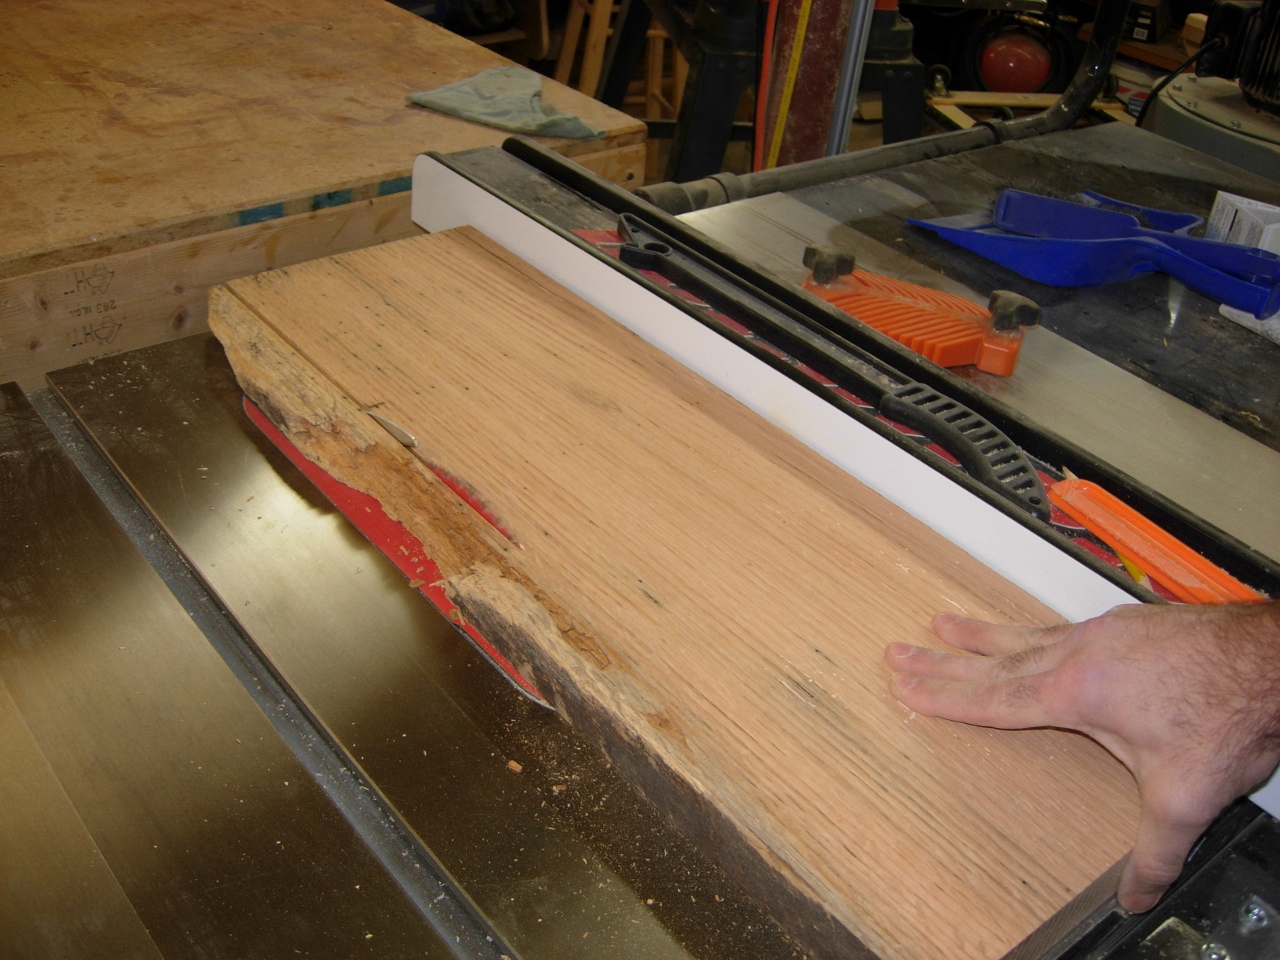
Cutting off the rotted edge
One of the edges contained a bit of rot, so I cut that edge off first, then trimmed the board down to 8″ wide, and laid out my elliptical shape. Next I placed several relief cuts along the radiused edges to make band-sawing the curves easier.

A few relief cuts to aid the curve cutting
When I had the general shape, I moved over to the spindle sander and smoothed out my rough curves.

Smoothing it out on the spindle sander
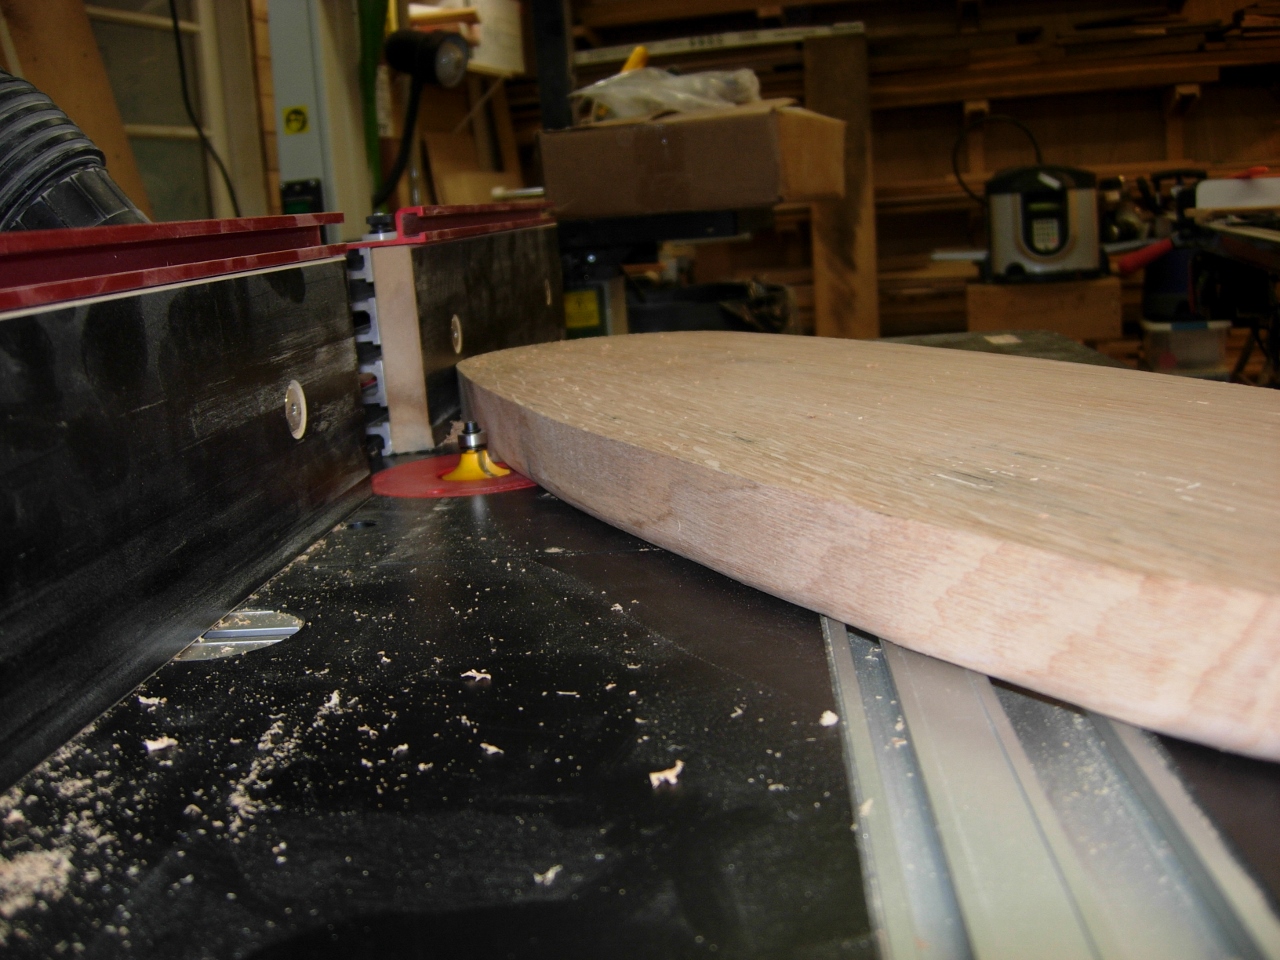
Giving the top edge a 3/8″ round-over
I put a 3/8″ round-over bit in the router table, to radius the top edge of the base.
Planing down the cross bars
With the base mostly complete, I started on the vertical cross-beam support. Being limited in my supply of red oak, some of the edges had a few worm holes.
Some edges are still a little rough
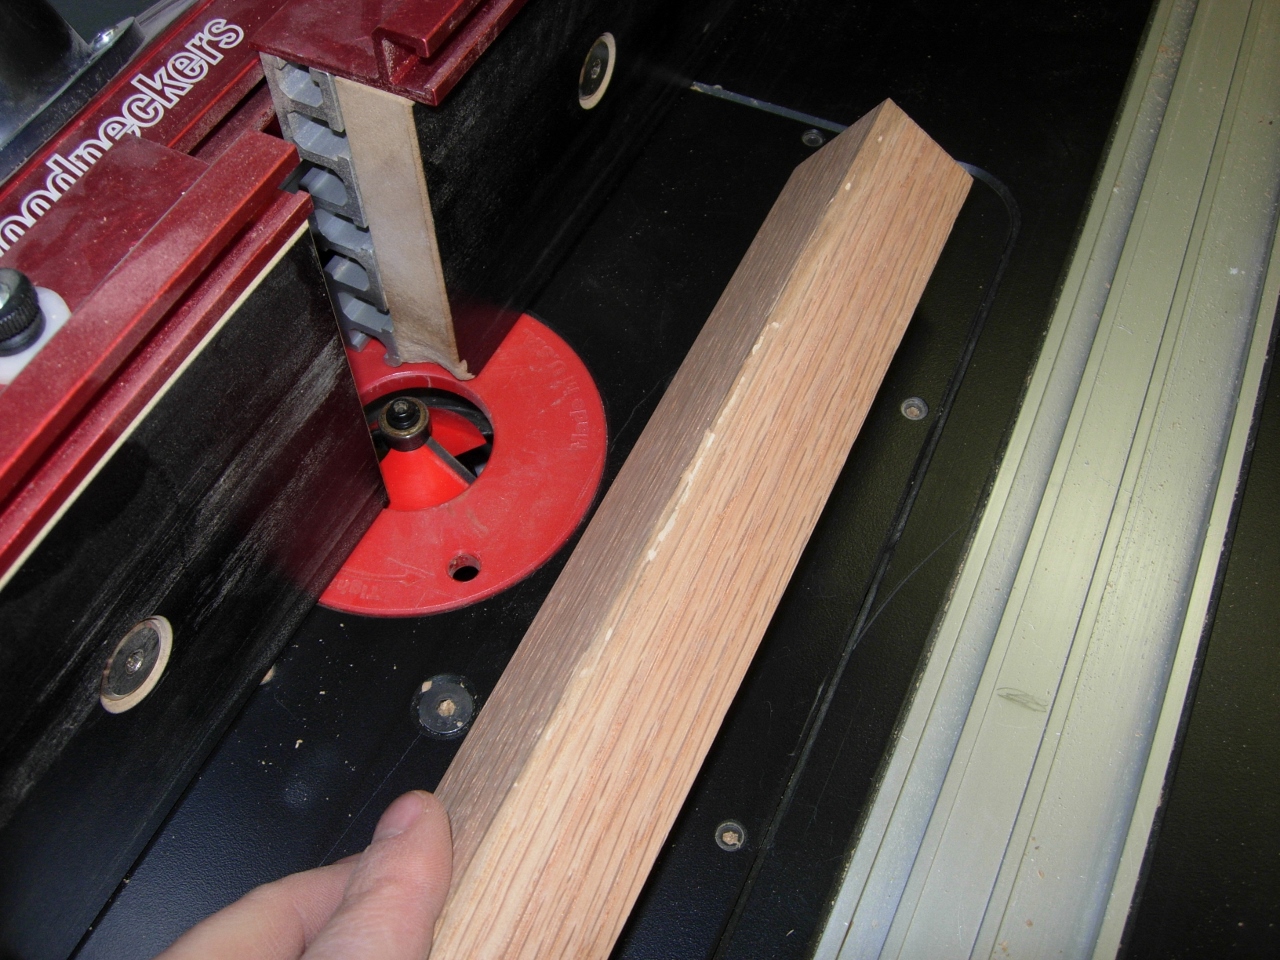
I decided to cut a slight chamfer along the edges to remove the holes and soften the sharp corners.

Adding a 45 degree chamfer to clean them up

Cutting out the notch on the table saw
To attach the cross-beams, I marked each piece and ran them across the table saw blade repeatedly to create the gap. Then I cleaned up the bottom of the notch with my bullnose plane.
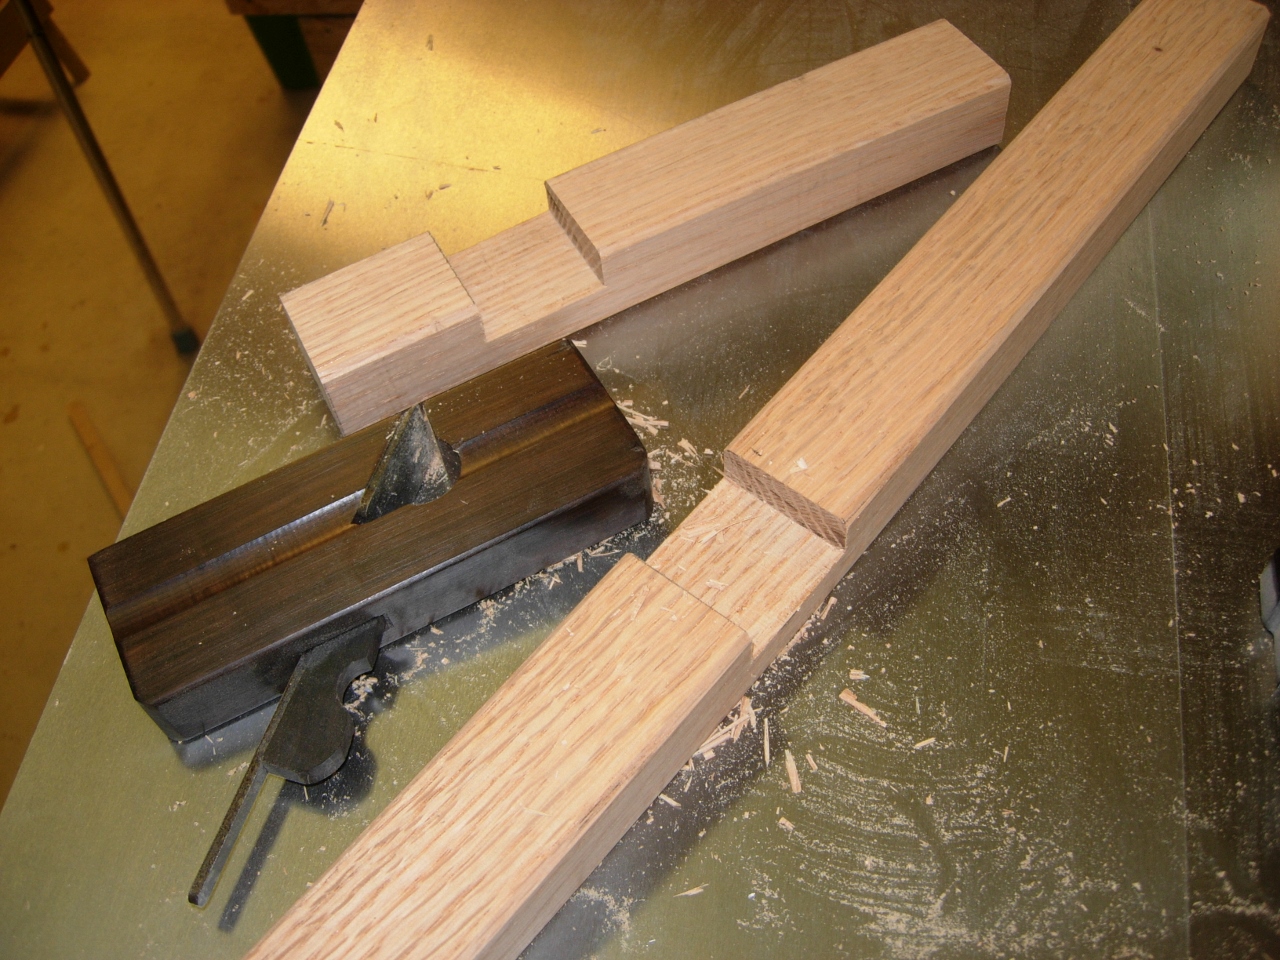
Notch cleaned up with bullnose plane
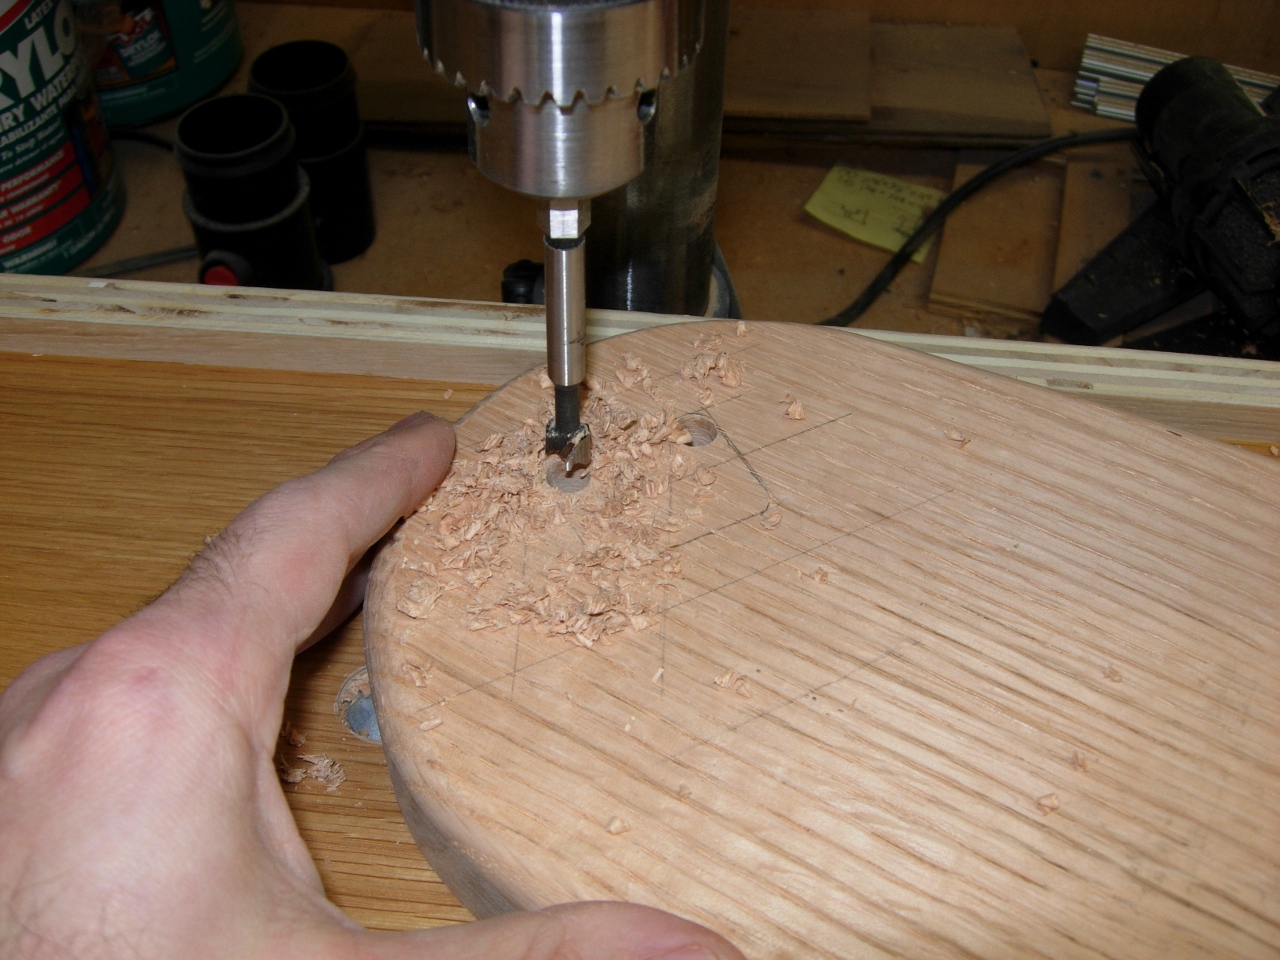
Using a 3/8″ forstner bit for the corners
I traced the bottom of the cross-beam to locate a mortise to receive it. Since I don’t have a 1/8″ chisel, I created the chamfers with a 3/8″ forstner bit, then hogged out the rest of the material with a 5/8″ bit.
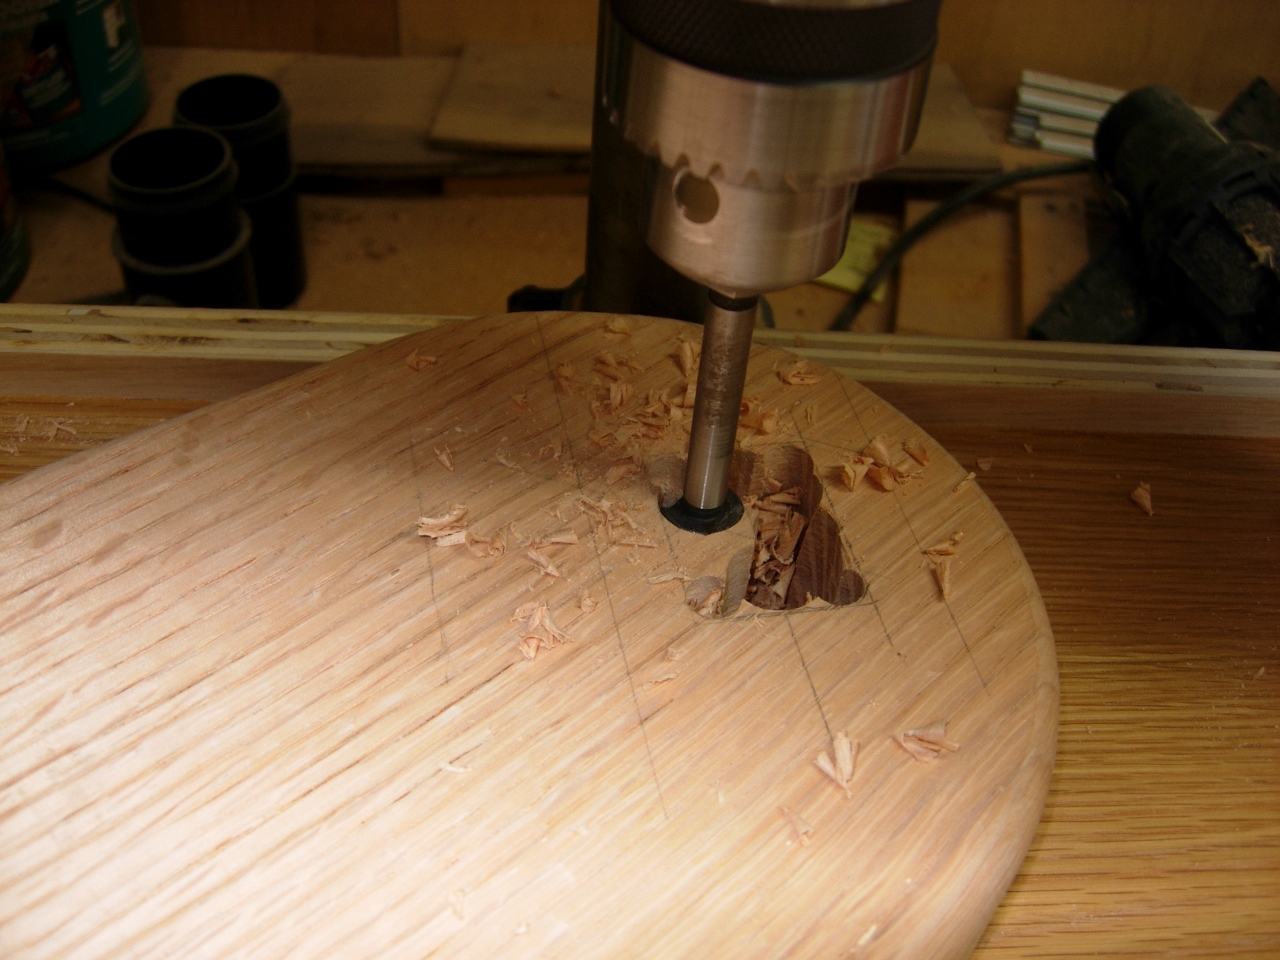
Hogging out the rest with a larger bit

Cleaning up the mortise with a chisel
The little that was left was easily cleaned up with a chisel. I will worry about sanding and glueing tomorrow. Done for today.

Cross beam set in mortise
