
Church Altar and tabernacle stand – day 23
I like working with walnut. It is probably one of my favorite woods. The grain is tight, It smells good when you cut it, and it is very stable. That said, I have spent way too much time with my pile of walnut today!
Cutting down the walnut for panels
With the majority of the oak parts complete, I needed to look more closely at trimming up the columns and figuring out how to make the raised panels for the front and sides of the altar. I decided to get the three front panels glued up. These would require the wood with no knots and, preferably, a fairly subtle grain. Hopefully the focus on them will be whatever gets carved into them. If the wood is too busy with swirly grains, it will take away from what you are meant to look at. Also, I don’t want knots where I am carving. That keeps things predictable…
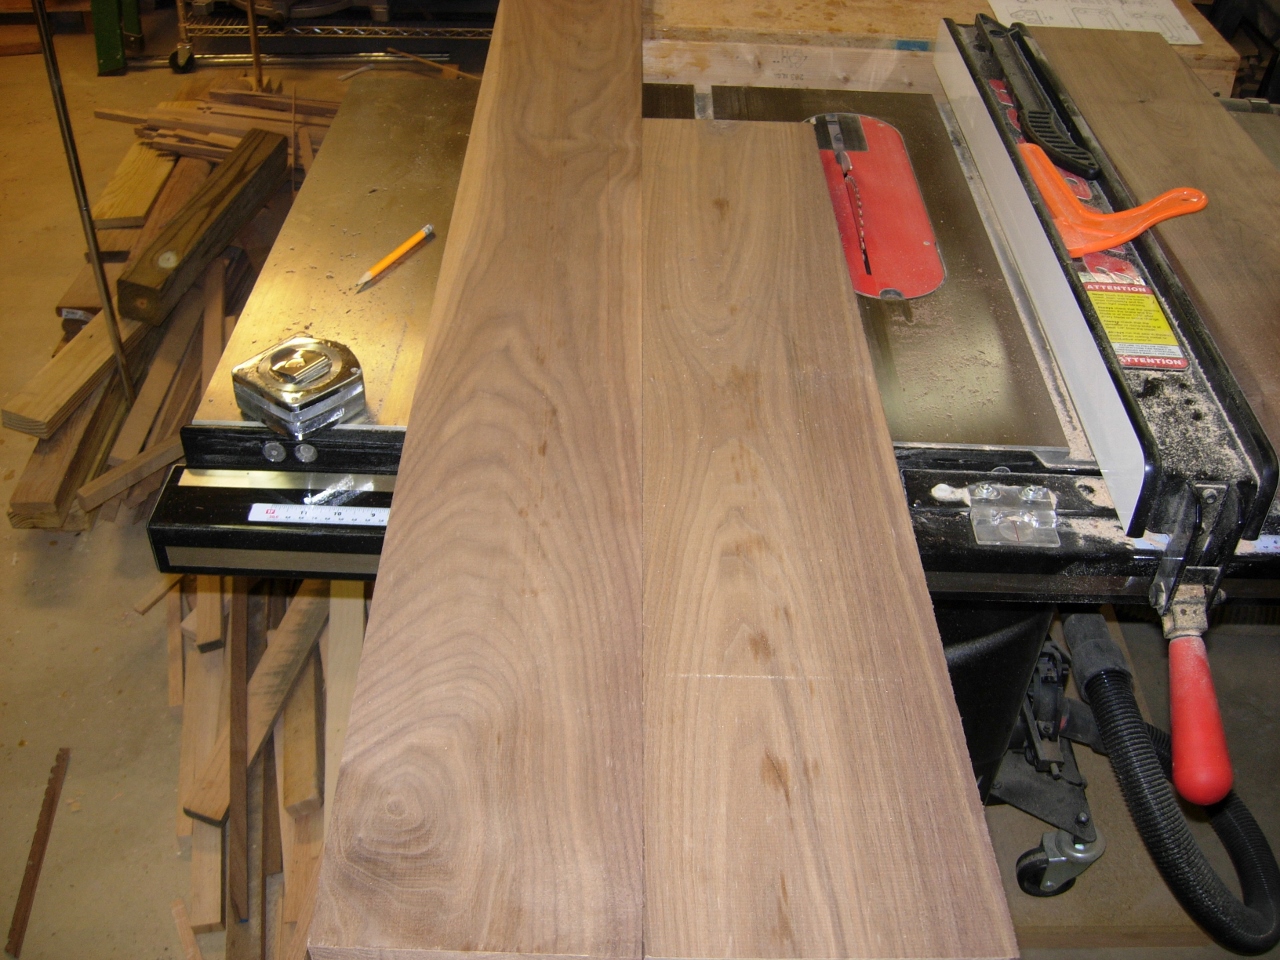
Trying to match the grain
I cut half of a dozen boards that were 6-3/8″ wide and tried to match them as well as I could. I cleaned up the edges on the table saw and took them down to about 6″ wide. I estimate that I will need the panels to be 11-3/8″ wide. I want a little extra, just in case calculating raised panels at 11:00 at night, with a head cold wasn’t a bright idea after all.
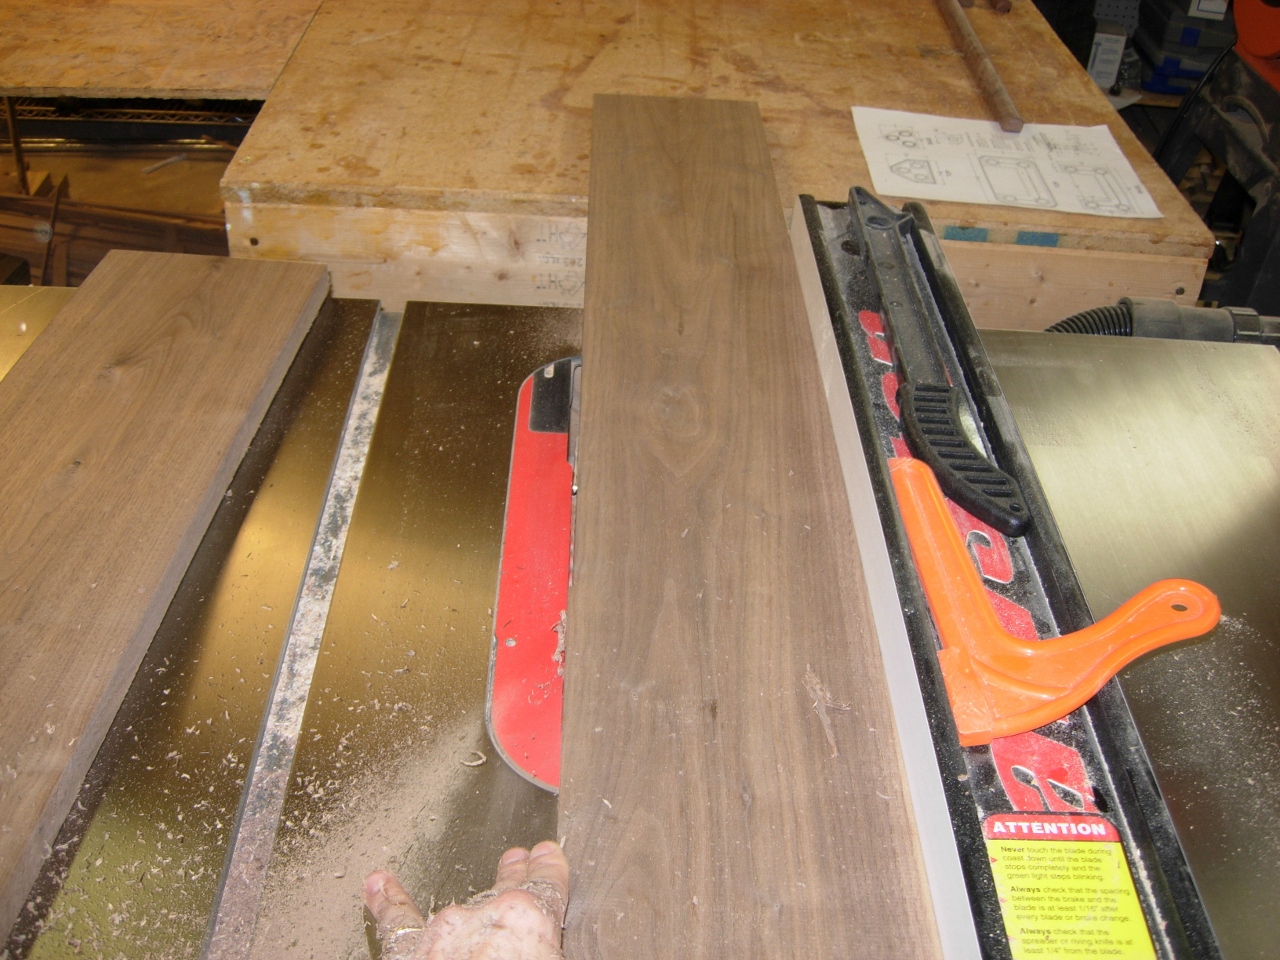
Cleaning up the edges and sizing
Glue spread
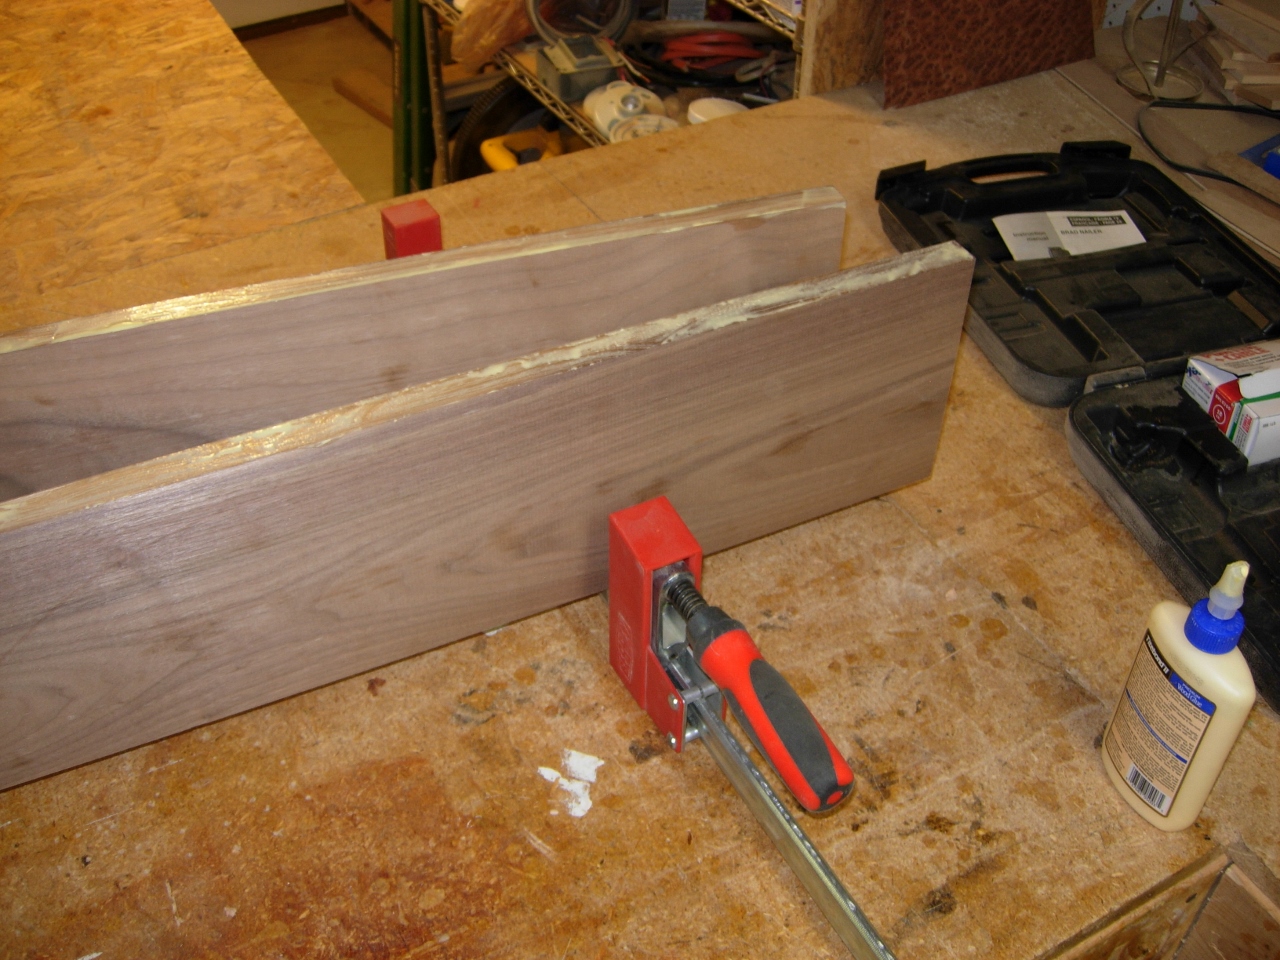
I spread some glue on each of the mating edges, and clamped them together. I wasn’t too worried about glue squeeze-out because I will be planing the panels down another 1/8″ or so, when dry.

First panel clamped

The front panels clamped up
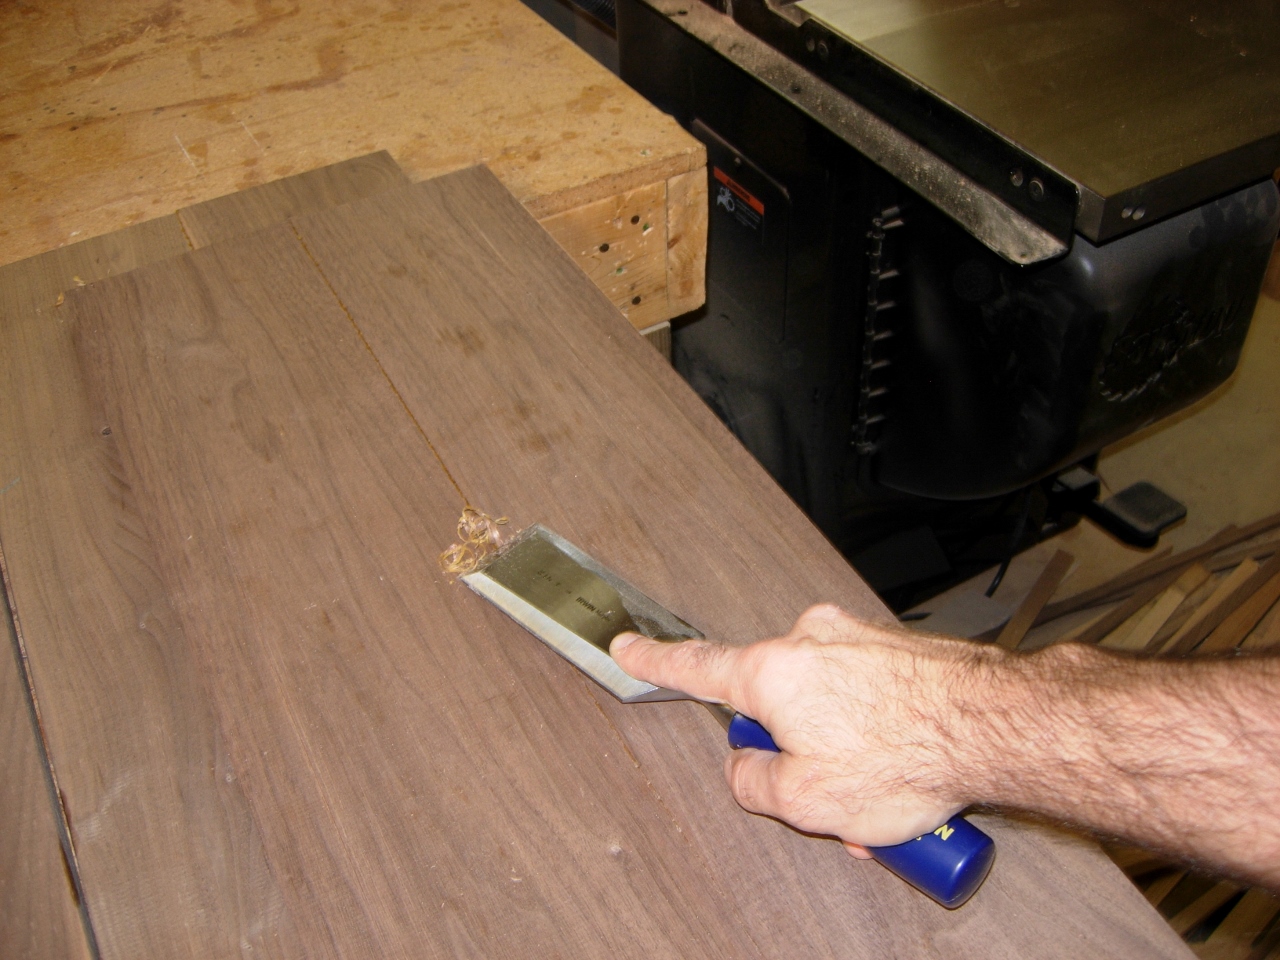
cleaning up the squeeze-out
I actually glued those up last night, so this morning I scraped off the dried glue with a 2″ wide chisel. The 2″ wide one works far better for this task than any of my narrow chisels. It seems to float across the surface, where the smaller ones want to cut in. After the glue was removed, I took the panels down to 3/4″ on the planer, then set them aside.
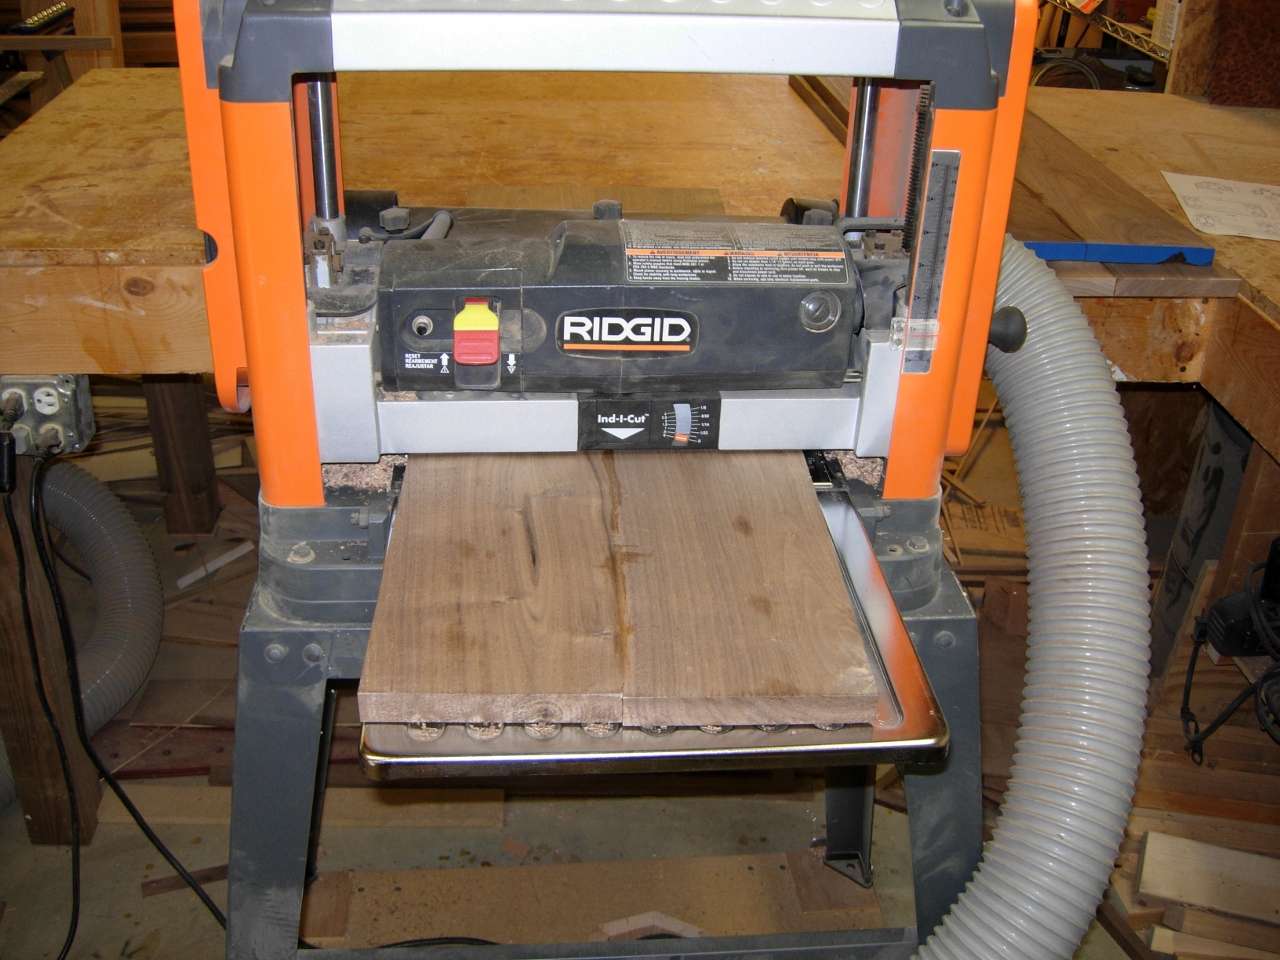
Planing down the front panels

Strip ripping
The off-cut walnut from the panels, and the knottier pieces are going to be cut down into strips to be used as trim for the columns. Since the boards are about 7/8″ thick, I ripped the width to 7/8″ as well. I had a left-over piece of trim from the test column I made a few weeks back. I wanted to see if I cut it to match the exact length of the column side (2-3/4″), if I could just cut a hundred or so and just put them on. Of course it wouldn’t work. Every place that I had to add a bit of wood filler was just slightly wider. Oh well, it didn’t hurt to check.
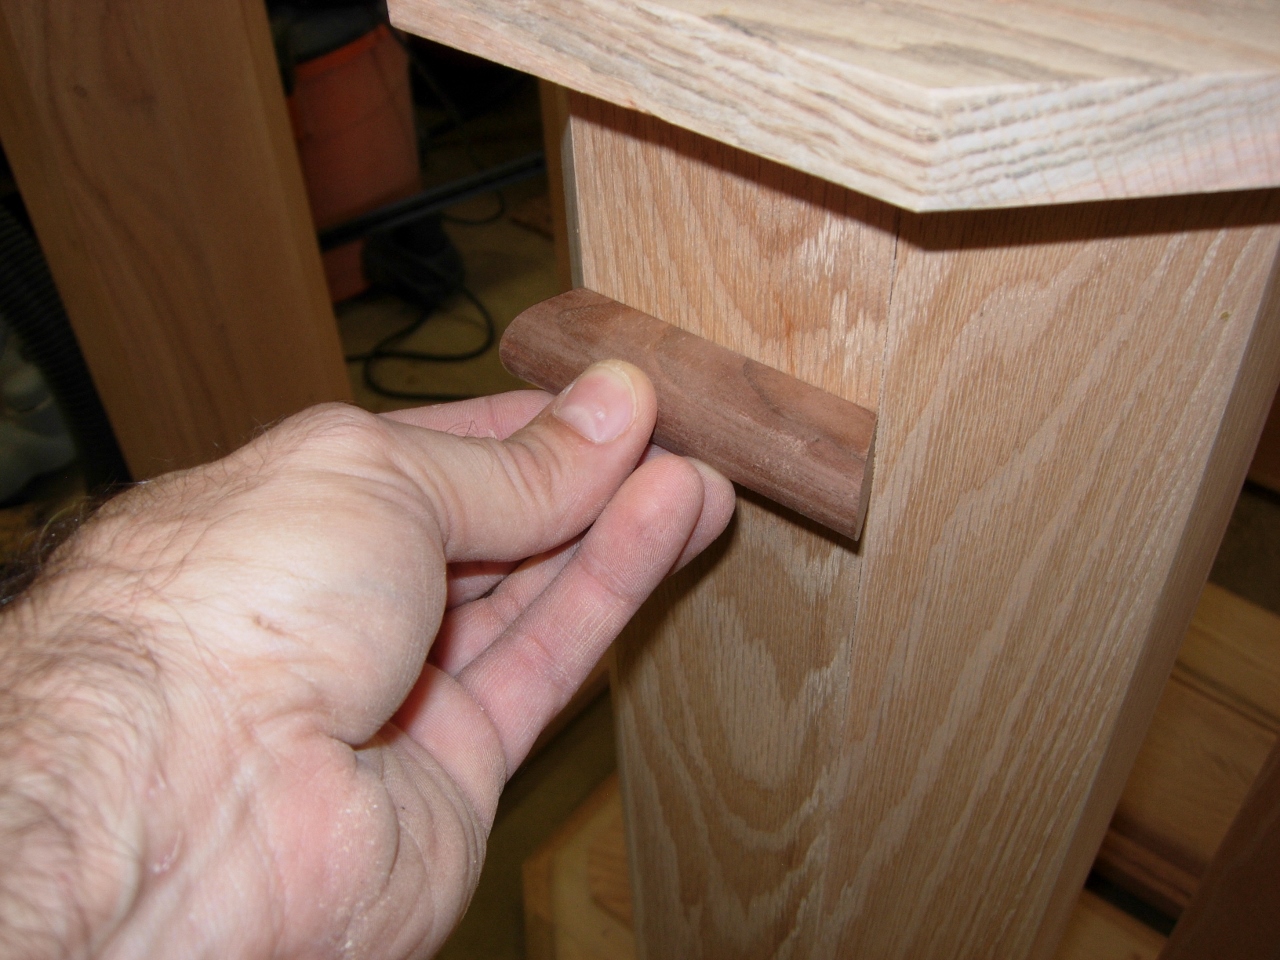
Test piece
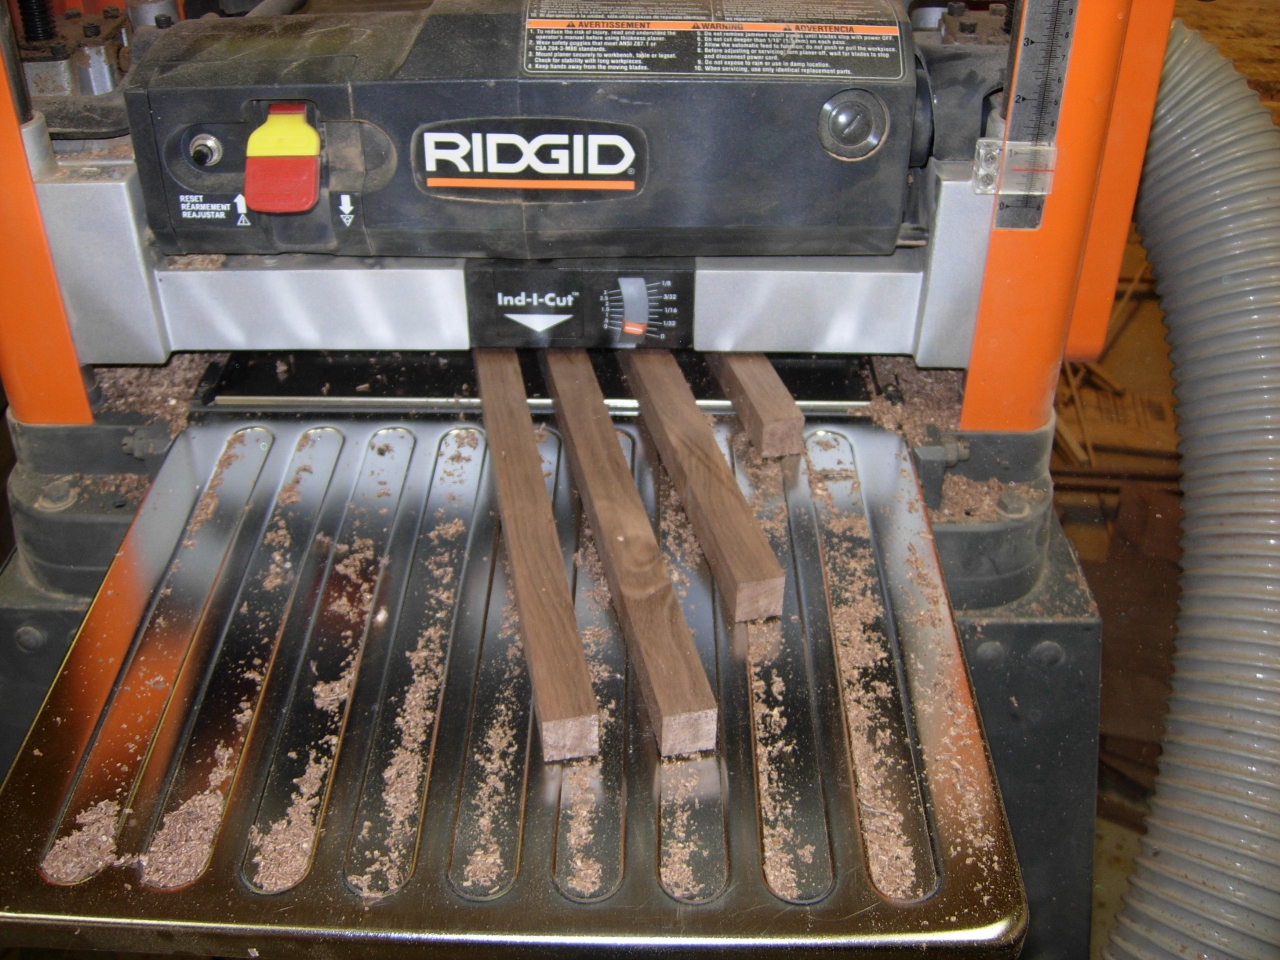
Taking all the strips down to 3/4″ square
I planed the strips down to 3/4″ square. I started to get a lot of shavings blowing out on me. That usually means that the bag, in the dust collector, is full. And so it was. What is this? The fourth or fifth bag, this project. I wish I had a use for the stuff.
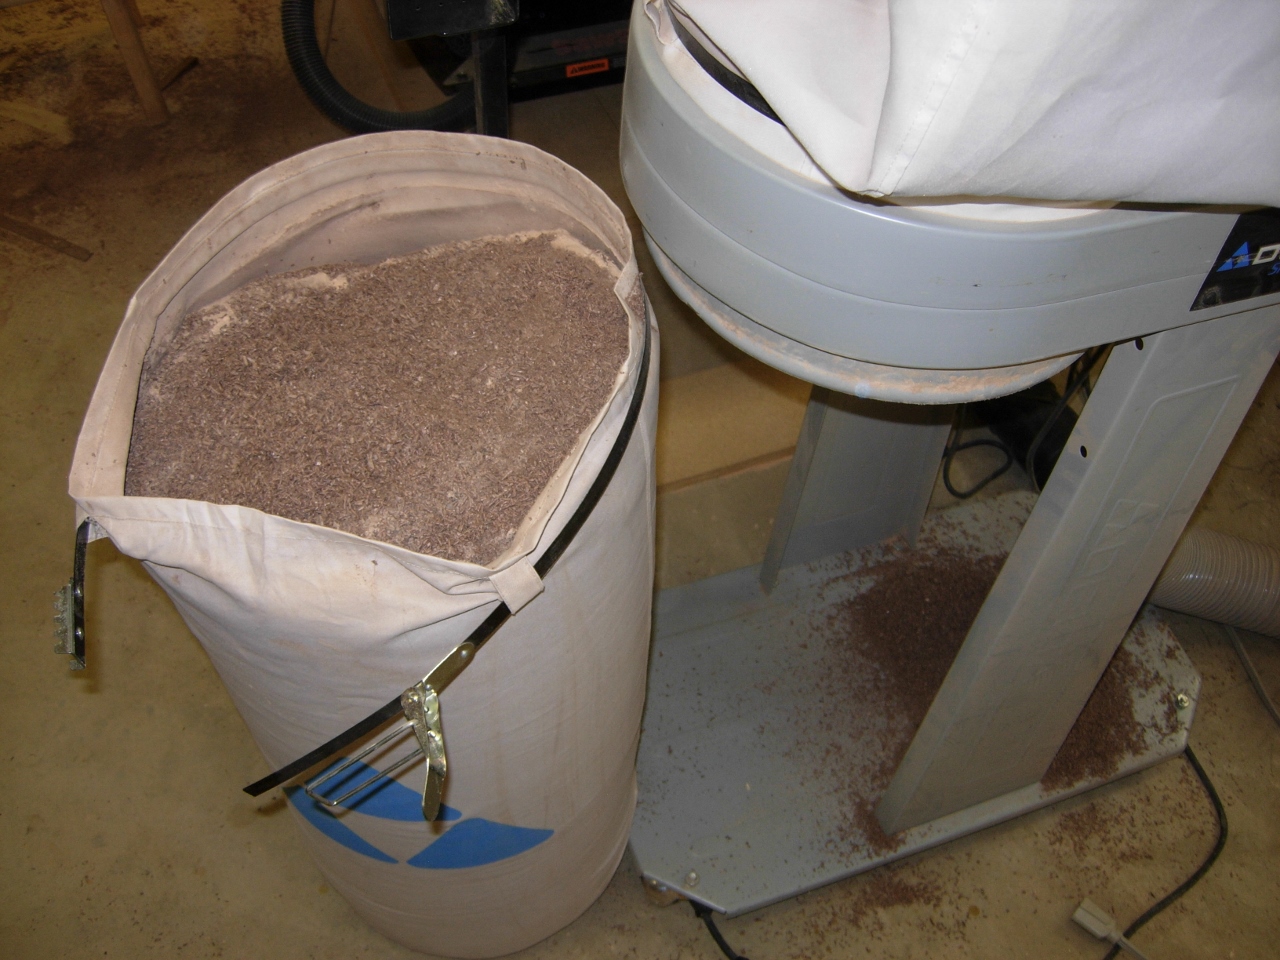
Another load of dust
Cutting the first quarter
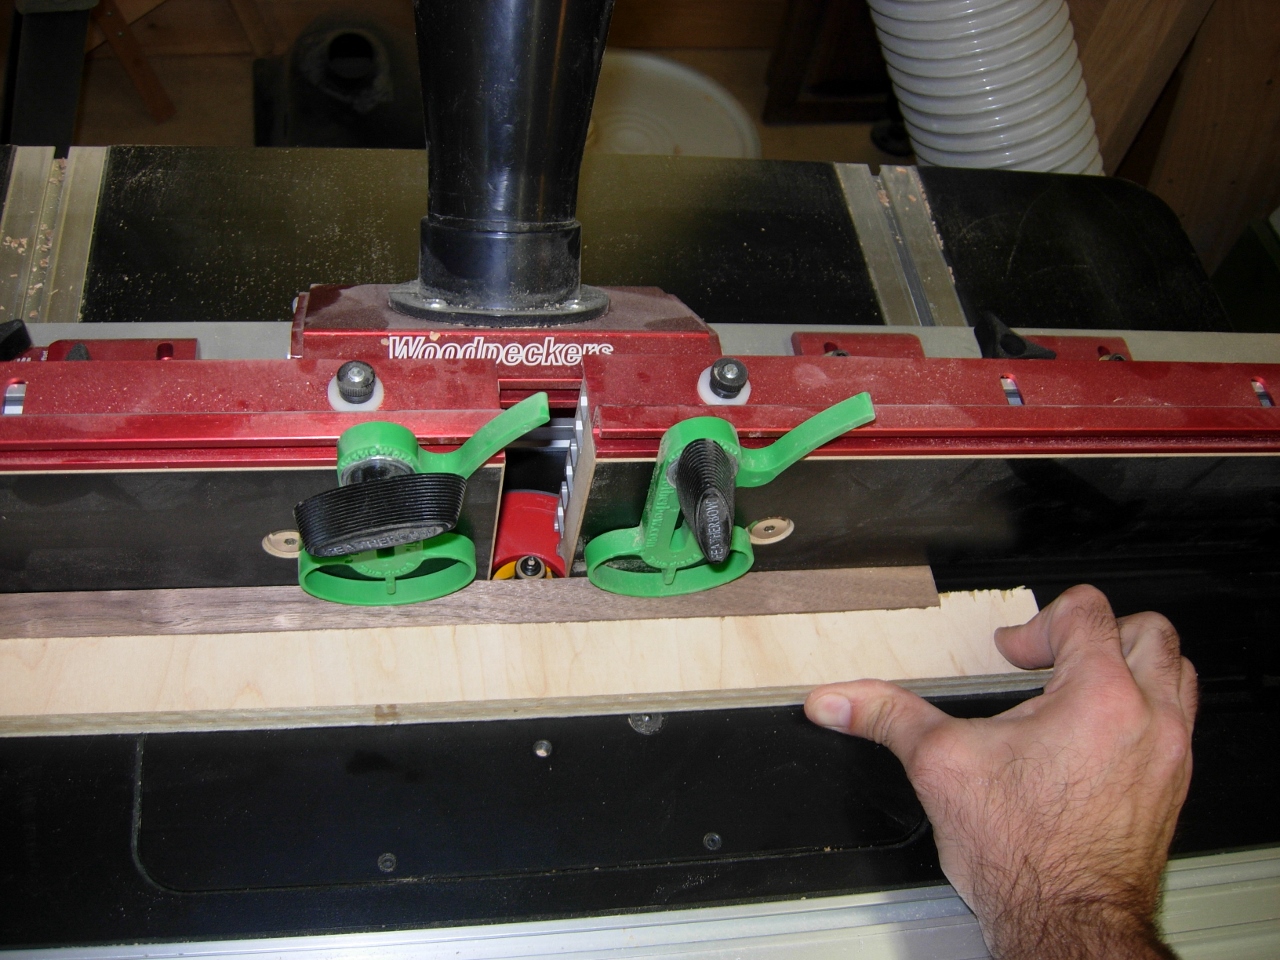
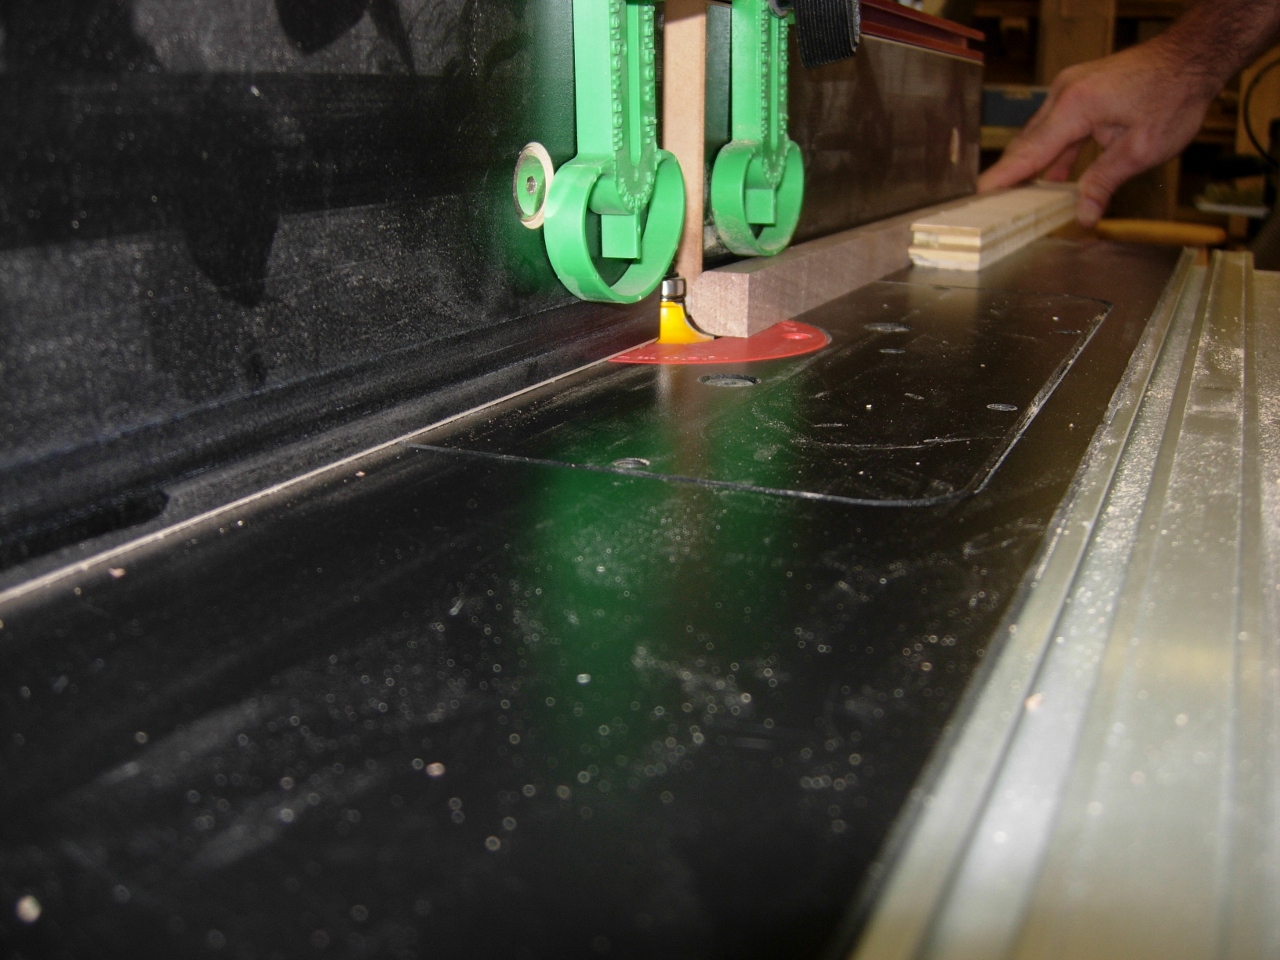
When the dust was emptied and the planing finished, I moved over to the router table and set up the 3/8″ round-over bit. I ran the strips through, using a push (pull?) stick, then flipped the piece over and ran another quarter-round up the opposing side to give it a full half-round.
Cutting the second quarter
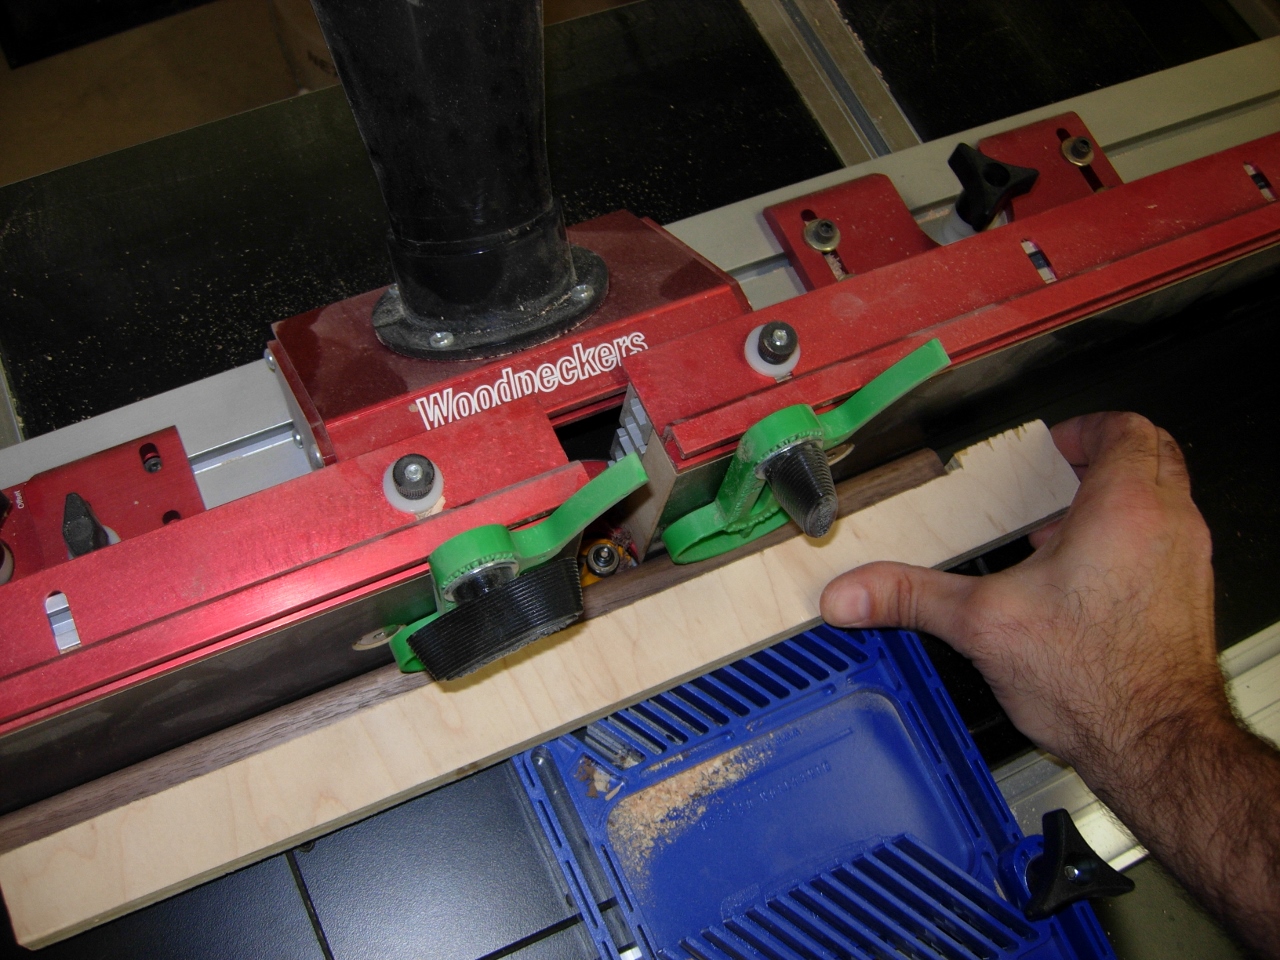
Added a feather board
I wasn’t overly happy with the amount of pressure I was able to put on the wood, at the cutter, so I added a feather board. This helped a lot and prevented me from slicing more fingers on the sharp edges of the strips. I picked up two slices because I was pushing fairly hard, right on the edges. the planer leaves them razor-sharp. Luckily walnut doesn’t show blood…
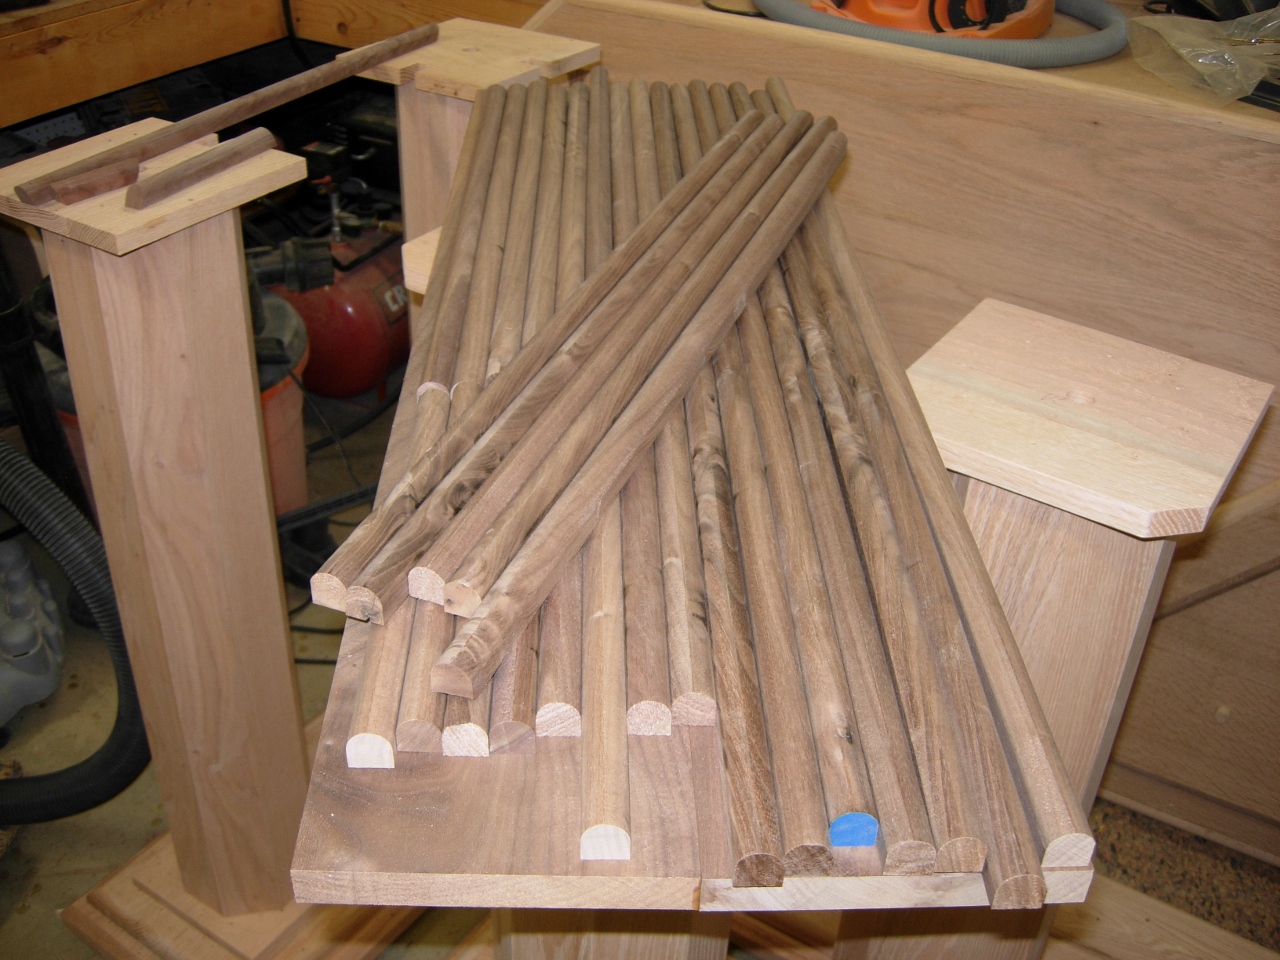
Trim all cut
With the trim all cut and a few drops of super glue applied as liquid bandages, I sanded down the strips with my orbital finish sander.
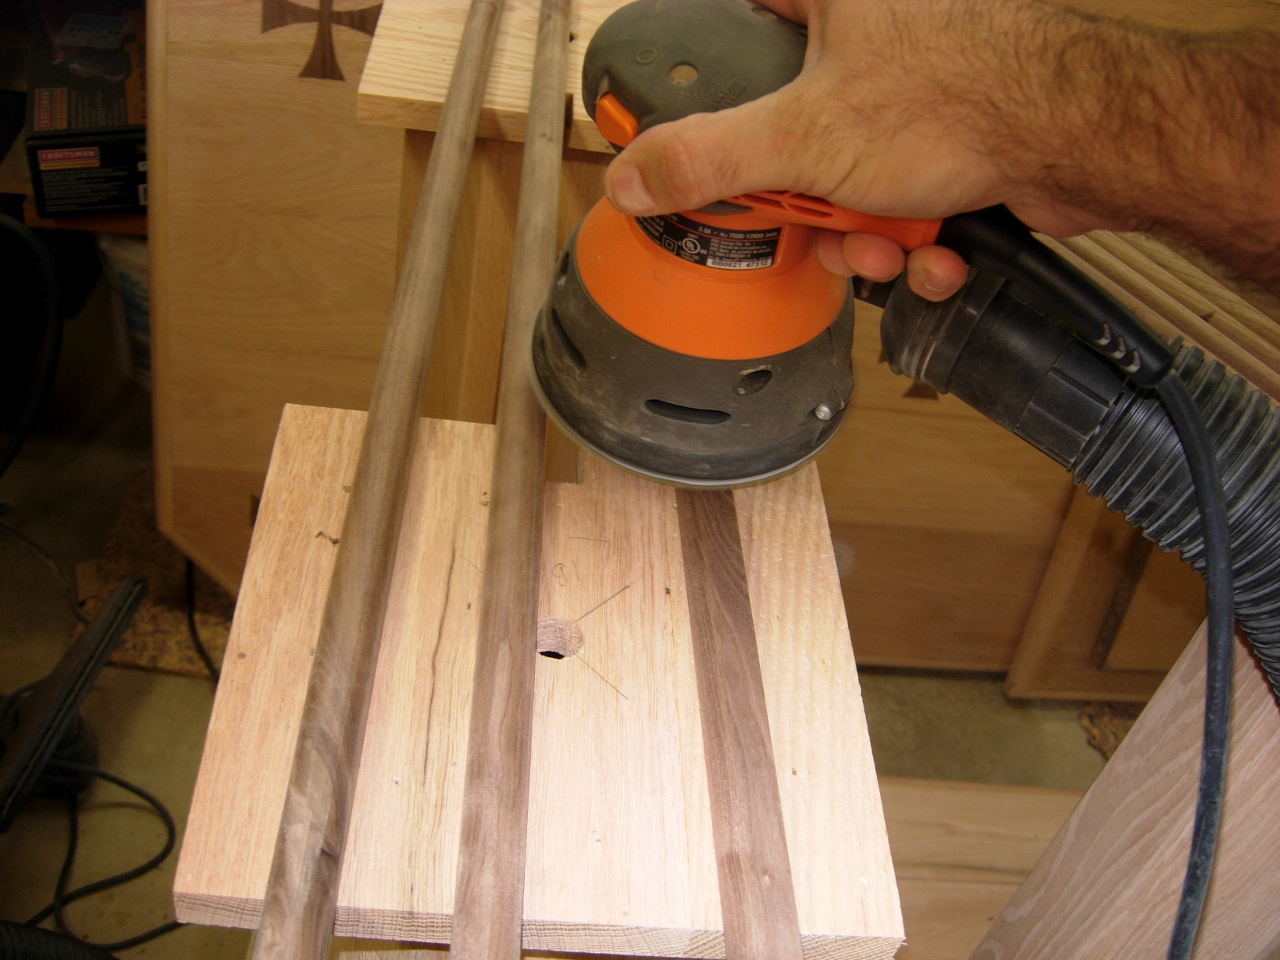
Sanding down the trim
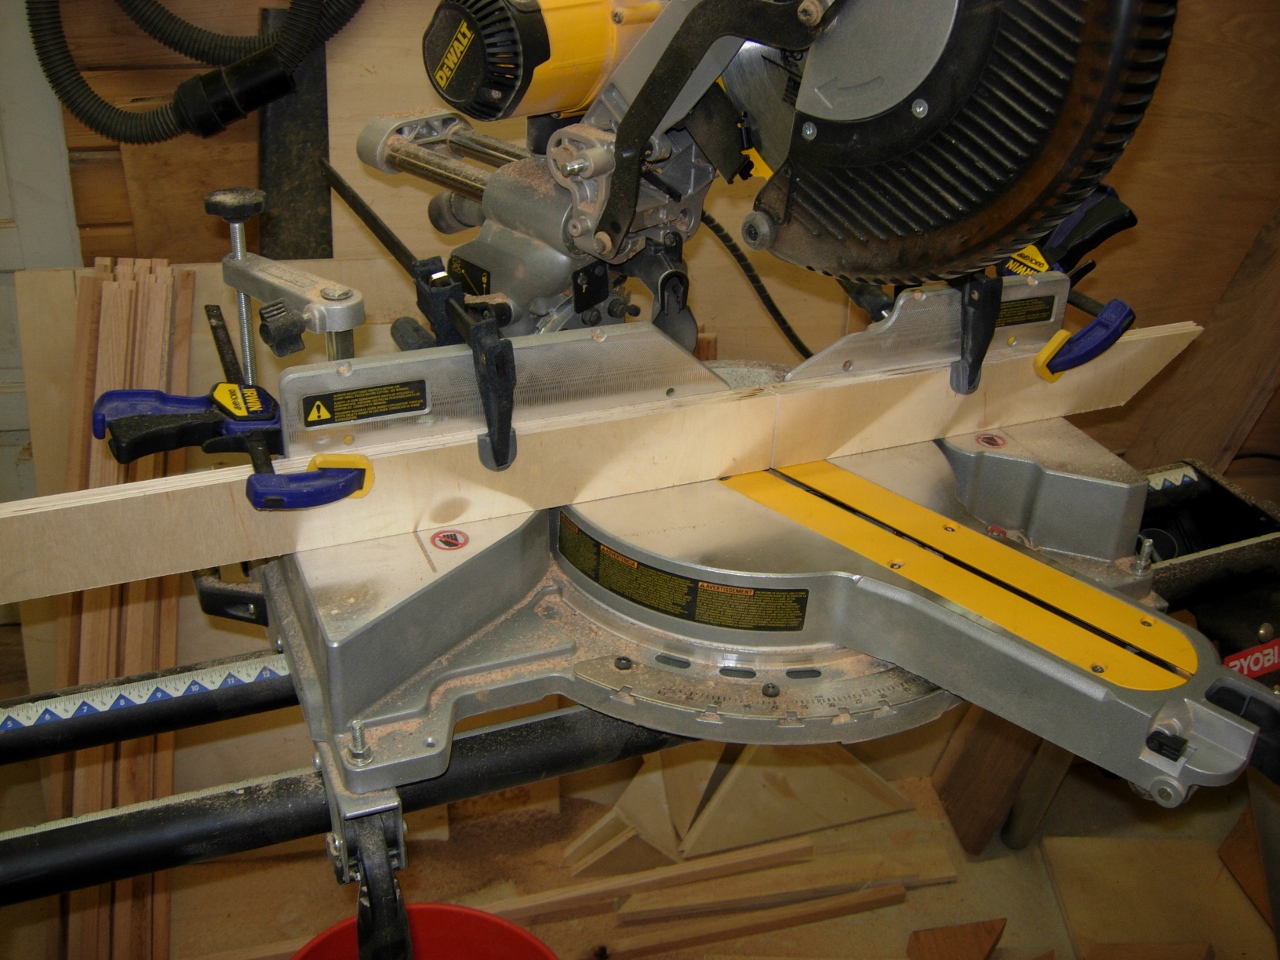
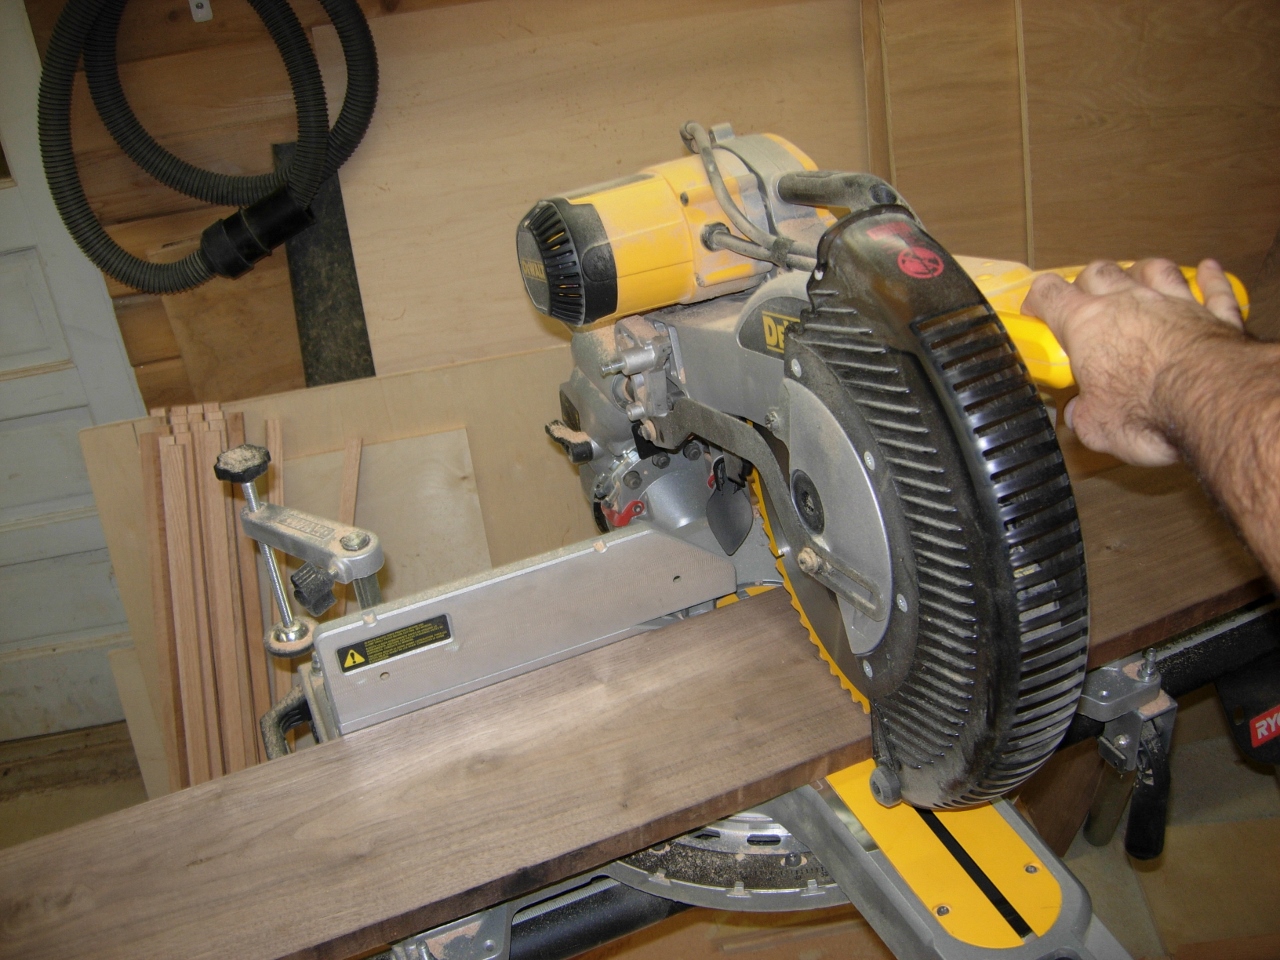
Setting up a zero clearance fence
My miter saw is rather large for the delicate work of cutting this trim. I need to hold the trim fairly close to the blade, but flat against the fence. The factory fence has a large gap meant to accommodate the blade at any compound angle. To avoid tear-out and loss of fingers, I clamped a piece of 3/4″ plywood to the fence and placed a single cut at 22.5 degrees. Now I can hold the wood with confidence.
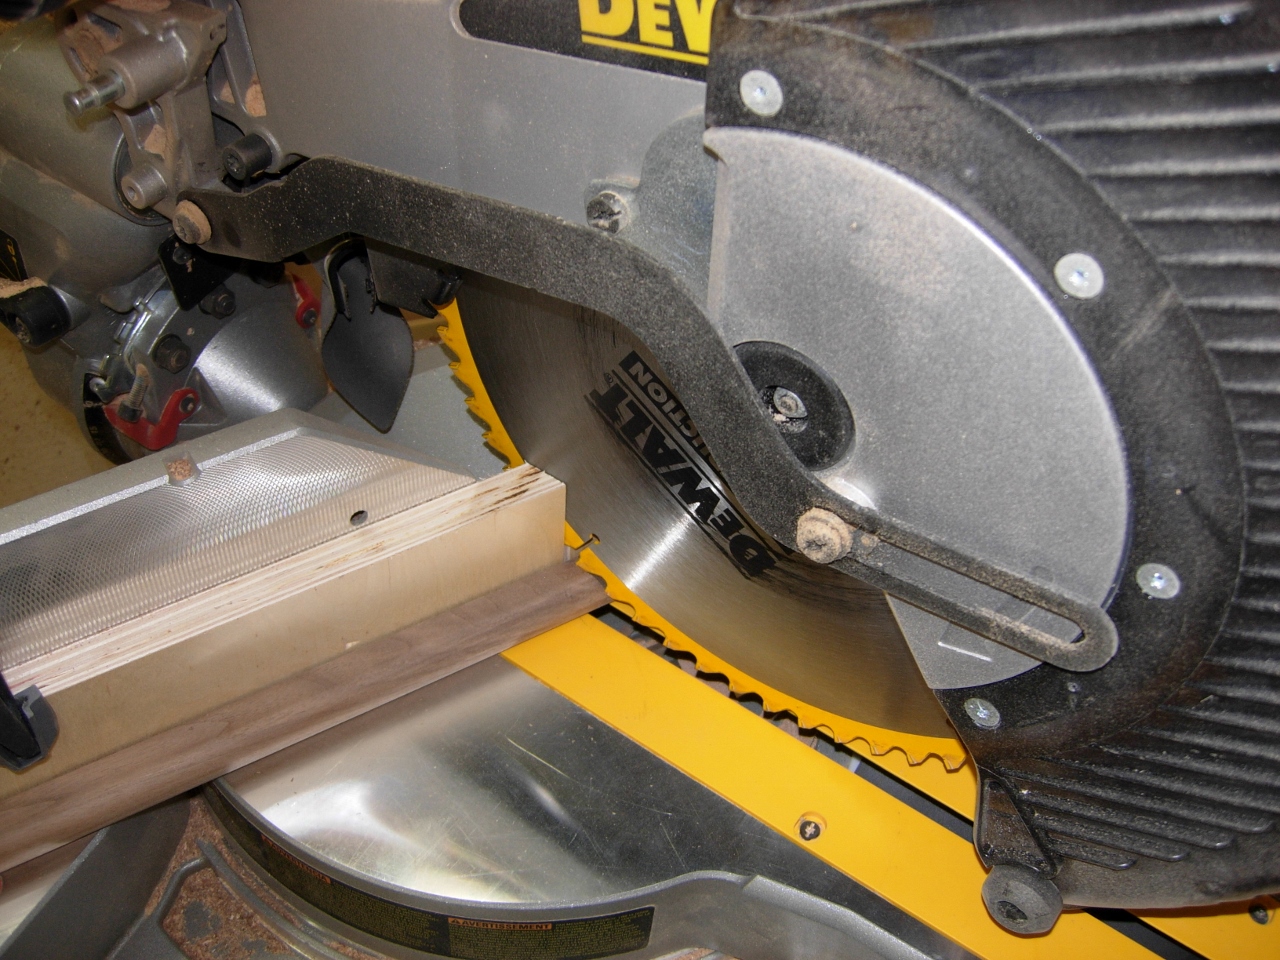
Initial 22.5 degree cut
Since I can’t cut 120 pieces all at the exact same length, I am going to have to do it the hard way. I cut the first piece of trim at 22.5 degrees, then lay it up against my 1.5″ spacer, line it up with one side and mark the other.
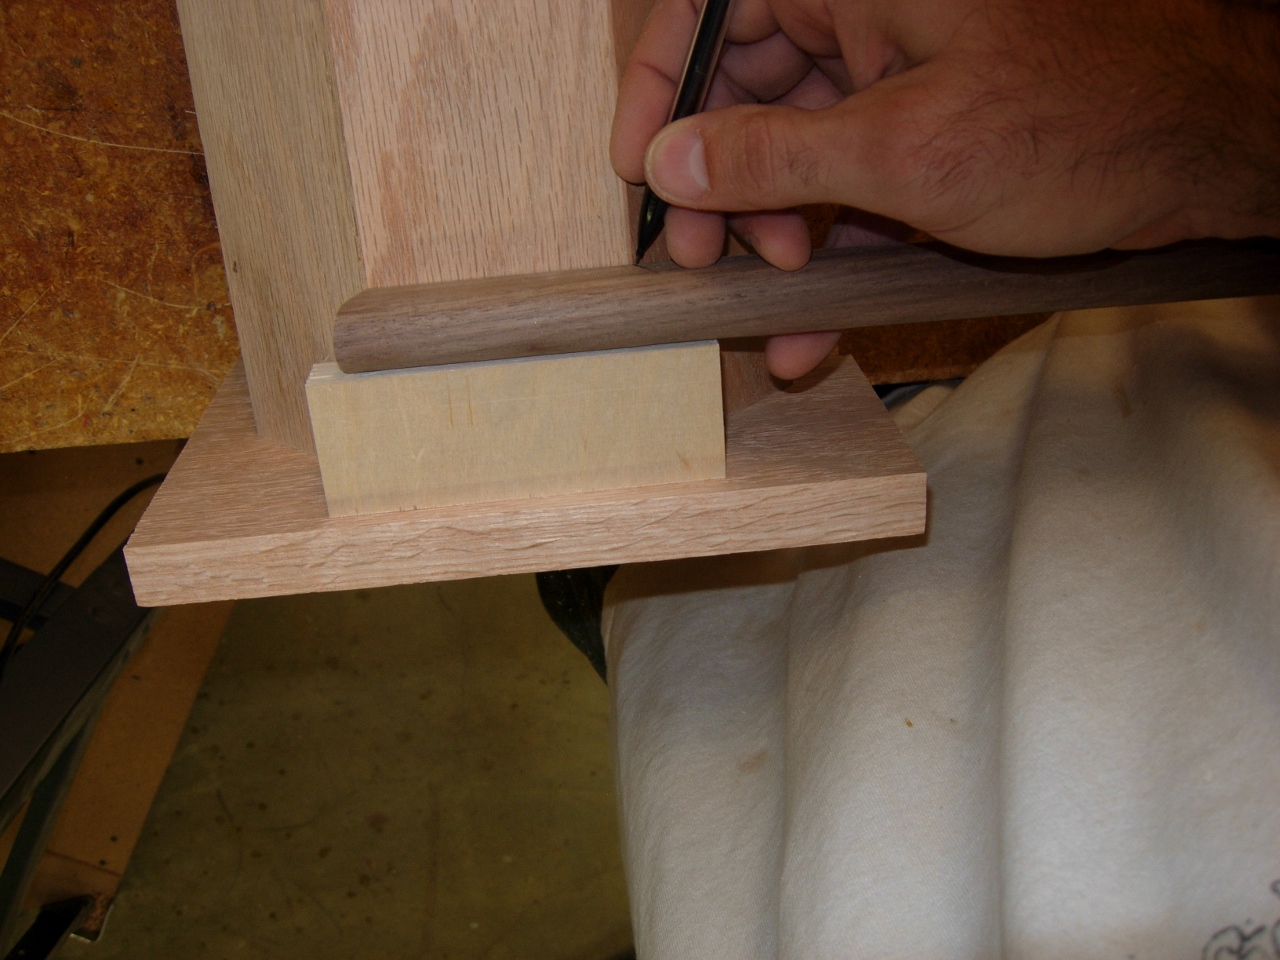
Marking the trim
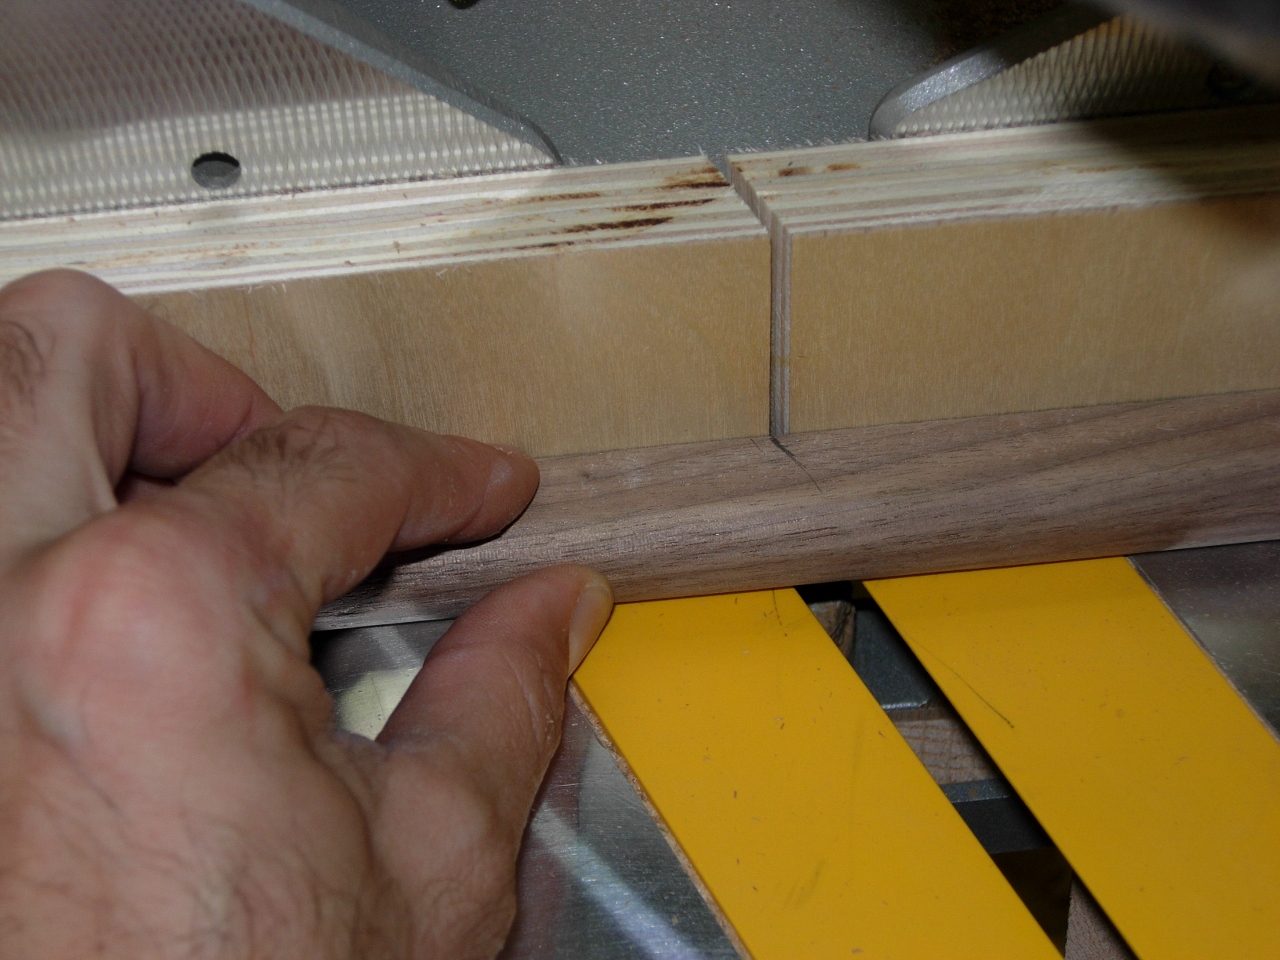
Lining up the cut
With the trim marked, I return to the miter saw and line the mark up exactly to the edge of the cut in the fence. That is way more accurate than lining the blade and mark up by eye!

Applying glue to the trim
I spread a little glue on the back, and pin nailed the piece in place. I pulled out my spacer, rotated the column, and repeated the process.

Pin nailing on the trim
In case you are trying to figure out how long this will take, cutting each one custom. There are seven columns. Each one has two strips of trim and eight sides. Add in the fact that there are grooves to trim up to (for the raised panels). I am looking at around 250 cuts. Over 120 individual pieces cut, glued, and nailed. Suffice it to say that two or three hours later it is midnight and I only have four of the columns done.

Four down, three to go…
