
My Redesigned Roorkhee chair – day 4
I finally got some time to work on my chair arms. Since these chairs are rather comfortable to lounge in, I want the arms to be comfortable, yet also strong enough to lever yourself up on them. I opted to stick with the 1-1/2″ stock that I used for the legs.
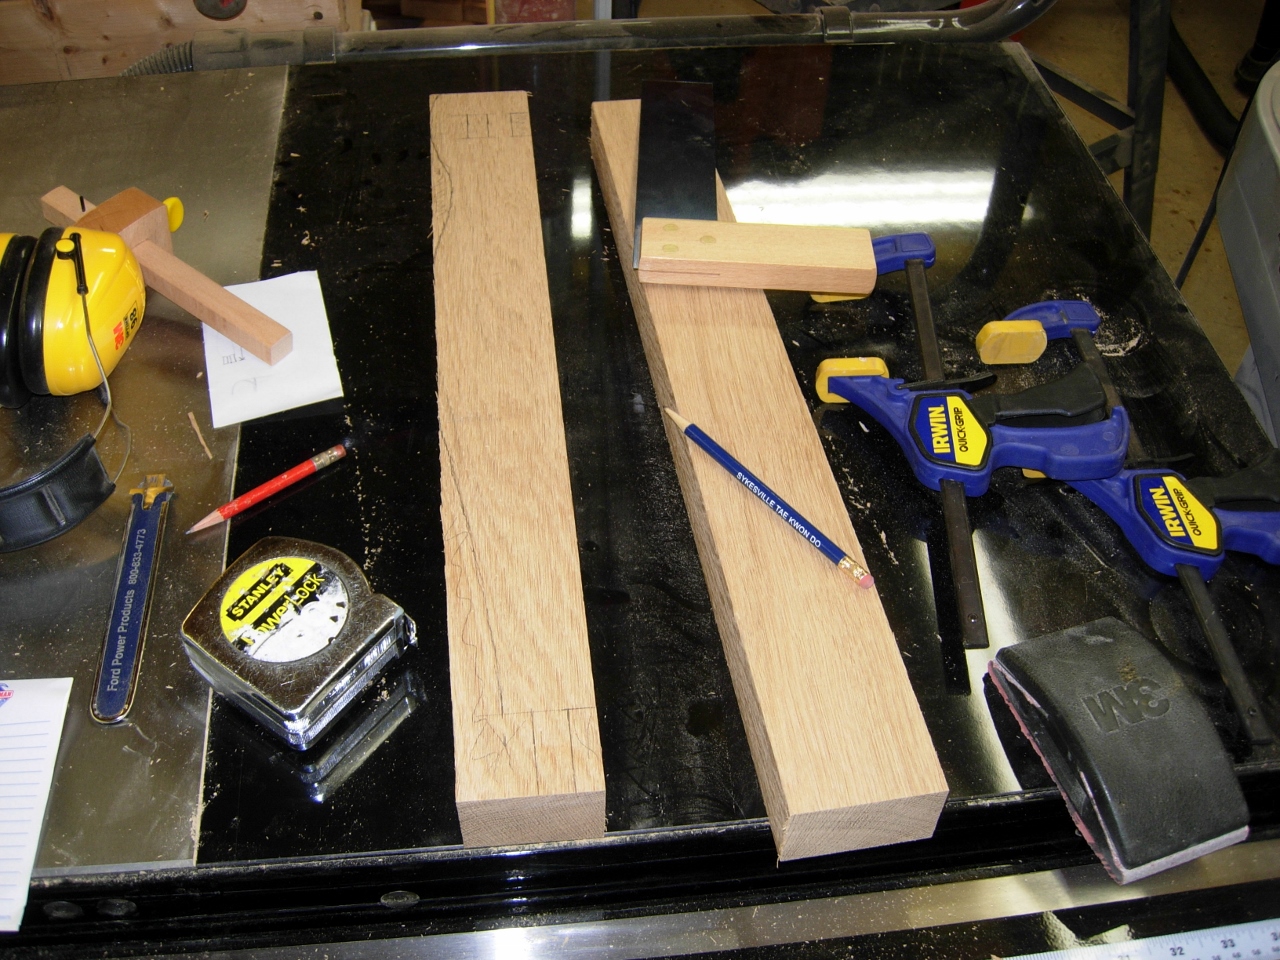
Laying out the arms
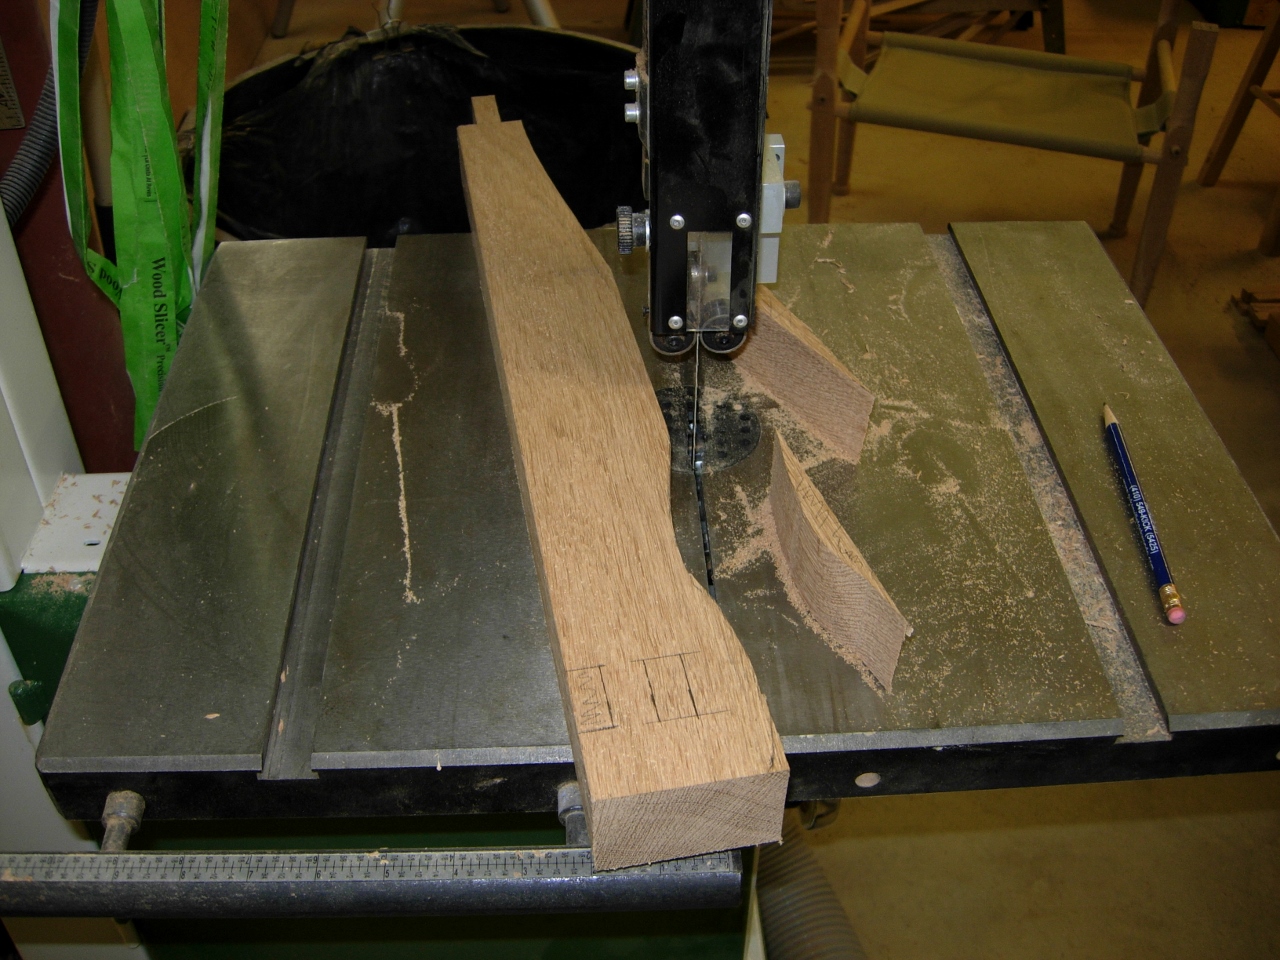
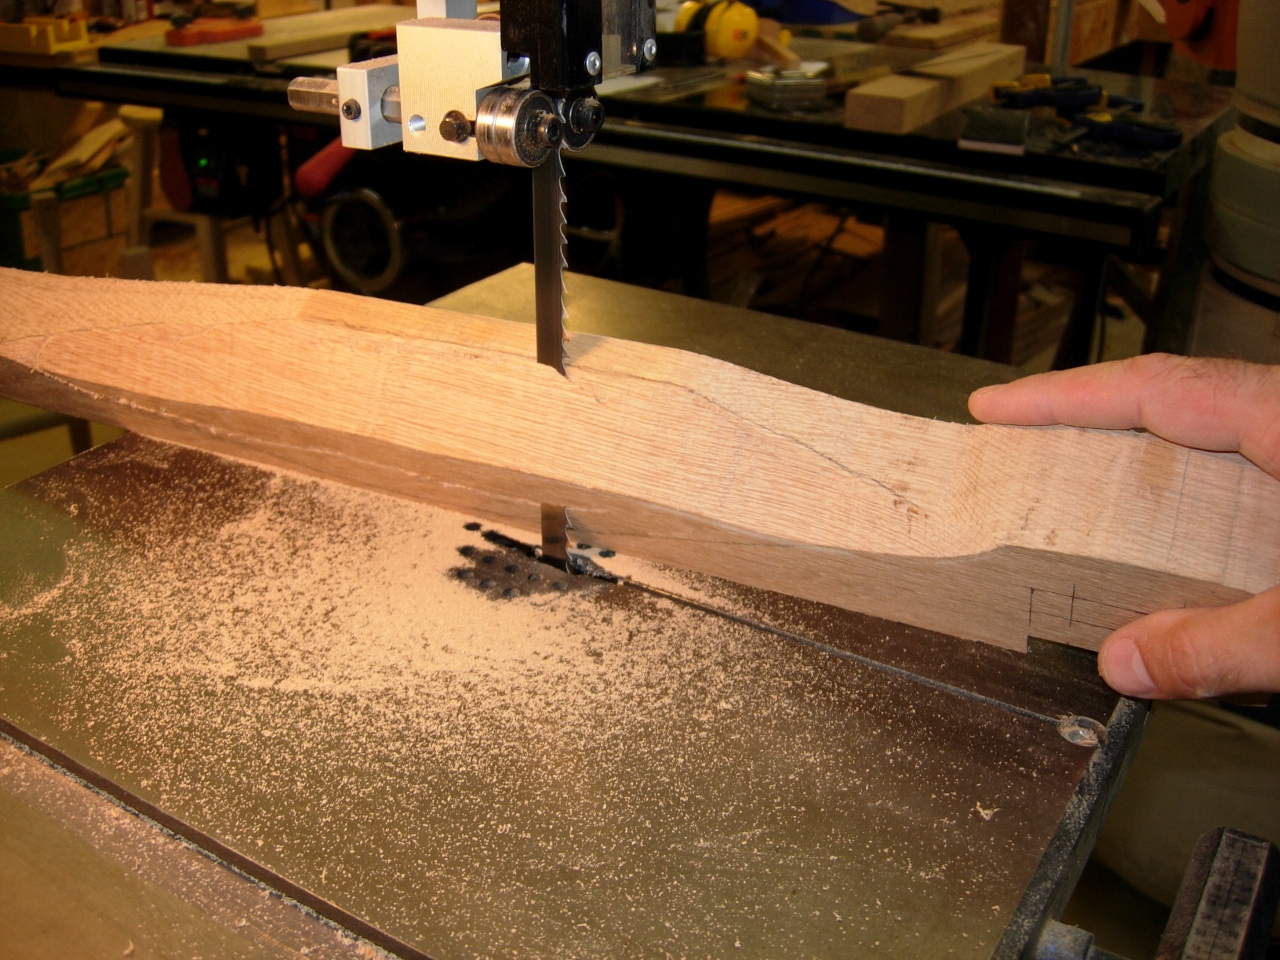
Cutting an arm on the bandsaw
I started by cutting the curves on the bandsaw, then I laid out the slopes on the side of the arm. When you relax in the leather version of this chair, your arms kind of roll off to the side. I wanted to be able to allow that, so the arms are sloped off to the sides and wider in the middle.
Marking the slope of the arm
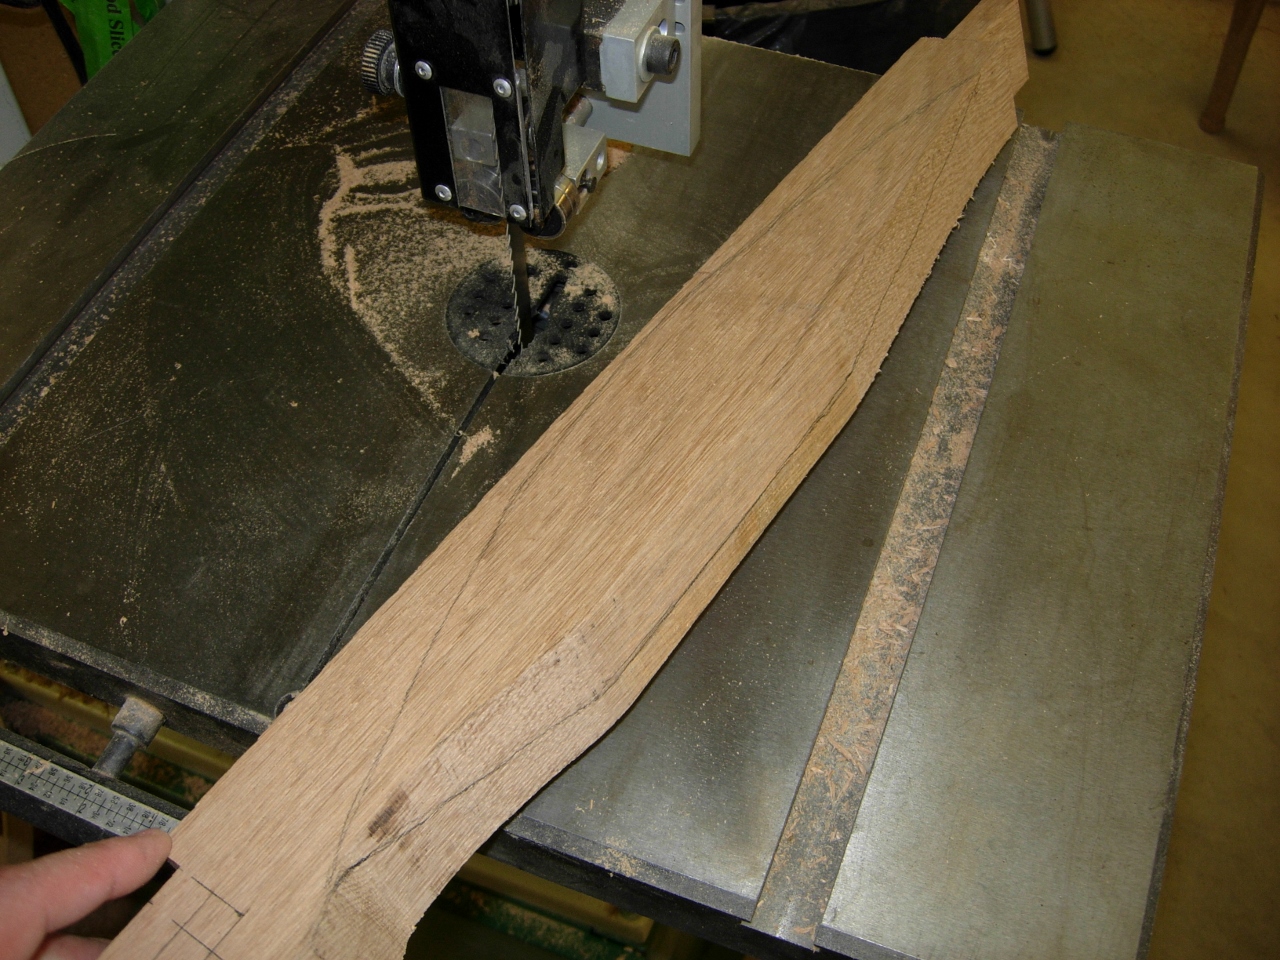
Cutting the bulk of the slope
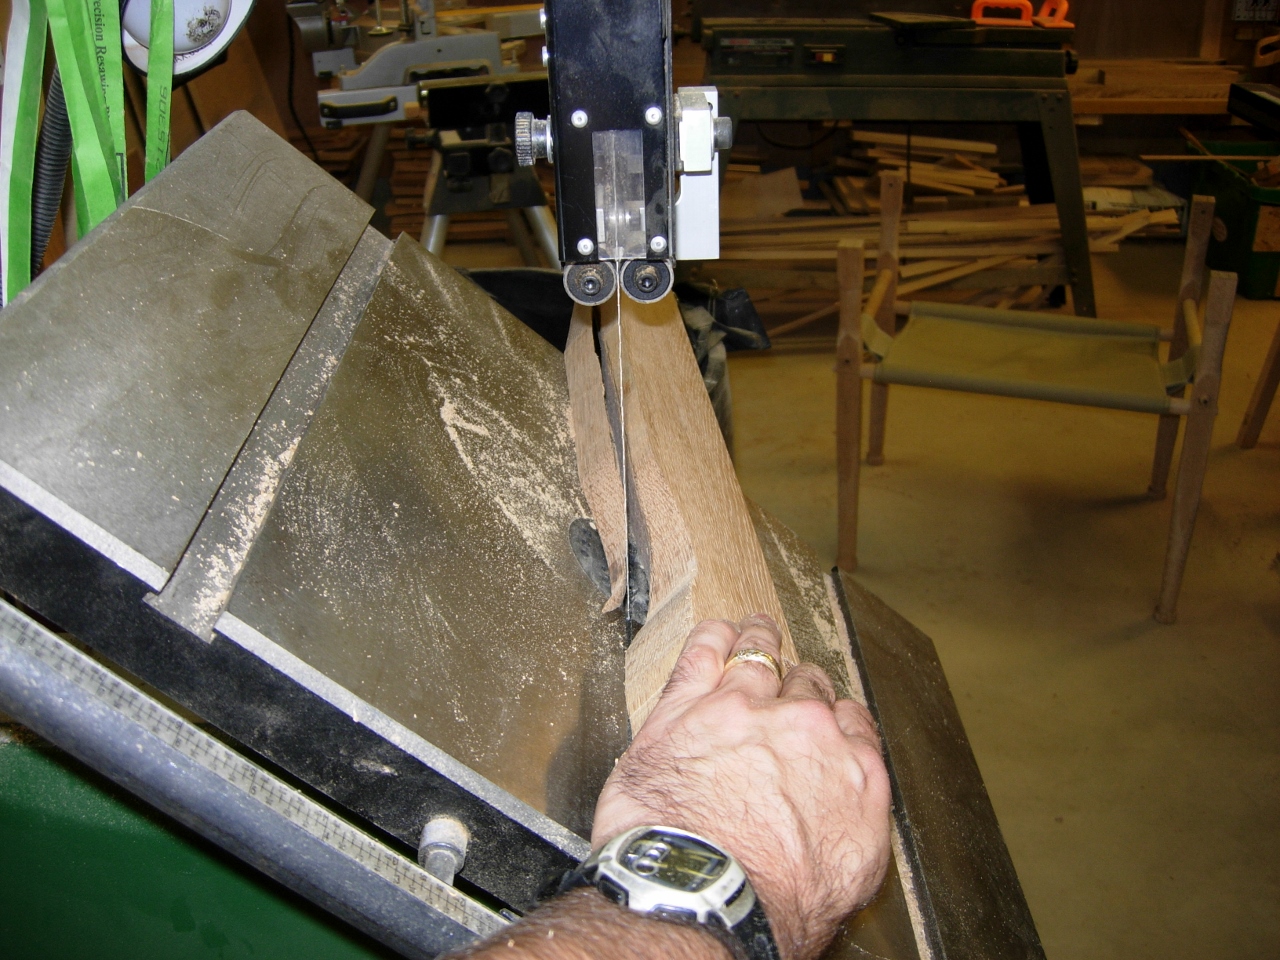
I tilted the table on the bandsaw 45 degrees to cut away the bulk of the slope, then put the table back down and cut the rest by eye.
Cutting the rest by eye
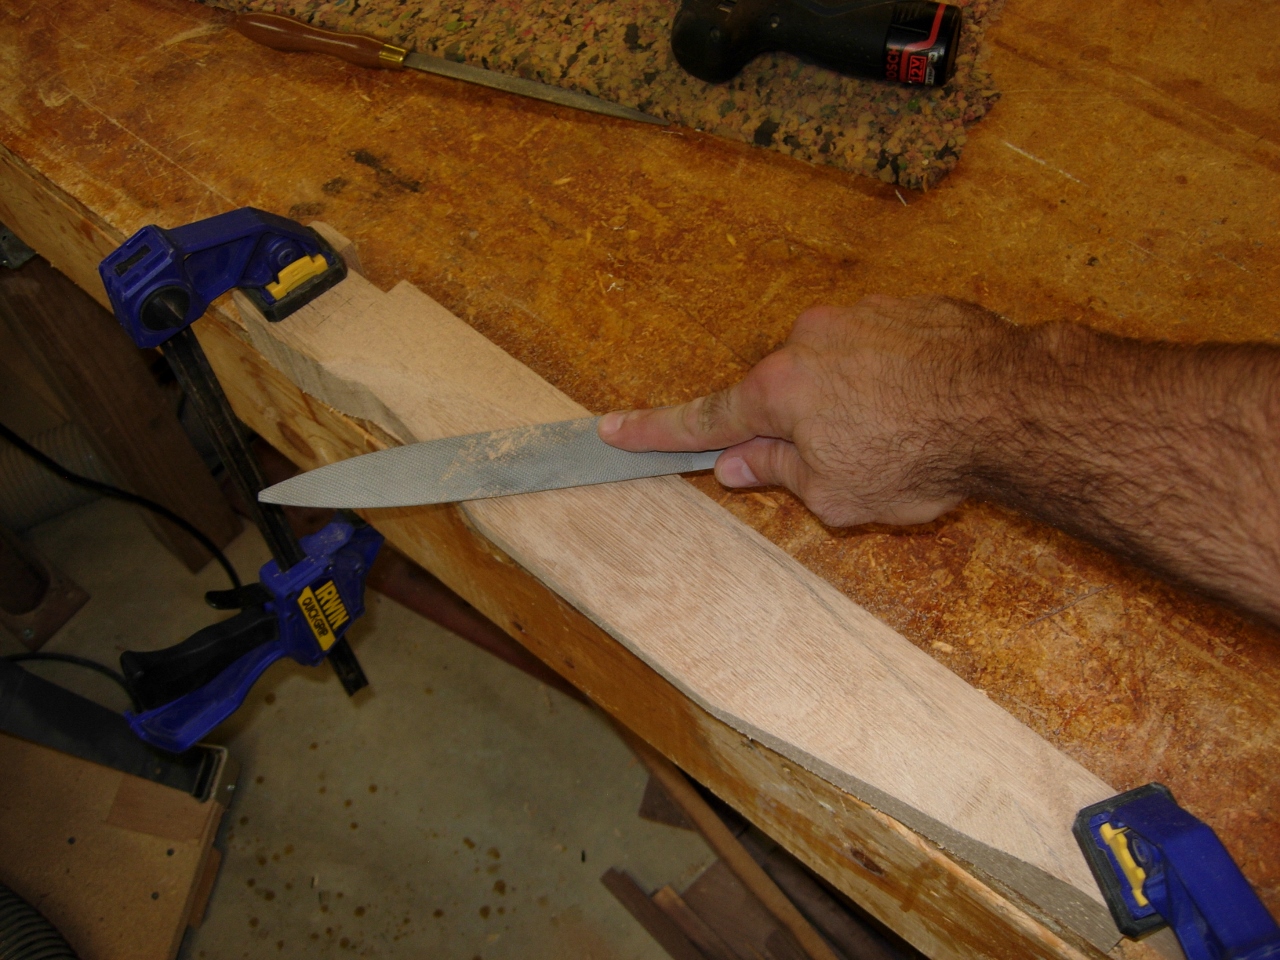
Finishing the shaping with the rasp
With the shape roughly cut, I finished shaping with my rasps and spindle sander.
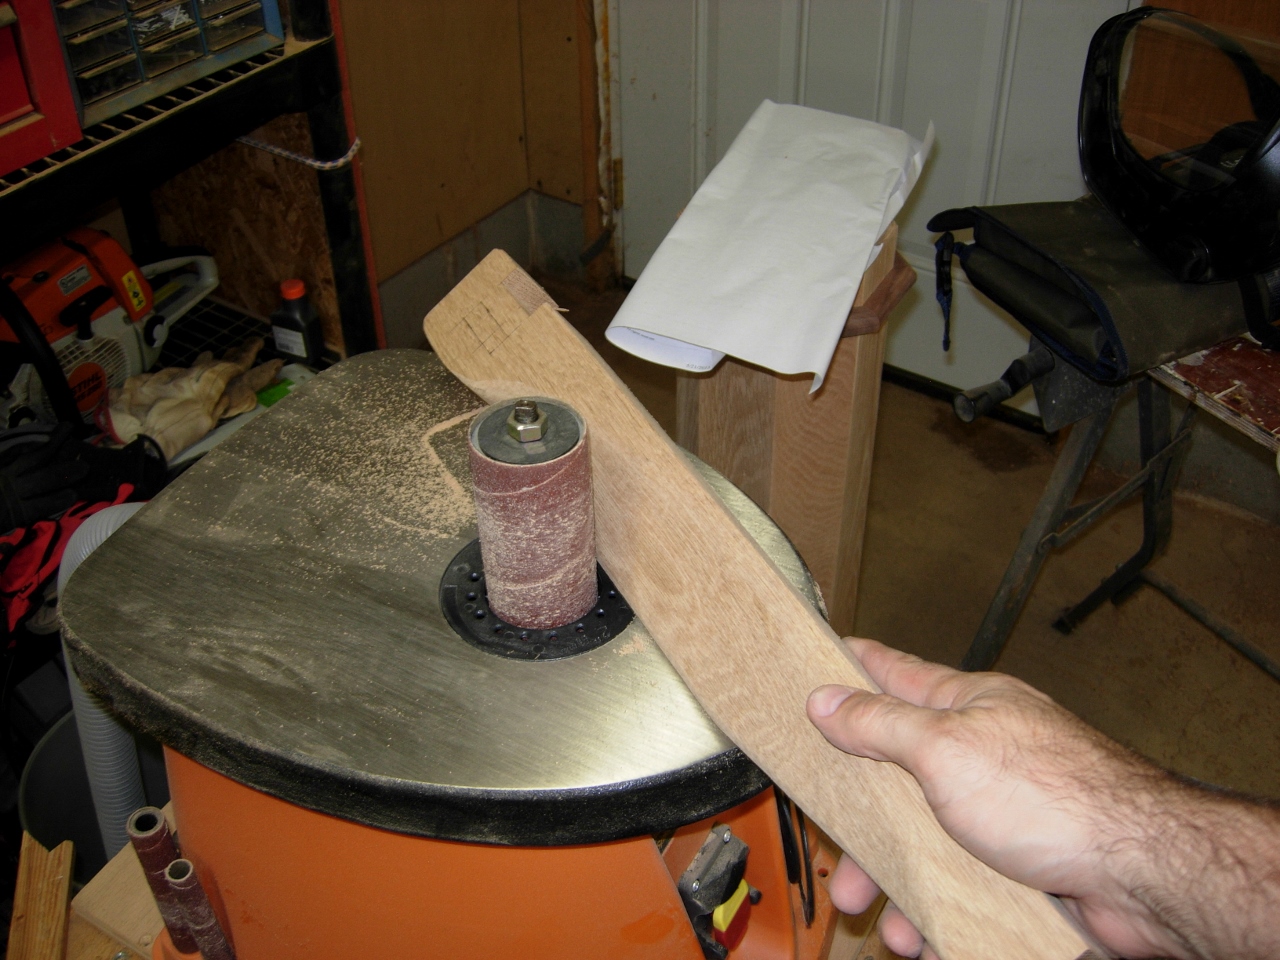
Smoothing on the spindle sander
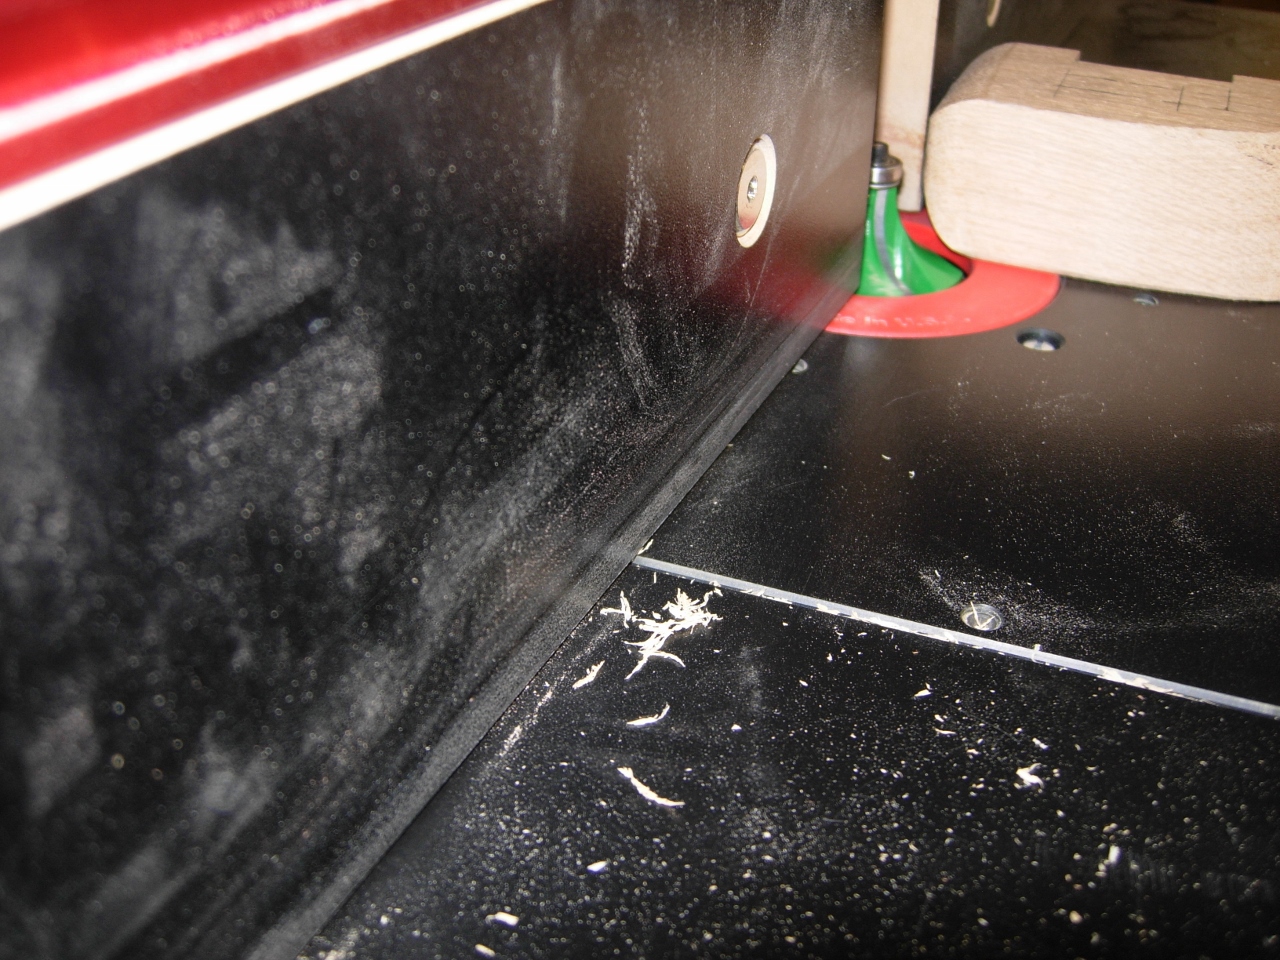
Rounding the end
I wanted a comfortable grip extending past the front legs, so you could grab on when pushing yourself up. I decided to run the 3/4″ round-over bit all the way around the front end, and finishing touching it up on the spindle sander.
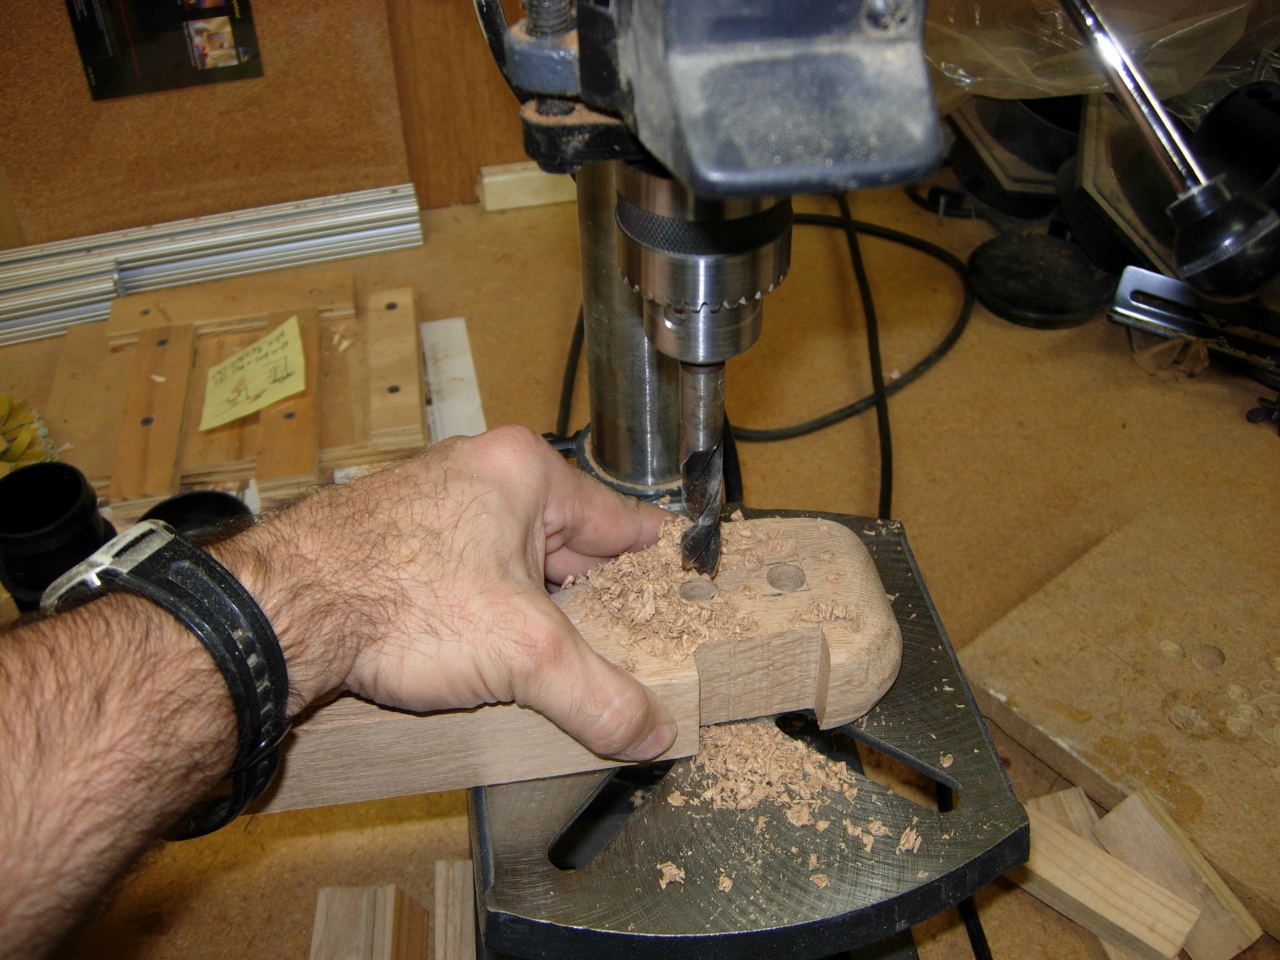
Drilling out waste
I still want this chair to be portable and be able to adjust to the terrain if taken outside. So I decided to use a loose mortise/tenon arrangement. I laid out the mortises and drilled out the waste material and cleared the rest with my chisel.
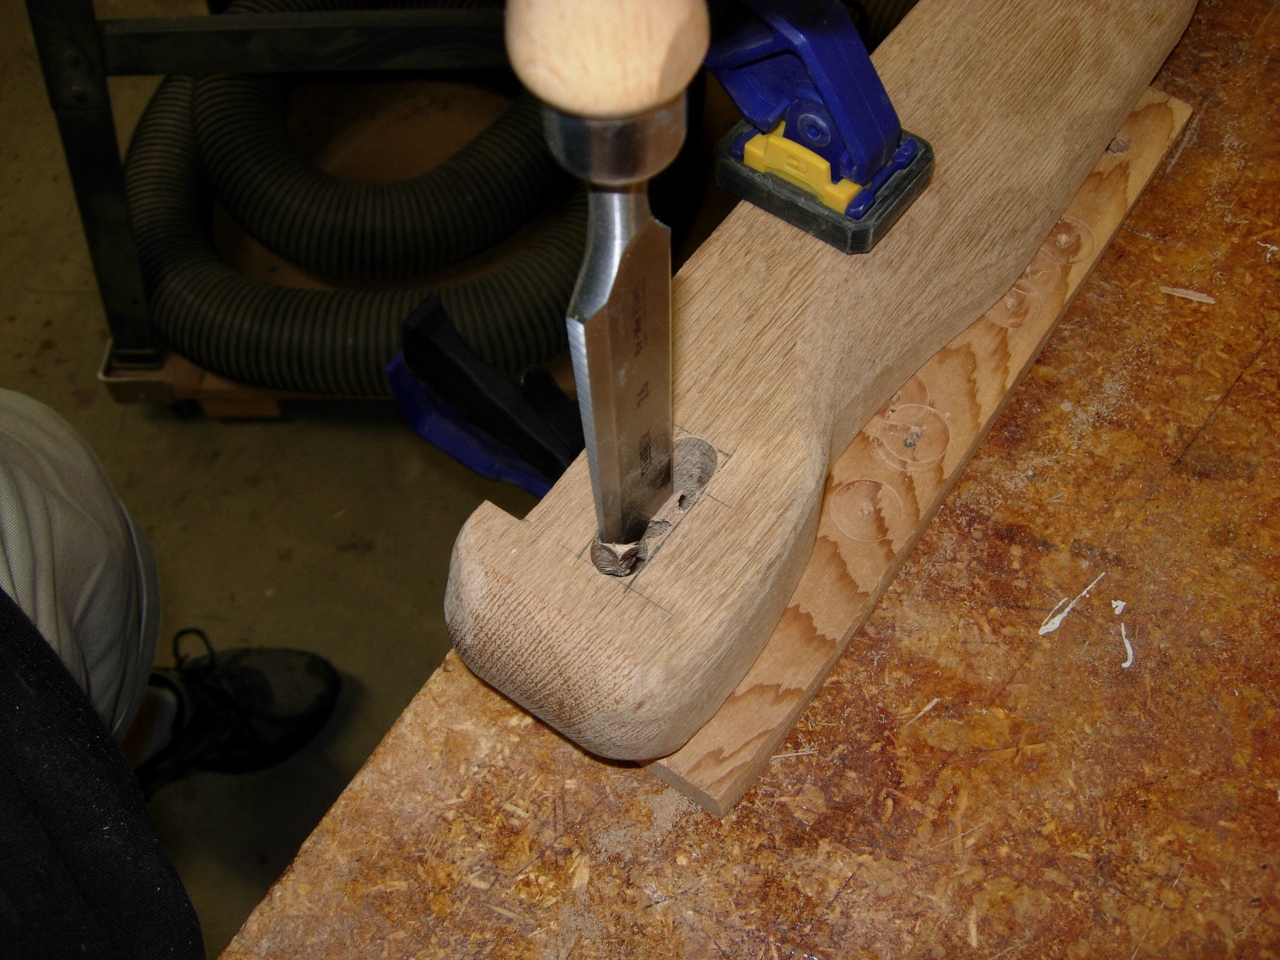
Clearing out the mortises
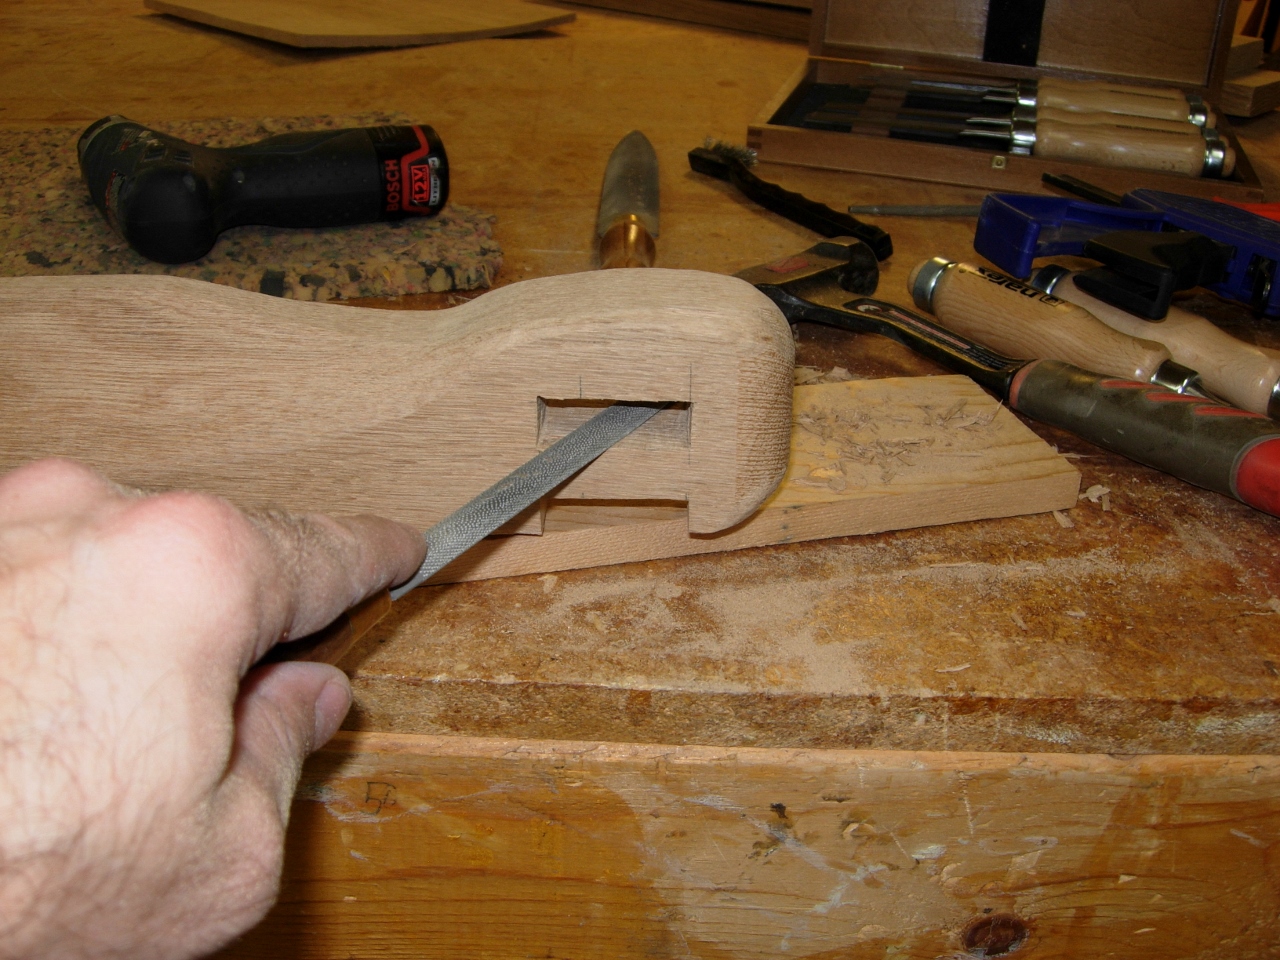
Touching up with the rasp
A quick touch with the rasp to clean up the holes and then I marked the tenons on the top of the legs. These were cut out mostly with the bandsaw, then drilled and chiseled as well.
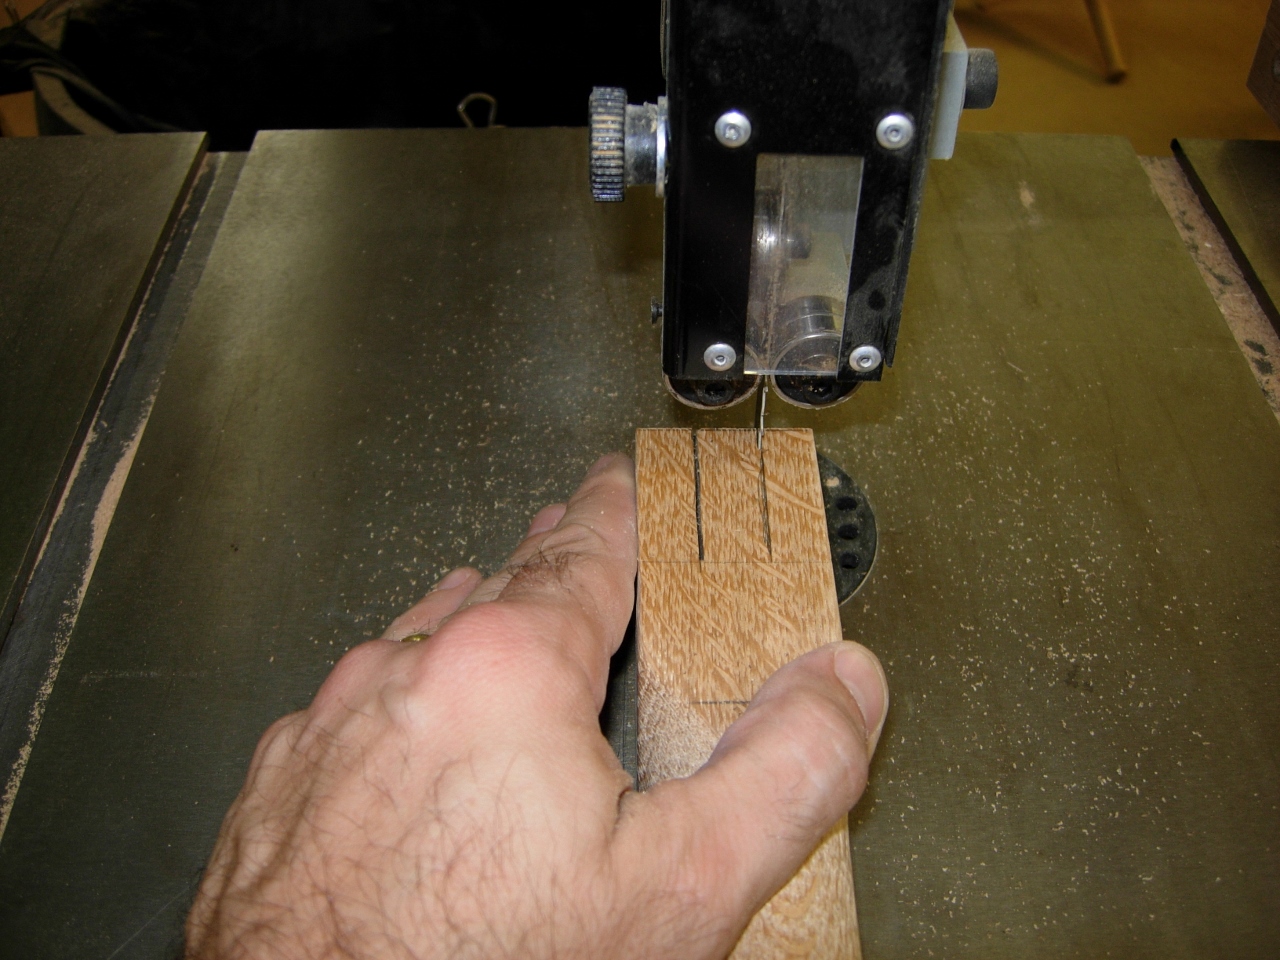
Bandsaw to cut the tenons
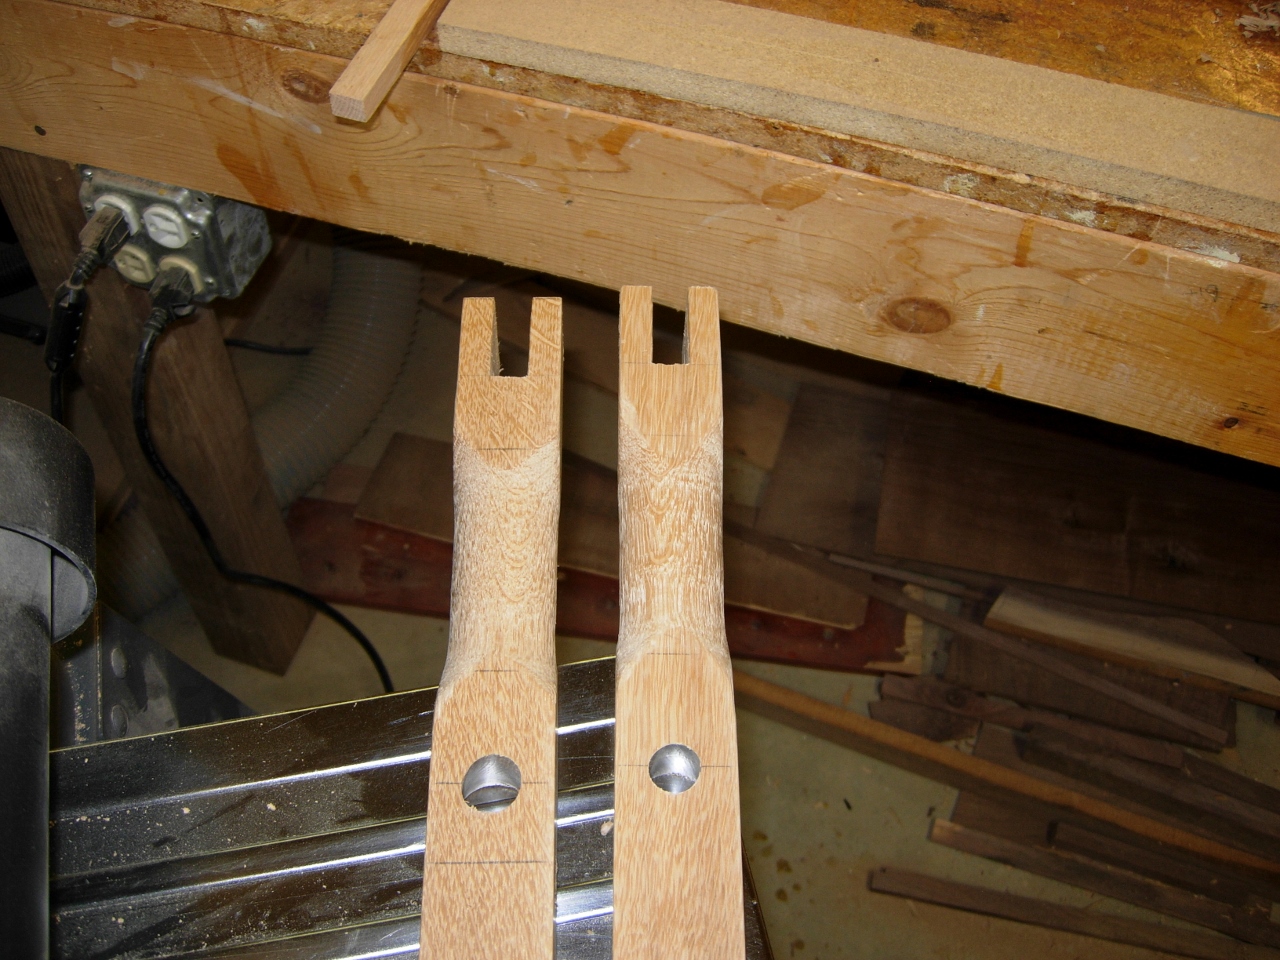
Legs complete
I assembled the arm to the chair and tried it out. I was happy with the fit, so I grabbed the second blank and used the first arm as a pattern for the second. I repeated all my cuts and shortly had two arms.
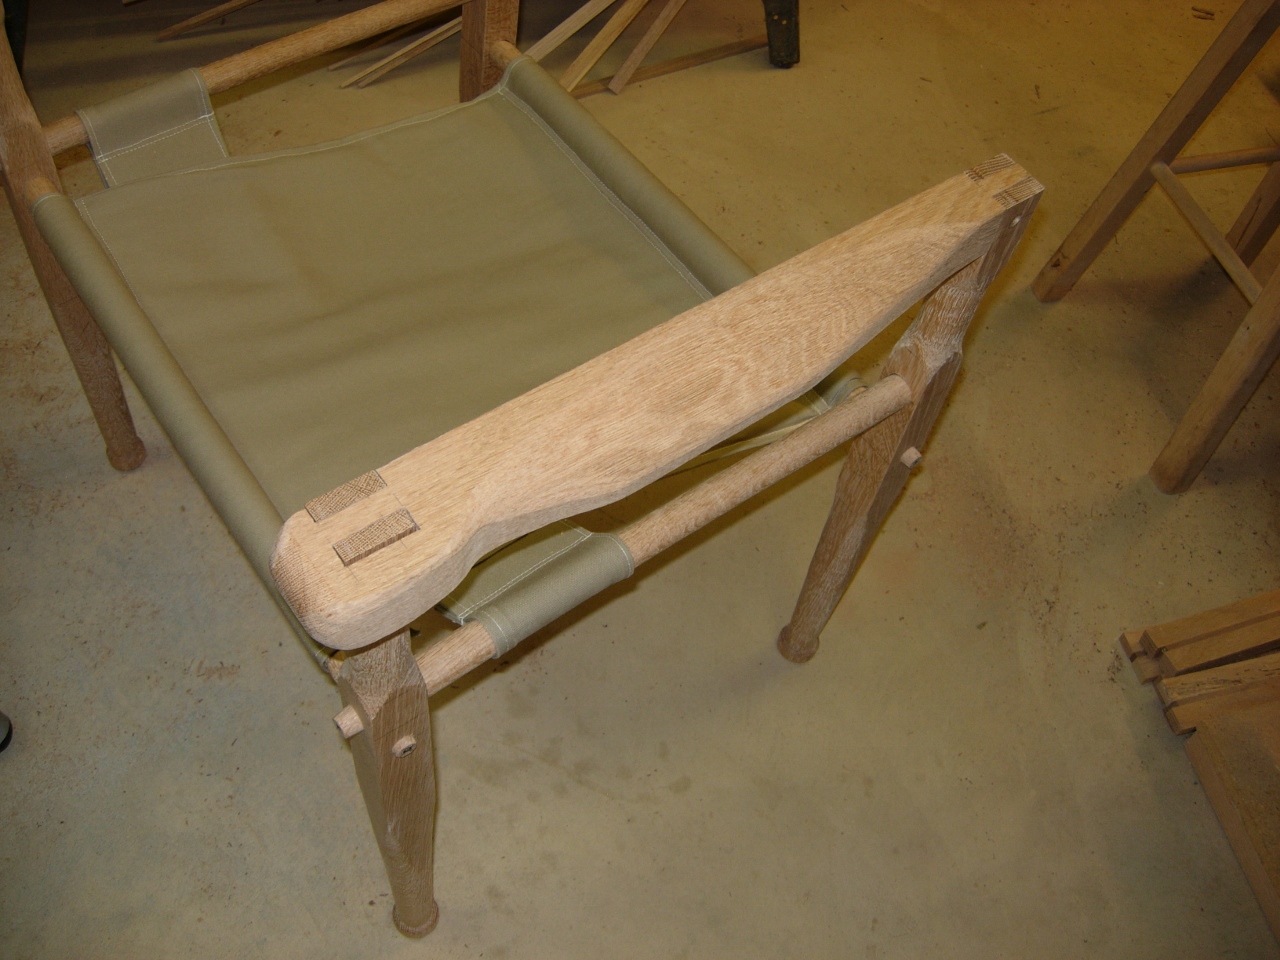
Arm installed
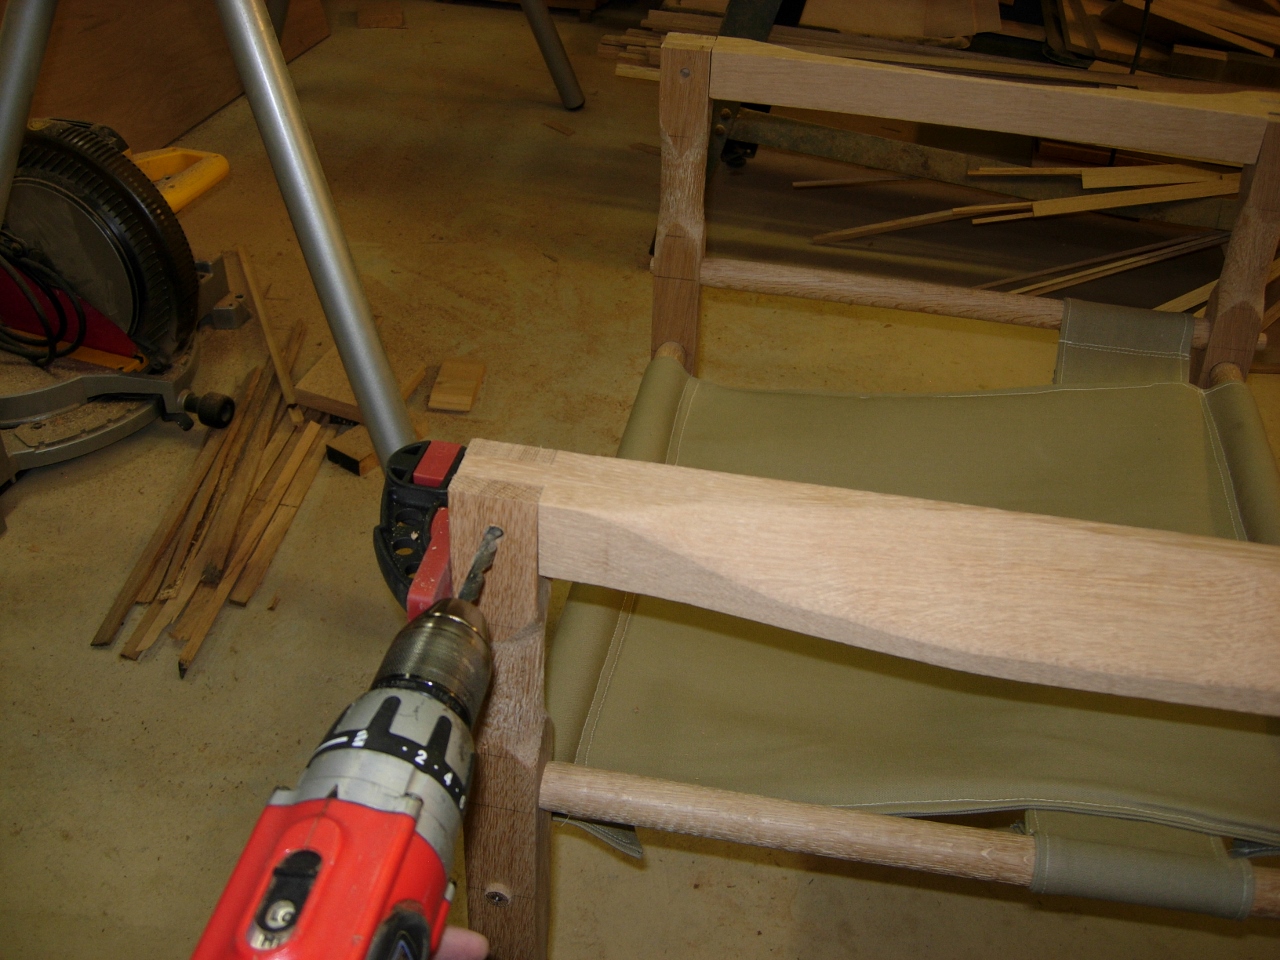
Drilling the pivot hole through the arms
I clamped the arms in place then drilled out the pivot hole for the back.
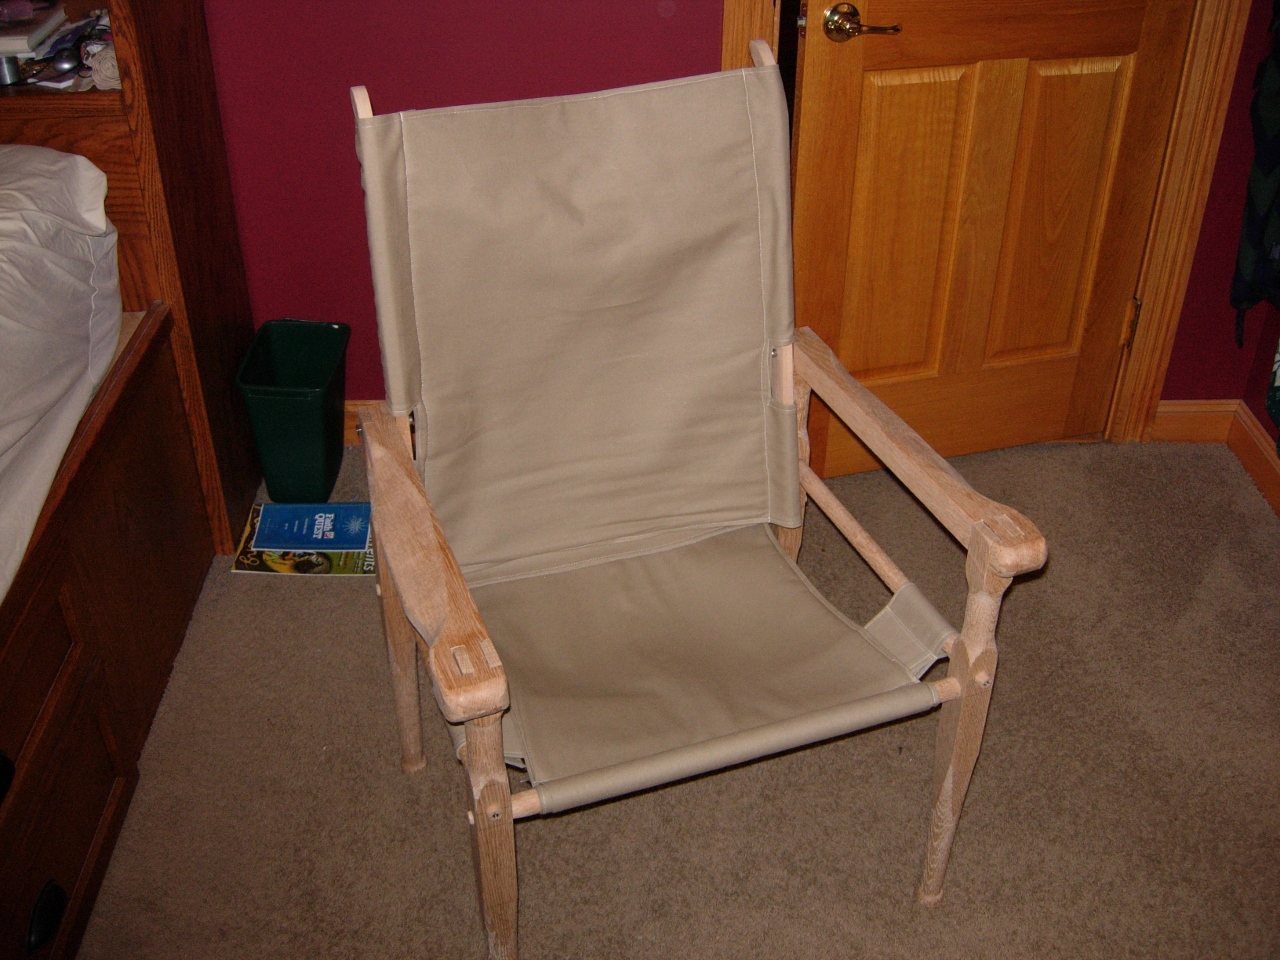
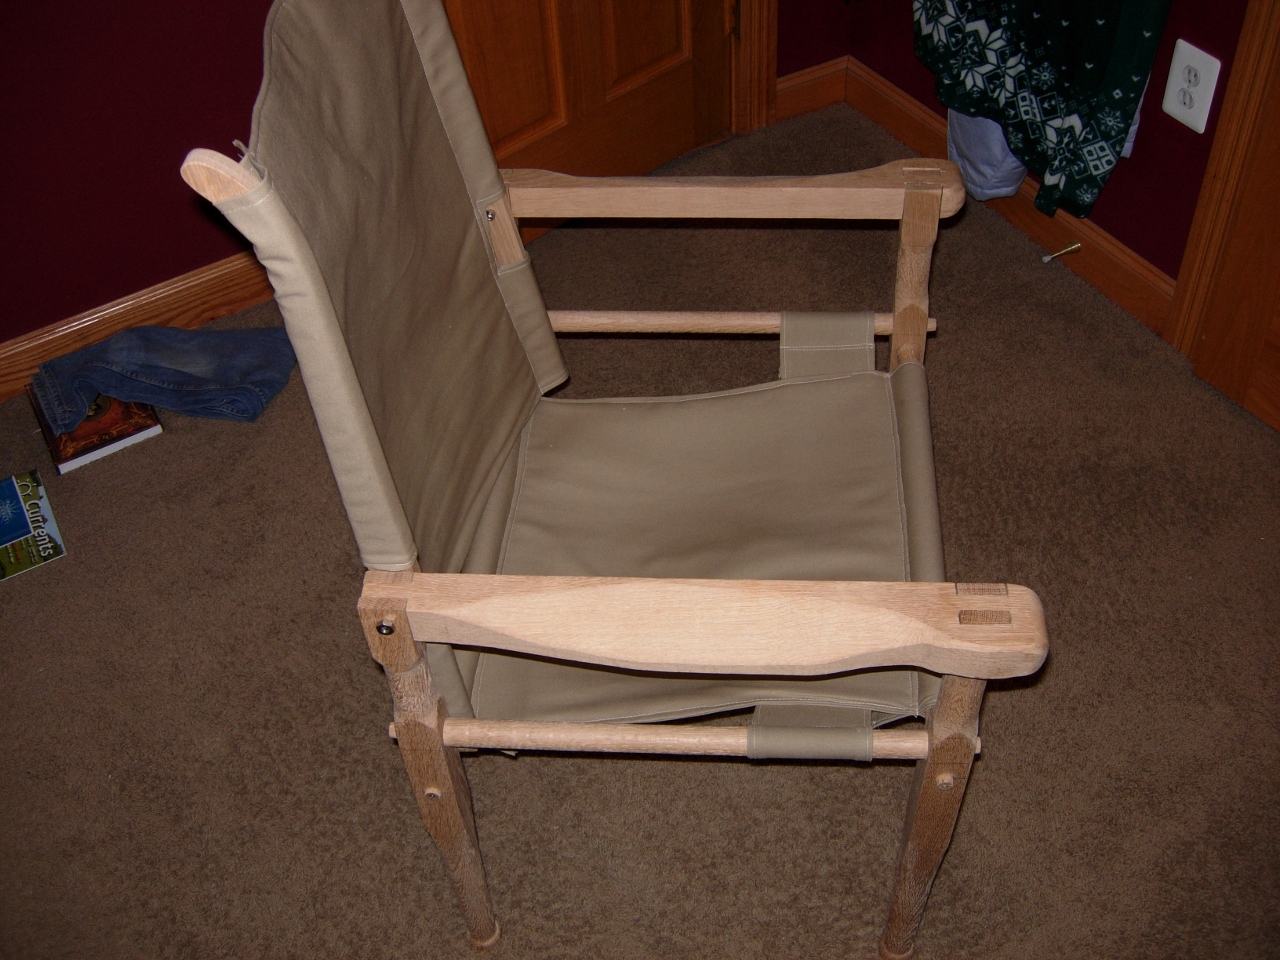
Chair assembled
I re-assembled the chair and took a brief test drive. The arms are as comfortable and supportive as I had hoped. The only problem I see now is that my head is not as supported as I would like. Maybe I can talk my wife into making a pillow from my scrap fabric. Oh well, it’s after midnight again, so I am off to bed.
Arm installed
