
Adam’s new shop stool
We made a quick project today. Adam wanted a stool to use in the shop at his work bench. We started out by coming up with a master plan that would utilize my growing pile of scrap.
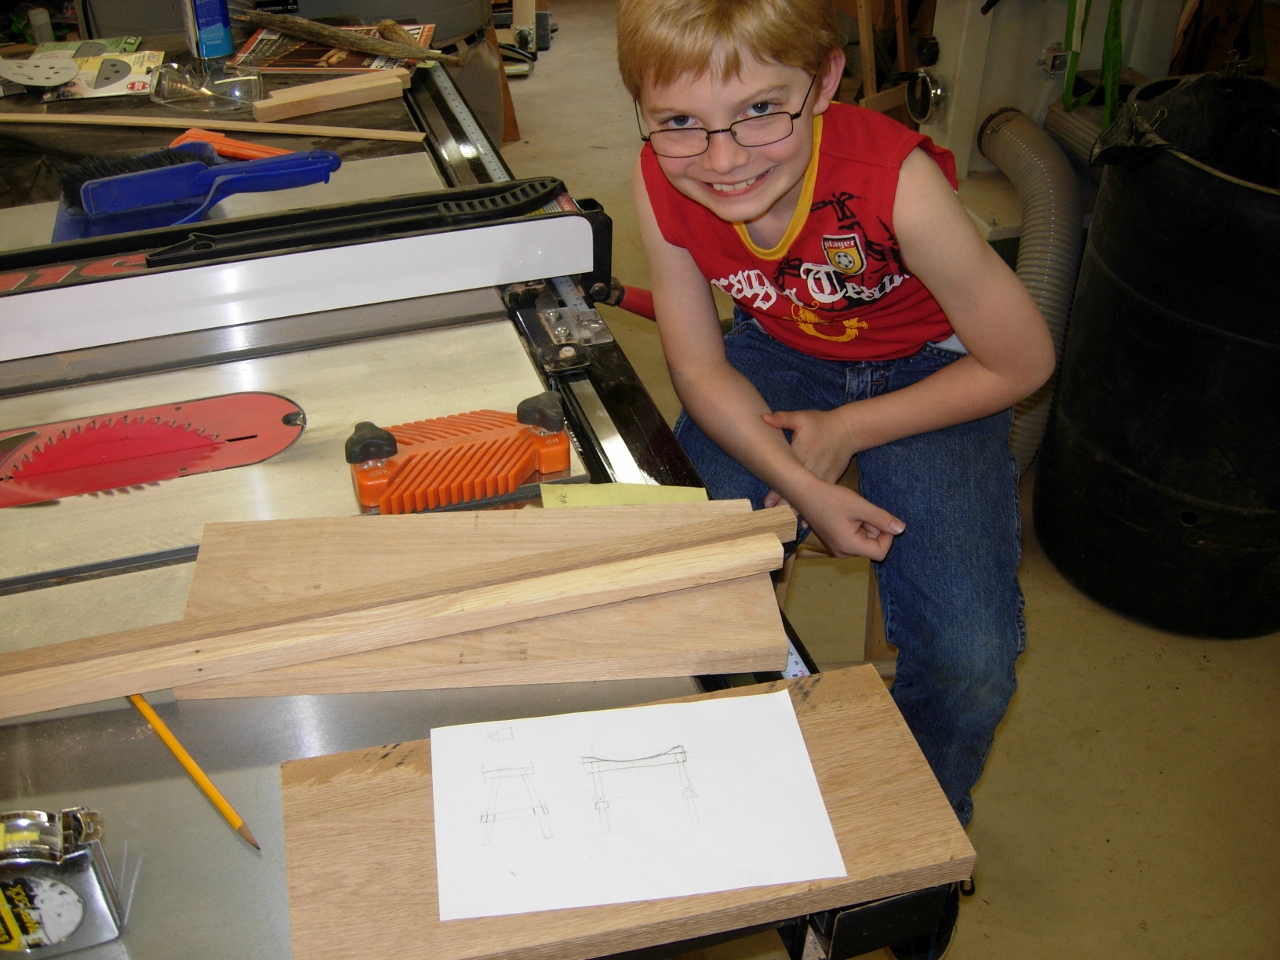
The master plan
The size of the seat was determined by the first 6″ wide piece of scrap I came across. It was about 16″ wide. I wanted the legs to angle out to give stability to the stool, so I grabbed a couple of scrap pieces that were 3/4″x3/4″ and measured across the corners to see what size holes to drill. A 1″ diameter hole was the closest. We blocked up one side of the backer board and clamped it down.
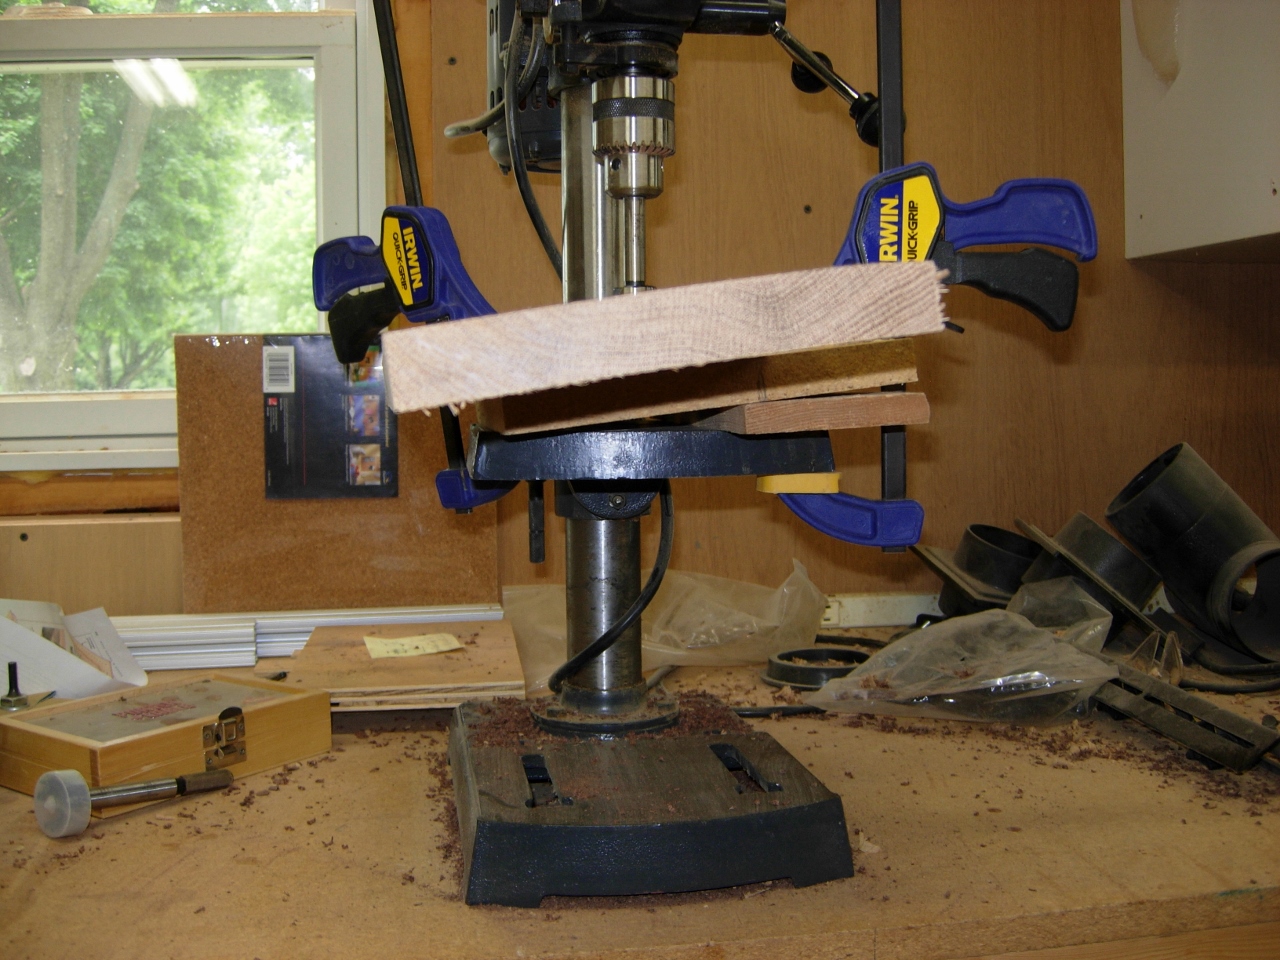
Setting up for drilling angled holes
Then we clamped on the seat. The angle was random, but we took care to repeat it for each corner. We drilled all the way through the board.

Drilling the first hole

Drilling the last
After the holes were drilled, we determined the best height for Adam (about 21″) and cut the legs to that length.
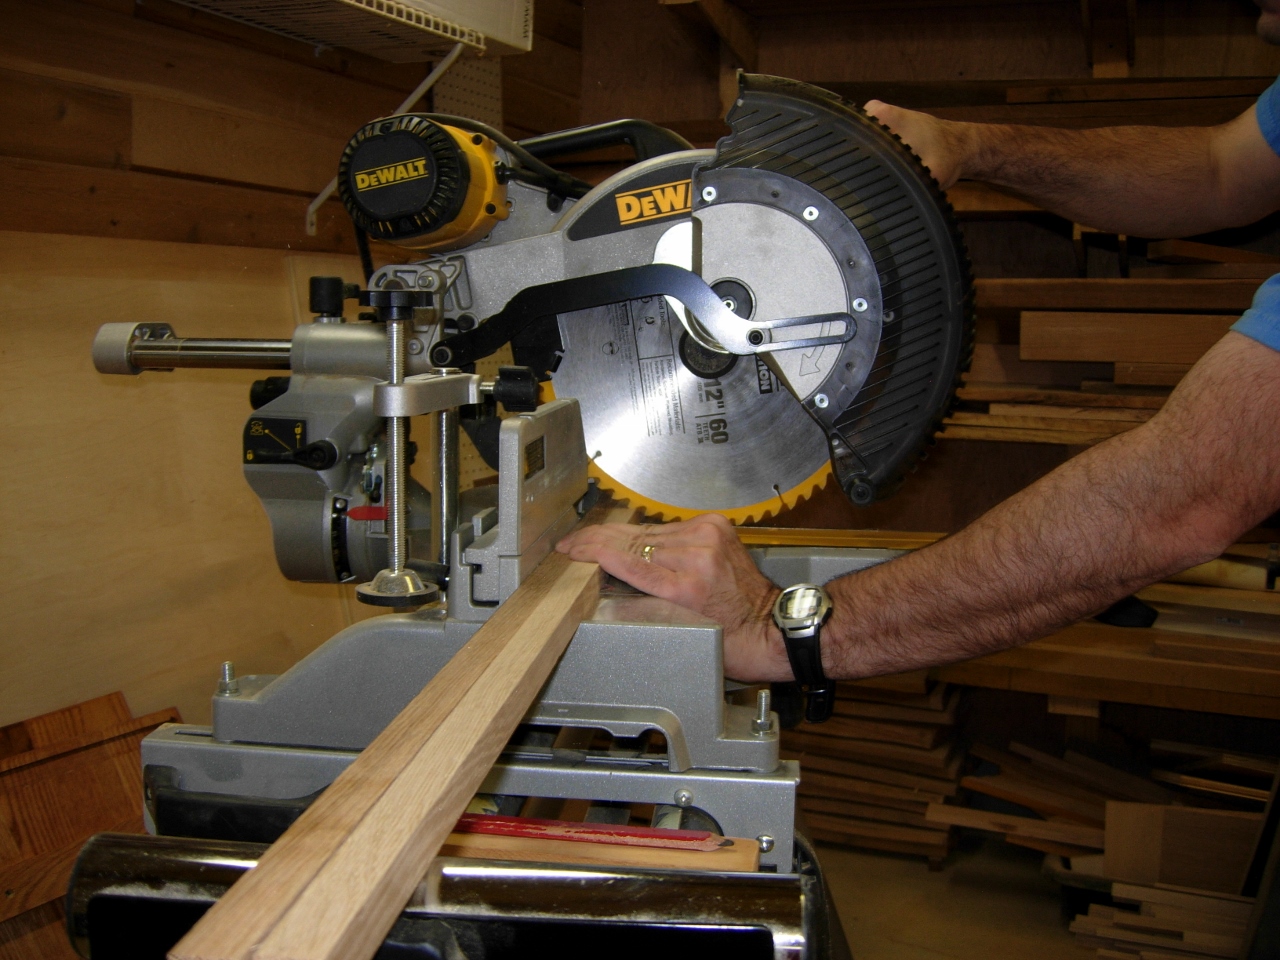
Cutting the legs
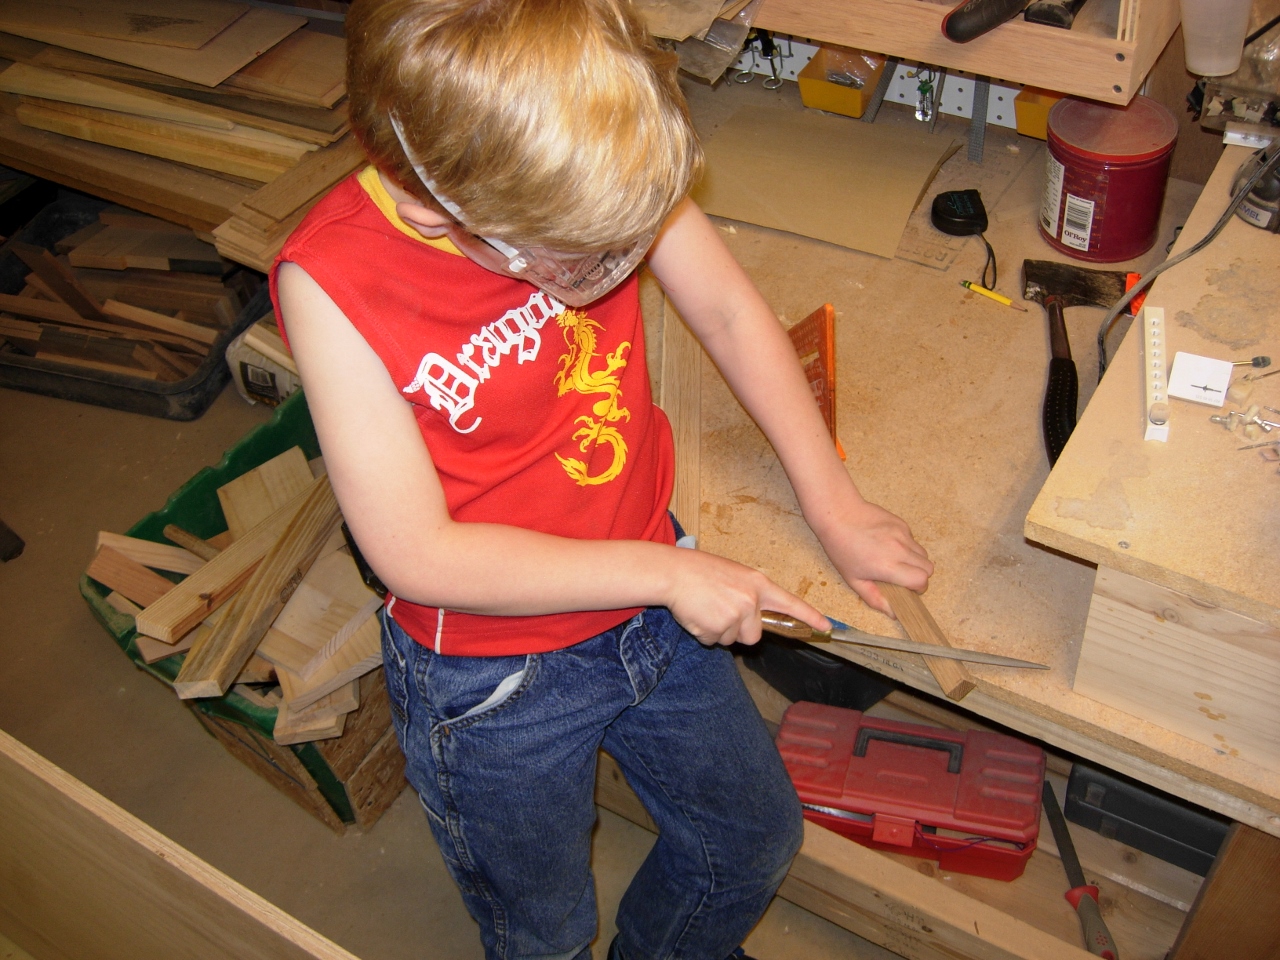
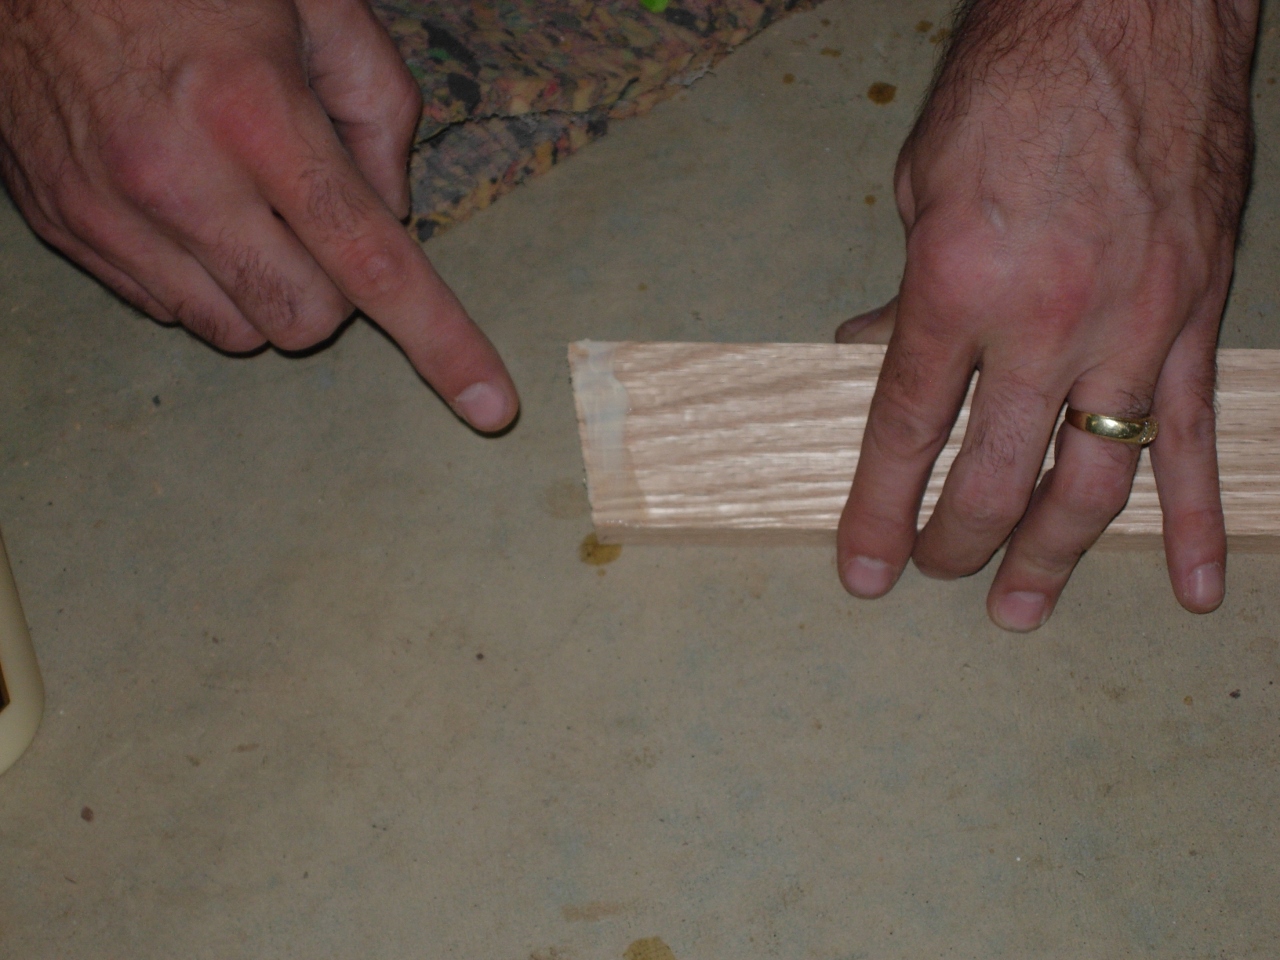
Taking the corners off the leg ends
Since the legs were slightly too large at the corners to fit in the new holes, Adam took a rasp to the last inch or so. We then pushed the legs through the holes to test them out. They fit fairly snug, we were happy.

Fitting the legs

Applying glue to the bottom half of the seat
The reason we drilled all the way through the seat board was because we planned to laminate a second layer onto the top.
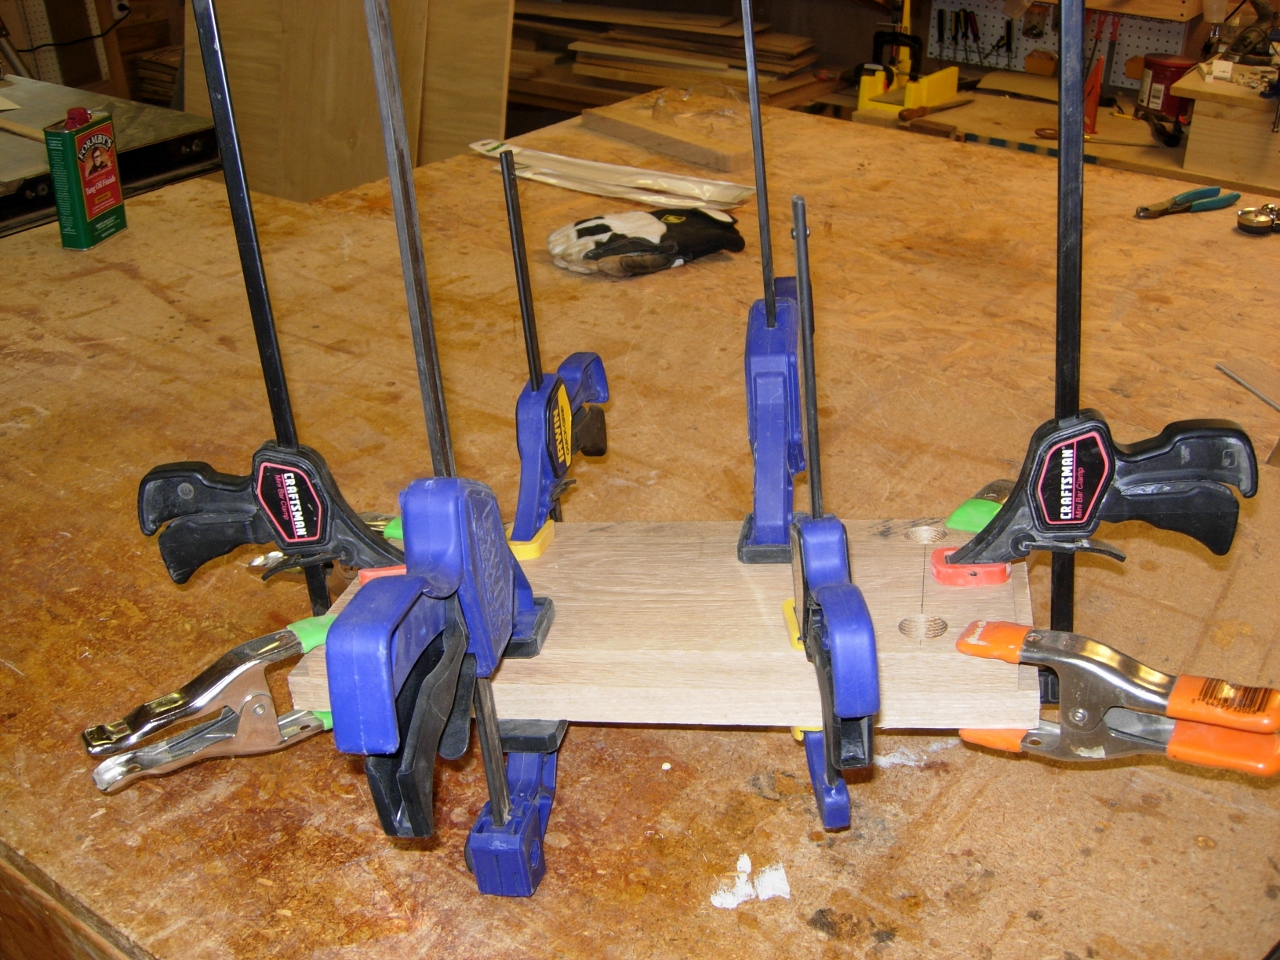
Glueing up the seat

Cutting the angle on the side braces
While the glue was drying on the seat, we reassembled the legs and determined what height and angle we wanted for the lower braces. We held them about 6″ off the floor. After marking the side spacers, Adam cut them down on the bandsaw.
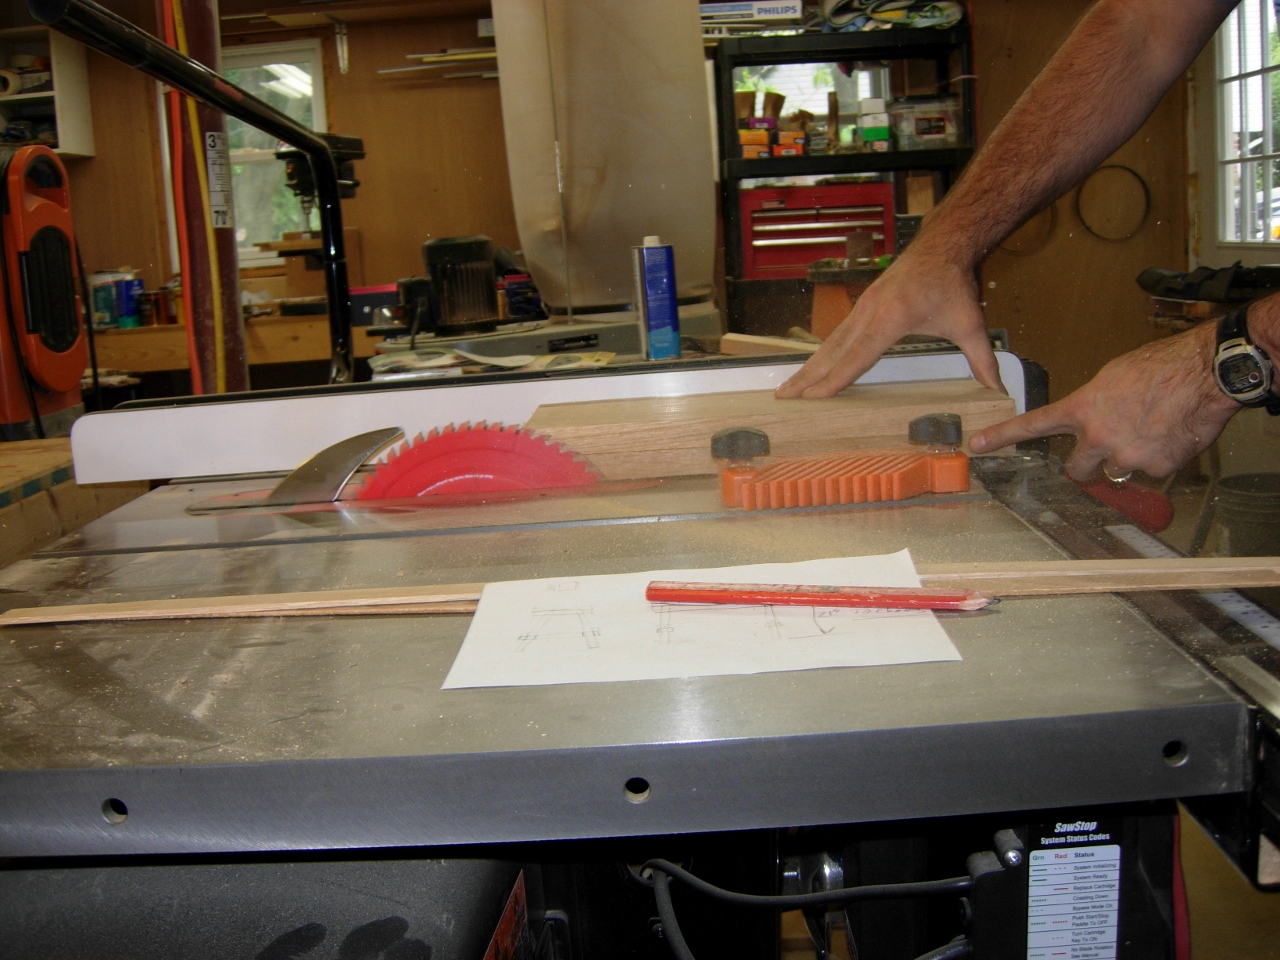
Cutting the seat sides flush
After an hour or so, the glue was dry enough to continue working on the seat. I cut all the sides flush on the miter saw and the table saw. Next I laid out the arc that would define the curve of the seat.
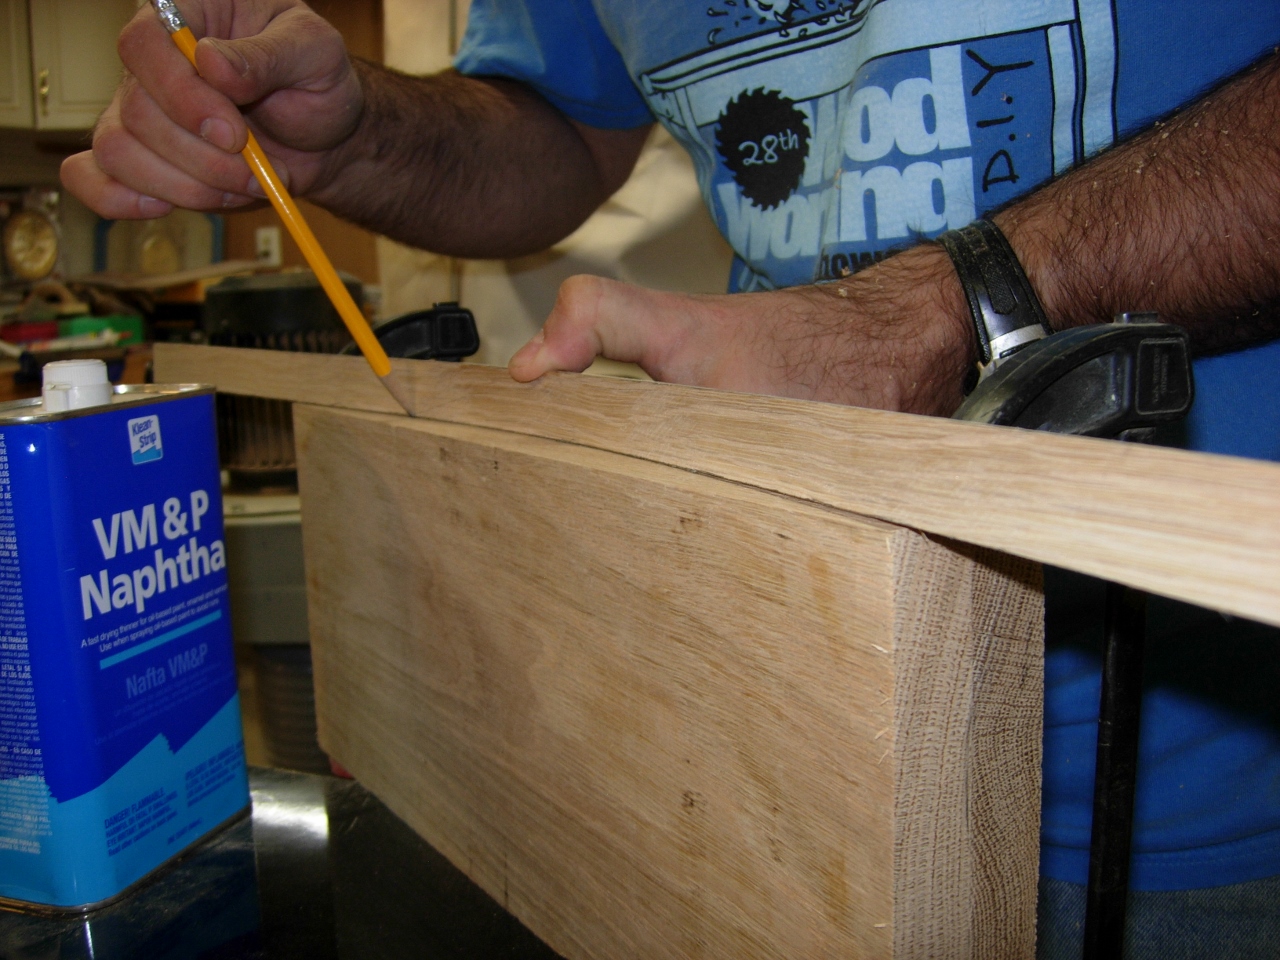
Marking the arc of the seat

Cutting the curve on the bandsaw
The curve was cut on the bandsaw, then sanded down with my orbital sander. I only used 80 grit paper because this is a shop stool. I don’t think we will even finish it.
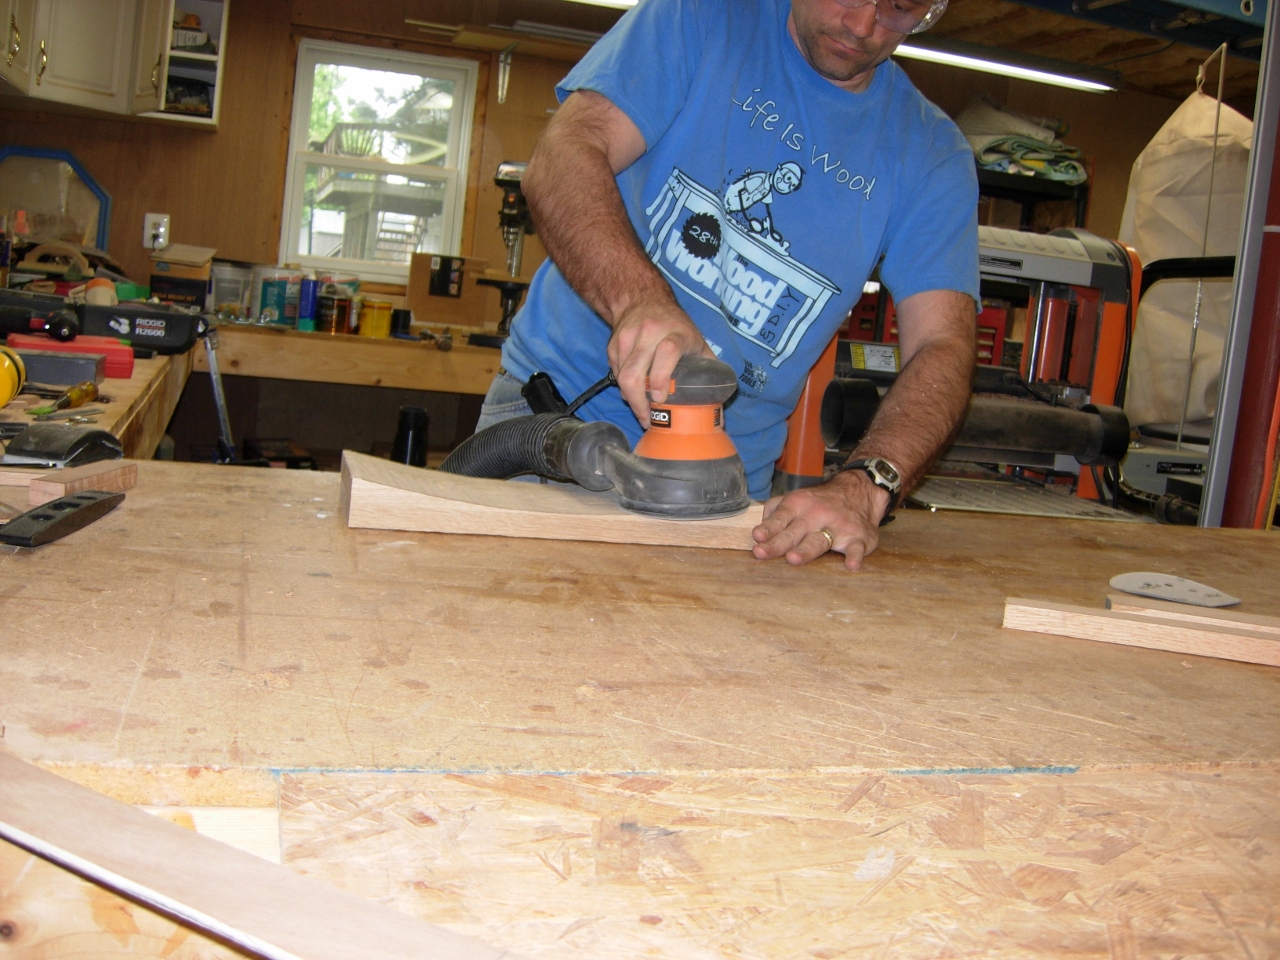
Sanding the seat curve
Applying glue to the side supports
With the seat done, I applied glue to the side supports. I set them on the 6″ spacers and spread the legs to clamp them in place.

Setting the height with a spacer block
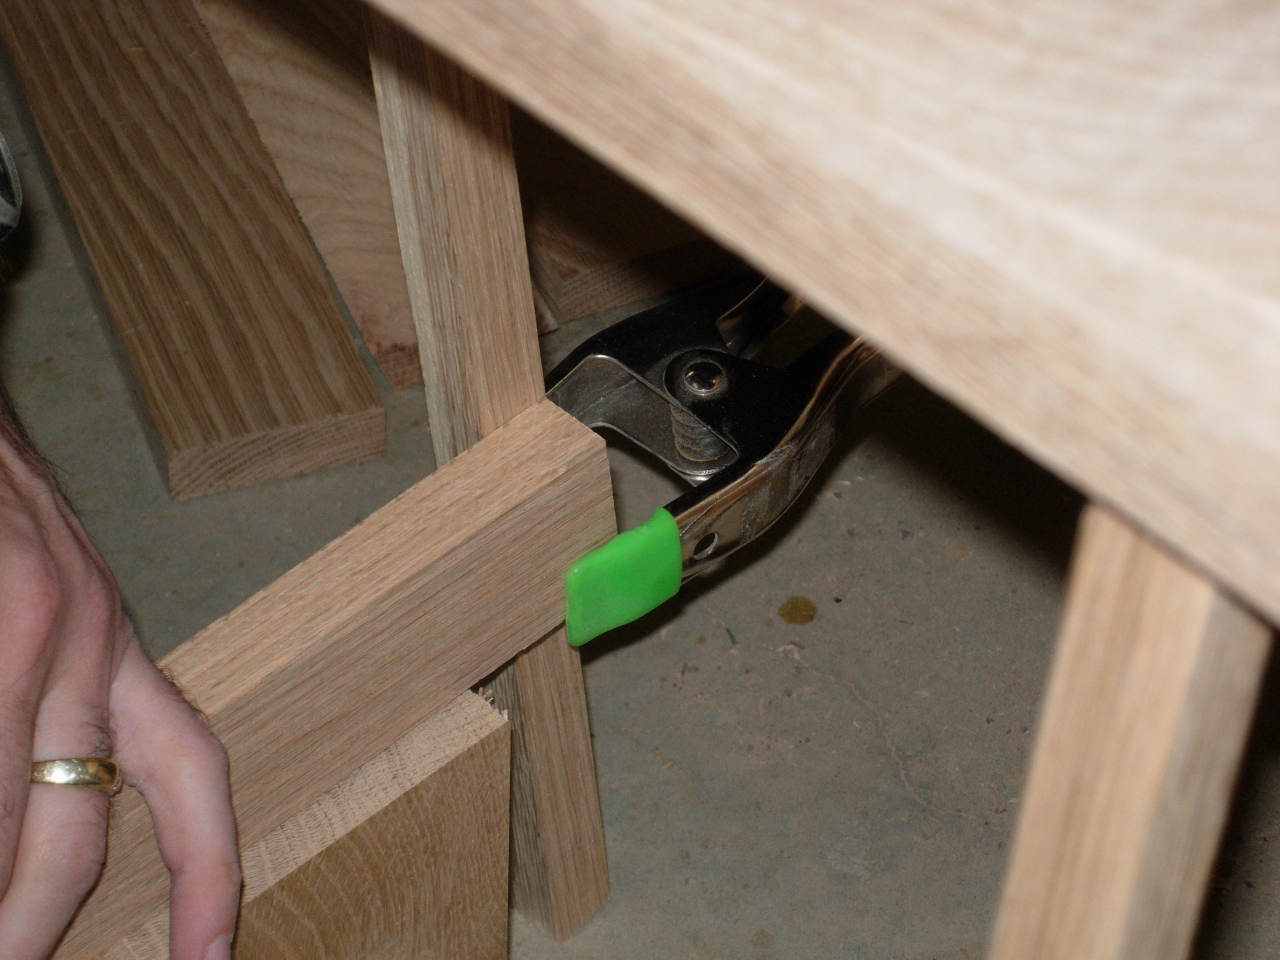
Clamping the supports
When they were clamped, I got out my nail gun and shot a couple of 1-1/4″ brads in to hold the braces till the glue dried.

Nailing them on
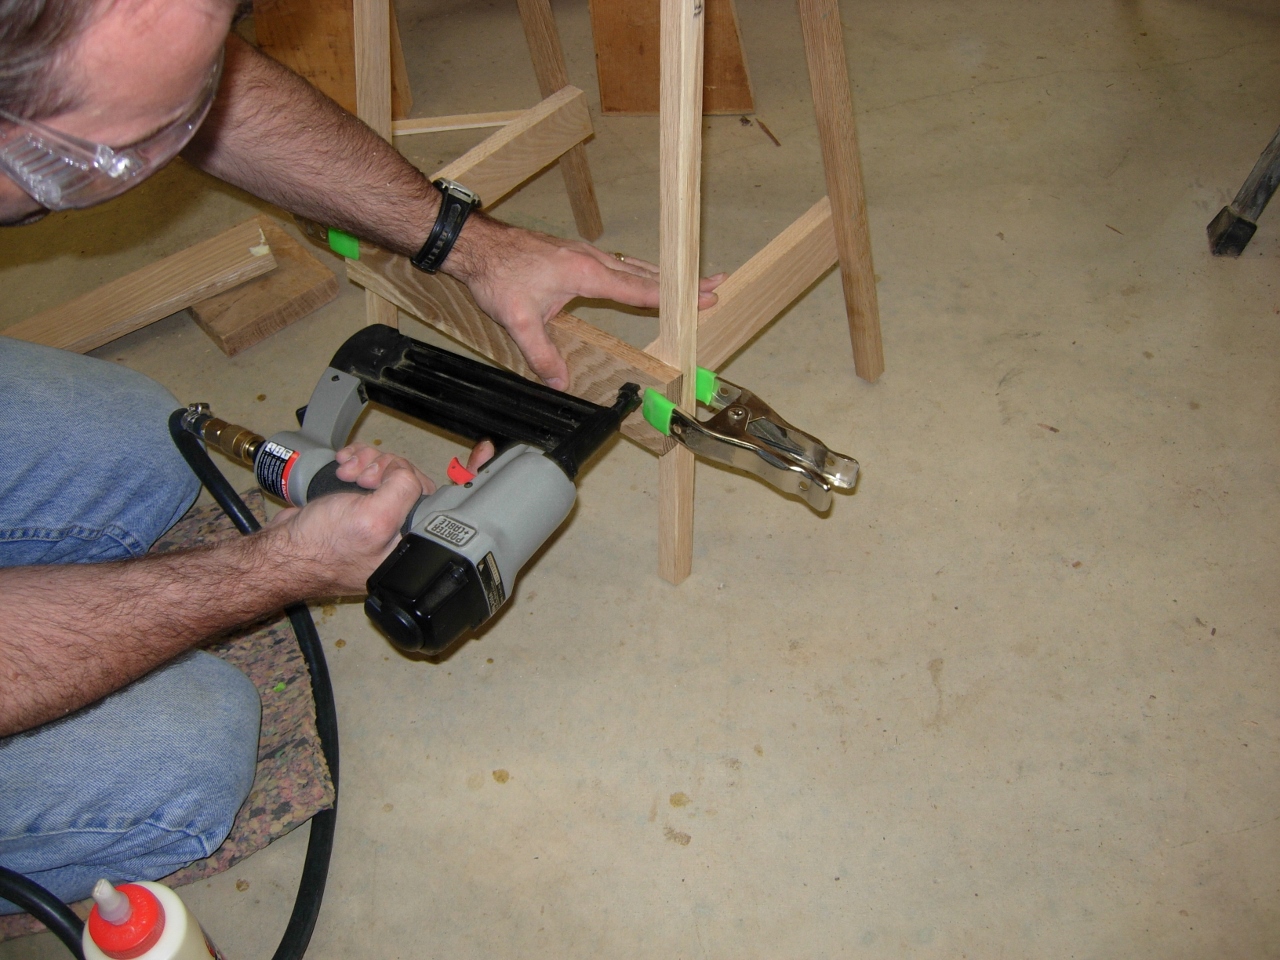
Nailing on the front and rear braces
The front and rear braces came next. We spread the legs about 2″ wider than vertical in the hopes that this would prevent sway.
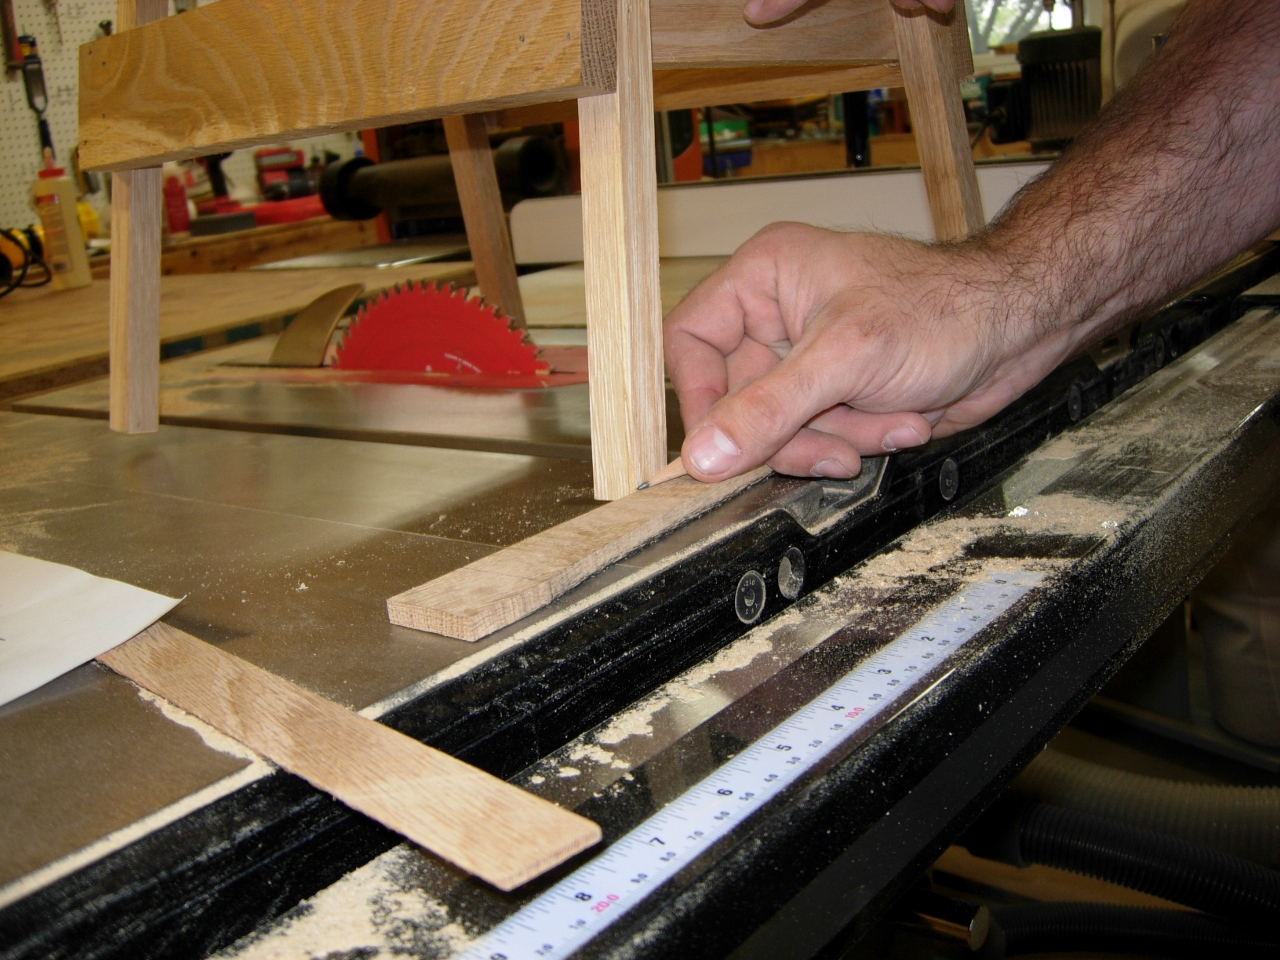
Marking the legs
With the assembly complete, I stood the stool on my table saw and marked about 1/2″ up the legs to get a level mark all the way around. I then took my small Japanese saw and cut the marked ends off.
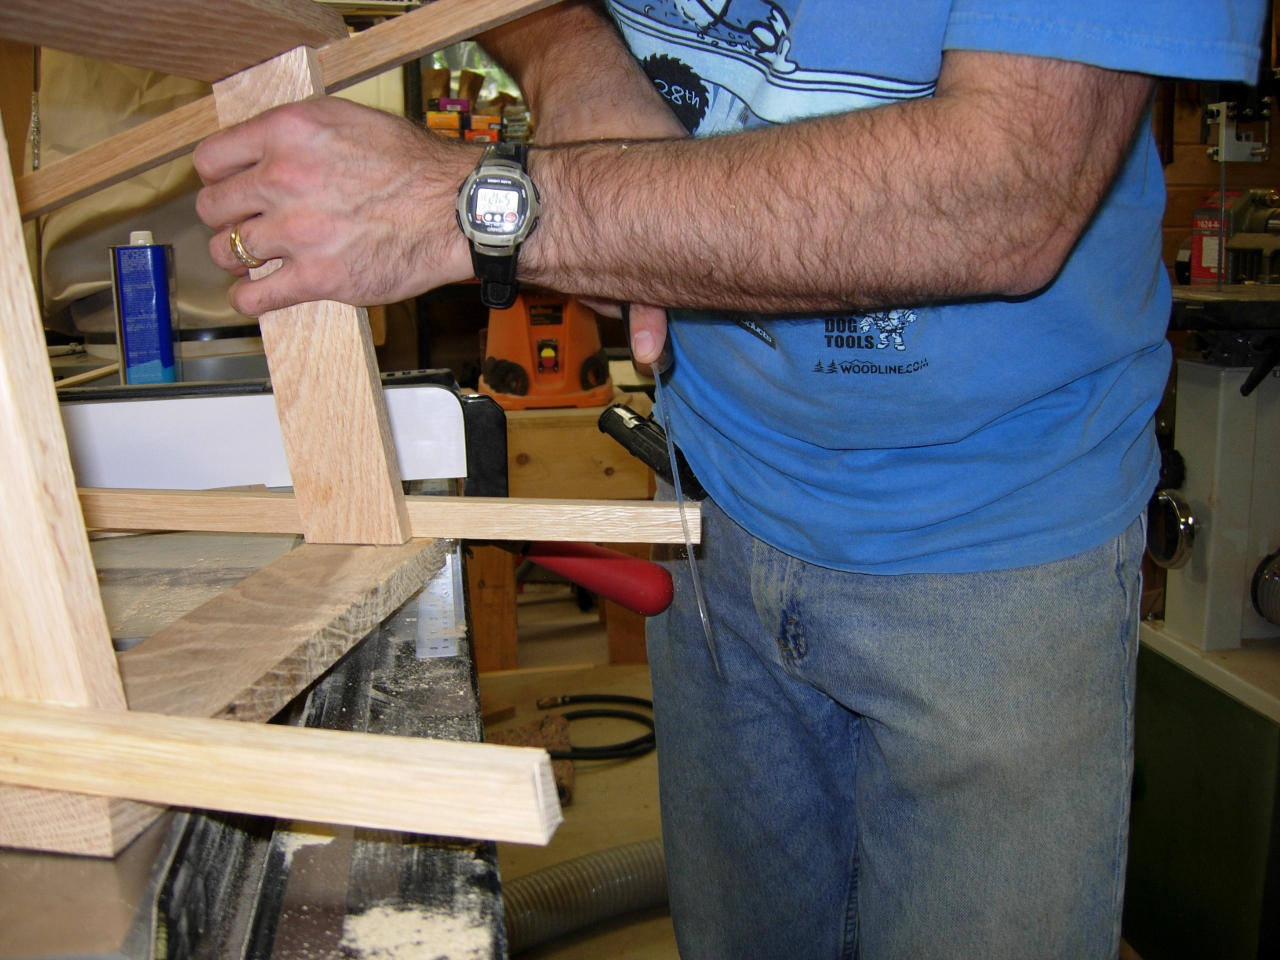
cutting the legs even

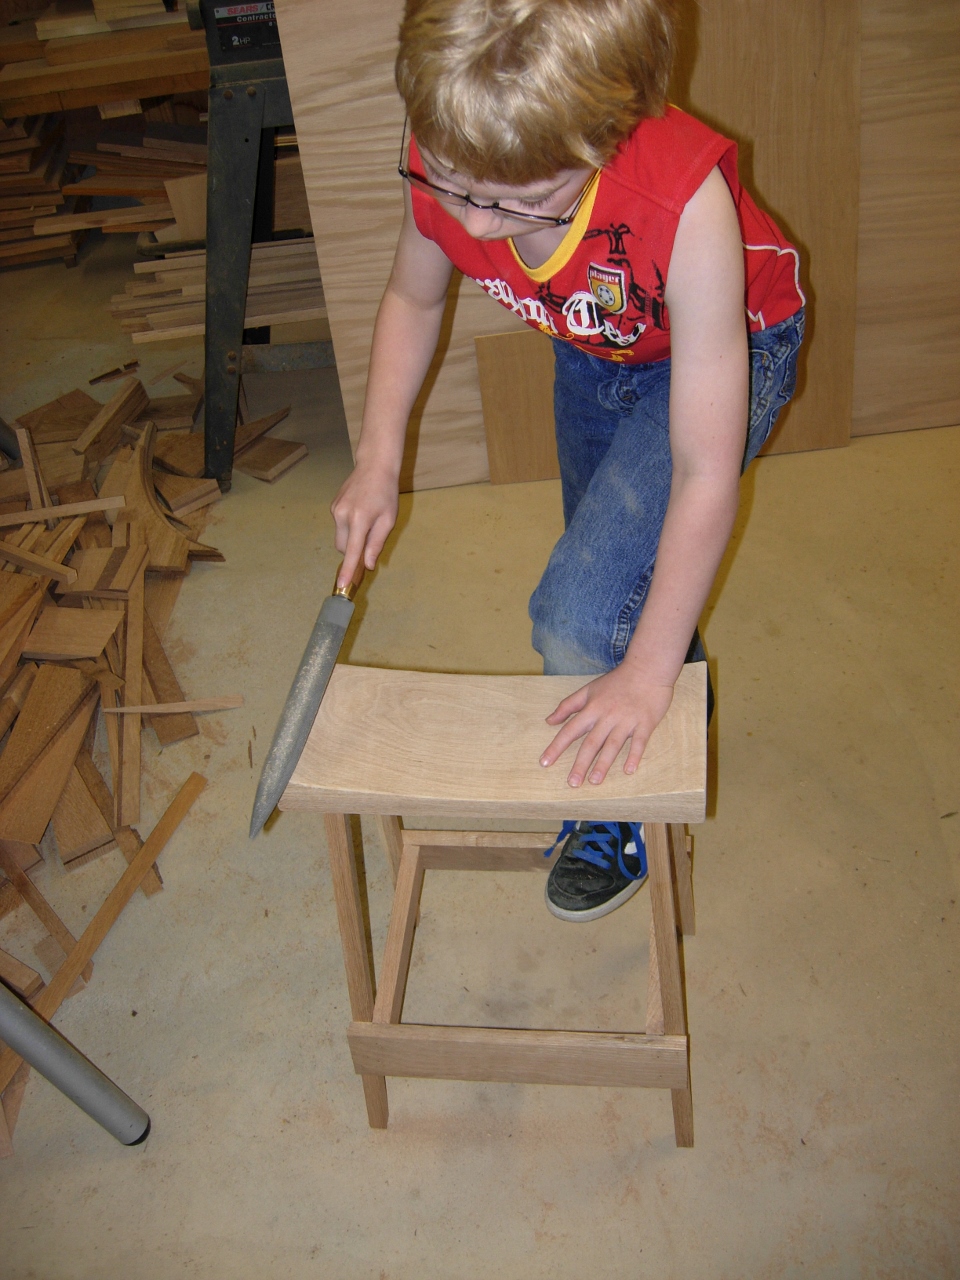
Testing the stool
After Adam load tested the stool, I handed him my new Auriou rasp to round over the edges.
Radiusing the edge
Adam then gave the edges a quick sanding with 100 grit paper on his sanding block.

Final sanding
Please keep in mind that I am only planning for about a 60 pound load. I was not expecting this quickly assembled pile of scrap to support my 200 pounds with any large amount of stability. I was surprised when I tested it and found that it didn’t move at all under my weight. I chose the square legs to go into the round holes because I knew they would be easier to keep square. The seat shouldn’t come off because of the angles of the legs, so it seems that Adam and I came up with a good design.

great stuff. the only thing i see as a problem is no gauntlet in the kids size. i’m glad dad is teaching shop safety.