
AJ’s custom Stratocaster – day 3
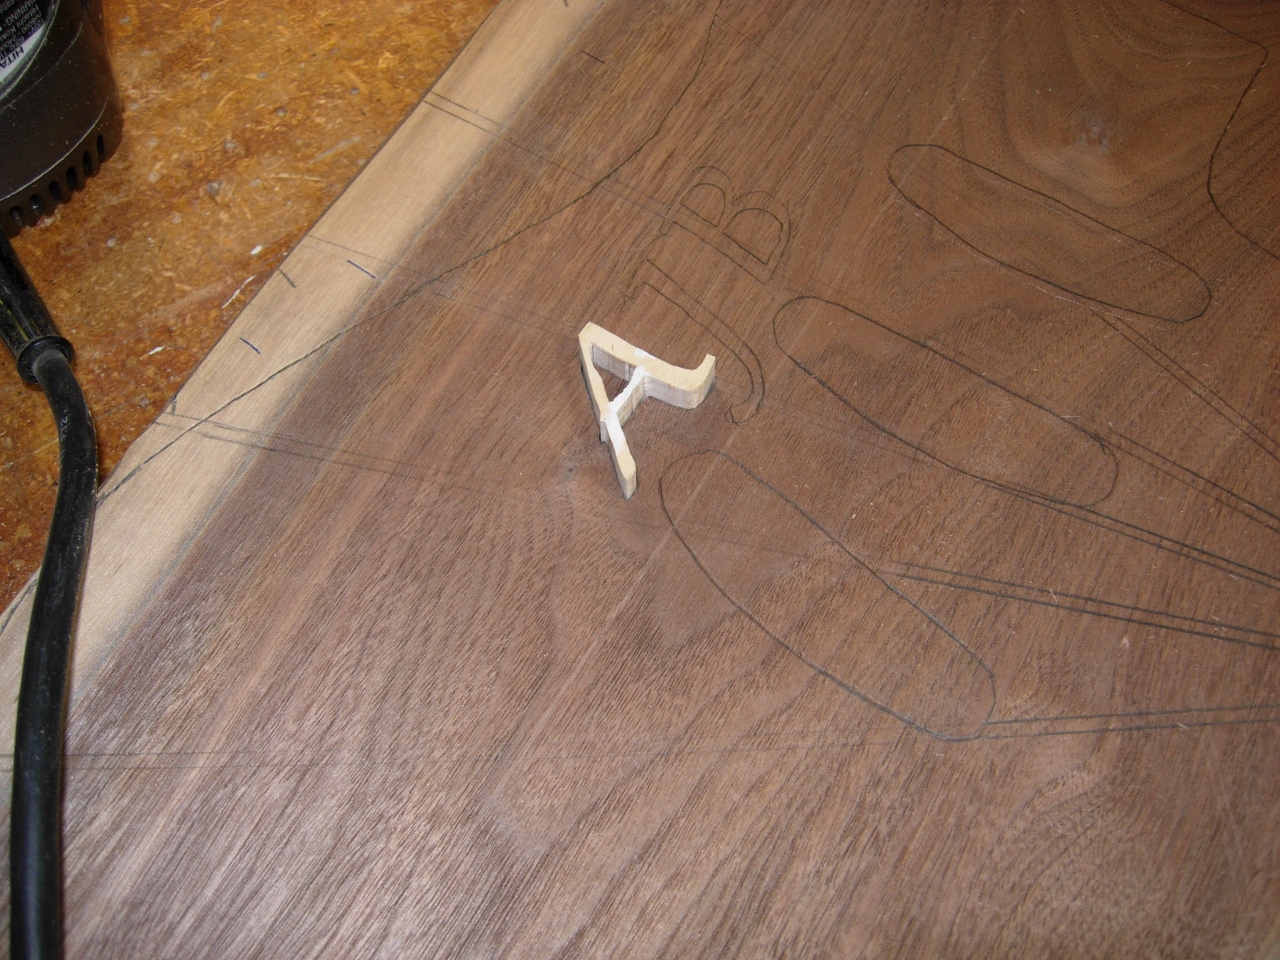
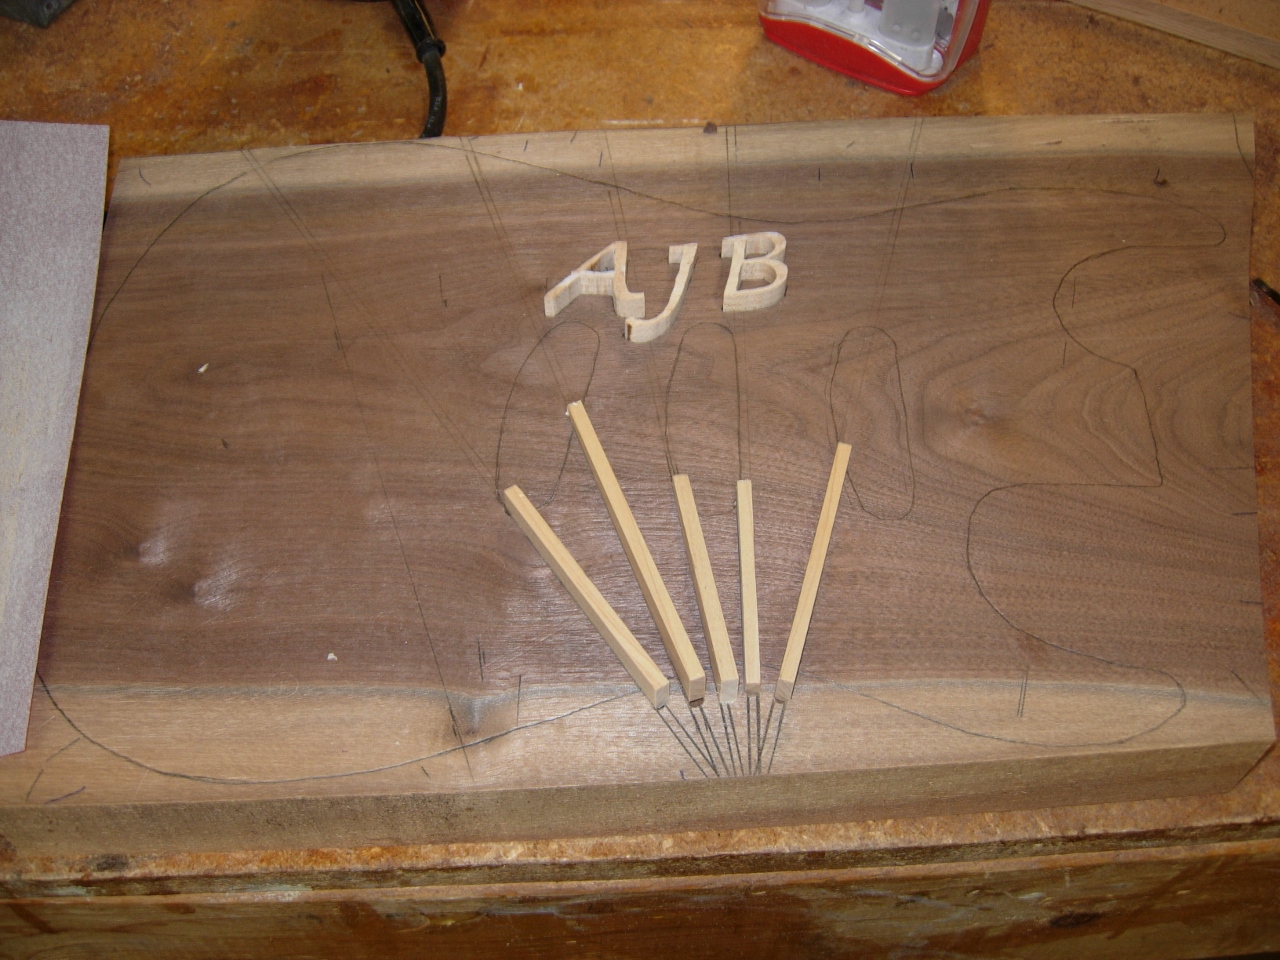
I am juggling a few projects these days. While I am waiting on hardware for the cabinet, I will jump back on to AJ’s Strat. I had planned to run five rays of maple across the body, but AJ wanted to personalize the guitar a bit more, so I am adding his initials. I felt pretty confident inlaying straight lines, but letters are something new for me. I cut them out on the scroll saw a week or two back. I laid them on the body where I intend for them to be, then I traced them with a fine pointed pencil to get as close as possible.

Traced the letters
I intended to cut the letters out with my 1/16″ straight bit, but it decided to quit on me and broke off on the very first cut.

The 1/16″ bit I intended to use…
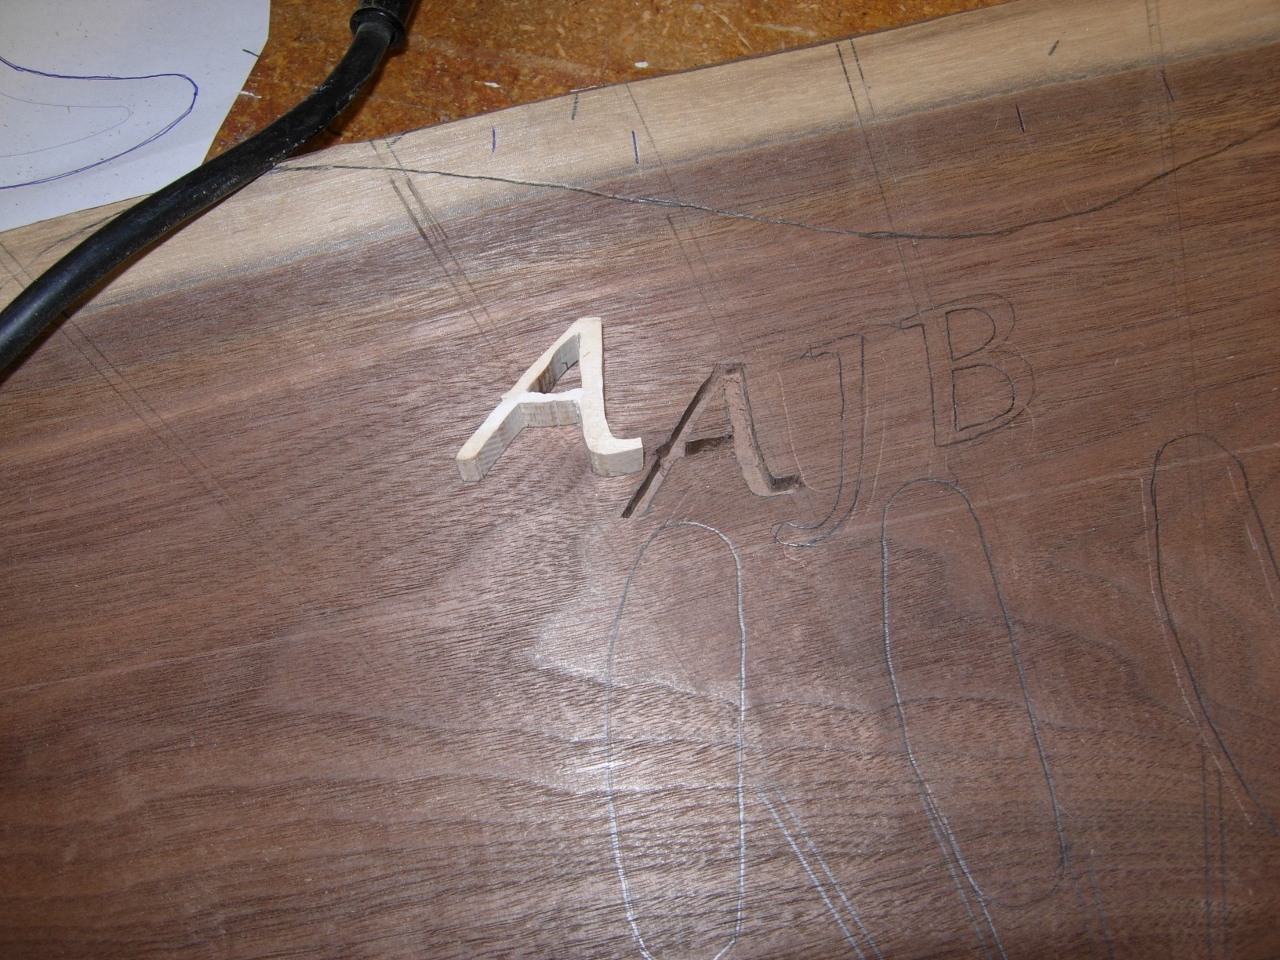
I bumped up to my next smallest bit, 1/8″. I took my time and followed along inside the lines of the letter. The letters were cut thinner than 1/8″ in some places, but I don’t think the gaps will be too noticeable.

Routing out the letters with a 1/8″ bit instead
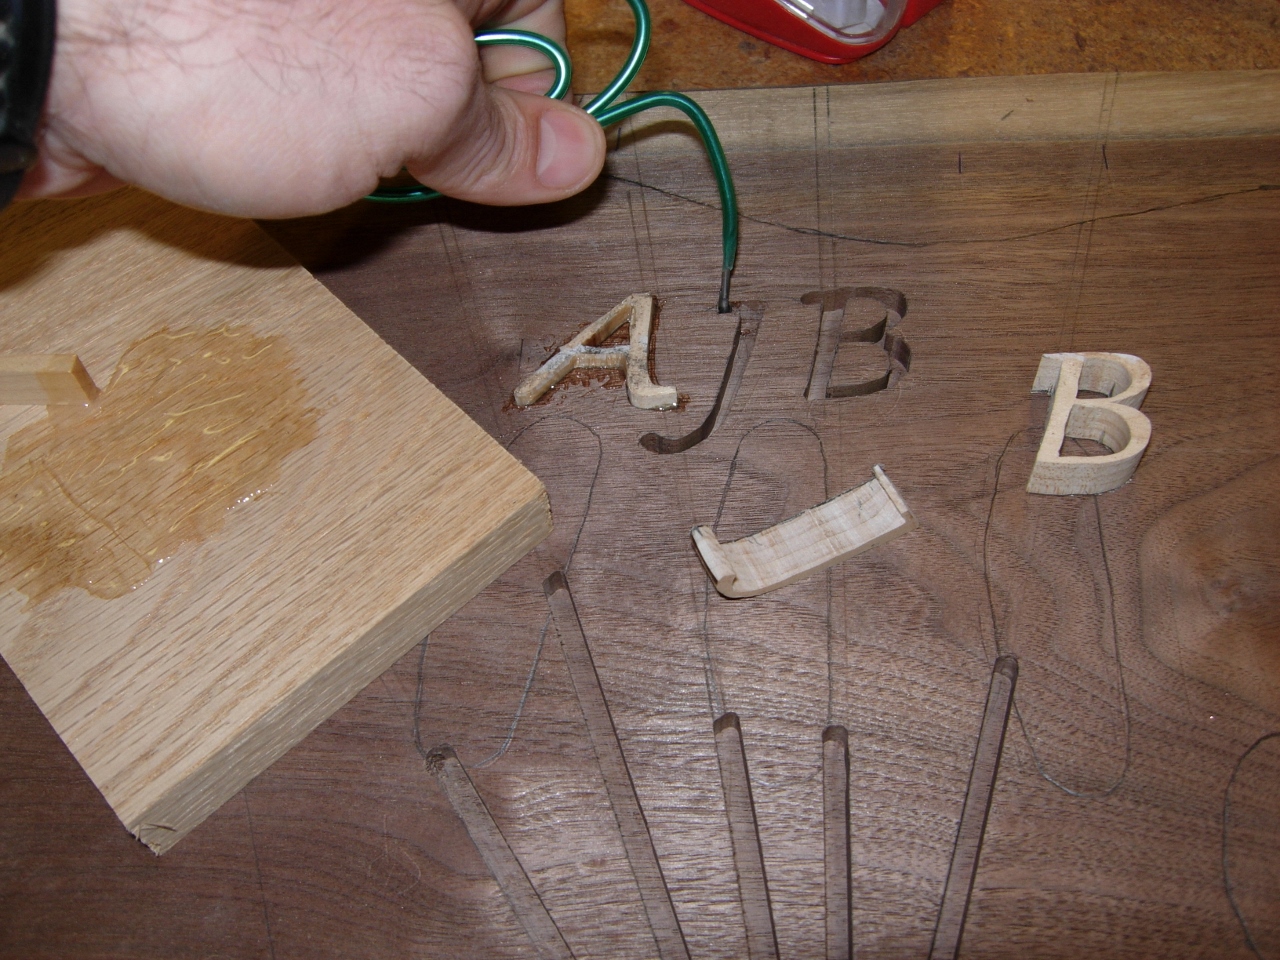
With the first letter cut, I did a dry-fit.
First letter dry-fit
Normally, when you inlay wood, you don’t go too deep. I have to sculpt curves into the body so I sunk the letters in 3/8″ so that if I needed to cut down an edge near a letter or a ray, there would still be maple showing.
Letter next to the routed “A”
I don’t know why, but after the first letter, I decided to cut in the rays next. This was accomplished by clamping a straight edge parallel to my ray location. Then I just needed to run the router along the straight edge. I decided to shoot the ray 1/2″ past the edge of the guitar body so I wouldn’t damage the groove while removing the router.
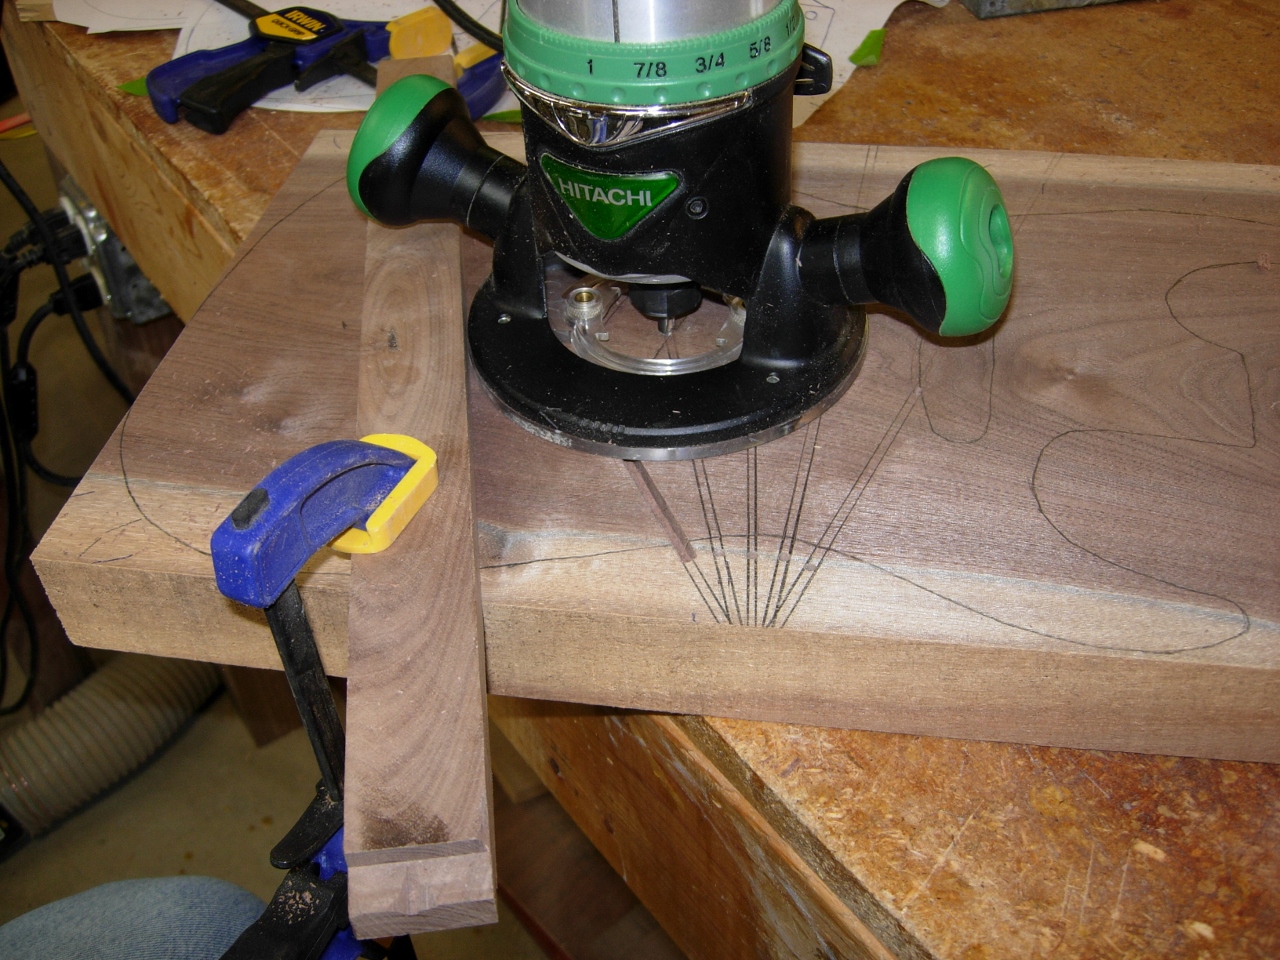
Routing the rays

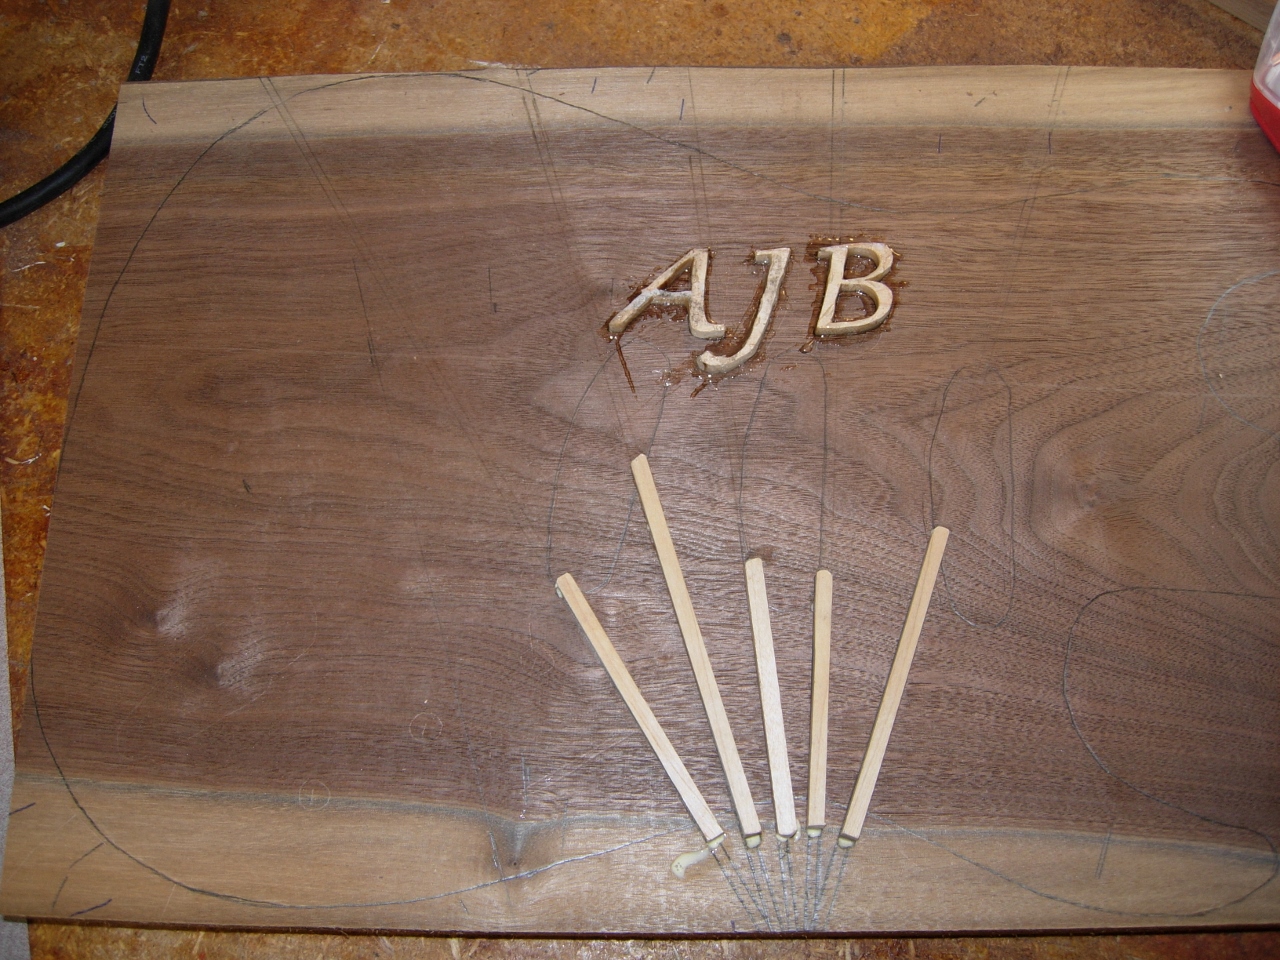
Everything routed out
With the rays done, I finished cutting out the letters. The “B” had some thinner parts so it will definitely have some small gaps.
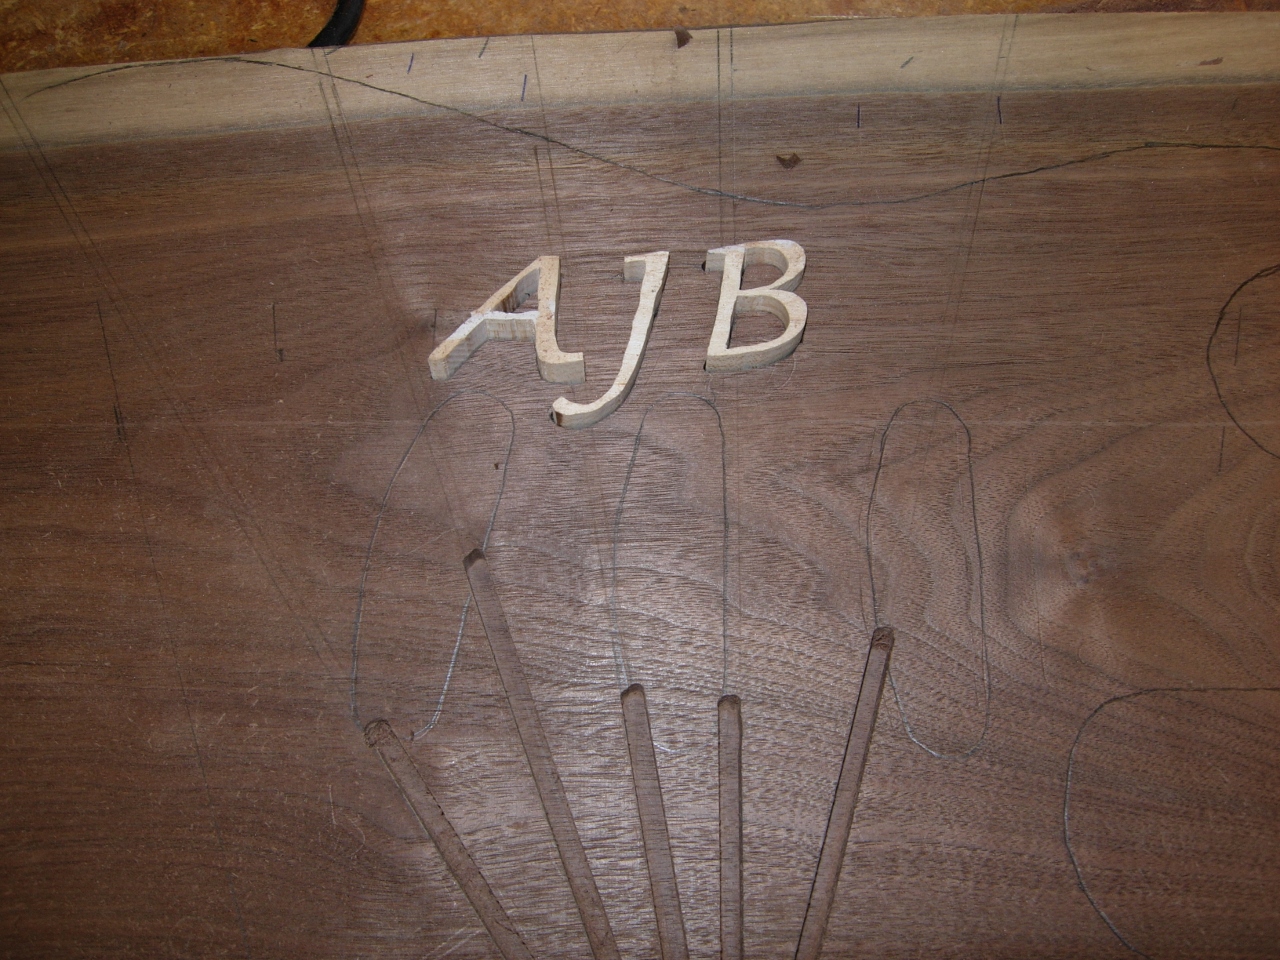
Test fit letters
Test fit rays
I decided to use my 2-part epoxy on the letters. Since I am finishing this with a clear coat, when finished, the clear epoxy should fill the gaps without affecting the look of the finish.

2-part epoxy
My applicator needed to be thin but stiff so I snagged an old piece of wire clothes line and shaved off the plastic. It worked well, I was able to spread the epoxy evenly.
My fancy epoxy applicator
I pressed the letters into the epoxy and set them firmly in place with a hammer.

Letters laid in
The rays were easy to make tight, so I switched over to wood glue to hold them in. The epoxy sets in five minutes. The glue is easier to work with. I cut off the epoxy coated end of my applicator and used the new, plastic coated, end to apply the glue.

My fancy glue applicator
The rays were set in place with a hammer as well. The squeeze-out was only at the ends so it won’t affect the finish. I made sure the rays would end under the cover plate for the pick-ups so it wouldn’t look weird.
Everything glued in place
With everything drying, I will give it a day or two then figure out how to plane or sand down the excess maple, now sticking up out of the guitar body…

Waiting to dry
