
AJ’s custom Stratocaster – day 1
While I am working on the cabinet and starting to come down with a cold, I want to put a little time into another project for a fellow at work. He wanted to know if I could build him a modified Fender stratocaster guitar. I figured that I would at least try to find a piece of wood that would suit the project’s needs this weekend. He originally wanted mahogany, and for me to stick as close as I could to a classic 1959 model, but the more we talked, the more little tweaks he wanted. I spent some time this past week drawing up the new body. It will be narrower as well as a little more curvy than the original. We also decided to ditch the pick guard and mount the controls from the rear. I talked him into trying walnut, even though he wanted to use mahogany because it would be lighter. I figured that I had a pile of walnut, may as well try it. If it is too heavy, I can always make a second one and set the walnut one aside till I can afford parts to outfit it for one of my sons.

Which piece of walnut do I want?
The first step is to pull a piece of wood from the wood rack. Normally, that would be a simple task, but I wanted to use the piece on the bottom. This piece is just wide enough to make the guitar out of just the one board.
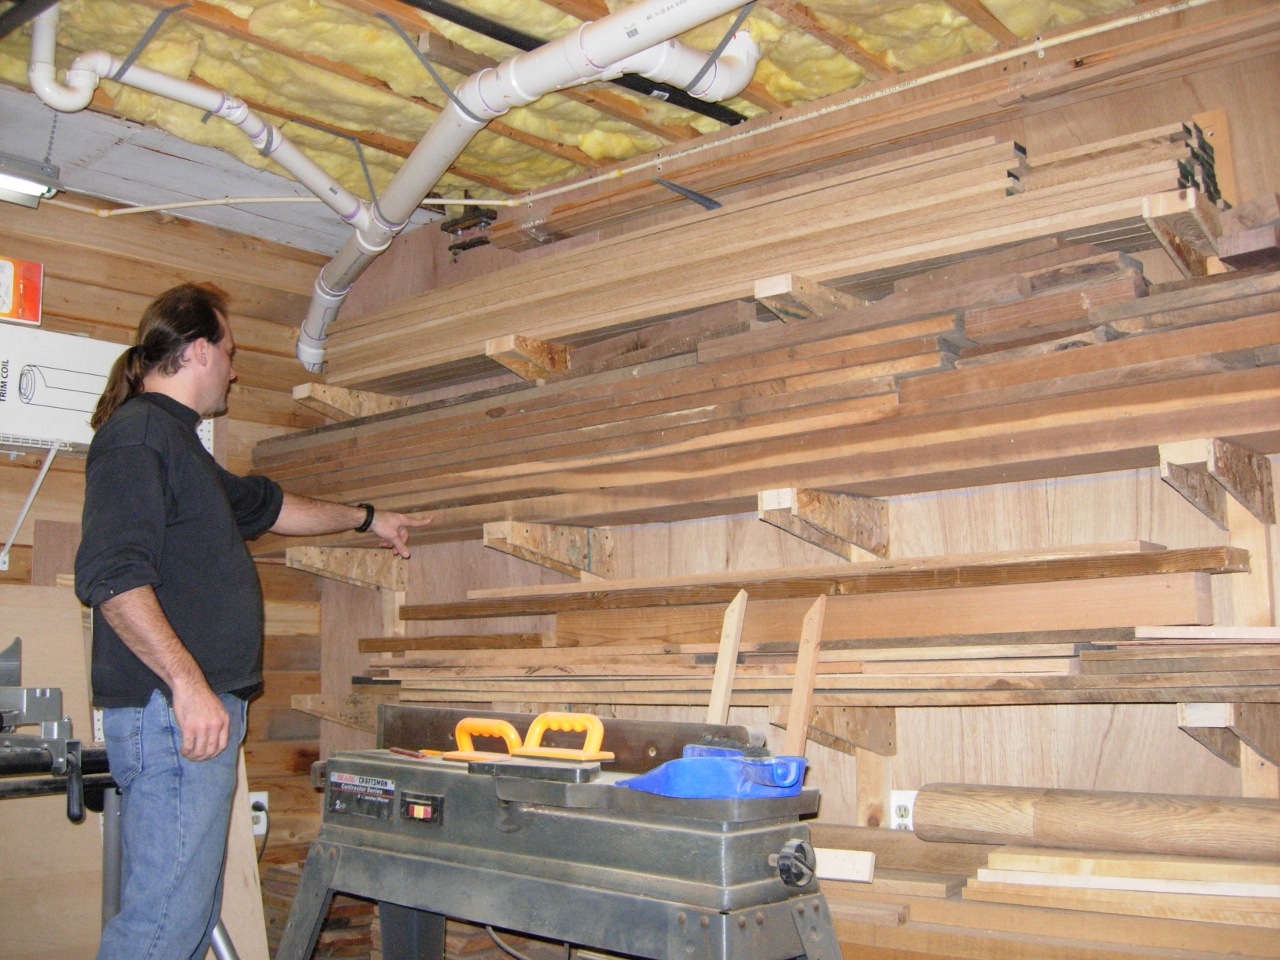
Of course I need the piece on the bottom.

This looks like a good grain pattern
I haven’t talked to Aj to see if he approves of my choice. I emailed a pic to him, but he is working today, so he is probably too busy. I decided to go with a piece that had some sap wood on the edges and a bit of swirl to the brown part. I decided which section I wanted and cut it a little long. When I run it through the planer, sometimes it snipes the edges.

Cutting the rough blank for the guitar body

Rough chunk, ready for planing
As I was planing the board down. I noticed that there were a few worm holes in the top left section where the tall horn was going to be. I decided to adjust my original location down a bit. Once everything was planed, I layed out the inlay lines. I plan on seating five strips of maple in the face of the guitar.

Planed to thickness
After I layed out the inlay lines. Then I grabbed my router and bits. I realized that the 1/8″ bit was only 3/16″ long. I wanted to set the maple in at least an inch. I think I can make a jig and use my circular saw, but I have run out of energy for the day. Maybe tomorrow…
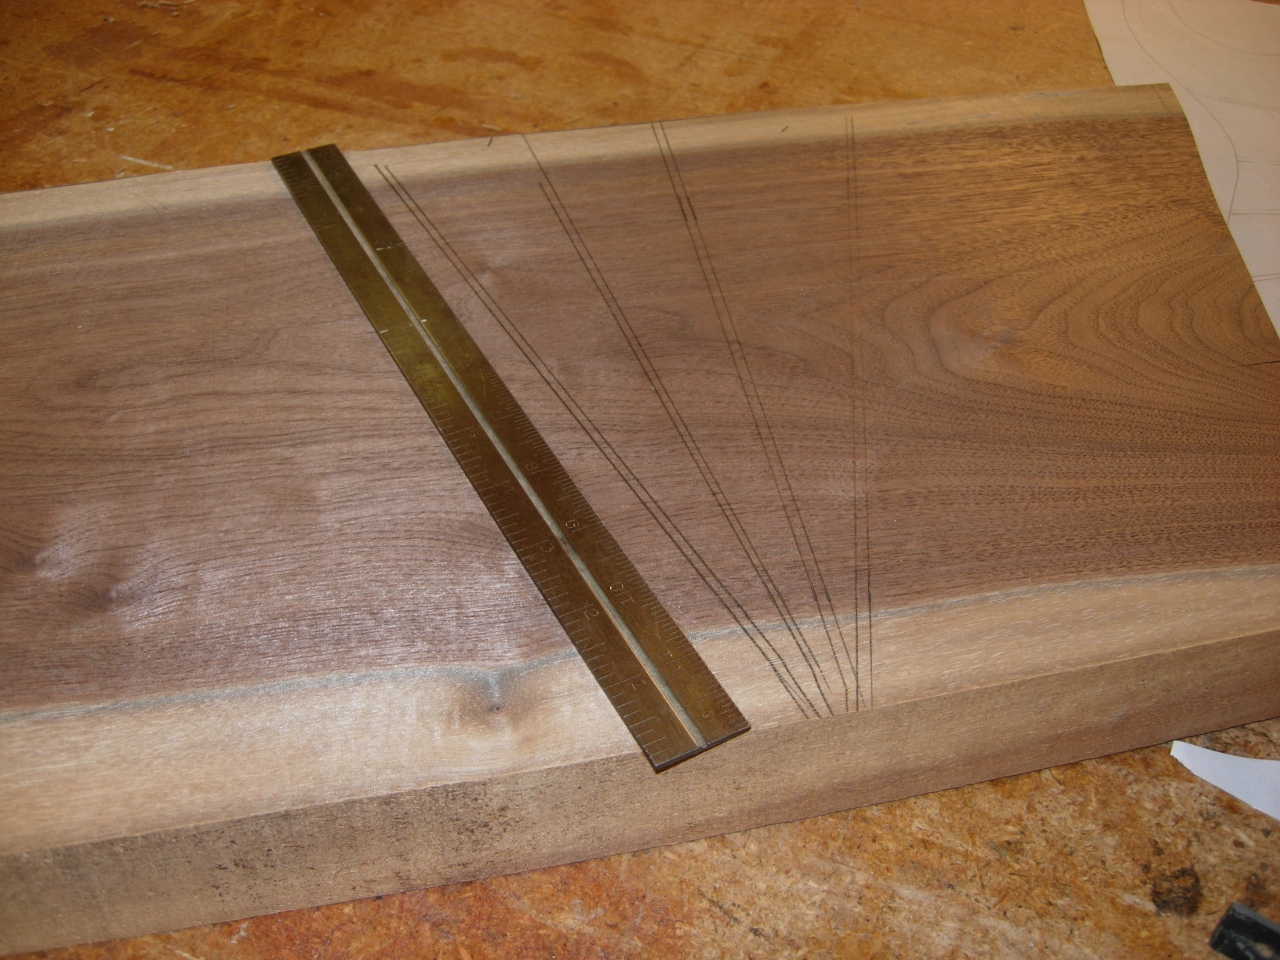
Laying out the inlay lines
