
Ironing board storage cabinet – day 1
I have a couple of projects to work on this weekend. I started on the first one today. I am making a cabinet to house an iron and ironing board. They will be used on the altar cloths that are stored in the sacristy cabinet I built a couple of weeks ago. Since it will sit right next to the sacristy cabinet, it will have some similar features. I sorted through what I had left in my pile of white oak and pulled out all the wood I would need for the cabinet.
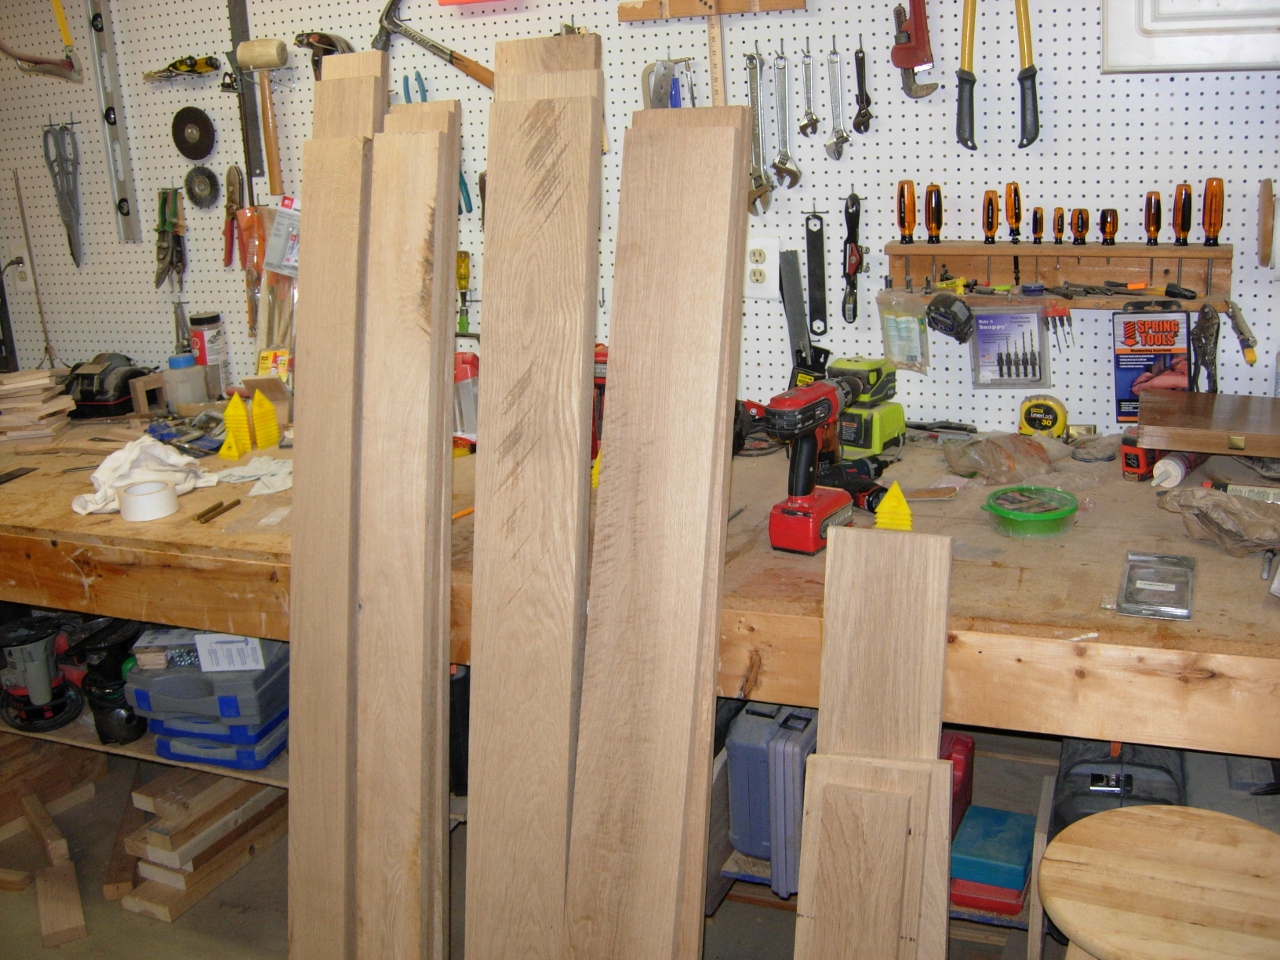
Laying out boards for the project

Planing boards to size
I began planing all of the boards down to 3/4″ thick, but I started having trouble pushing the boards through. With all of the planing I have been doing lately, my blades were getting pretty dull. I set the wood aside and opened up the planer. It is very easy to change the blades in my Rigid planer, but past experience has taught me to be extremely cautious. There are seven nuts that have to be loosened in order to remove each blade. In the past, I have slipped, when the wrench breaks the nut loose, and sliced my finger on the exposed blade. Three times to be exact. The last time, I took off a large slice that went nearly to the bone. Half of a tube of super glue later you can hardly tell. But it did encourage me to finally take a few precautions. I wear a glove and lay a chunk of wood across the blade. Now I only bruise my knuckles if I slip…

Carefully changing the blades
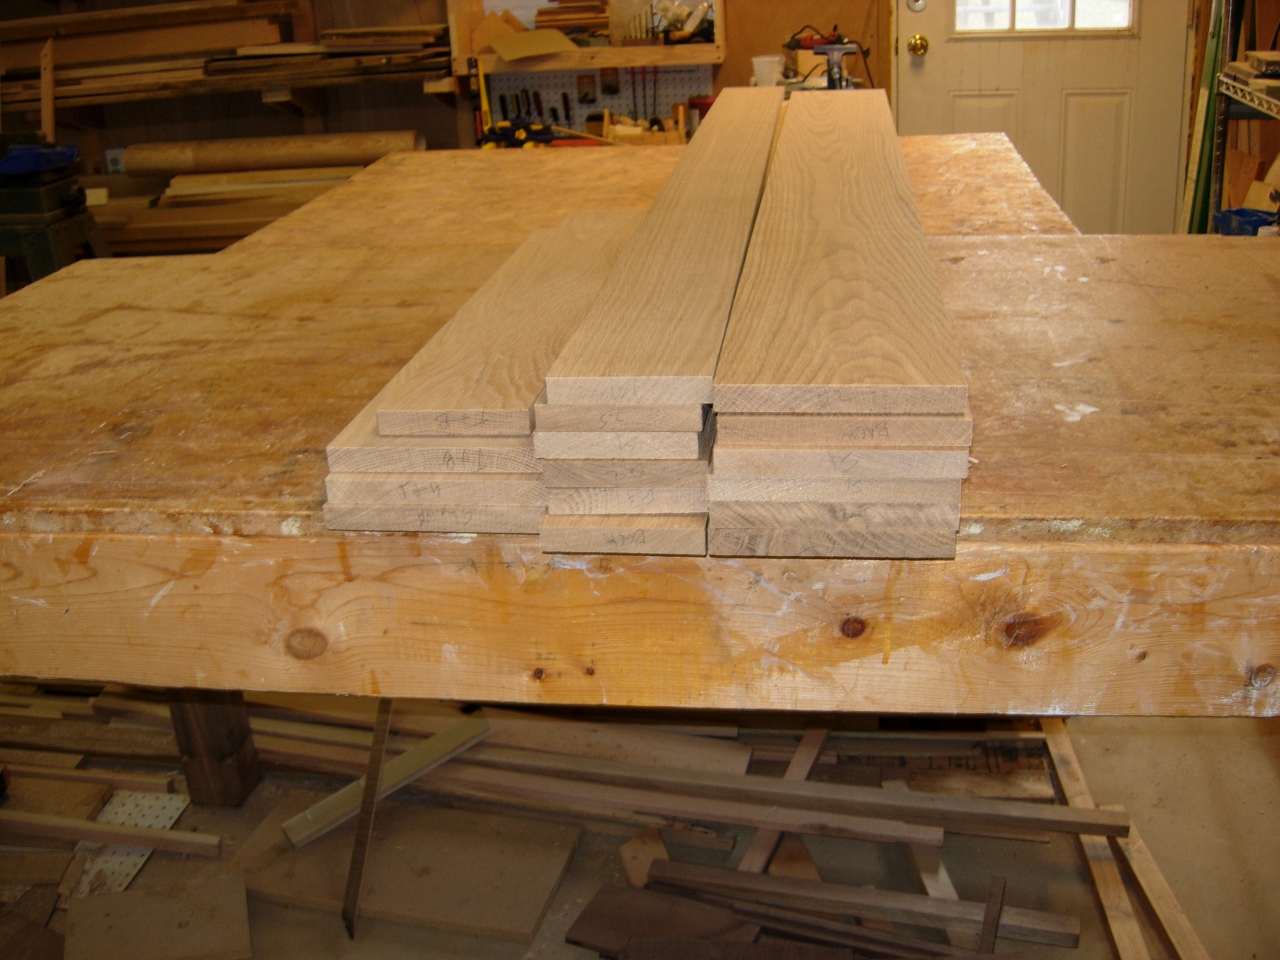
Everything planed to size
With the blades replaced, I finished planing the boards down to size. I cut all of the boards, that would be glue-joined, down to the correct length. Then I clamped all the pieces for each assembly together, while I cut them, so they would all be exactly the same length.

Cutting sides down to size

Glueing up the sides
With everything milled down to size, I started spreading the glue on each edge that would be joined. I glued up as many assemblies as I could this evening. I will unclamp them in the morning and finish glueing up the front and back panels. While they are drying, I will probably get started on my other project…

Clamping chaos
