
Dining room bench build – day three
I spent about 8 or 9 hours in the shop today. I made some good progress. I was going to start with planing all of the boards I glued up yesterday, but I noticed that one of the leg boards had a loose knot. I mixed up some two part clear epoxy to spread in the hole and lock everything in place.

Quick setting epoxy
Once the big hole was filled, I spread the rest over a couple of worm holes so it wouldn’t be wasted. I then put a piece of painter’s tape over the side of the big hole to keep the epoxy from sagging out. I checked it after a couple of hours and it was hard enough to work with. I used a block plane to clean up the side. I would plane off the face later.
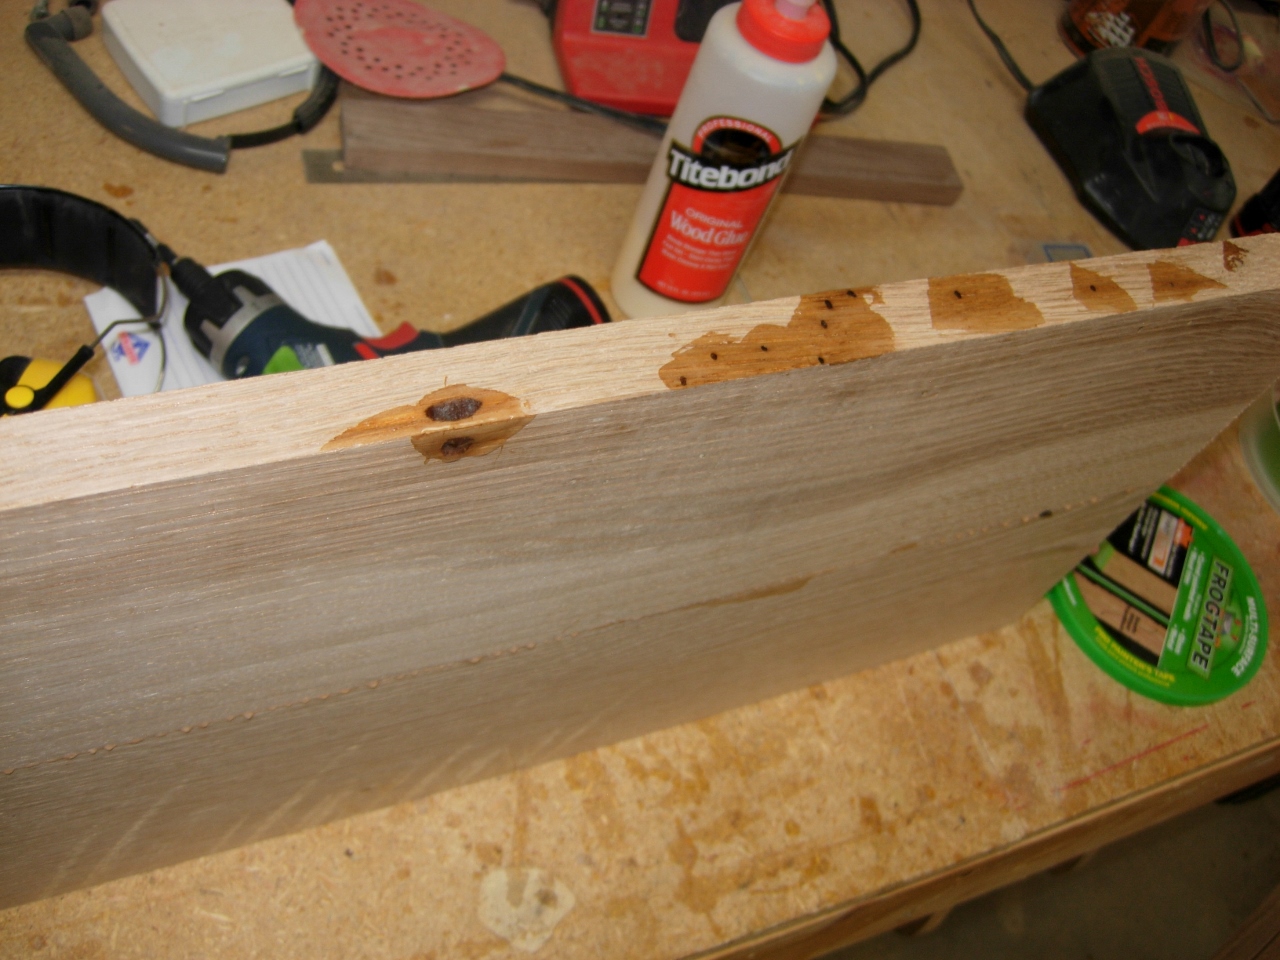
Filling holes
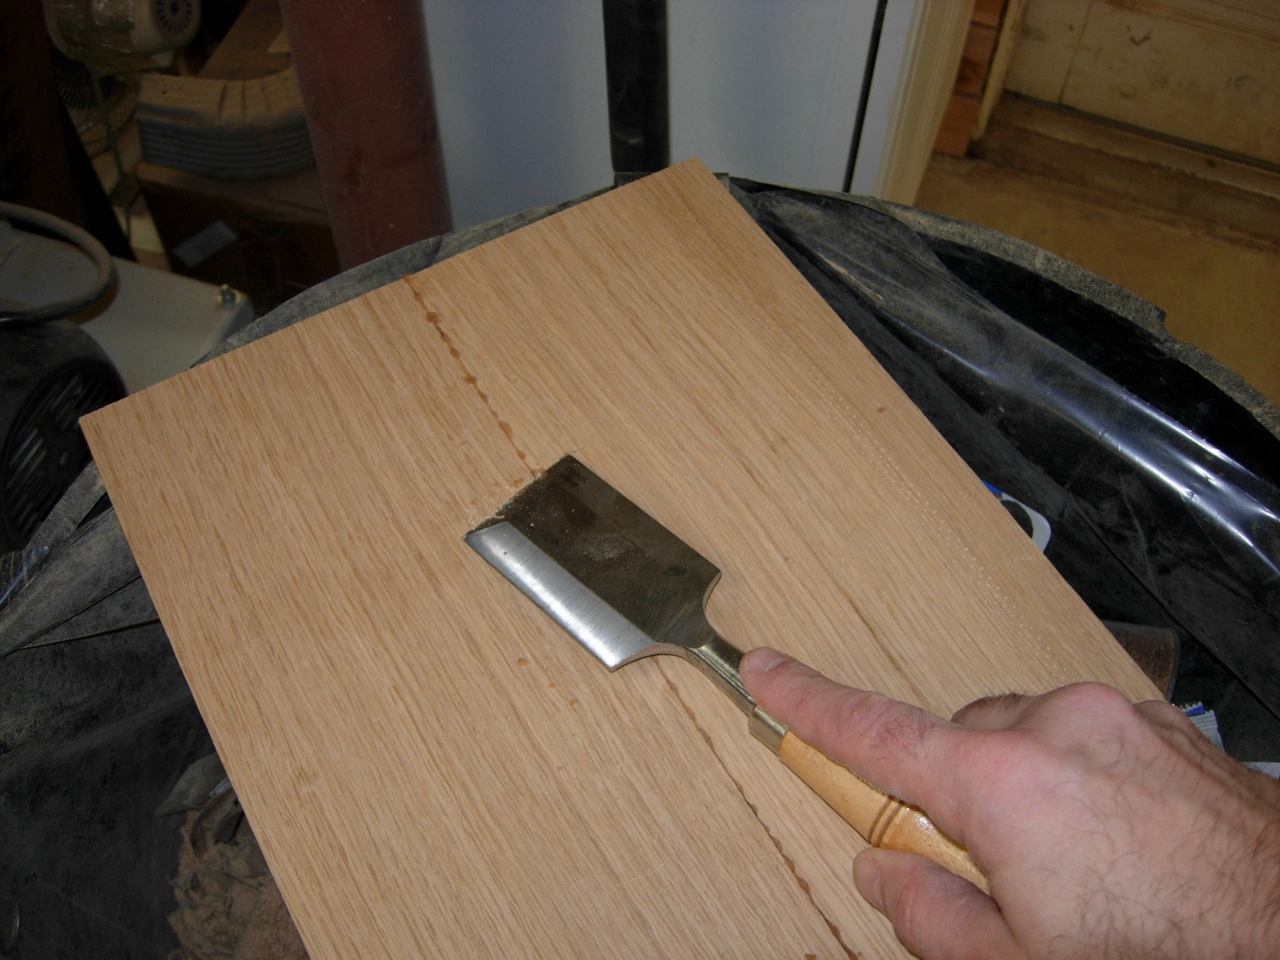
Scraping the squeeze-out
Before I could run any of the boards through the planer, I needed at least one fairly smooth side. I scraped the squeeze-out off of both sides of one leg with a 2″ chisel. It took the glue off easily so I turned the operation over to my helper and got the planer set up.
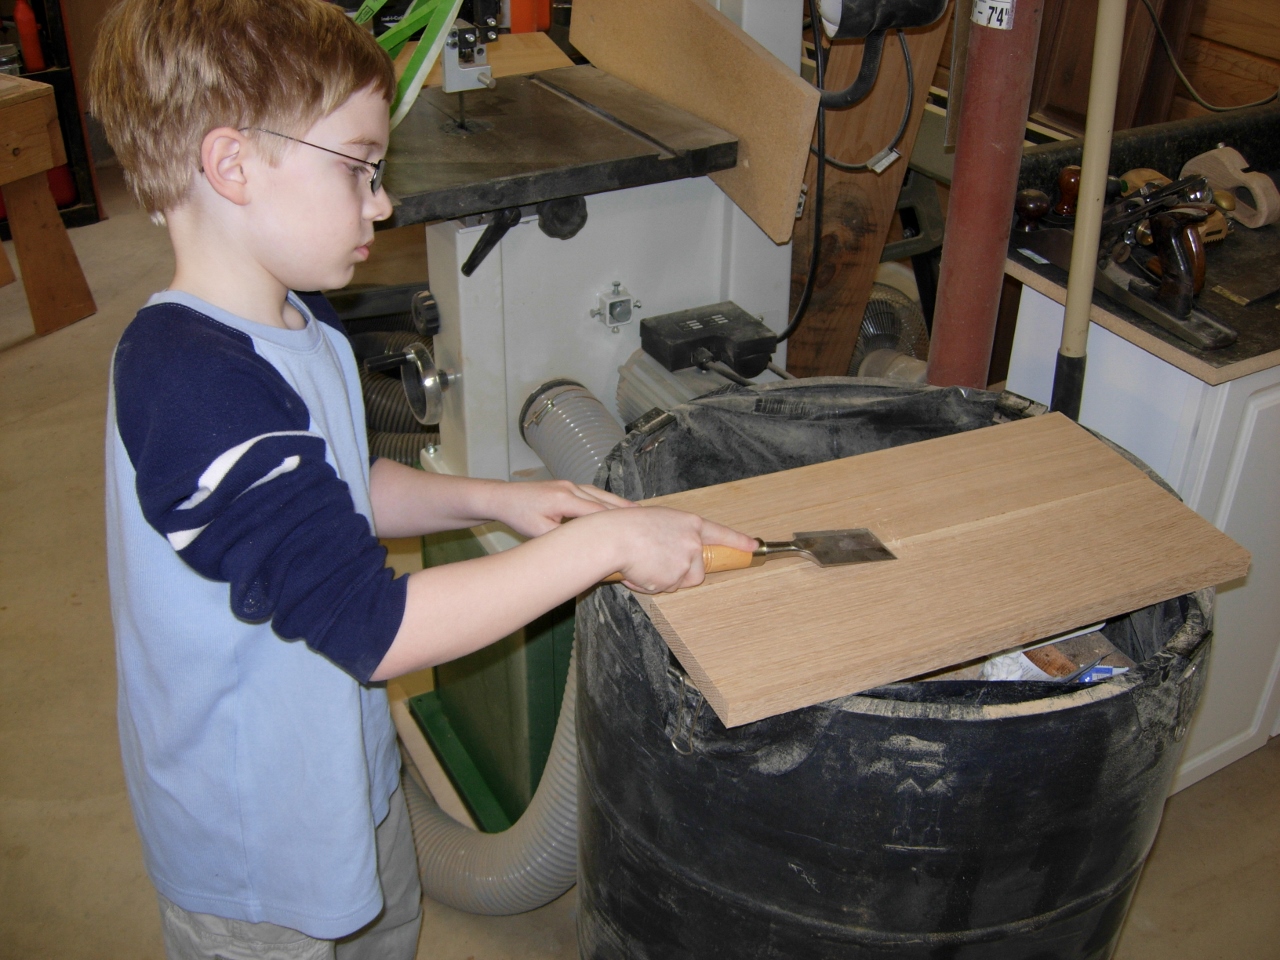
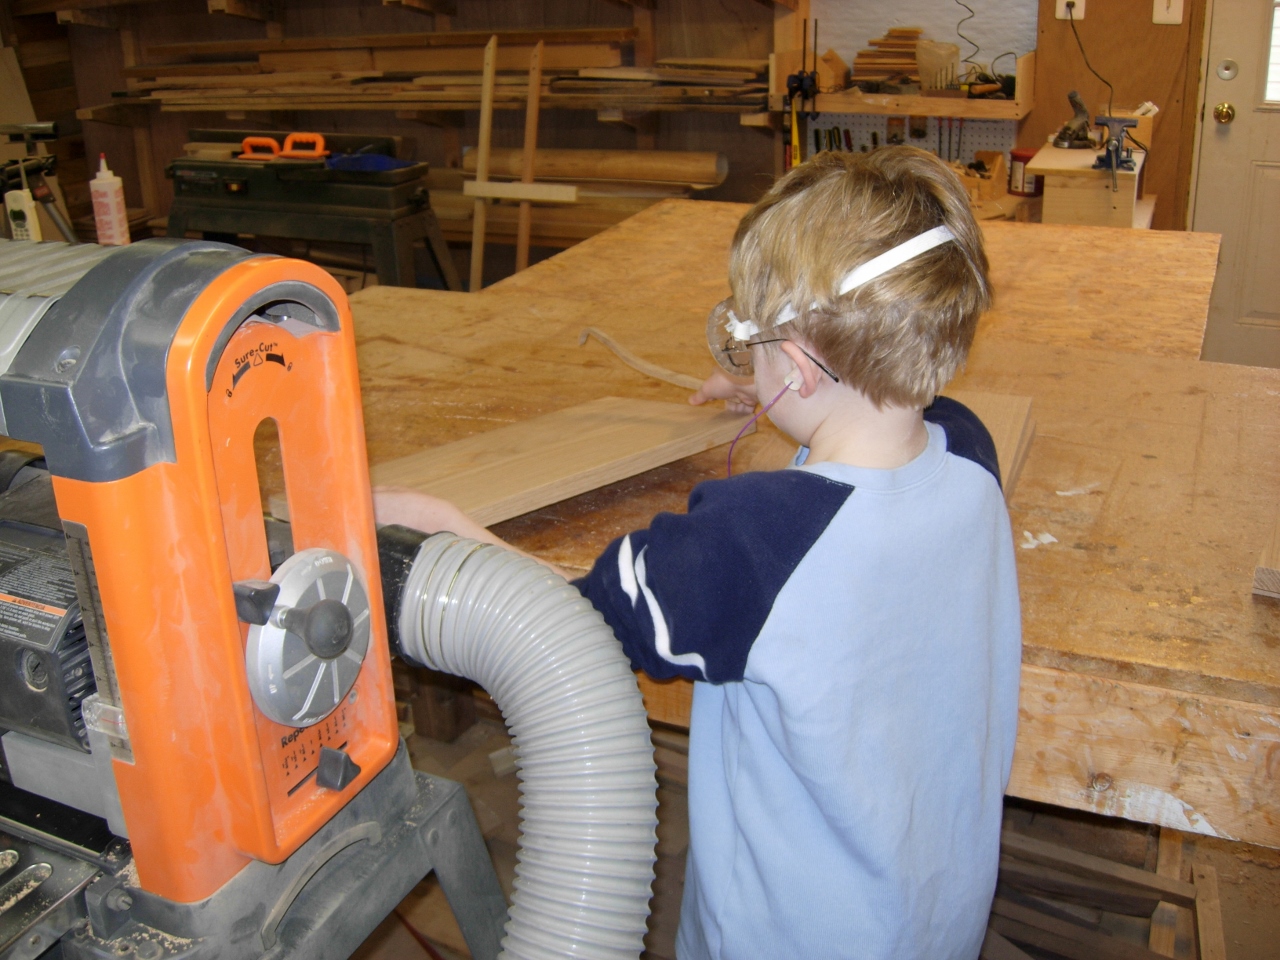
My assistant takes over
While Adam went over to his bench to work till I needed him again, I planed down the bench seats. They were too heavy for Adam so I had to run them.
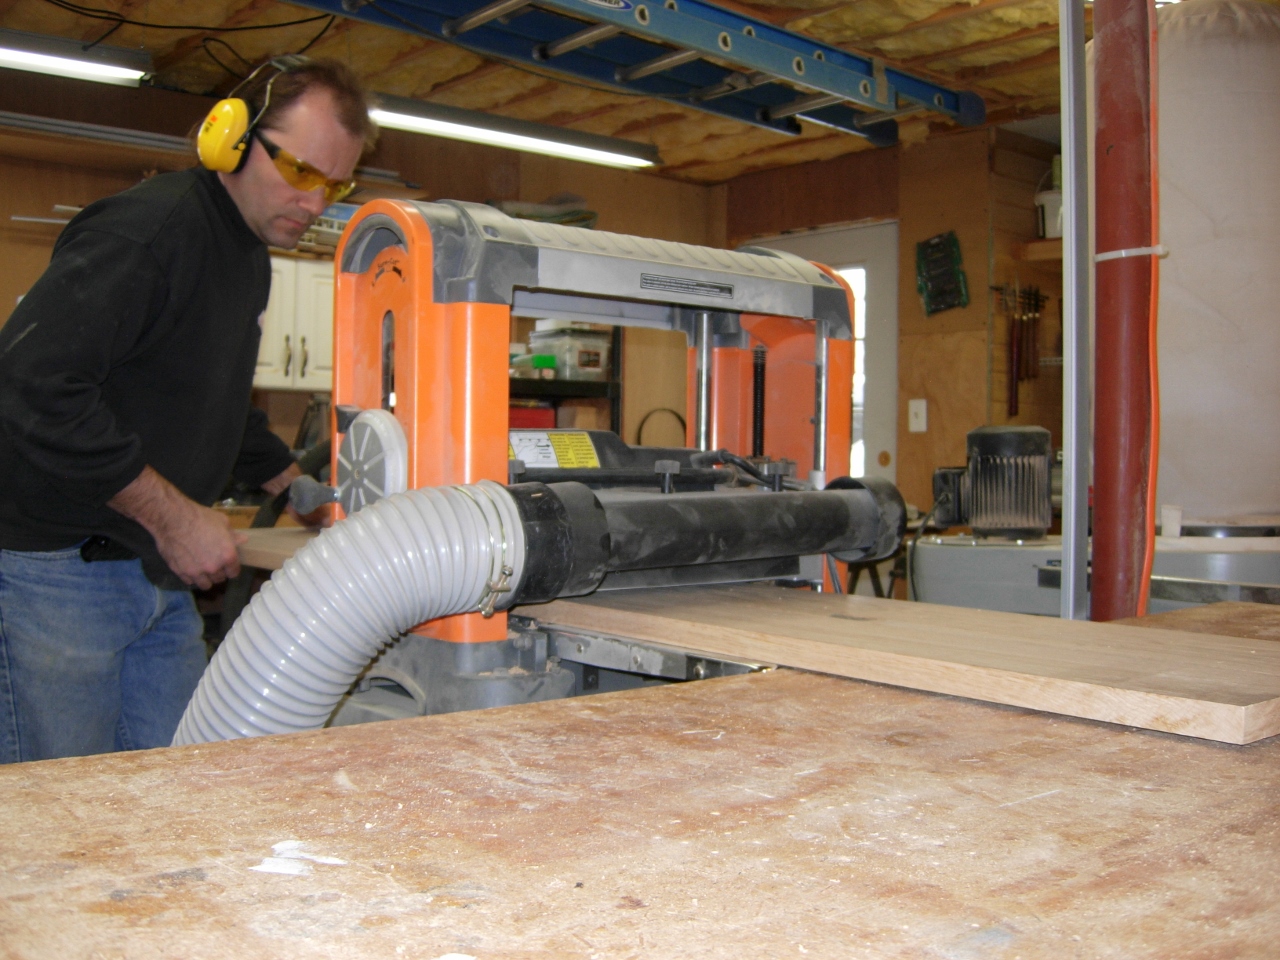
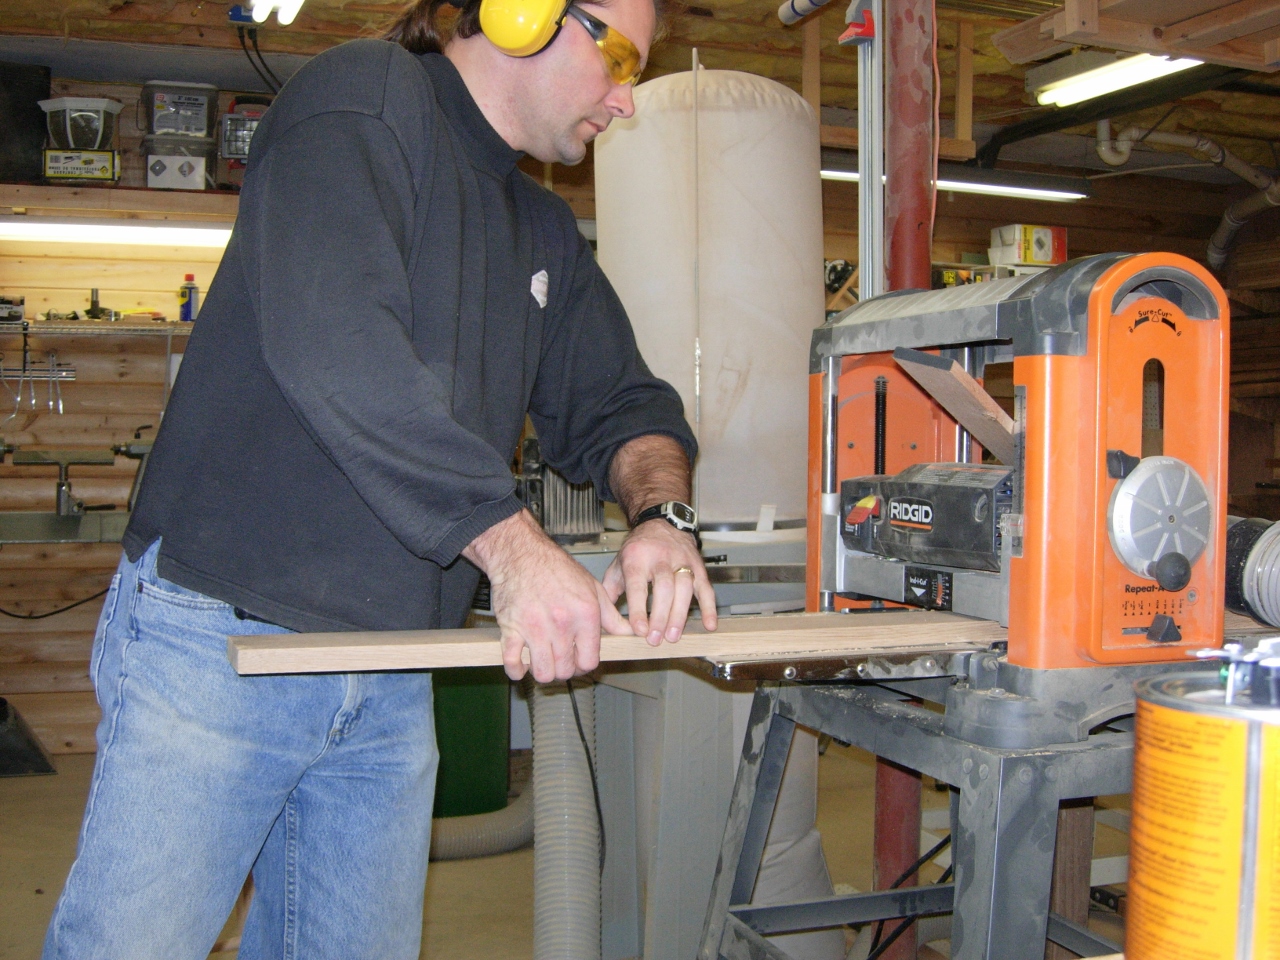
Planing down the benches
Adam came back over when I got to the legs. They were small enough that he could catch them when they came out of the planer and stack them out of the way.
Adam takes the legs from the planer when they come out
After that, all that was left to plane were the support rails.
Planing the support rails
I had to dump the dust collector when I was done. I had made about 10 gallons of saw dust just planing the bench parts.
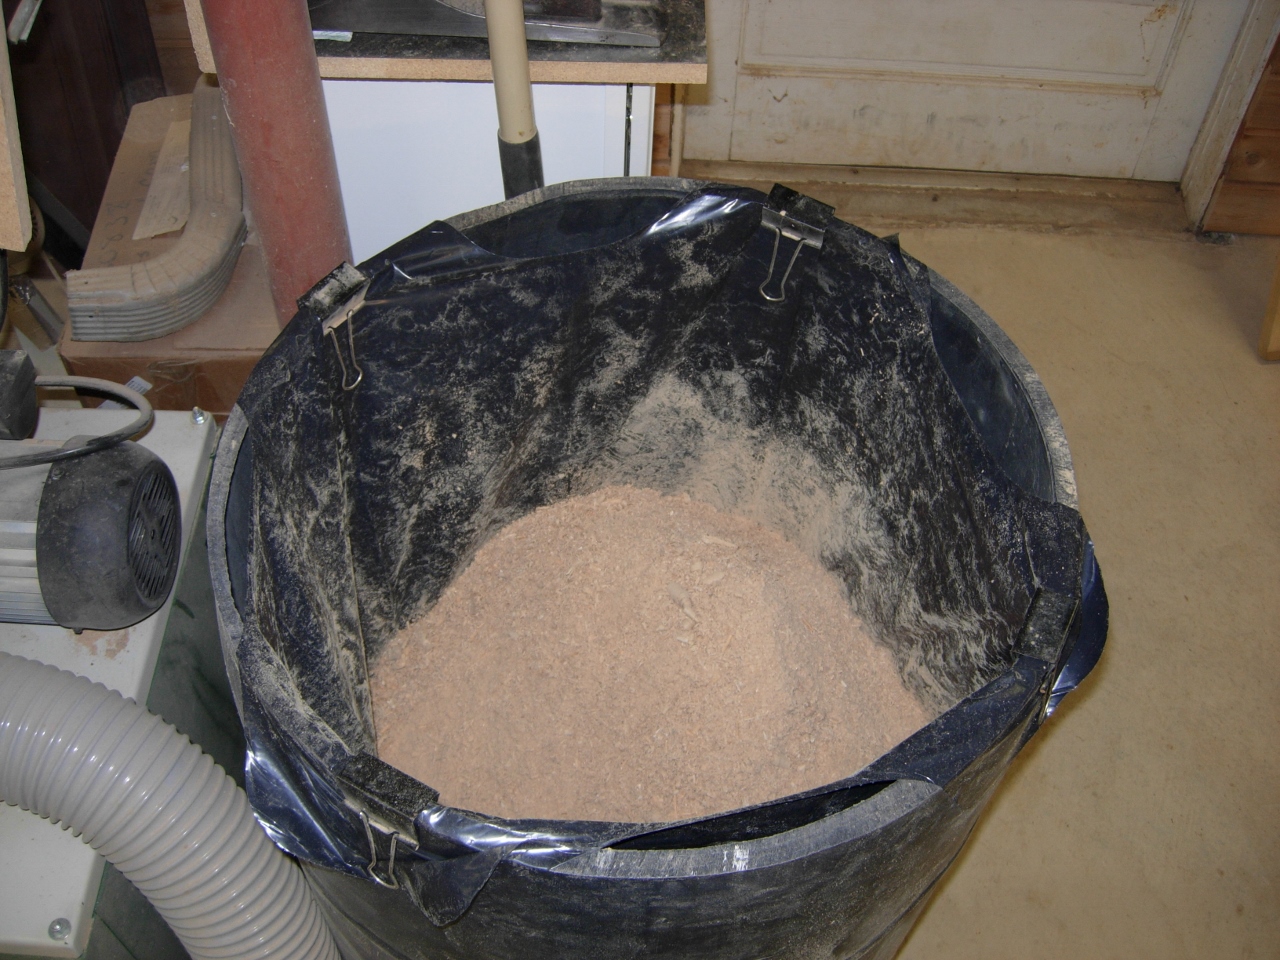
About 10 gallons of saw dust
When the dust had settled, I started marking things out. I started by marking the side rails. I made them 70″ long, 2″ shorter than the bench seats. I then came down an inch and put on a 3″ chamfer. It keeps people from banging there legs into a sharp corner and it looks nicer than a square end.
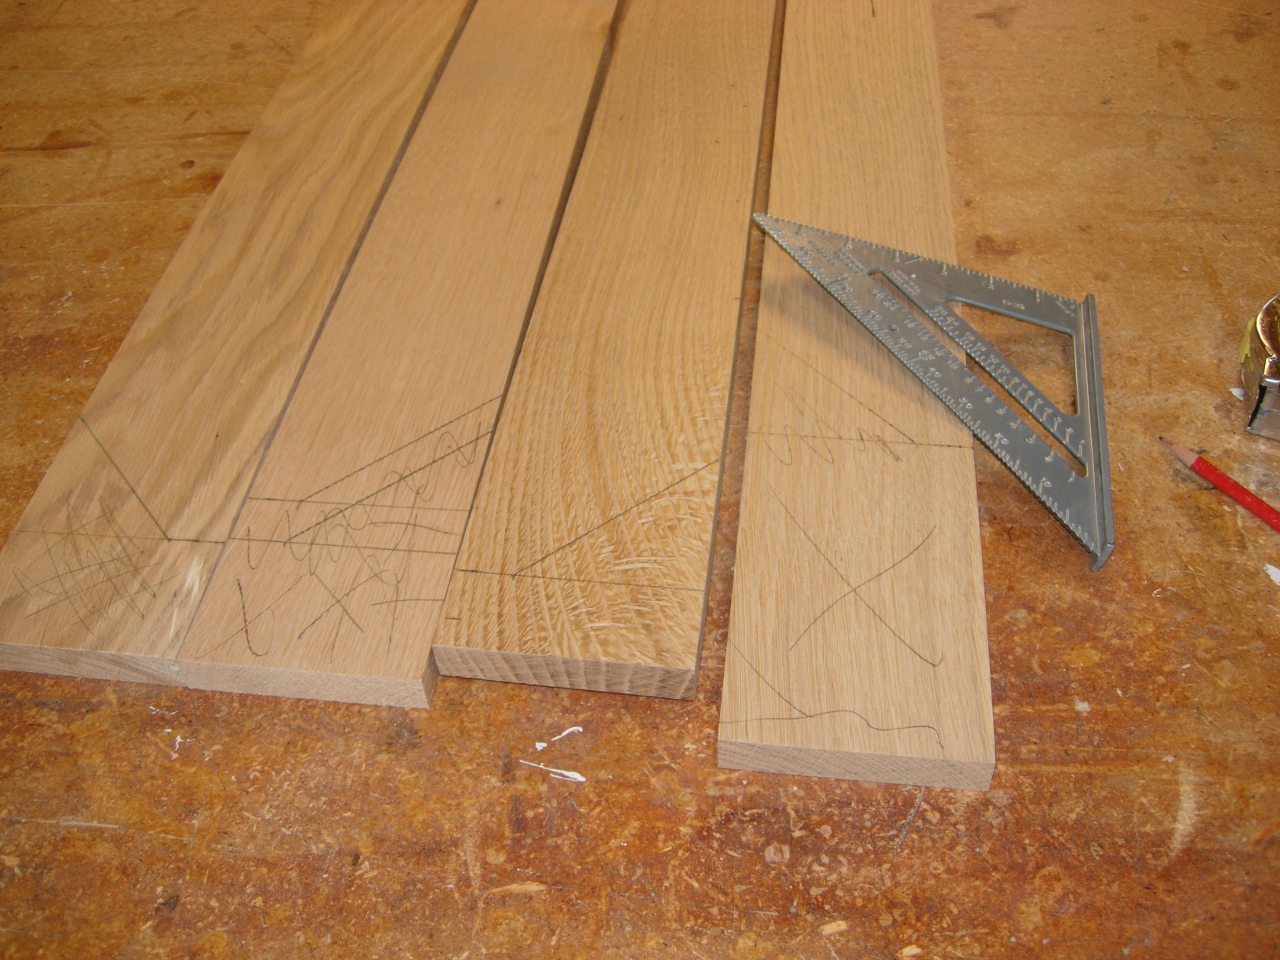
Marking the rails
Once they were marked, I took them over to the miter saw and cut them down.
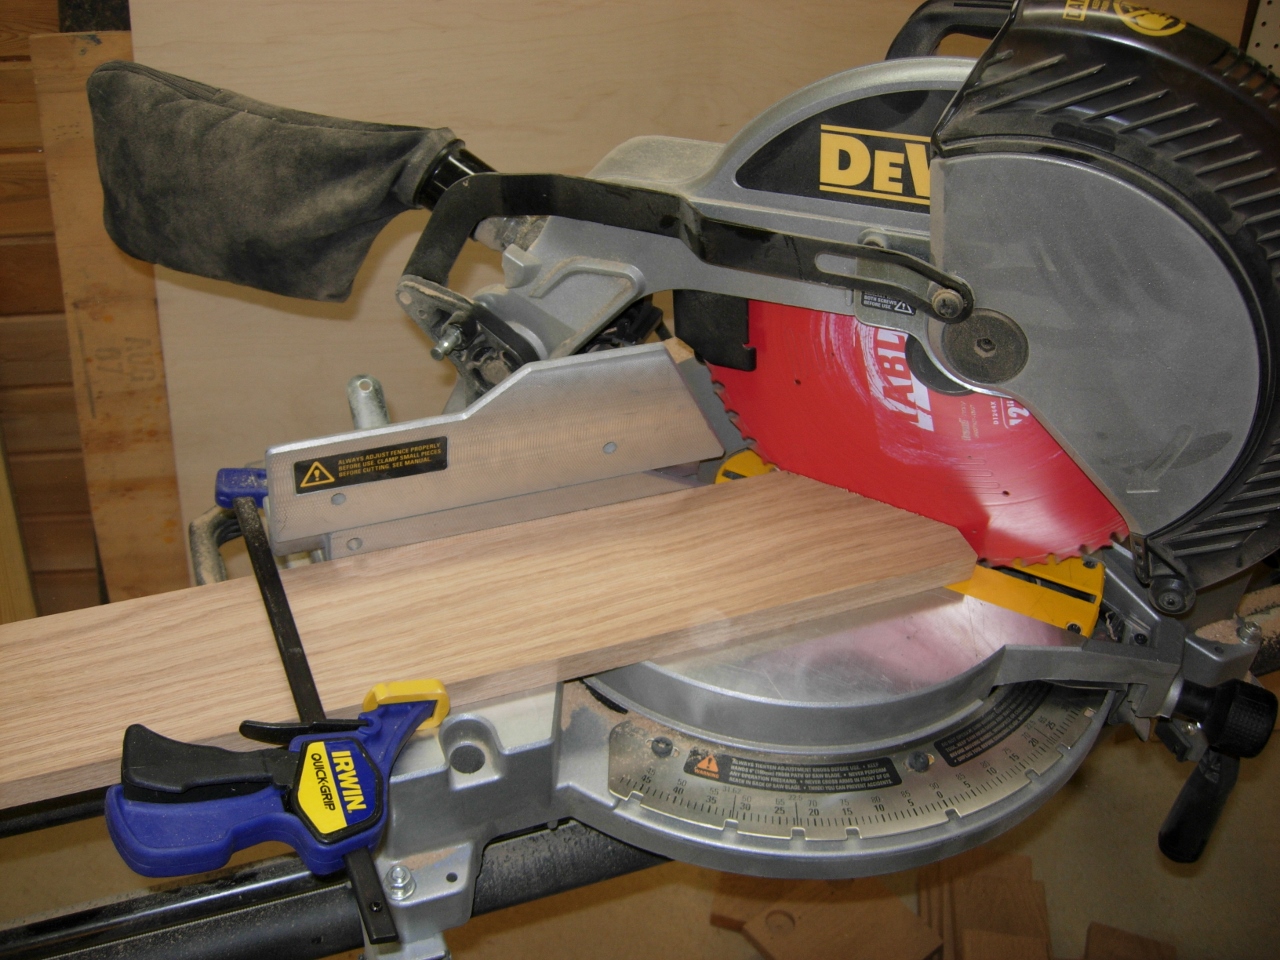
Cutting the chamfers
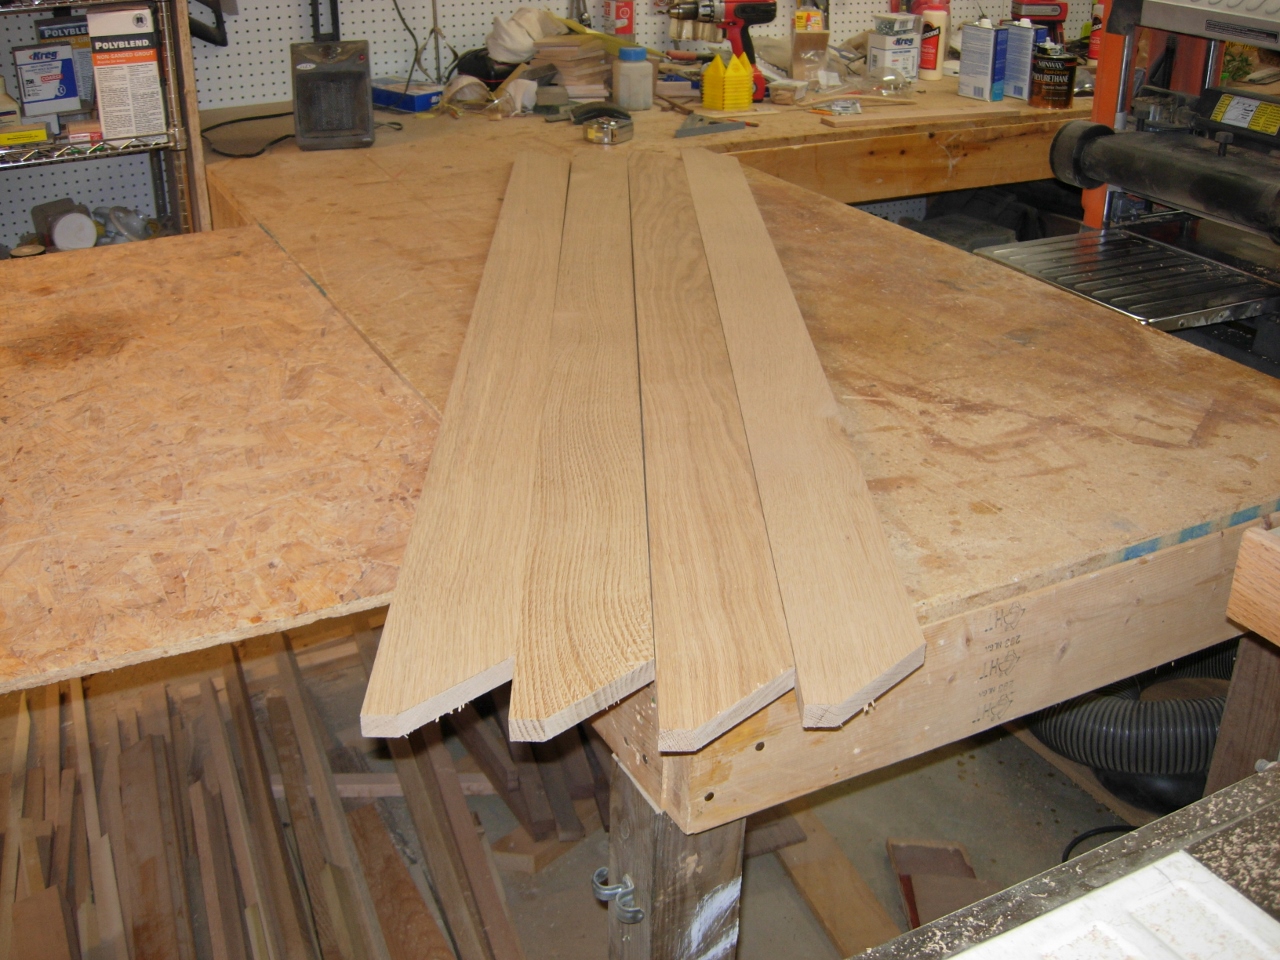
Support rails done
Next, I cut the bench seats down to 72″ and added a 1″ chamfer to each corner. This also removes the sharp corners.
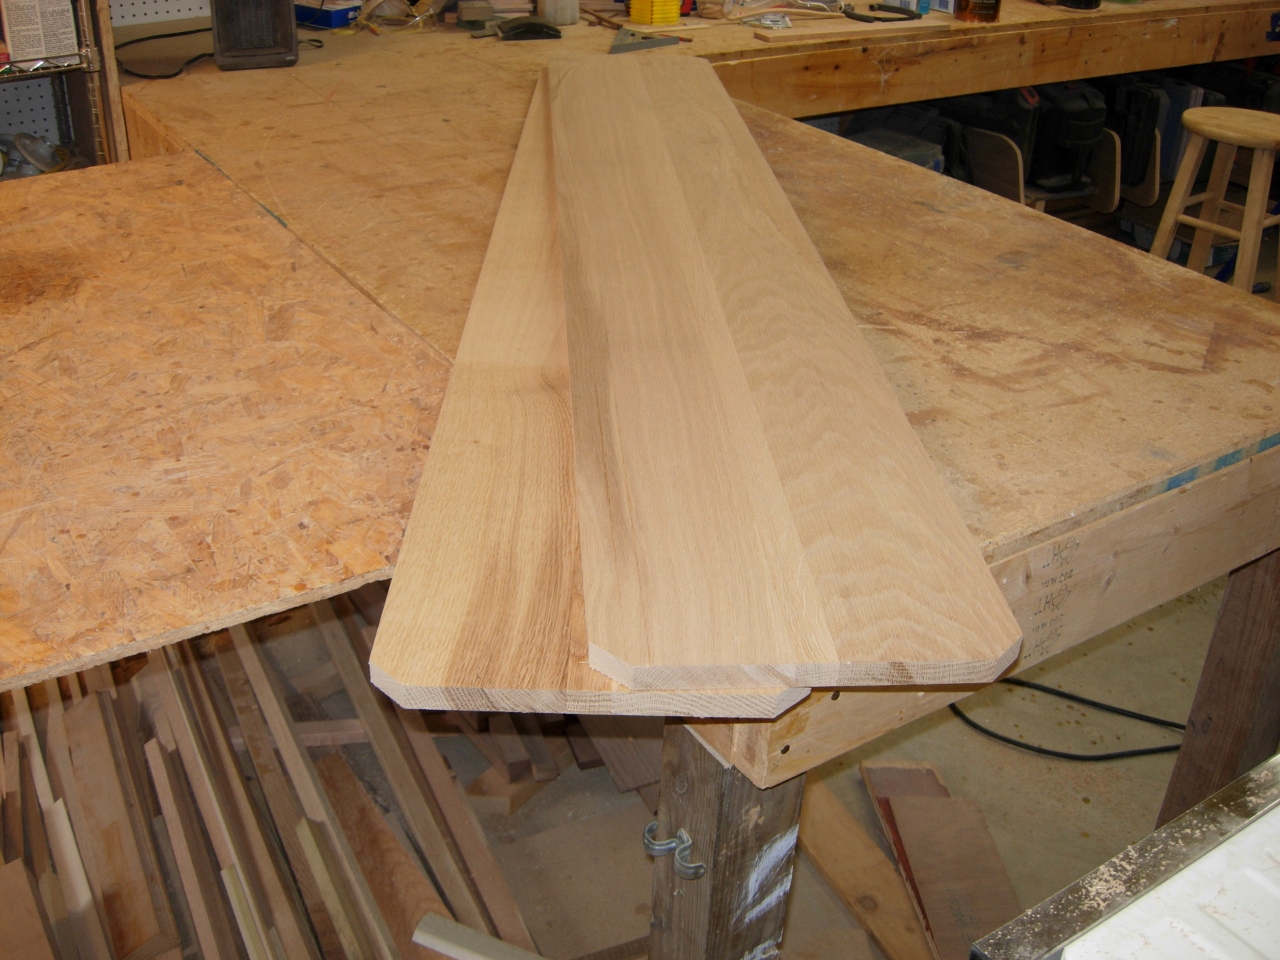
Bench seats done
The last things to mark out were the legs. I had cut them down to 17-1/4″ so the bench would be 18″ tall when assembled. I used a cut-off from the support rails as a template to mark my corners.
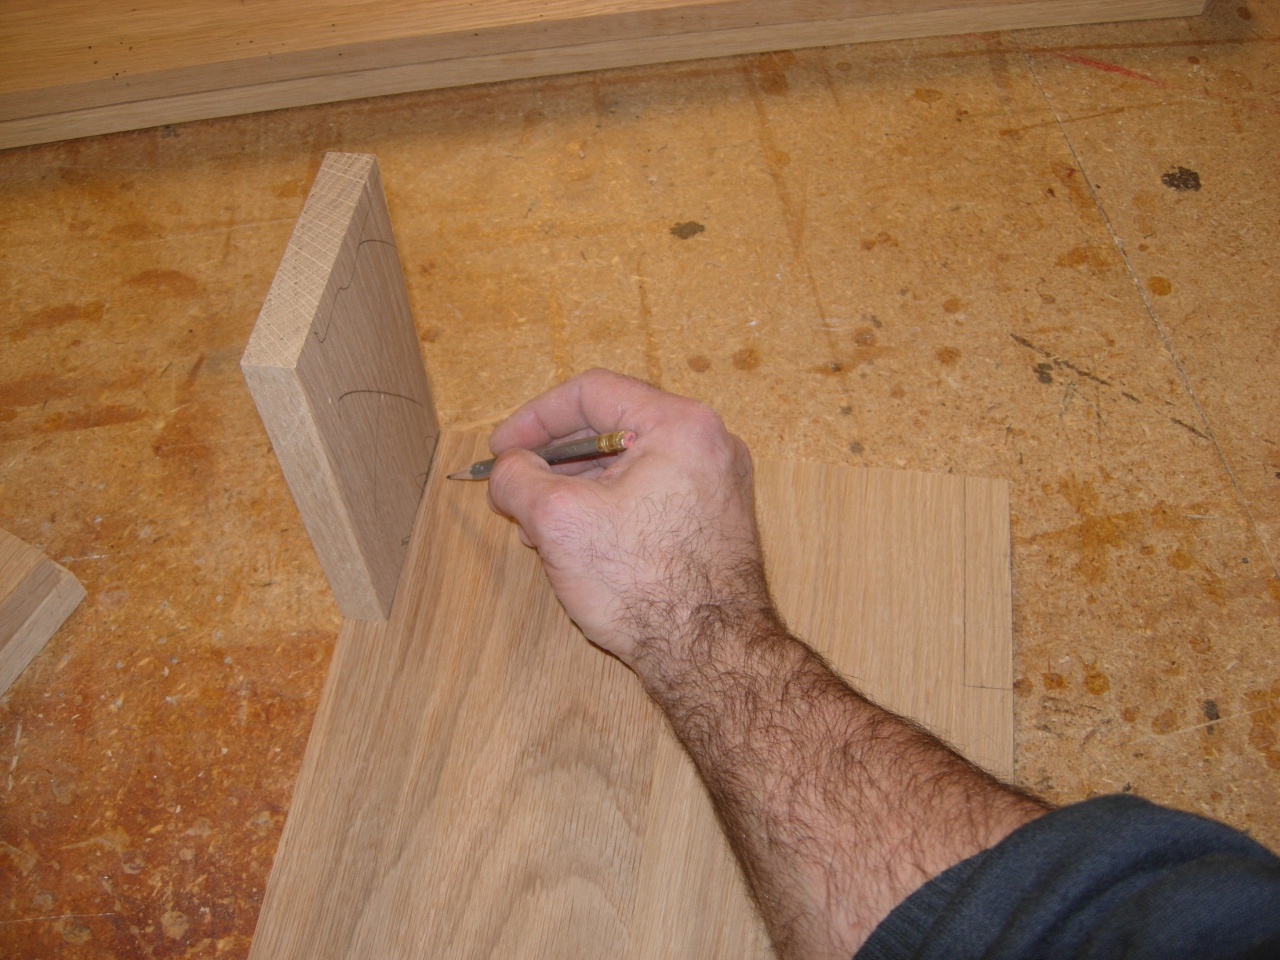
Using a support rail cut-off to mark the legs
Then I marked the vee notch in the bottom. I came in 3″ from each side and 5″ up from the center.
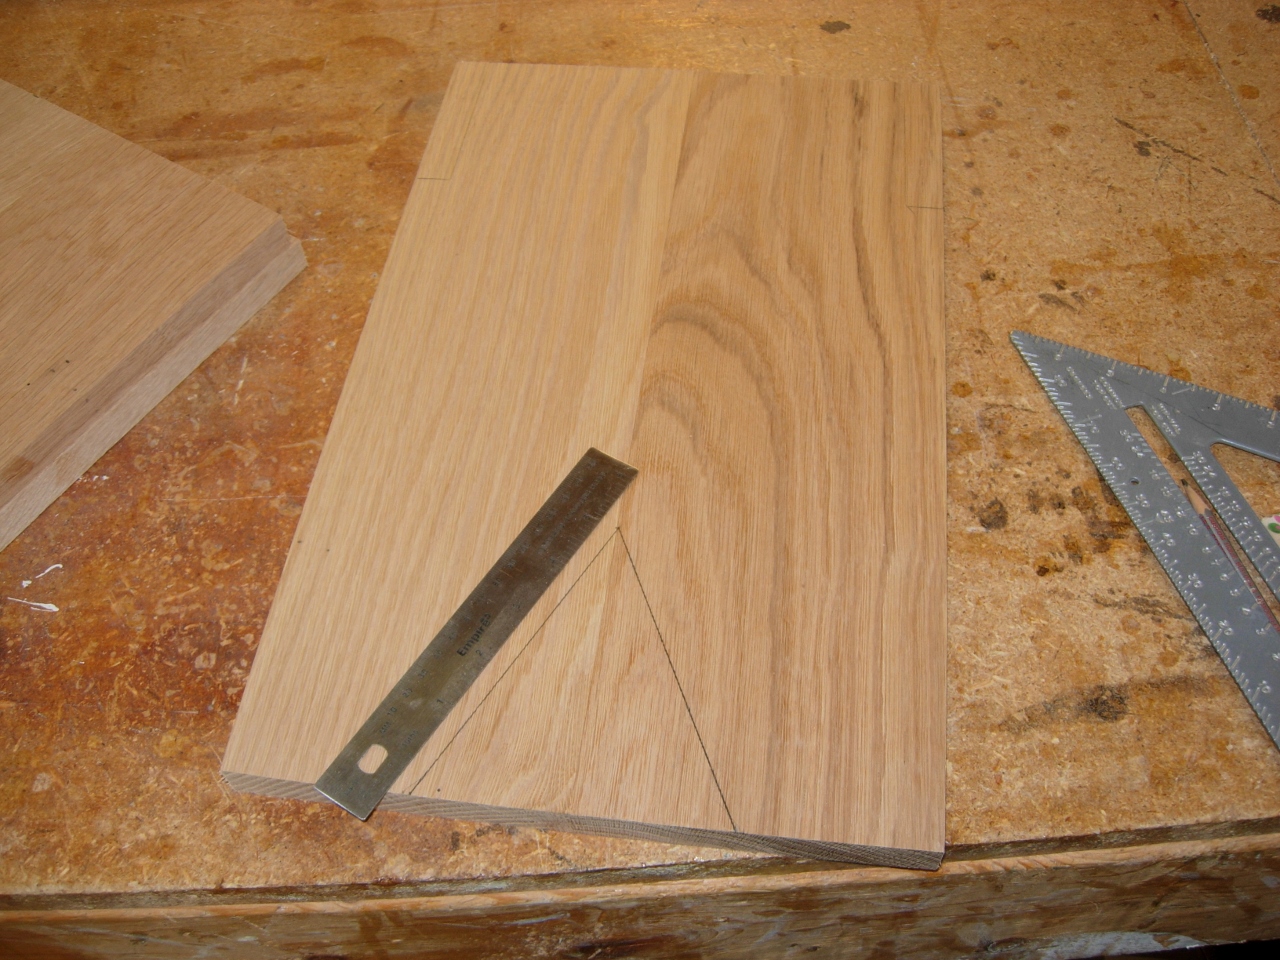
Marking the bottom of the legs
With the legs marked, I took them over to the band saw and cut out all of the notches.
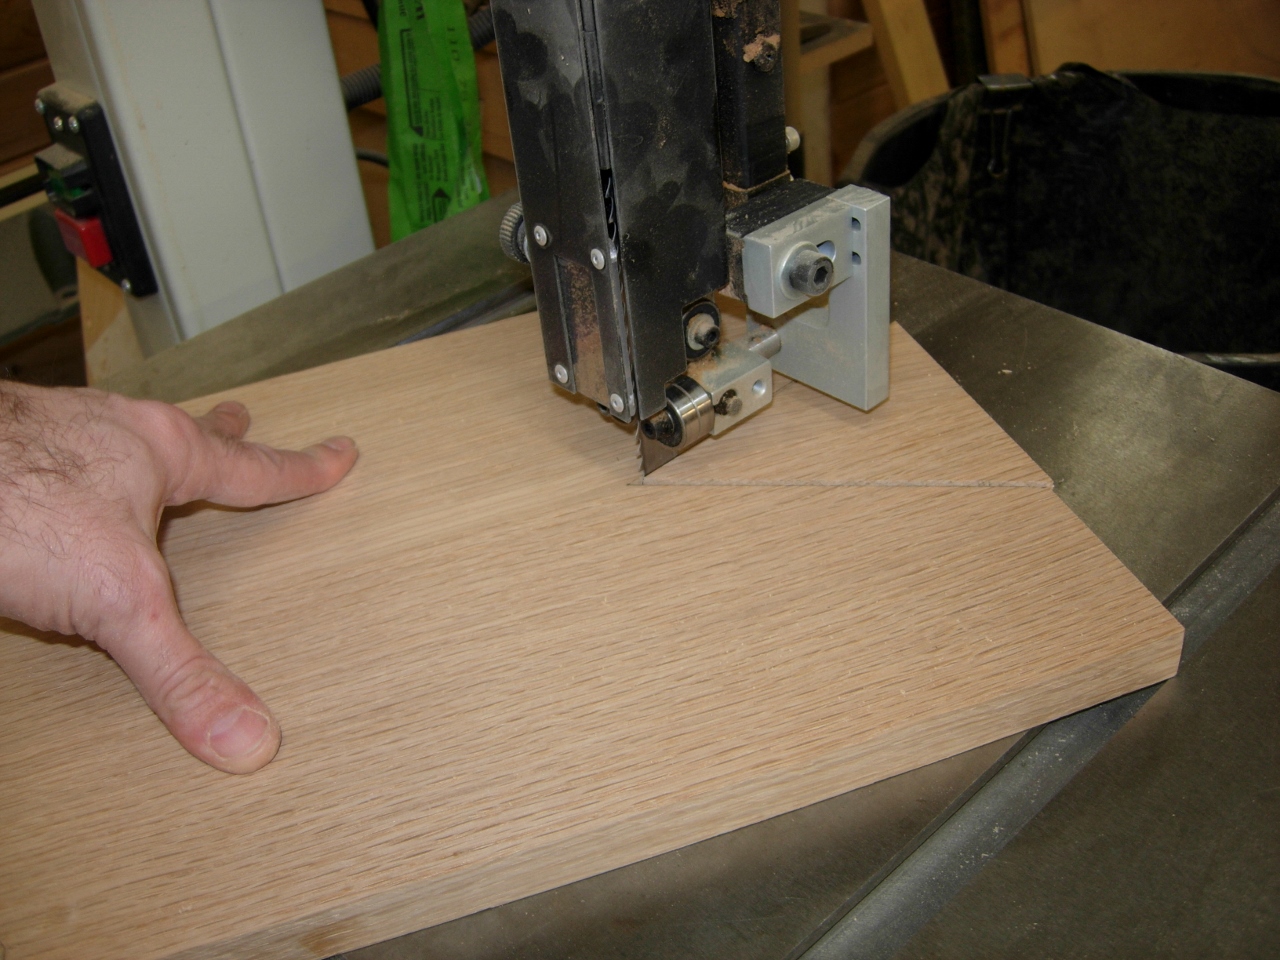
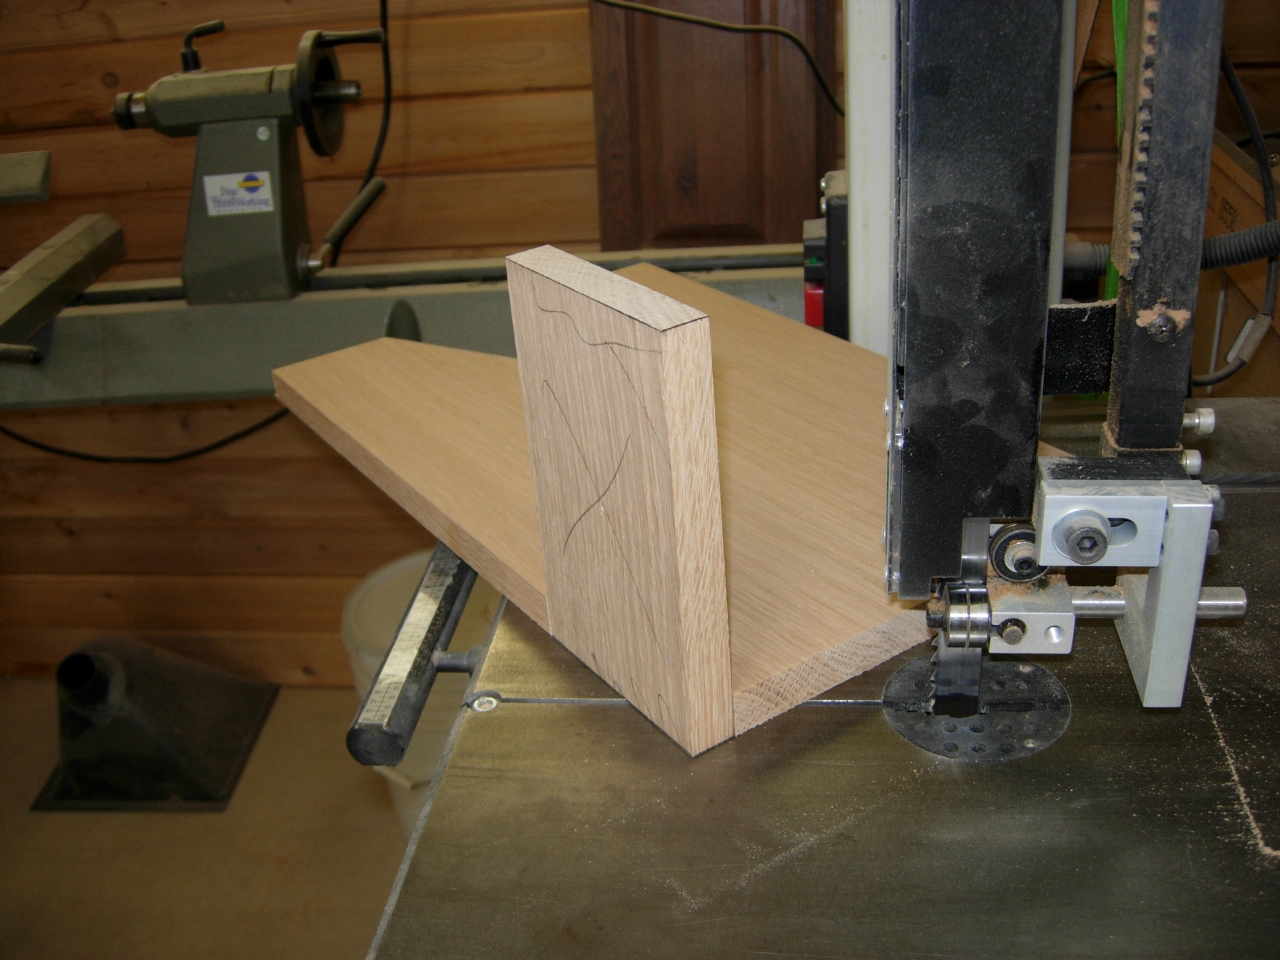
Cutting the vee notch on the band saw
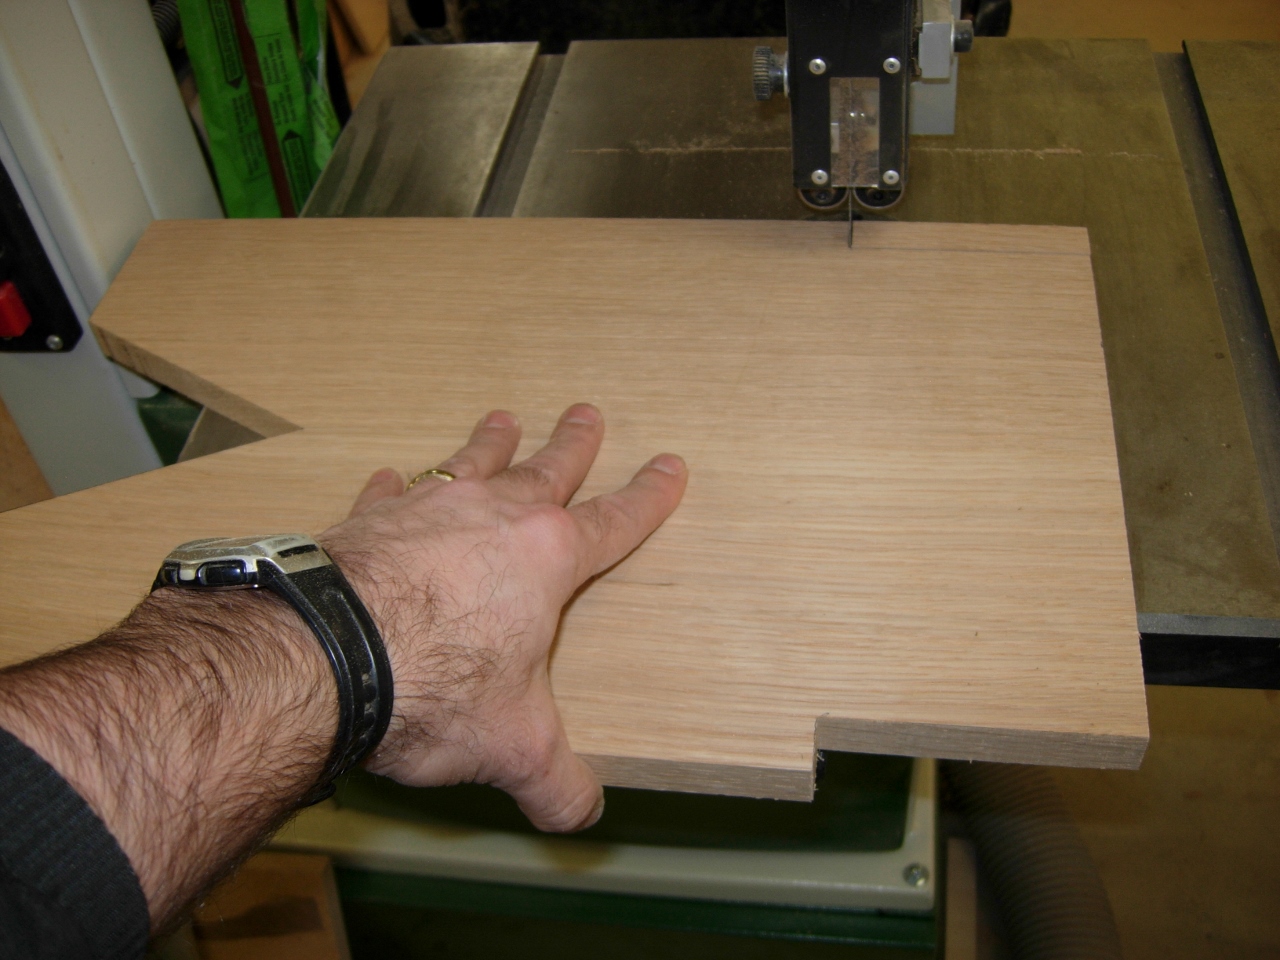
Cutting the support rail notches
When they were all cut out, I used my template piece to verify the notches were cut accurately.
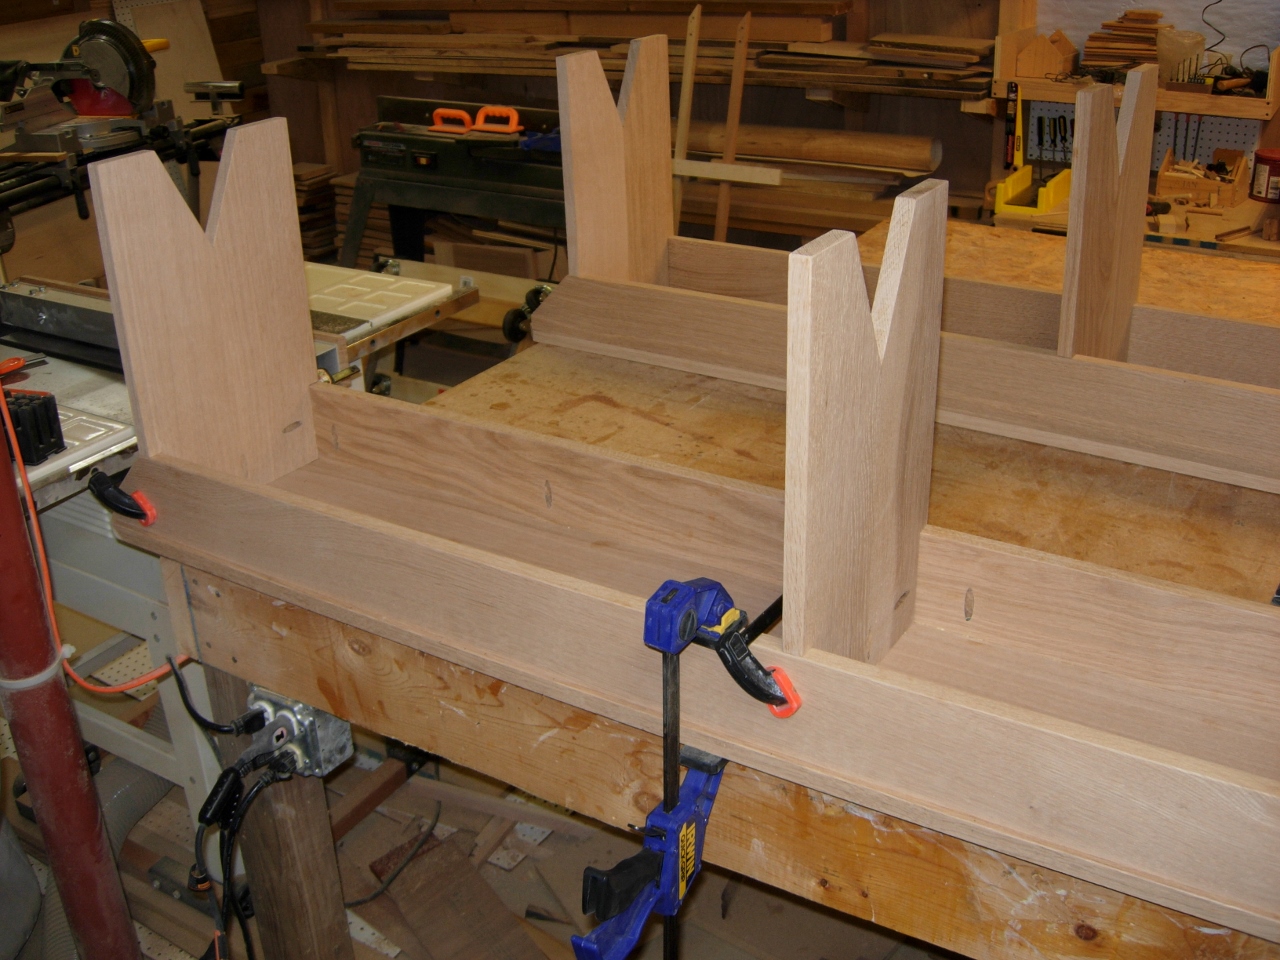
Fit check
I did a quick dry-fit to make sure that everything lined up well.
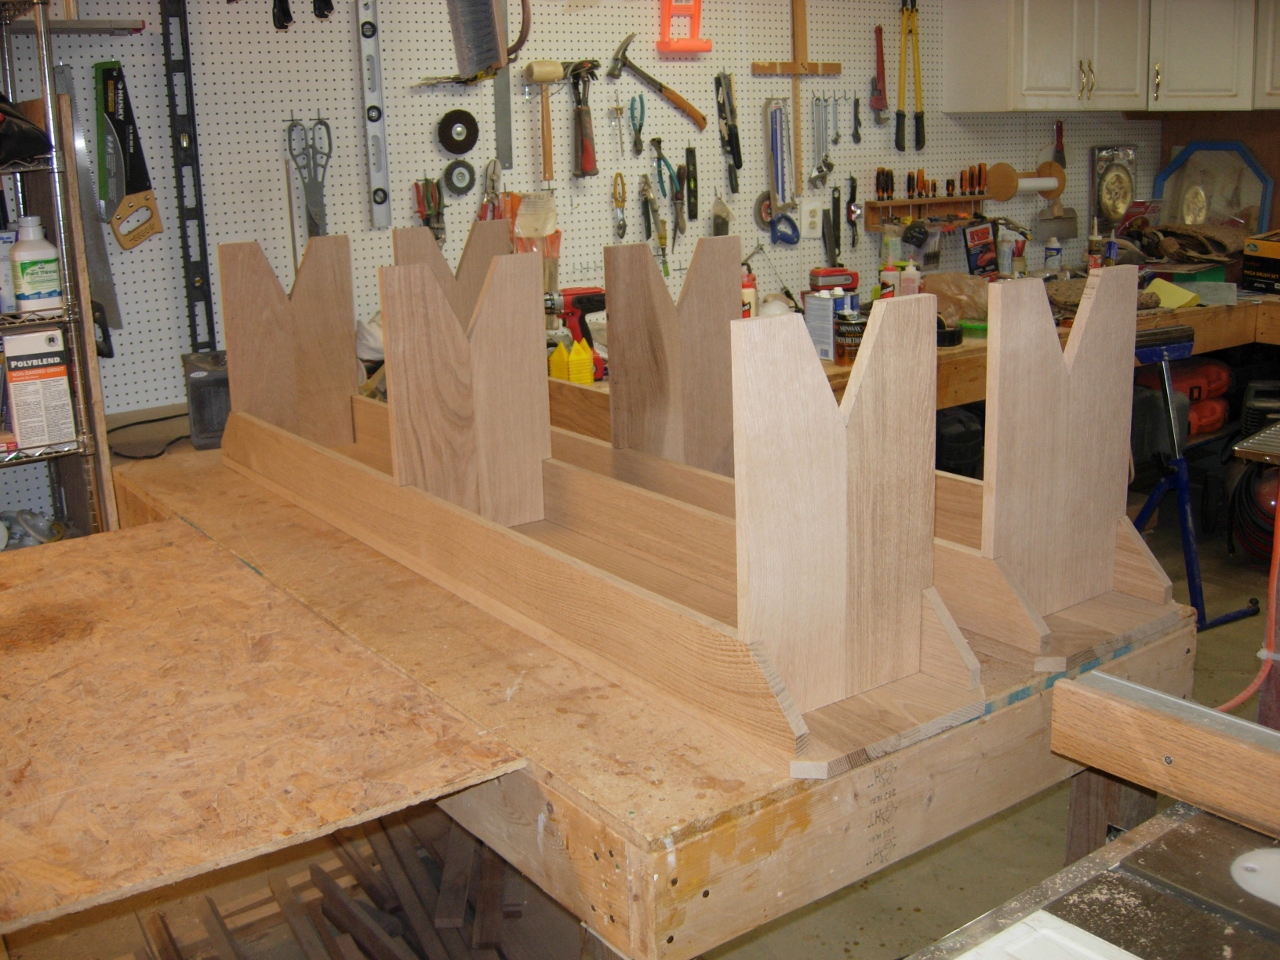
Dry fit
While the benches were upside down, I marked the locations of my pocket holes. I marked six down each side support rail and three on each leg. When they were all marked, I set up the pocket hole jig and drilled them all out.
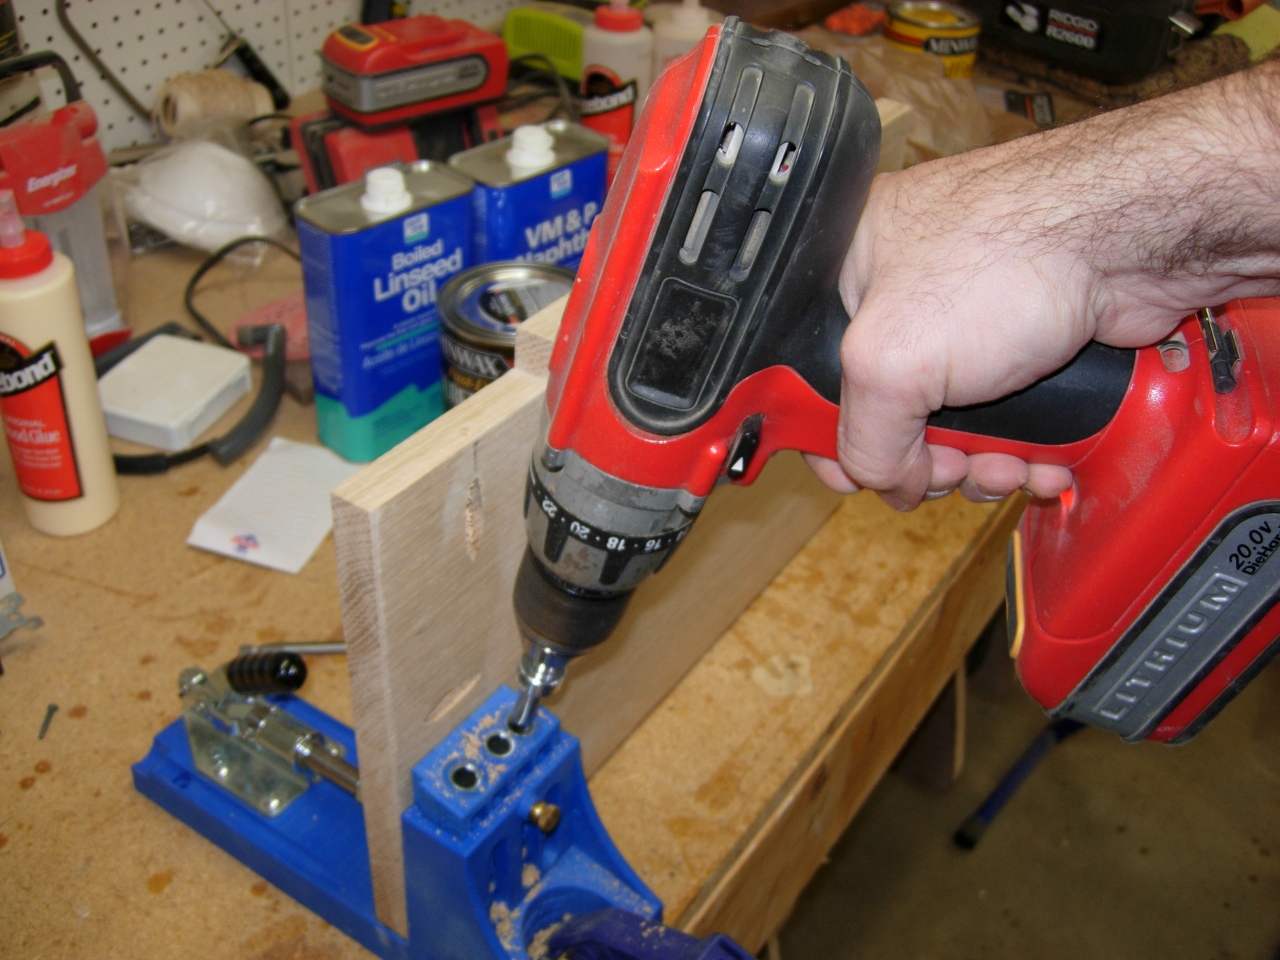
Drilling the pocket holes
With that finished, I gave everything a quick once-over with the sander to knock down any sharp edges.
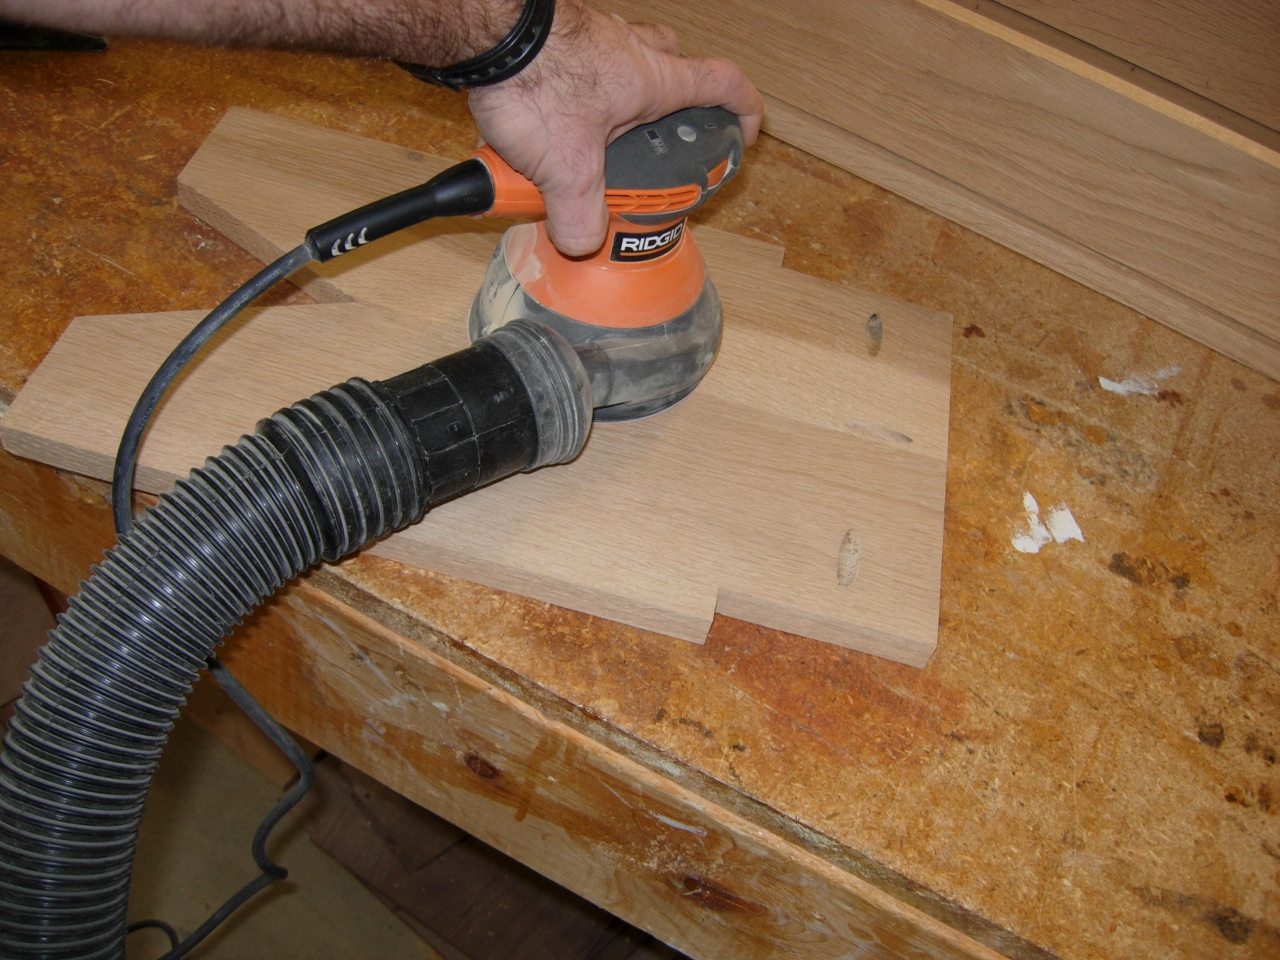
Sanding all of the boards
I put a bead of glue down the side of the support rails that would sit against the bench.
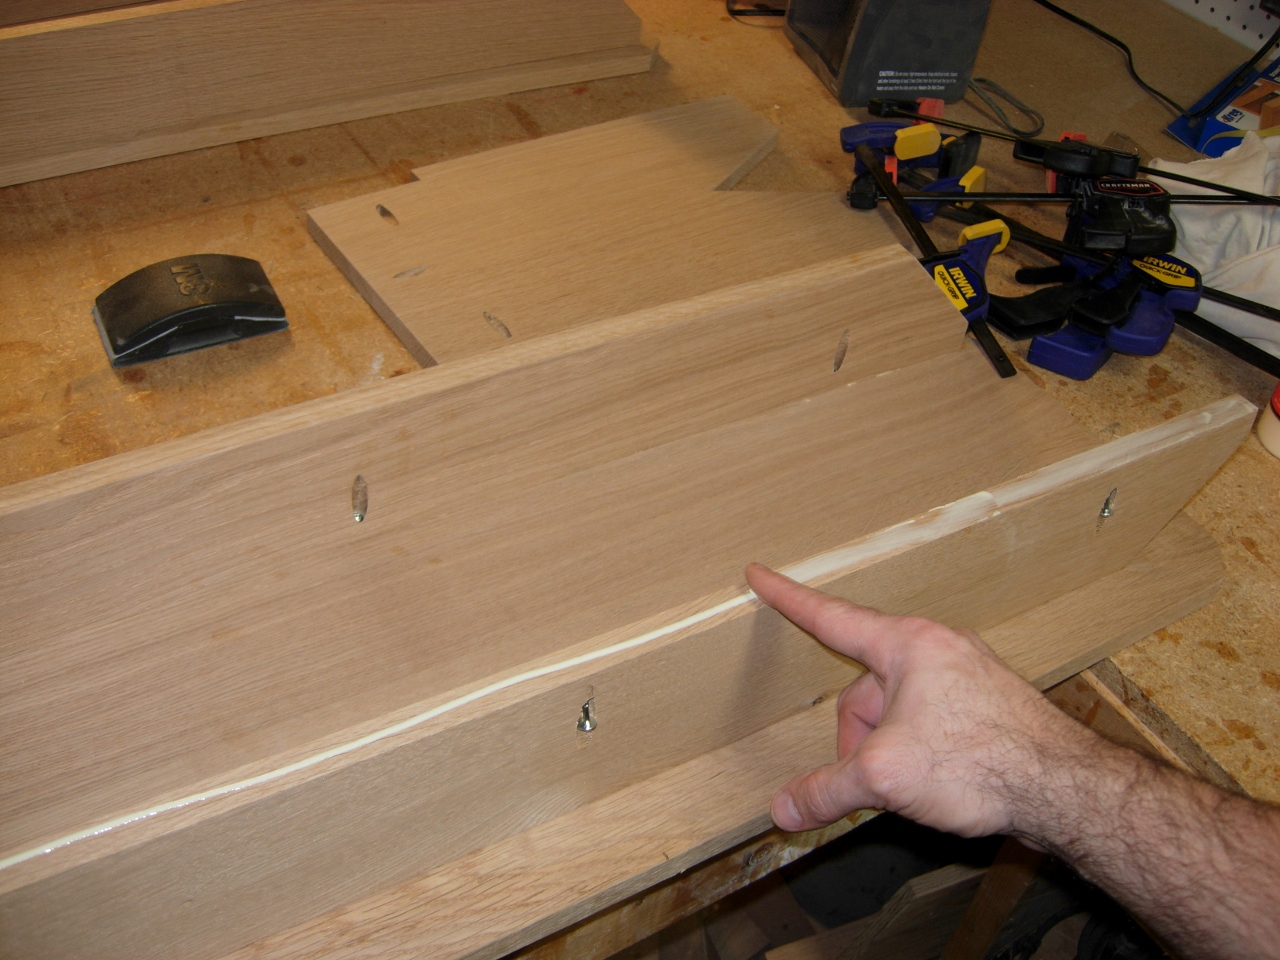
Spreading the glue on the support rails
I clamped the first rail in place and screwed it in. This gave me a face to use to square up everything else. Next I put glue along the three edges of the legs that would come in contact with the seat and the rails. I slid the last rail into place and clamped it all together, checking that everything was square, before screwing it all down.
Clamping everything together for screw-down
Once the screws were in place, the bench was ready to use. I flipped it over and tested it before repeating the process with the second one.
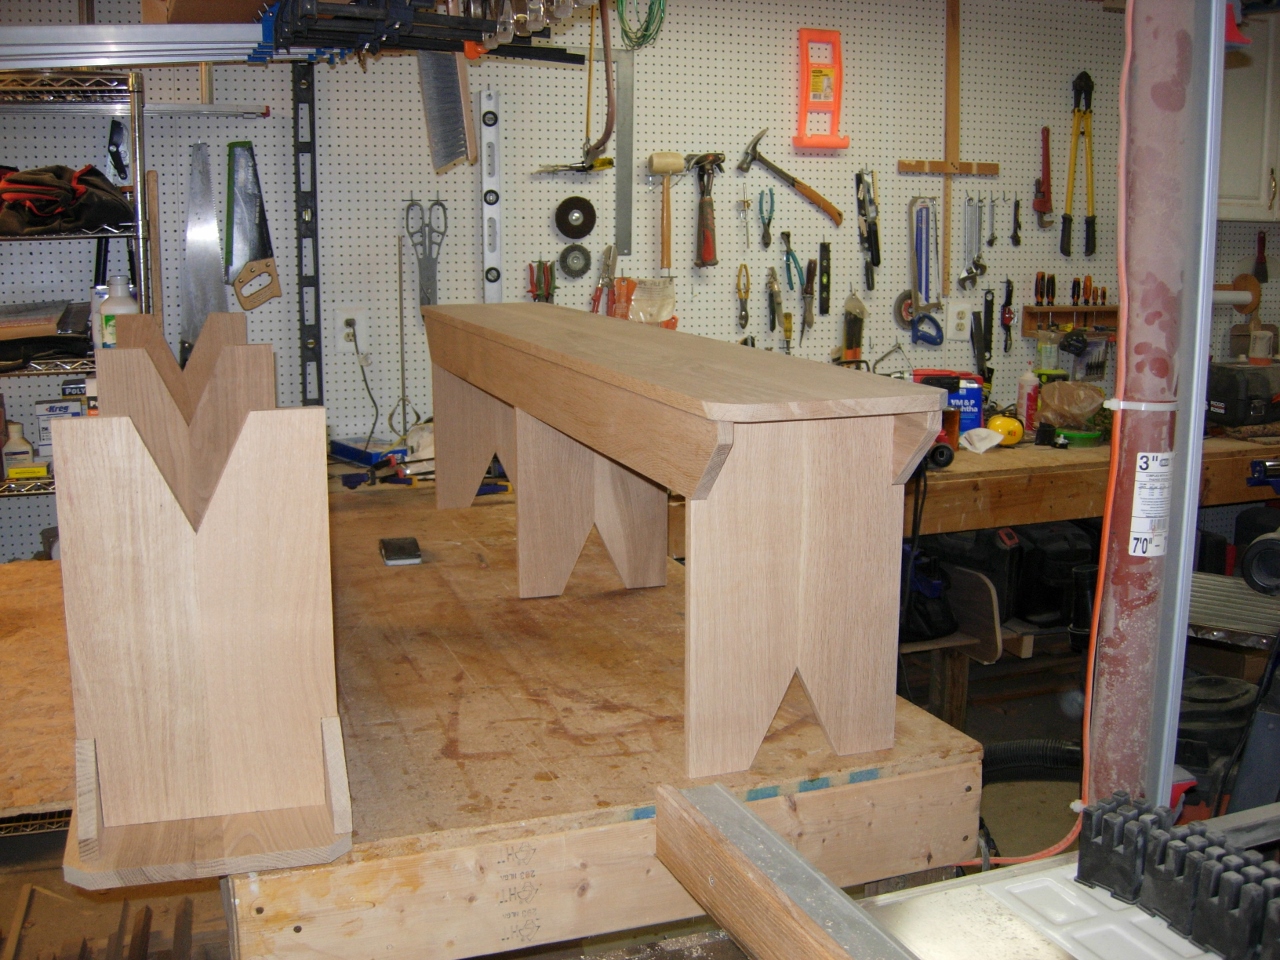
First one done
Once both were assembled, I ran the router around the top edges with a 3/8″ round-over bit.
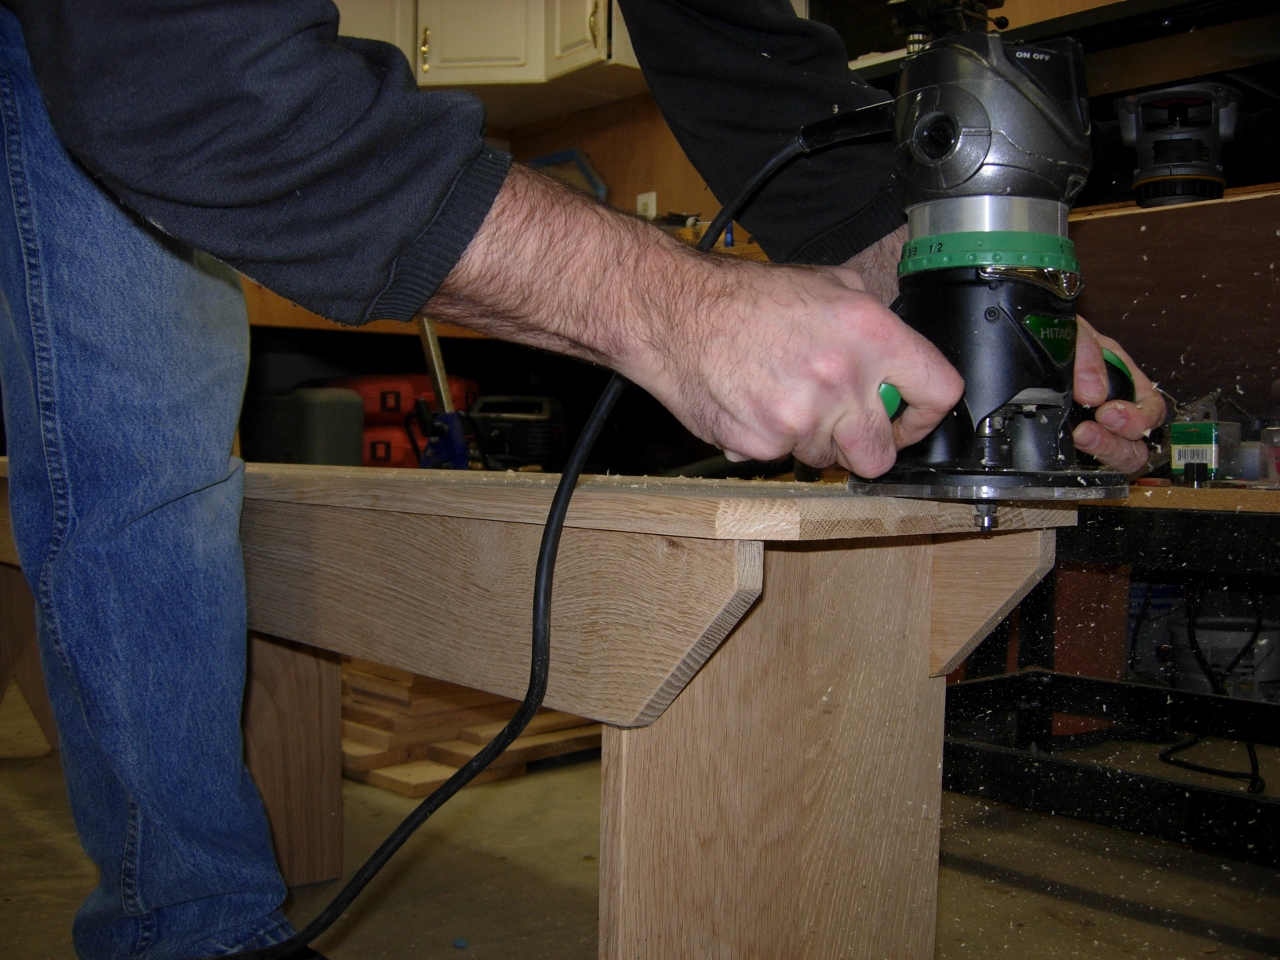
Rounding over the top
I finished-sanded the top and sides of the bench seats.
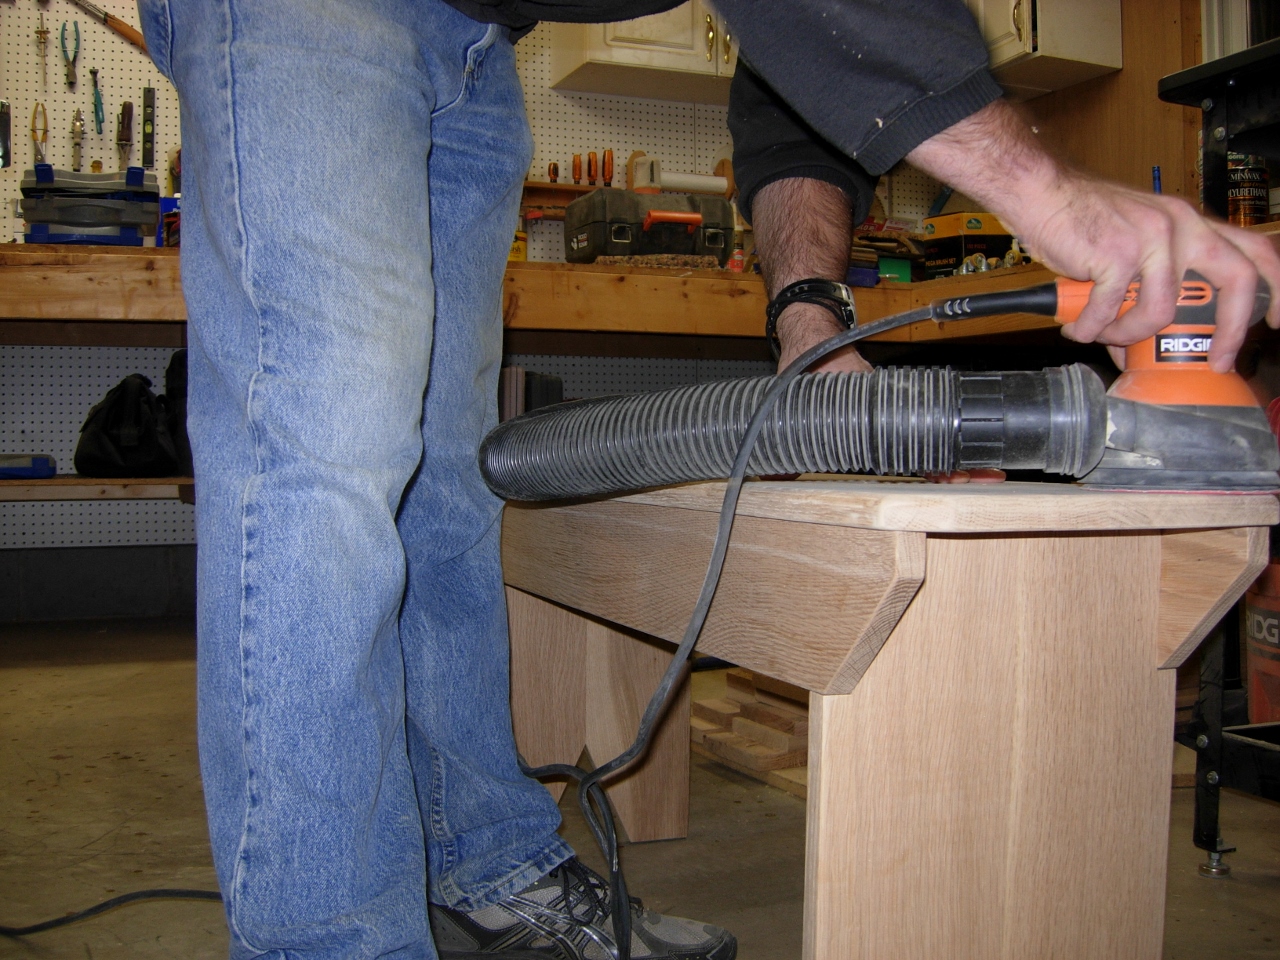
Sanding the top
Both benches are done and ready to be finished.
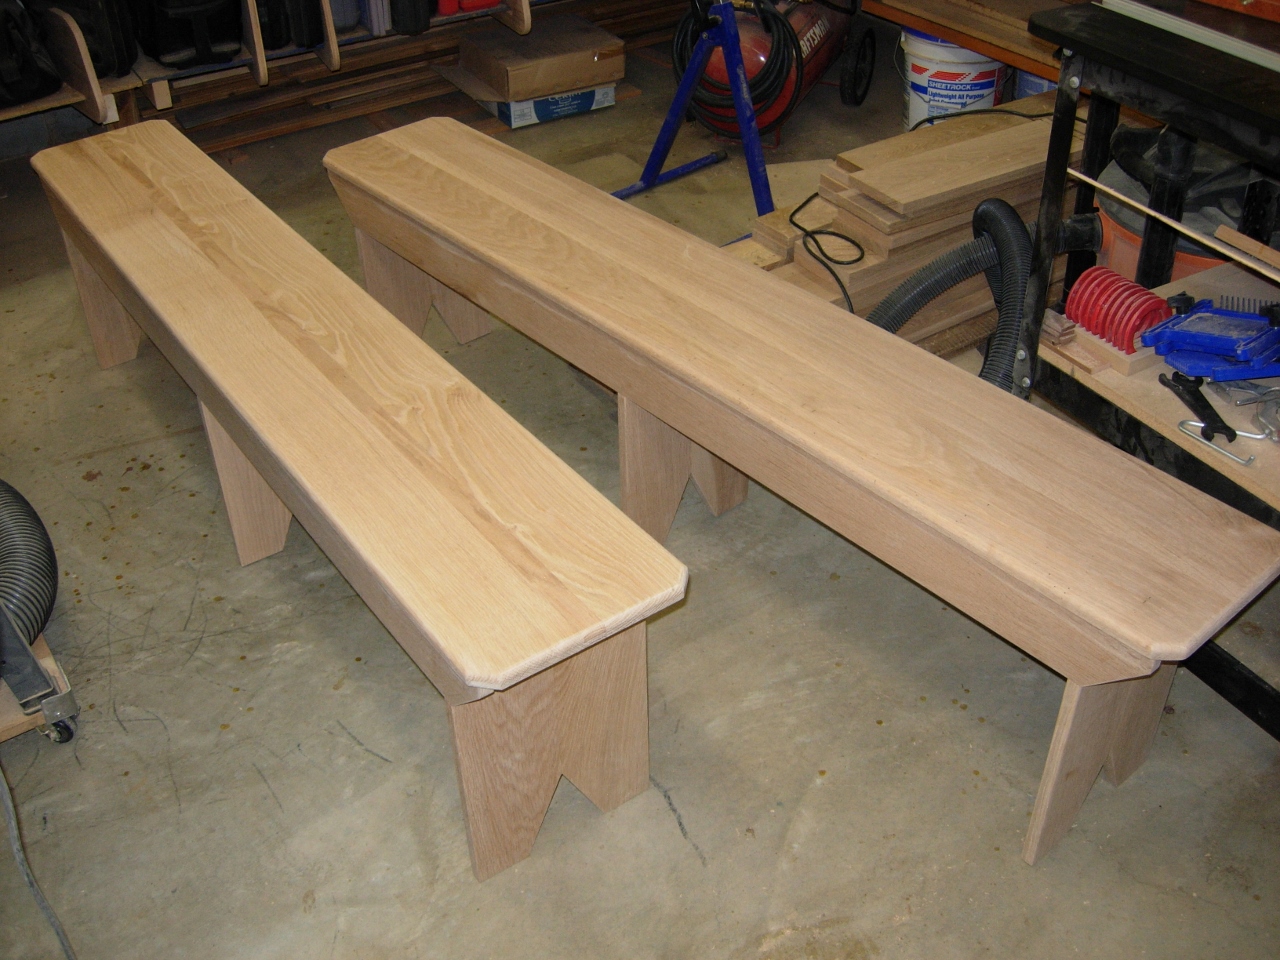
Done and ready for finish

Wow! They look fantastic! That was a lot of sawdust :). That’s for putting so much time in and making these for us!