
Ian’s Guitar
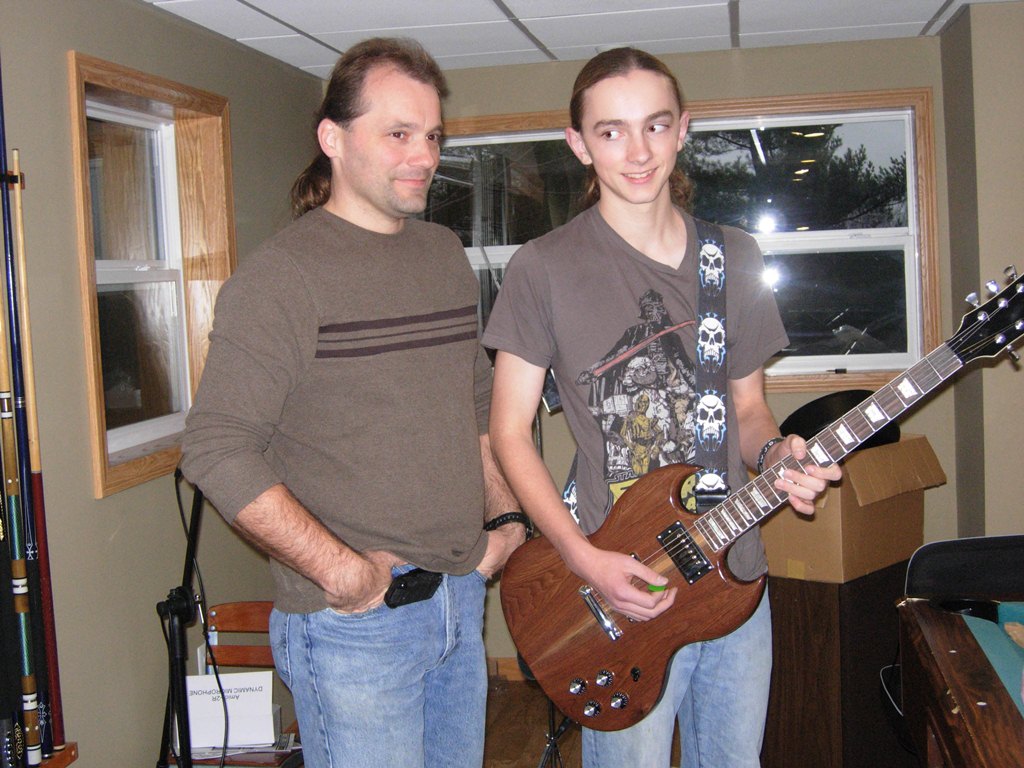
That elusive teenager smile
There is a rare, highly elusive thing that I believe we all seek at least once in our lives. So few of us ever find it. That thing is a genuine smile on a fifteen year old boy’s face. I have three boys. Two of them became teenagers when I wasn’t looking. Yep they crossed the threshold from young happy children, eager to smile and help out, to grumpy old men who only communicate with grunts and shrugs. When they were younger, my boys always wanted to be in the shop. Now that they are older and know everything, they have better things to do. My 15 year old had started playing guitar over the last year or so. I believe his future plans are to be a rock star in an 80’s hair band… Don’t get me wrong, I have long hair too, mine is just falling out…
Now that my boys are older, I am less scared of them using the big tools in my shop. I wanted to offer them the opportunity of learning a bit more about not only how to use tools and create, but also to learn a bit more about themselves. It dawned on me one day that Ian only had three guitars, maybe he needed one more… I am not a musical person. I would rather listen to a book than music. I gave him a task. Go to the library and get as many books on building and tuning a guitar that you can find. Scan through all of them and get some idea what is needed to build a guitar. Figure out what you would want in a guitar and we would build one. I had never built a guitar before, but I have come to realize that if I can figure out how to draw it, I can build it. He decided on a Gibson SG standard with a few tweaks. We spent a few weeks on the design. I spent my lunch time at work studying the hardware he picked and trying to find dimensions and reasons why things were done a particular way. He had originally wanted to build it in mahogany, but I had some walnut and my research showed that it would have similar tonal qualities. I had a piece that was wide enough to make it, but it was kind of bland. I found a board that had a nice streak of sap wood down the edge and we thought we would try a skunk stripe instead.

sap wood
I have to admit, we got so focused on the creation of the body that I completely forgot to take pictures of the process. The body was just slightly wider then my planer so all the boards were planed down prior to the joining. Then we took a card scraper to the glue joint and it worked perfectly. We printed out my design full size and overlayed in on the wood. I traced the lines heavily with a ball point pen. This left a dent in the wood where all the cuts needed to be. Before removing the plan from the wood, I punched the center of every radius we would be drilling. Even though all the pockets would be cut with the router, I still pre-drilled all the corners. I would be free-handing the router, so they gave me good reference points. All the holes were drilled and the pockets routed prior to cutting out the body. That left me a large flat area for the router to rest on. When all the pockets were cut I turned Ian loose on the band saw. We smoothed out our cuts on a spindle sander then I handed Ian a rasp and my spokeshave and showed him how to shape the body. Normally manual labor is not a teenagers favorite task, but that boy went to town with the rasp. He shaped the entire body in one shot. He was a bit tired when he was done, but he was smiling. With the body shaped, we test fit all of the hardware. I failed to mention that I took the easy way out on this project. I purchased the neck. Maybe one day we will try making one, but not for this project.
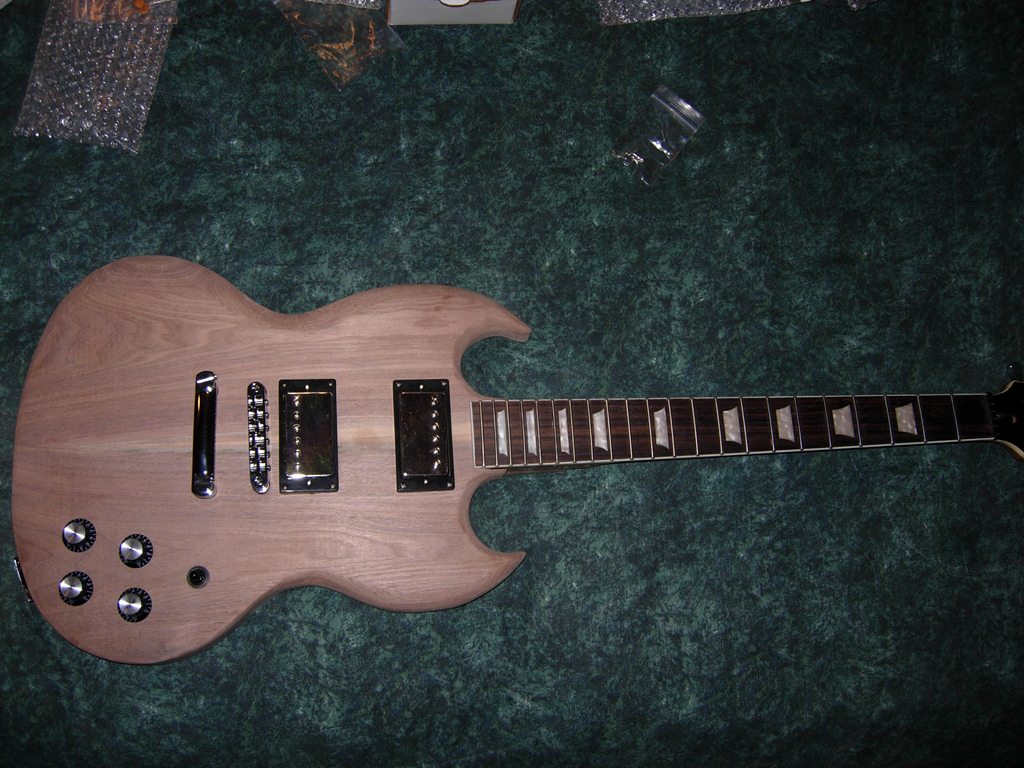
dry-fit hardware

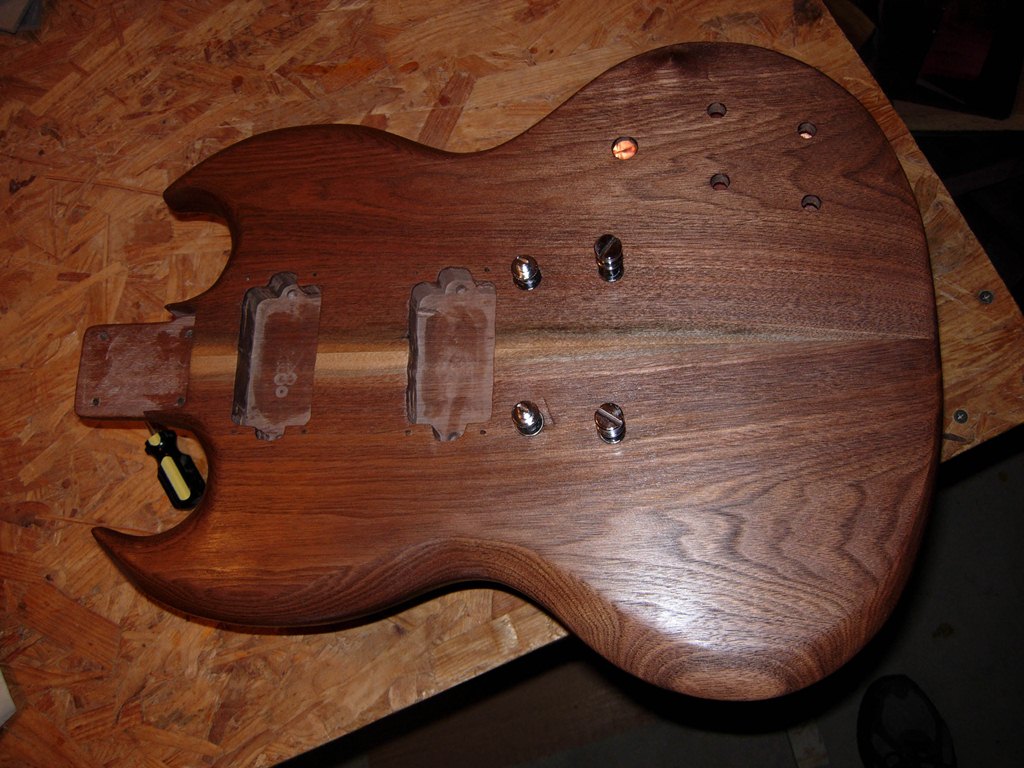
Back panel
Reflections

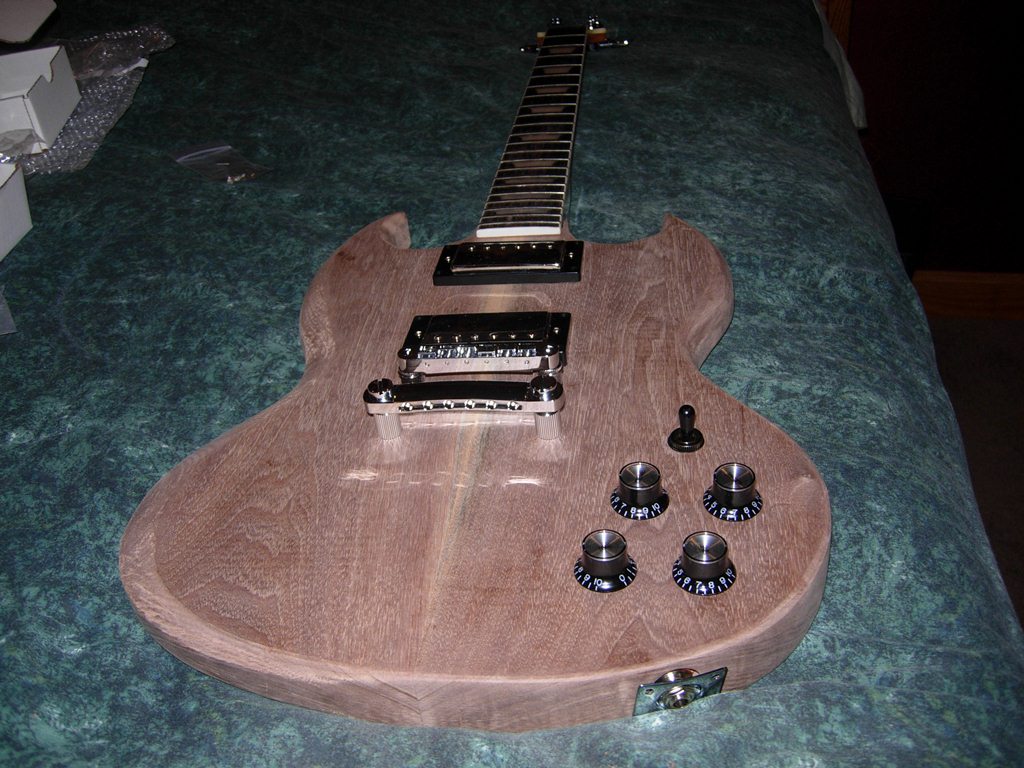
Fully assembled

Neck dry-fit
We did a little research on finishes and decided on tung oil. Six coats later, he couldn’t be more pleased. I left the routed pockets unfinished to allow the wood a little room to breathe. I also lined the main cavity with copper for shielding so I left the back plate installed while we finished it.

Back view
top view
sap wood

Pockets unfinished
The last challenge for me was soldering in the components. I haven’t soldered anything in 20 years… But, a couple of burn scars later, she was wired.
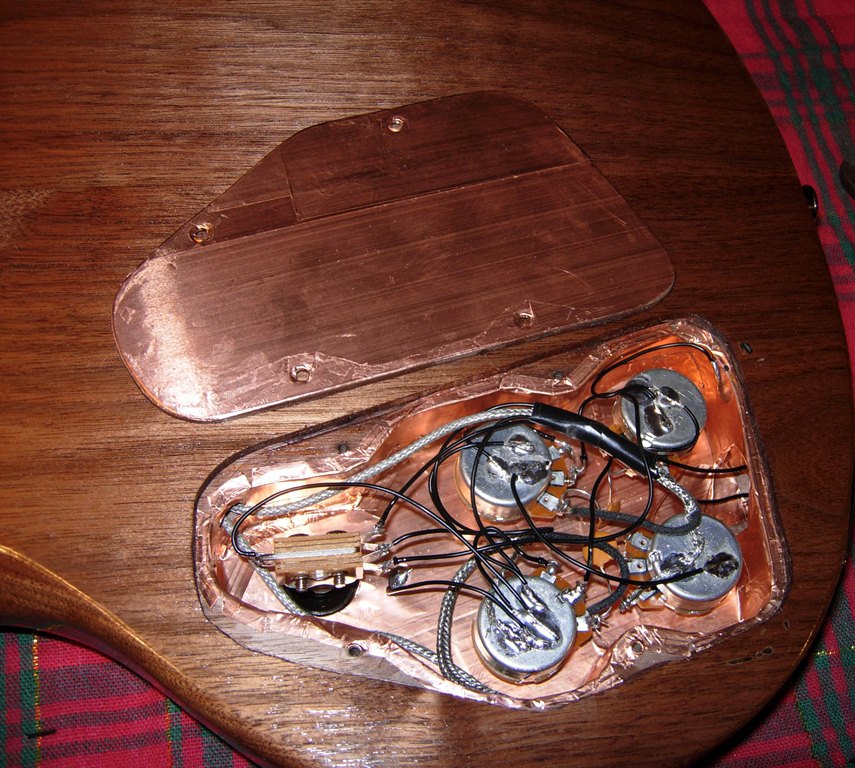
My wiring…

My burn scars…
Now, all that was left was testing it out.

close-up

Play time

Another smile
