Chapel door with etched glass
This chapel door is for The Sisters Poor of Jesus Christ – Baltimore Mission. I am making this that match the other chapel furniture I have made for them. This is concept I came up with.
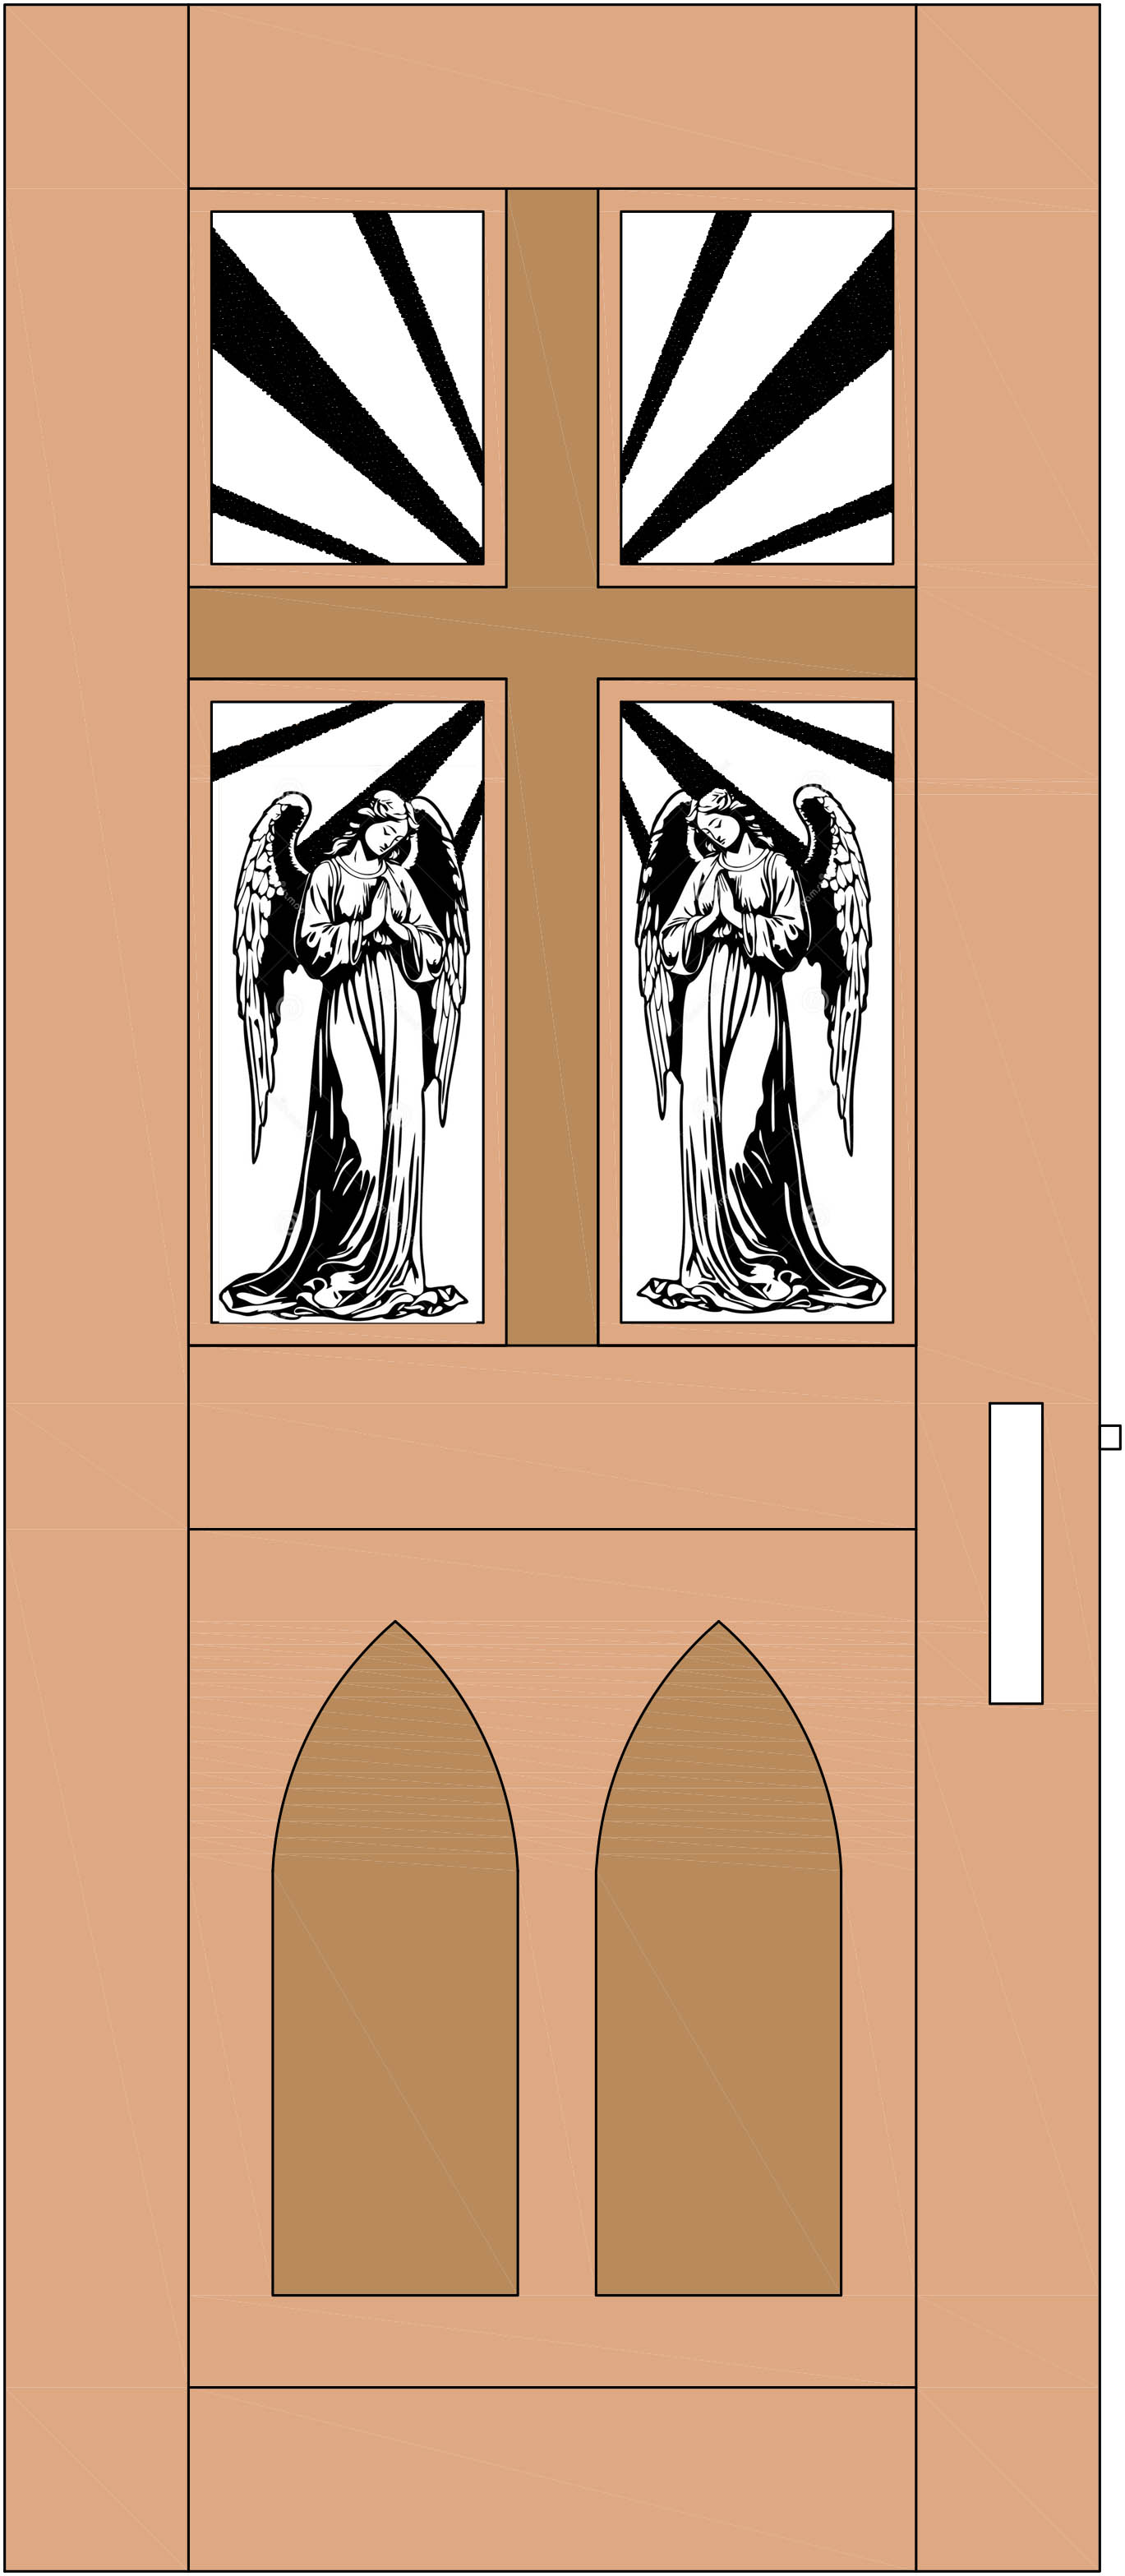
The door will be made from cherry and walnut as well as etched glass for the windows. These are the plans I will be working from: Door.pdf
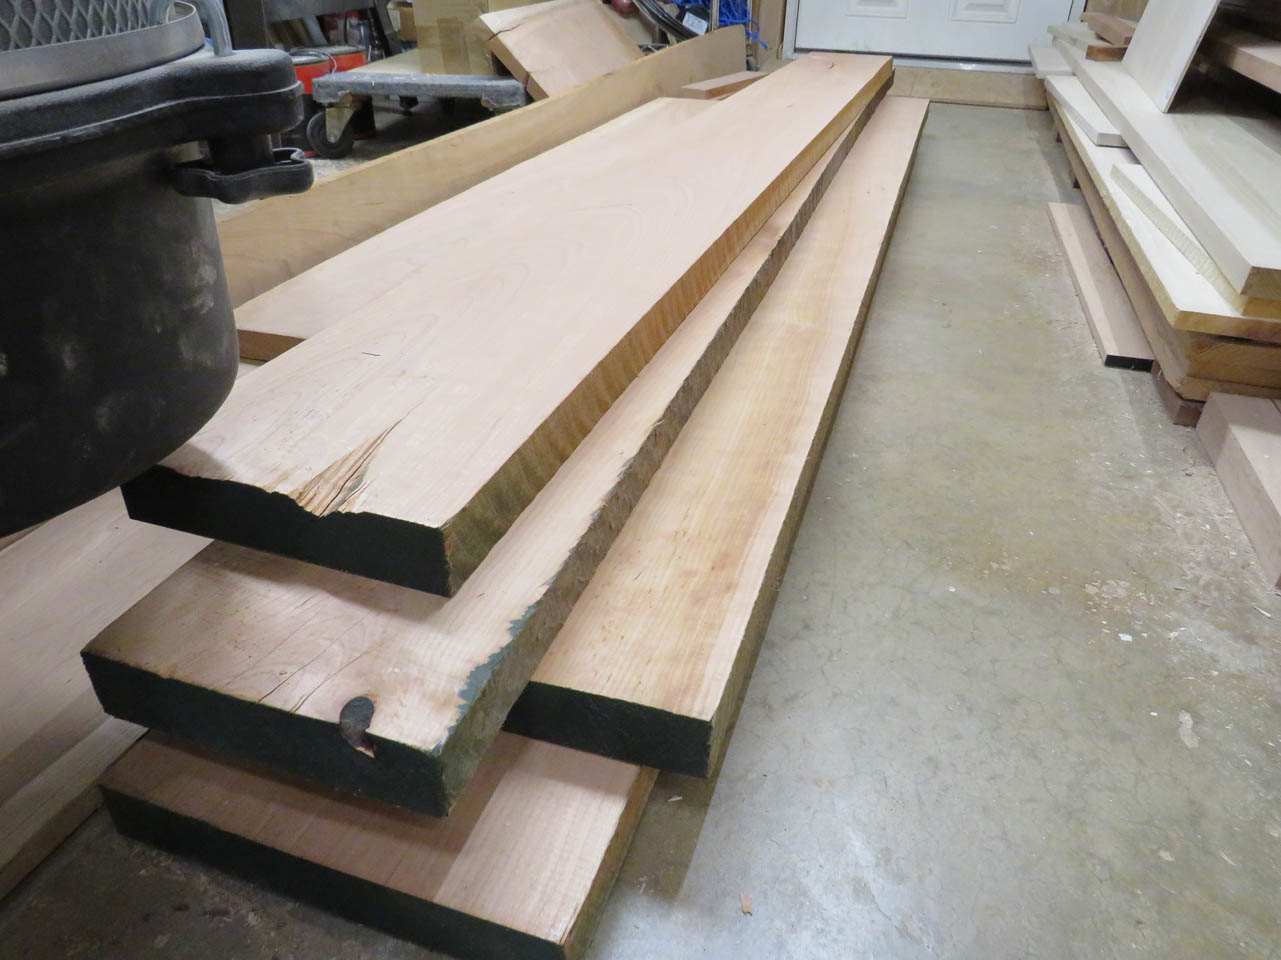
I picked up several pieces of 2″ thick cherry to use in the solid cherry frame of the door. For the panel in the lower half of the door I will be laminating walnut veneer to a Baltic birch core, then making cherry veneer to laminate to that. This will make a stable panel that should not expand or contract.
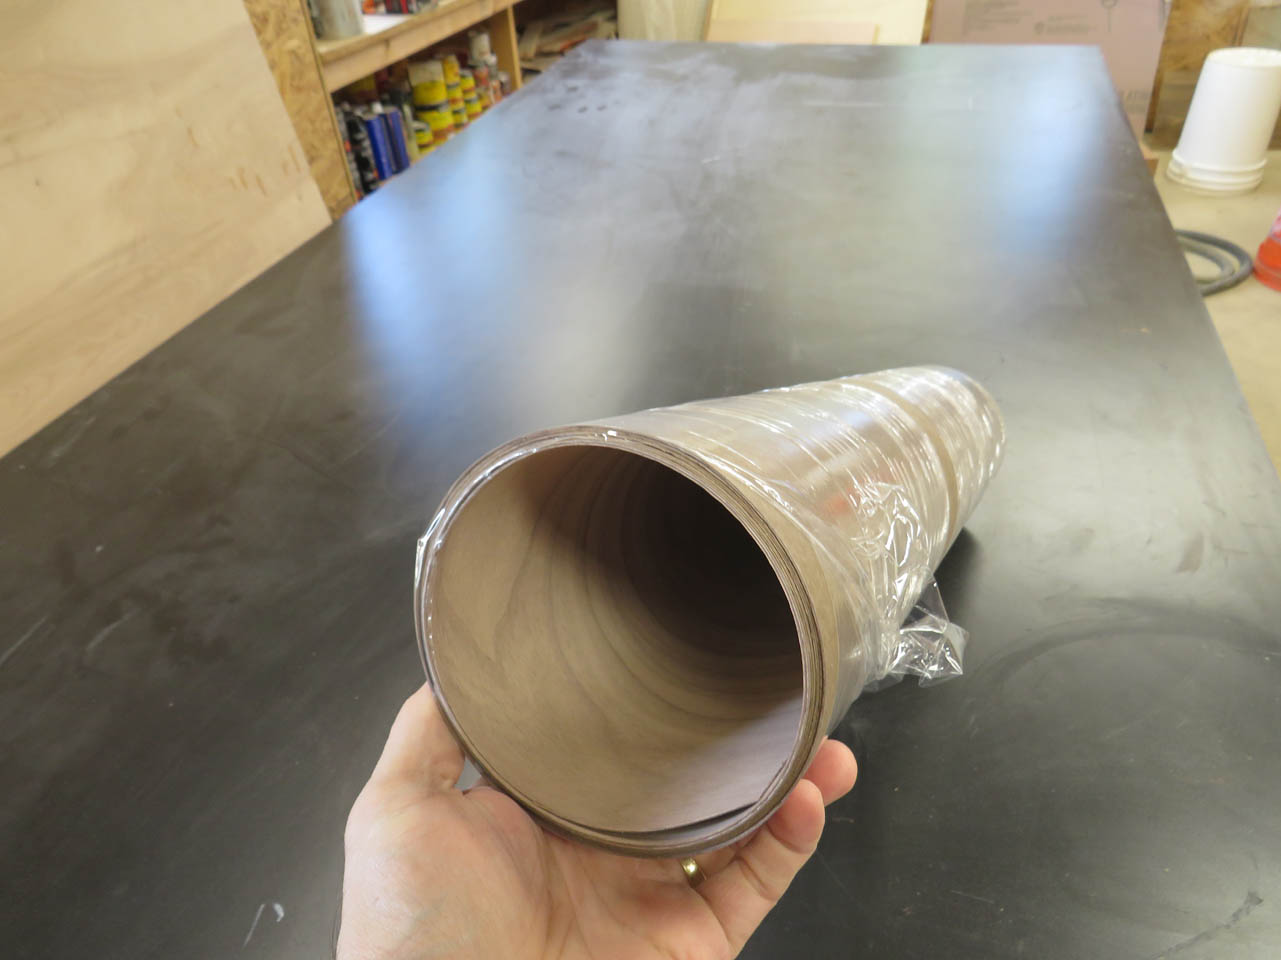
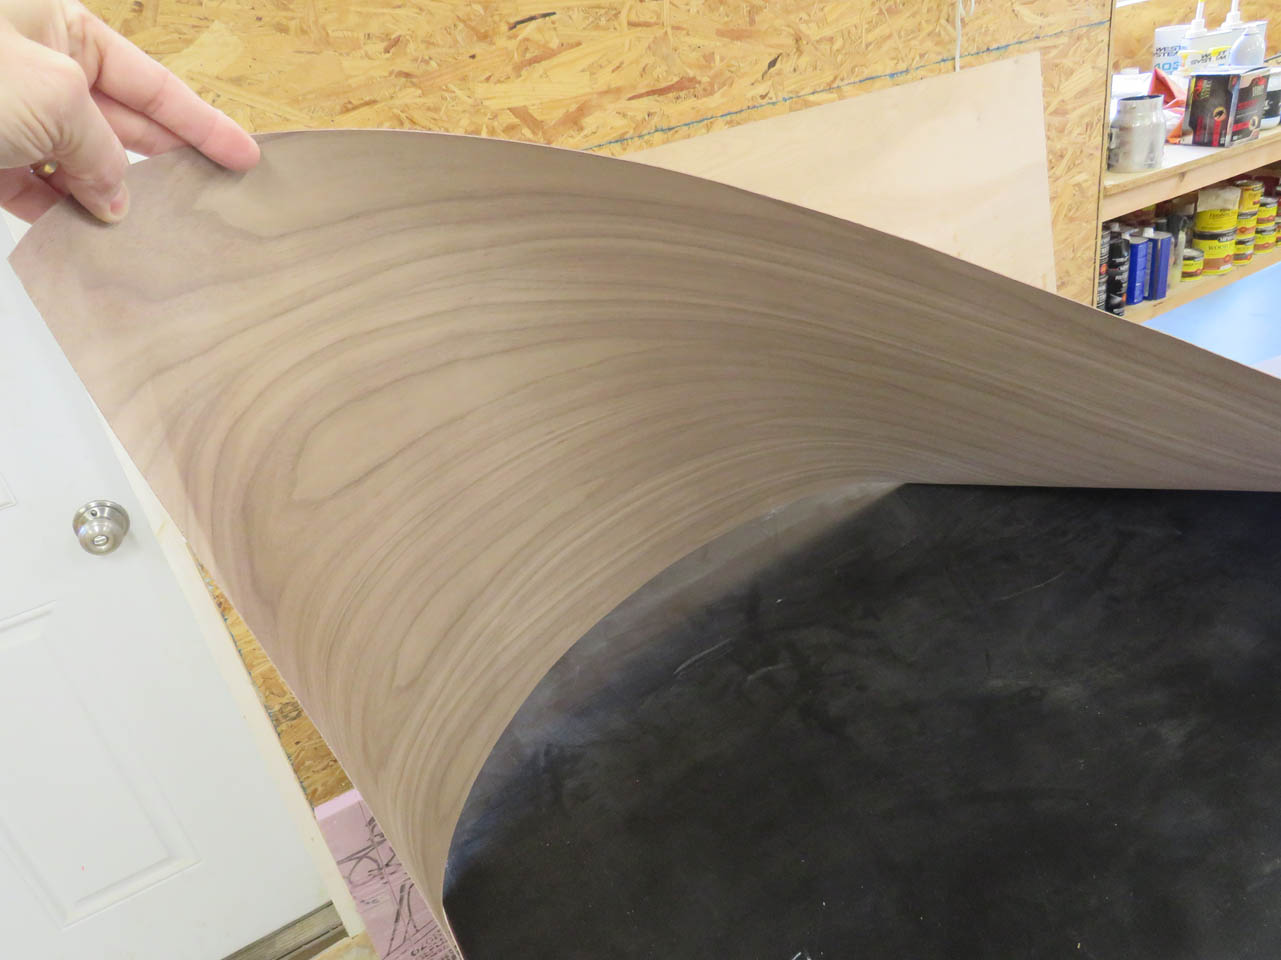
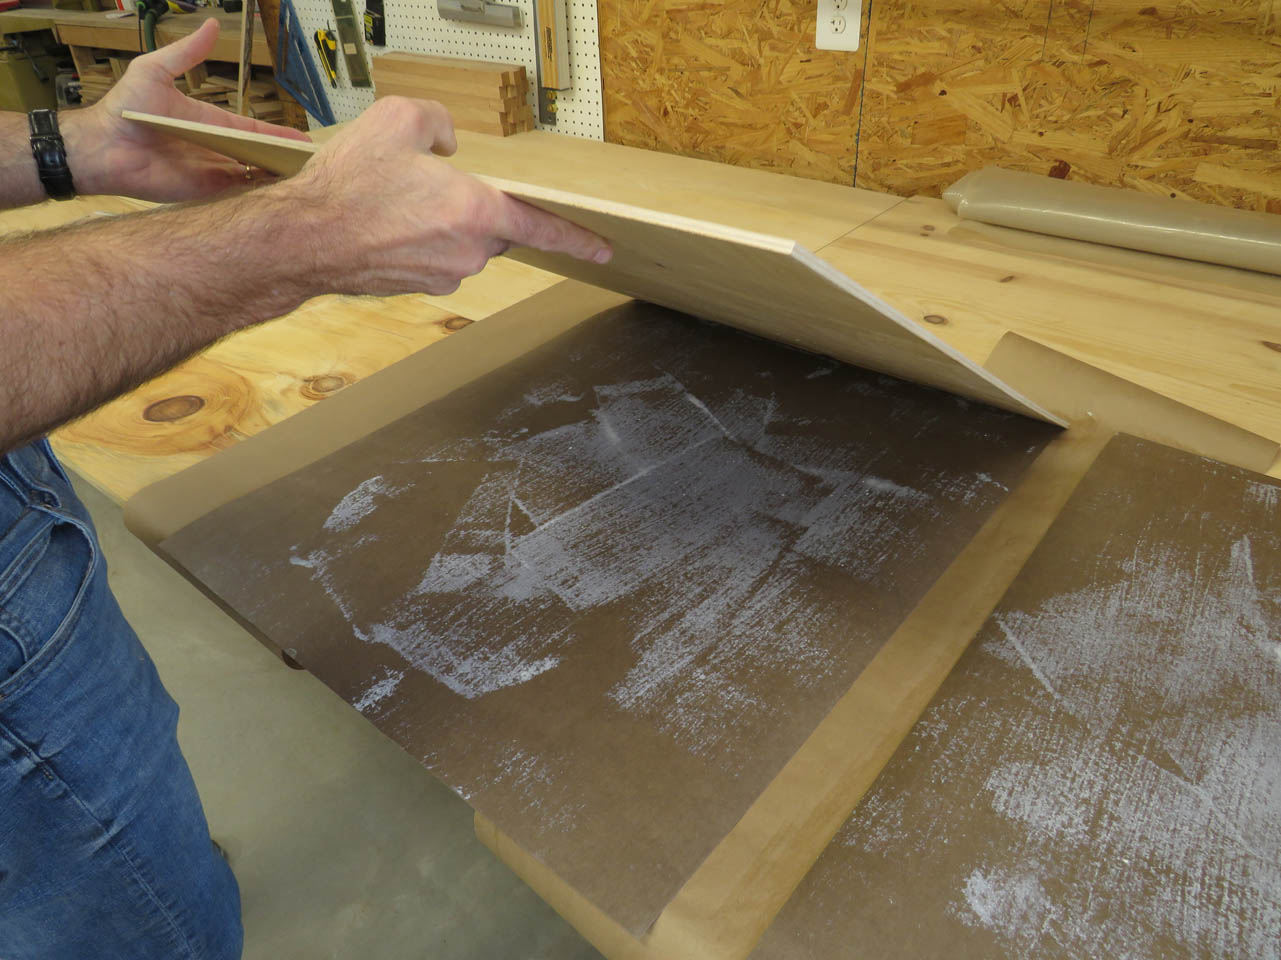
Since the walnut veneer comes tightly wrapped, I need to unroll it and force it flat.
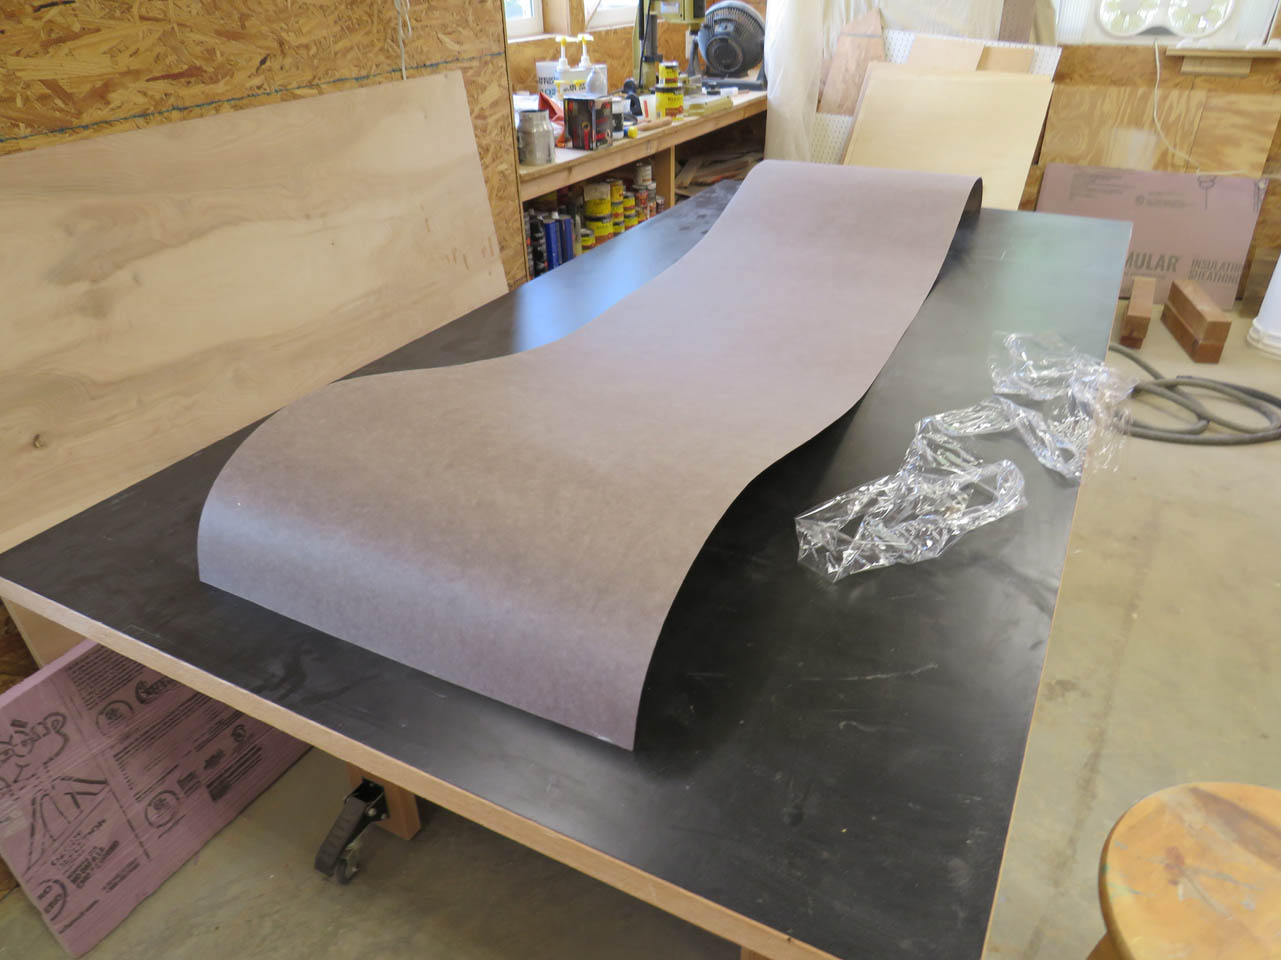
This is a paper-backed veneer. I really like the paper-backed veneer because it is very stable and does not tend to crack.
I placed a few pieces of plywood on the sheet to hold it flat for a day or so.
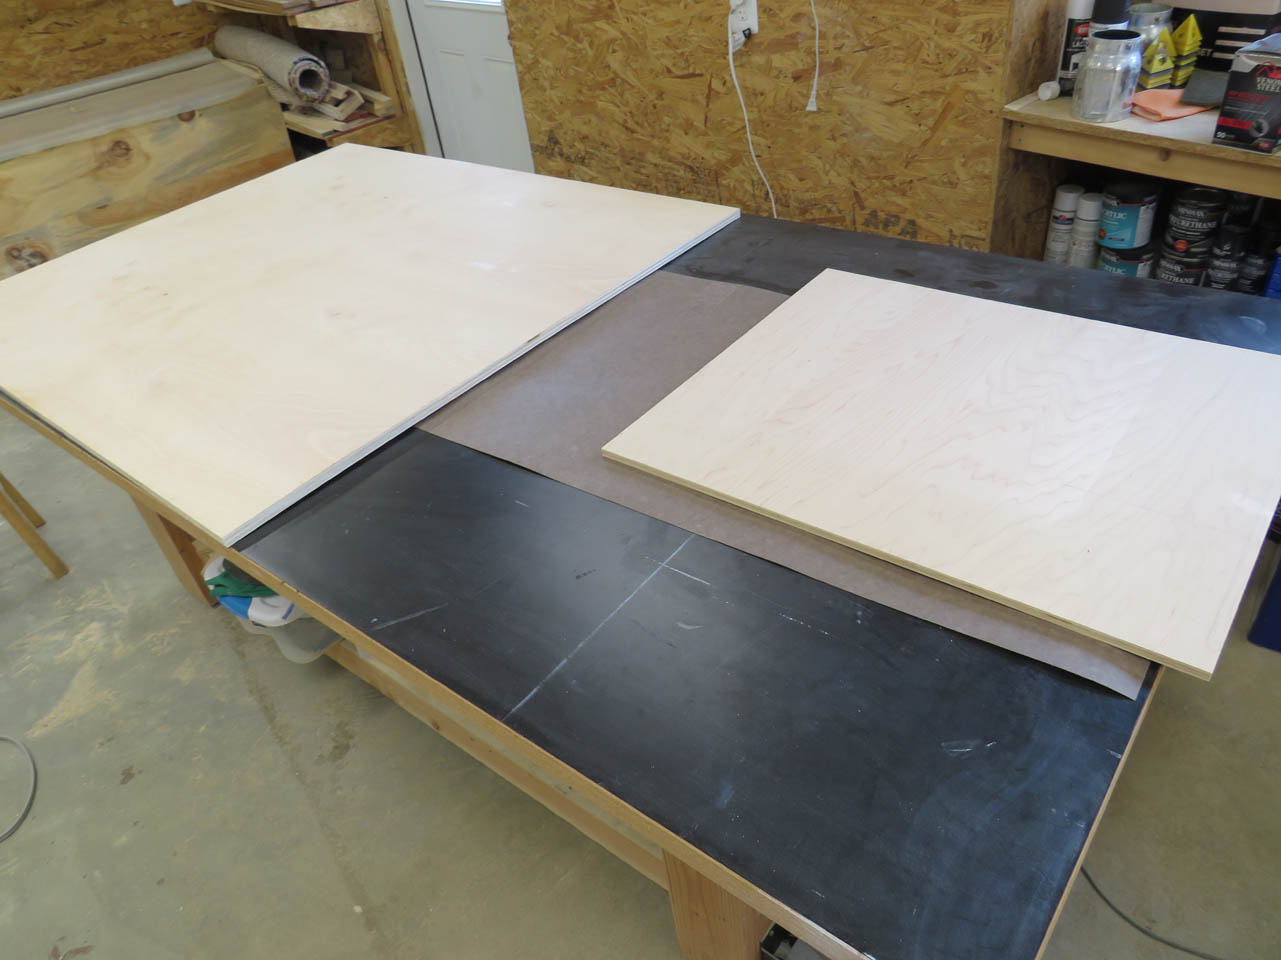
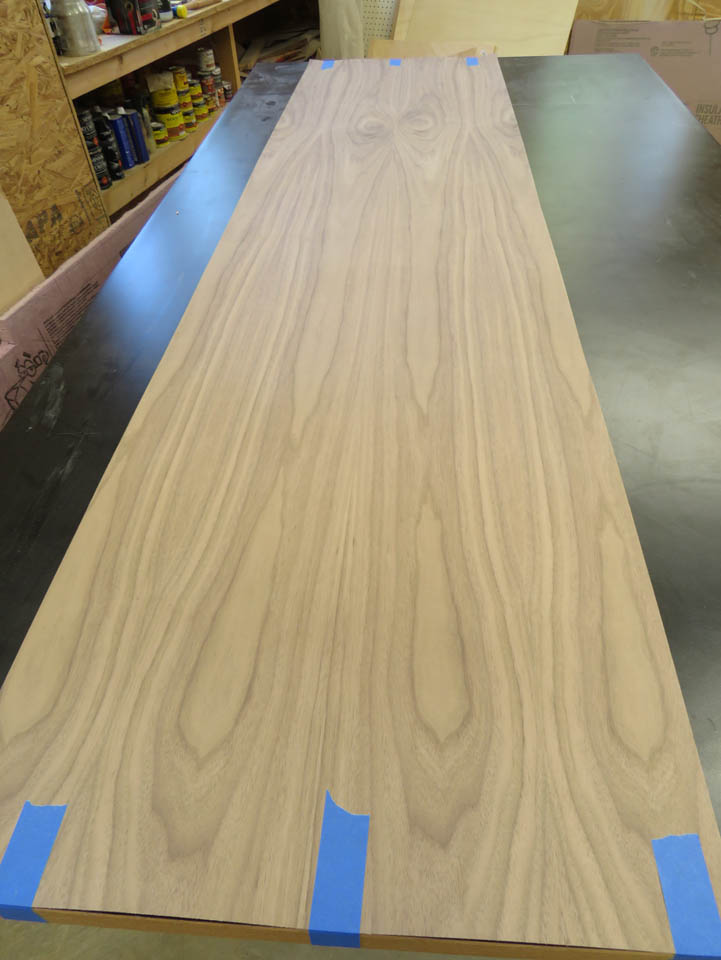
Once it was fairly flat, I just left it taped to my work table till I needed it.
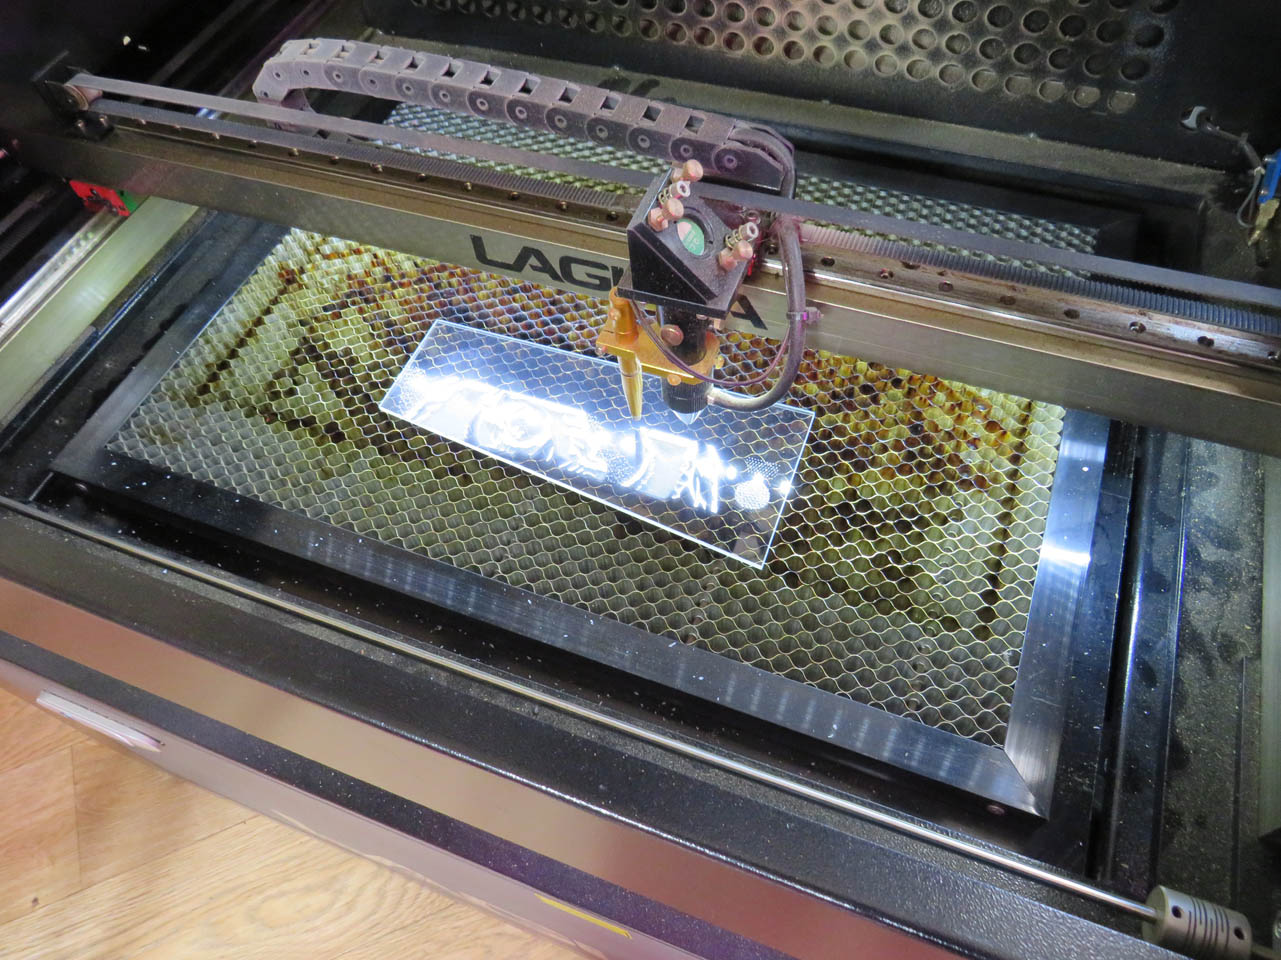
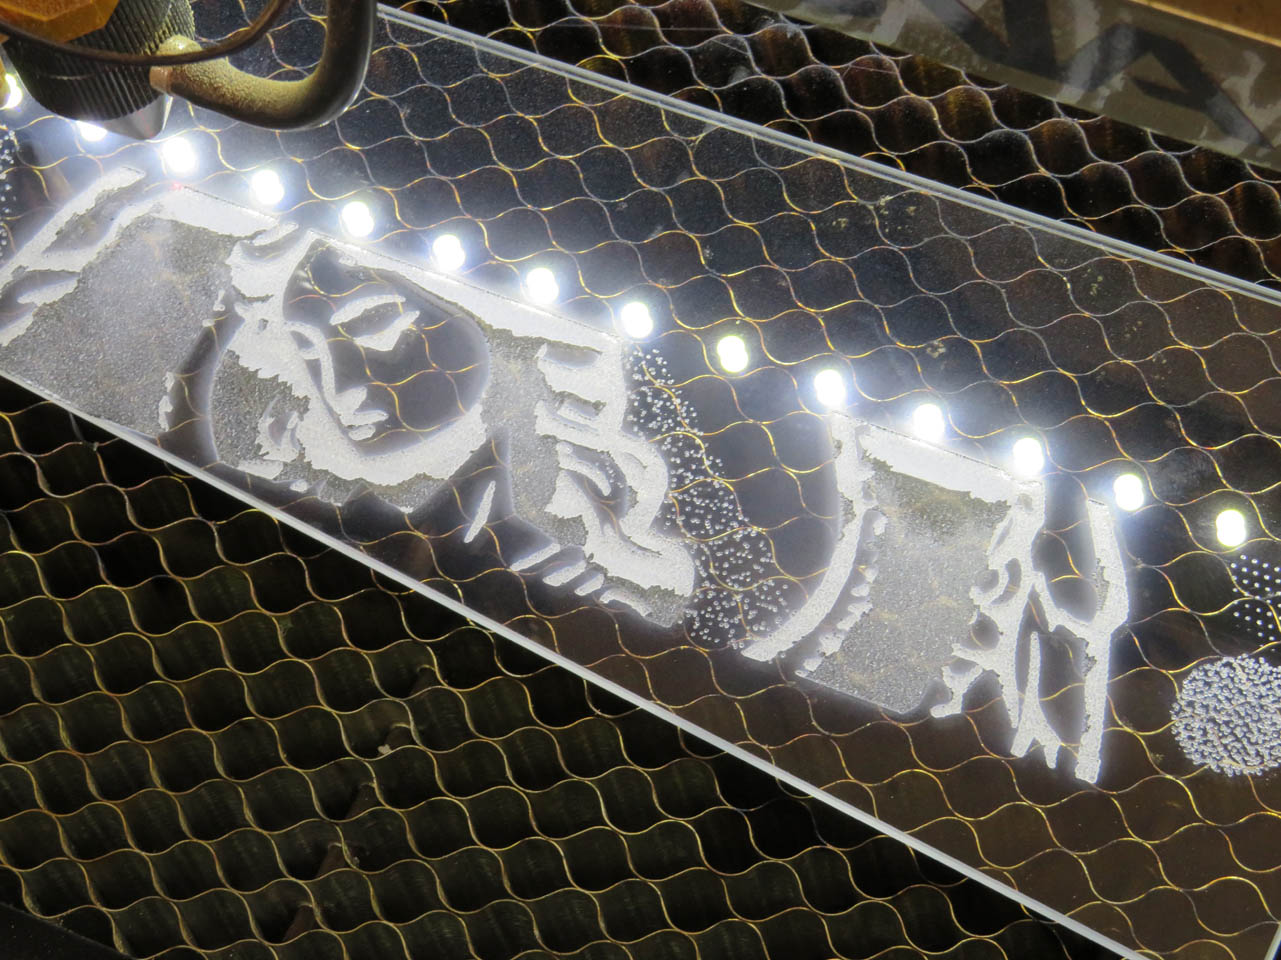
A large part of this door will be the etched glass. I need to use tempered glass since it will be in a door. Tempered glass is heat treated to make it stronger. It also will not break into shards if damaged. Instead, it shatters into tiny chunks that will be safer to clean up. I have never worked with tempered glass before so I purchased several smaller pieces to test in my laser. Once I determined that I could safely etch the hardened glass, I could experiment with different hatching densities as well as speed and power settings.
I think I am ready to etch the main windows but I need to order the glass to the exact size since you cannot cut the tempered glass once it is hardened. To get the exact size required, I need to build the door first.
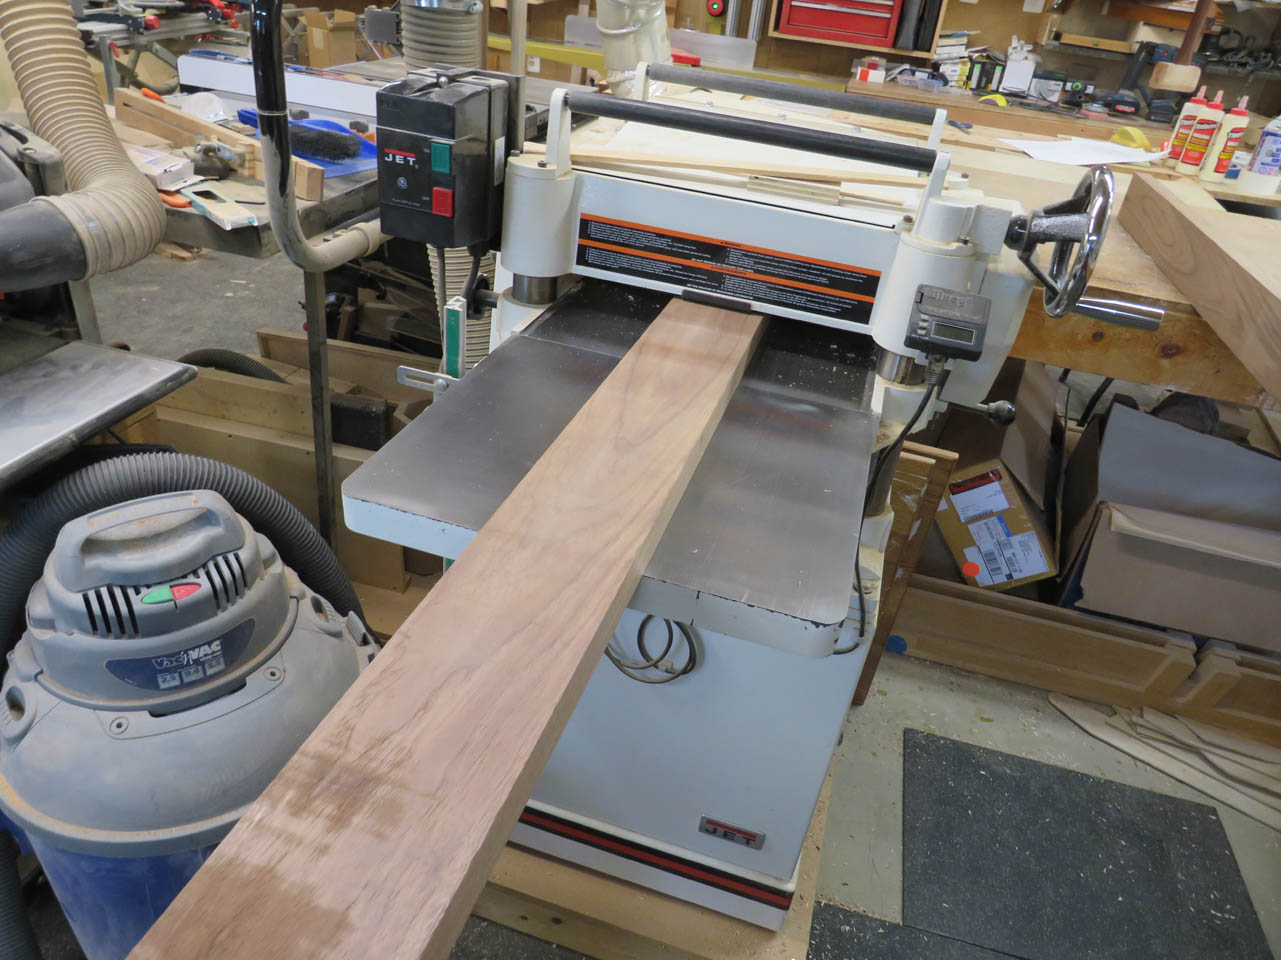
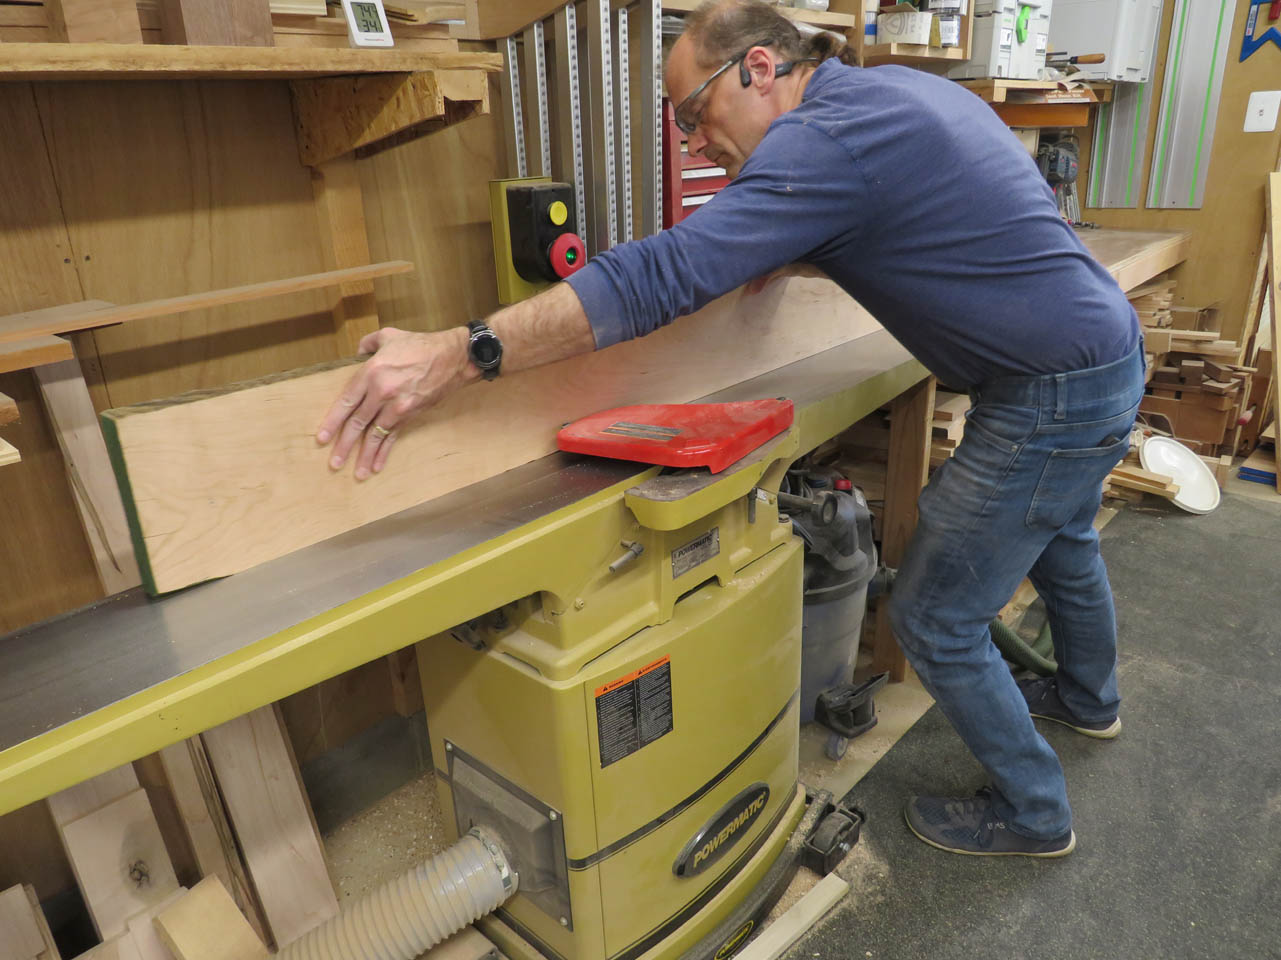
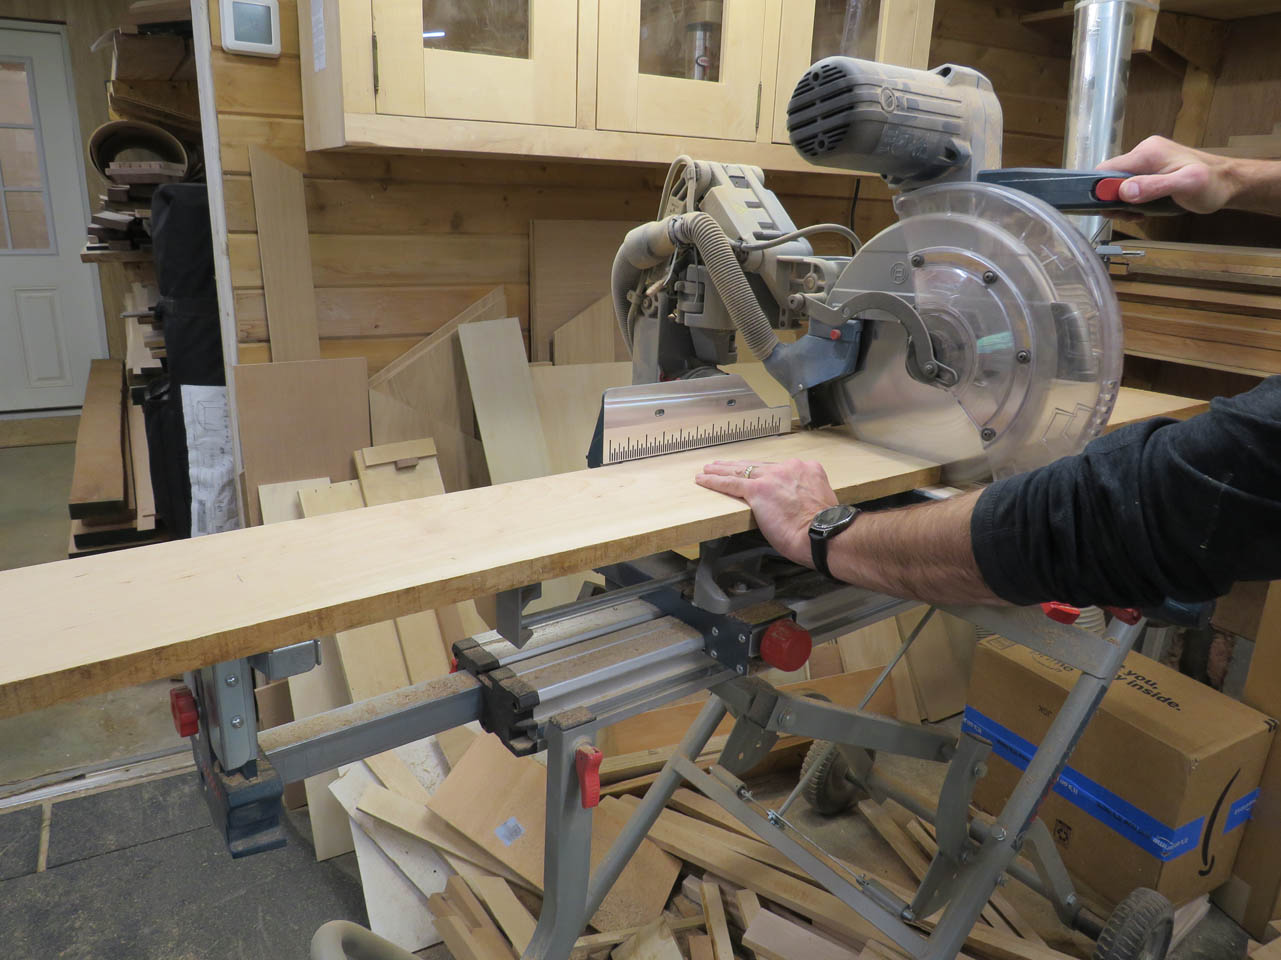
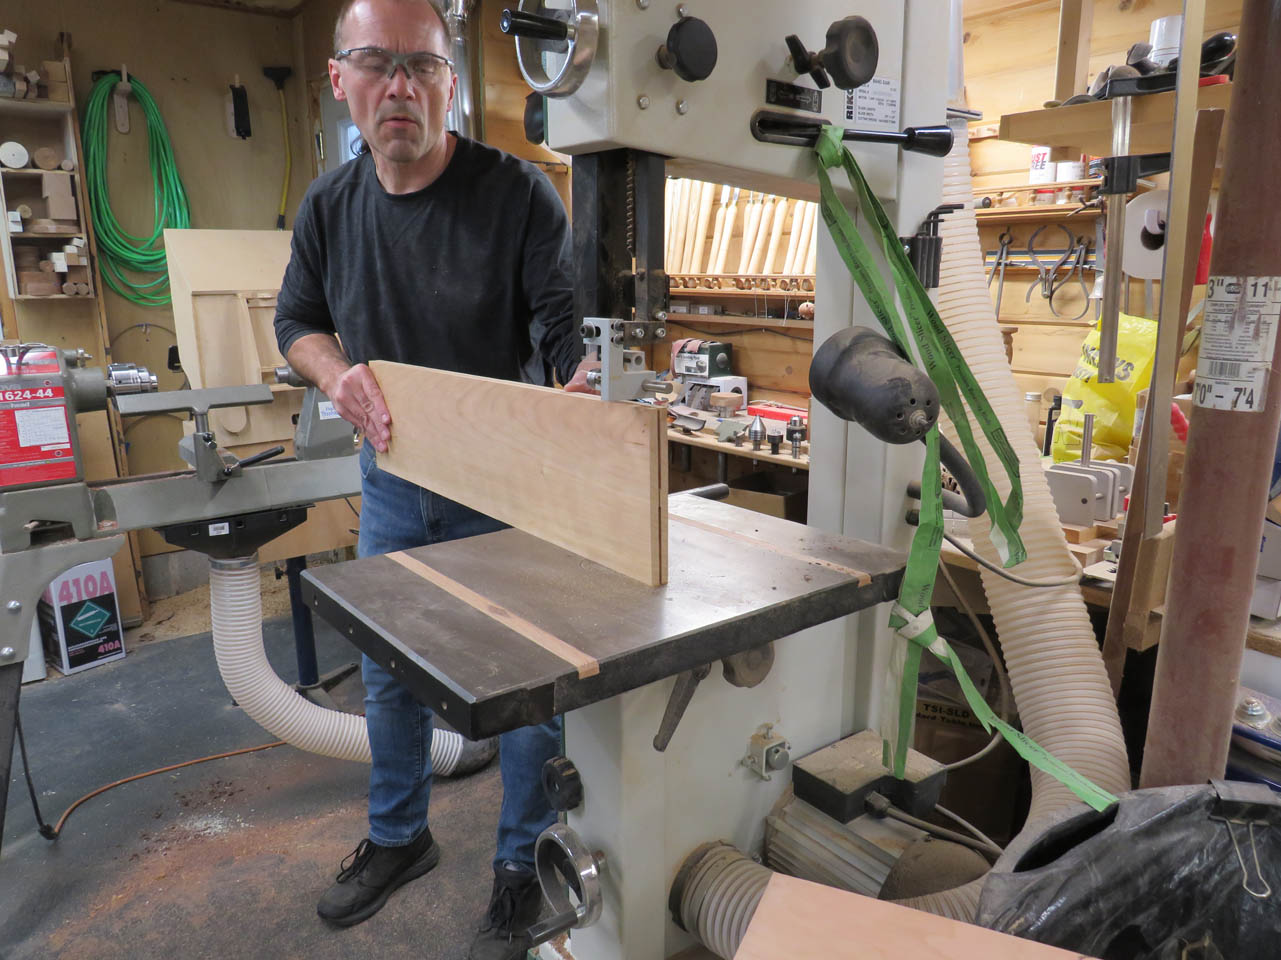
Time to start planing down the cherry. The final thickness of the door is 1-3/8″ thick. That will require a lot of planing down of the 2″ thick boards.
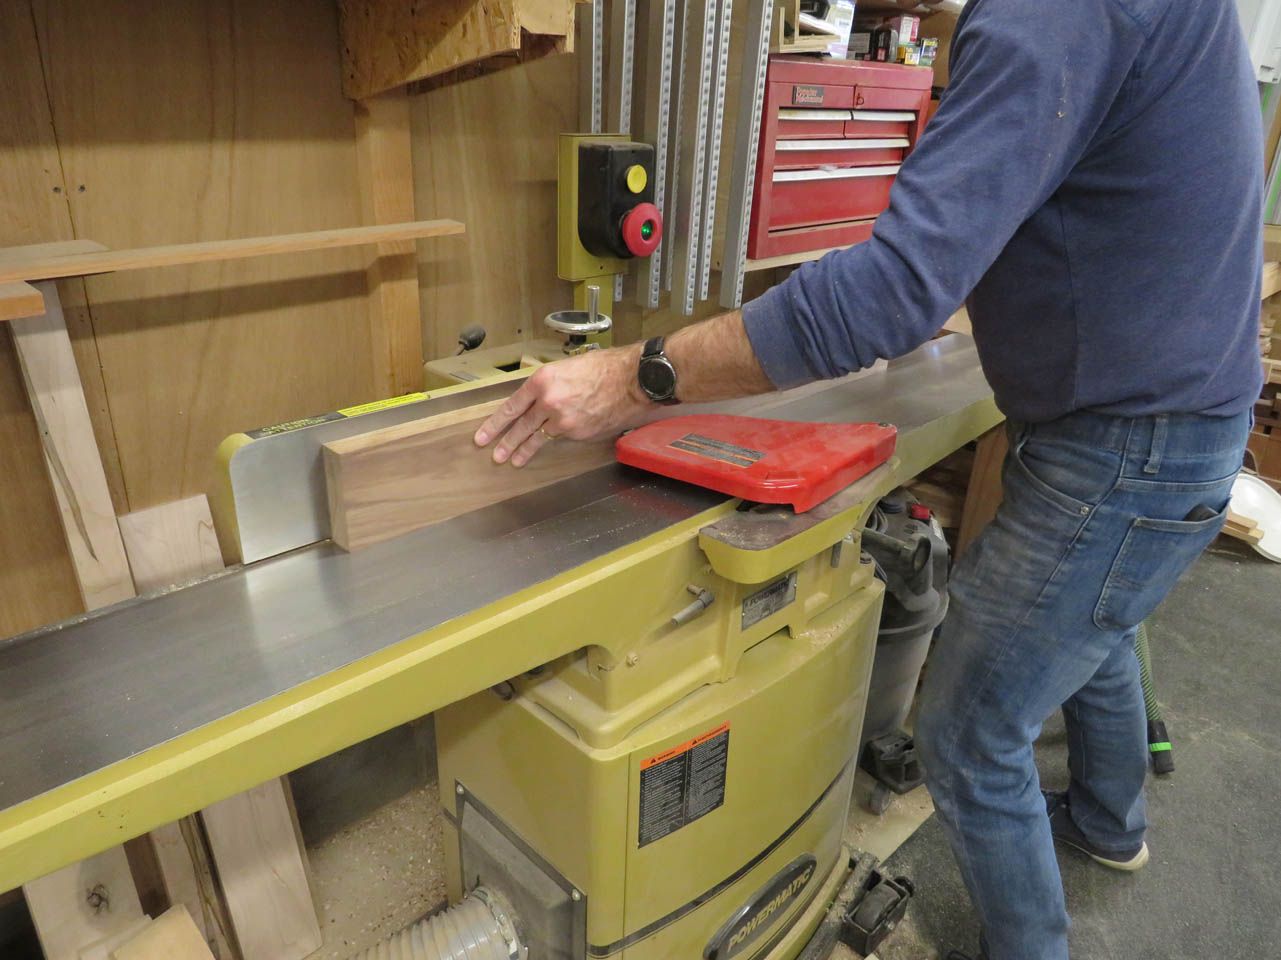
Once planed down to the required thickness, I jointed one side of the boards, then cut them to width. I started with the shorter horizontal boards.
This was repeated for all of the long vertical pieces as well.
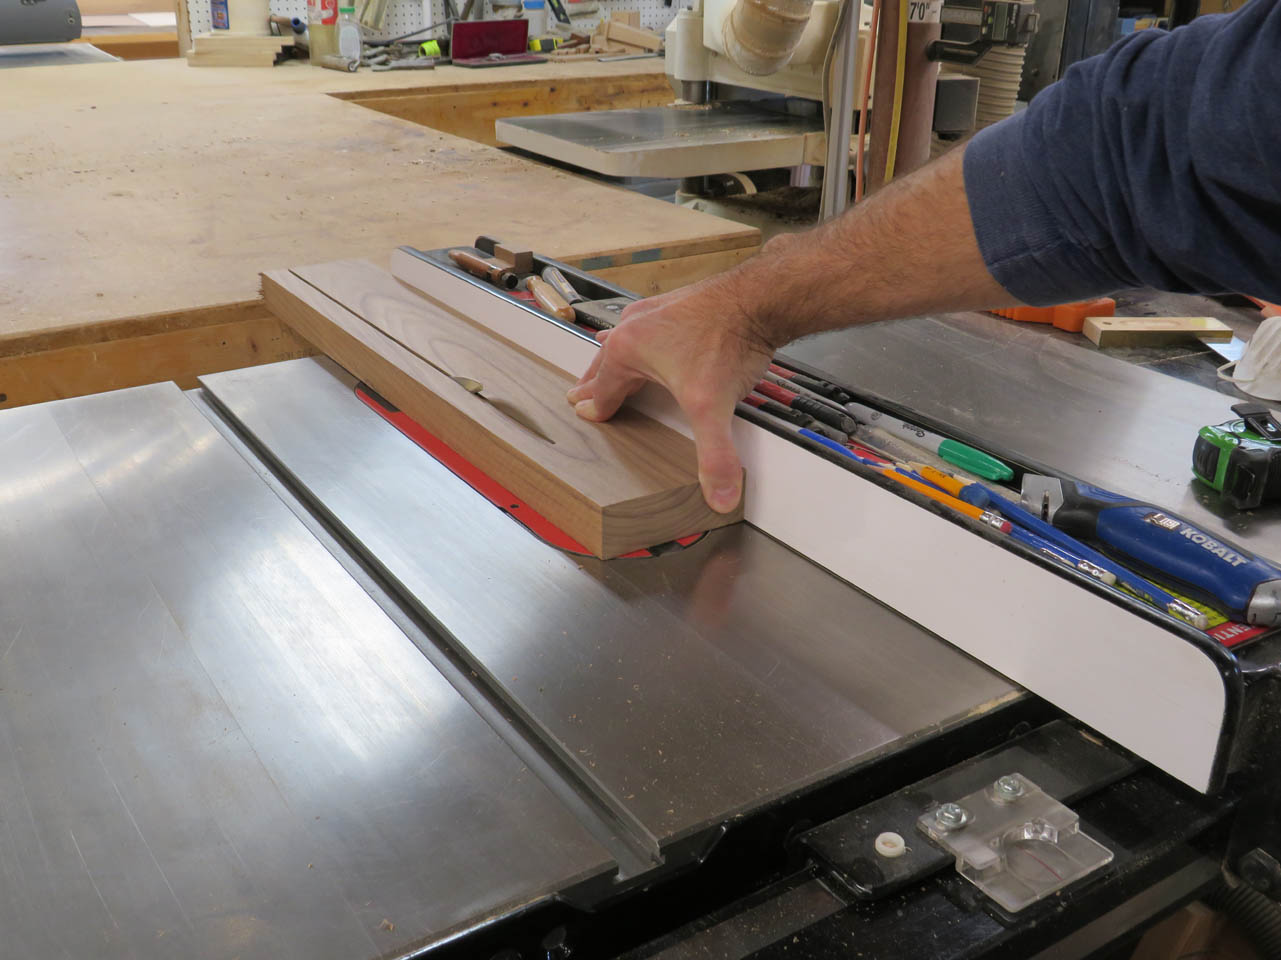
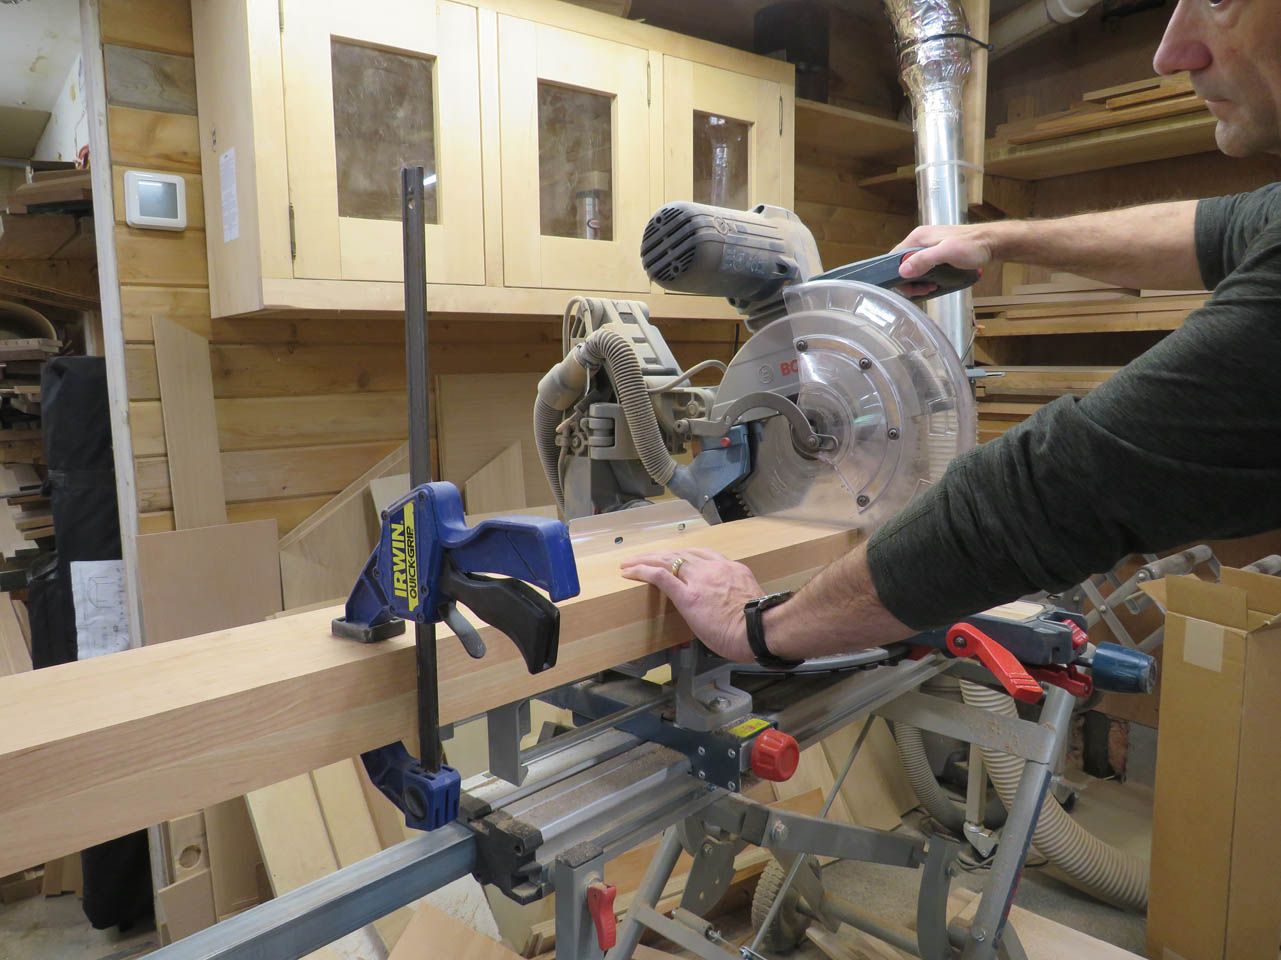
To insure that all the pieces were the exact same length, I clamped like pieces together and cut them at the same time.
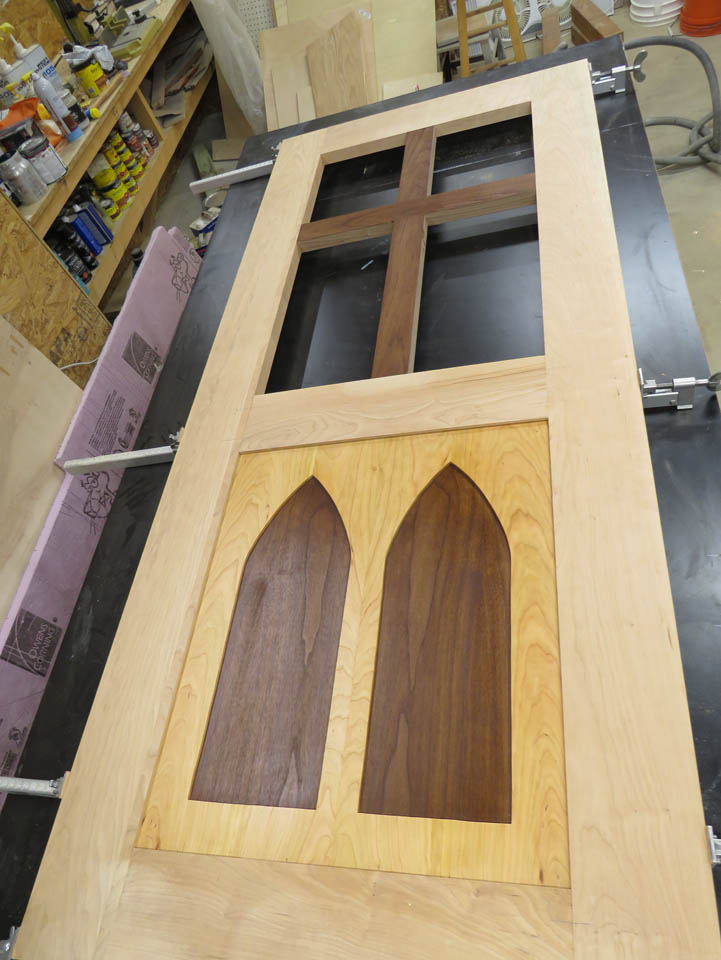
The window section will be divided with a walnut cross. I also cut and milled those pieces at the same time.
With the door laid out, I can cut the piece of 1/4″ Baltic birch plywood that will be the core of the panel.

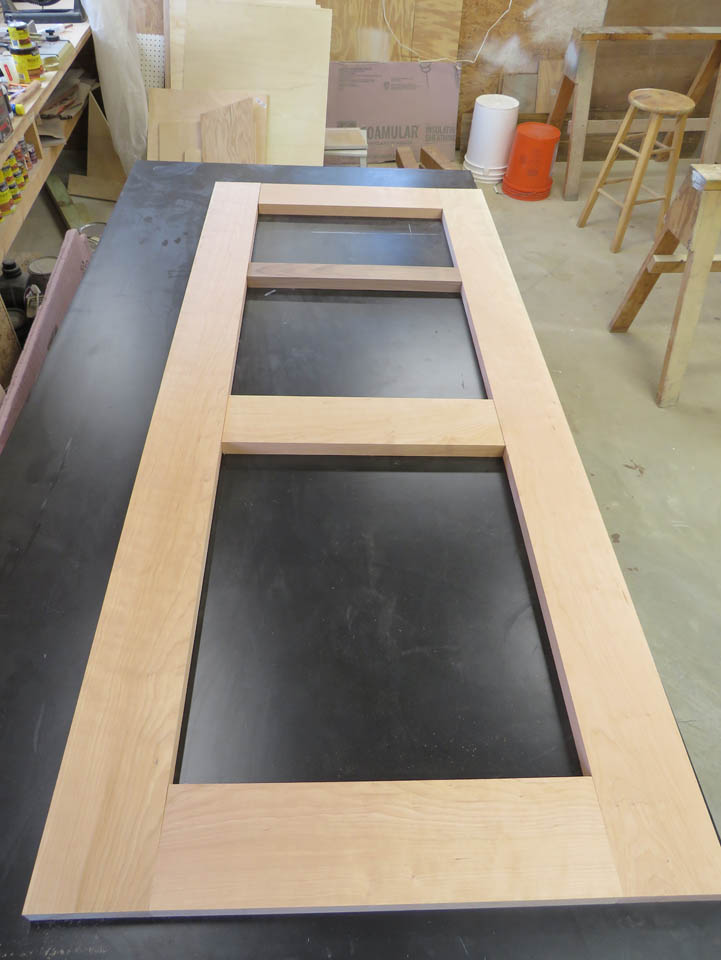
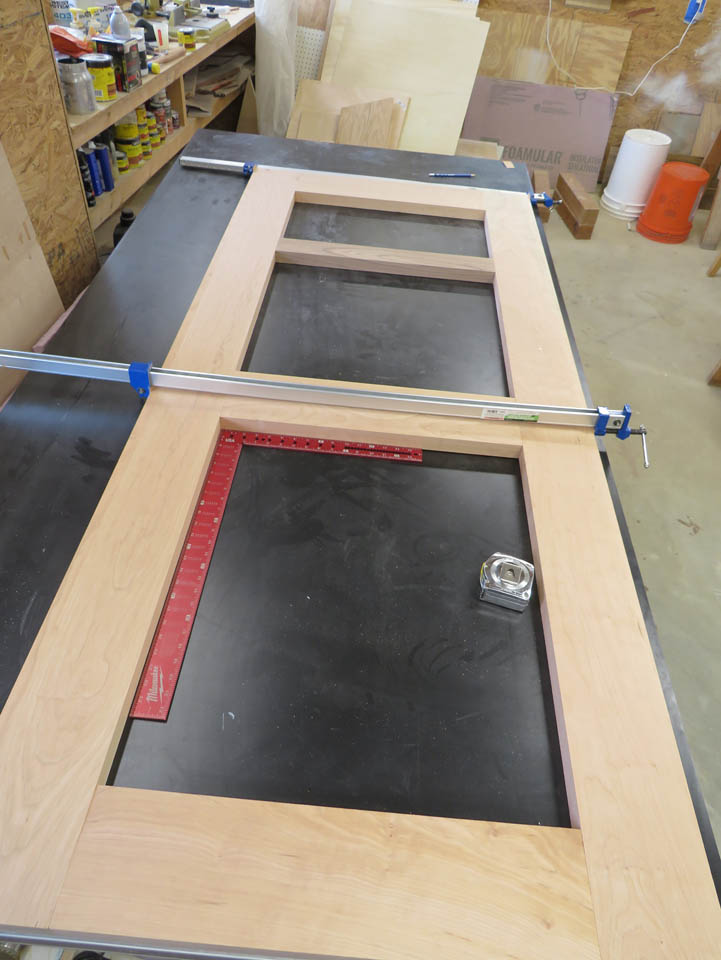
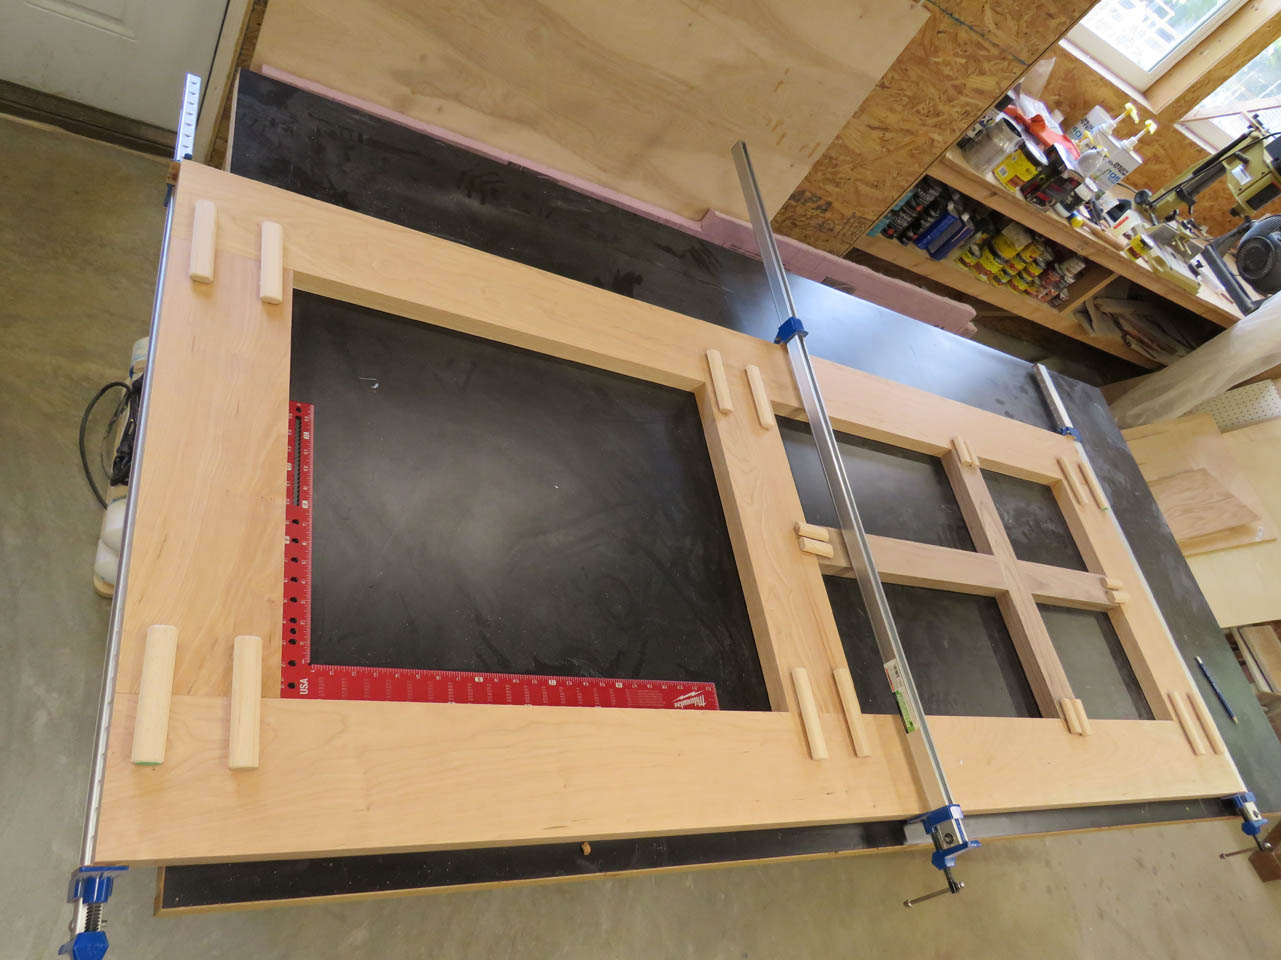
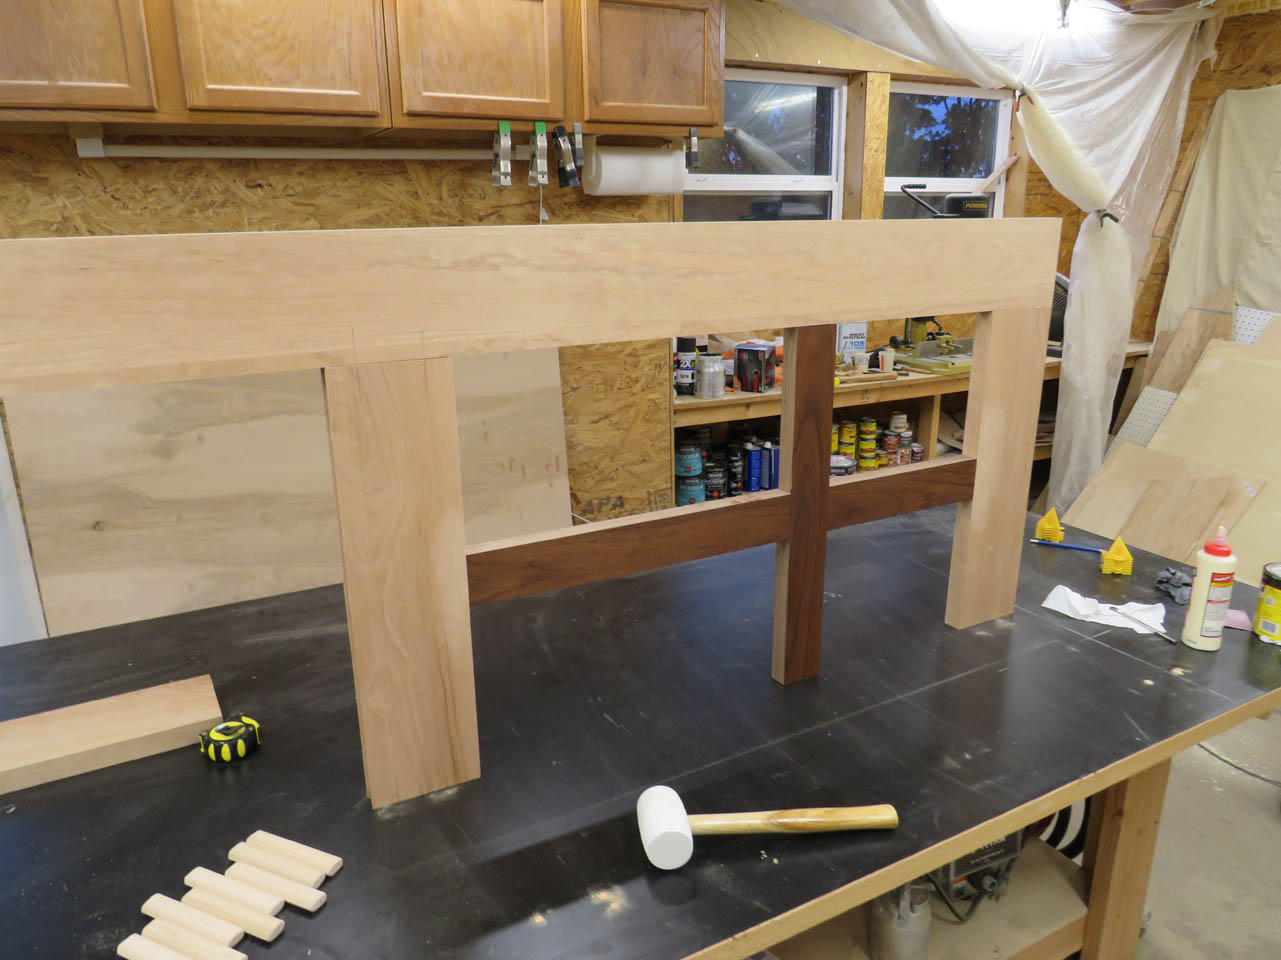
I made sure the door parts were square and located correctly then clamped it together.
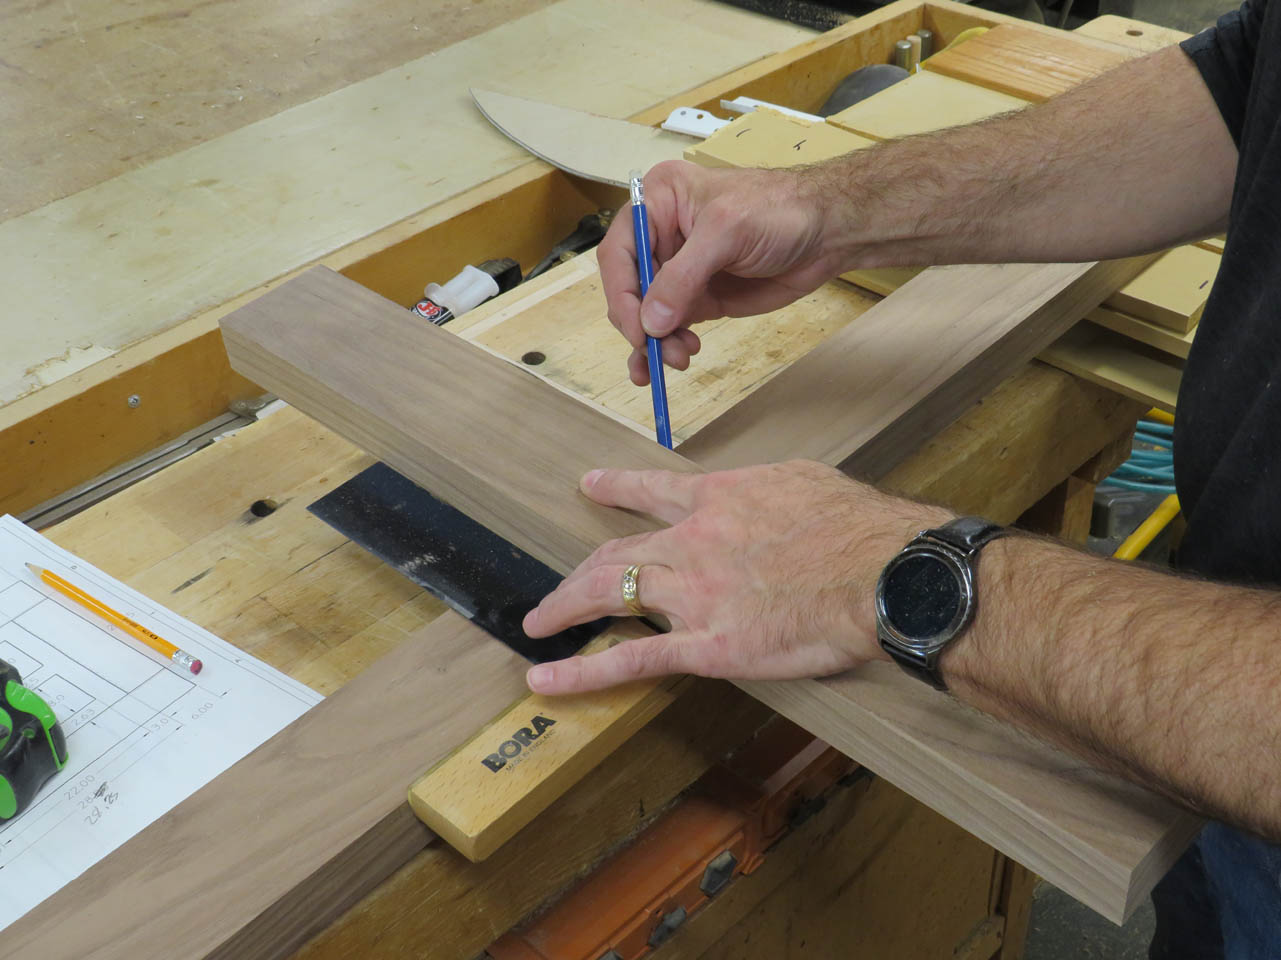
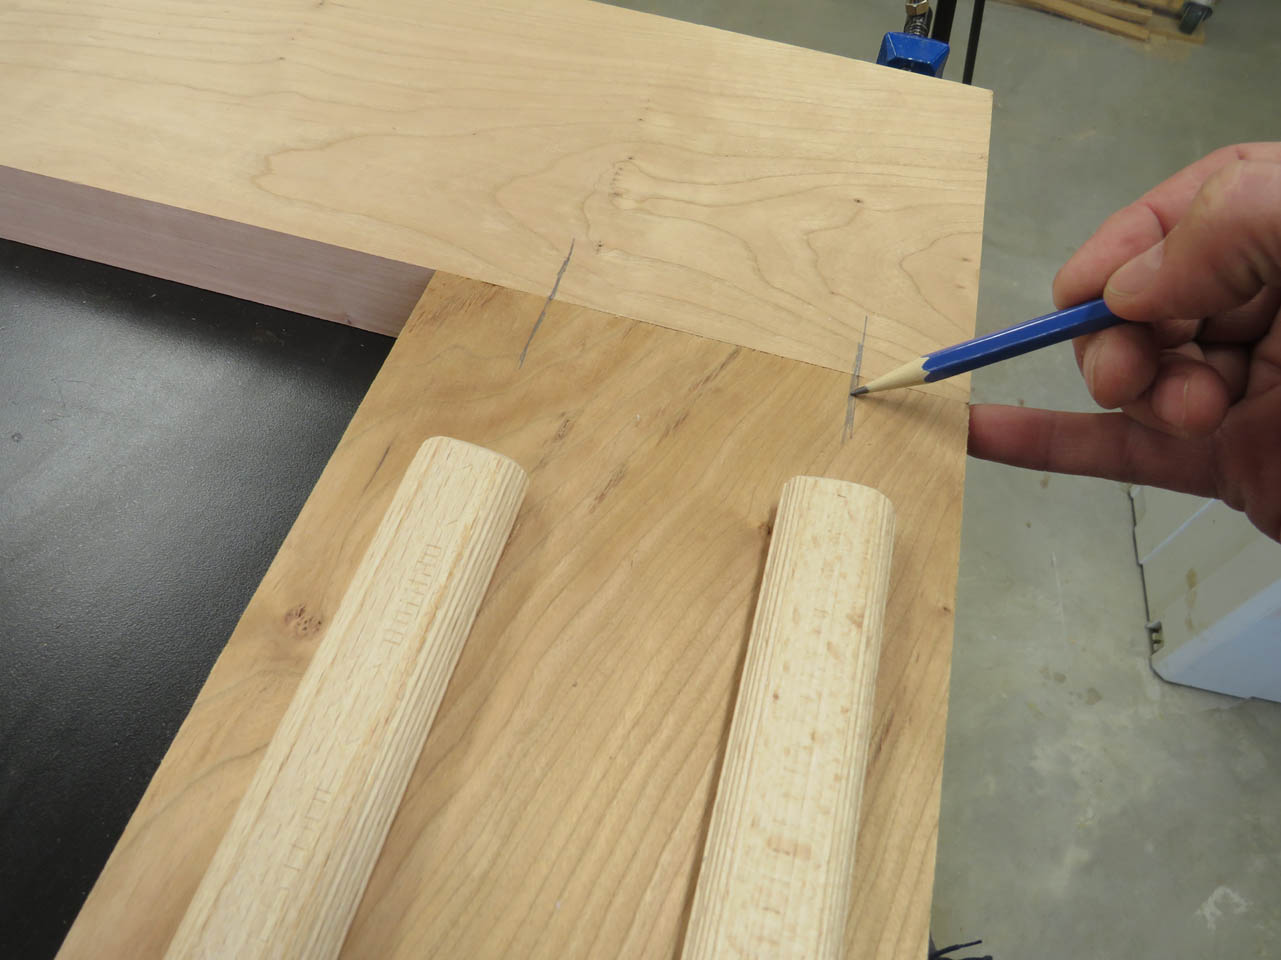
I want to have the cross joined with a half-lap so I squared up the cross-bar and marked the width on each piece.
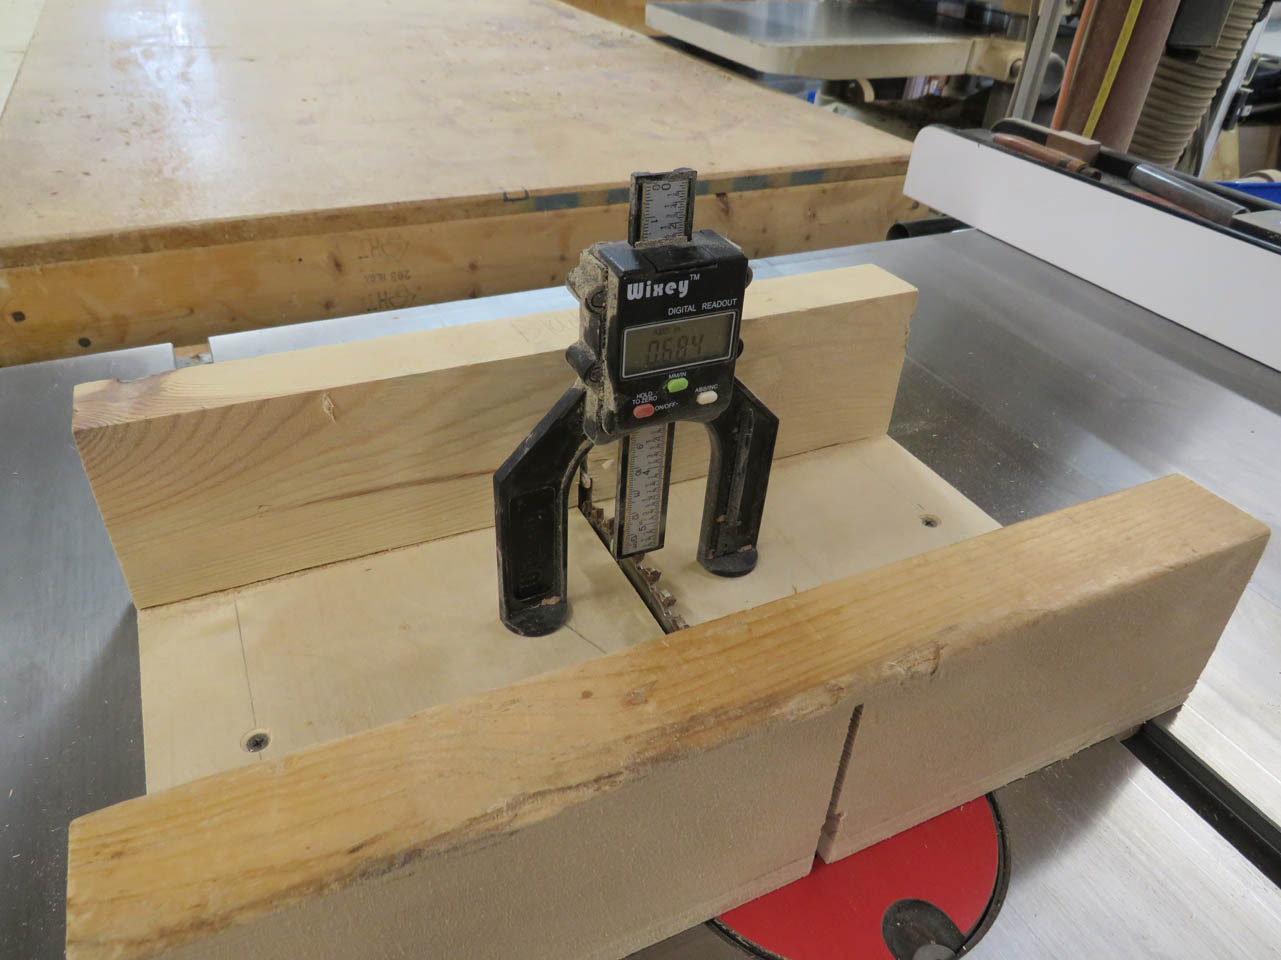
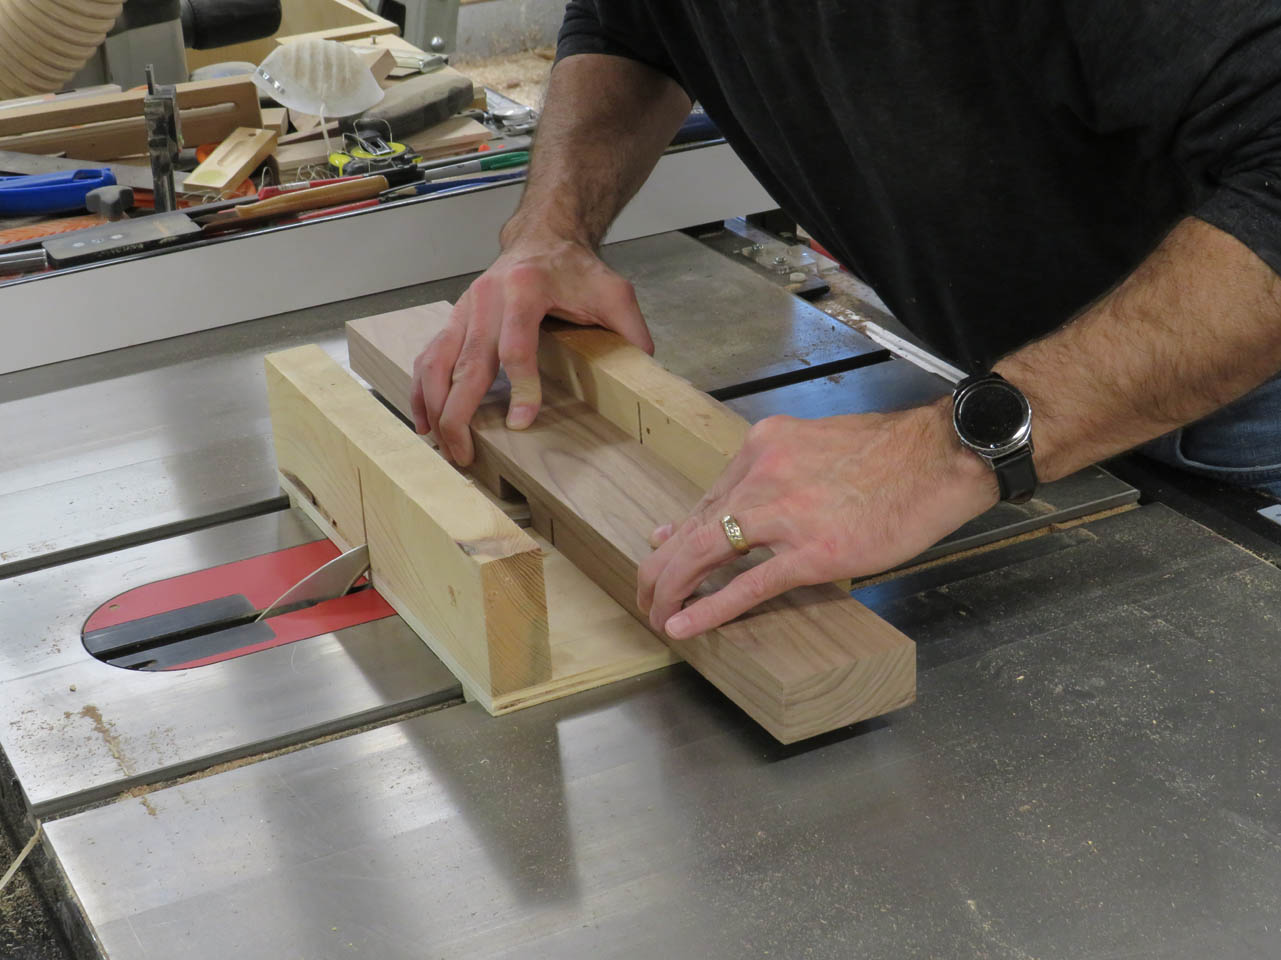
I am using my small cross-cut sled to make the repeated cuts for the half-lap. I am using a digital gauge to set the blade depth to exactly half the thickness of the wood.
Sliding the board over 1/8″ for each pass, I make several cuts to create the notch.
I double-check the width to make sure it is tight.
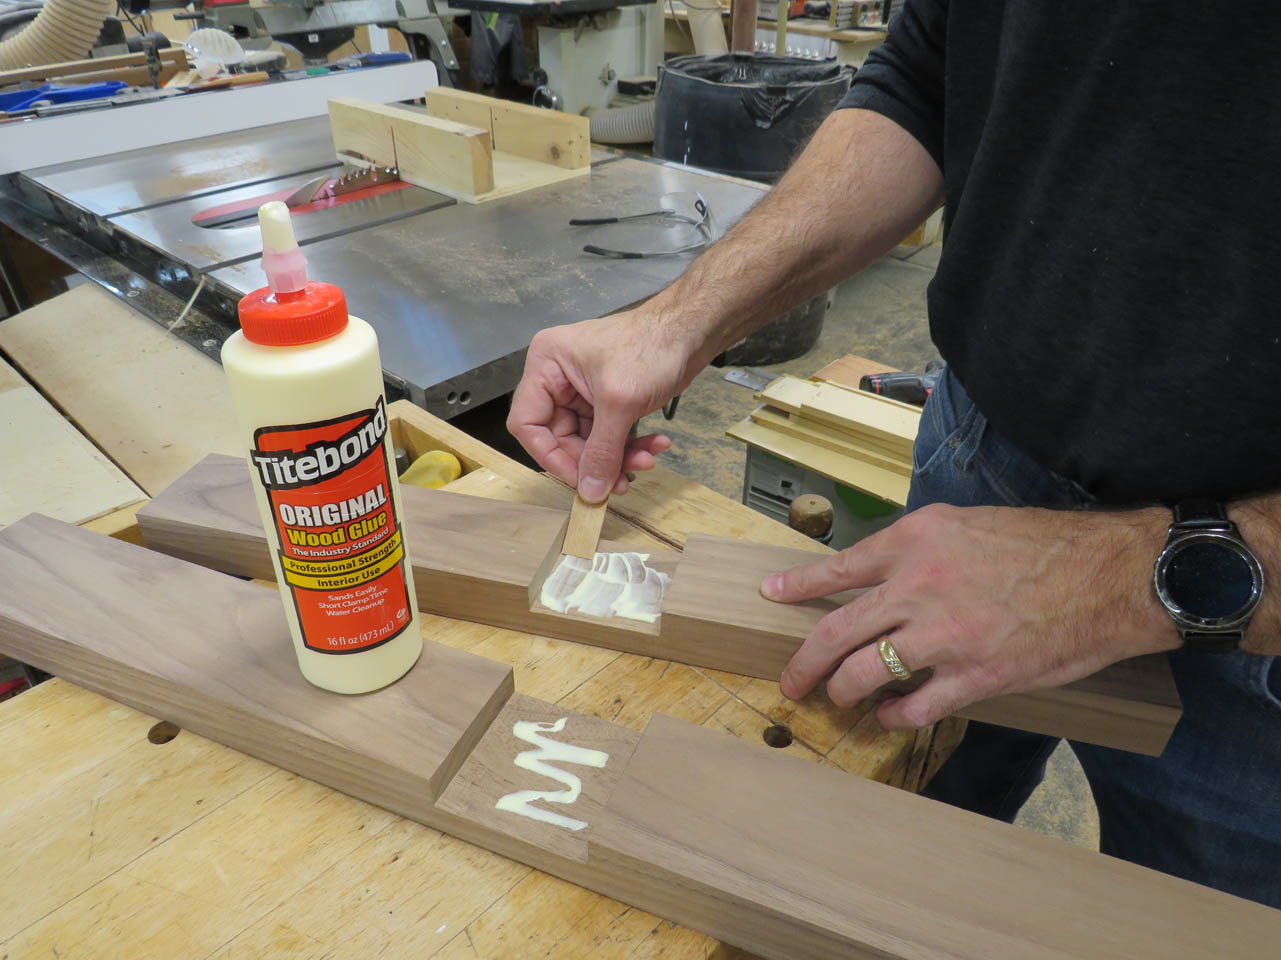
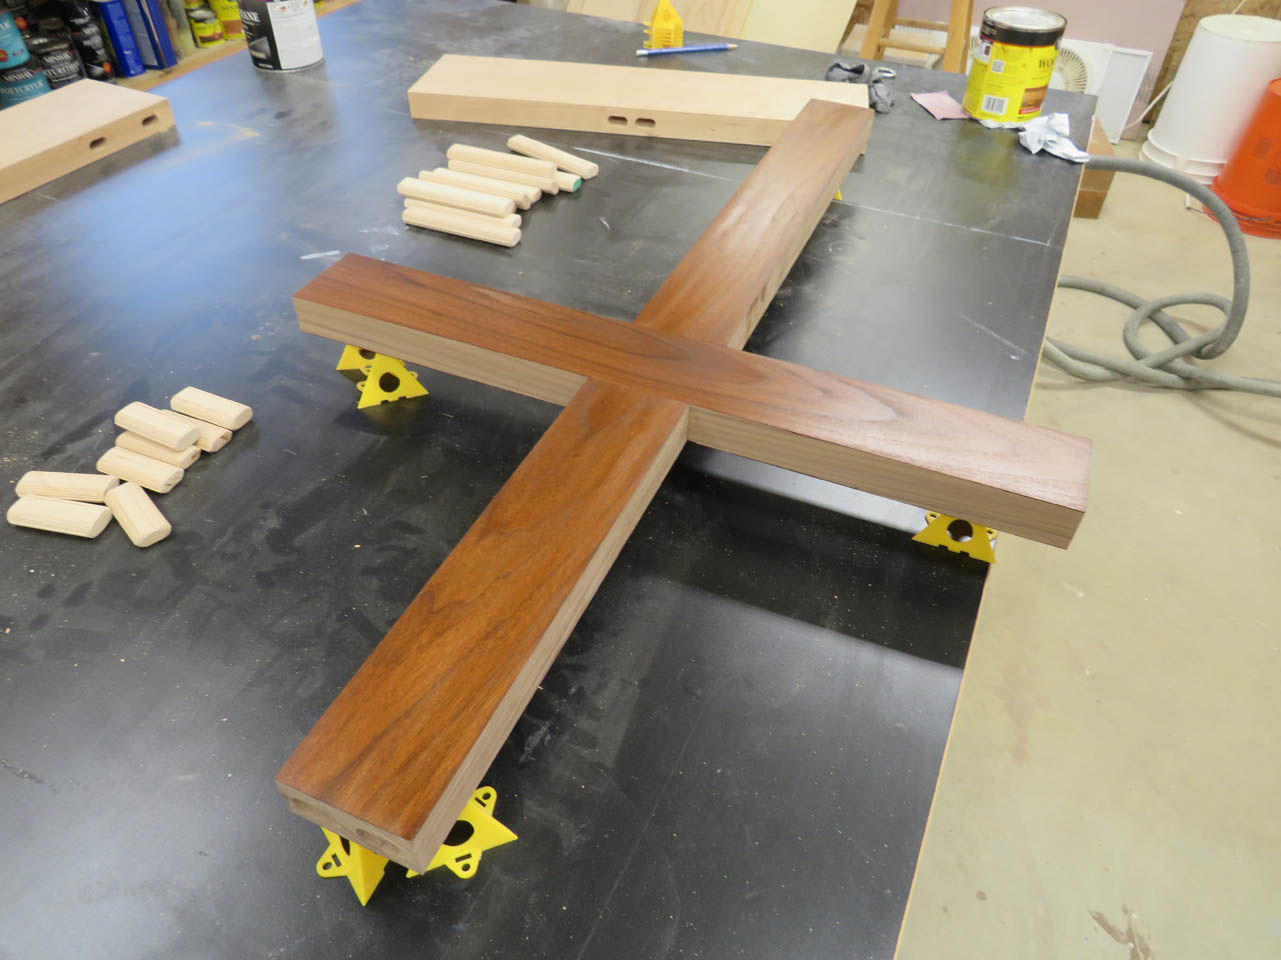
After both notches are cut, I apply glue inside the notches and clamp them together.

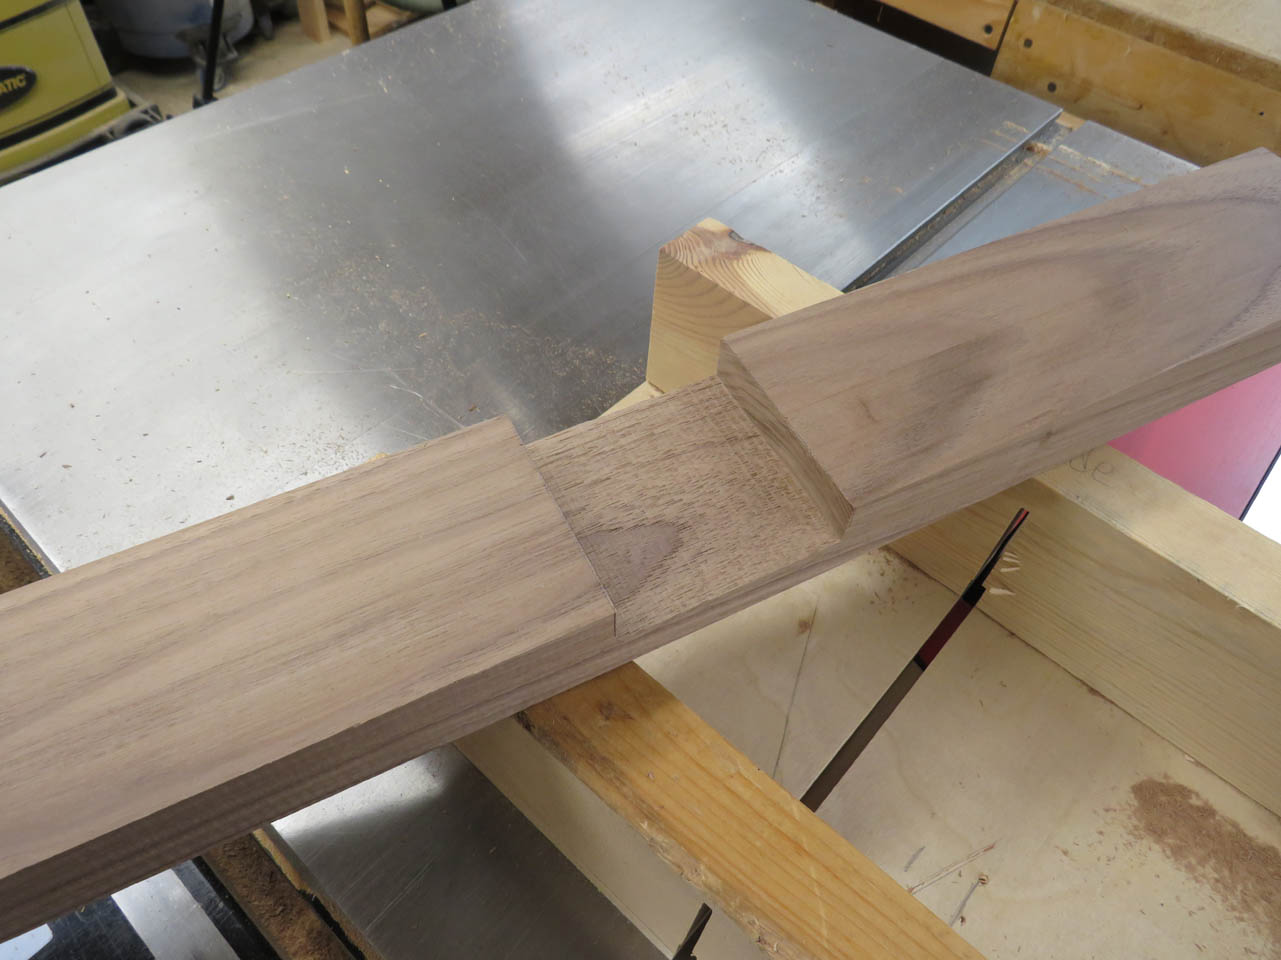
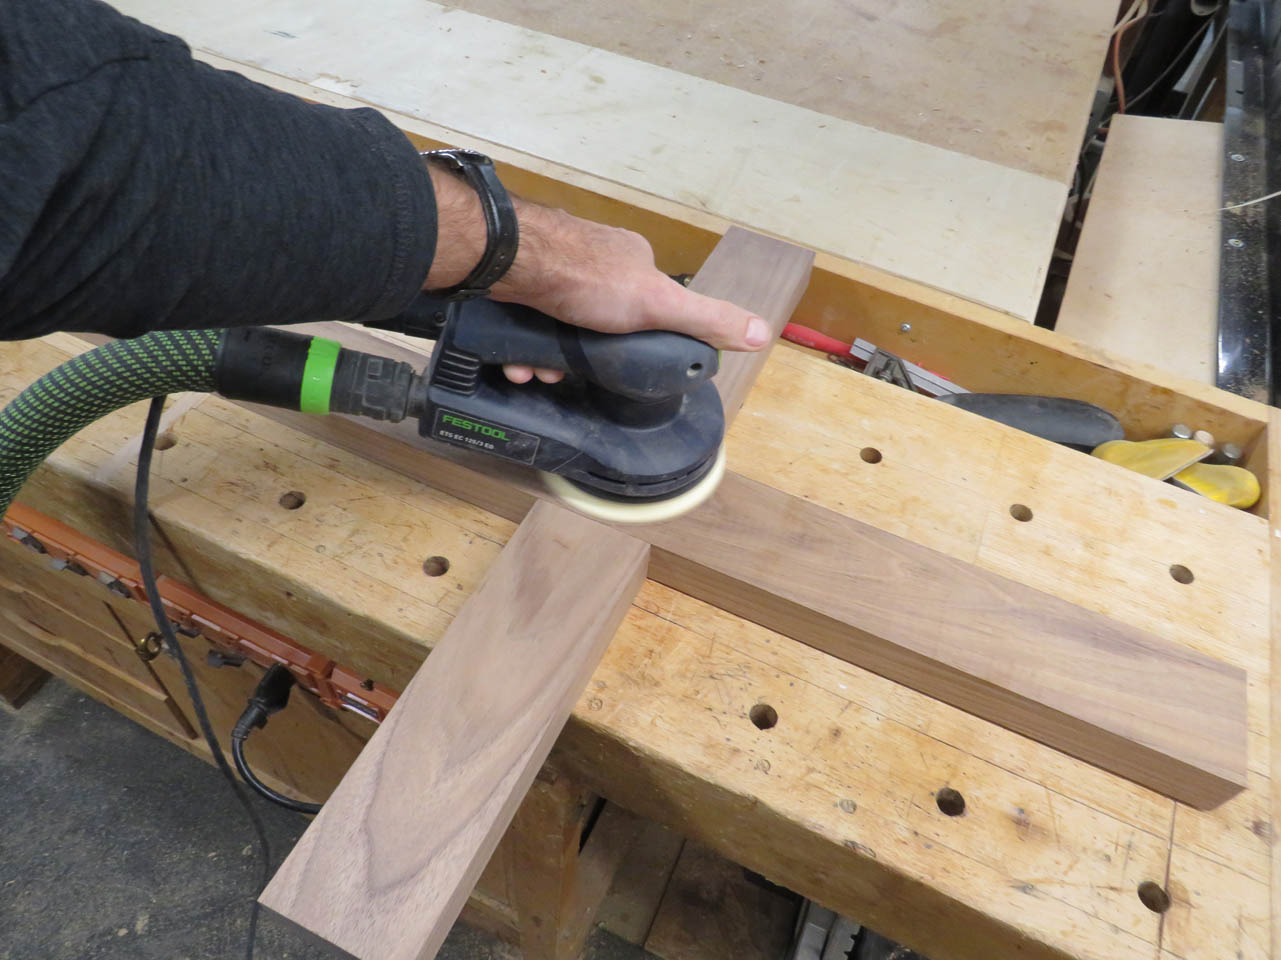
When the glue was dry, I can sand it perfectly flush.
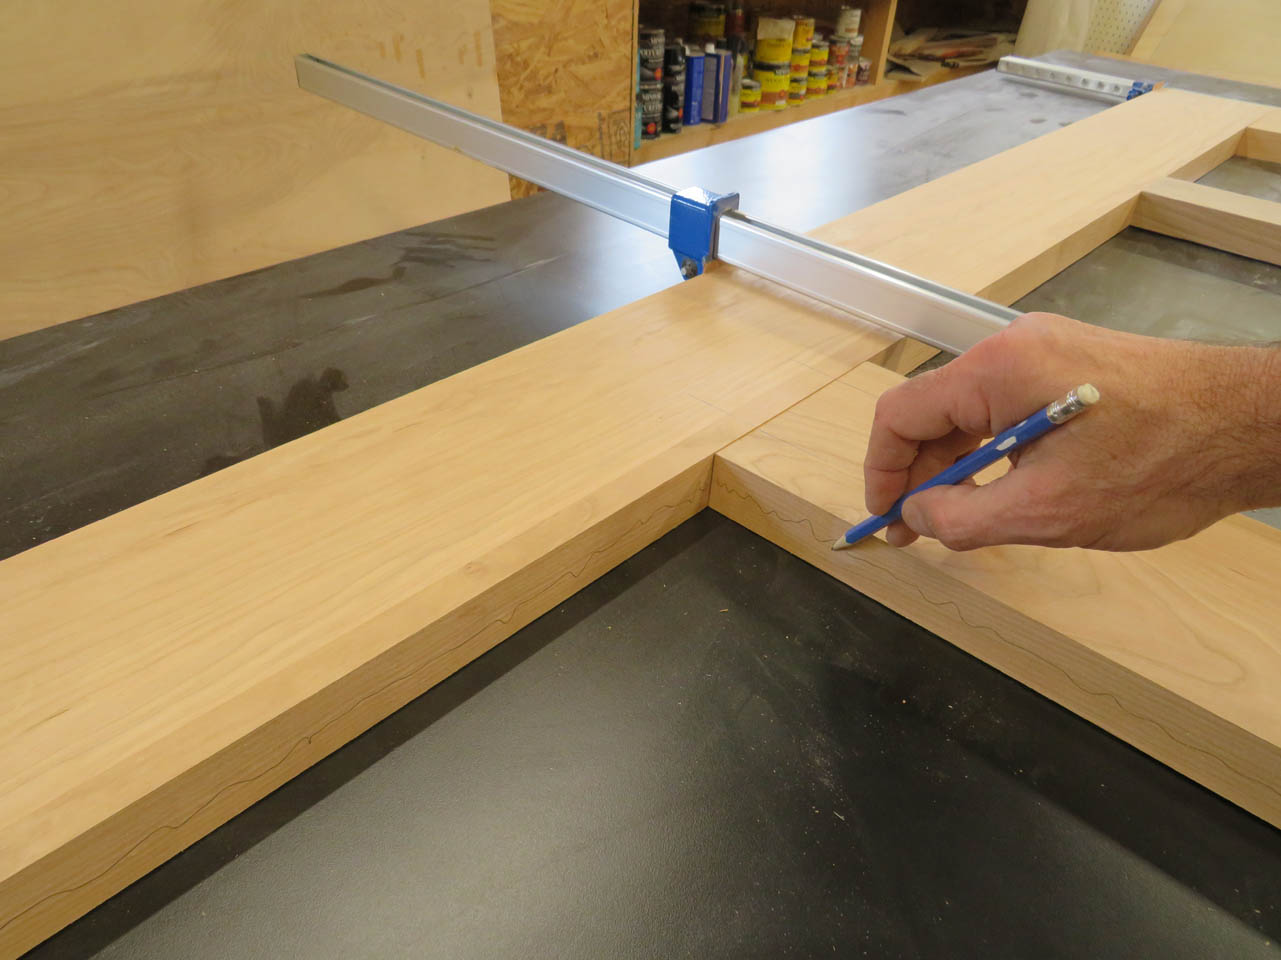
I re-inserted the cross into the door so that I could mark all the tenon locations.
I borrowed my buddy Dave’s Domino XL Jointer to cut and install these massive 6″ long tenons. I need to place a mark at each location where I want to cut a mortise to receive the tenons.
I also marked the location of the groove I need to cut to receive the floating panel at the bottom of the door.

To determine the thickness of that groove, I need to laminate up the panel.
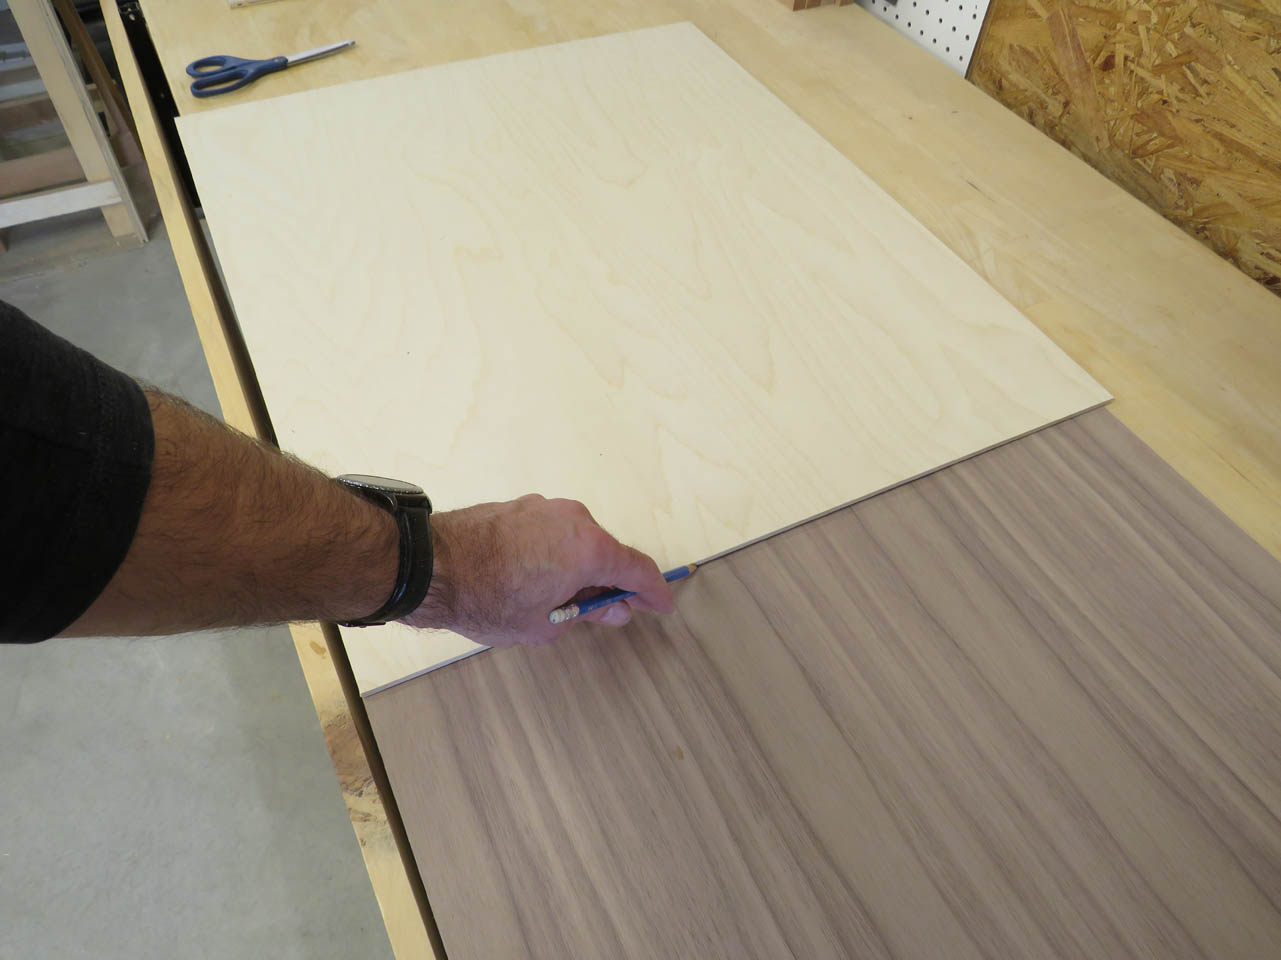
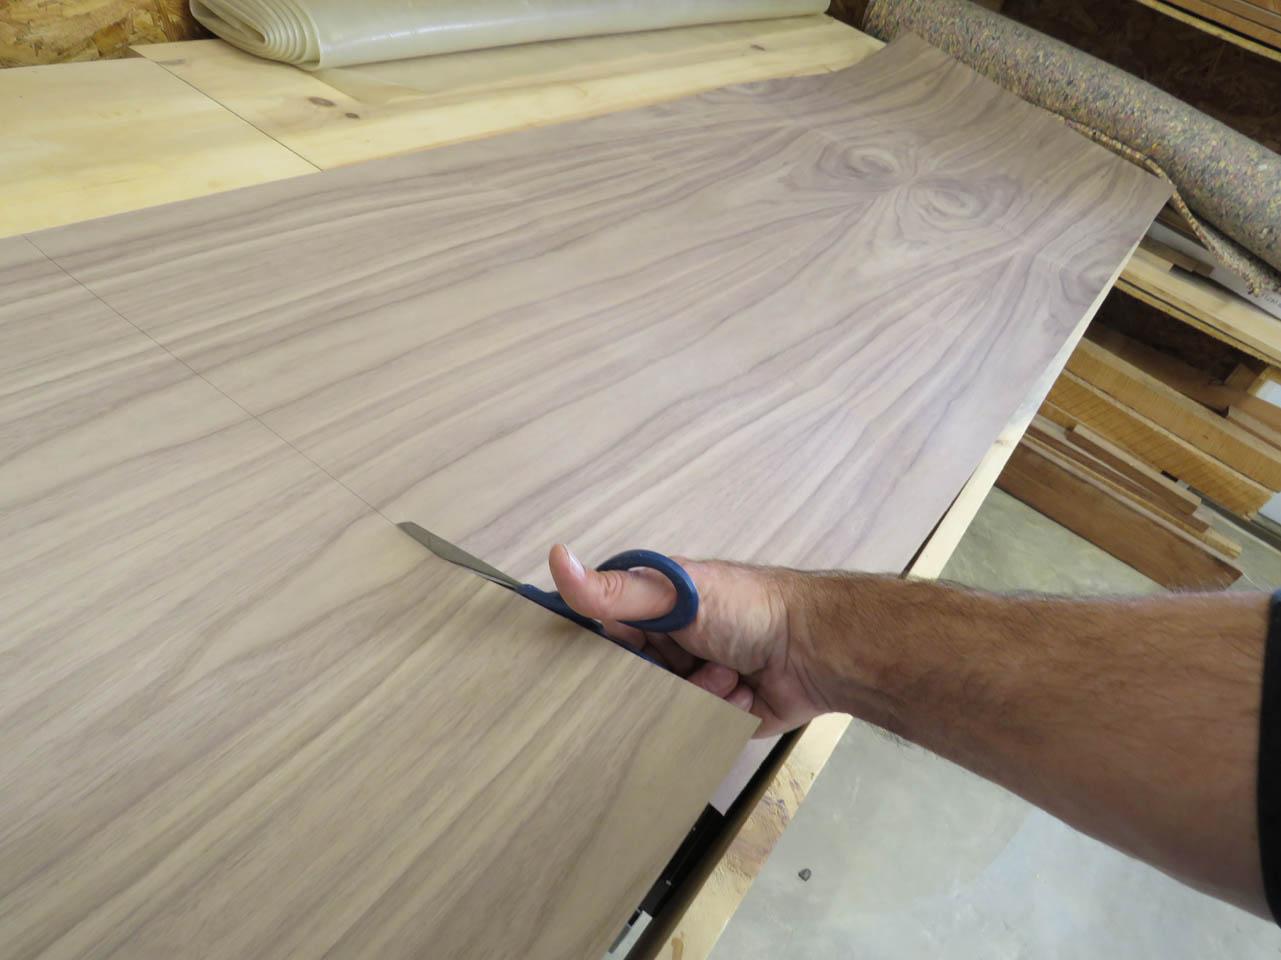
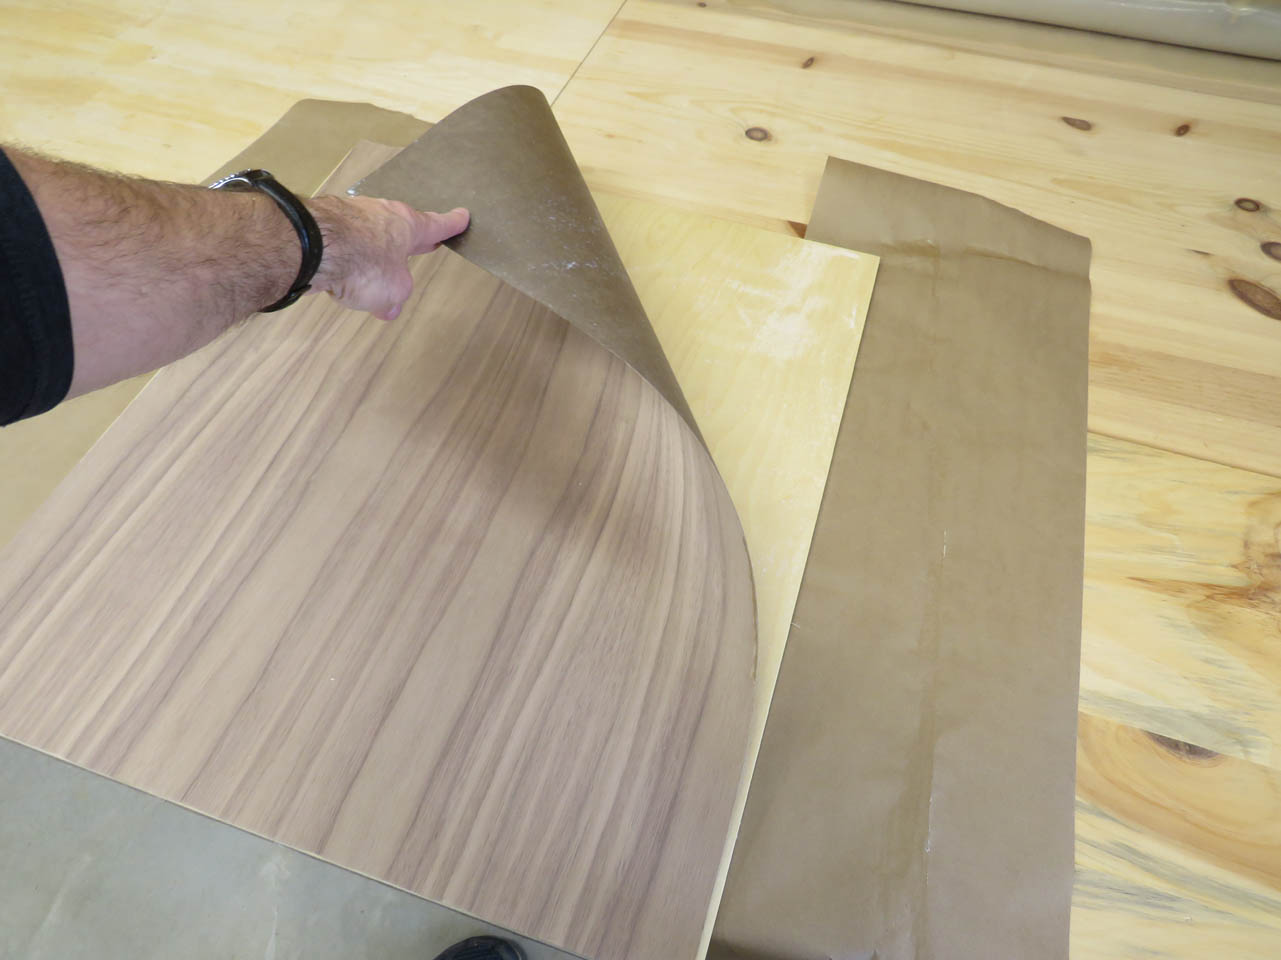
I used the plywood to mark the veneer, then cut it with scissors.
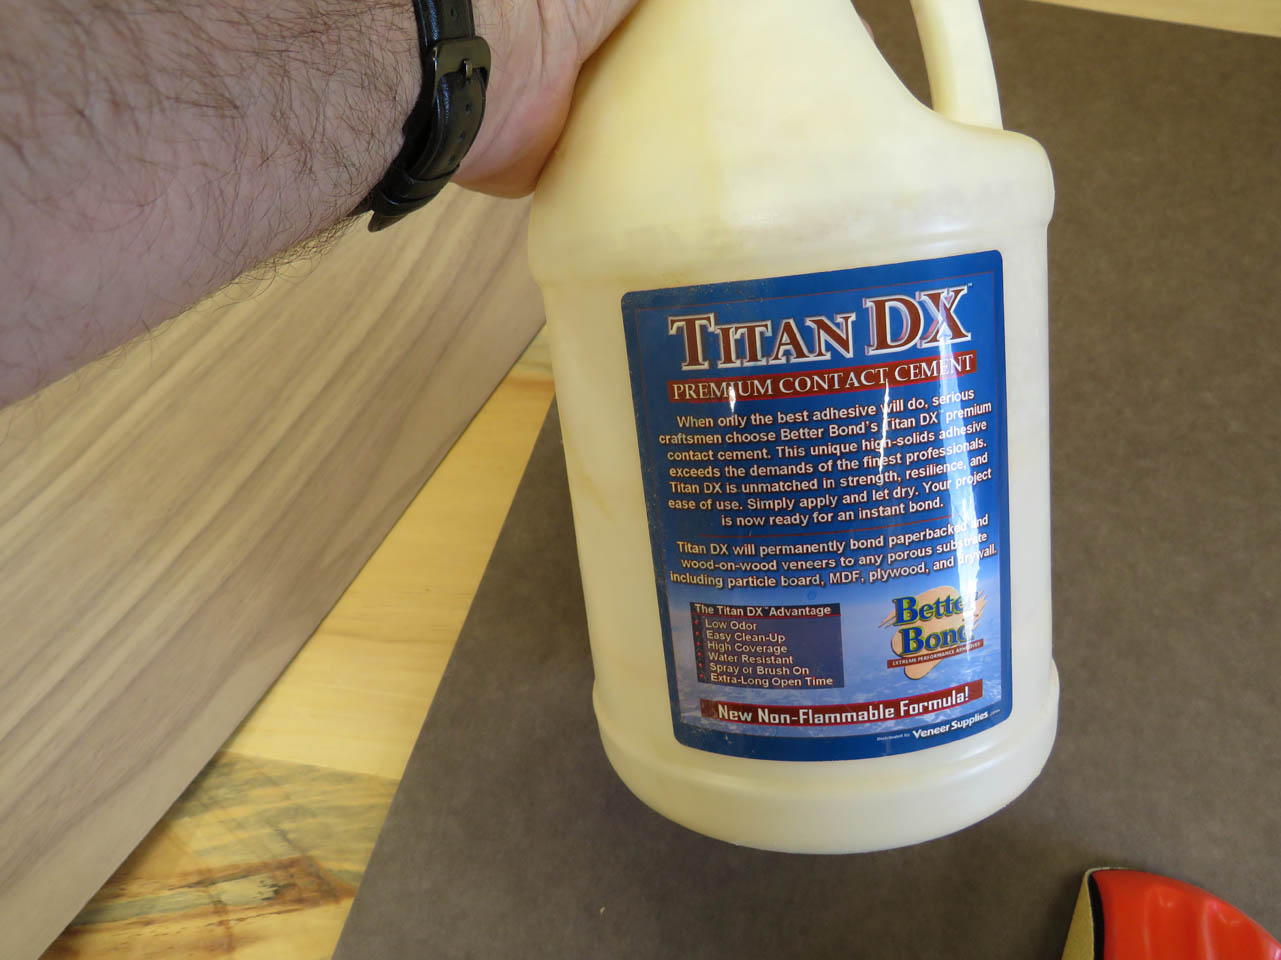
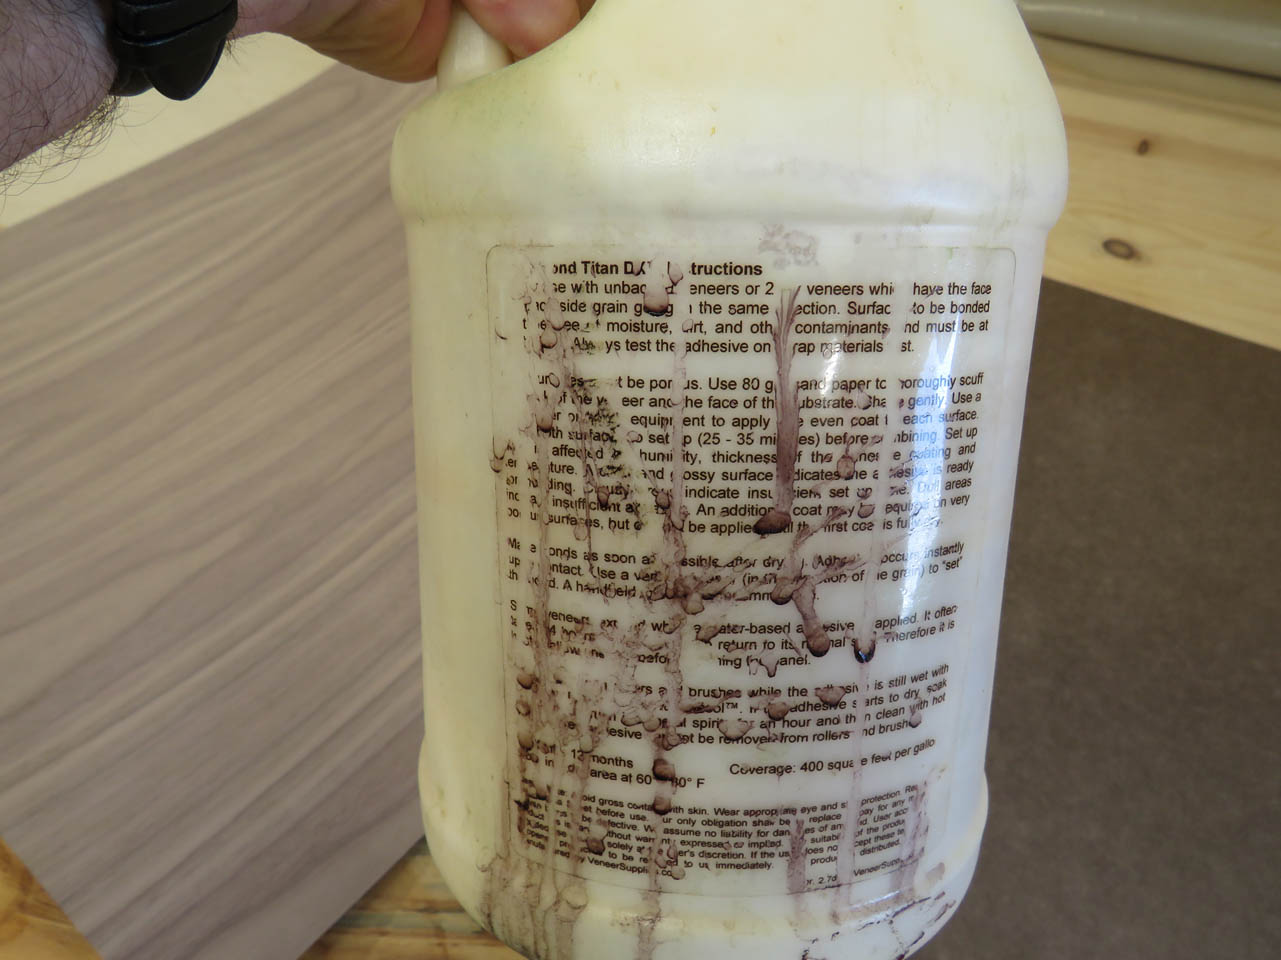
I attach the paper-backed veneer to the plywood using contact adhesive. This stuff works great, but I am having a hard time reading the instructions anymore…
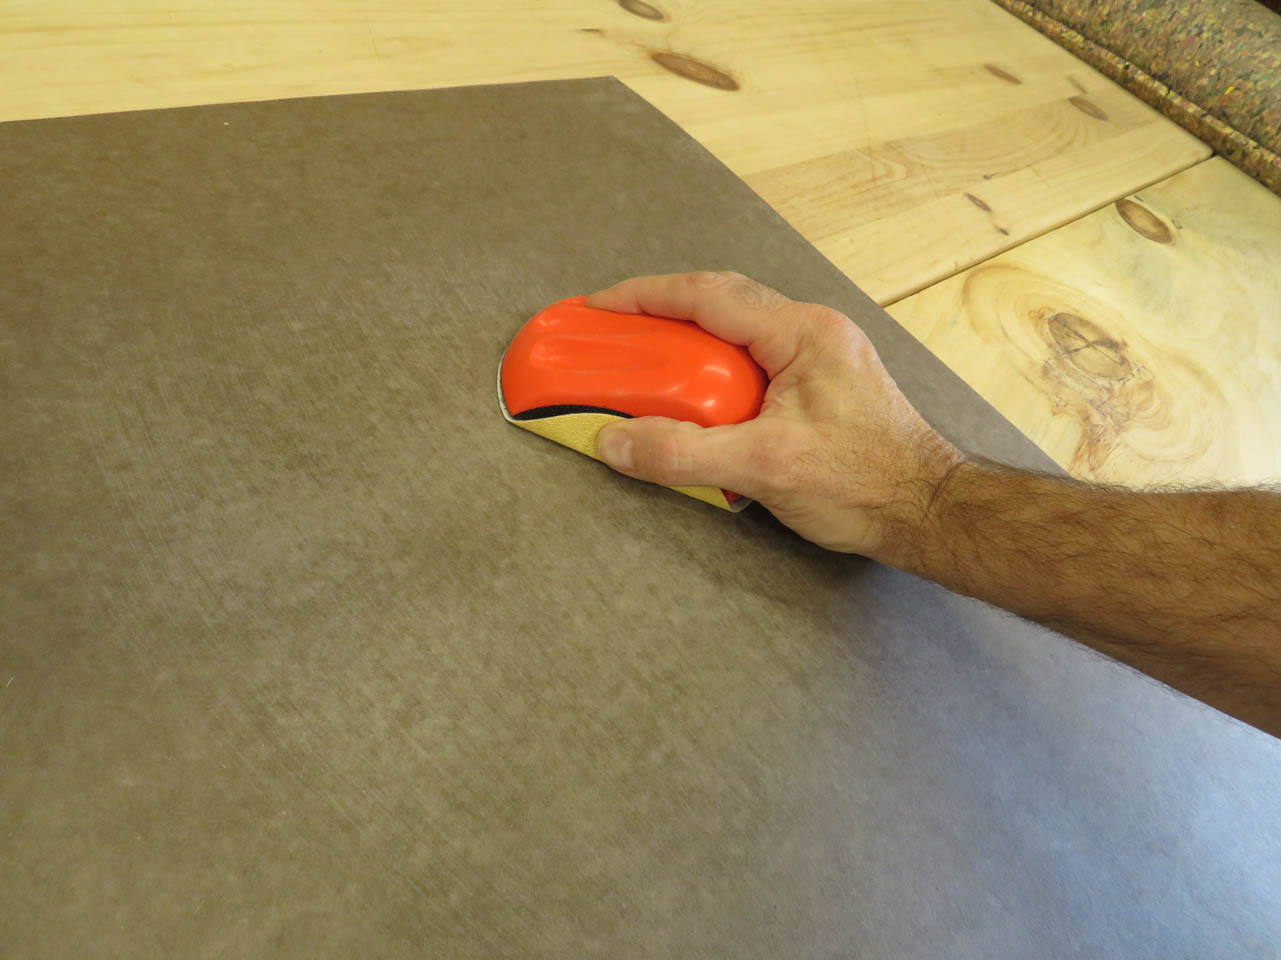
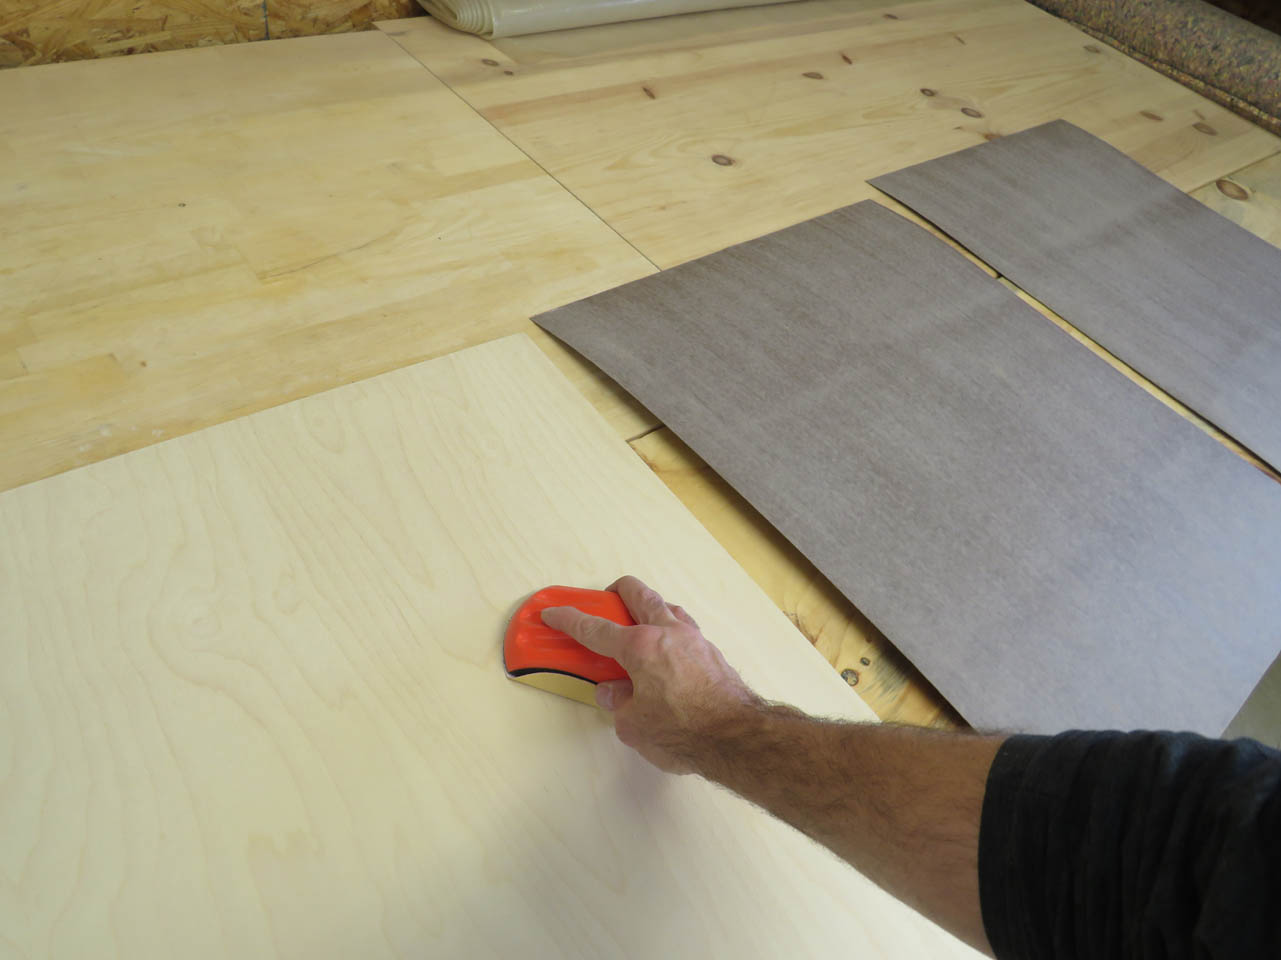
To create a grippy surface, I need to sand down the paper back of the veneer as well as the plywood with 80 grit sandpaper. This leaves nice scratches for the glue to hang on to.
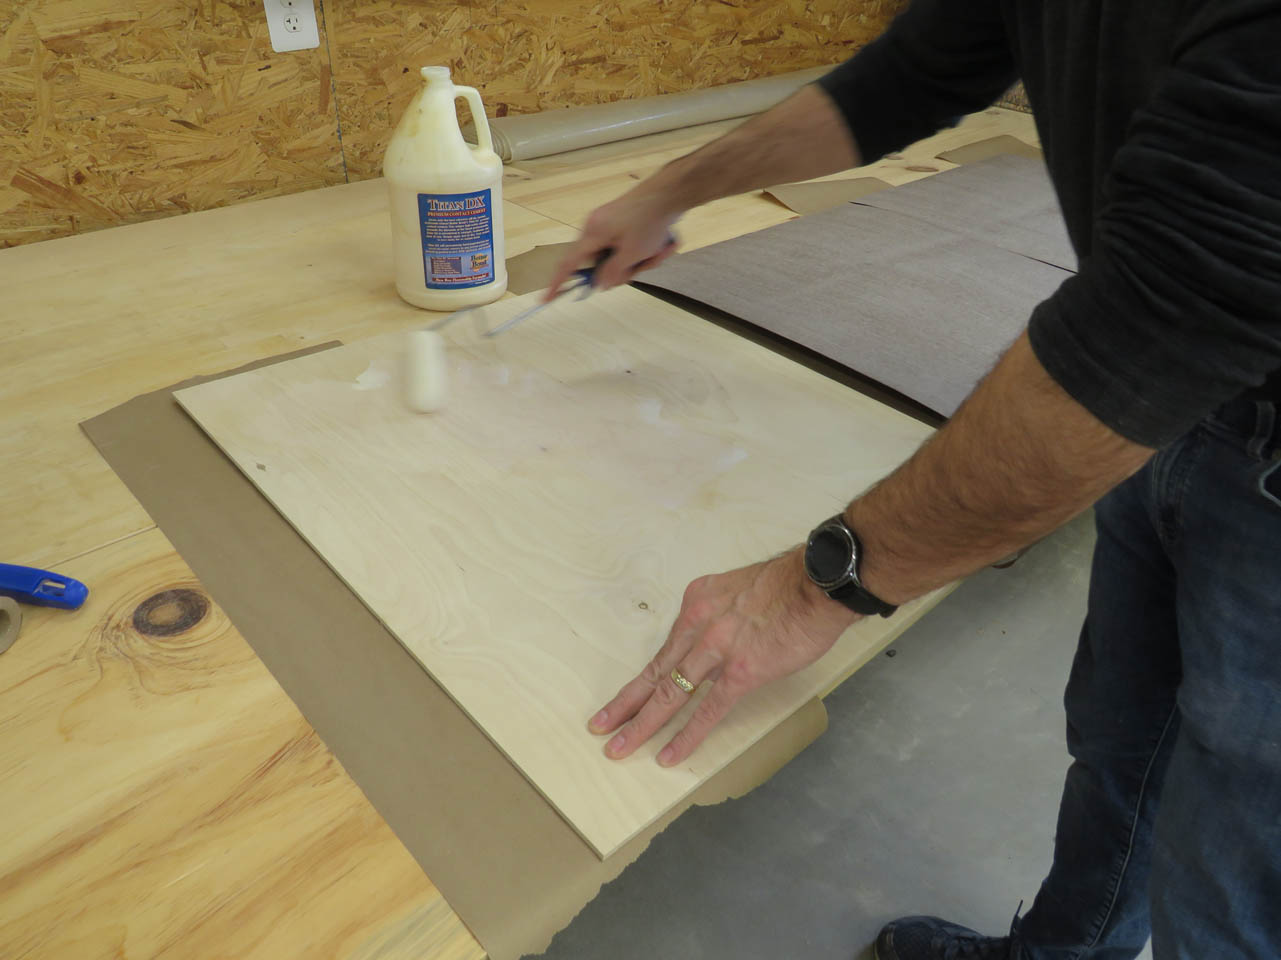
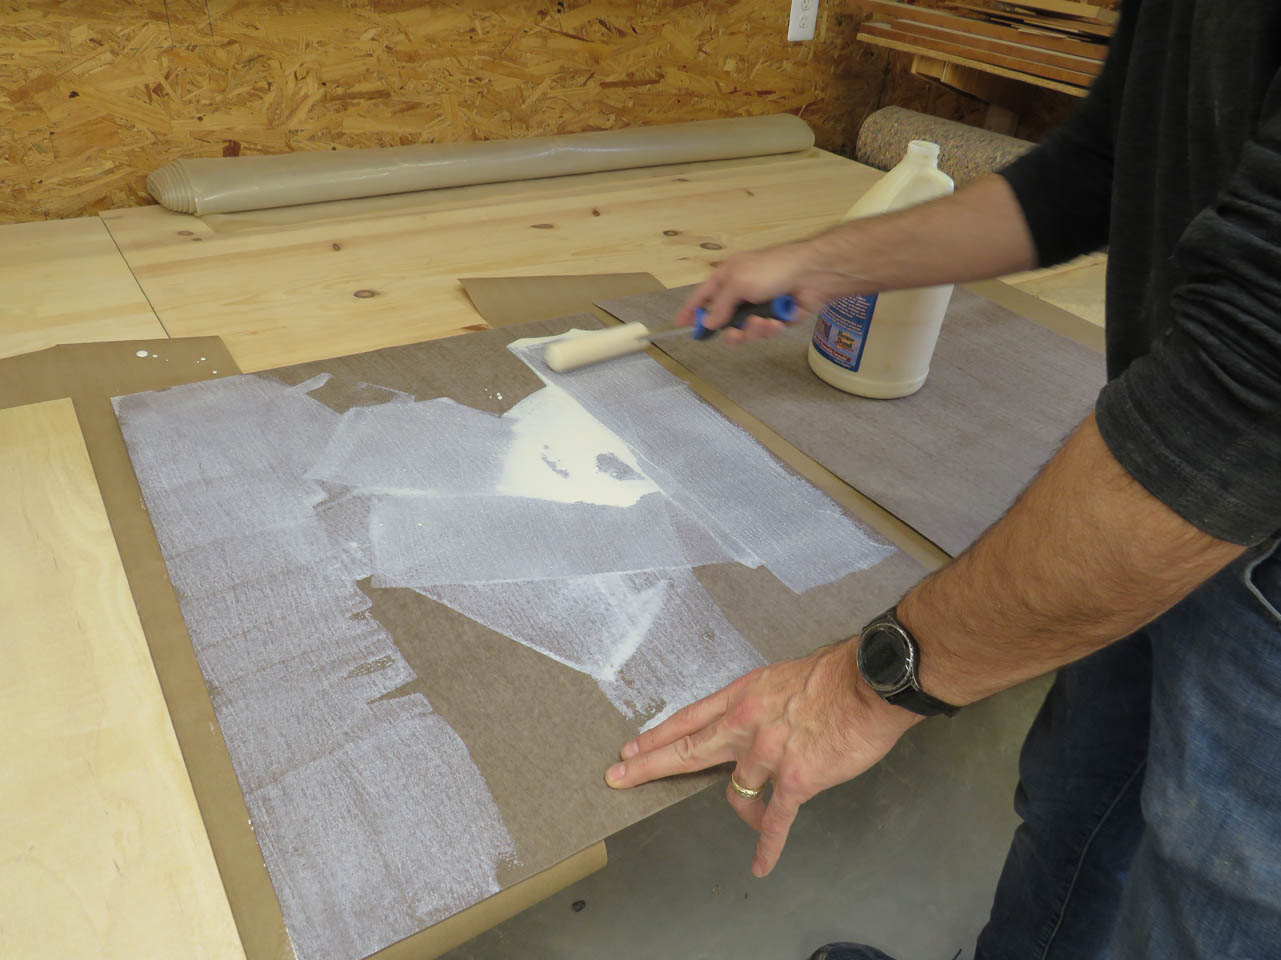
Next, I use a roller to evenly spread the glue on both surfaces.
When the glue dries, I can attach the two. I find it easier to apply the plywood to the veneer, then flip it over to use the scraper to apply pressure all over the surface to force out any air gaps and firmly attach the veneer.
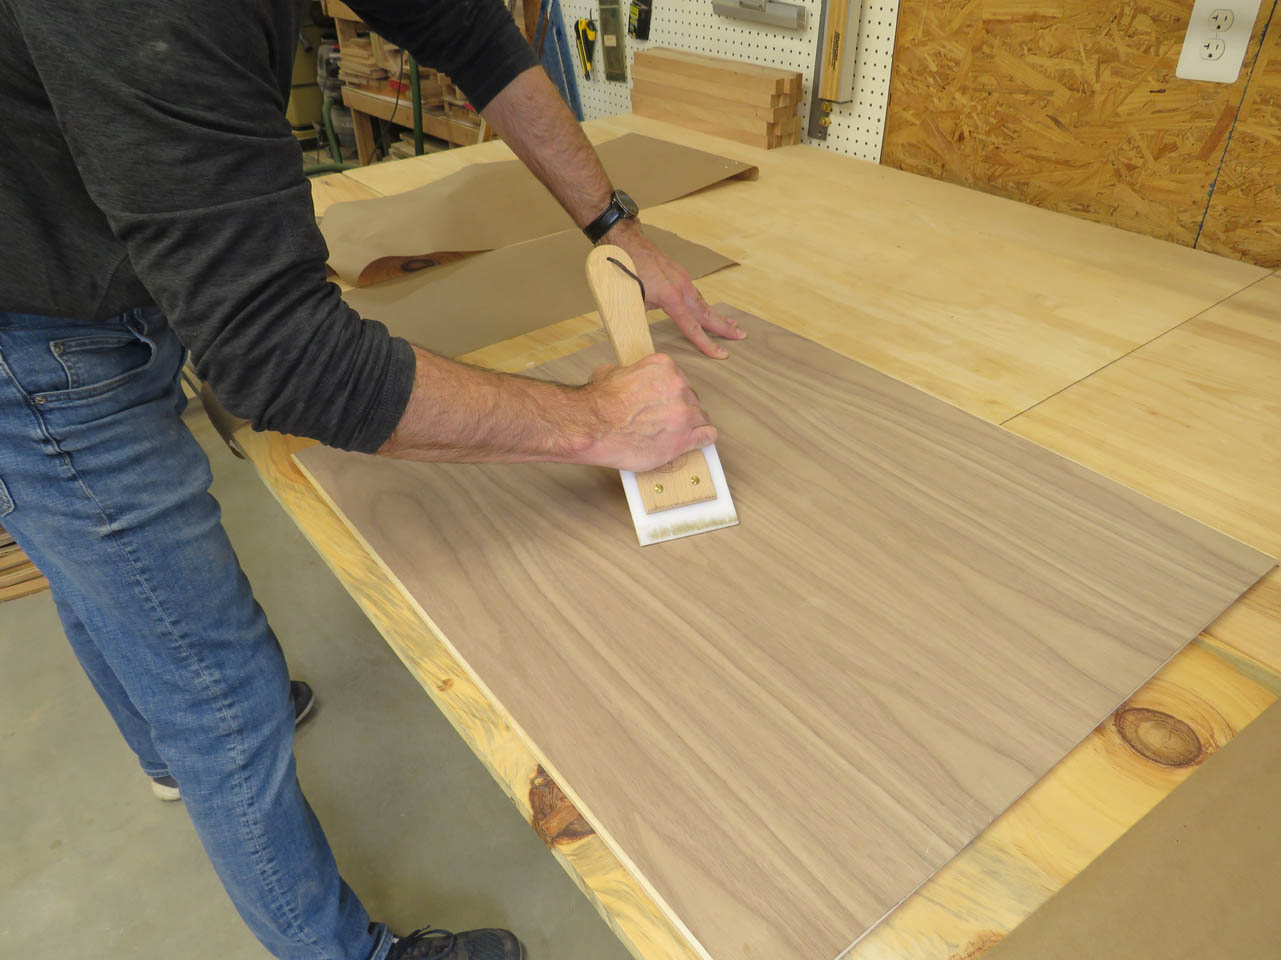
I flipped it over and repeat the process on the back as well.
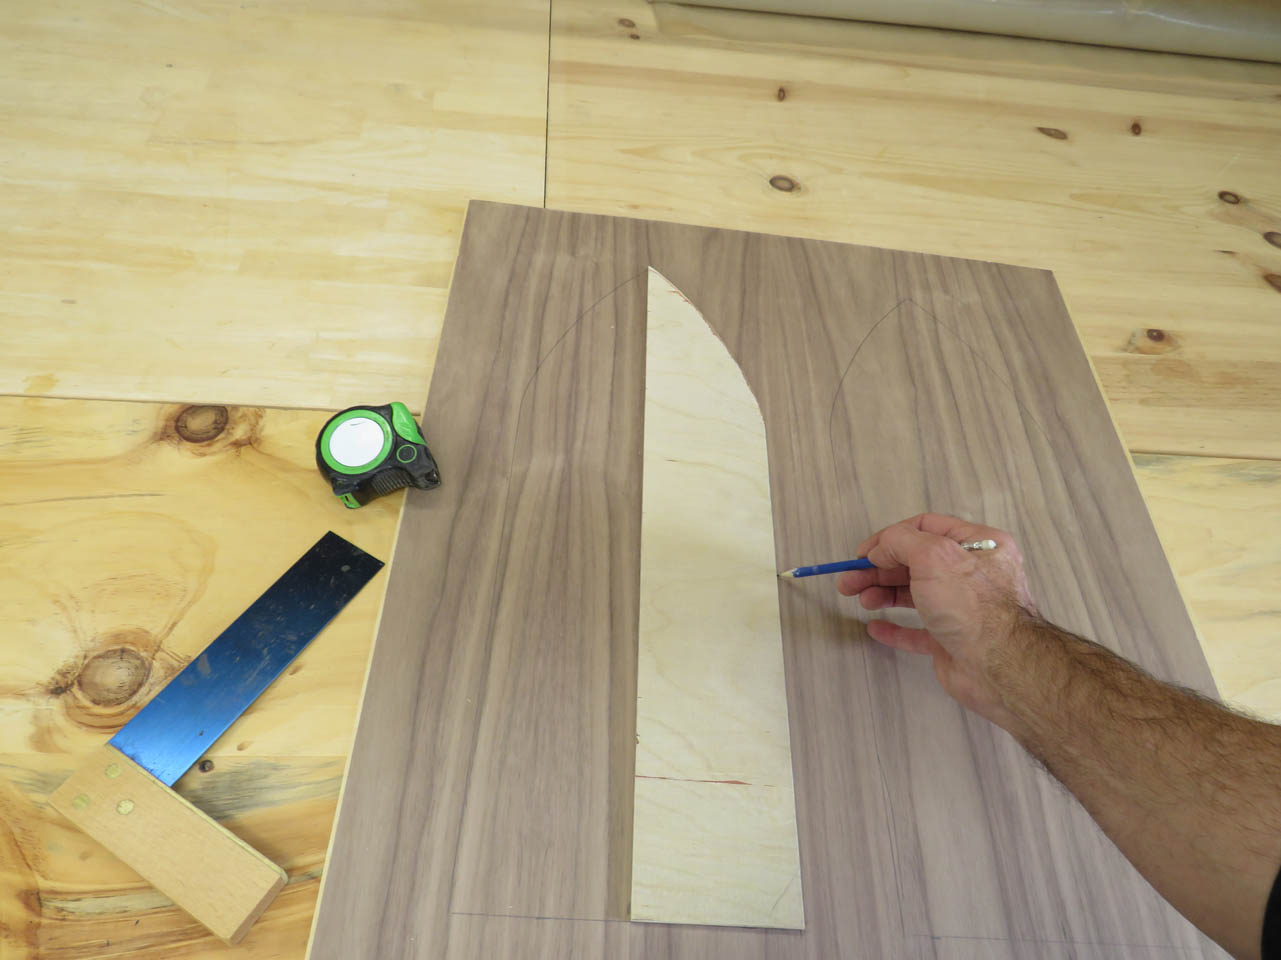
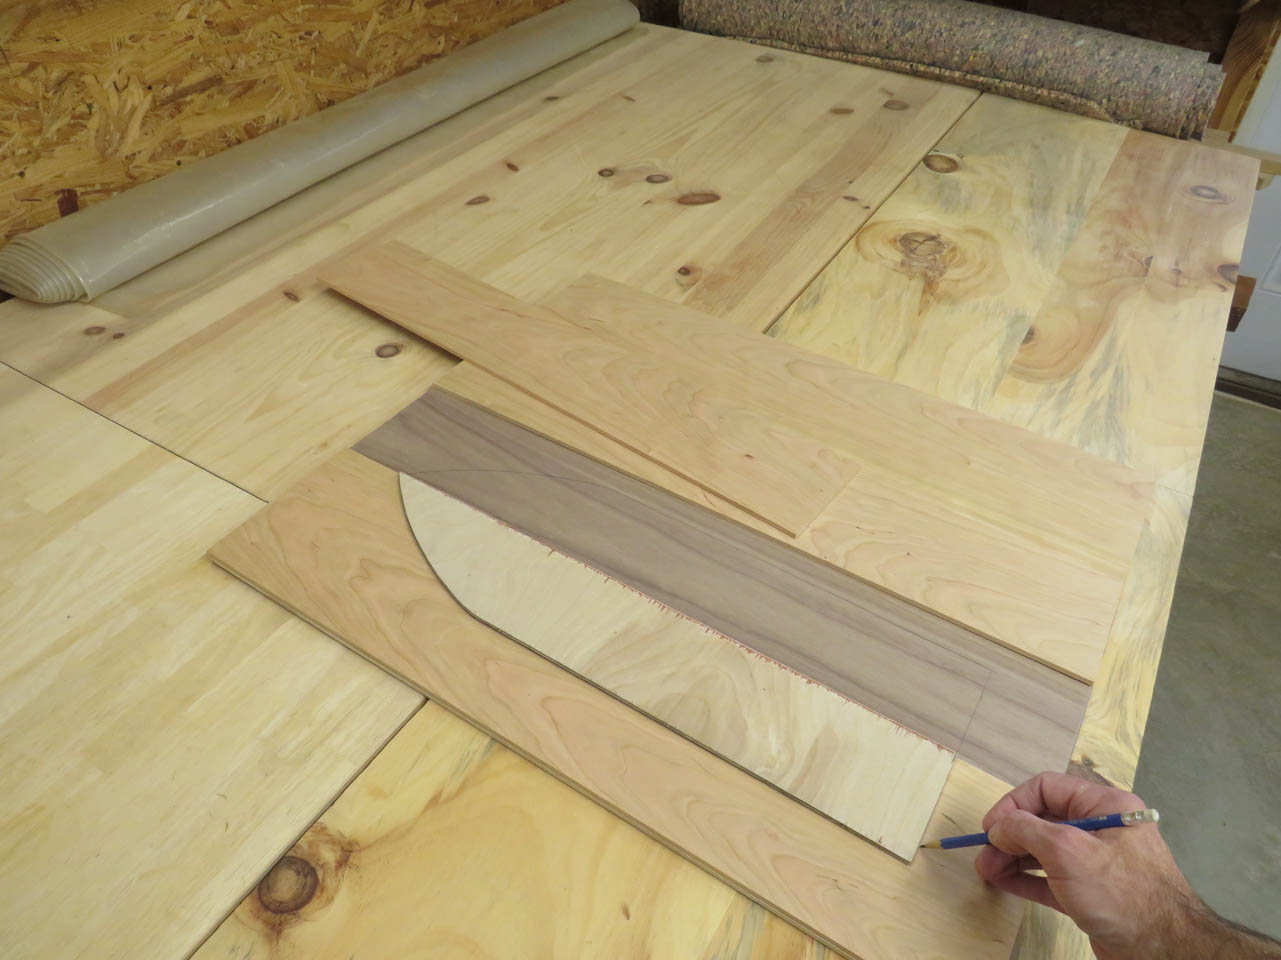
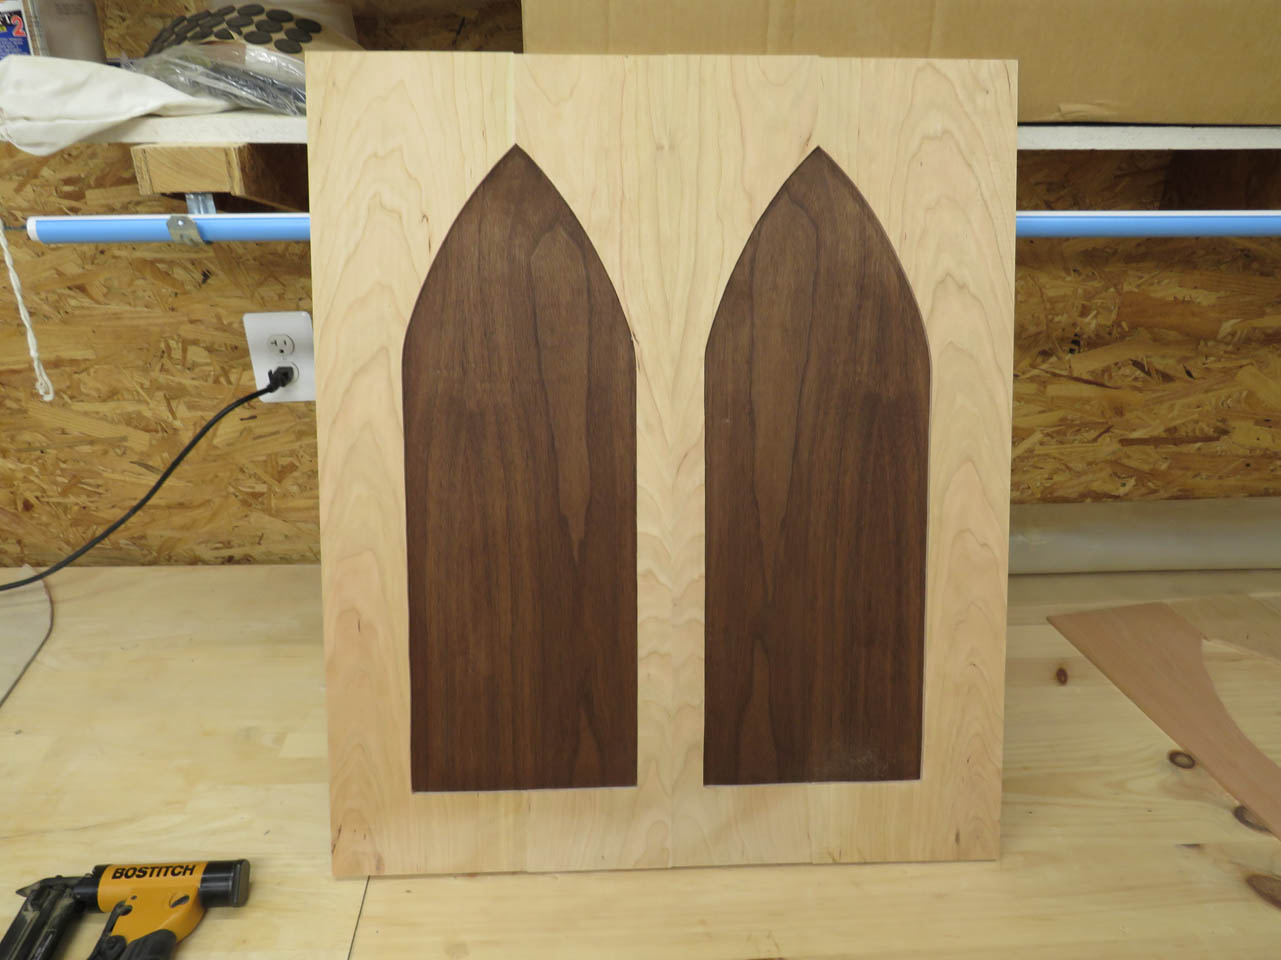
I saved the template for the arches from the rest of the chapel furniture. I used this template to locate and mark the arch locations.
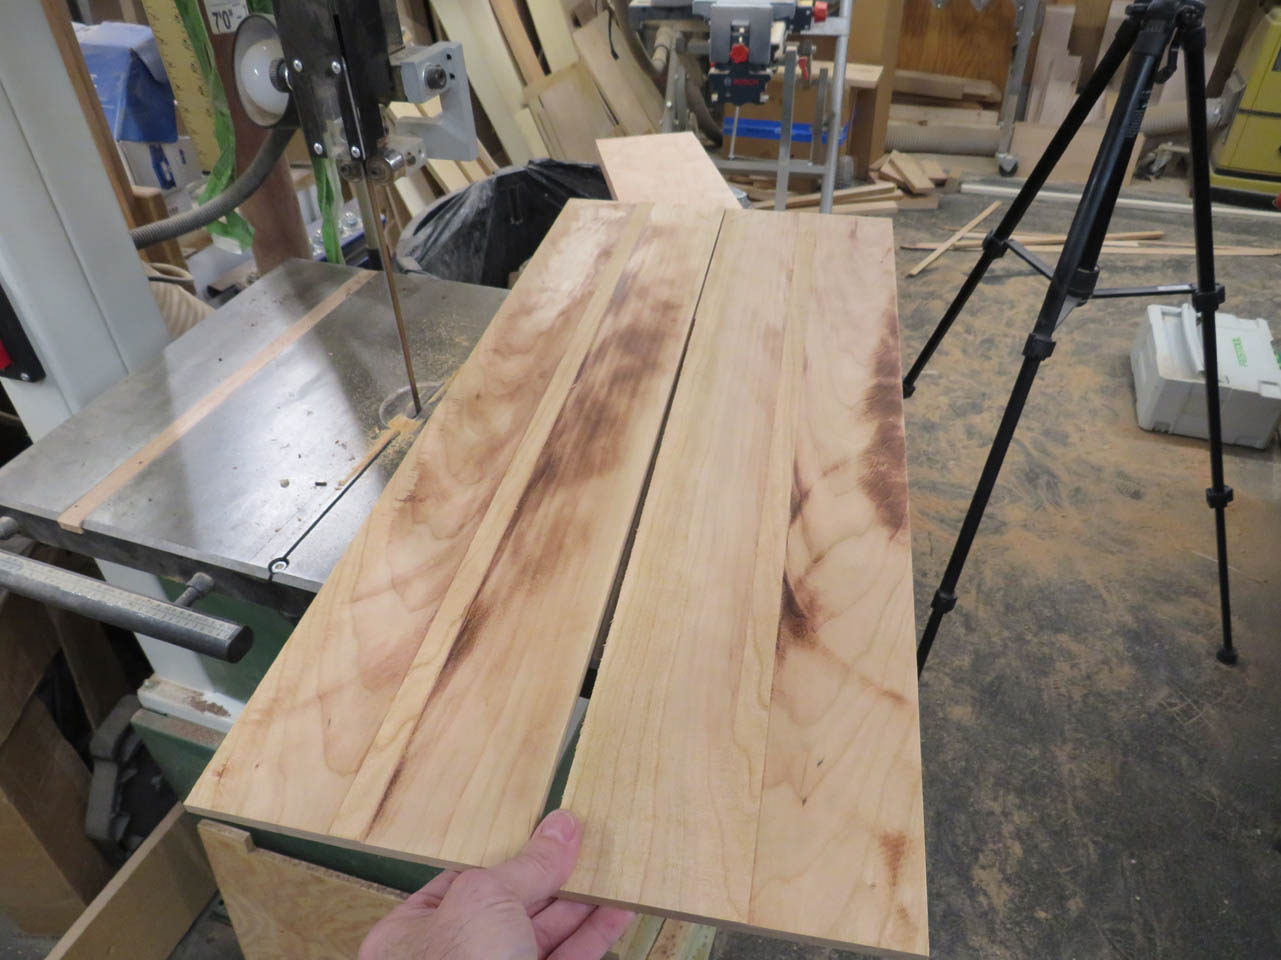
To create the cherry veneer, I am cutting pieces of cherry to re-saw down to a thinner thickness.

The narrower pieces can be re-sawn on the table saw.
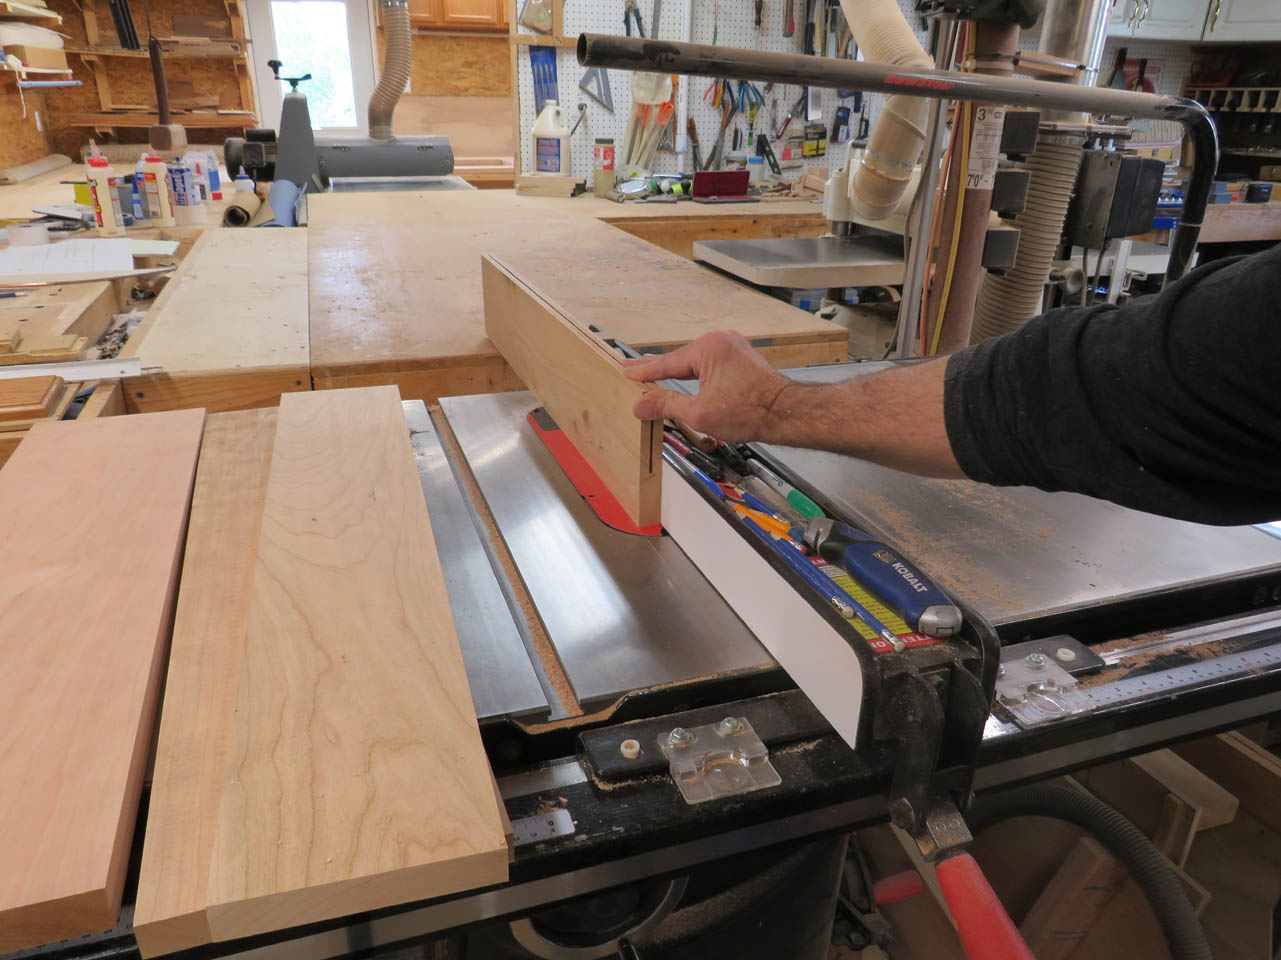
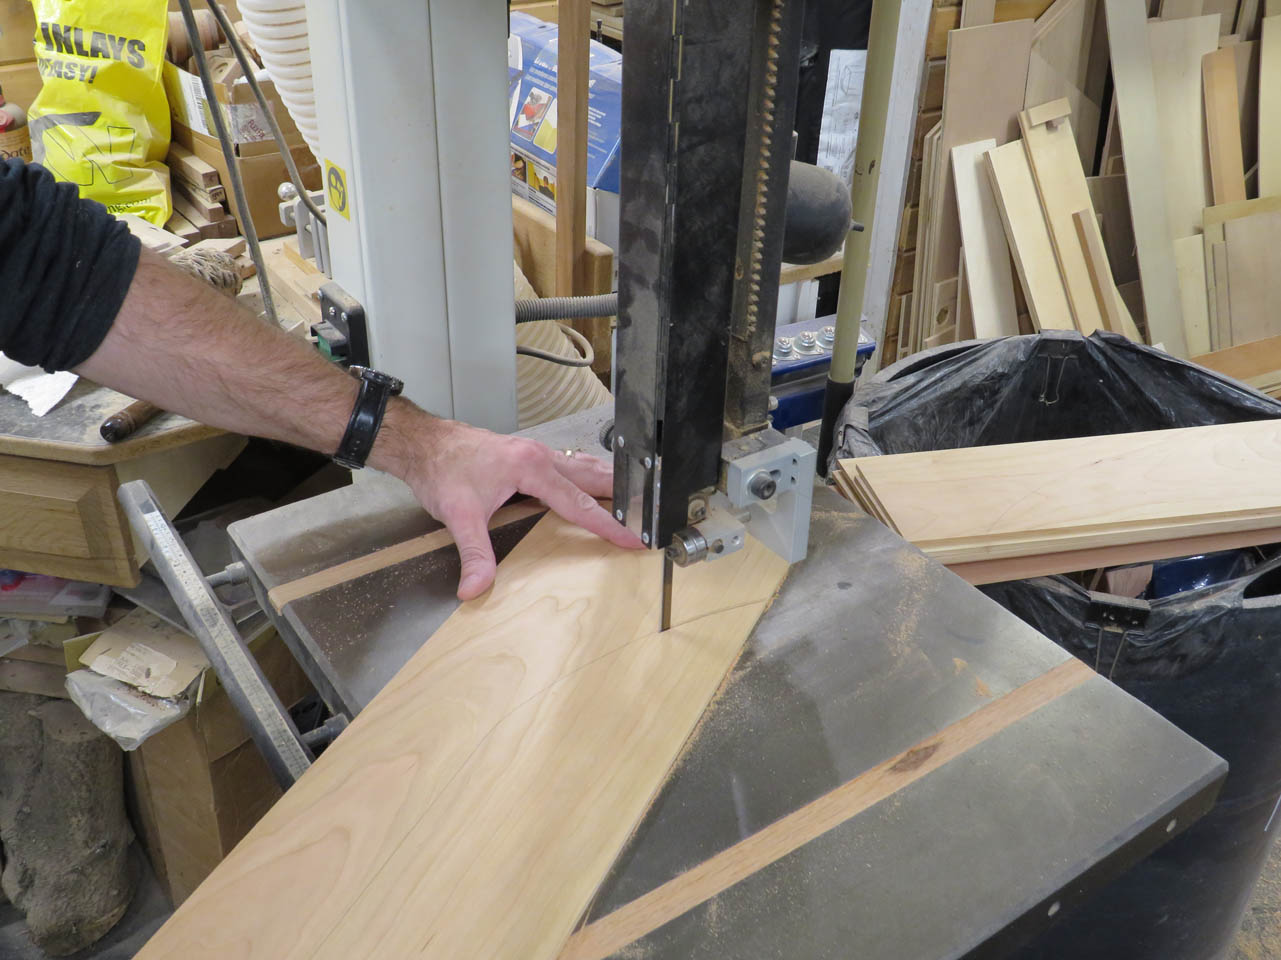
The wider pieces can be started that way.
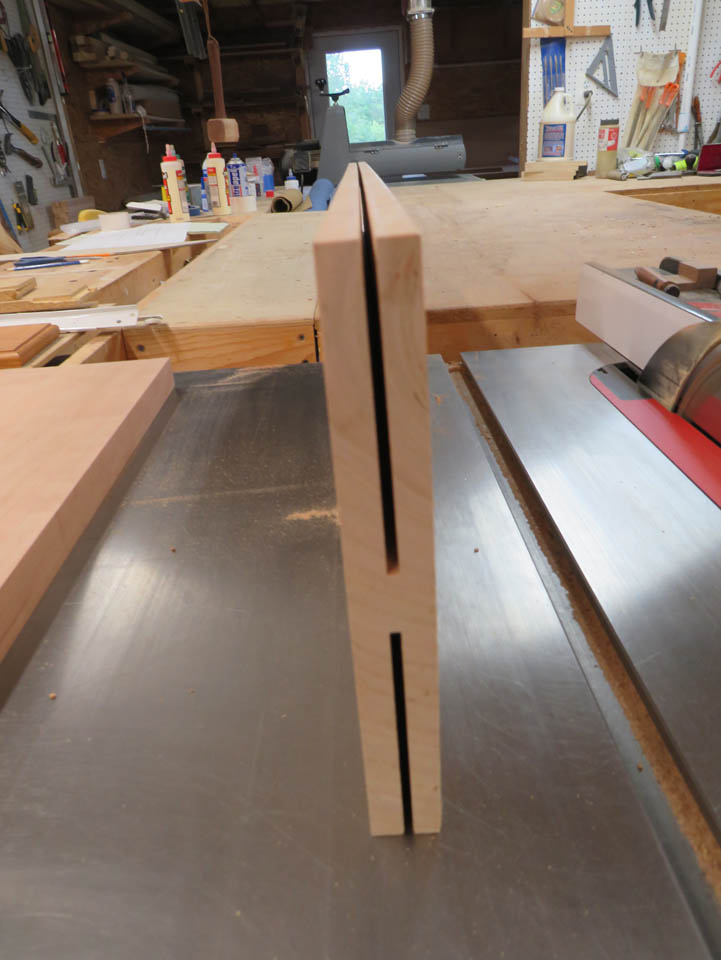
But then finished on the bandsaw.
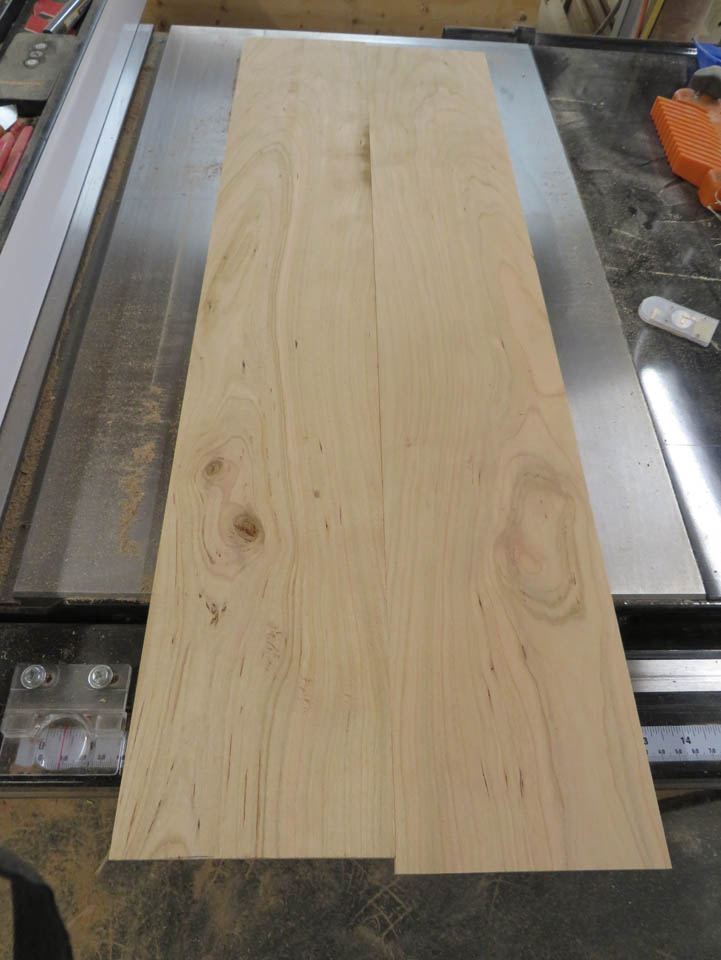
All of the veneers can now be planed down to just under 1/4″ thick.
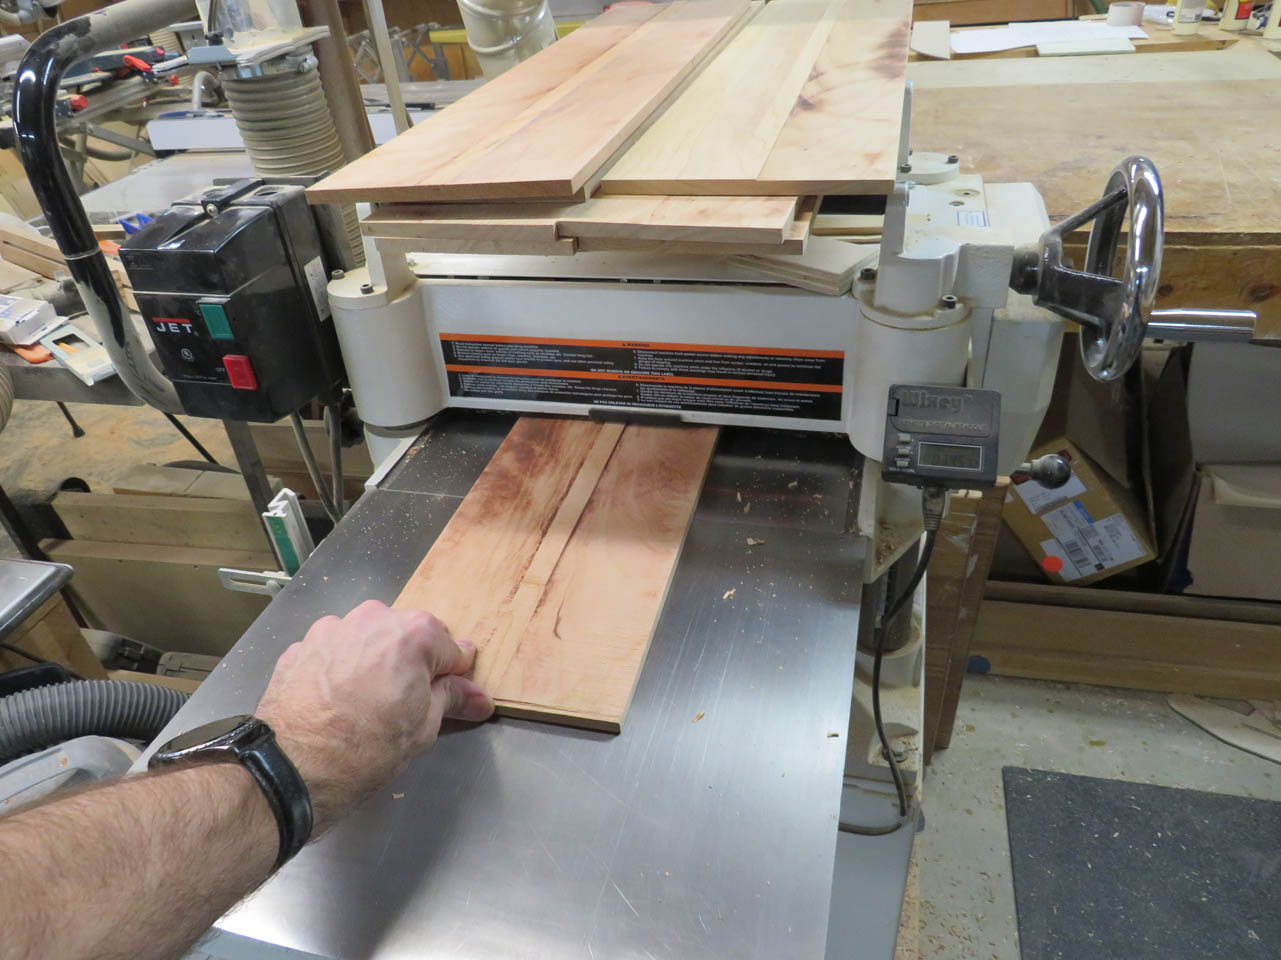
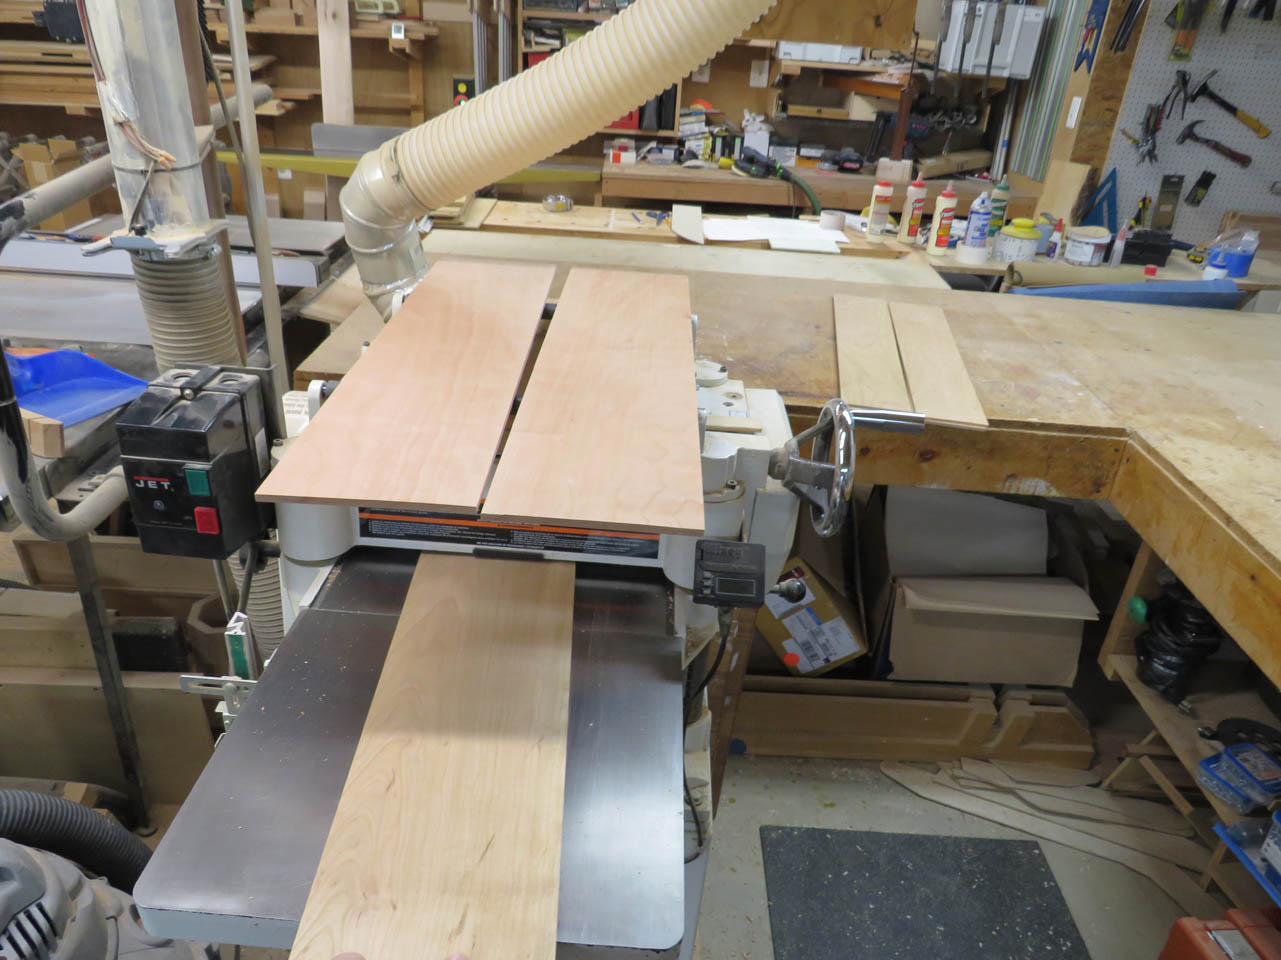
I really don’t want the veneer any thicker. Thinner will not be able to expand and contract enough to overcome the other layers.
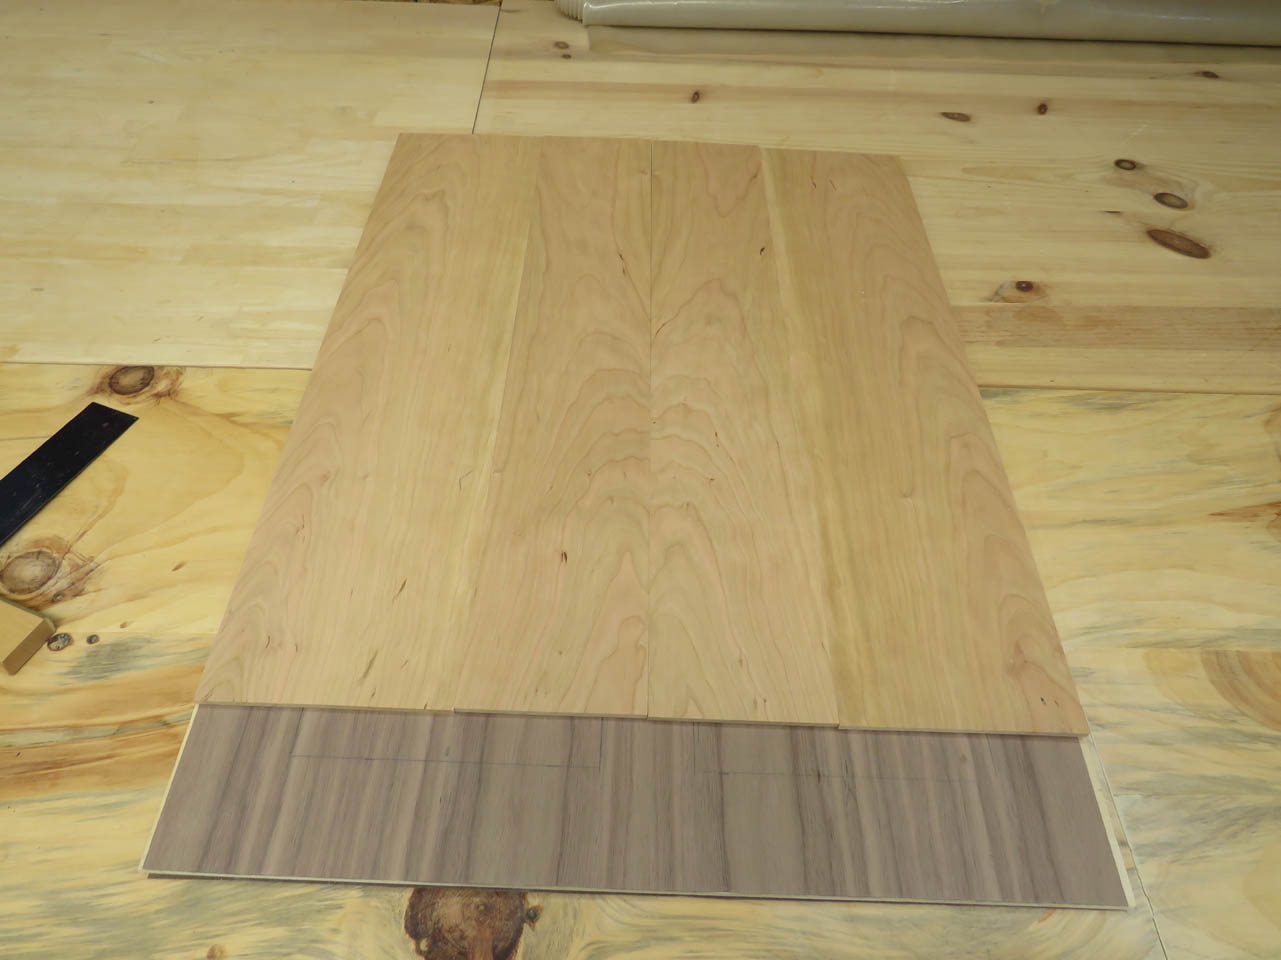
Now, I lay the veneers in place and mark the arches on them.
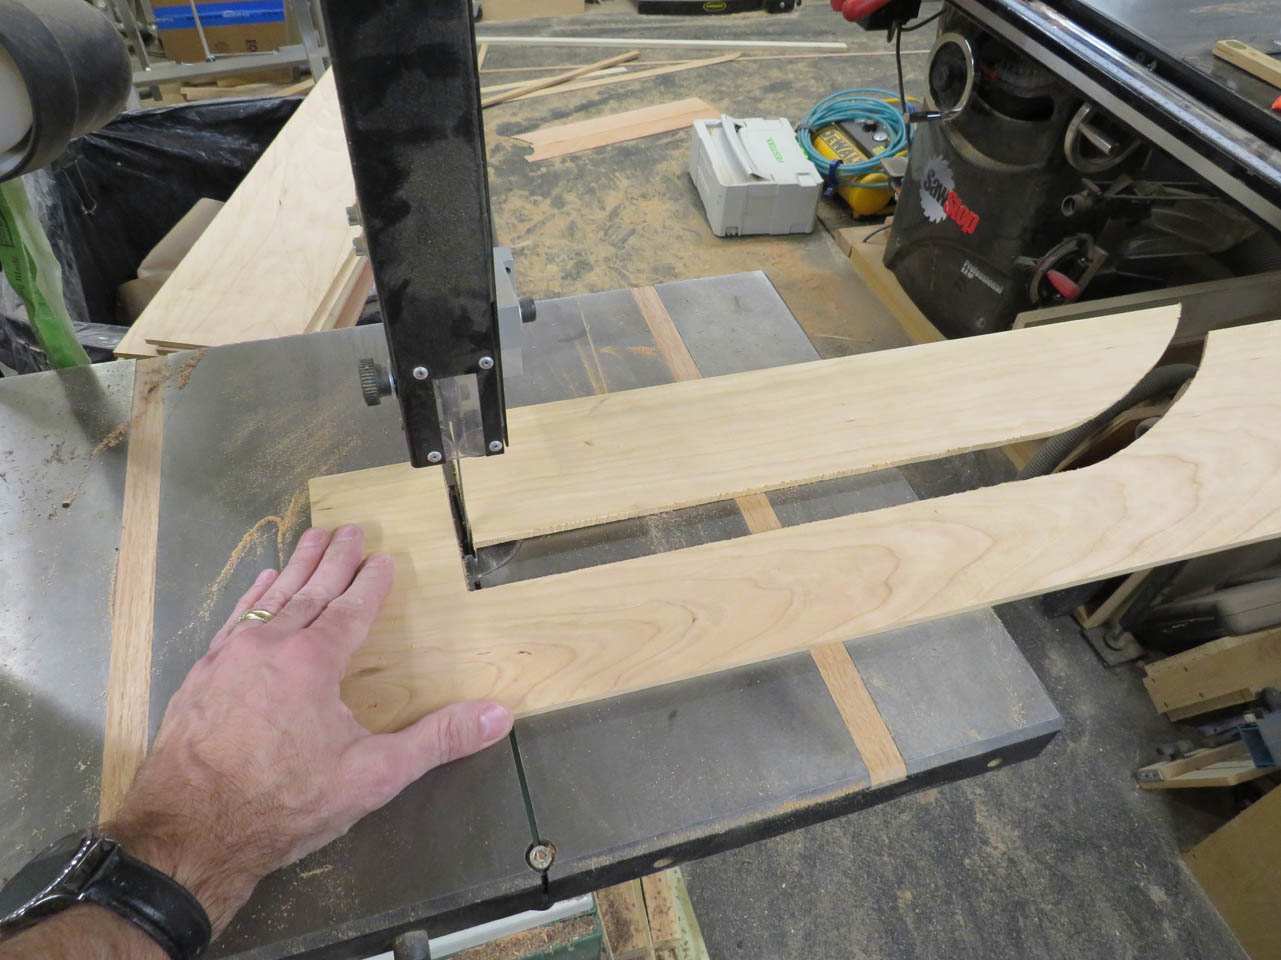
With the veneers for both sides marked, I can cut them out.
These get cut out on the bandsaw.
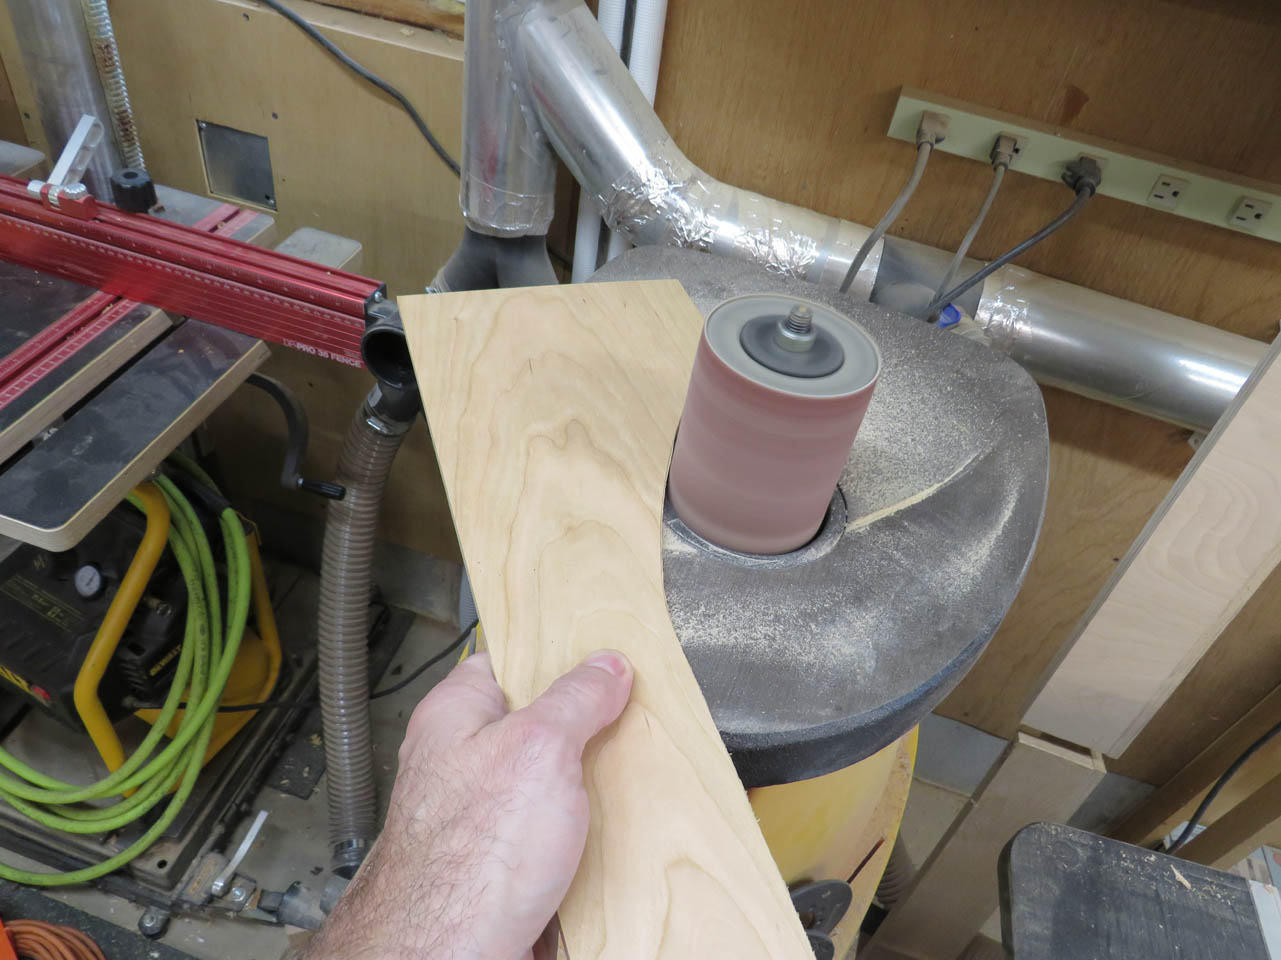
Then sanded on the spindle sander and then I use the orbital sander to get into the square corner.
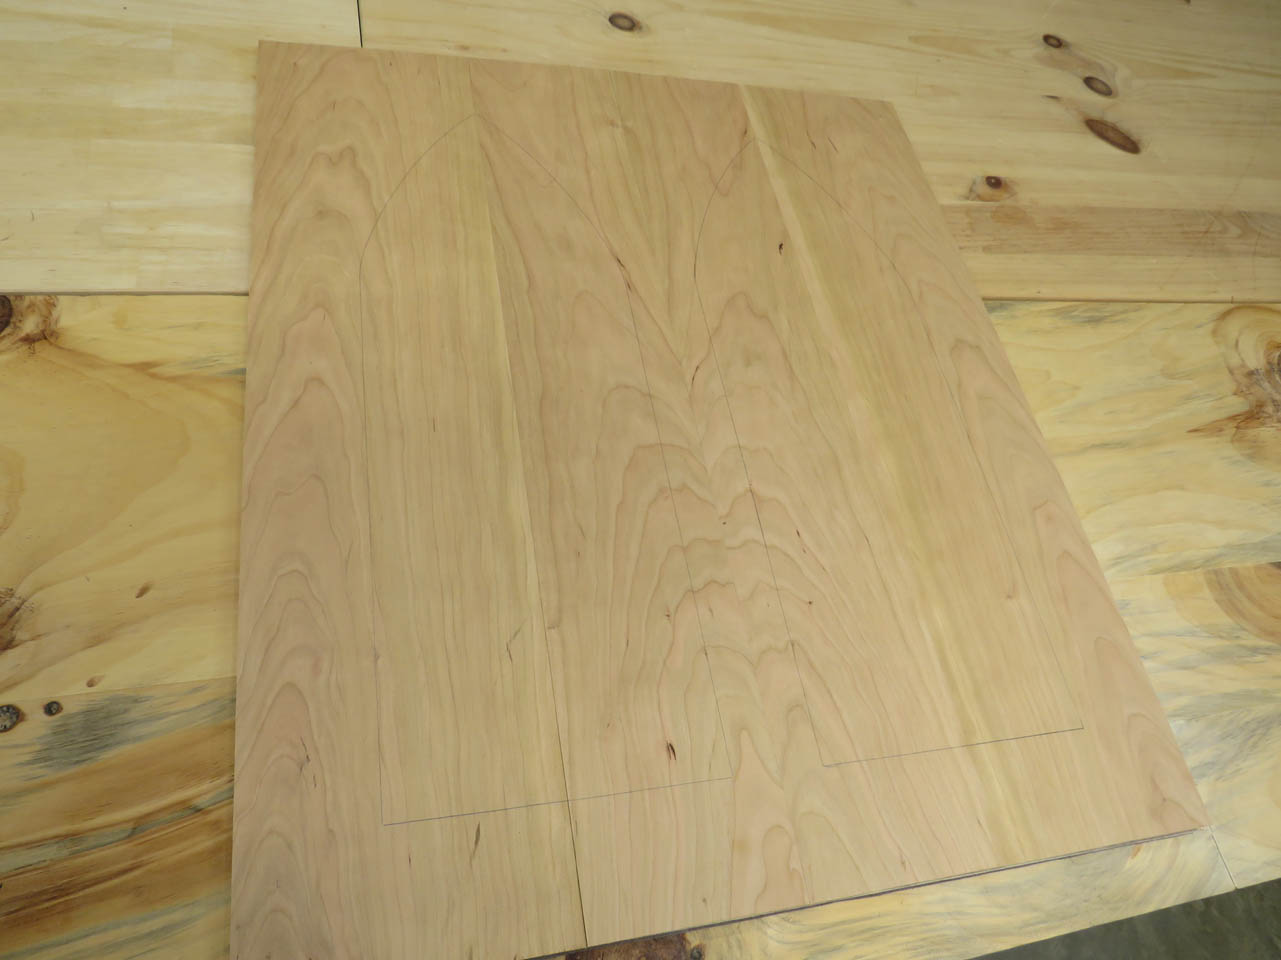
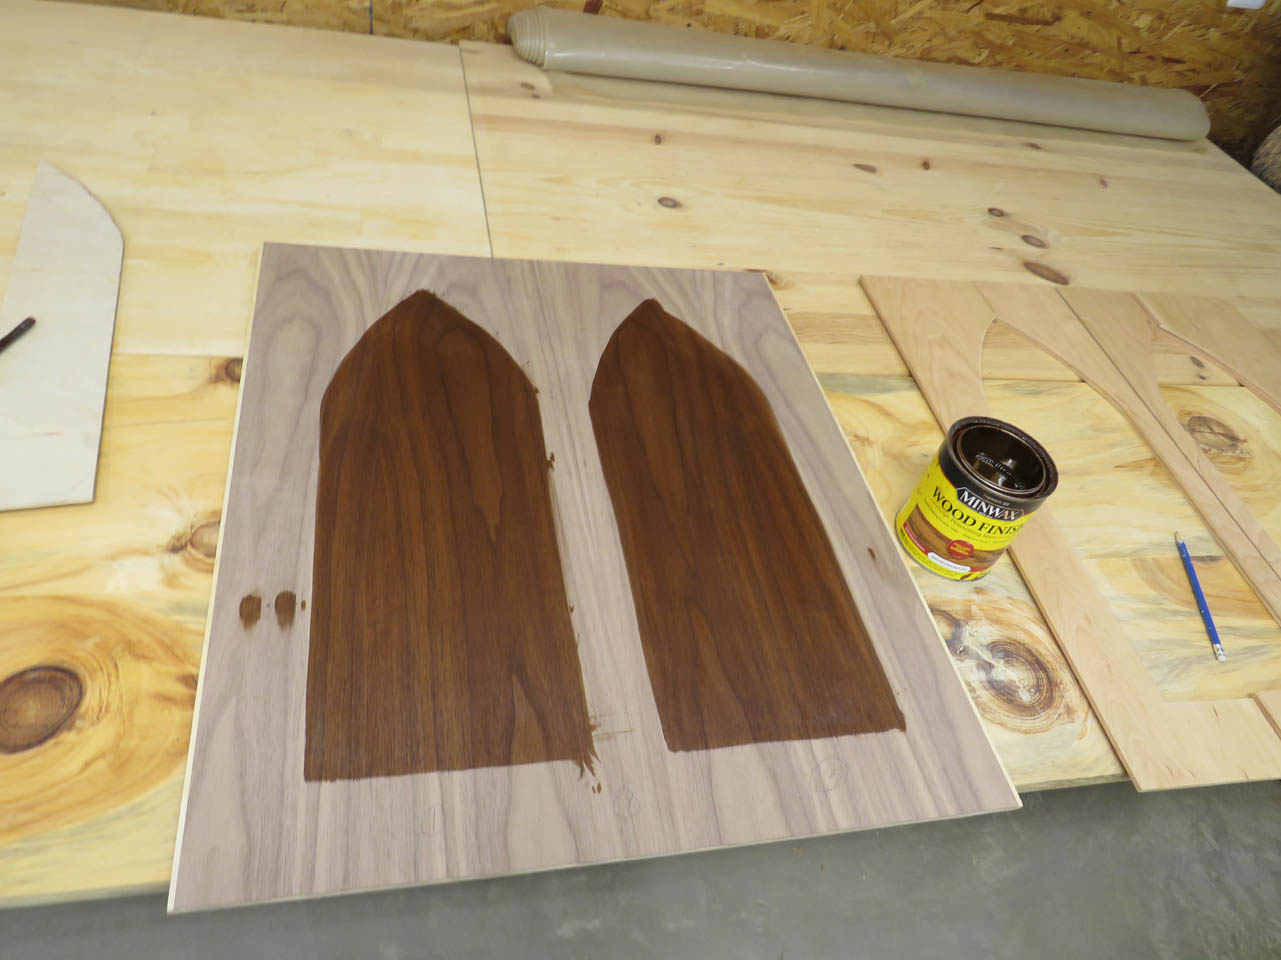
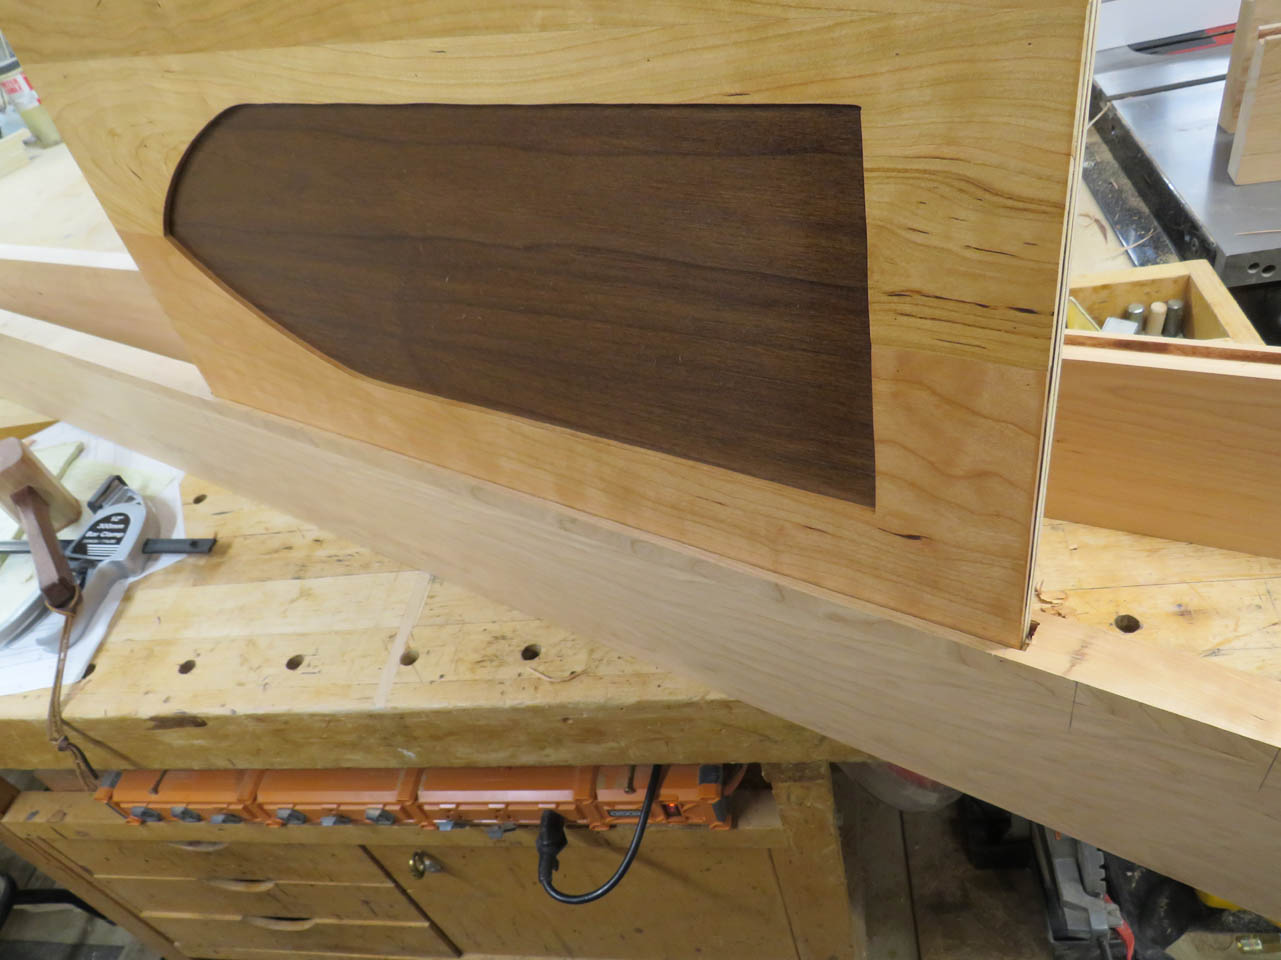
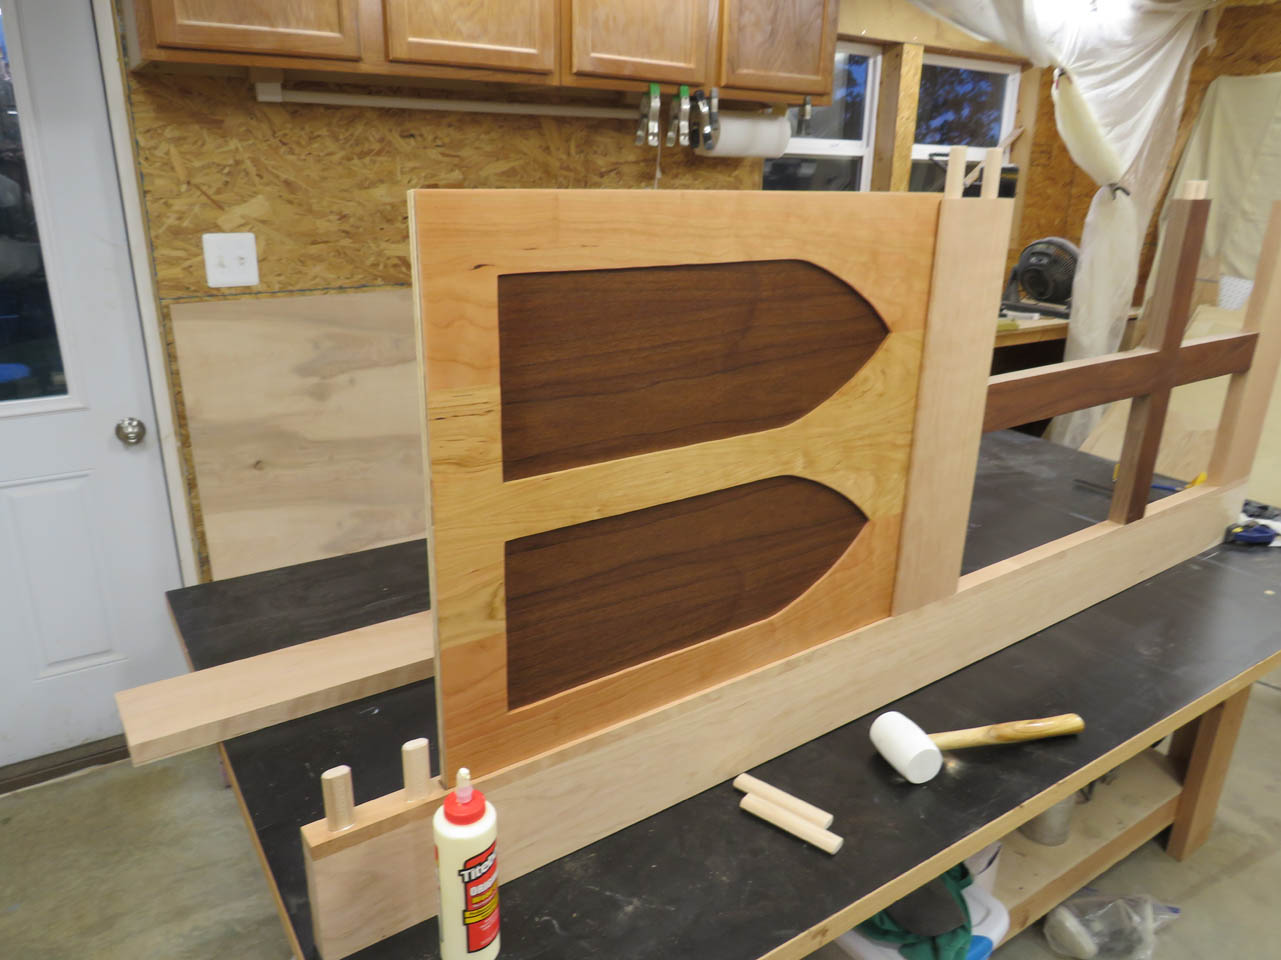
With the veneers cut and placed, I can double check my marked arches on the walnut.
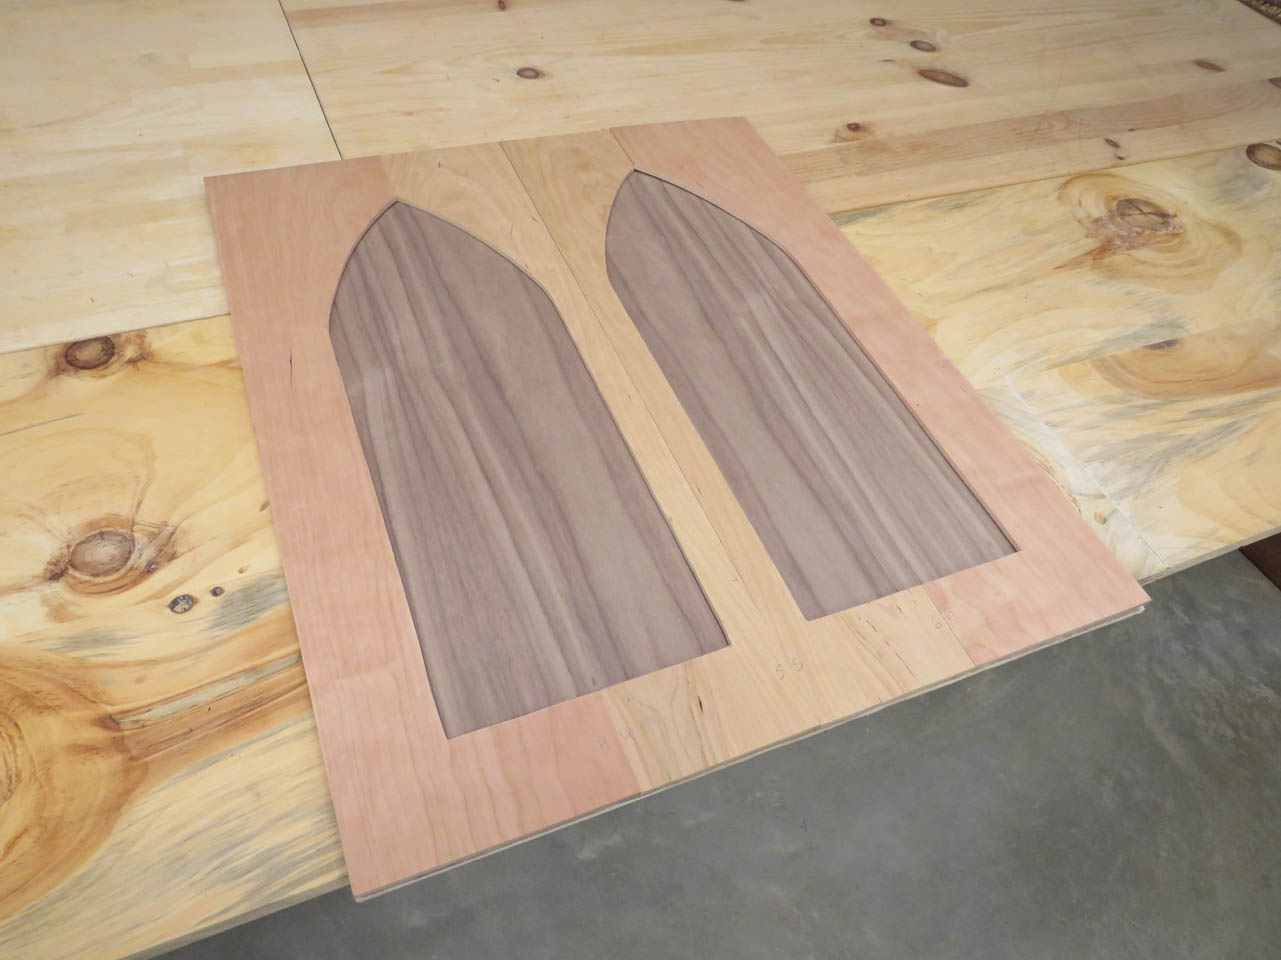
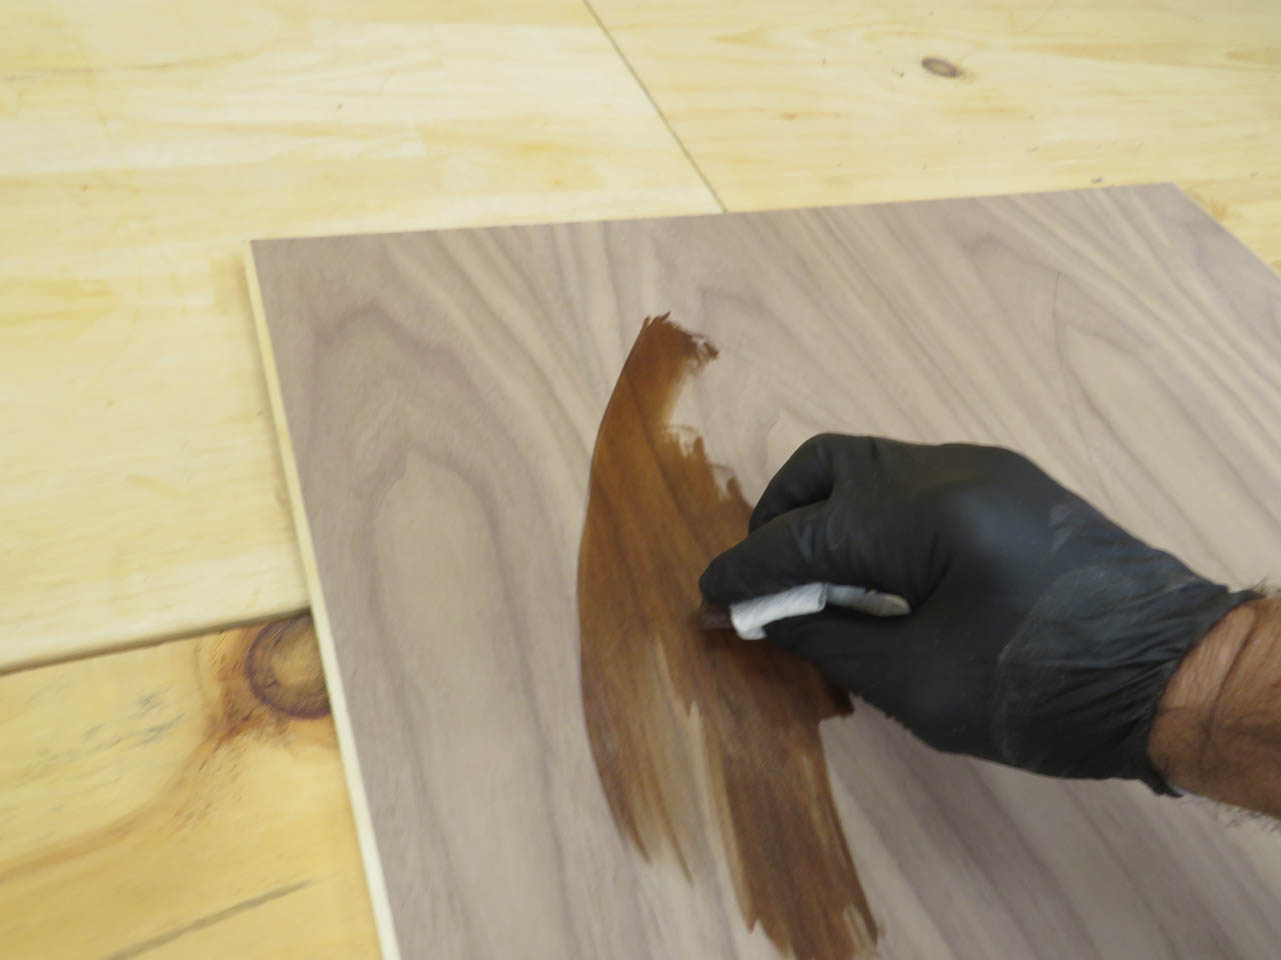
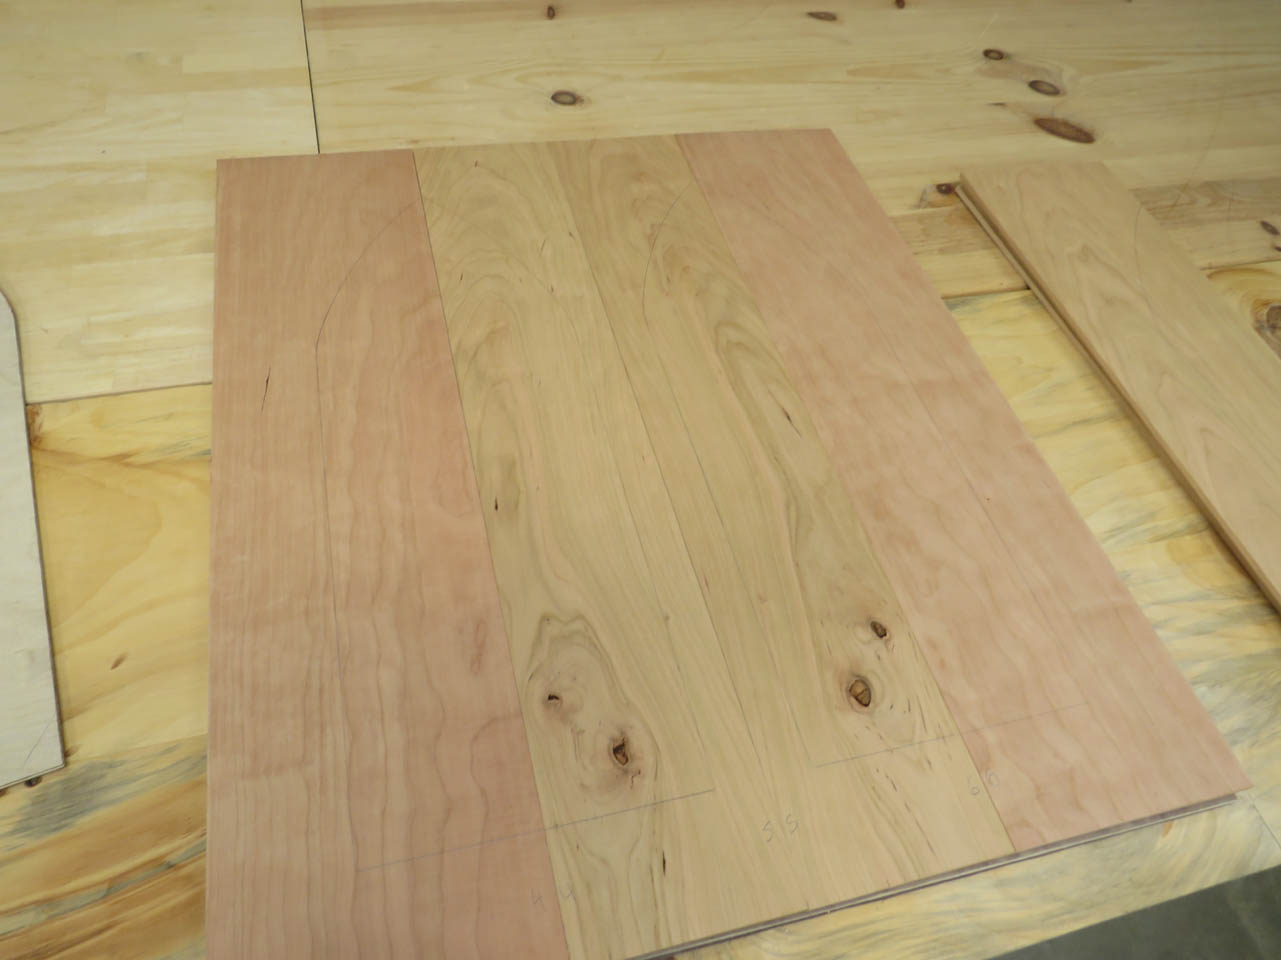
The walnut is steamed making it very pale, I need to apply stain so that it will match the rest of the walnut furniture. I only apply stain within the arched area so that it will not interfere with the glue when the cherry is laminated.
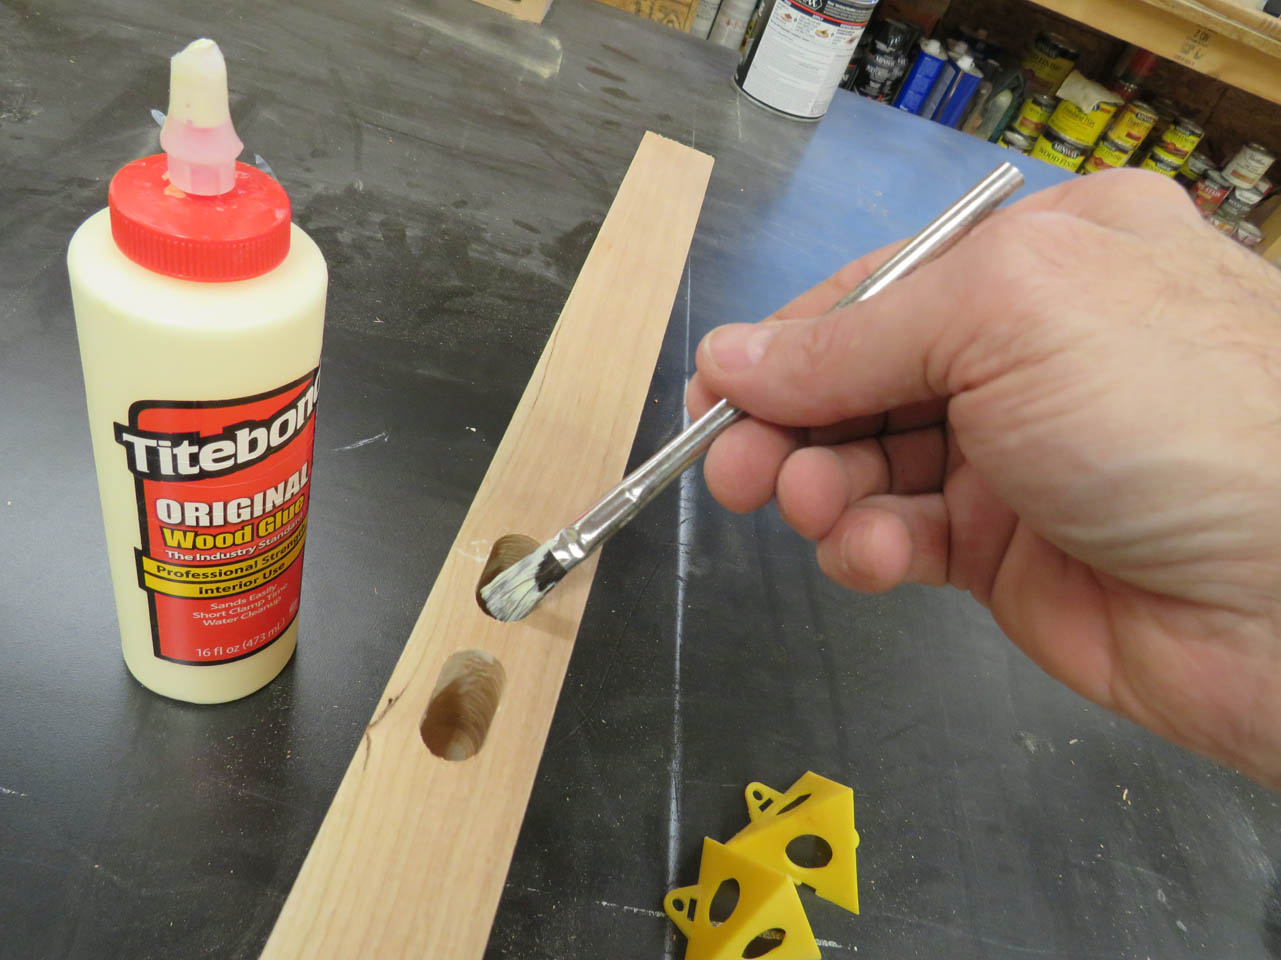
I evenly spread PVA wood glue onto the back of the cherry veneer.
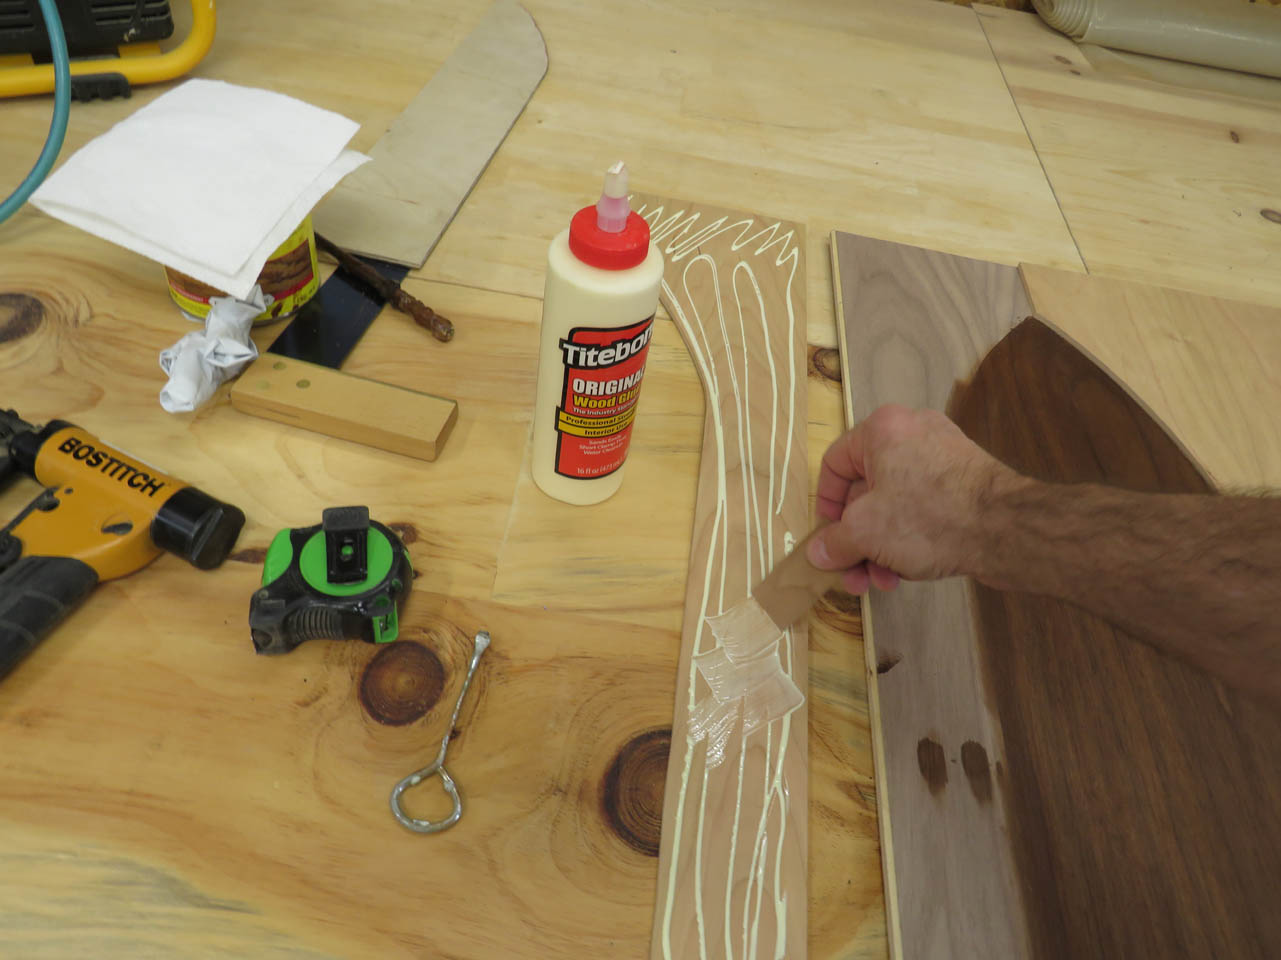
I used a few very thin pin nails to keep the veneer from moving then attach the rest in the same way.
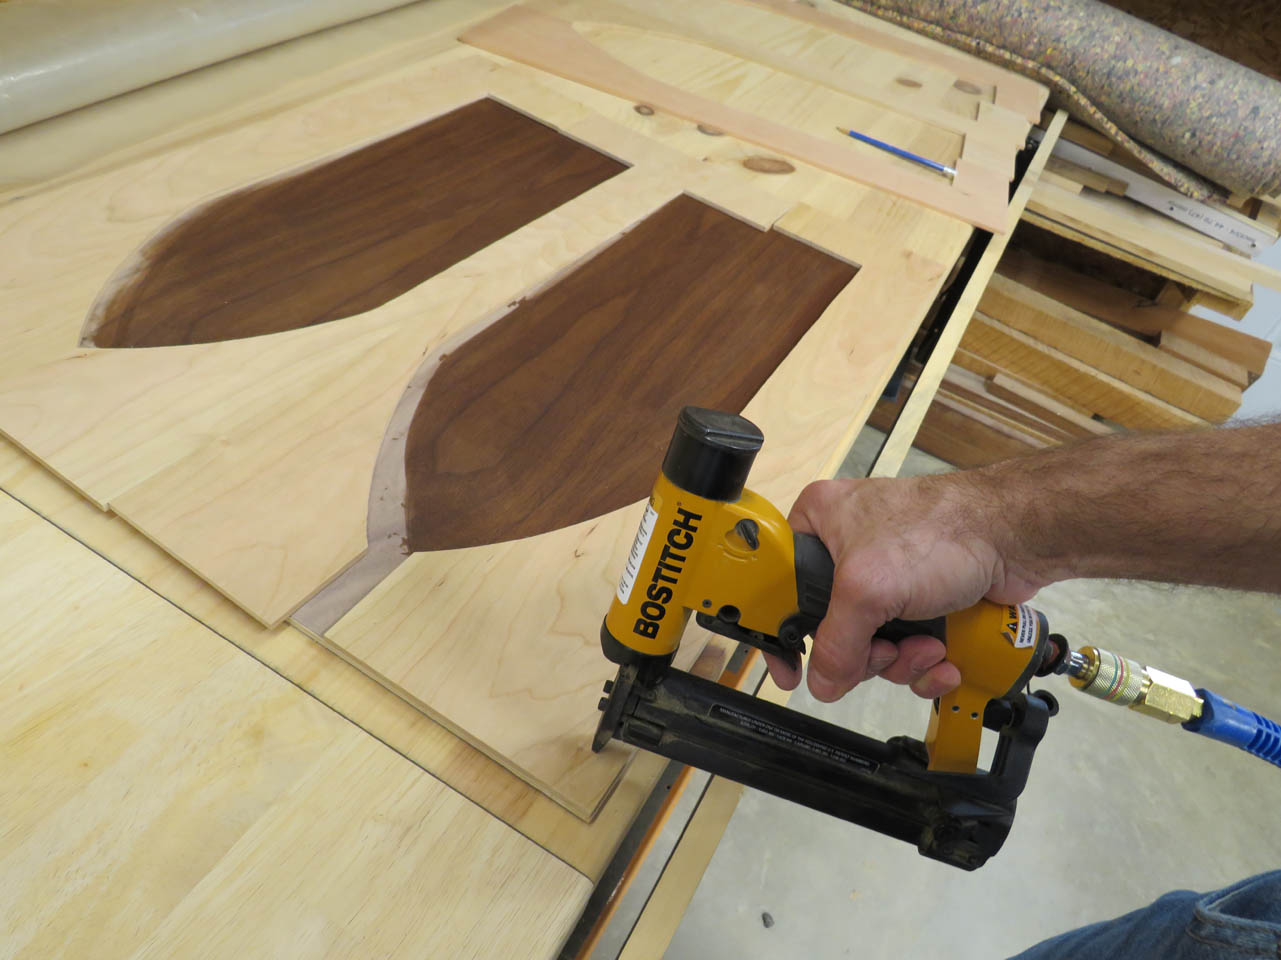
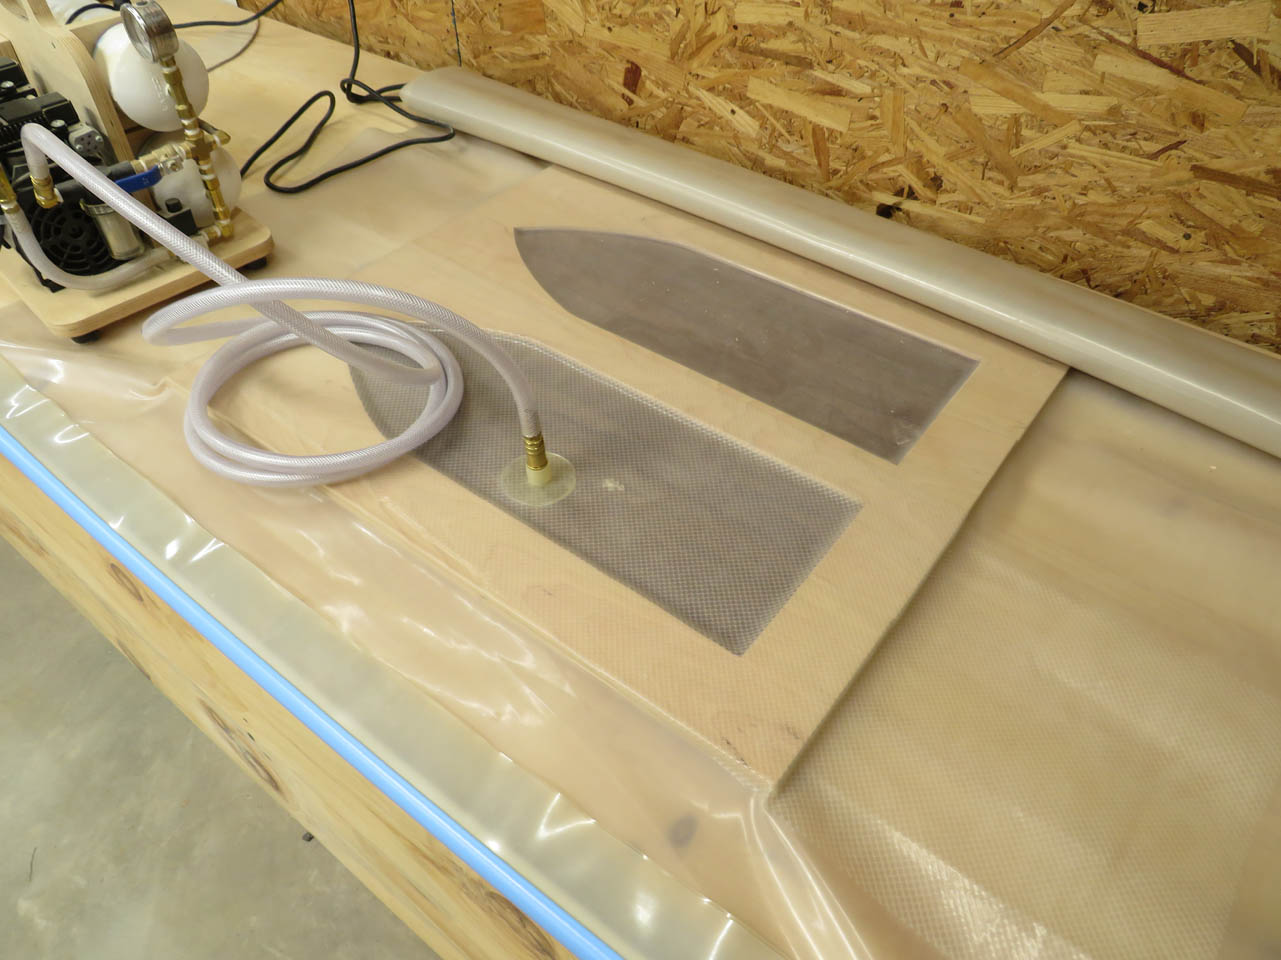
When both sides are attached, I can slip it into my vacuum bag and vacuum it down flat.

The vacuum clamps all of the veneers together with even clamping pressure.
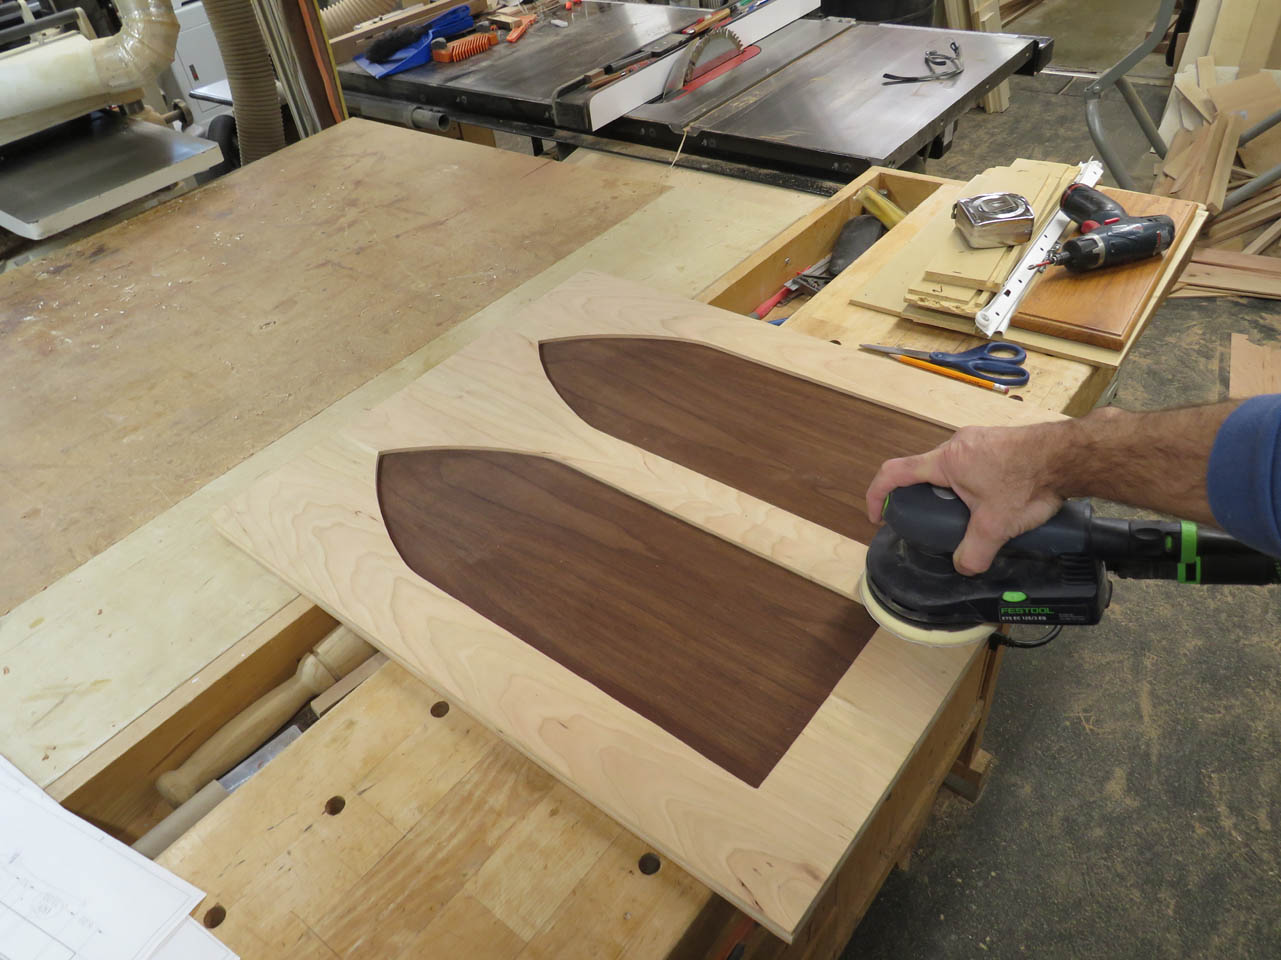
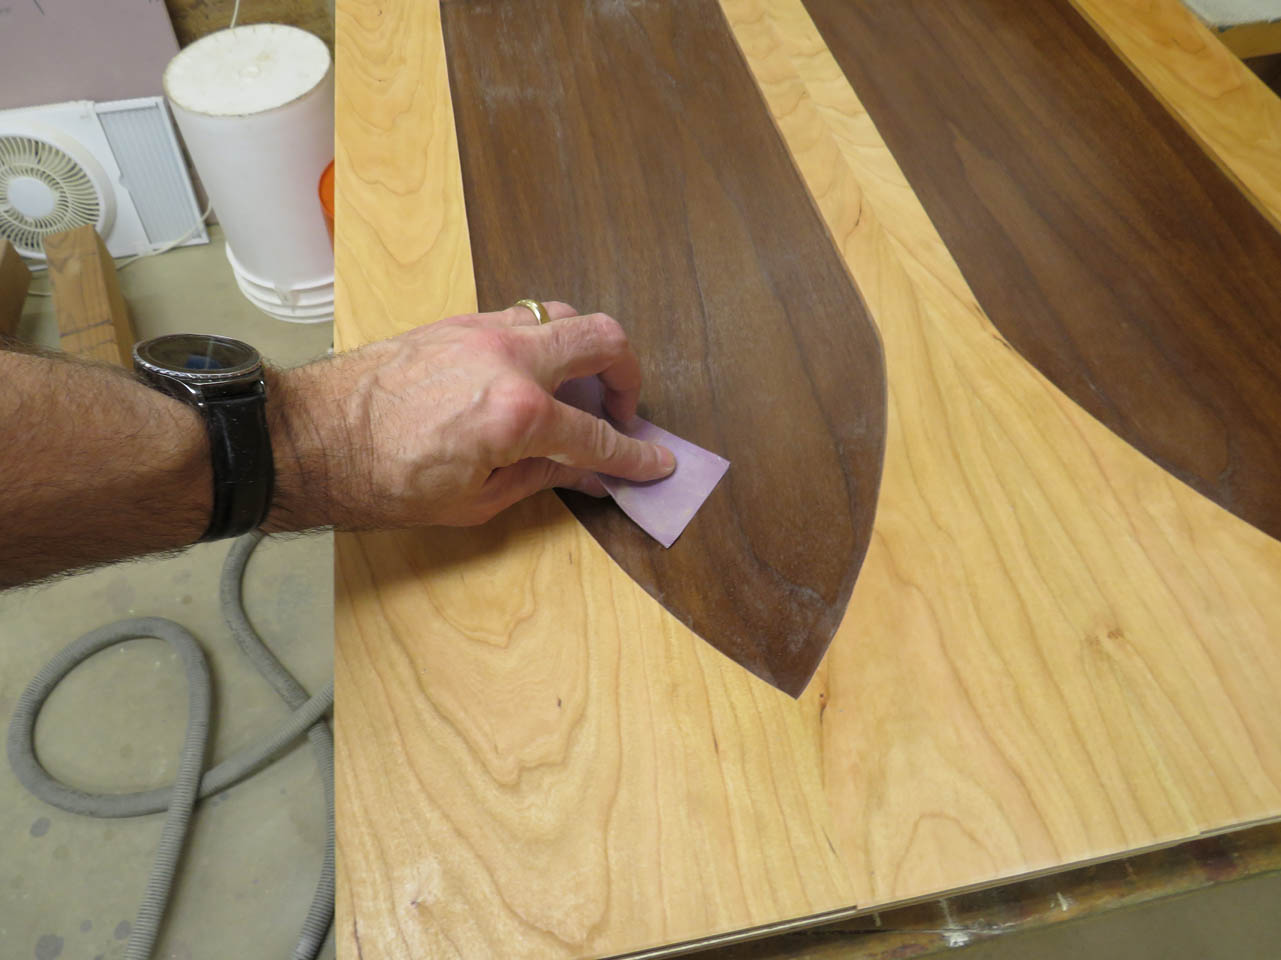
After the glue is dry, I can pull it from vacuum and sand both faces smooth.
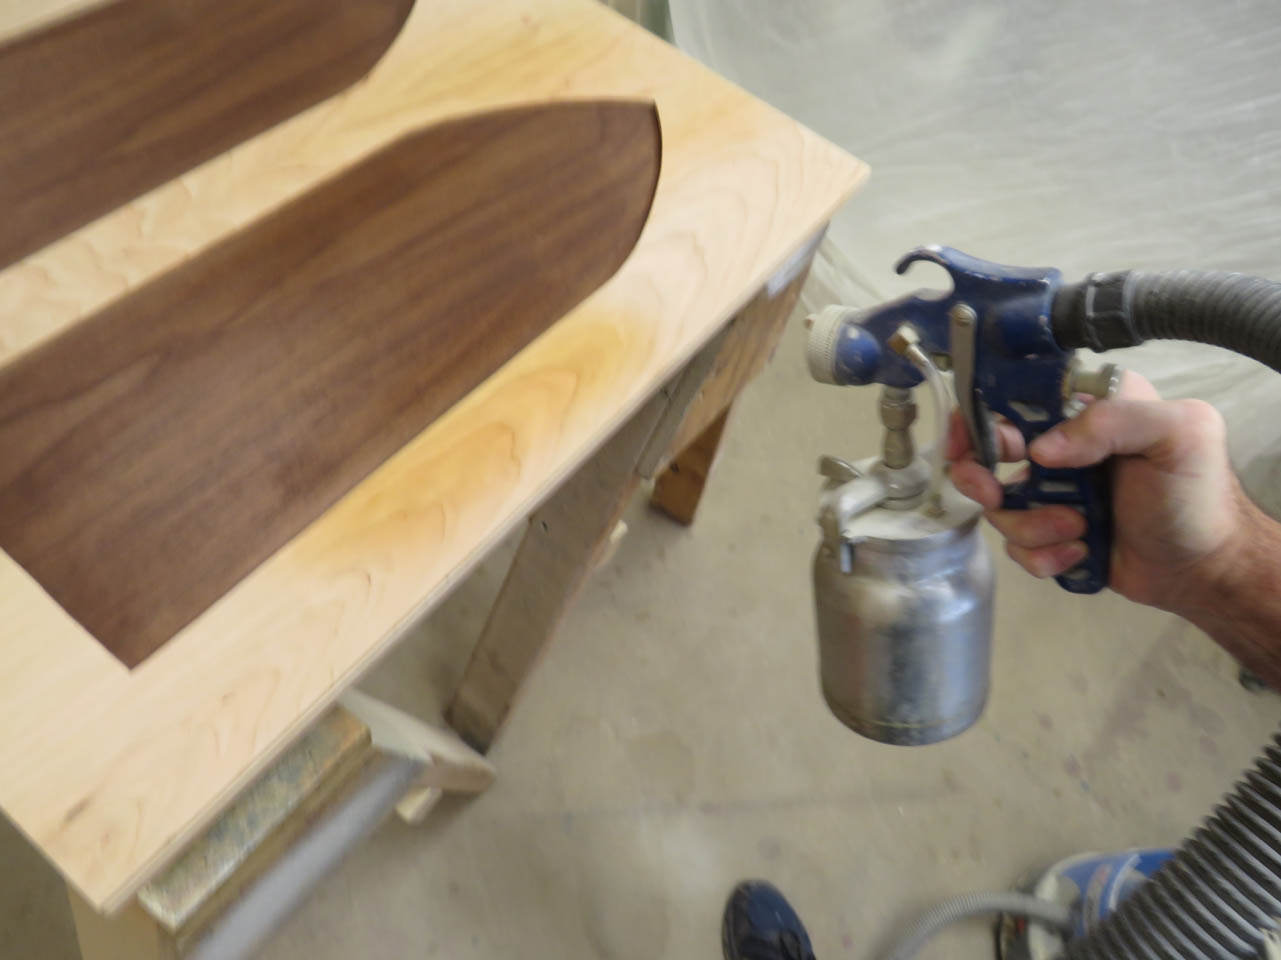
Since this panel will be floating within a groove, I need to pre-finish it before installing. That means a minimum of two coats of polyurethane.
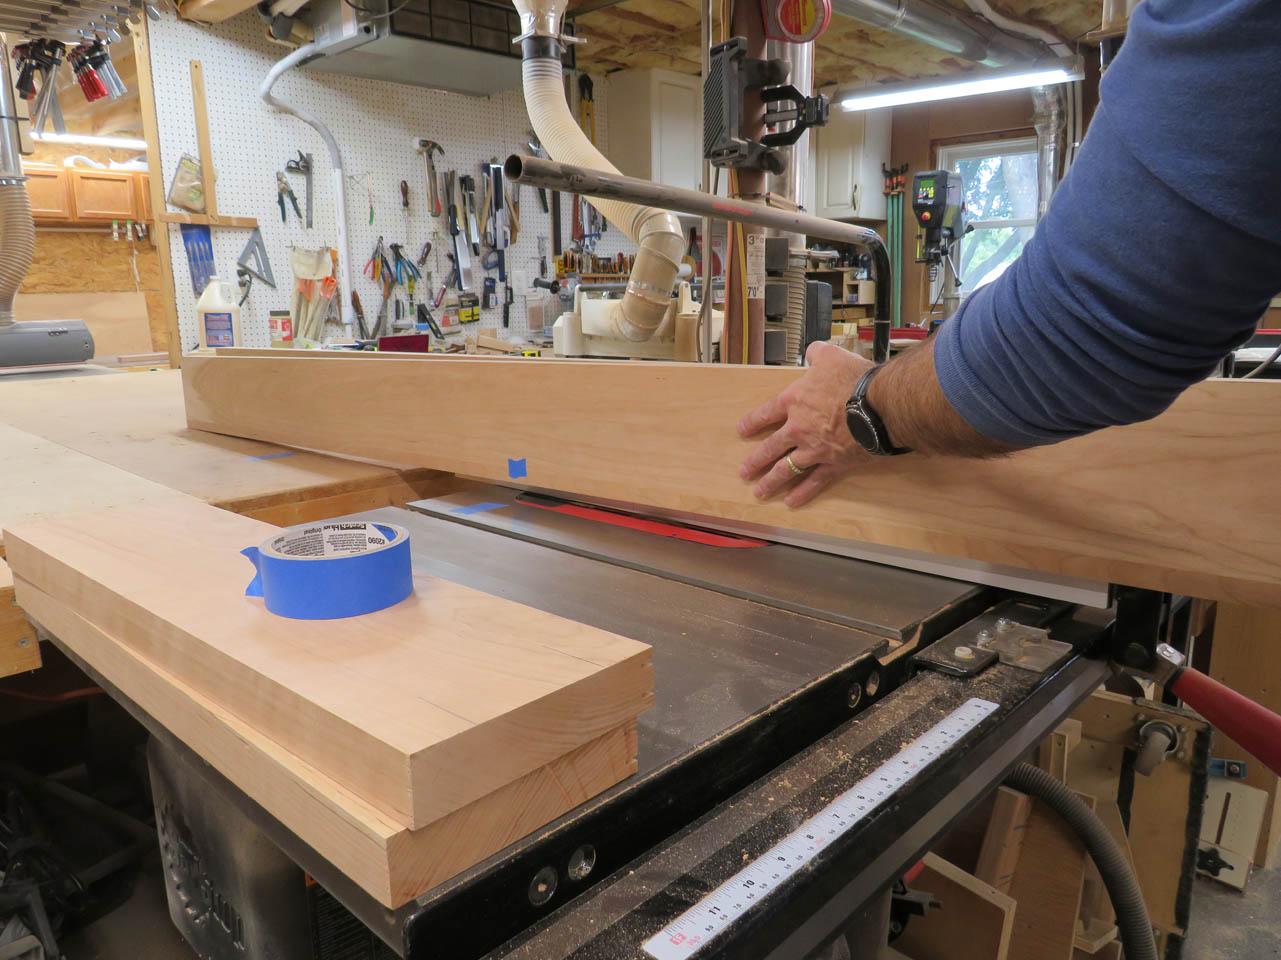
Now that the panel is laminated and cut to final size, I have the dimensions to cut the grooves in the door frame.
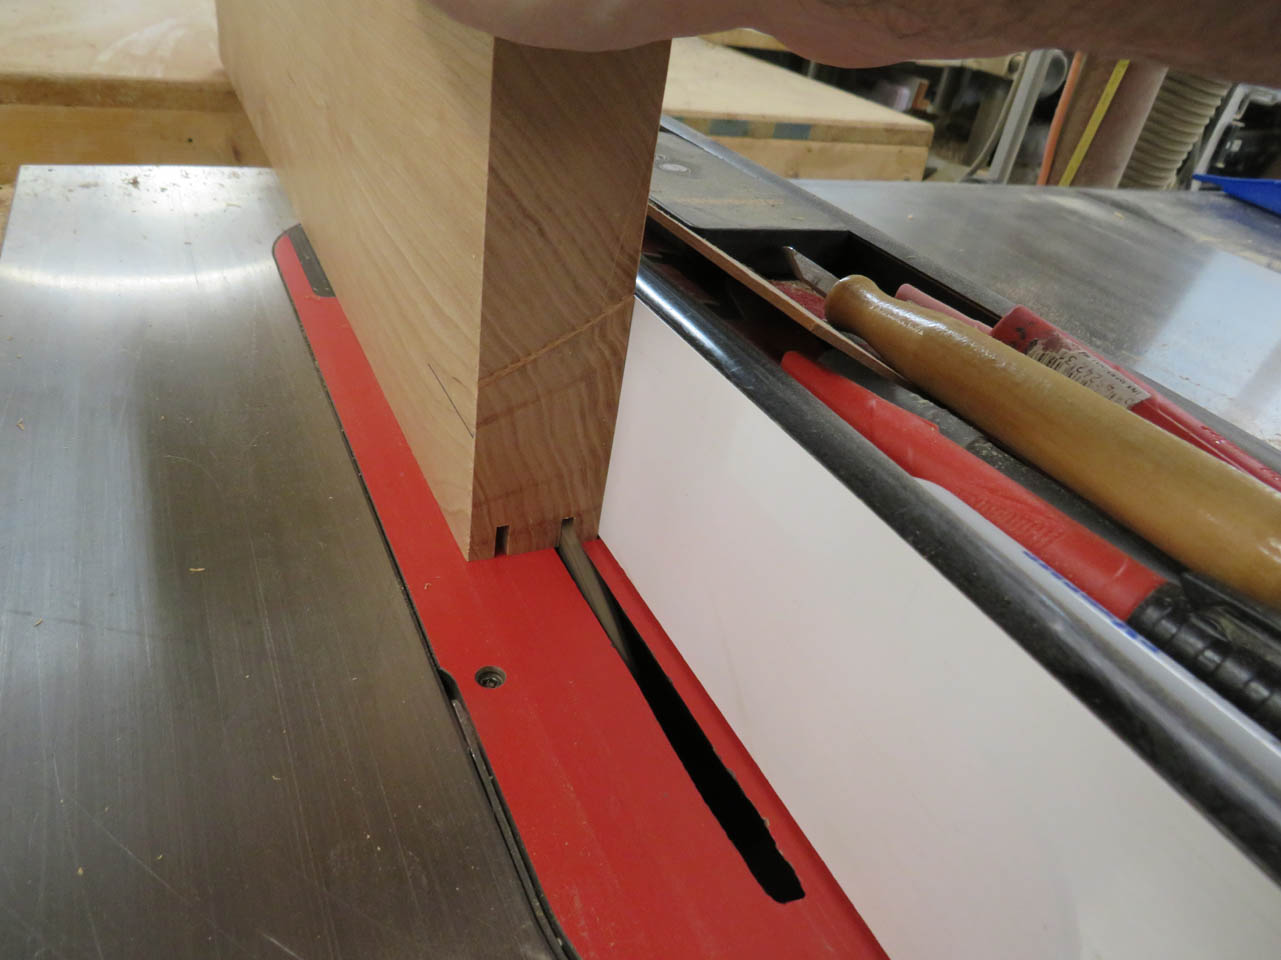
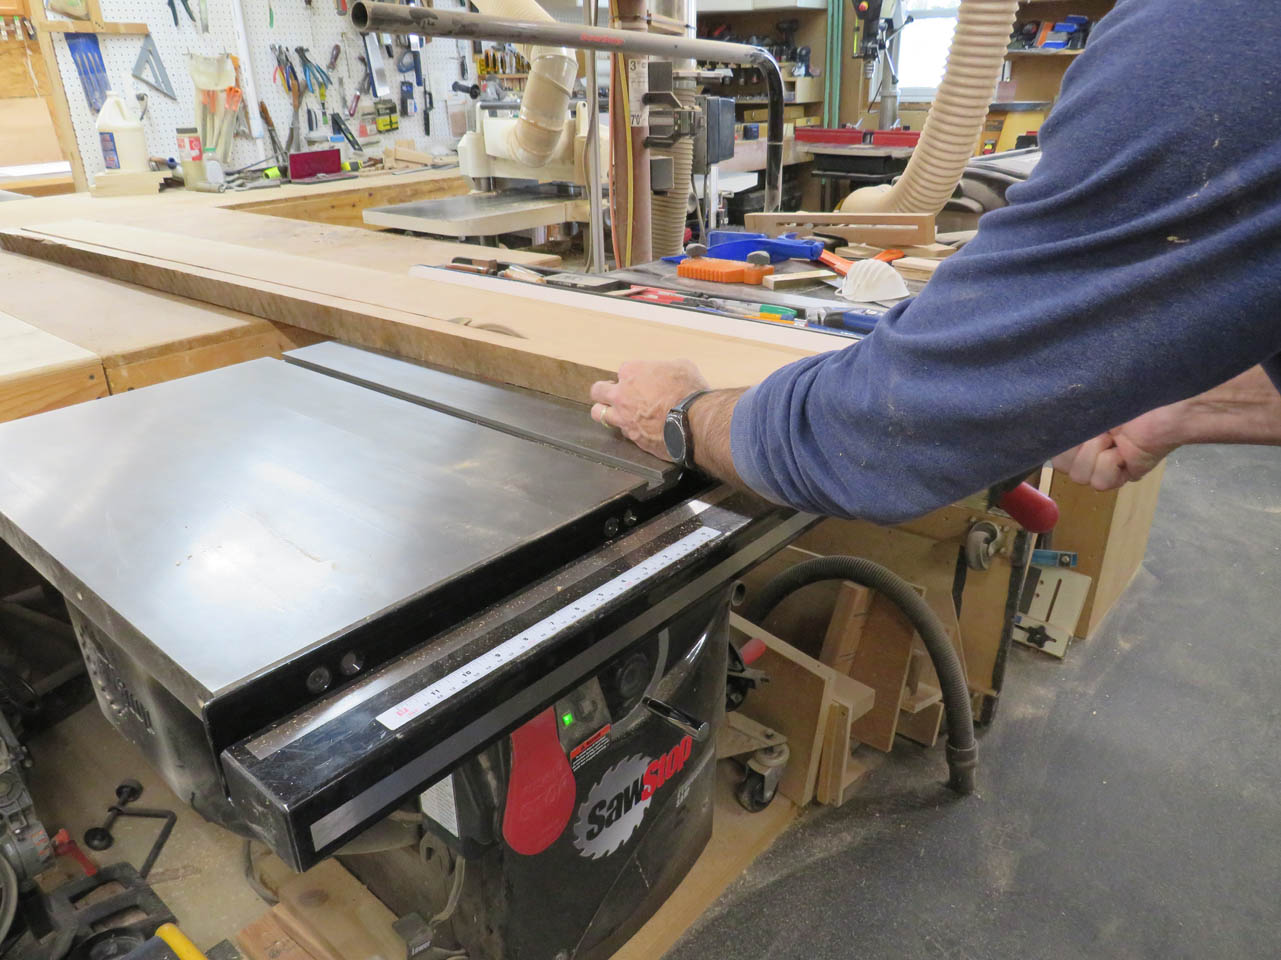
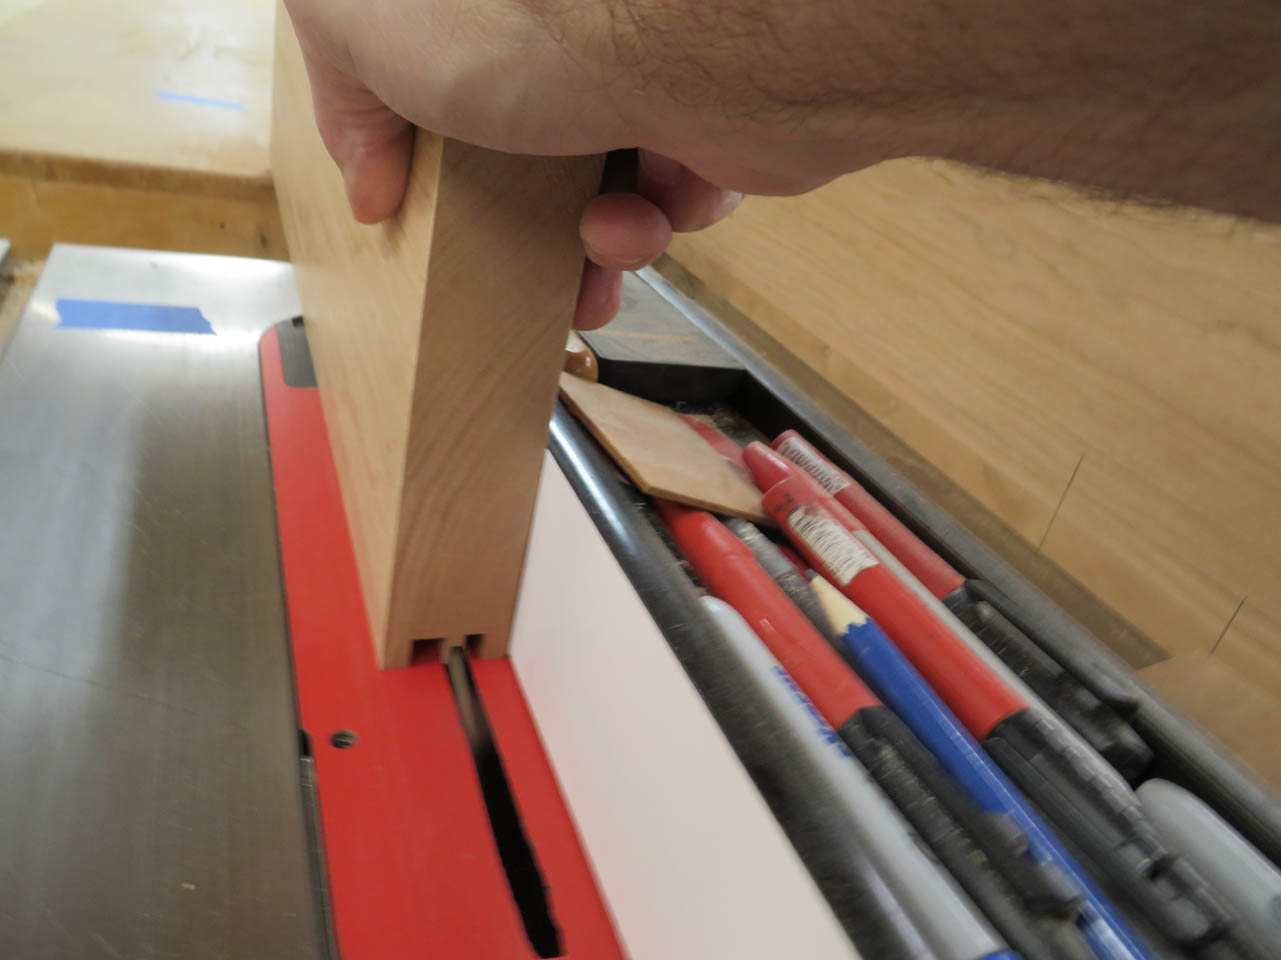
I set the fence and blade on the table saw and started with the shorter horizontal bars.
Then I marked and cut the longer boards. These were more difficult since they had to be started and stopped in the middle of the board by lowering them down onto the blade.
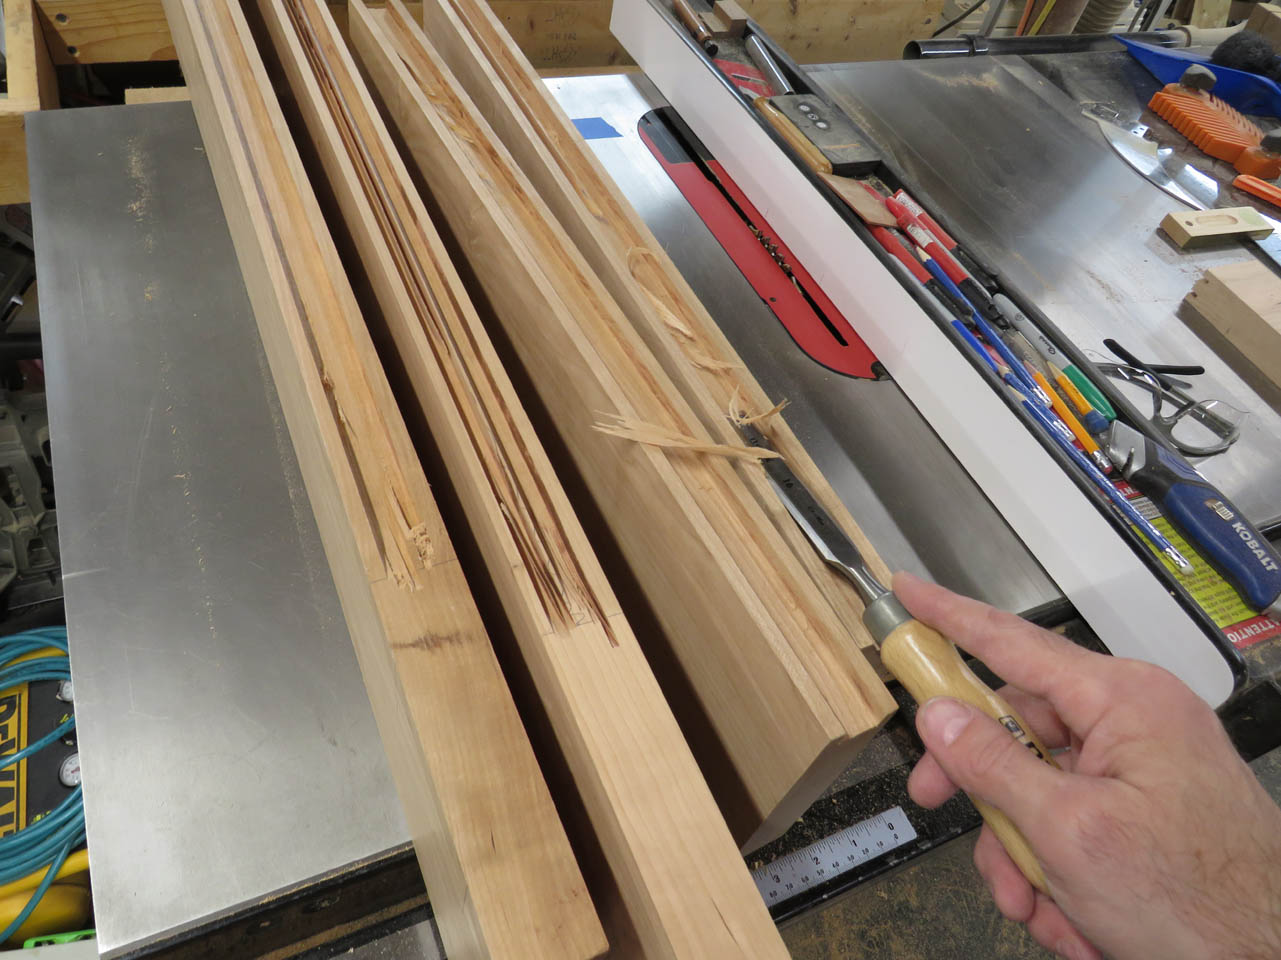
When complete, I needed to clean up the groove with a chisel.
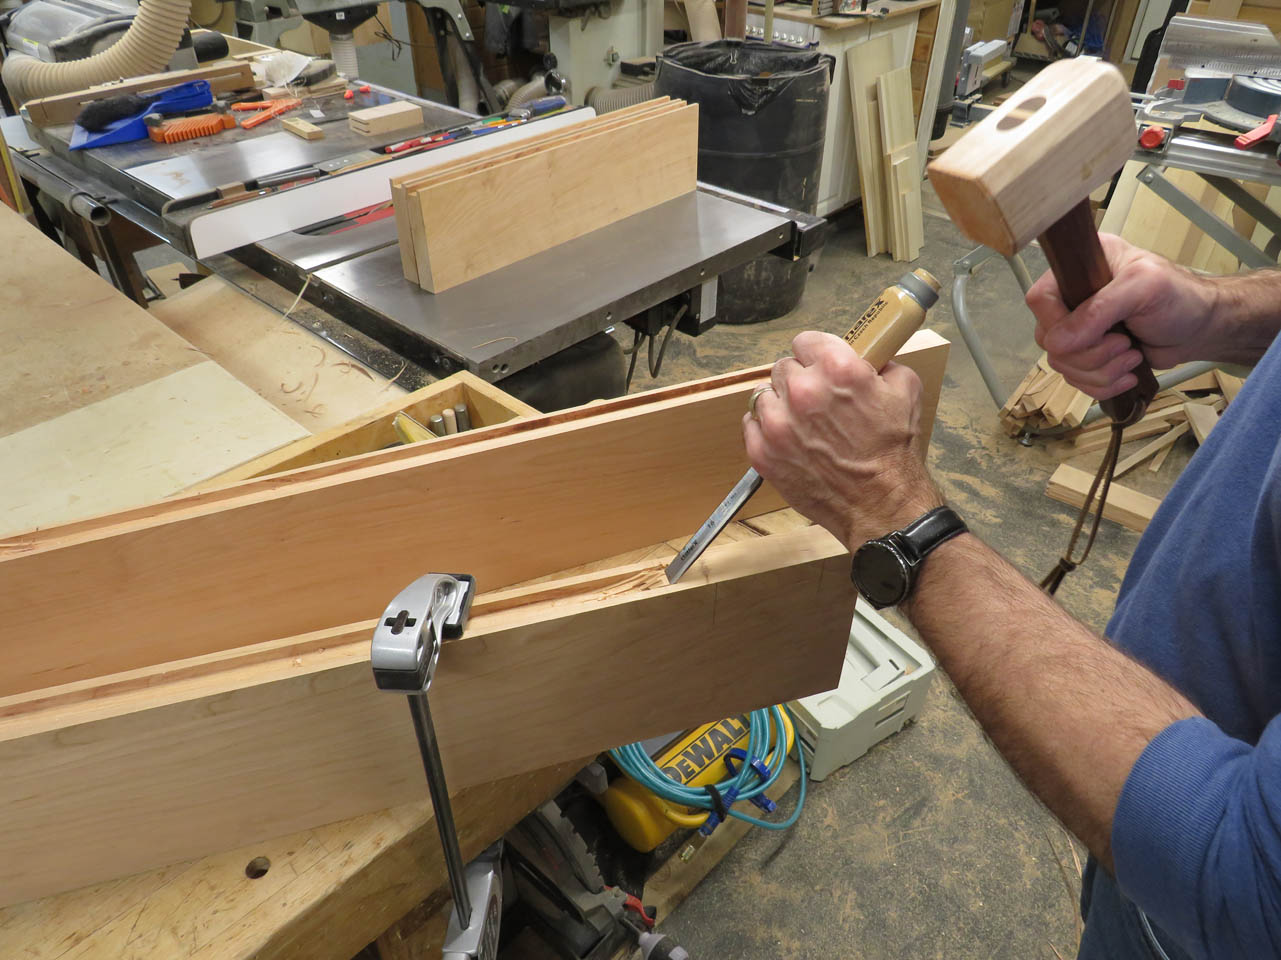
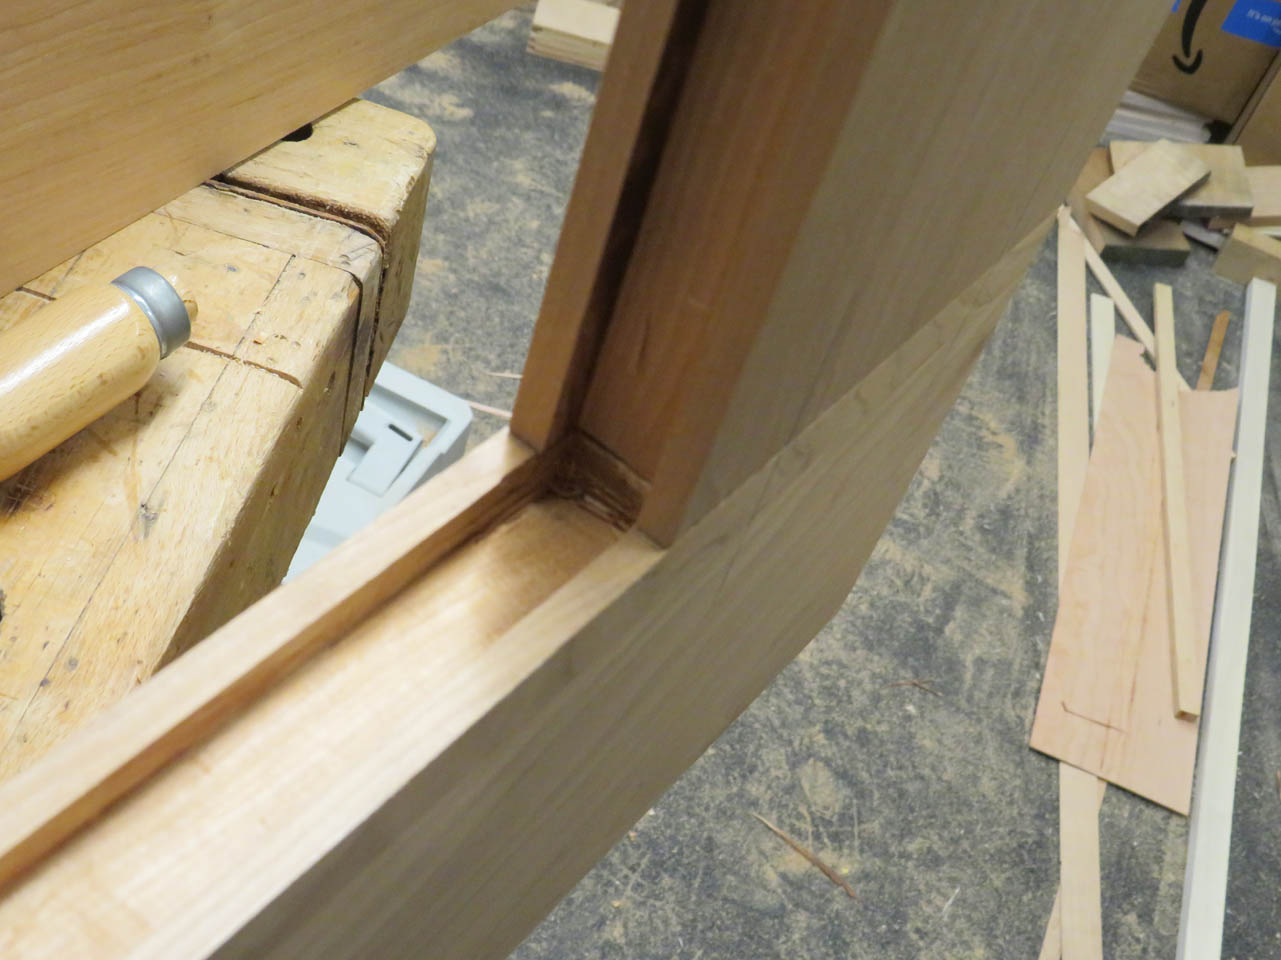
I need to mark and hand-cut the ends of the grooves on the longer vertical boards since they were started and stopped without cutting all the way through the board. I set the cross-bars in place to mark the ends of the grooves.
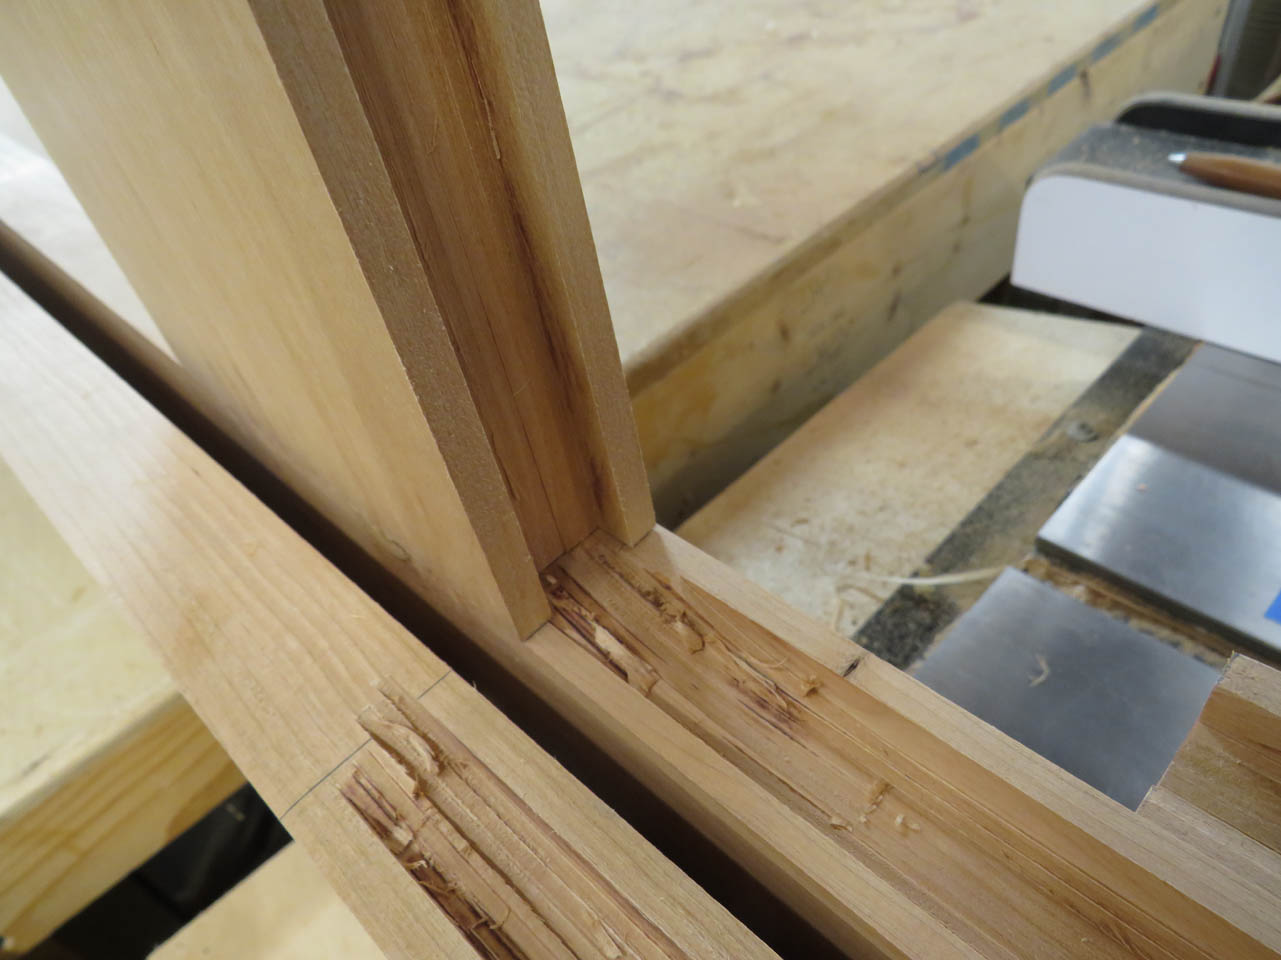
Then used a chisel and mallet to square up the ends.
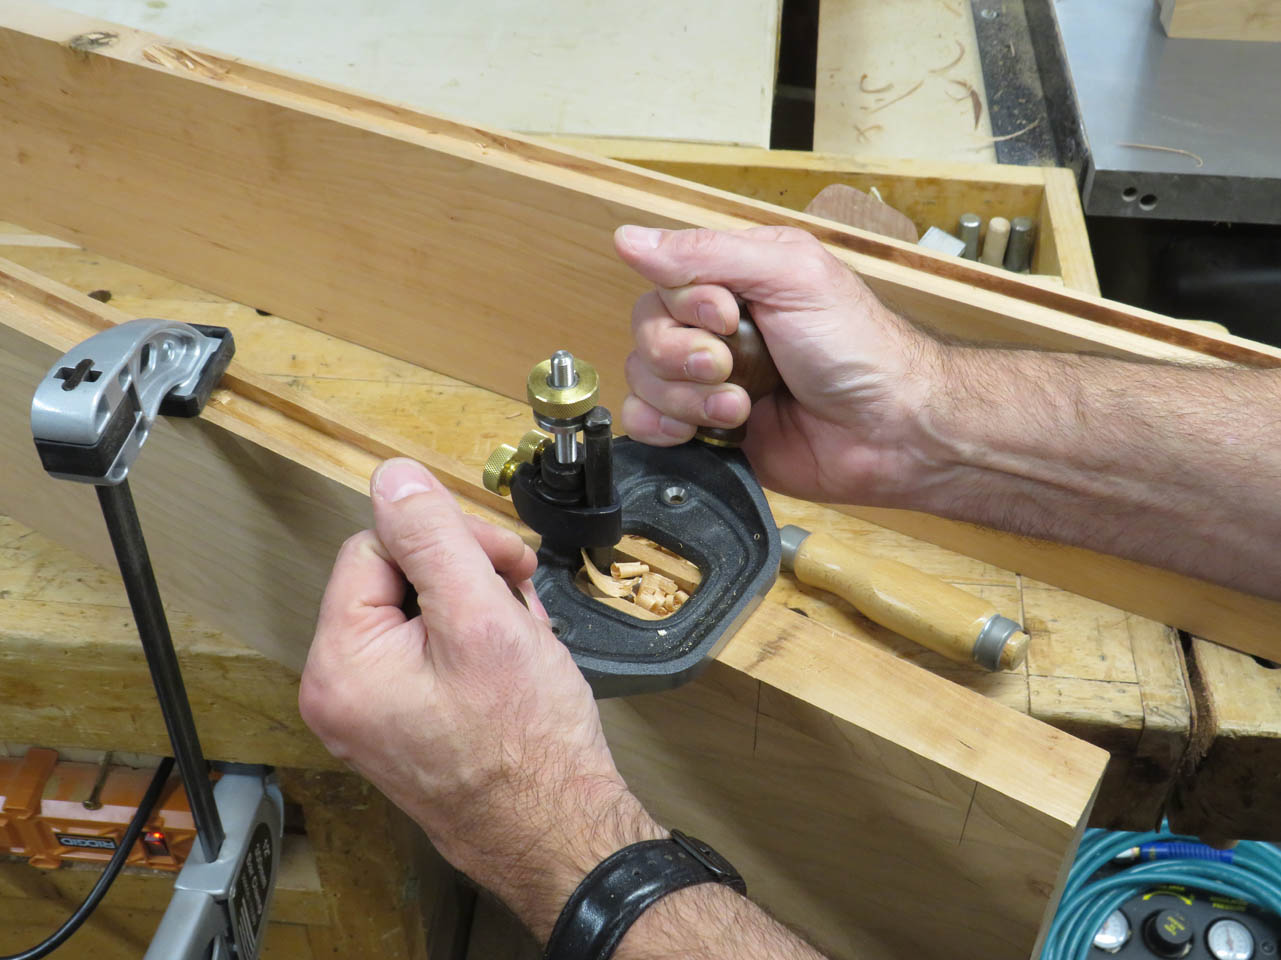
I used my router plane to clean up the bottom of the groove as well.
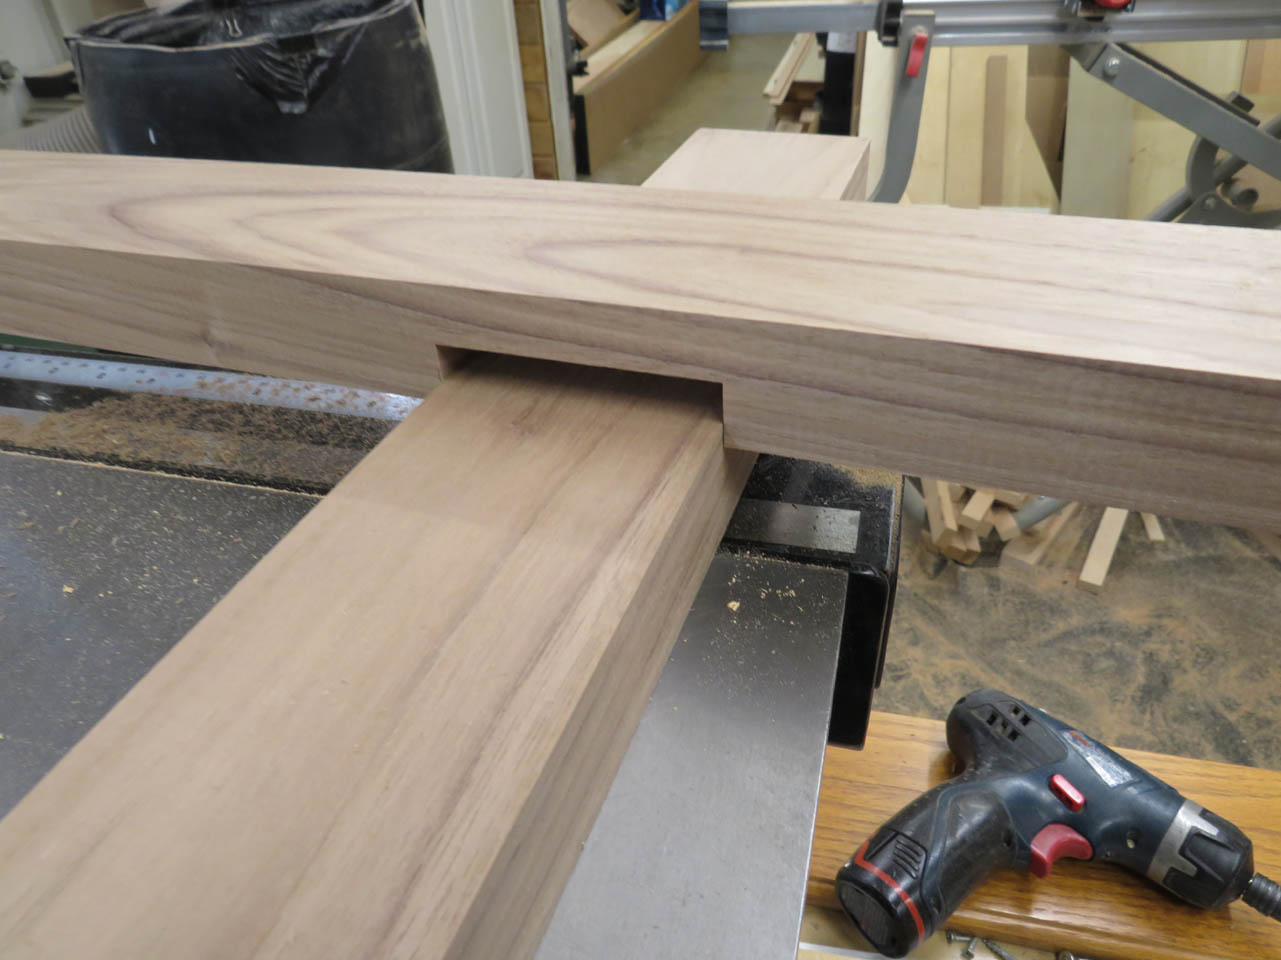
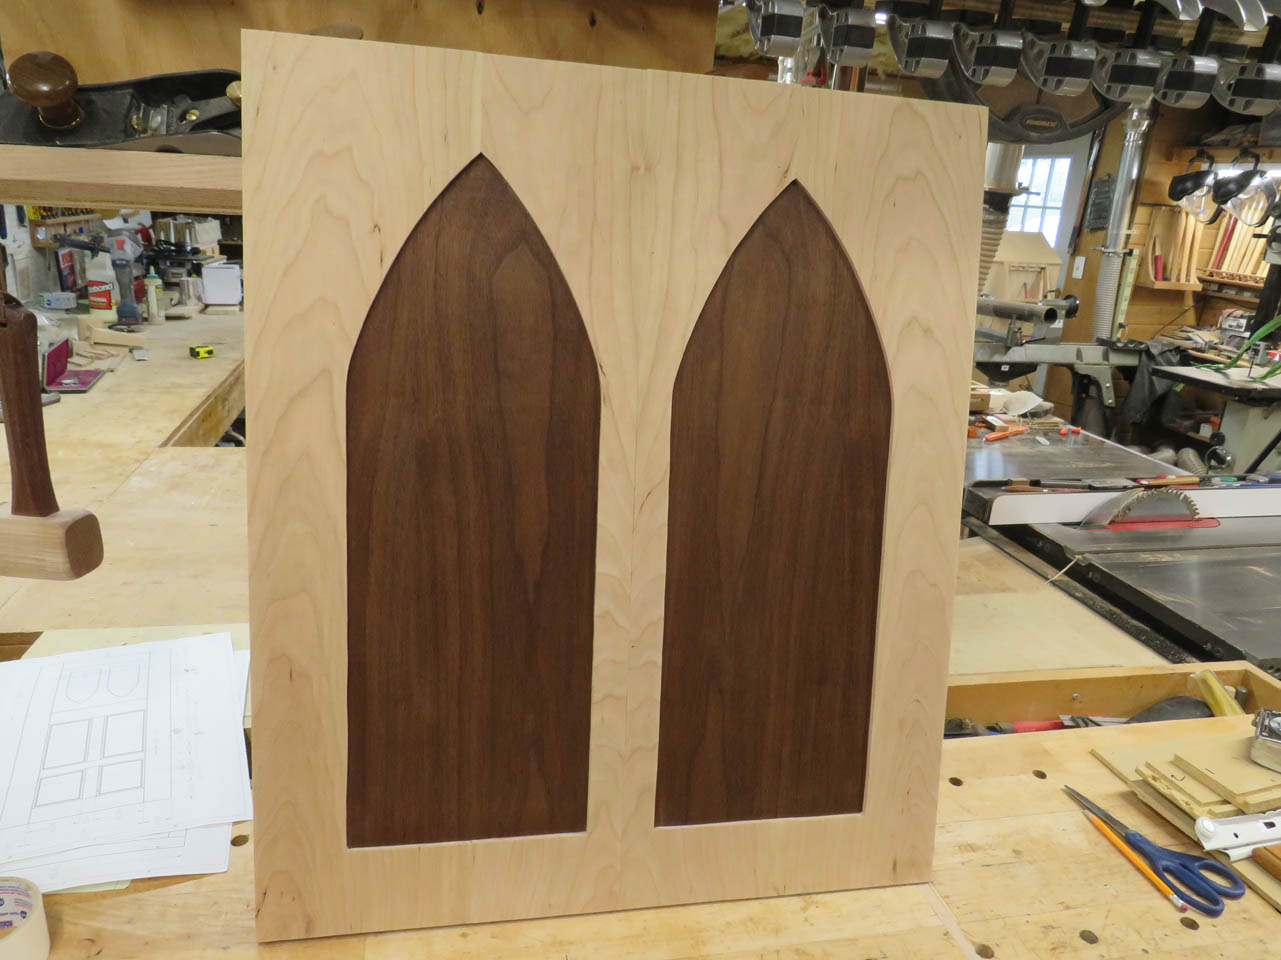
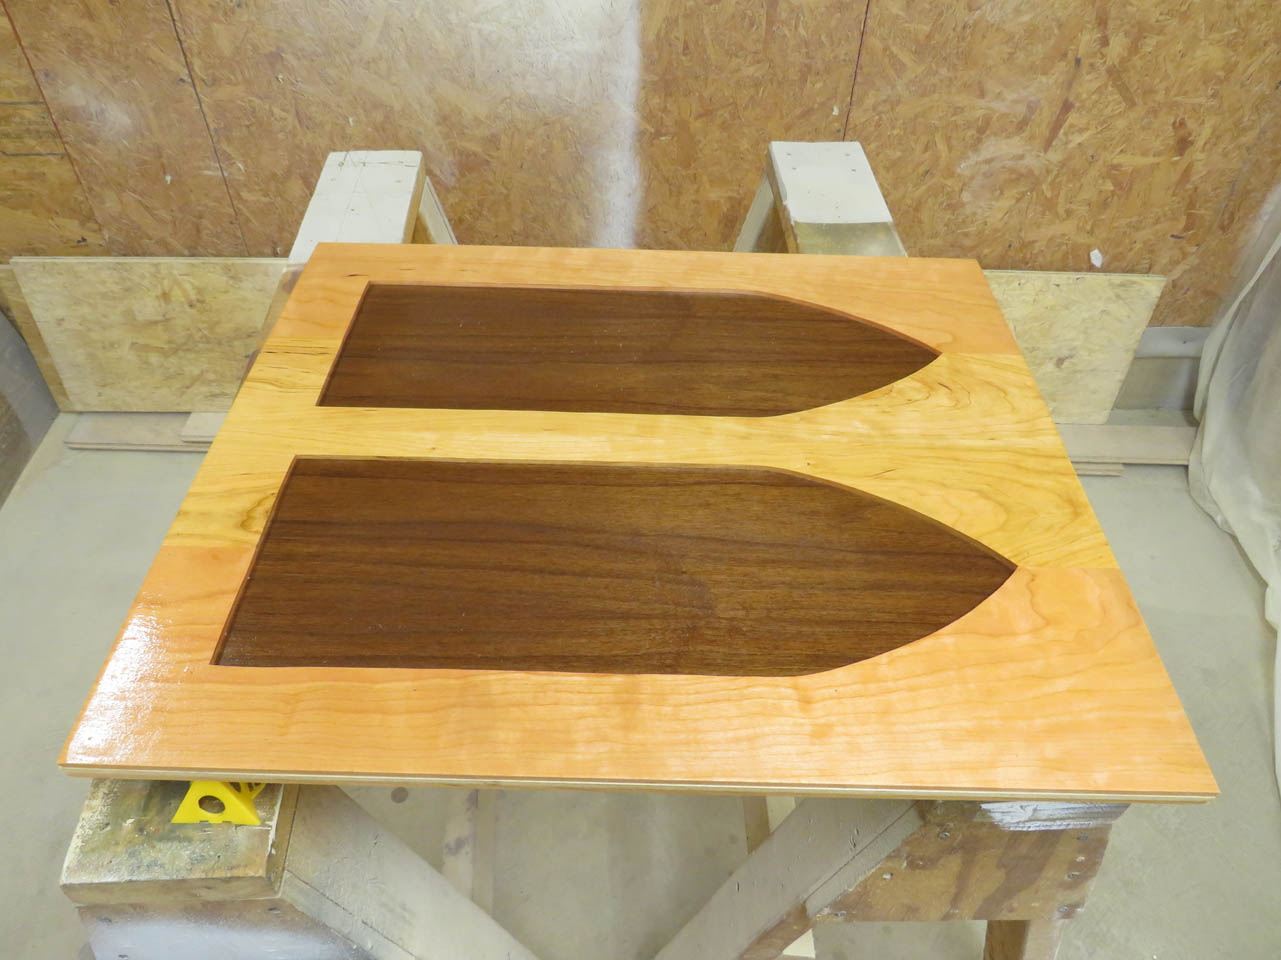
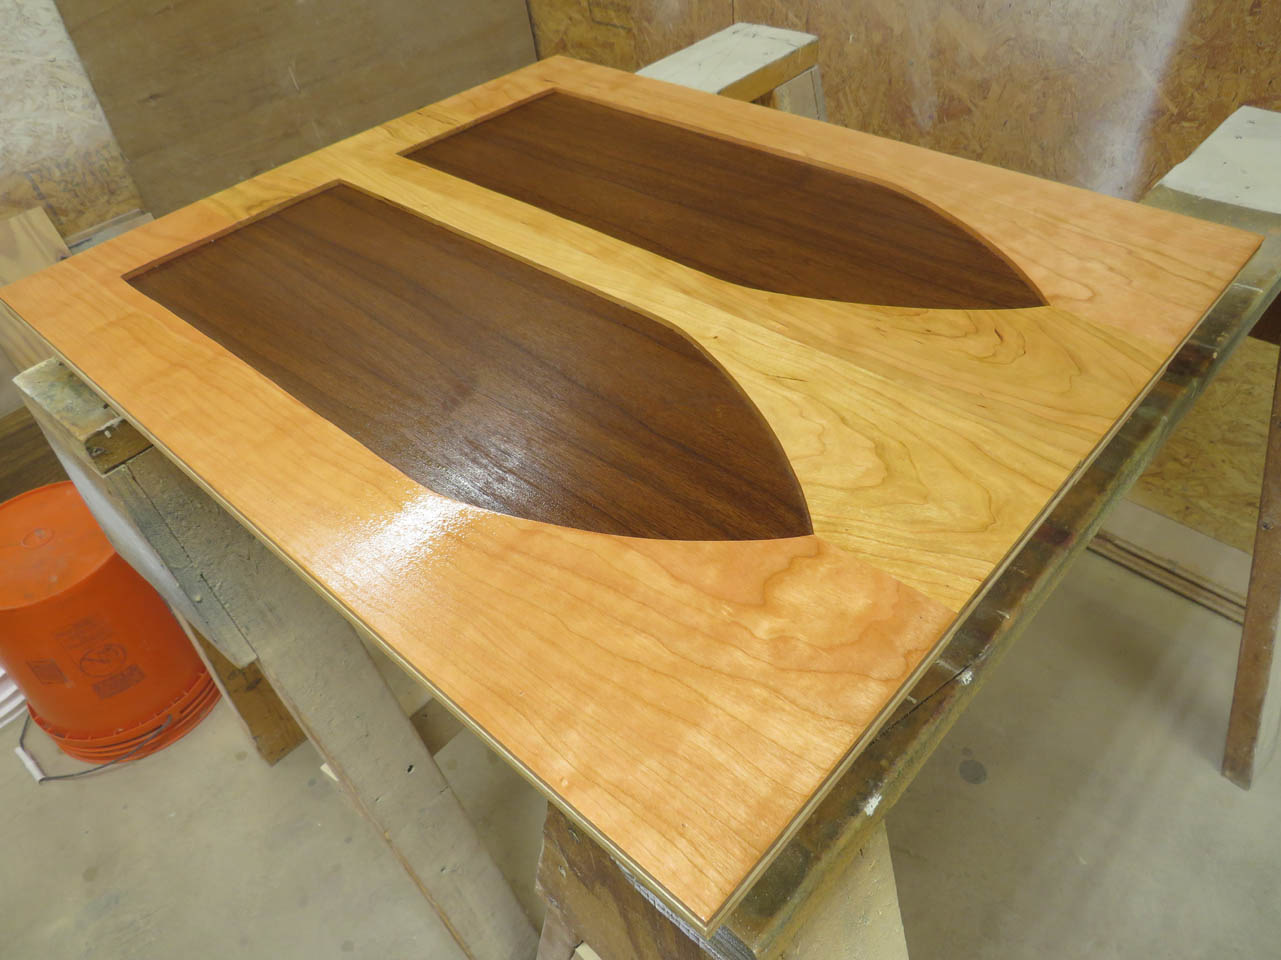
Now that the grooves are cut I can test-fit the floating panel.
The panel fit in perfectly.
Time to sand the panel with 400 grit sandpaper and get a second coat of polyurethane on it.
While that is drying, I can prep the groove to hold the panel.
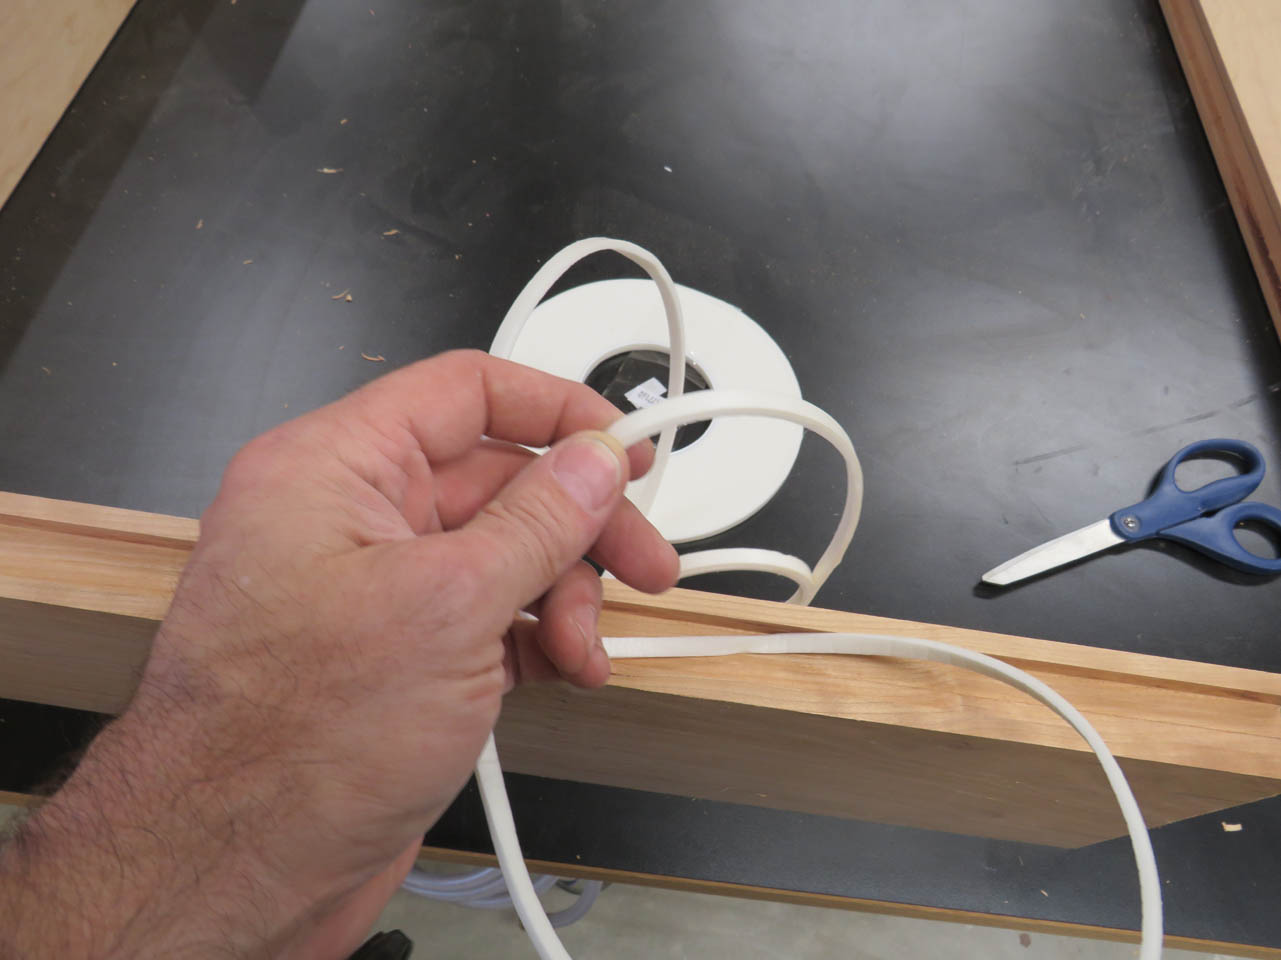
I use a weather stripping type of foam that is 1/8″ thick and has adhesive on one side.
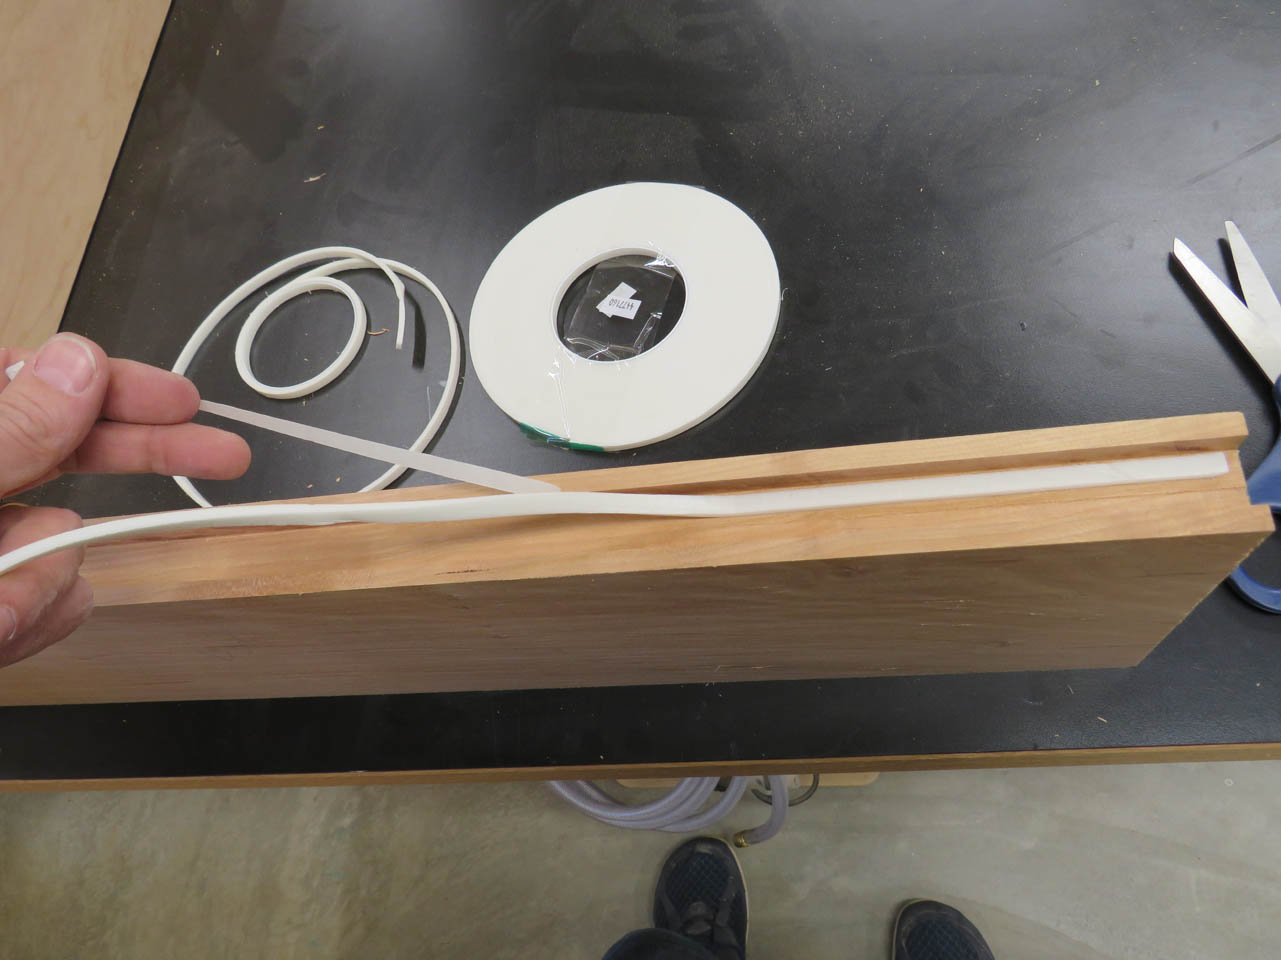
It compresses almost completely flat. I cut the depth so that the panel should compress the foam about 1/32″ holding the panel in the center of the grooves and preventing it from rattling but allowing a bit of room for expansion.
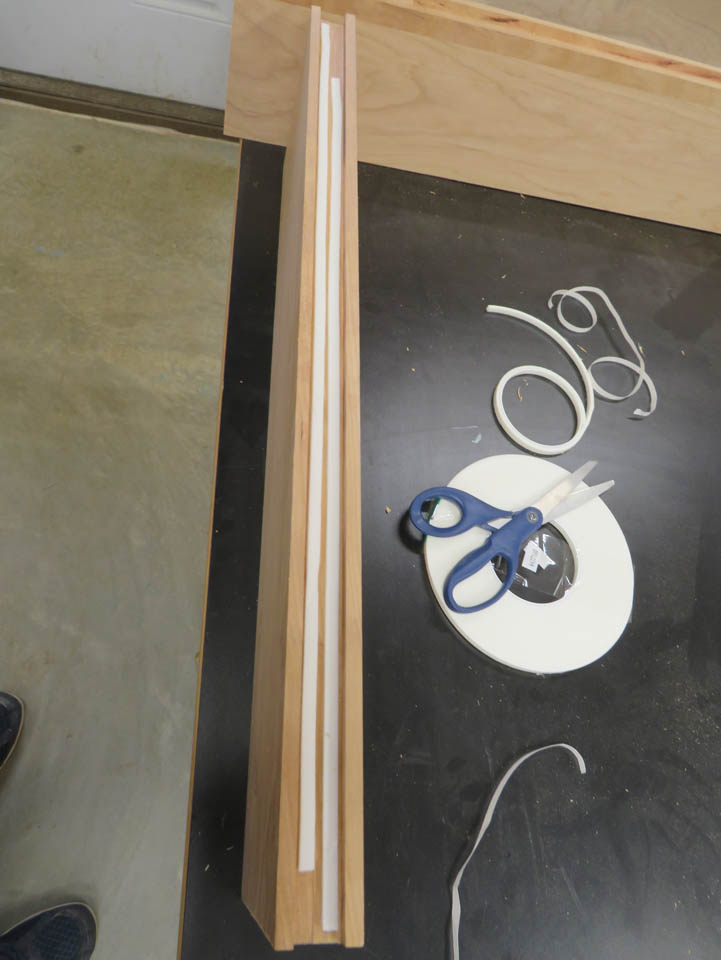
I ran two strips down each of the four grooves to give even cushioning all the way around.
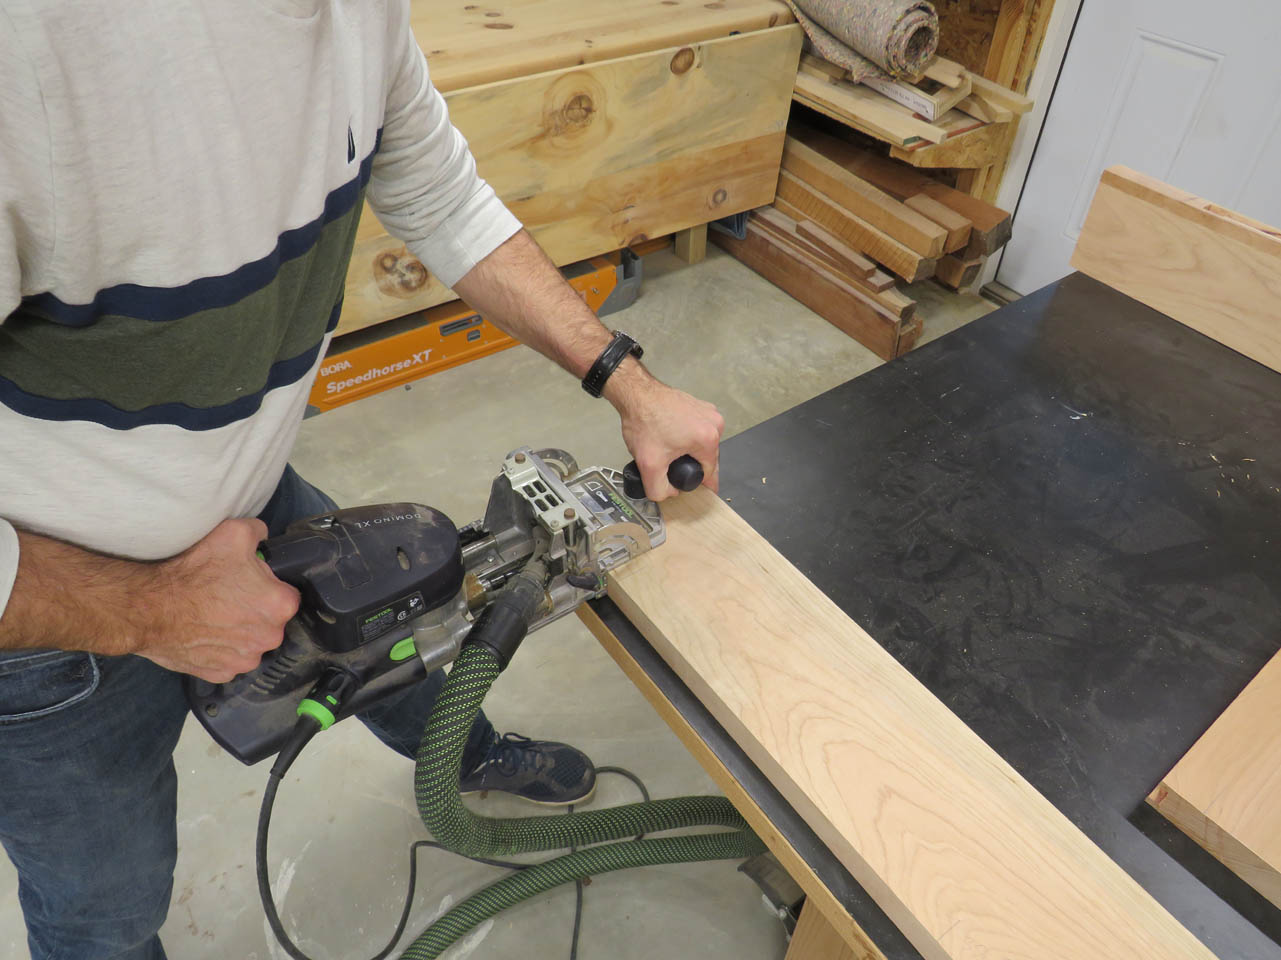
Now I can try out the big Domino jointer. I line up the jointer on my marks and make a 3″ deep plunge cut at each mark.
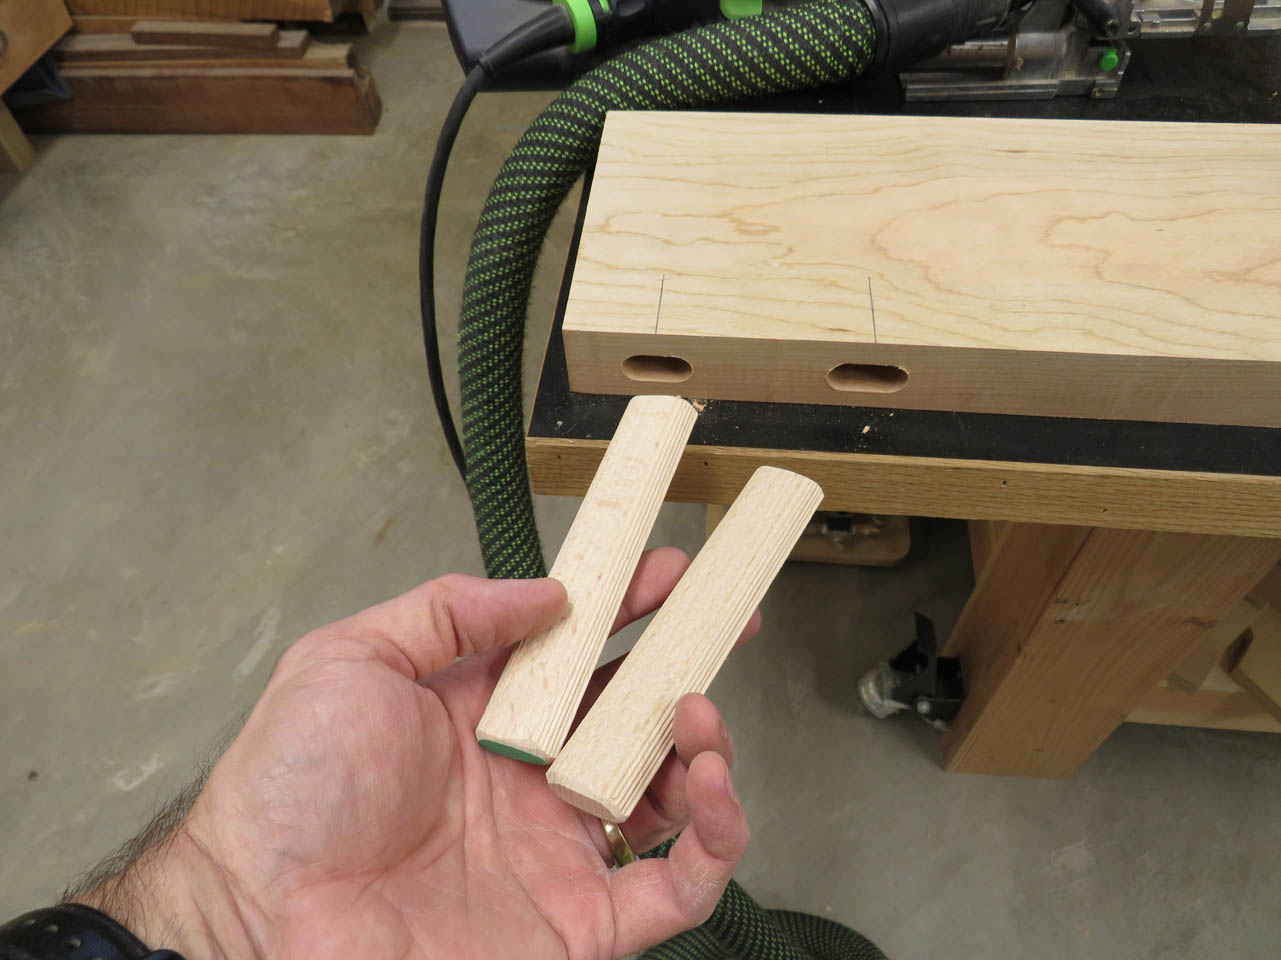
The tenons press-fit in pretty tightly. When glue is applied, the water in the glue swells the tenons a bit more jamming them tightly in place.
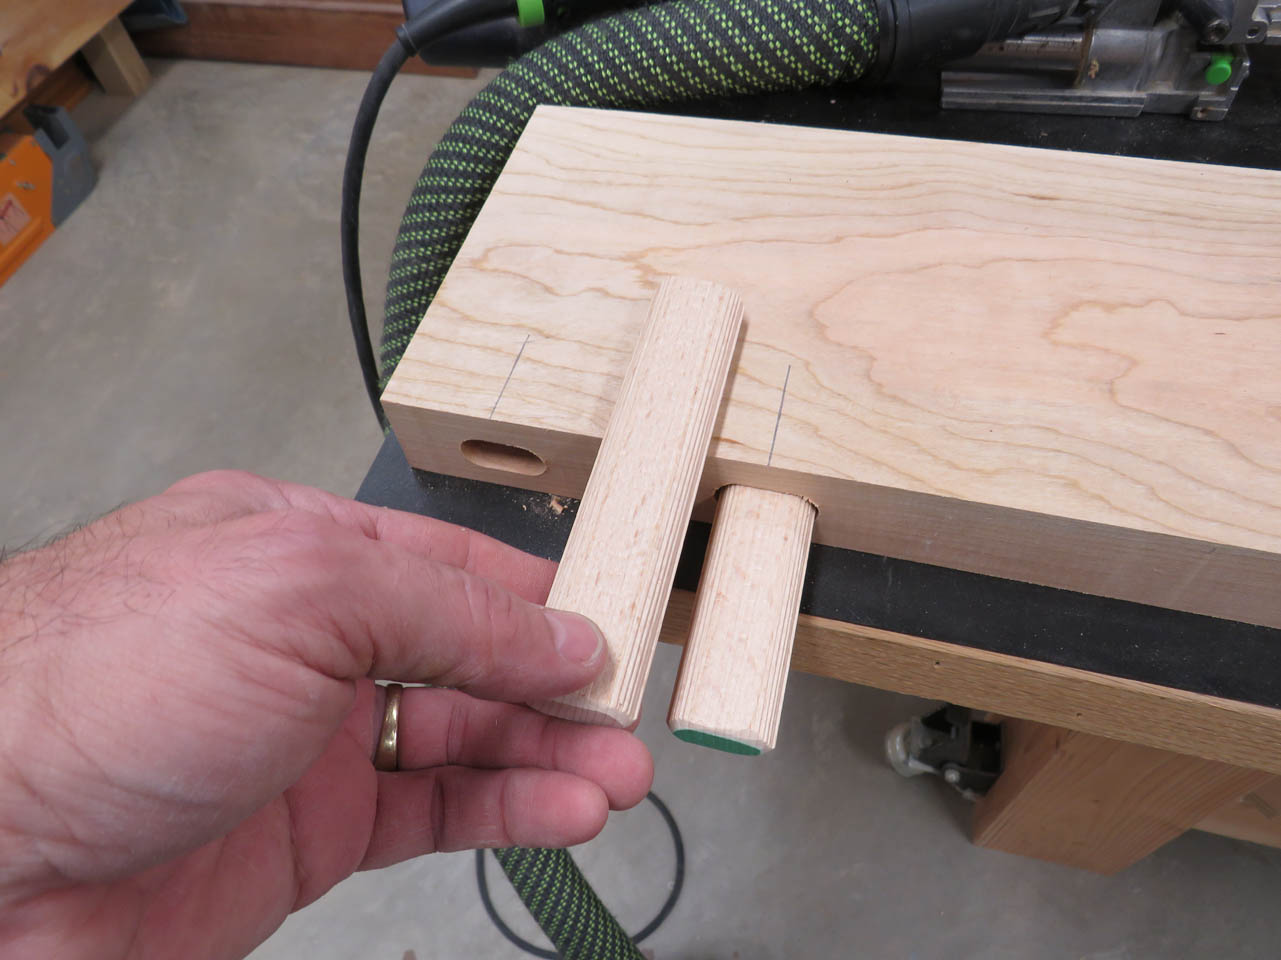
I cut slightly shorter mortises for the walnut cross because they are less structural
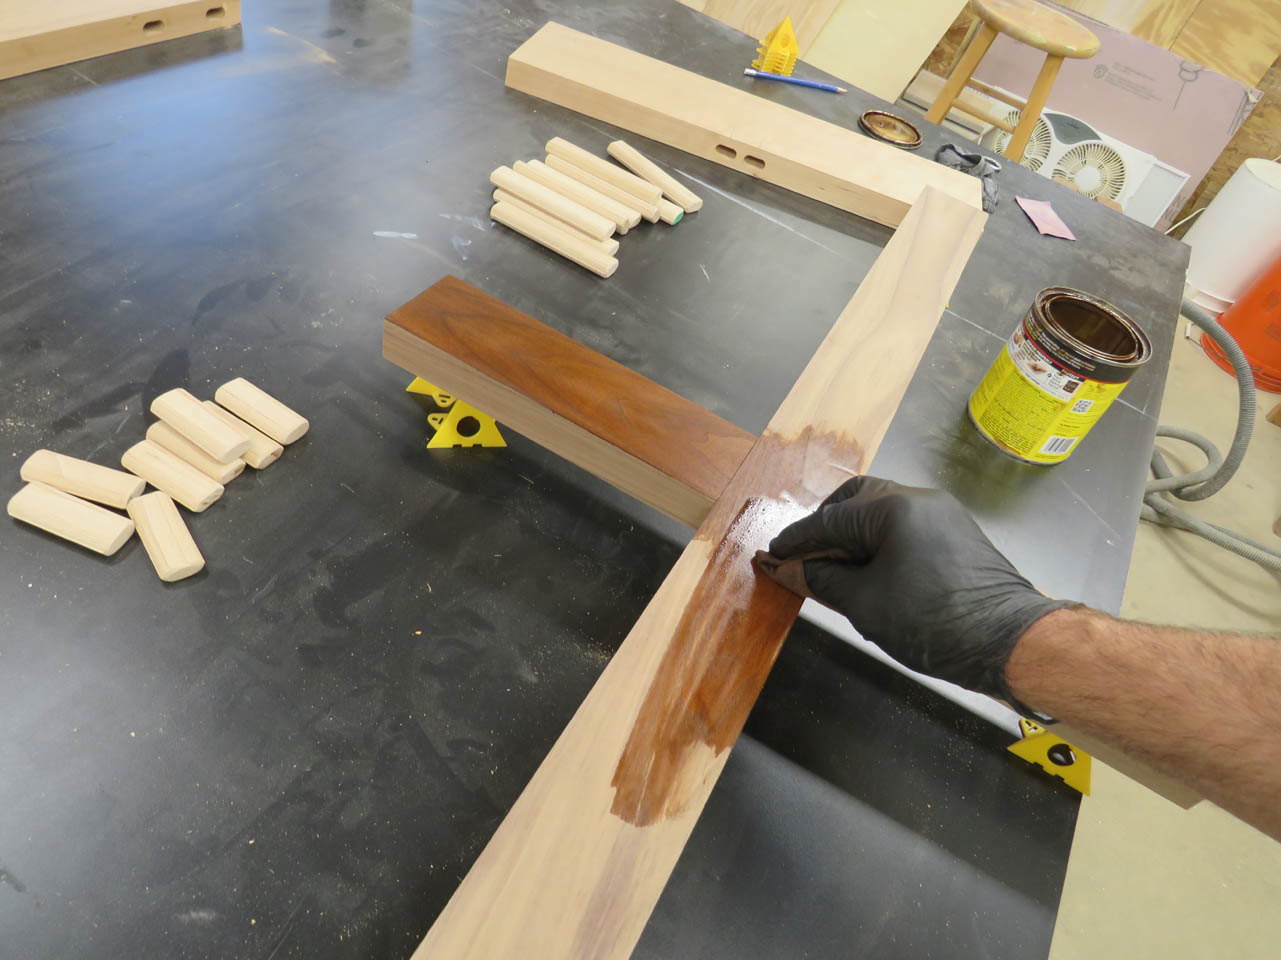
I am also staining the outer surface of the cross to match the walnut arches
Now it is time to start gluing in the tenons.
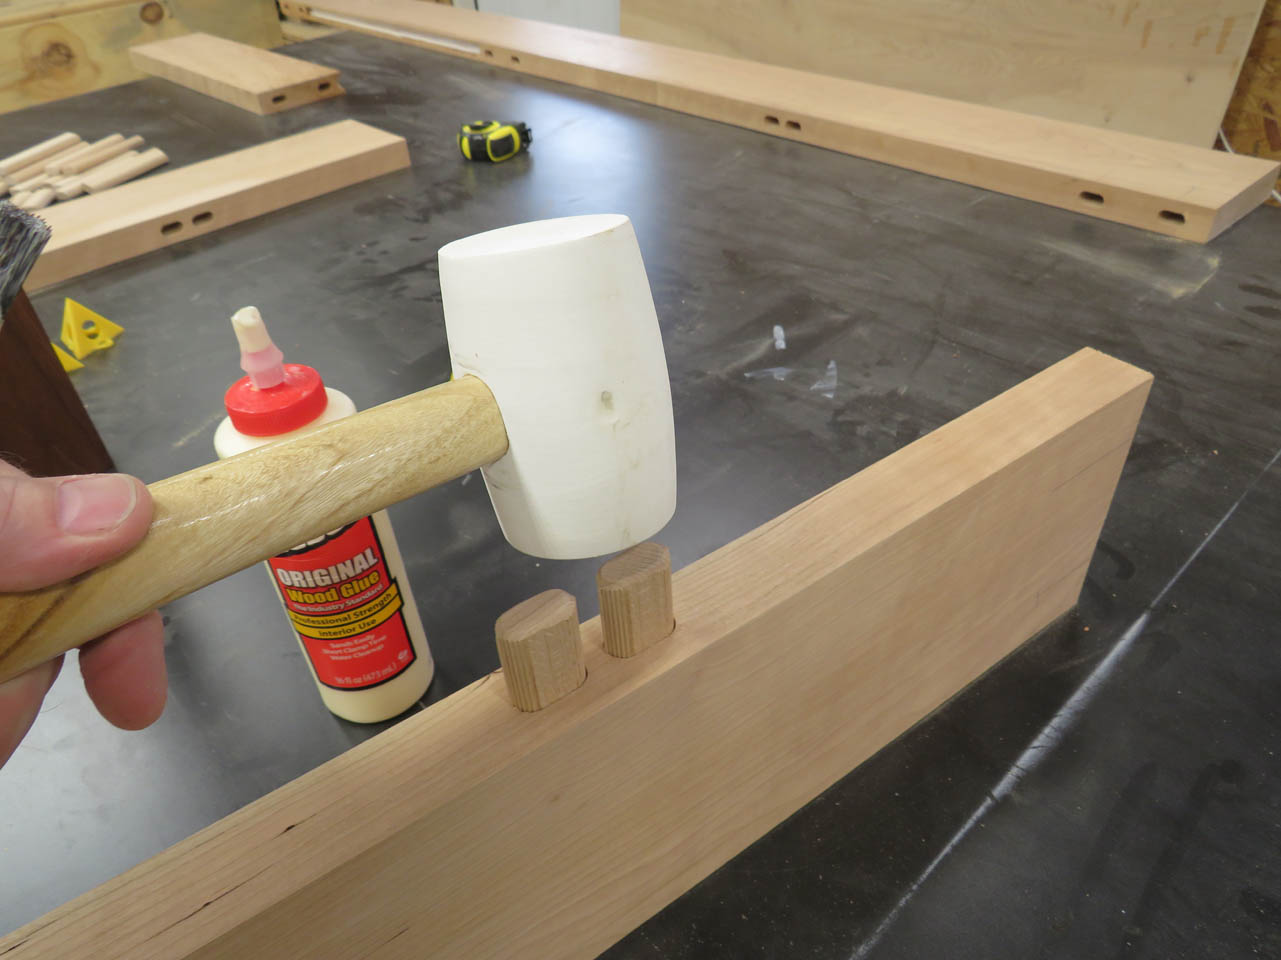
I assemble the top and mid rails to the cross first.
Then I attach the back vertical. Careful to evenly hammer it down together.
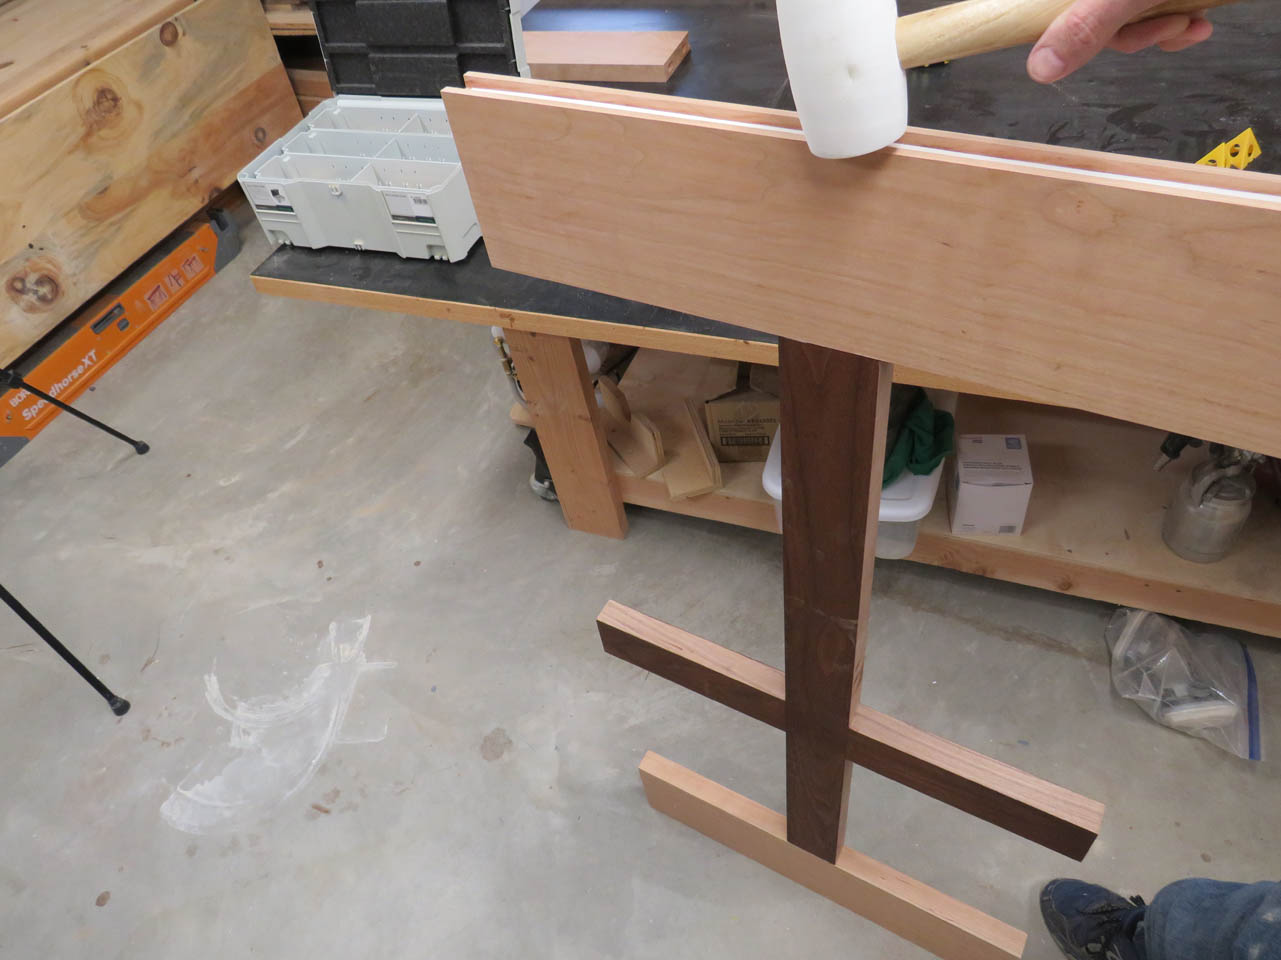
I need to work quickly so that the glue doesn’t set before I can get the entire assembly into the clamps.
I flipped the assembly over onto the back vertical and inserted the floating panel.
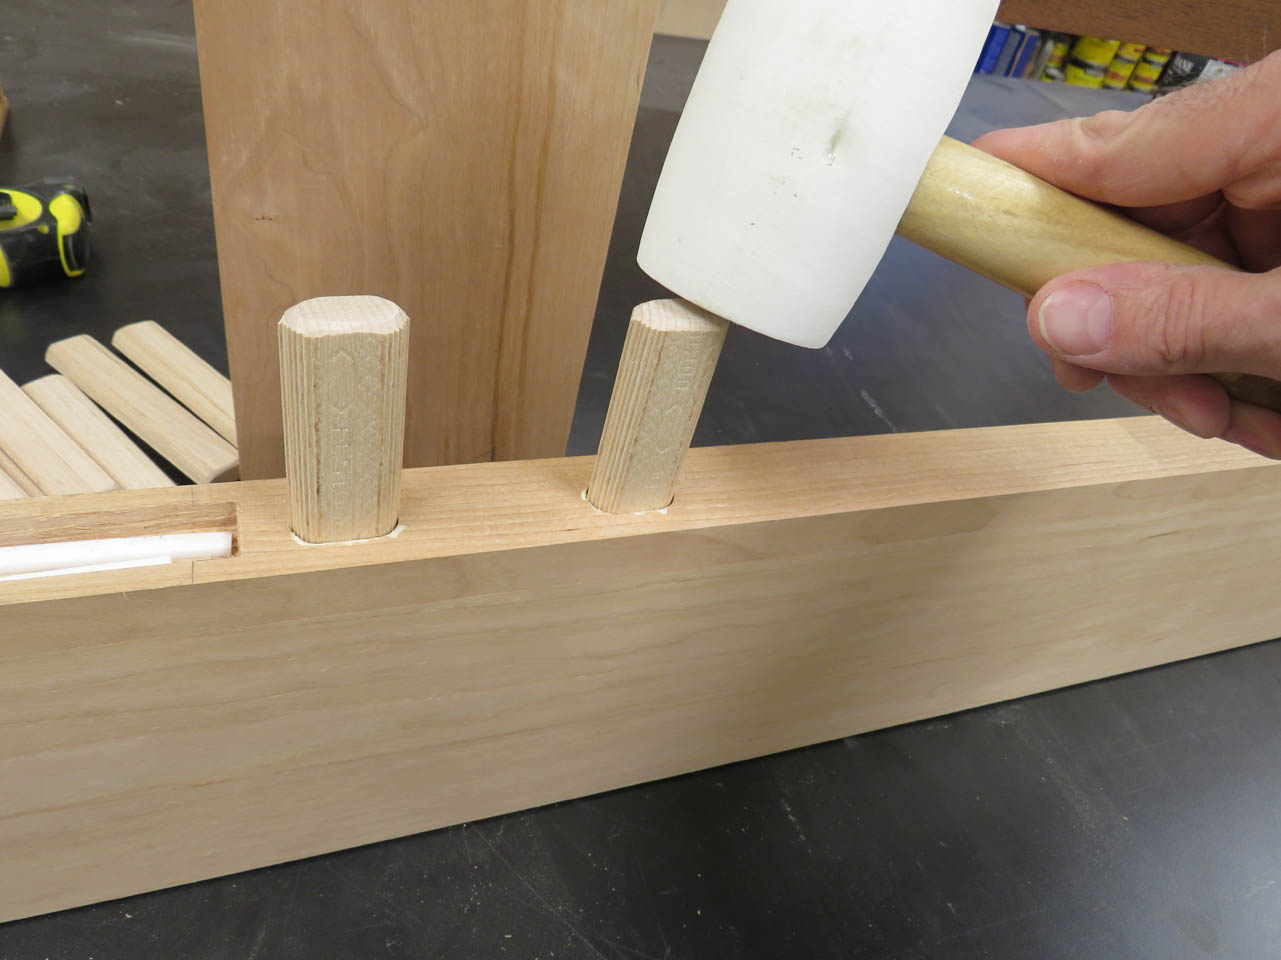
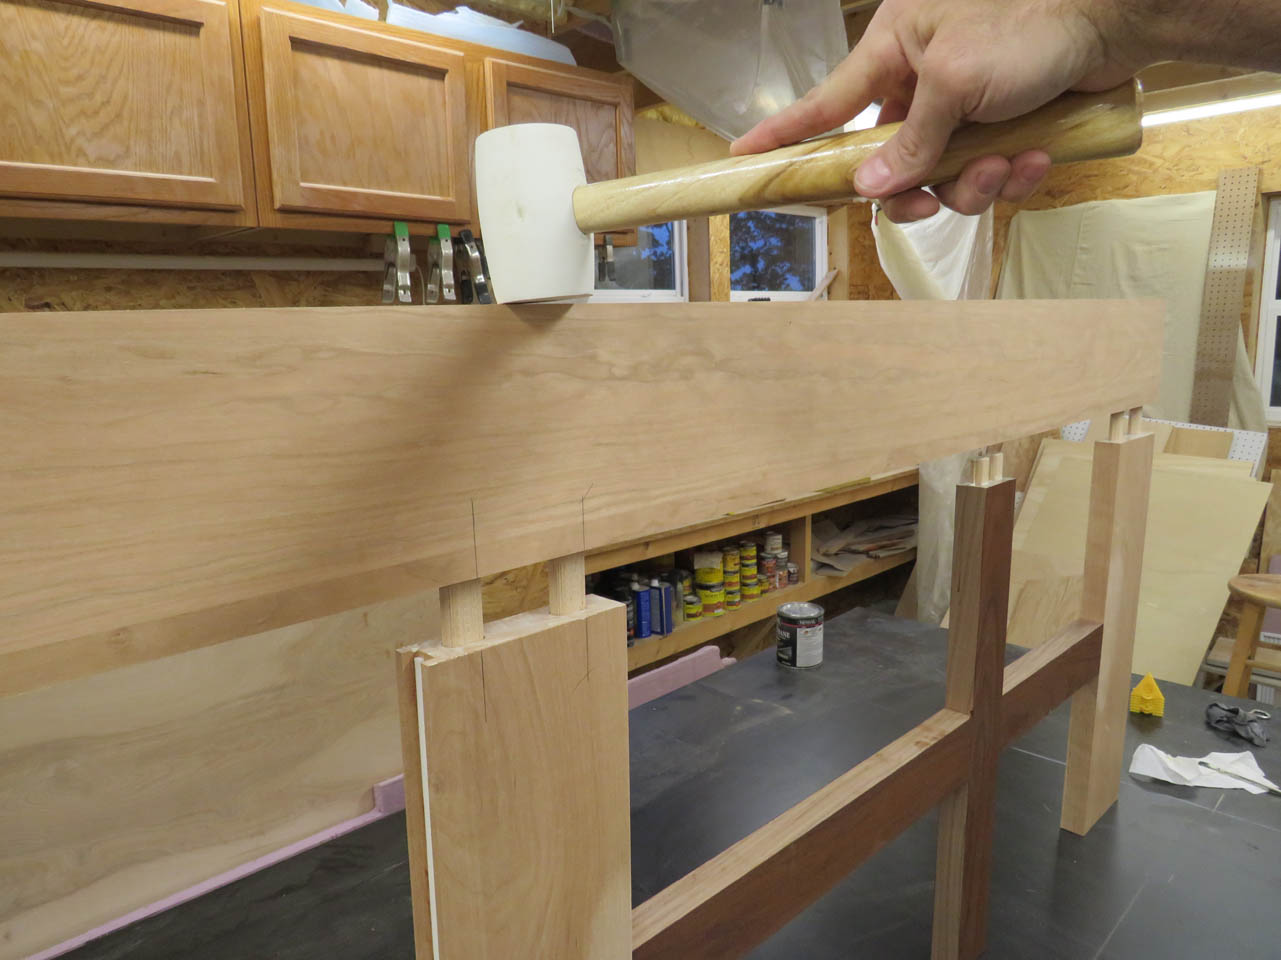
Then I attached the bottom rail and added tenons to all of the mortises .
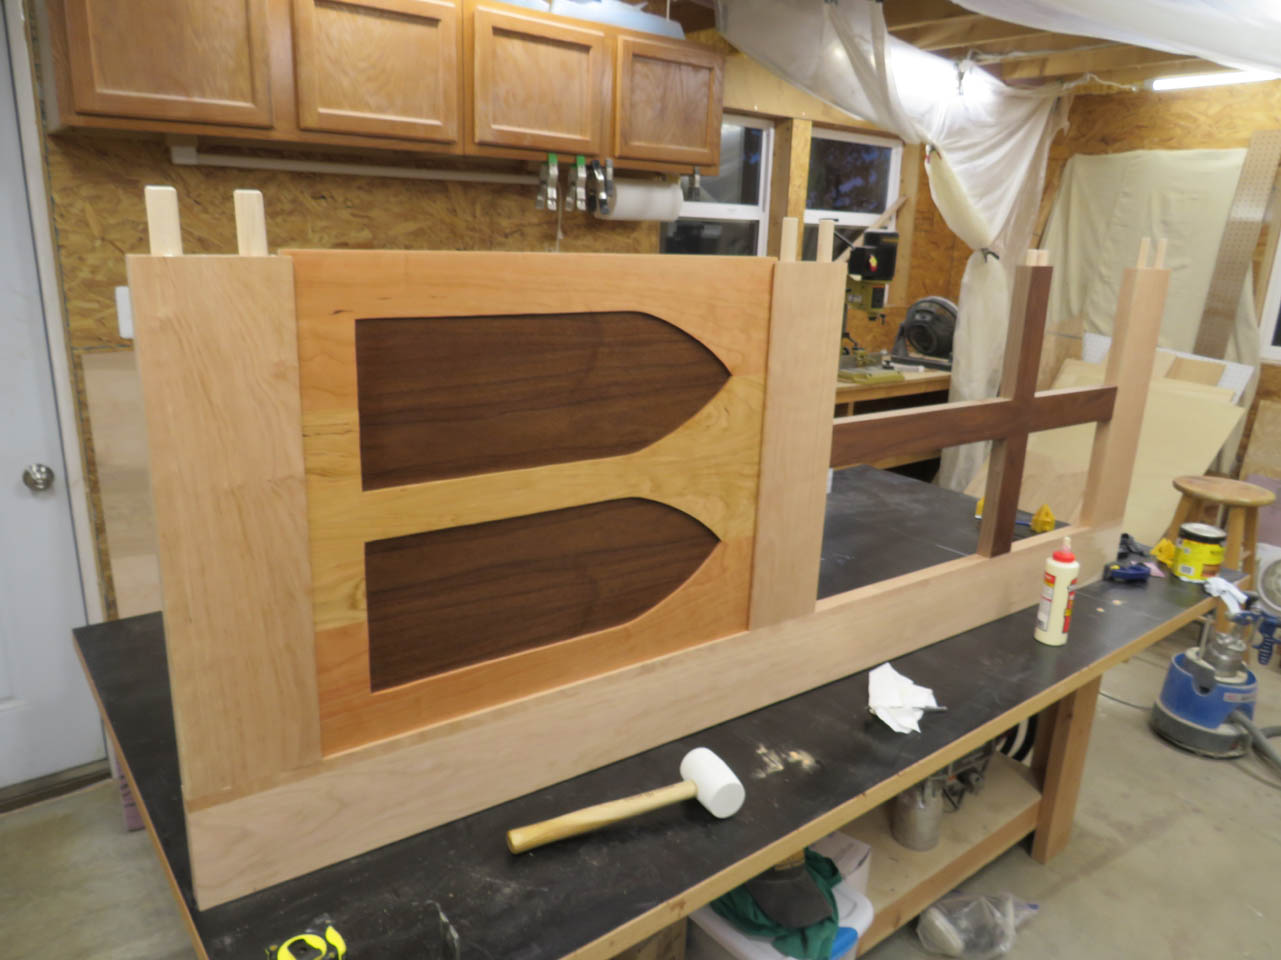
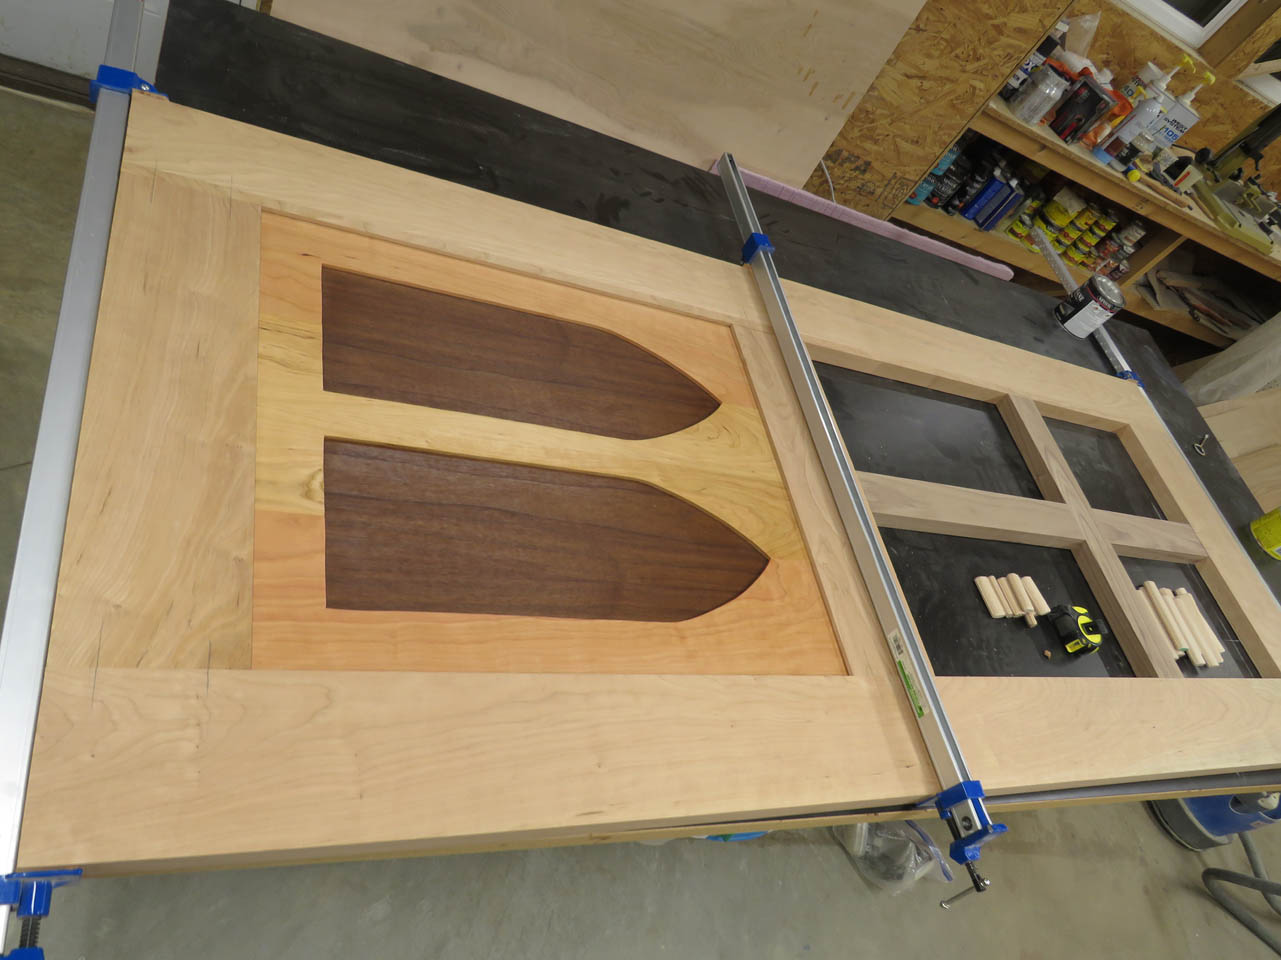
The front vertical went on fairly easily with gentle, even hammering with the rubber mallet. Then I clamped it all up and let it dry.
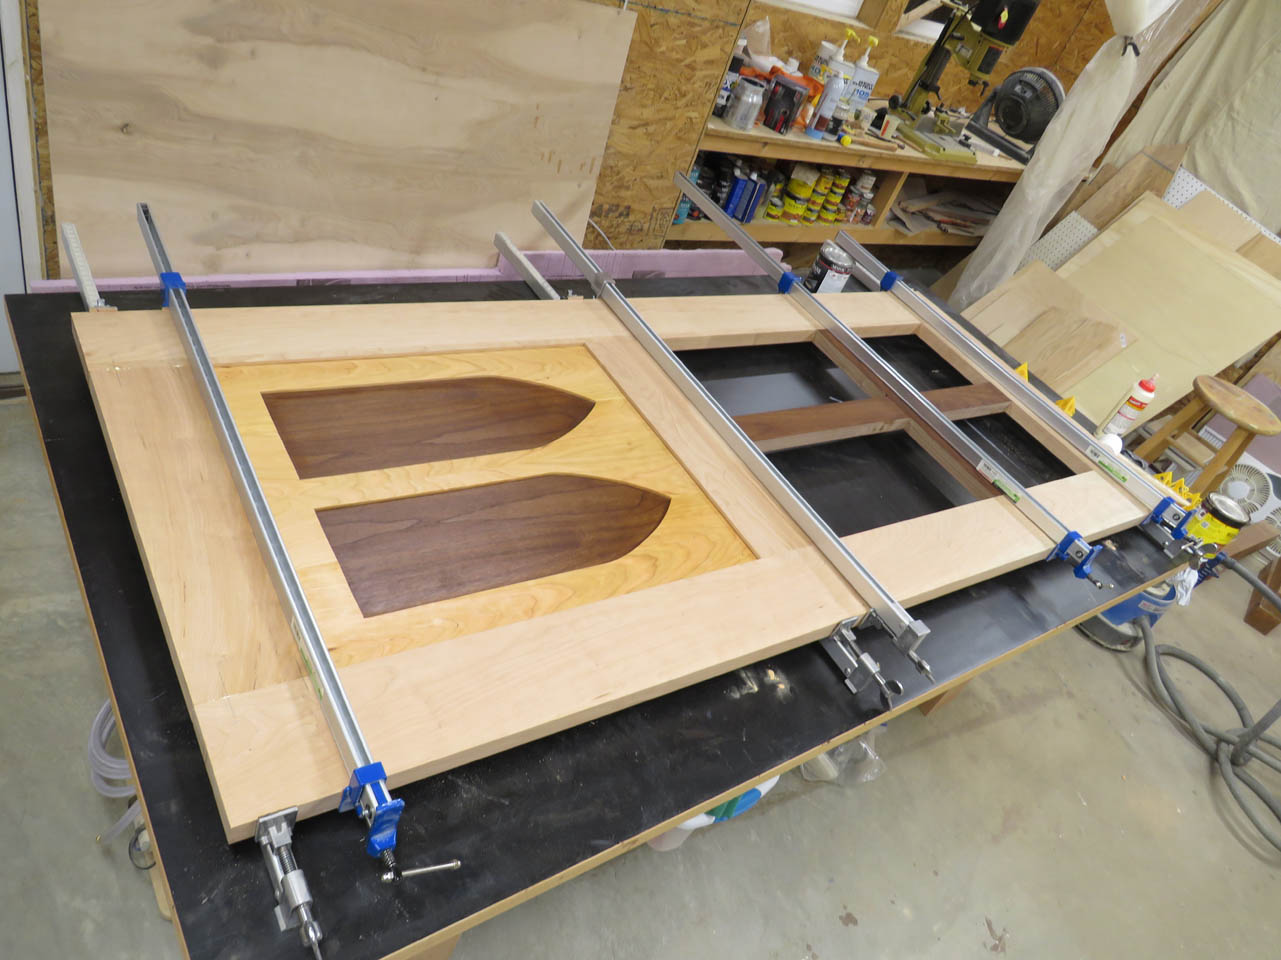
When dry, I sanded all of the joints perfectly flush.

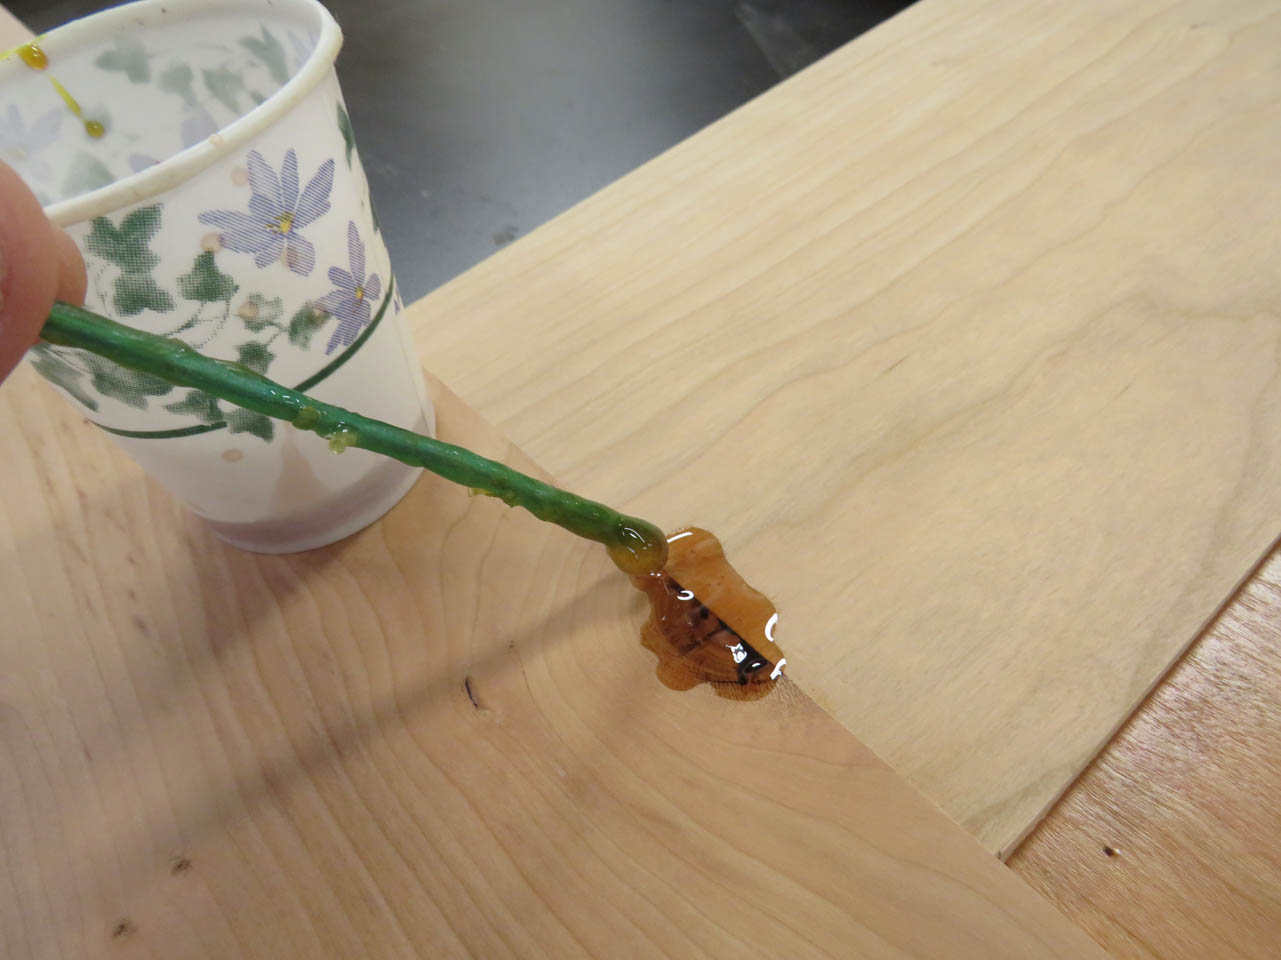
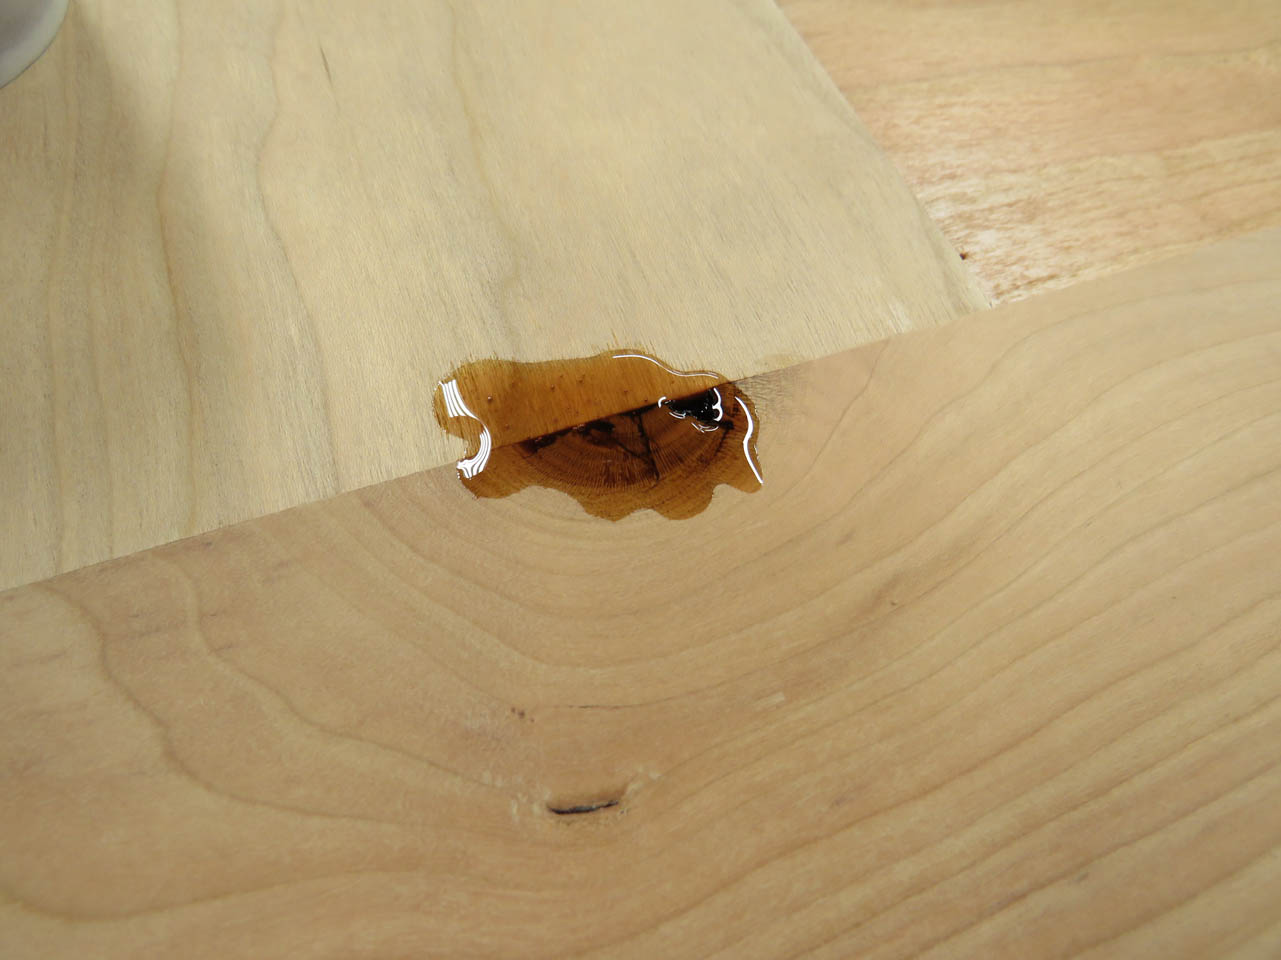
There was one small knot that I just couldn’t avoid. I mixed up some 2-part epoxy and filled the knot completely. I watched carefully as it cured and added more every time is sunk in a little bit.
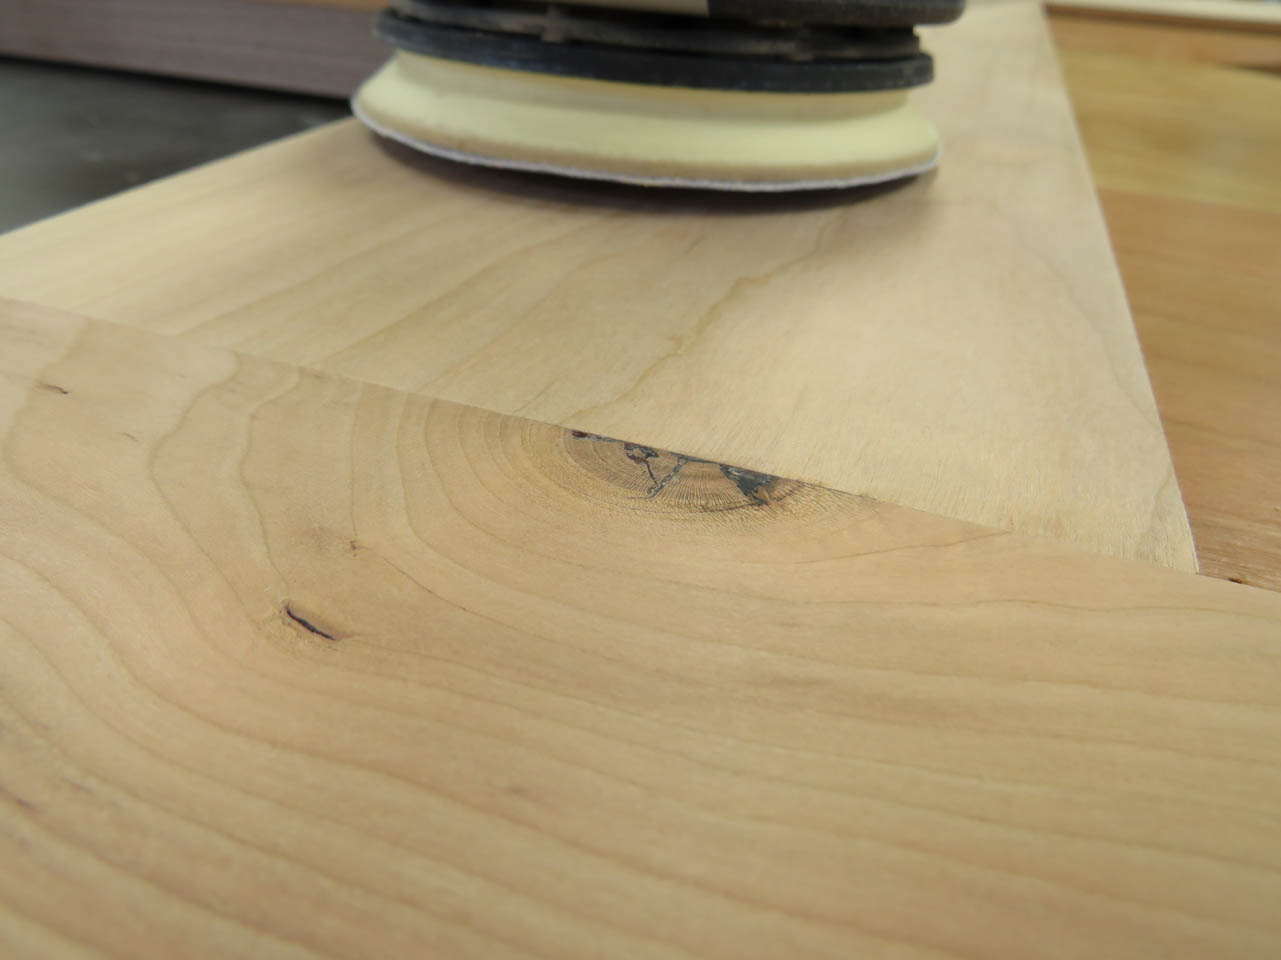
When dry, I sanded it smooth.
At this point I have the exact measurements for the glass. I placed an order for the glass but it will take a few weeks to get it. Till then, I can finish adding the frames to hold the glass and apply finish to everything.