Small walnut table for Holy Spirit Church
Holy spirit church requested another table. This one is for Lent. It will be similar to the last table I made for them it style, but it will be smaller and made from walnut. They wanted this one to be darker than the cherry stained red oak tables. (You can refer to the plans in the last build for more detailed leg dimensions).
This is the design for the table they want: LENTEN TABLE
I have some beautiful air-dried walnut on the shelf so I pulled some to get started on the legs.

This piece is 4″ x 4″ x 8′ long. I cut it into 2′ lengths to make it easier to work with.
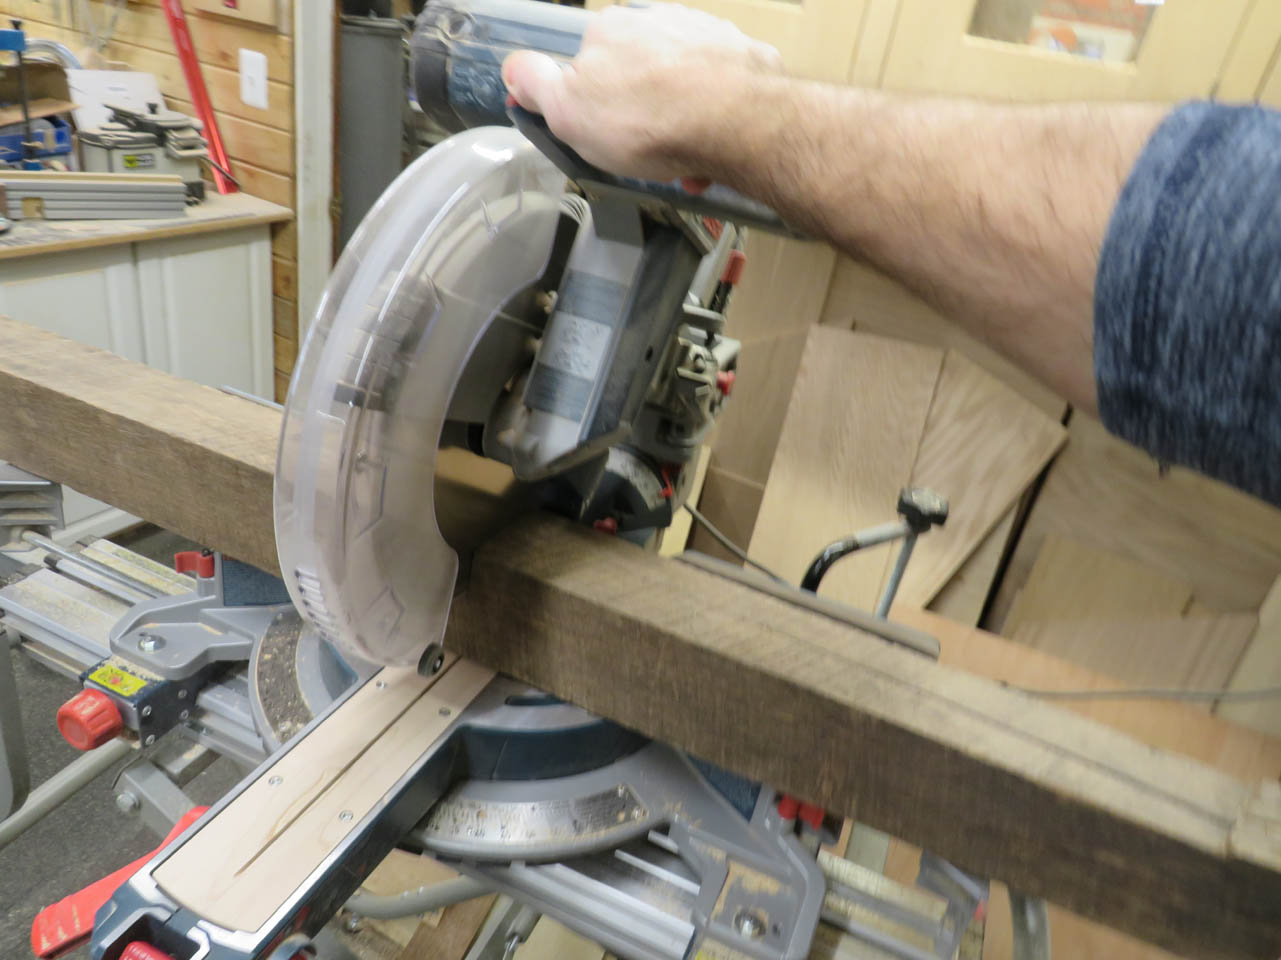
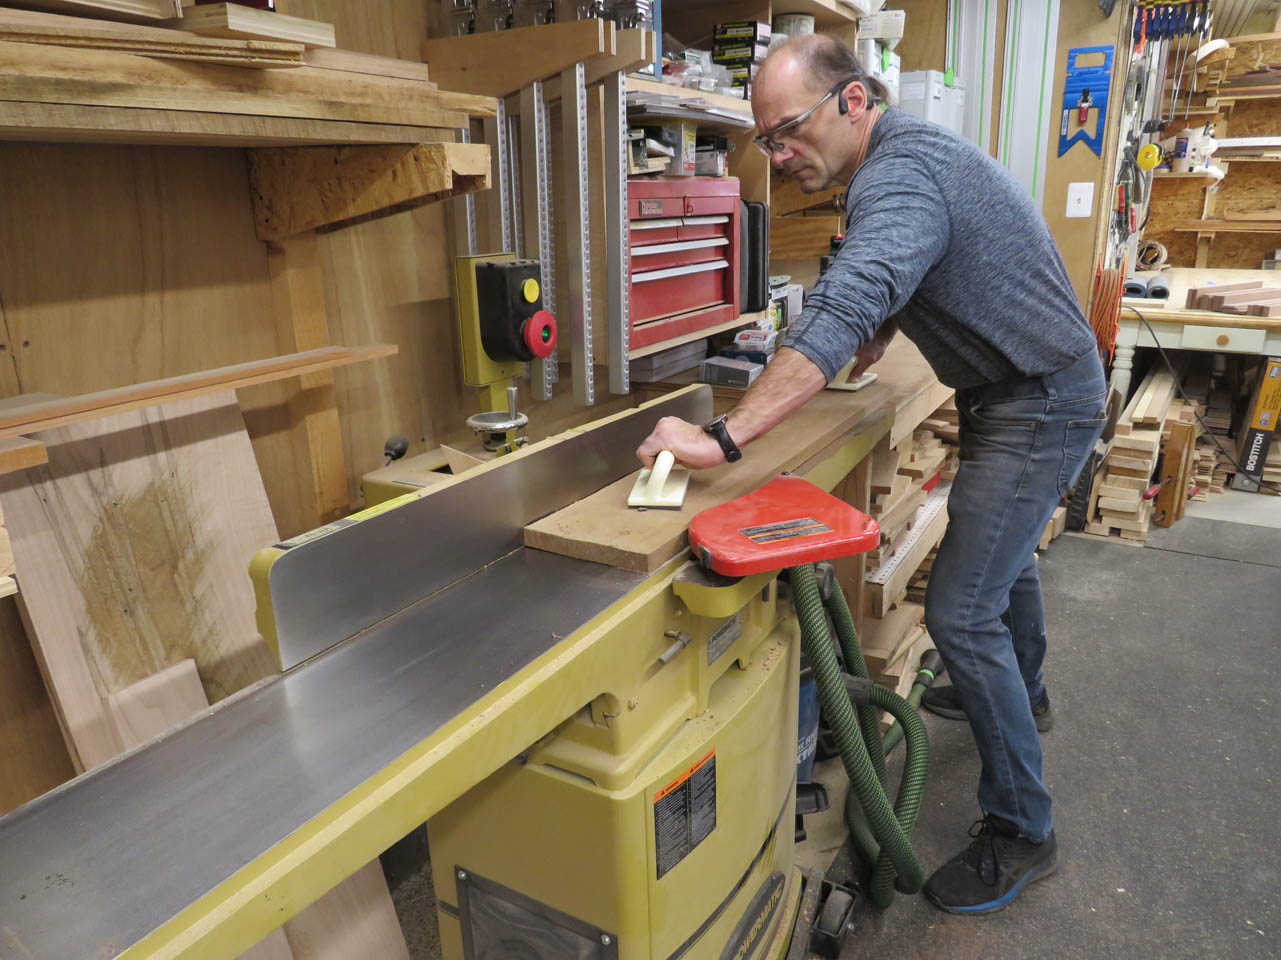
The next step is to joint two sides flat.


Then I can cut away the extra and make the correct size blank.
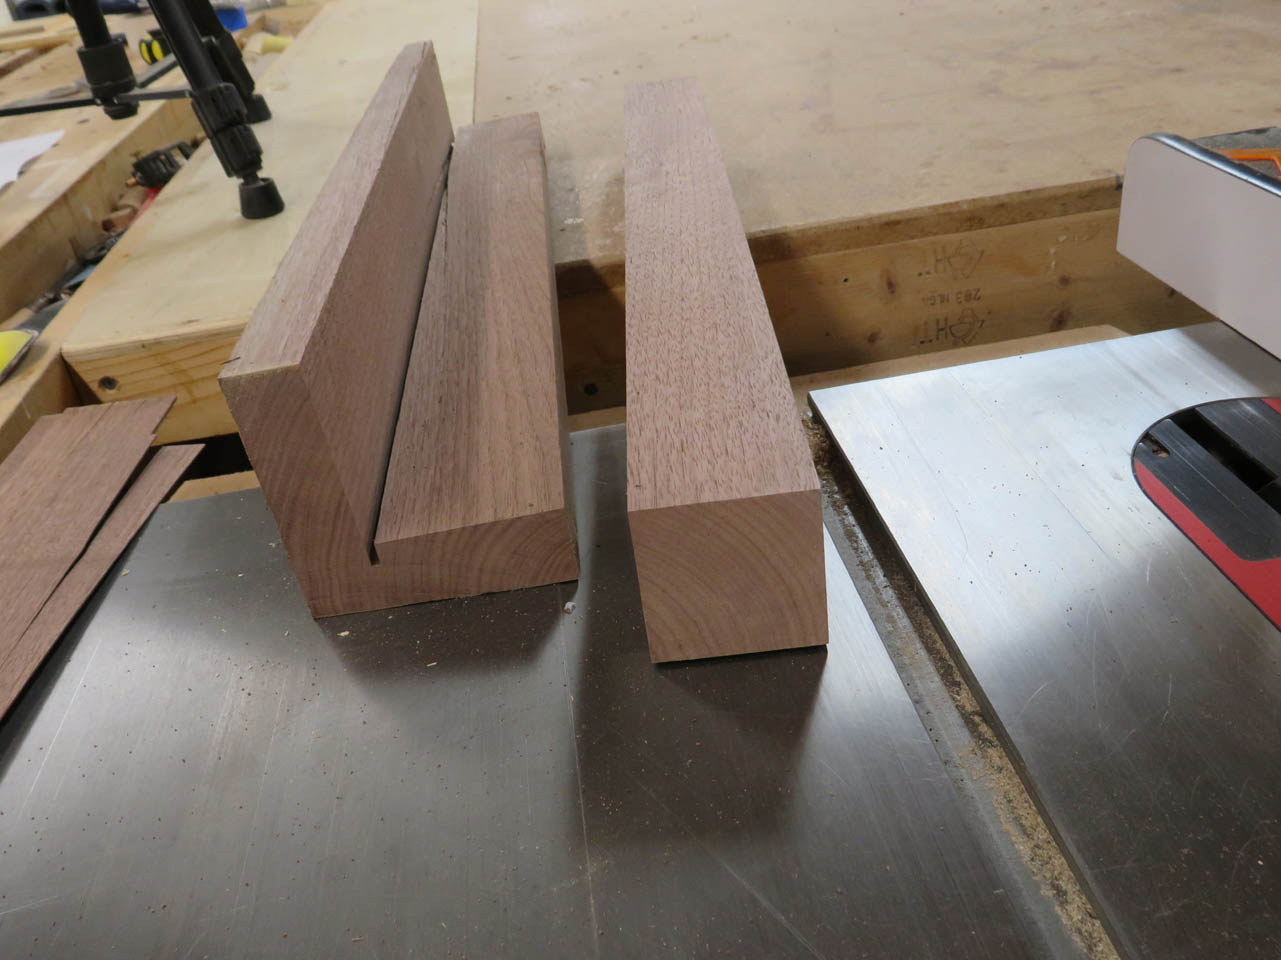
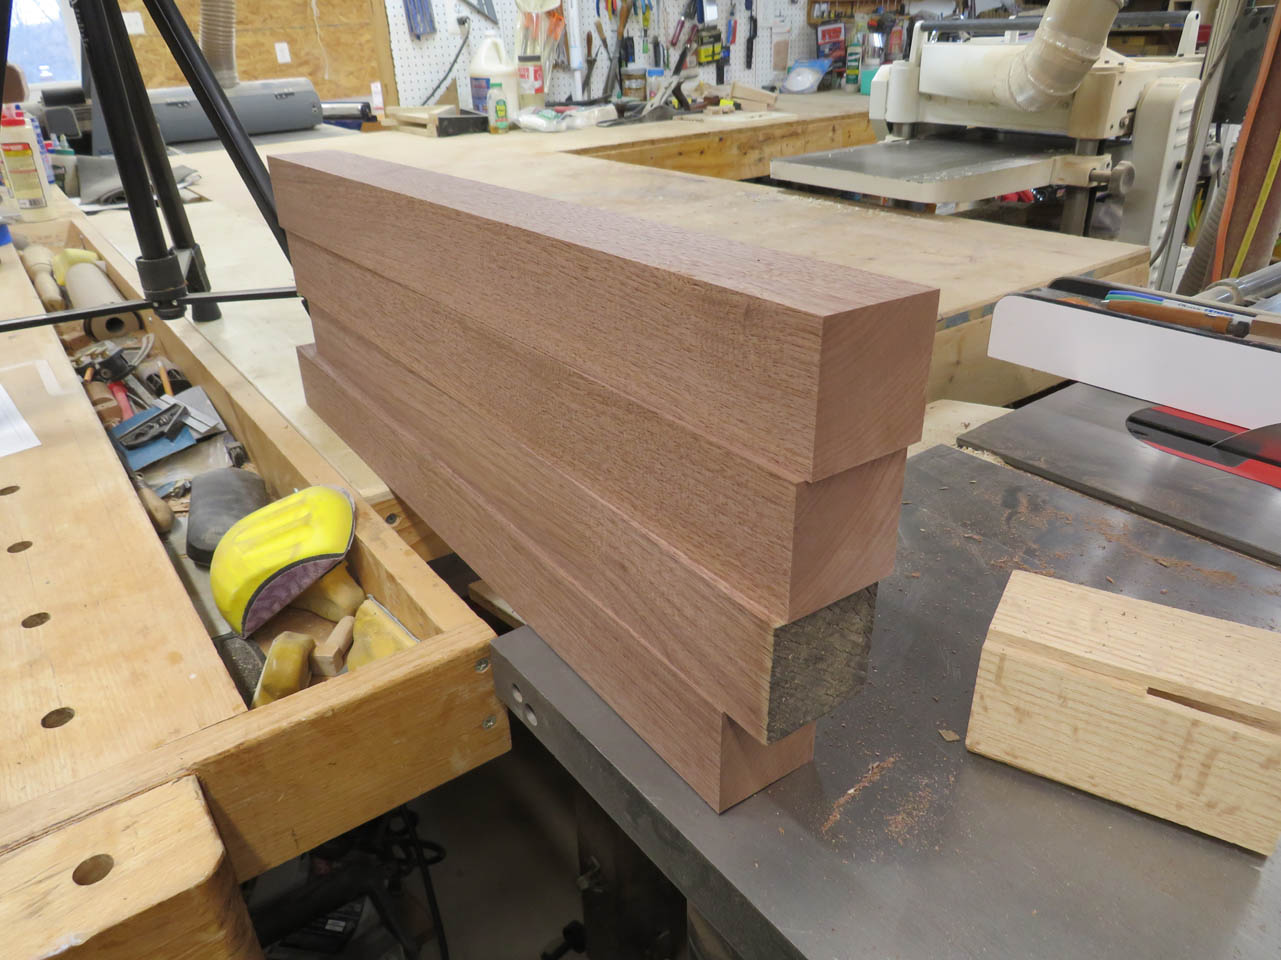
The rough leg blanks are done, so I grabbed another board to make the rest of the table parts.

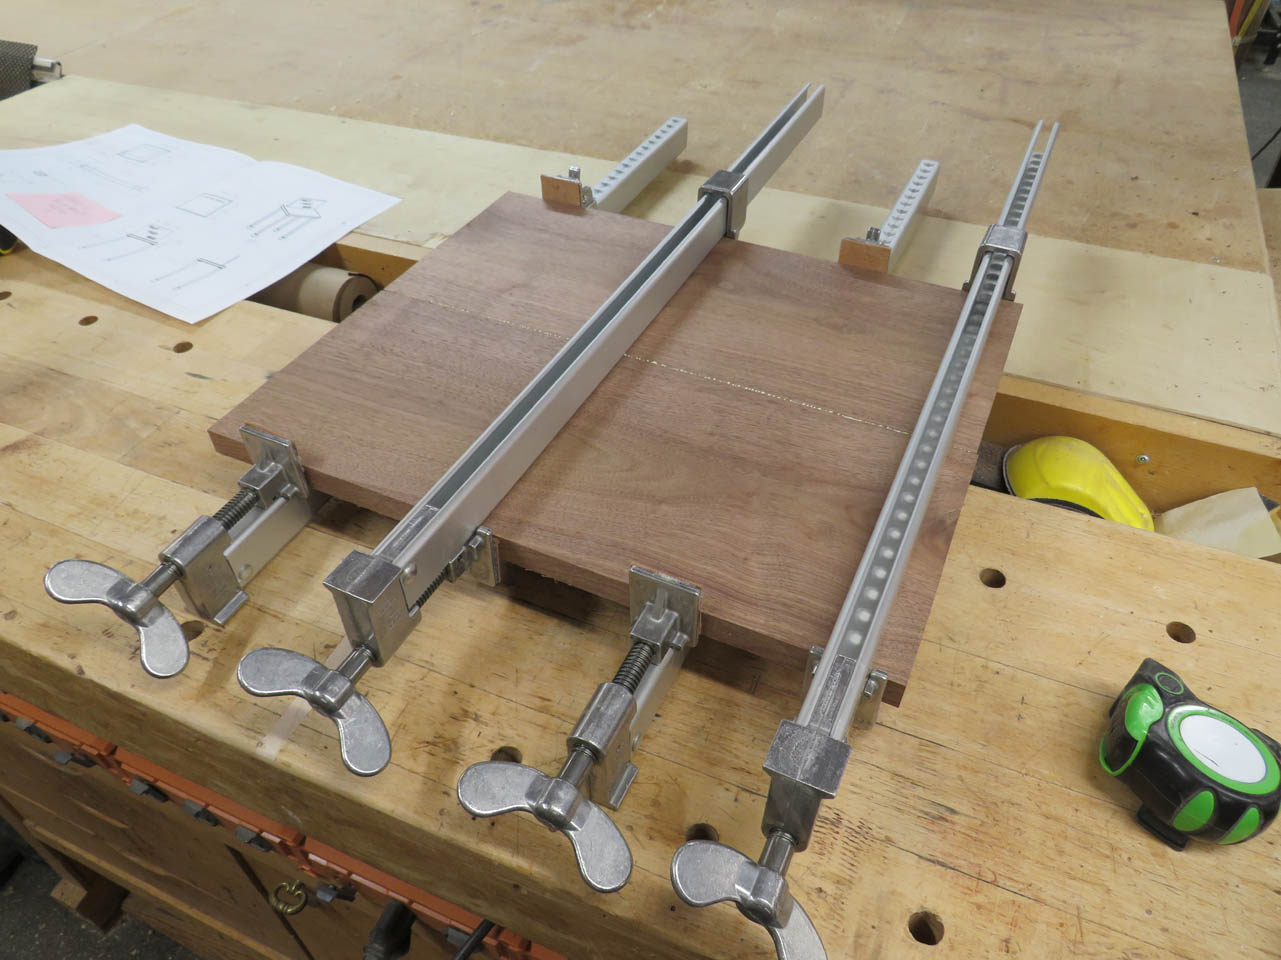
I planed and jointed the board, then cut it to length to make the top.

These pieces were glued up and set aside to dry.

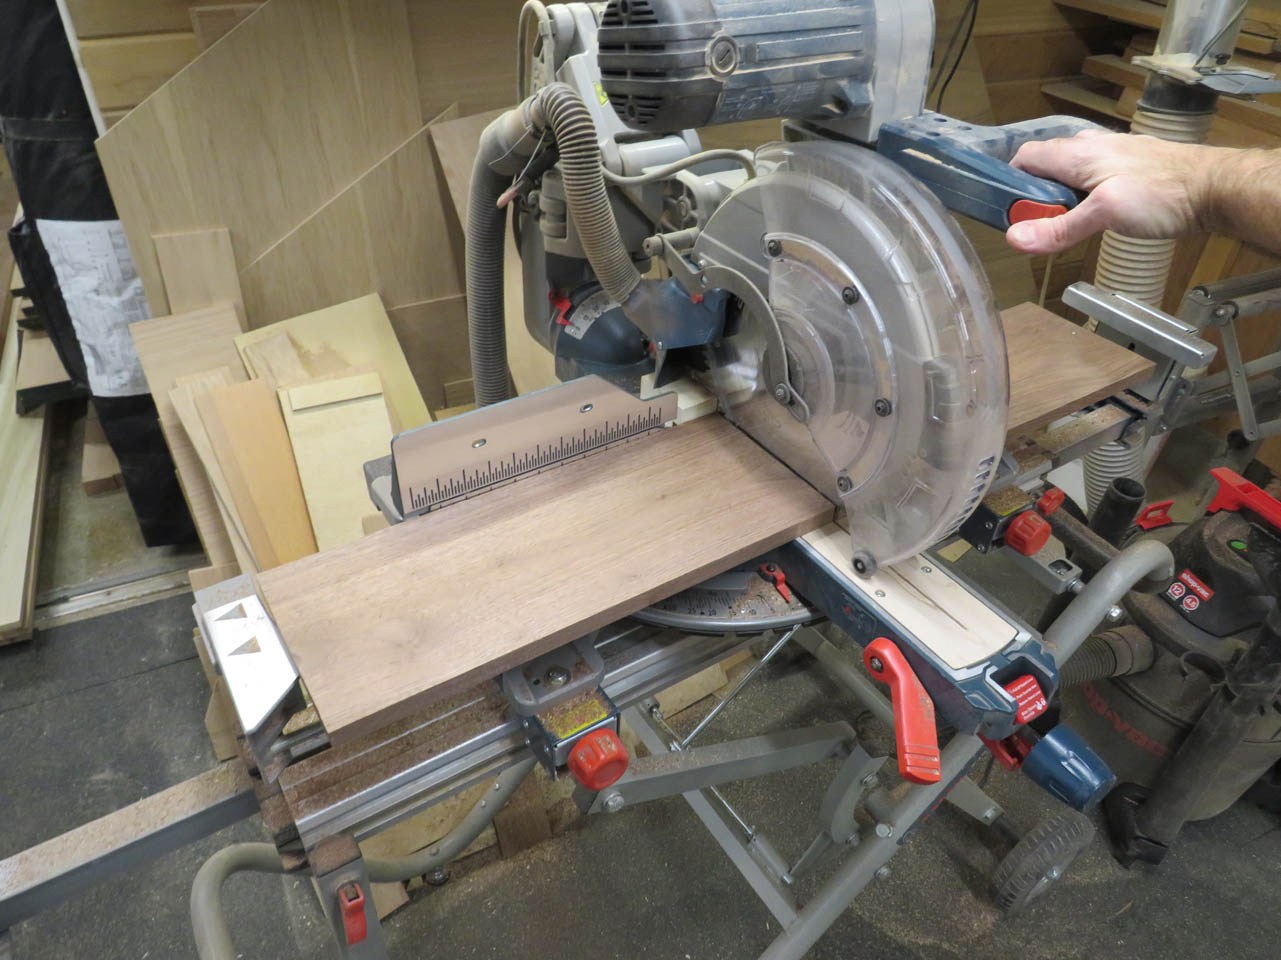
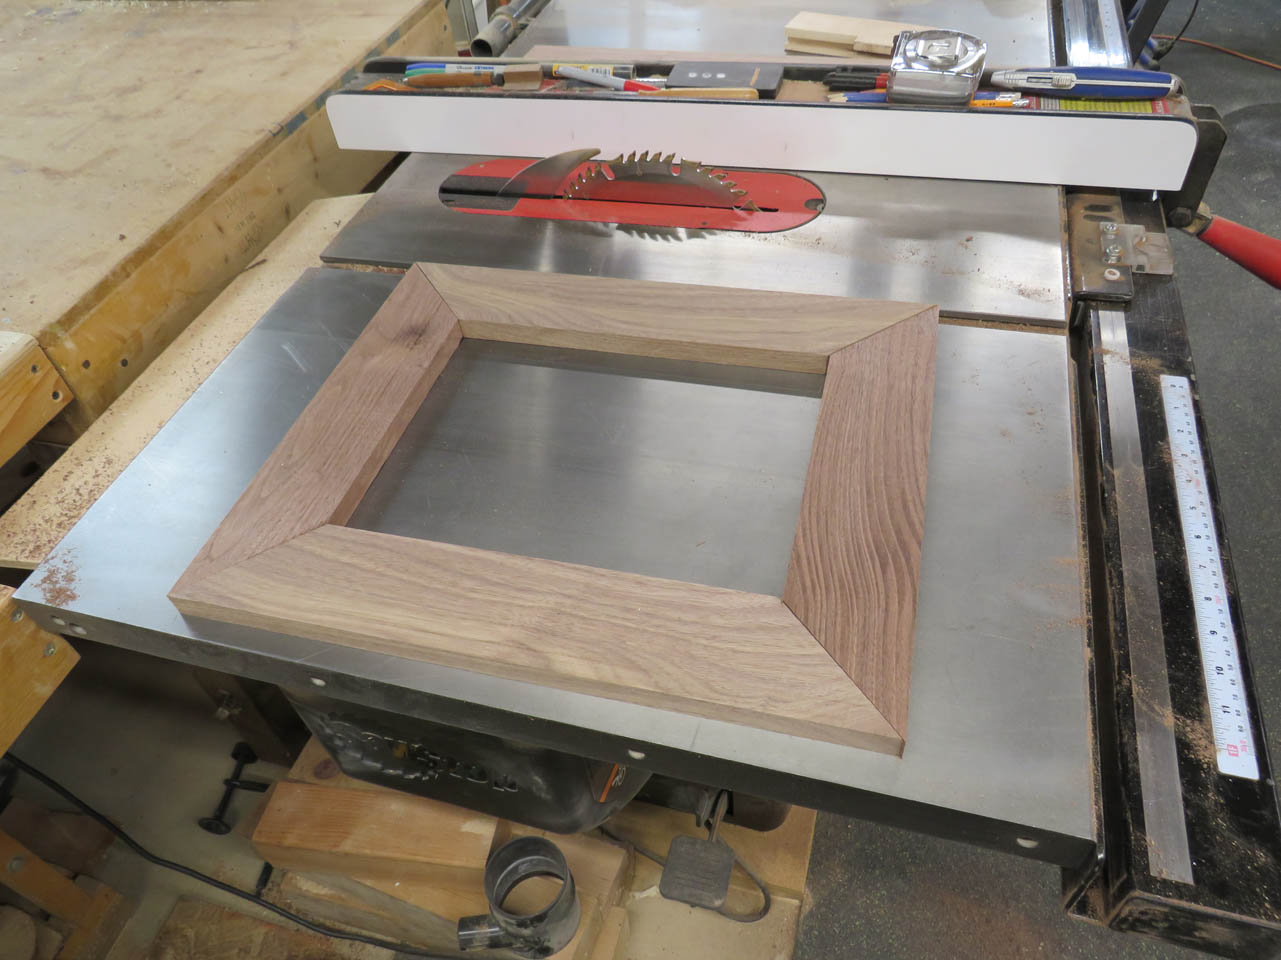
From the rest of the board, I made some 3″ wide pieces to create the bottom section of the table top.

These get mitered together at the corners so I cut them to length and cut 45° miters on the ends.
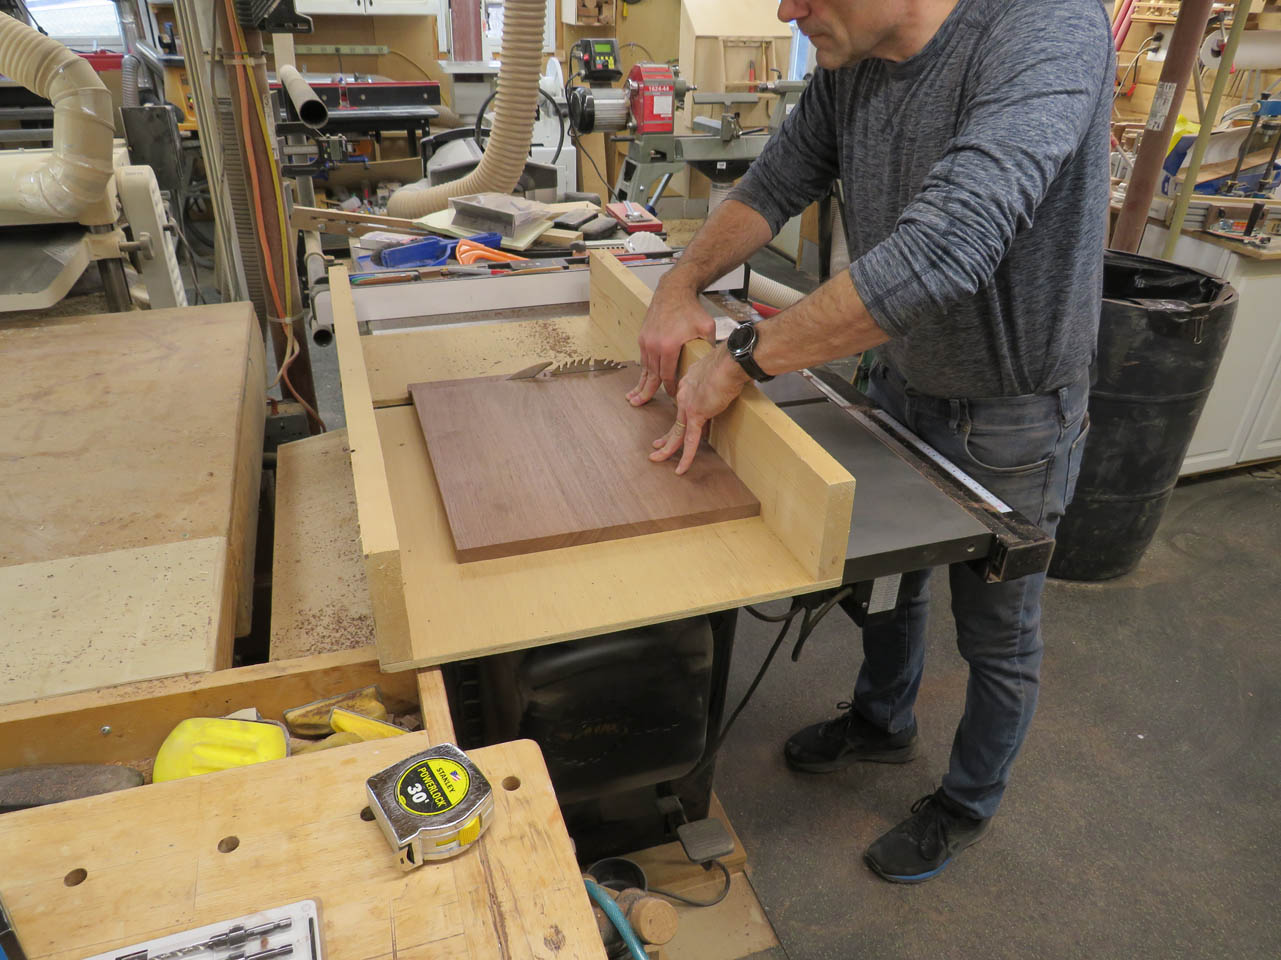
I set those aside and went back to the table top panel which was now dry enough to pull the clamps and cut it down to final size.
Next pieces to make are the bullnose trim for the table top.
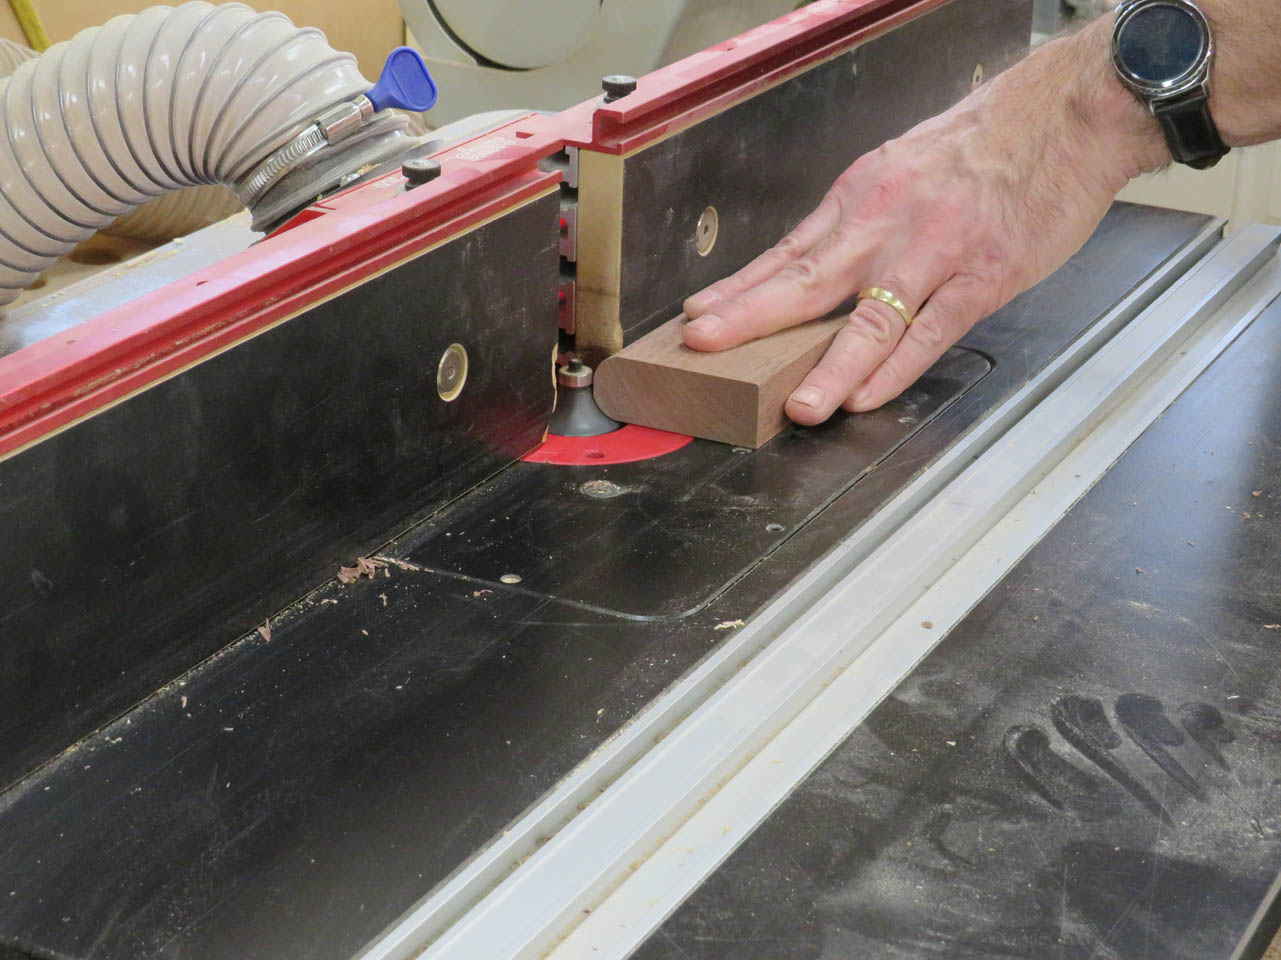
I used a 1″ thick board, then cut 1/2″ round overs on eace corner to create a 1″ bullnose on each side.
These were then cut off on the table saw.

After repeating the process, I now had a bullnose for each side of the table.

Last pieces needed are the feet.
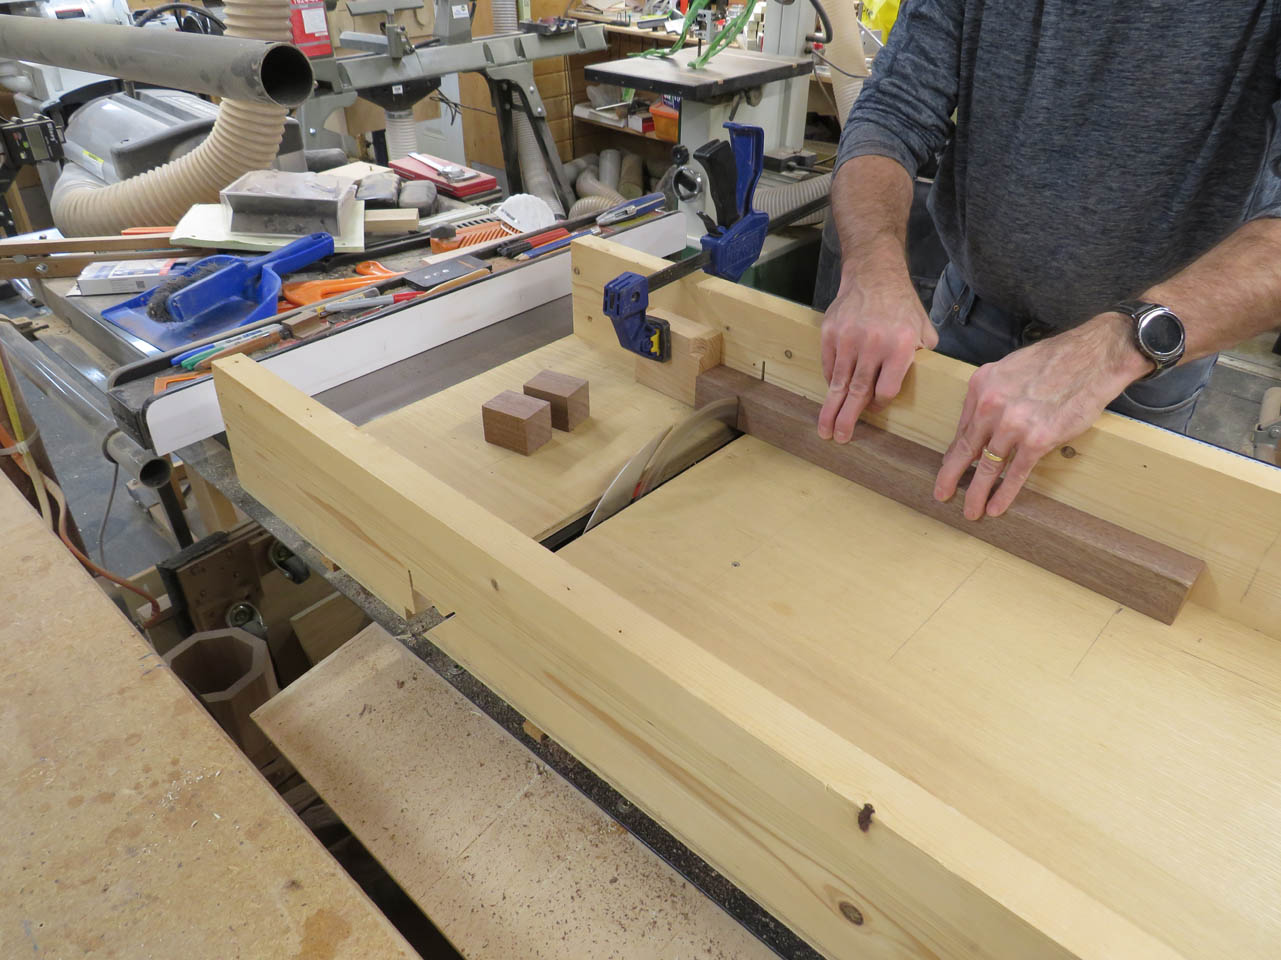
I cut four feet from another square blank of walnut.
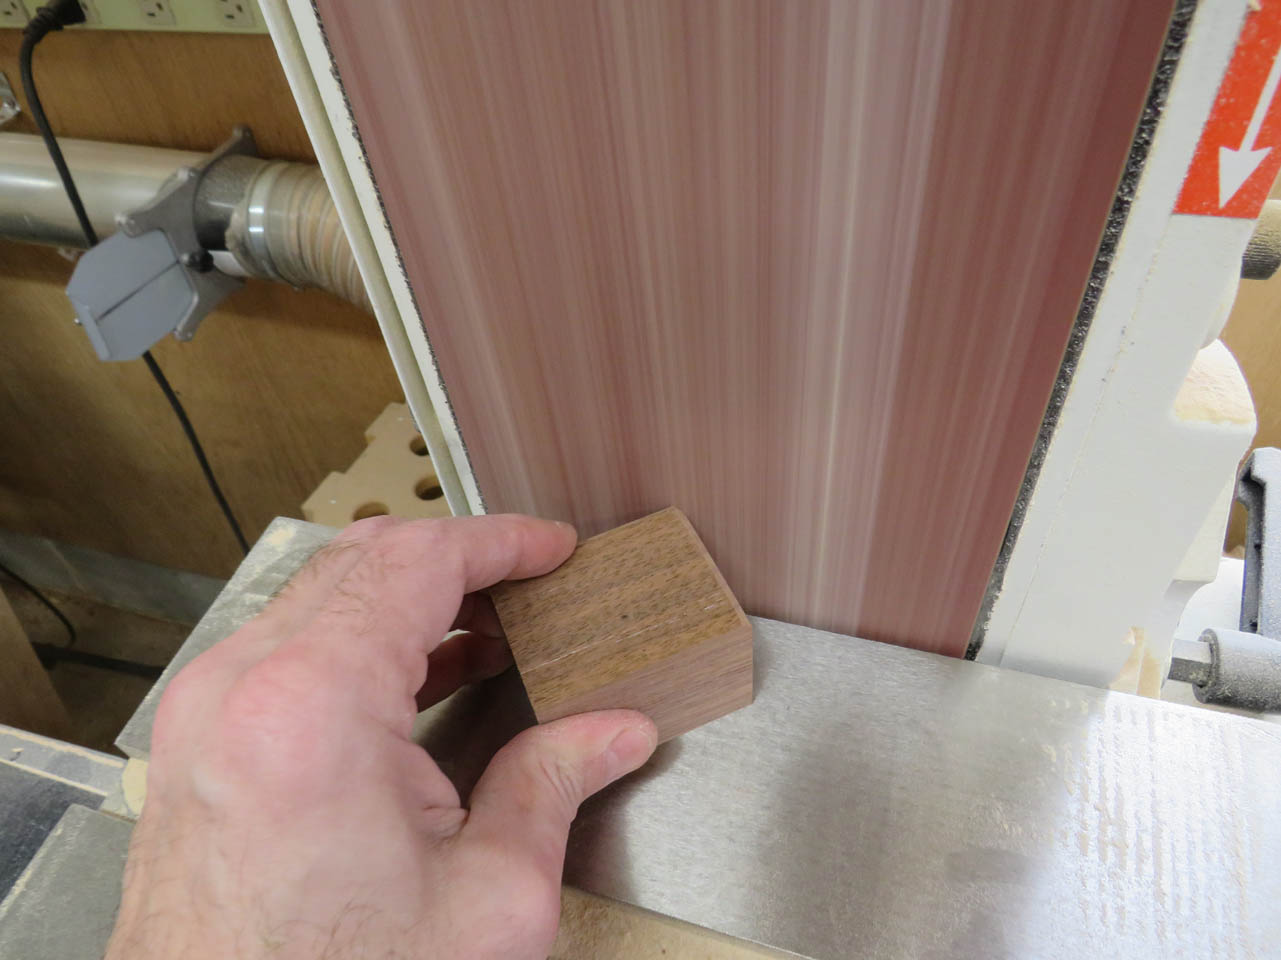
Then sanded a bevel all the way around the bottom to keep the feet from chipping or splitting at the corners that touch the ground.


These get a point marked at the center and drilled to receive a dowel.
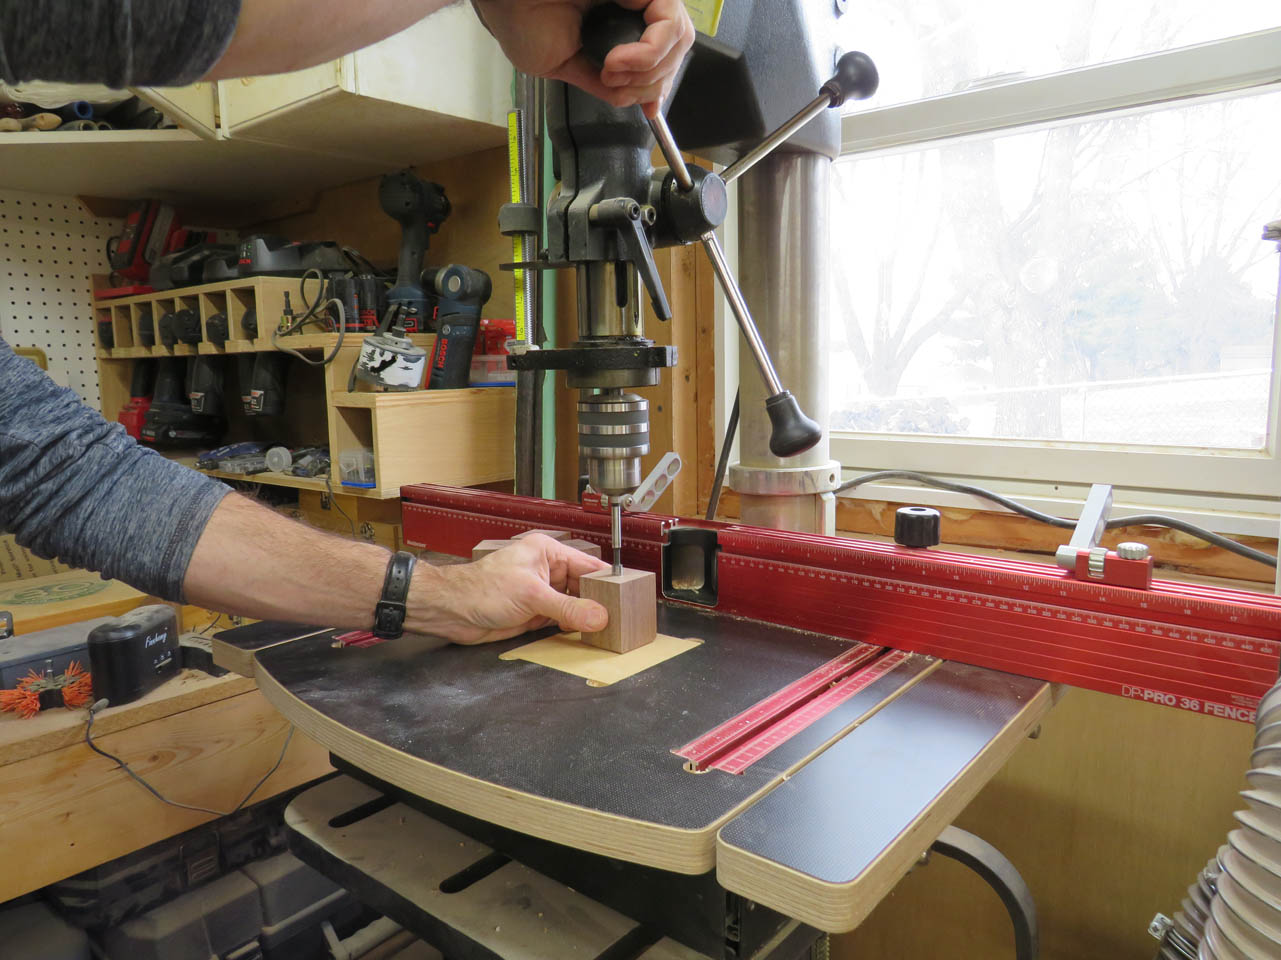

The dowel gets glued and hammered in place. These feet will get attached to the legs, once the legs get tapered.

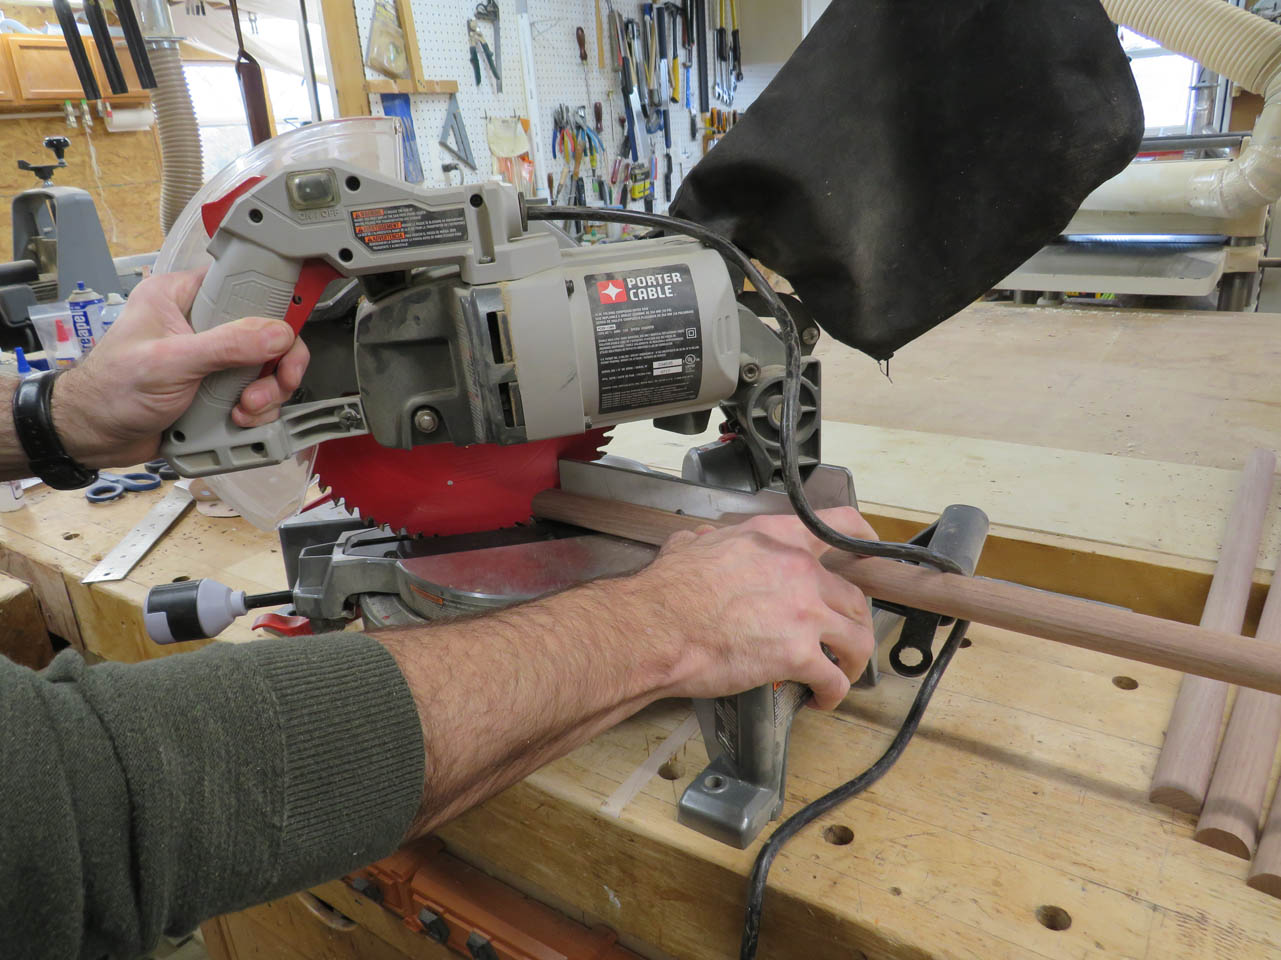
Now I can cut the legs to length.

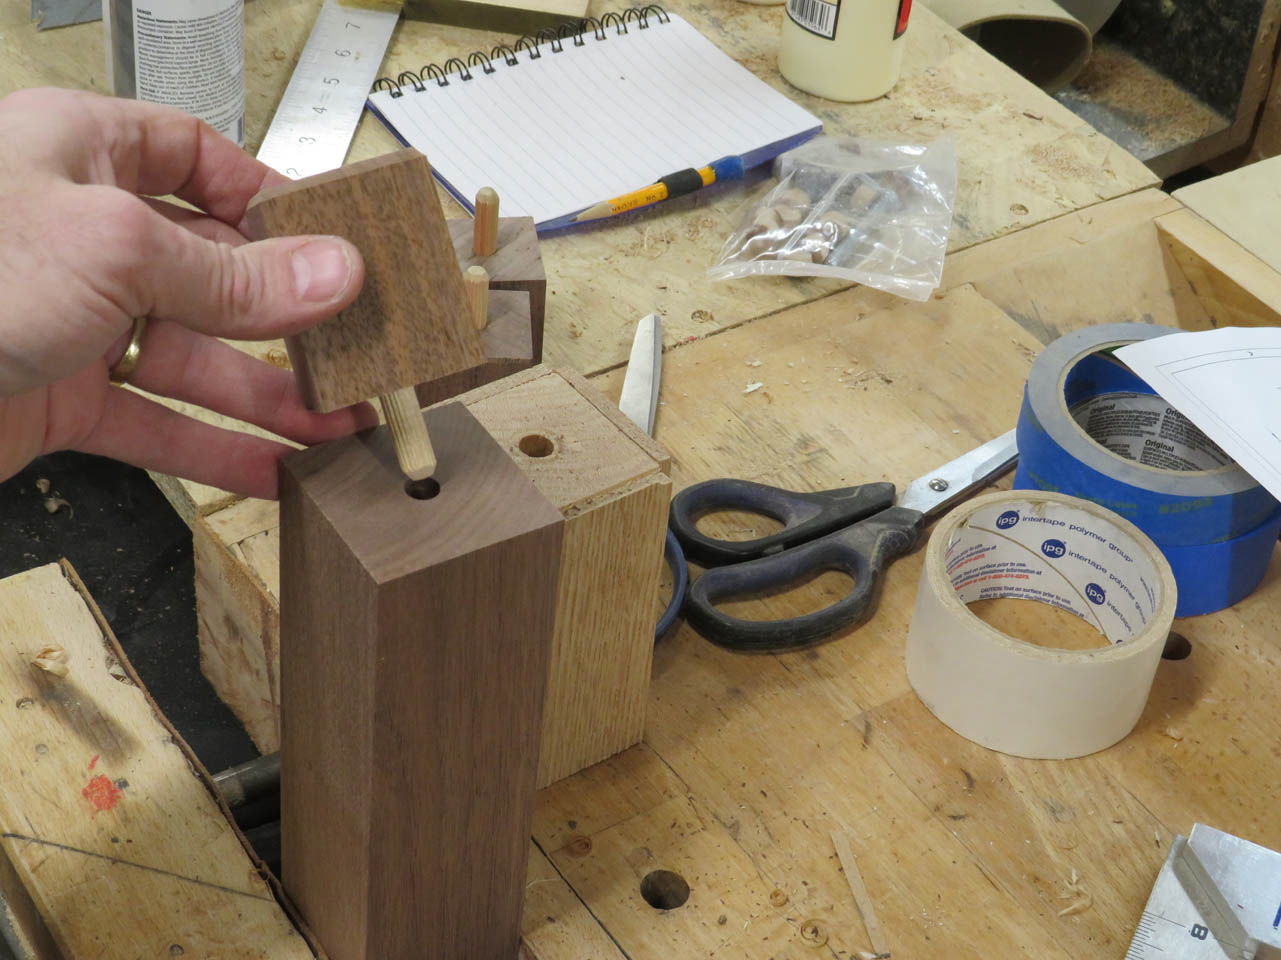
Before I cut the tapers, I use a jig to drill the centered dowel holes in the bottom of each leg.

This is where the feet will eventually go.
While test-fitting, I remembered that I needed to route the small, decorative curve around the top of the feet.

I took care of that before I forgot. It would have been difficult to add after assembly.


To create the flare at the top of the legs, I am reusing the jig I built for the last batch of legs to cut this curve on all four sides with a bowl cutting bit that has a 1/4″ radius on each side.
After one pass along each face, the flare radius is in place.

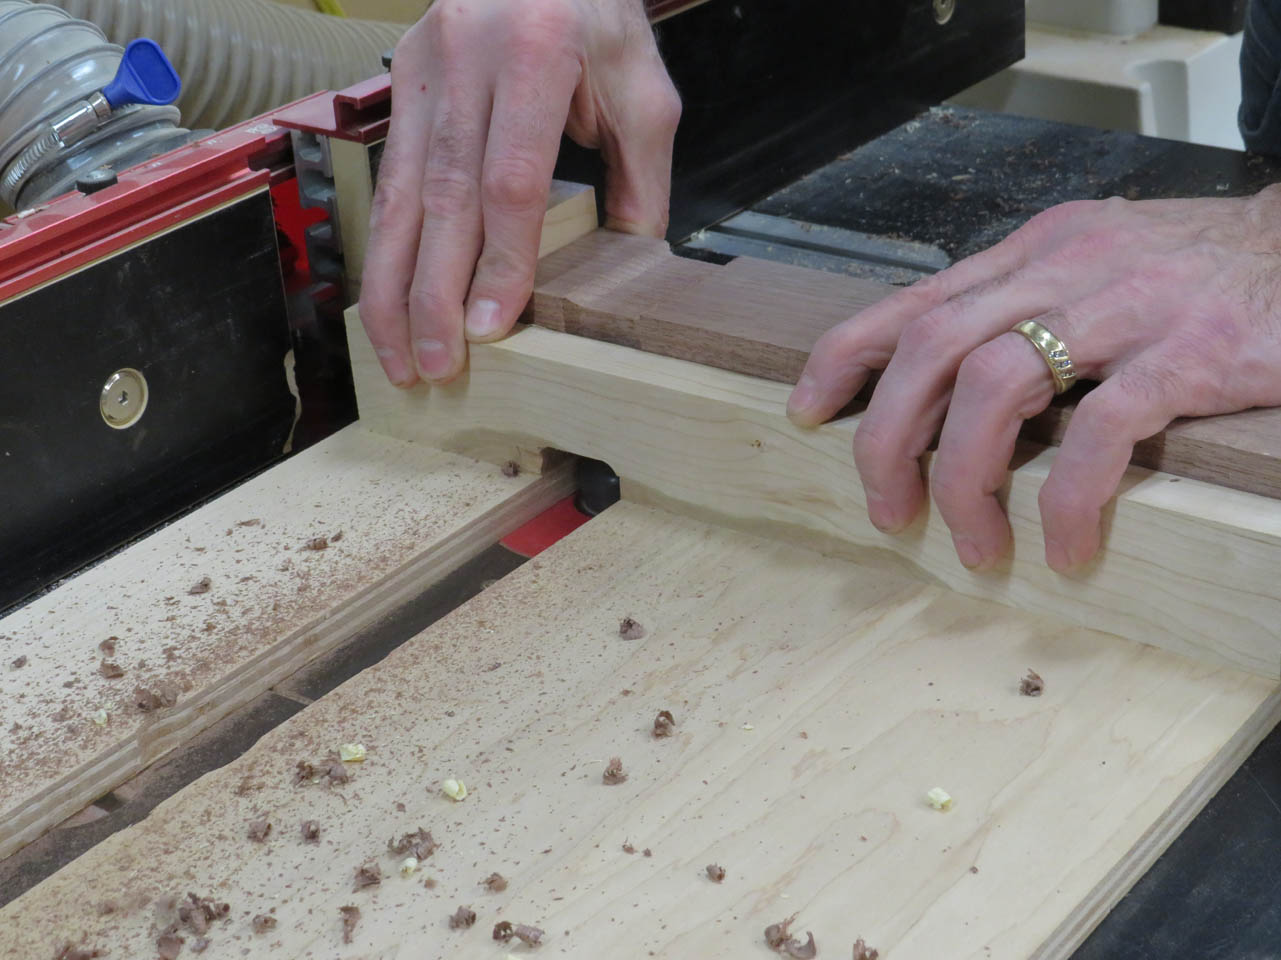
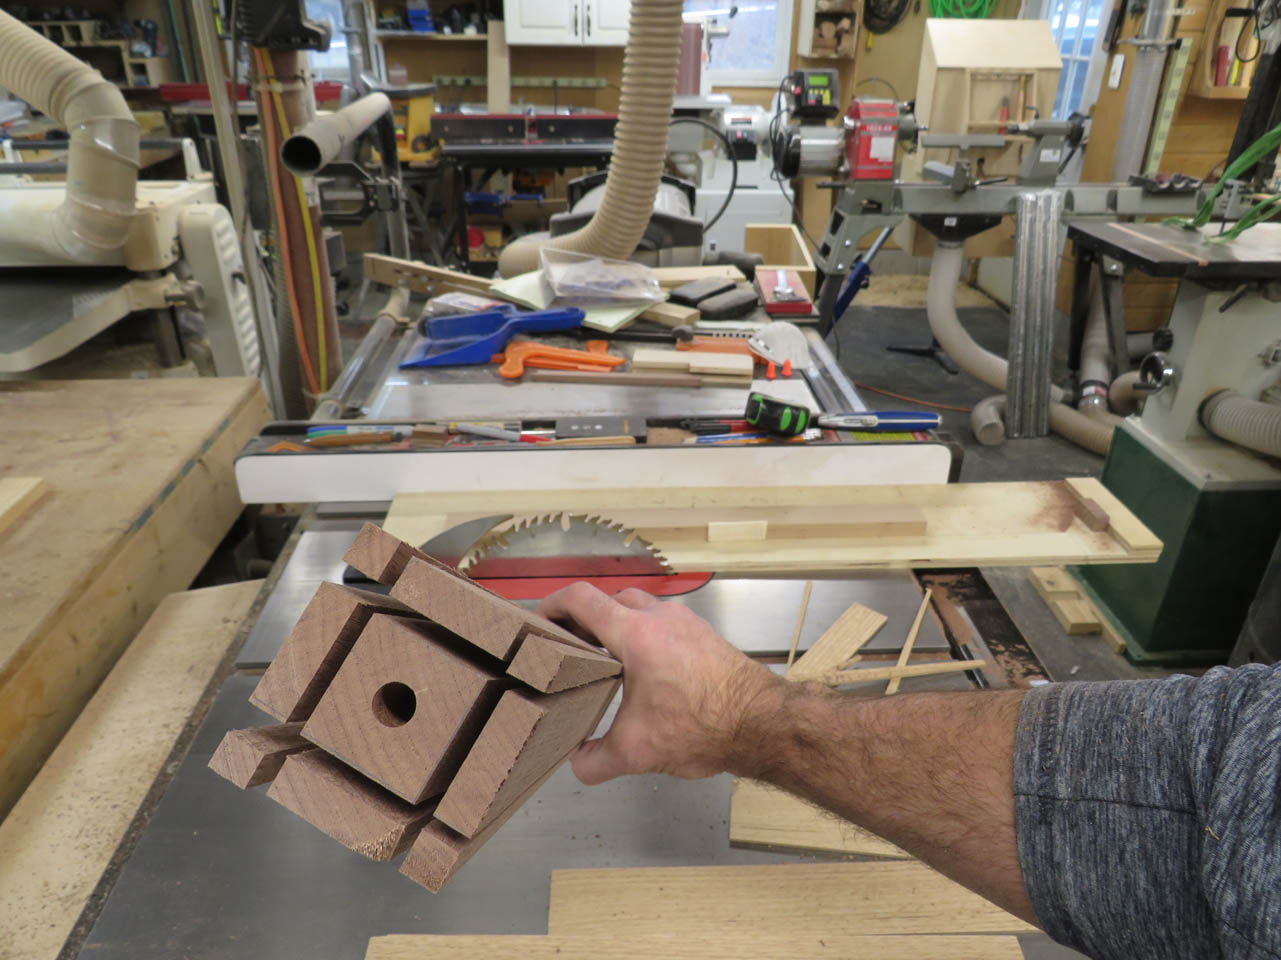
Now I can go back to the table saw and cut the tenon shoulders on the end.
Leaving a 1/2″ square tenon on the end to connect to the table.

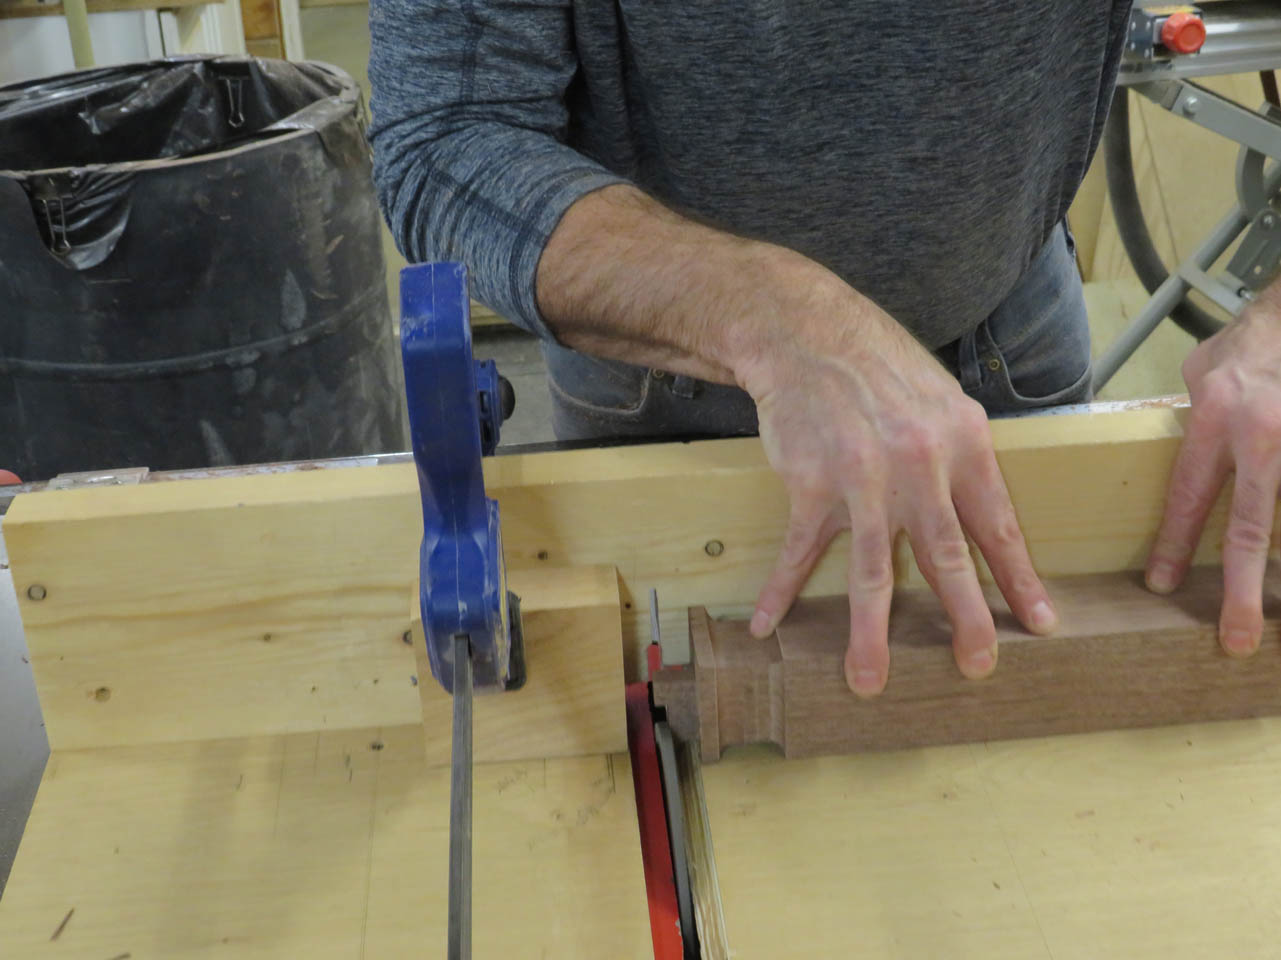
I attached some temporary blocks to position my legs on the taper cutting jig .

This cut is stopped before the blade reaches the flare at the top.
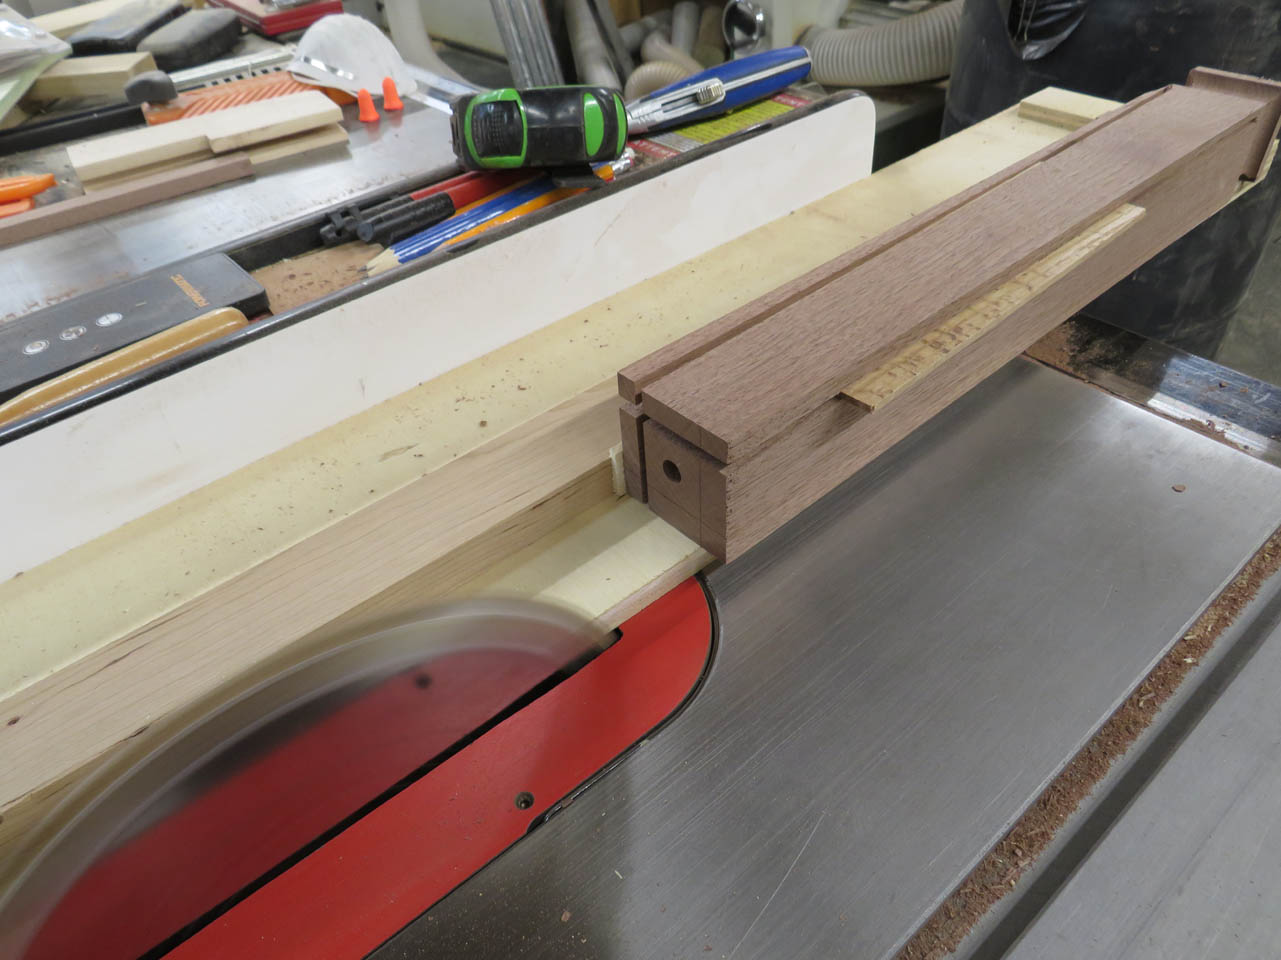
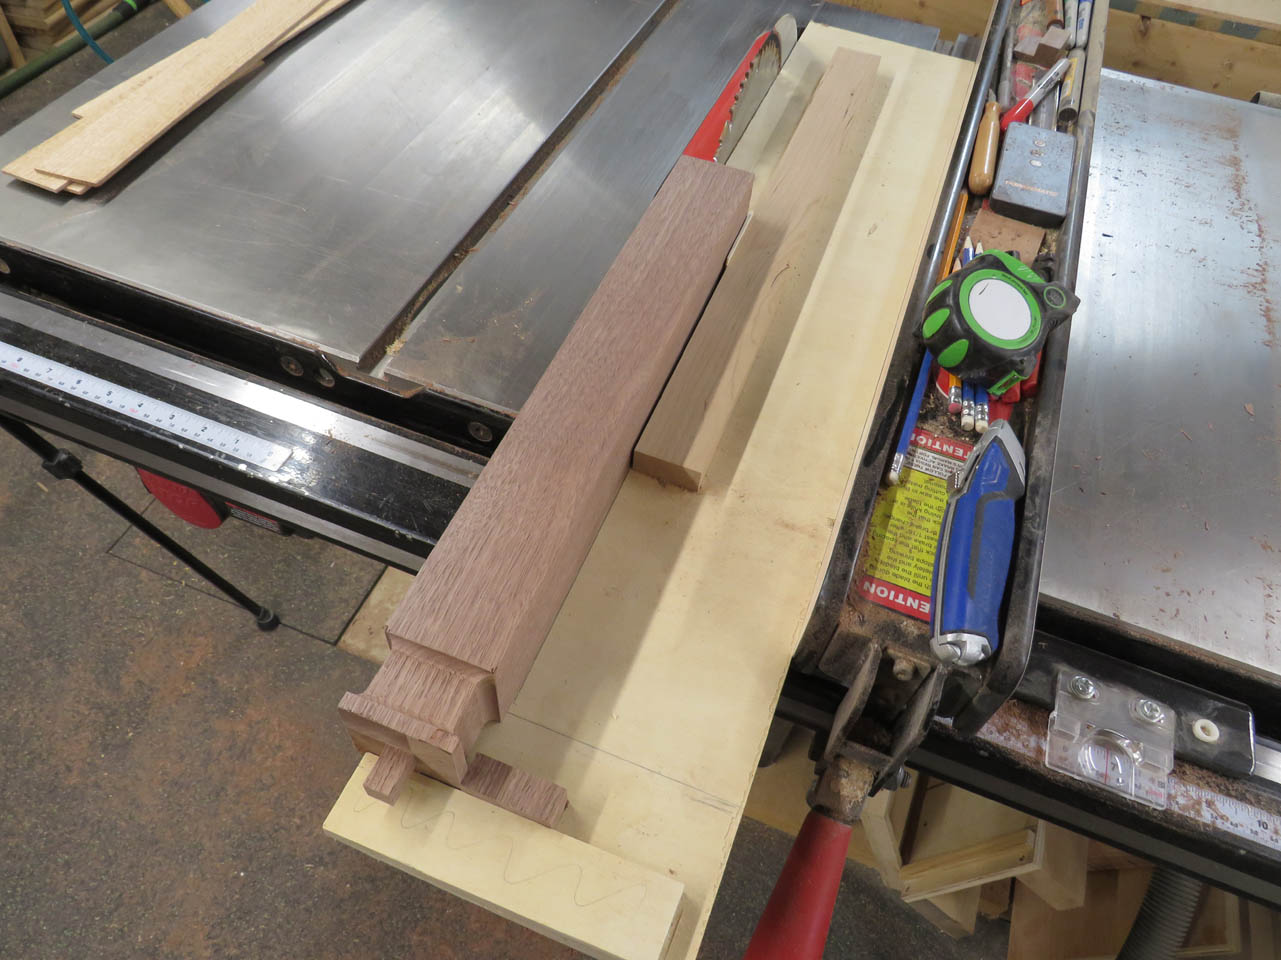
I add shims to the saw kerfs as I rotate the leg to make four identical cuts. This keeps the leg centered on the jig.

The table saw blade is curved so it leaves a section that still needs to be cut away. I use the band saw to finish the cut.
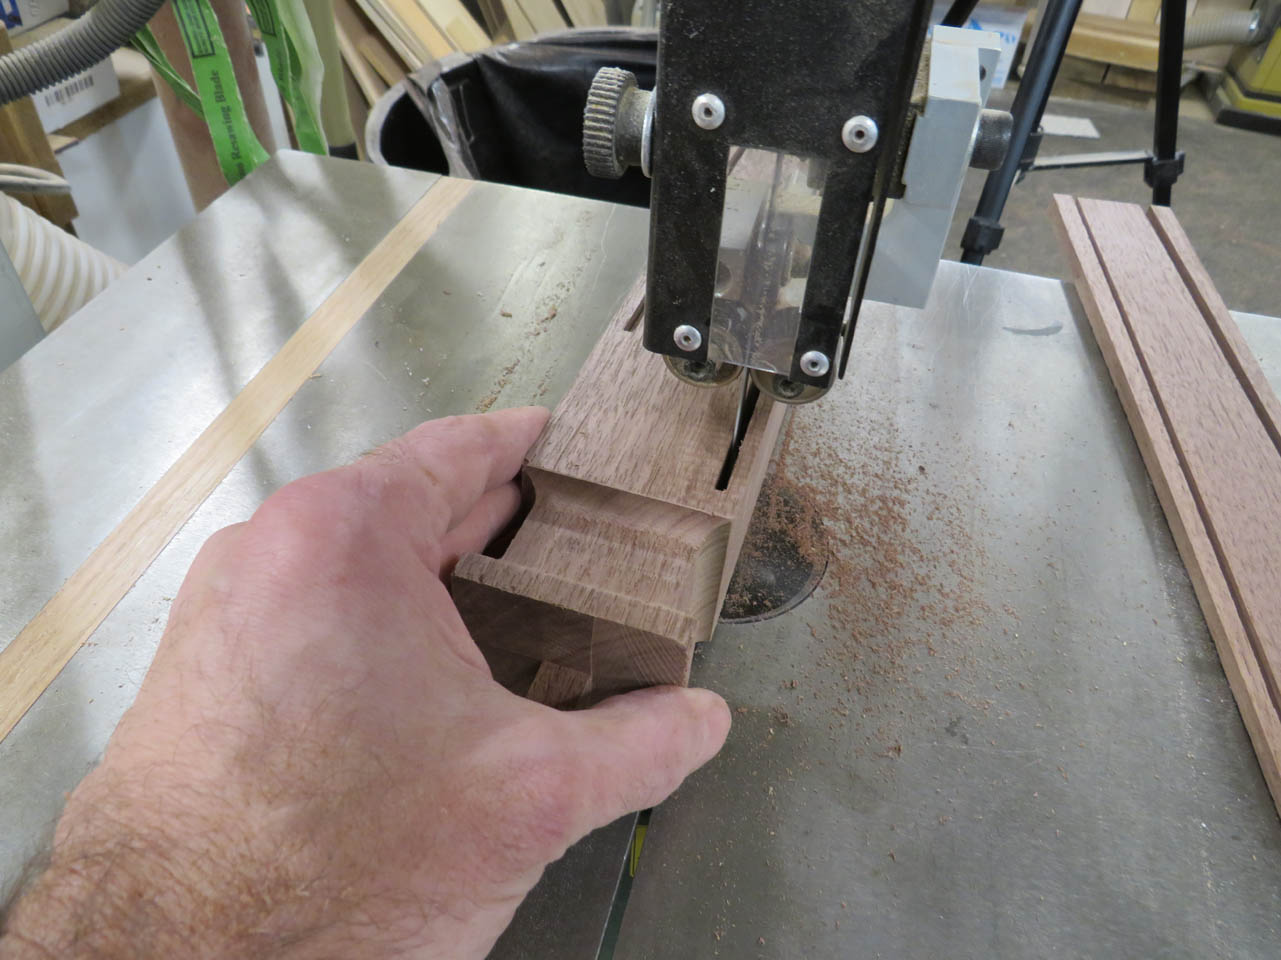
Rotating the leg four times, I can remove the rest of the waste.

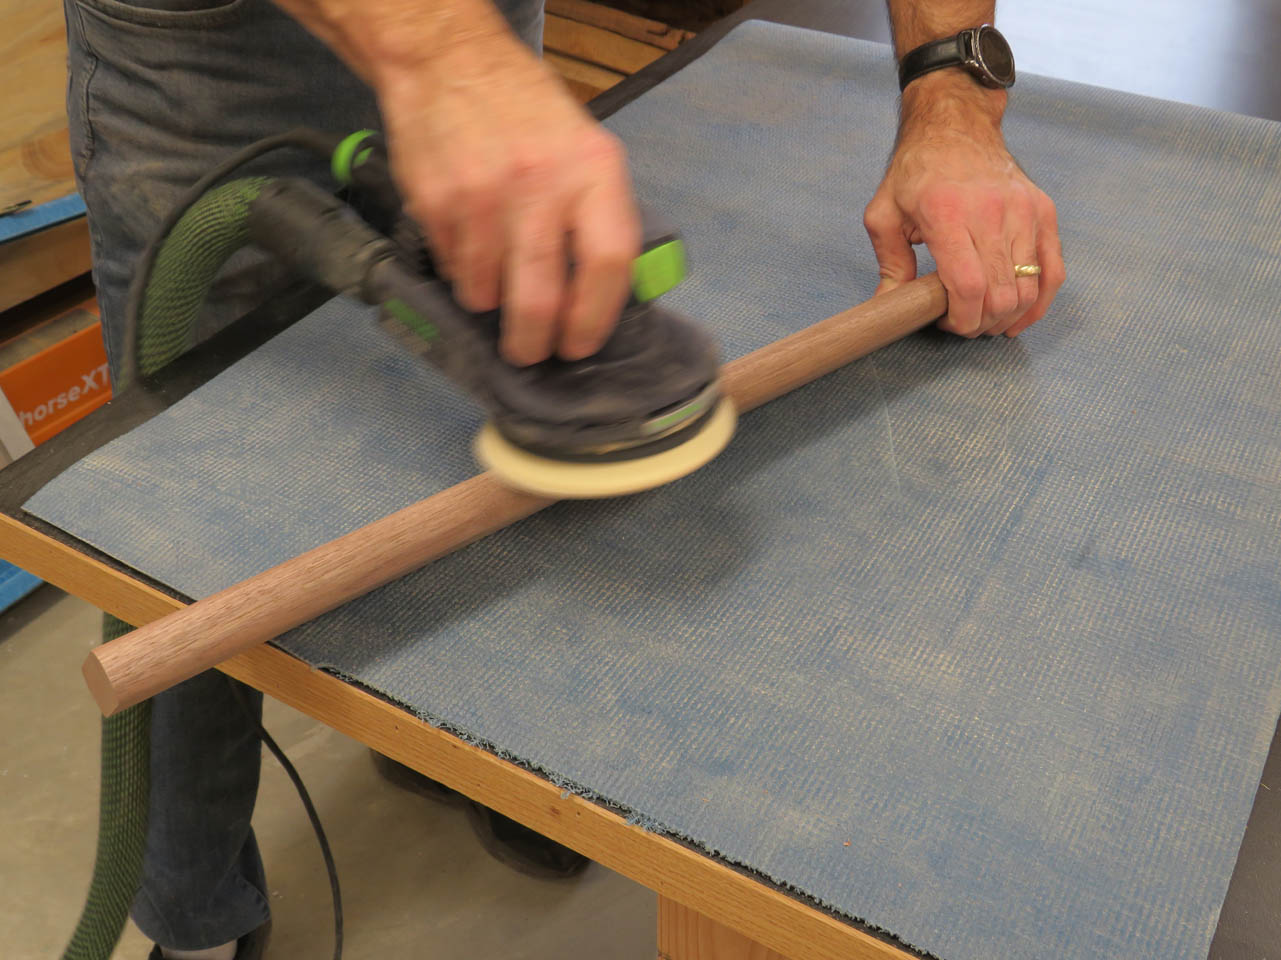
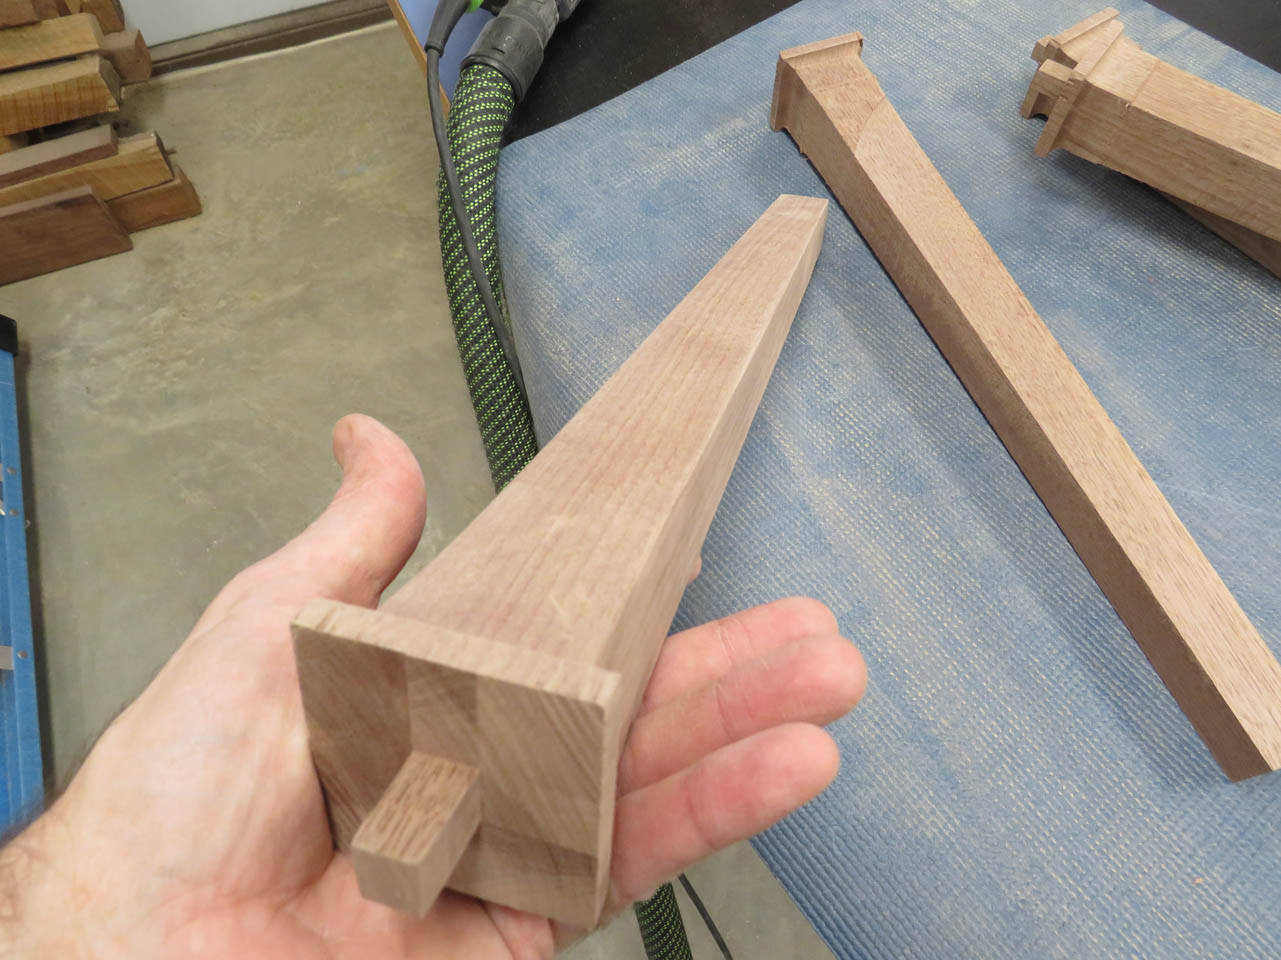
Now the legs need a thorough sanding.
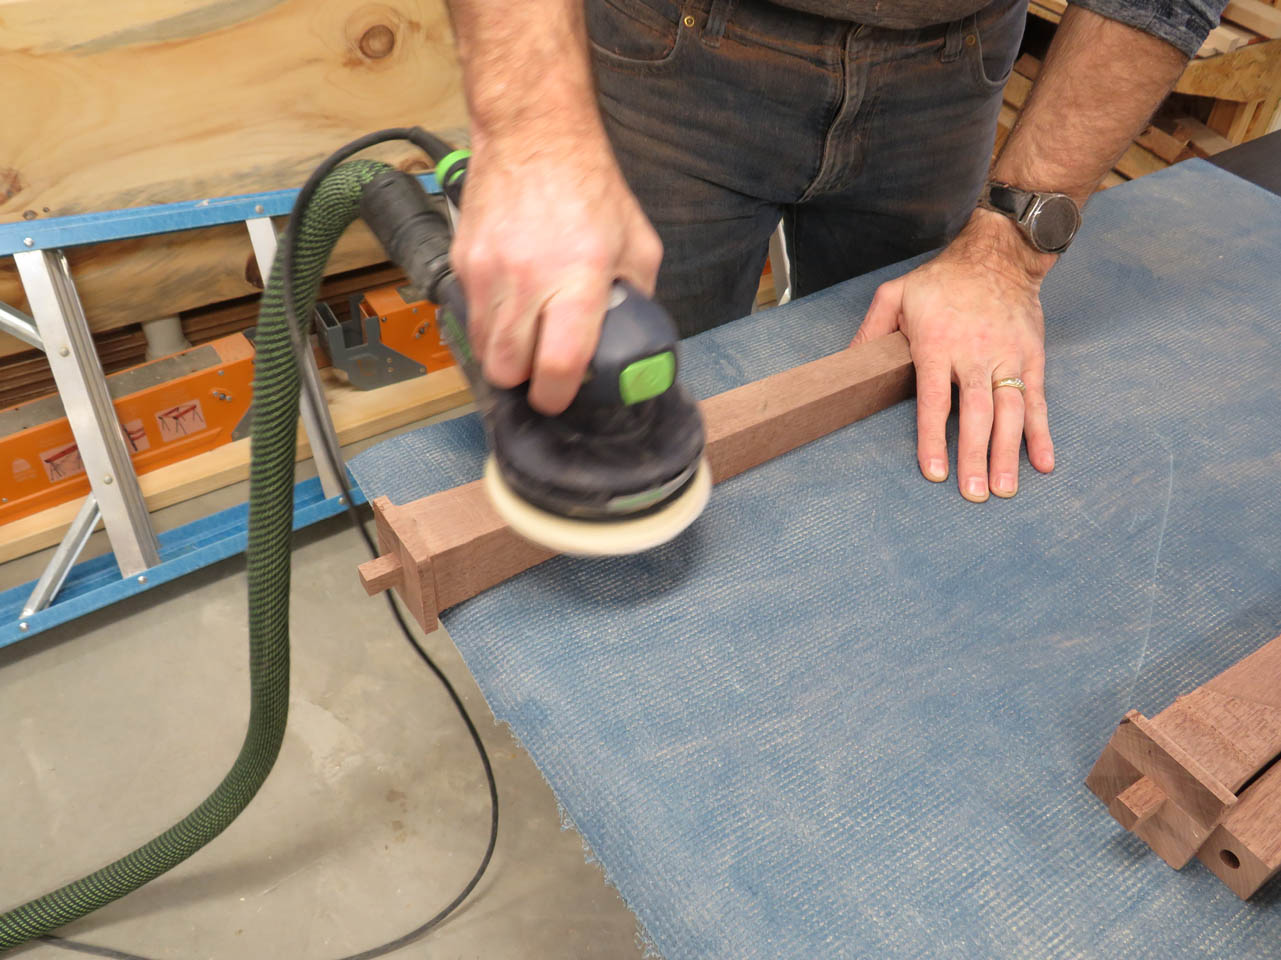
And the flared and tapered leg is ready for feet.

The feet are attached with glue and clamps, making sure the faces are all aligned.

While that dries, I can get back to the table top.

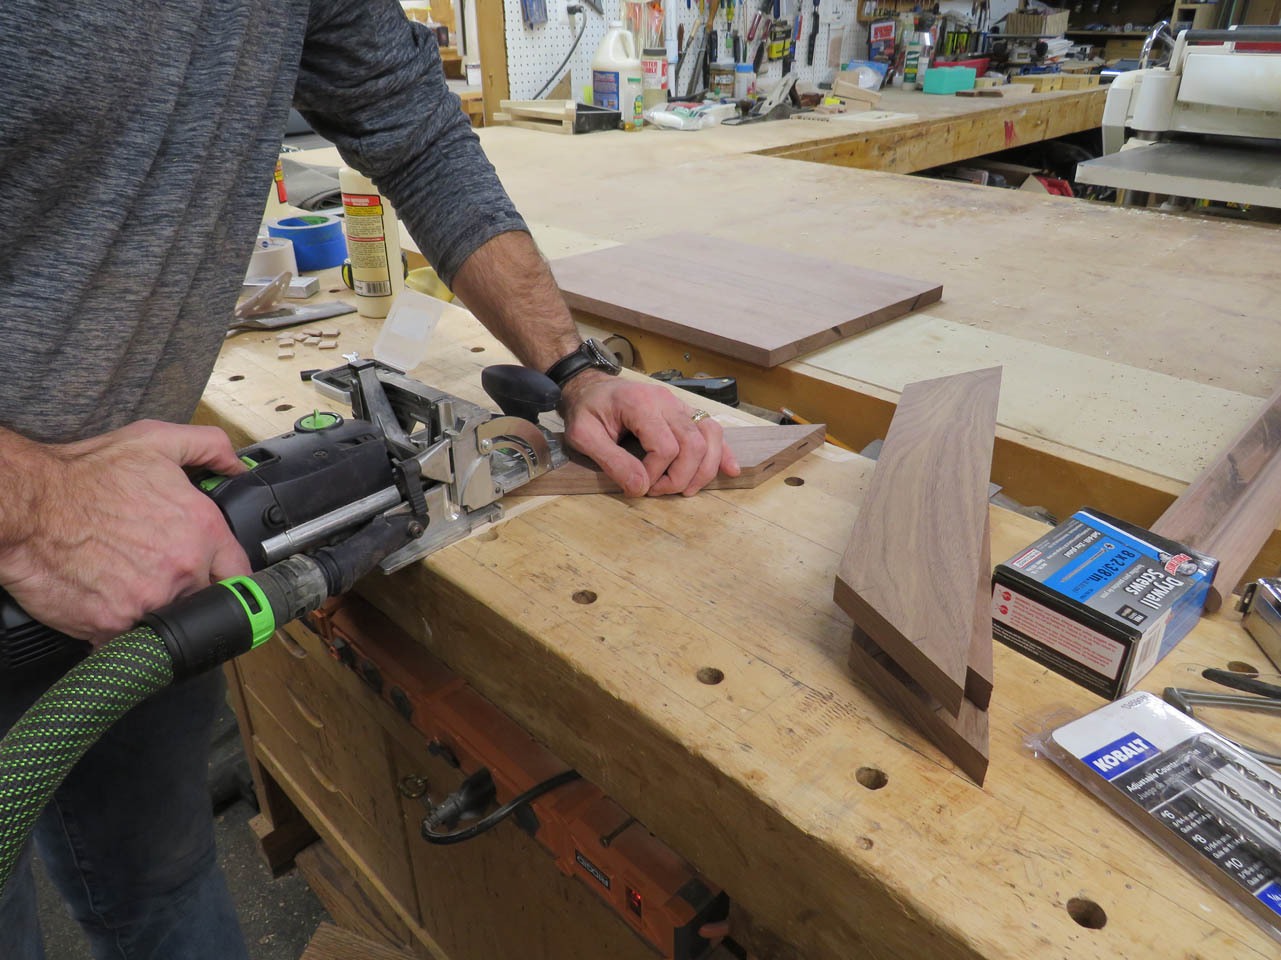
Since the miter is an end grain glue-up, I want to strengthen it a bit more with some tenons cut in with my Domino Jointer.
I glue up two at a time, then glue both of those assemblies together.


They get clamped in both directions and allowed to dry.


After sanding them flat, I take them to the mortiser and cut a 1/2″ square mortise into each corner.

These square holes will make sure the faces of the legs will align with the sides of the table top.


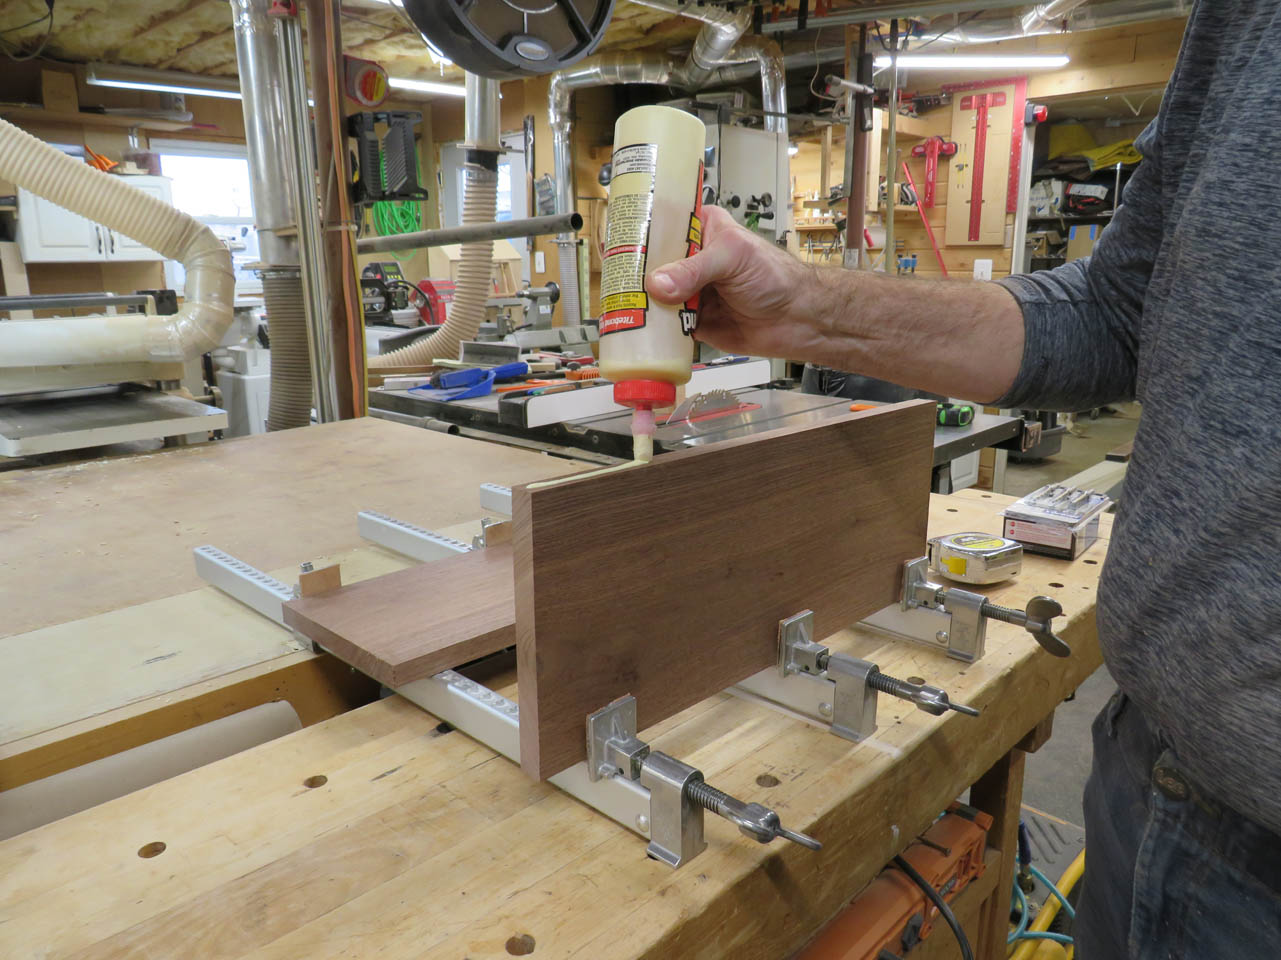
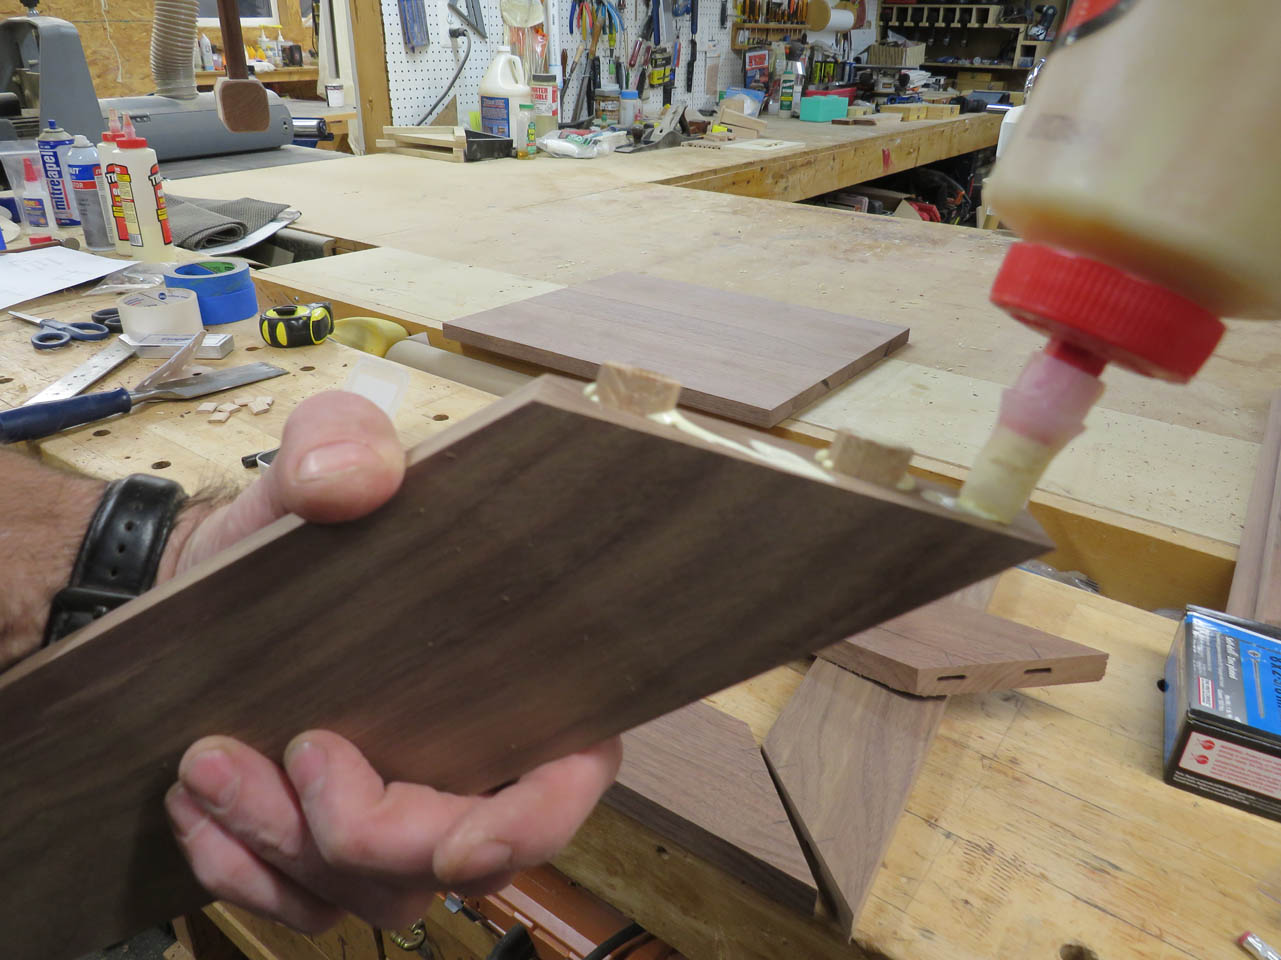
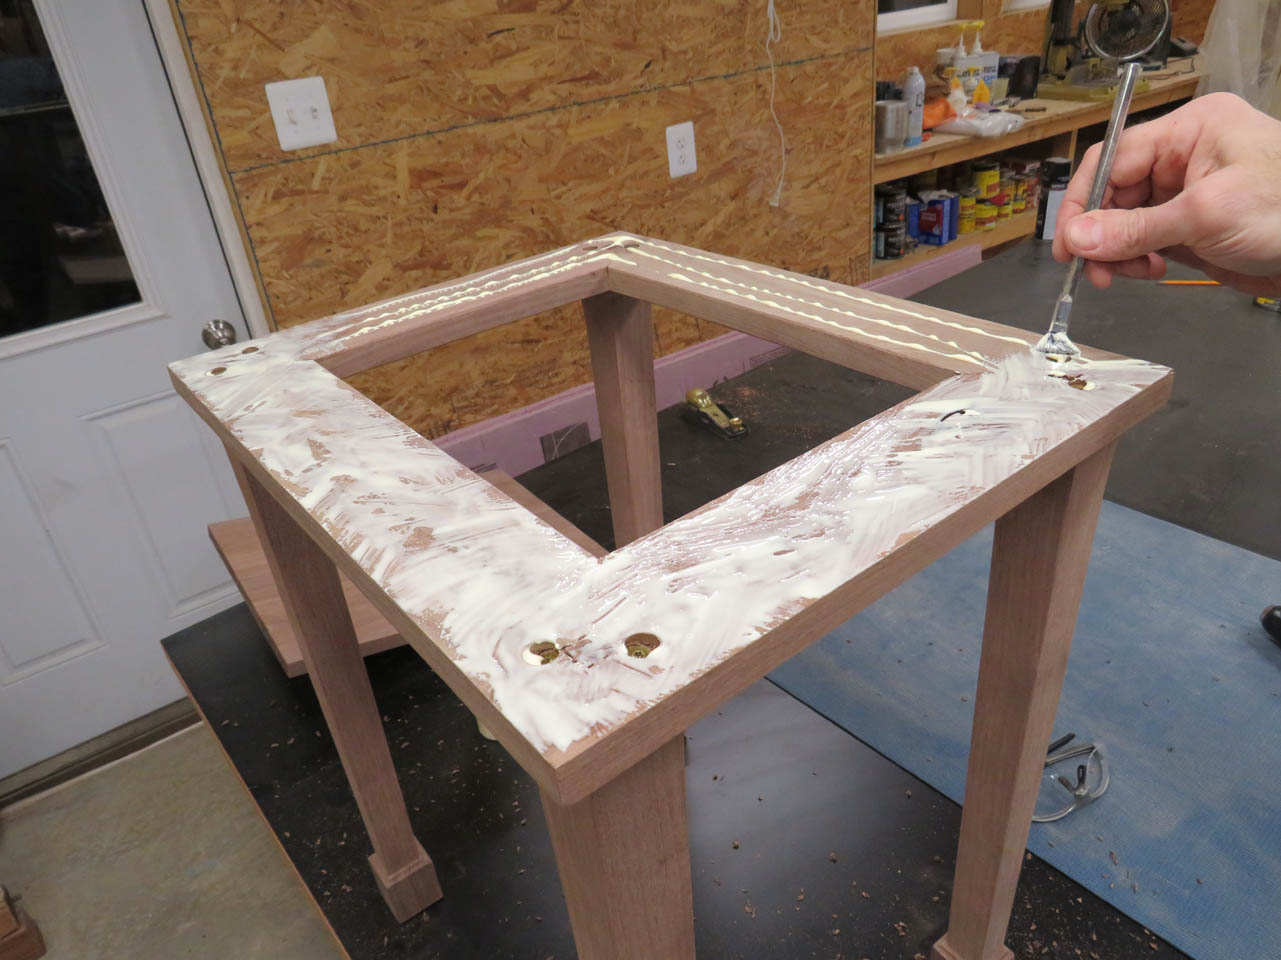
Glue is applied to the end of each leg, then they are pressed through the square holes in the mitered frame.


This section needs to be held securely to the legs to keep them rigid.

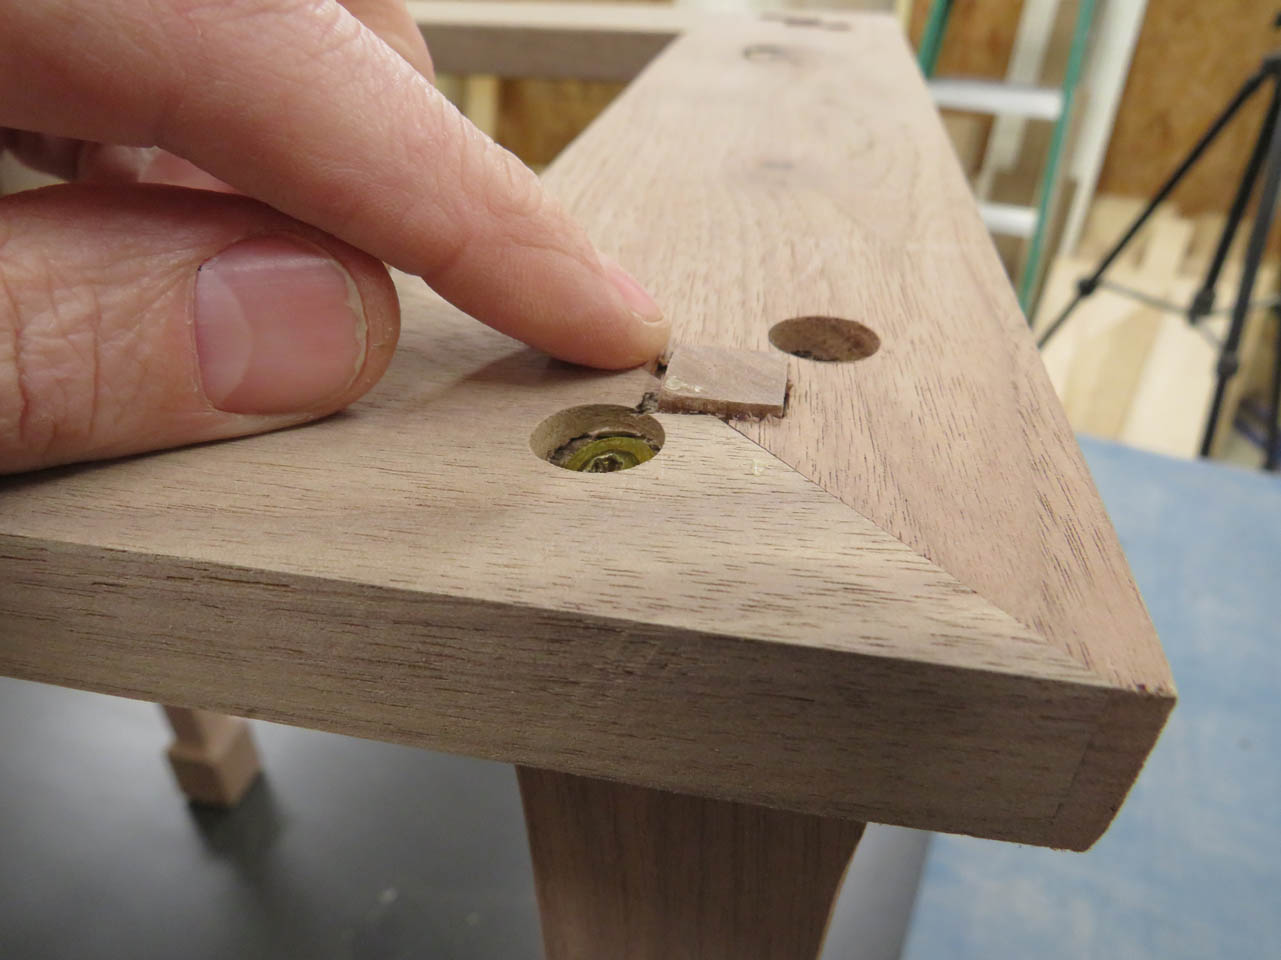
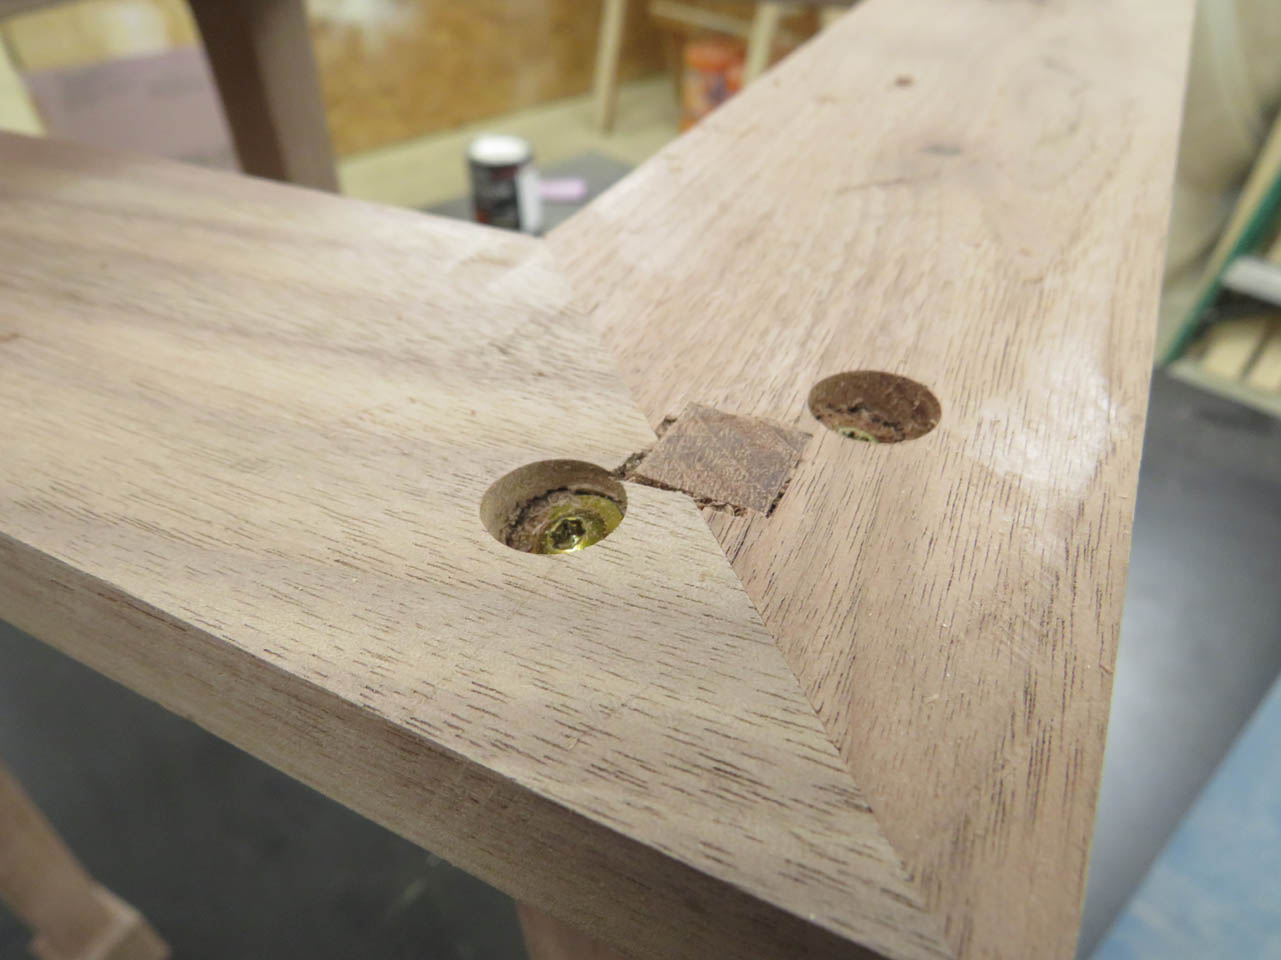
I counter-bore and drill a pilot hole on opposite sides of each leg and angle washer-head screws toward the center.

These draw the legs up tight to the sub-base of the table.
My tenons are slightly proud of the top so I used a block plane to take them down flush to the surface.

Now I can apply glue and attach the top.

That gets clamped in place and left to dry.

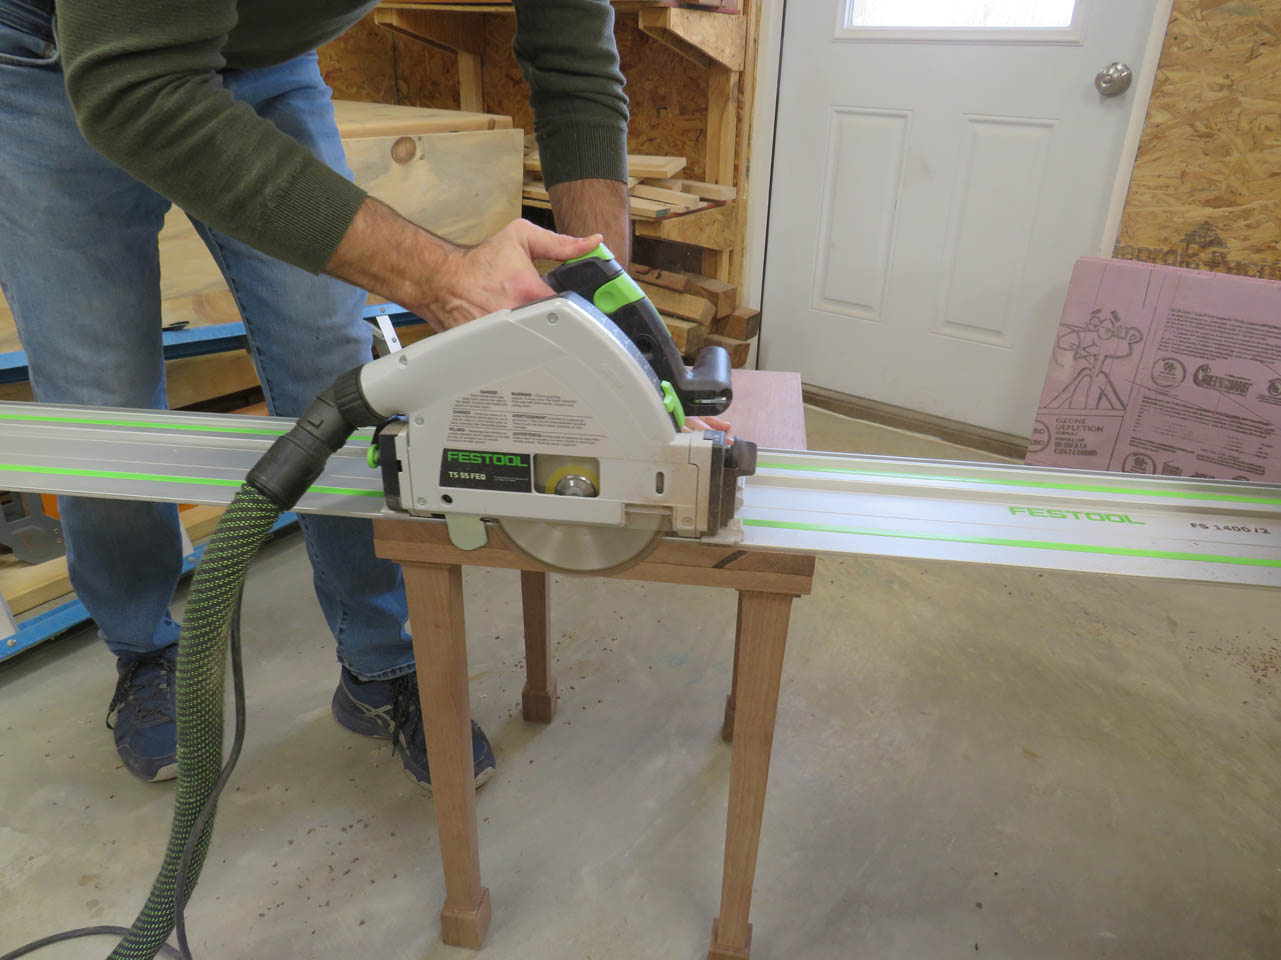
Once the clamps are pulled, I used my track saw to flush-cut all the edges.

Everything gets a final sanding before the bullnose trim gets attached.

The trim is mitered and marked so that it gets cut to exact length.

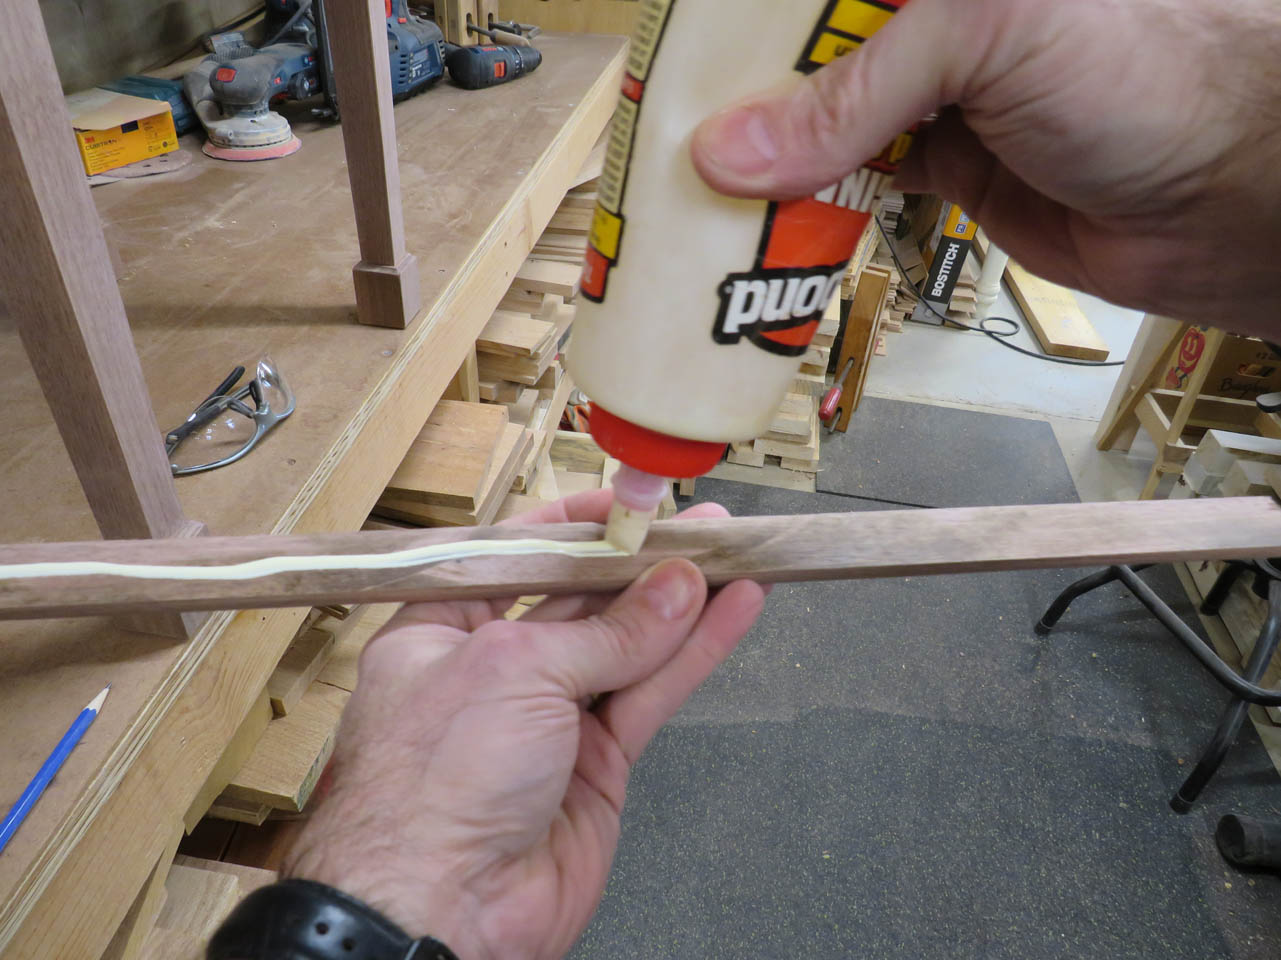
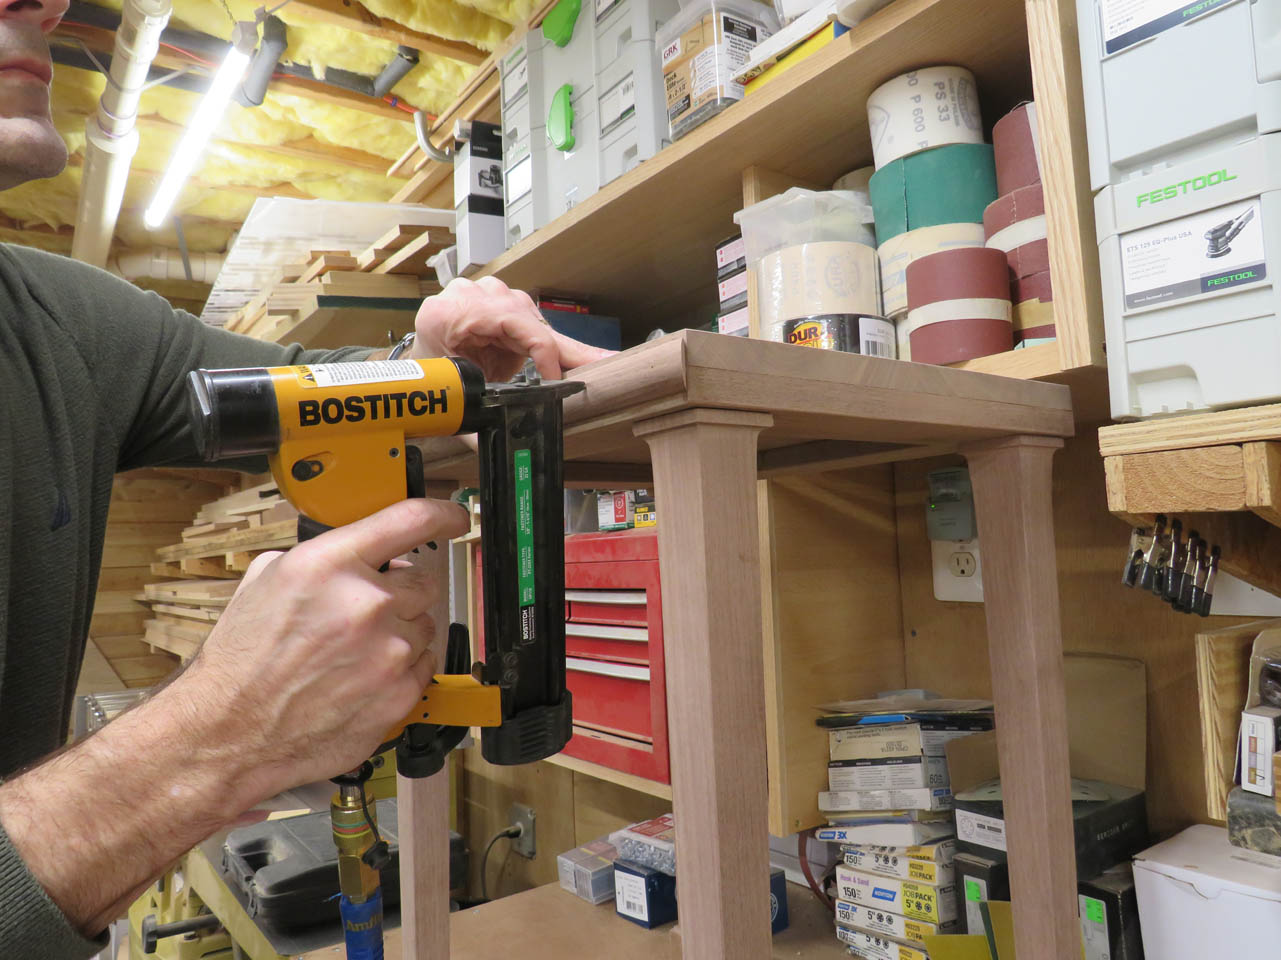
Each piece gets glued and pin-nailed in place to dry.

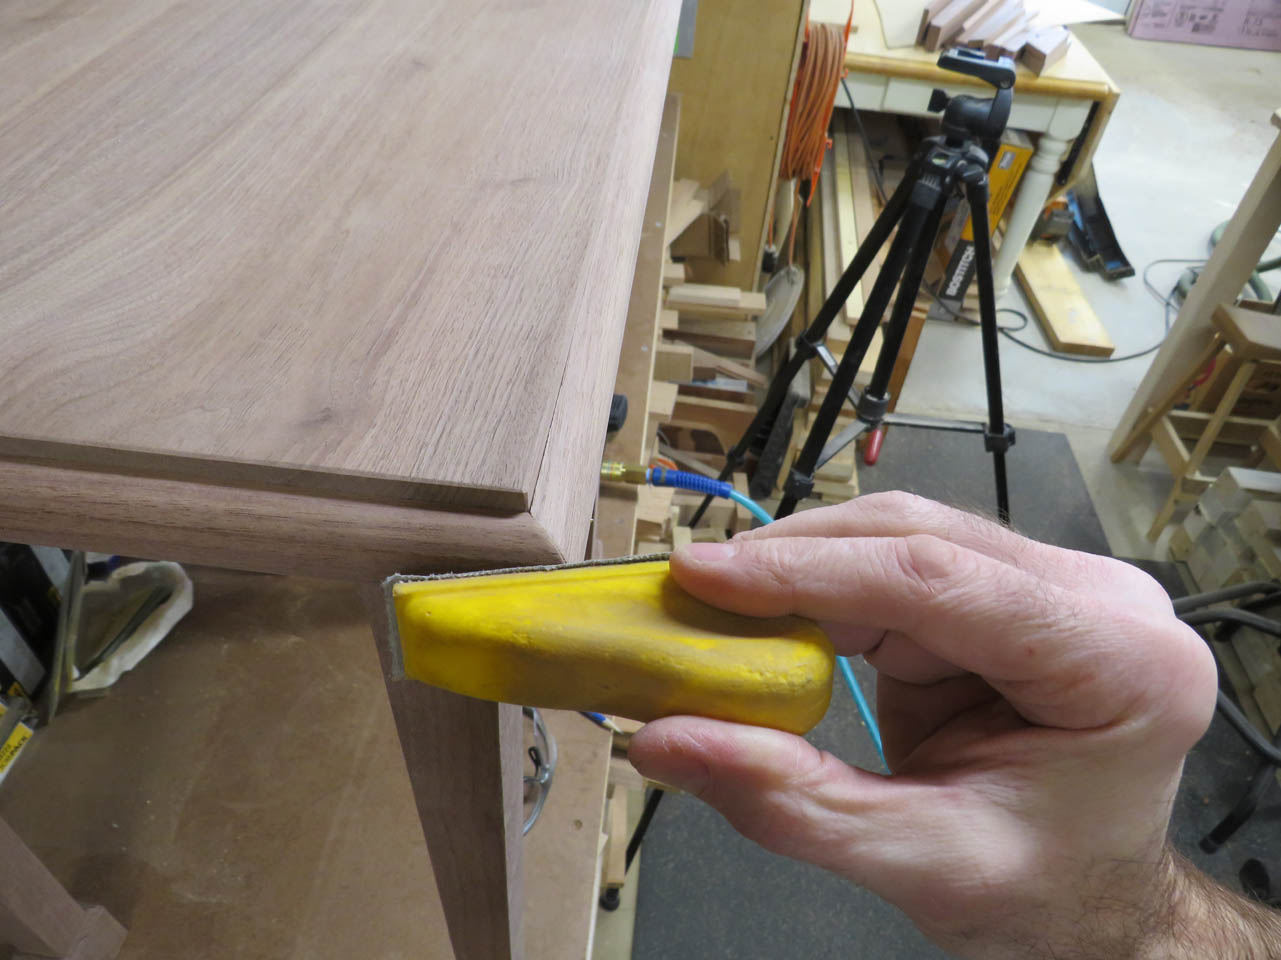
Each corner gets sanded to soften the sharp edge at each corner.
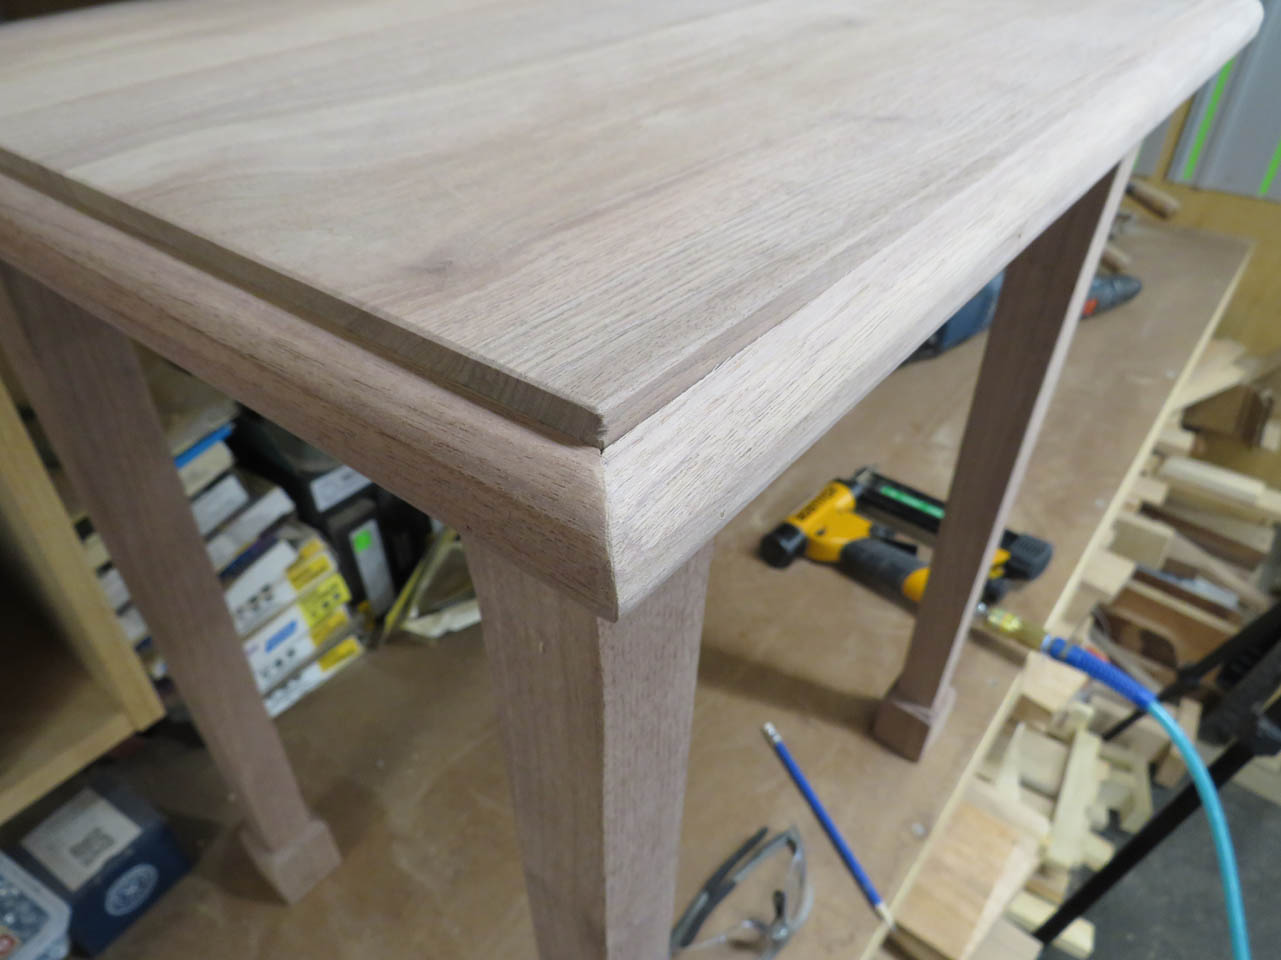
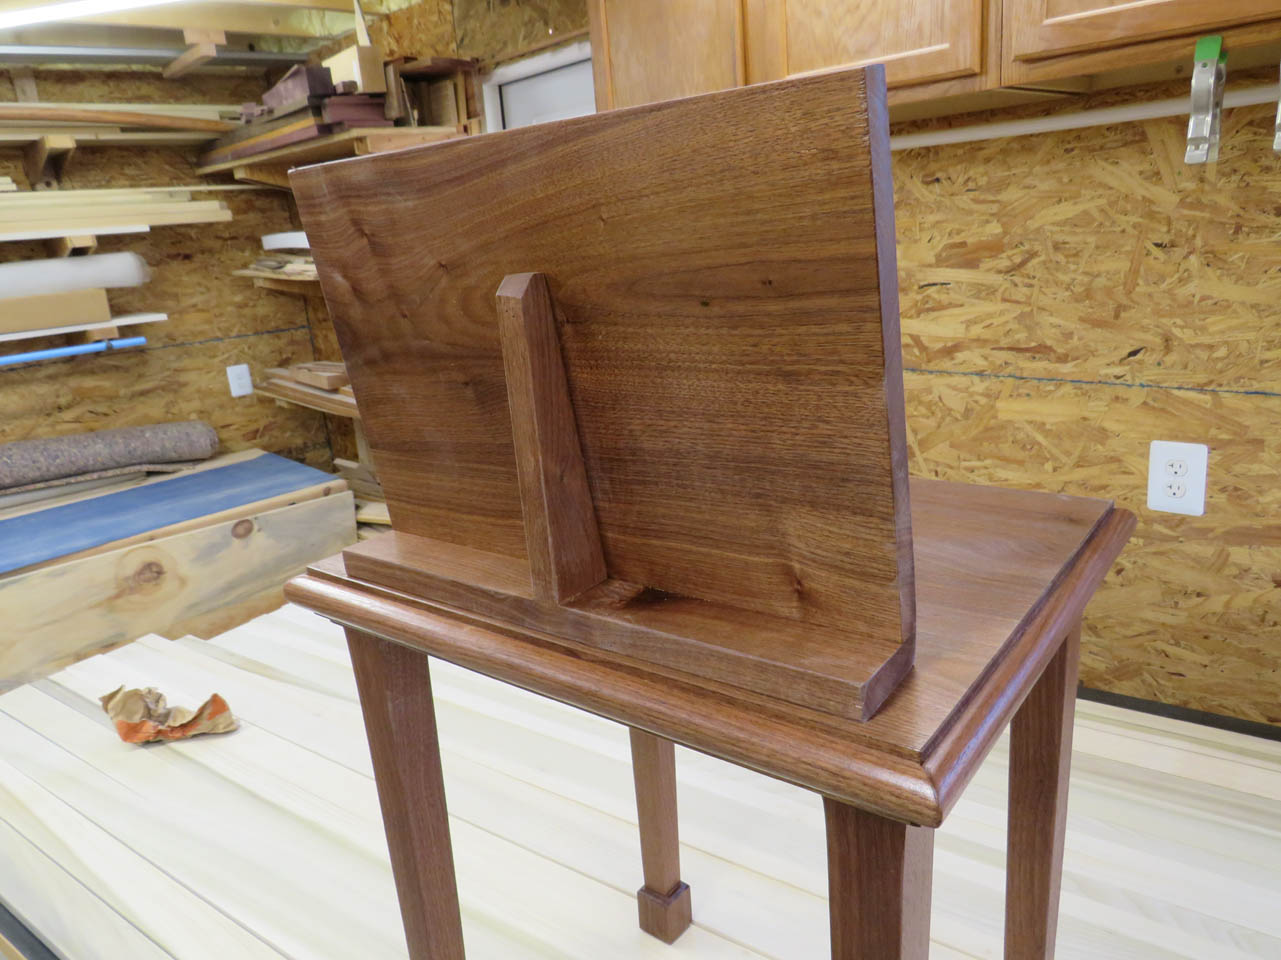
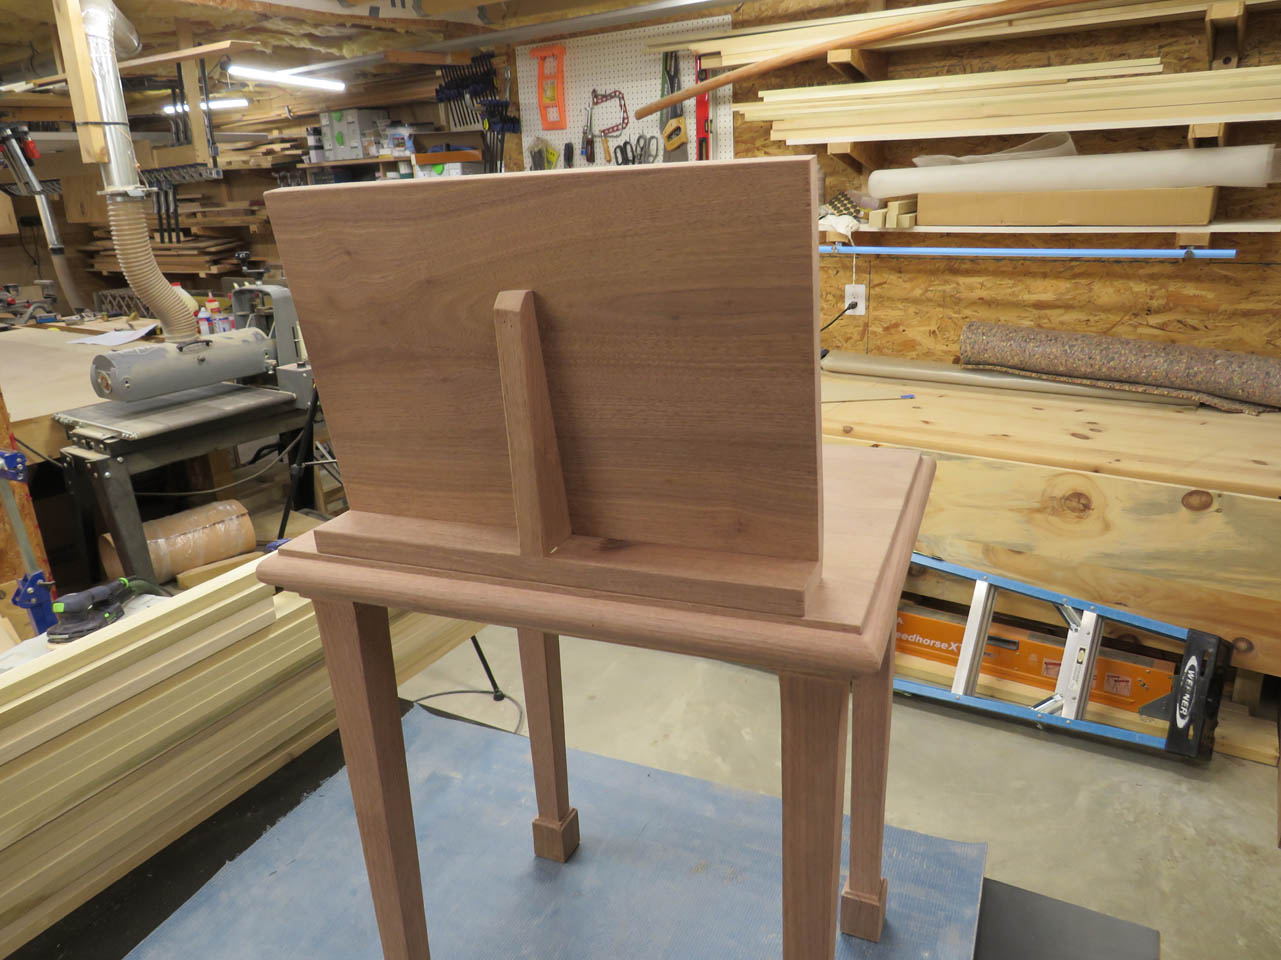
The little table is done, now it is time for the sign.

Originally they requested a slot get cut into the table top and the removable sign would be inserted. I suggested that we just make a base for the sign so that the table could be used for other things without a slot left in the top when the sign wasn’t in use.
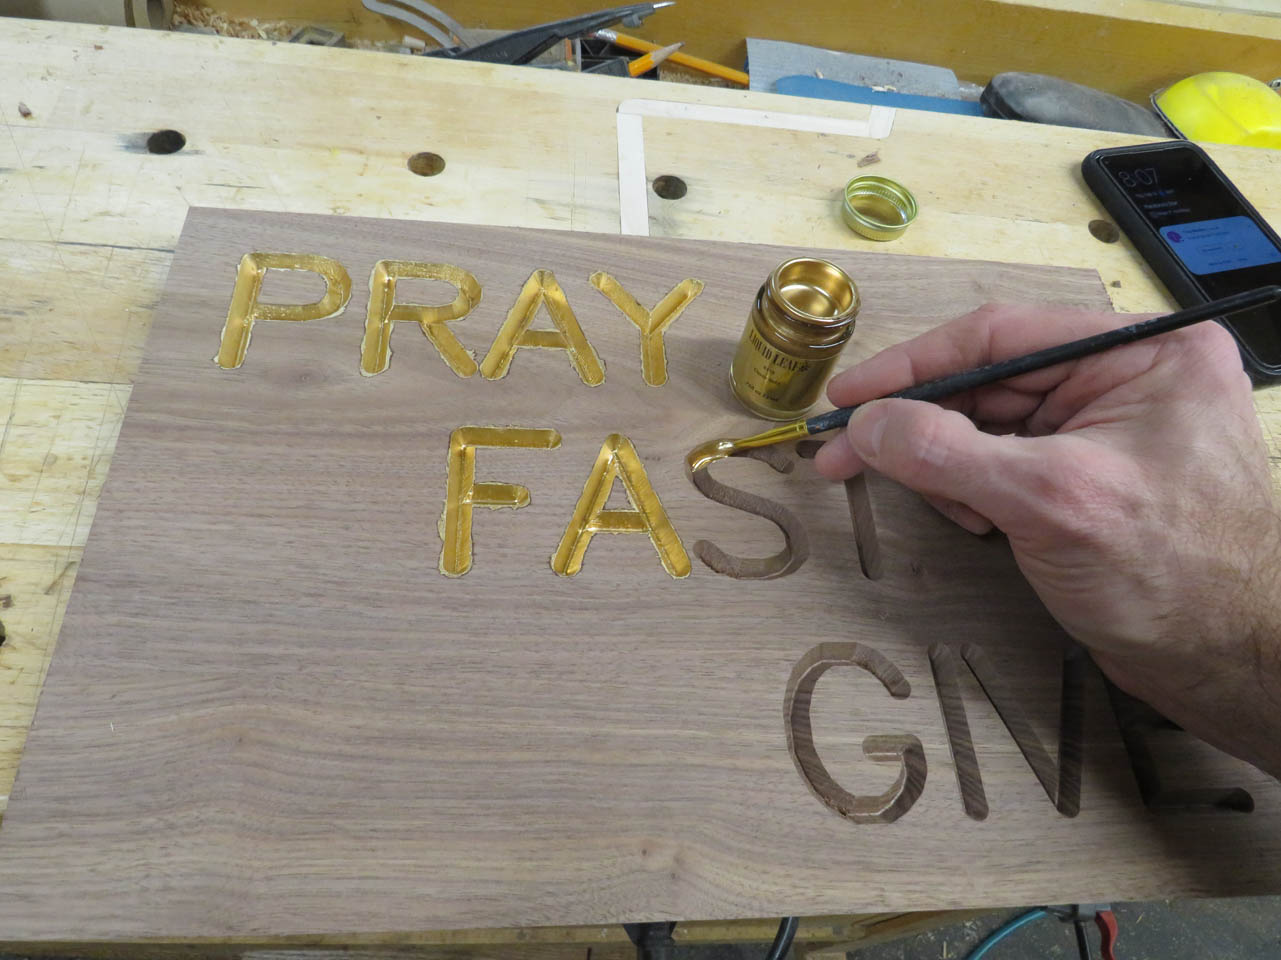
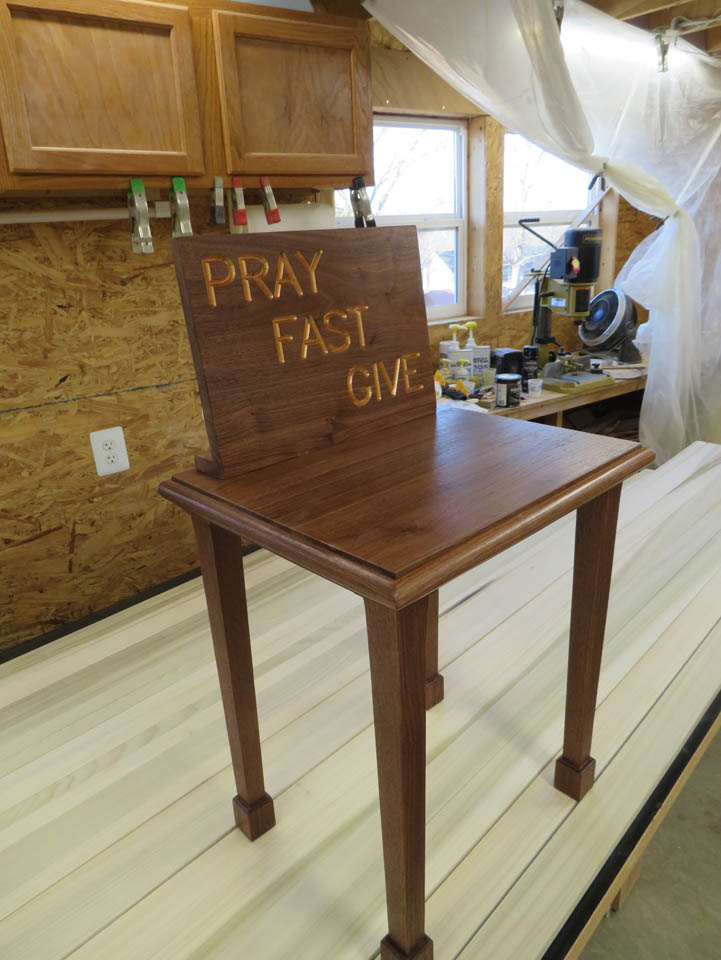
I glued up another panel and then loaded it into my CNC to carve the text into the front.
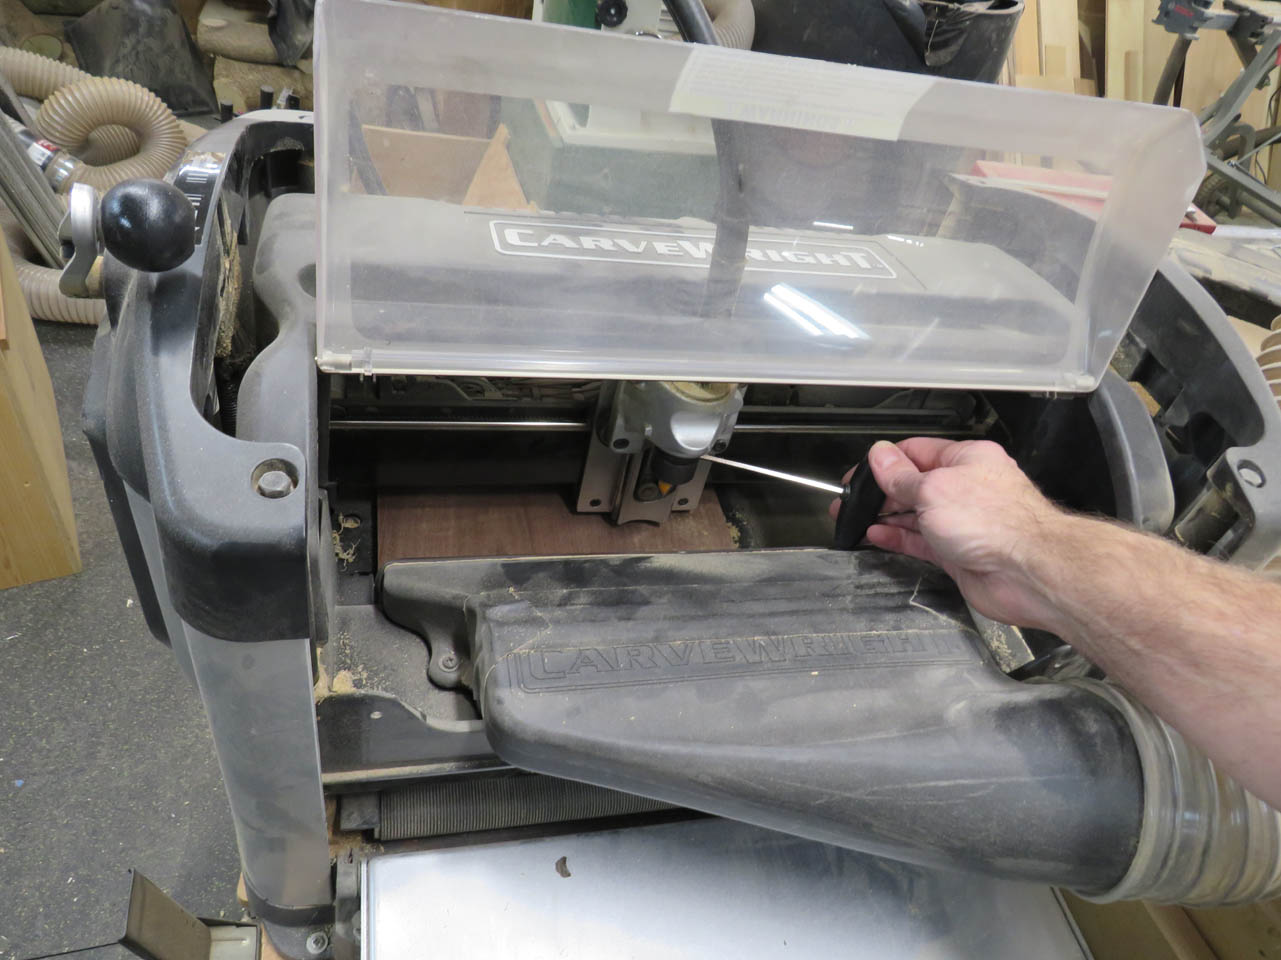
I loaded in a 60° Vee-bit and started the program.

This took a little longer that me free-handing it with a router but it is definitely more uniform than I could do.
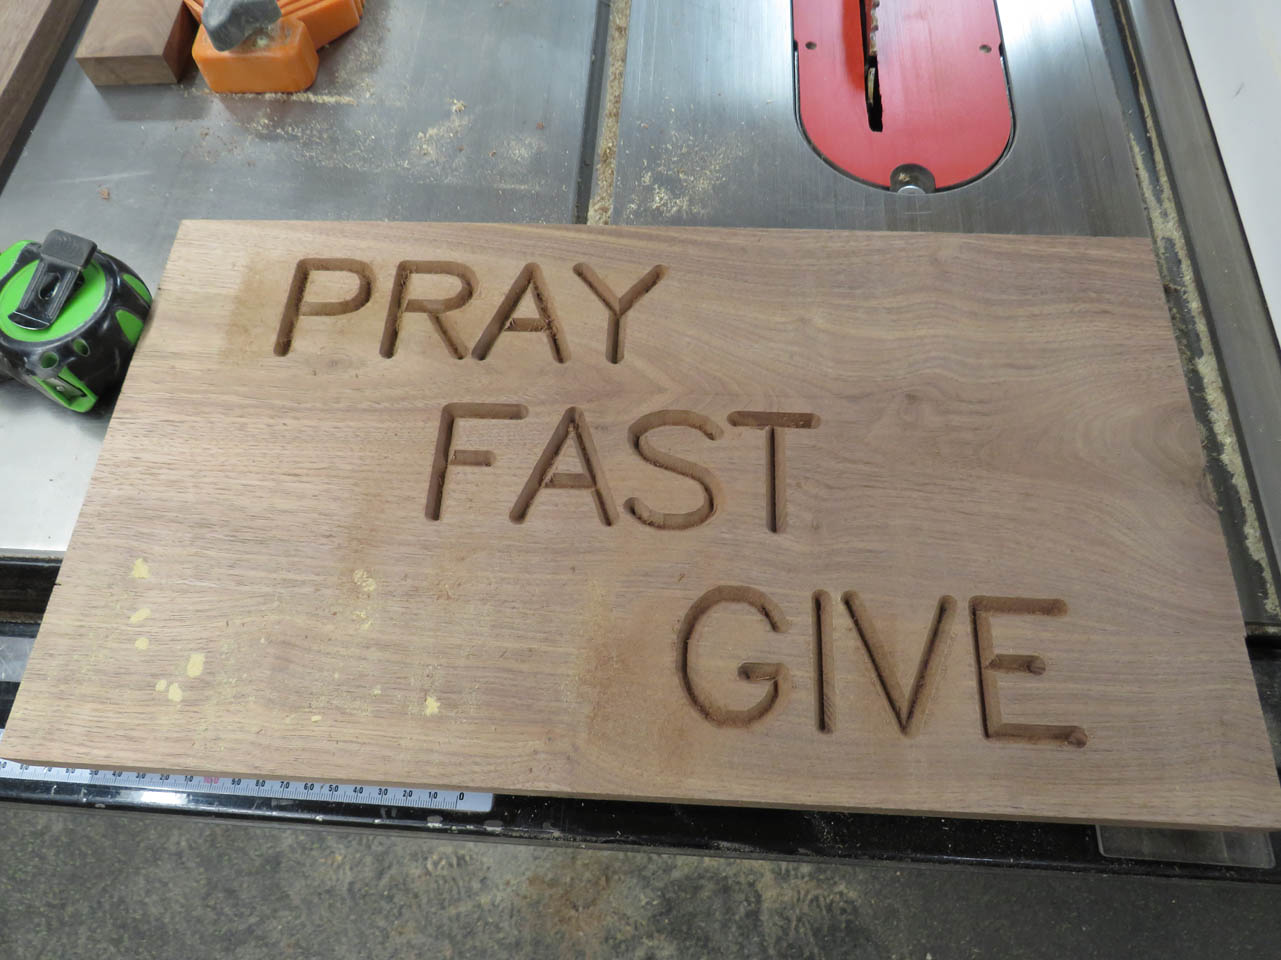

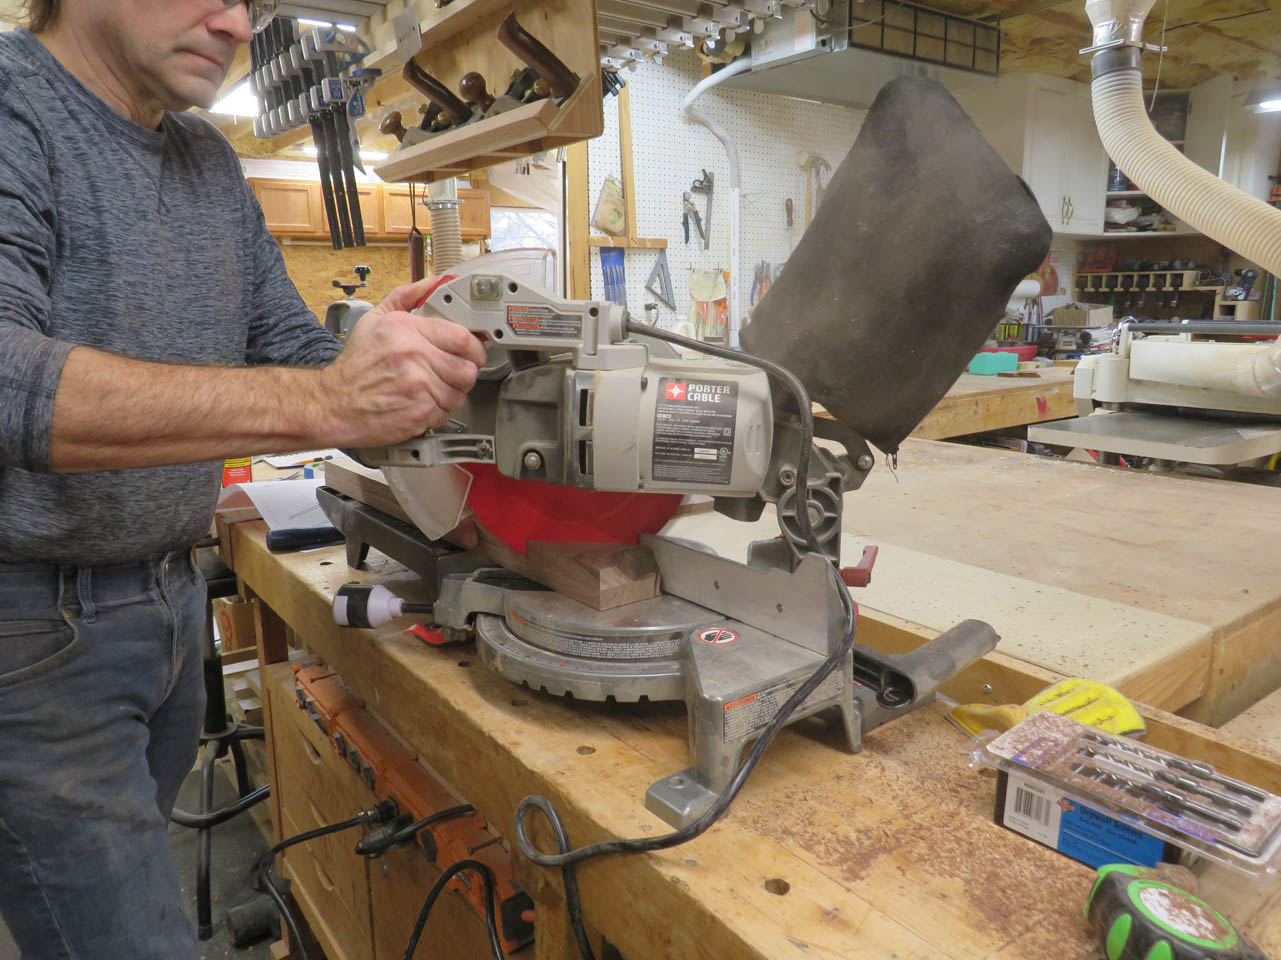
The sign was cut to size, then I added an 8° bevel to the bottom. I also cut a support rib for the back with the same 8° angle.,

I want to paint and sand the letters before final assembly so that I can work with the board laying flat.
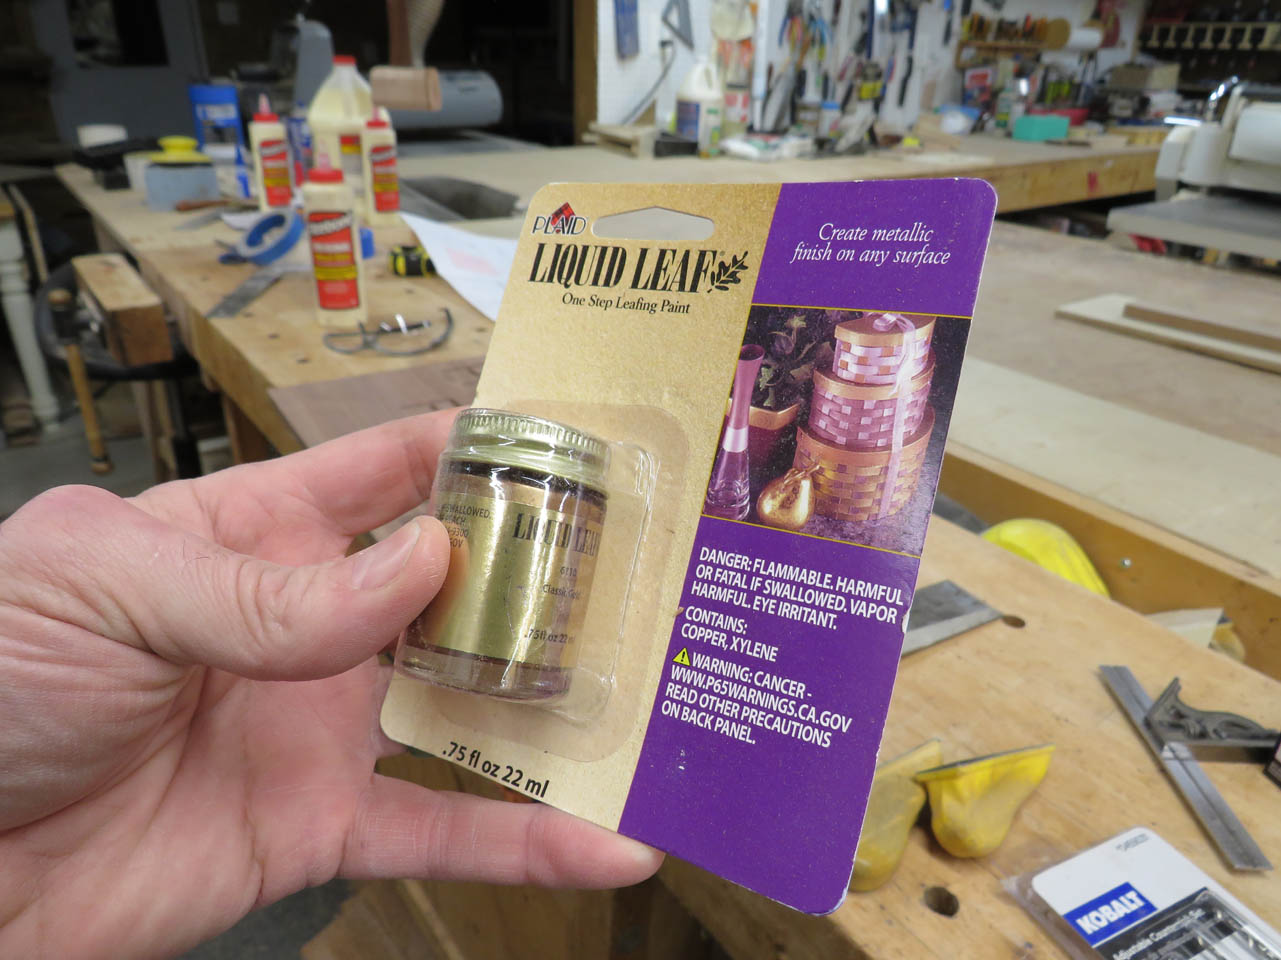
I bought some gold-leaf paint to try on this.
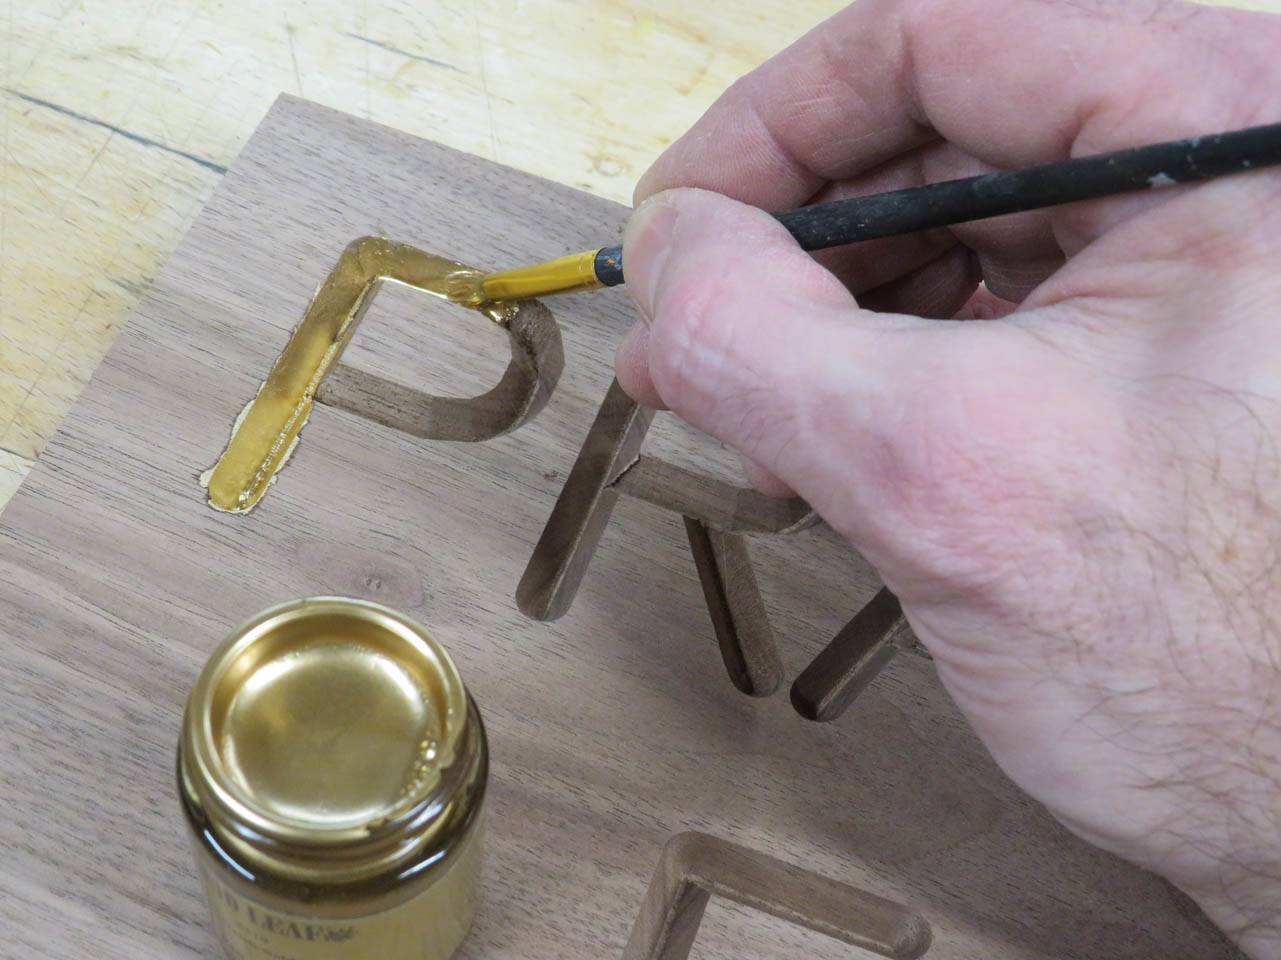
I really liked how well it went on. I think it contains copper and solvents, but it went on very smooth and did not sink into the wood.

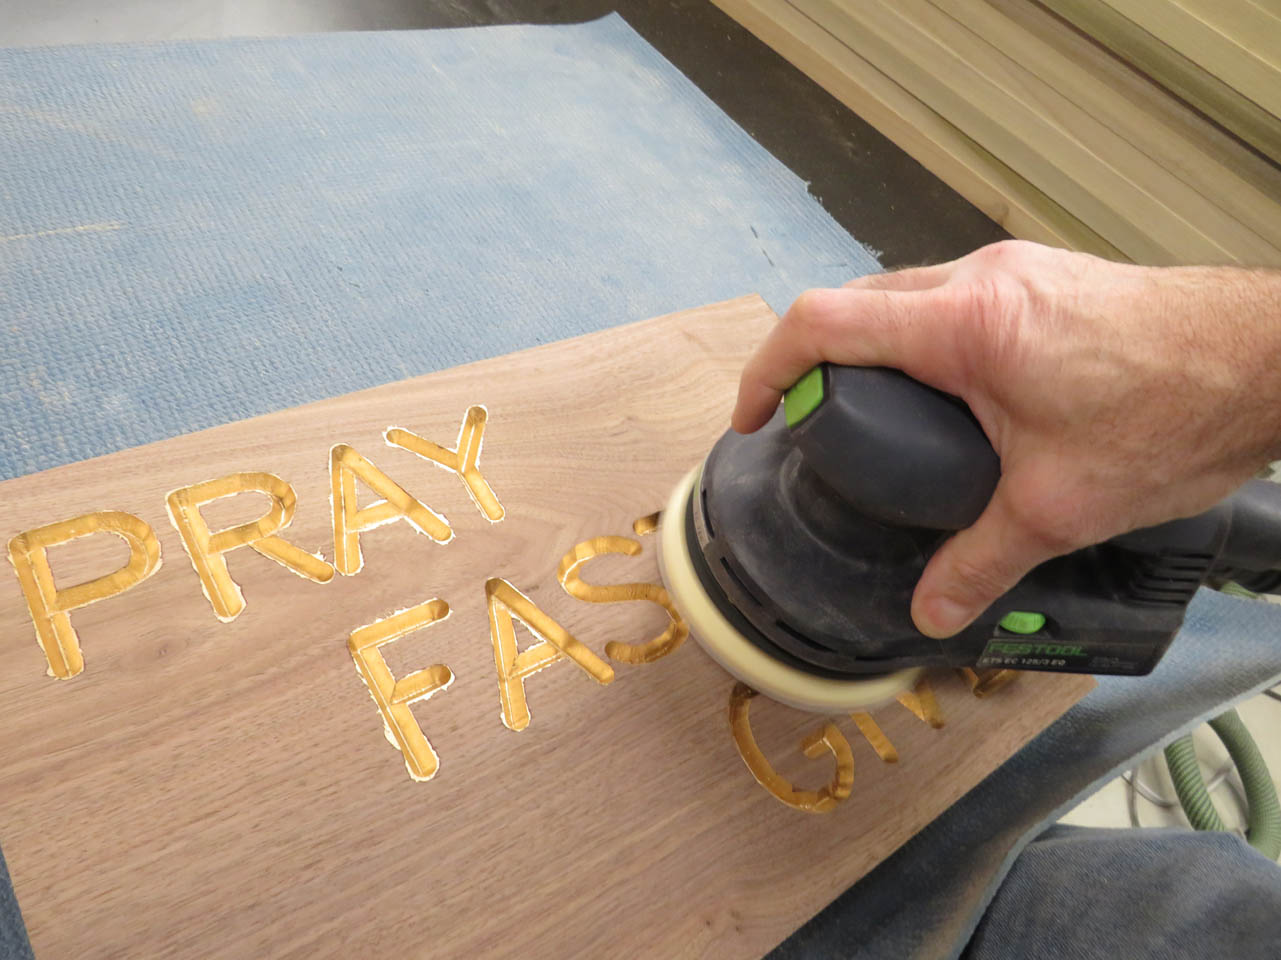
I only needed one coat and after it dried, I could sand the surface.
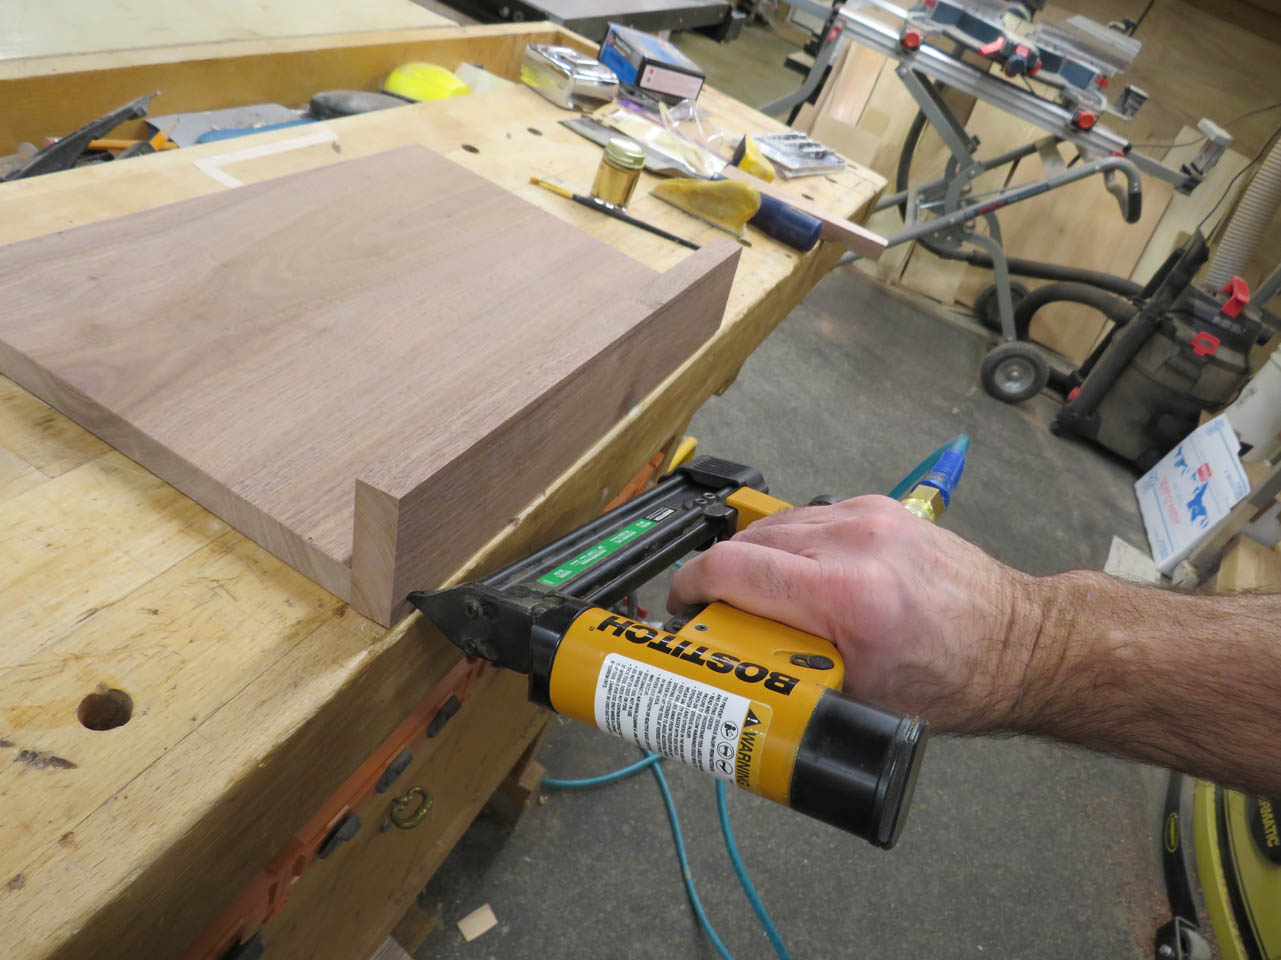
With that done, I could glue and attach the base and support.


All done, time for finish.

I loaded some semi-gloss polyurethane into my sprayer and applied the first coat.

I started with both pieces upside down, then flipped them over onto painter’s pyramids to spray the tops as well.


Between each coat, I sanded all the surfaces with 400 grit paper.
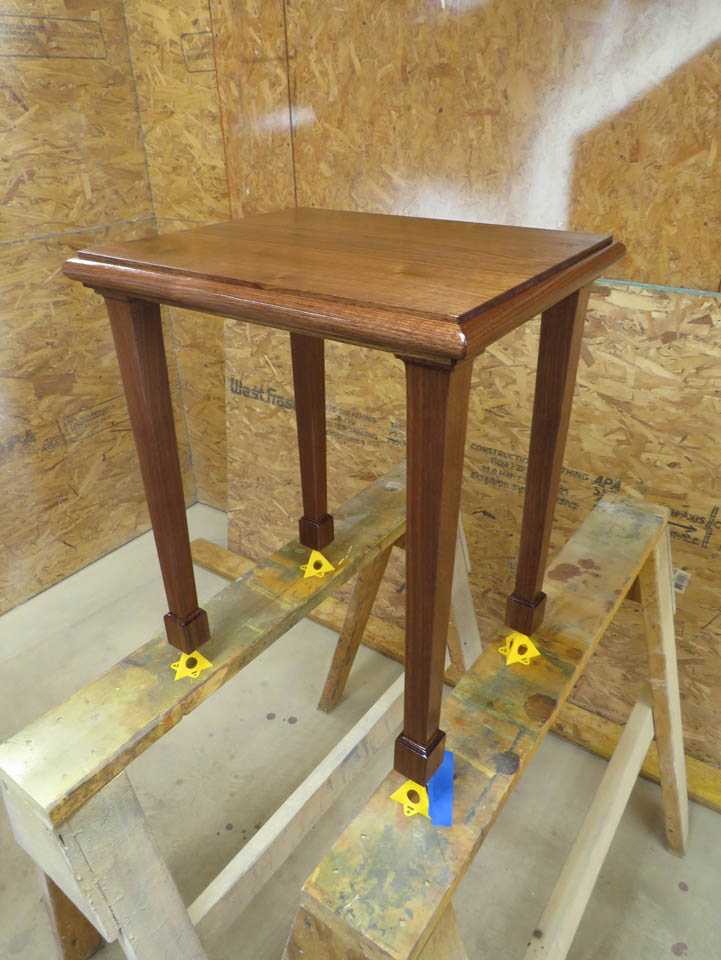
I did three coats in total. I normally do two but tables can get heavy use so the extra coat doesn’t hurt.
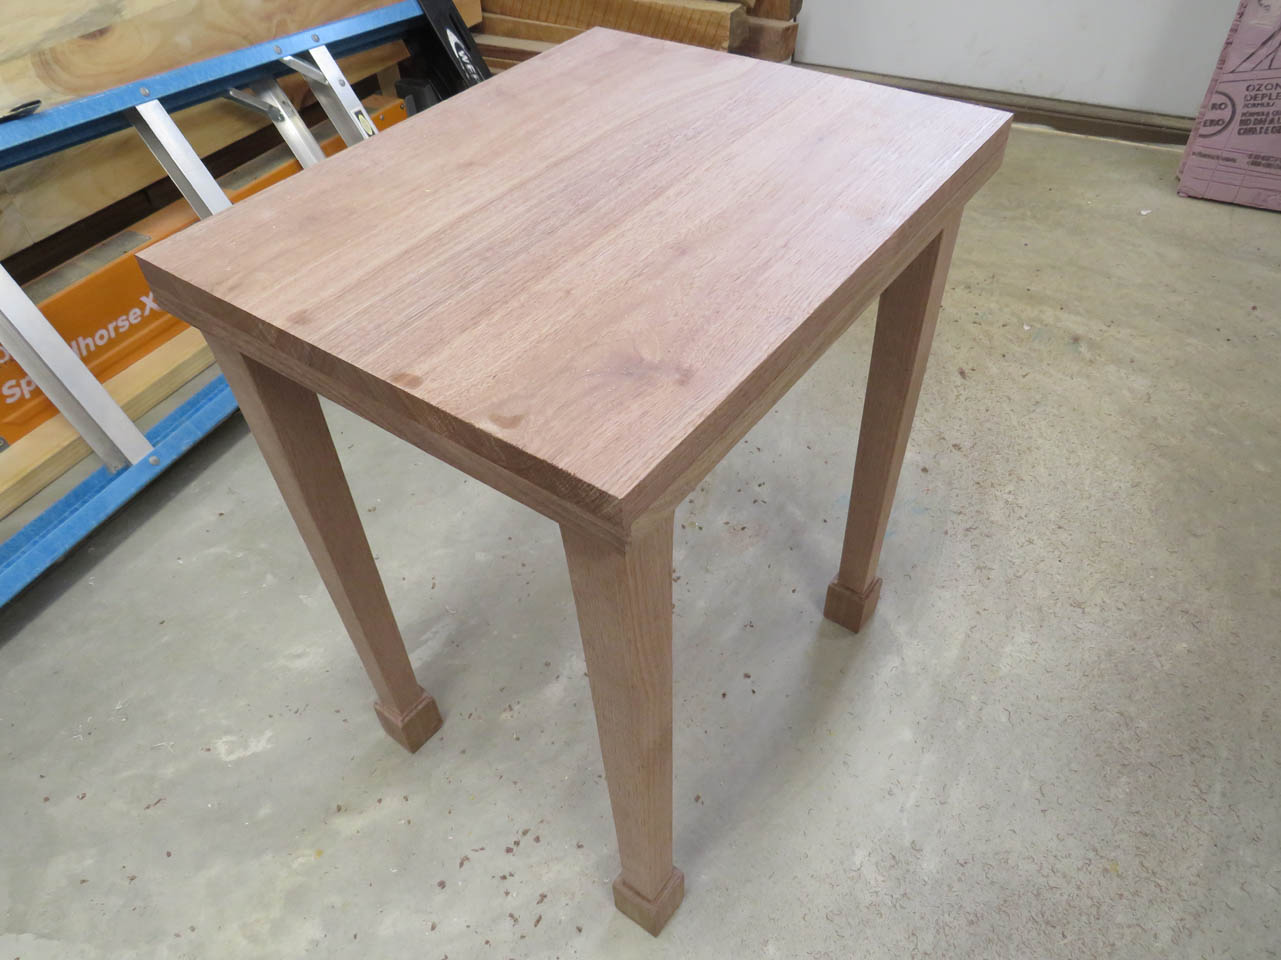
I like this table design in walnut. The client was happy as well.