
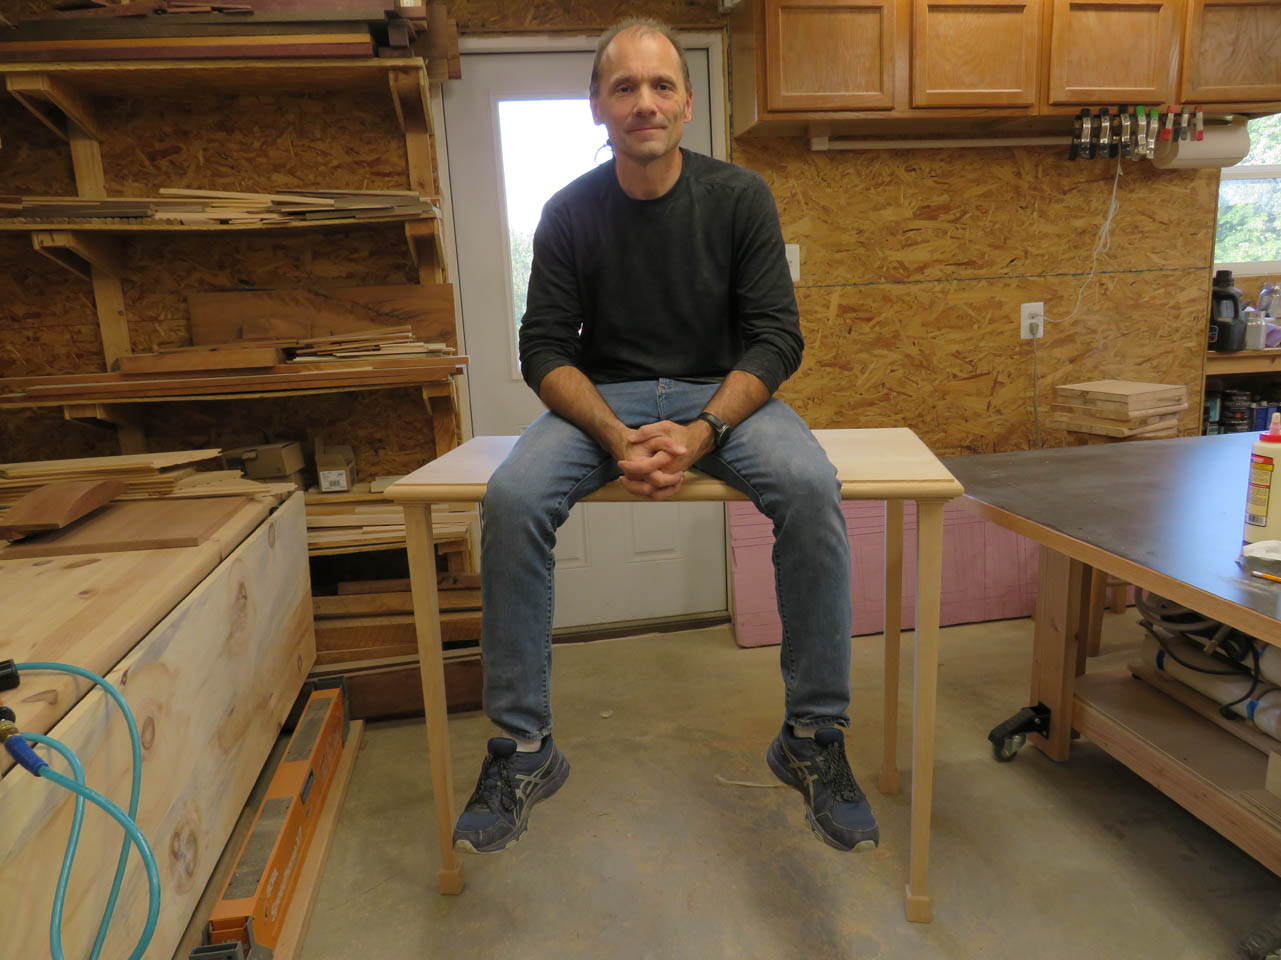
Tapered leg table for Holy Spirit Church
I just delivered several different tables to Holy Spirit church in this style and they requested one more. This one is slightly different. This one is a little deeper and it has no shelf below. I am a little concerned that the long, thin legs will have trouble with stability without the shelf below to stiffen them up. I have an idea to hold the legs firmly in place by changing the build sequence a bit.
This is my plan: 1-TABLE.pdf
These legs are going to be longer than the last two types, so I decided to start with them. I have a 3″ thick piece of oak that is just long enough to get all four legs out of.

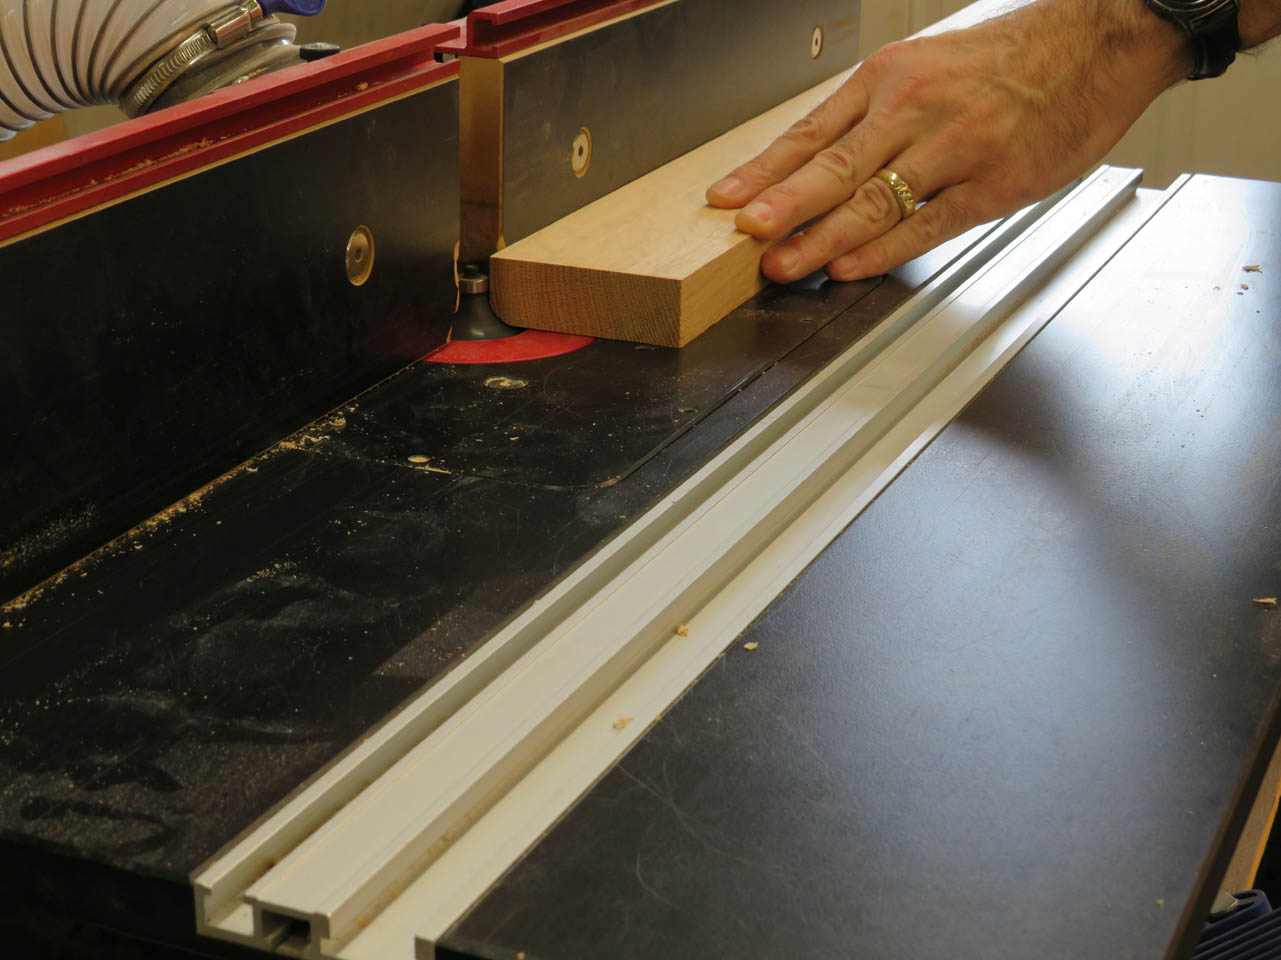
I had the wider faces planed at the mill so I am starting by jointing one edge so I have a straight edge to start with on the table saw.

I ripped my leg blanks to just over the 2-1/4″ I need.

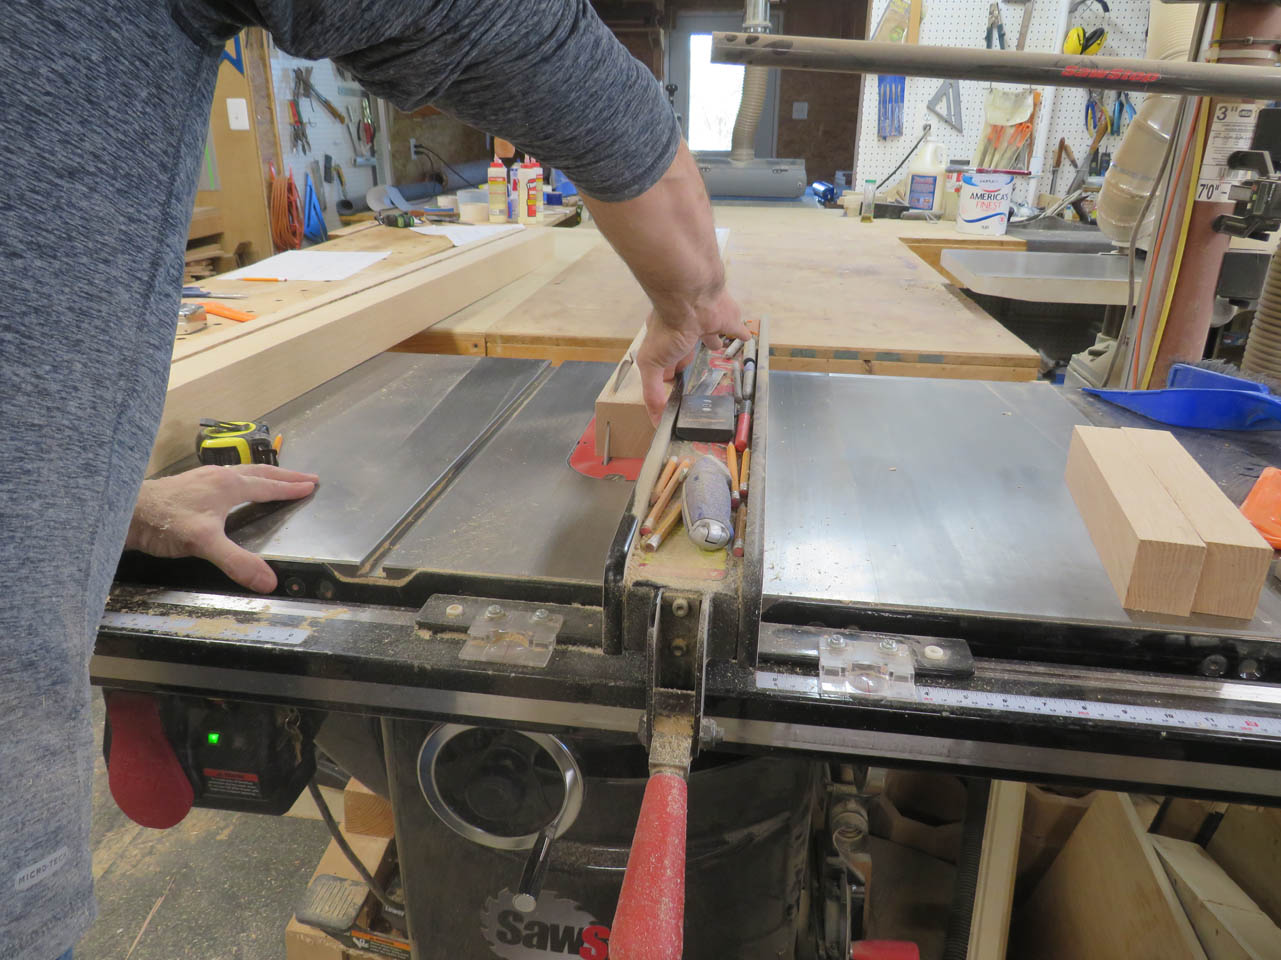
Then I cut them to the approximate length and jointed each sawcut face smooth.


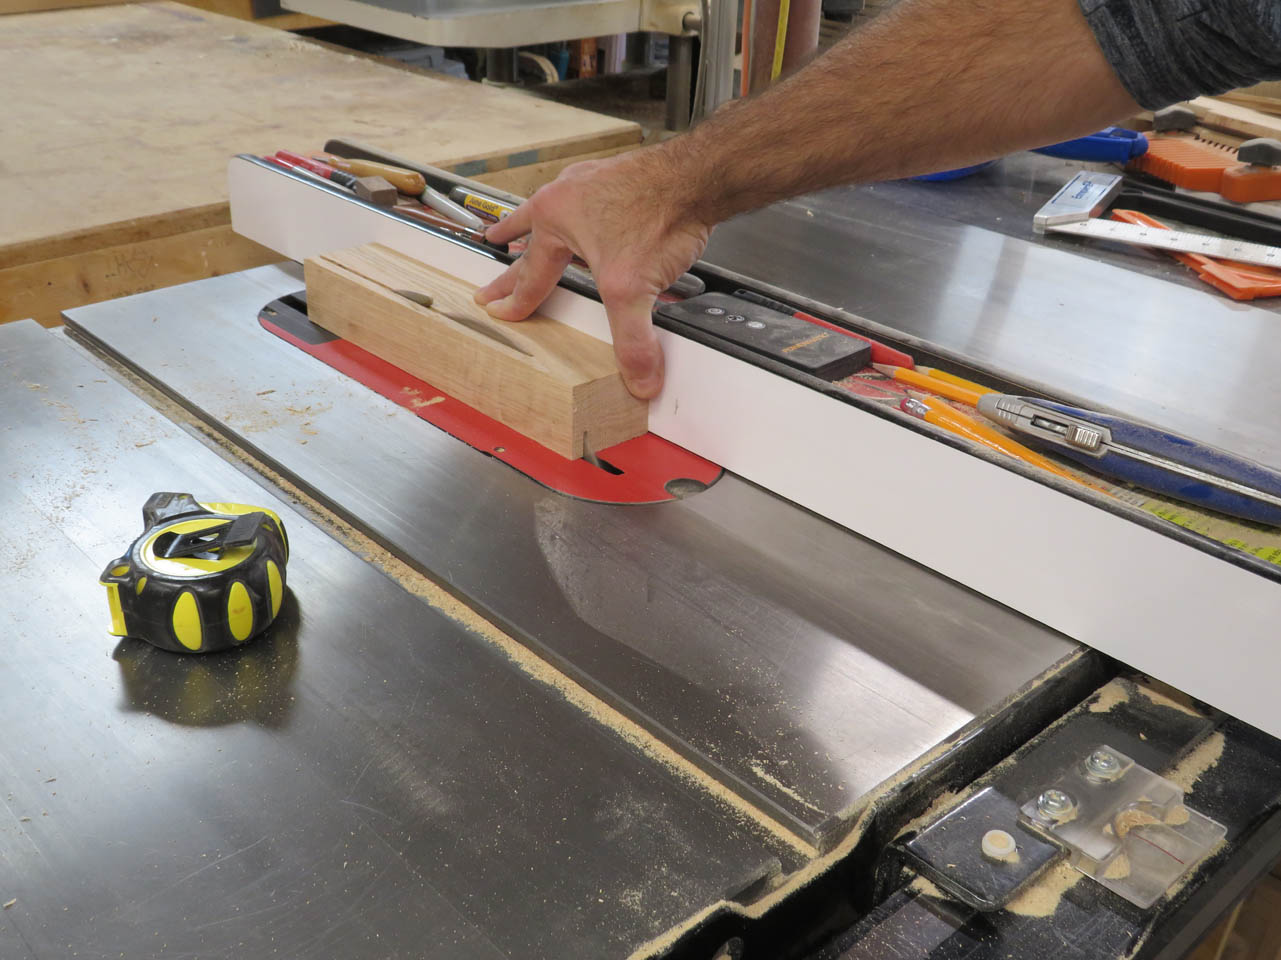
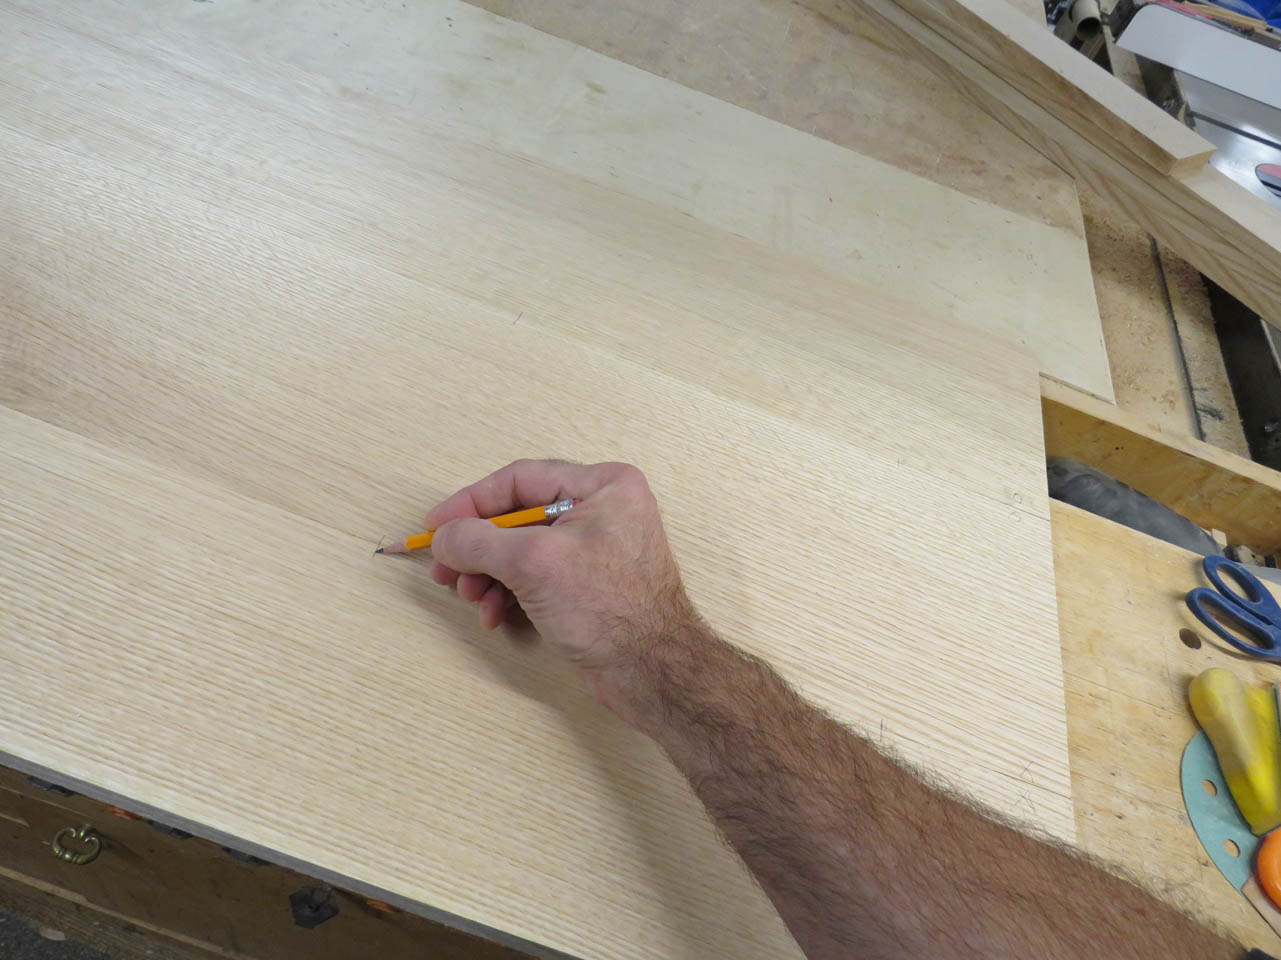
Since the feet will be attached with a dowel at the tapered end, it is easier to drill the dowel hole before cutting the taper. (the picture, above, is a left-over from a previous version of the table) I made up a drill jig to keep the hole dead center on the end of the leg.


This gets slipped tightly over the end and I hand-drill a 3/8″ diameter hole in one end.

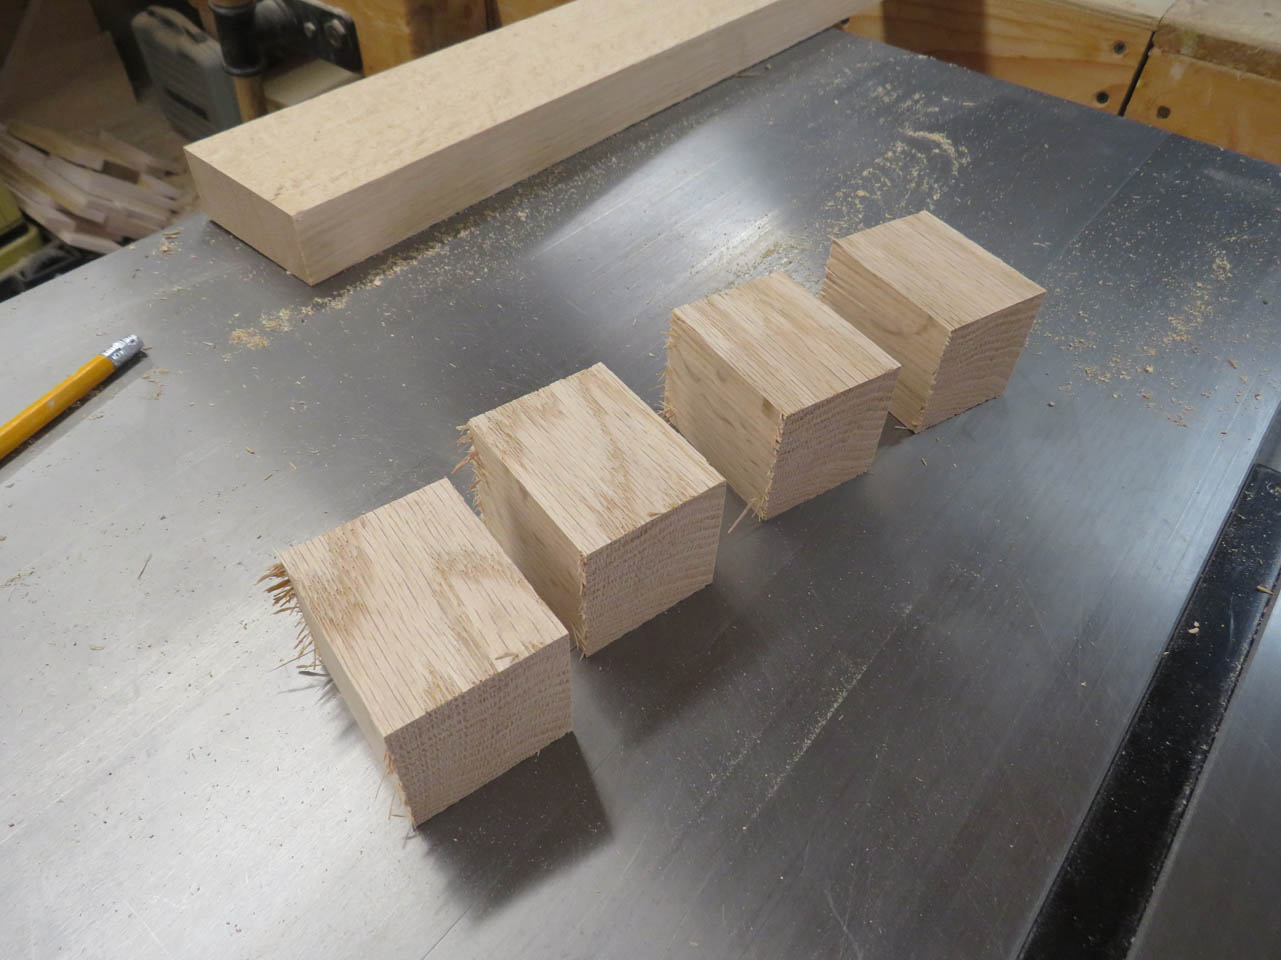
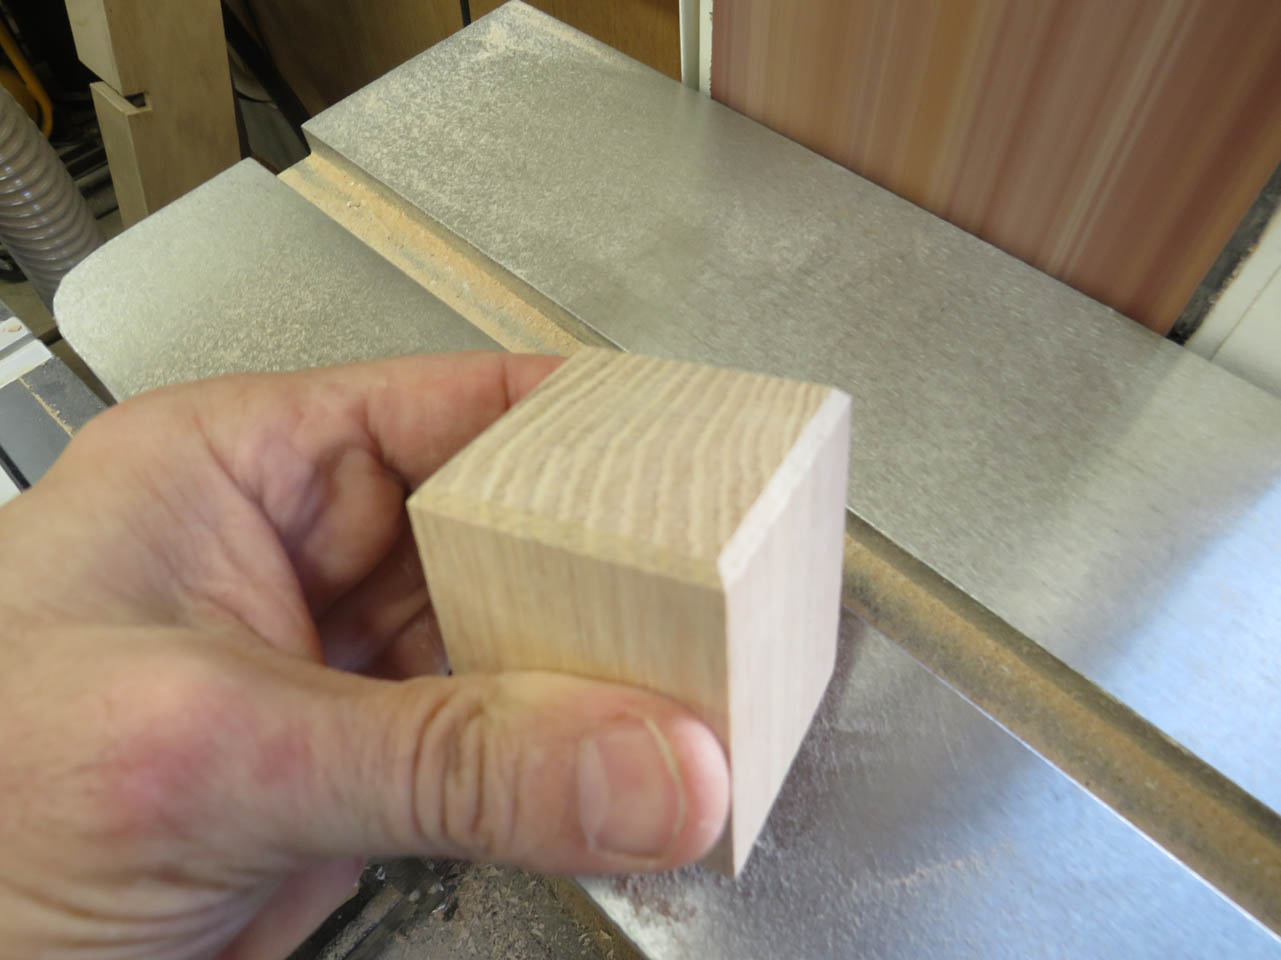
I have a left-over blank that is just right for the feet so I cut and joint it down the the 1-3/4″ square blank that I need, then cut four of them to length on the table saw.

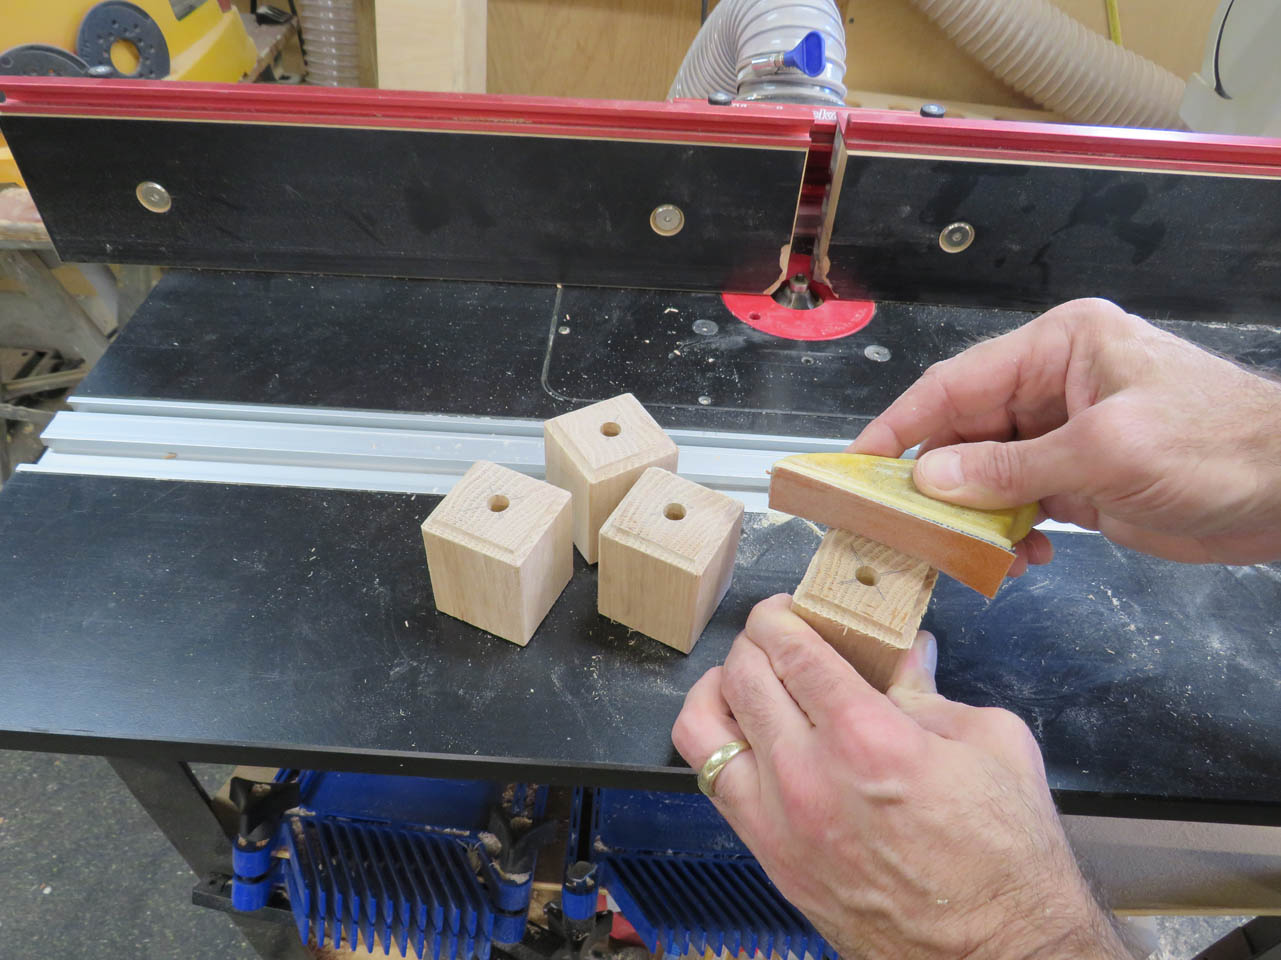
I used the big belt sander to place a slight chamfer on the bottom of the feet. This will prevent splitting if someone drags the table.
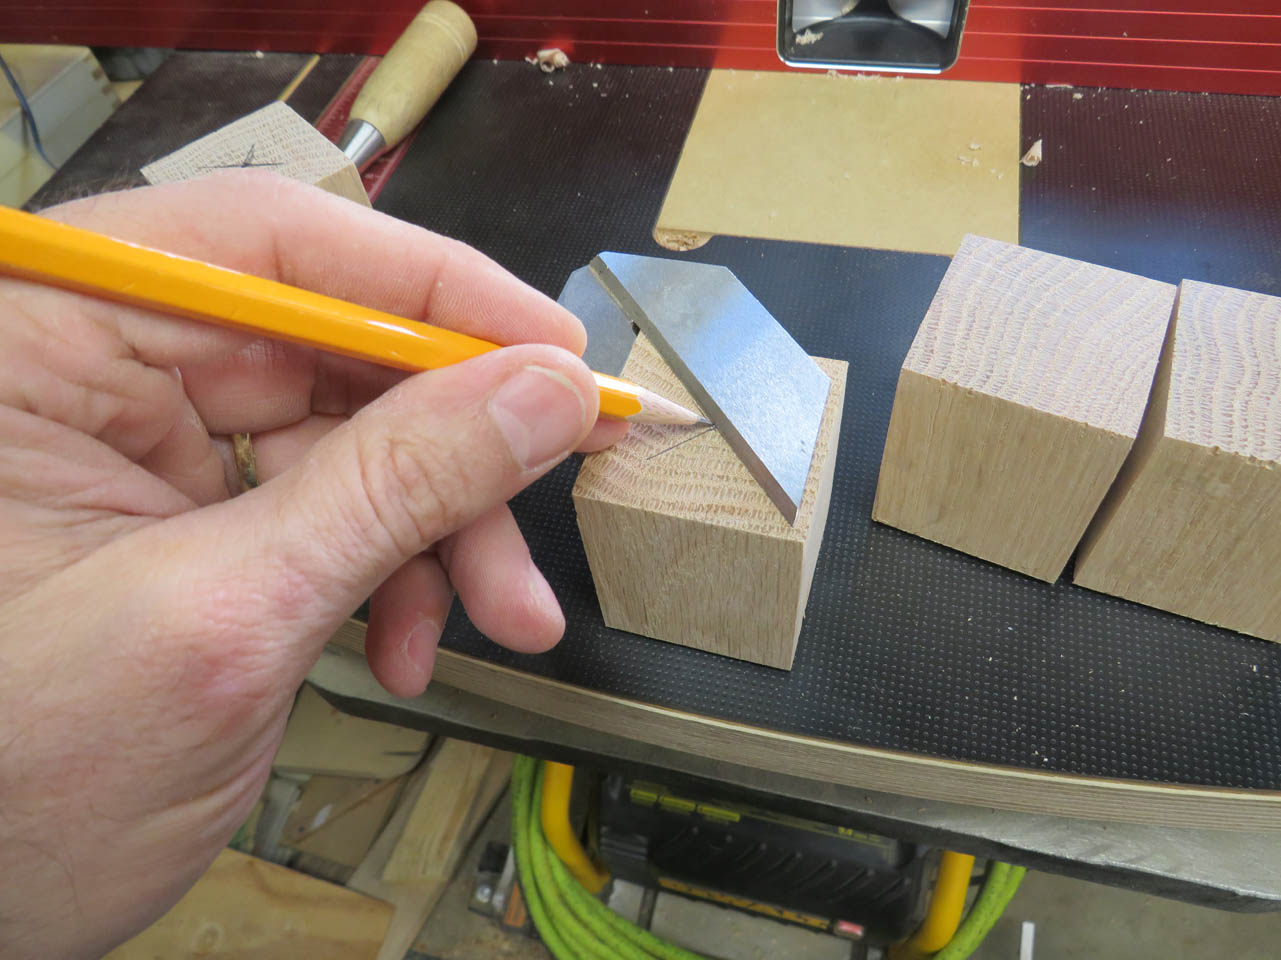
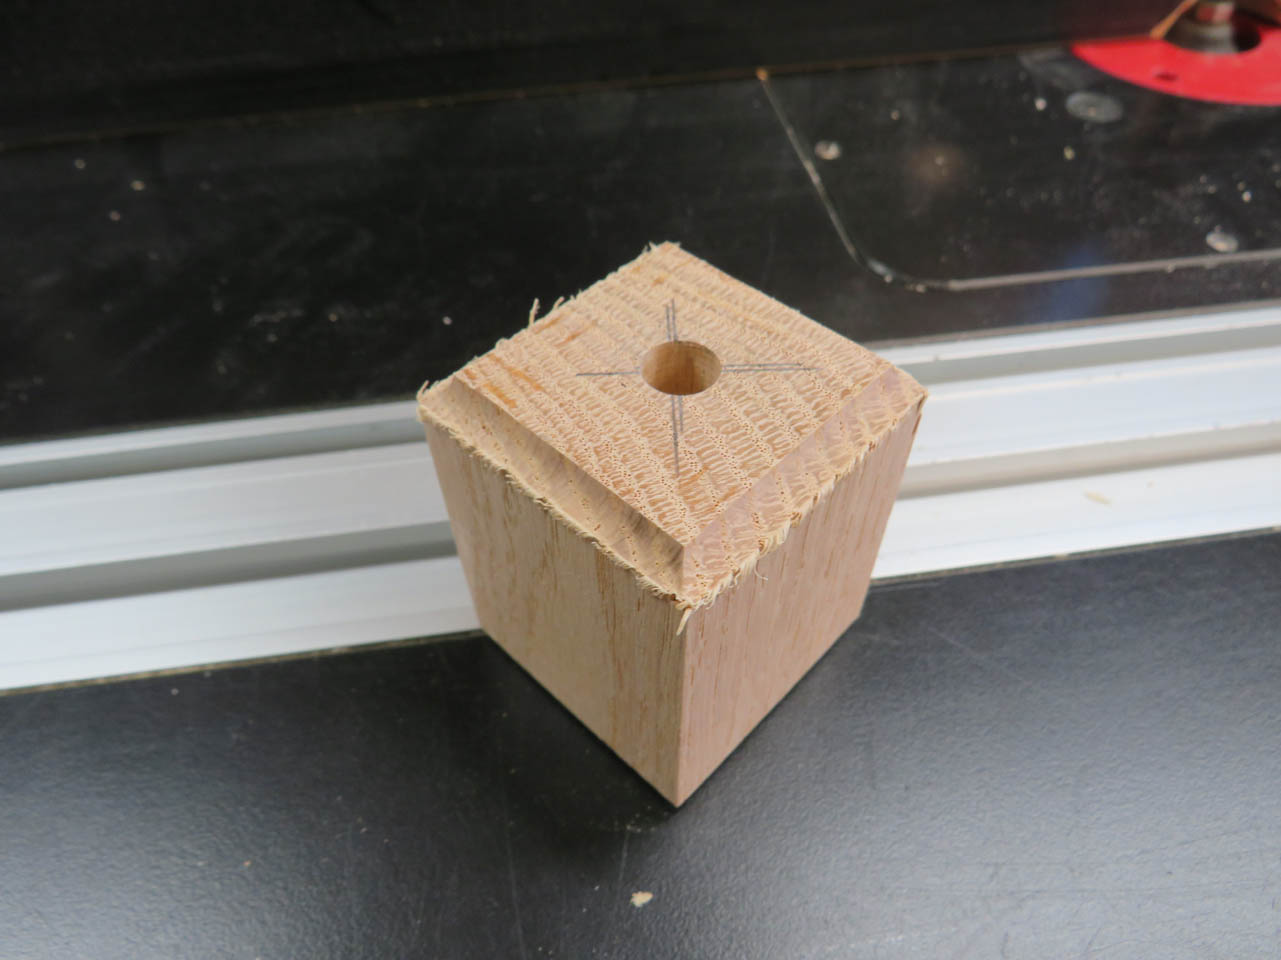
On the opposite side, I marked and punched the center of the blank.


Then I can drill the 3/8″ diameter hole on that face.

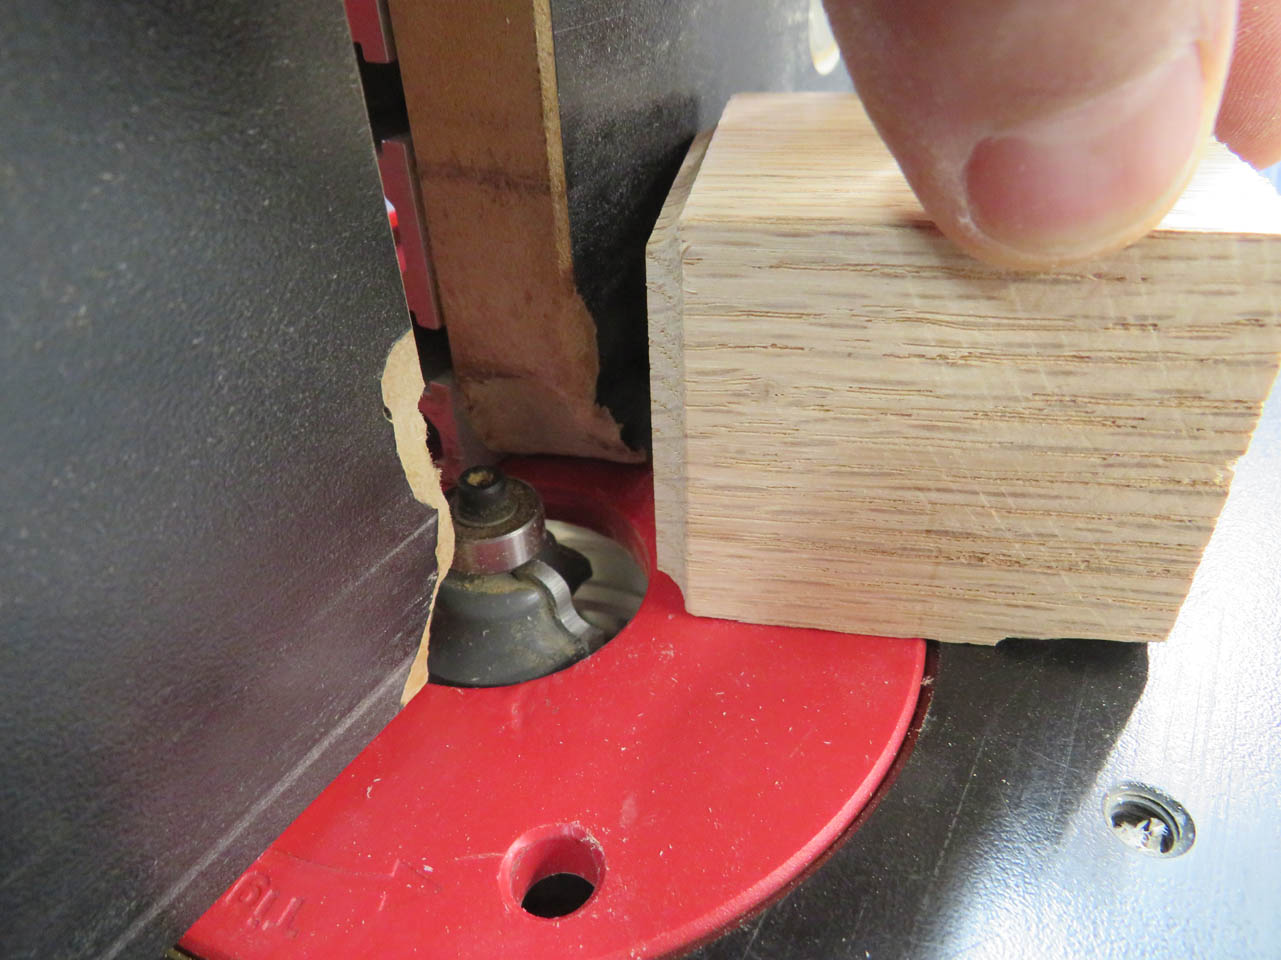
To get the small concave curve at the top of the foot, I use just the top of a small ogee bit on my router table.
Then after a little hand sanding, I can glue and install the dowels.
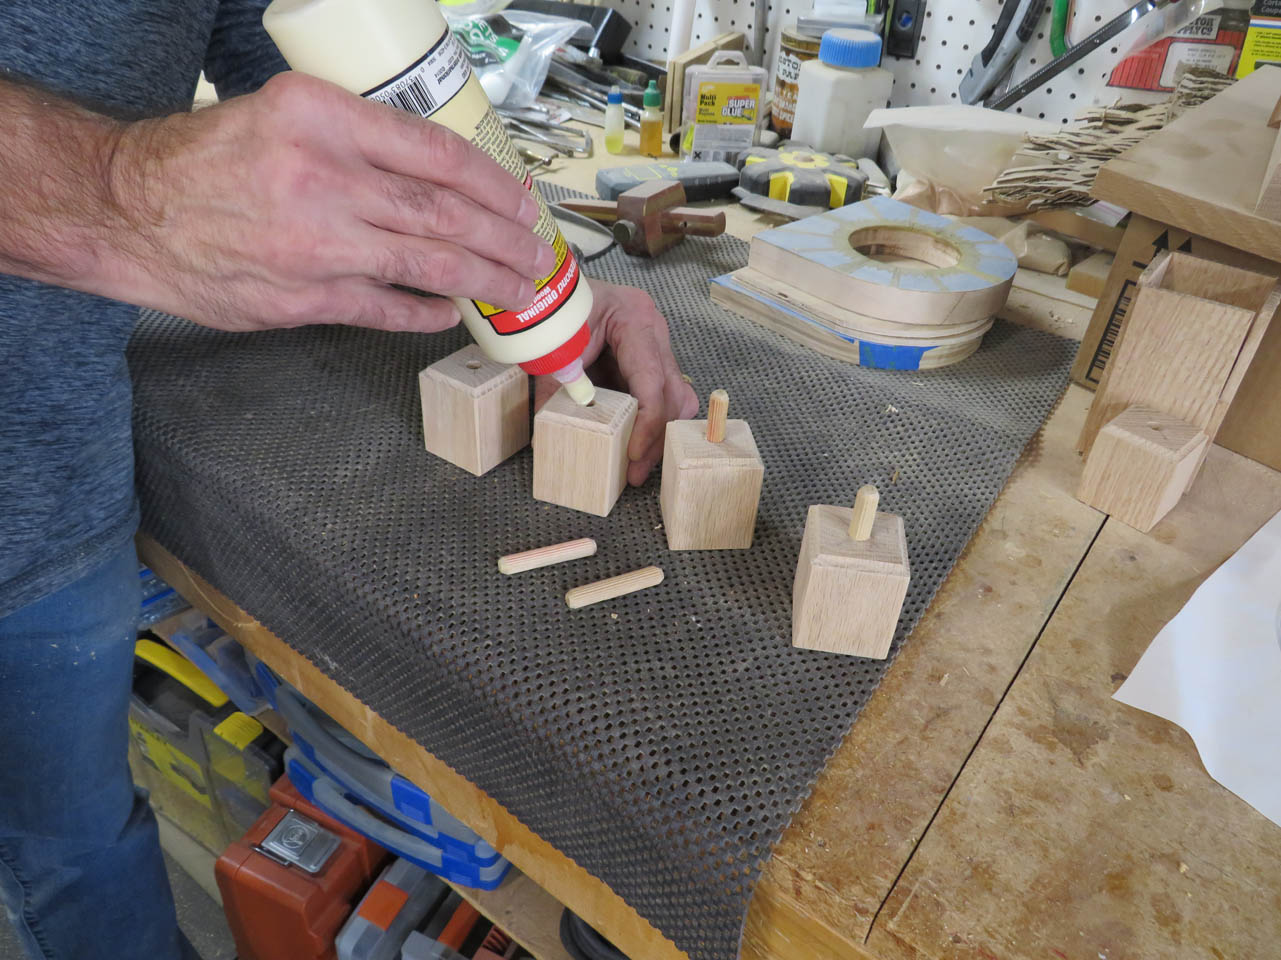
I seat the dowels fully in place with the tap of a hammer.

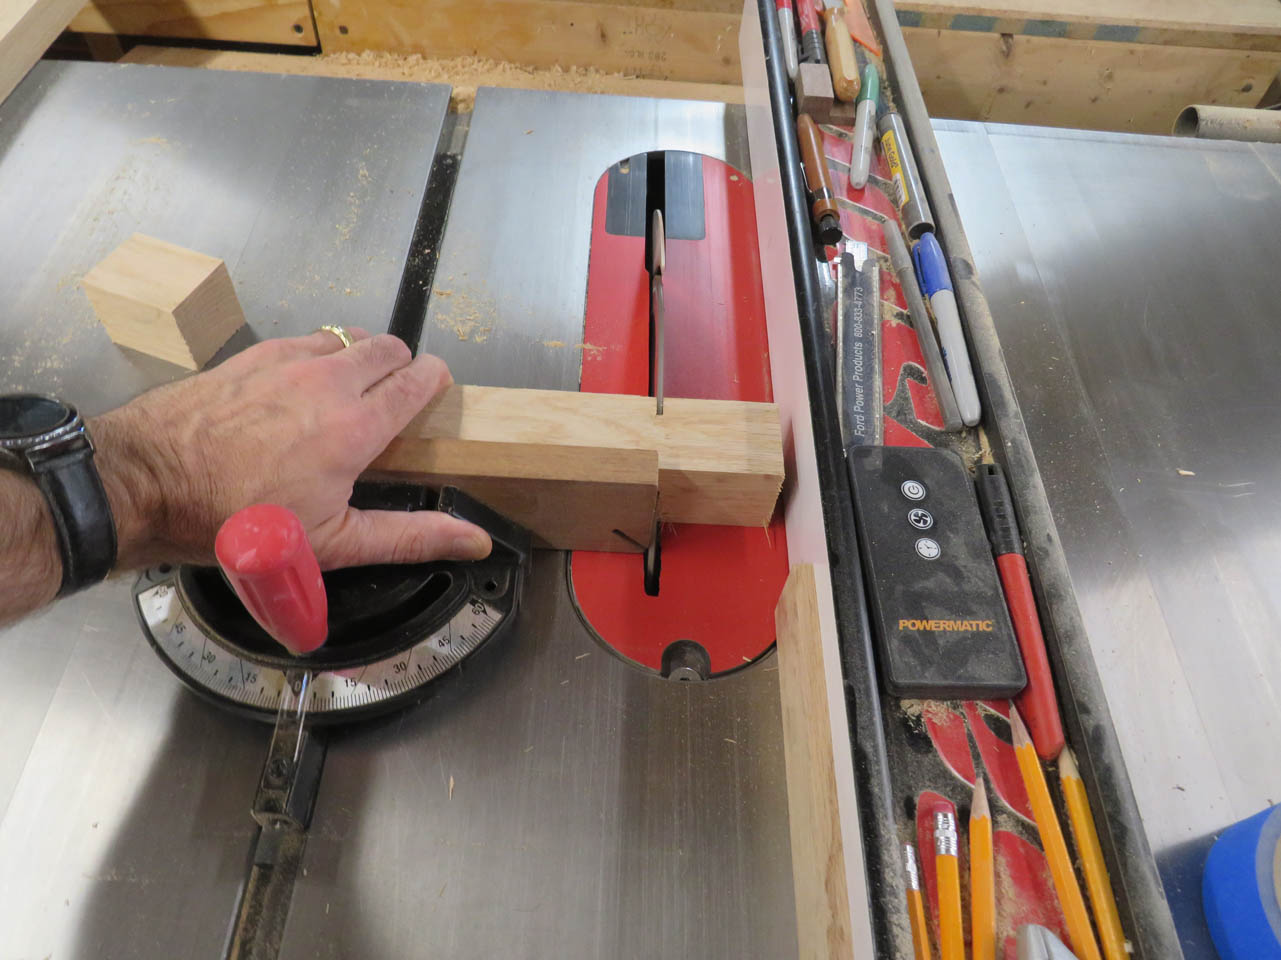
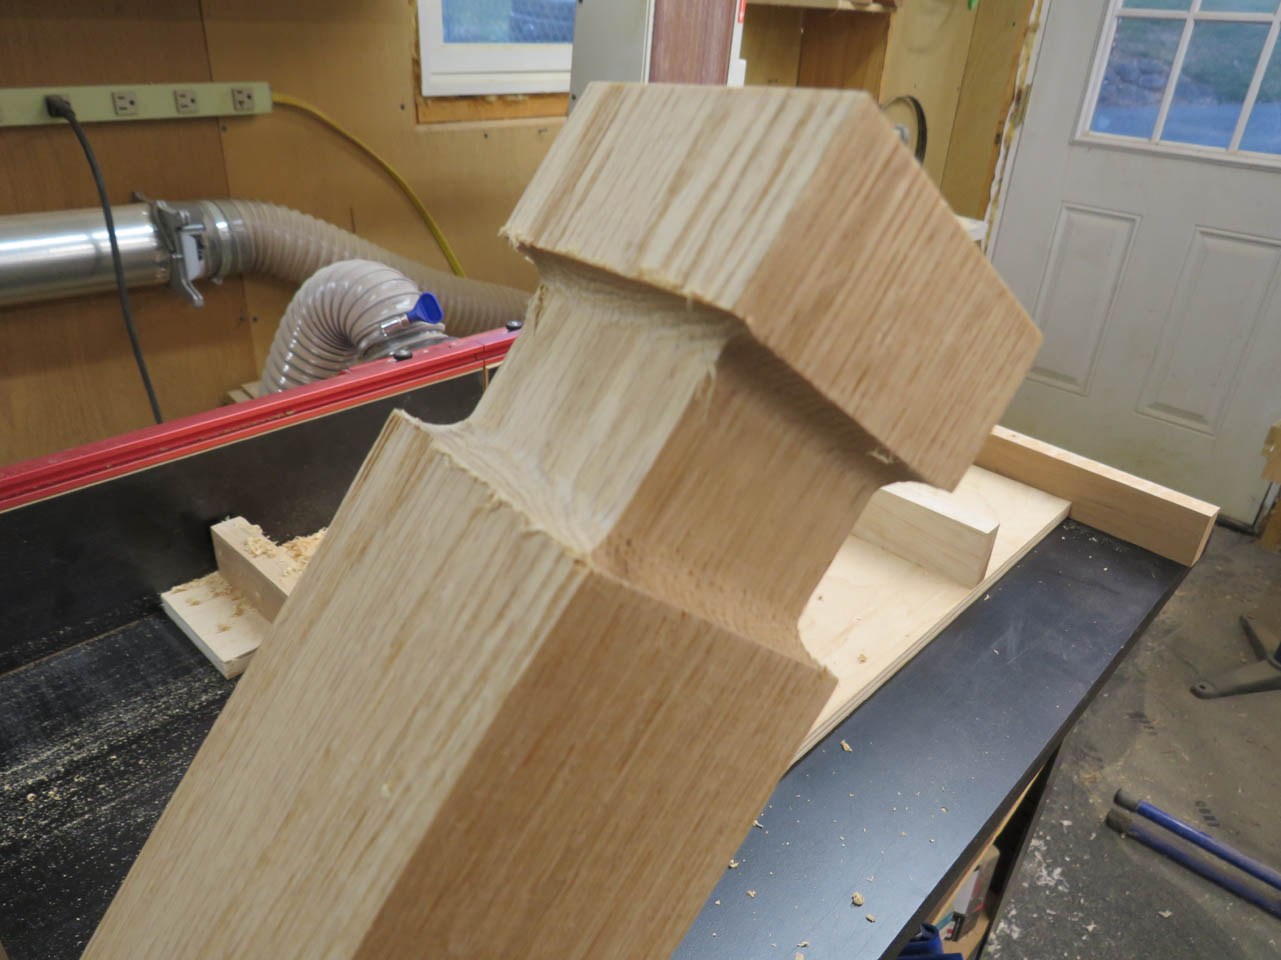
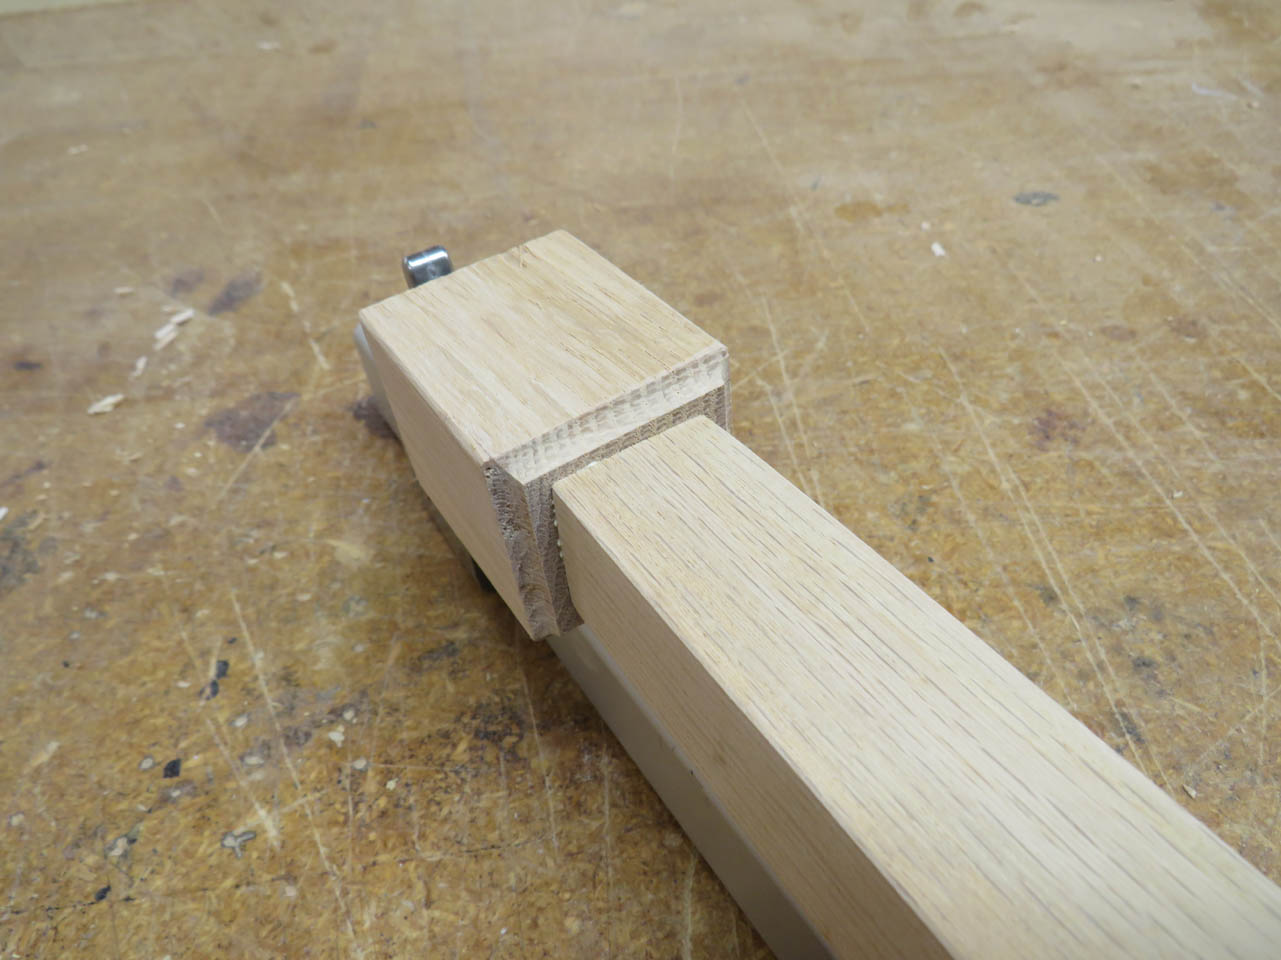
Back to the longer legs, before I can cut the taper, I need to cut the flared curve at the top. I am reusing the jig I built for the last batch, to cut this curve on all four sides with a bowl cutting bit that has a 1/4″ radius on each side.
Four passes across this bit creates the curved shoulder that I need.
Then I move back to the table saw and cut the 3/4″ long tenon at the top of the leg.
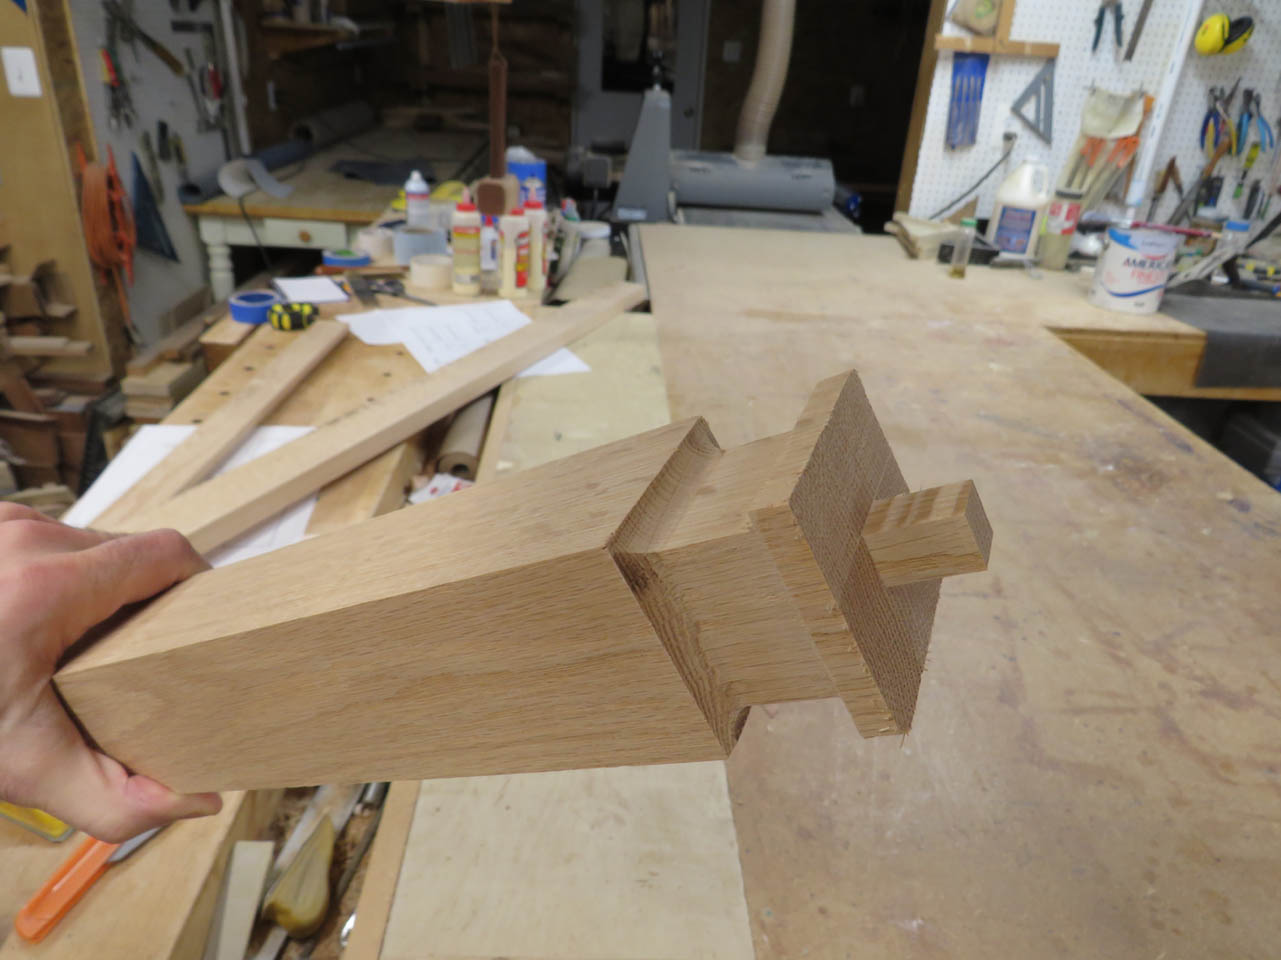
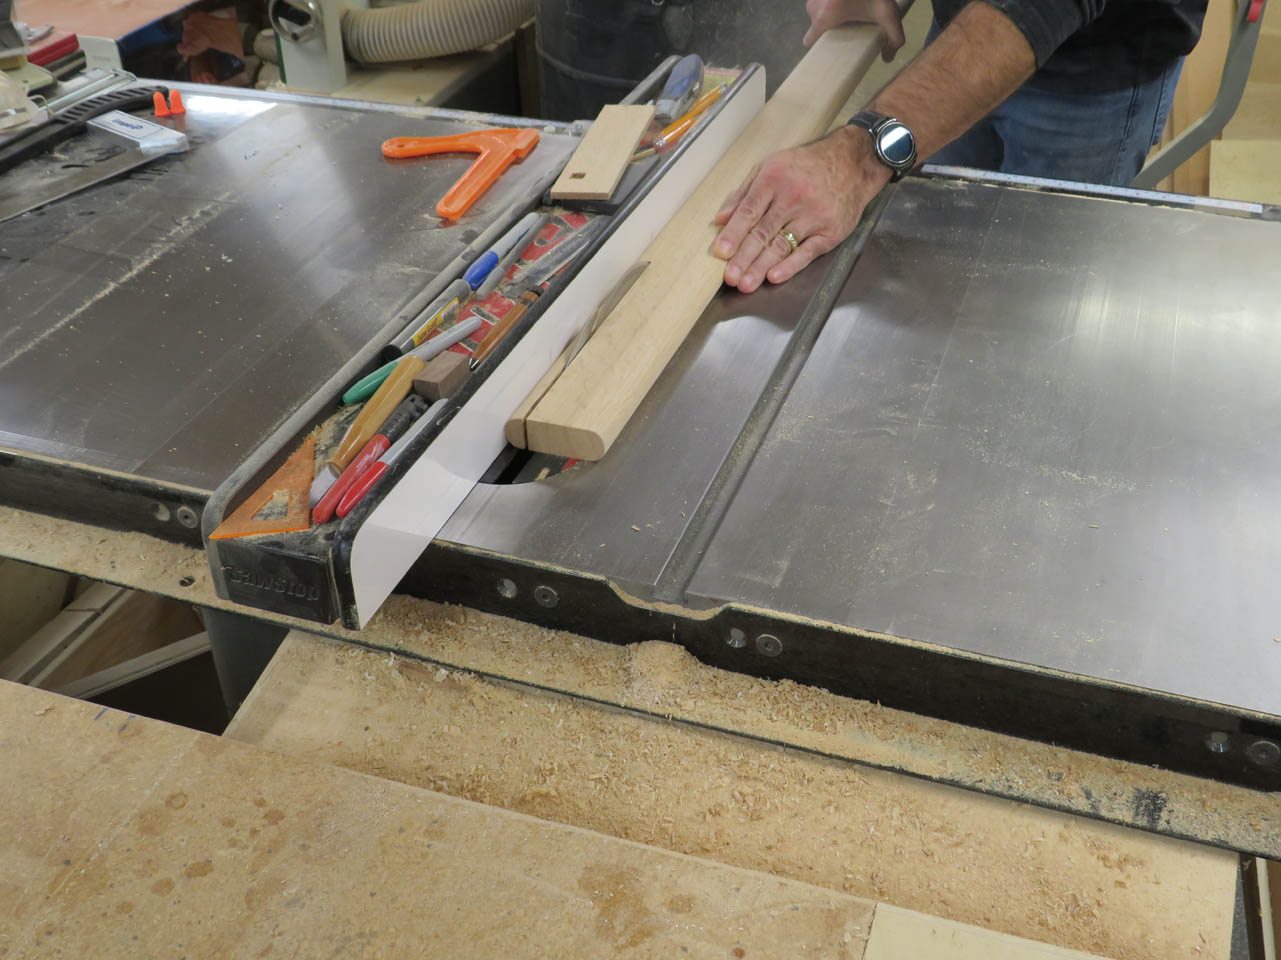
All the other processes had to be done while the leg was still full width, now it is time to cut the taper.
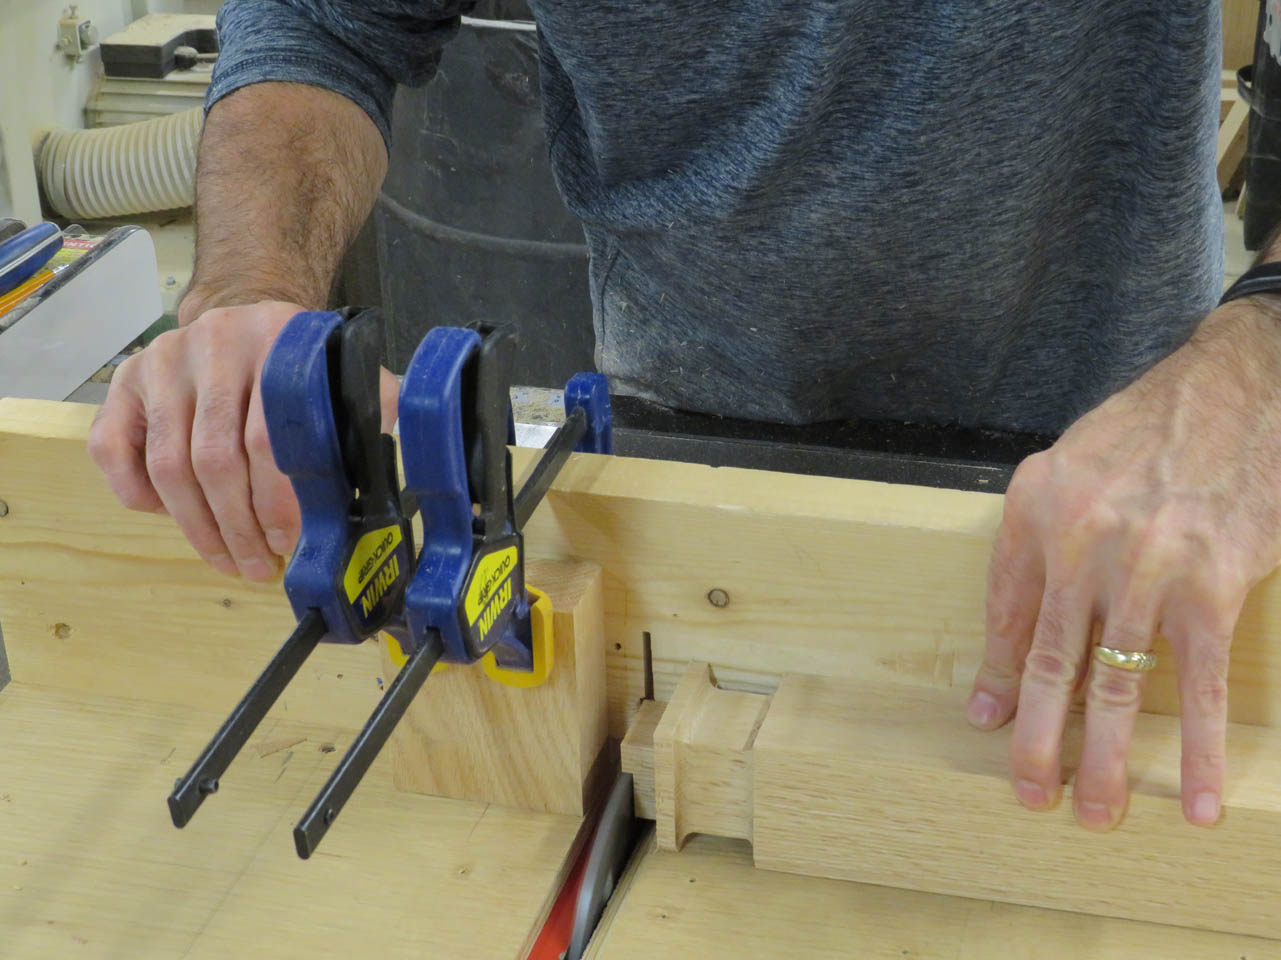
I made up a simple jig that holds the leg at the correct angle, then set up a stop so that I don’t cut through the flared end. I make the first cut, then insert a 1/8″ thick spacer to hold the outside dimension, then rotate the leg and repeat the cut (and add a spacer) on all four sides.


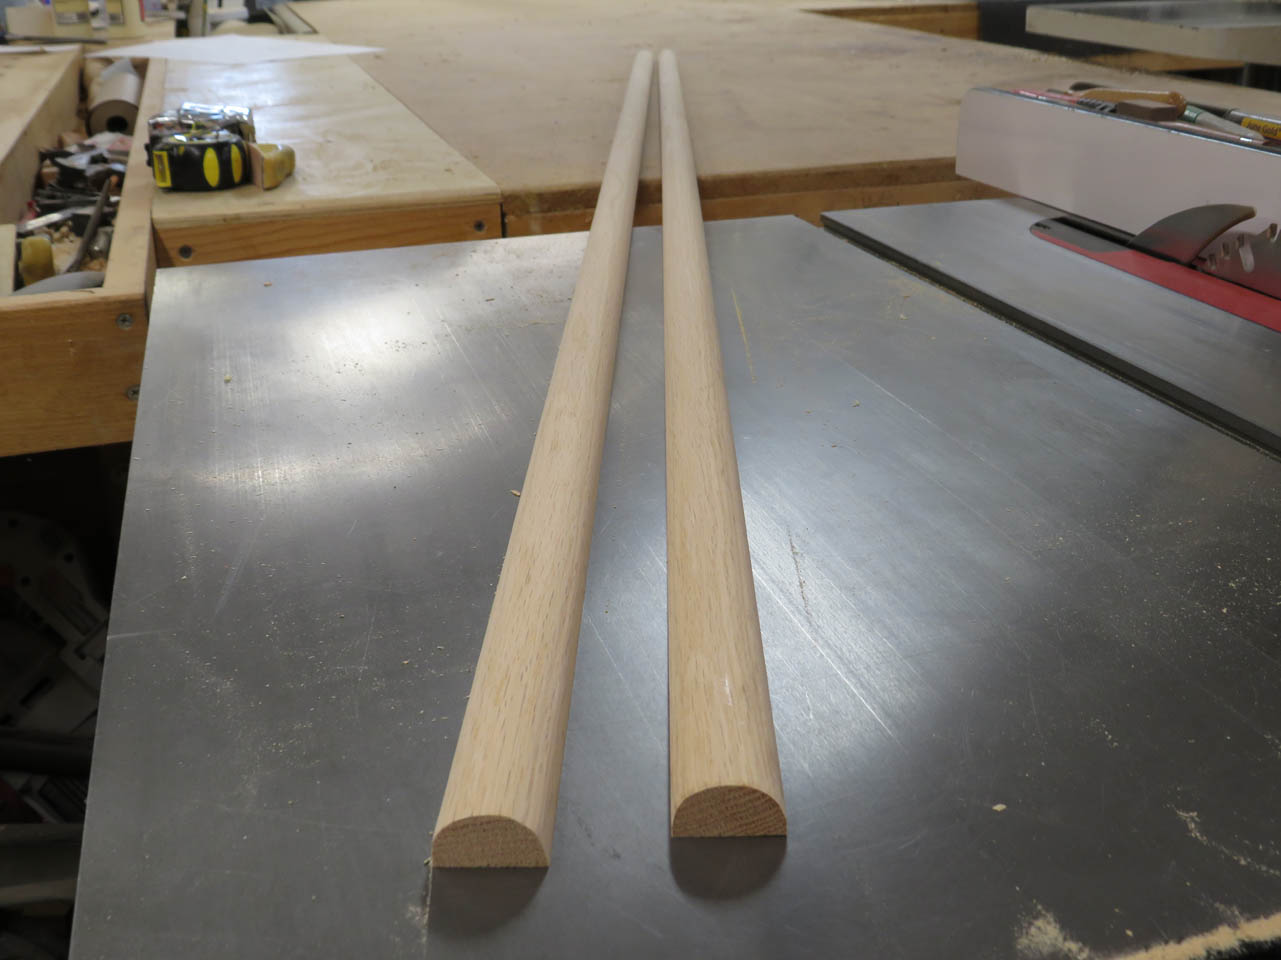
It is still all attached at one end so I finish each of the cuts on the band saw.
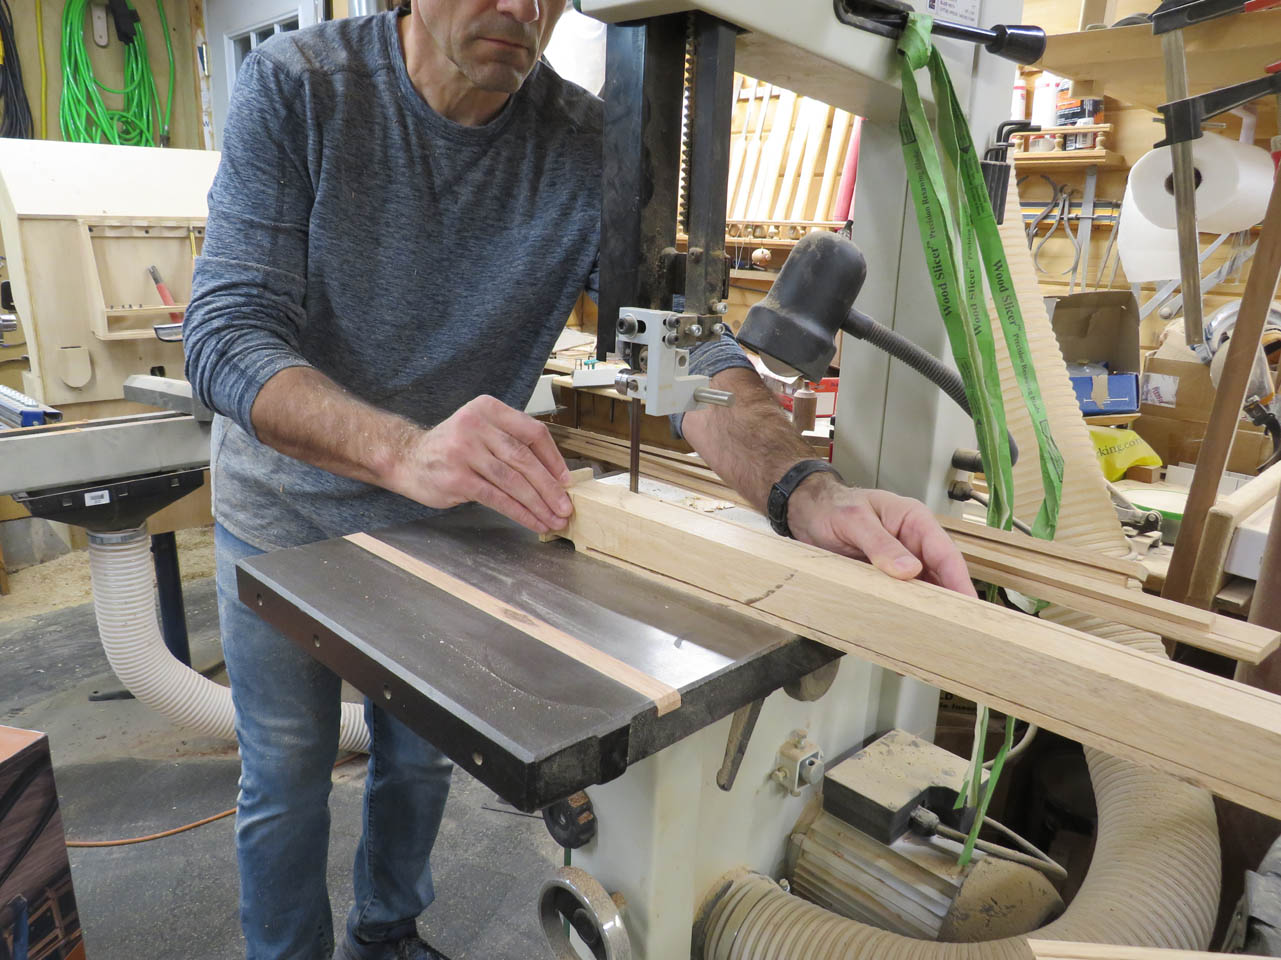
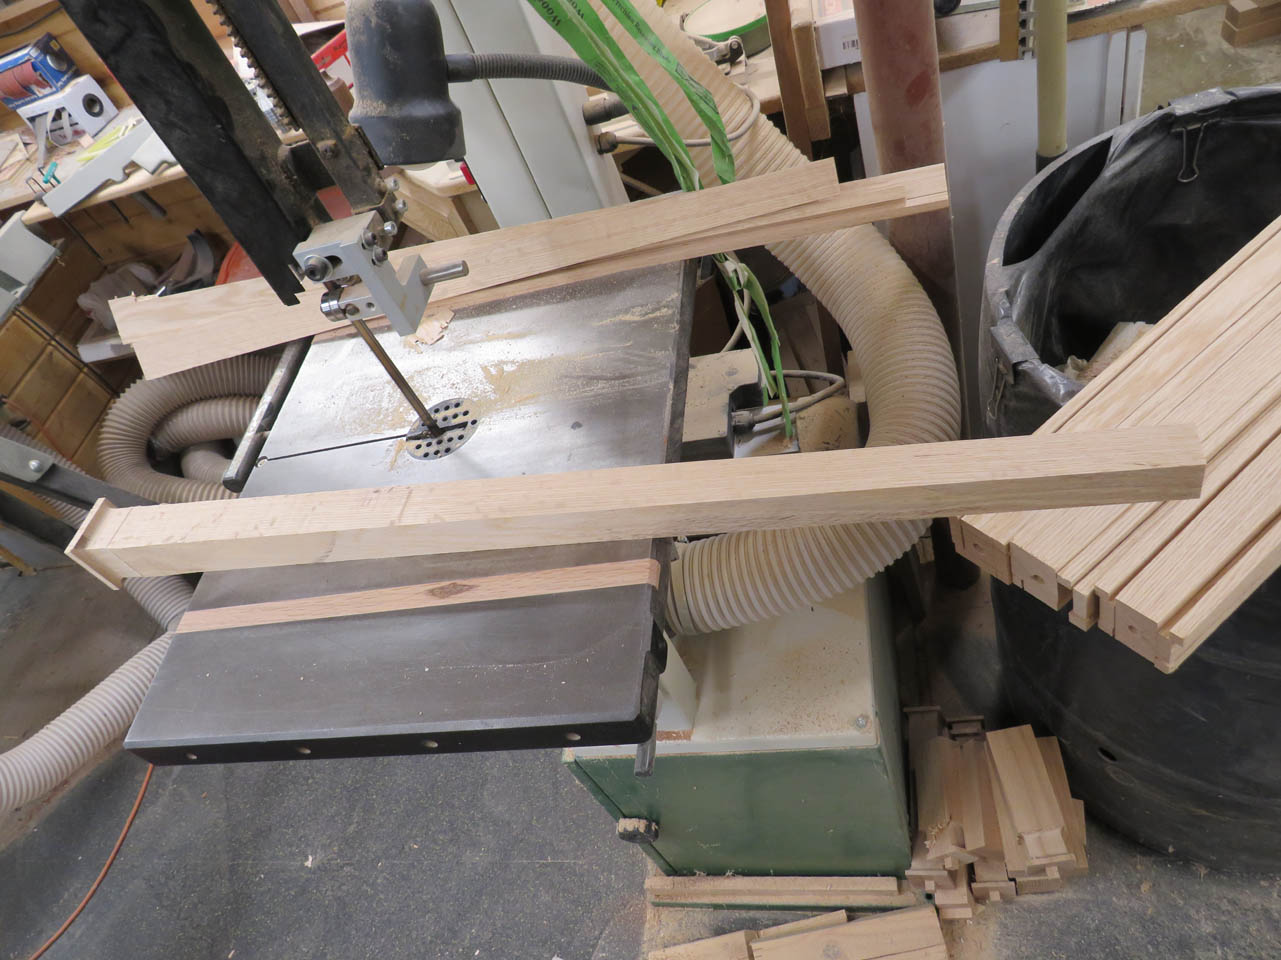
Once they are all cut, I can sand down all of the blade marks until all the sides are smooth.


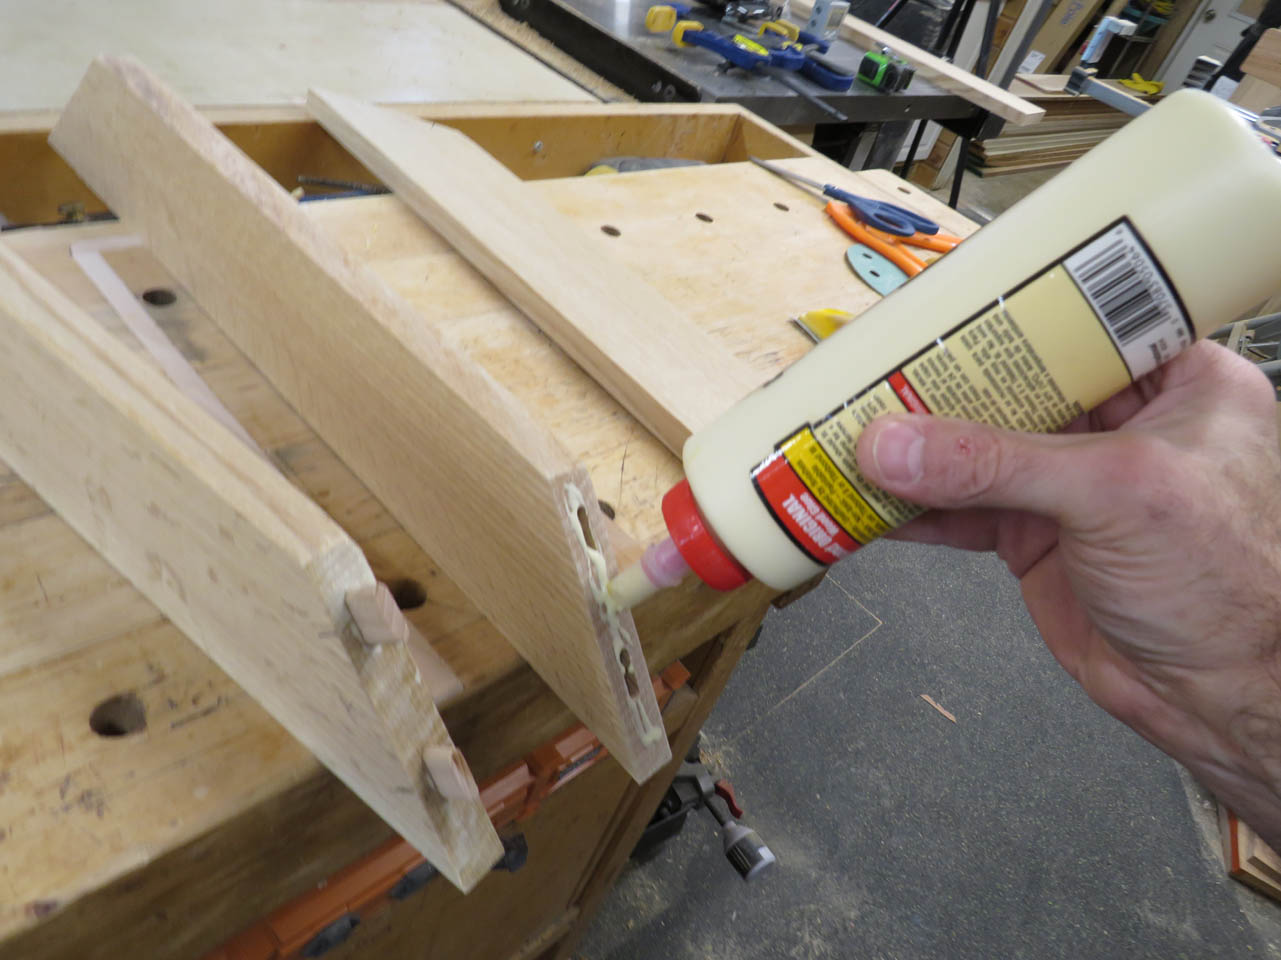
Then it is time to apply glue to the feet and clamp them in place to dry.

If everything was drilled correctly, the feet are perfectly centered on the leg.

While those are drying, I can start planing and milling up all the quarter-sawn oak for the top.

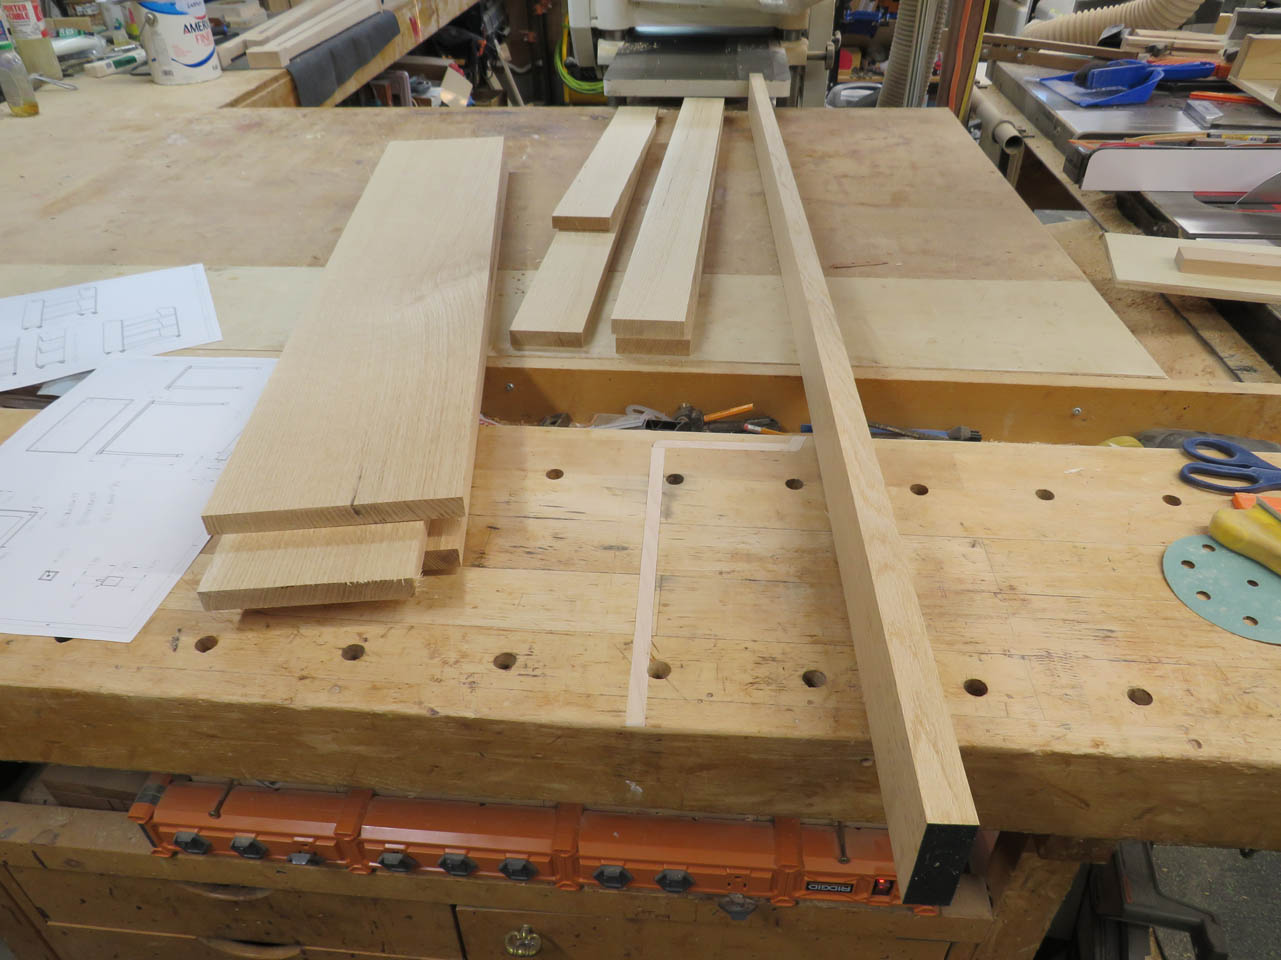
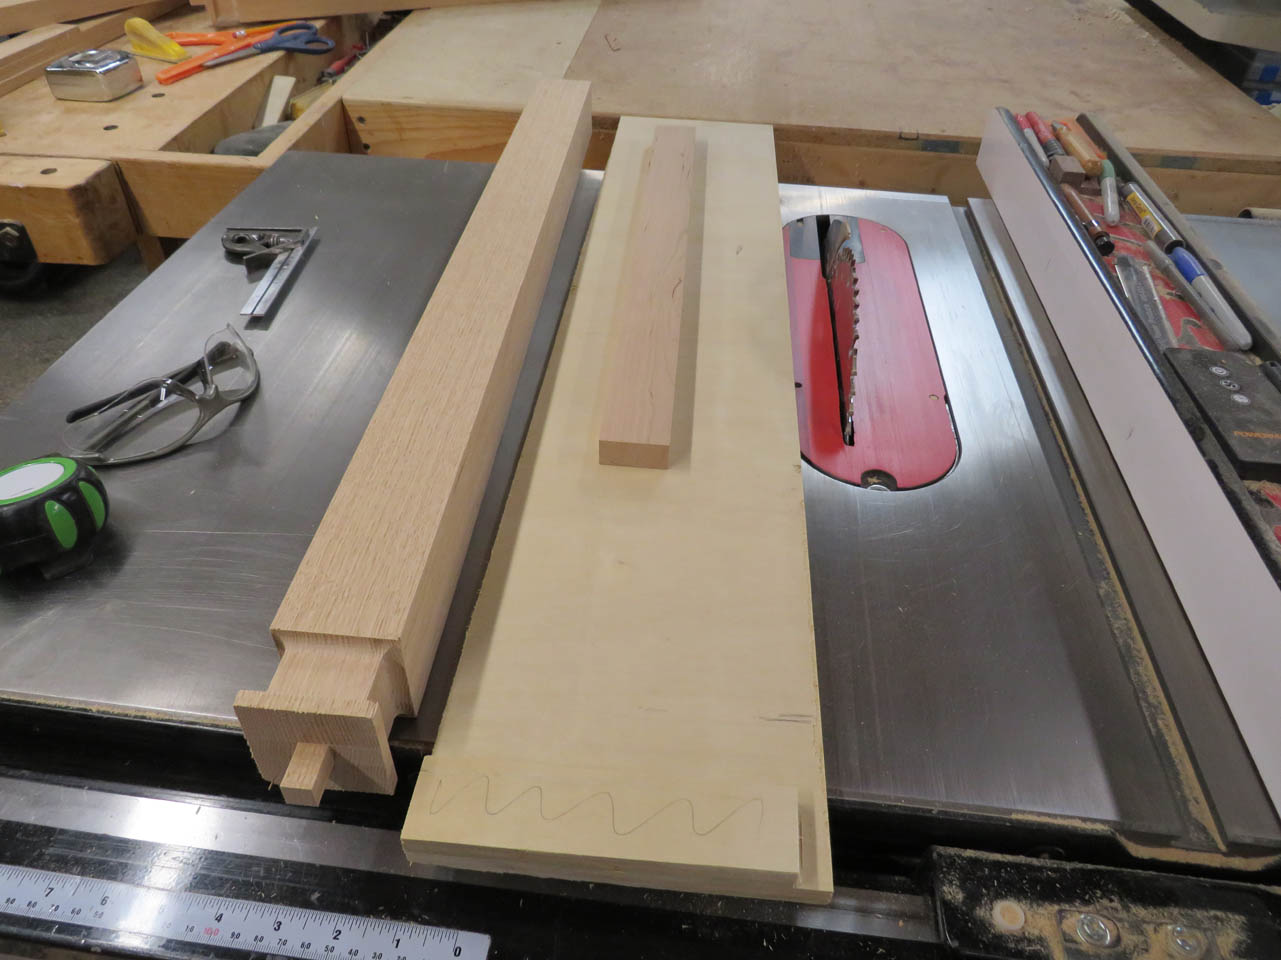
I have three wider pieces that will be glued into a panel for the top slab. There are also some 3″ wide pieces to make up the second layer, below the top to give the top rigidity and make it appear to be twice as thick. The 1″ thick piece will become the rounded bead that wraps around the top and hides the seam.
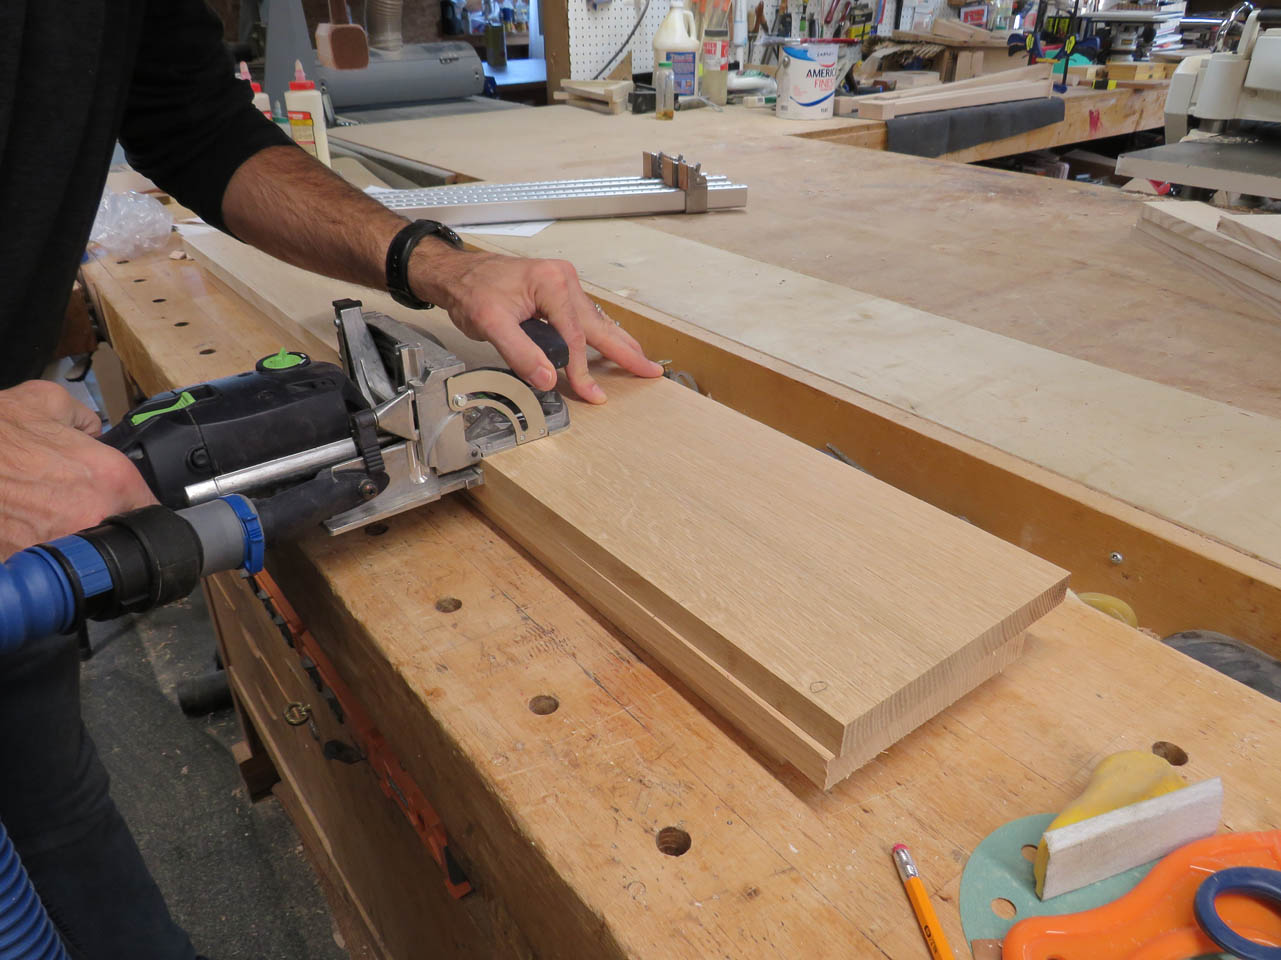
I find the best grain match of the three boards that make up the top panel and mark locations for the floating tenons that I will add to keep it aligned during the glue-up.
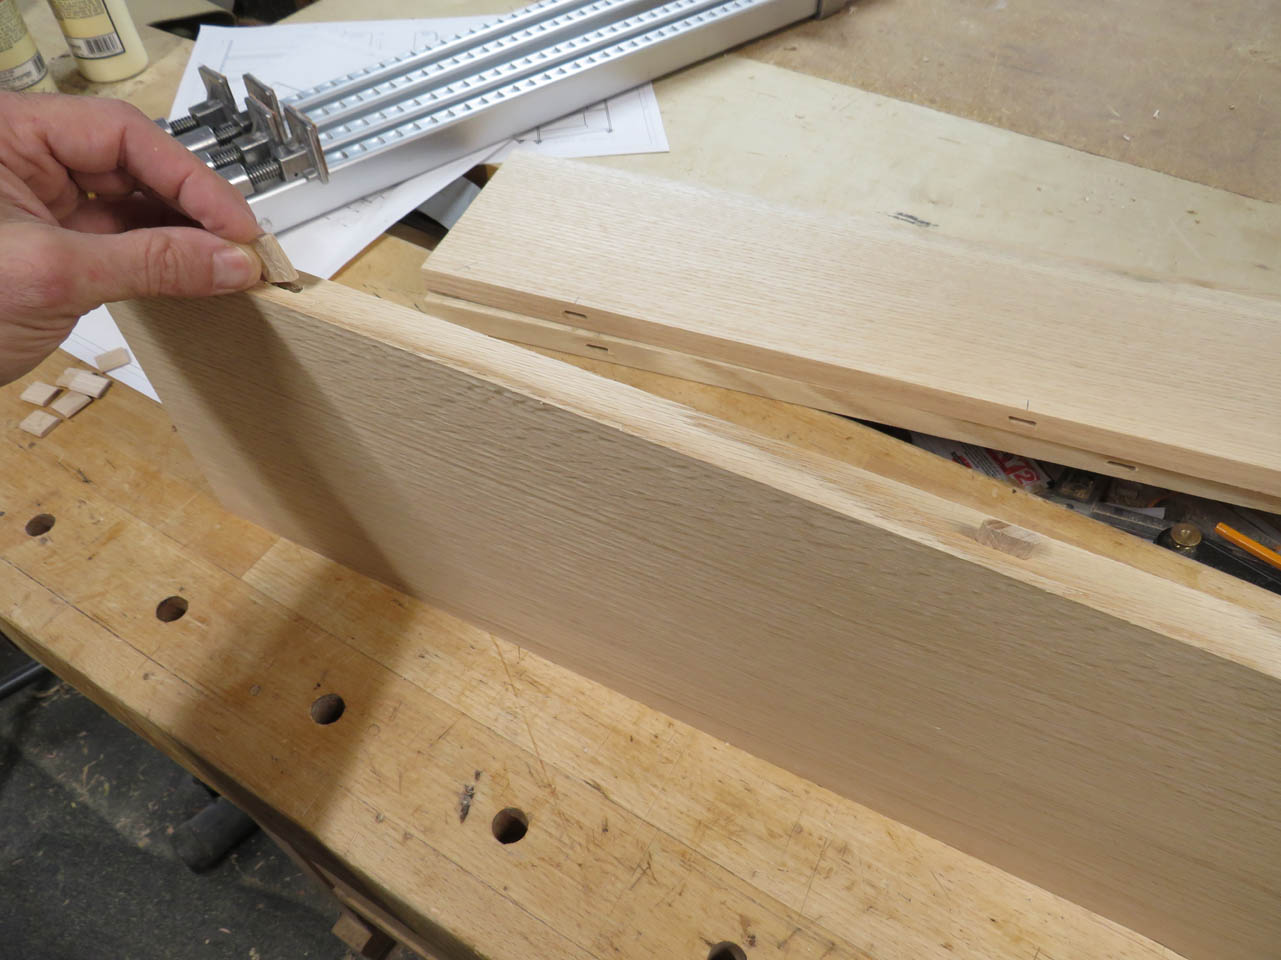
Once the tenons are inserted, I spread a thin layer of glue, then join the boards together.

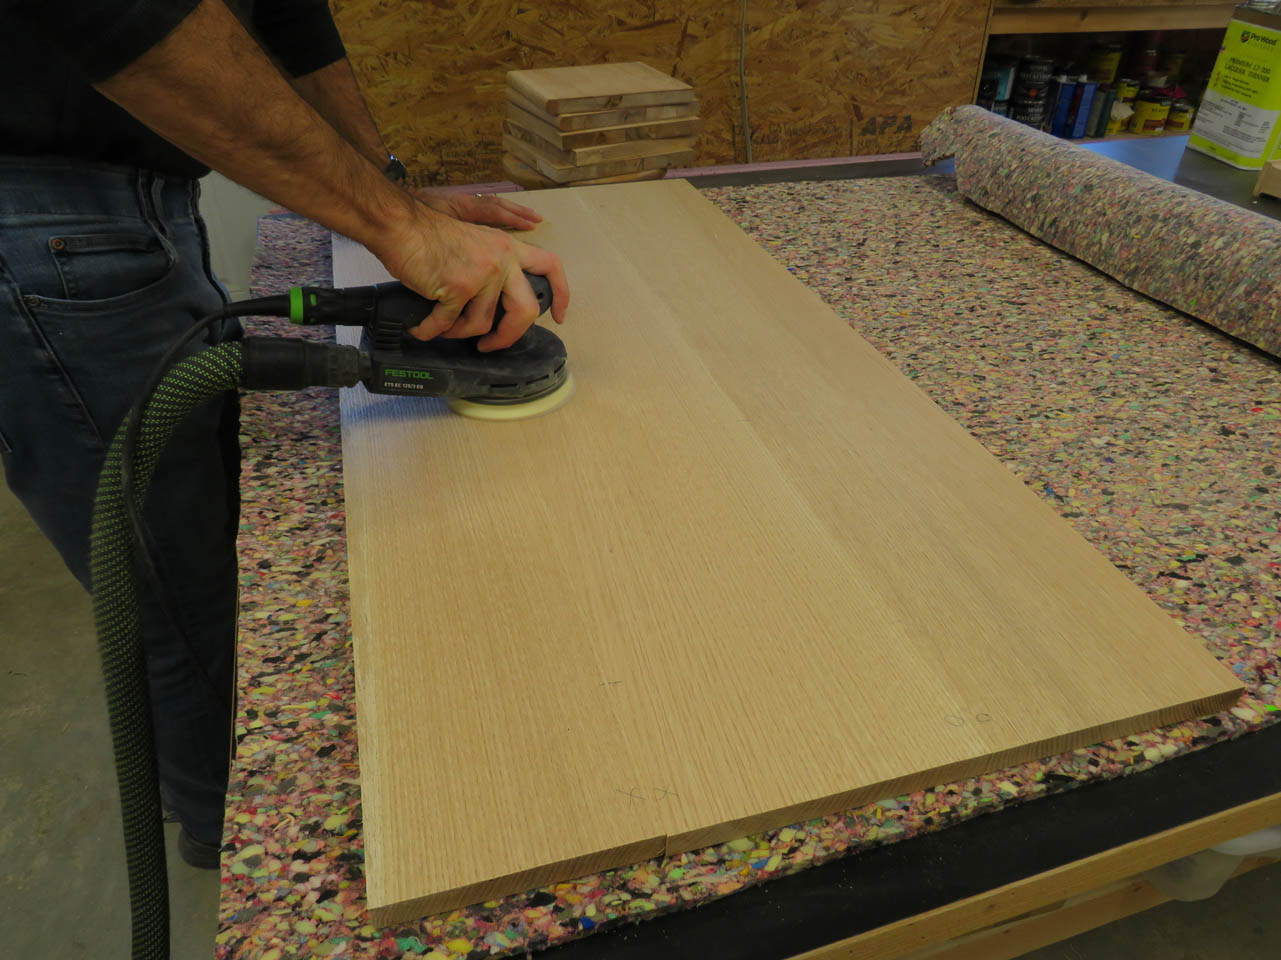
The panel got clamped up for a couple of hours, then pulled from the clamps to be sanded smooth.

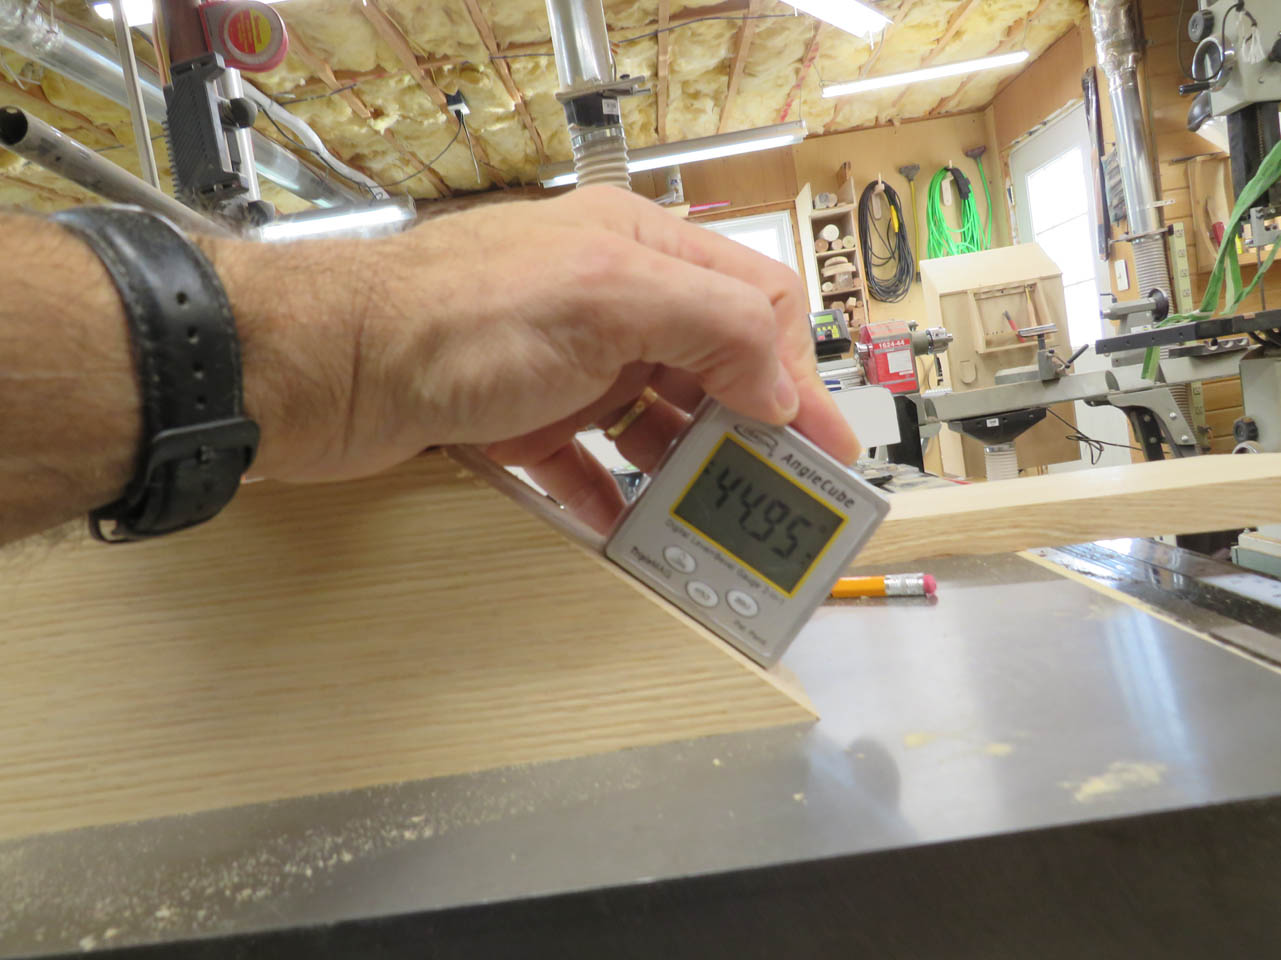
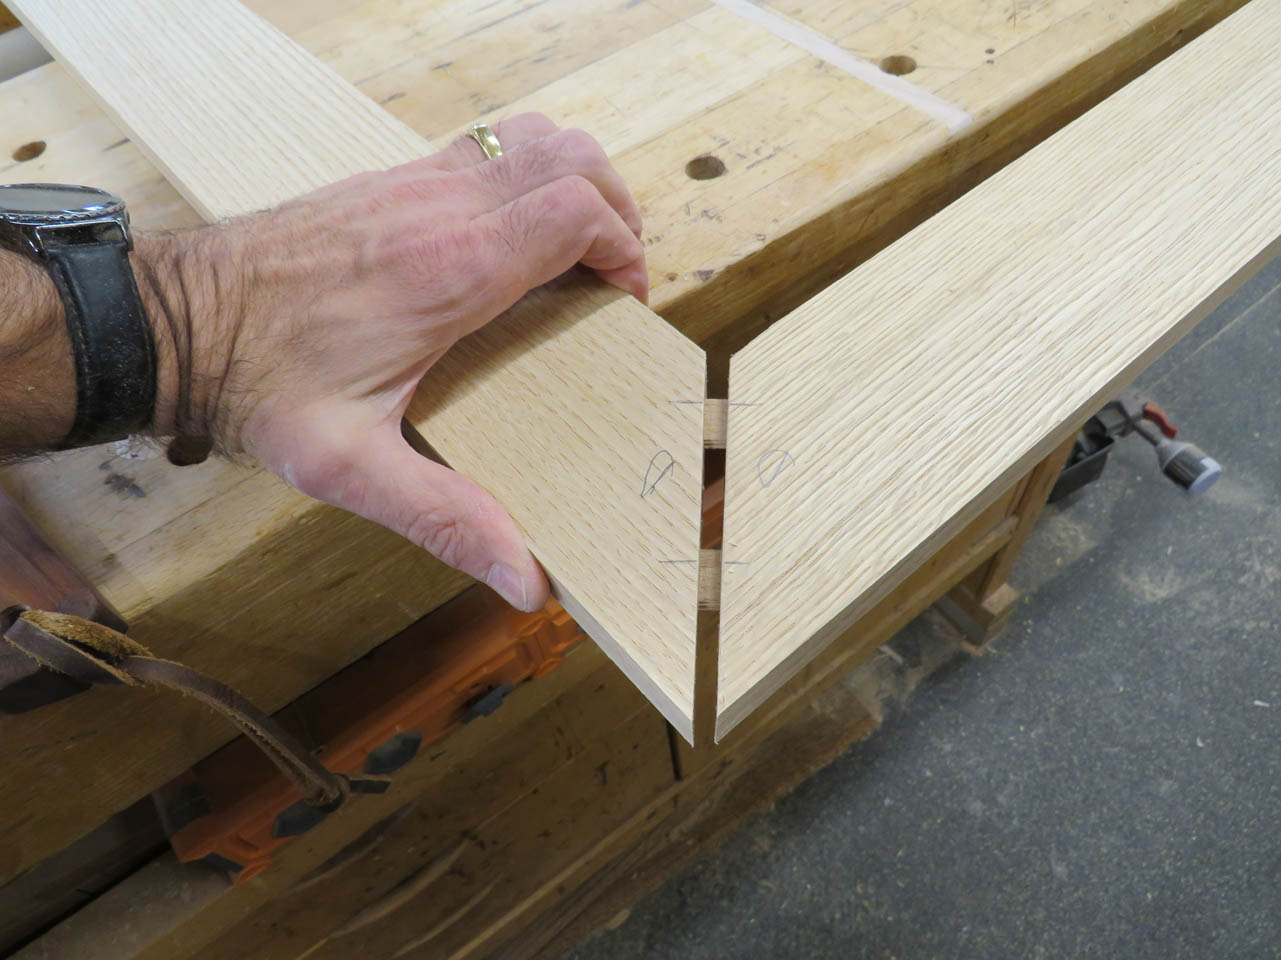
I carefully setup the miter saw to cut my 3″ board as close to 45° as I could manage.


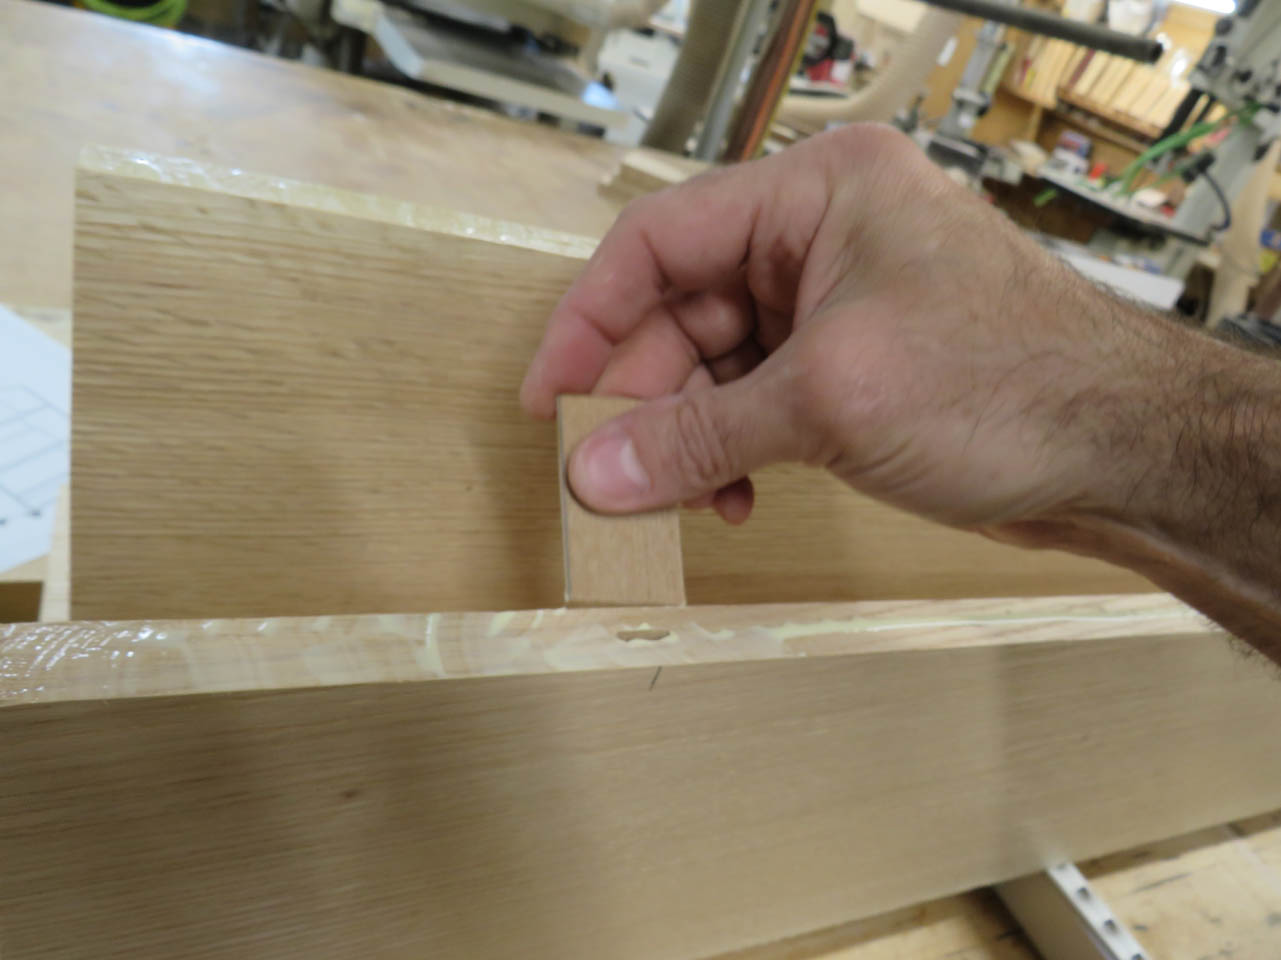
Once cut, I clamped them in place on the top and marked them for floating tenons of their own.
I need this frame to be one piece all by itself so I can attach the legs securely to it before gluing on the top.
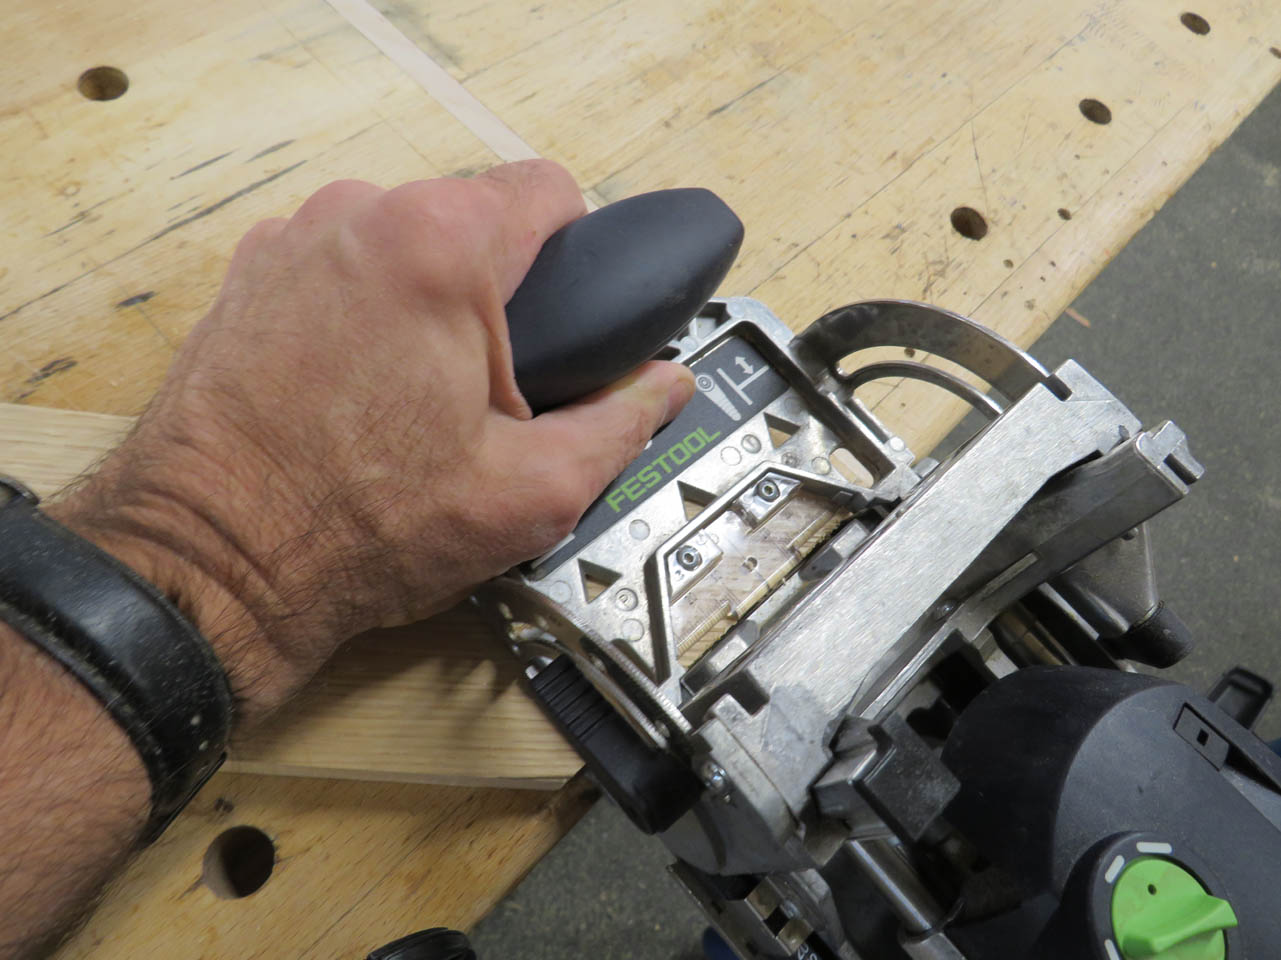
These guys get larger tenons than I used for the panel because these are more structural.
I glued up two “L-shaped” halves first.
Then glued and clamped those two halves together.

Always making sure everything stays square.

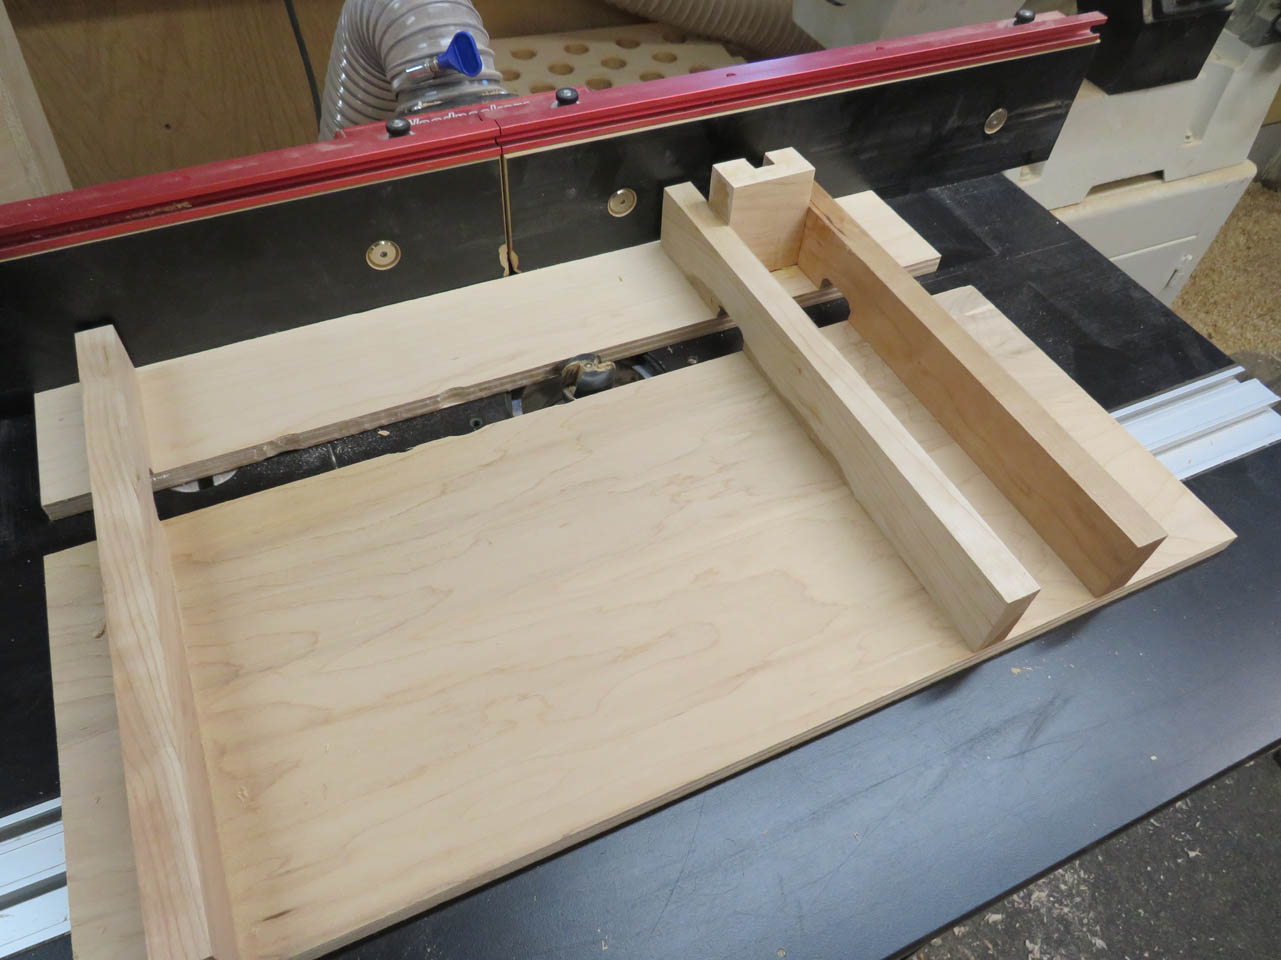
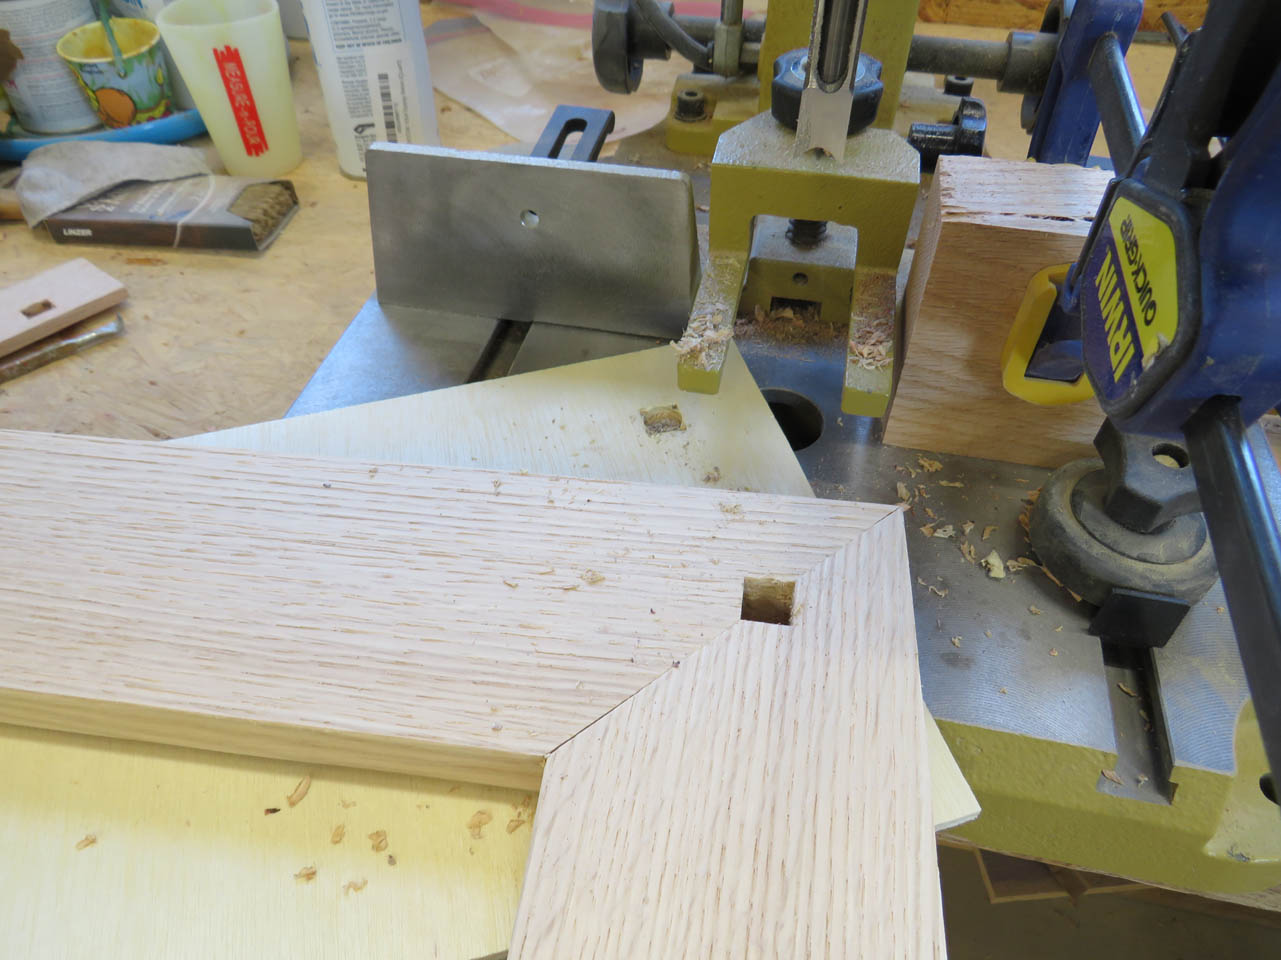
I need a 1/2″ square mortise in each corner for the legs to mount to so I set up my mortiser with a stop block to allow me to drill 1-3/8″ in from each side.

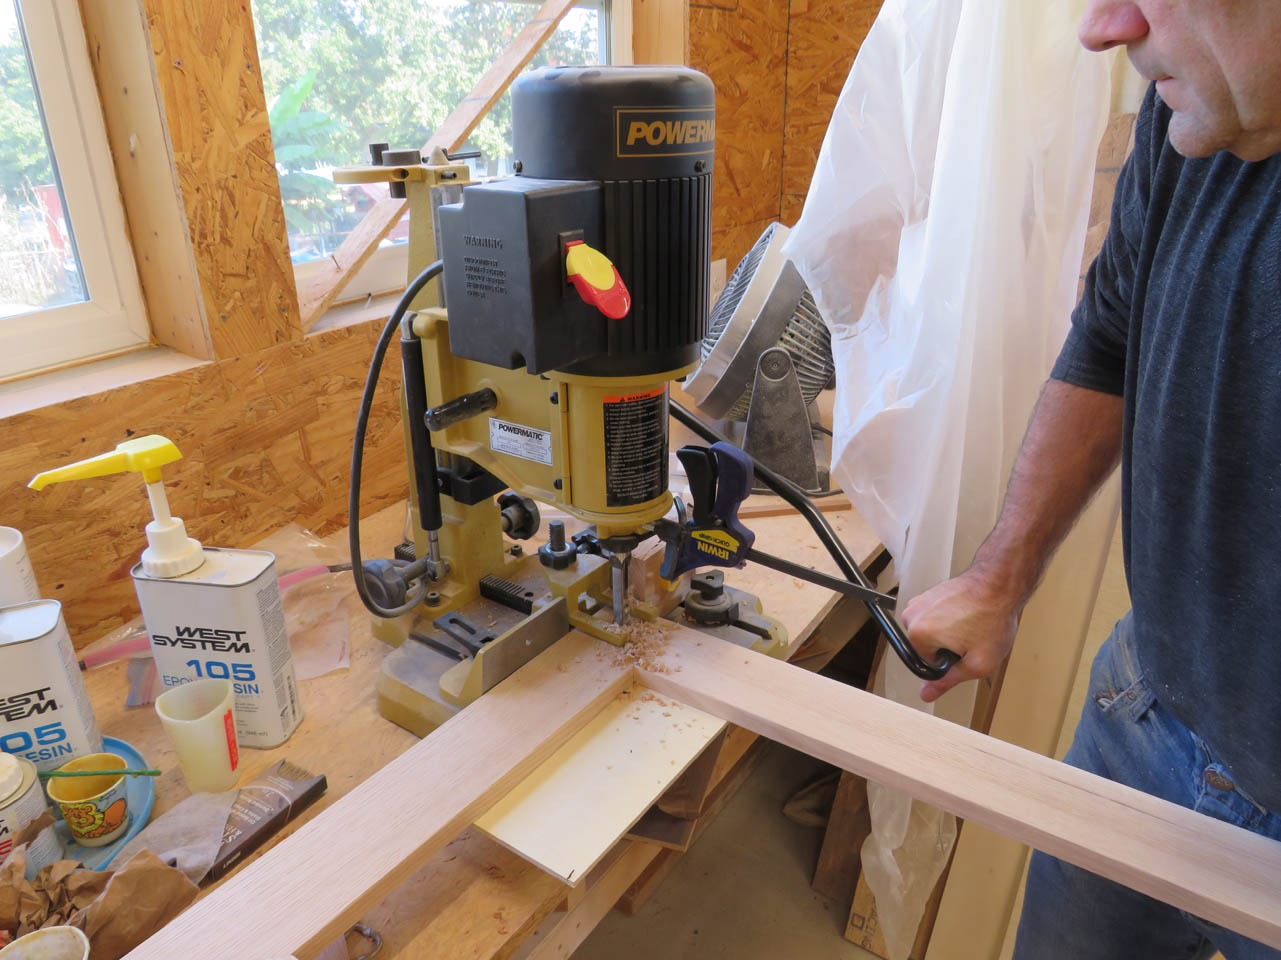
The mortiser is an auger drill bit, wrapped with a square chisel. It allows you to drill perfectly square holes. I set a backer board behind the frame to prevent tear-out on my oak.
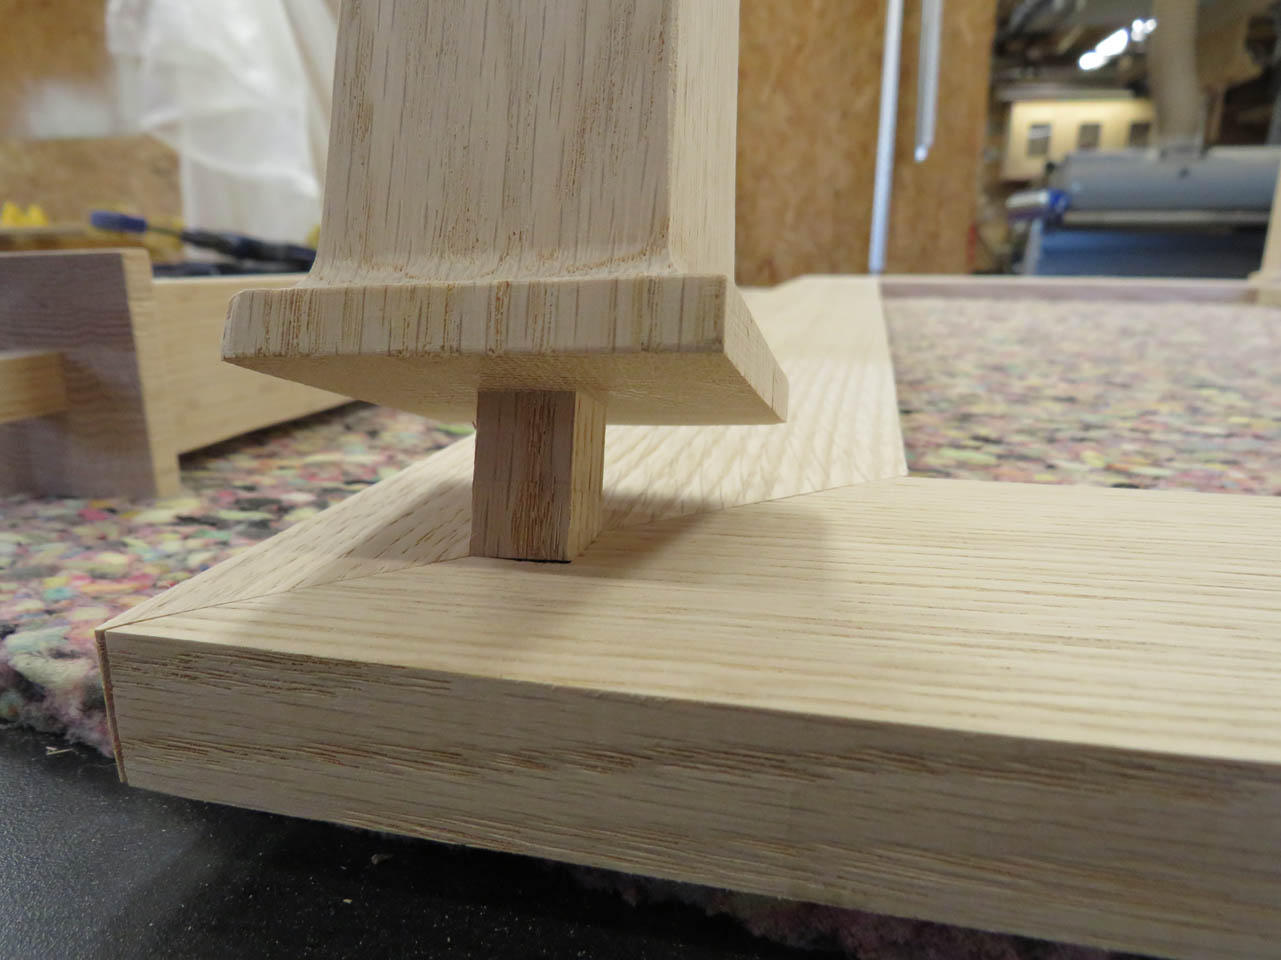
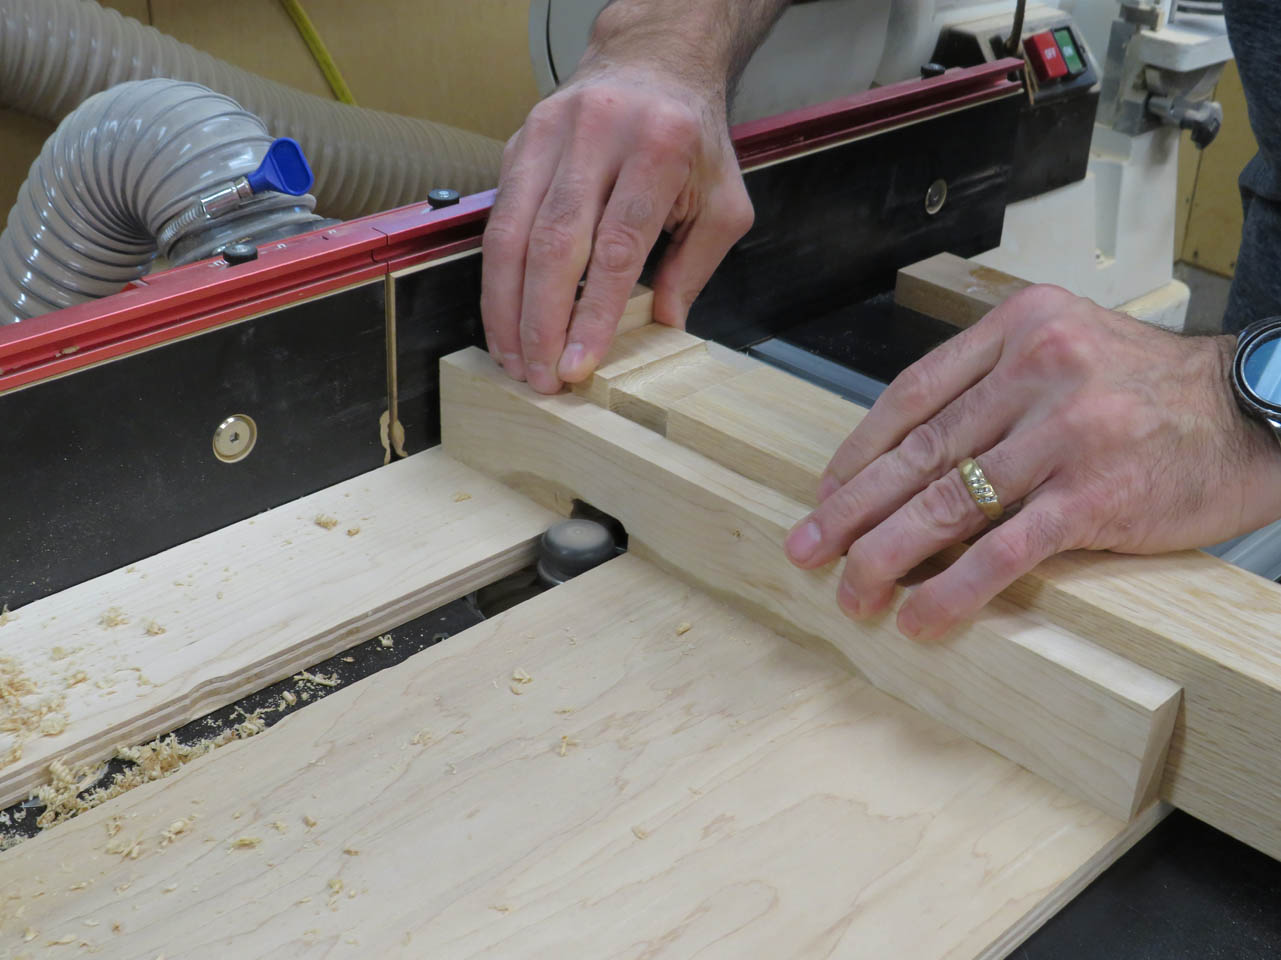
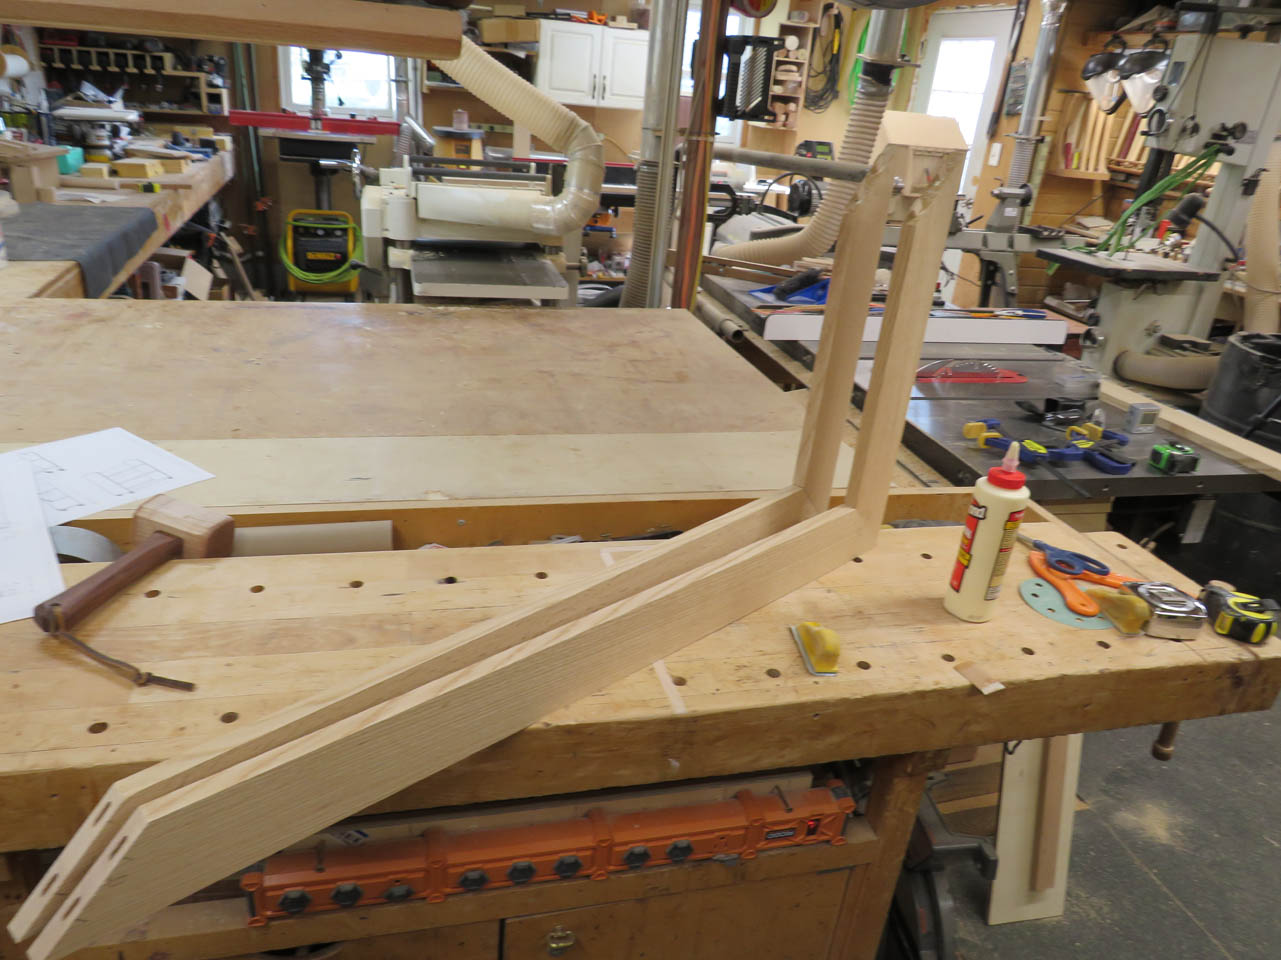
Then the legs can be glued and pressed tightly into place.

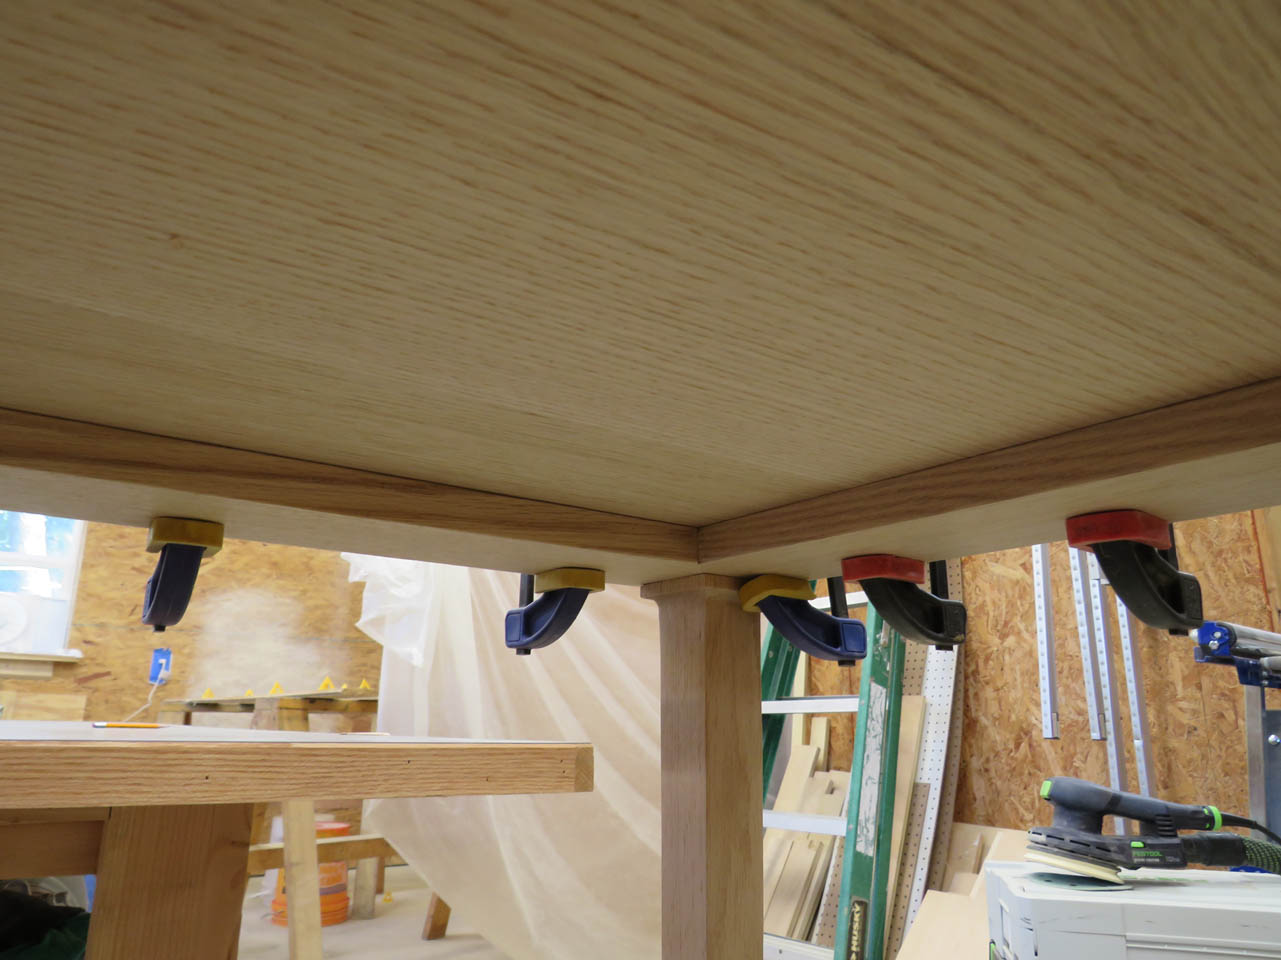
Currently things are a bit wobbly, but I have a plan.
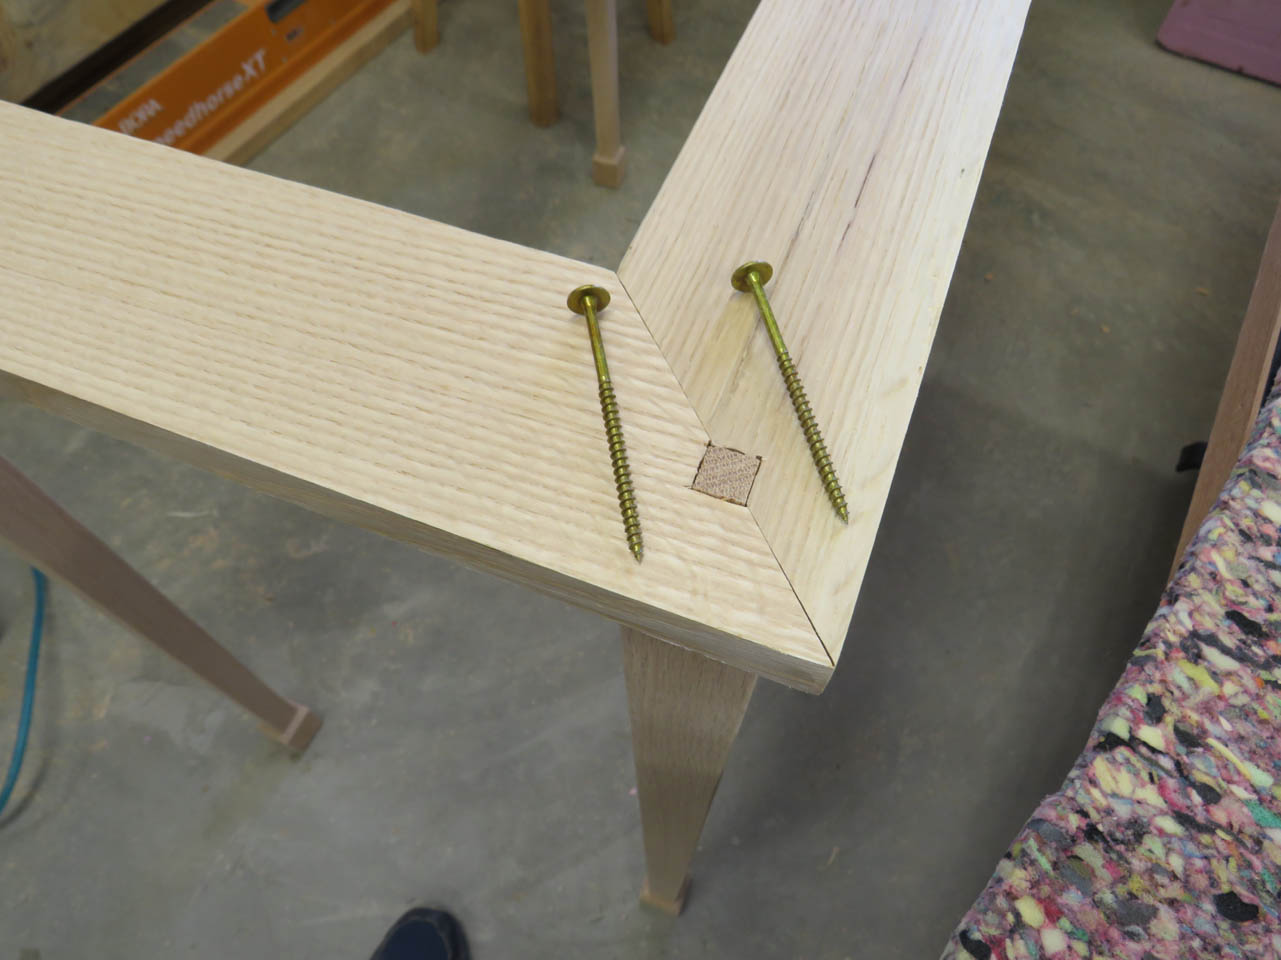
I have some 3″ long washer head screws that I want to drive through the frame into the legs, to draw them tightly to the frame board. This will prevent any further wobble if I can do it before the glue dries.

I drill a shallow counter-bore to hide the screw head.

Then I drill a pilot hole through each counter-bore, angled toward the center of the leg. A slightly larger pilot hole is drilled through the frame so that the leg can be drawn tightly up to it.

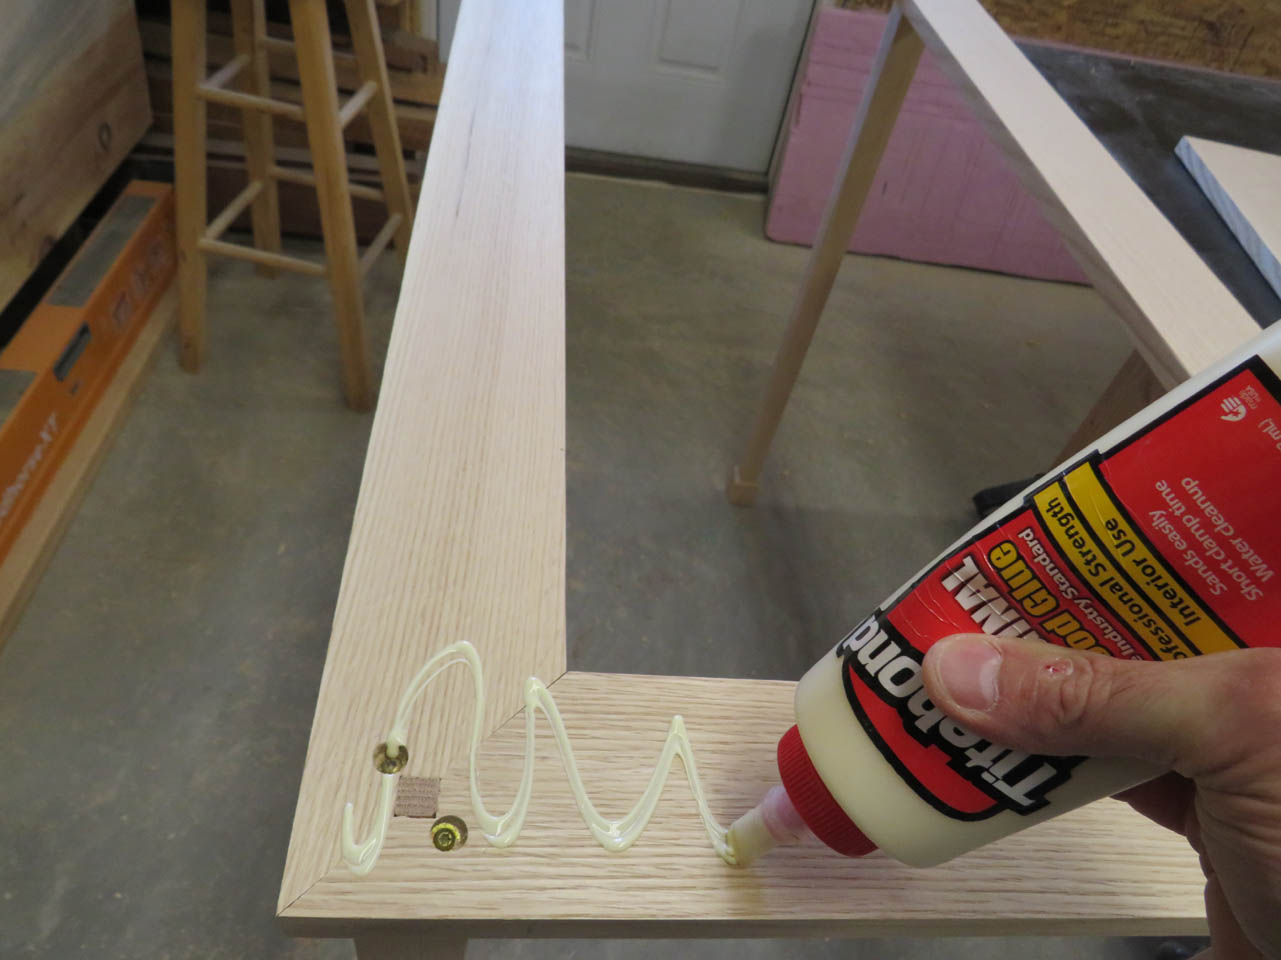
Then I glue and reattach the legs.

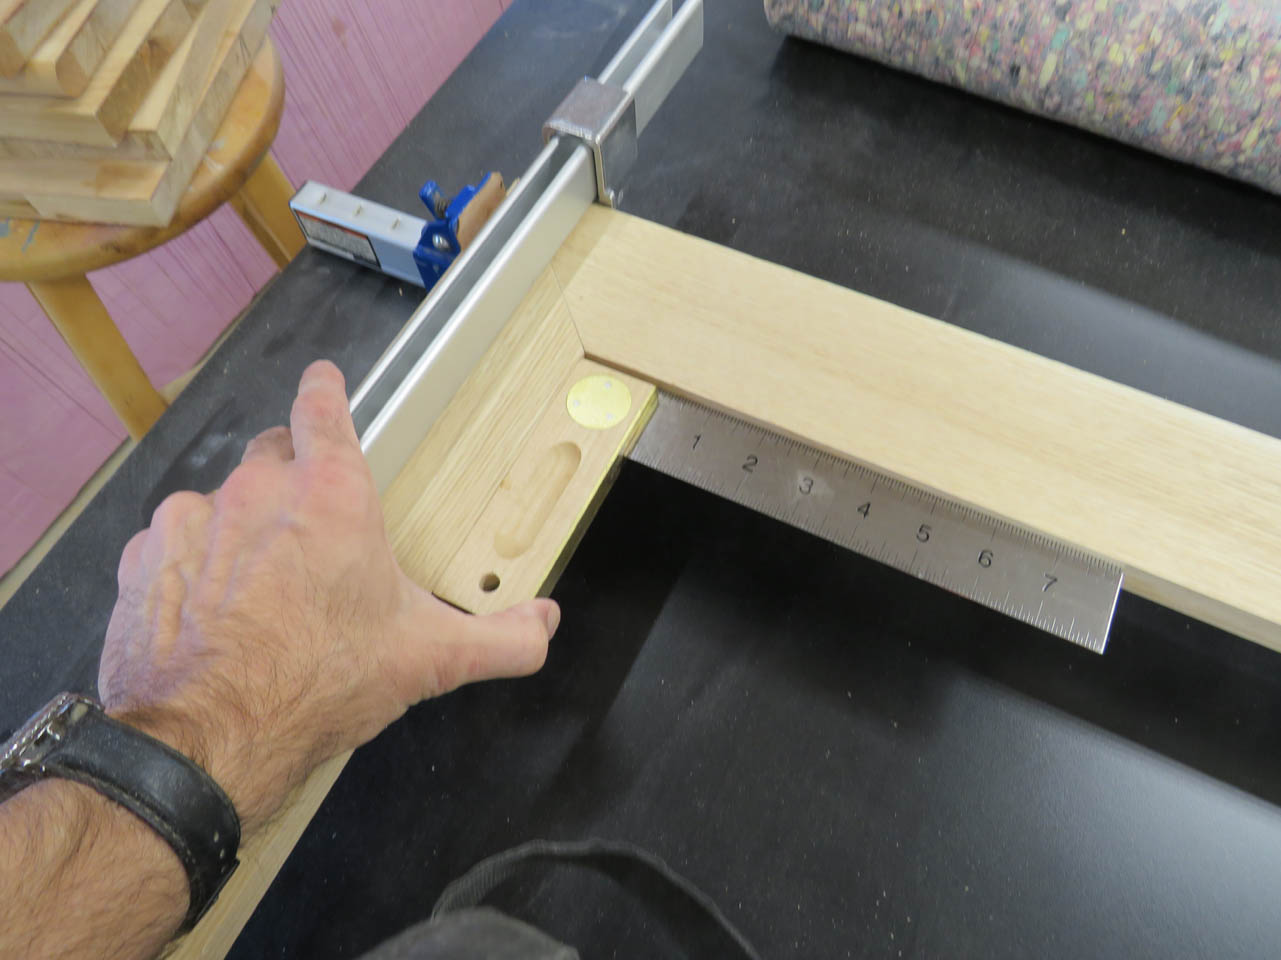
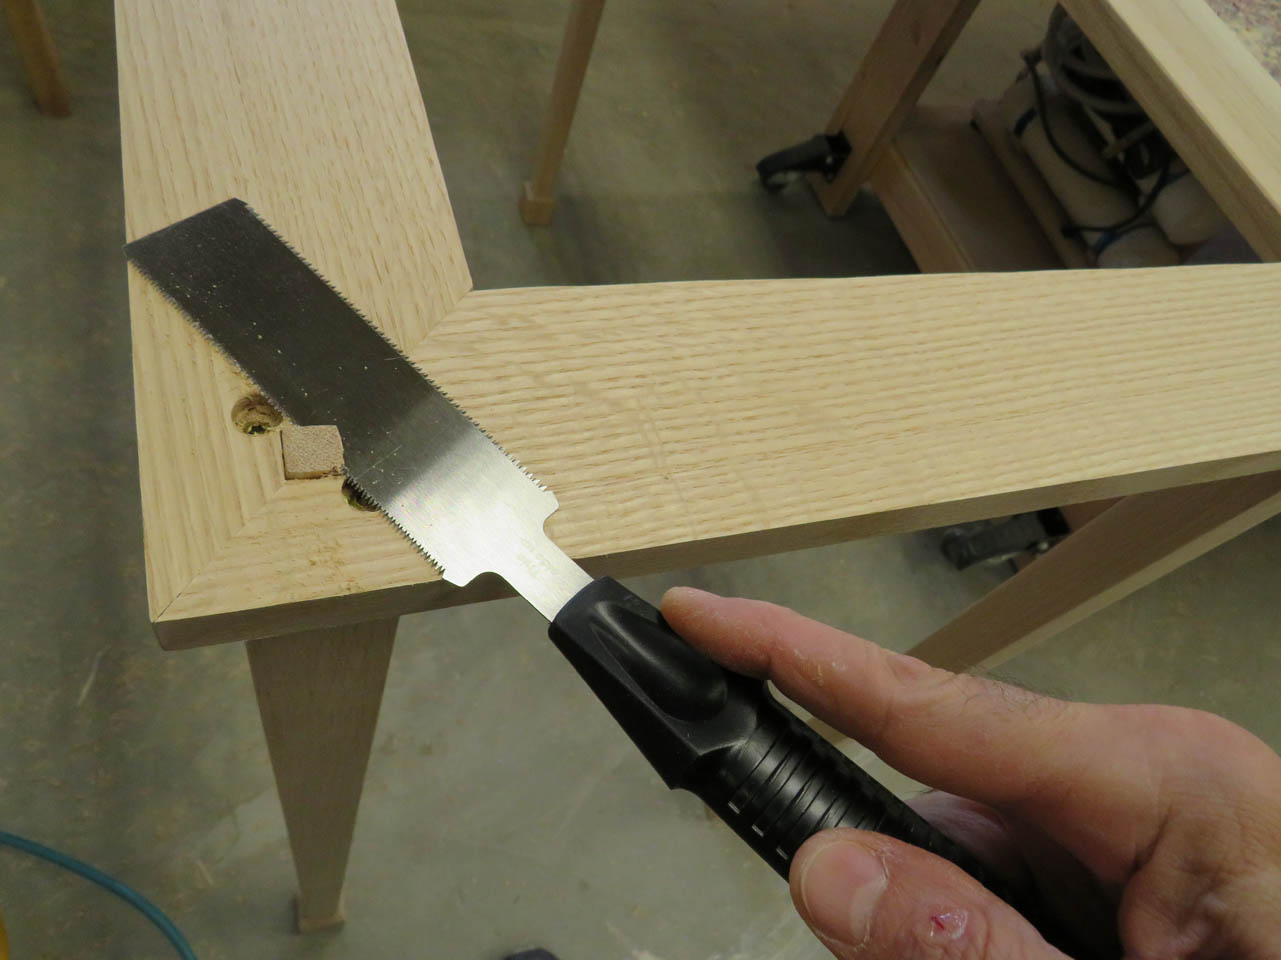
The screws did exactly what I hoped they would. Between the center tenon and the two screws drawing the leg up at two opposing angles, the leg was held perfectly straight. All that I had to do was trim off the slightly over-long tenon with a flush trim saw.
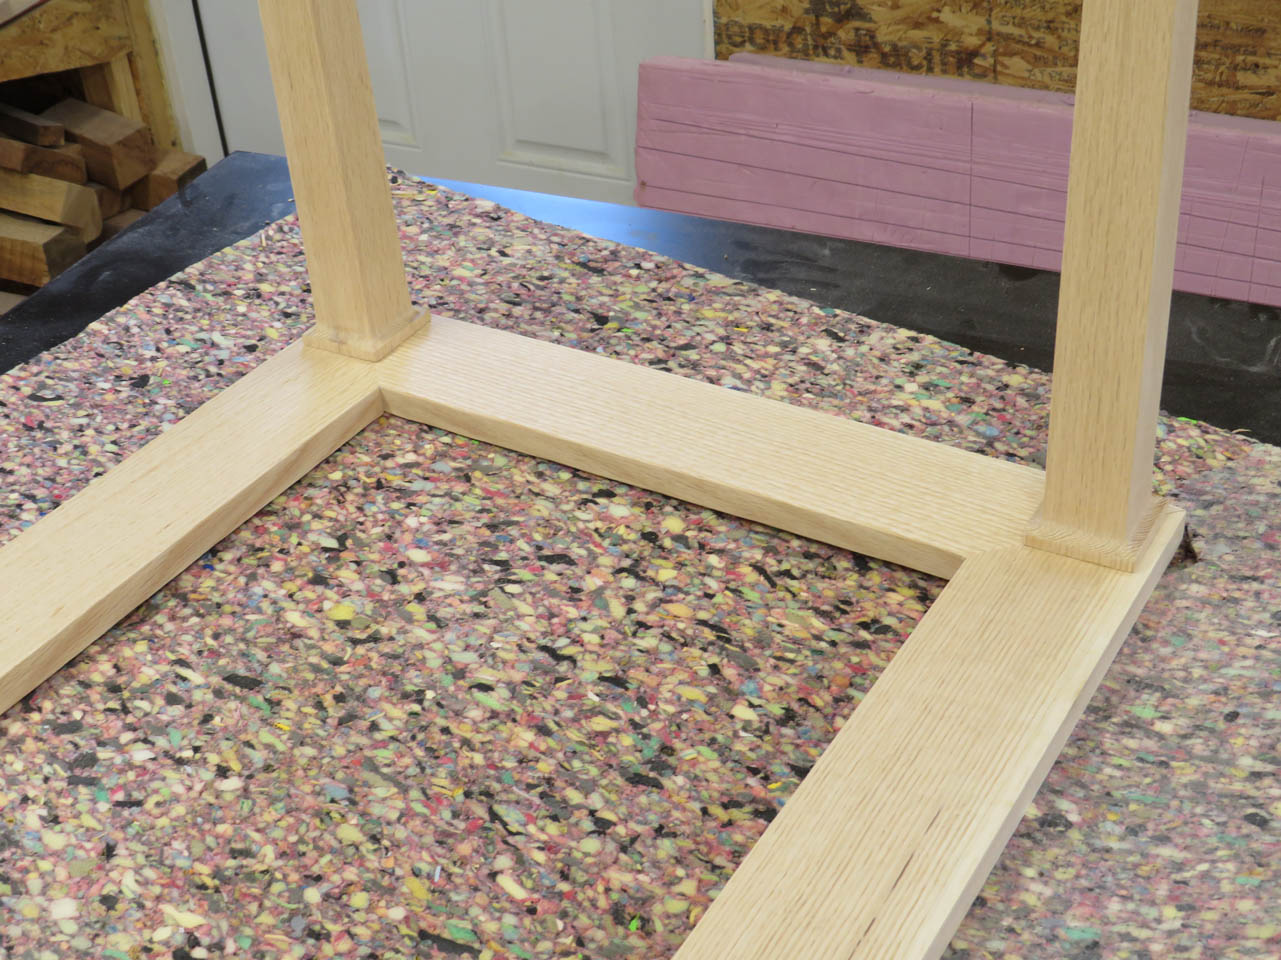
The legs are seated perfectly tight to the frame.
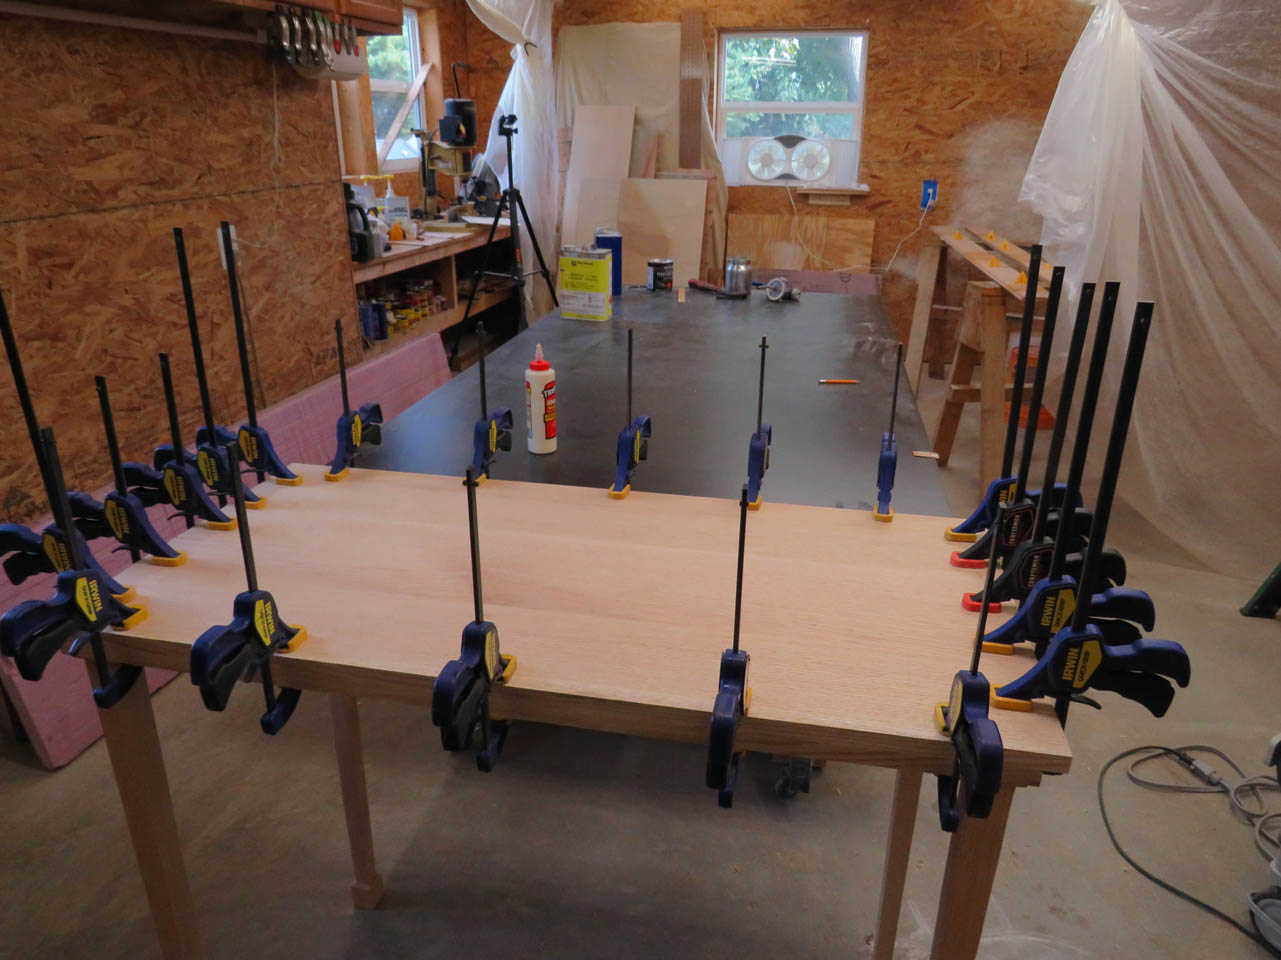
Next I applied glue to the top of the frame and clamped the top on tightly.
Checking the bottom, all the way around, I see no gaps so everything is dead flat.

When I pull the clamps, I used my track saw to trim both layers of wood flush. With the table completely assembled and dry, it sits perfectly flat with no rocking.
The last piece to get attached is the 1″ bead that goes around the top. The easiest way to make that is with a 1/2″ round-over bit on the router table. I make a pass along each edge until all four are rounded over.

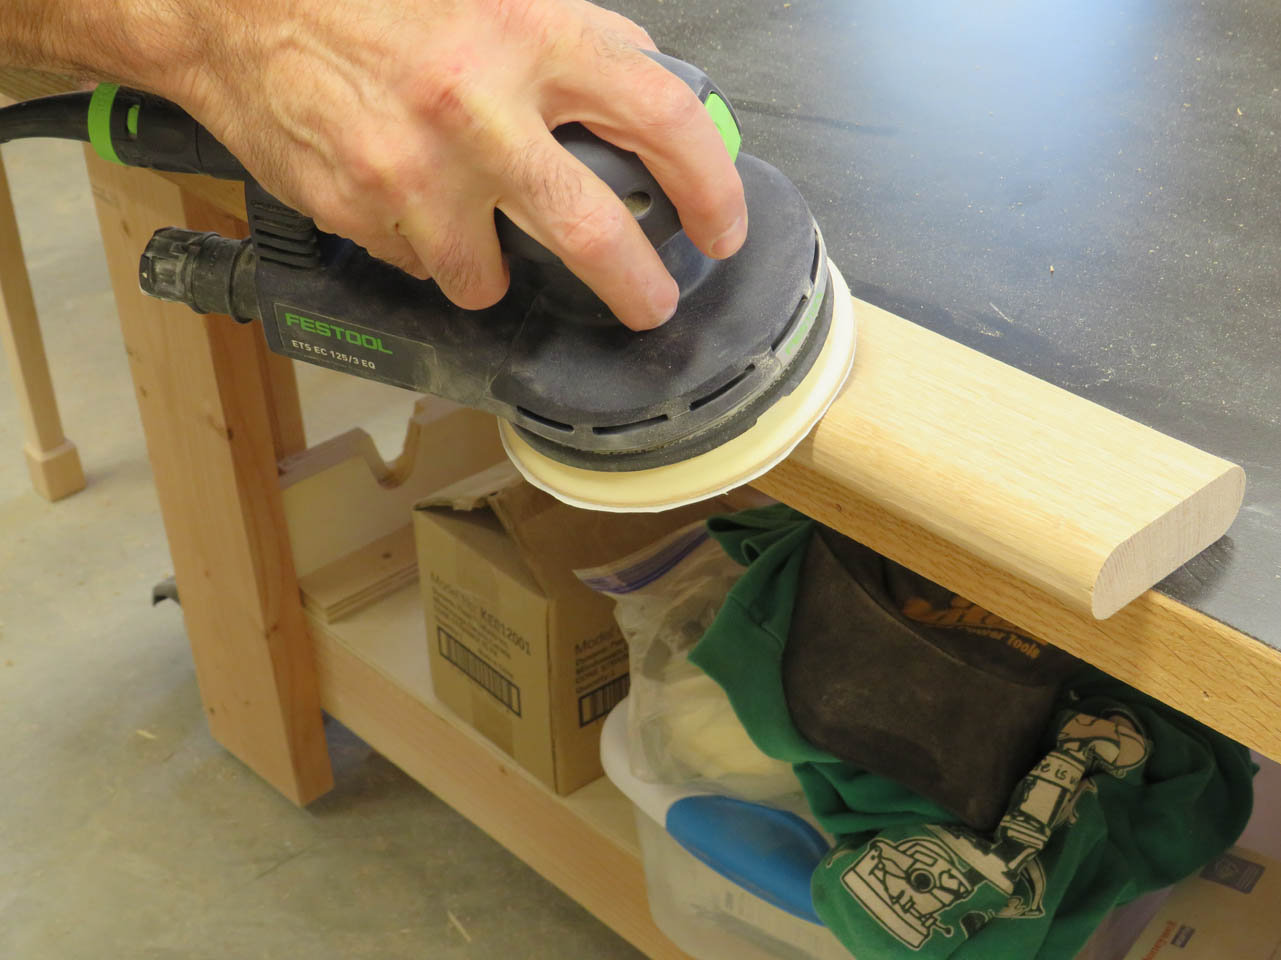
With it all still together, it is easy to sand it all down with the orbital sander.
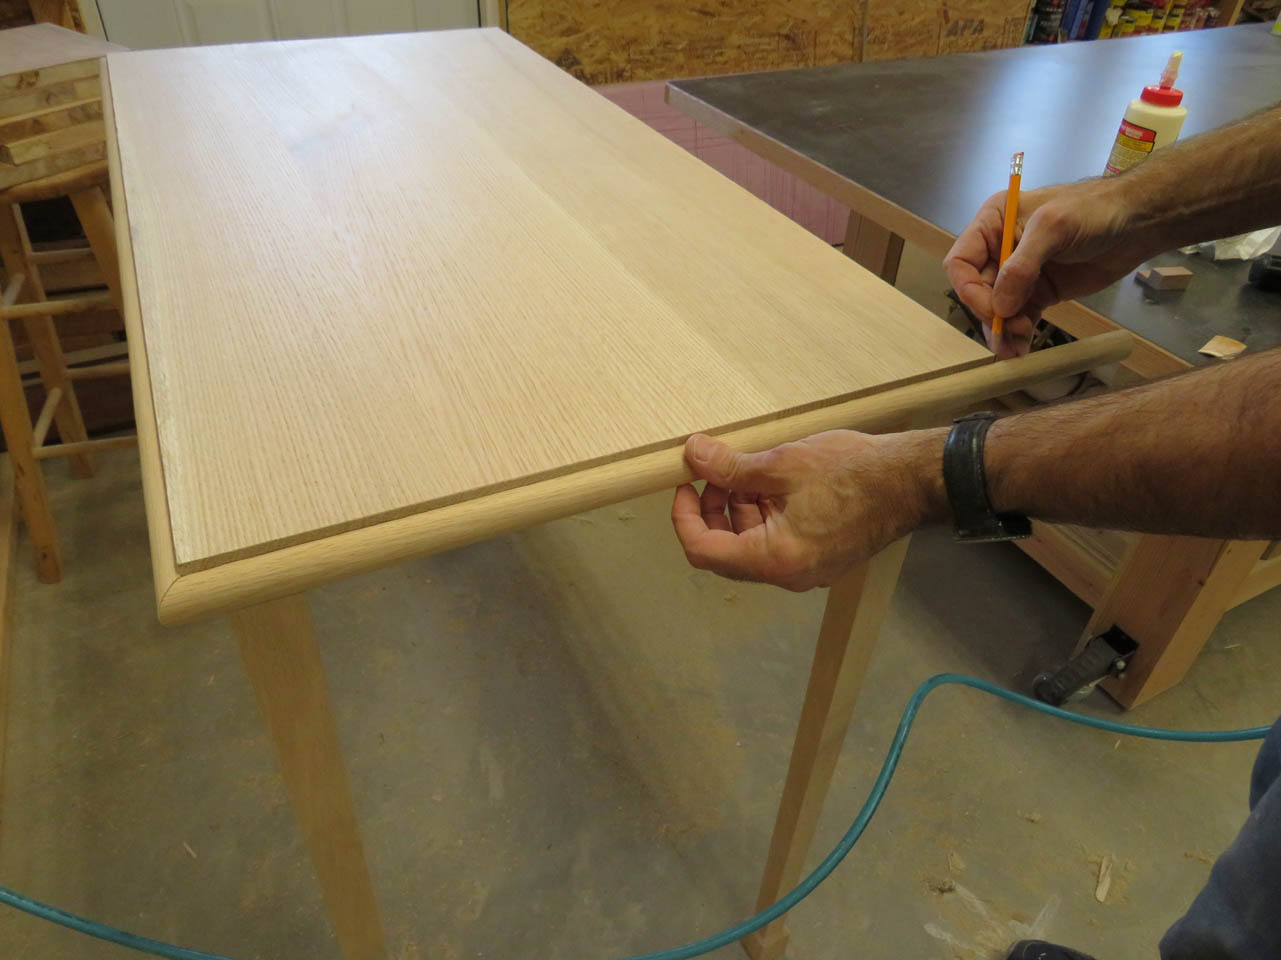
Then I can set the table saw fence to 1/2″ and cut away the piece of beading off each side.

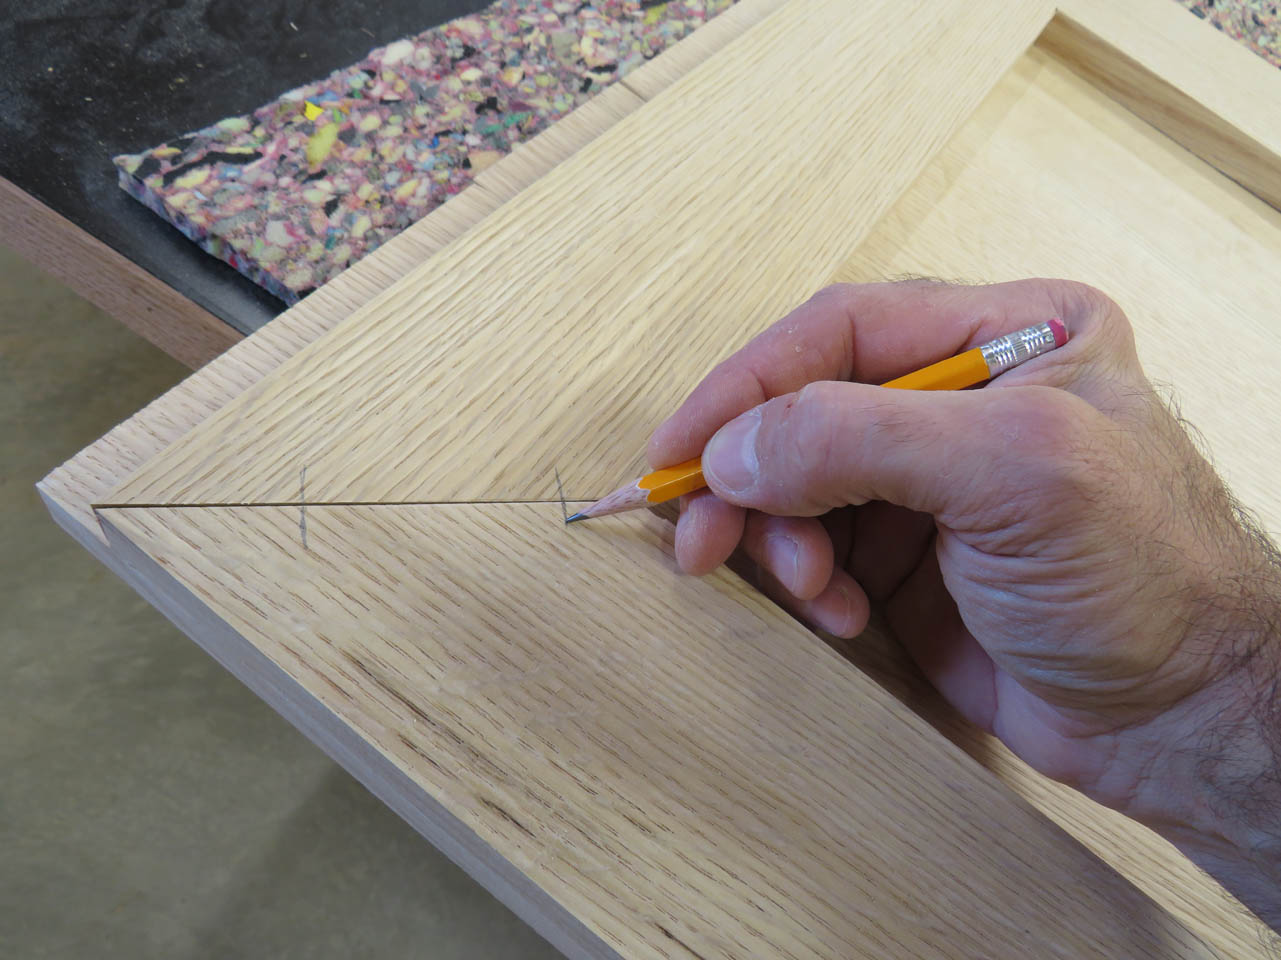
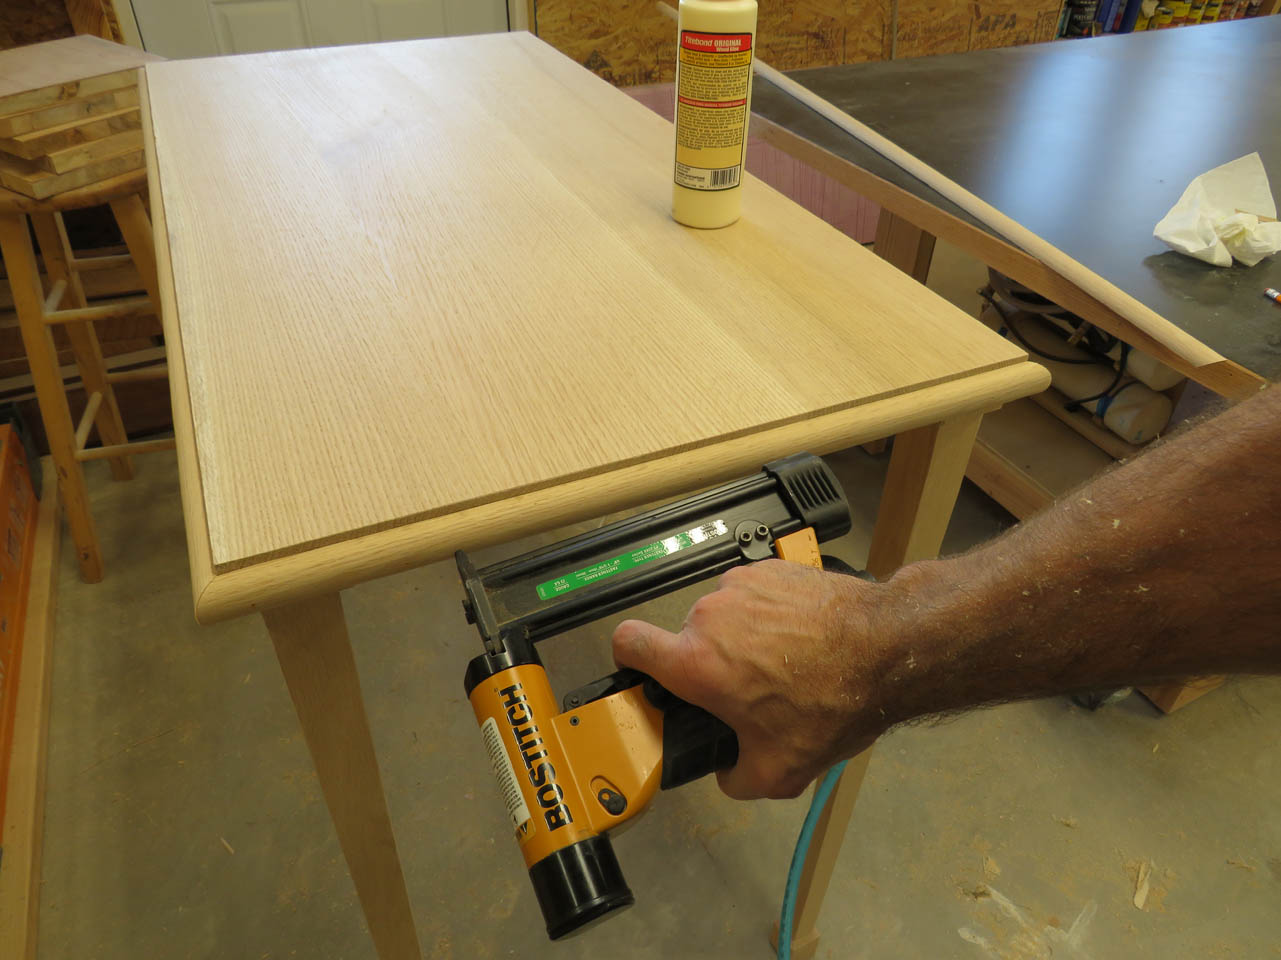
I cut the first 45° miter on the trim, then hold it in place to mark the opposite side.
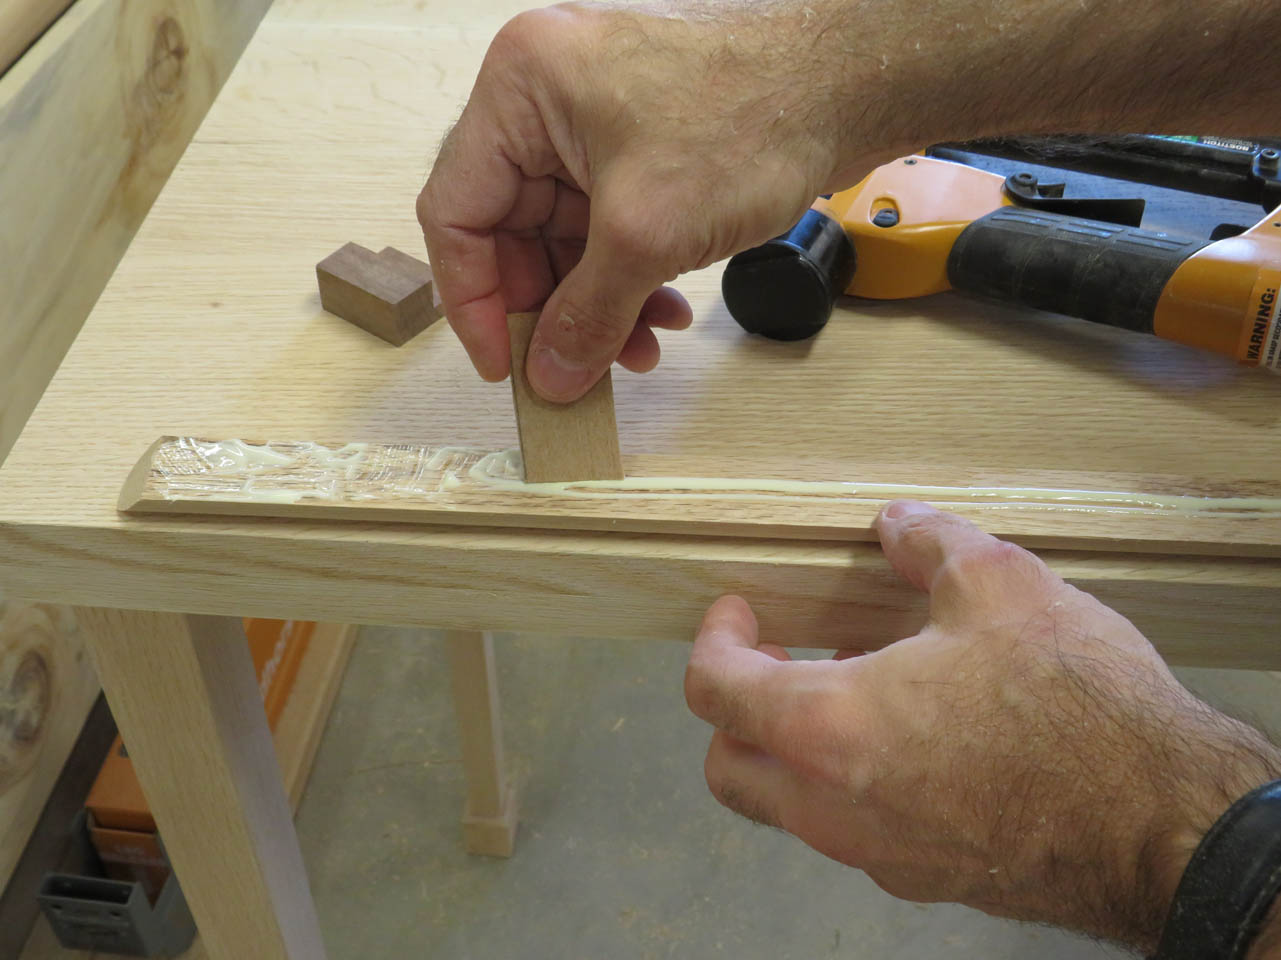
Once the first piece is cut, I can pin nail and glue it in place.

Then I can work my way around, one piece at a time.
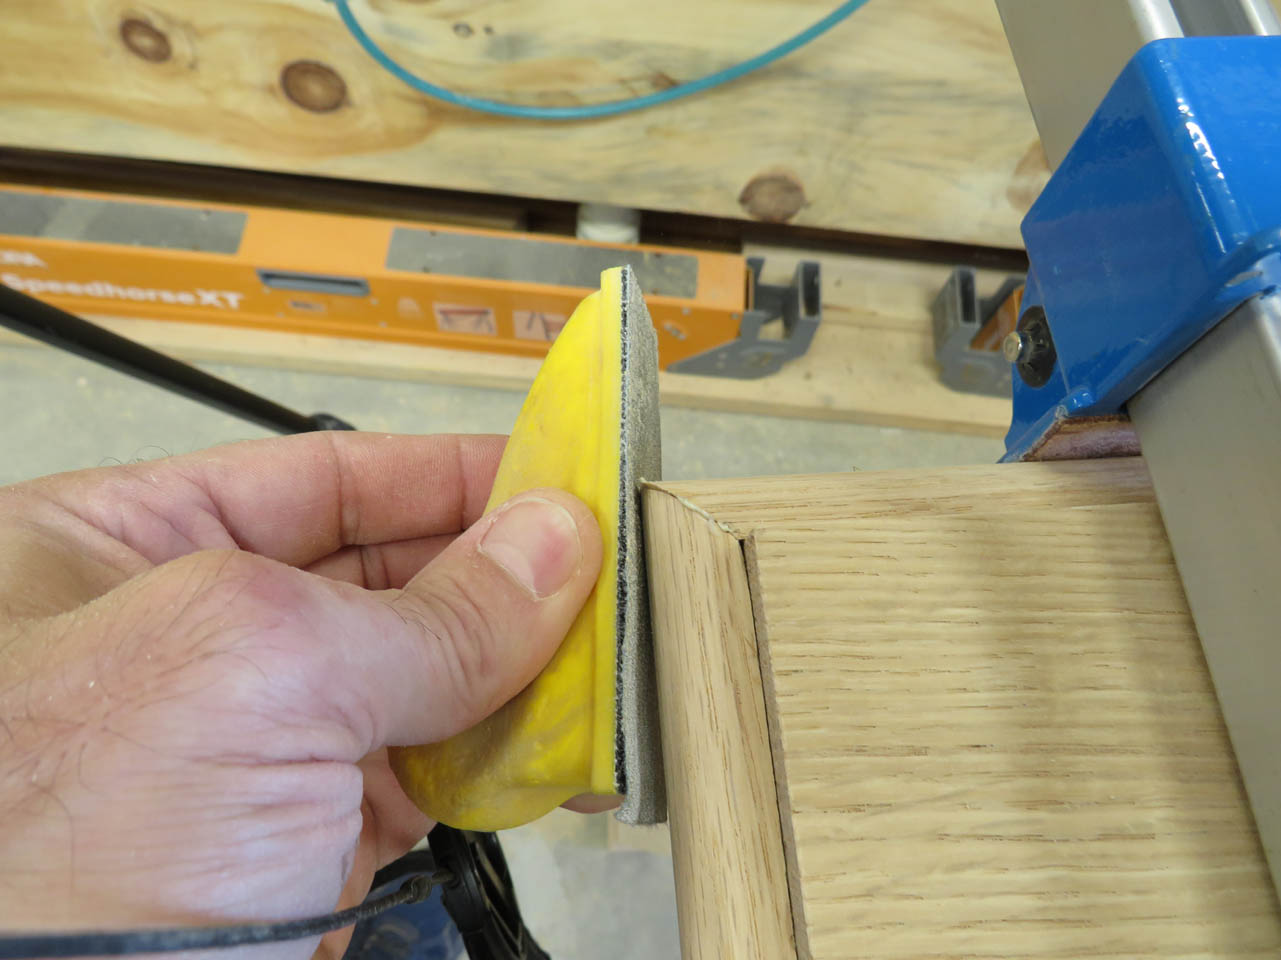
When it is done, I place a tiny bit of wood glue at each corner, then sand the joined miters smooth. The sawdust created by sanding will press into any visible gaps, sealing them up with a fill that will accept stain the same as the rest of the wood.
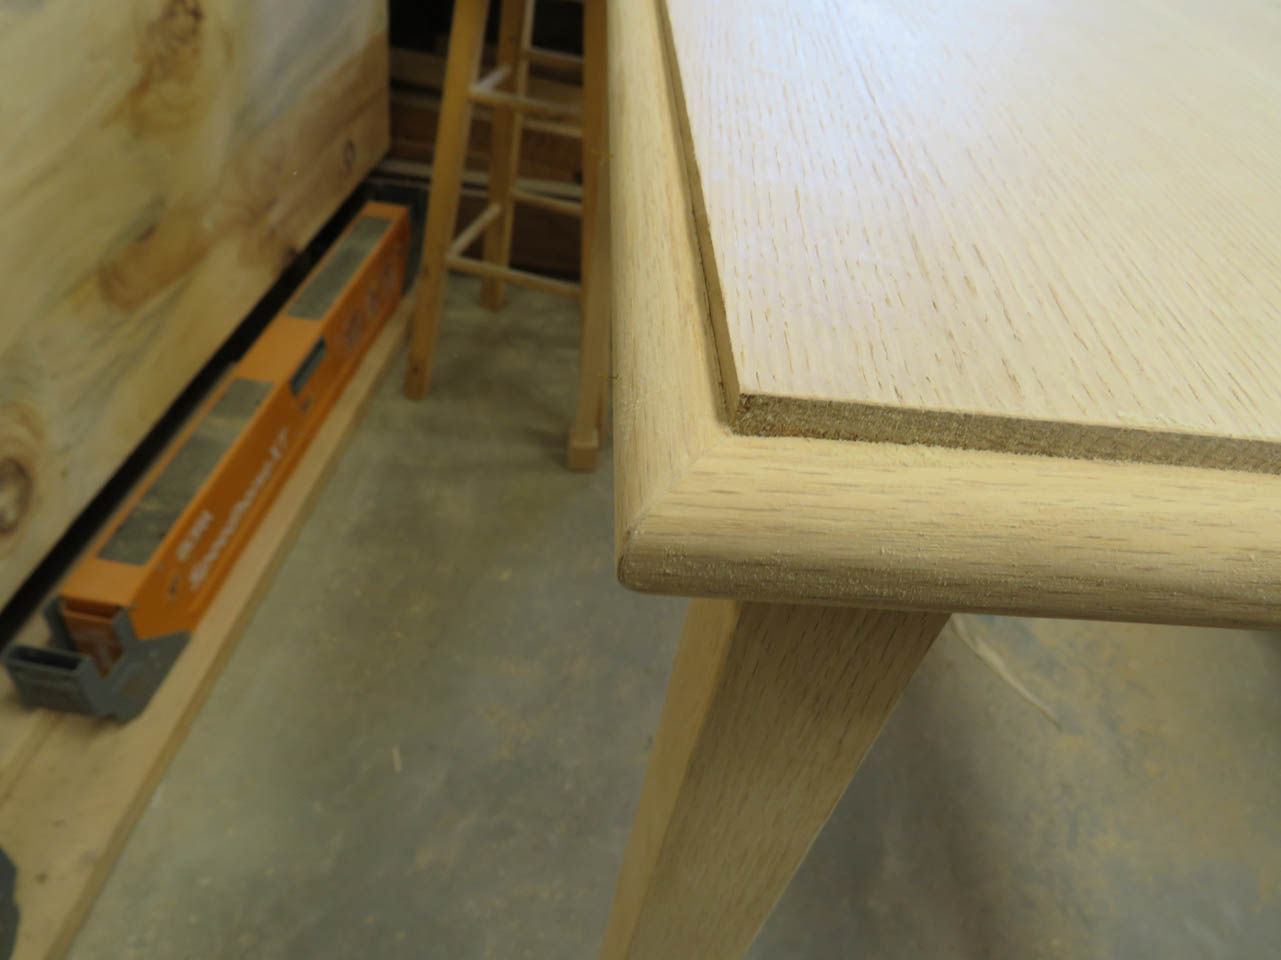
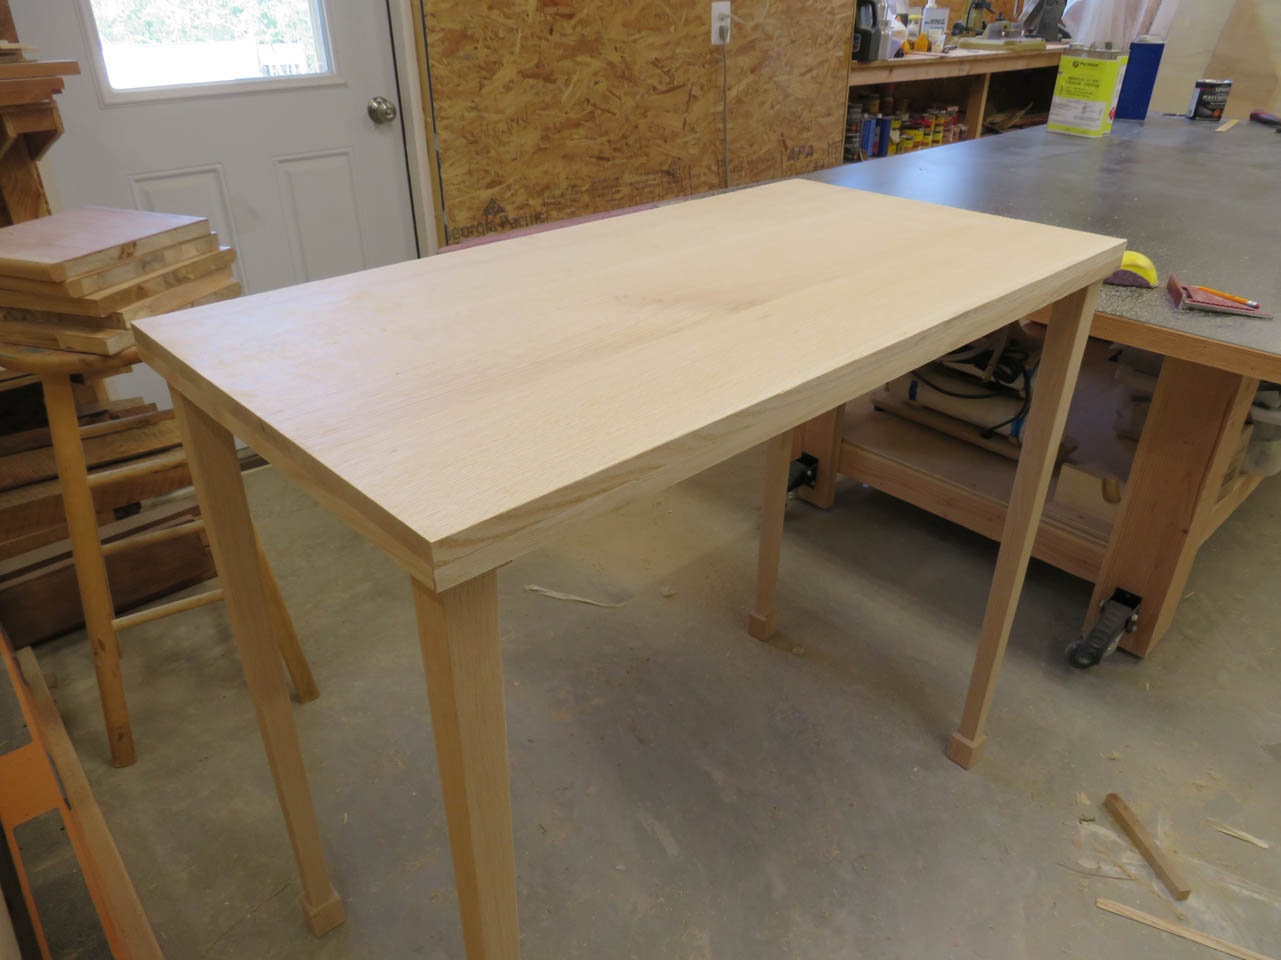
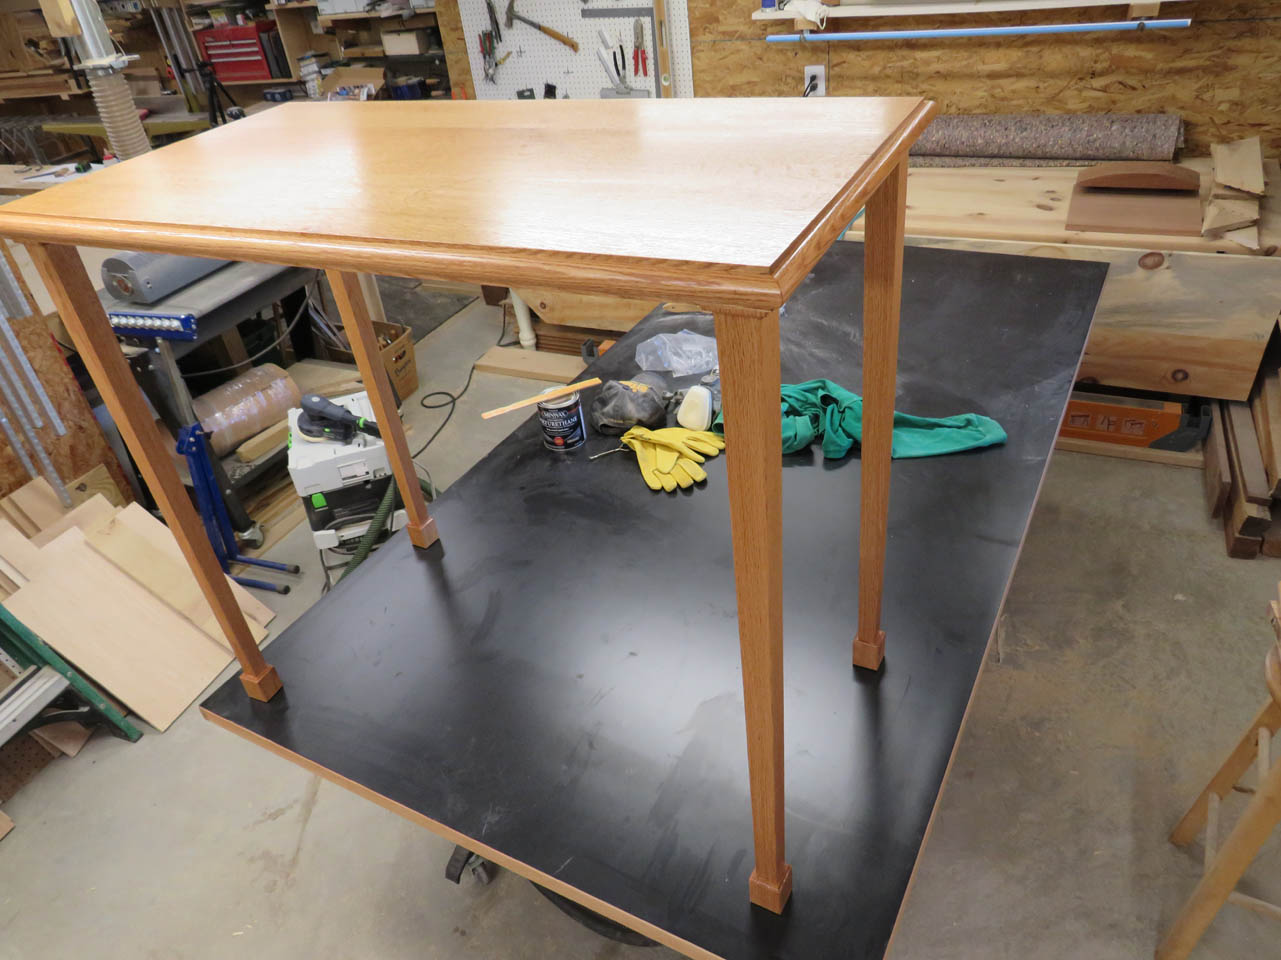
And the full assembly is complete.
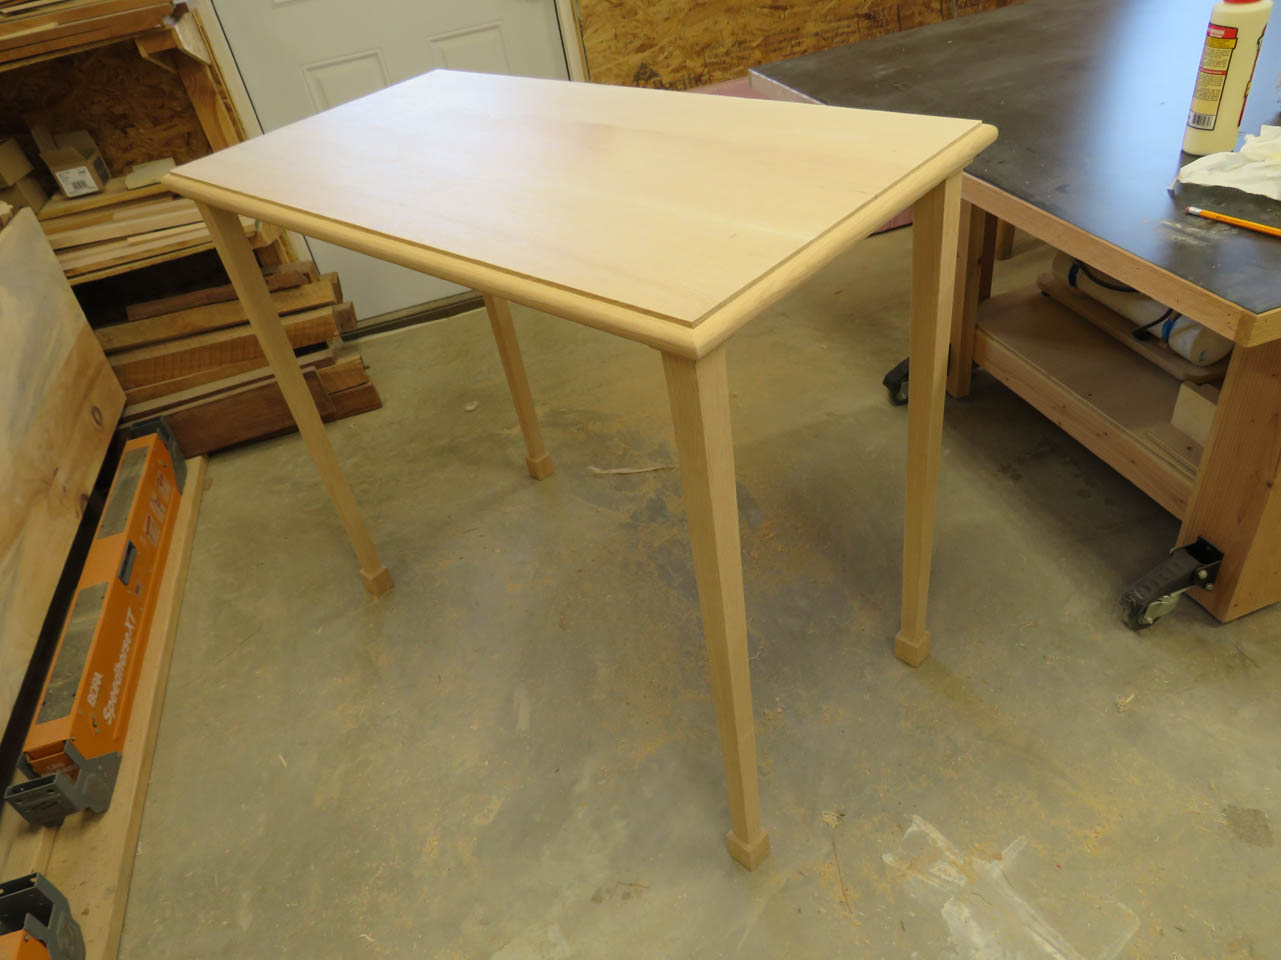
I did a bit of load testing to make sure it was strong and stable.
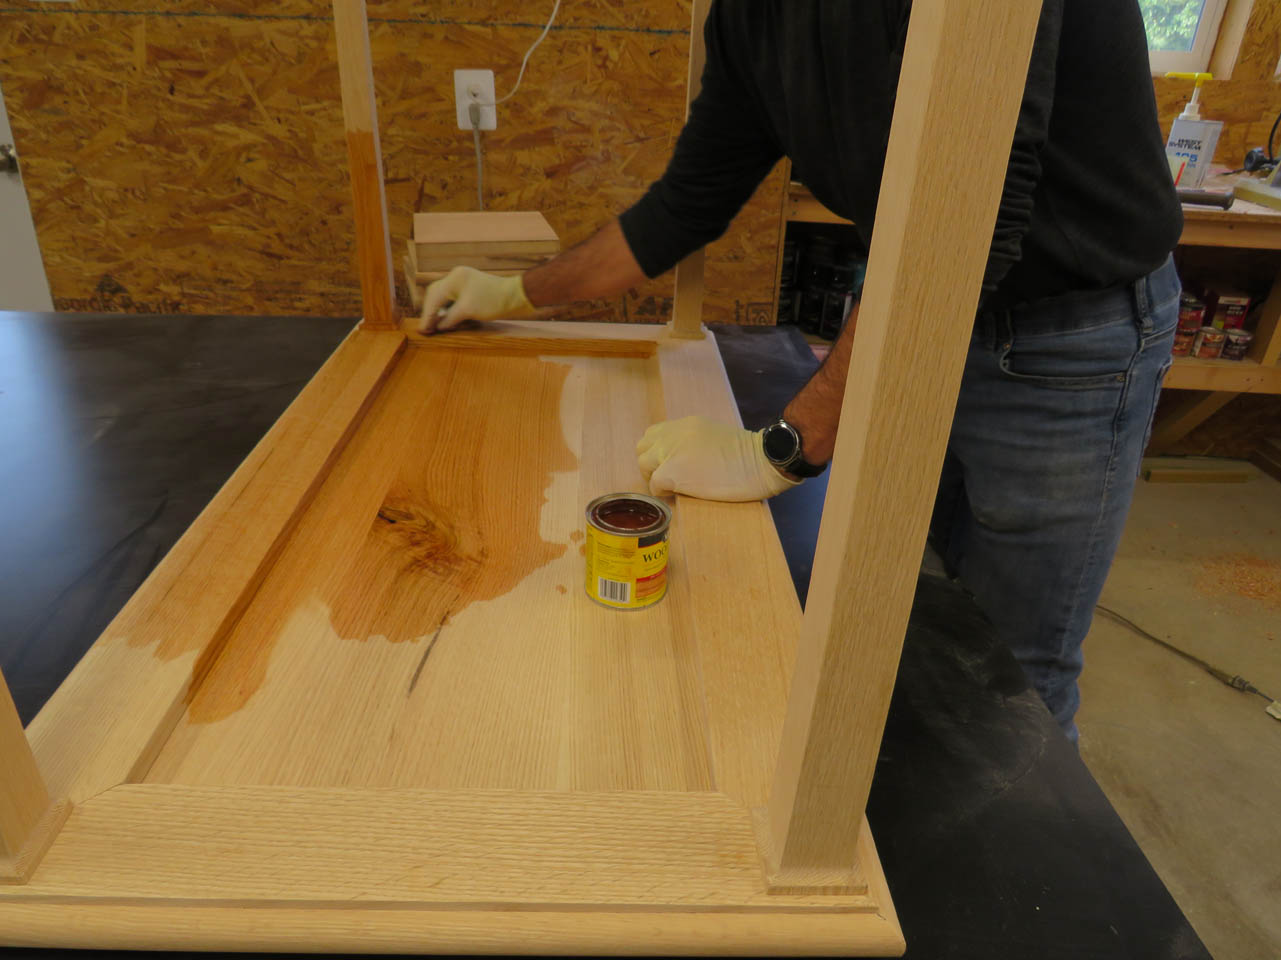
Next, I applied a coat of cherry stain and left it to dry overnight.

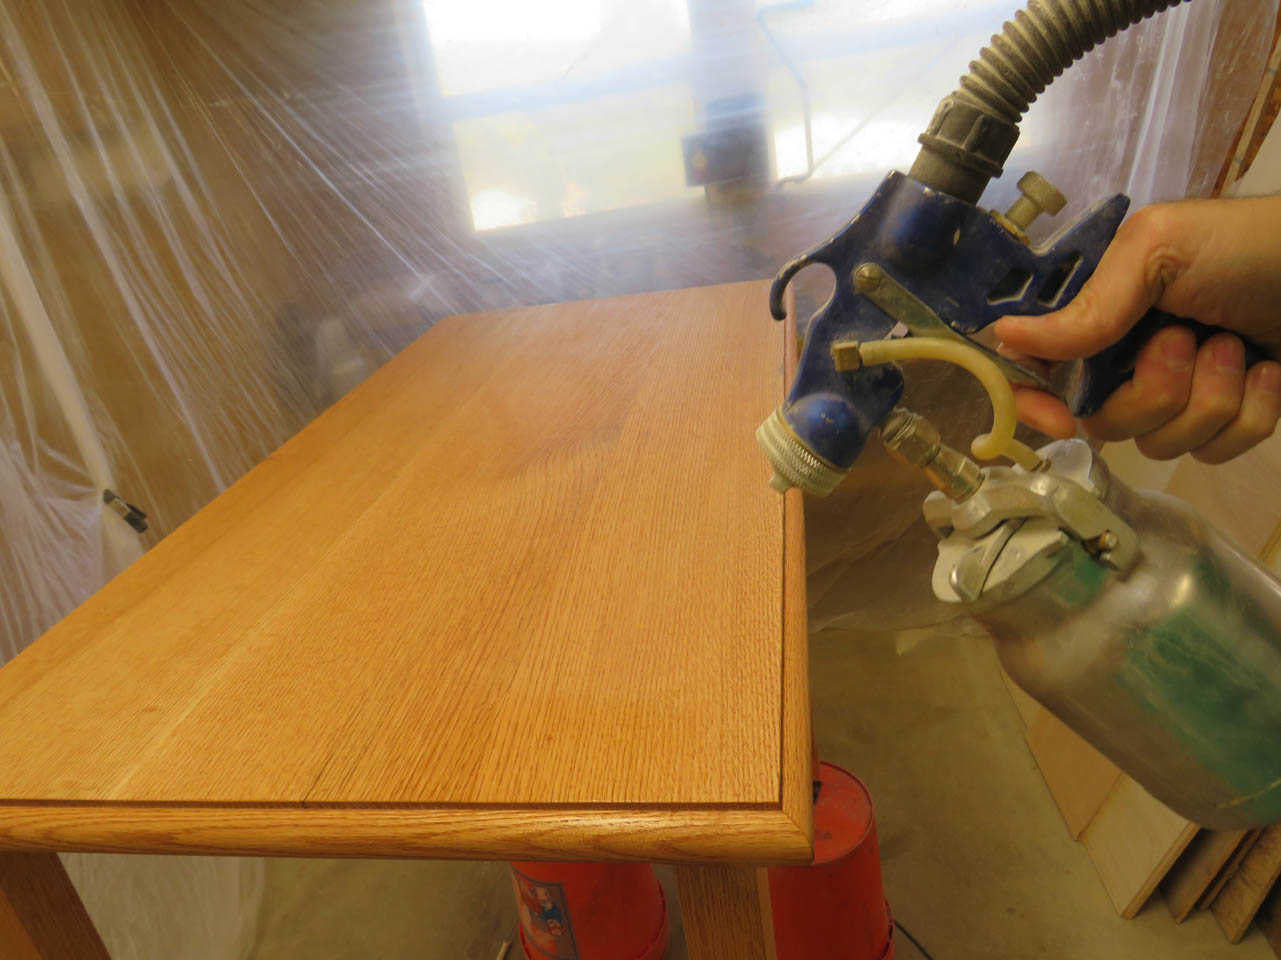
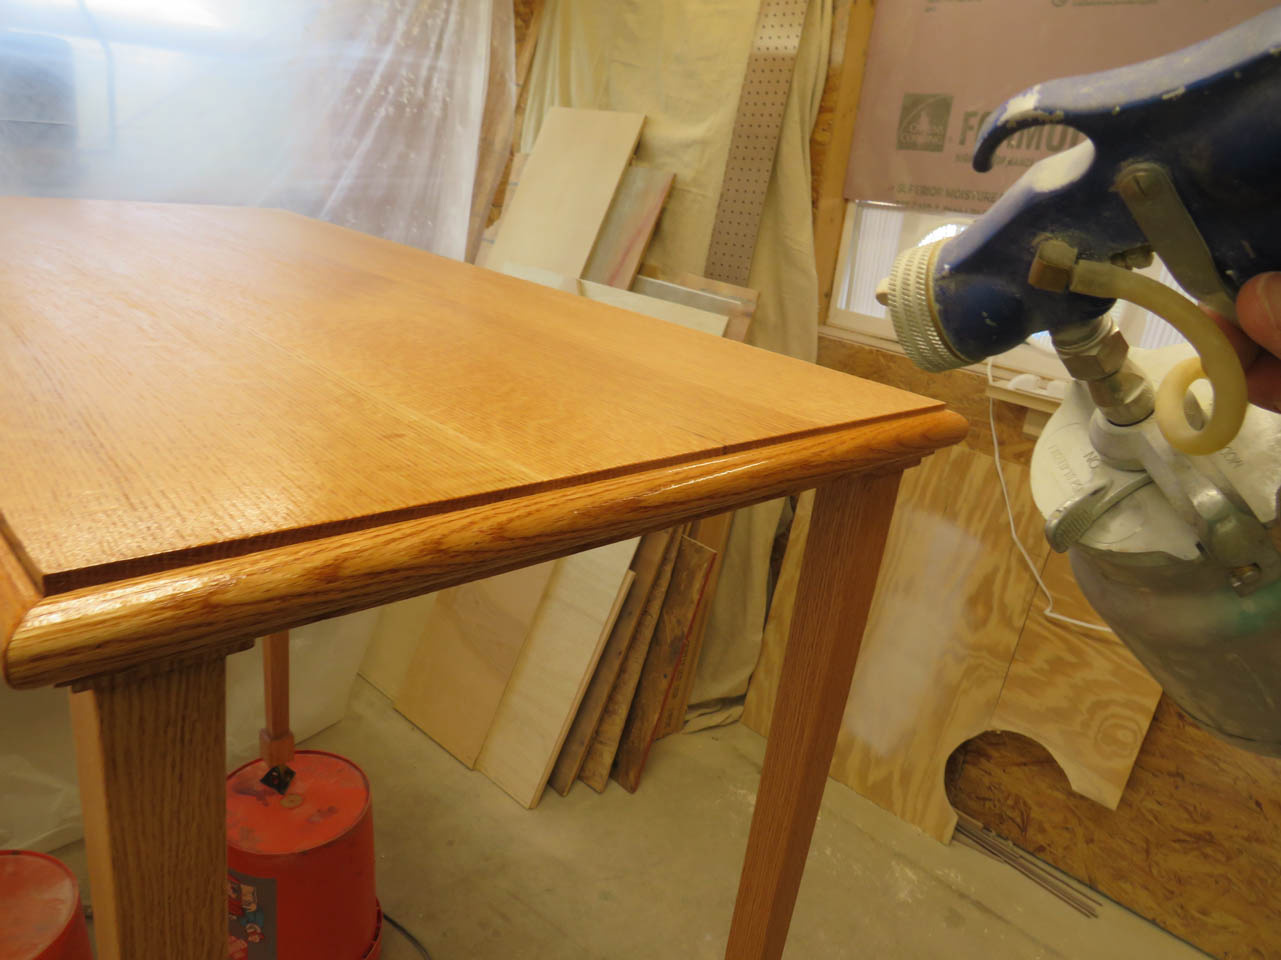
The next morning, I applied the first coat of polyurethane.

Later that evening, it was dry enough to sand down with 400 grit paper and apply the second coat.
I left it to dry overnight and the next day buffed the surface smooth to remove any dust nibs.
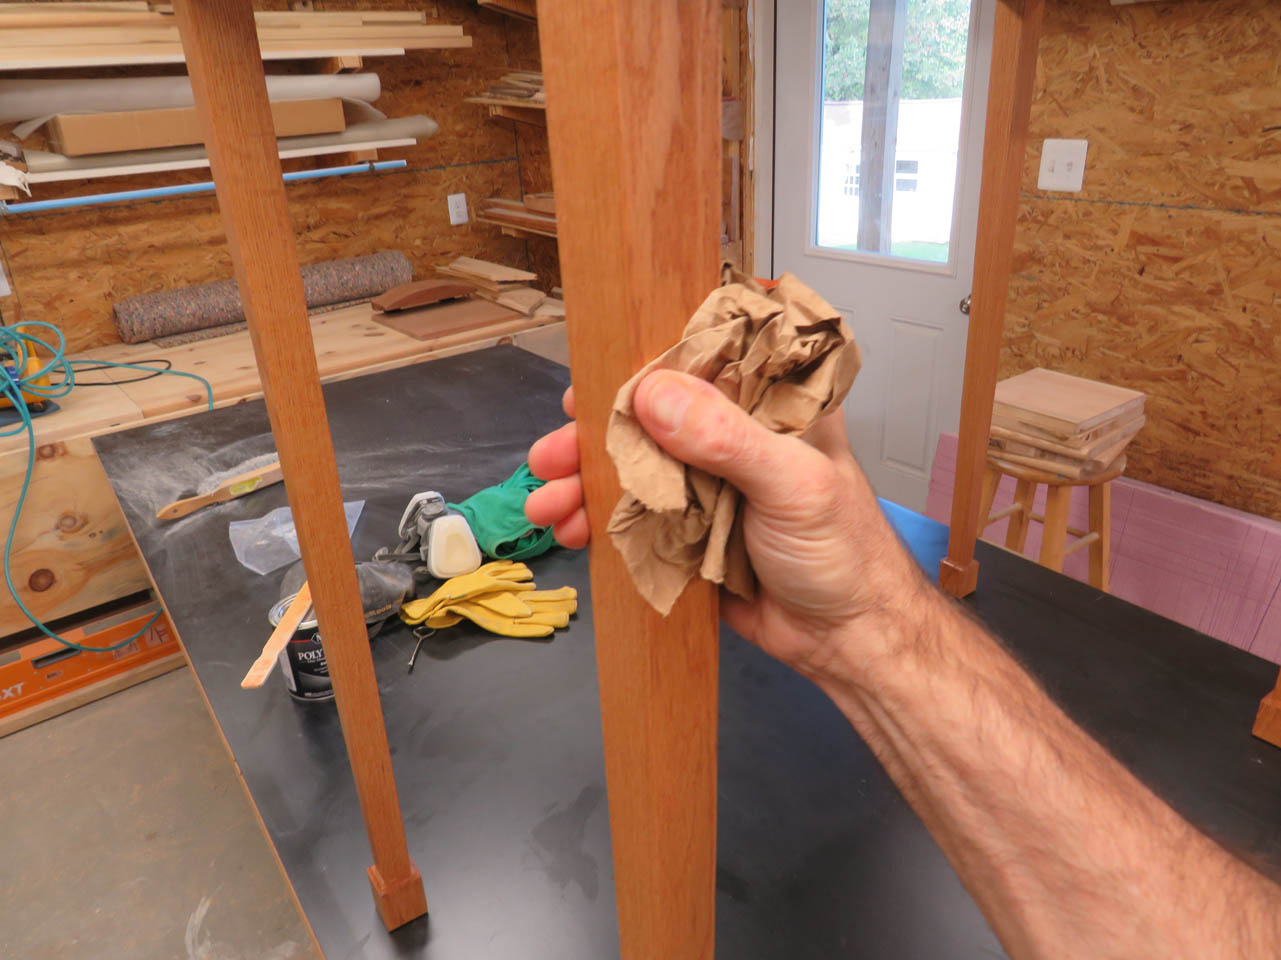
Please note that all four feet are still sitting dead flat. That makes me happy!

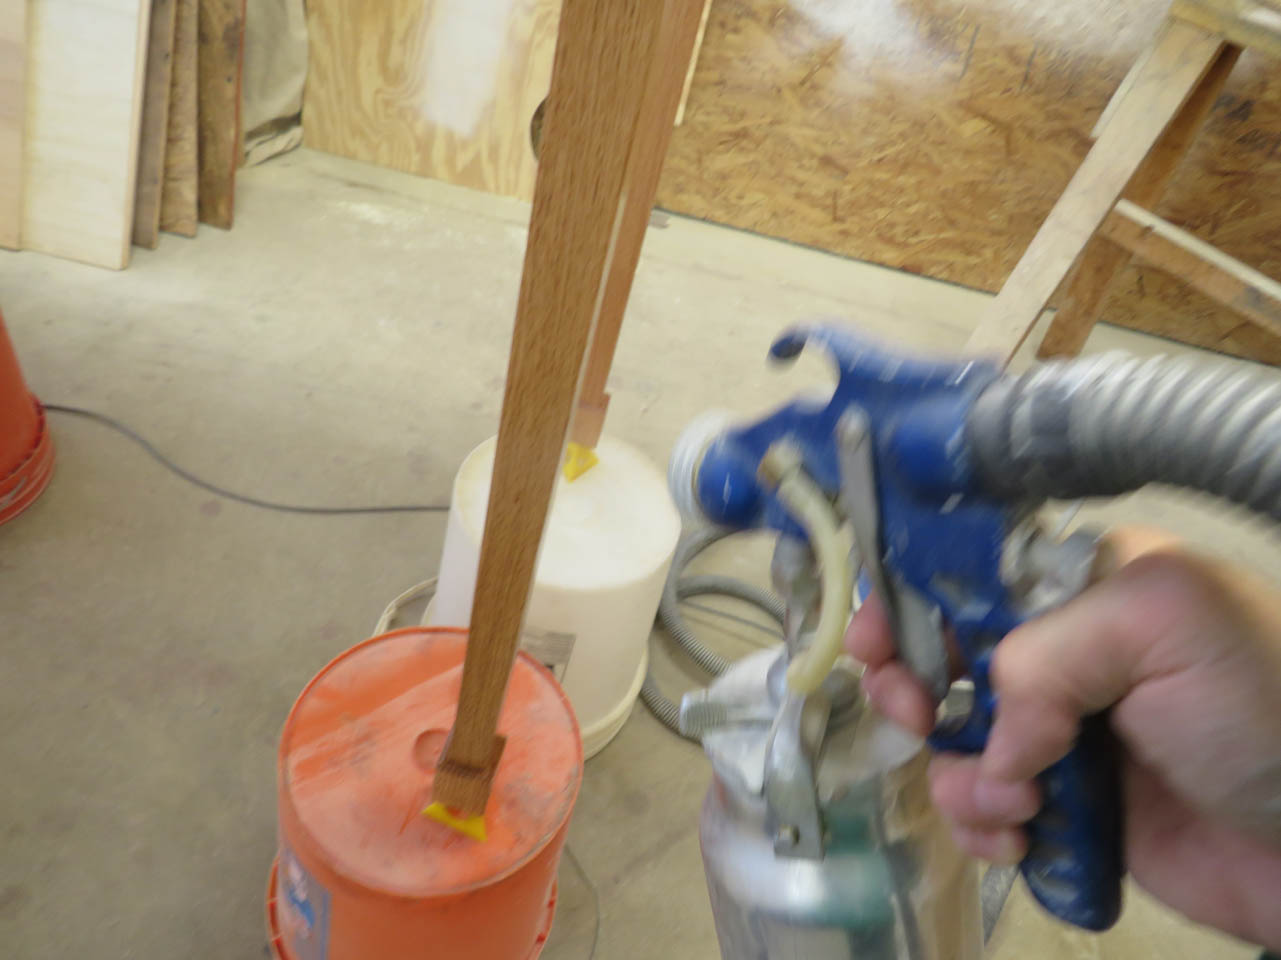
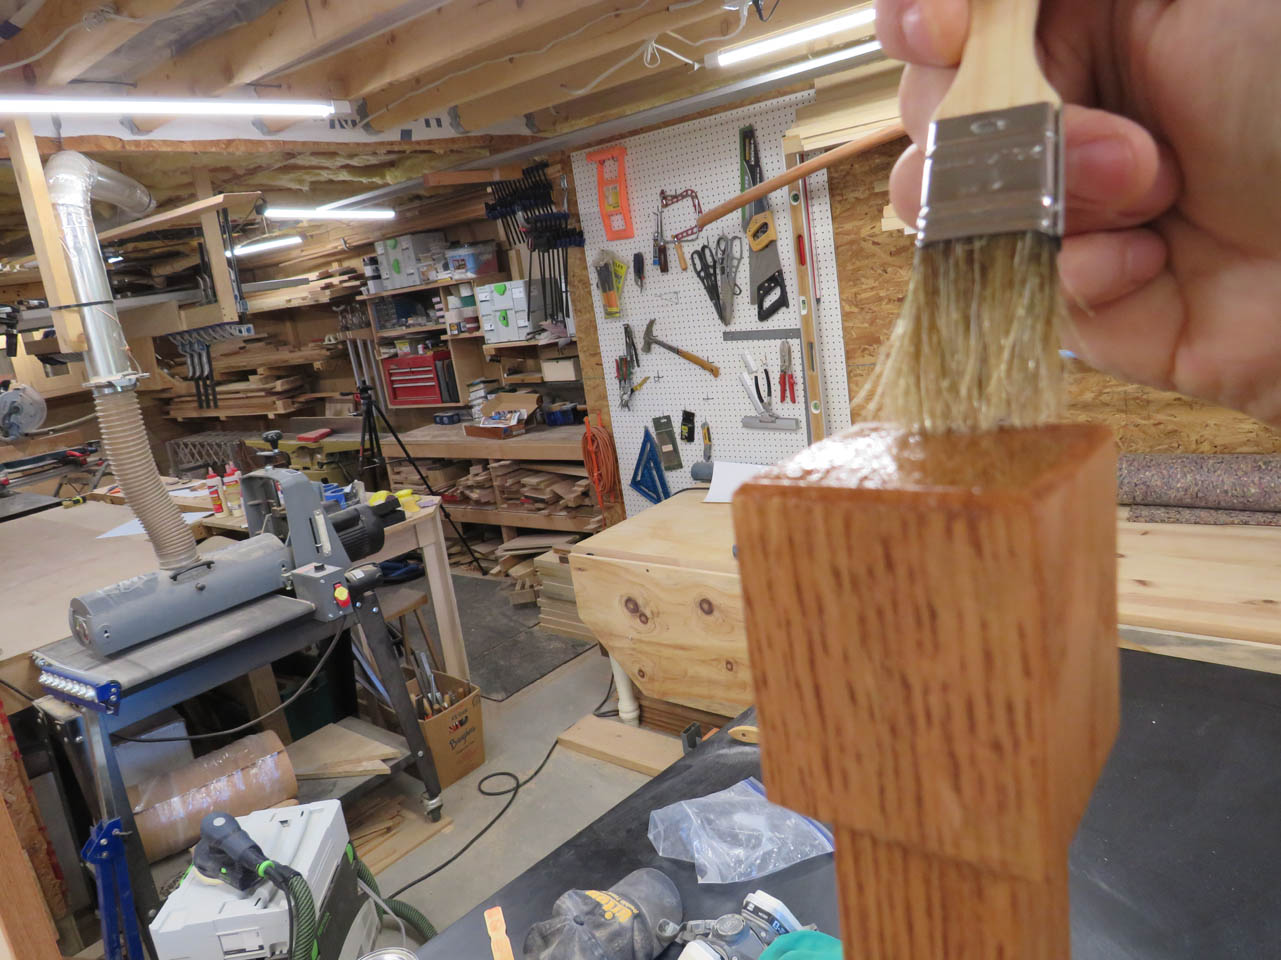
The final thing I want to do is brush an additional coat of poly onto the bottom of the feet for an added layer of protection.

The table is complete. Onto the next project…

Pingback: Small walnut table for Holy Spirit Church | Midnight Woodworking