Credence tables for Holy Spirit Church – part 4
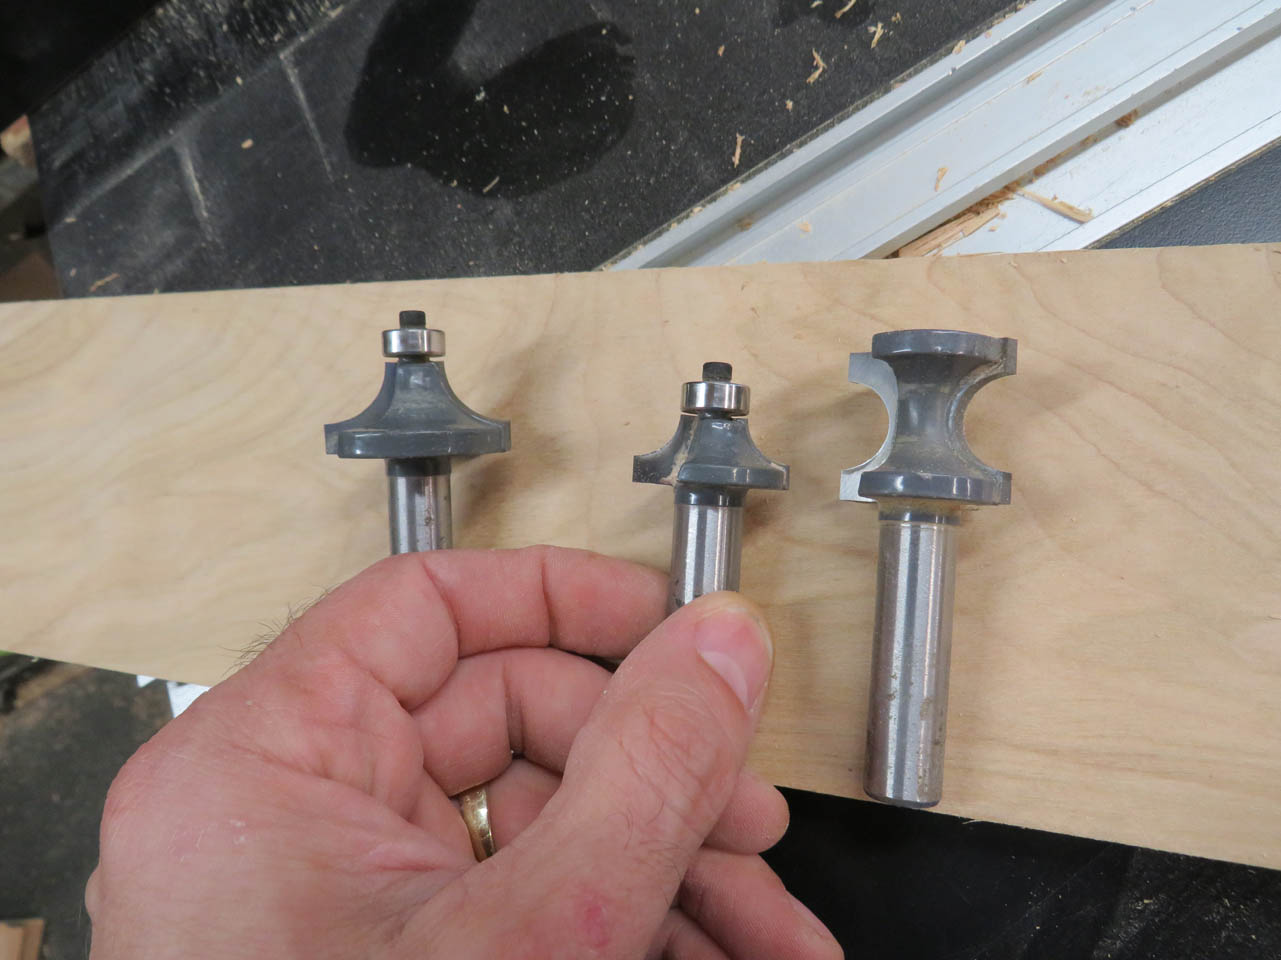
To cut the bullnose trim for the shelf and top, I have a couple of options. I can cut the full bullnose in one pass with the bullnose bit or in two passes with a round-over bit. The bullnose bit is faster but can have problems with tear-out and can also cut off-center if the stock has a slight bend to it. I have to create a 5/8″ bullnose for the center shelves and a 1″ bullnose for the table top. I think I will use the round-over bits and make two passes. Oak tends to tear-out easily so this will reduce the chances of that.
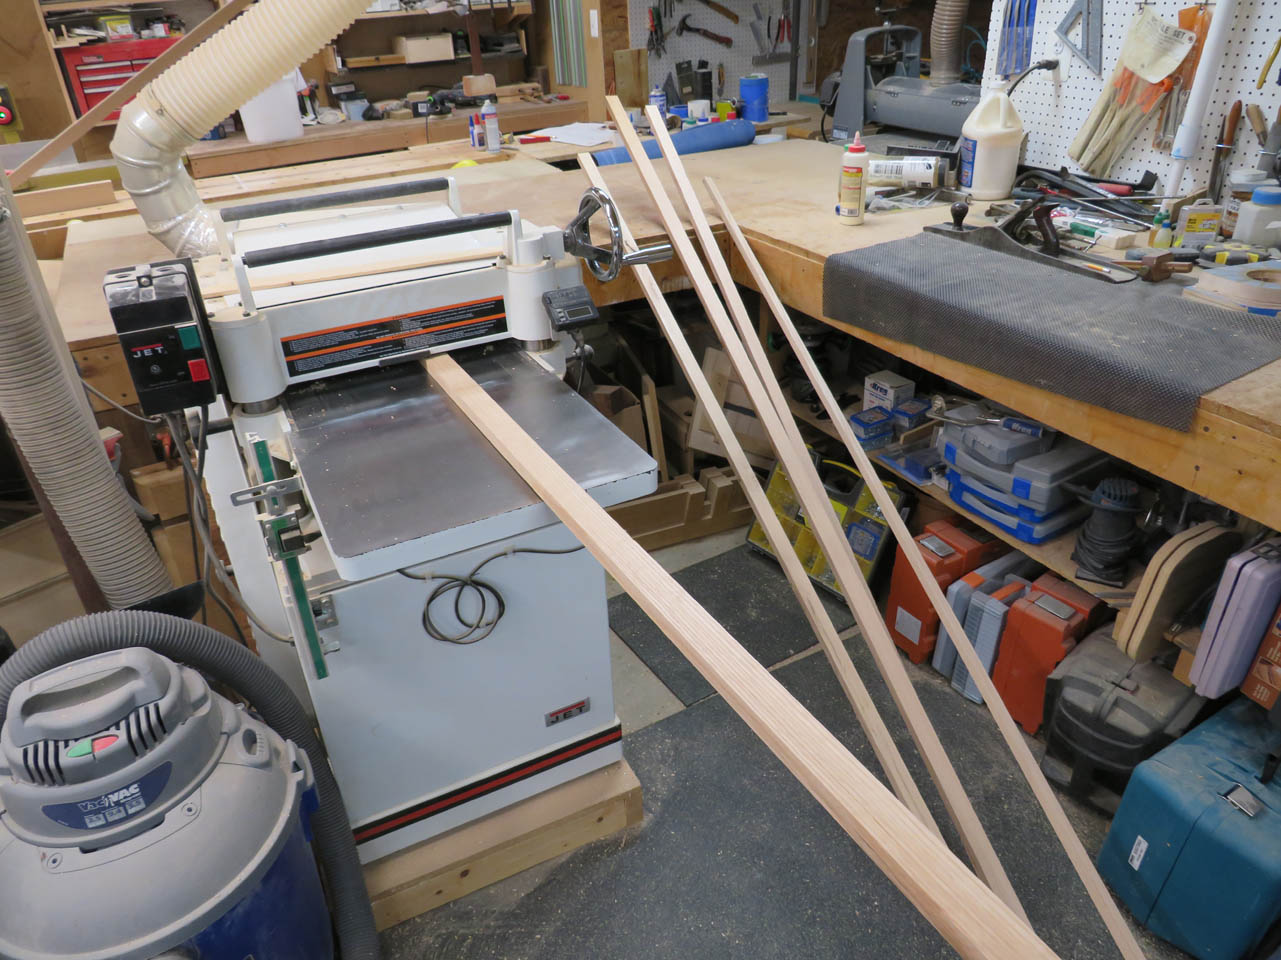
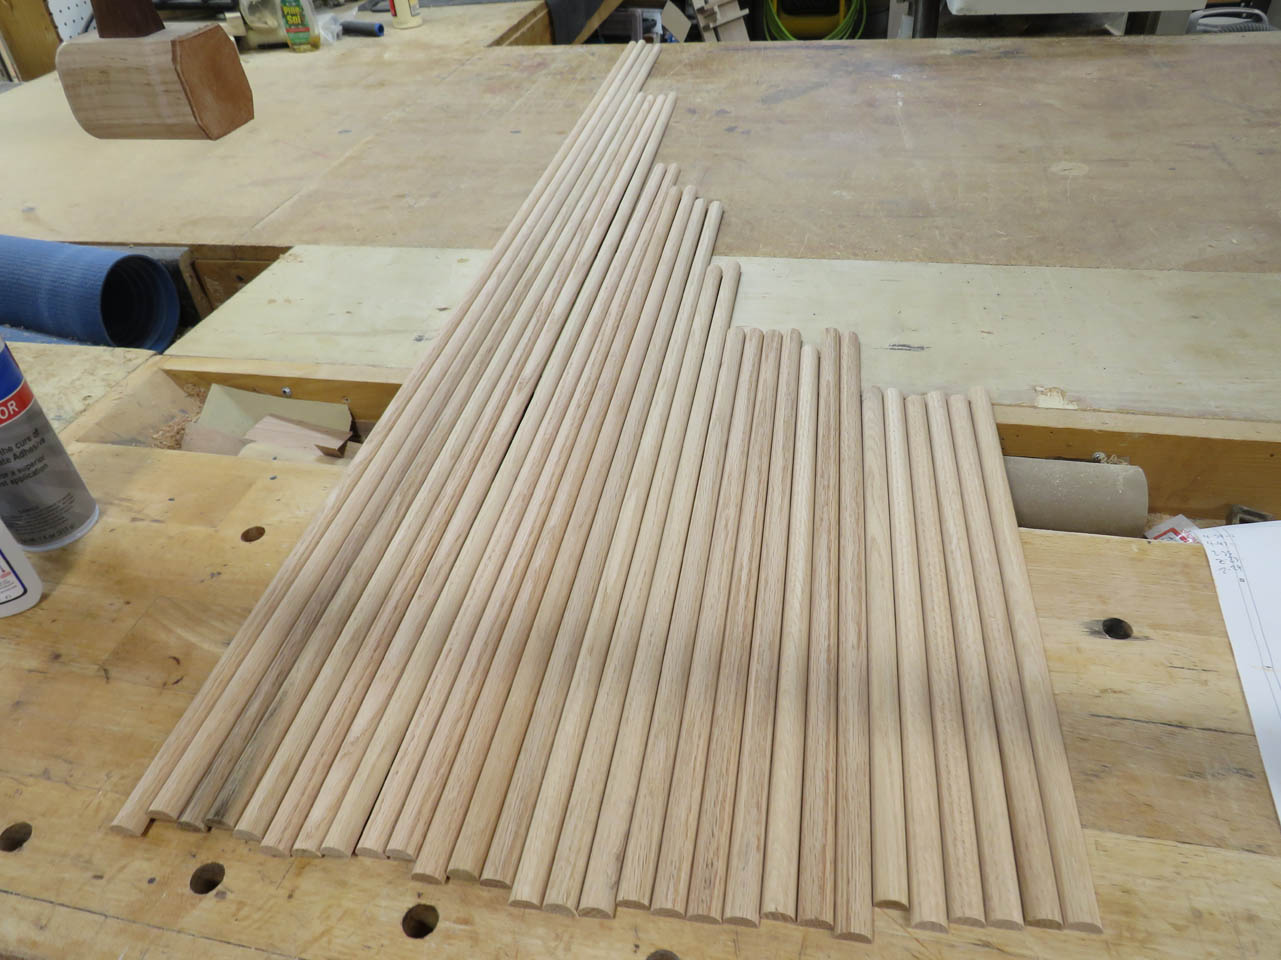
I will start with my off-cuts to create stock for the 5/8″ bullnose. The first step is to plane the stock down to the final 5/8″ thick, then cut it down to the approximate lengths I will need for each side.
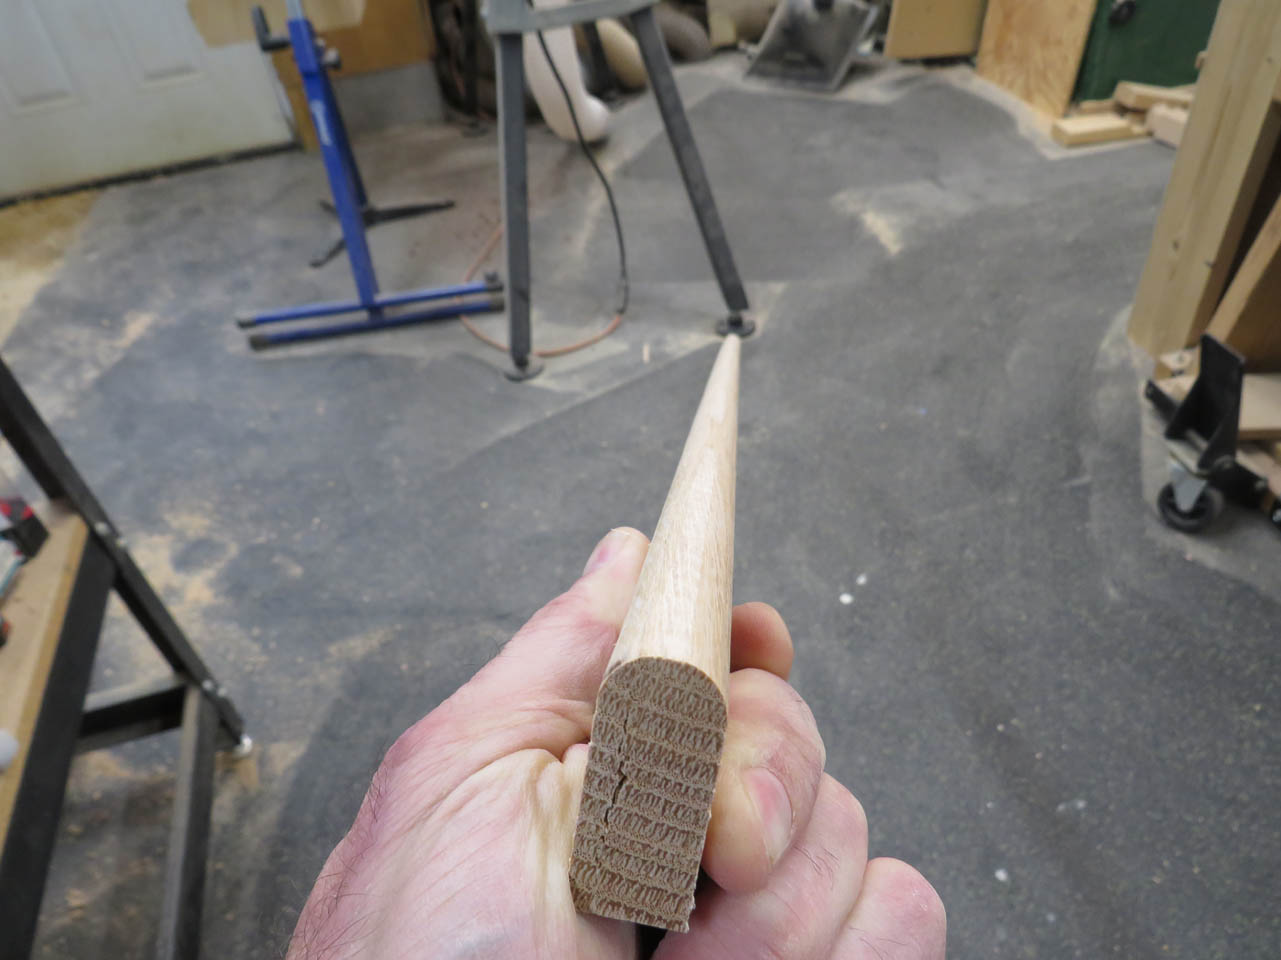
I make two quick passes along the 5/16″ round-over bit to create the full 5/8″ bullnose.

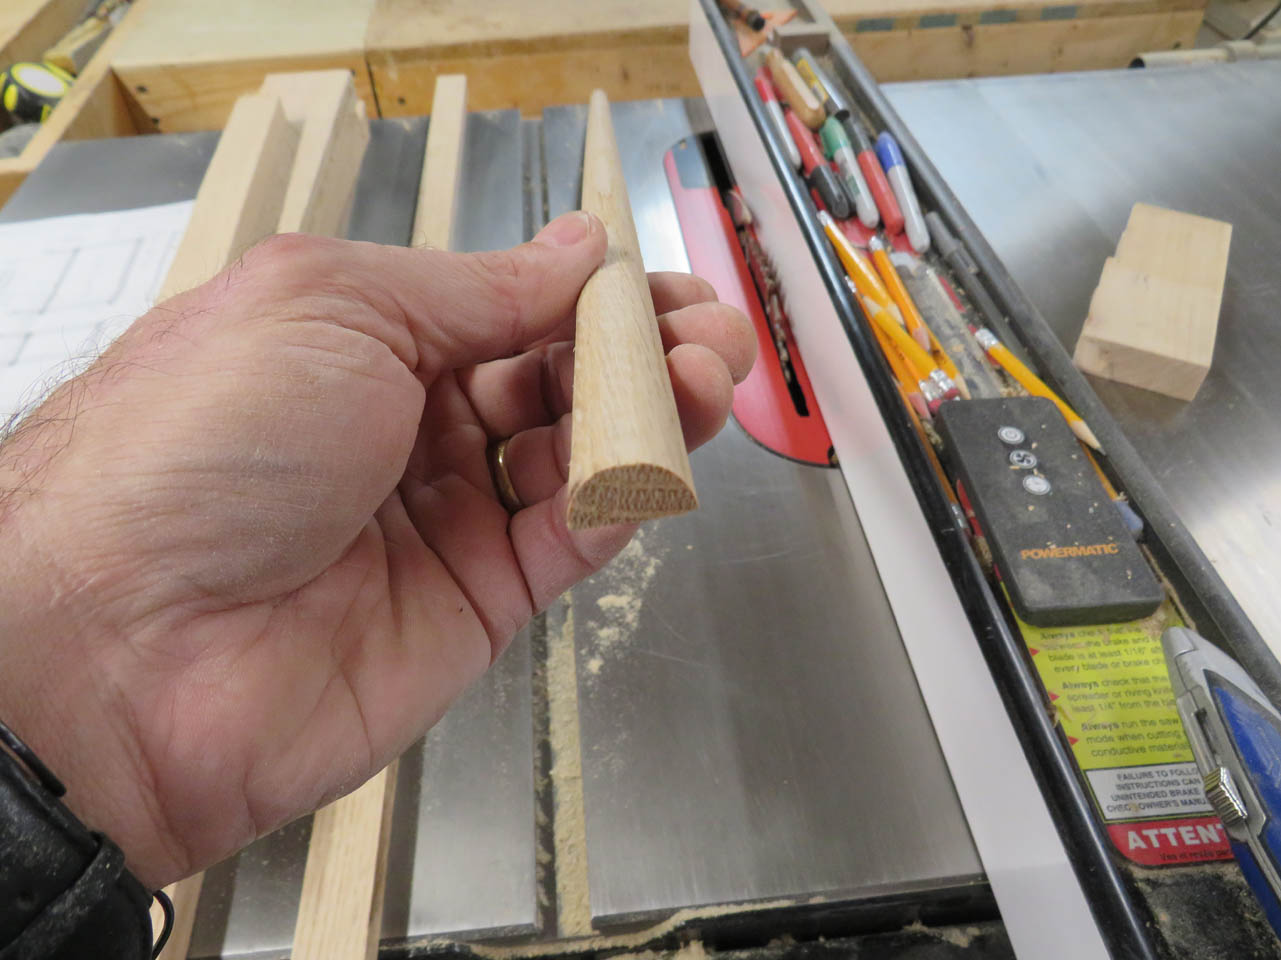
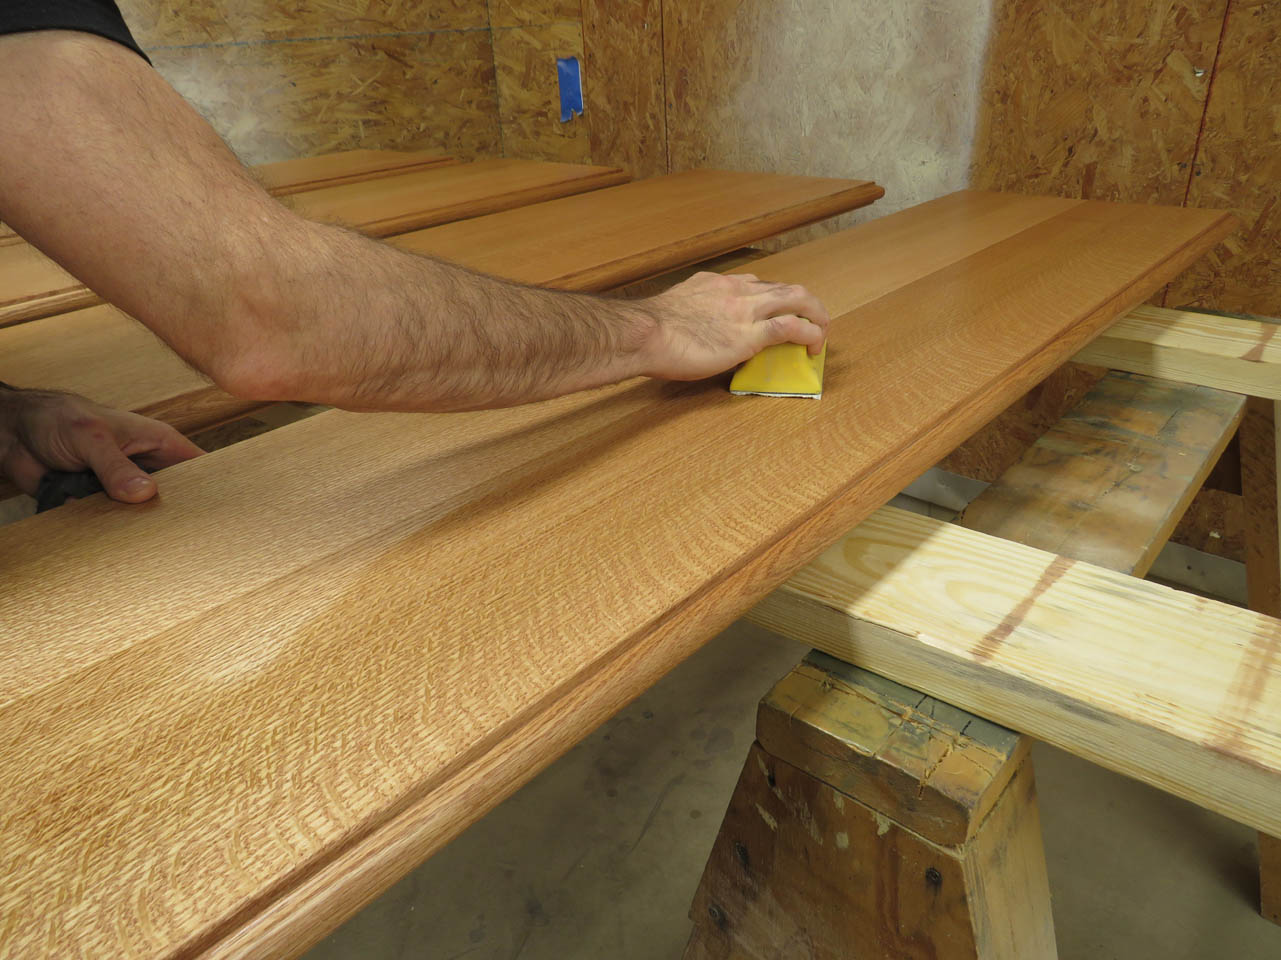
Bullnose looks good. I take the time to sand the curve before cutting off the half-round end. It is easier to hold for sanding before cutting.
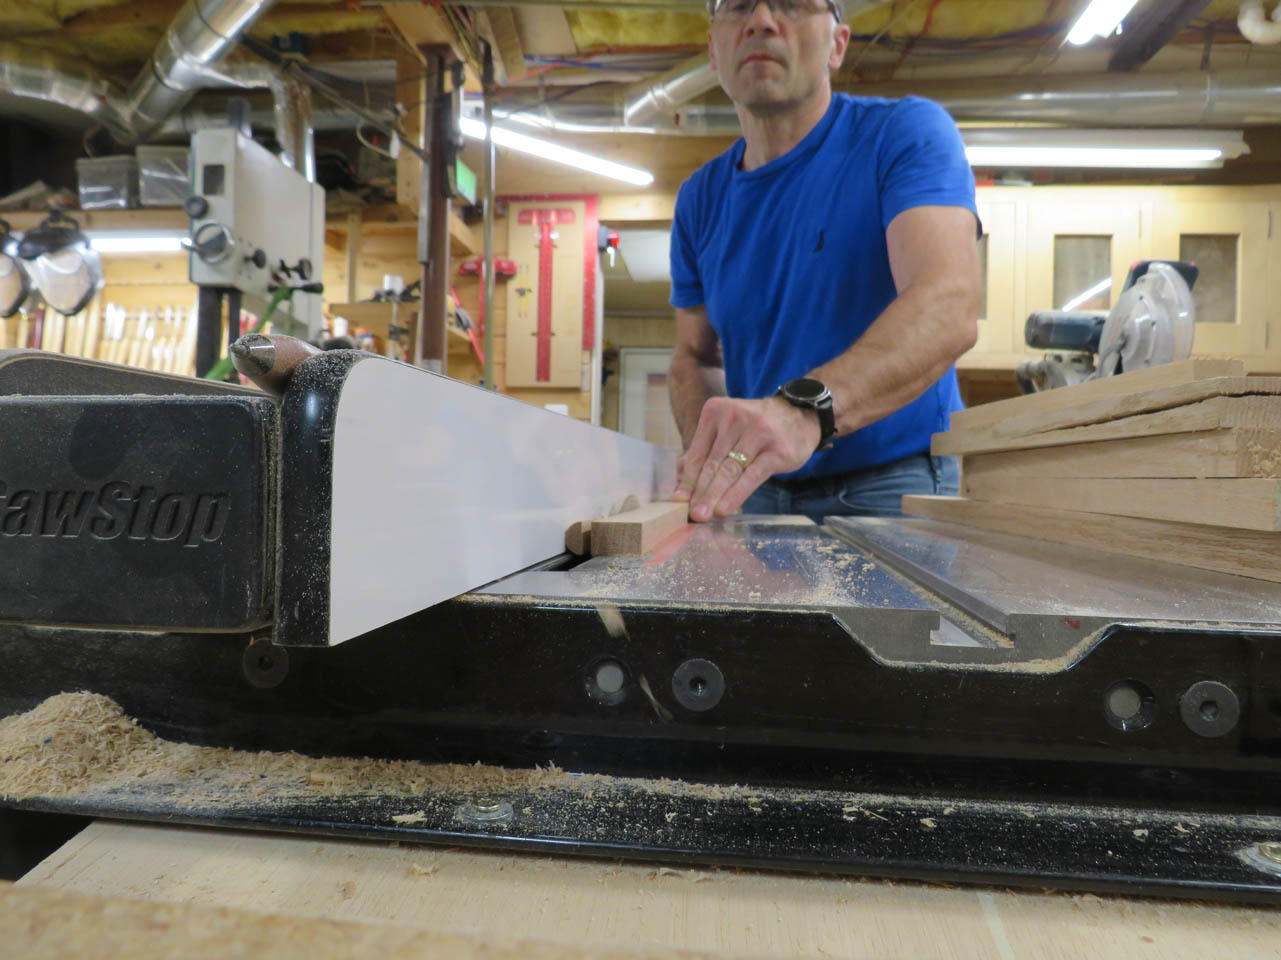
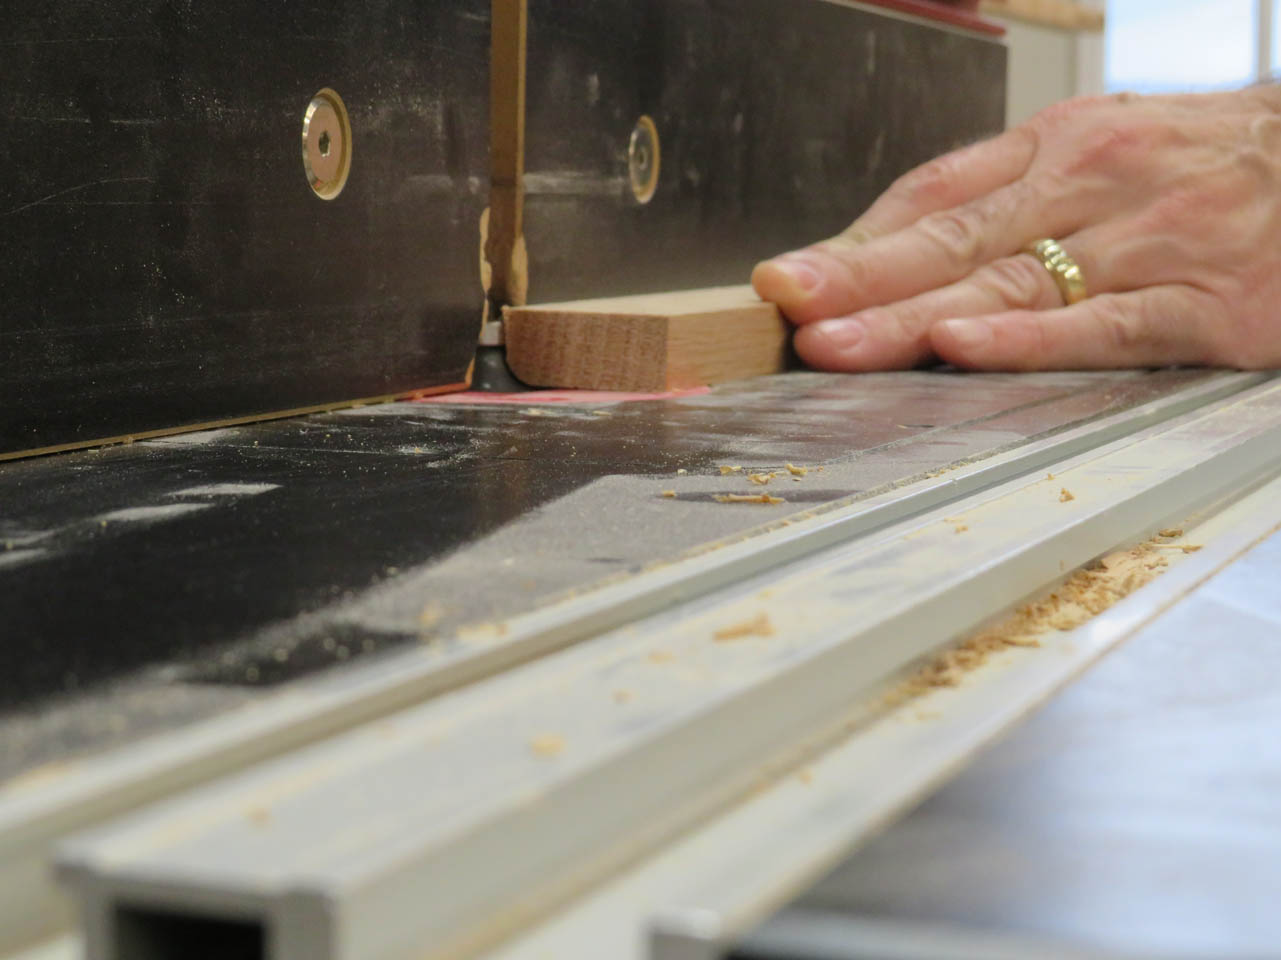
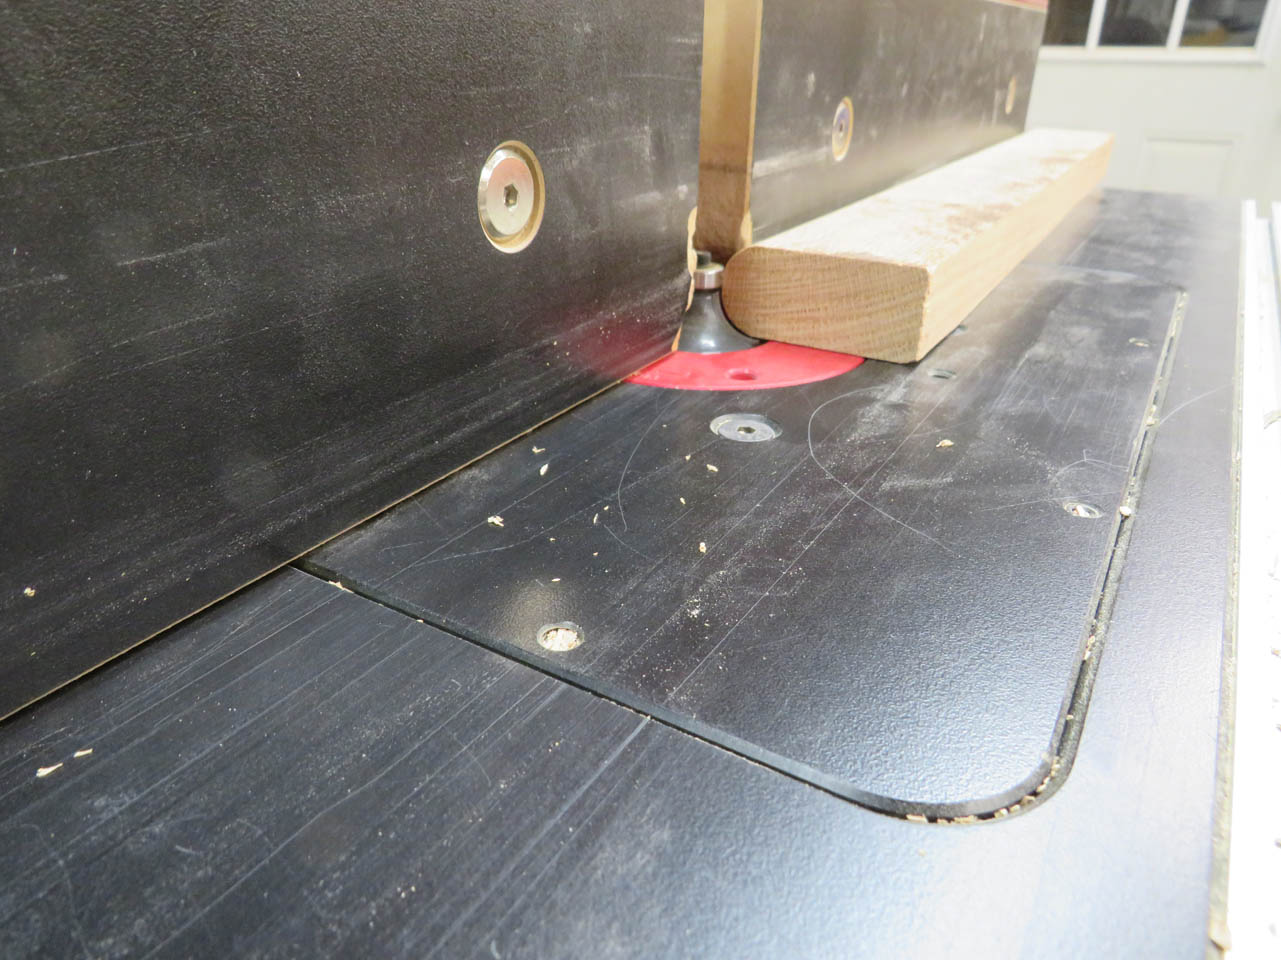
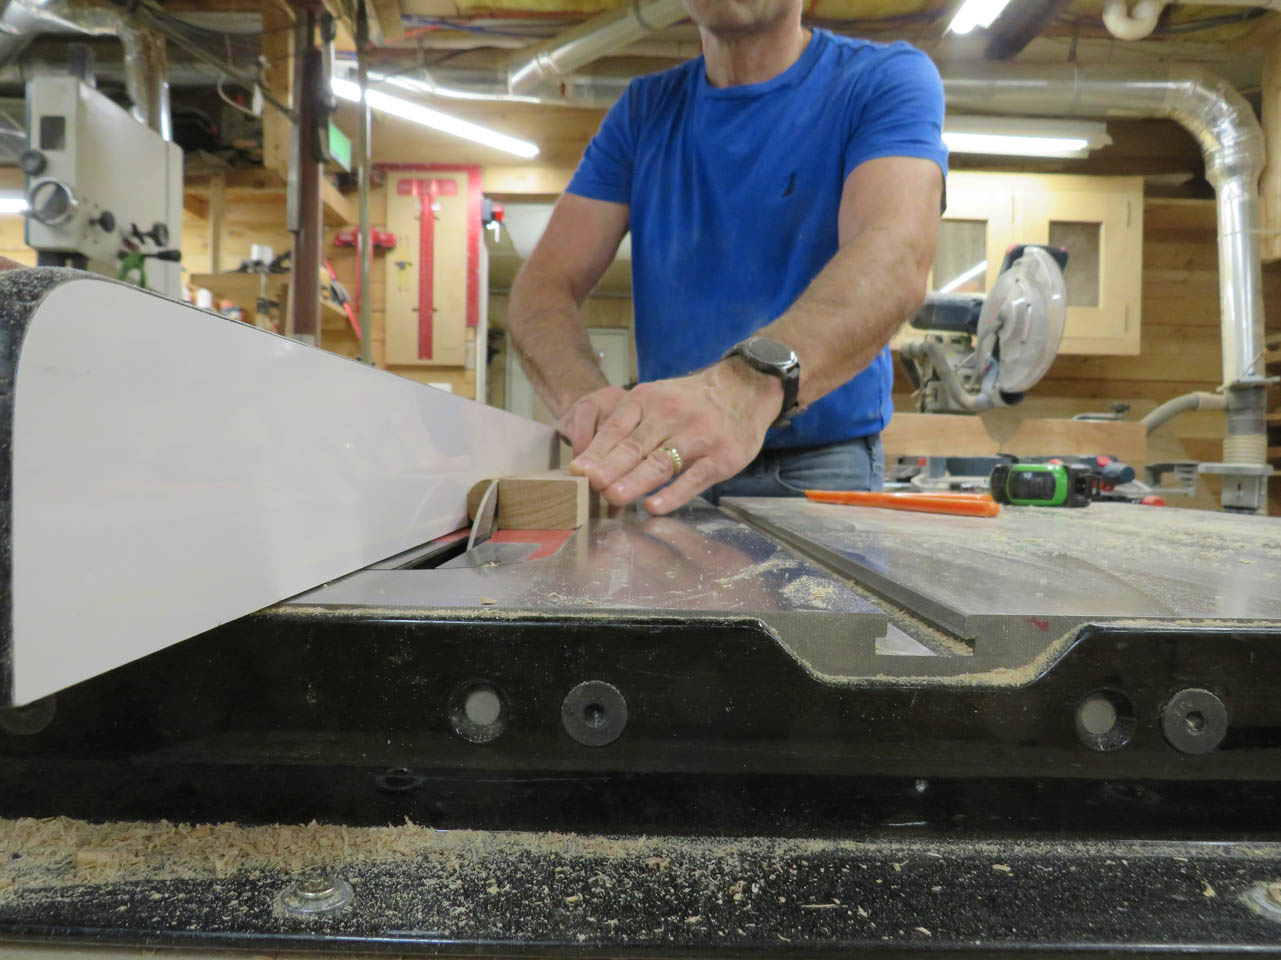
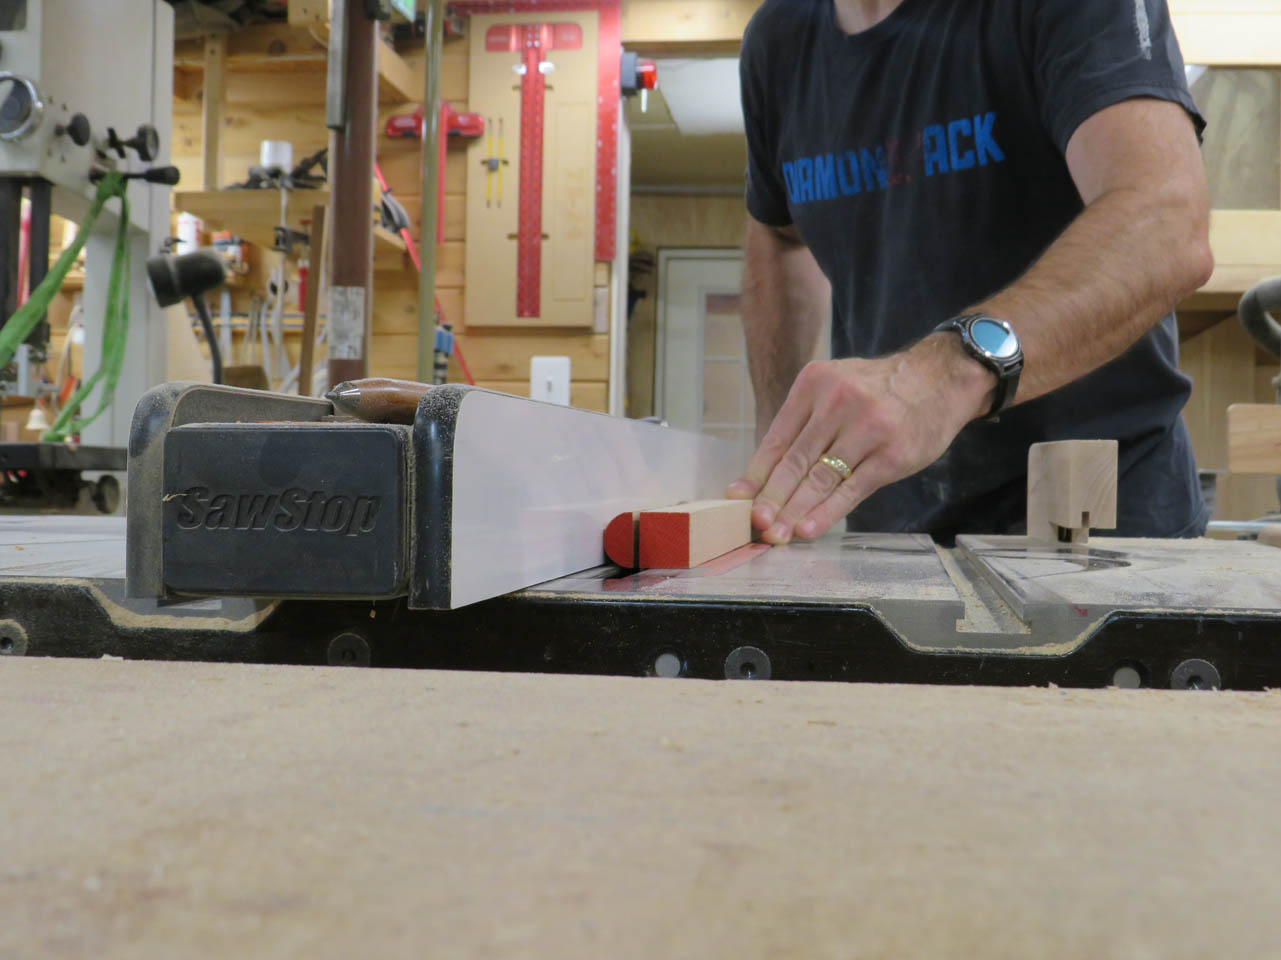
I can now set the table saw fence to 5/16″ and pass the rounded side through, cutting off just the bullnose. Then I can repeat the process until I don’t have enough stock to hold onto and safely cut.
Each piece will be centered on a shelf, then glued on.

With all of the 5/8″ nosing done, I set up the router table and the table saw to create the 1″ nosing.

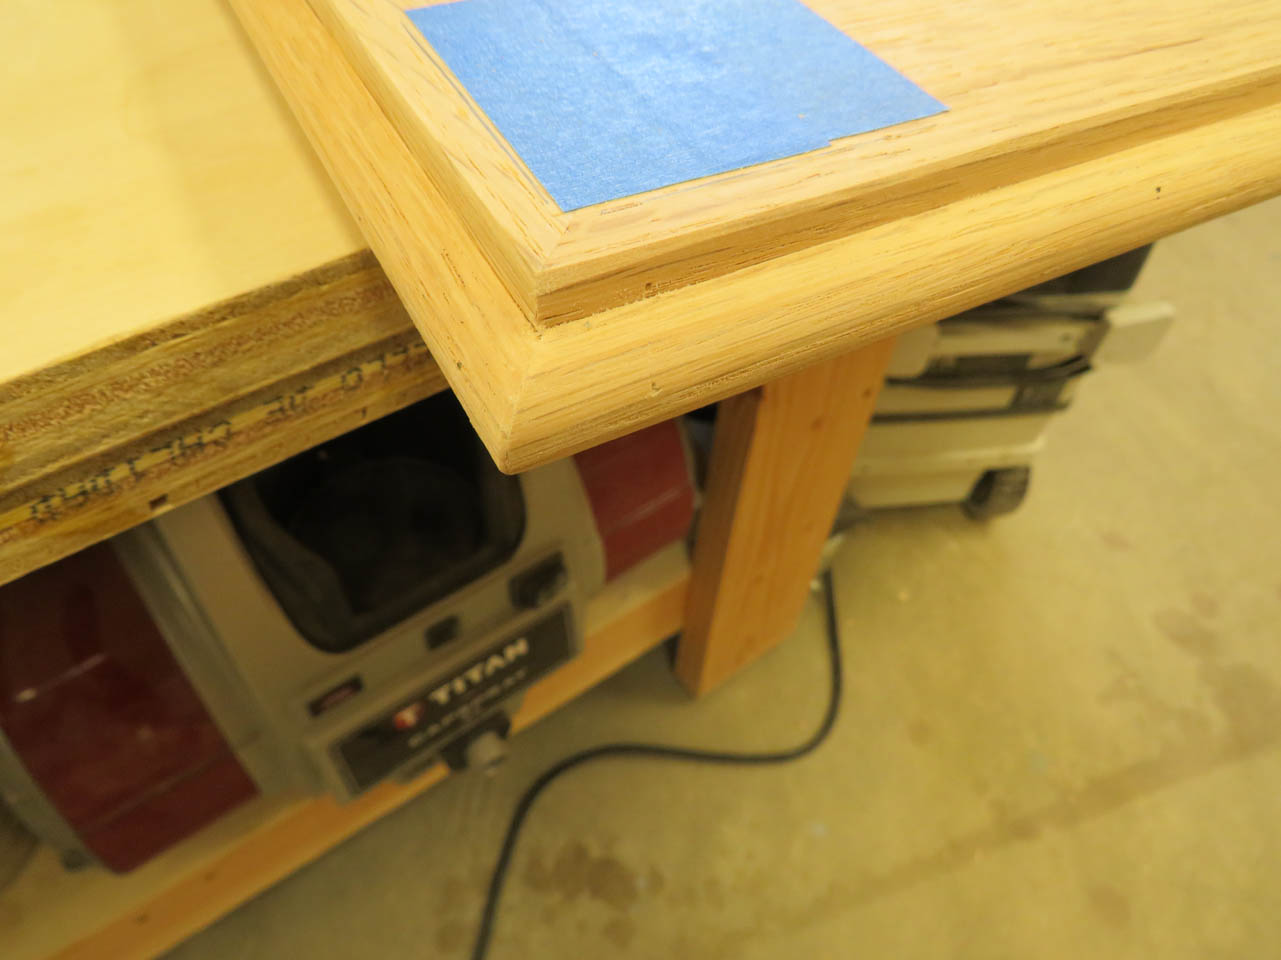
The 1″ nosing will be centered on the thicker table tops.

Since I don’t have enough room to finish all of the tops and shelves at the same time, I am going to do the shelves first. I cut a 1/4″ thick strip to set the height of the trim for attachment.

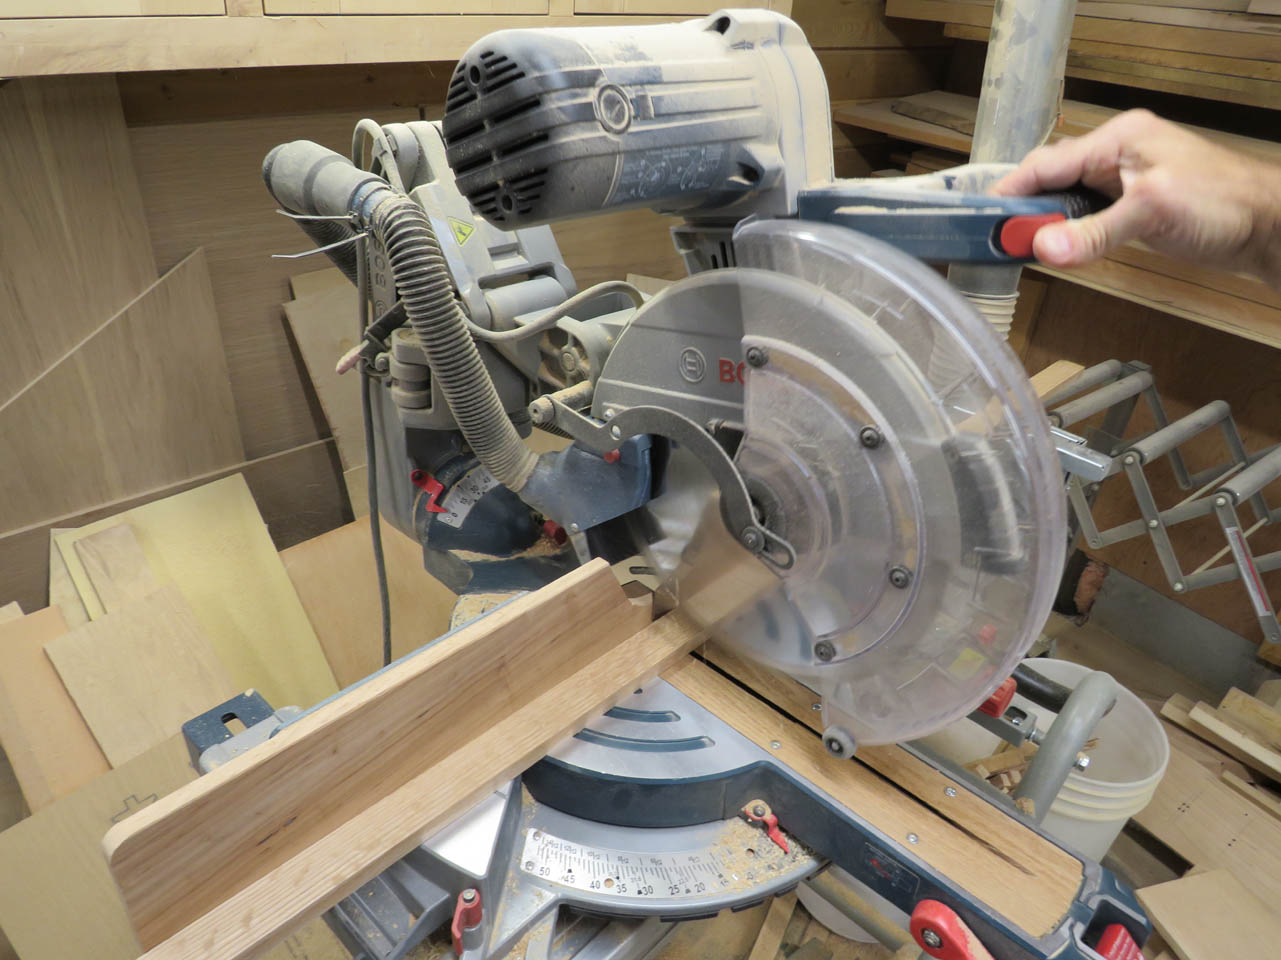
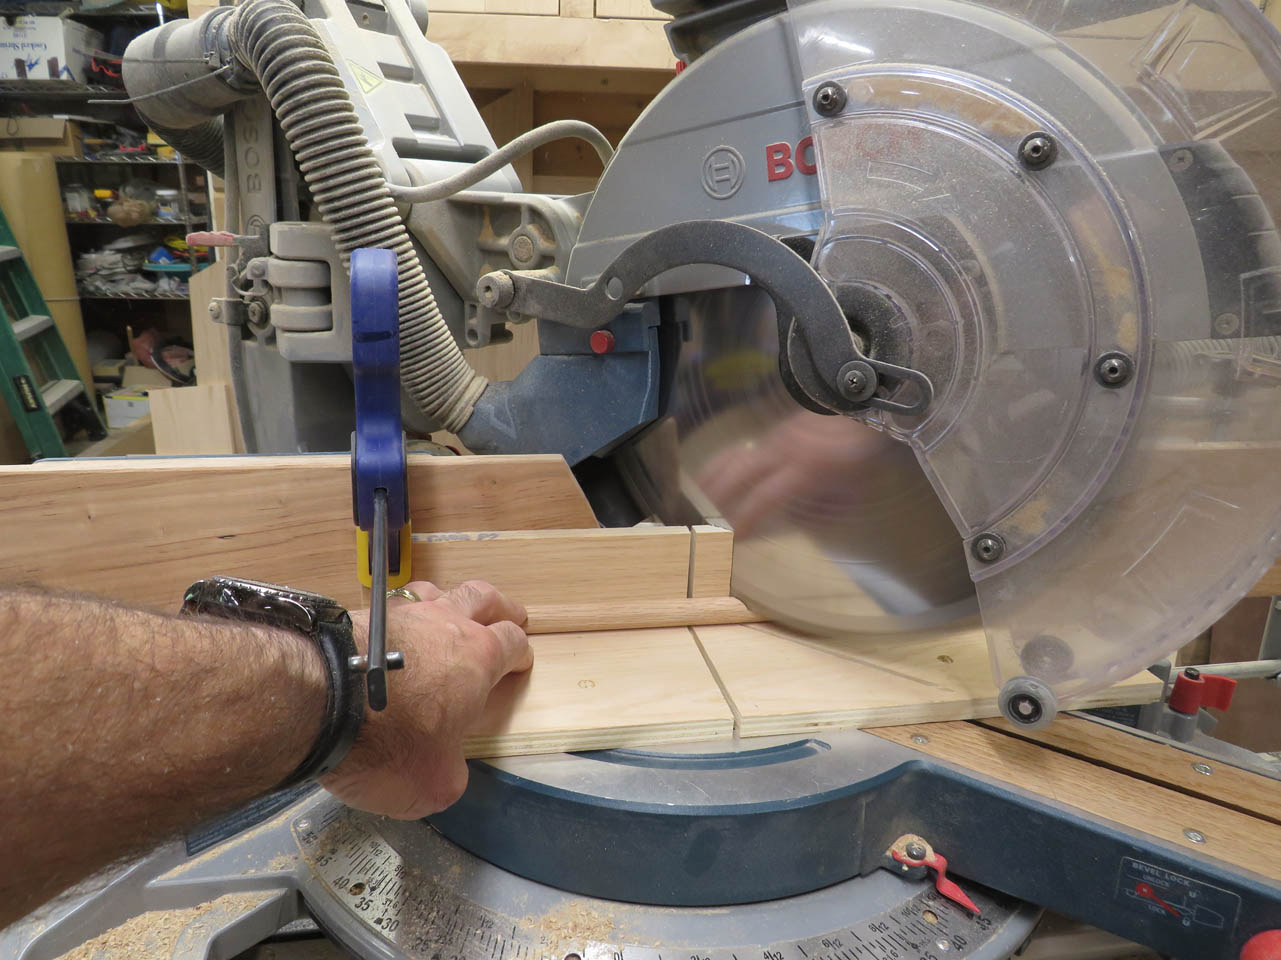
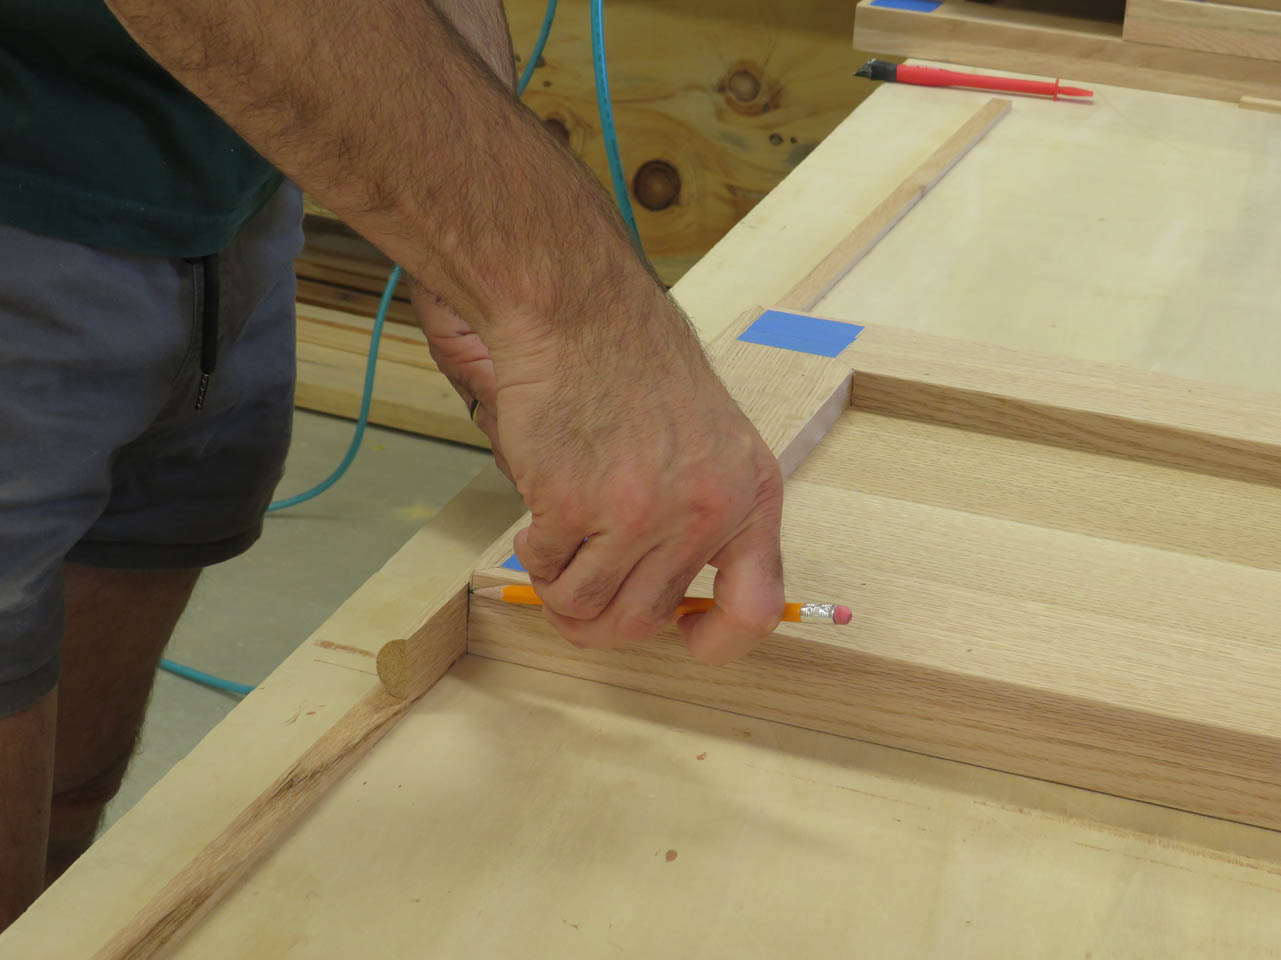
Next, I carefully mark and cut each piece on the miter saw. I set up a sacrificial fence on the saw to reduce tear-out and have an accurate slot to line my mark up with for cutting.
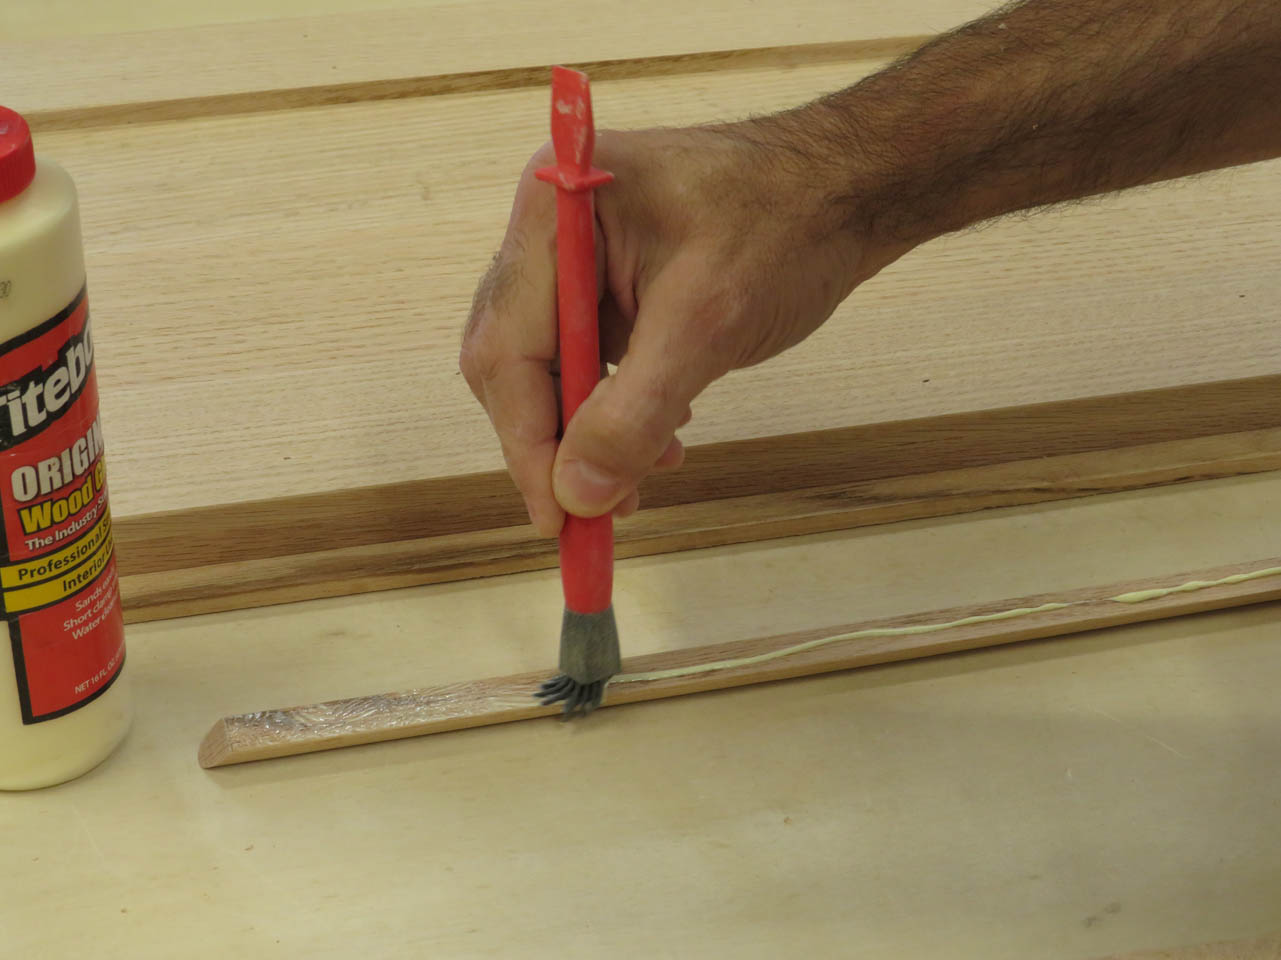
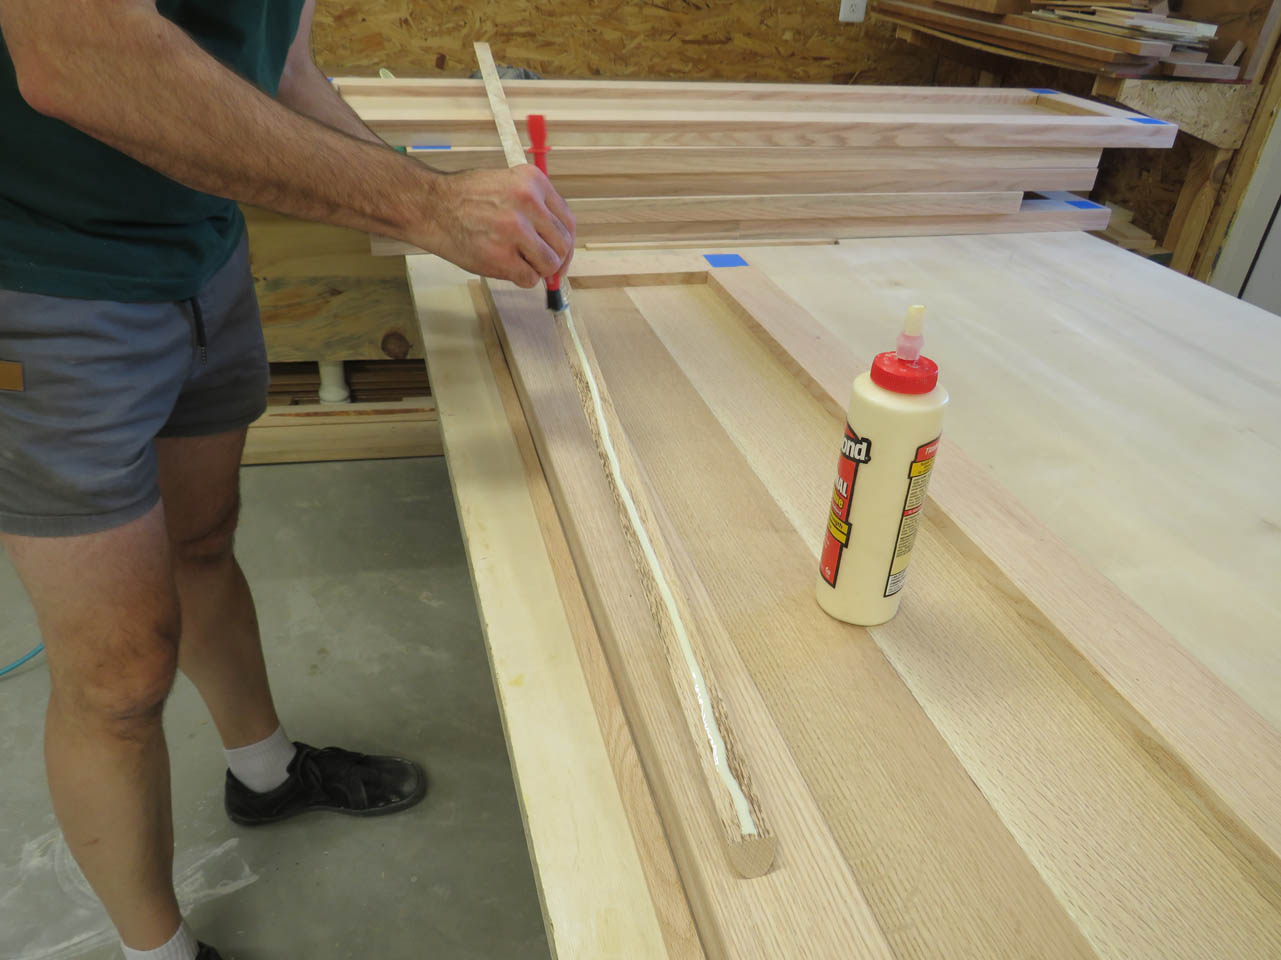
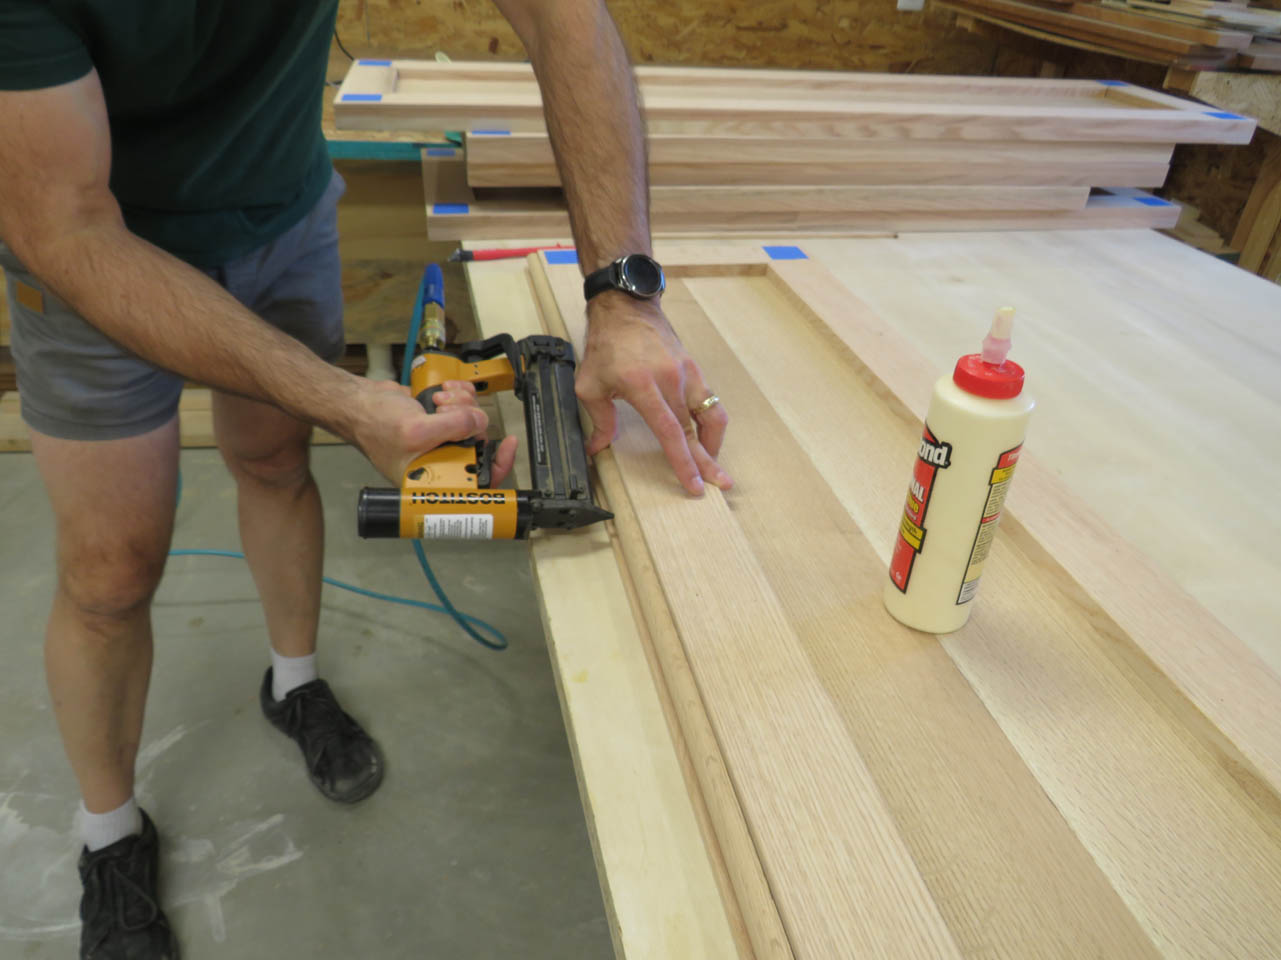
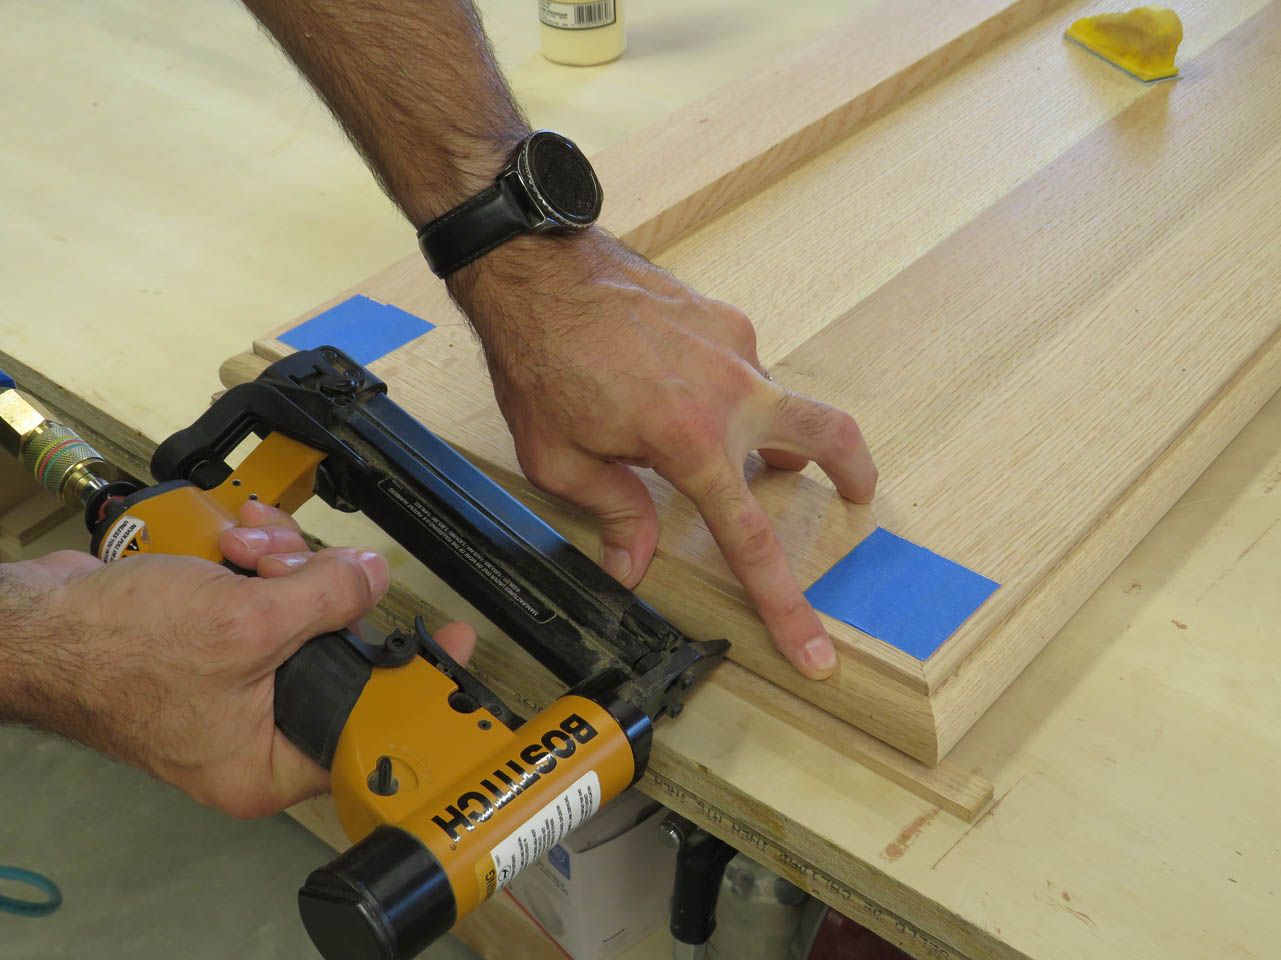
I apply wood glue to the back of each piece of trim before holding it in place with 23 gauge pin nails.
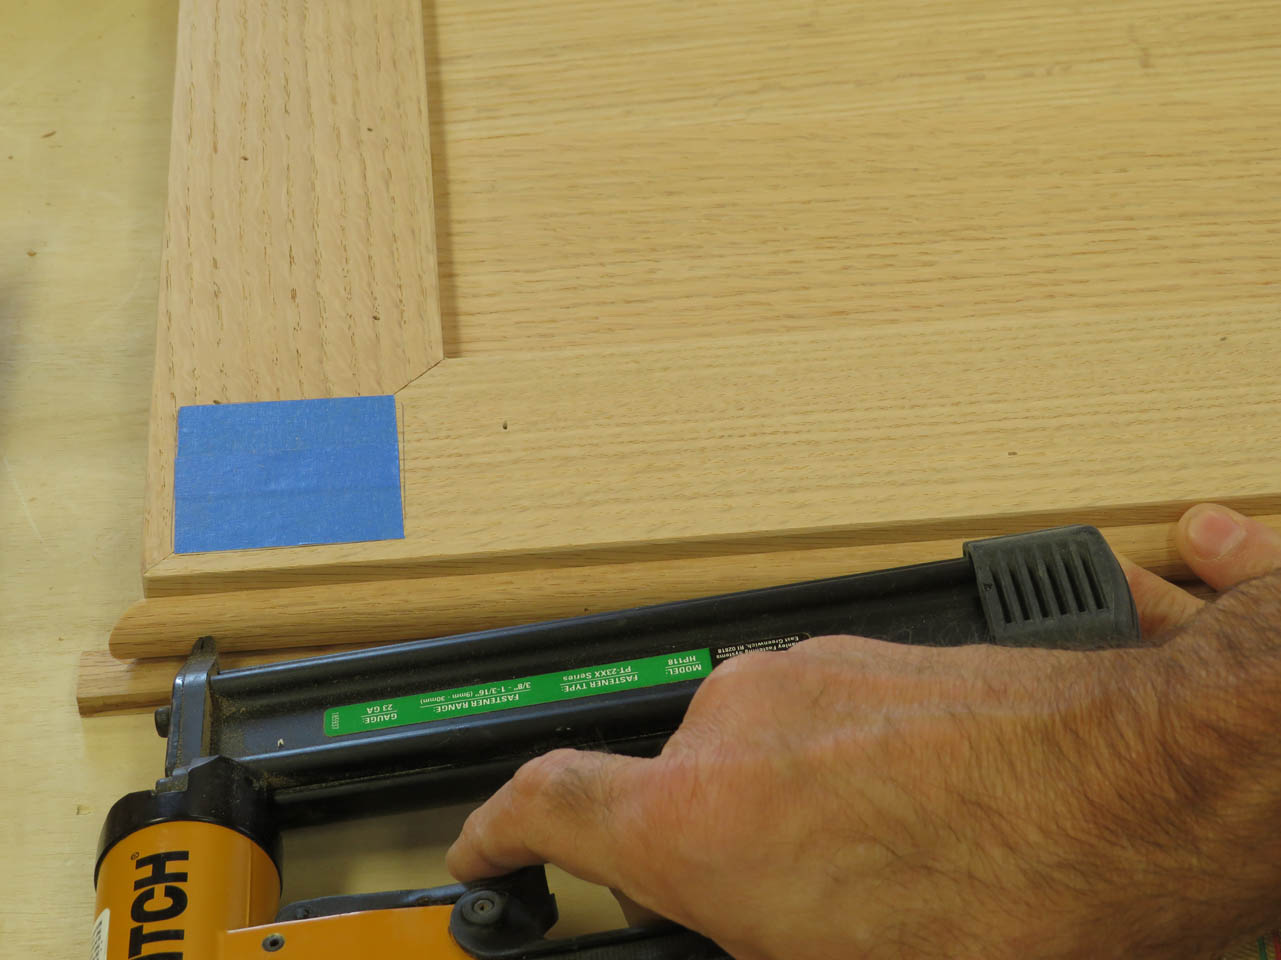
The pin nails are hardly visible but hold well enough to keep the trim in place while the glue dries.
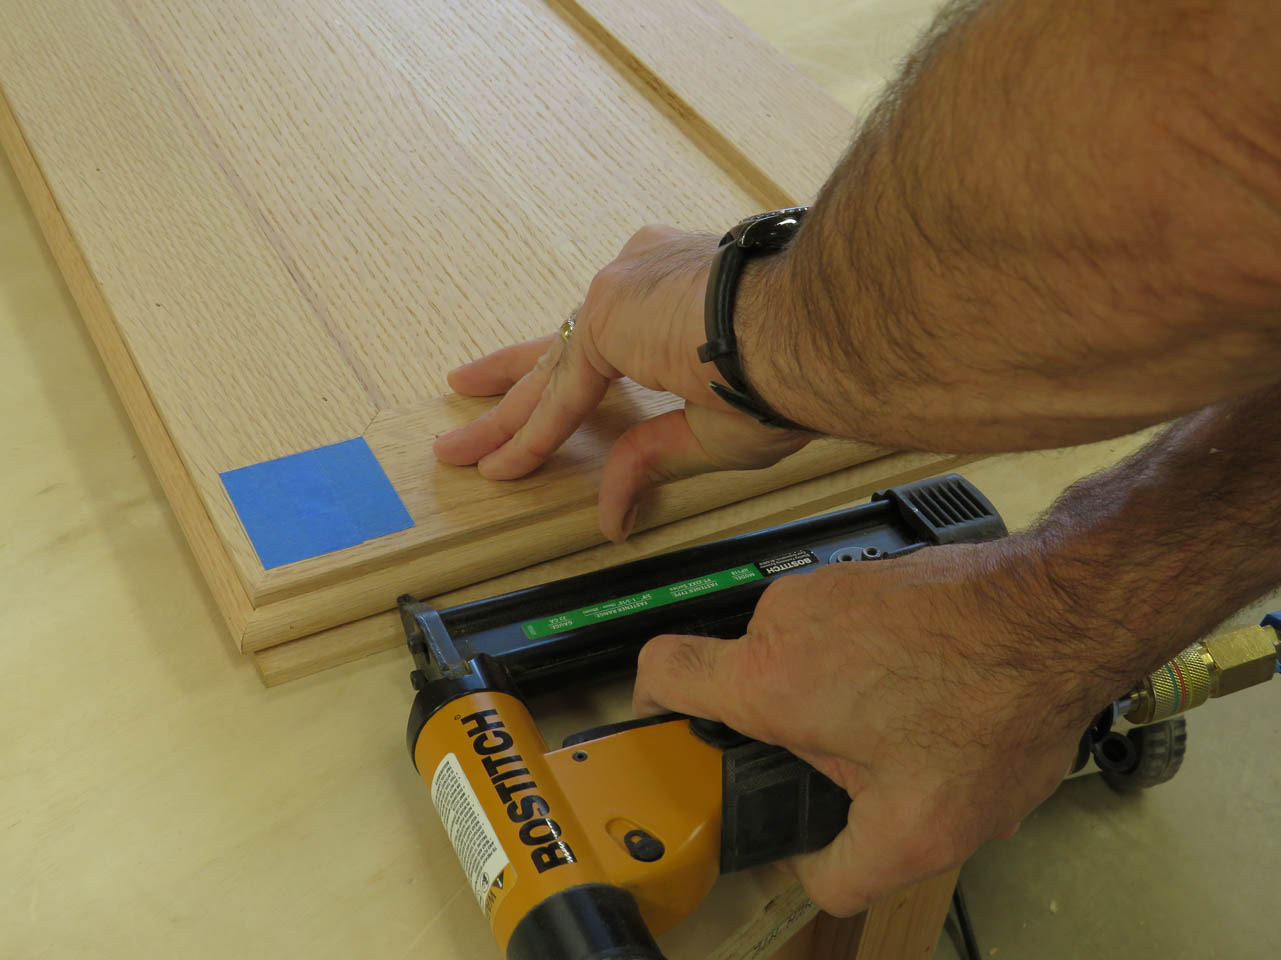
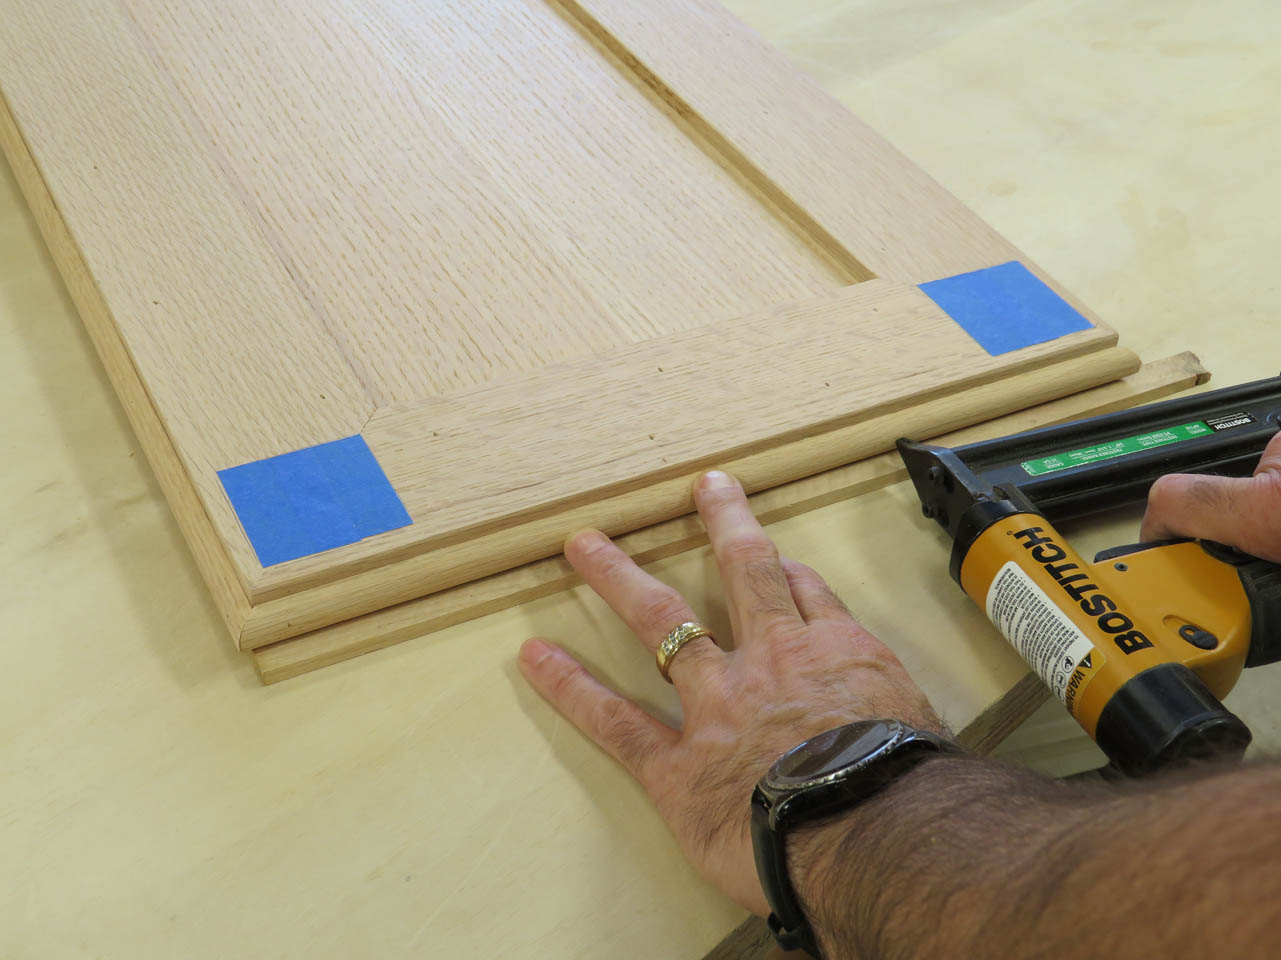
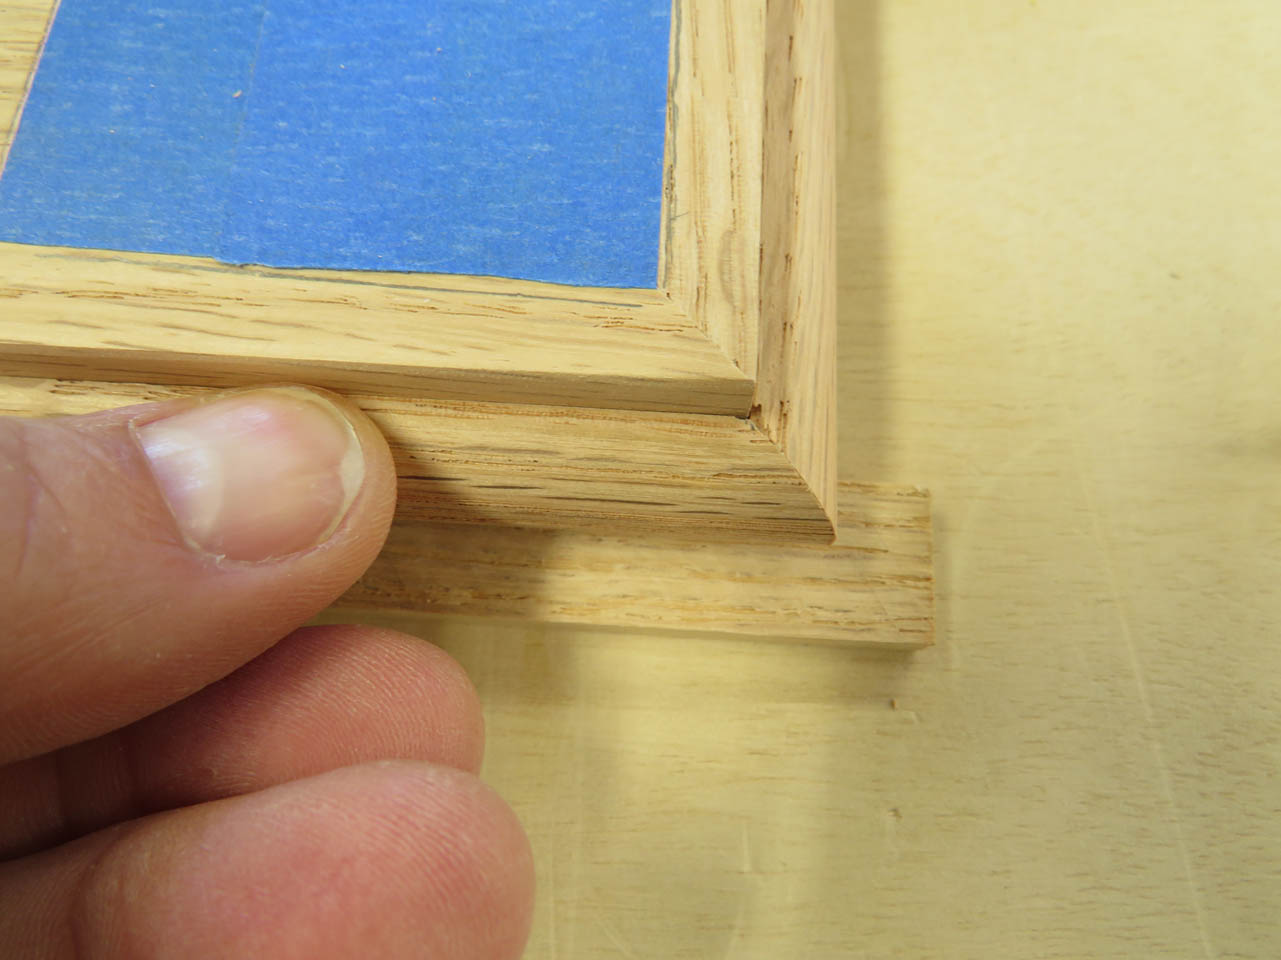
I carefully tack the trim in place all the way around, holding the bevels tightly together.
If there are any tiny gaps, I can fill them with glue and sand the corner forcing sawdust down into the glue to fill the gap with filler that accepts stain the same as the rest of the wood.
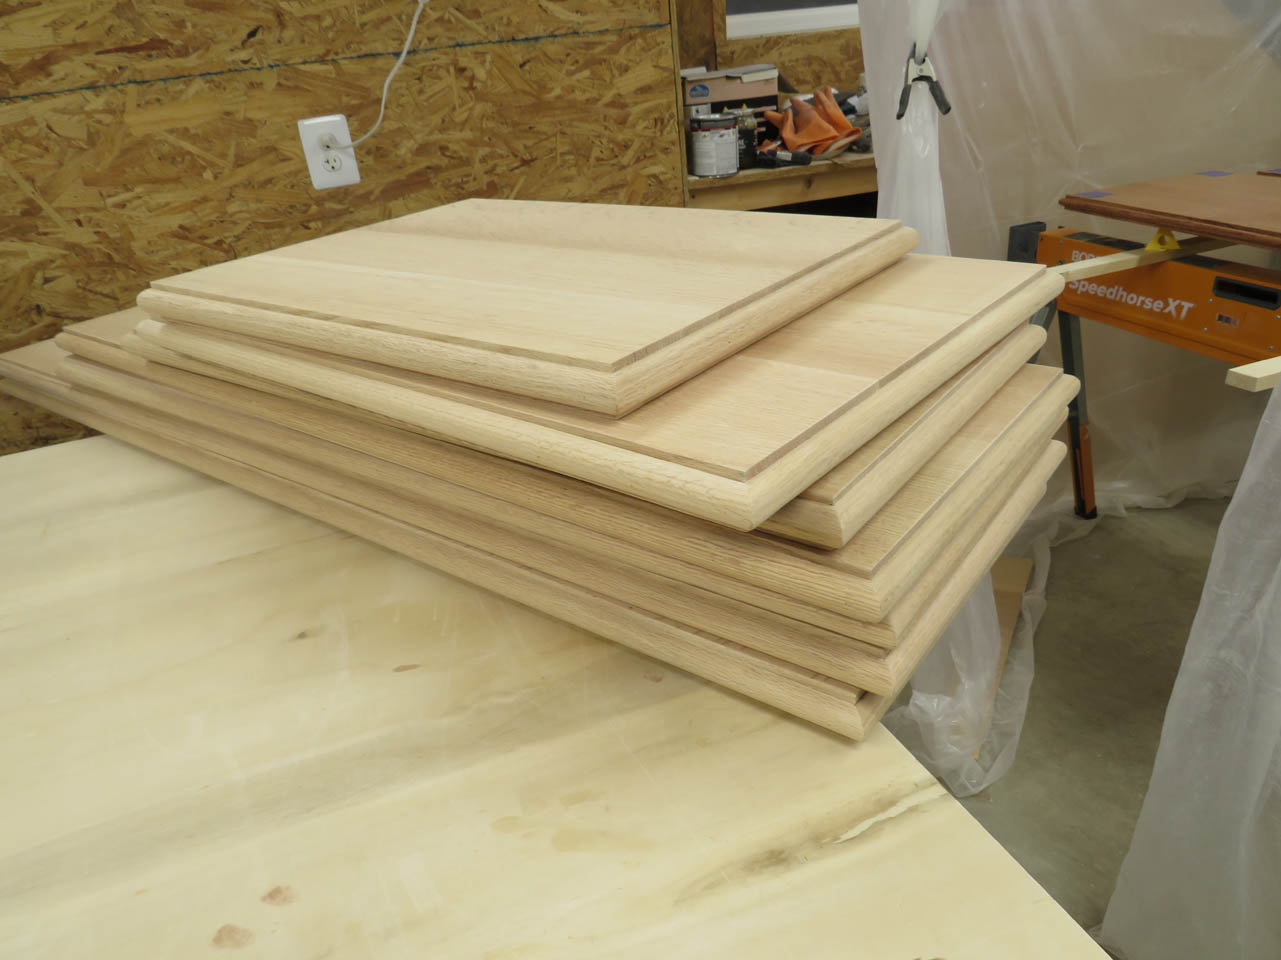
You can get some really nice corners if you take your time.
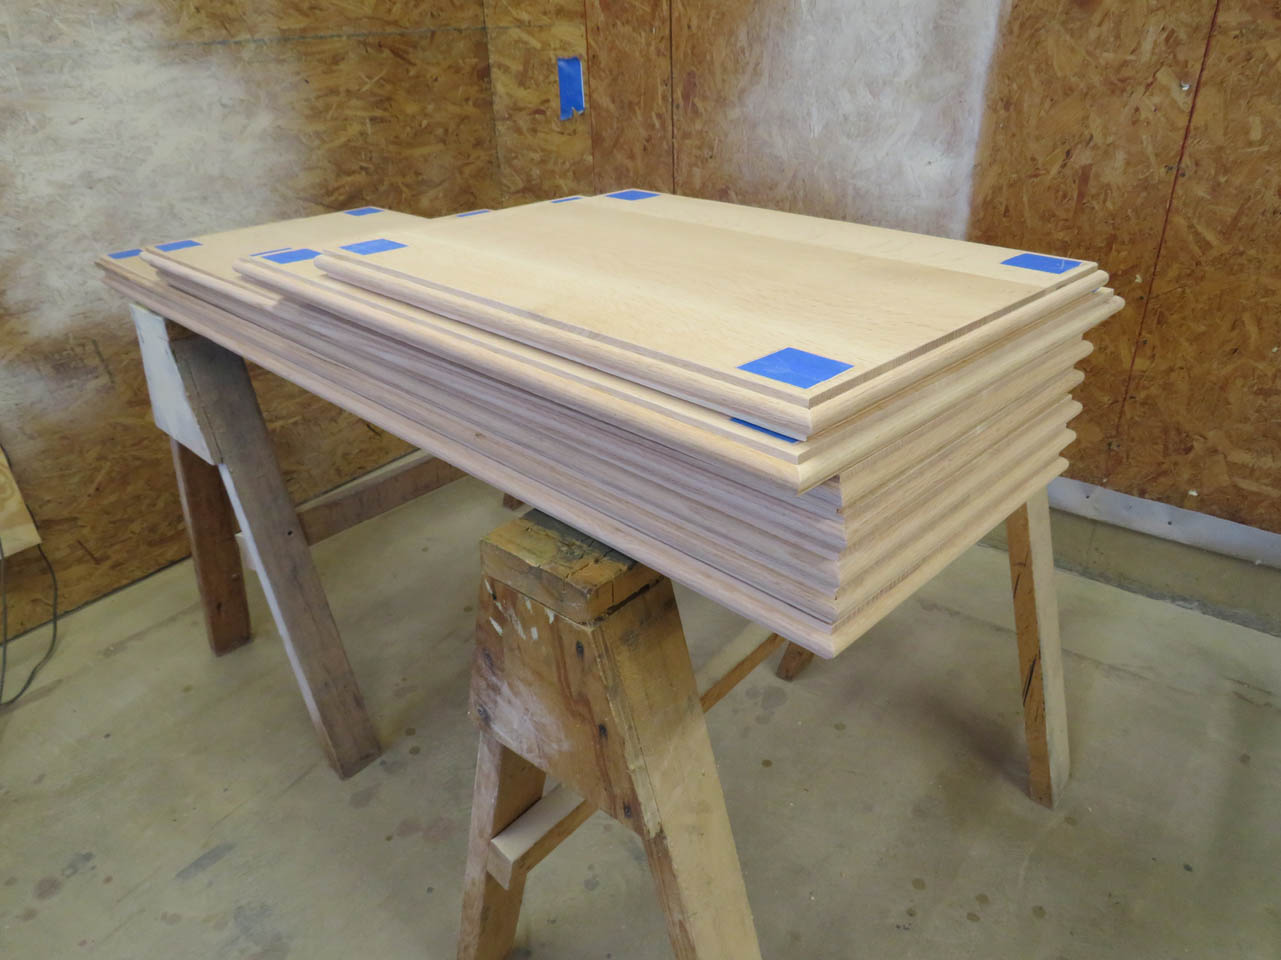
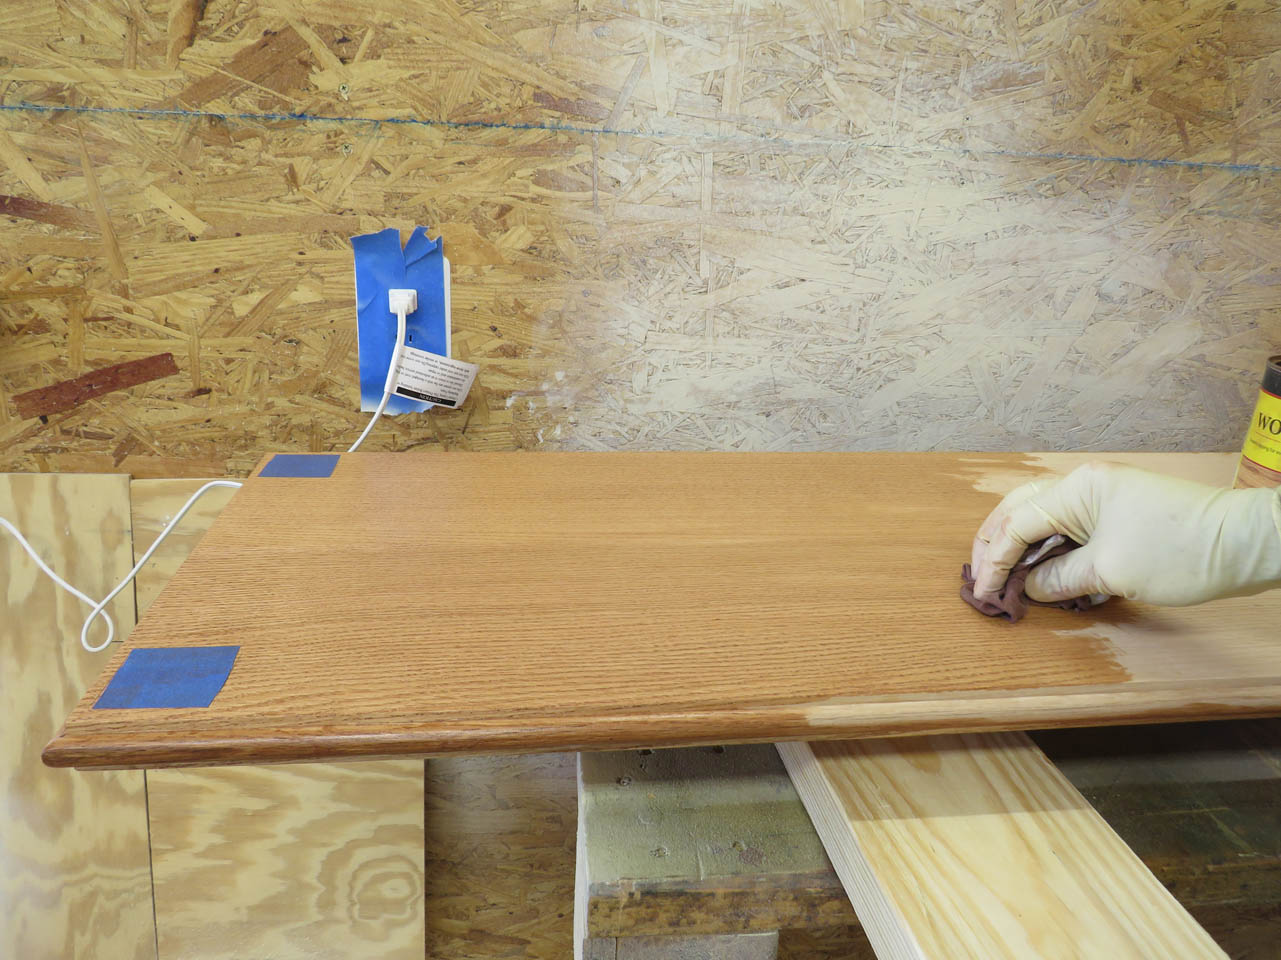
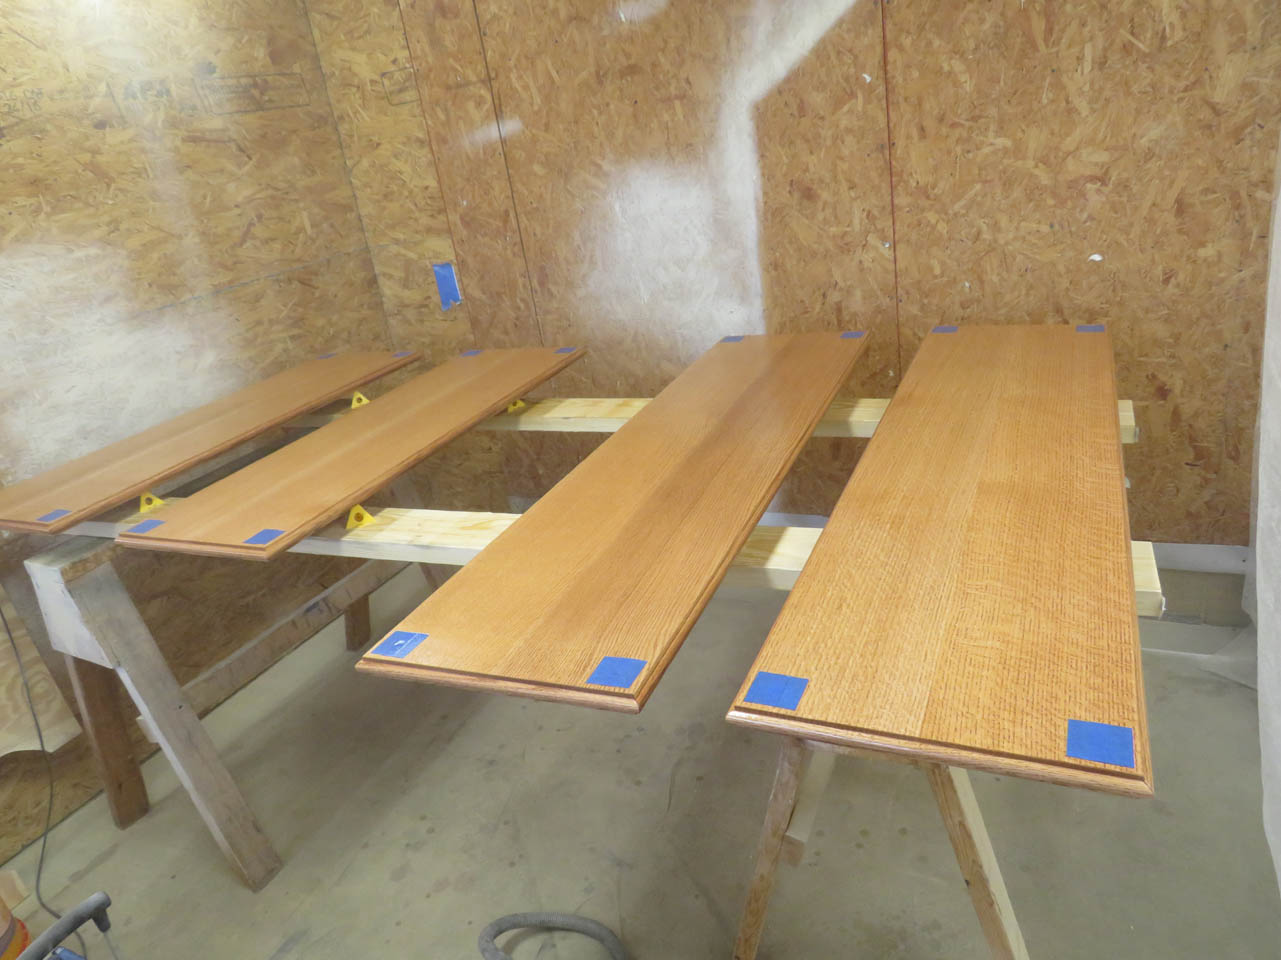
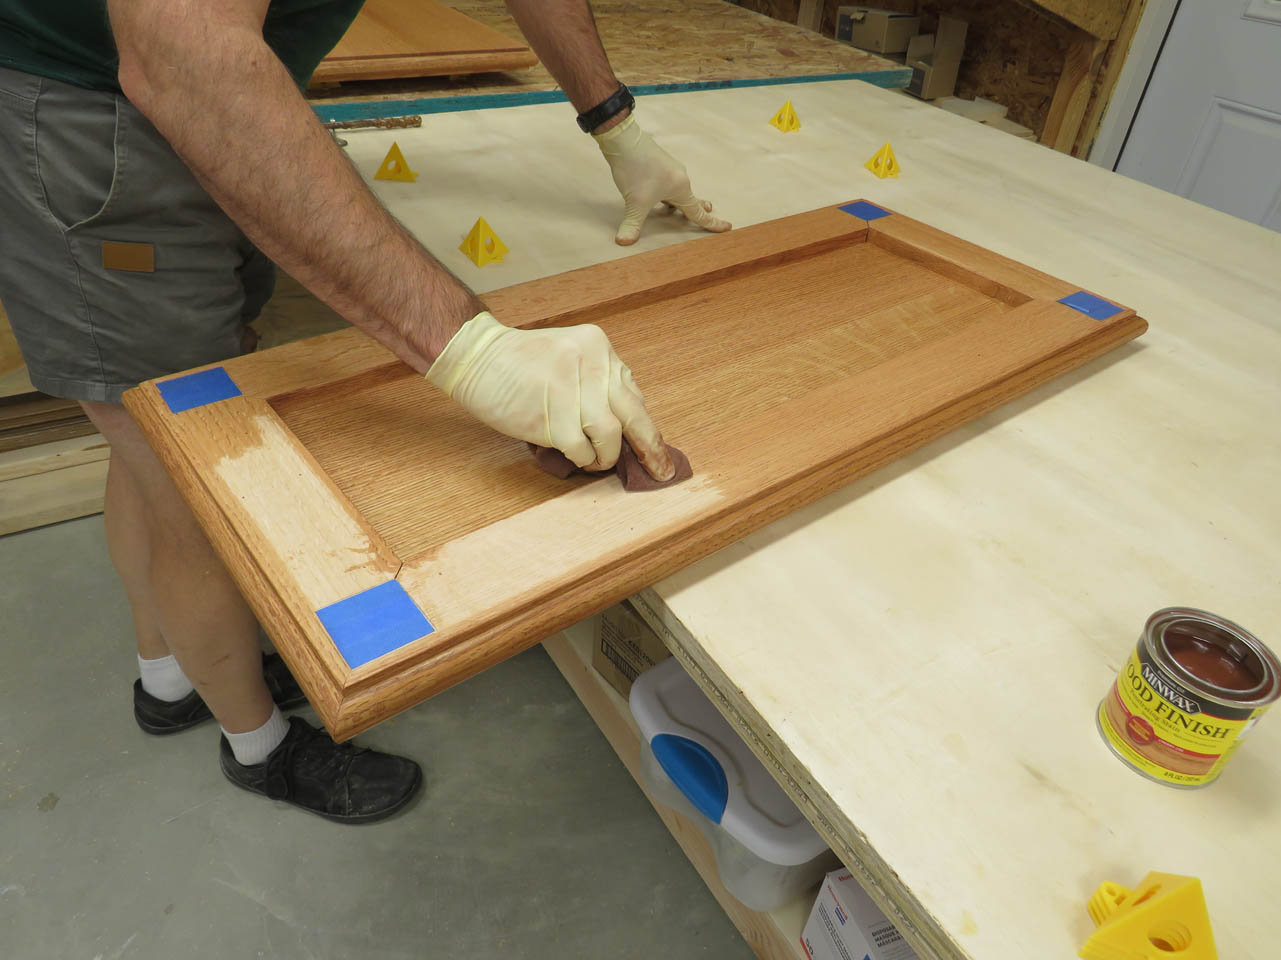
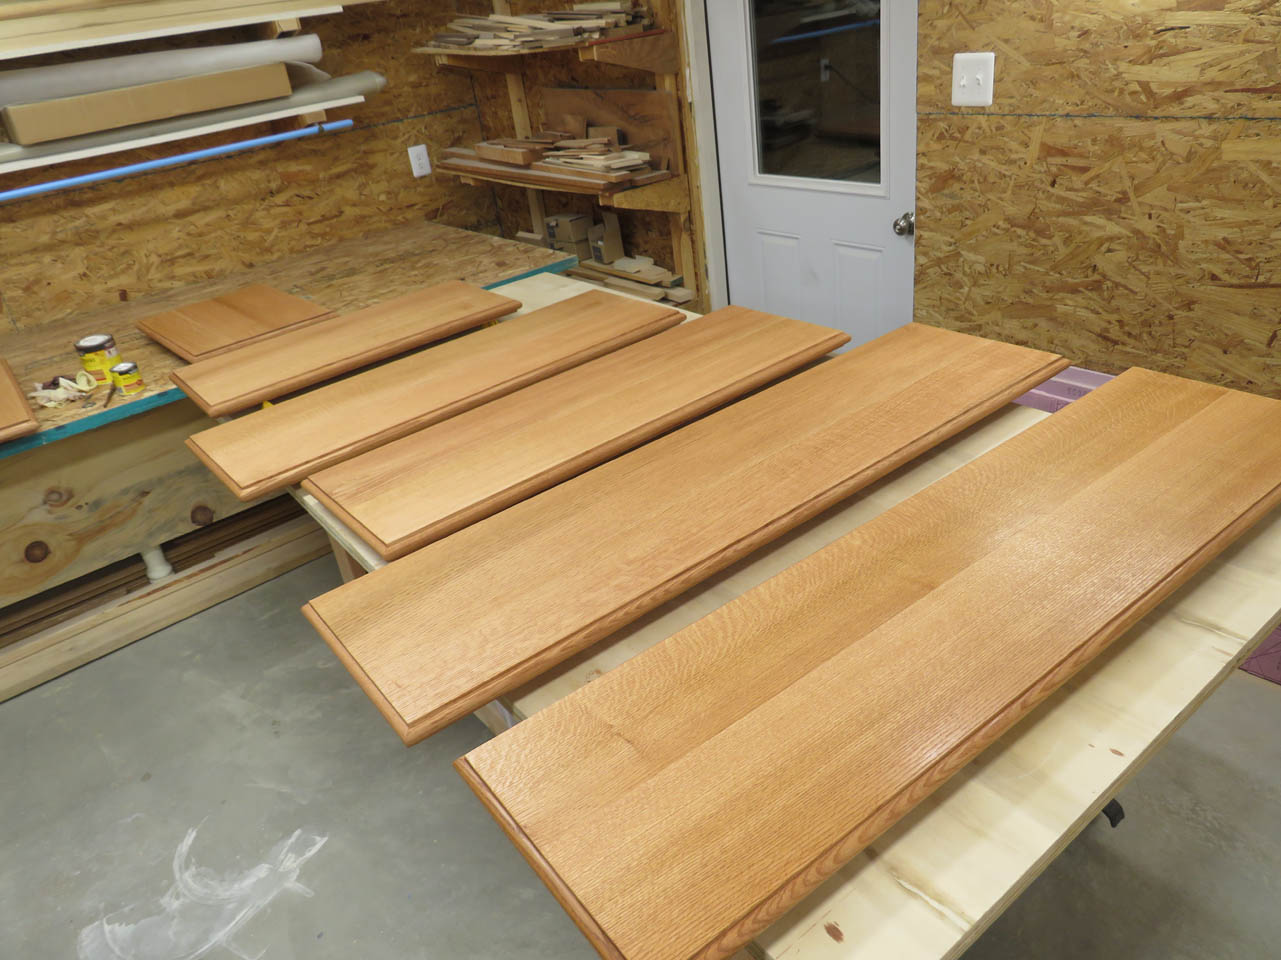
With the shelves all trimmed, it is time to start staining.
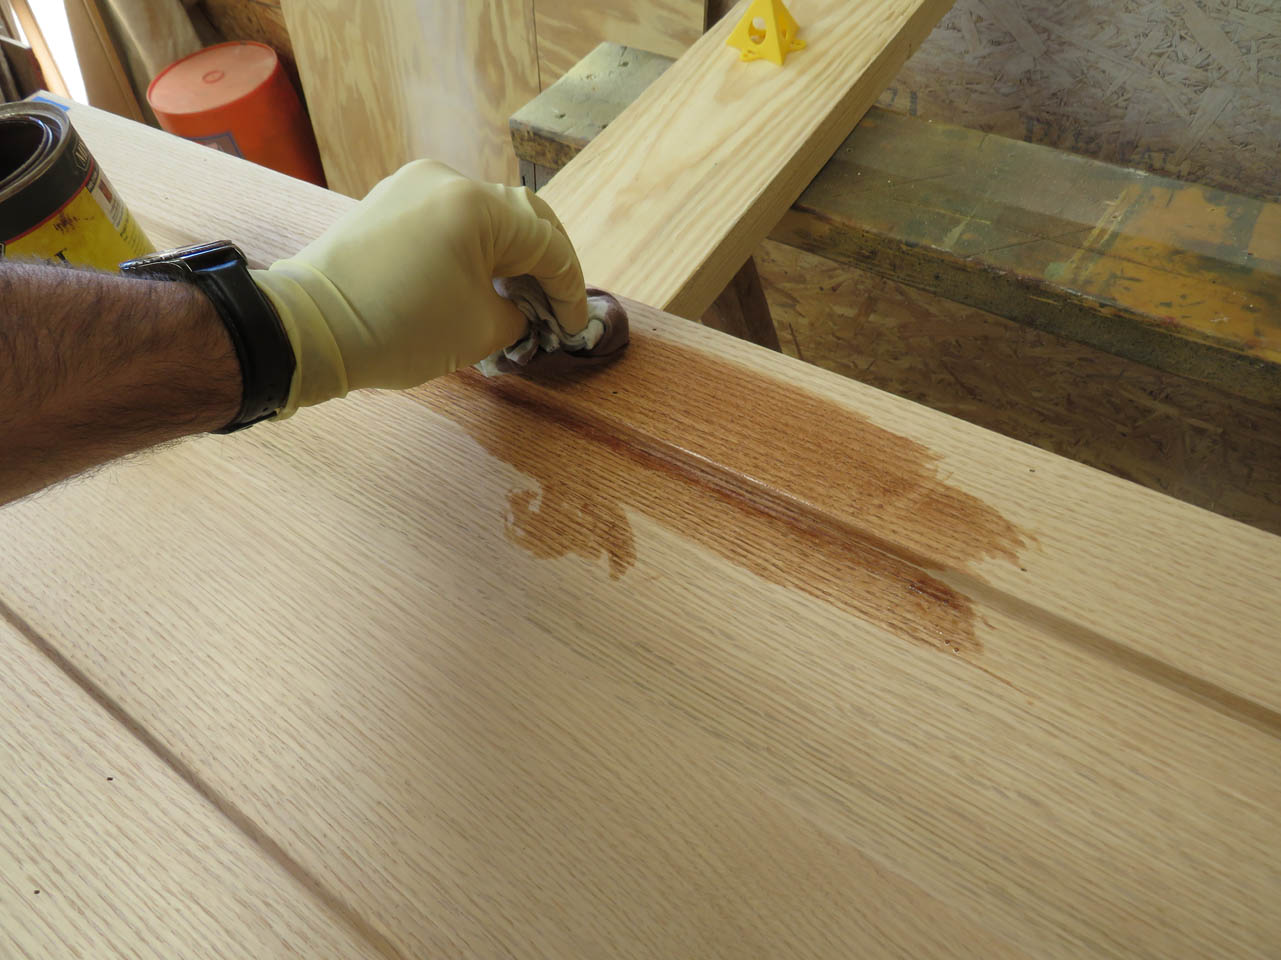
I am using Minwax Cherry 235, rubbed on evenly with a lint-free cloth.
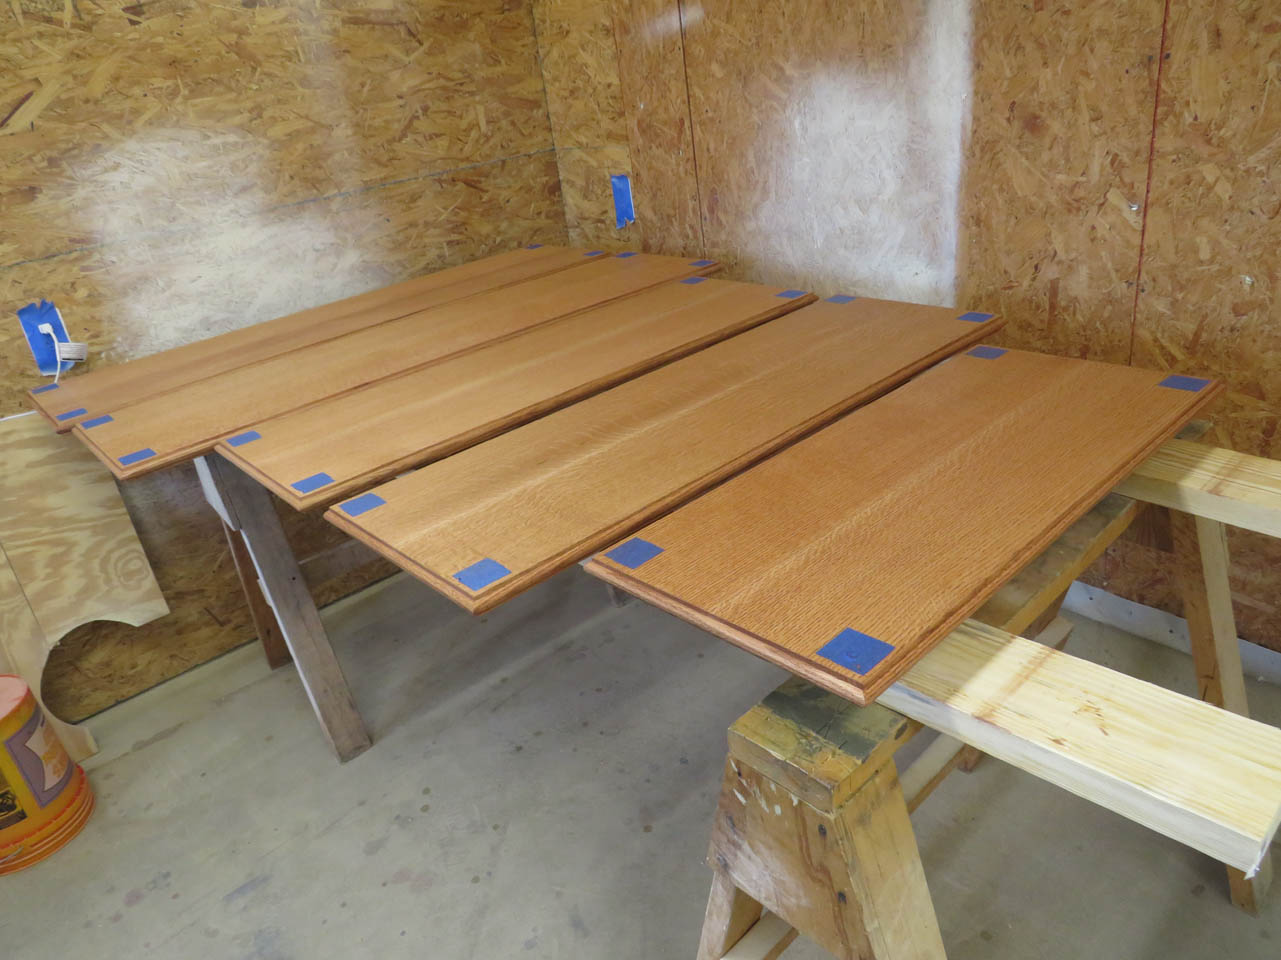
After the stain is applied, I can leave these to dry overnight, in my spray booth and start making on the 1″ trim for the table tops.

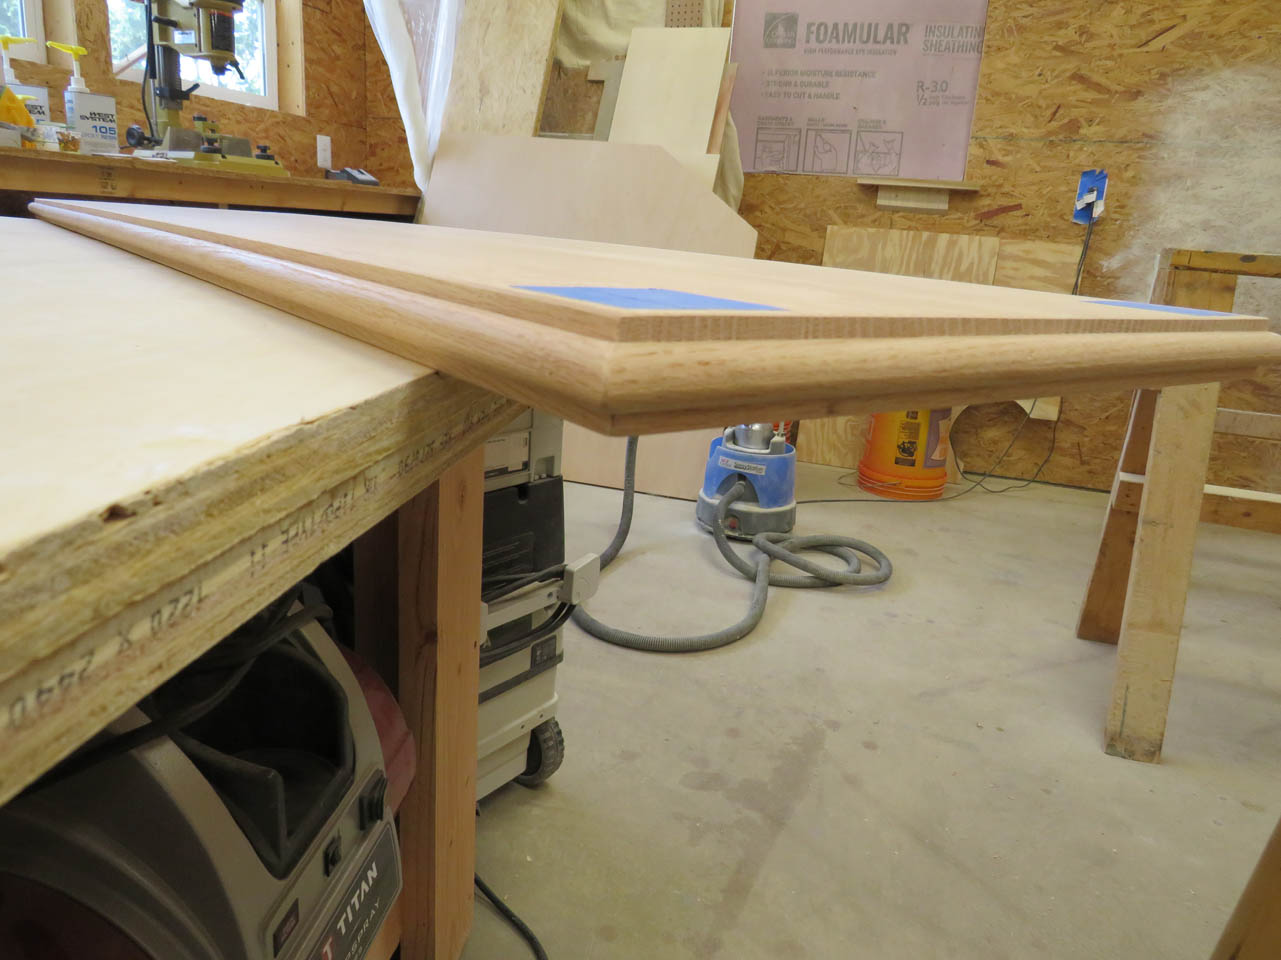
The 1″ trim was created in the same way as the 5/8″ trim.
With a little sanding, all of the 1″ trim is ready for installation.

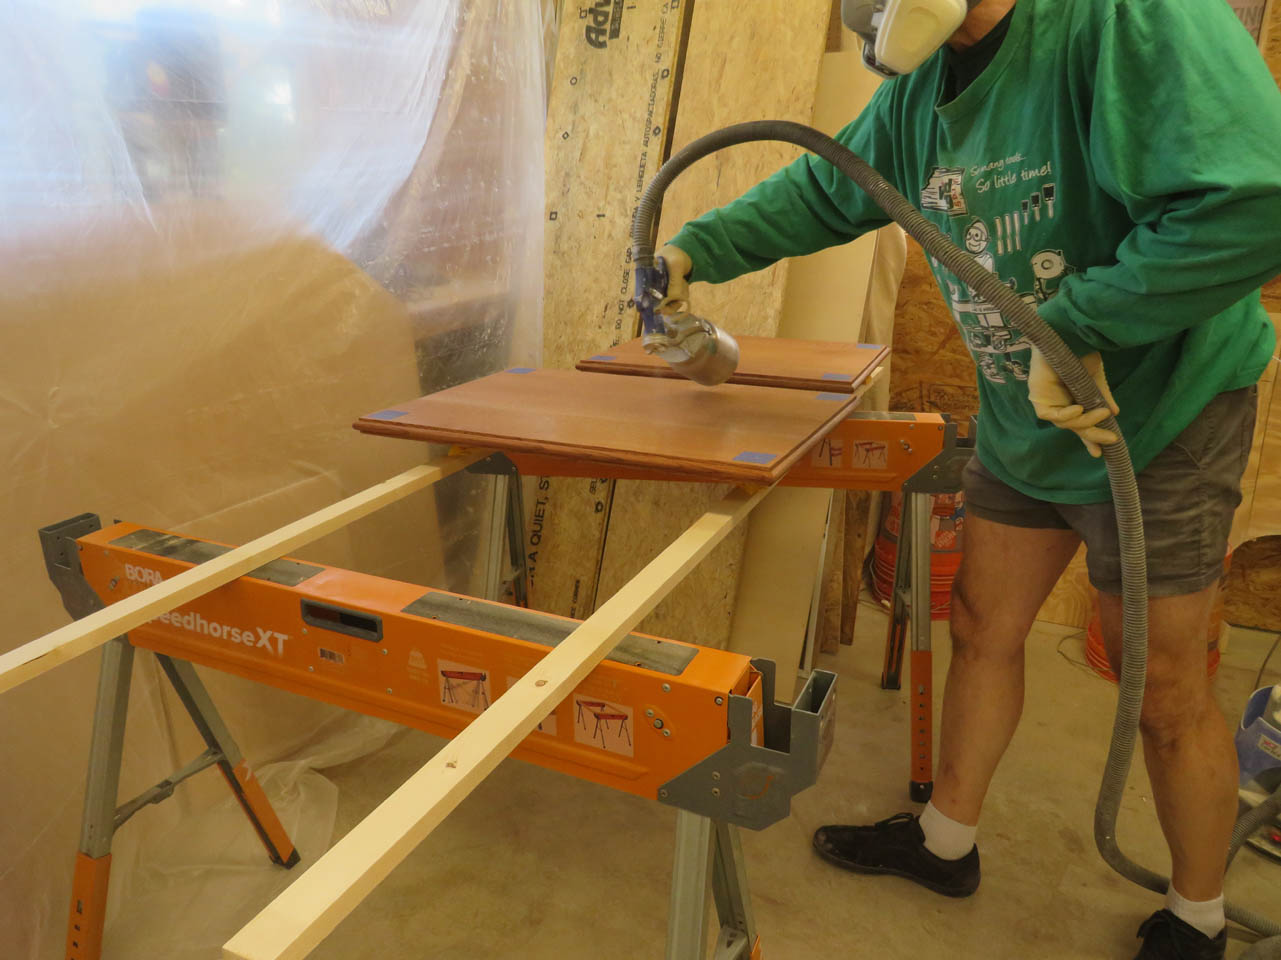
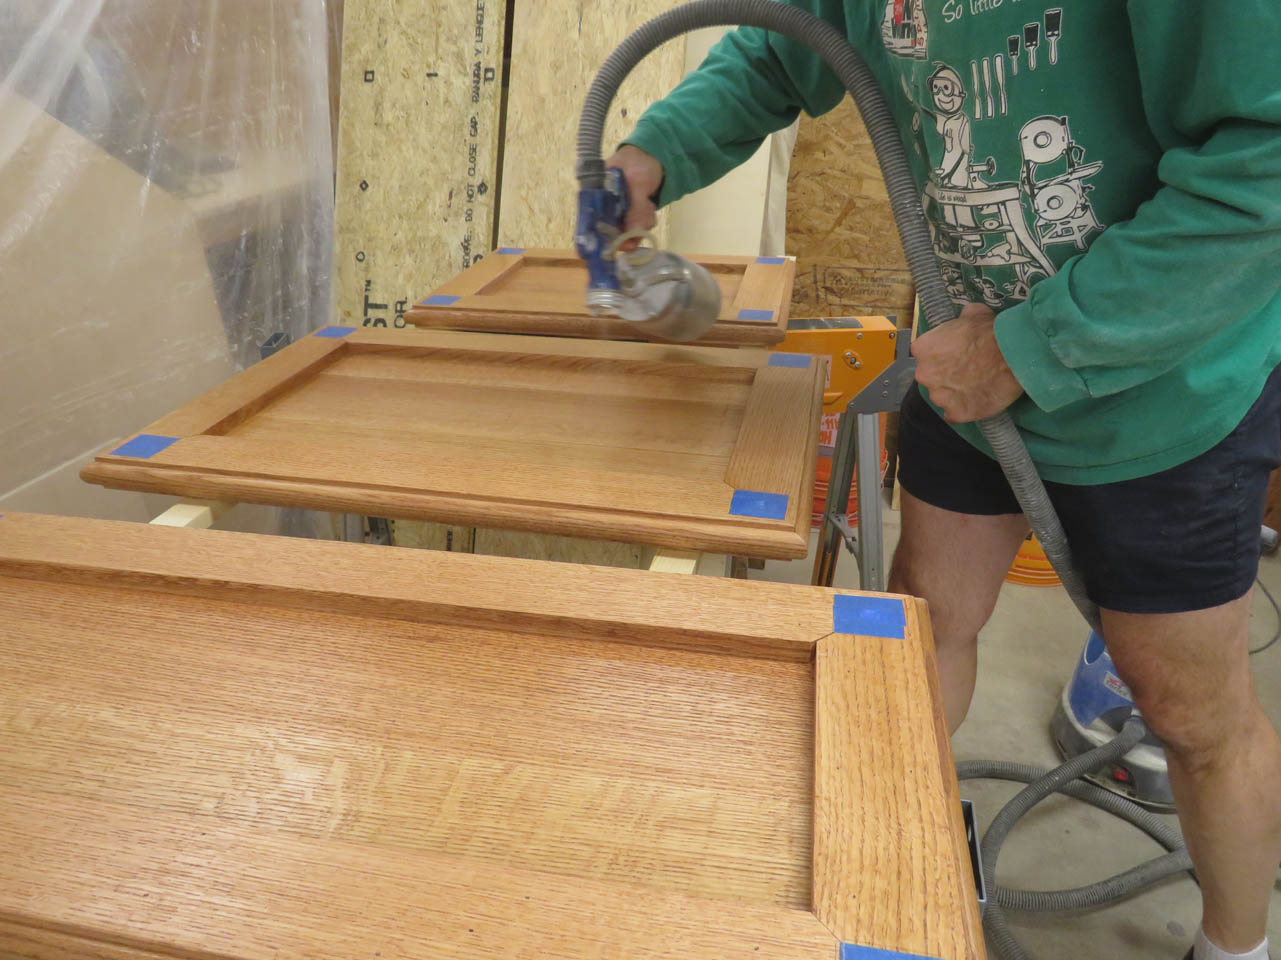
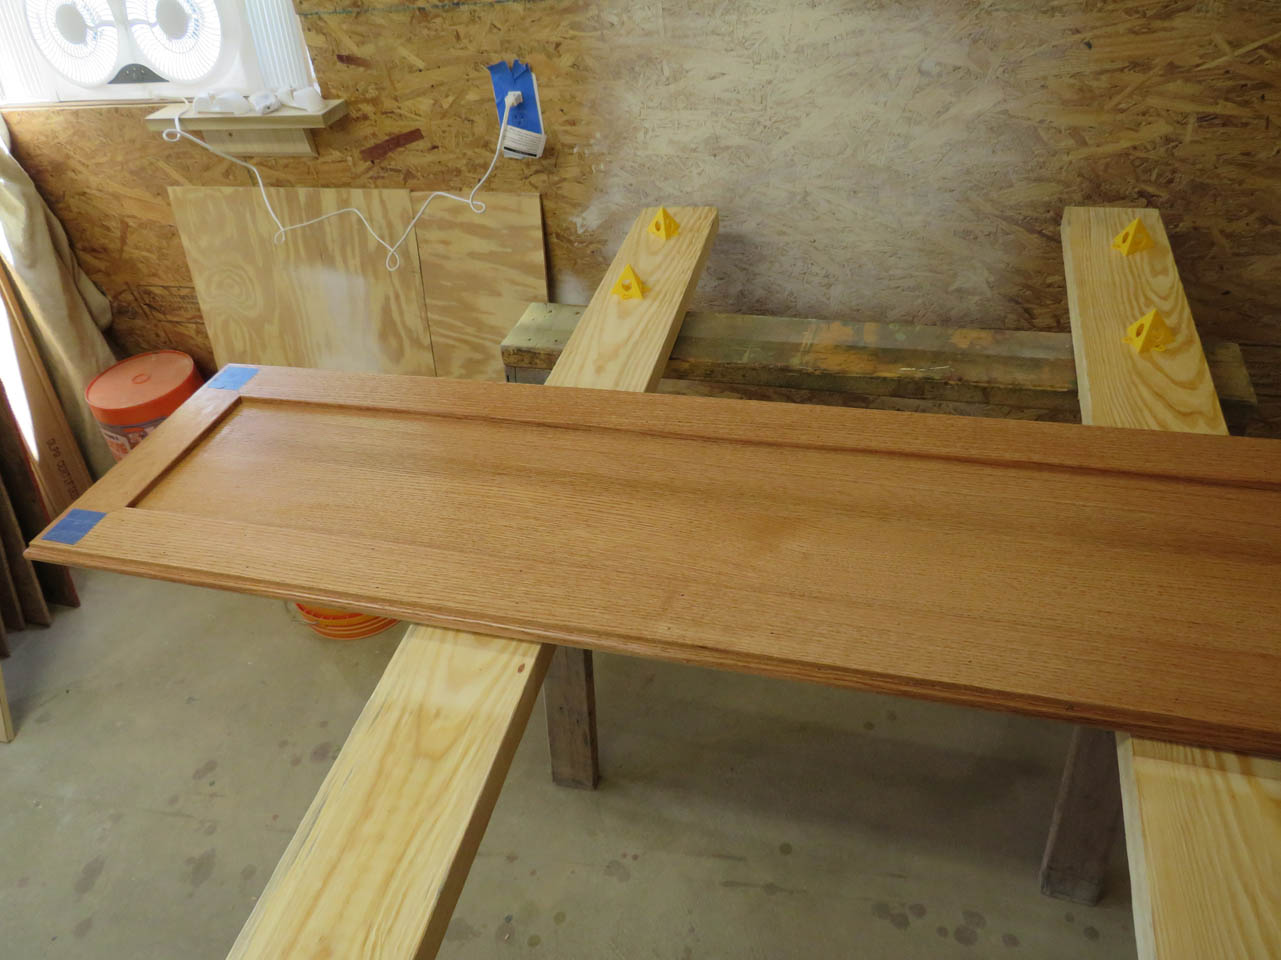
After the stain dried overnight, I can get the first coat of polyurethane applied.
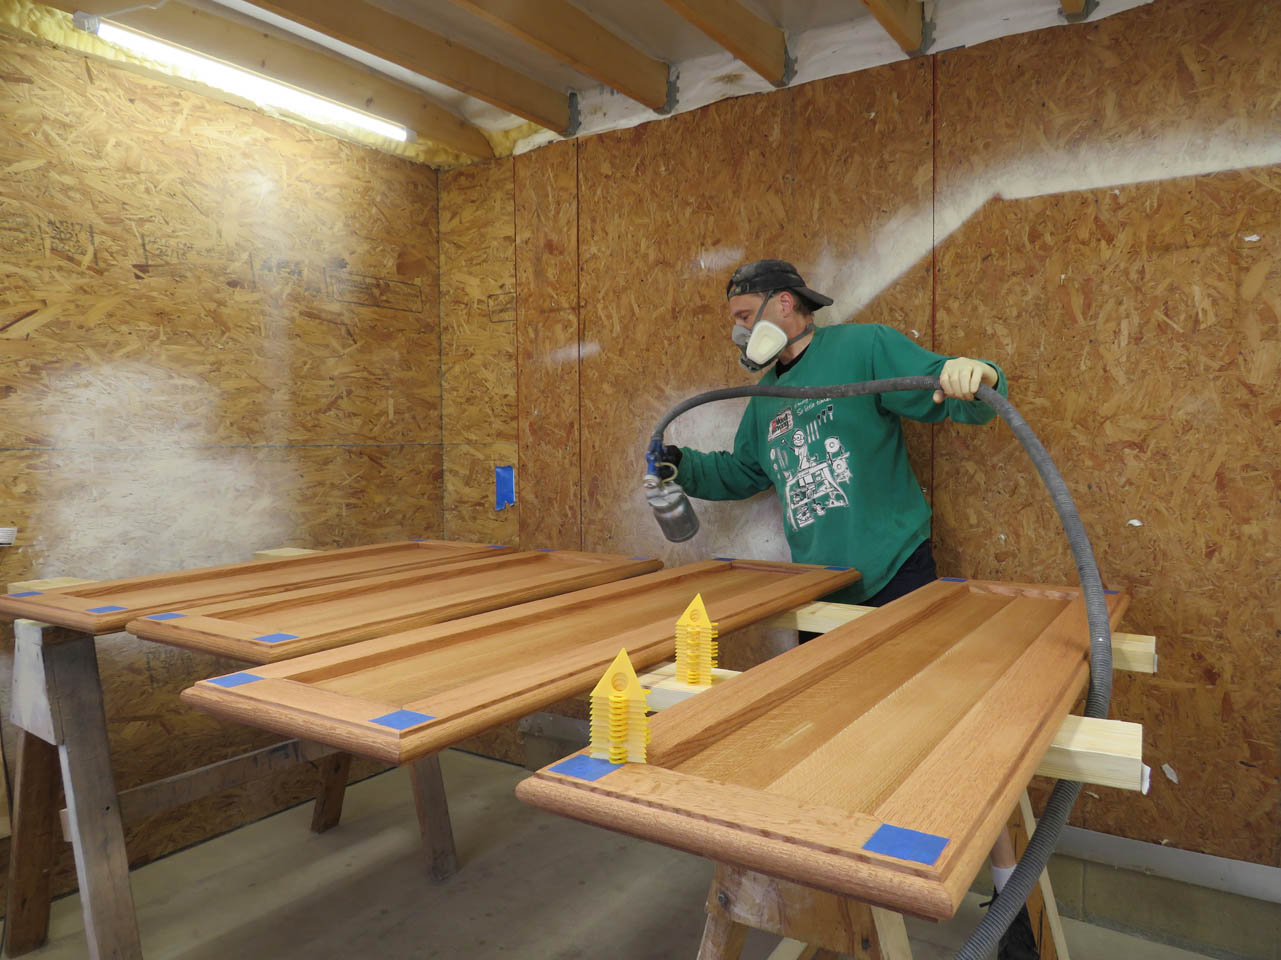
I even bought a new fan to exhaust my overspray outside. Not a prefect setup, but it helps keep all of that overspray from falling back down on the shelves.

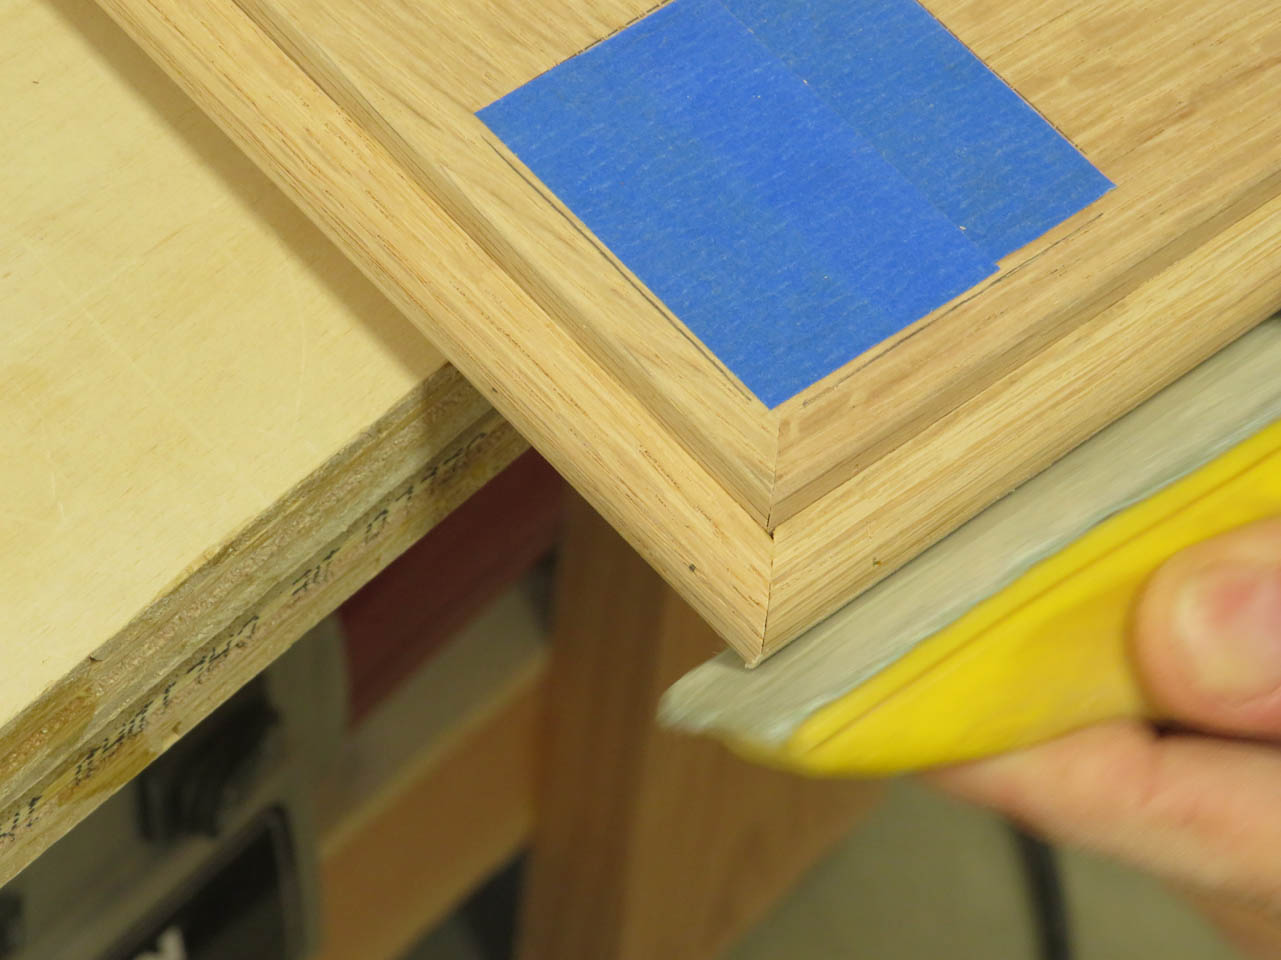
Then while that is drying, I can be working on attaching the 1″ bullnose to the table tops.
I use the same 1/4″ strip to center the nosing, and then carefully mark and cut each piece.
More gluing and nailing each piece… The final piece is always cut a bit long so that I can shave off a little at a time and sneak up on the perfect fit.
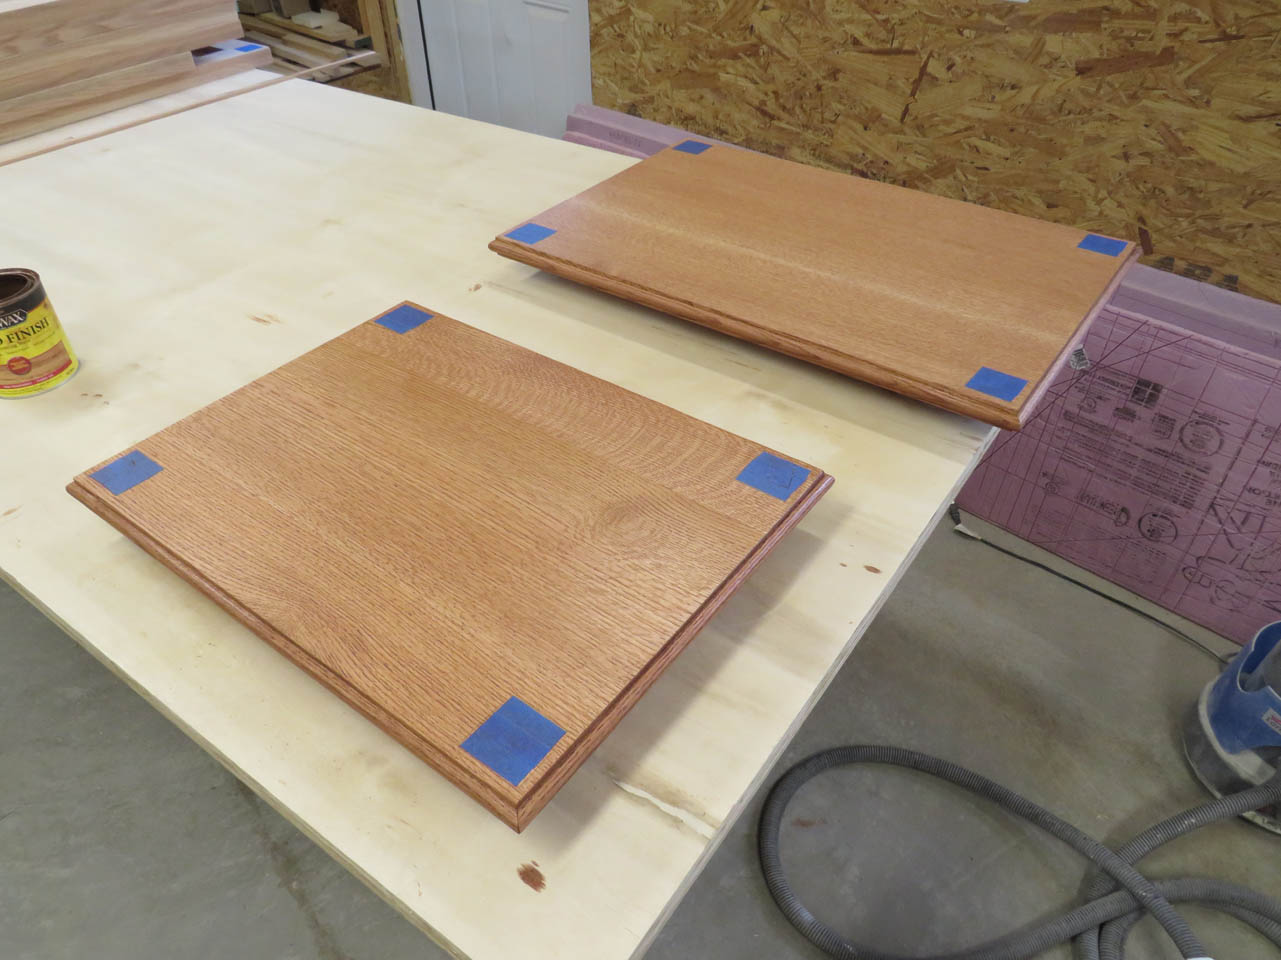
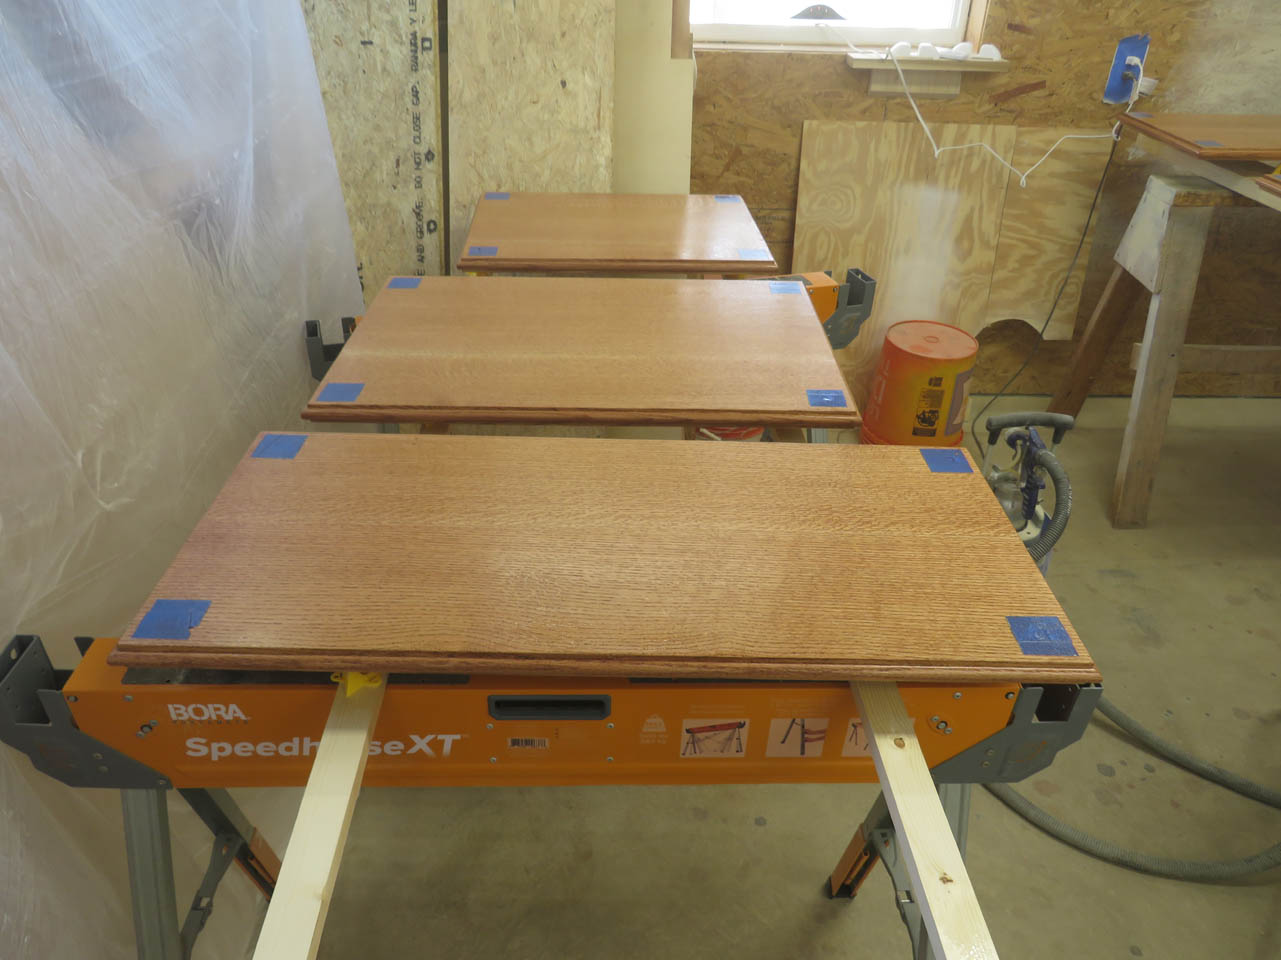
When all of the tops are done, I can start staining them as well.
I leave them all to dry on my assembly tables outside the spray booth.
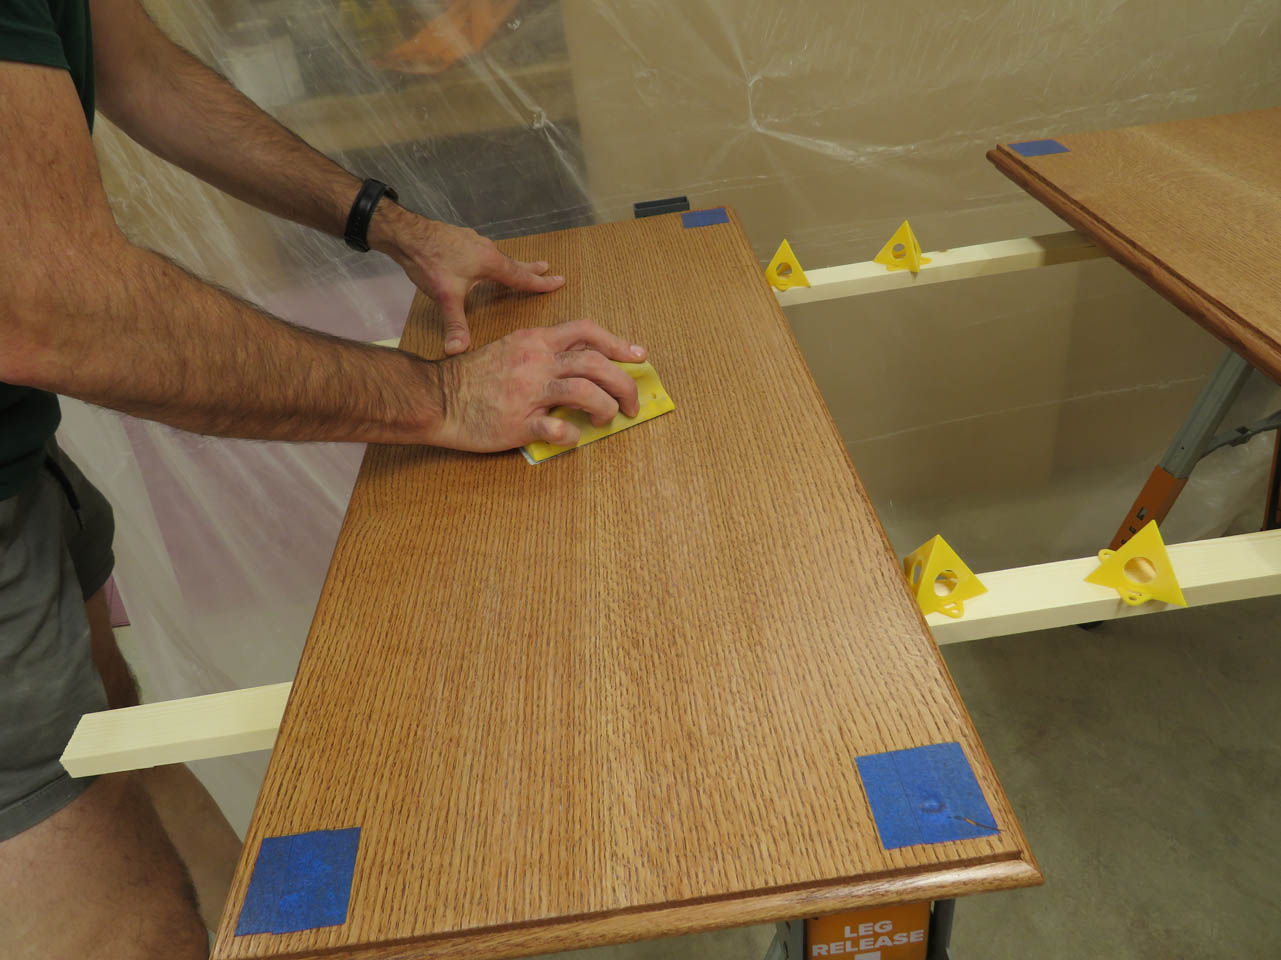
The first coat of polyurethane is dry, I can now sand all of the finished surfaces with 400 grit sand paper and wipe them down to prep for the second coat.
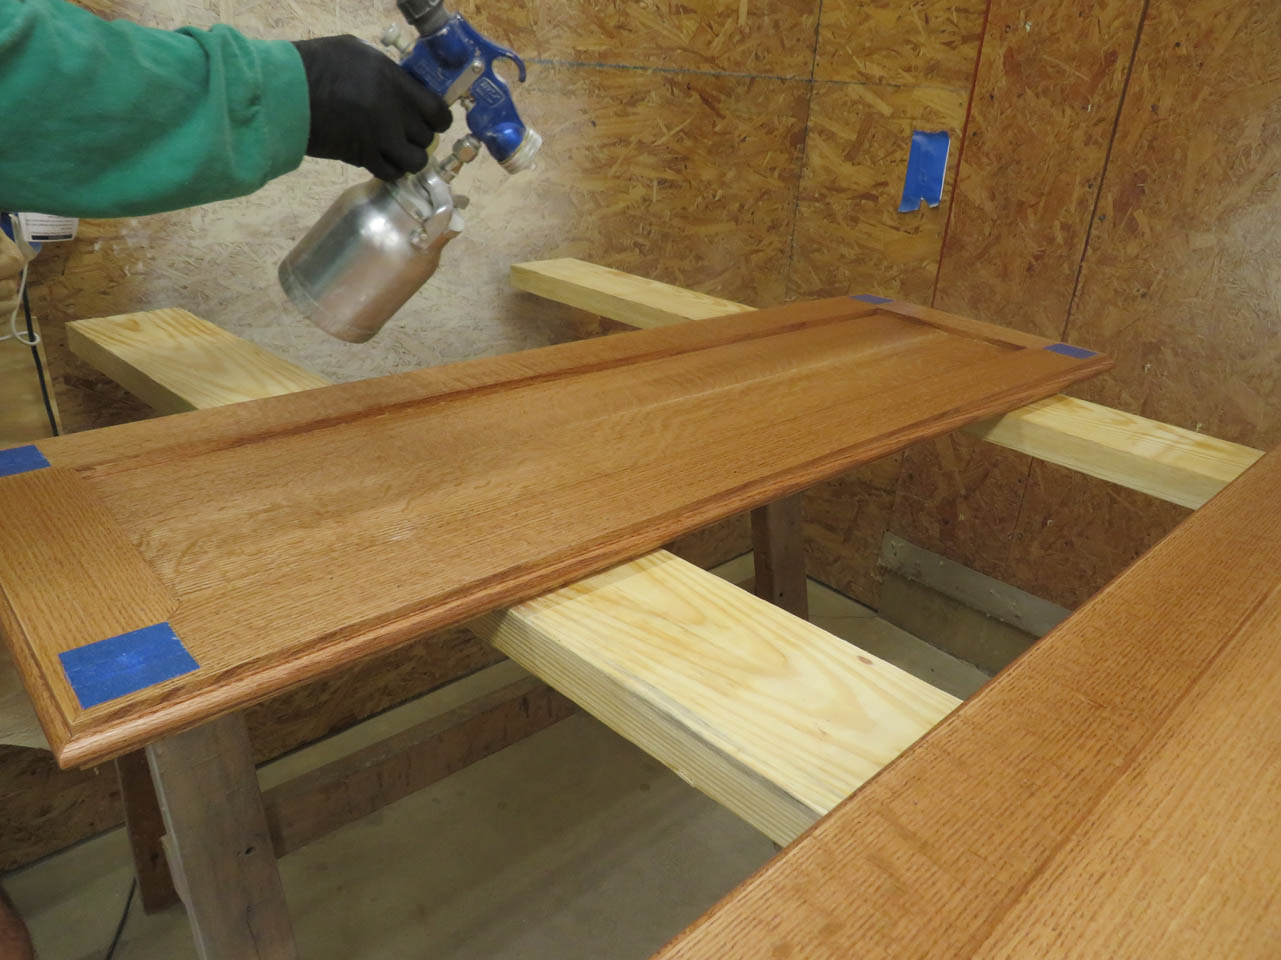
Then the second coat of poly gets applied.

The next day I can remove all of the masking from the shelves and pull them out of the spray booth.

Swapping them with the table tops, I can immediately start spraying the second batch.
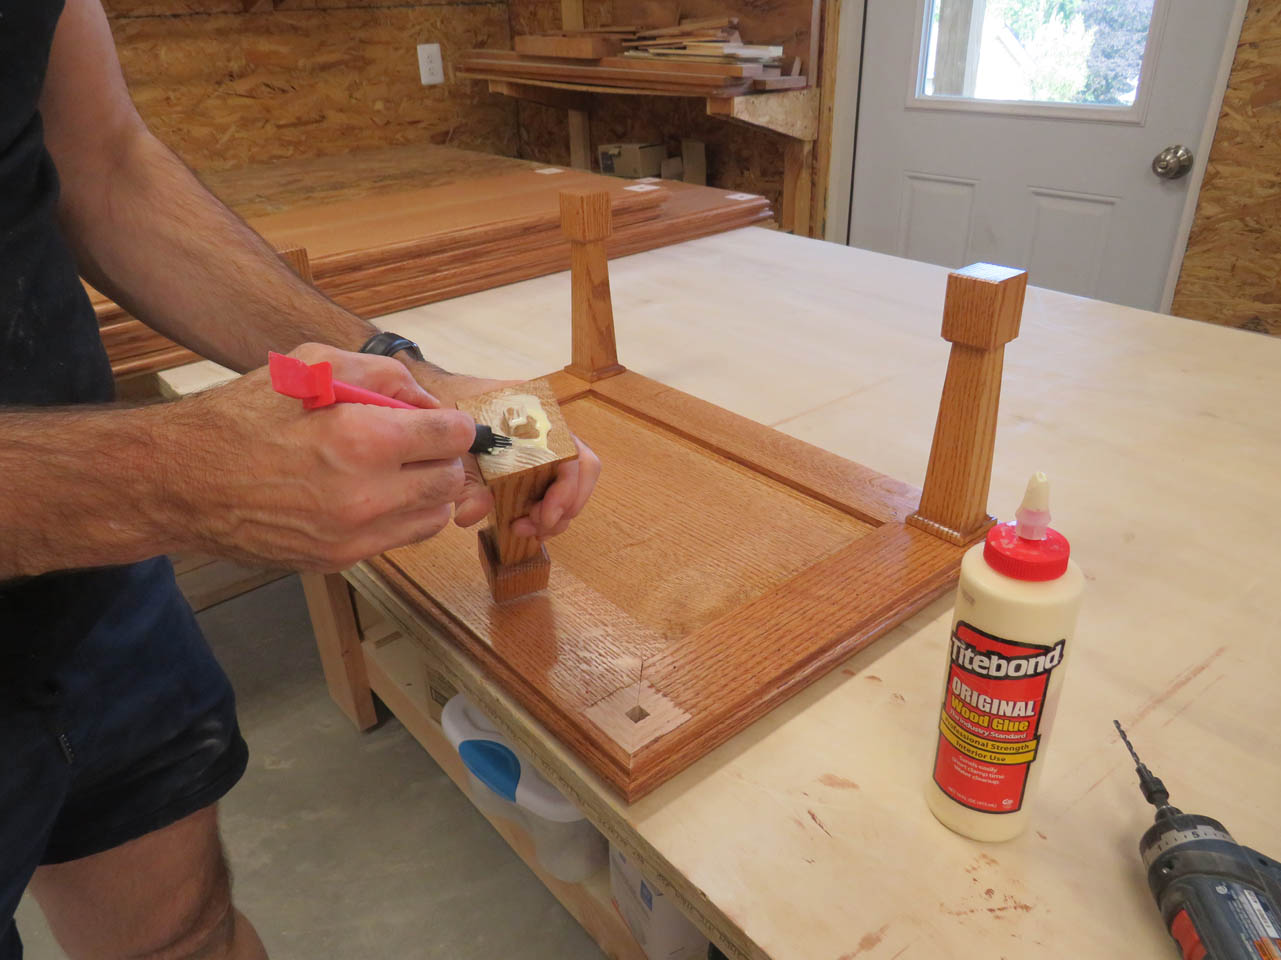
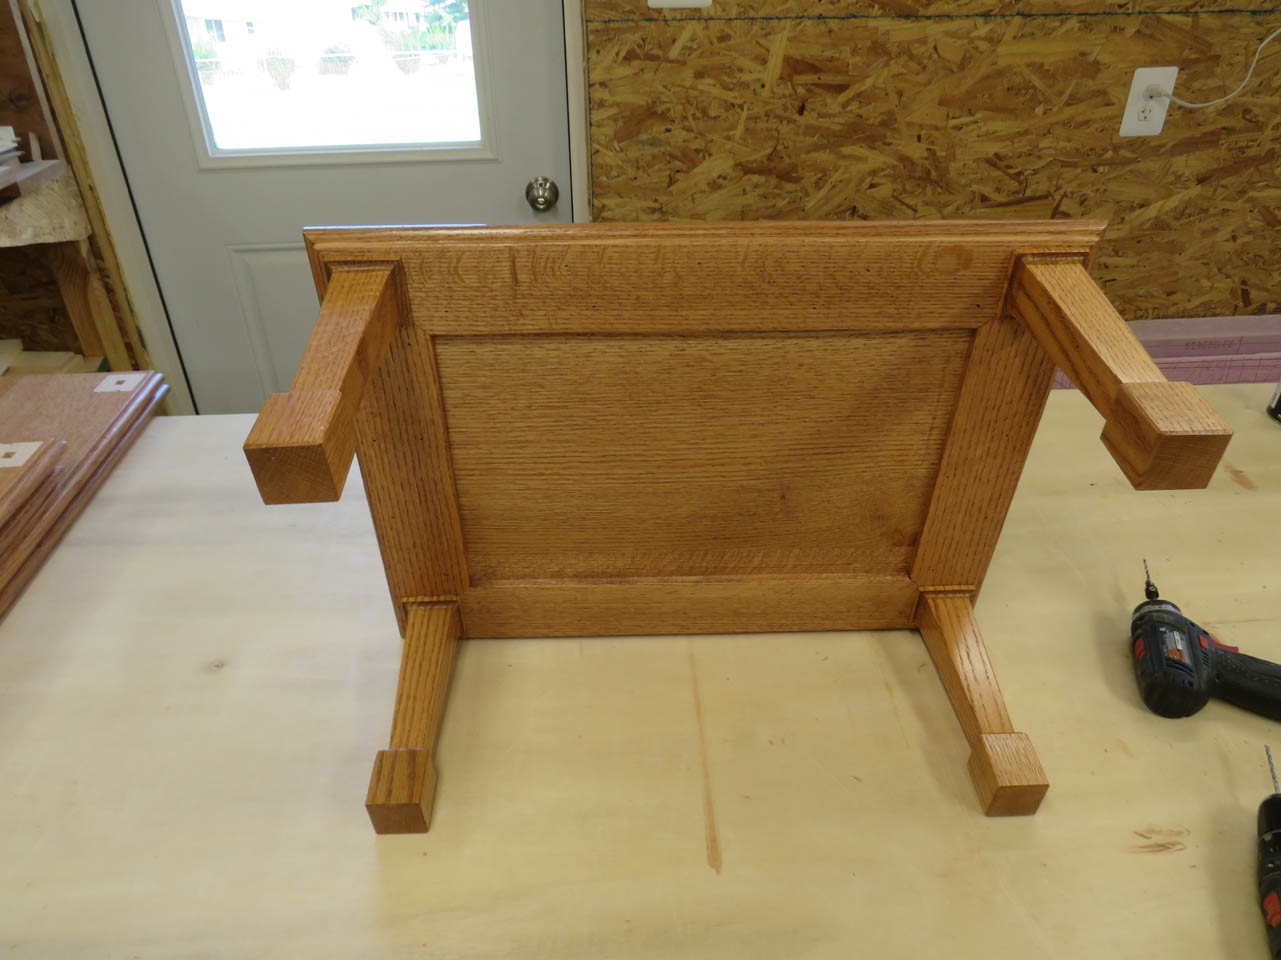
While those are drying, I can start attaching legs to the bottom of the now, finished shelves.
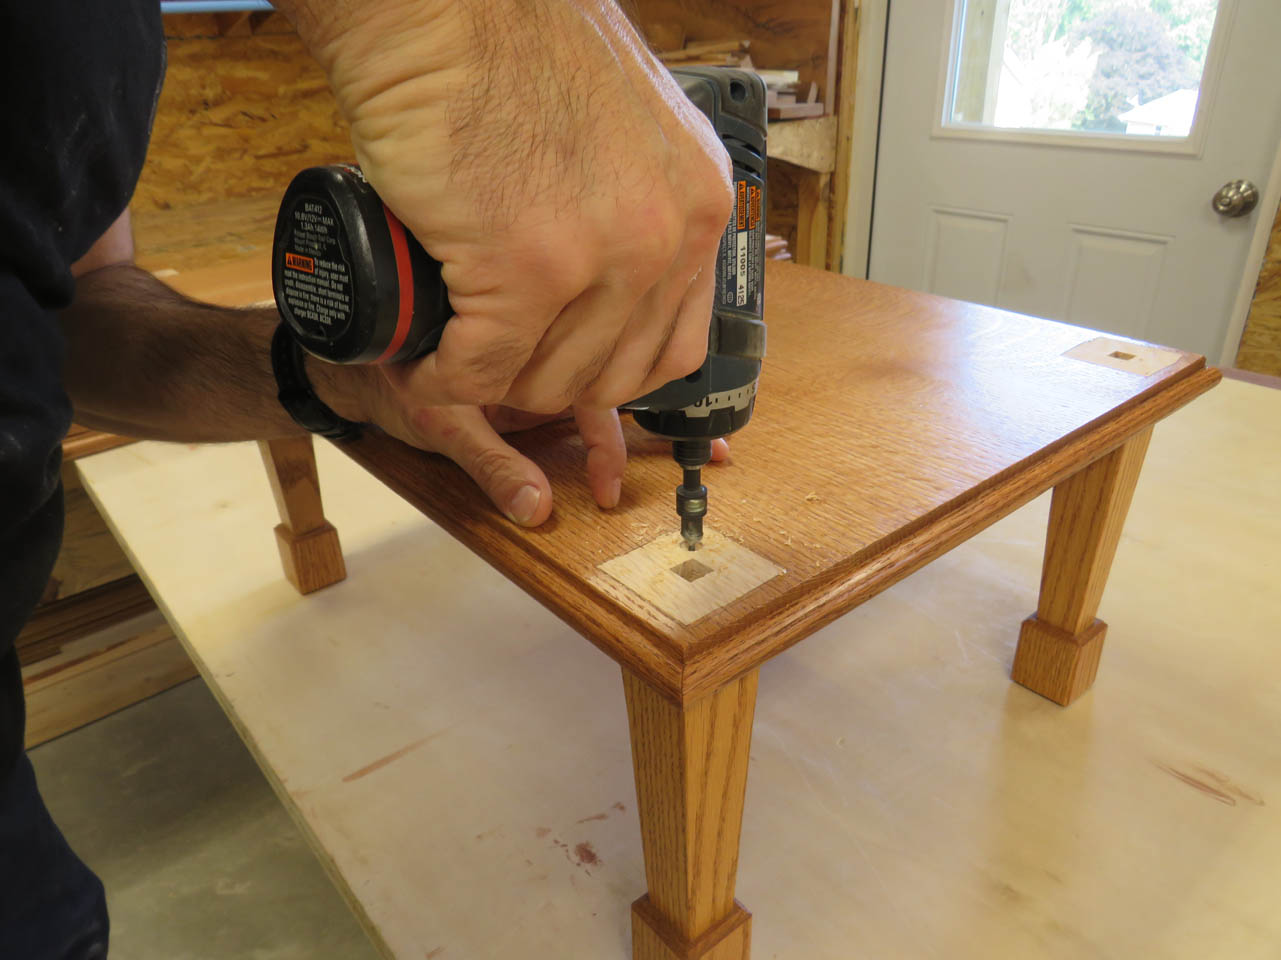
Glue should be sufficient to hold the legs on, but they are awkward to clamp in place perfectly straight. to hold them tightly on while drying, I drilled and countersunk some pilot holes. I angled the holes to point towards the center of the legs, then drove in a 2-1/2″ long construction screw to draw the leg up tight.
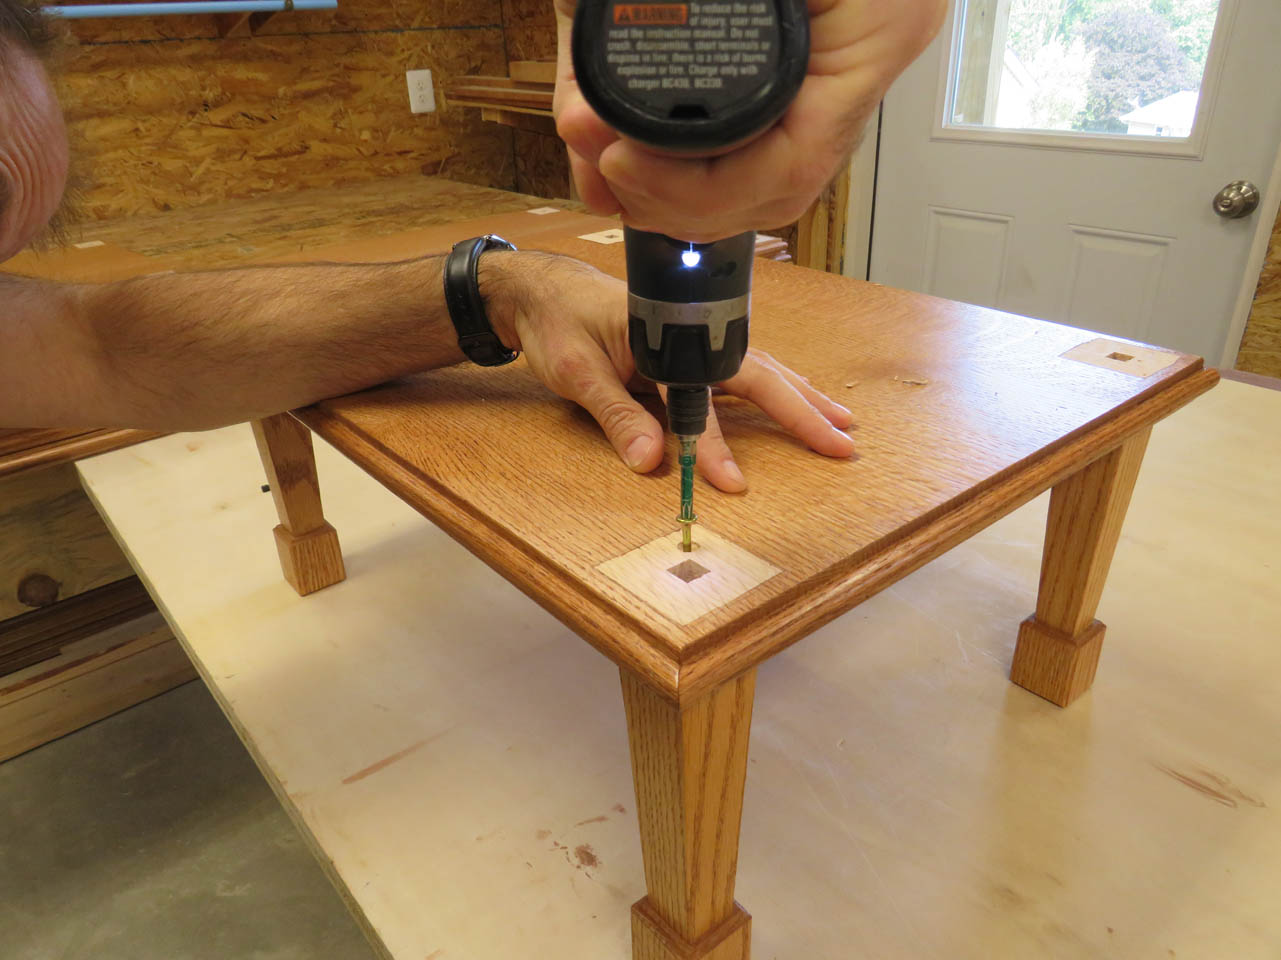
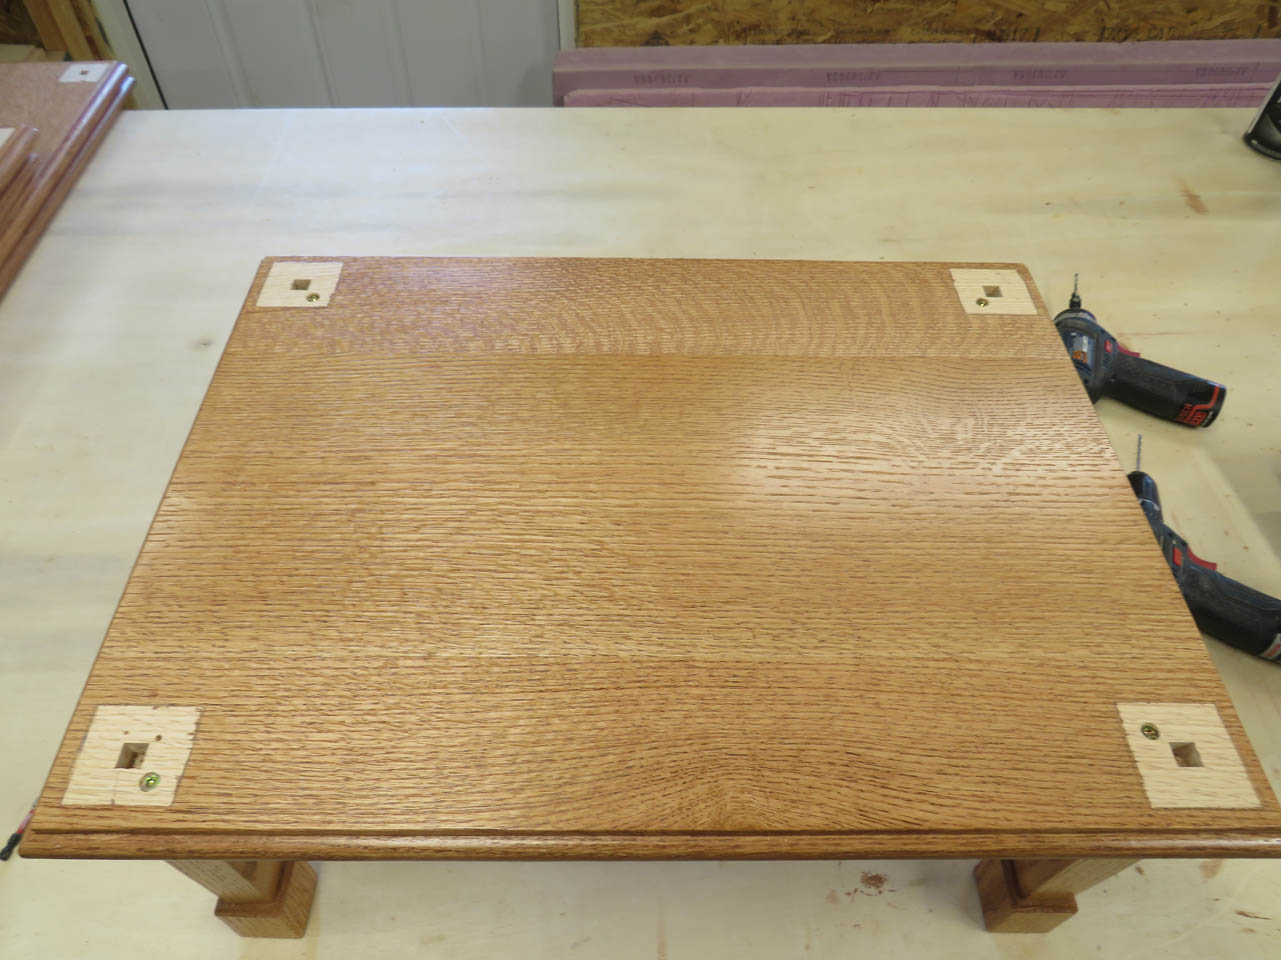
The top of the legs were carefully cut to be straight and square so they each attached perfectly. None of the tables rock, all of them set perfectly flat after the legs were attached.
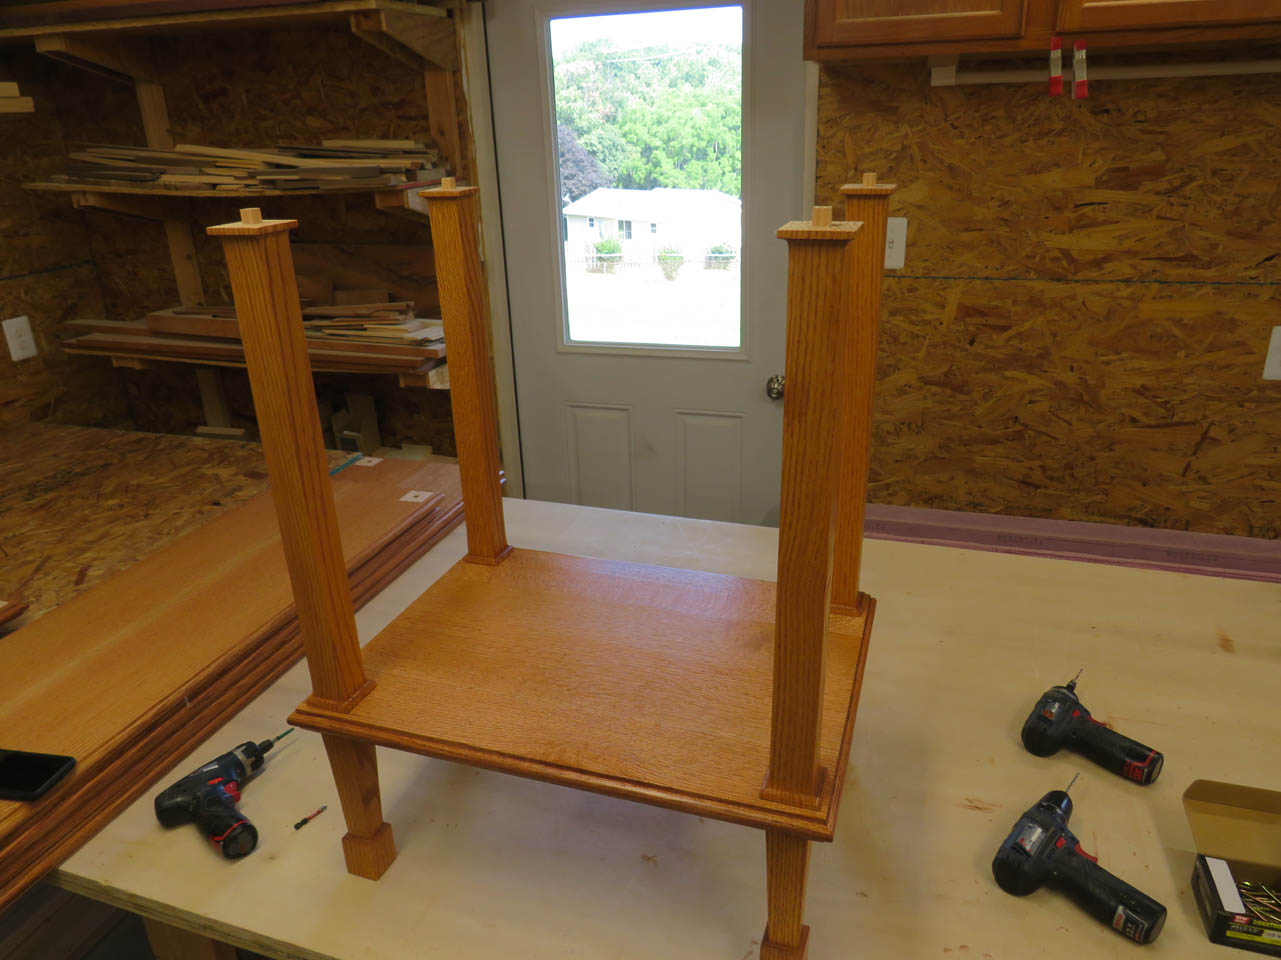
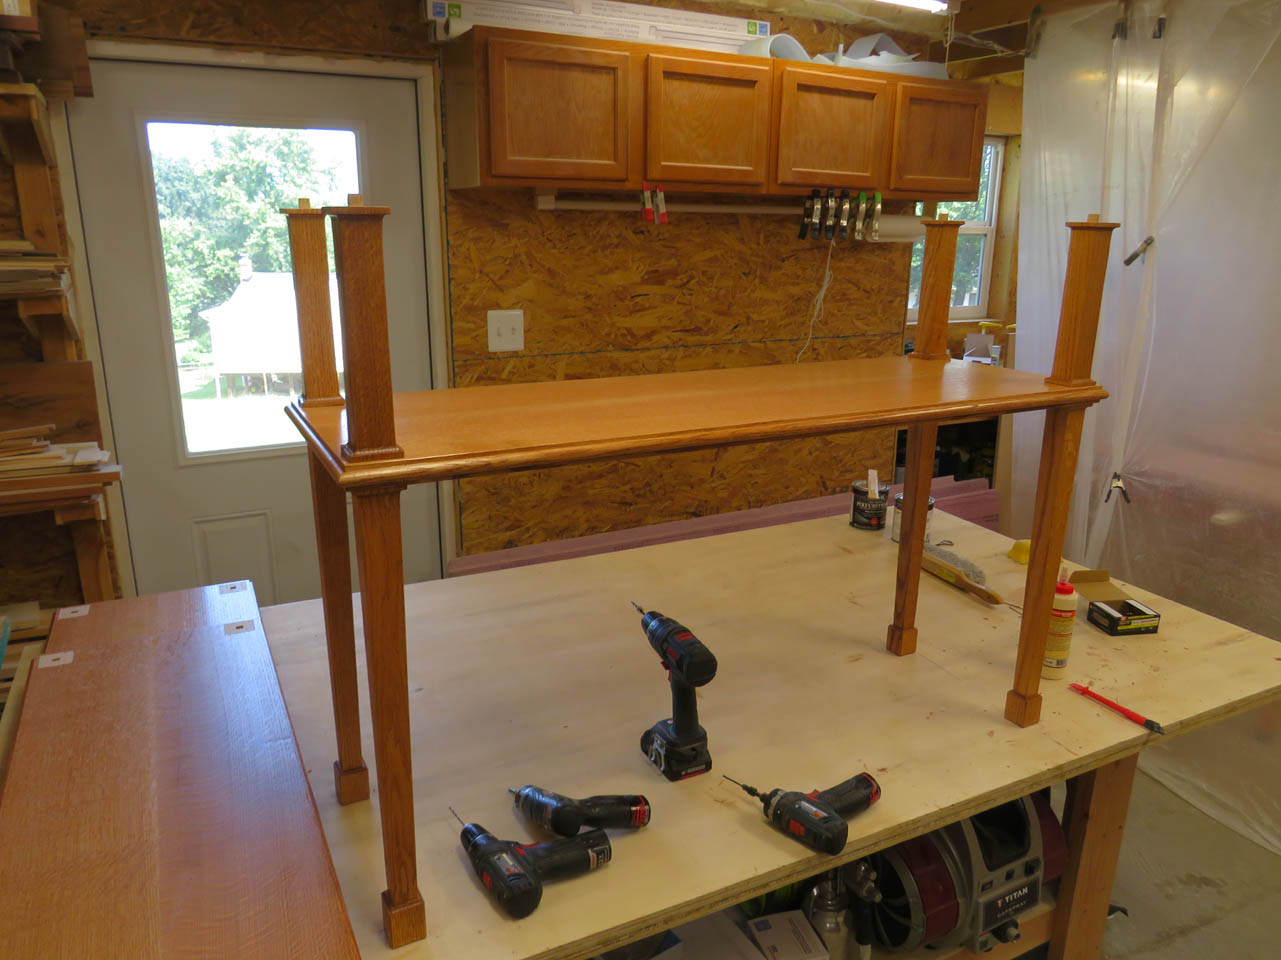
I did a quick dry-fit of the columns for the upper section. They also look good and straight. They will probably be a bit of a challenge to hold in place since I cannot drive screws through them, but that is another day’s problem.
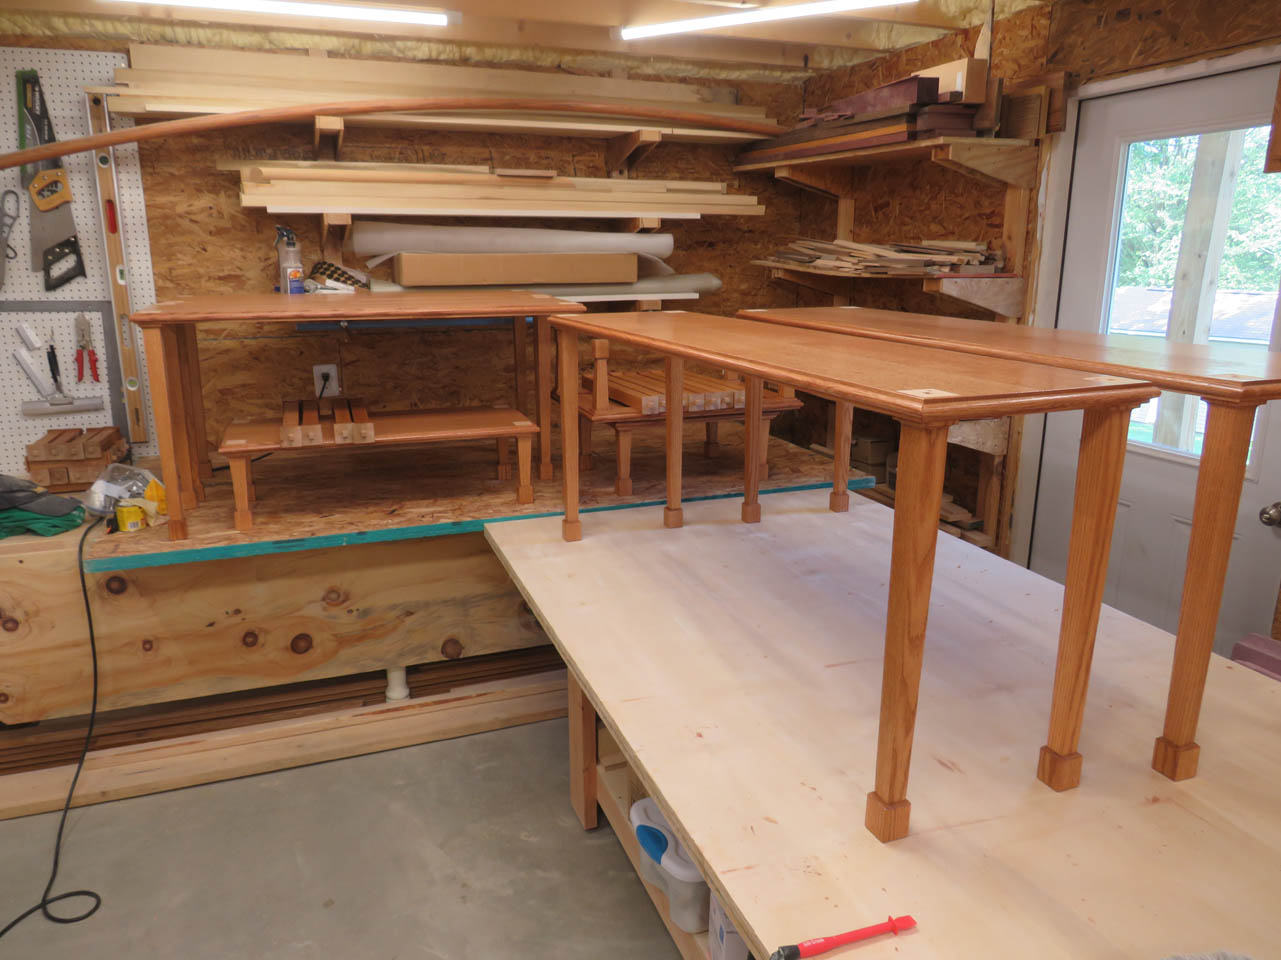
After all of the table legs were attached, it was time to sand down the first coat of poly and apply the second.
Just one more day drying and I can get the tops attached, then these should be done. After these are done I can start with the next batch of pieces for Holy Spirit church.