
Credence tables for Holy Spirit Church – part 2
Before cutting the tapers on all of the longer legs, I need to drill the dowel hole in the bottom of the leg. I press the drill jig into place on the bottom of each leg and drill a 3/8″ hole, slightly over the 1″ depth that I need.

After all of the legs are drilled, I can begin cutting the tapered sides of the legs, using another taper cutting jig for the table saw.
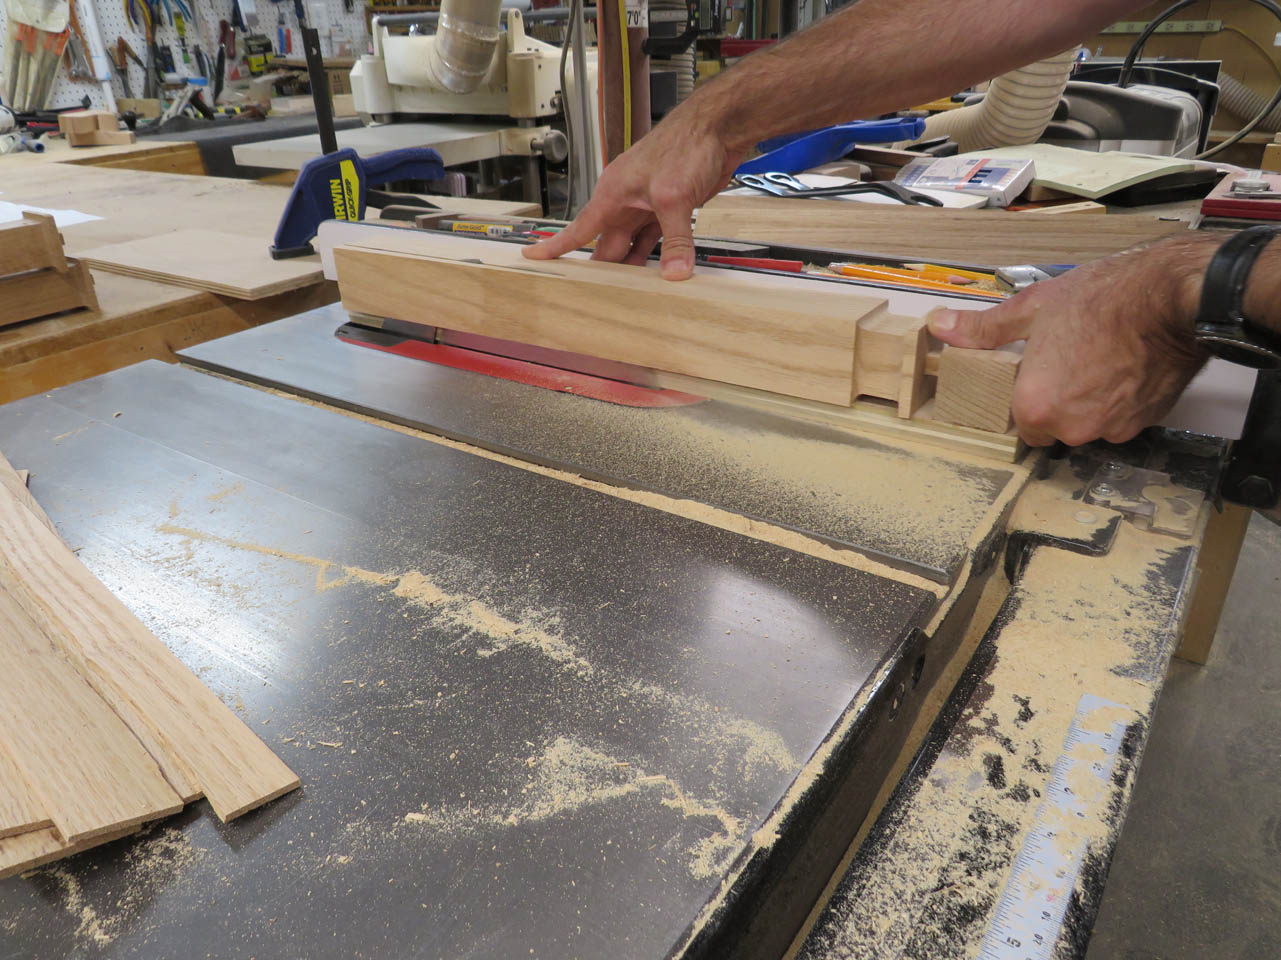
Like on the shorter legs, I can use 1/8″ off-cut pieces to shim my saw cuts so the leg does not bounce around while being cut.

After four repeated cuts, most of the taper is established.

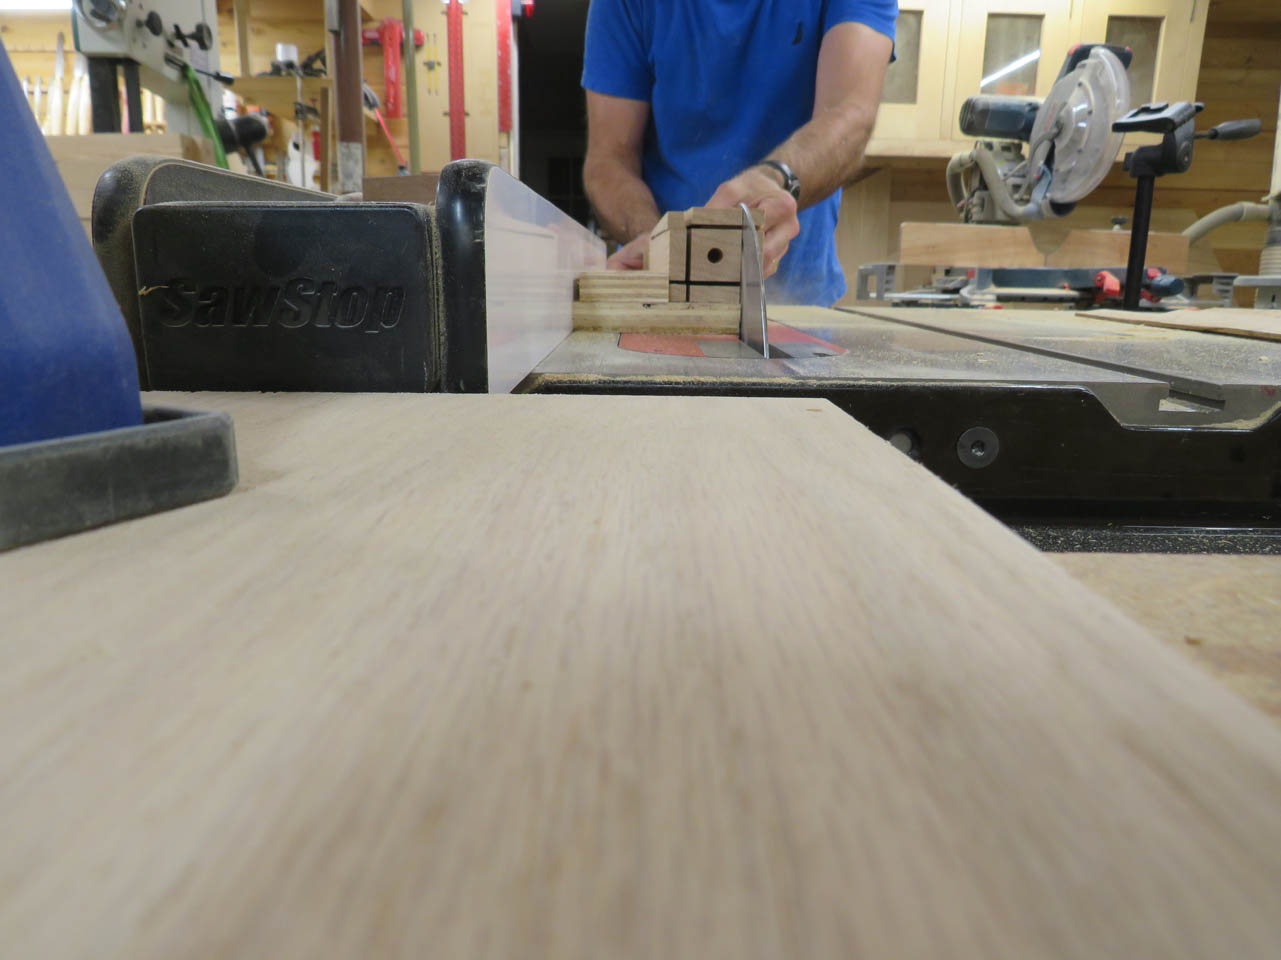
The last little bit is cut away on the band saw.

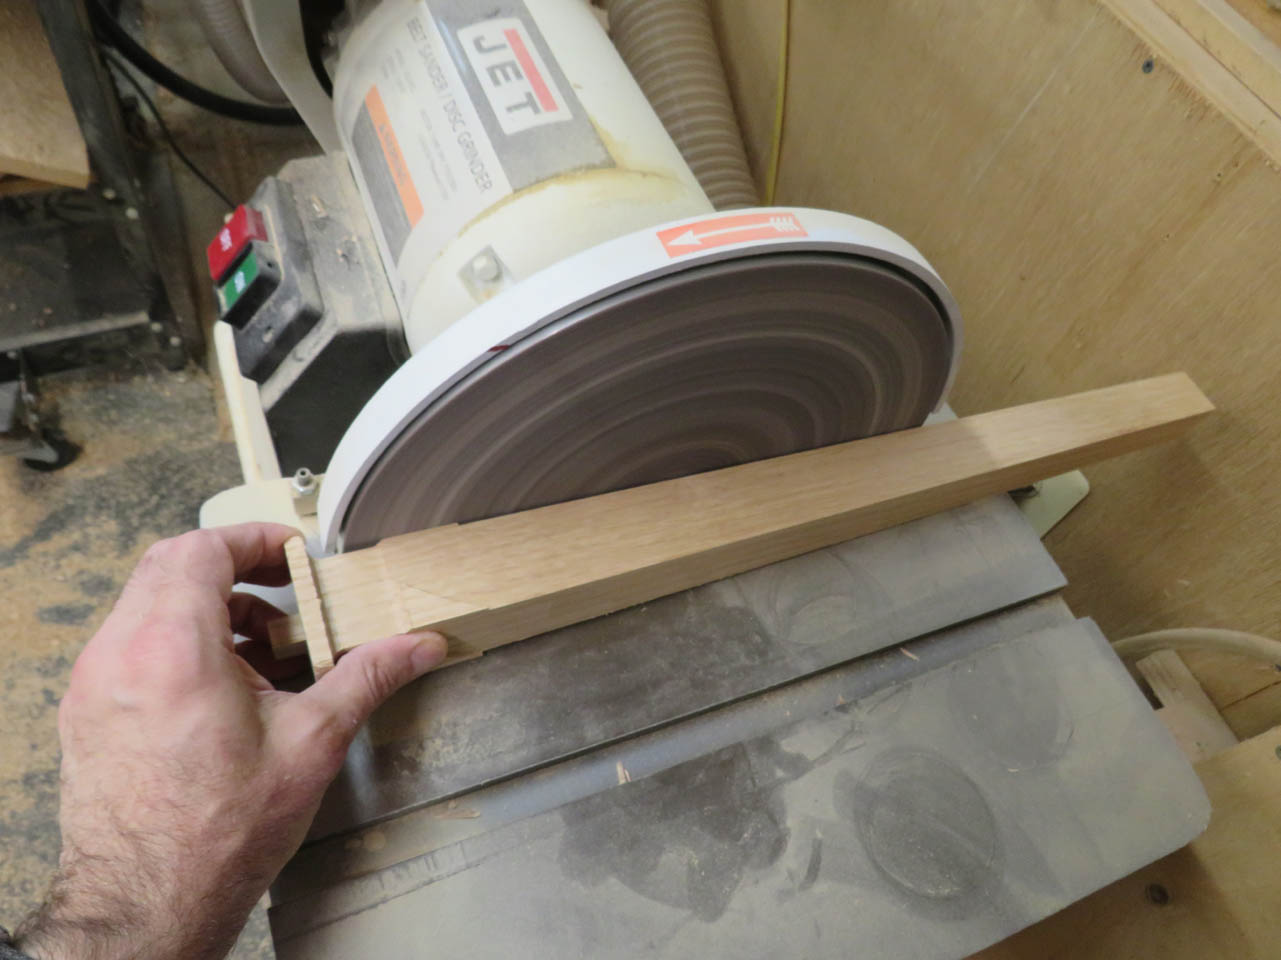
The band saw cut is then cleaned up on the 12″ disc sander.
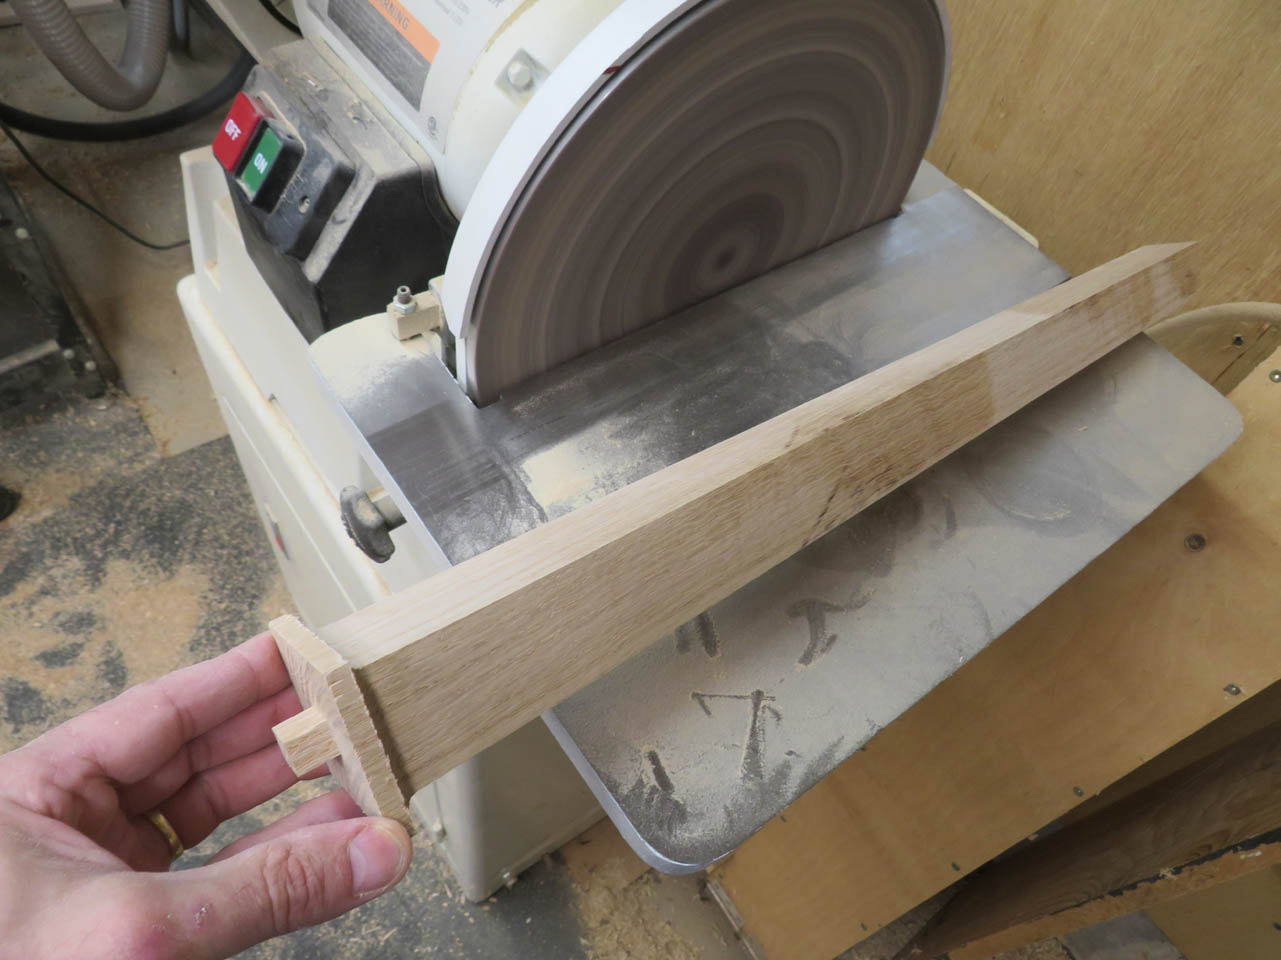
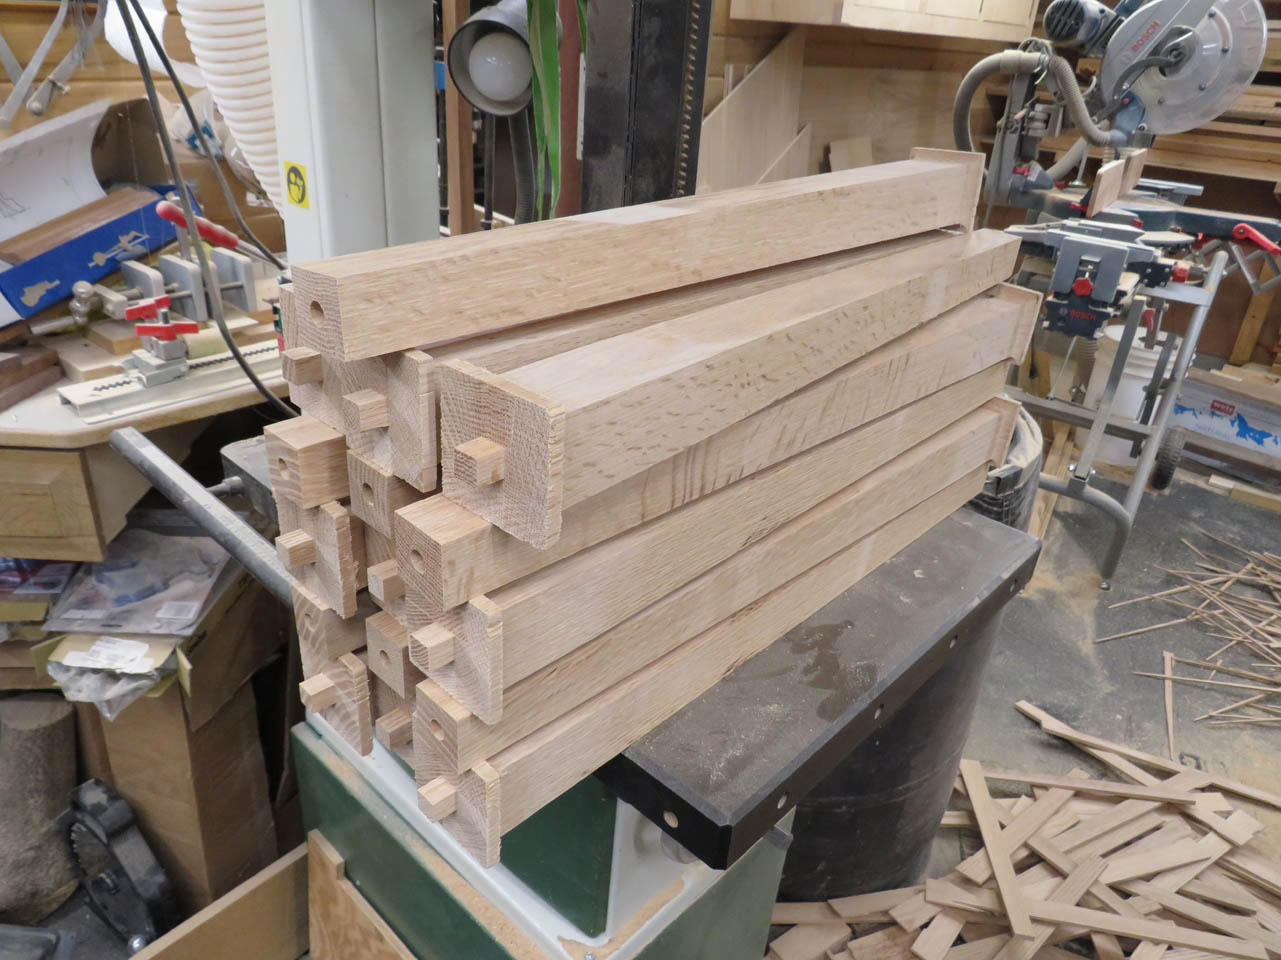
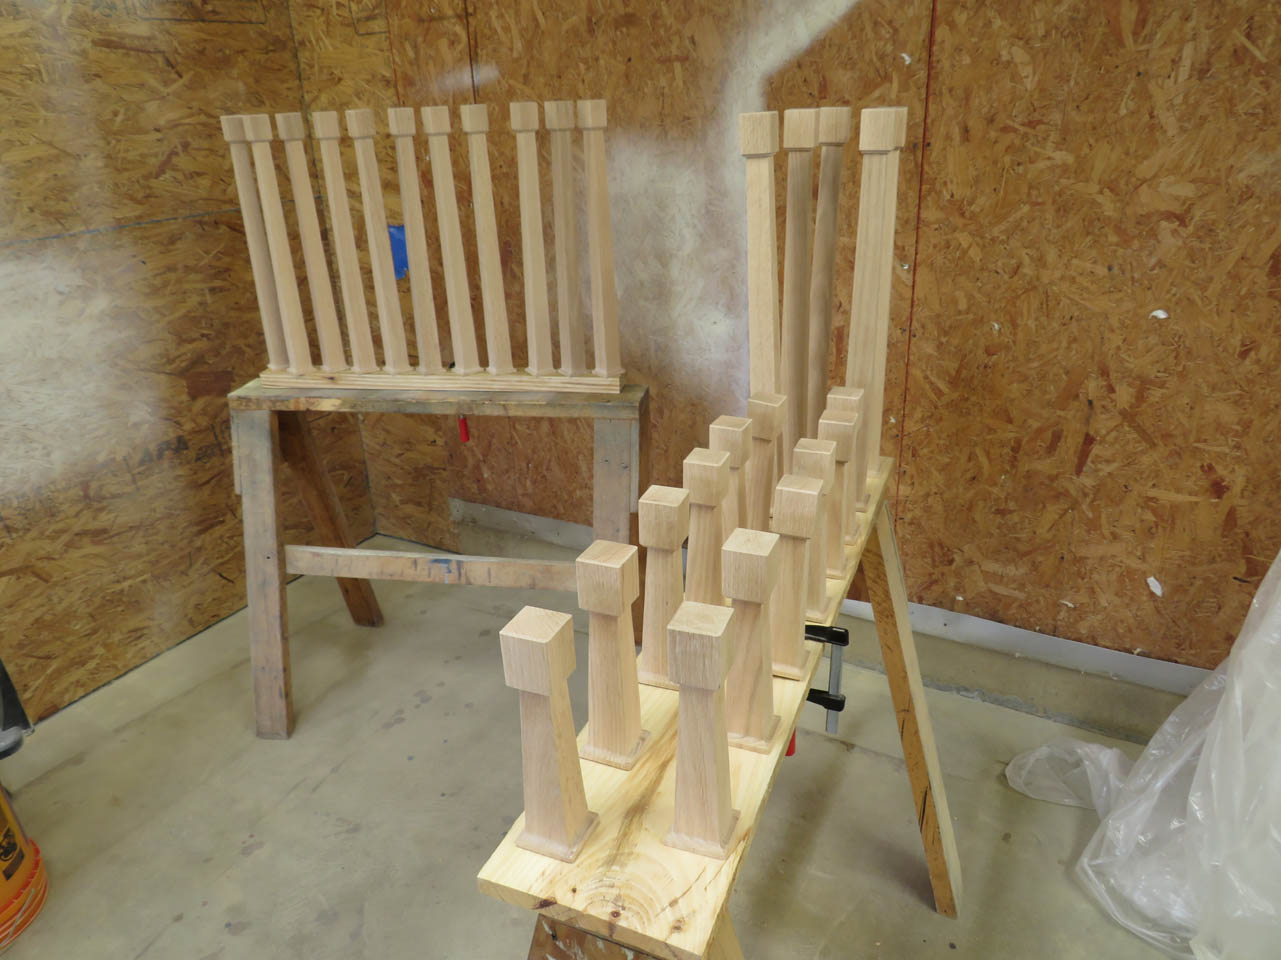
All of my legs and columns are now cut and ready for final sanding.


Final sanding took an entire day. I used the orbital sander to sand the main body of the legs and columns. I started with 80 grit paper, then worked down to 120 grit. All of the sharp edges were hand sanded to round them over, just enough to prevent anyone from cutting themselves on them.


After a very long day, all of the sanding is complete.

To finish the legs, I need to attach the feet that I made earlier. I apply glue to the inside of both of the 3/8″ holes as well as the bottom of the leg.
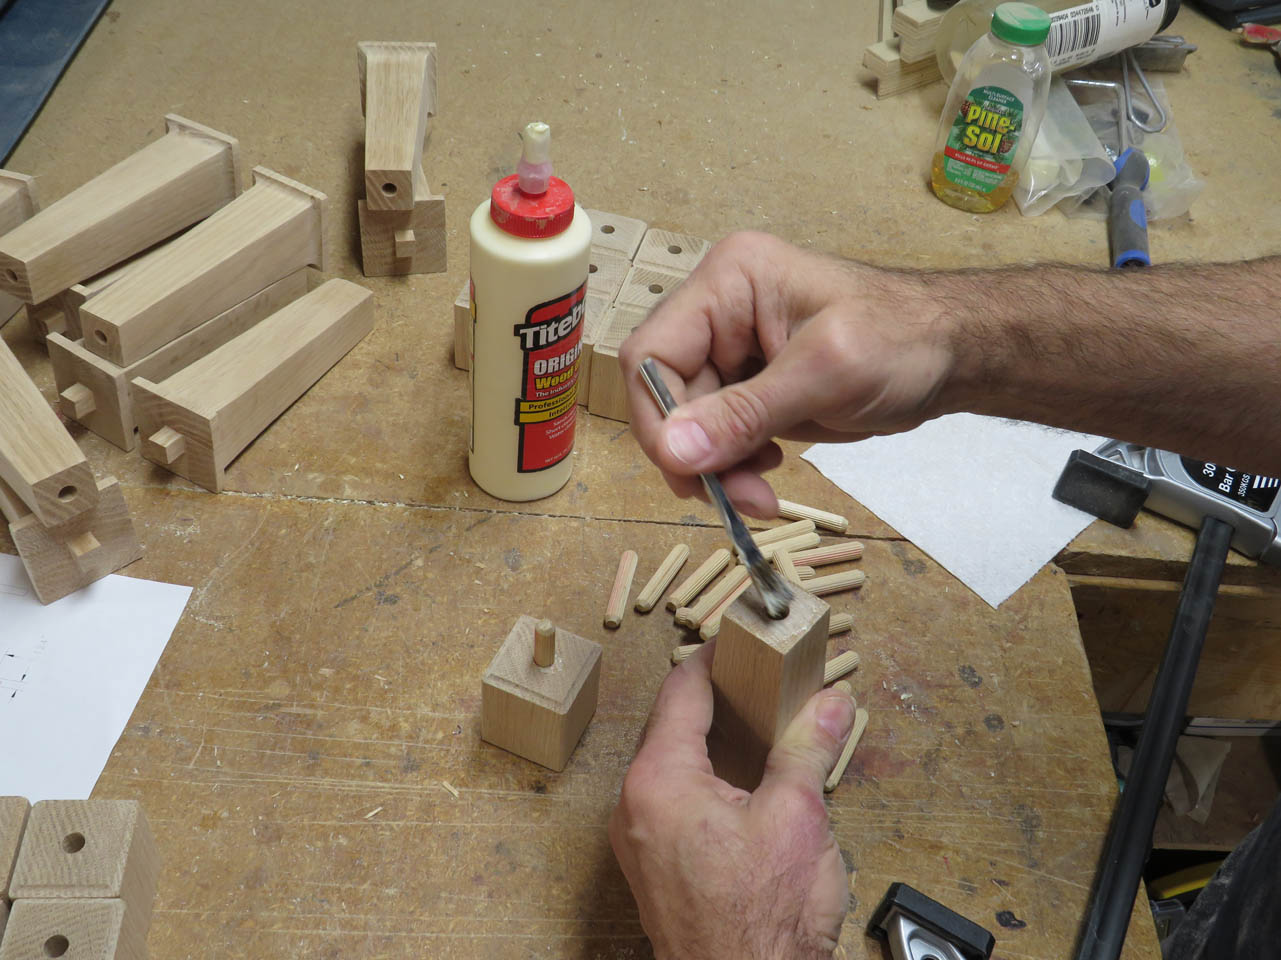
Then I insert a dowel and press both pieces together.

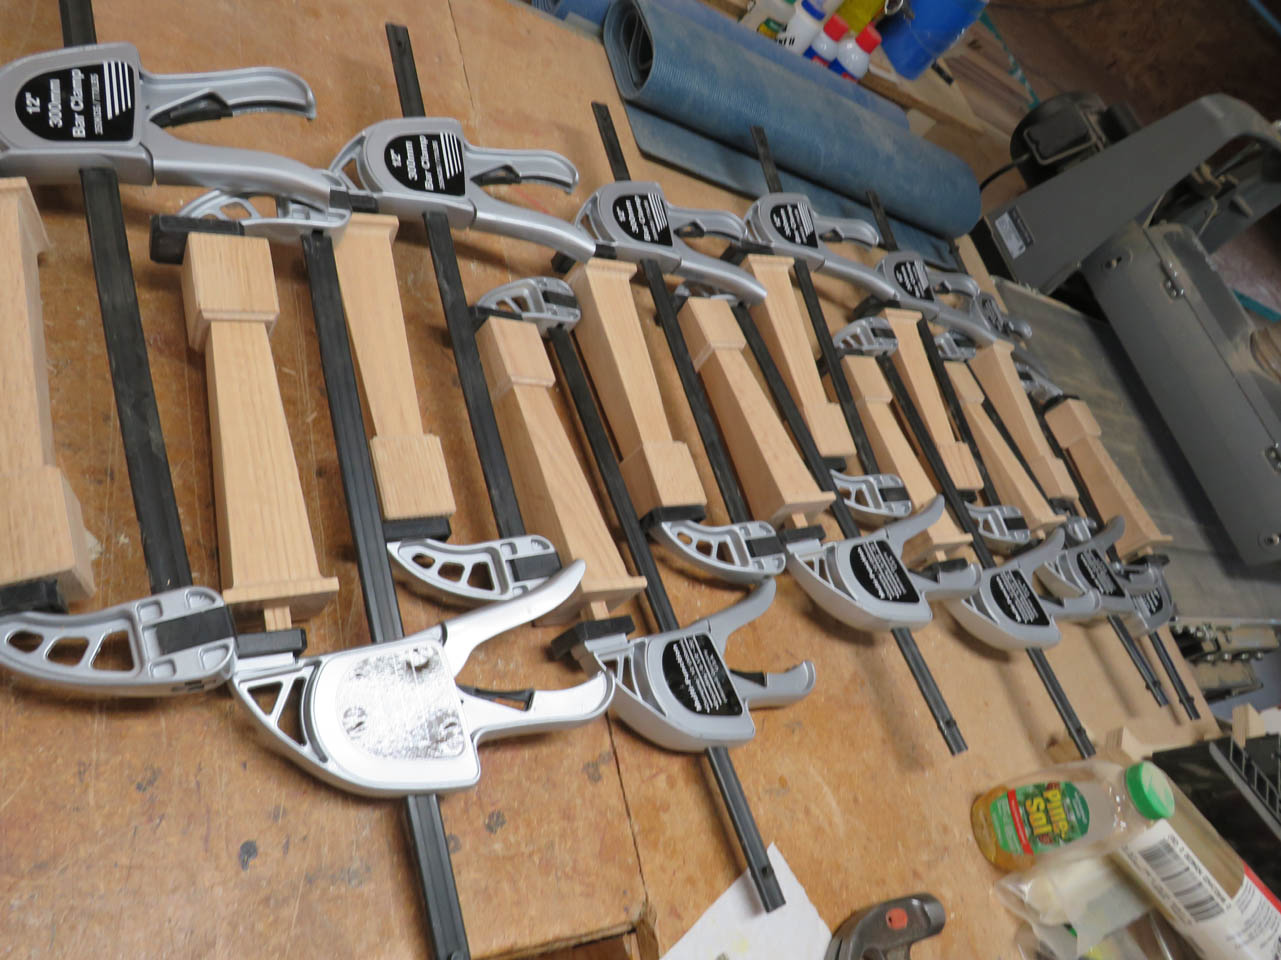
I laid the leg flat on the bench to align the faces before clamping the leg together.

All of the short legs were clamped up and left to dry.

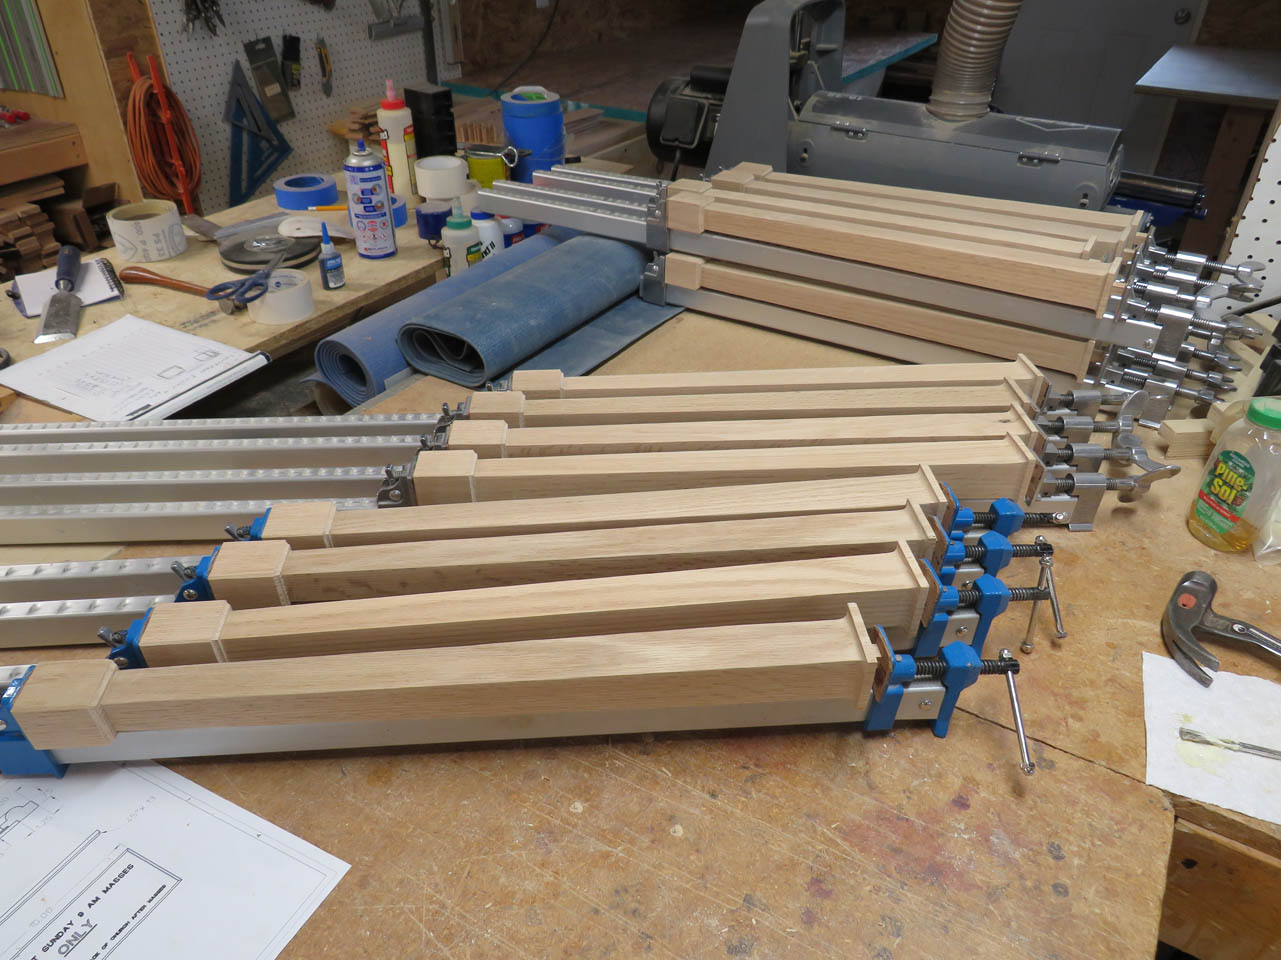
Then I repeated the process with the longer legs.

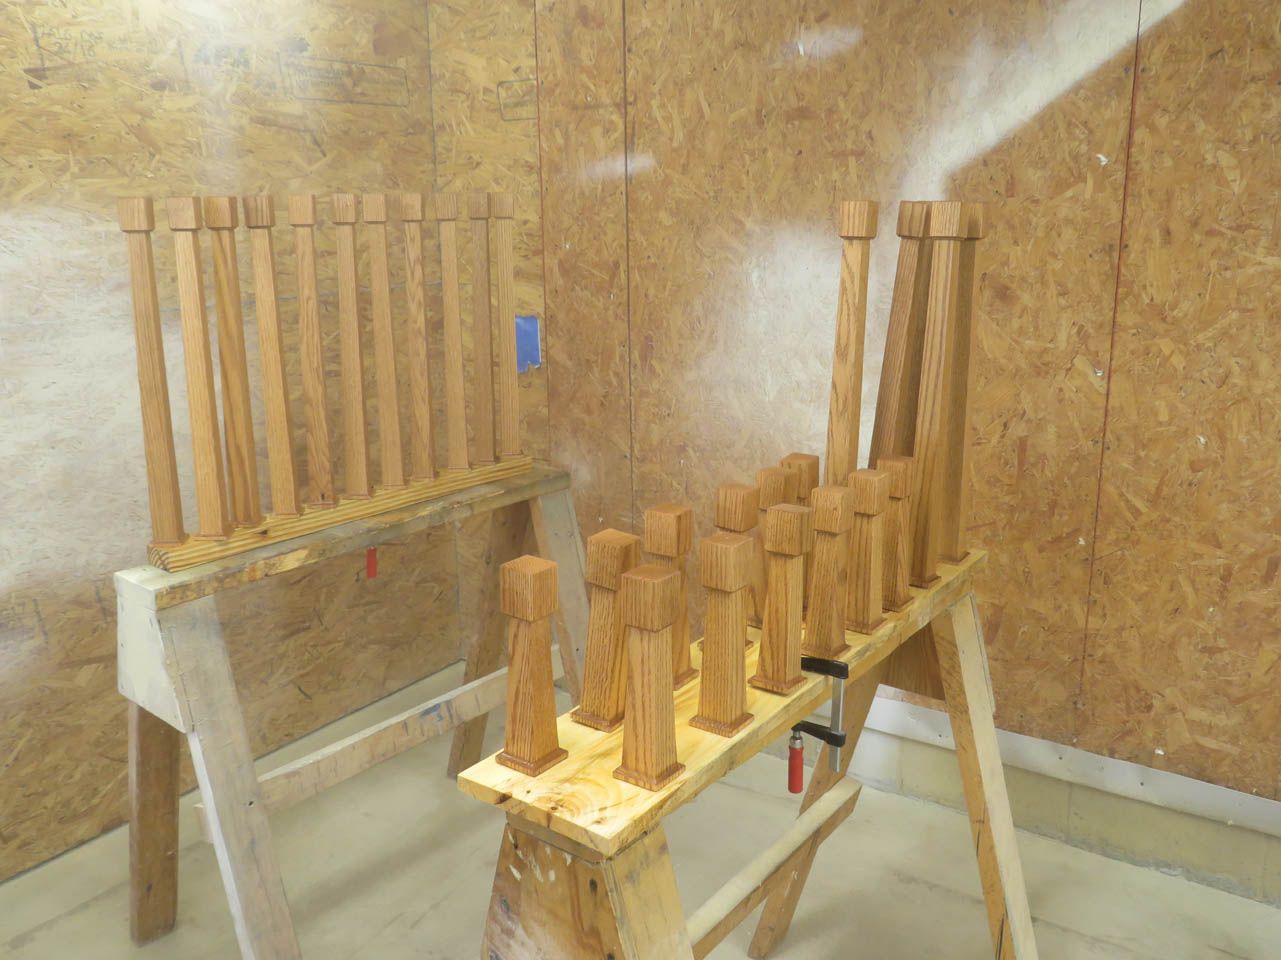
I took some time to clamp a few pieces of soft wood to my saw horses, then drilled some 5/8″ diameter holes in them and chiseled out four corners within each hole so that I could press my tenons into them and be able to apply finish to the free-standing legs.
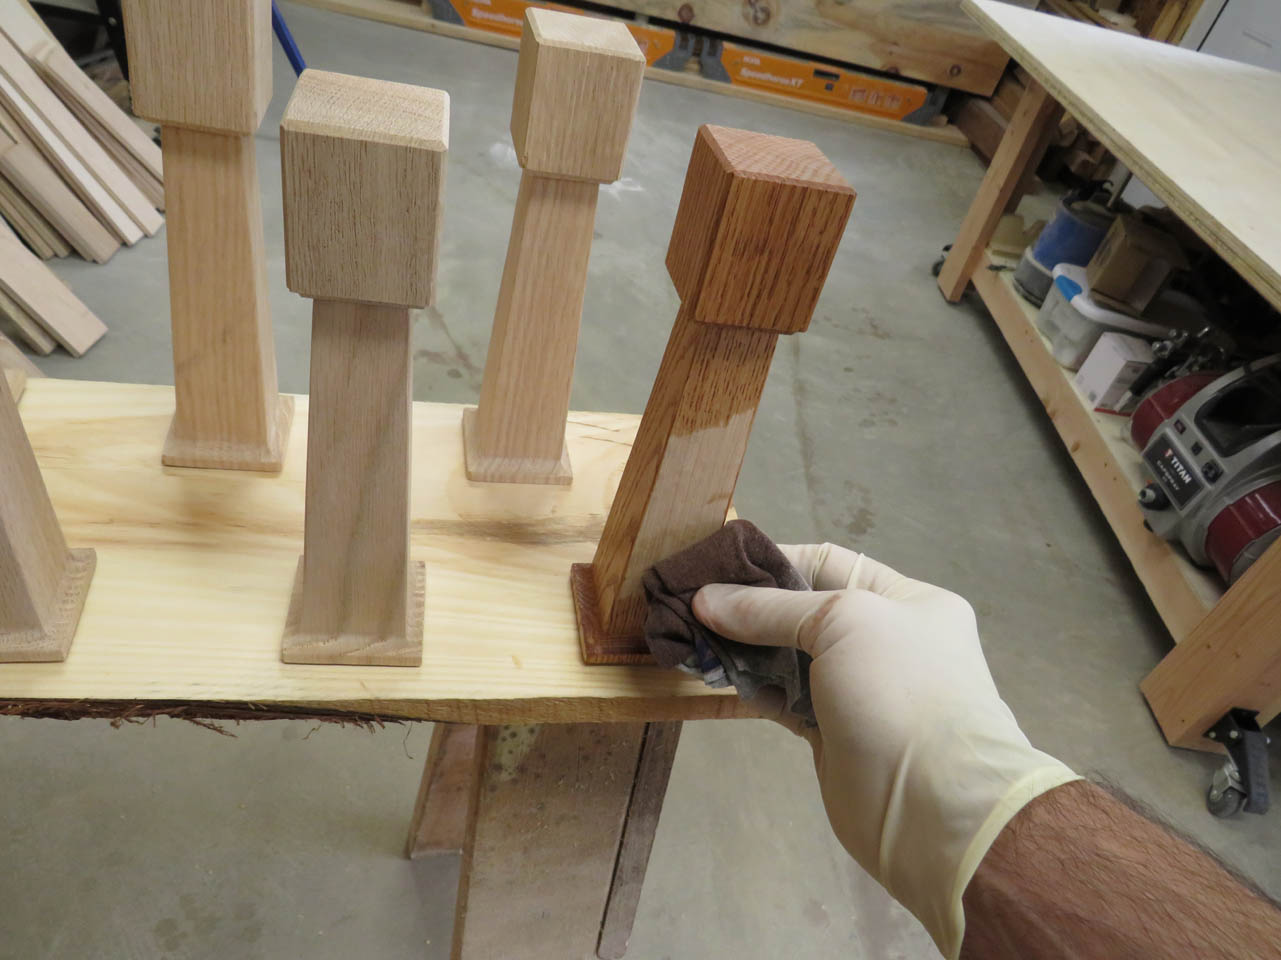
By setting these legs into the holes, I effectively mask the entire top of the leg as well as the tenon so that no finish will be applied to a future glue surface. I take my time and apply cherry stain to all of the legs. When all of the legs are finished, I can swap them out with the columns and repeat the process.


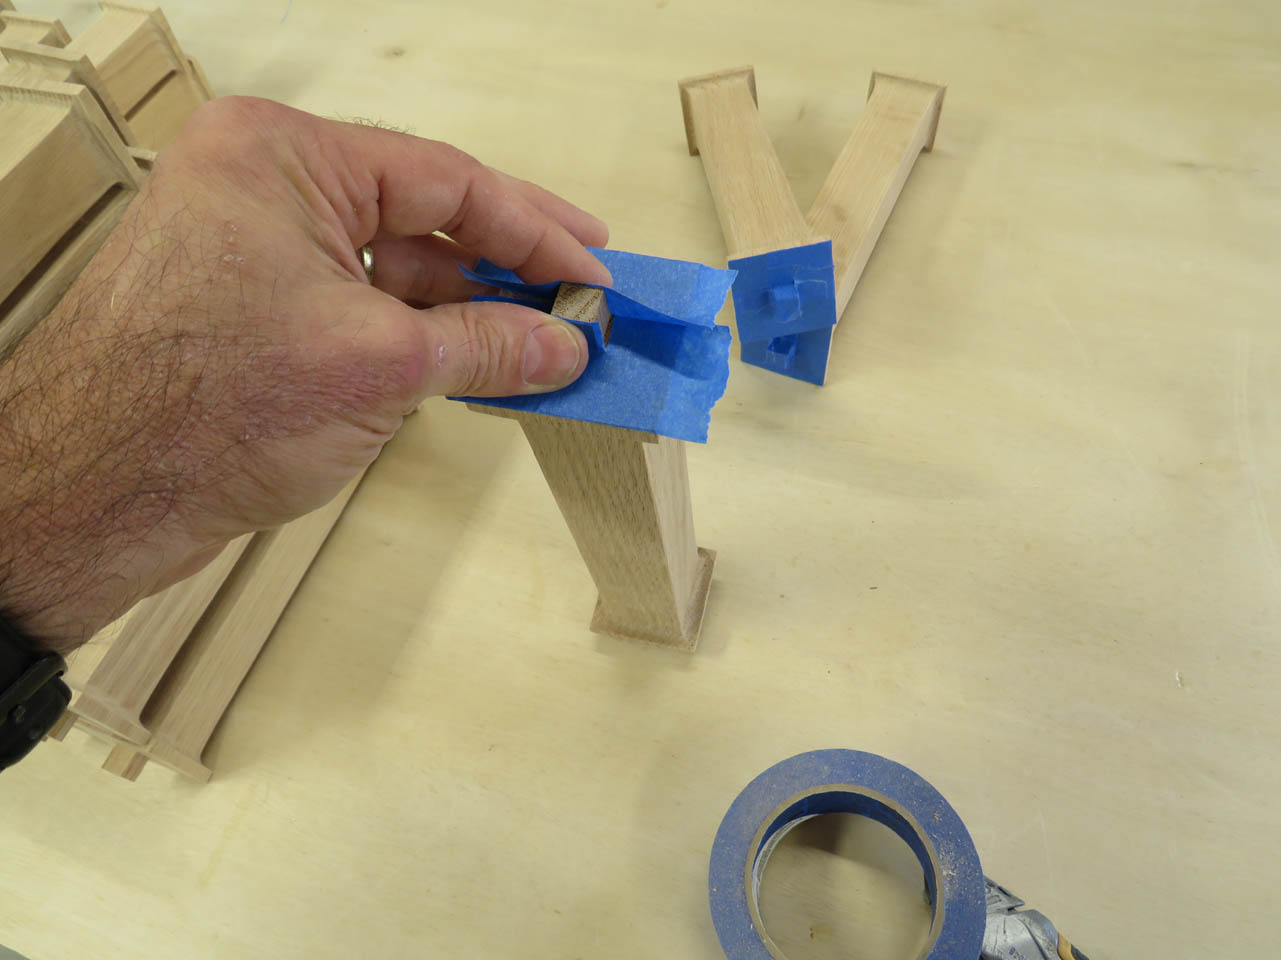
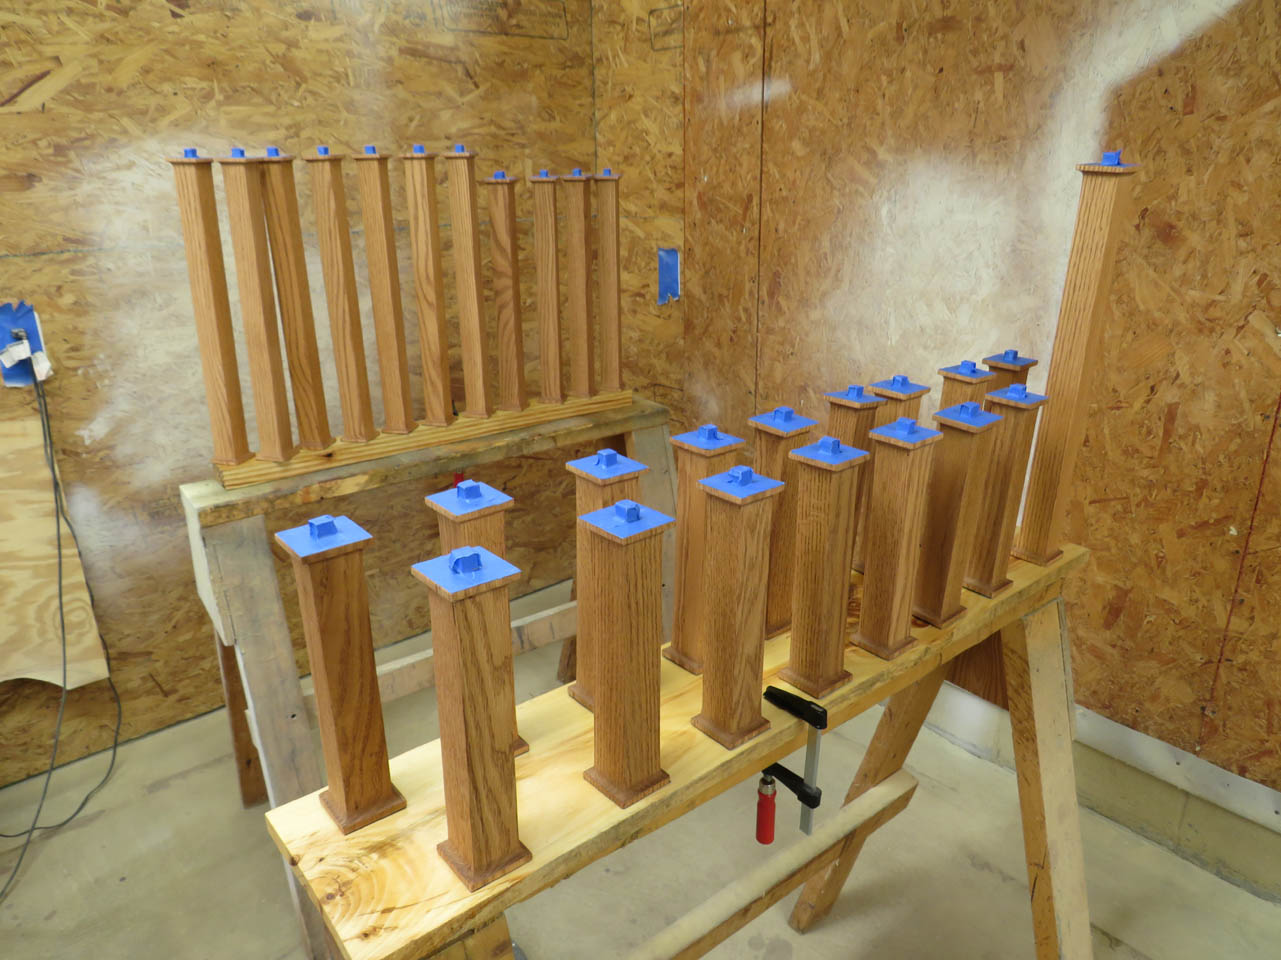
While the stain is drying on them I can mask off the ends of the columns with painter’s tape.

After the legs dry, I swap them with the columns and stain them as well.

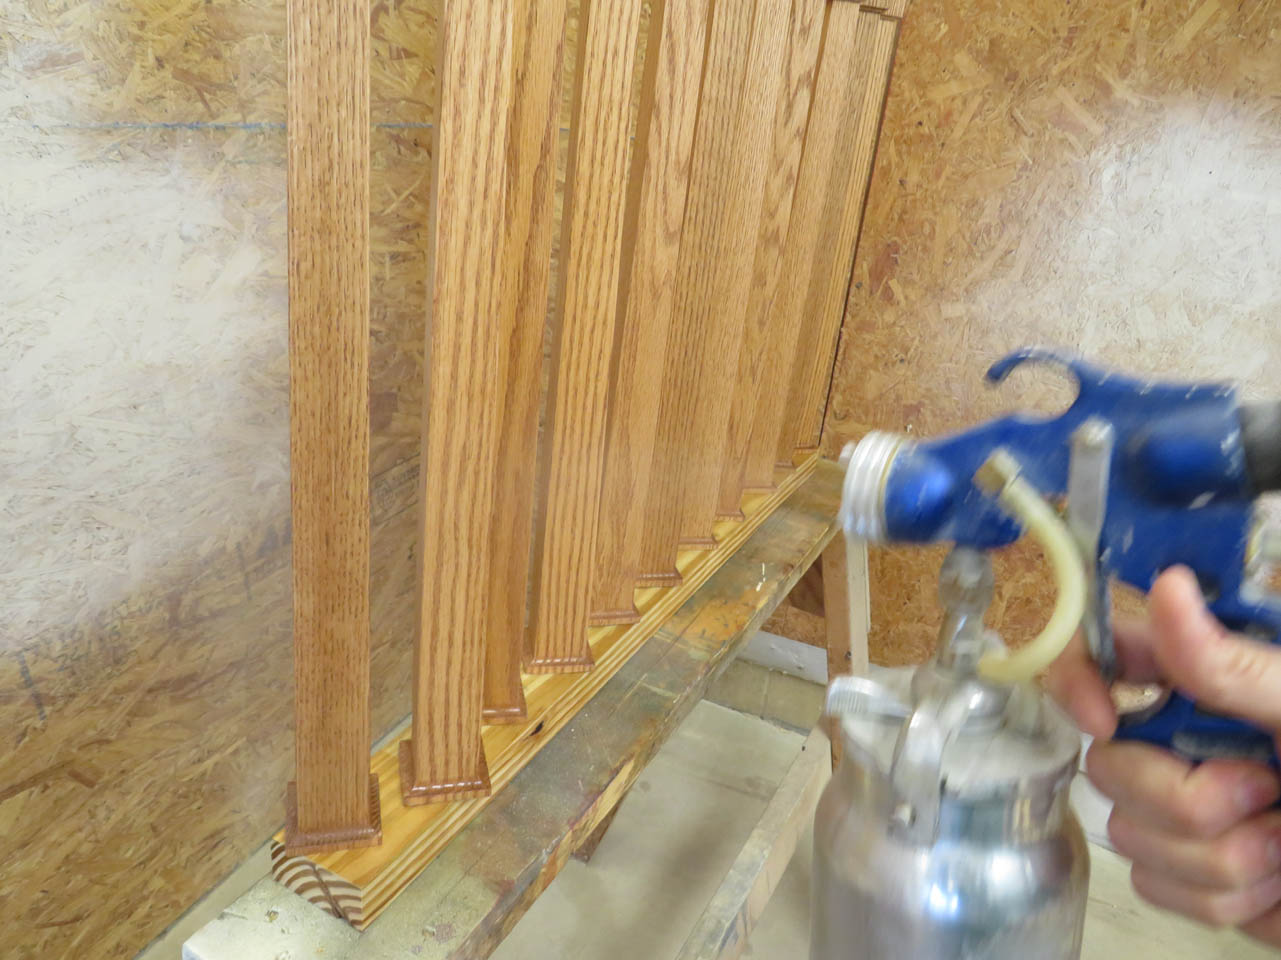
This whole process of pre-finishing the legs took a couple of days, but I think it will be worth it because it would be a lot harder to apply stain and finish to the final assembly. When the stain had 24 hours to cure, I could swap the legs back in and start spraying polyurethane on them as well.

After the first coat had dried, I sanded all the surfaces down with 400 grit paper and applied a second coat.


The next day, the legs were dry enough to swap with the columns again.
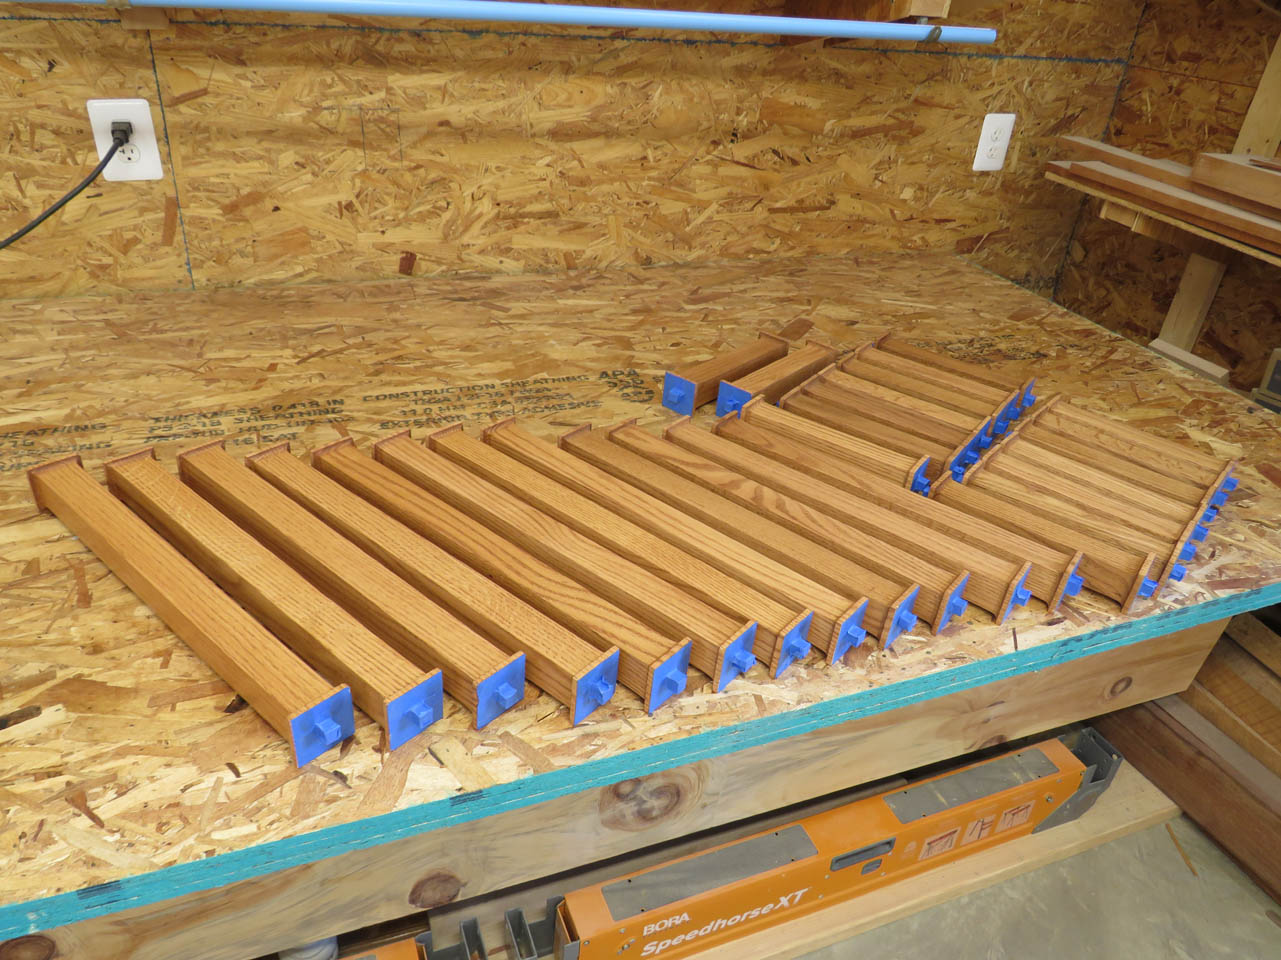
The columns each got two coats of polyurethane as well.

After a very long week, all of the legs and columns are done.

Now it is time to move on to the table tops and shelves.
