
Credence tables for Holy Spirit Church – part 1
My next project for Holy Spirit church is a series of tables. They will all be modeled in part around the design of this existing credence table (see image below). These new tables Will have the shelf placed lower, which will remove the need for the brace at the bottom. The center column is decorative so, to allow for more storage on the shelf, that will be removed from these tables as well. Every other component of the table will be duplicated so that they will all resemble the original table.

I will be changing the design of a few elements, to improve on the joinery and longevity of the tables. The existing plywood shelves will be quarter-sawn, solid oak in the new tables, and the feet will be solid as well, not on-layed pieces, like the original. There will be seven tables total, five different sizes and 3 different heights. Most of them are detailed here: tables.pdf

I am starting with a pile of 12/4 (3″ thick) oak and a pile of 5/4 (1″ thick) quarter-sawn oak. I believe the legs and columns will be the most difficult to reproduce so I am starting with them first. I spent about a week experimenting with methods to reproduce the shape of the columns. The 1/4″ radius flared out at the top and bottom were not easy to reproduce.

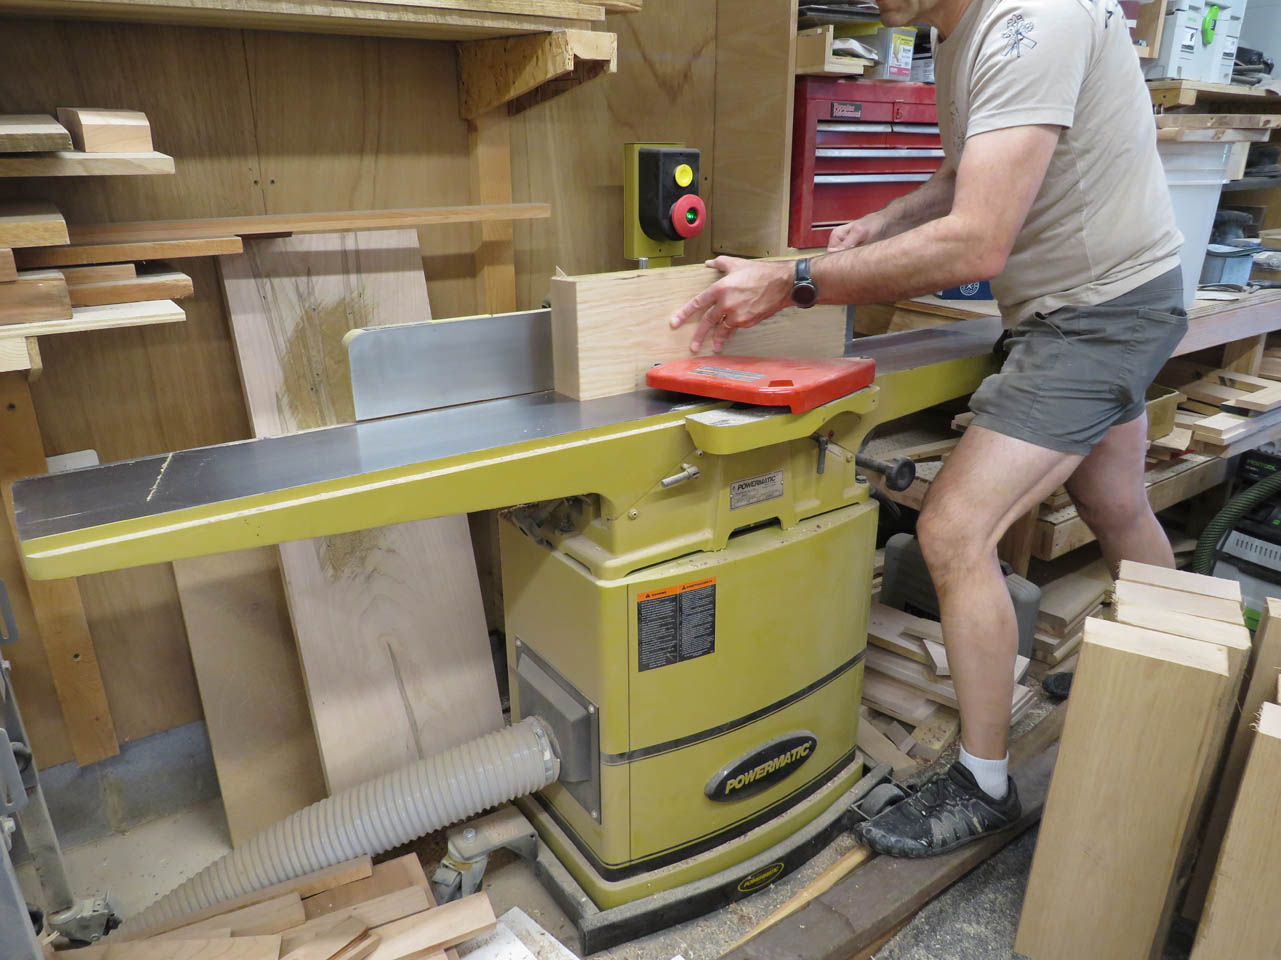
This is the method I finally settled on. First, I planed, jointed, and cut some of my 3″ stock down to 2-1/4″ square blanks.

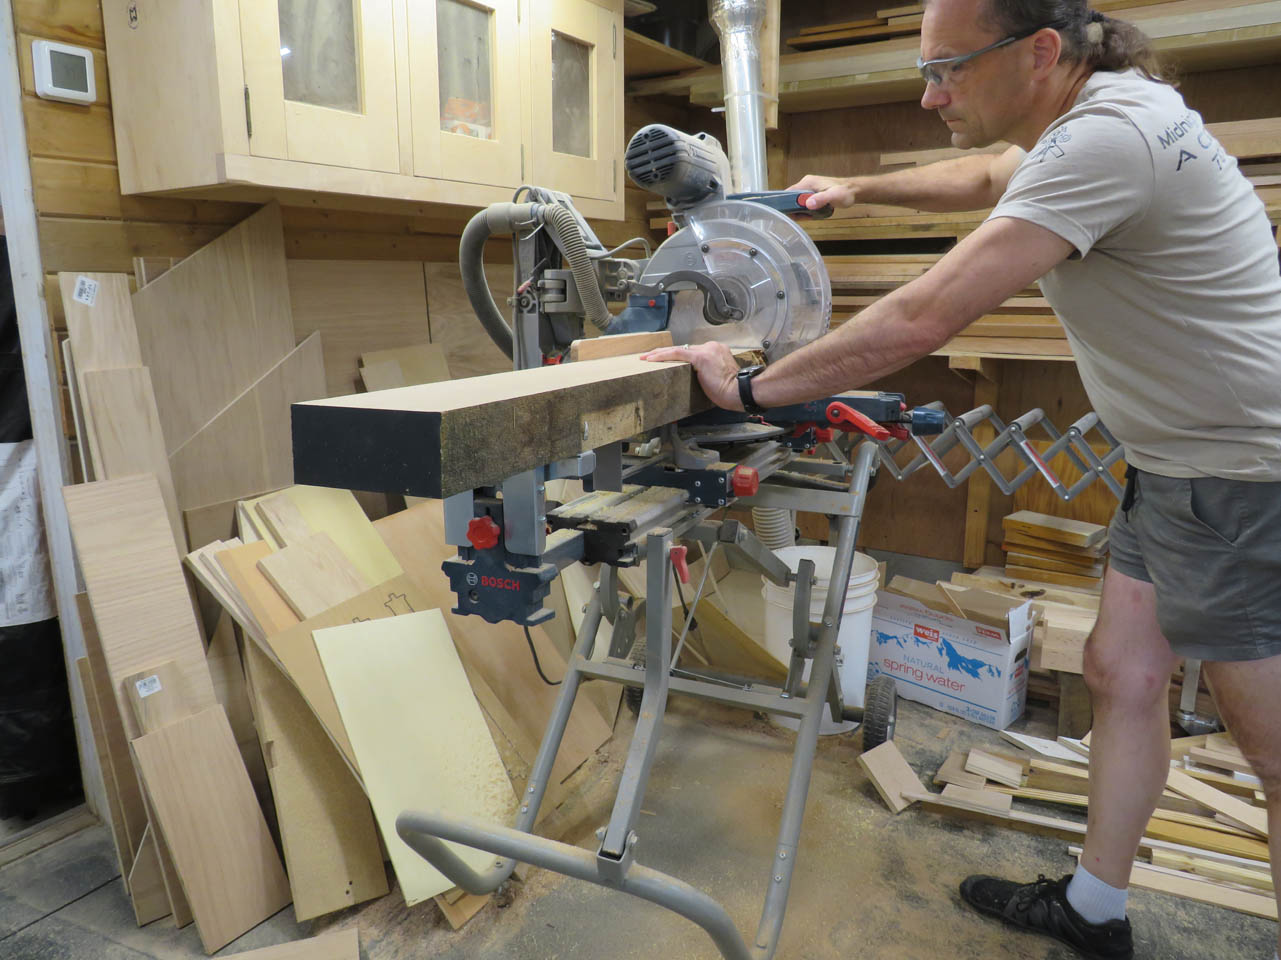
Then I used my cross-cut sled to cut the columns to length. Actually, I cut them 1″ longer than the column height to create an additional tenon on each end later.


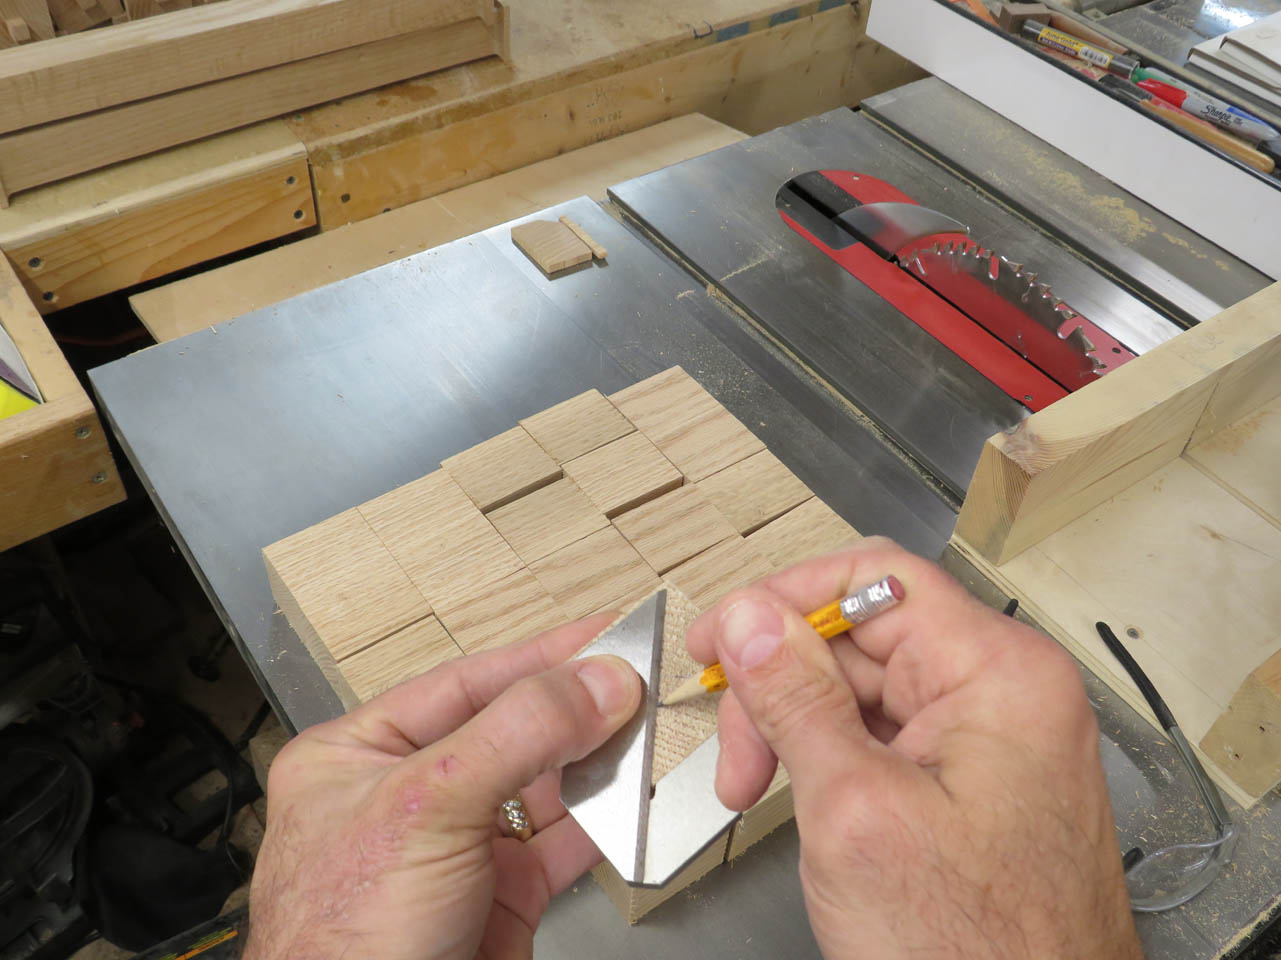
Next I used a bowl & tray router bit to cut the 1/4″ radius around the top and bottom of the columns. To do this, I spent some time creating a special jig for this operation.


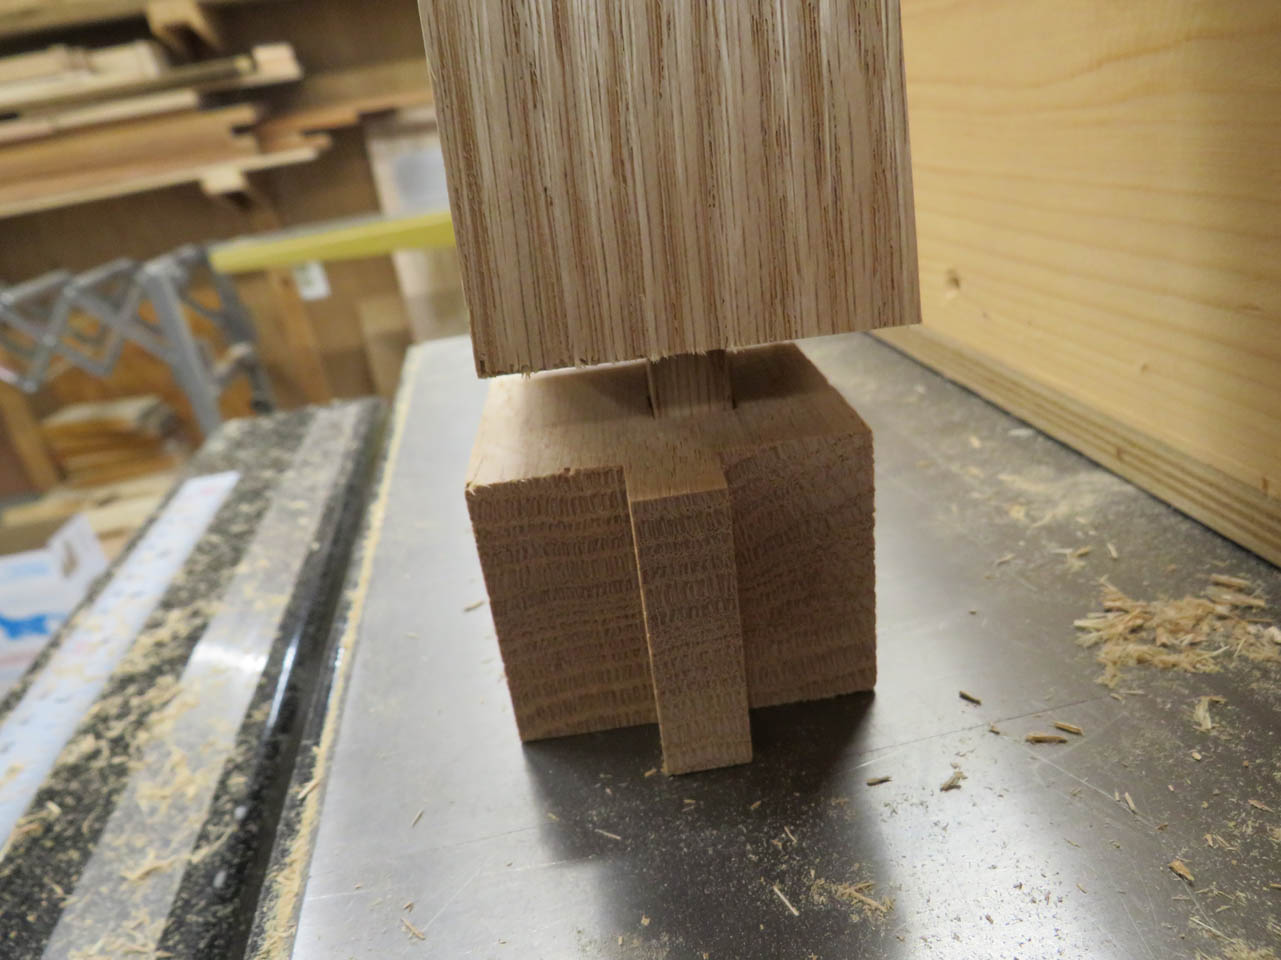
The jig allows me to cut a 1/4″ deep dado across the top or bottom of the blank.

This dado has two purposes, the first is to create the radius. I rotate the blank and repeat the cut on all four sides.
Then flip the blank over and repeat.

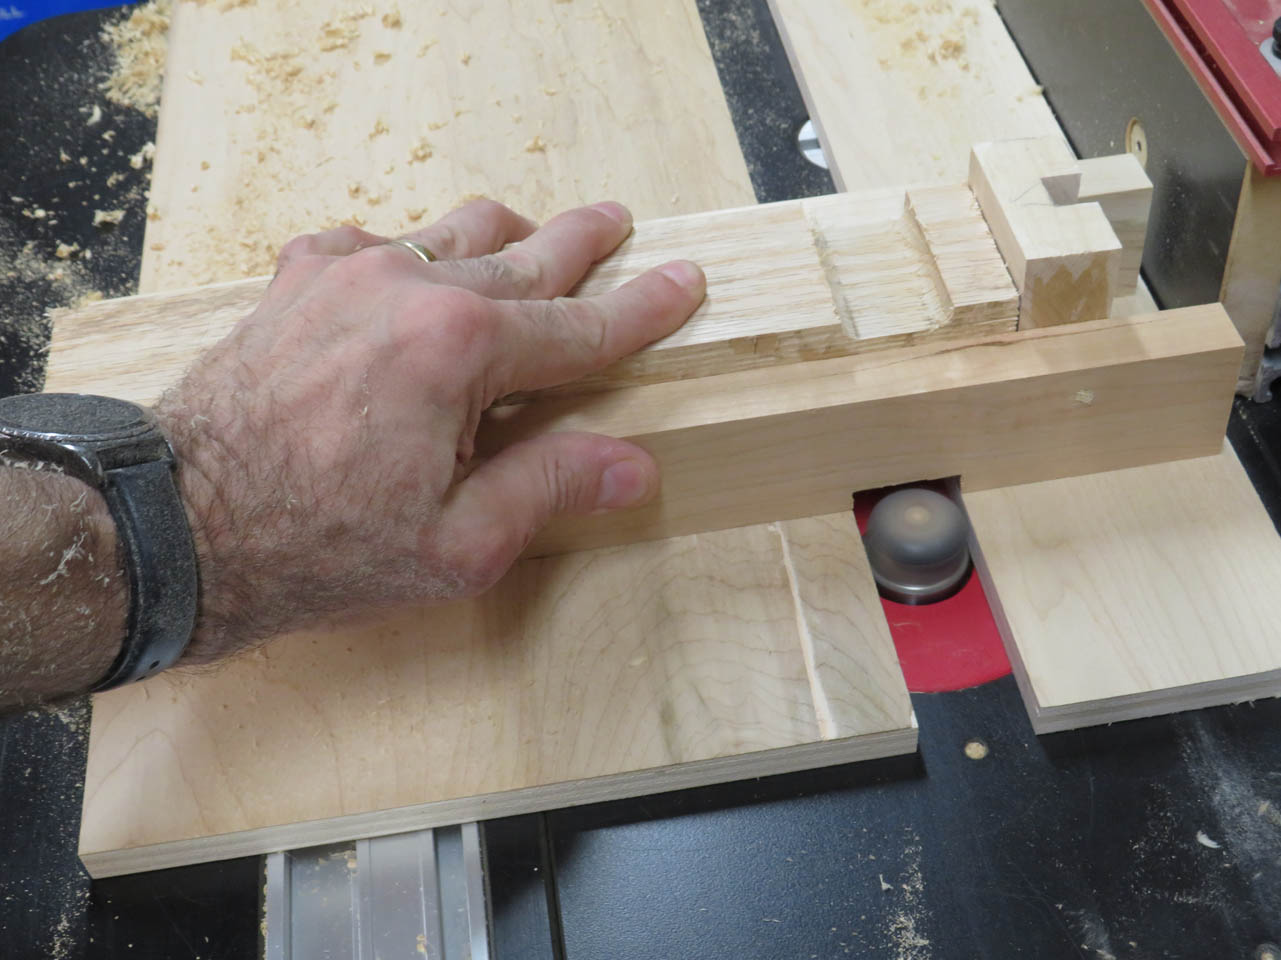
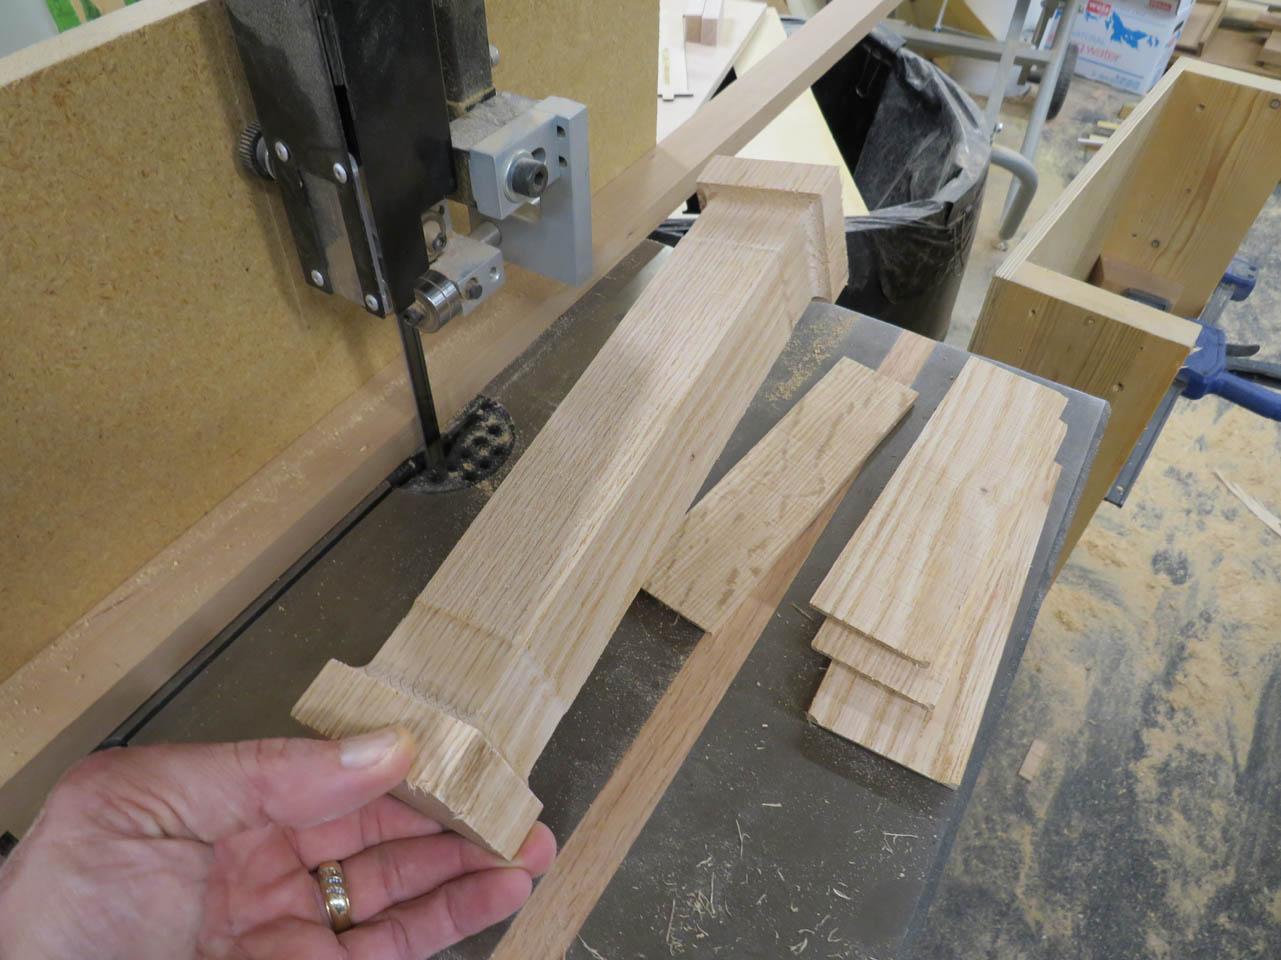
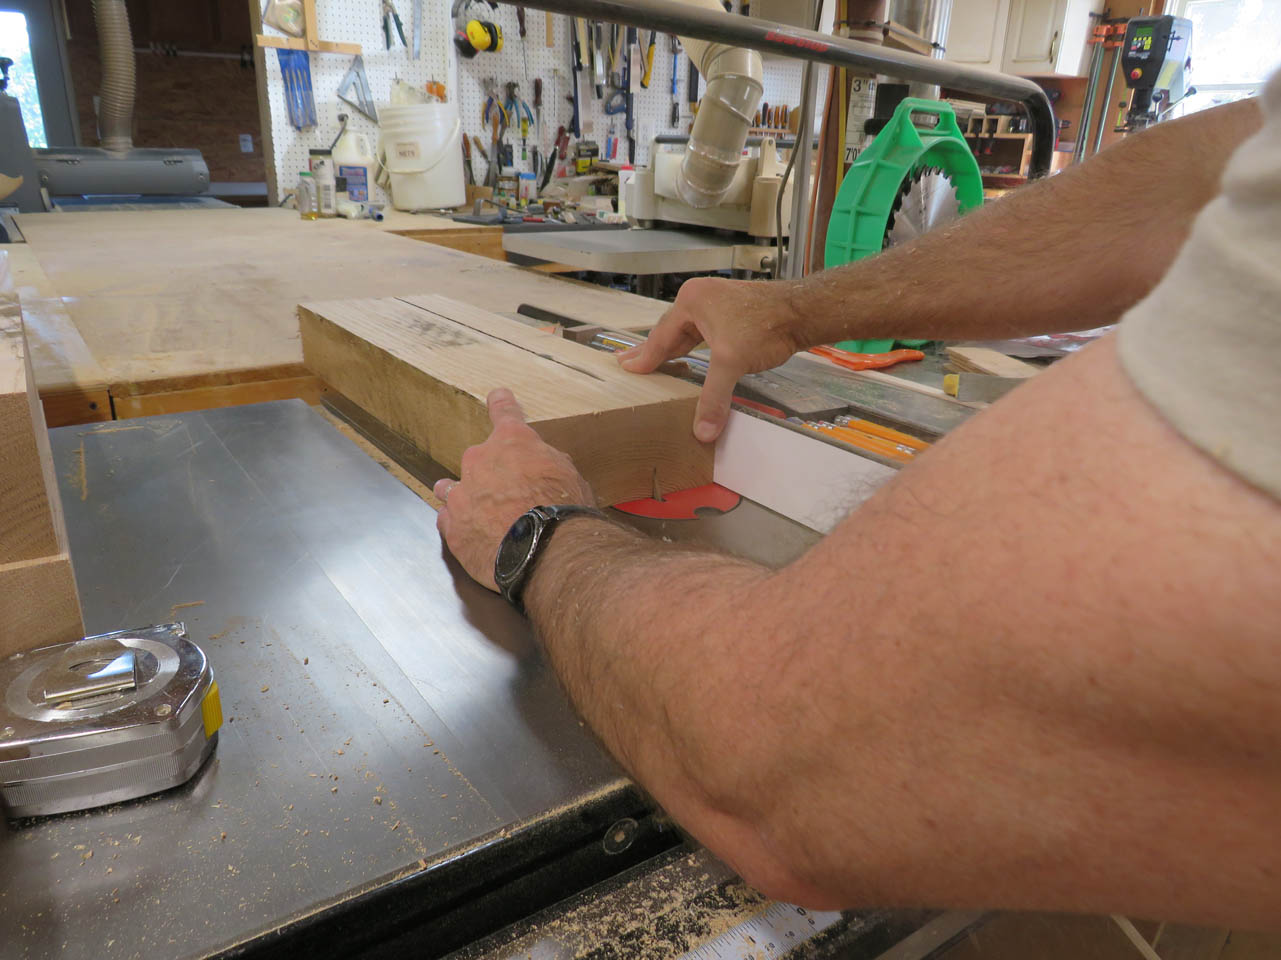
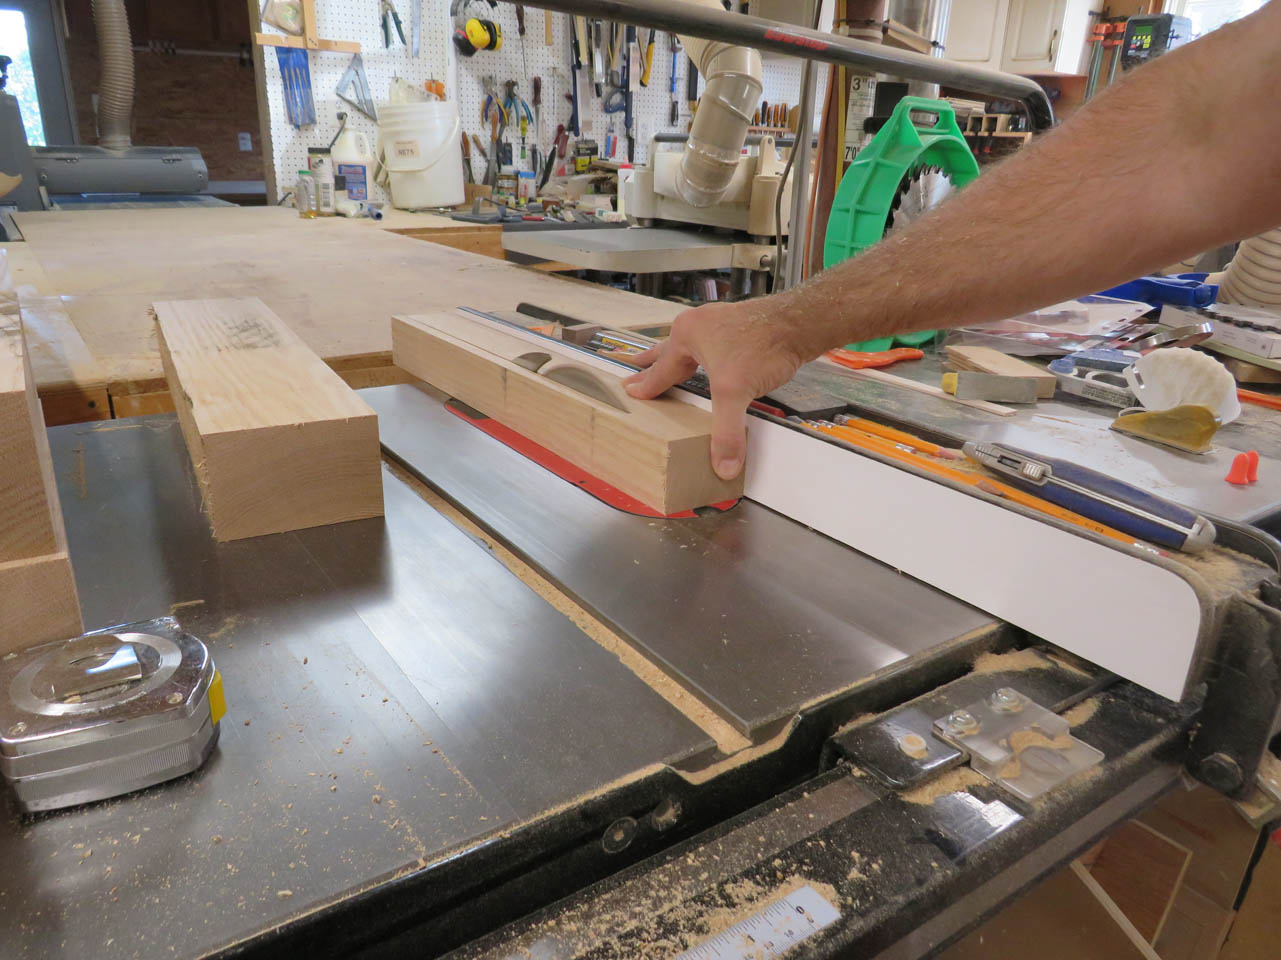
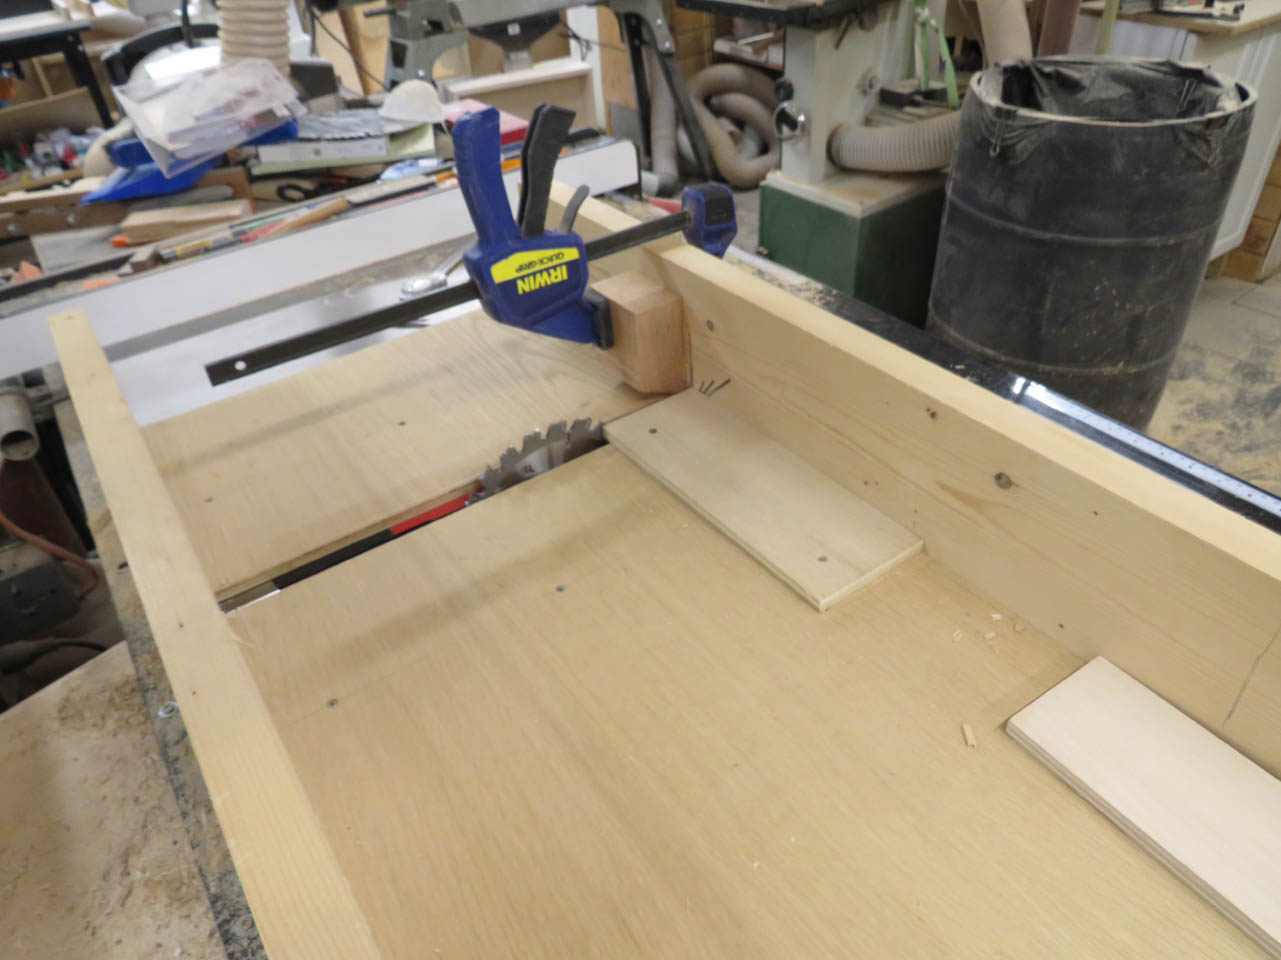
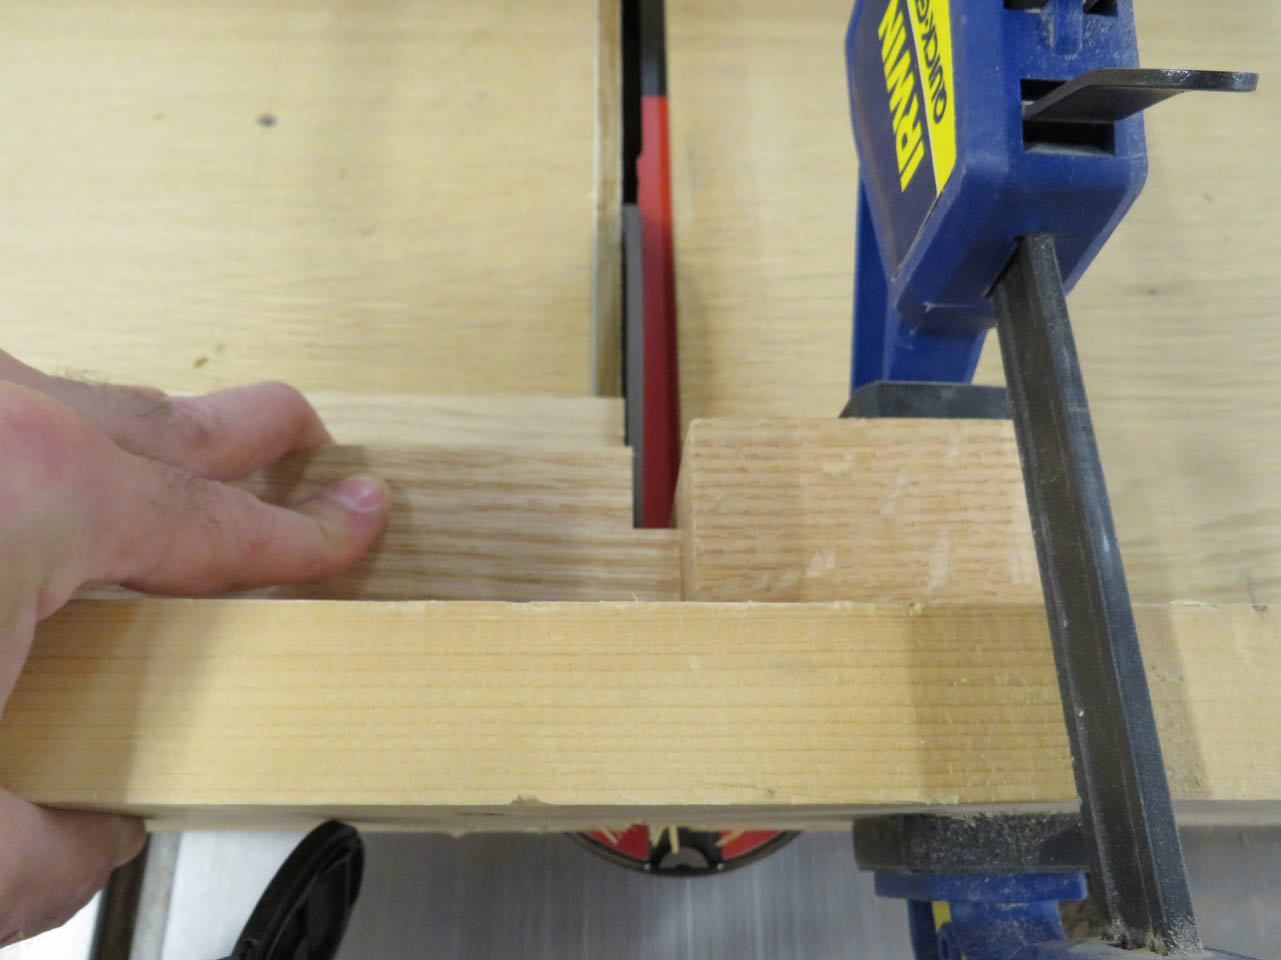
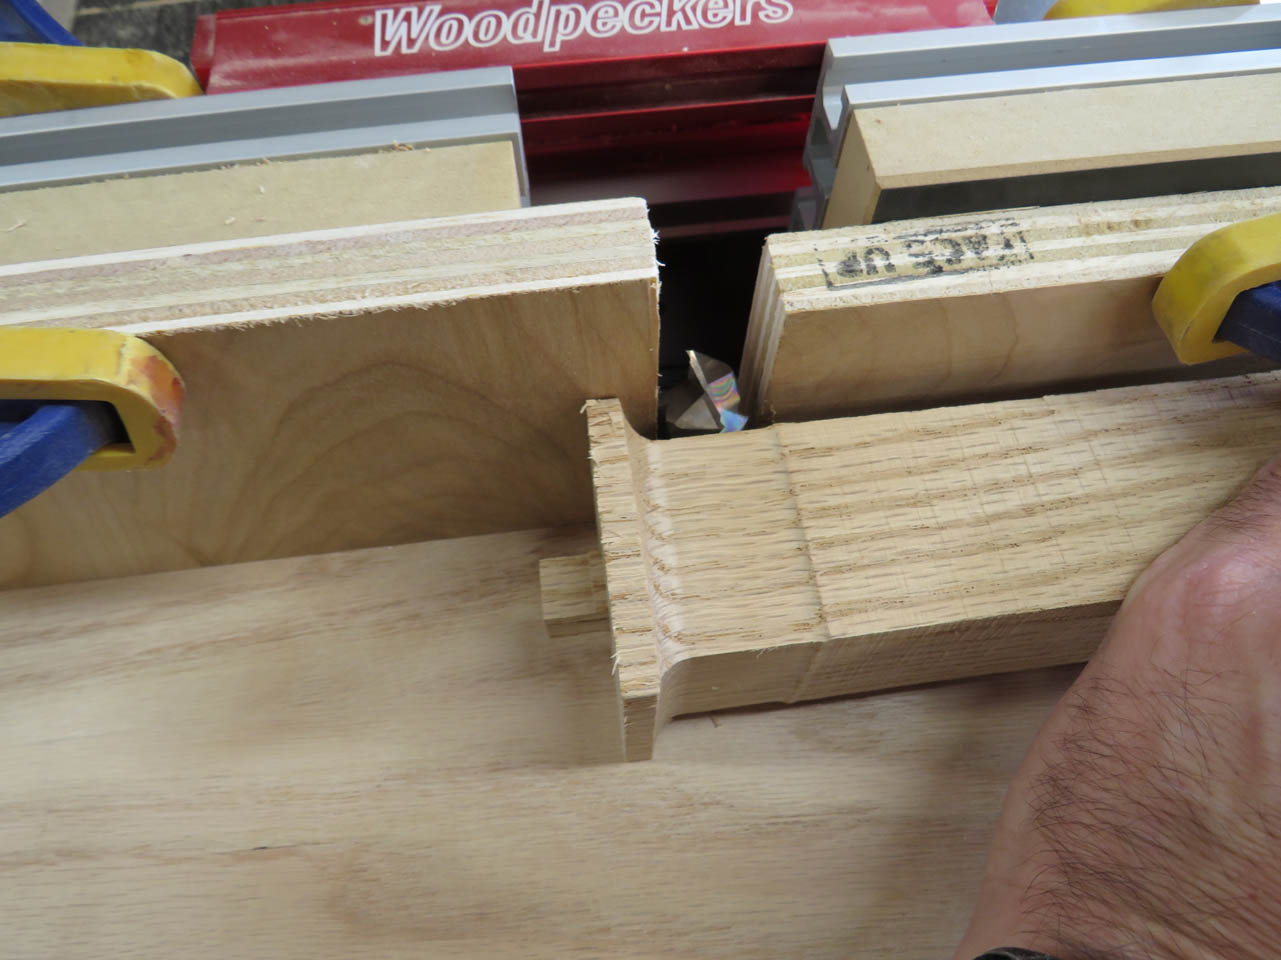
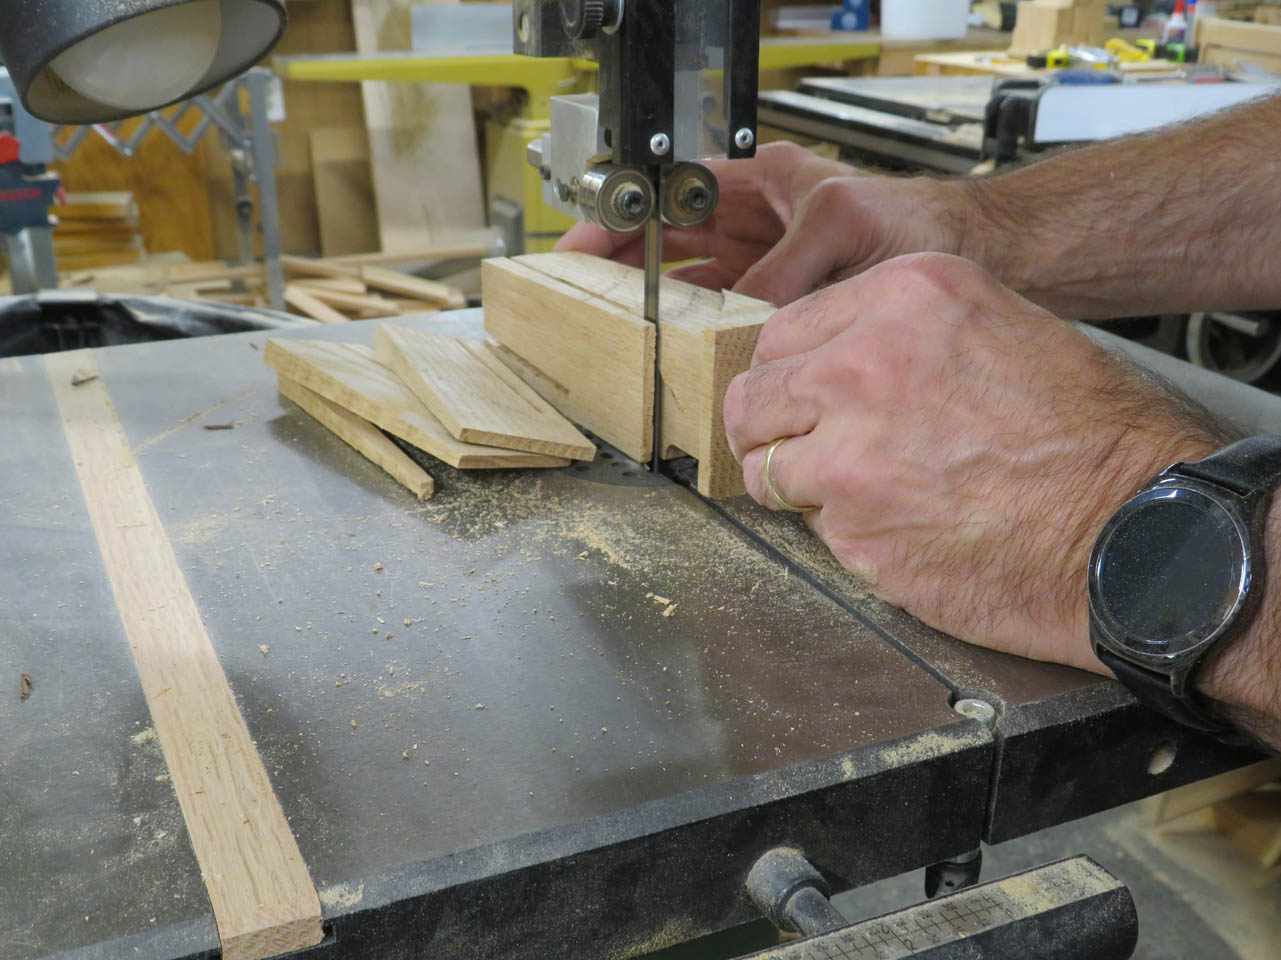
To cut away the majority of the waste in the middle, I set up a 1/2″ re-saw blade in my bandsaw, then added a small strip of wood to the fence.
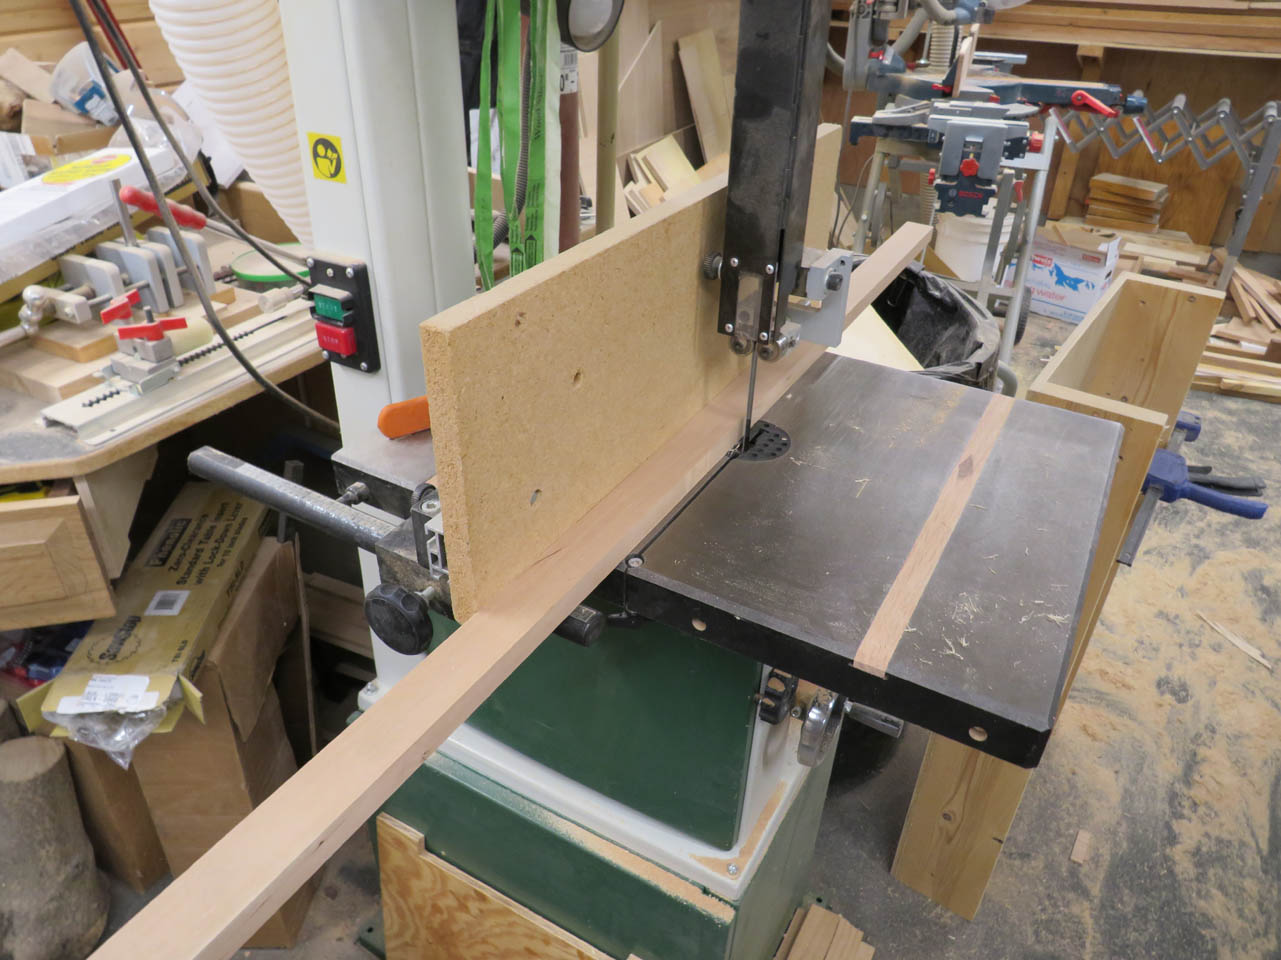
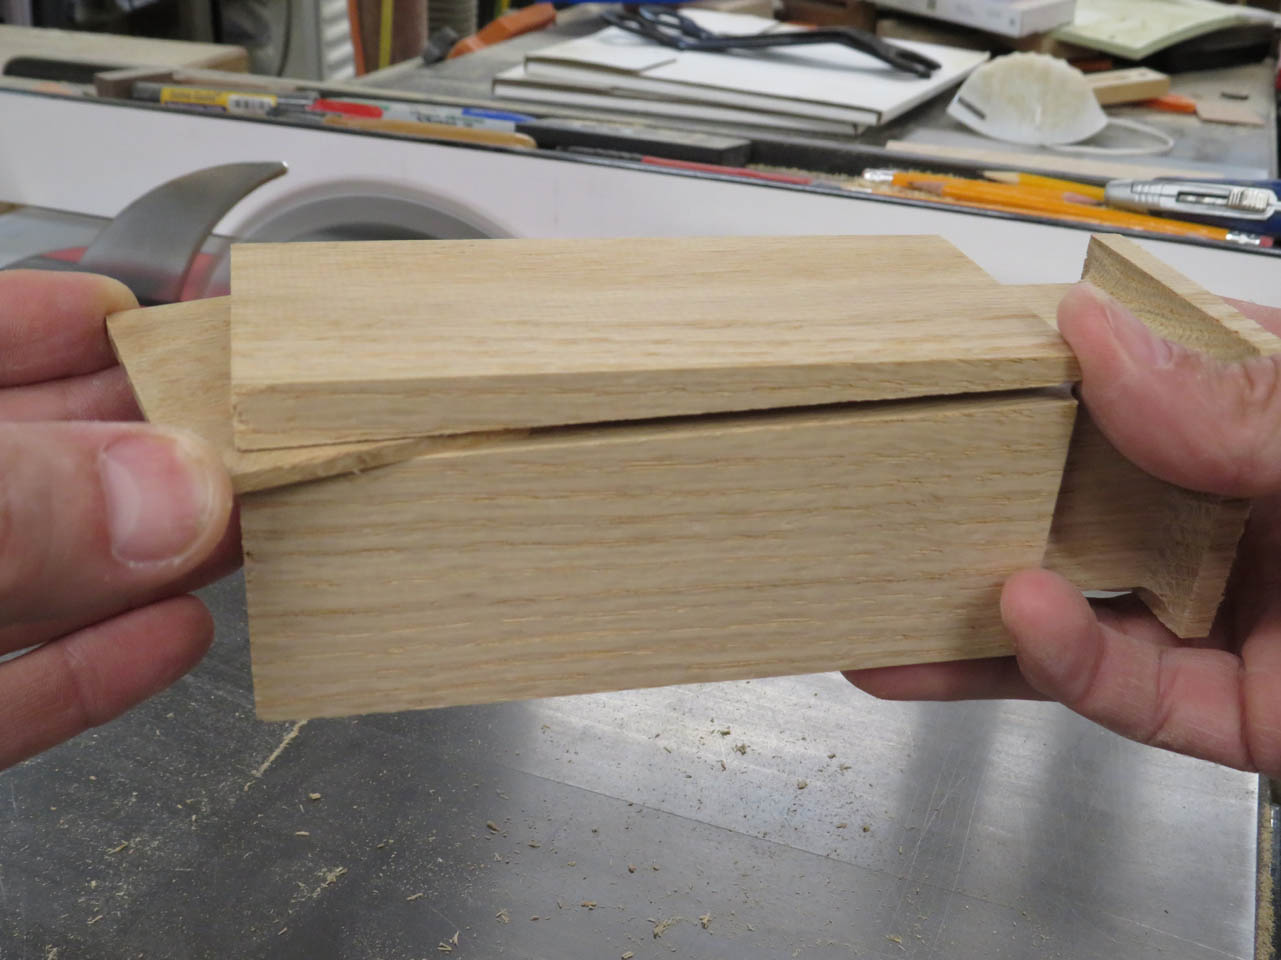
The second reason for the dado is now apparent. I can set the blank against the fence, placing the blade in the dado, then cutting most of the waste off easily.
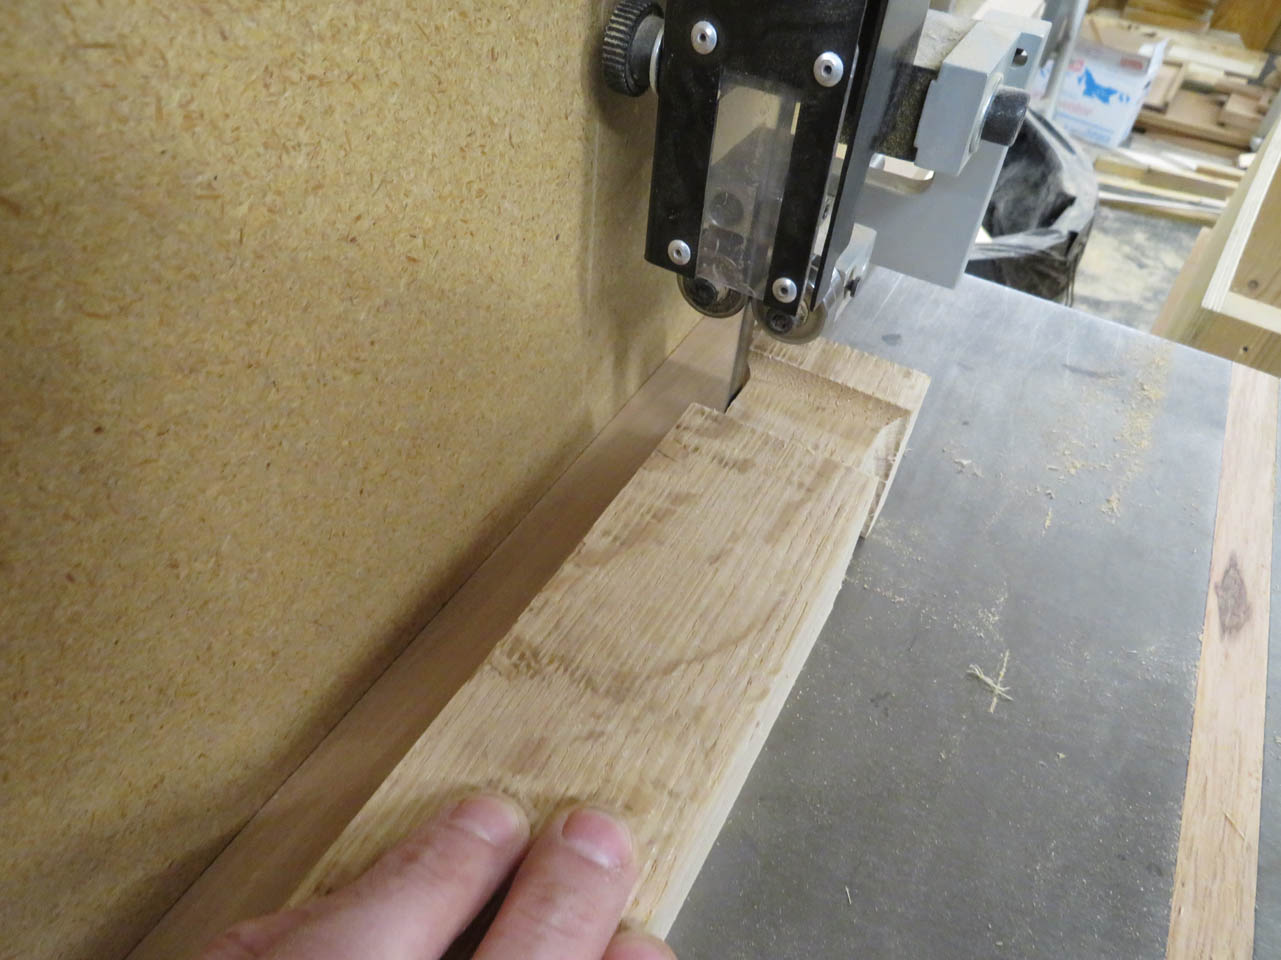
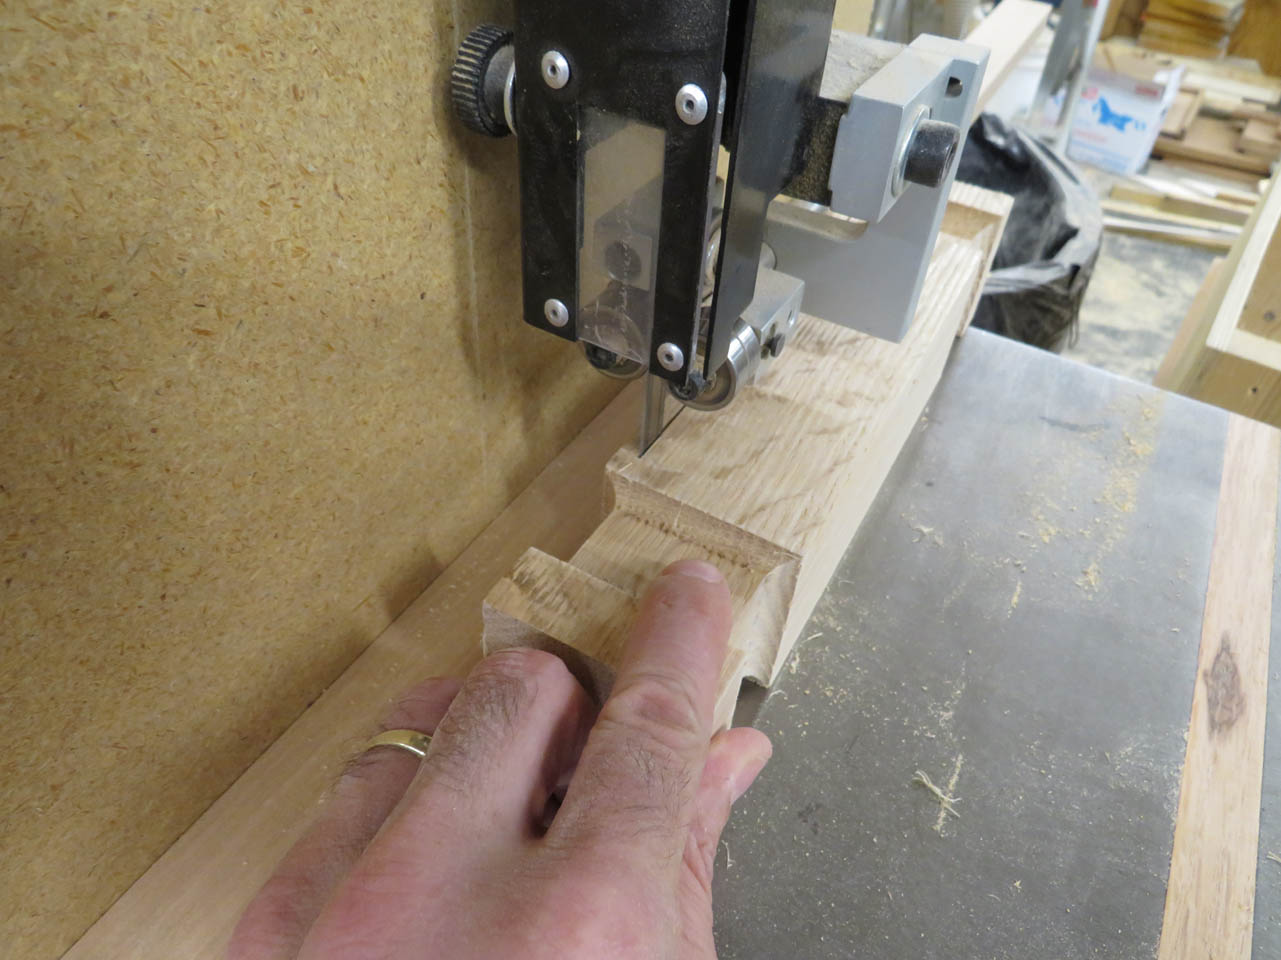
I left about 1/32″ of material to be removed after cutting each side. The rest can be cleaned up on the router table later when I finish cutting all the legs and columns on the other 55 blanks…
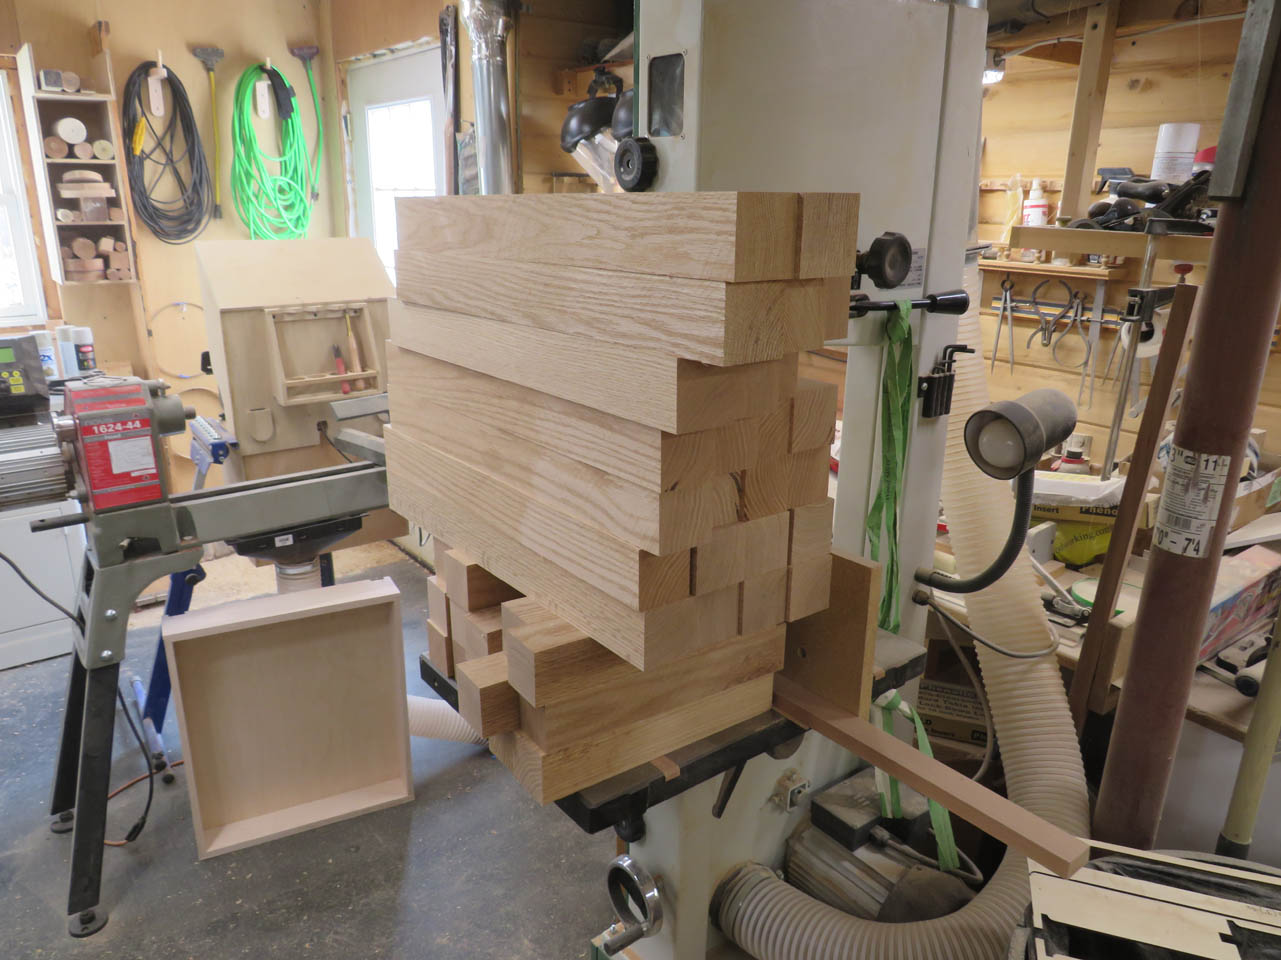
That was just the first of many so now I have to batch out all the rest of the blanks while my saw, router table, and band saw are set up for the current operations.
A lot of repetition and a lot of saw dust was created…
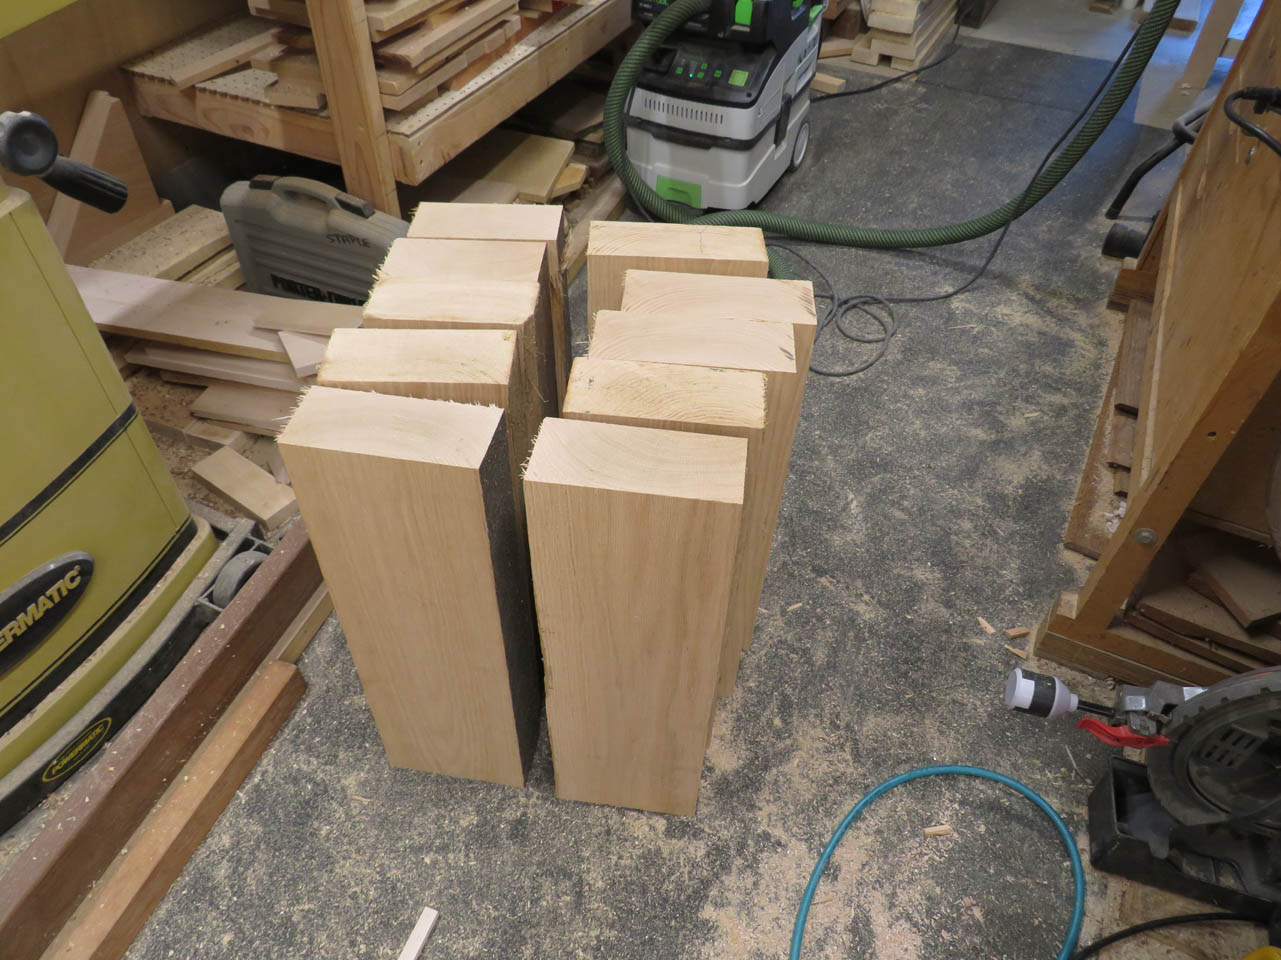
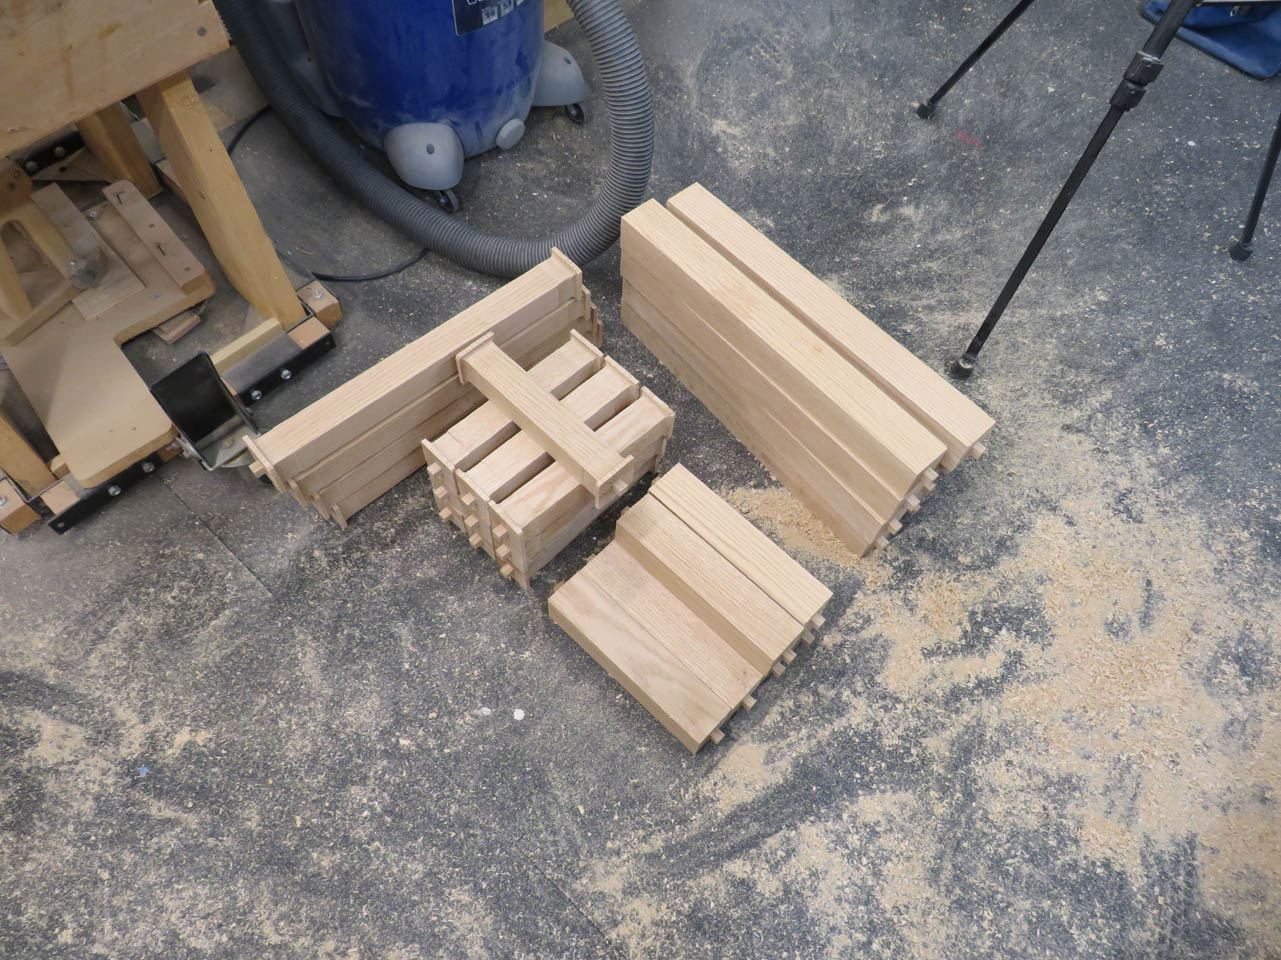
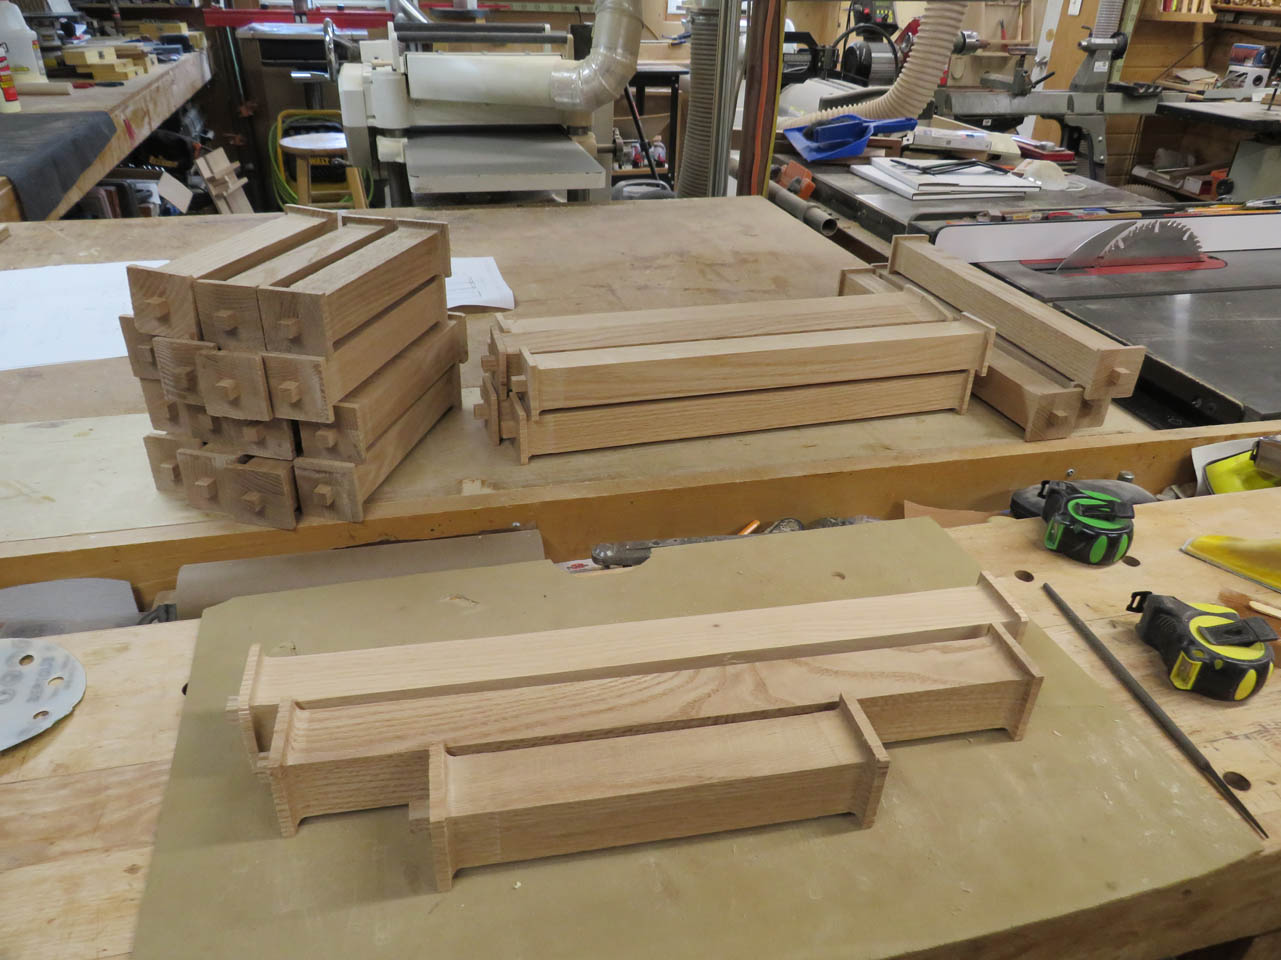
Now I have a lot of column and leg blanks.
Just a note, make several spares while you have the tools set up. I found that things don’t always go as planned and some parts have to get remade…
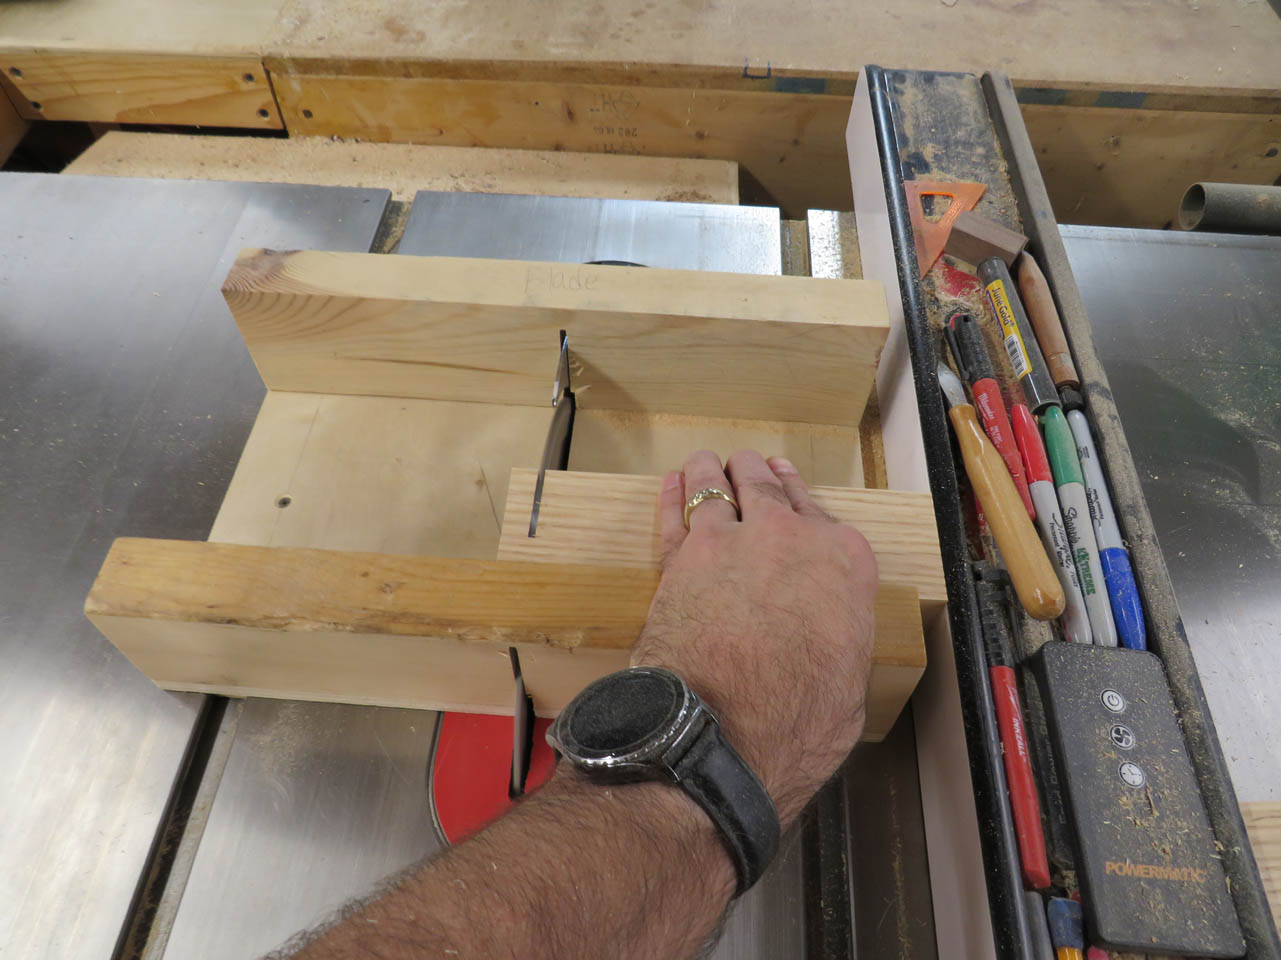
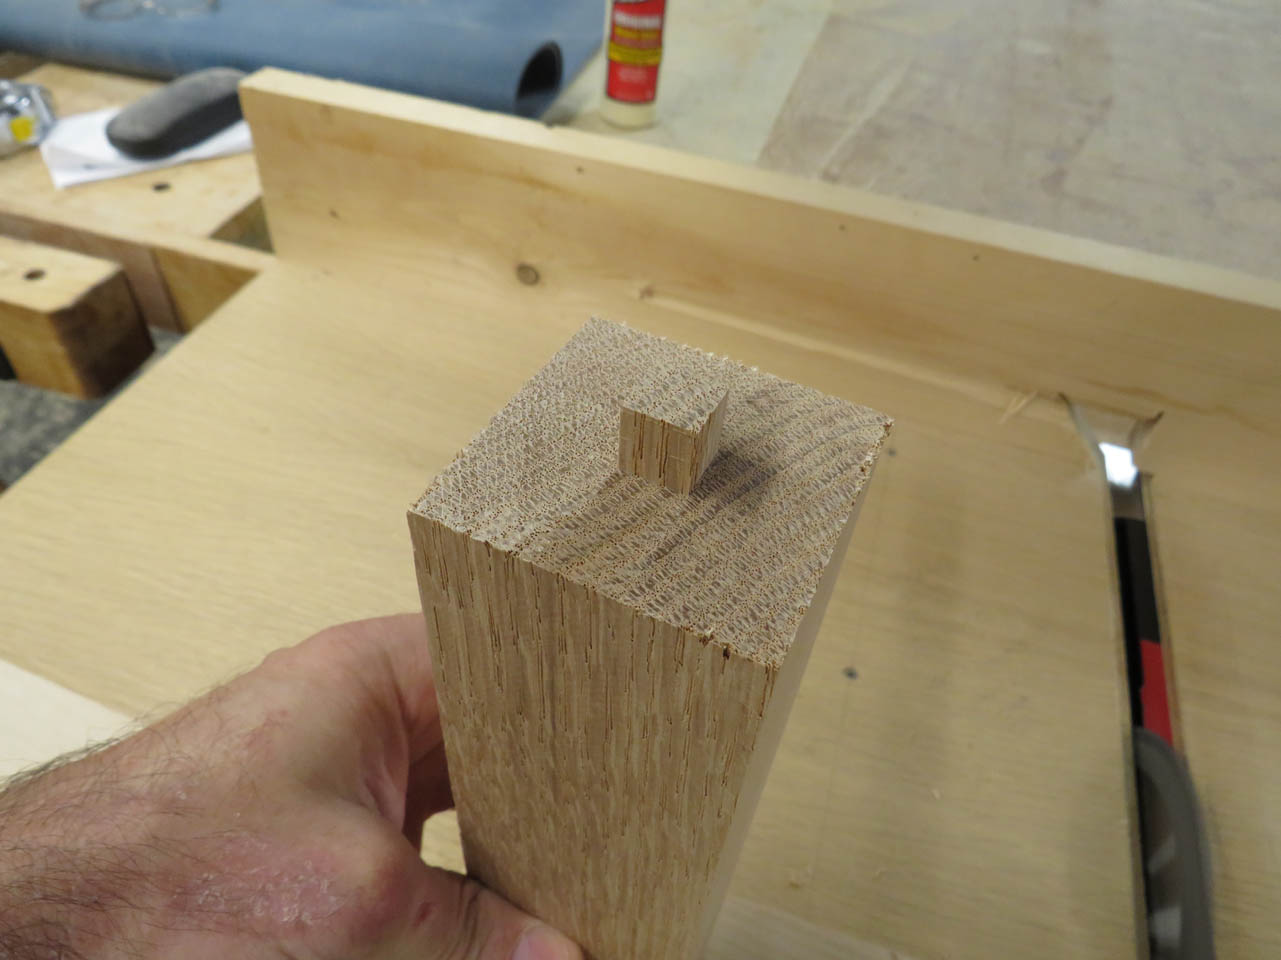
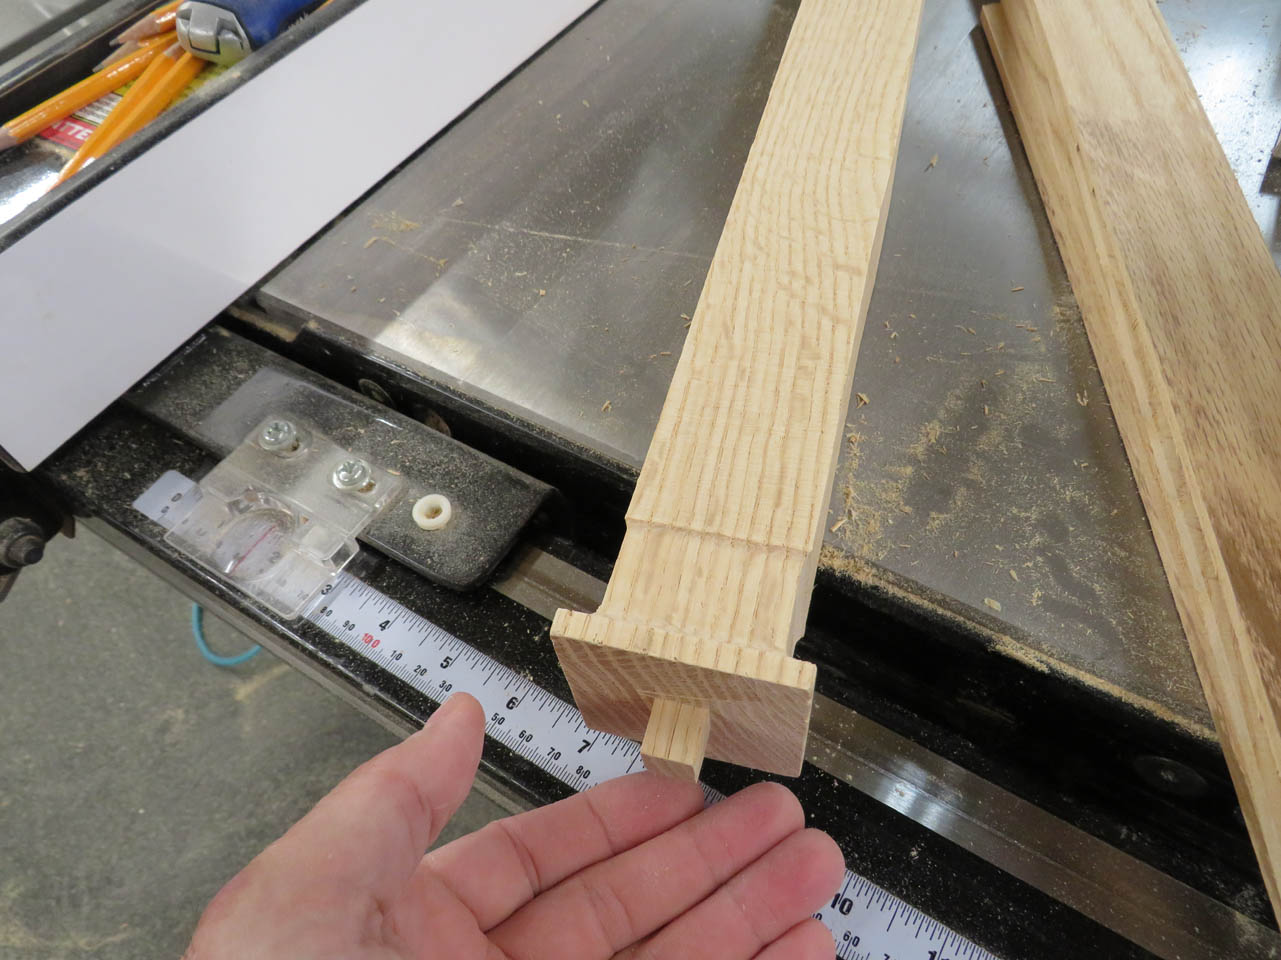
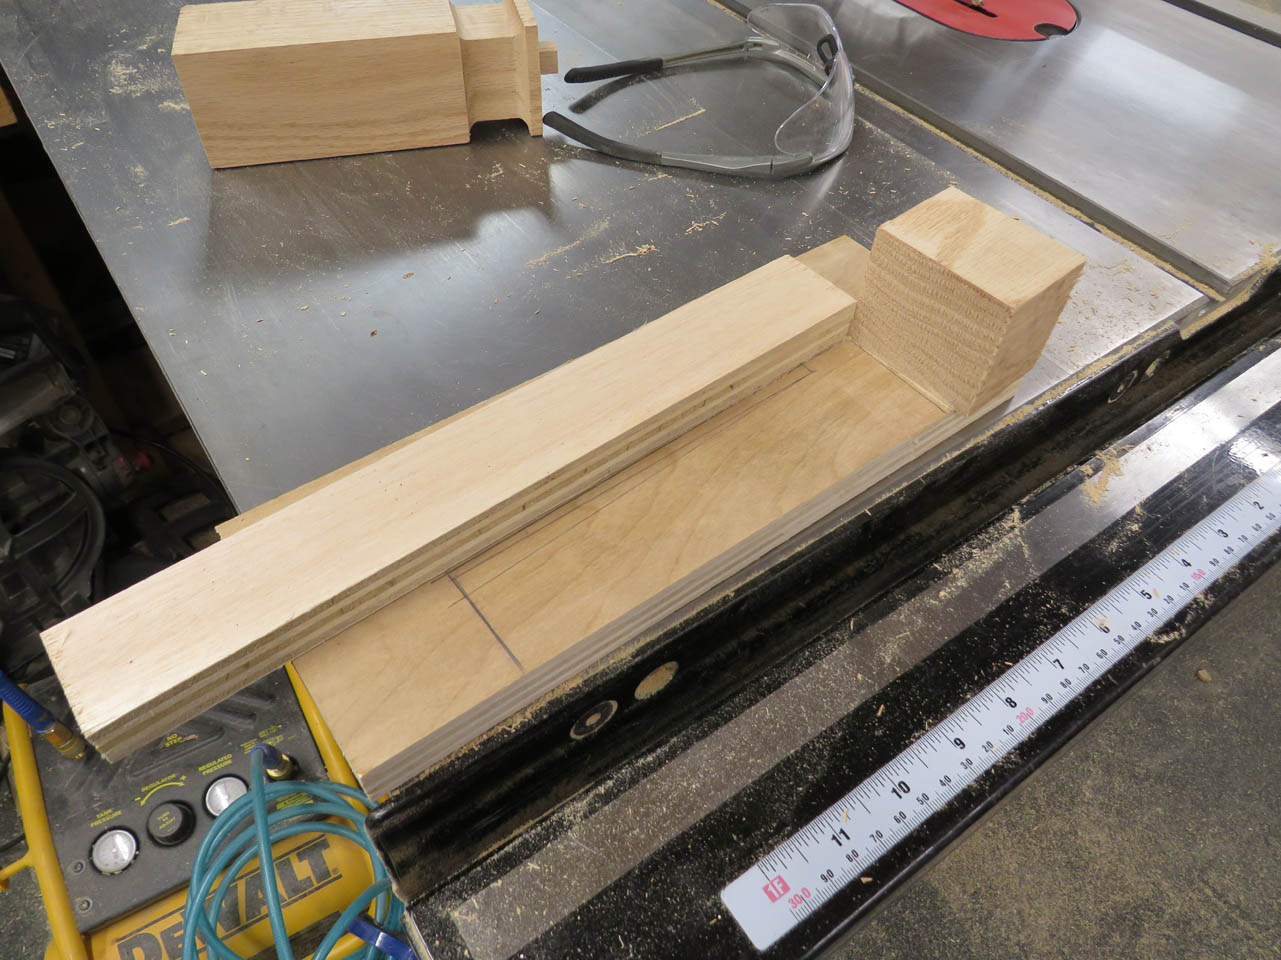
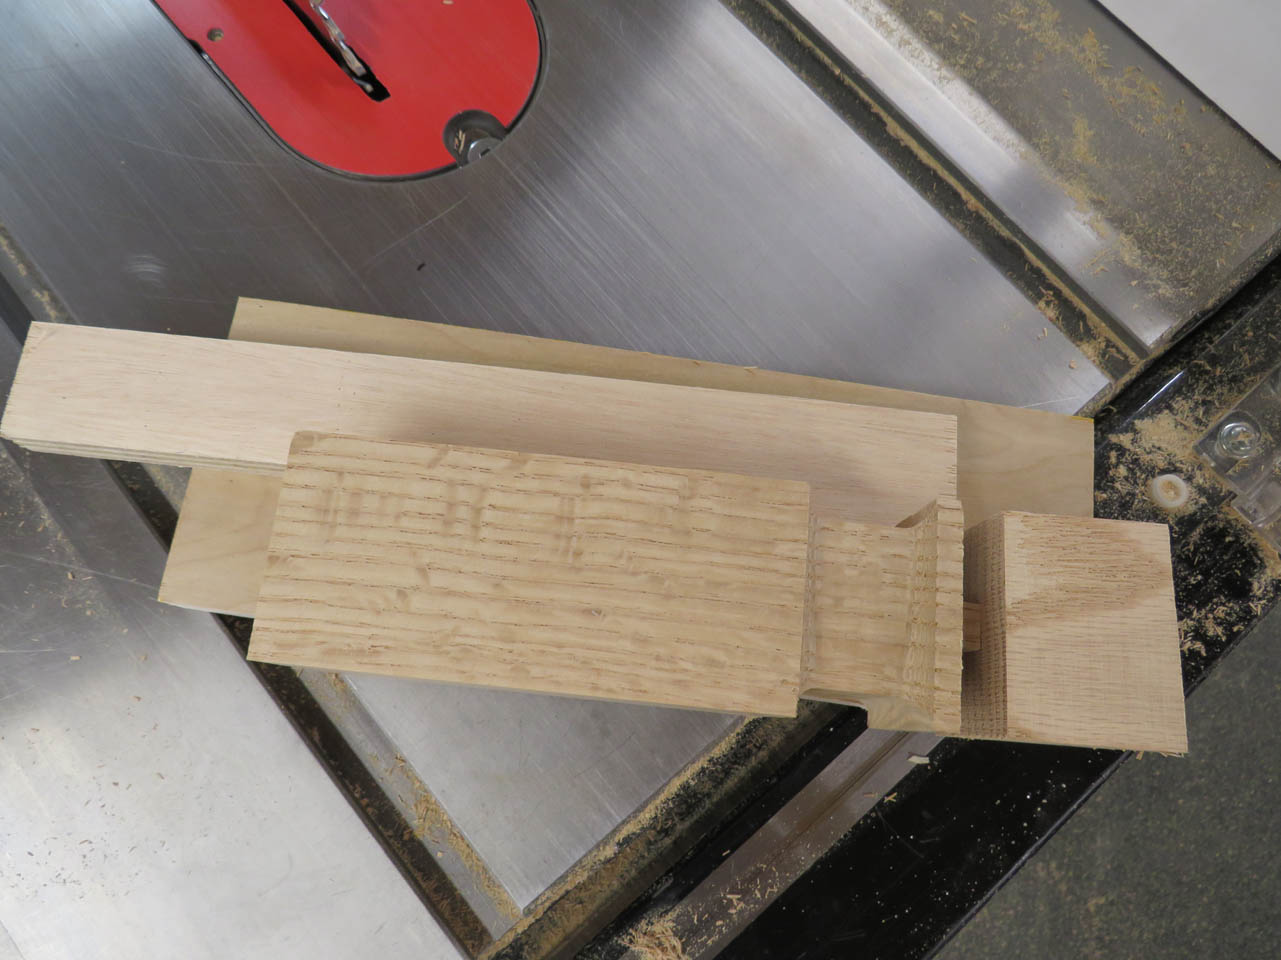
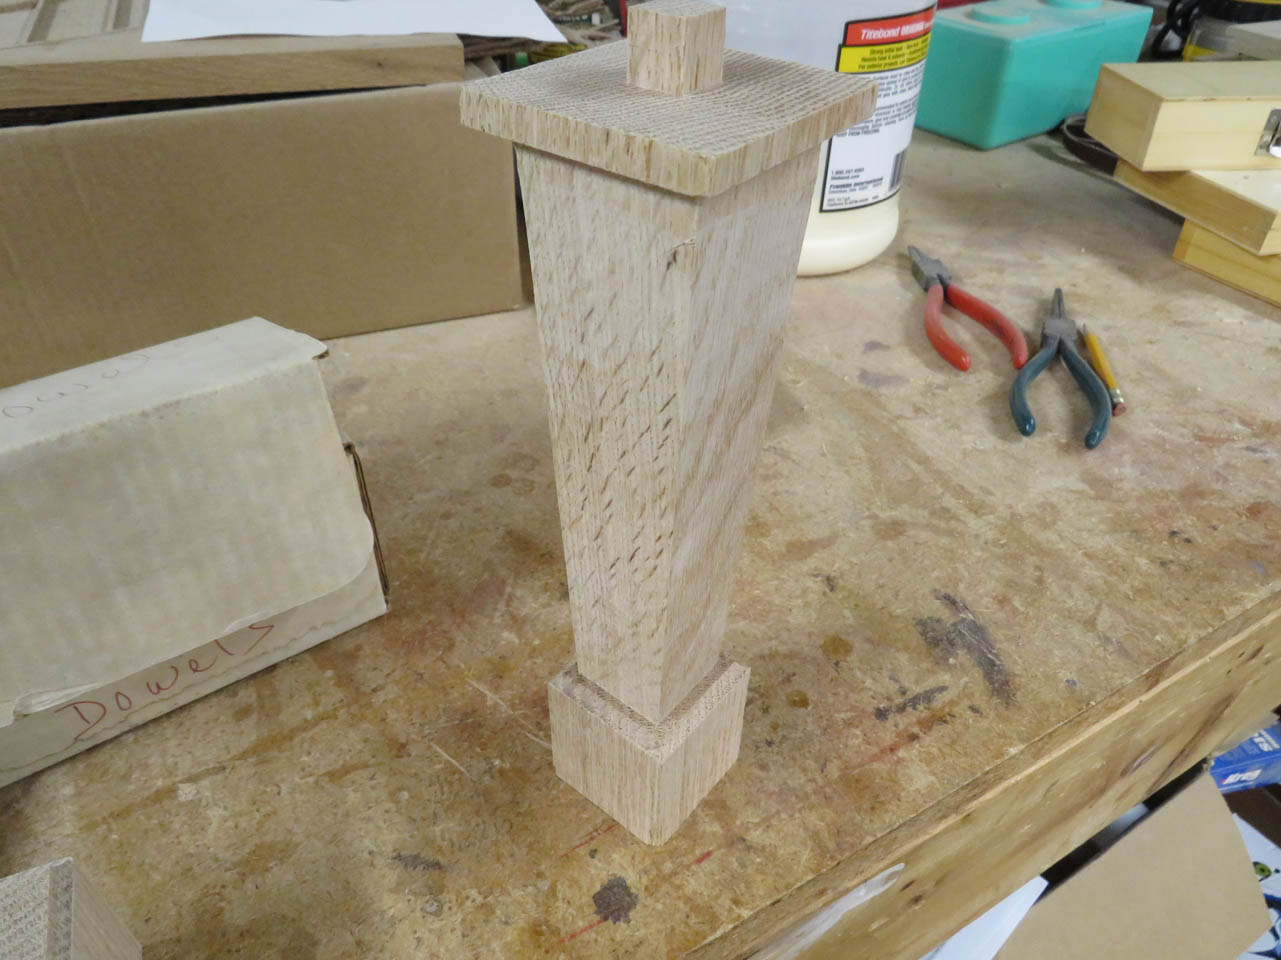
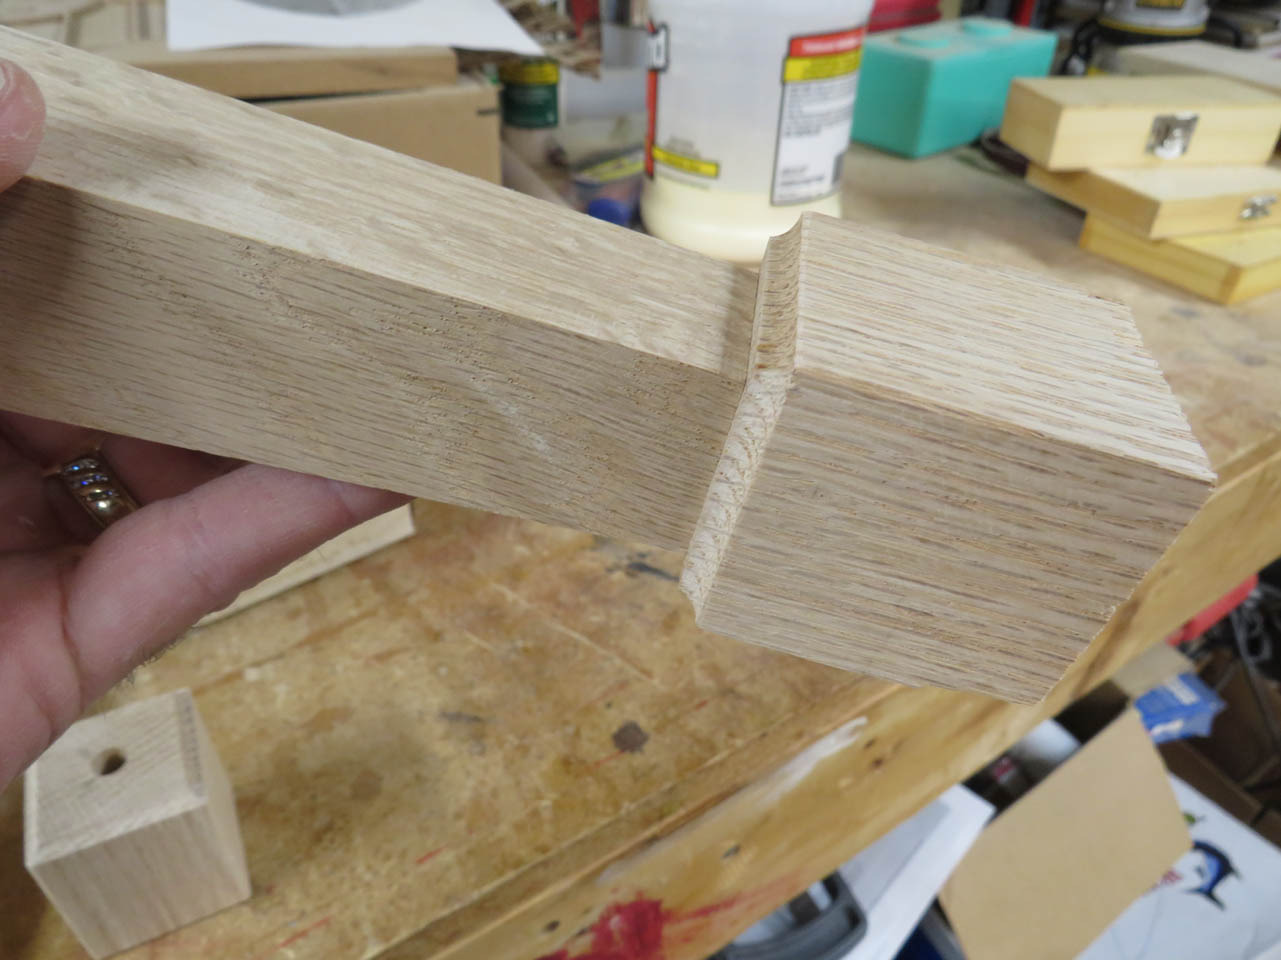
To help greatly with assembly and alignment, I decided to cut a small 1/2″ x 1/2″ x 1/2″ tenon onto the end of each leg and column.
To do this, I installed my 1/4″ wide box-joint saw blade, in the table saw, and set up a stop block on my other cross-cut sled. After dialing in the exact depth to leave me with 1/2″ left in the middle, I rotated and cut the end of the blanks.

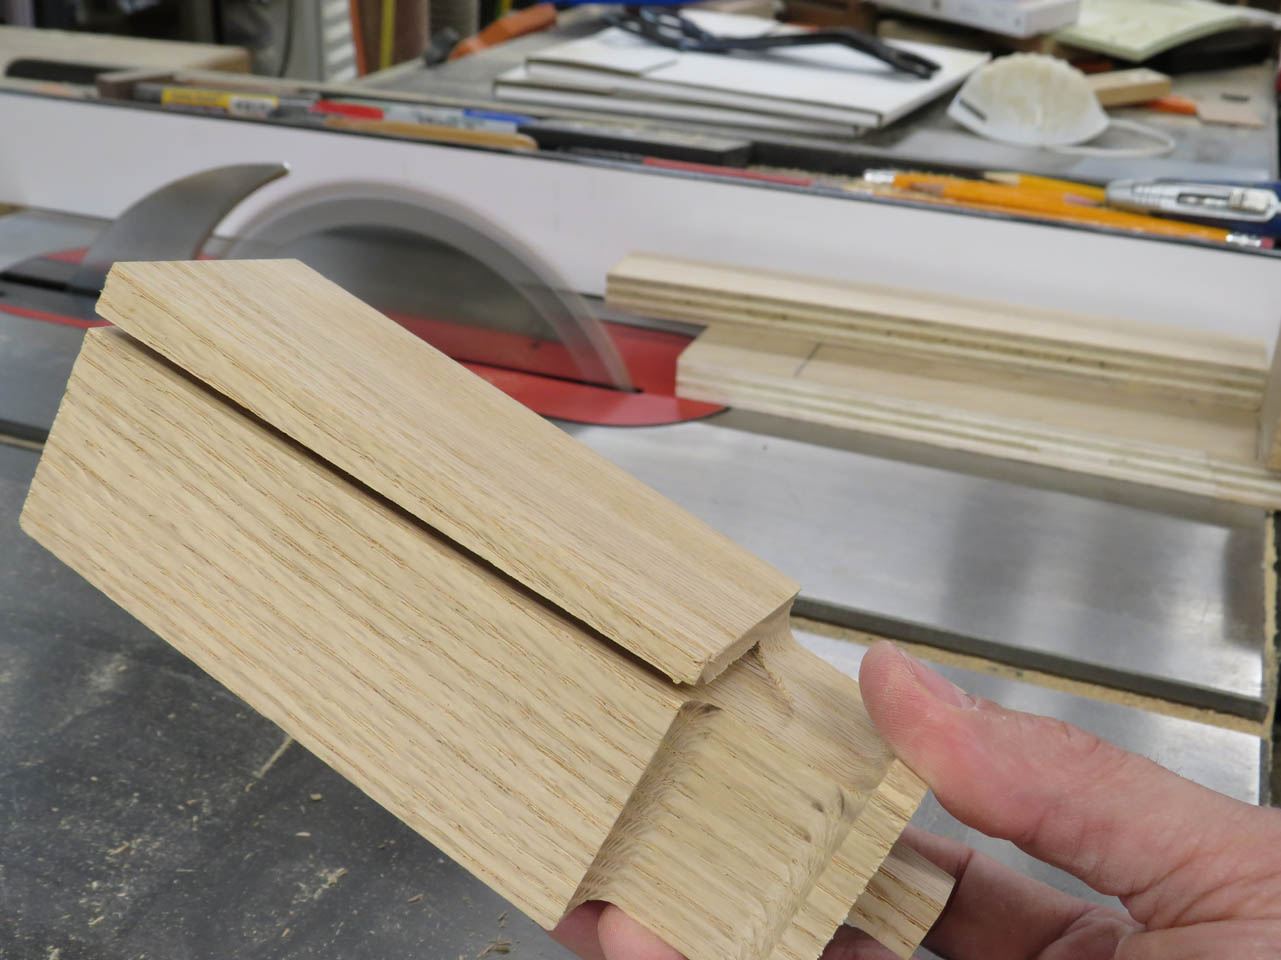
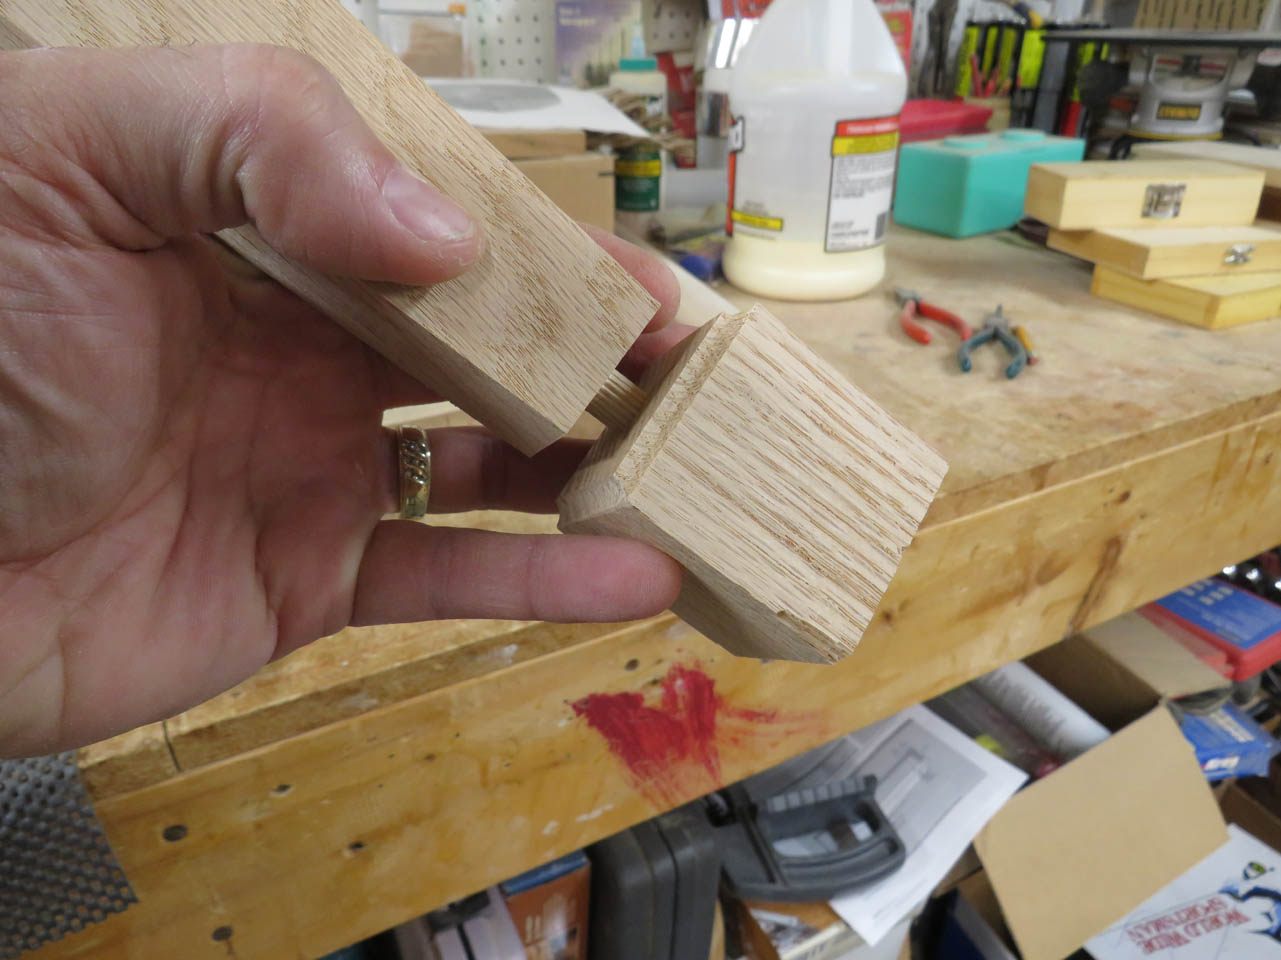
This left me with a perfectly square tenon with a flat shoulder.

My plan is to make up the panels for the tops and the shelves, then drill a square 1/2″ hole into each corner at my mortiser. I drilled out a sample mortise on a scrap to test the fit.
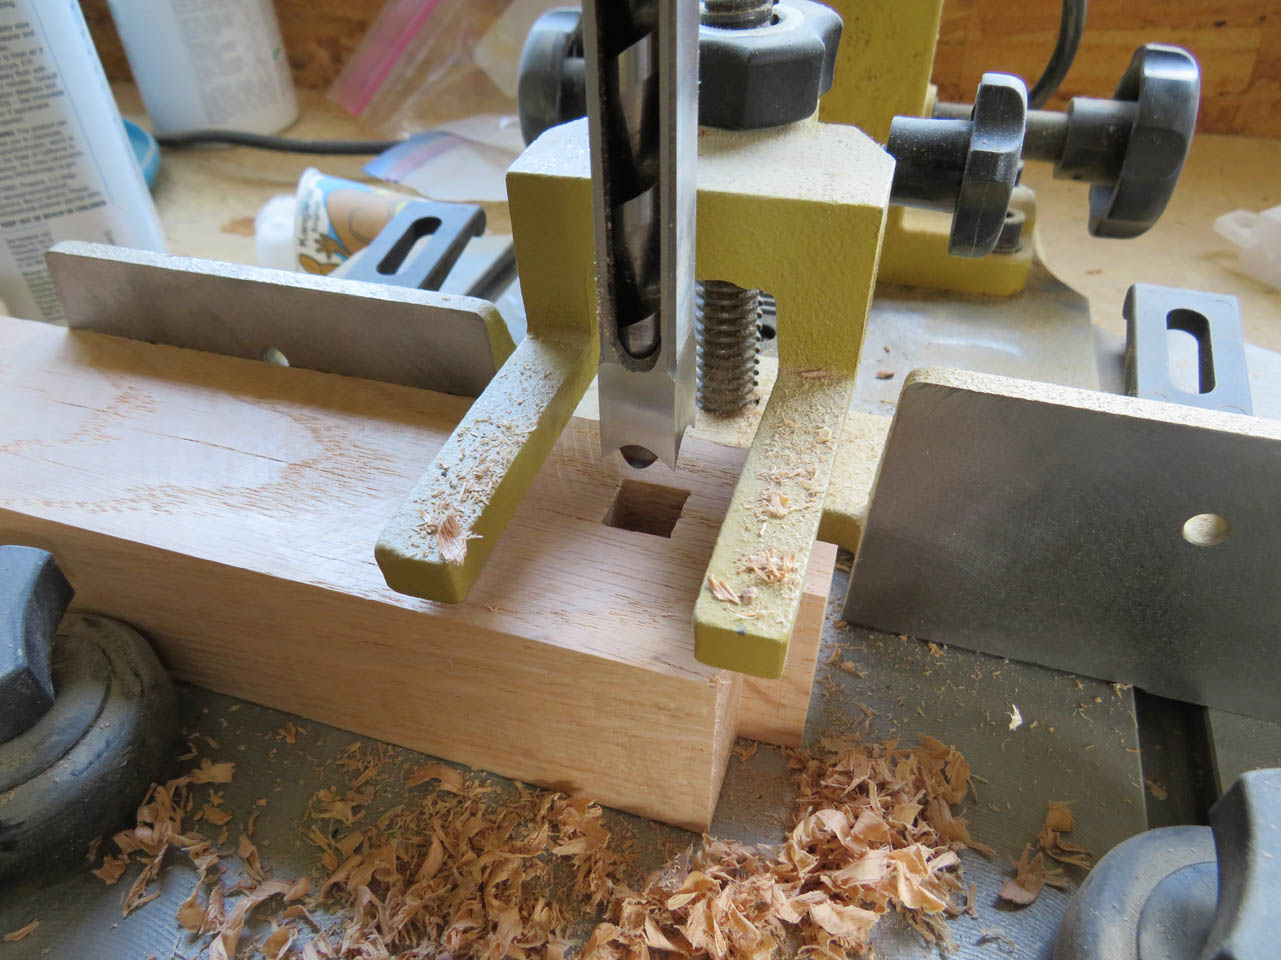
The square tenon presses perfectly into place, just loose enough to accept some glue.

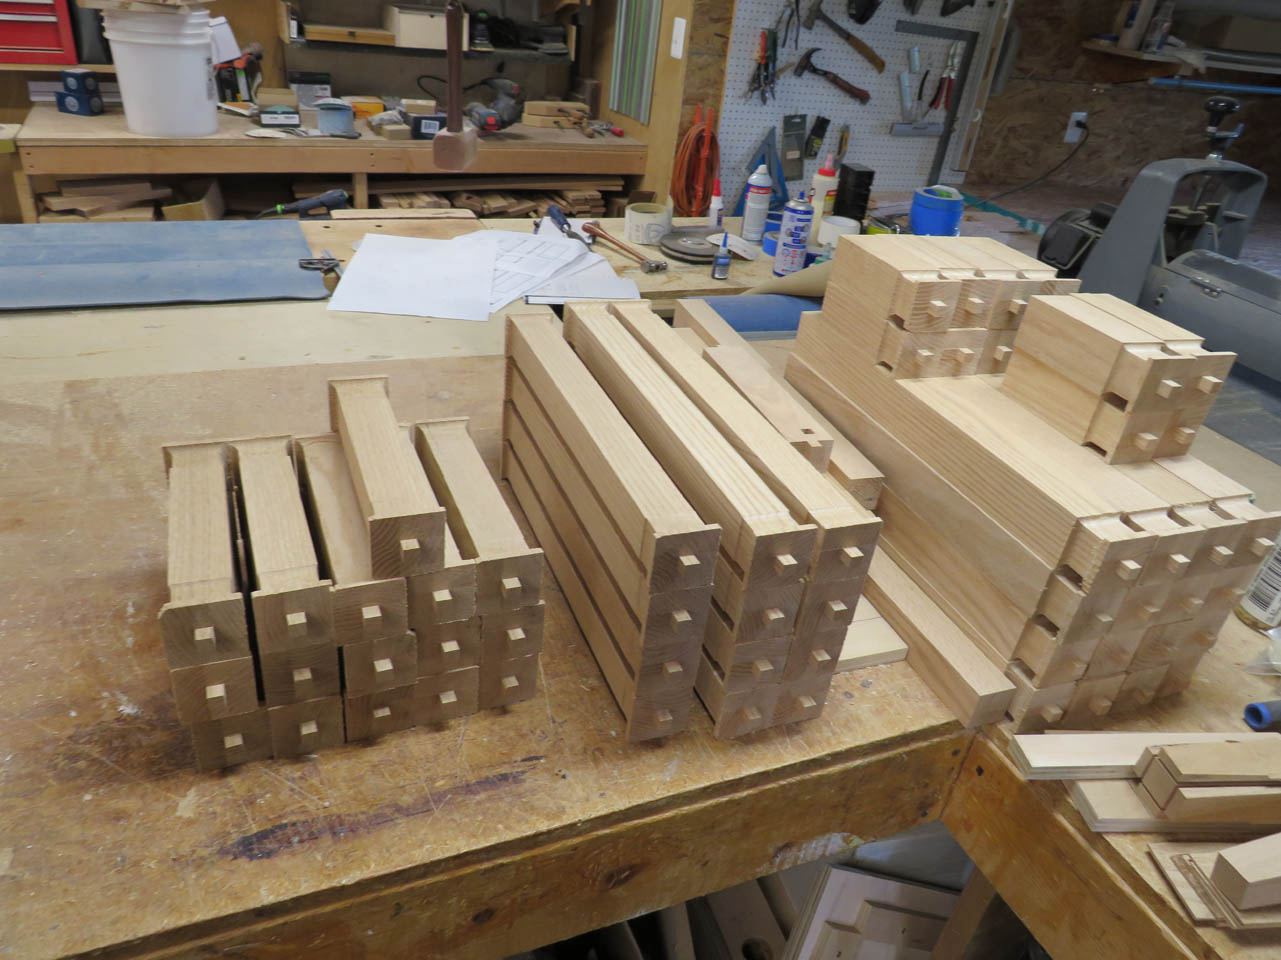
With that sorted and set up, I cut all the rest of the tenons.

Then it was back to the router table to cut the dados on all the rest of the legs and columns.


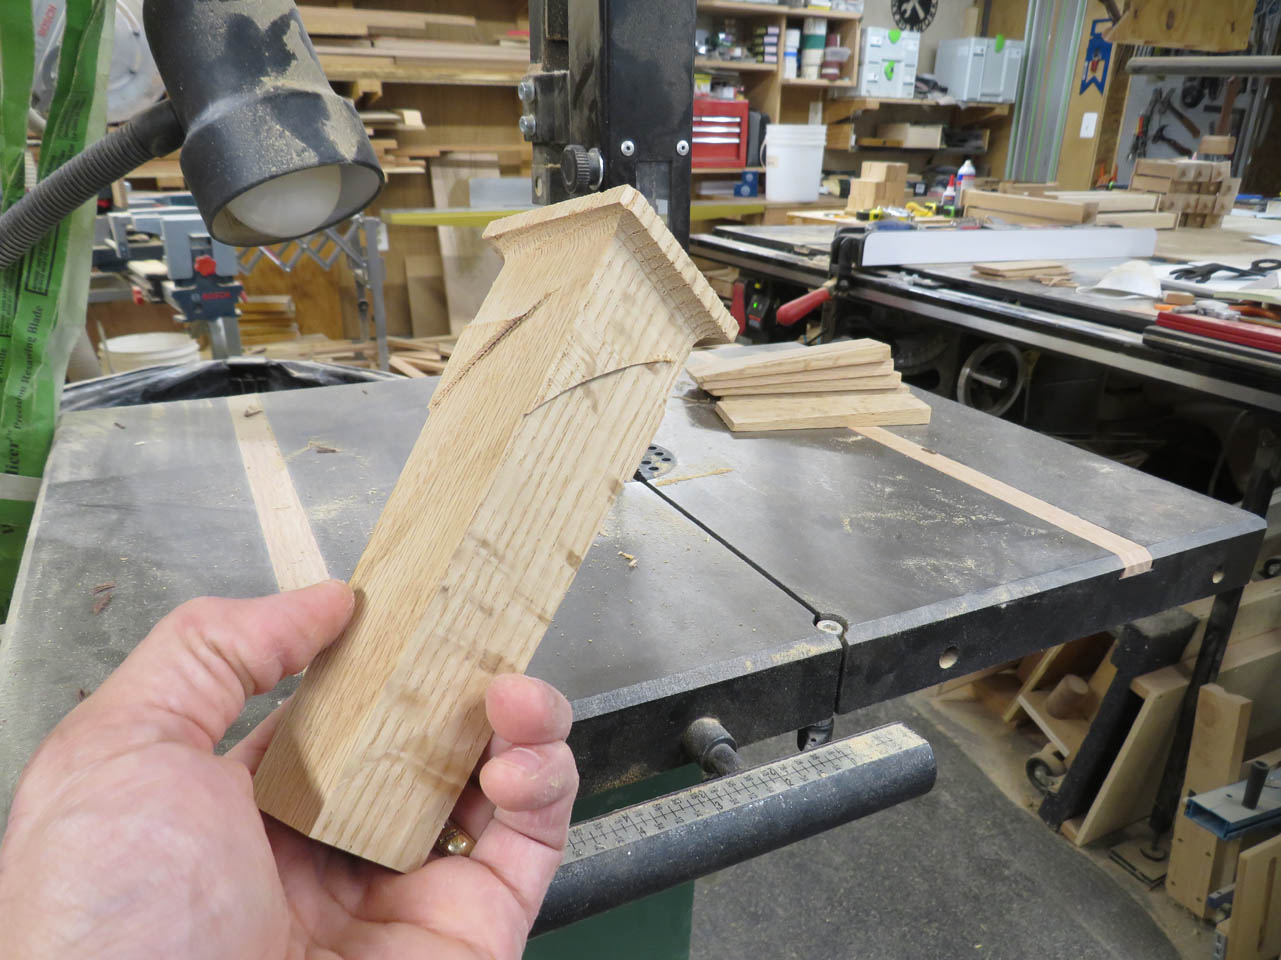
Then back to the band saw to cut the waste on the columns.
No additional cuts were mads to the legs yet, they will be tapered and I have another process in mind for them.
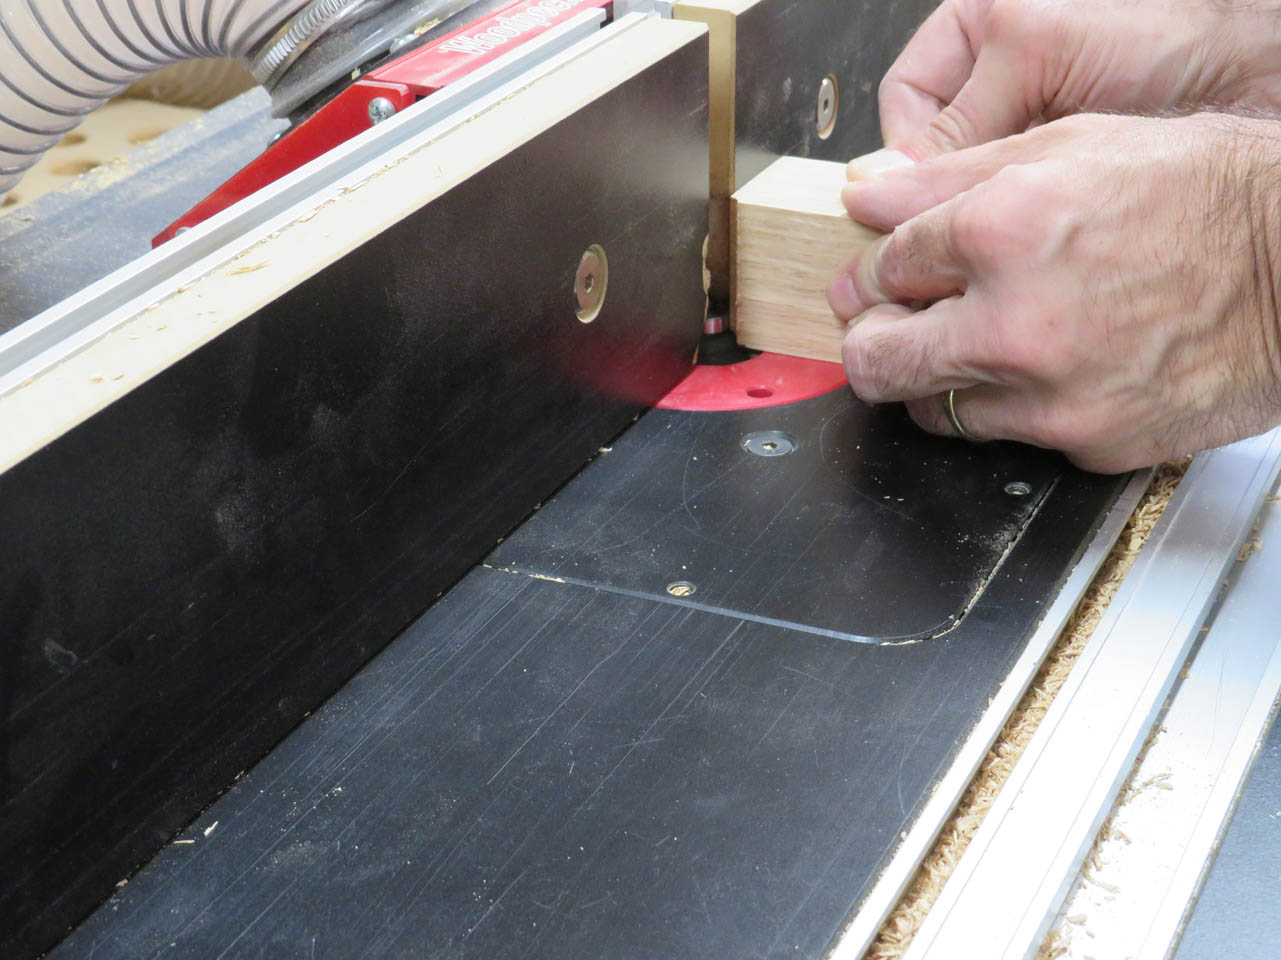
To clean up the columns, I am going to use this fancy compression bit which has a spiral cutter that runs in two different directions in an effort to prevent tear-out. Hopefully it will work…


I built a sacrificial fence that clamps to the fence and rests almost right against the bit.
Then I set the fence so the bit barely touches the clean surface of the dado cut.
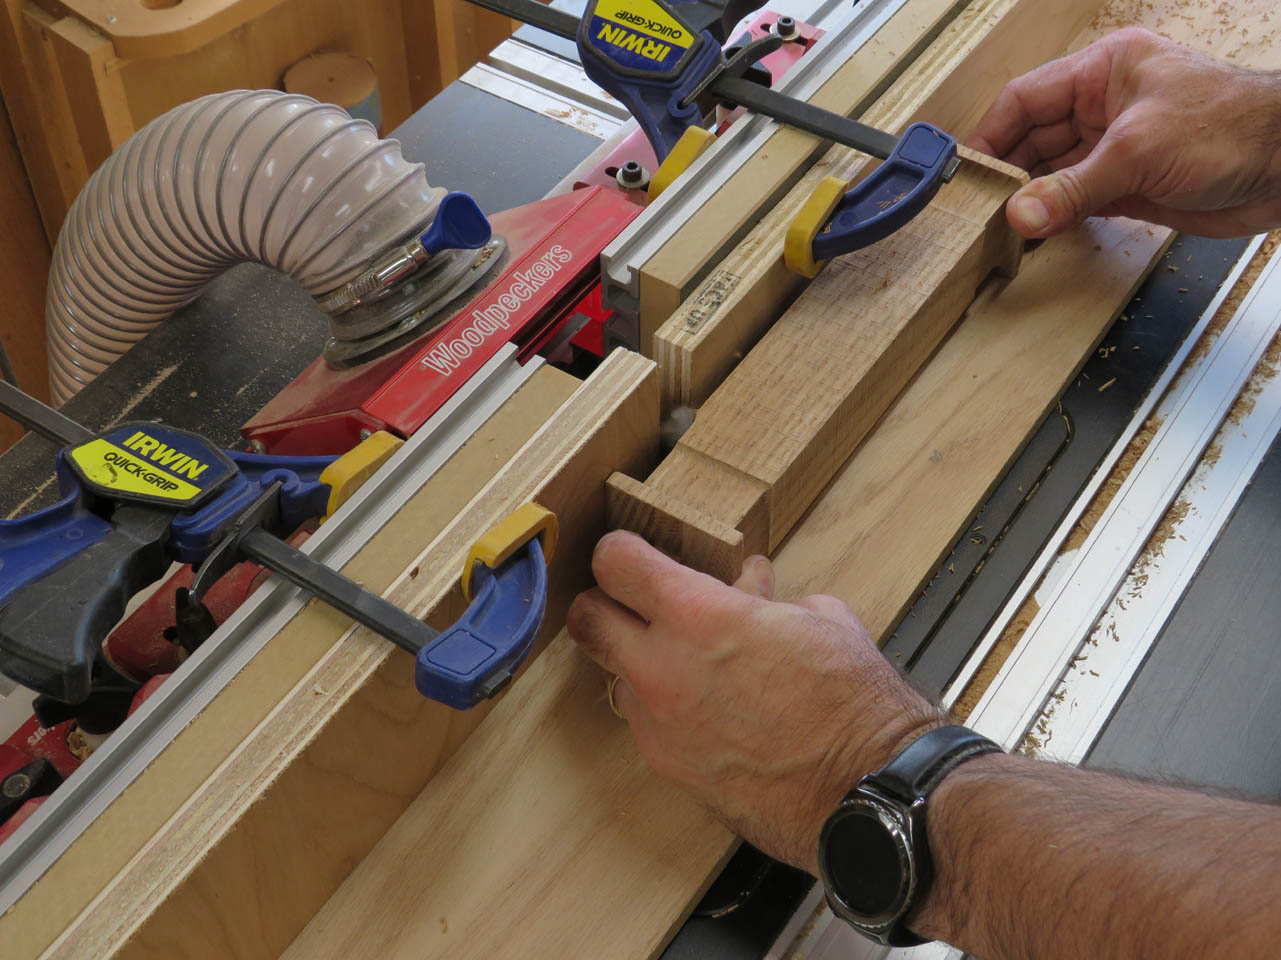
I carefully run the column from one dado to the other, careful not to lose control of the cut, and rotate and repeat four times to clean each surface.


Then I move on to the longer columns with equal success. These longer columns are the main reason for the sacrificial fence. I needed something longer or once the end of the column passed the fence I would not have been able to get a clean cut.
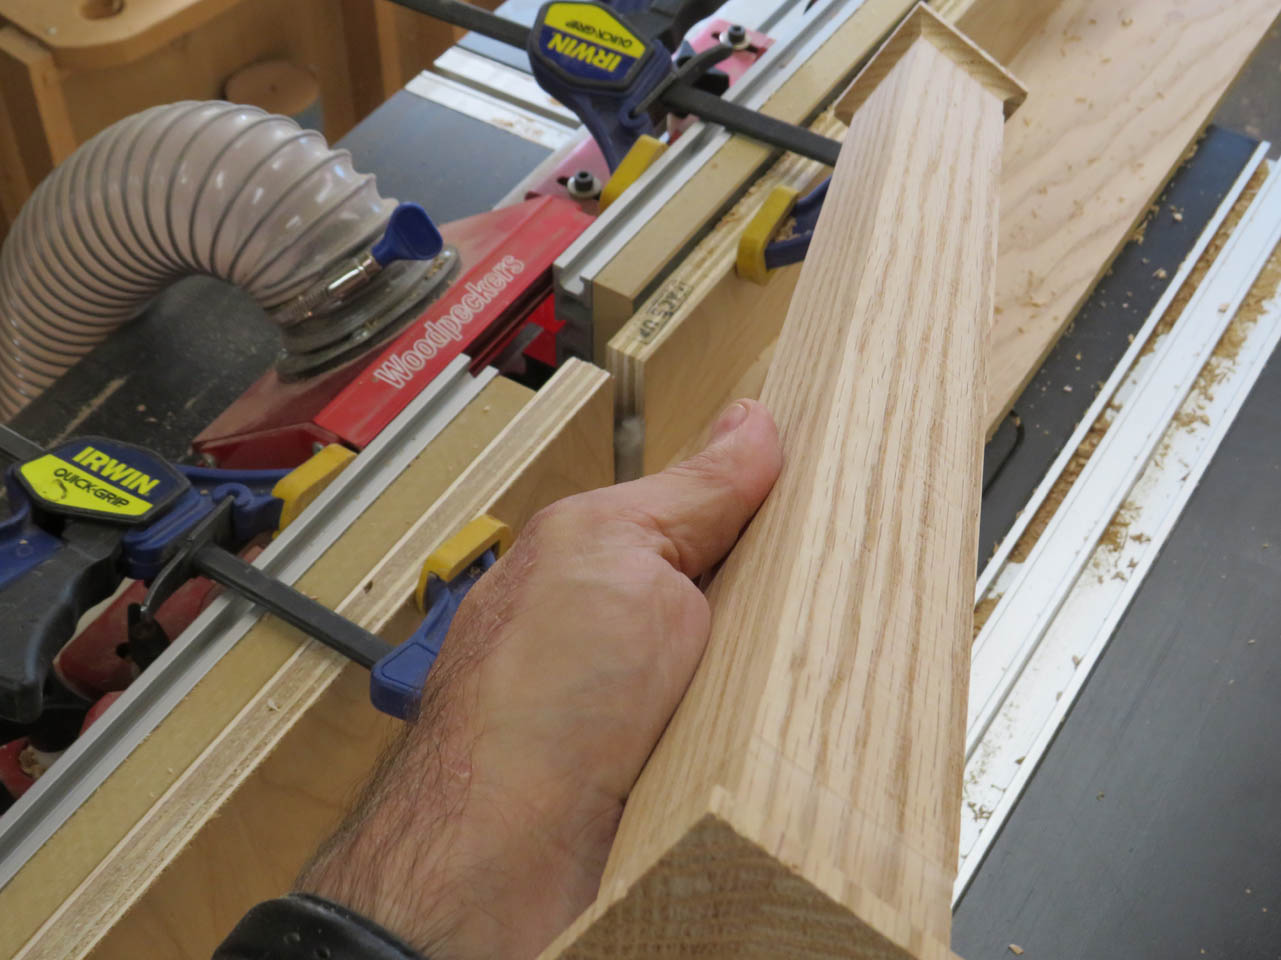
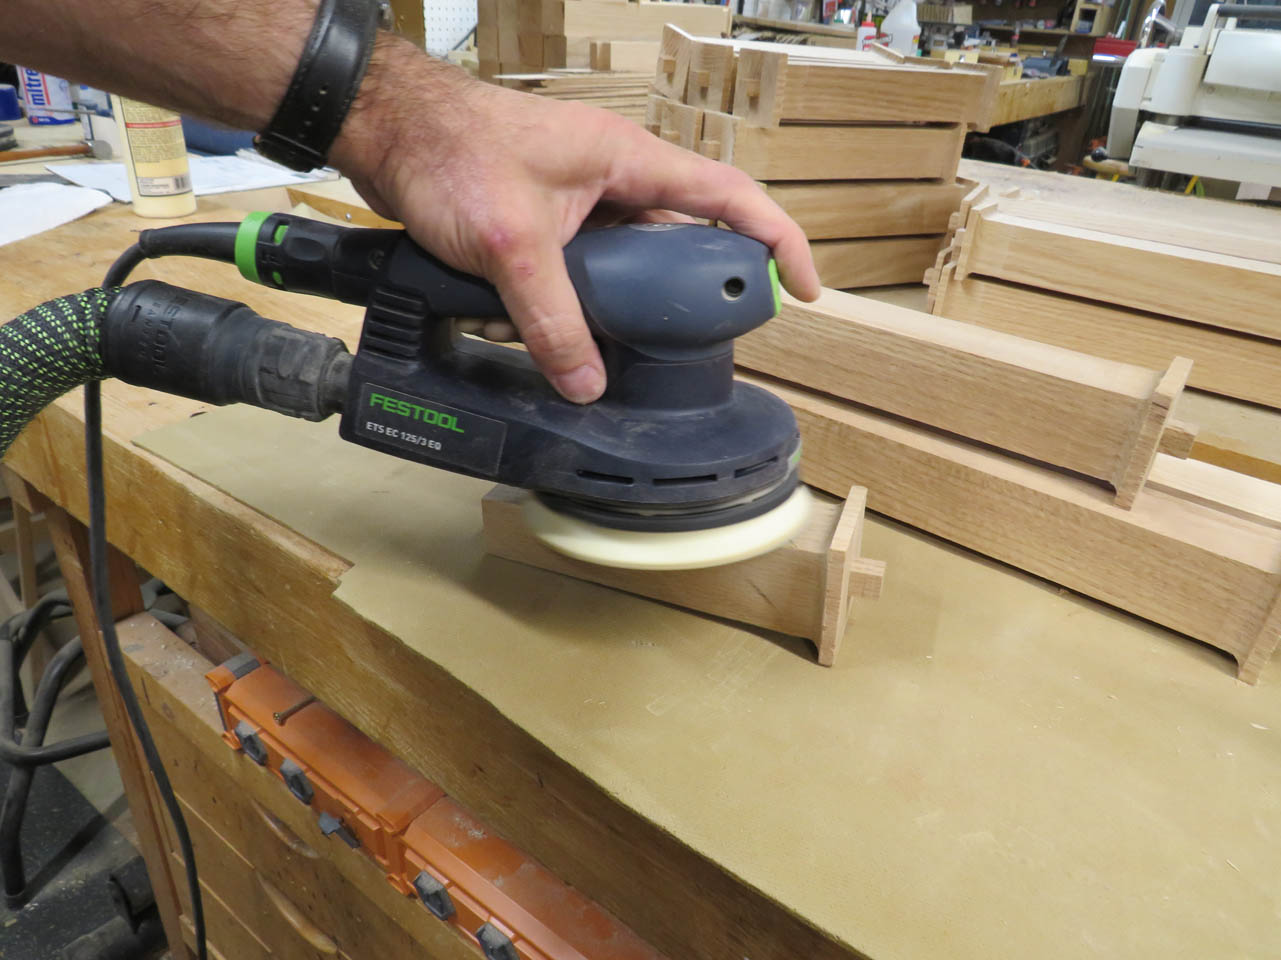
I have three different lengths of columns that all turned out pretty good. The surface is not always perfect, There is a little chatter with the bit sticking up 2″ unsupported against that kind of cut, but it was smooth enough that I can clean up the rest with an orbital sander.


Next, I can move onto the legs. I set up a stop block on my small cross-cut sled and reinstalled my combination blade in the table saw to cut all of the feet for the legs.
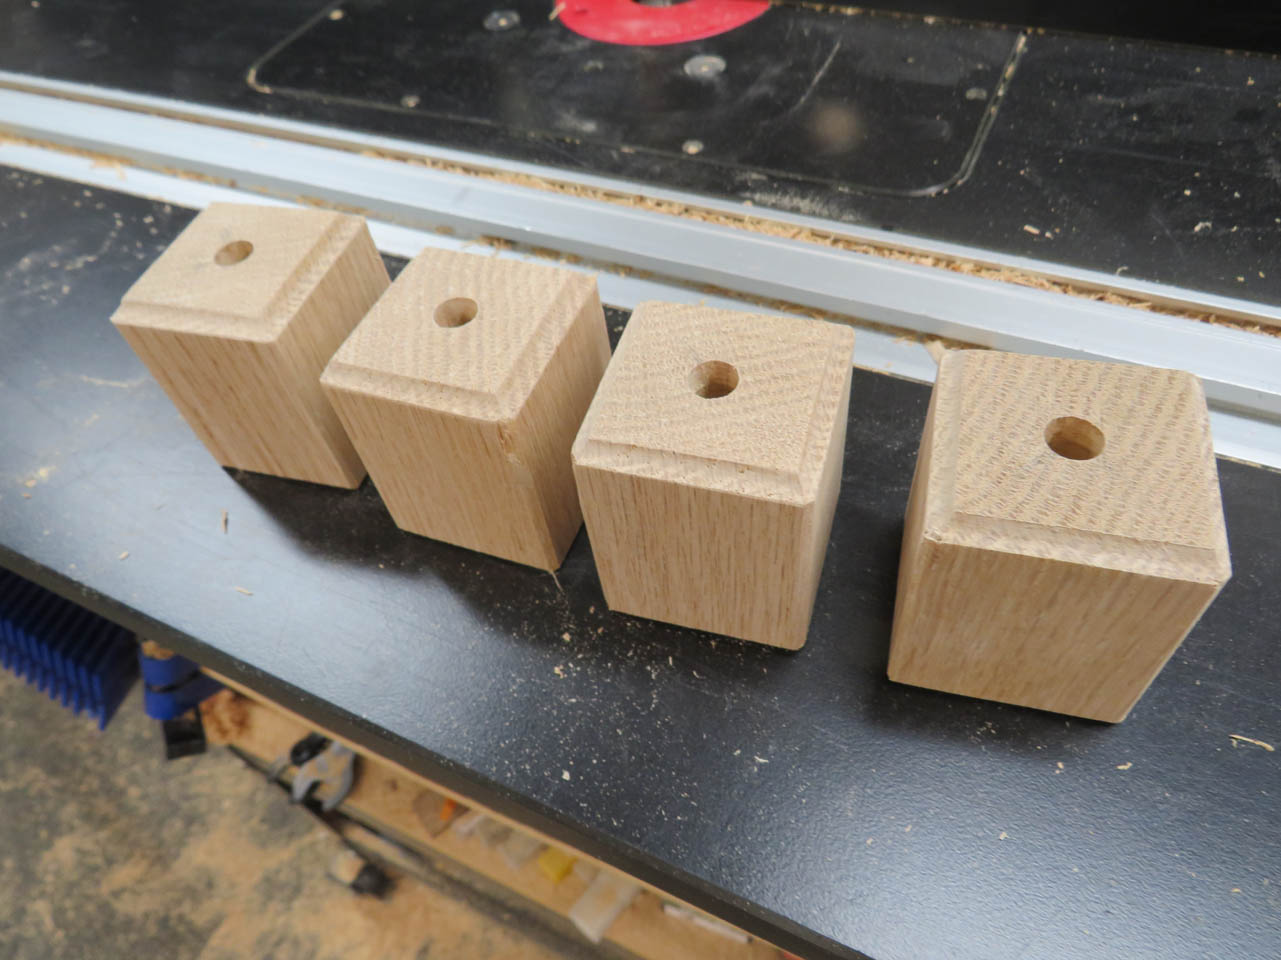
Once all the feet were cut, I mark the centers on one end and punch a small center point with my awl.


I use this point to line up a 3/8″ forstner bit on the drill press and drill a 1″ deep hole in each.
Next, I carefully run the drilled face across an ogee bit on the router table to mimic the cove in the top of the foot that was on the original.

This hole will be used to attach the foot to the bottom of the leg with a dowel later.

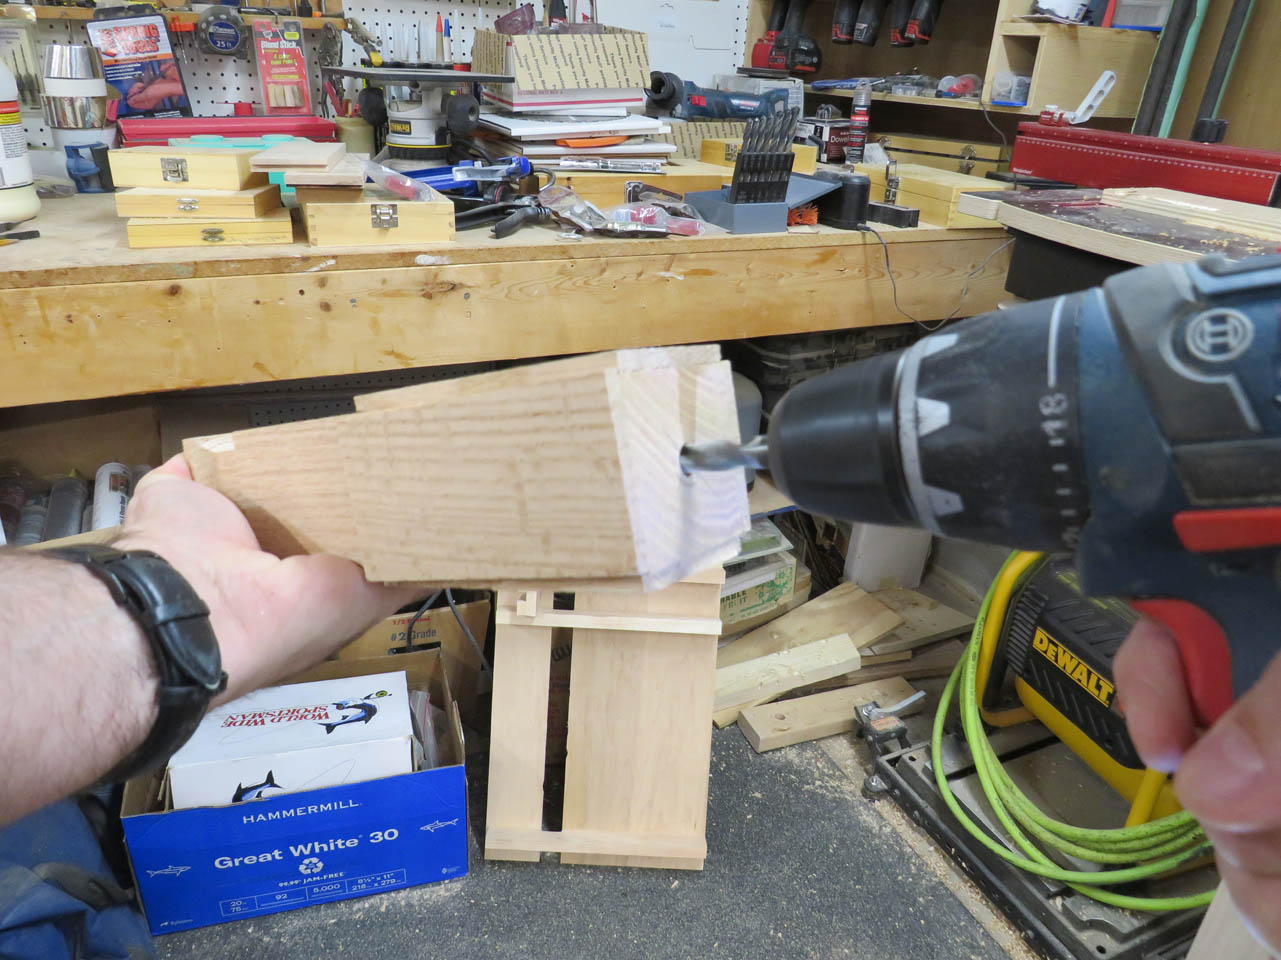
To drill a matching hole into the bottom of the legs, I created this drill jig.
Once pressed firmly onto the end of each leg, I can use a hand drill to drill the opposing hole.

The next step is to cut the taper onto the legs. I thought about using the bandsaw, but I wanted a cleaner surface so I created a jig for the table saw.
This jig has blocks attached to hold the blank at the correct angle for cutting most of the way through.

I use 1/8″ offcuts to create shims to hold the blank at the same size and stabilize the faces as I cut. The oak gets a little springy and my cuts may be off otherwise.
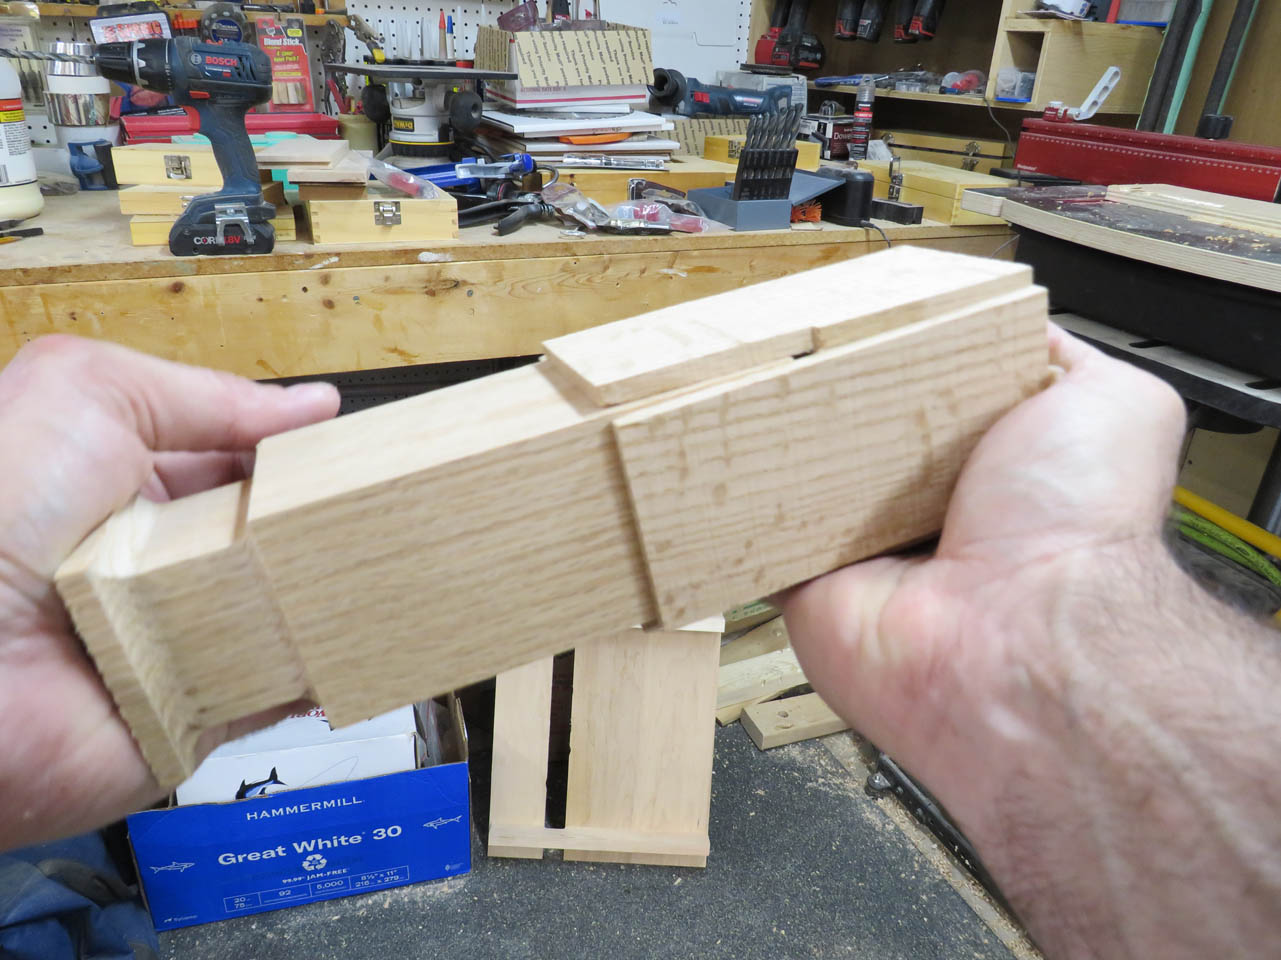
After four cuts, it looks pretty good.

I quickly but carefully remove the remaining waste pieces on the band saw.
The little shoulder that is left behind can easily be removed on my 12″ disc sander.


Then I am left with a tapered leg that can also be easily cleaned up by the orbital sander.

Now for a test fit of the foot. I have some 2″ long dowel pins that are fluted to hold glue, These should work perfectly for attaching the feet.
These look good and they are a tight fit. This should make it easy to align.

The short legs are all cut, now I have to repeat the process on all of the long legs.

This will be a challenging project. The potential for mistakes becomes magnified by the quantity of parts repeated. I lost several leg blanks through the process due to problems like the router bit slipping out of the collet and chunks of wood tearing out in unexpected ways. I have learned to make extras or I lose a lot of time repeating setups perfectly. I also learned that you need to make extras even though it seems wasteful at the time. I am hoping that the legs will be the most challenging part of this build, but at least I am learning a lot along the way…
