
Dining room cabinets part 2

Here is a picture of the trusty old microwave cart that I am replacing. Below is a picture of the cabinets that I built for the other side of the dining room. Bit of a contrast, right?

I had a few pieces of quarter-sawn red oak when I made those door panels and they are striking when the sunlight hits them just right. So, of course I had to find some large pieces of quarter-sawn red oak for the doors of the new cabinet.
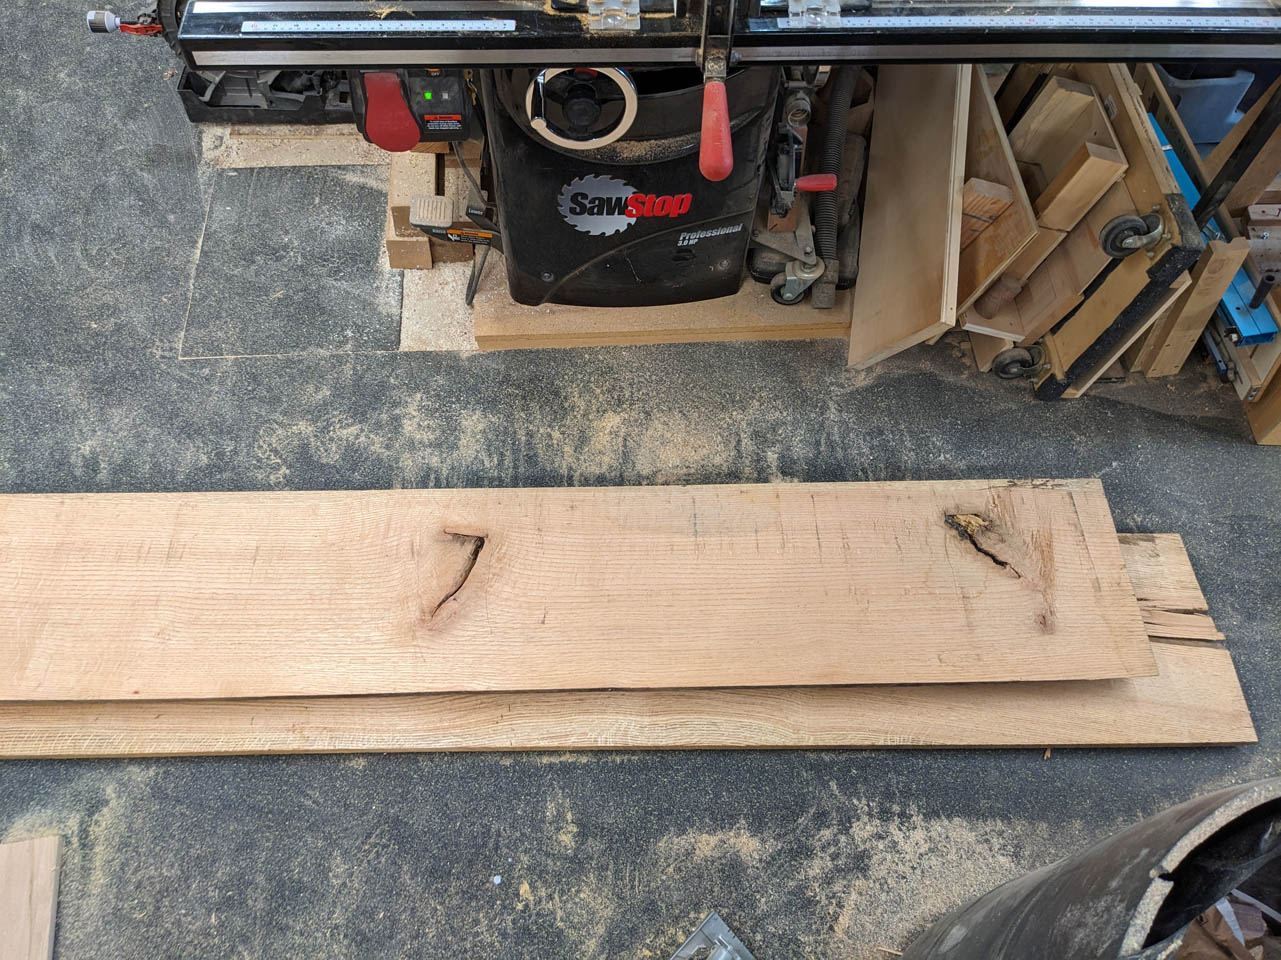
Not always easy to find, but my buddy Dave had a few pieces.
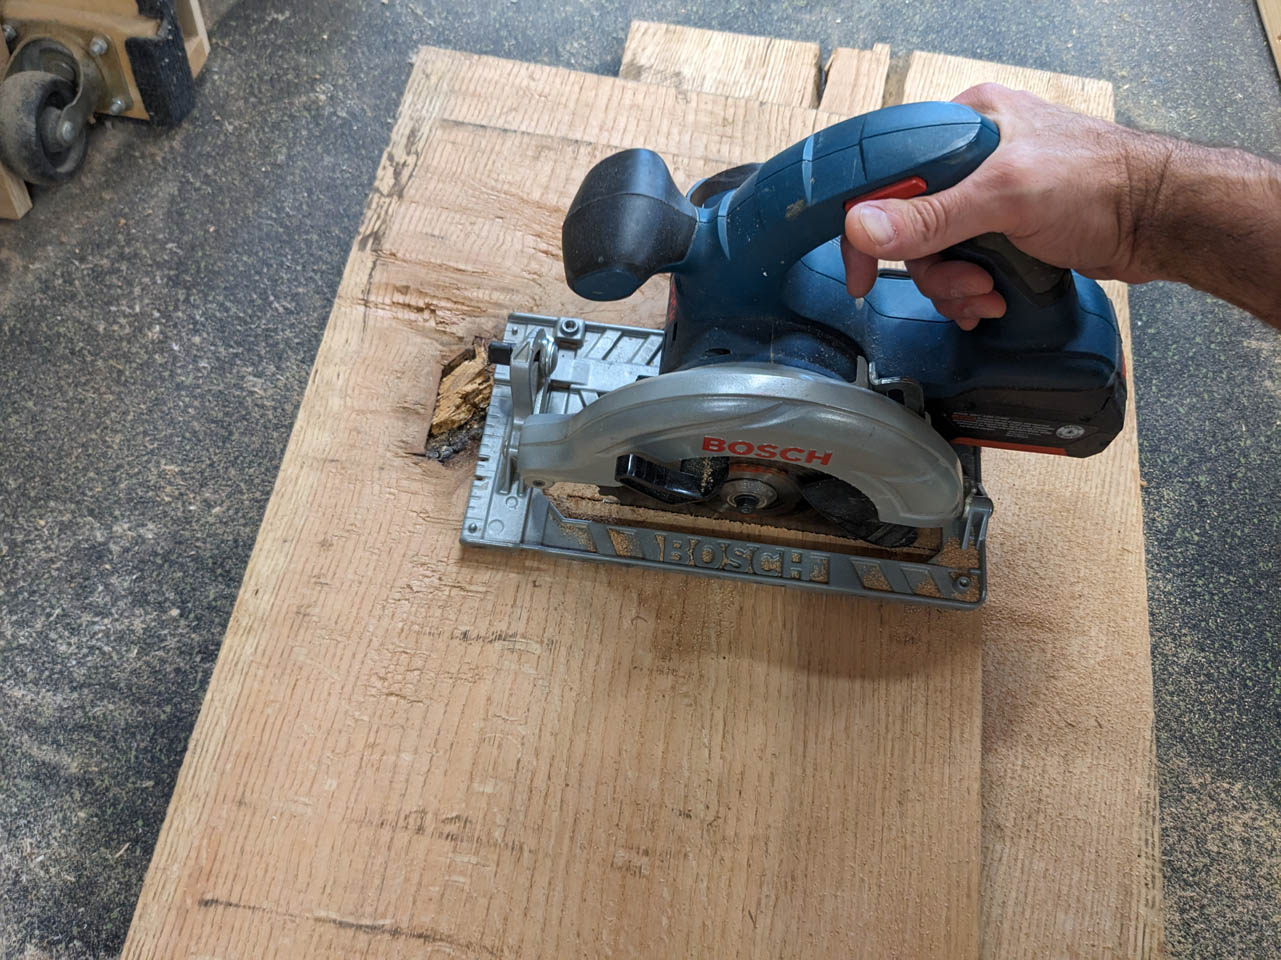
I had to cut around the knots and cracks.
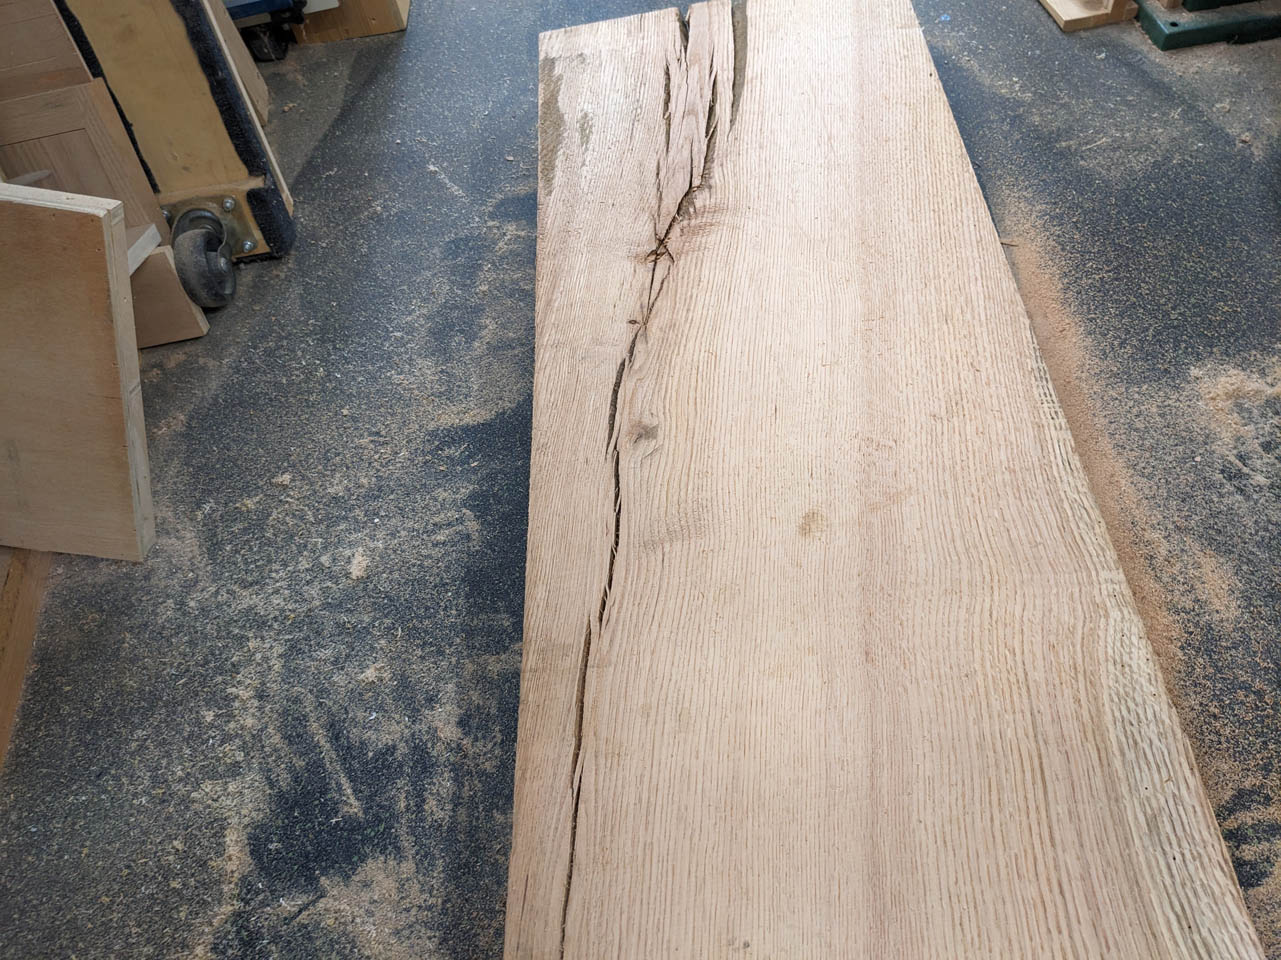
As well as avoiding the weather staining and powder-post beetle damage.
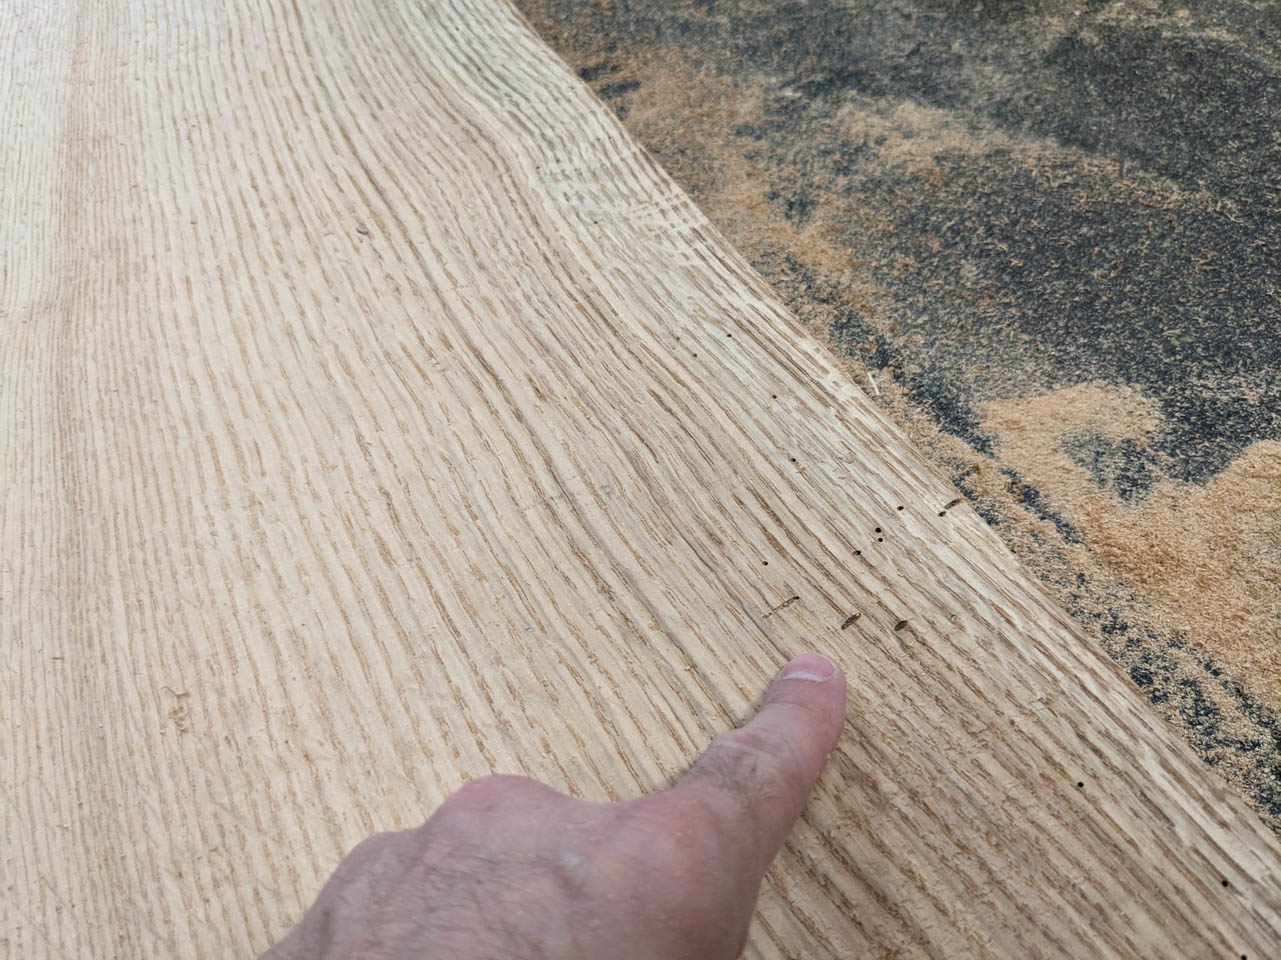
Some of the worm holes will be seen in the panels but I held the boards under vacuum for 24 hours to insure all the bugs were no longer viable…
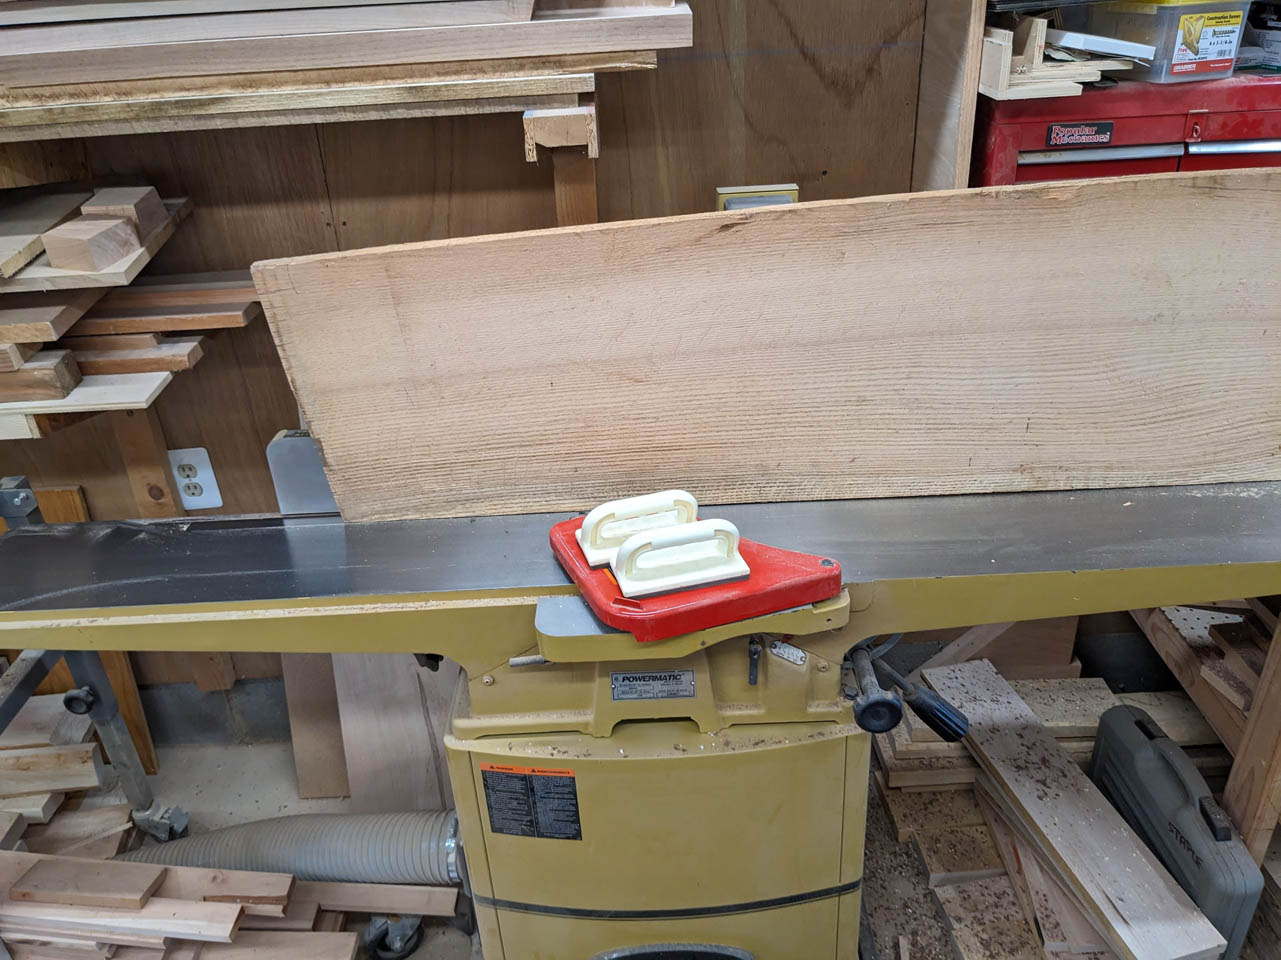
I jointed the edges and rough-cut the boards down to the approximate size.
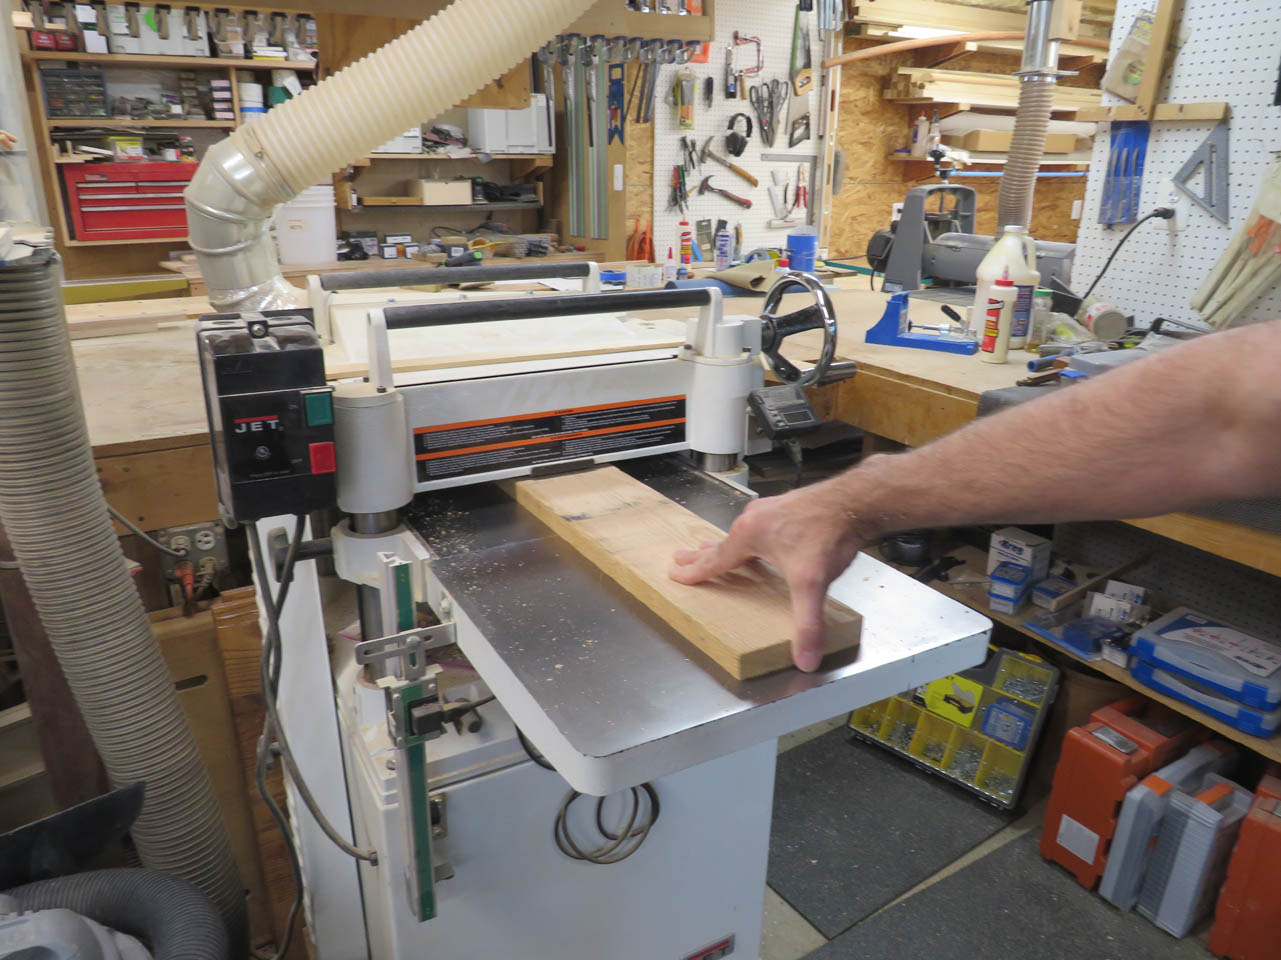
Then ran them through the planer to take them down to 3/4″ thick.


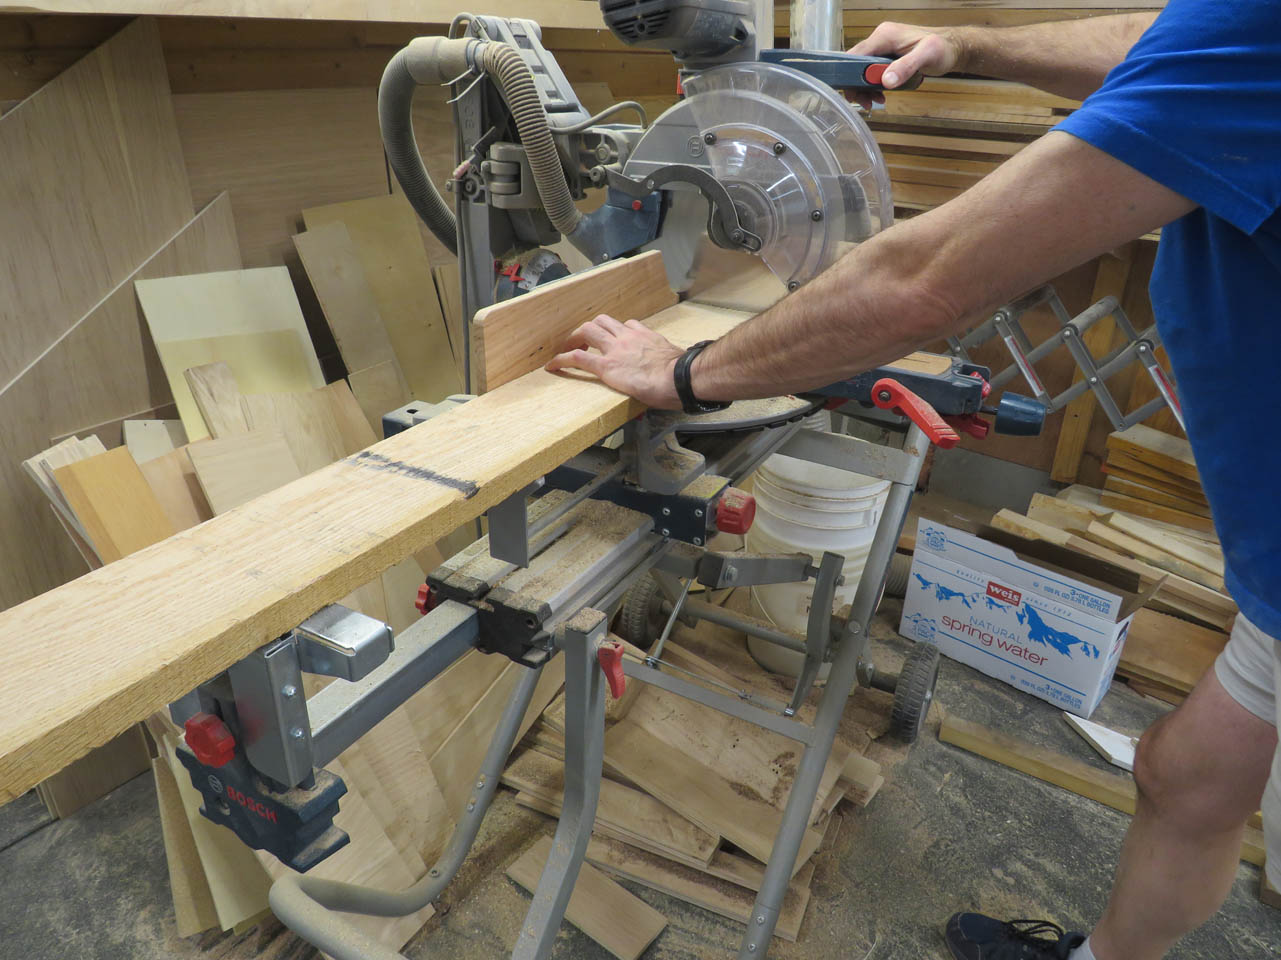
All milled down. Now I can cut them to the correct lengths.
Now it is time to mill up the wood for the door frames.

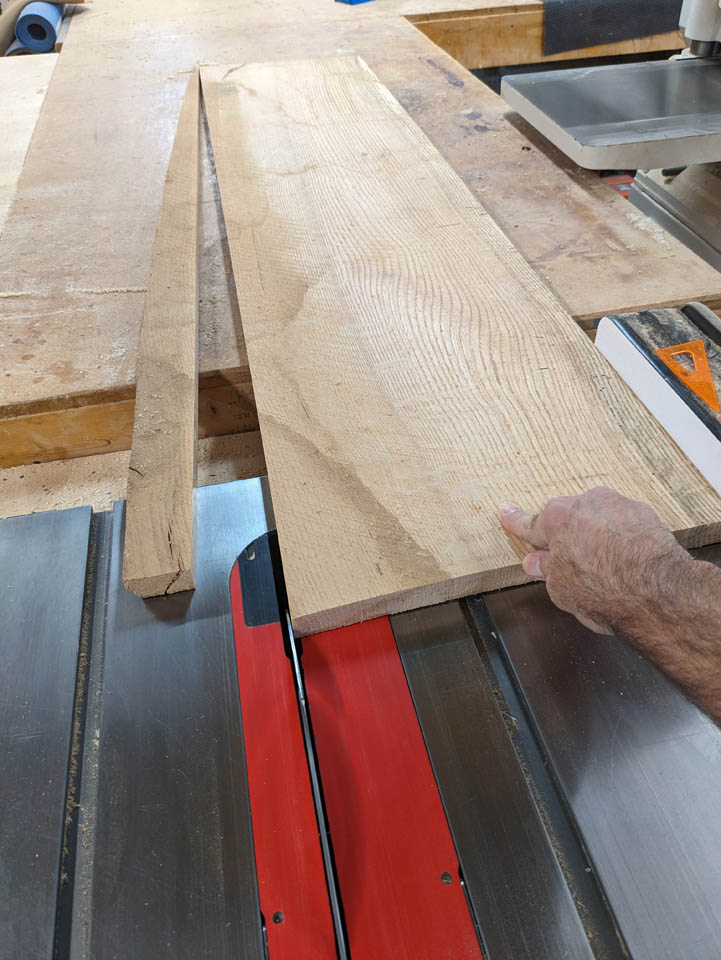
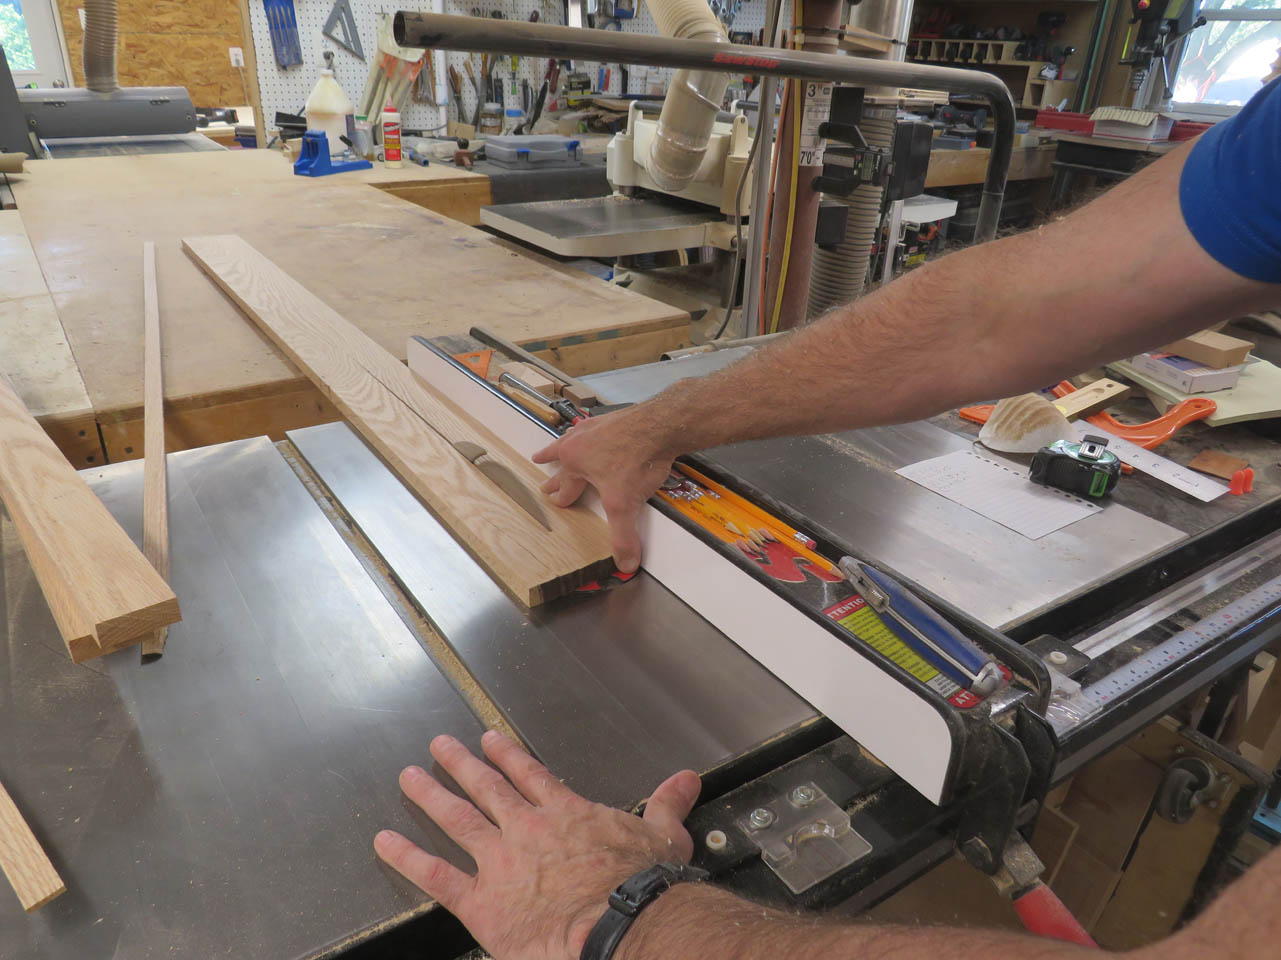
After jointing and planing, I ripped my boards down to 2″ wide on the table saw.

When all of the frame pieces are cut to size, I can set up the raised panel door bits in the routers.


I set the rail and style bits up in two separate routers, using setup blocks that I made with the first set of doors made with these bits.

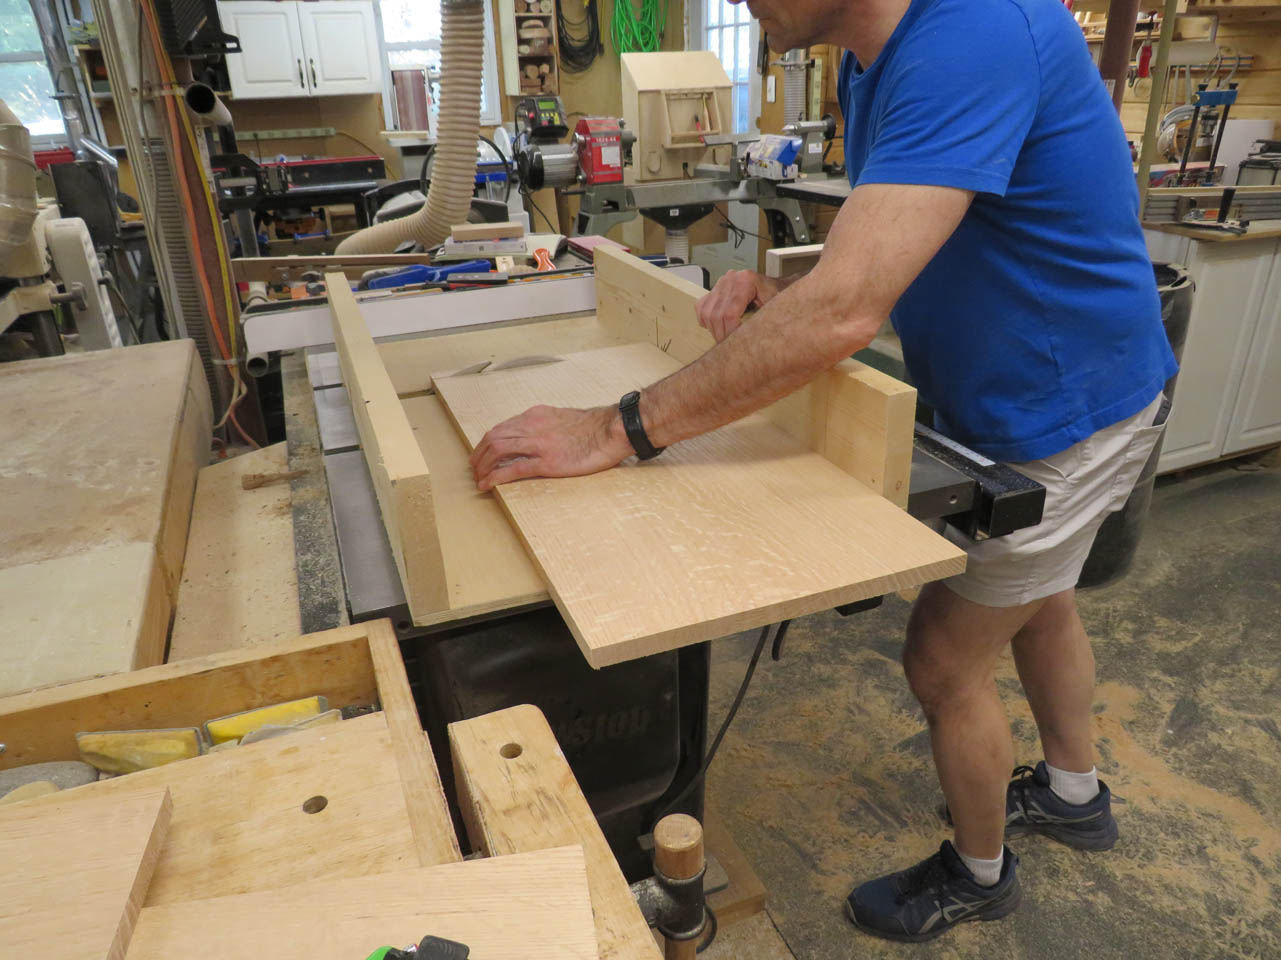
I ran all of the long edges first.
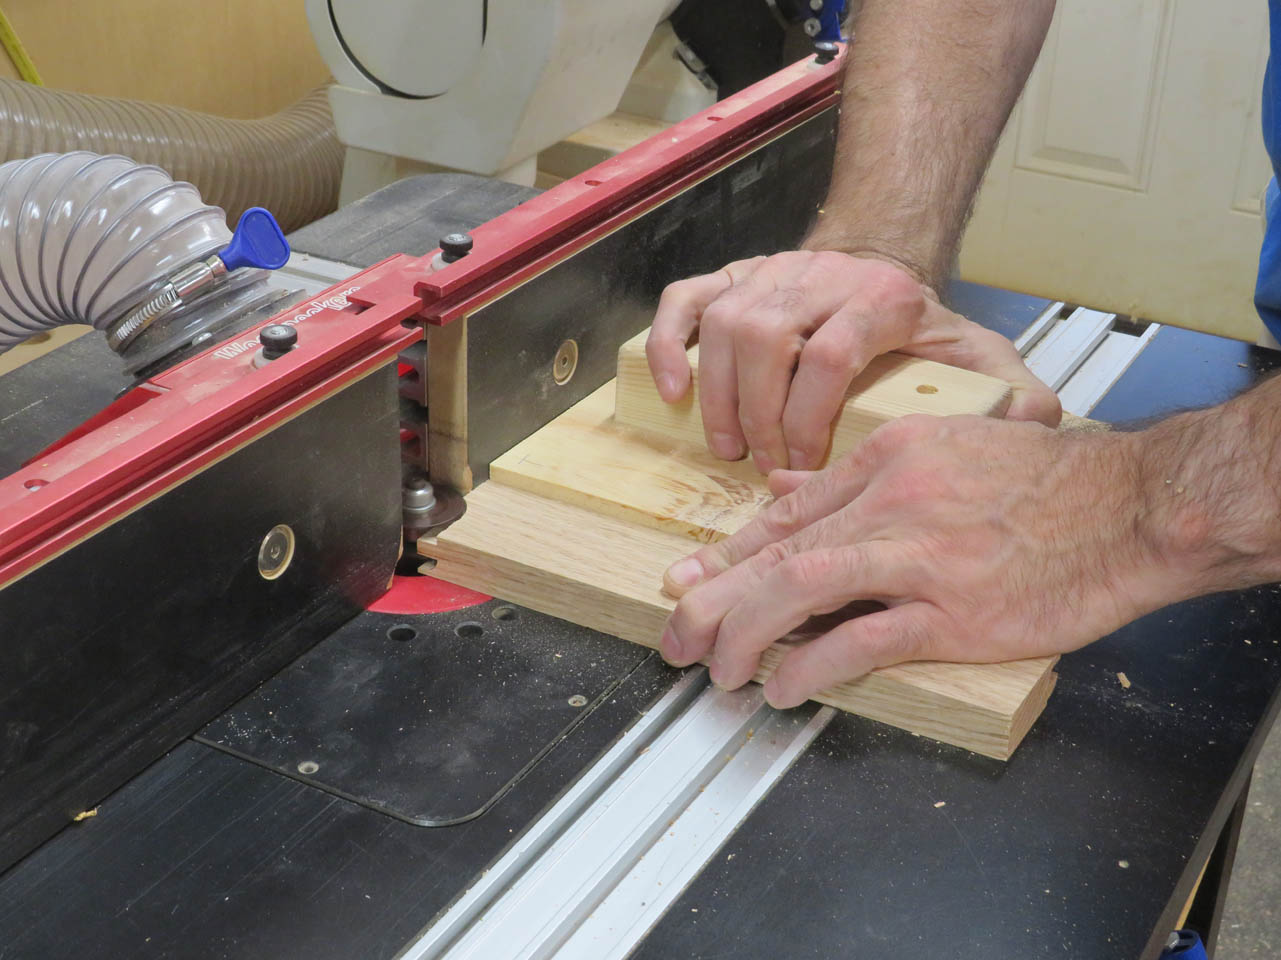
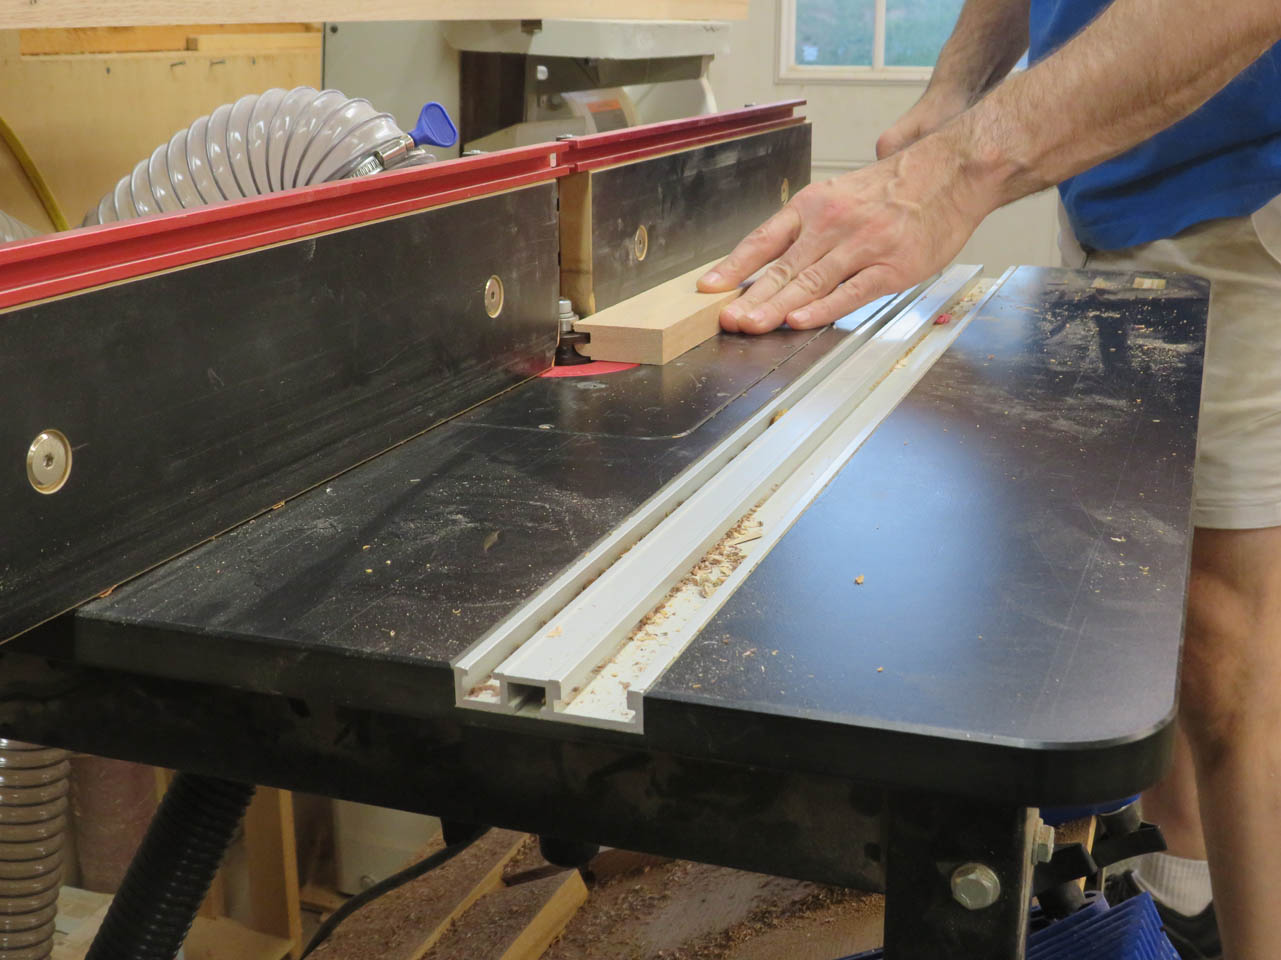
Then I swapped routers and ran the end cuts on the horizontal pieces using a push block to keep the pieces square and give them a backer to help prevent tear-out.
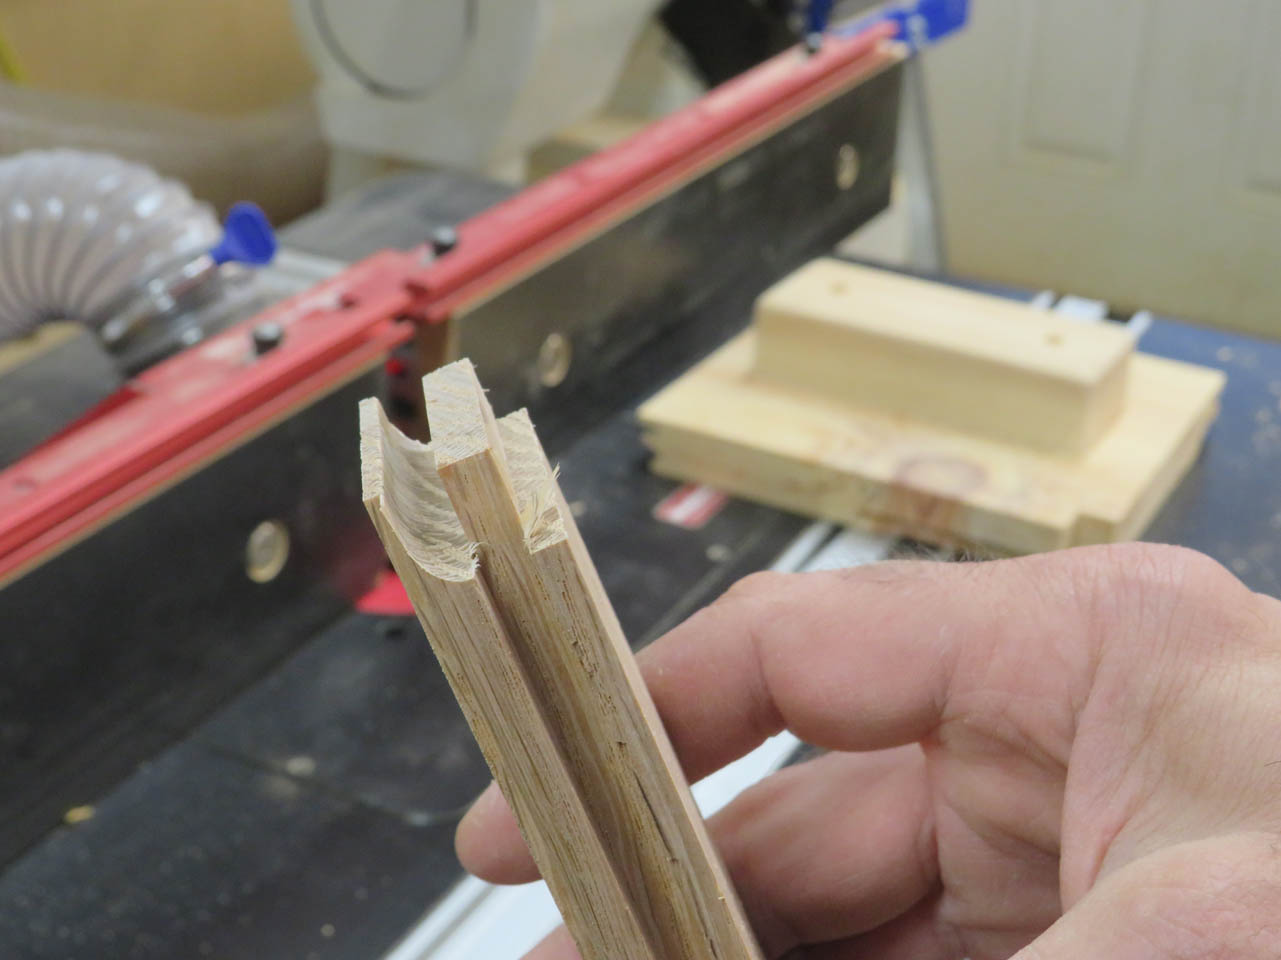

A quick dry-fit and they all look good.


Time to set up the raised panel bit.
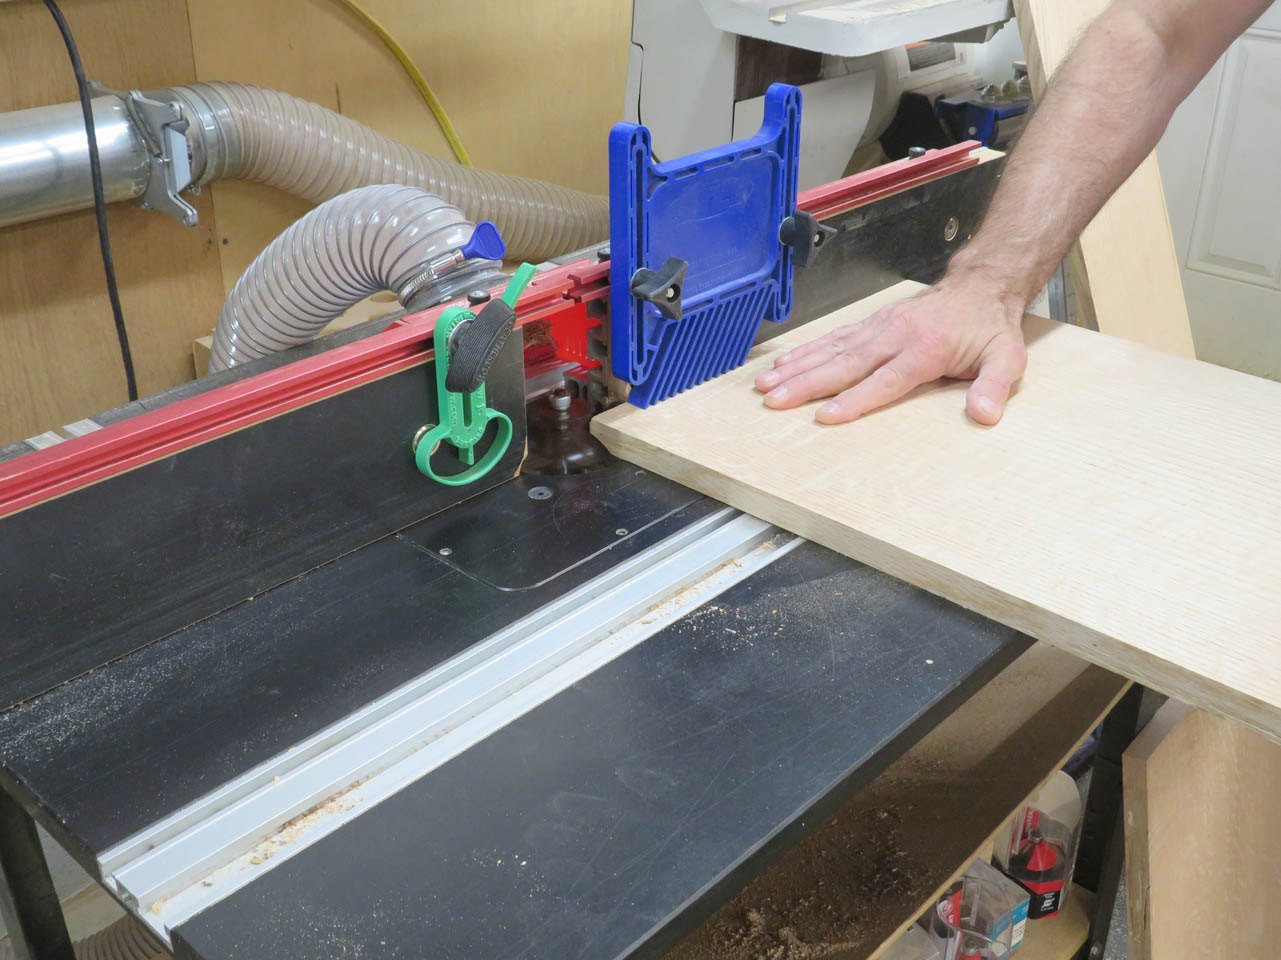
This is a heavy cut so I do it in two passes, taking away half of the material on the first pass.
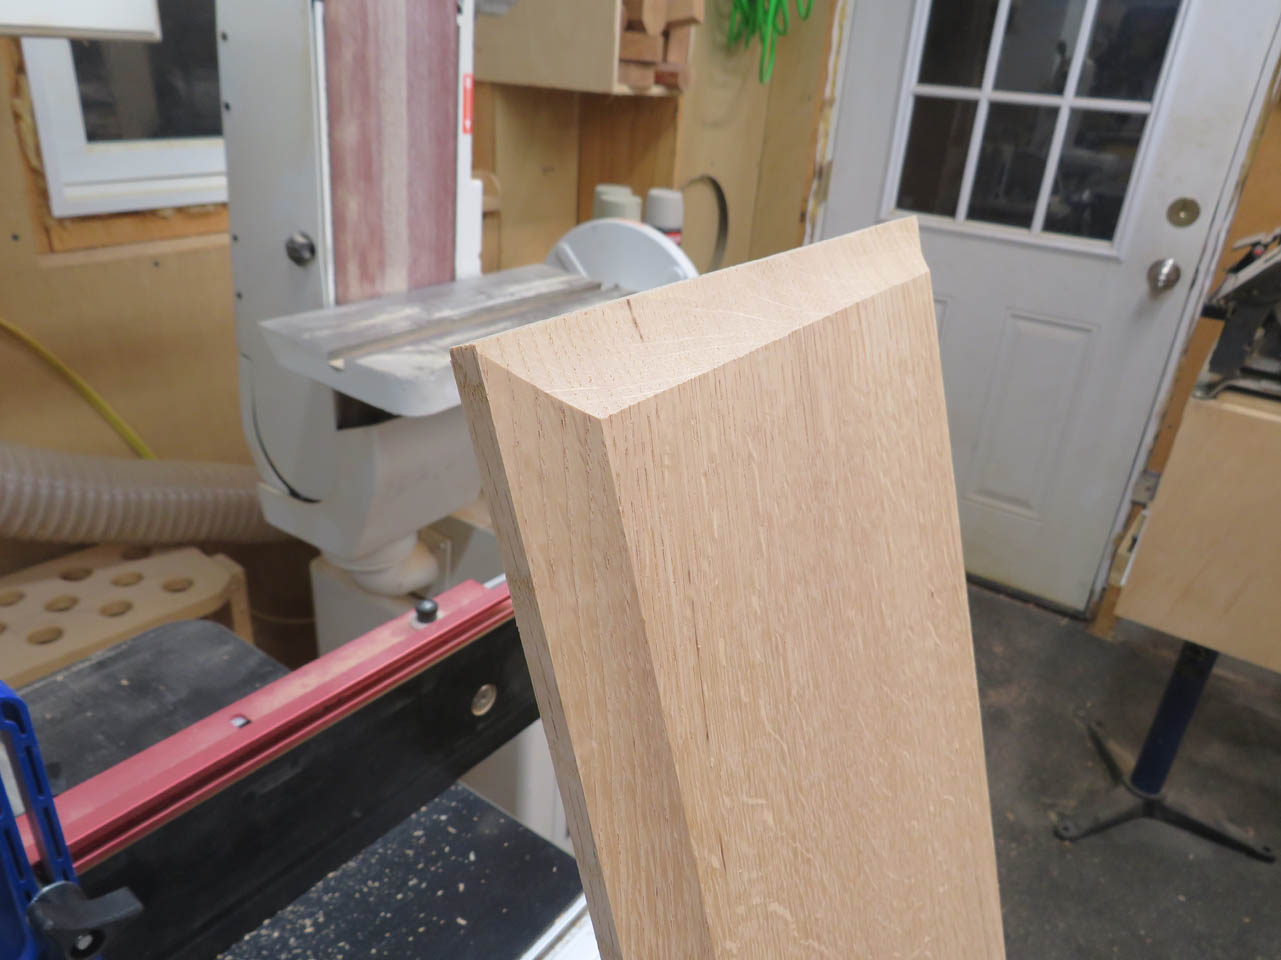


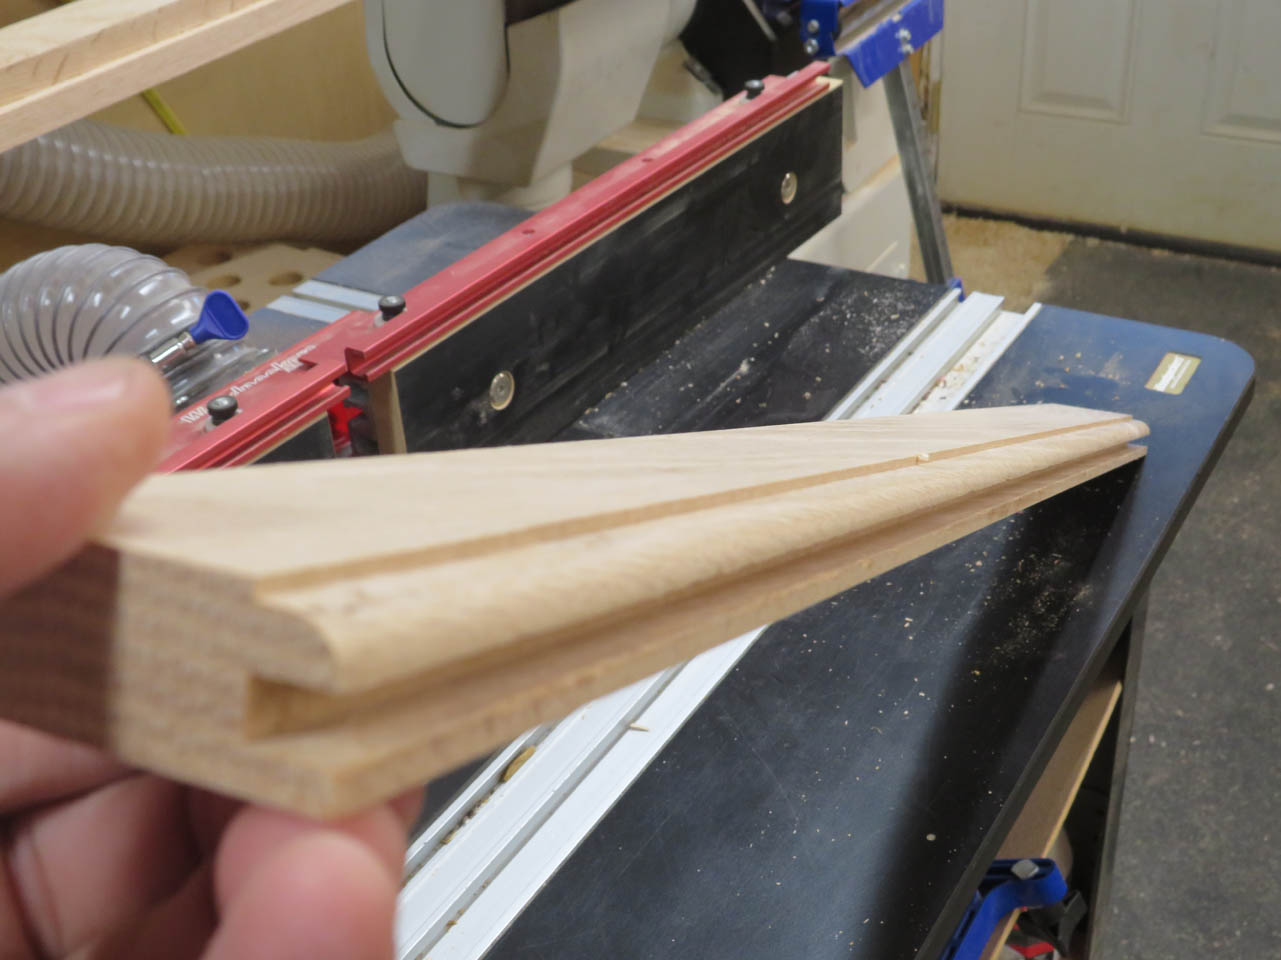
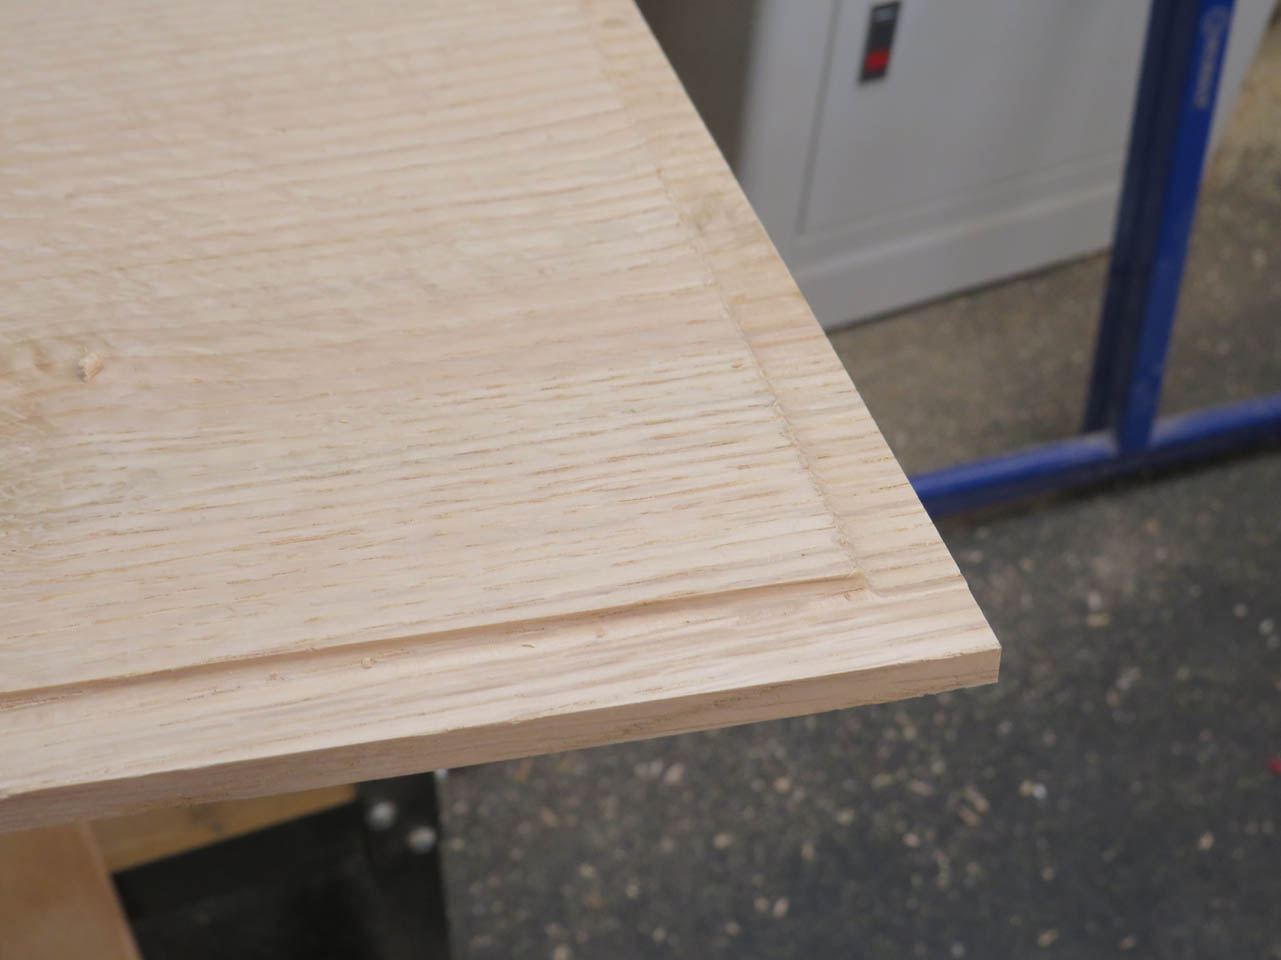
The final cut leaves a 1/4″ deep fin to fit into the frame, and a deep cove on the front.

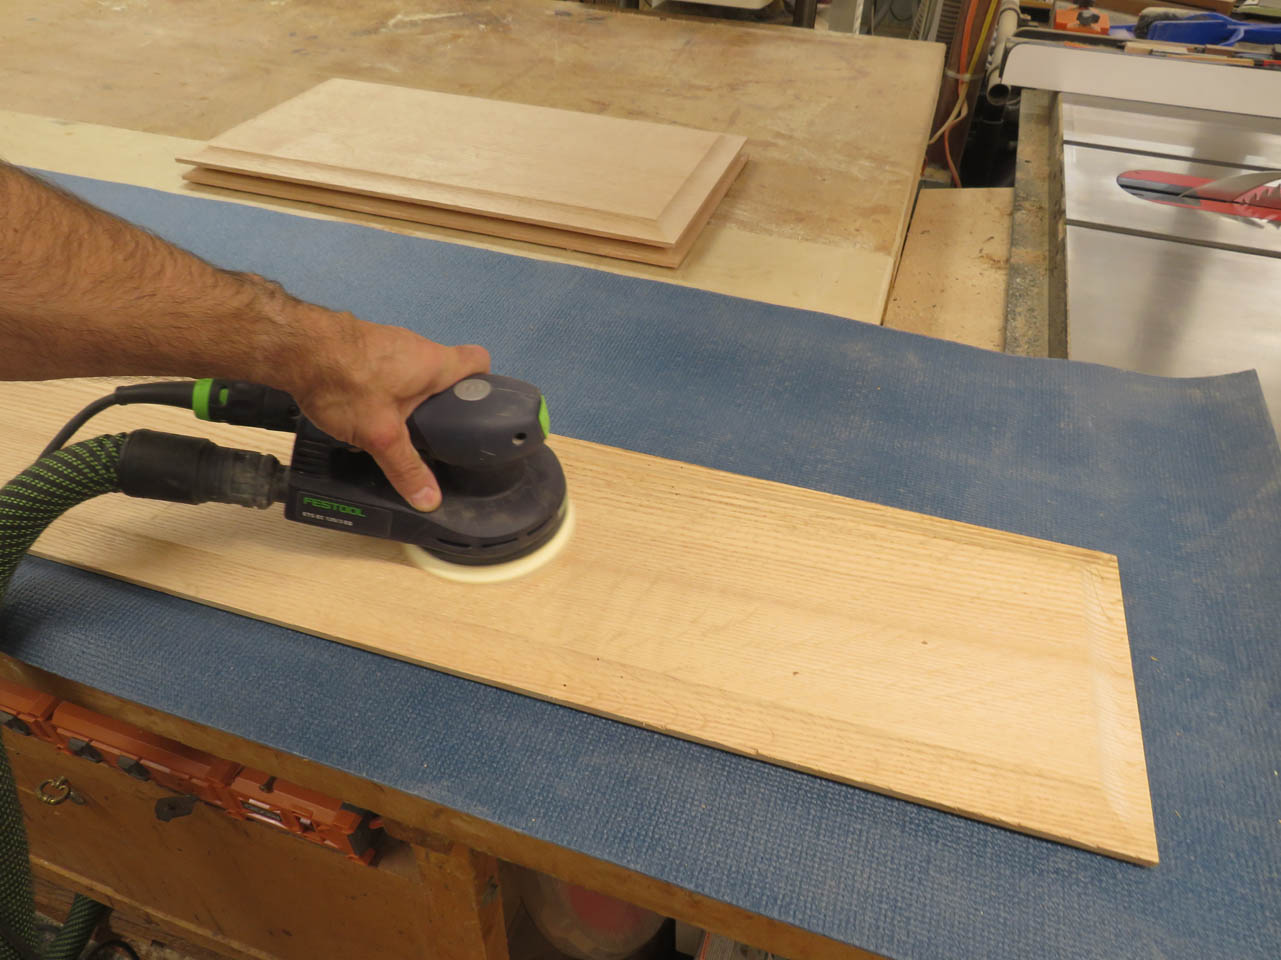
With the panels cut, I can sand them all down. This is easier to do now, rather than wait till it is all assembled.

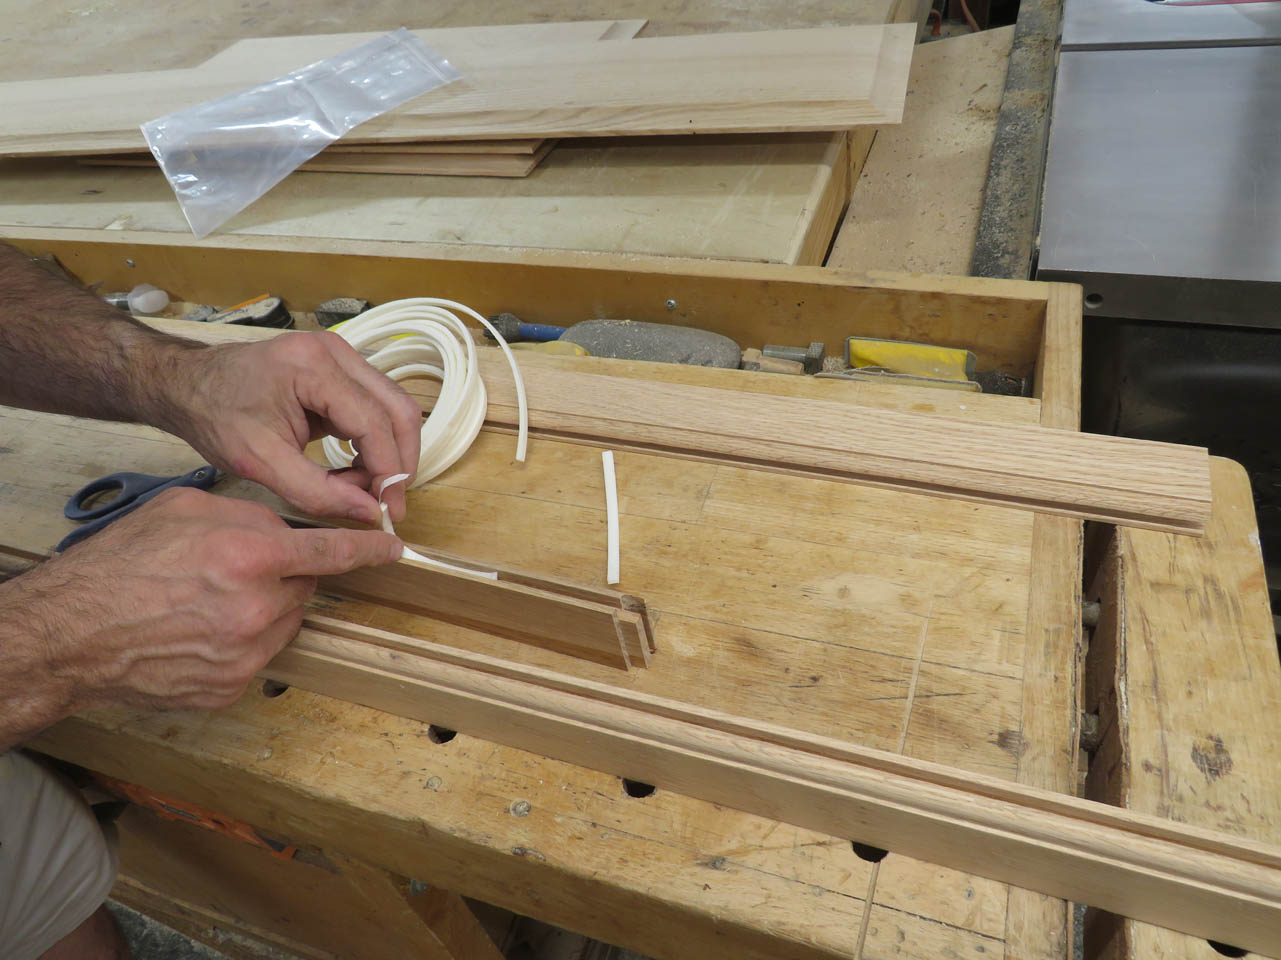
Next, I hand sand all of the edges that I just cut and place spacer foam in the channels to keep the door from rattling but allow room for expansion and contraction.
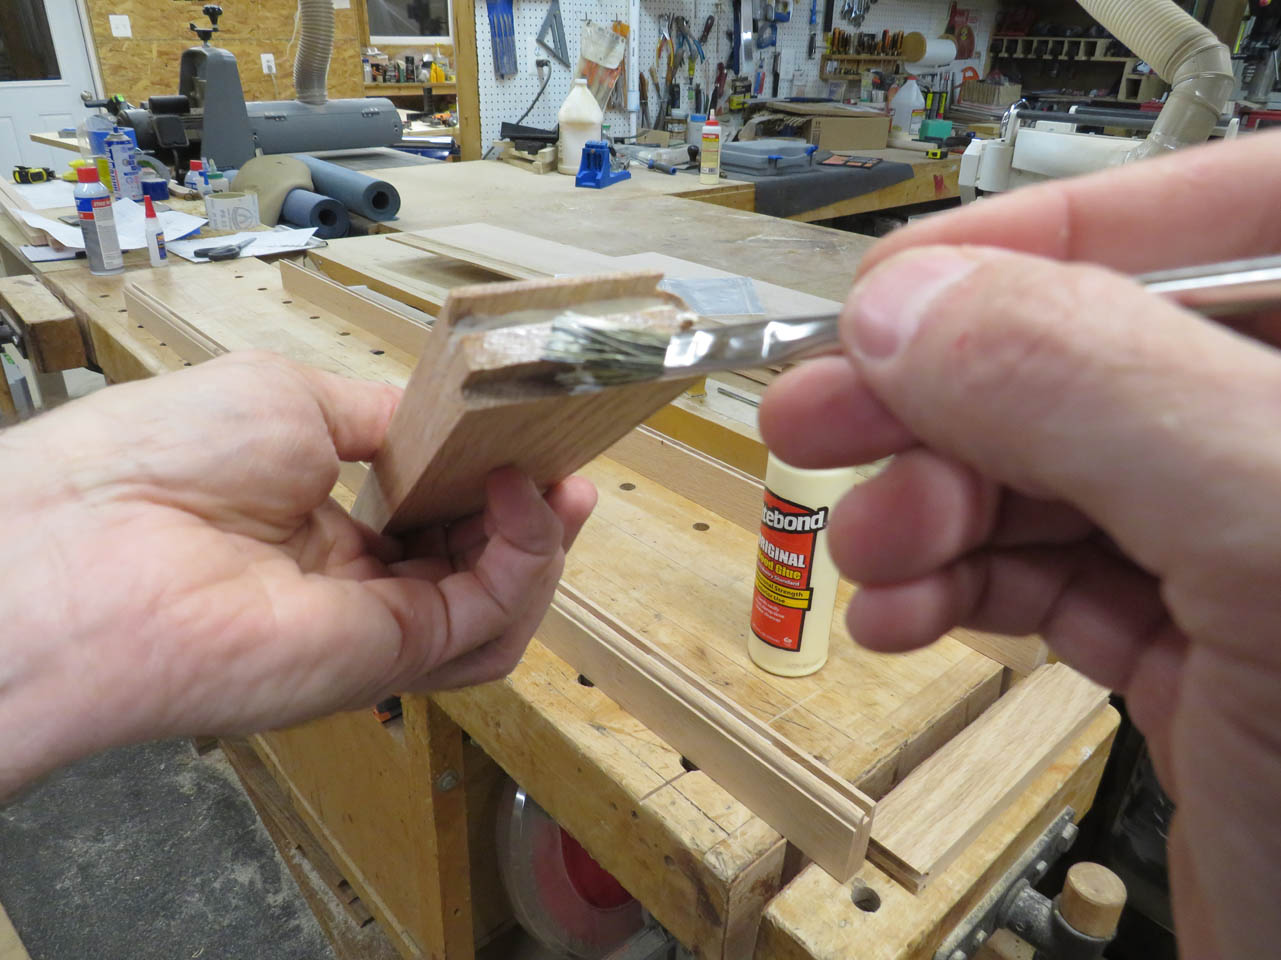
A little glue gets applied to the ends of the horizontals and I can clamp the panels together.
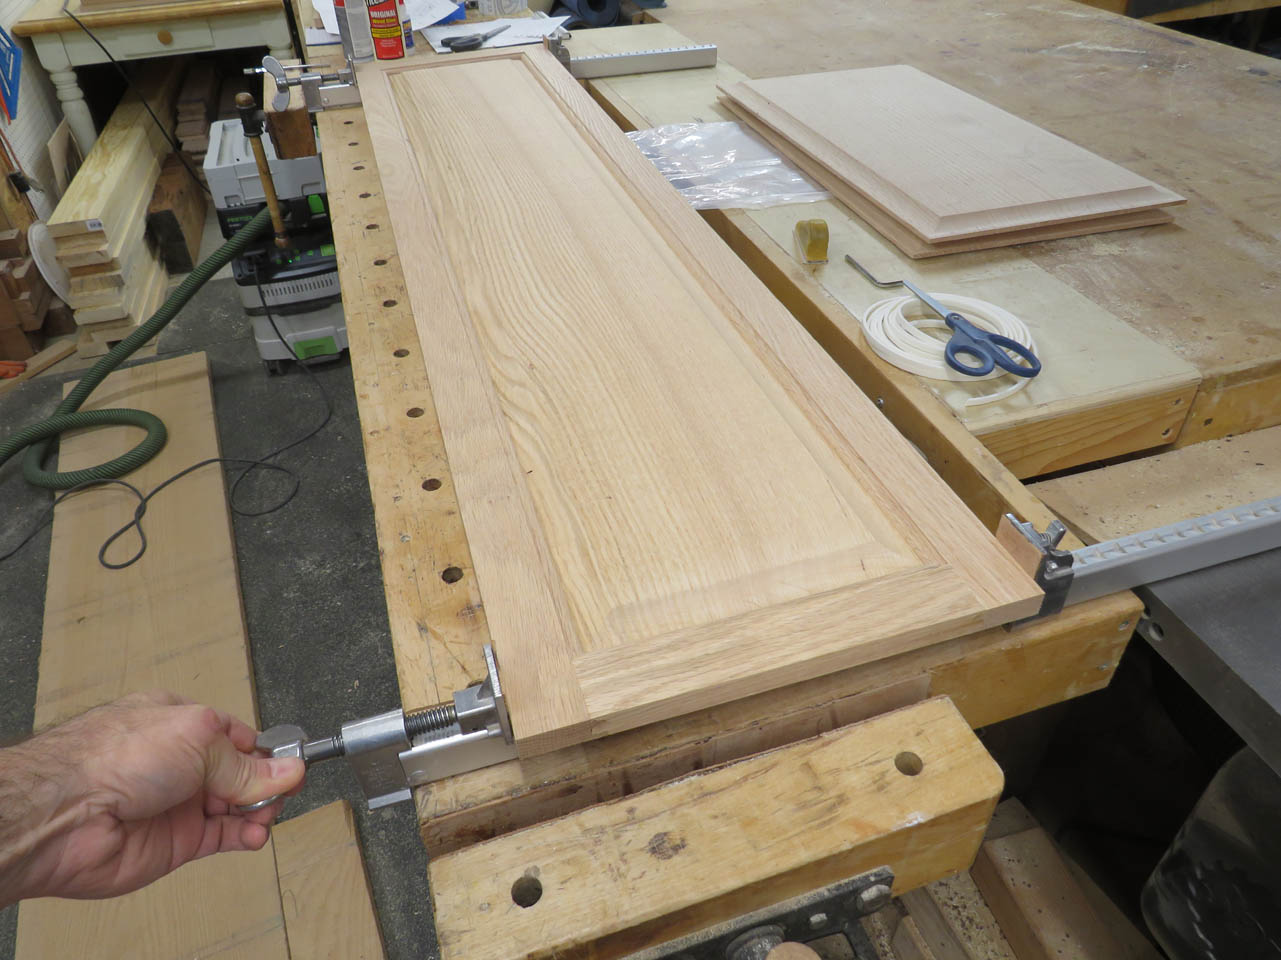
And I now have all three door panels, clamped and drying.
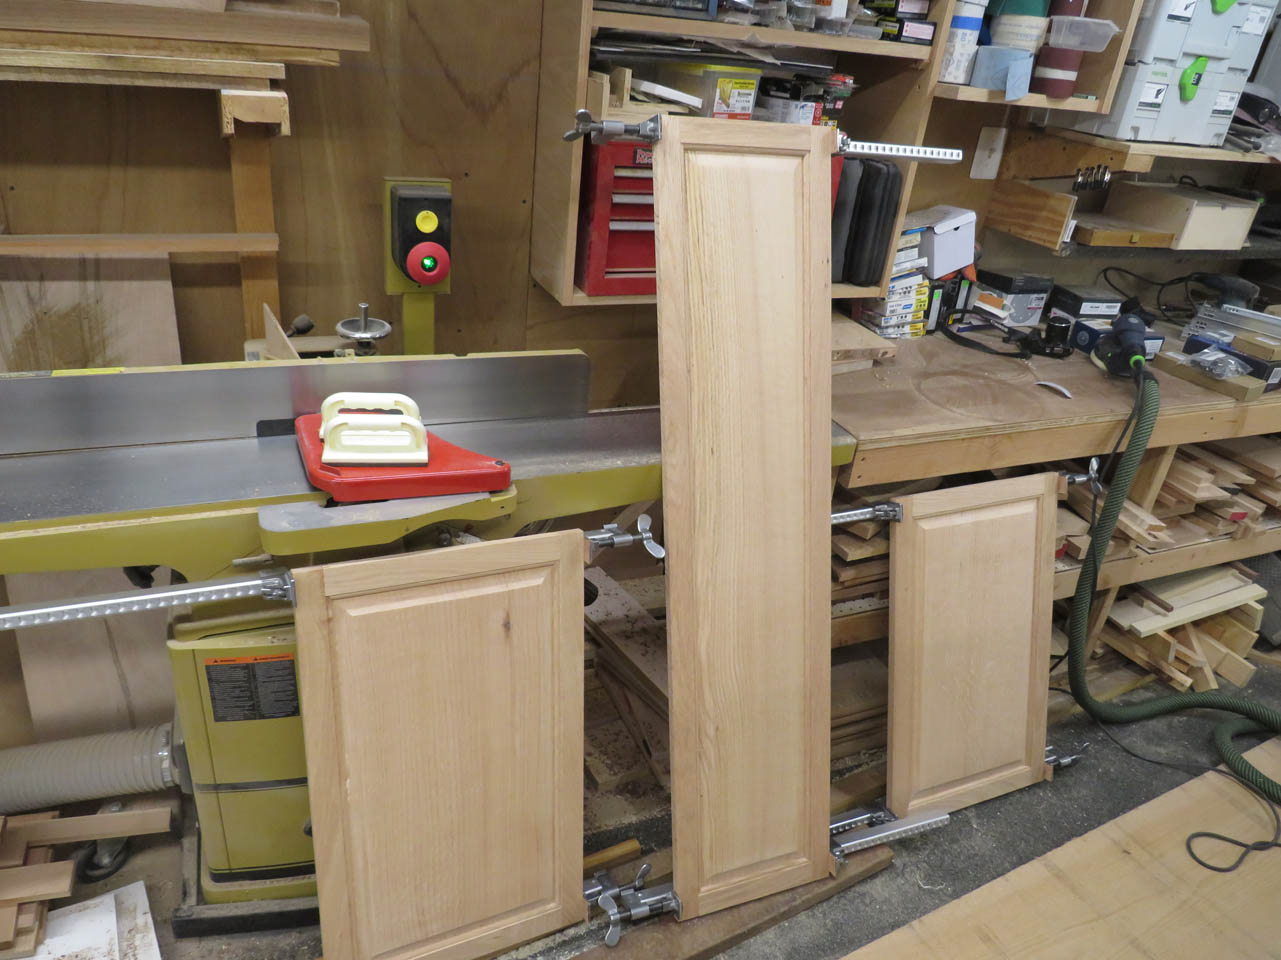
I just need to route the outside edges to match the other doors and drill the hinge pockets.
