
Portable podium for Holy Spirit church – part 4
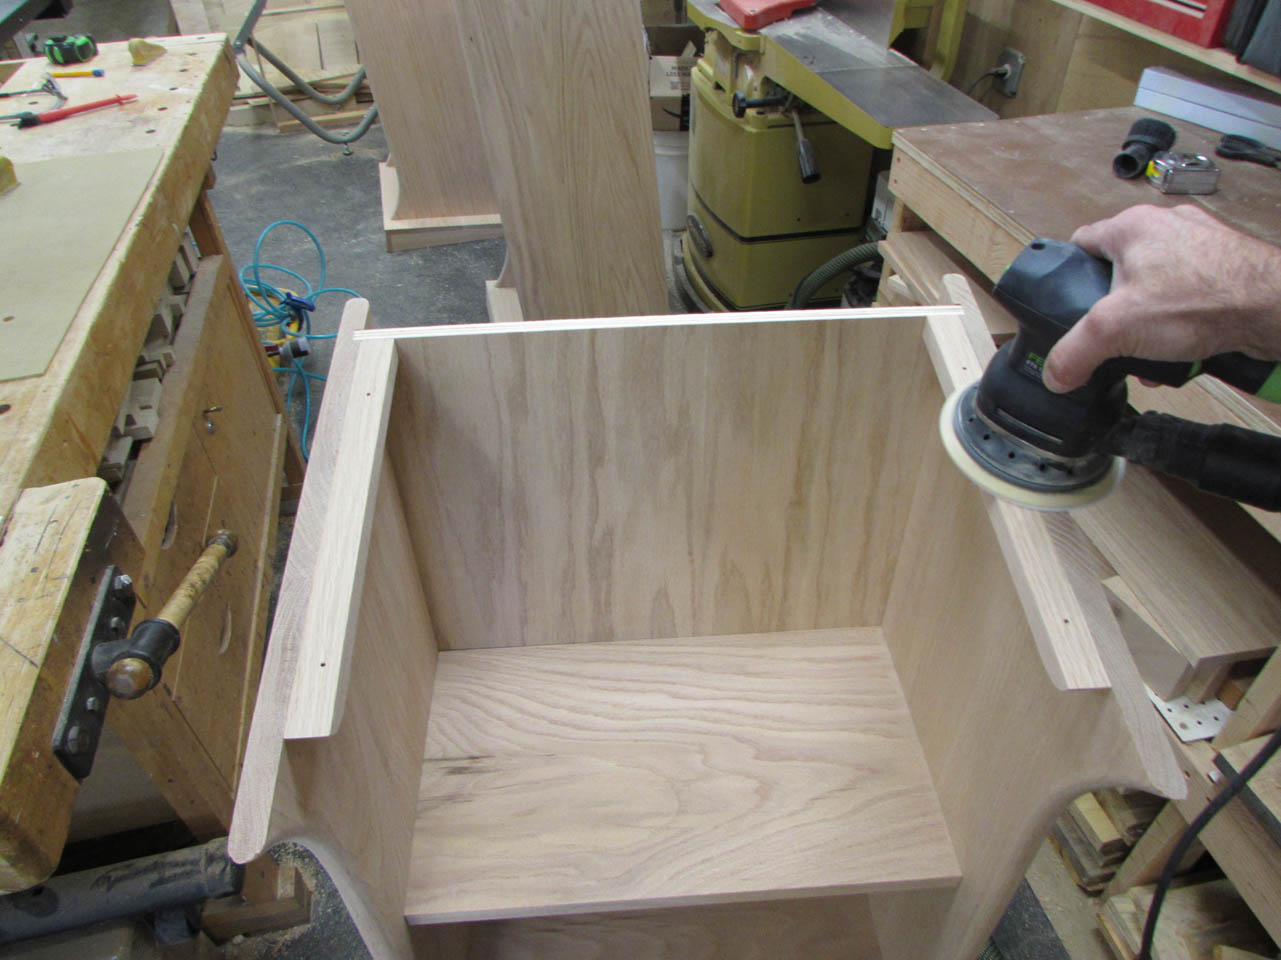
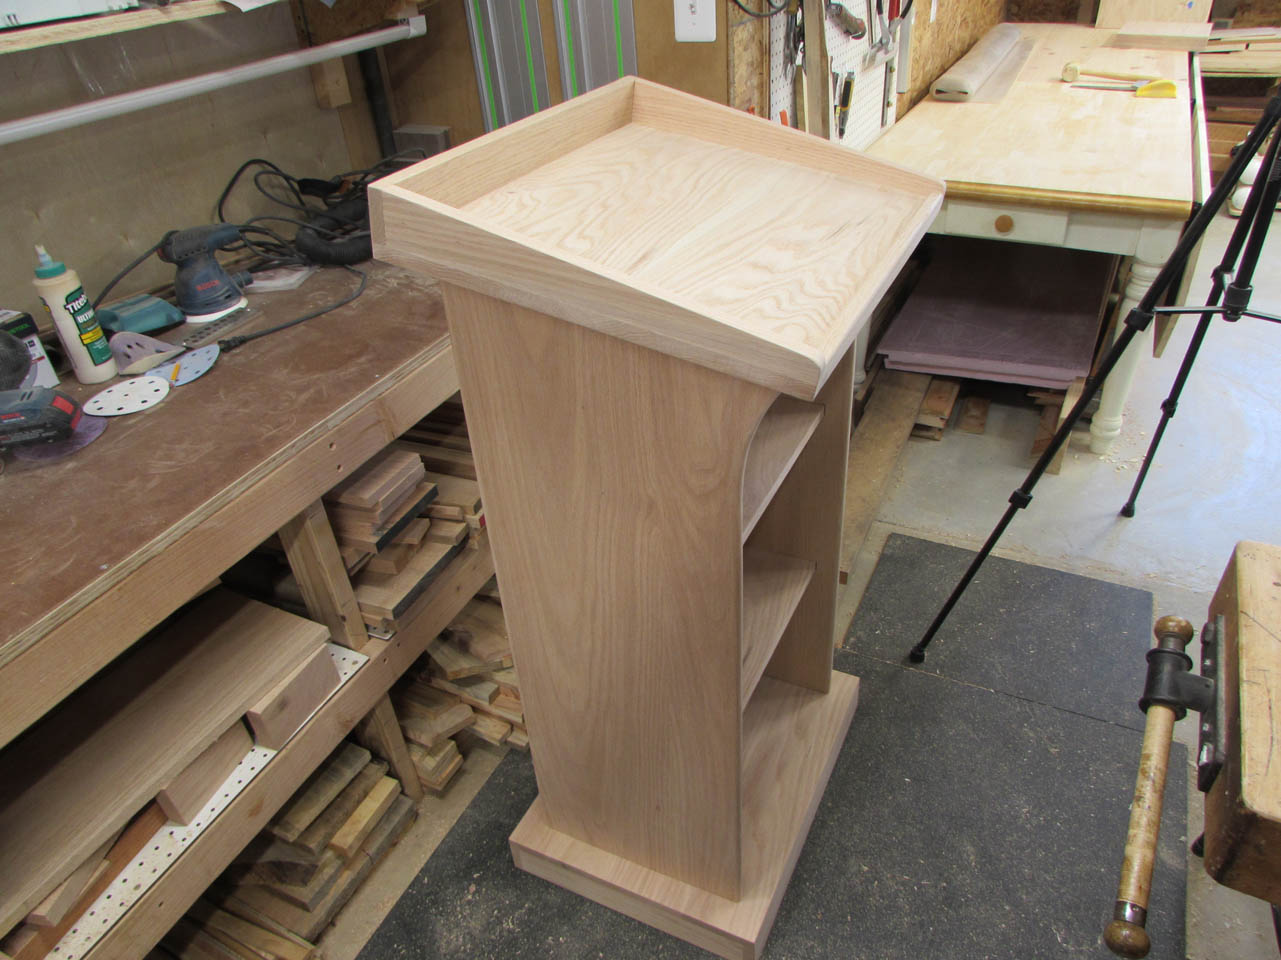
The brackets for attaching the tops are dry so I pulled the clamps off and sanded away any glue squeeze-out.
Since there is a 10° angle on the top of the podium, I flipped over a top piece and placed it on the floor. I turned the mid-section upside down and set it on the inverted top piece. The angle of the top is less than 10° but it helps to straighten the podium up enough to work on the bottom.

I roughly centered the base on the bottom of the mid-section.
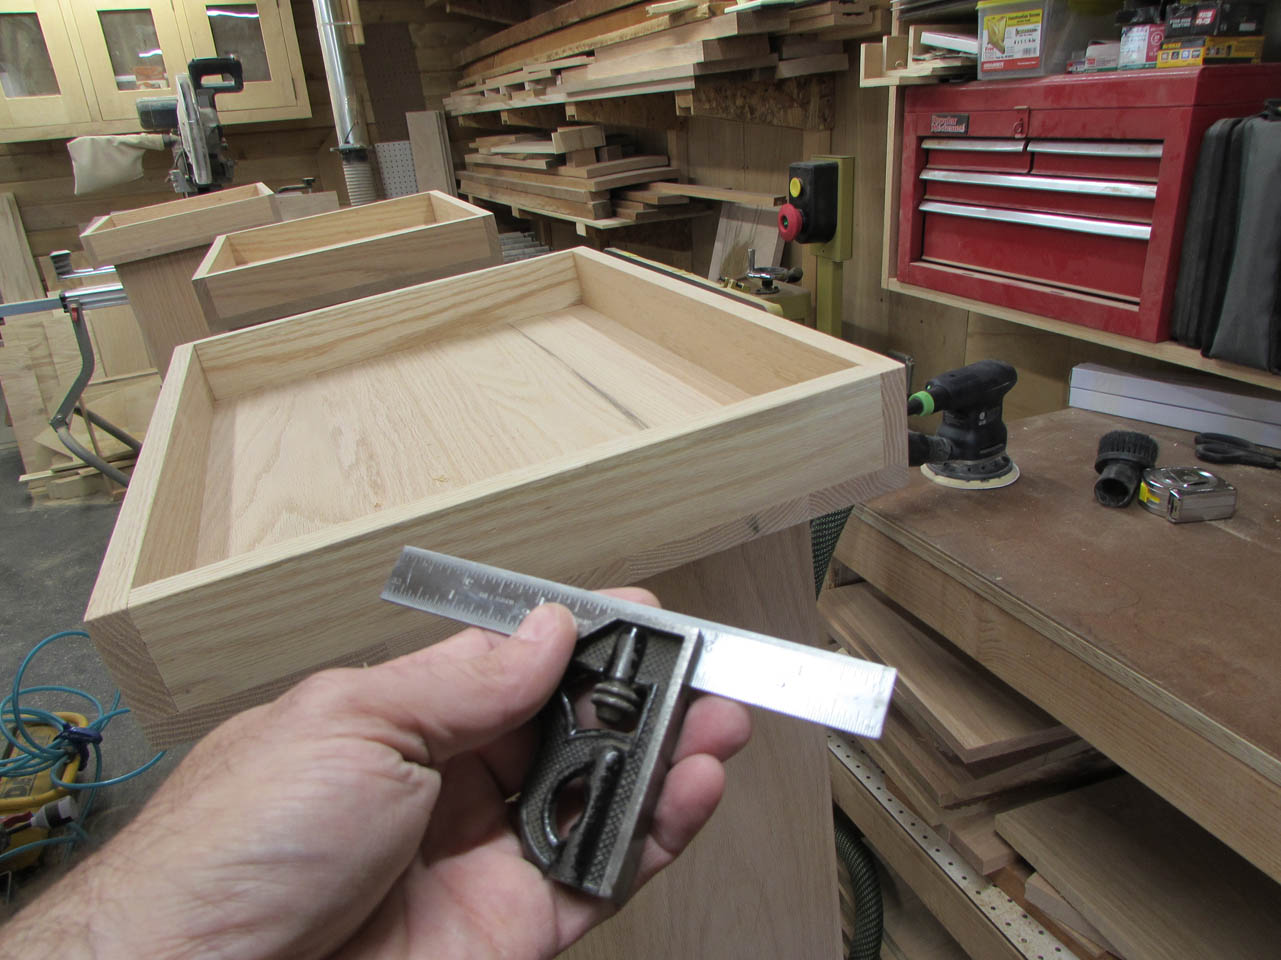
I used a combination square to help me align the base.
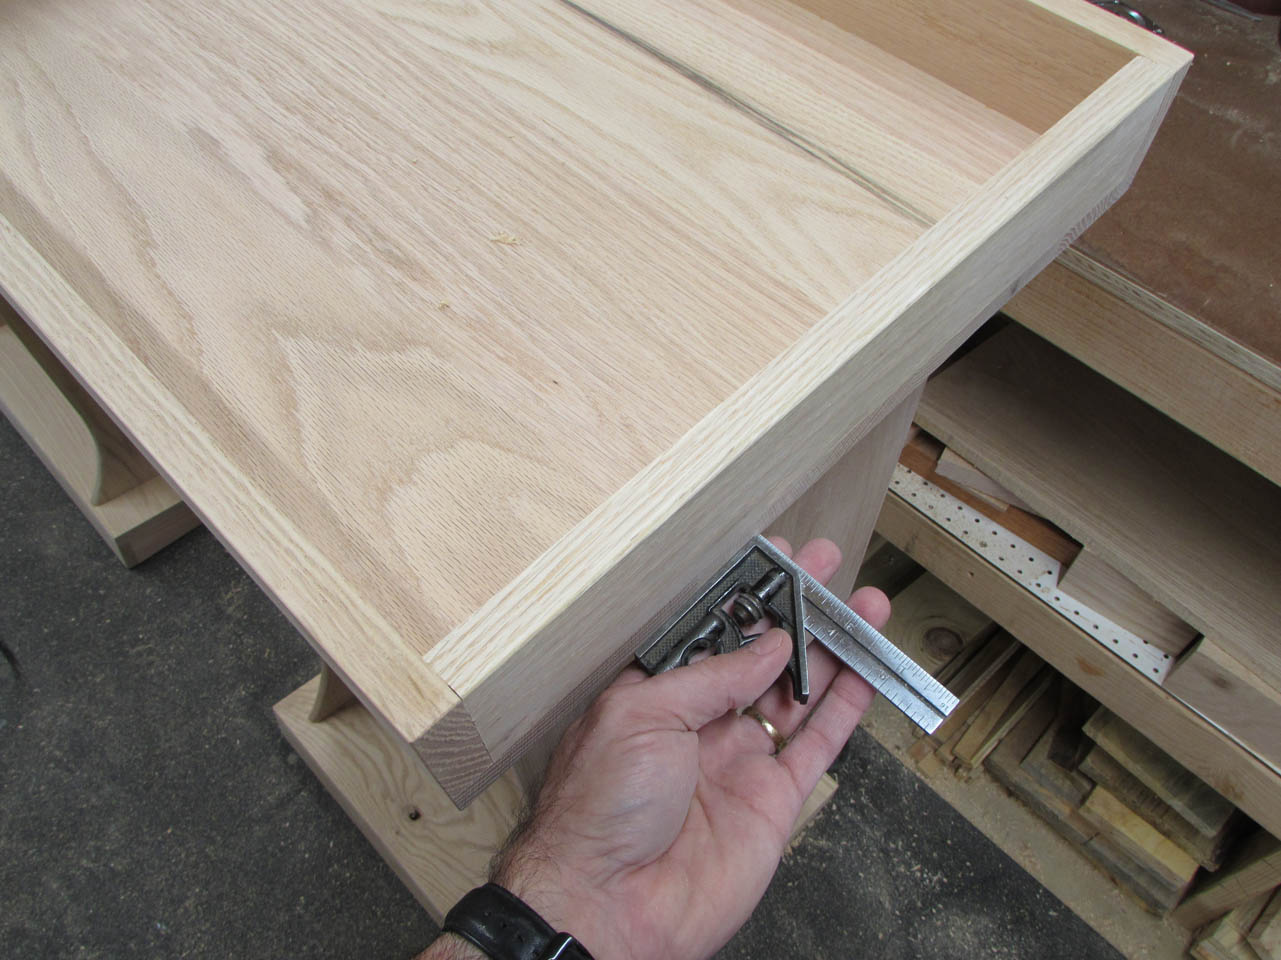
Next, I set the square to locate the center of the side pieces and marked them.

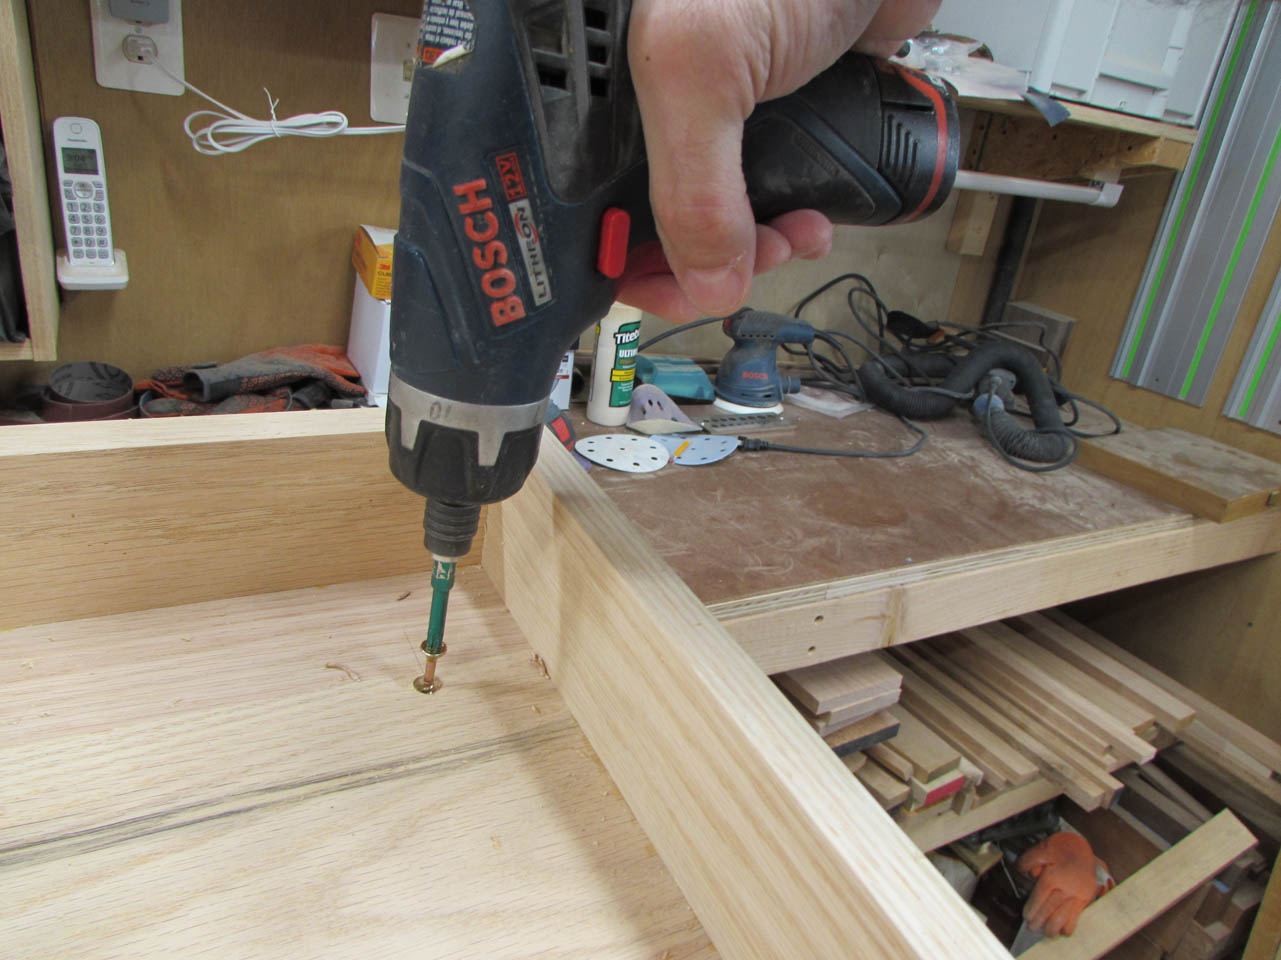
I used a counter-sink drill bit to drill a pilot hole in each corner for attaching the base with screws.
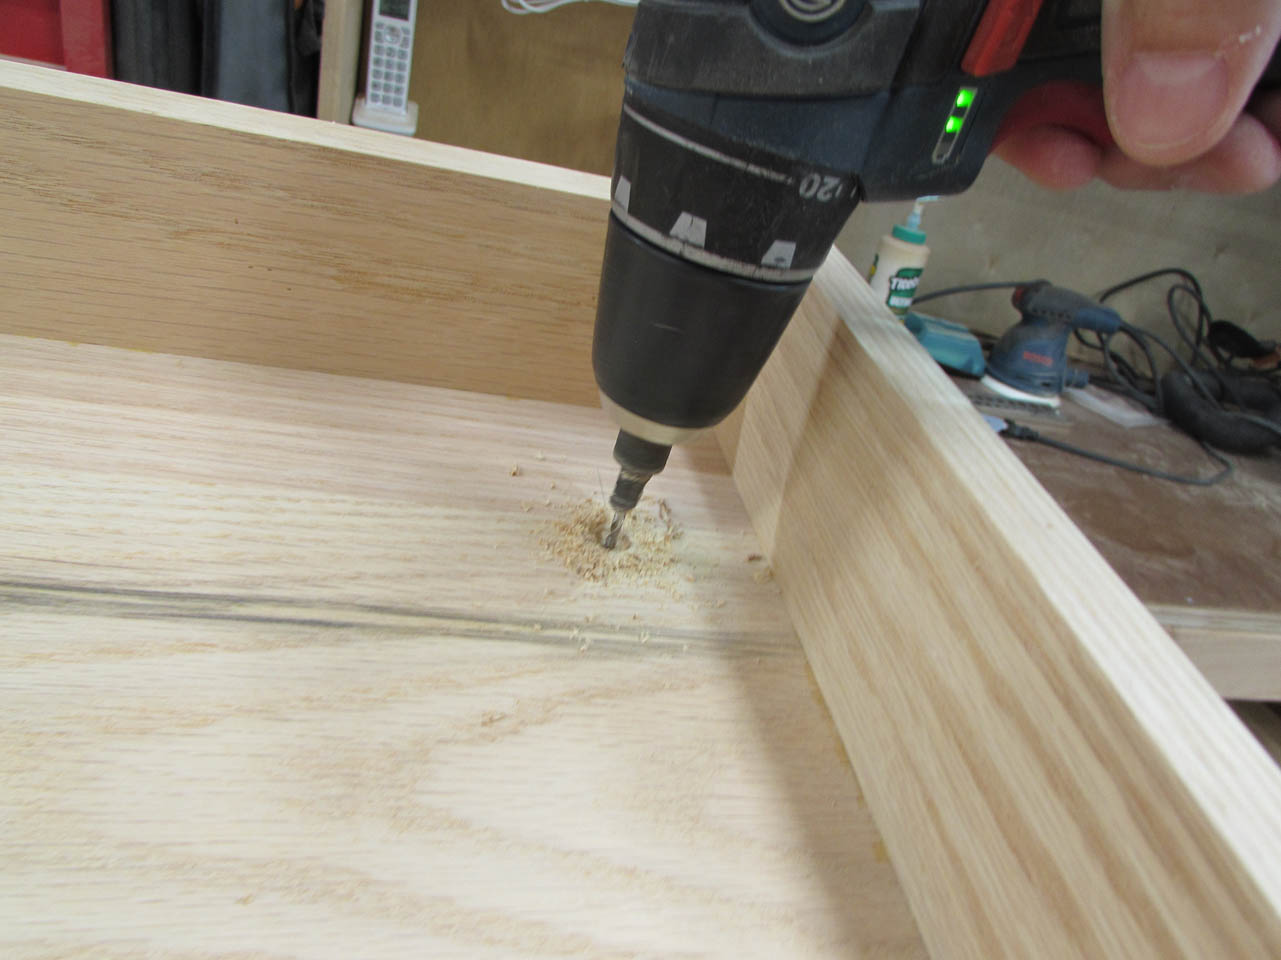
I used 2″ long construction screws to attach the base in each corner.

Once the base was located I backed the screws most of the way out and applied glue to the bottom of the plywood and sides.

Aligning the screws that were still sticking out of the base, with the holes in the mid-section, I was able to relocate the base without sliding it around in the glue.

Then I reattached the four screws and added two more in the center of each side for additional strength.

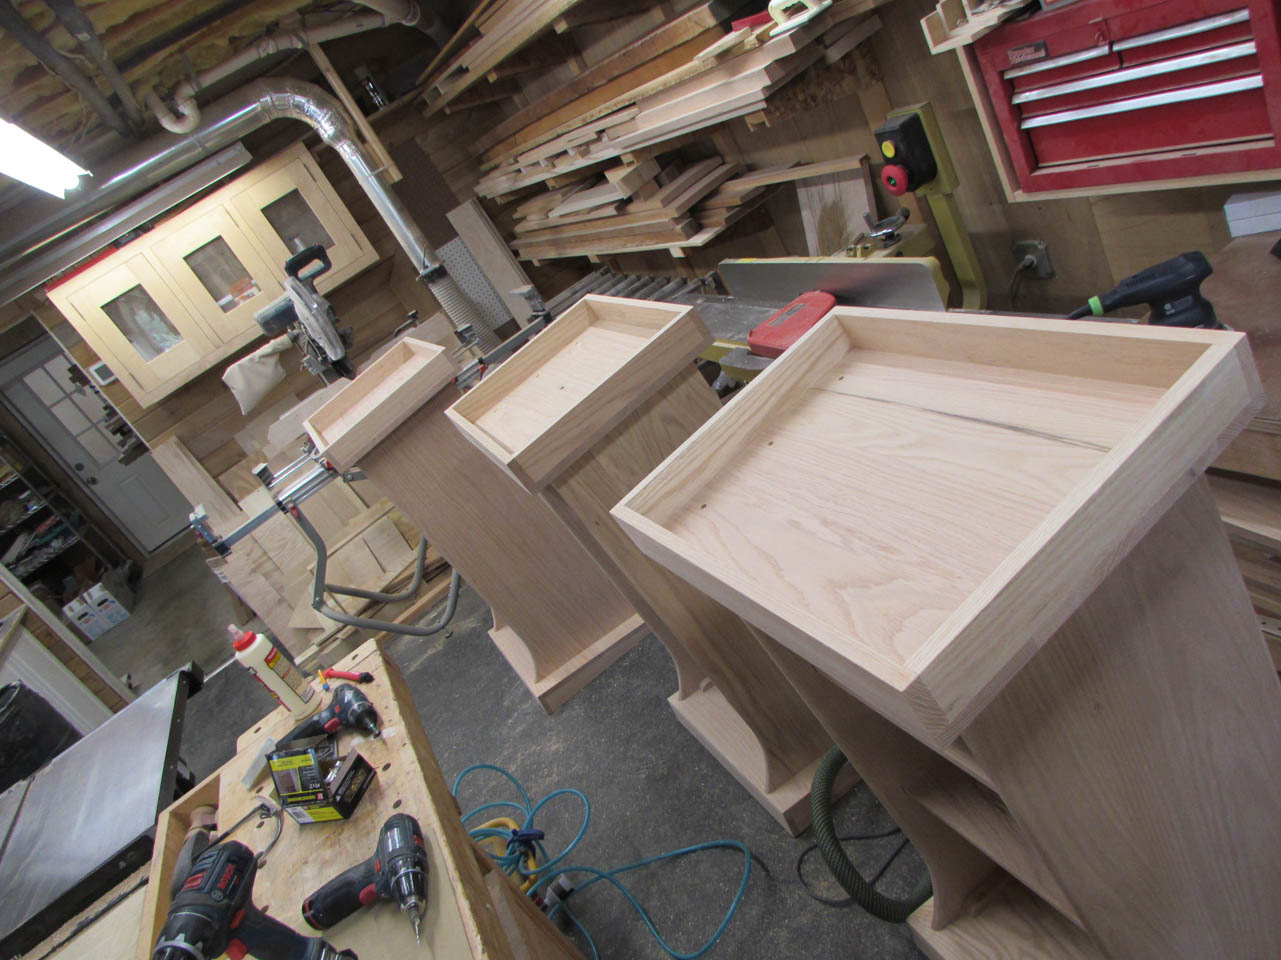
I then proceeded to do the same thing with the other two podiums.

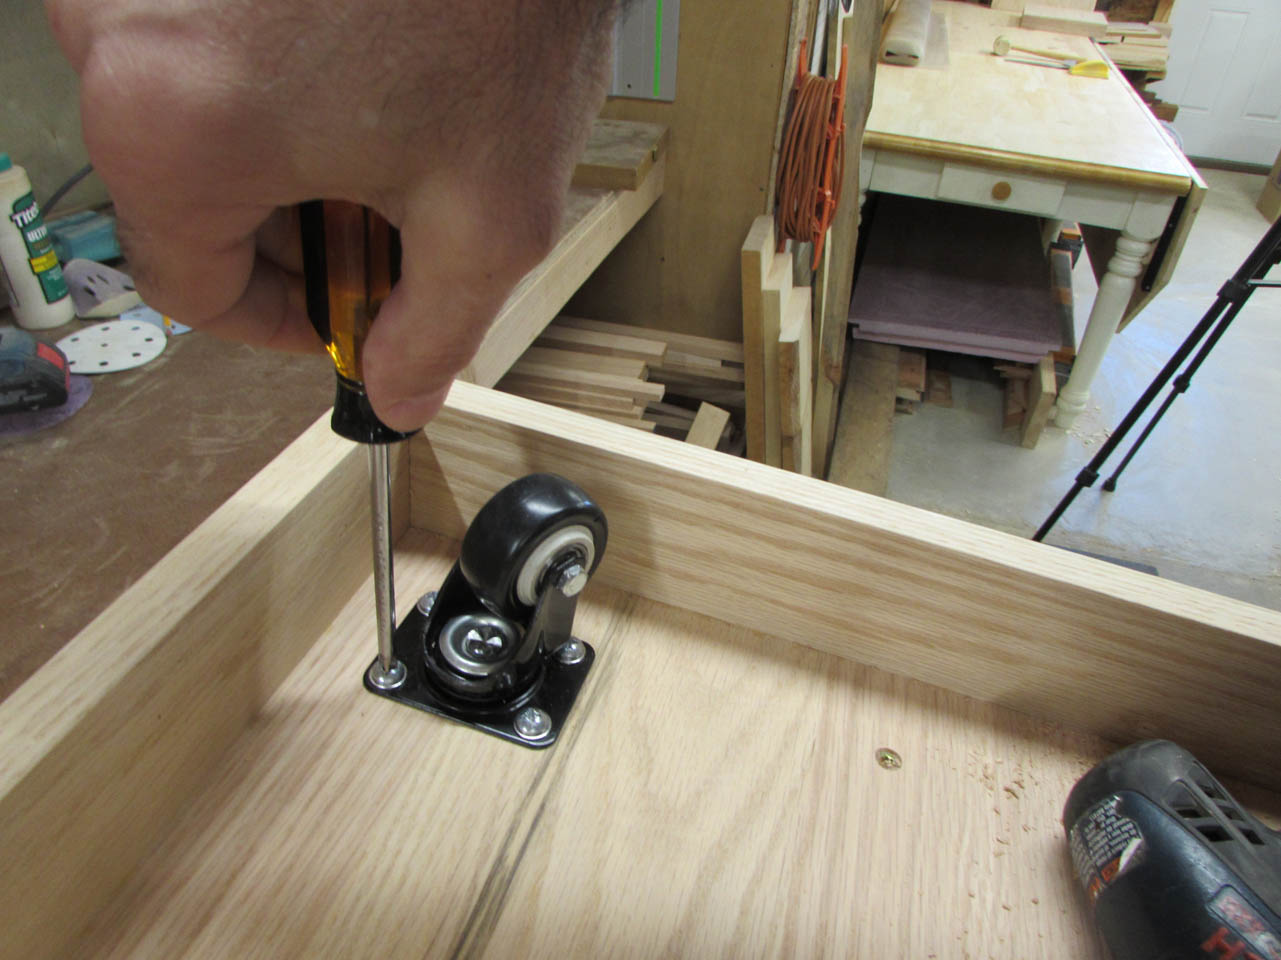
With the bases attached, I located the casters in the corners. I created a block that would hold the wheel of the caster assembly about 1/4″ away from either of the adjacent walls.

With the caster and block in each corner, I can mark the center of each screw hole.


I created a crude stop block to prevent my drill from drilling through the opposite side of the base.

I used some 3/4″ long #12 pan head screws along with a washer to attach the first caster.
Happy with the fit of the screws and location of the caster, I removed it and proceeded to drill the pilot holes for the other eleven casters. The casters will be installed after stain and polyurethane has been applied.

With that done, I flipped the podiums over and placed the top pieces on them.
Once again I used a combination square to center and locate the top pieces.

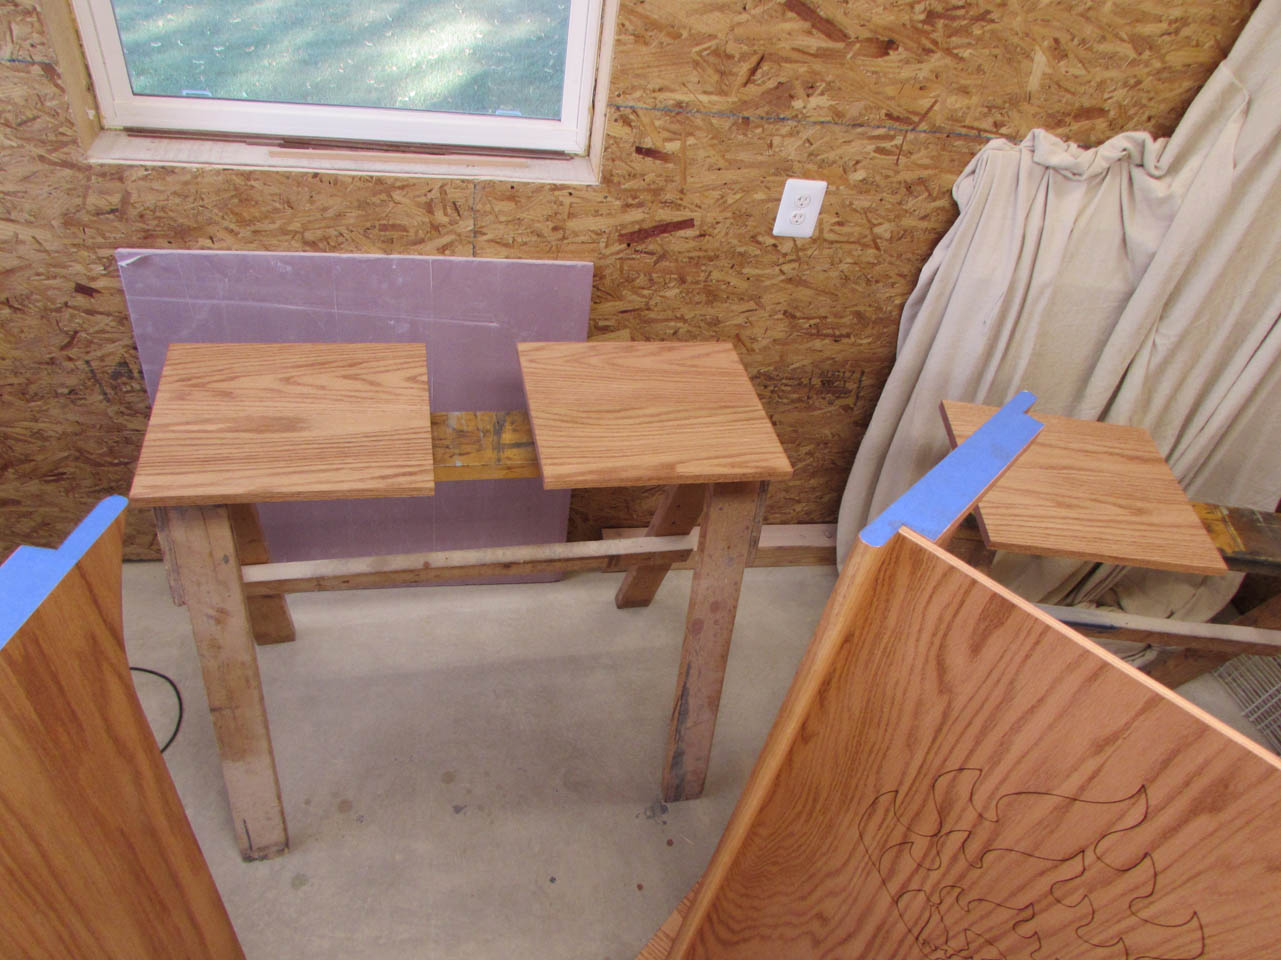
I am not going to attach these until after stain and finish, but I need to mark the location of the sides on the bottom of the top piece.
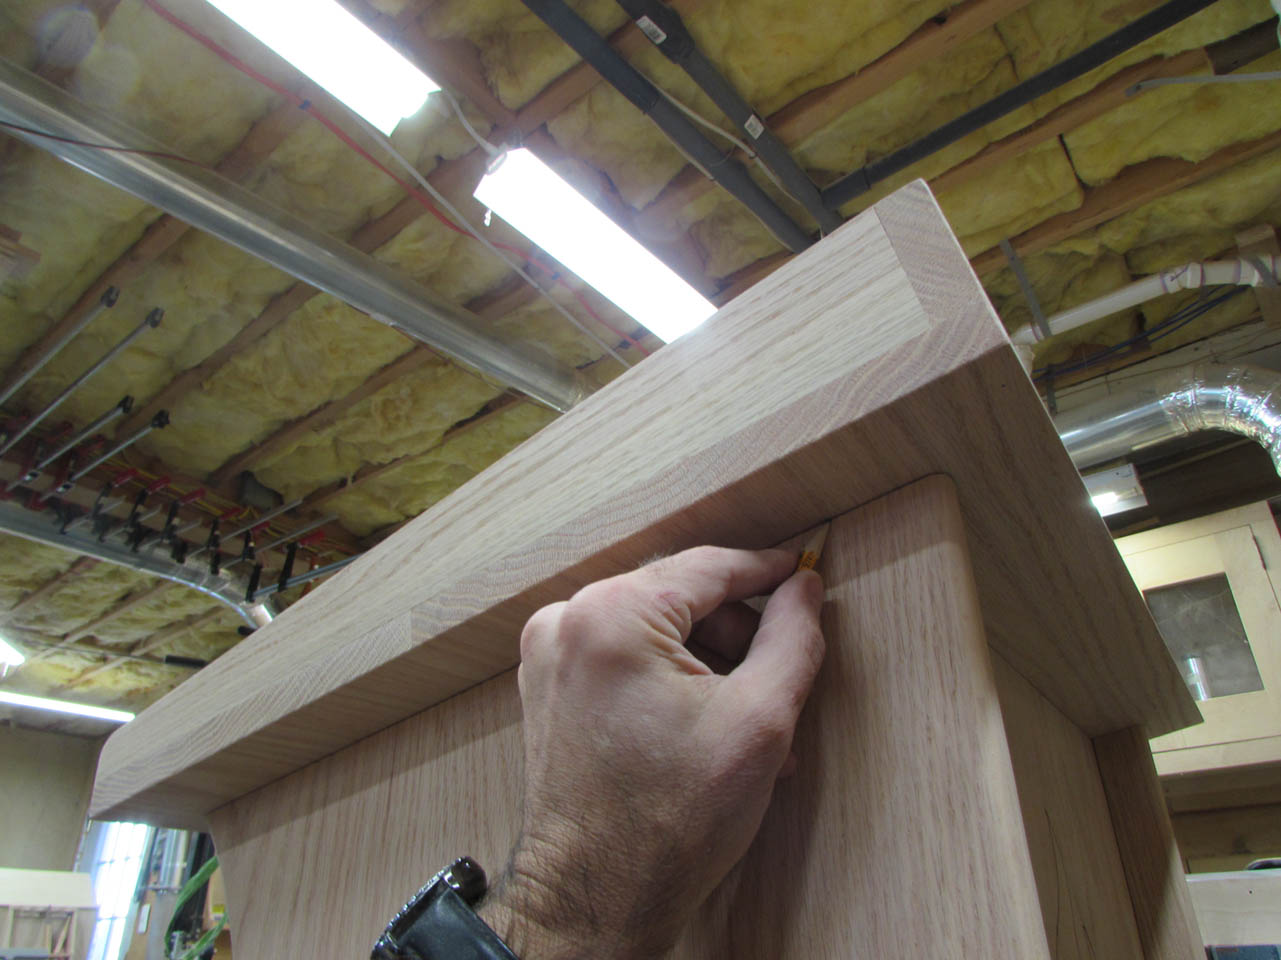
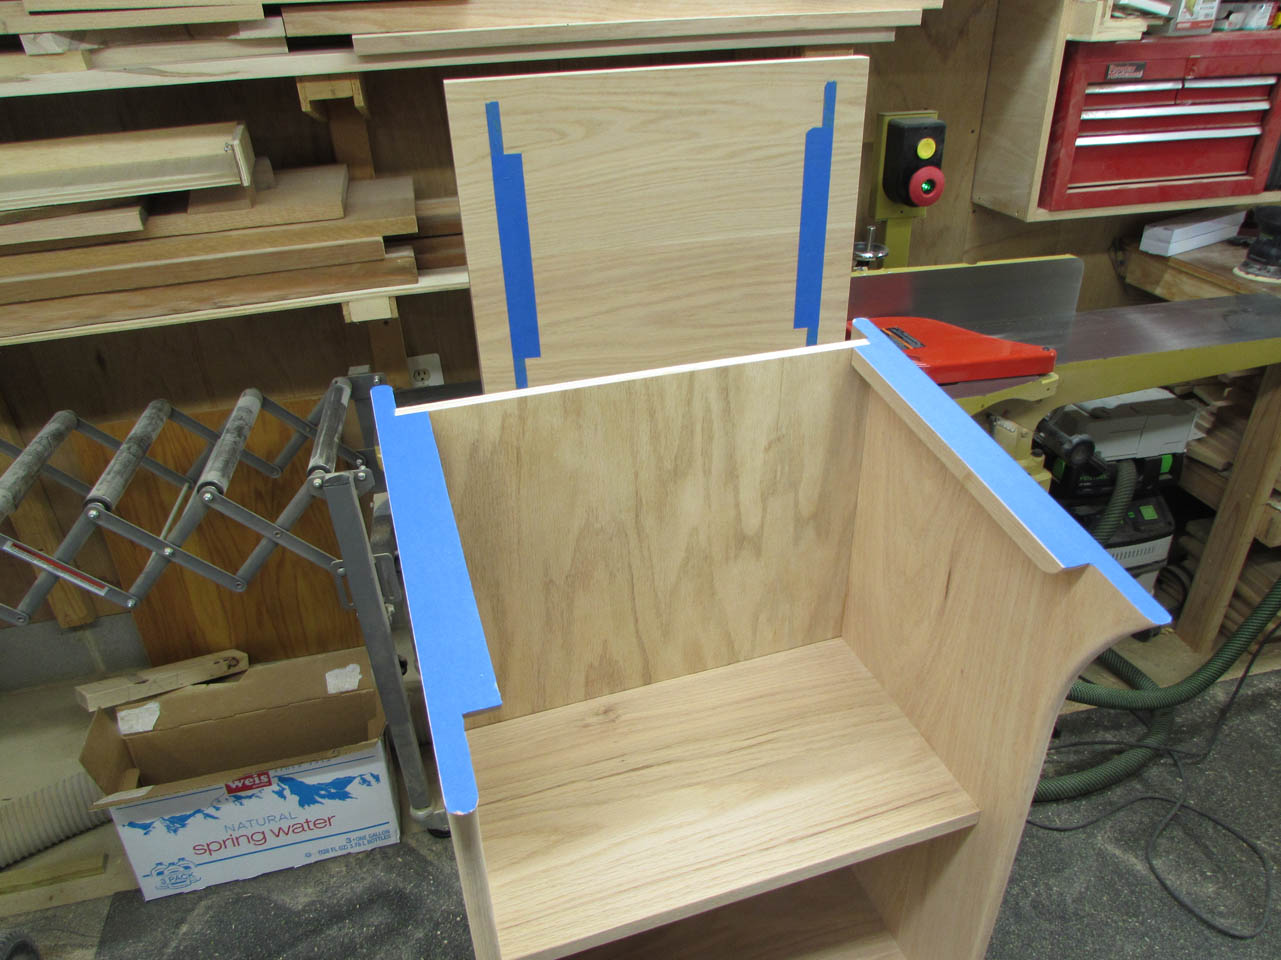
I can use those marks to mask off the area as well as the top of the sides. This will allow me to apply stain and finish everywhere but these areas. That will leave me bare wood to apply glue to for final assembly. The glue is strongest when applied to clean, bare wood.
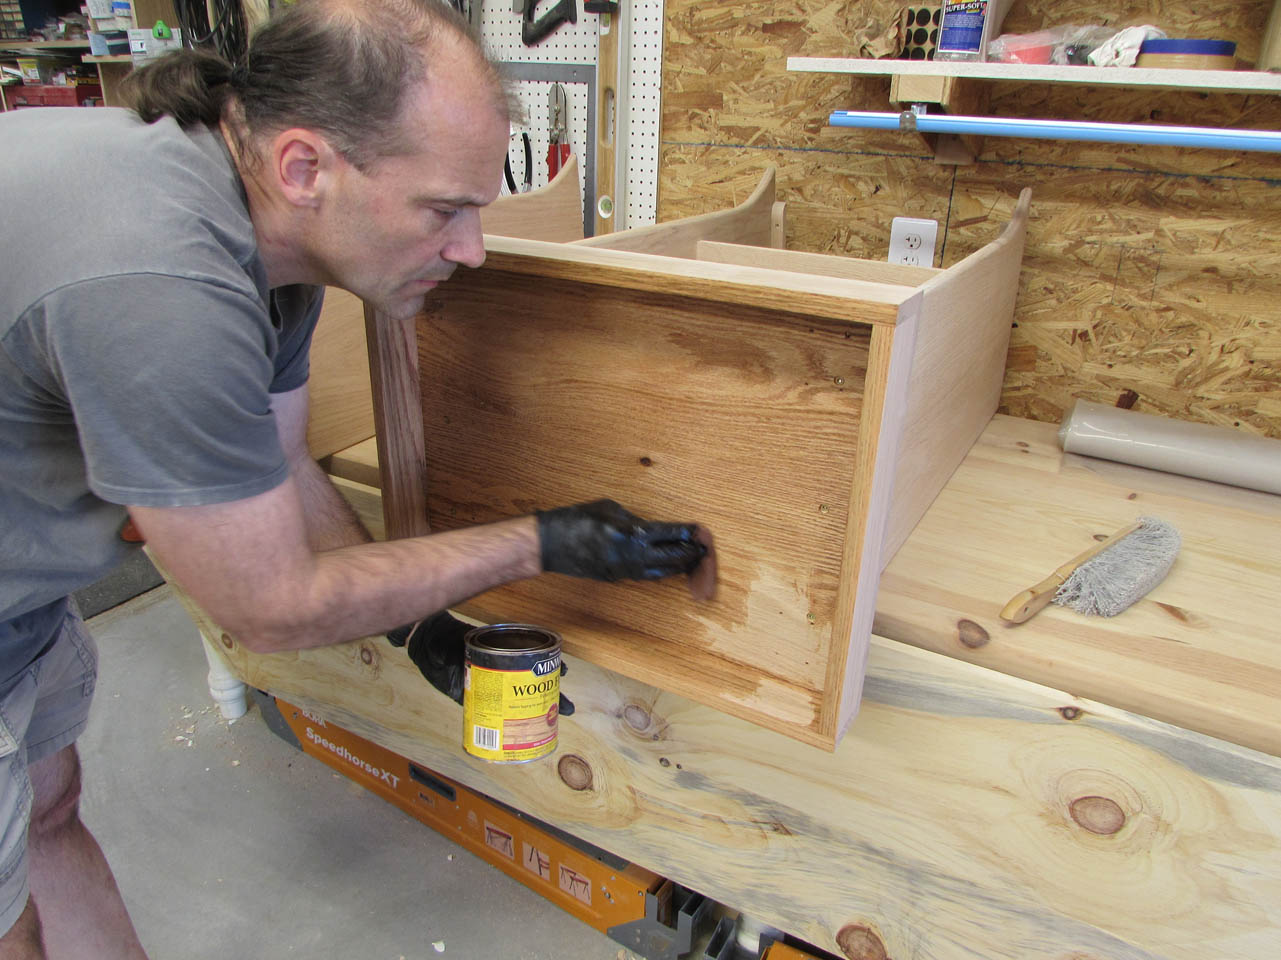
I relocated everything to my finishing area and started applying stain. I am applying cherry stain to all three podiums so I start with the bottom sides of the top pieces and laptop shelves. After staining the bottoms, I flip them all over onto painter’s pyramids and apply stain to the top and sides as well.

The stain is primarily applied with a piece of lint free cloth. The cloth does not stain very well in tight corners so I apply it with a brush along all the inside corners first.

I start staining the mid-sections with the podiums laying on their fronts so that I can easily access all the surfaces without having to crawl around on the floor.

After the inside has been stained, I can stand the podium upright and finish staining the outside.


I deliberately left the top off so that it is easier to stain as well as get good access with a sprayer for the polyurethane. It would be more awkward with the top on and I would probably wind up with a lot of runs in the finish.
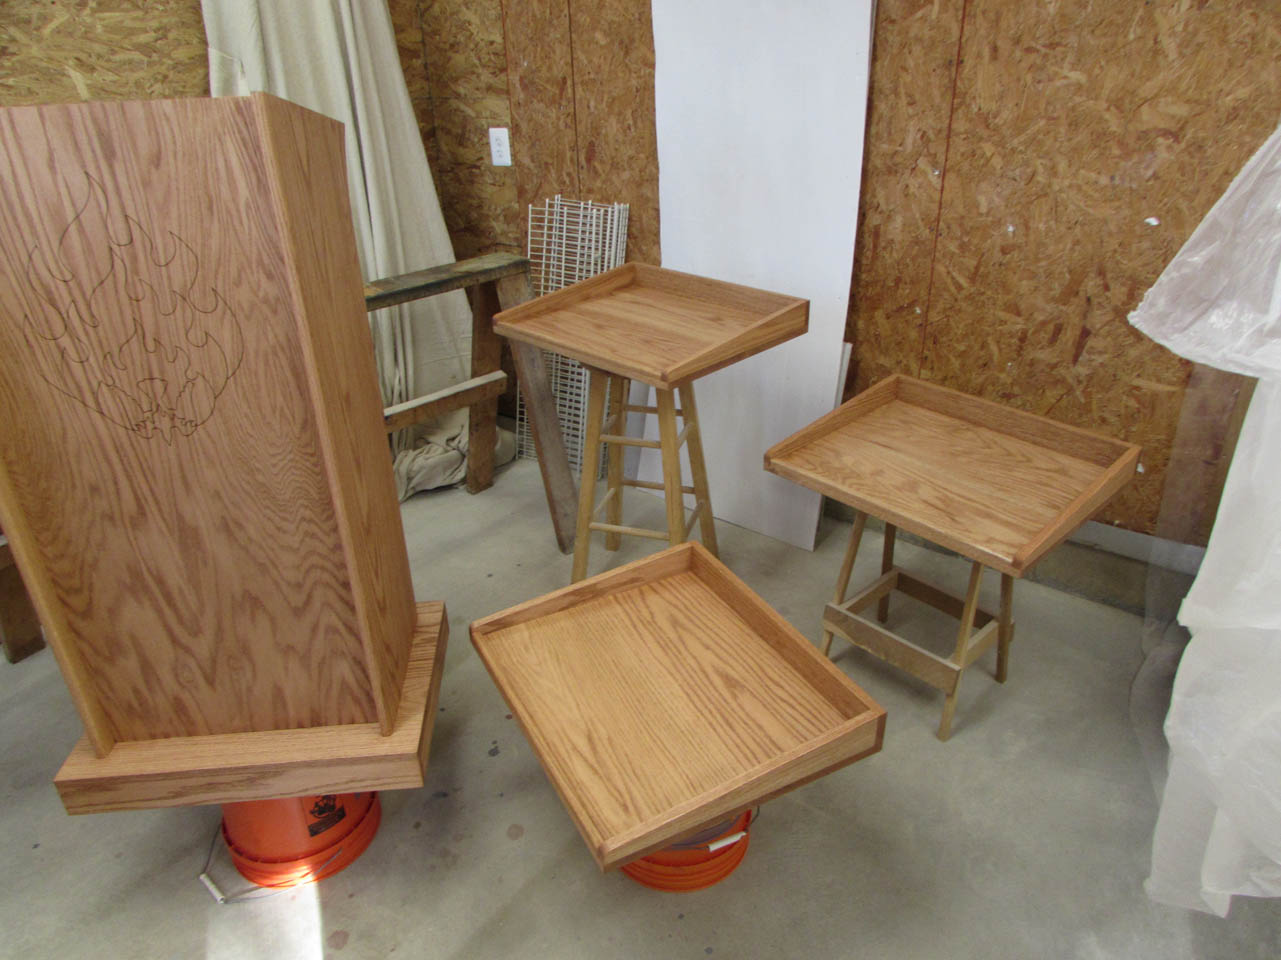
The tops, bottoms, and laptop shelves are stained so I am done for the day.
They will be left to cure overnight. I should be able to apply the polyurethane over the next two days and assemble all the hardware.
