Single piece crosier – part 2
My CNC ran for several hours to give me both halves of the tapered shaft that will attach to the top pieces I carved in part 1.
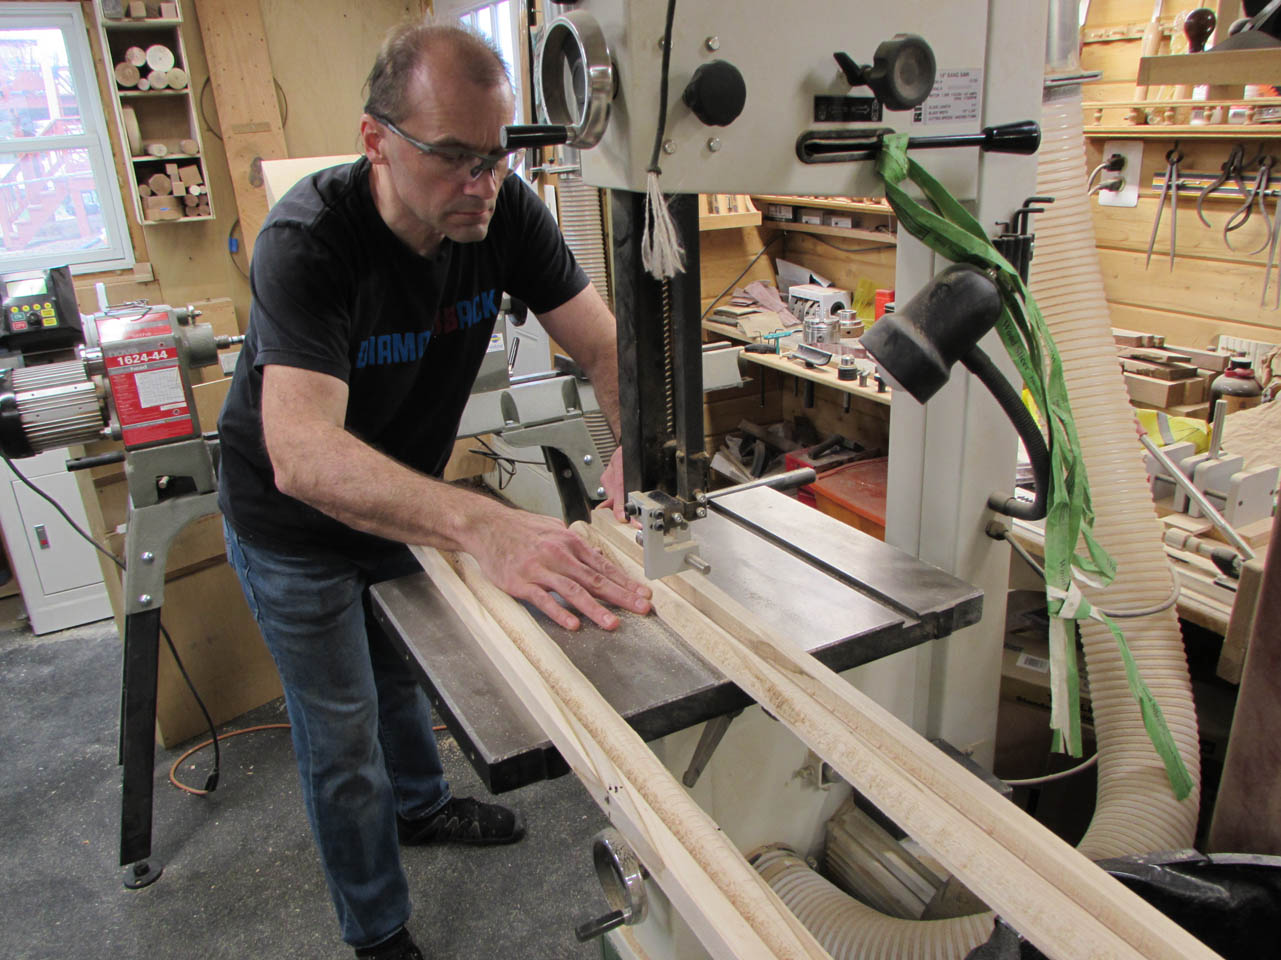
Before separating the halves, I need to square cut the ends so that they will butt correctly to the top pieces.
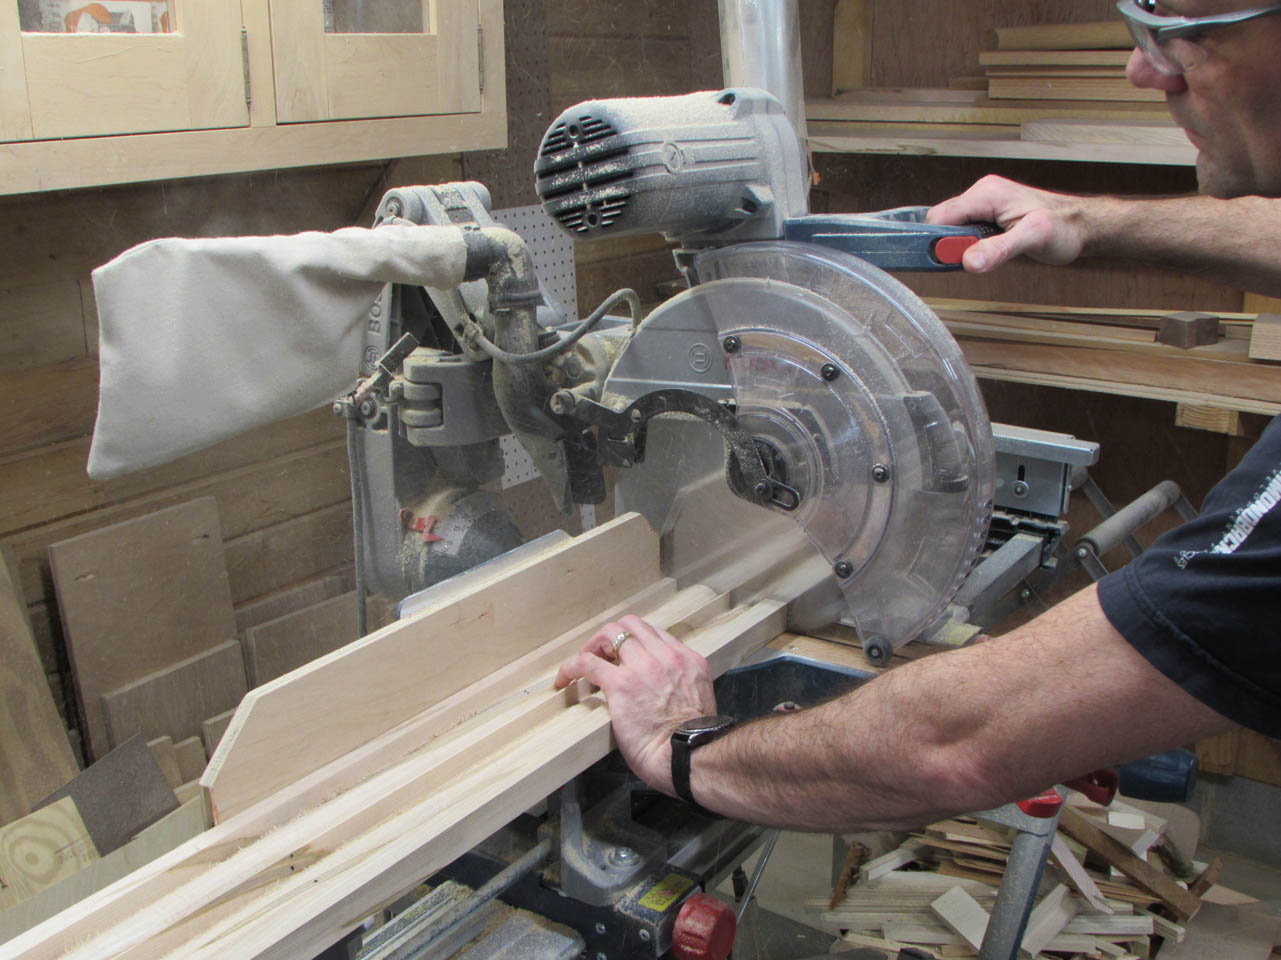
After that, I can then cut away the waste and separate the two pieces.

I am happy to say that I got the grain and color pretty close at the joint. I was worried that a large dark streak would find it’s way to the end and terminate abruptly at the joint. Luckily after a few years of being surprised by how my CNC thinks for itself sometimes, I got it right.

The strip of olivewood should be enough to hold these four pieces together but I want to add some additional strength to each side of the joint with some Domino tenons.
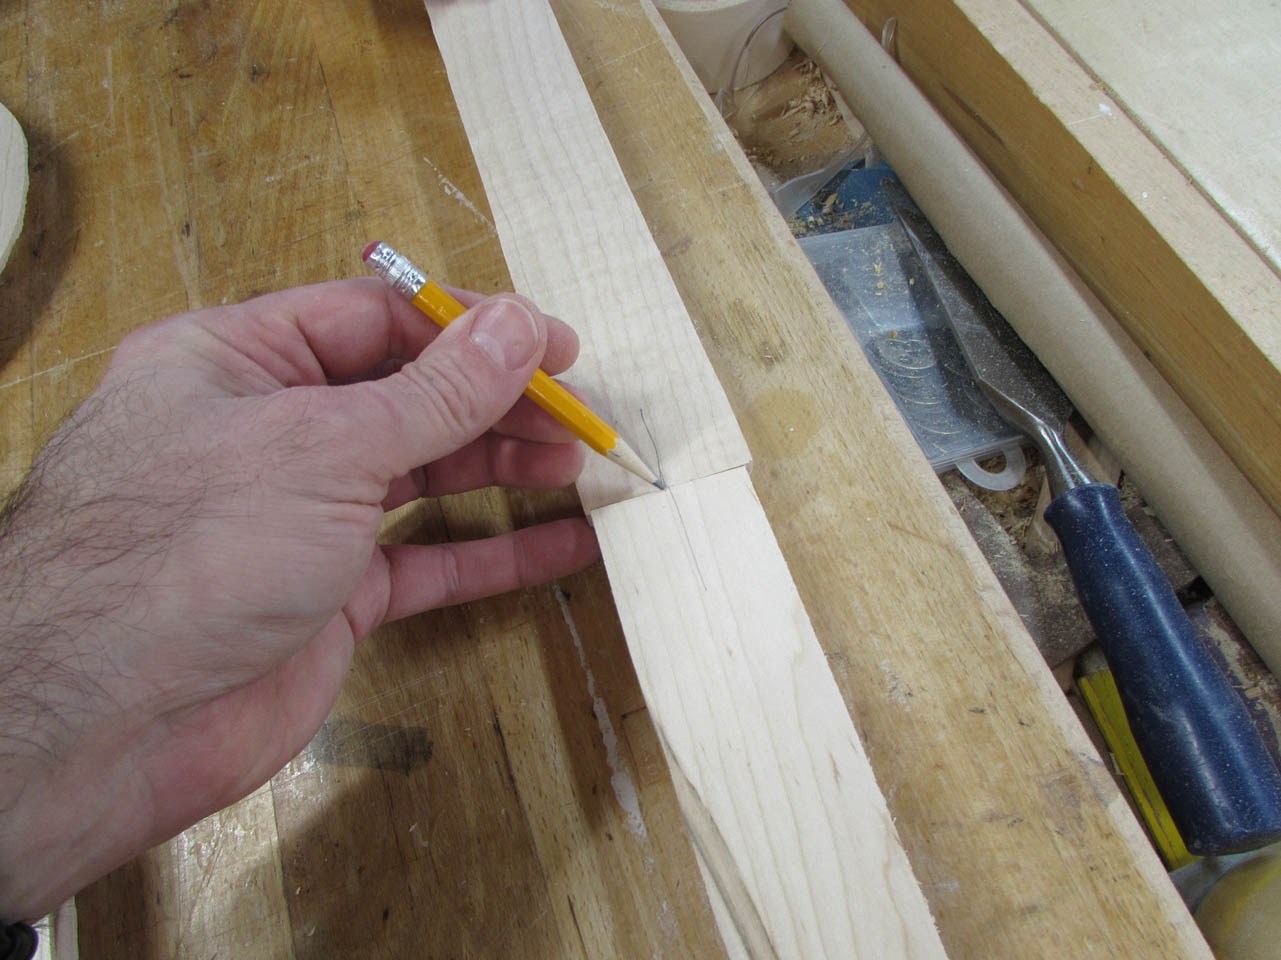
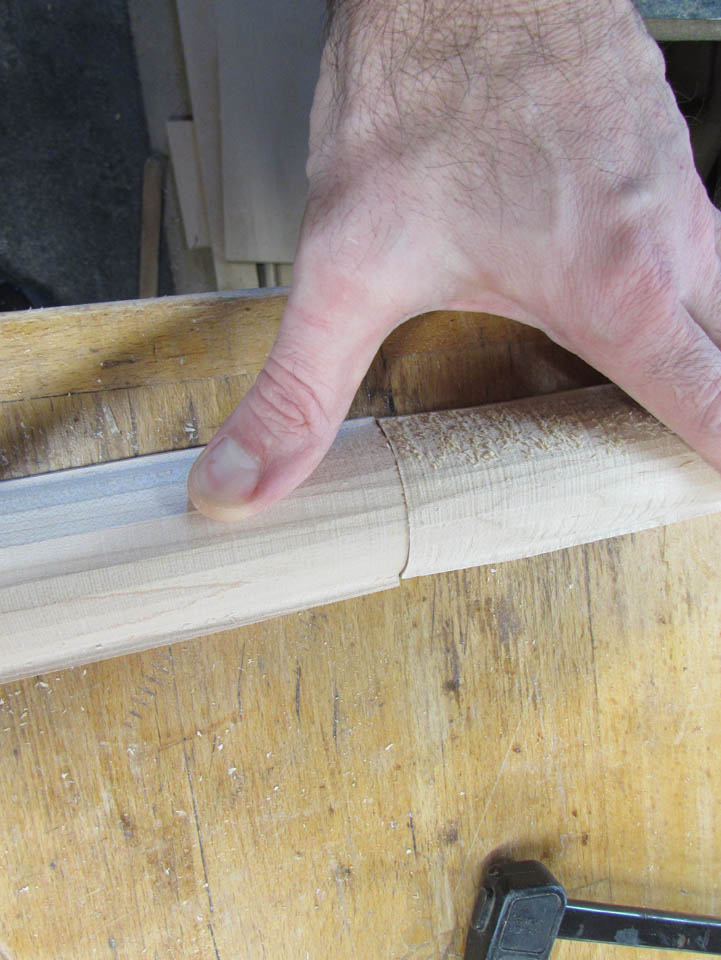
On the flat side of the joints, I drew a mark across them both to locate the center of the tenon.
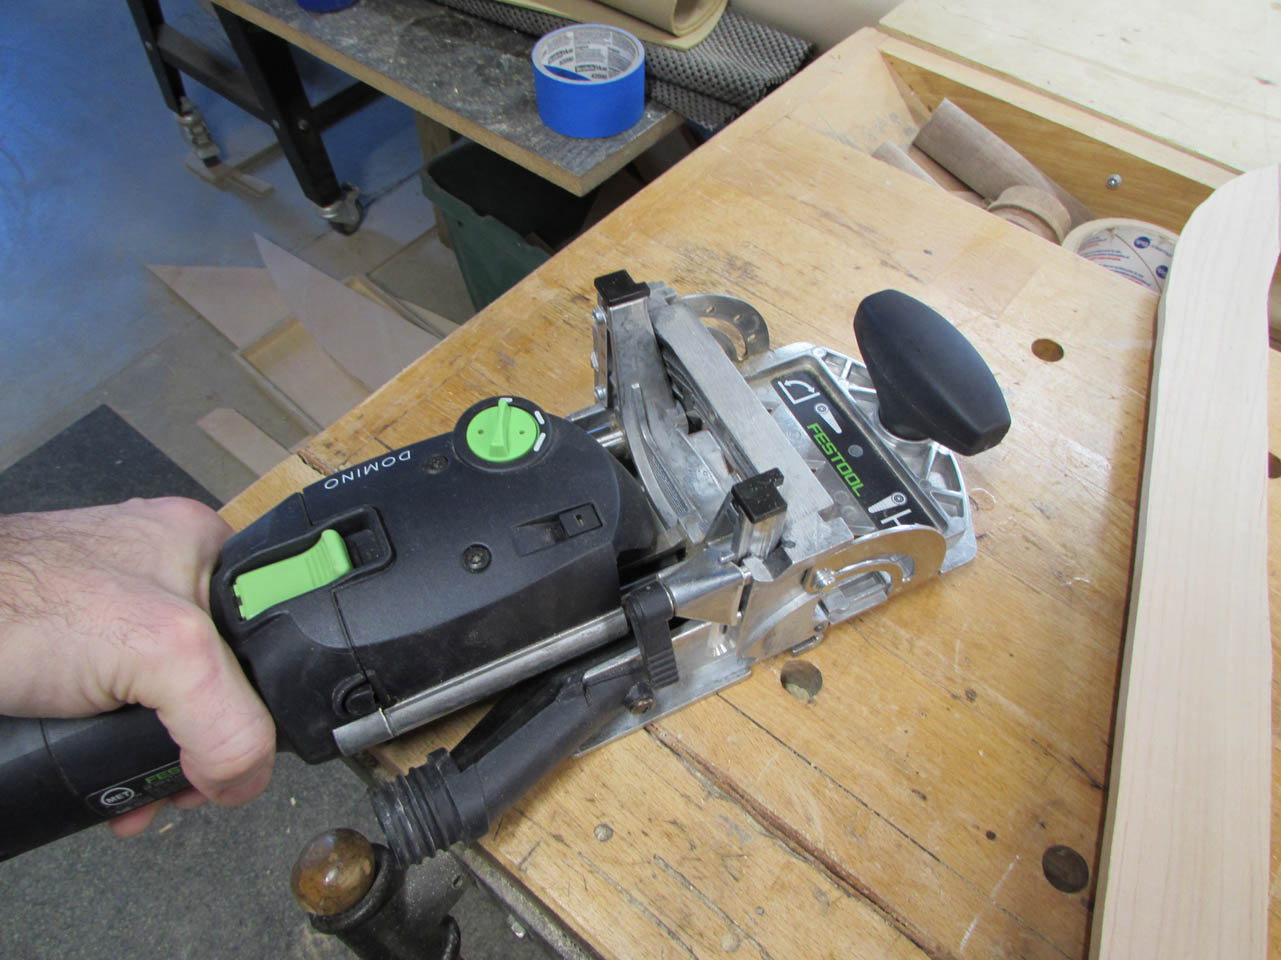
Then I setup my Domino jointer. I loaded up the correct bit for the tenon that I selected and set the depth.
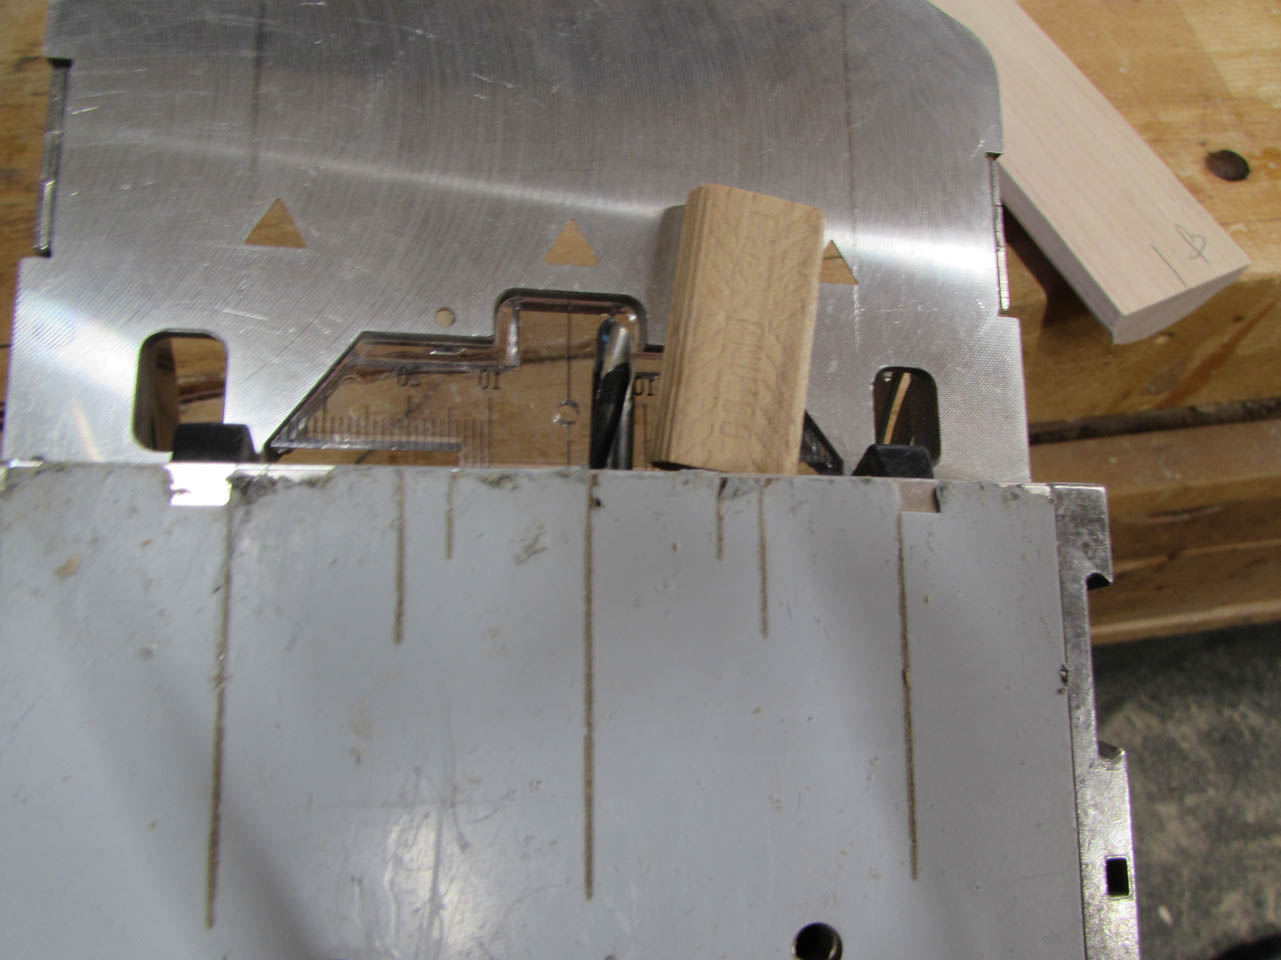
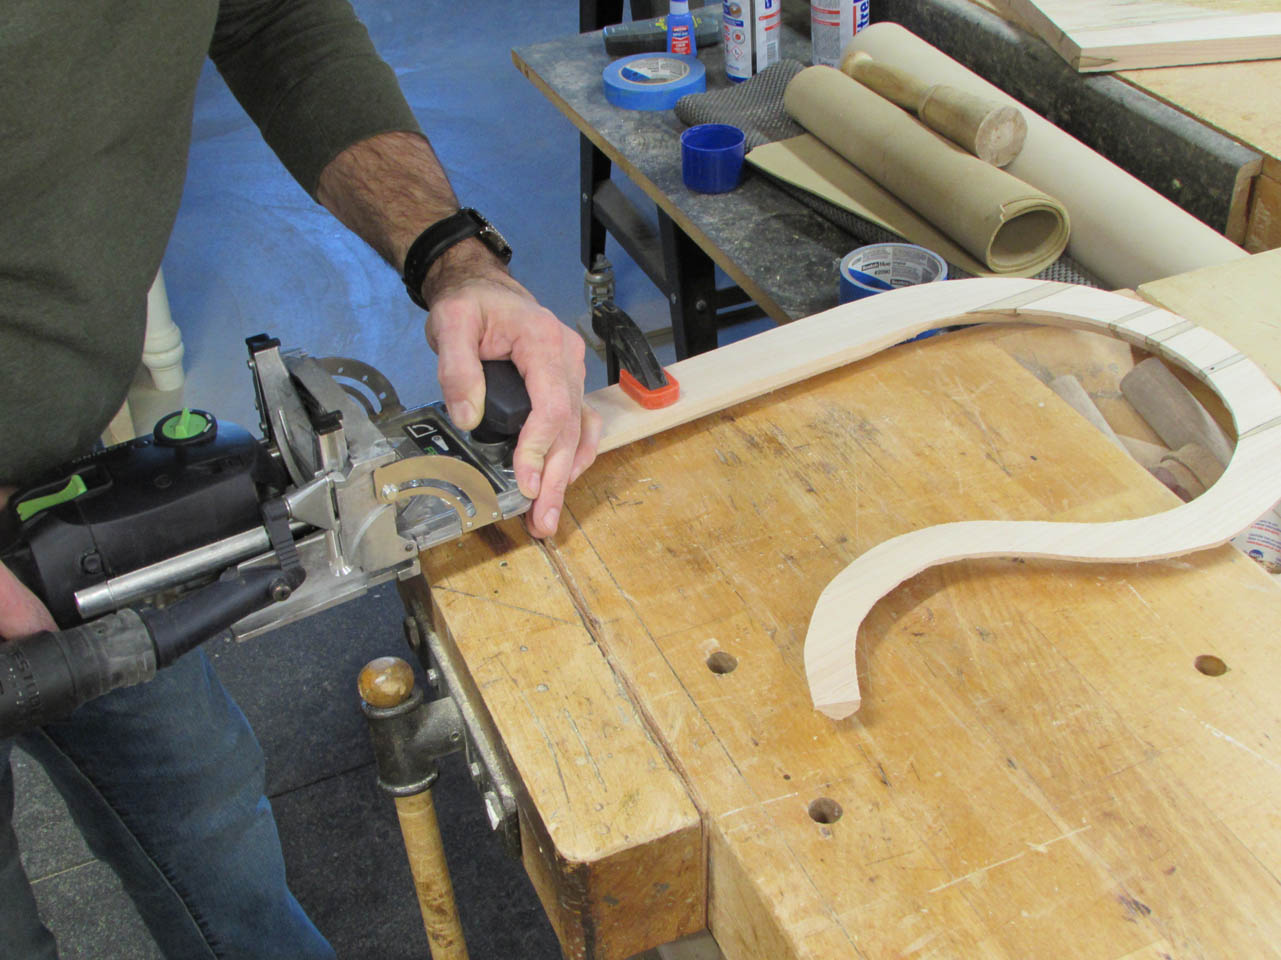
Some alignment and a quick plunge and the jointer cut the mortise in each end.
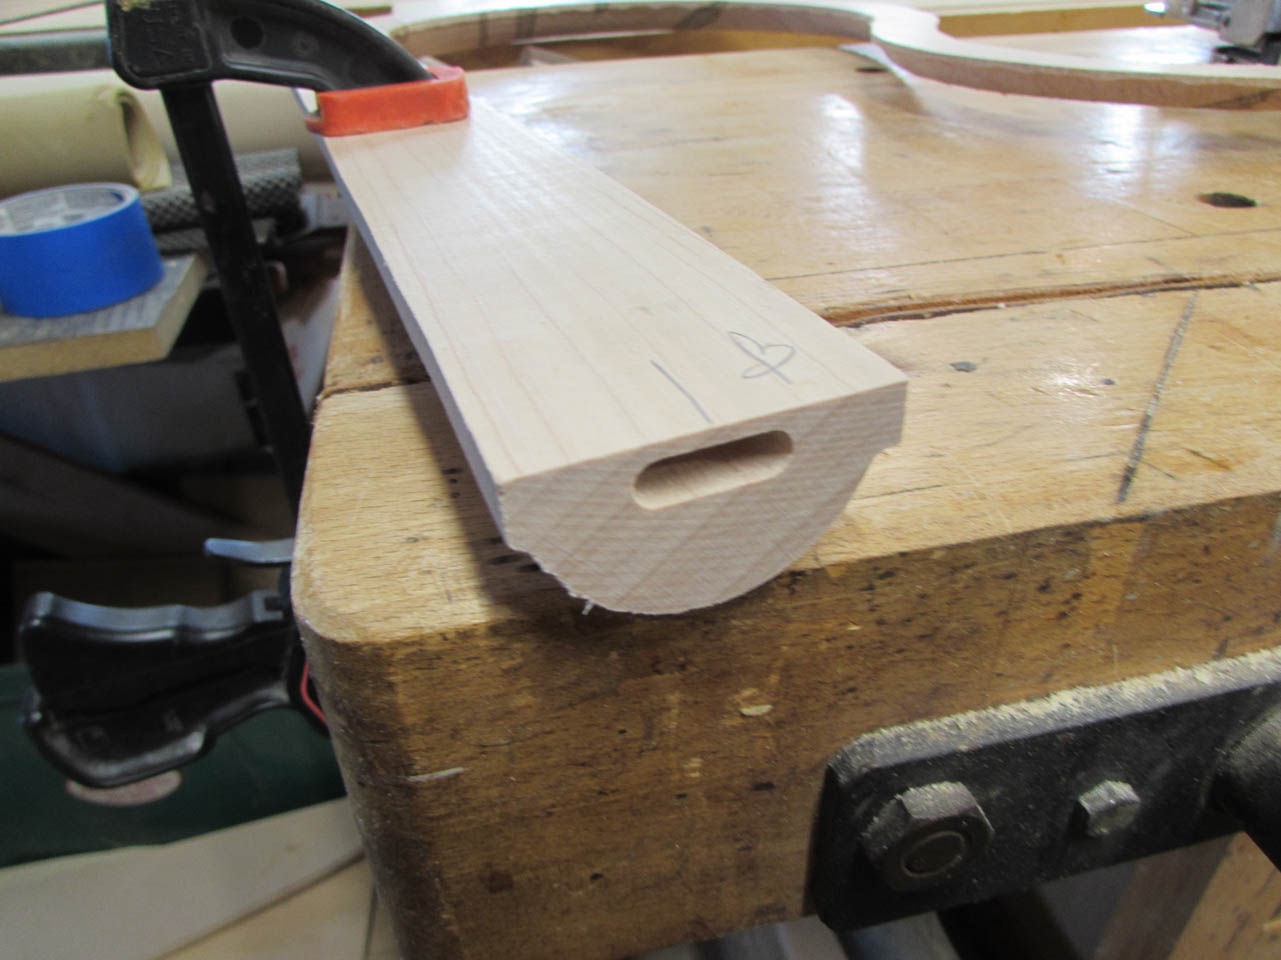

I test fit the tenon into both halves and it gave me a perfectly flat surface, at the joint. See the abrupt termination of the dark streak in the picture below. That was exactly what I avoided on the opposite side. luckily this is on the inside and it will disappear when it is all glued up.

The outer curve side is slightly different but that has to do with the finicky CNC, the glue surface is perfect. I will blend and shape the outside later.
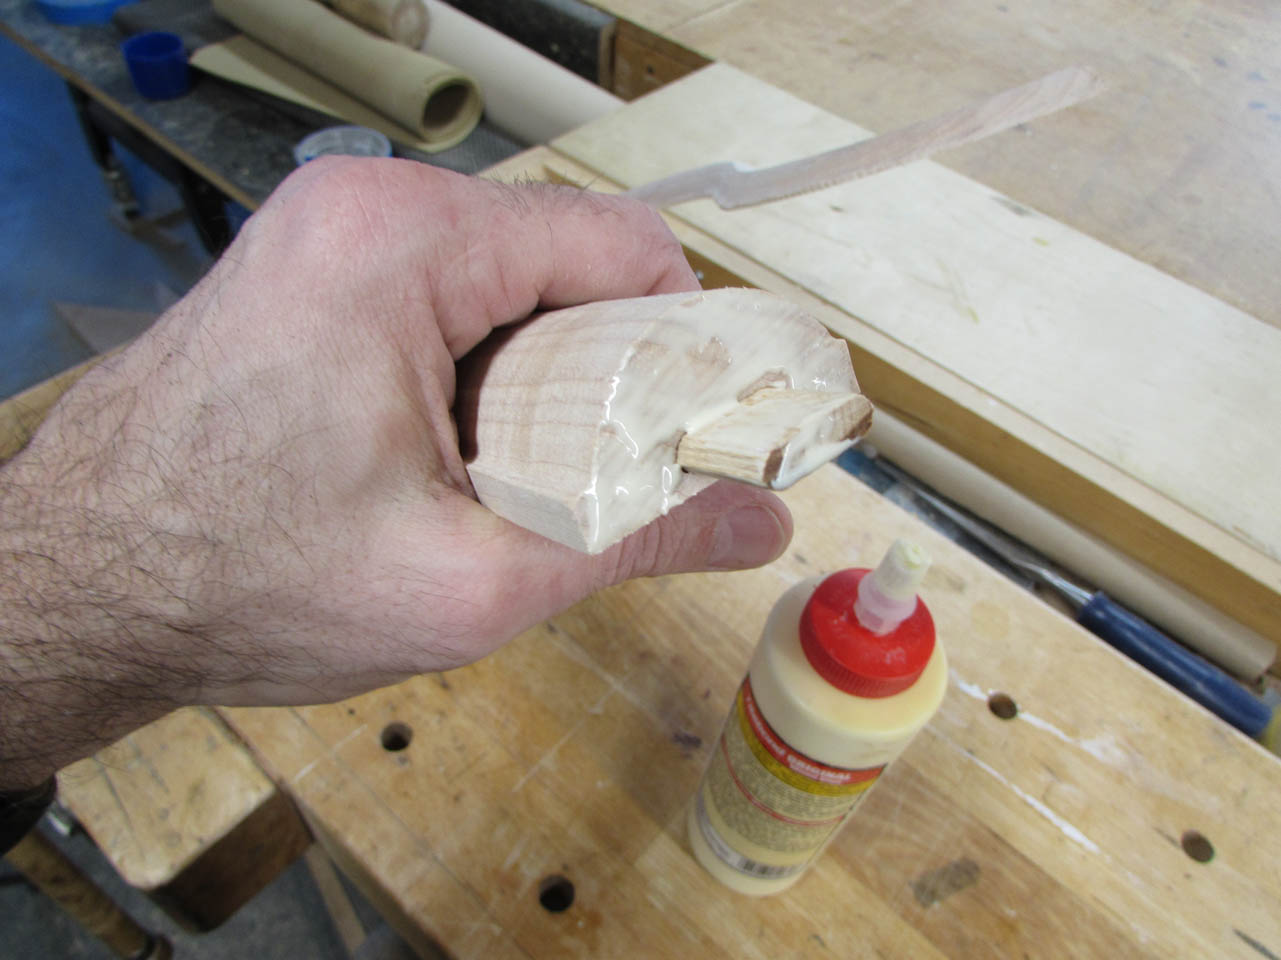
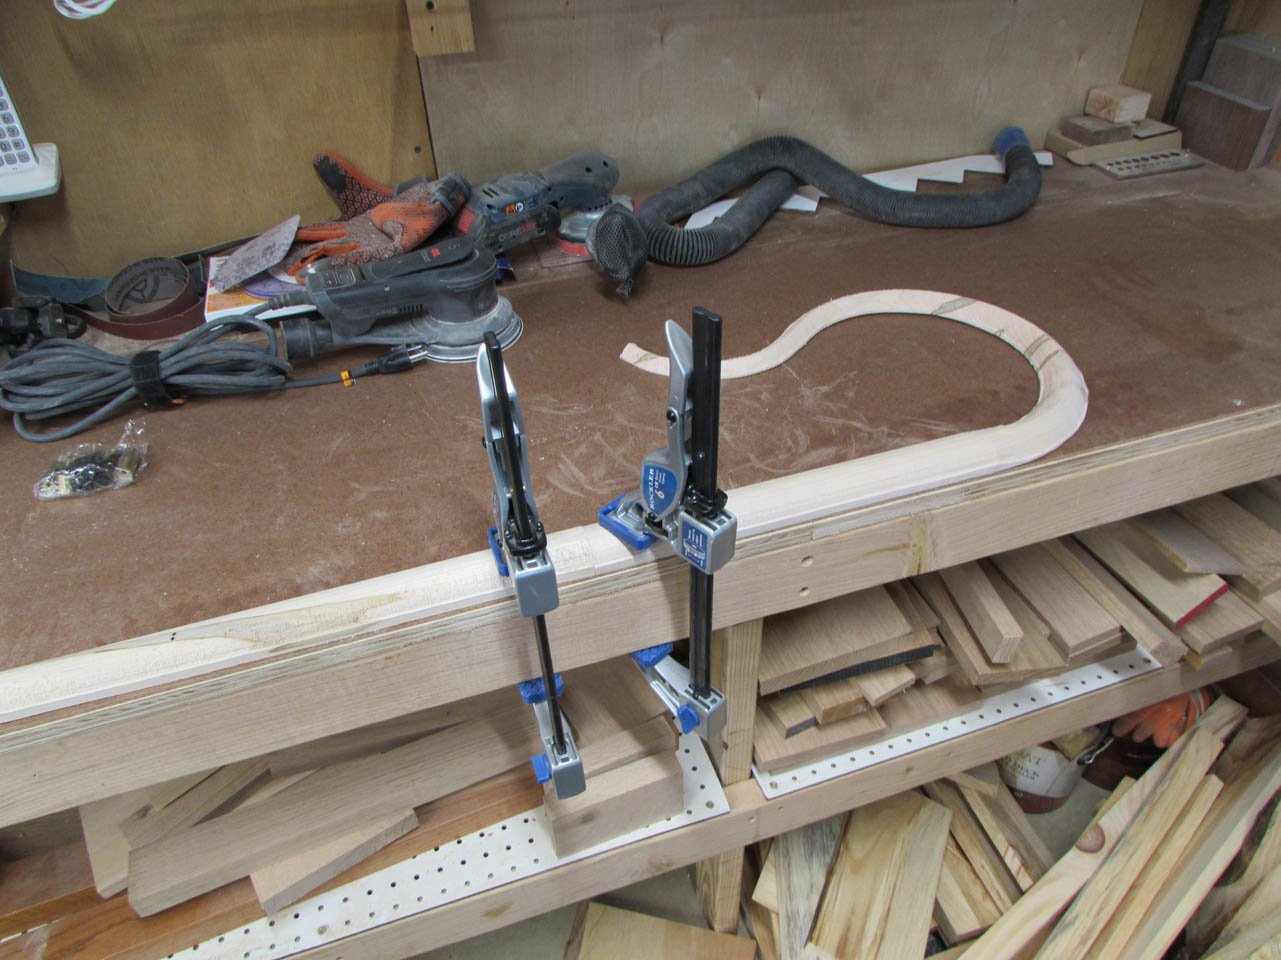
I spread wood glue to along the joining faces and along the tenon, then clamped the sides to flat surfaces until the glue had set up.
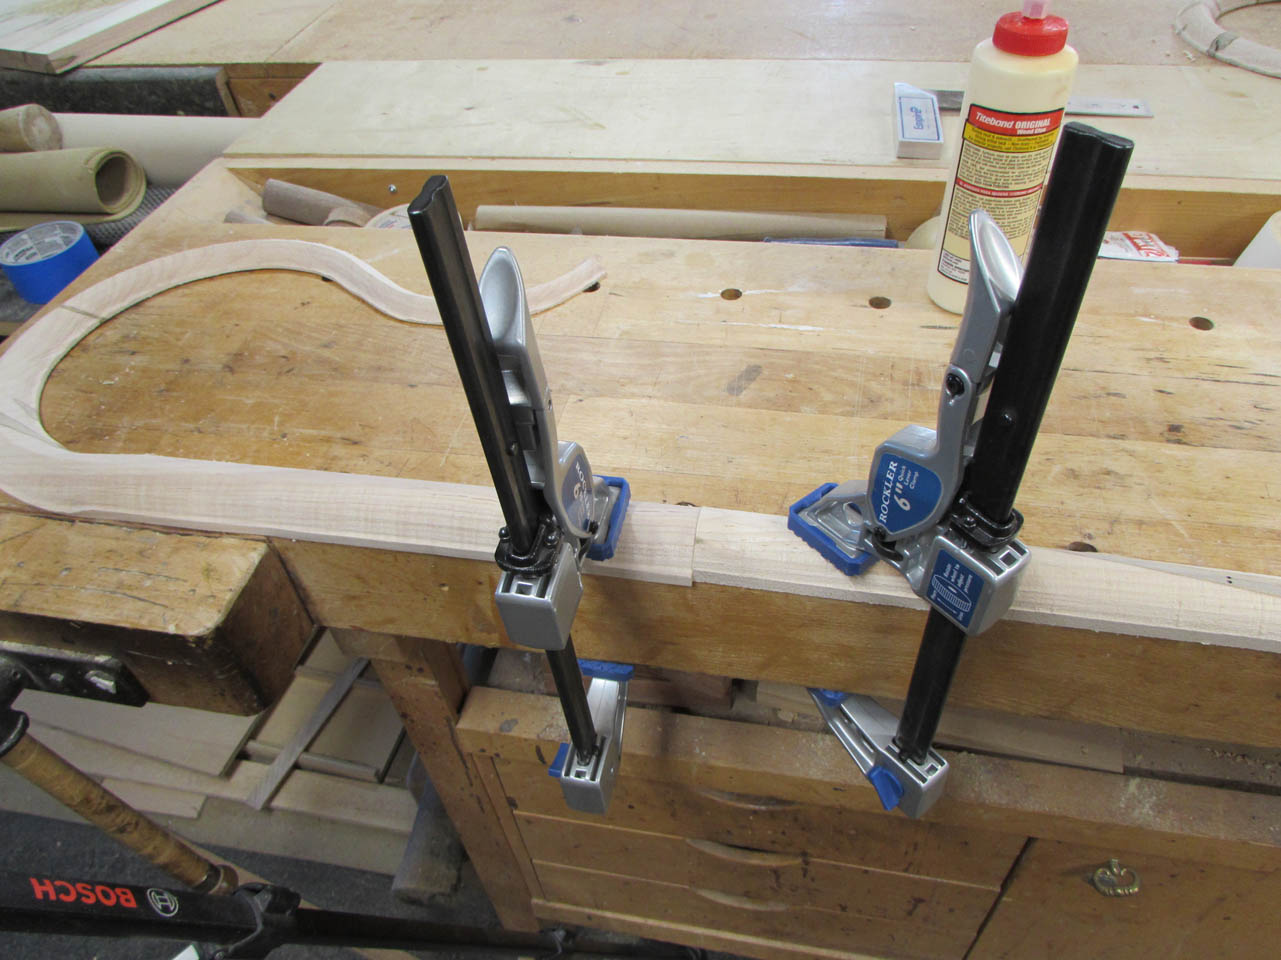
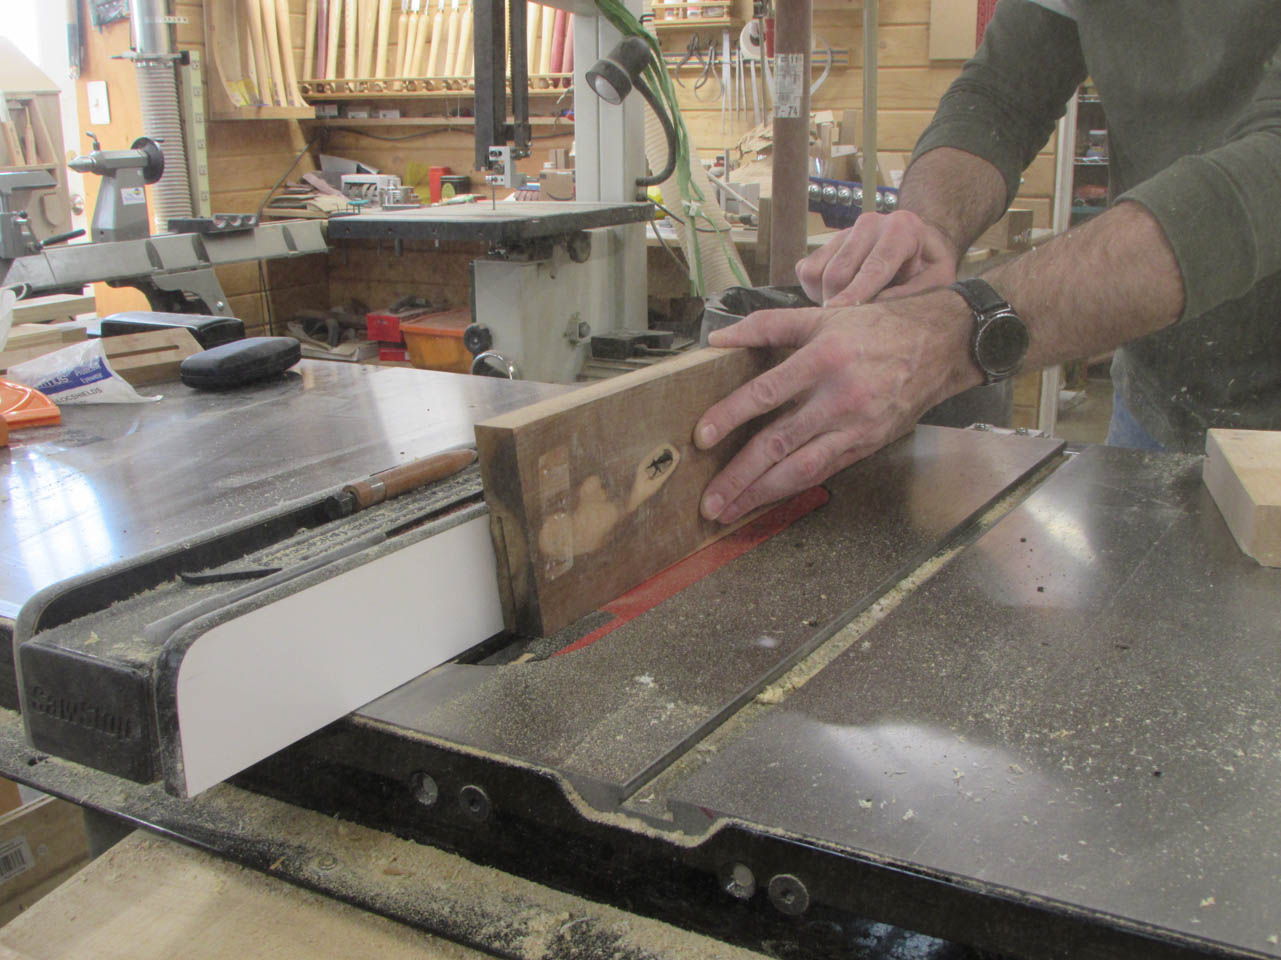
While they were drying I pulled out the large block of olivewood to cut strips for the center of the crosier.
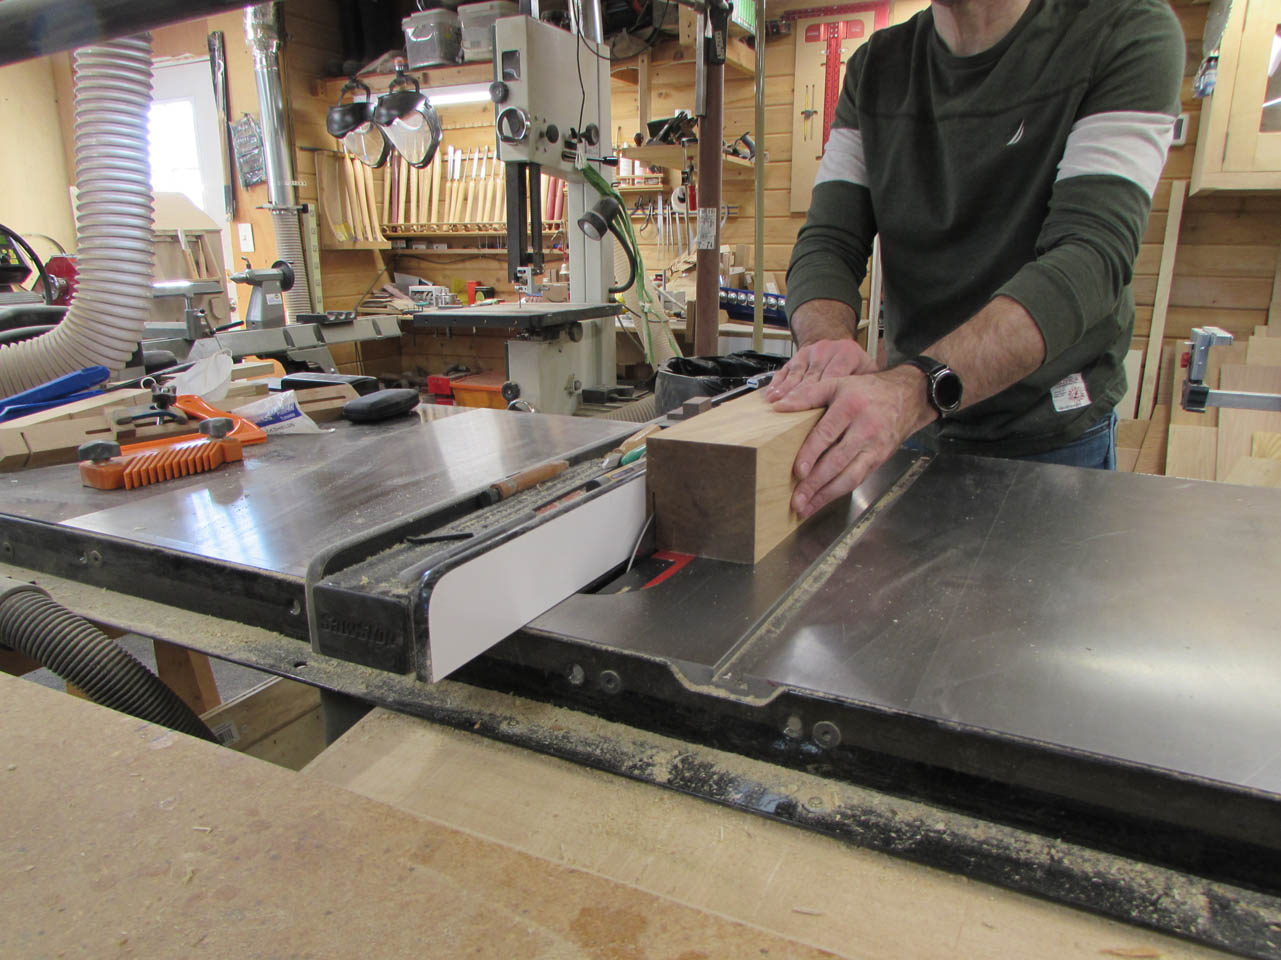
I set the saw for just over 3/16″ thick and cut about halfway through one side, then flipped the block over and did the same on the opposite side.
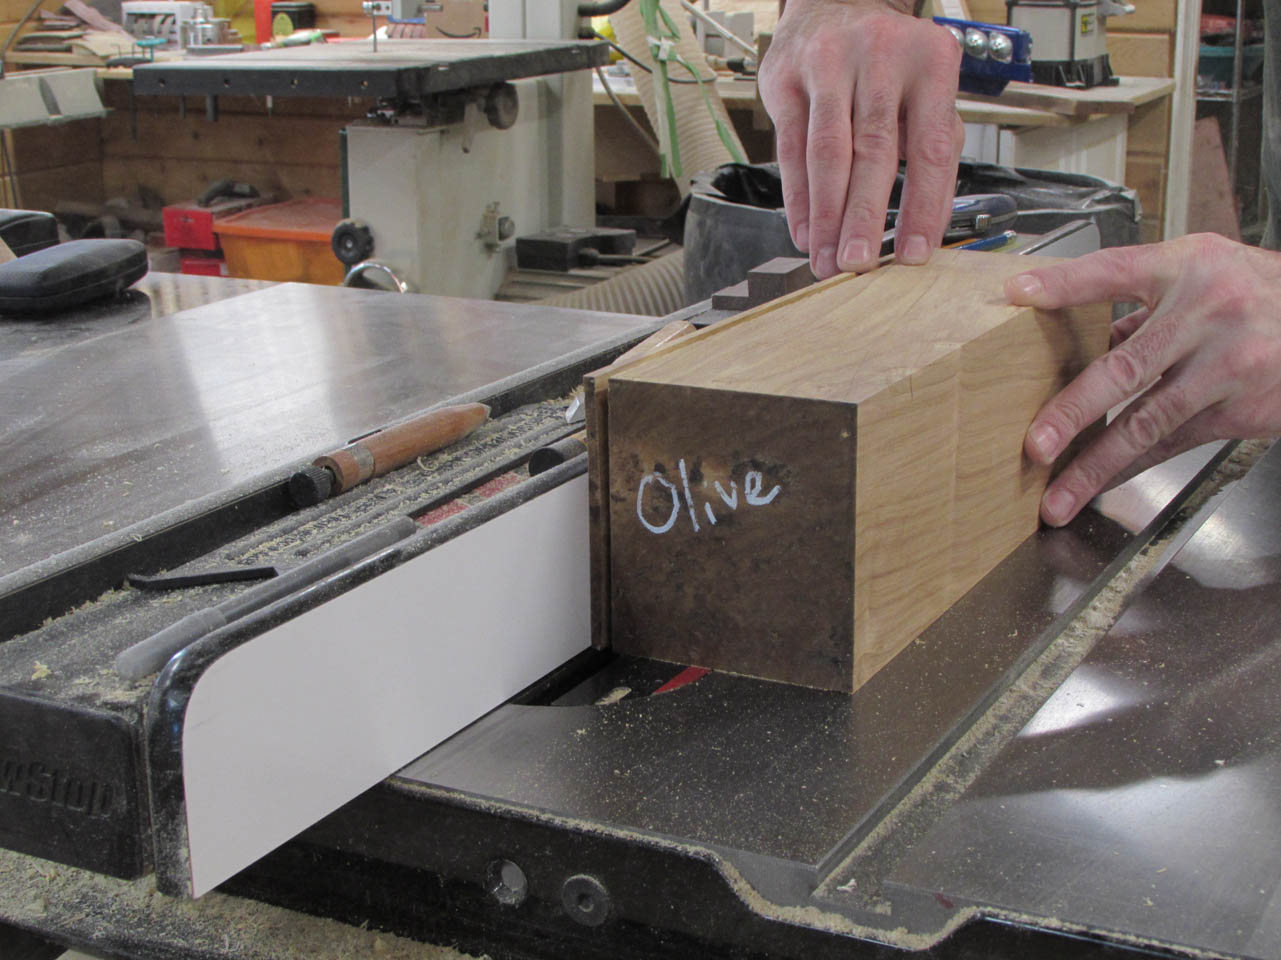
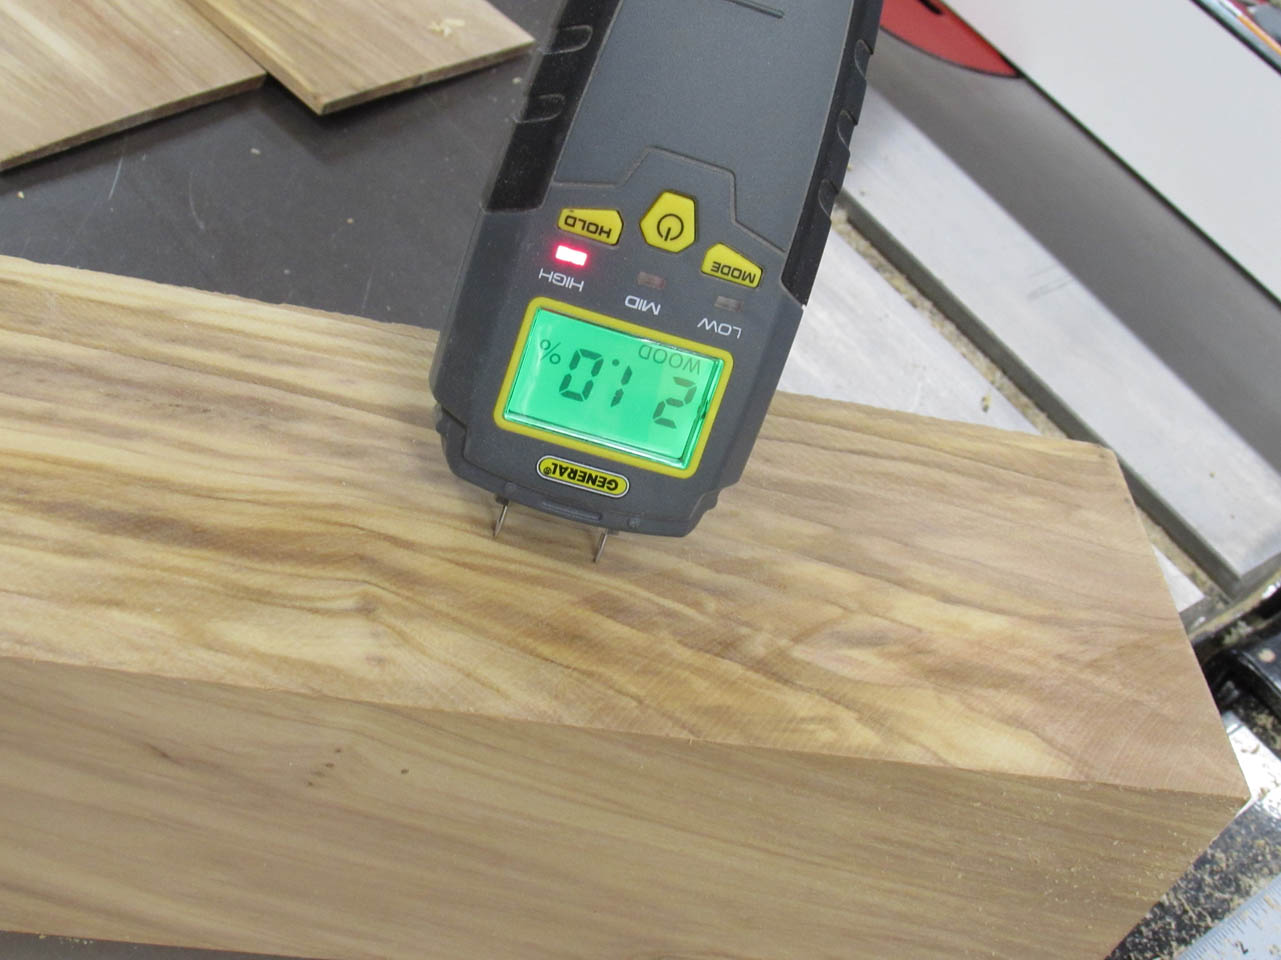
I was rather appalled to notice that the block of wood was soaking wet, just 1/4″ in. I paid for kiln-dried wood and it was at 21% on my moisture meter, not the 5-8% that I was expecting.
Luckily I have another small piece that has been kicking around my shop for a few years. This piece is definitely dry but it has a large knot hole in the middle that may get in the way.
I am going to use mostly pieces from the older piece and just a couple slices off the outside of the bigger block. Those being the driest pieces. I will leave the rest of the block to dry for a long time before attempting to use it again.
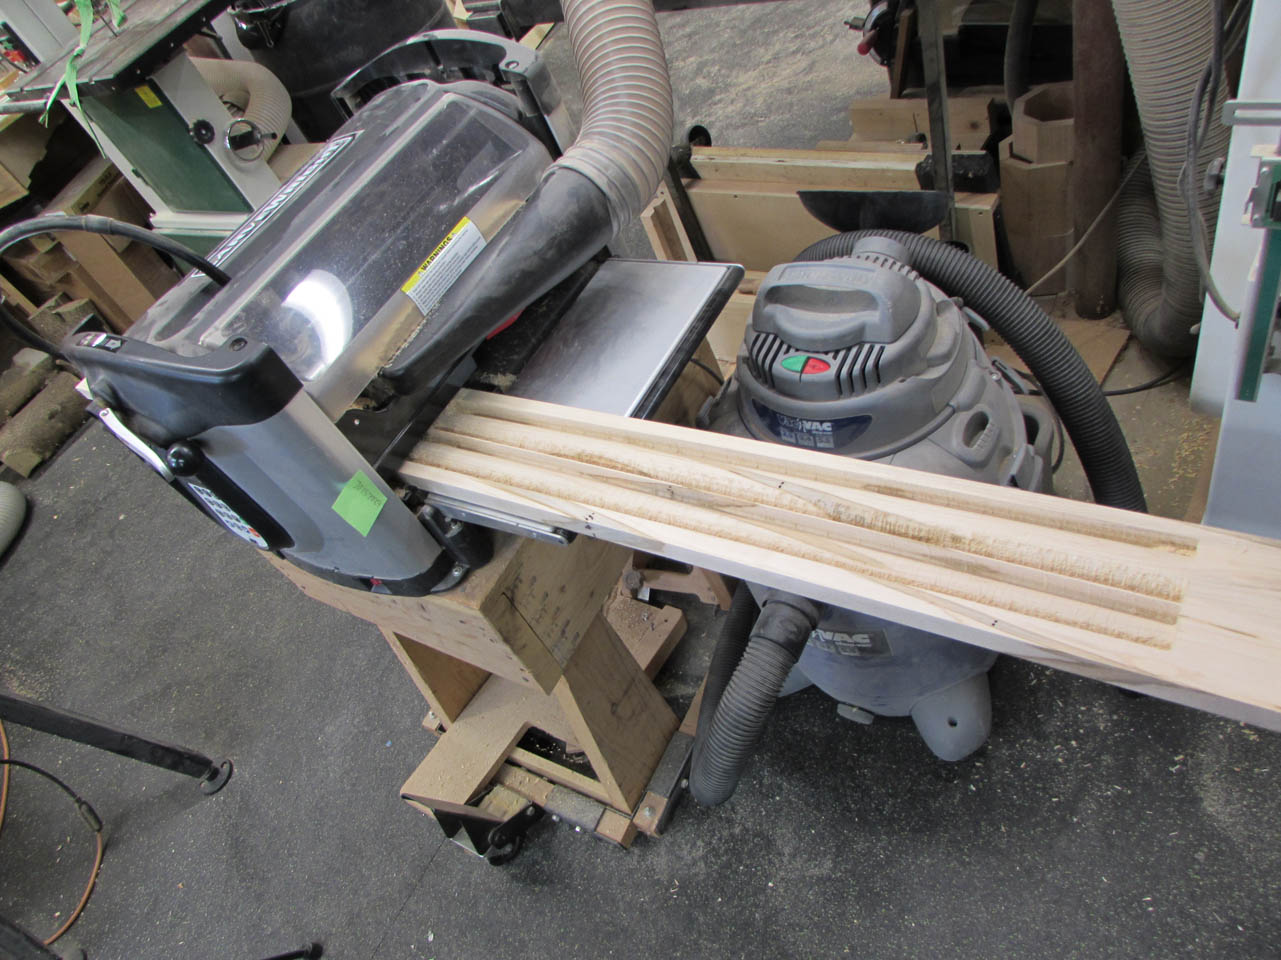
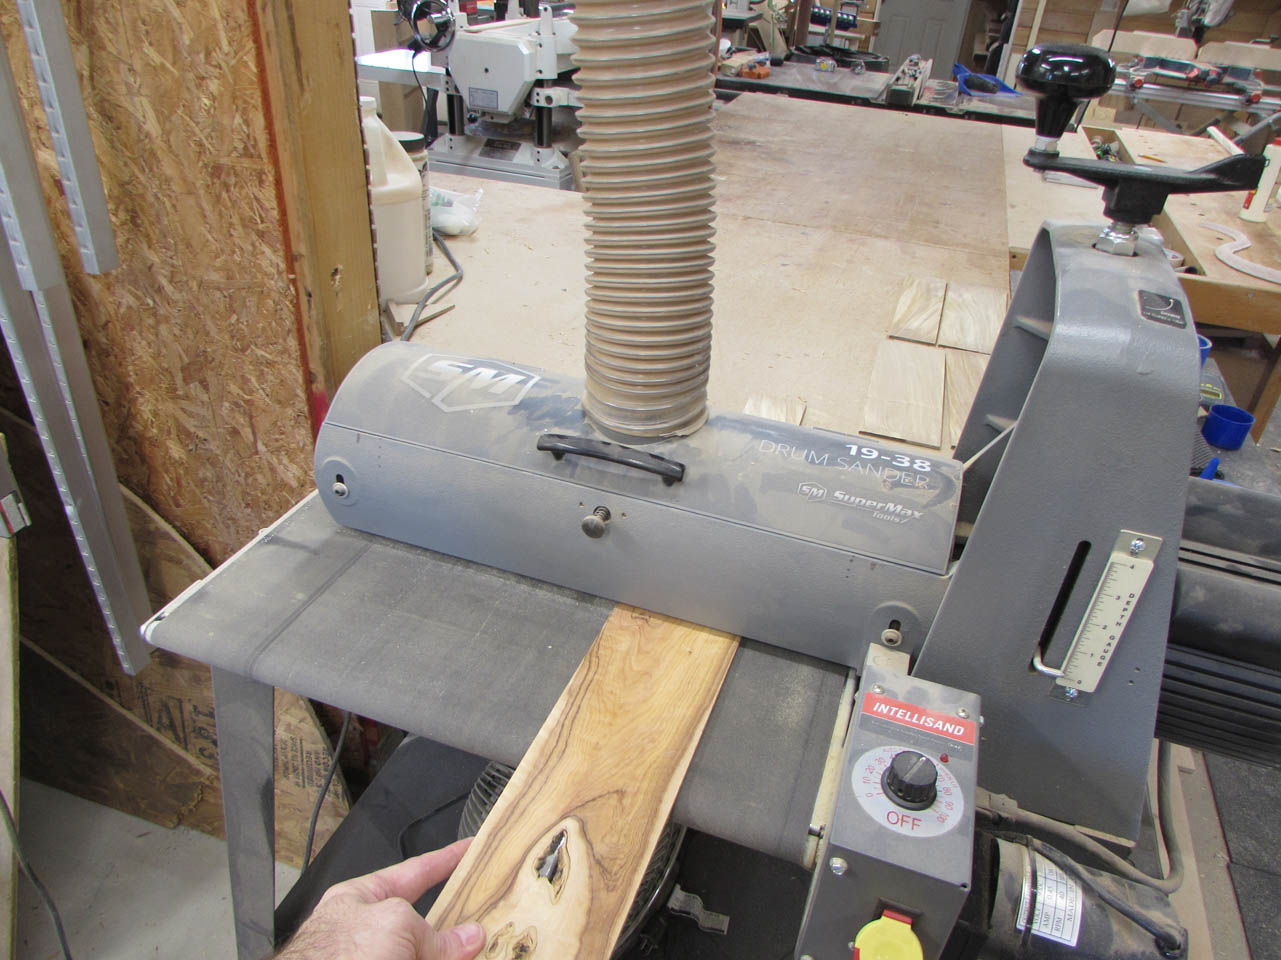
The dry stuff I have will be sufficient so I took it over to the drum sander to smooth out the side that I just cut on the table saw.
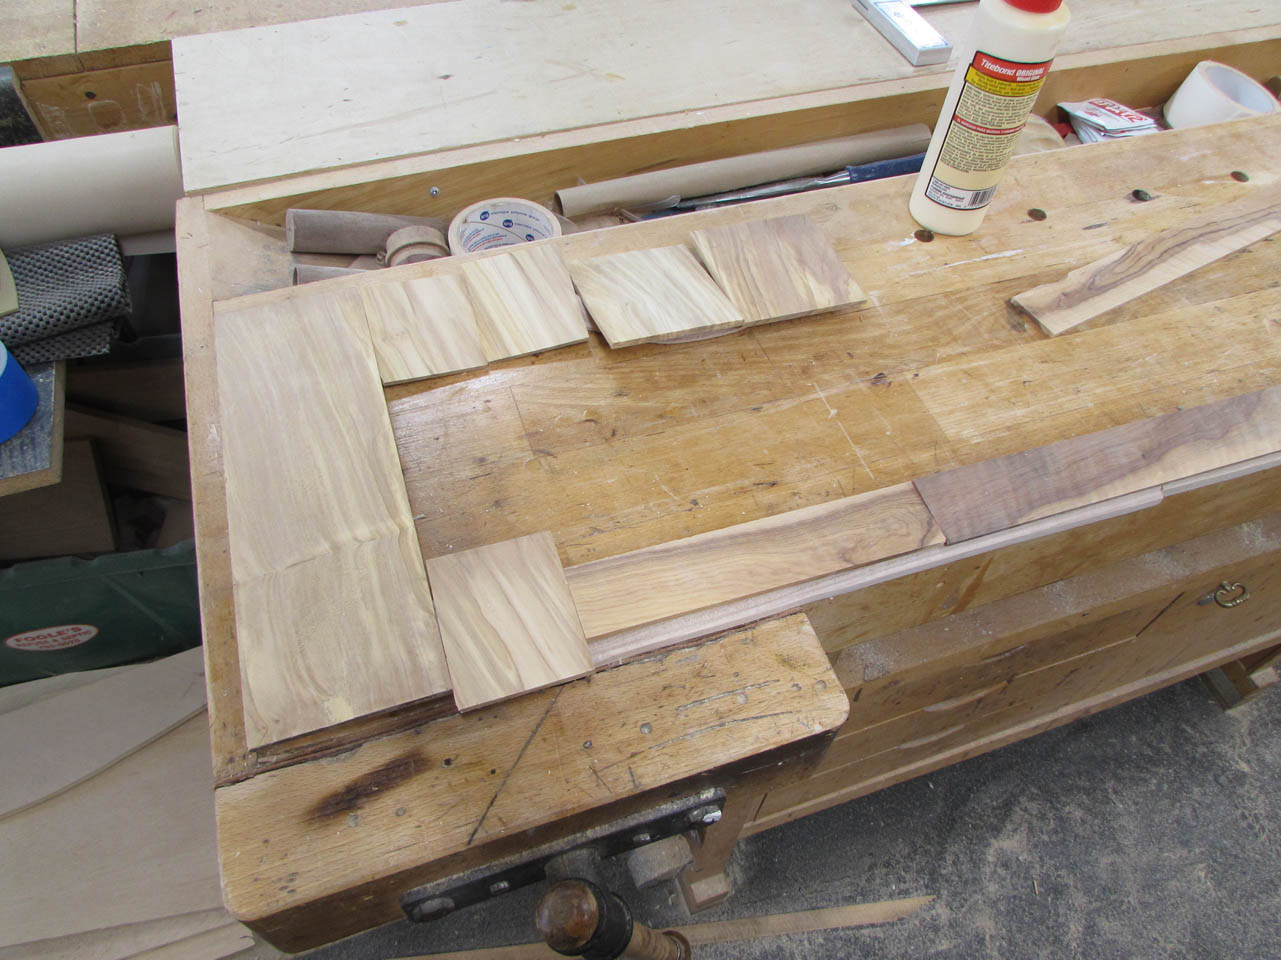
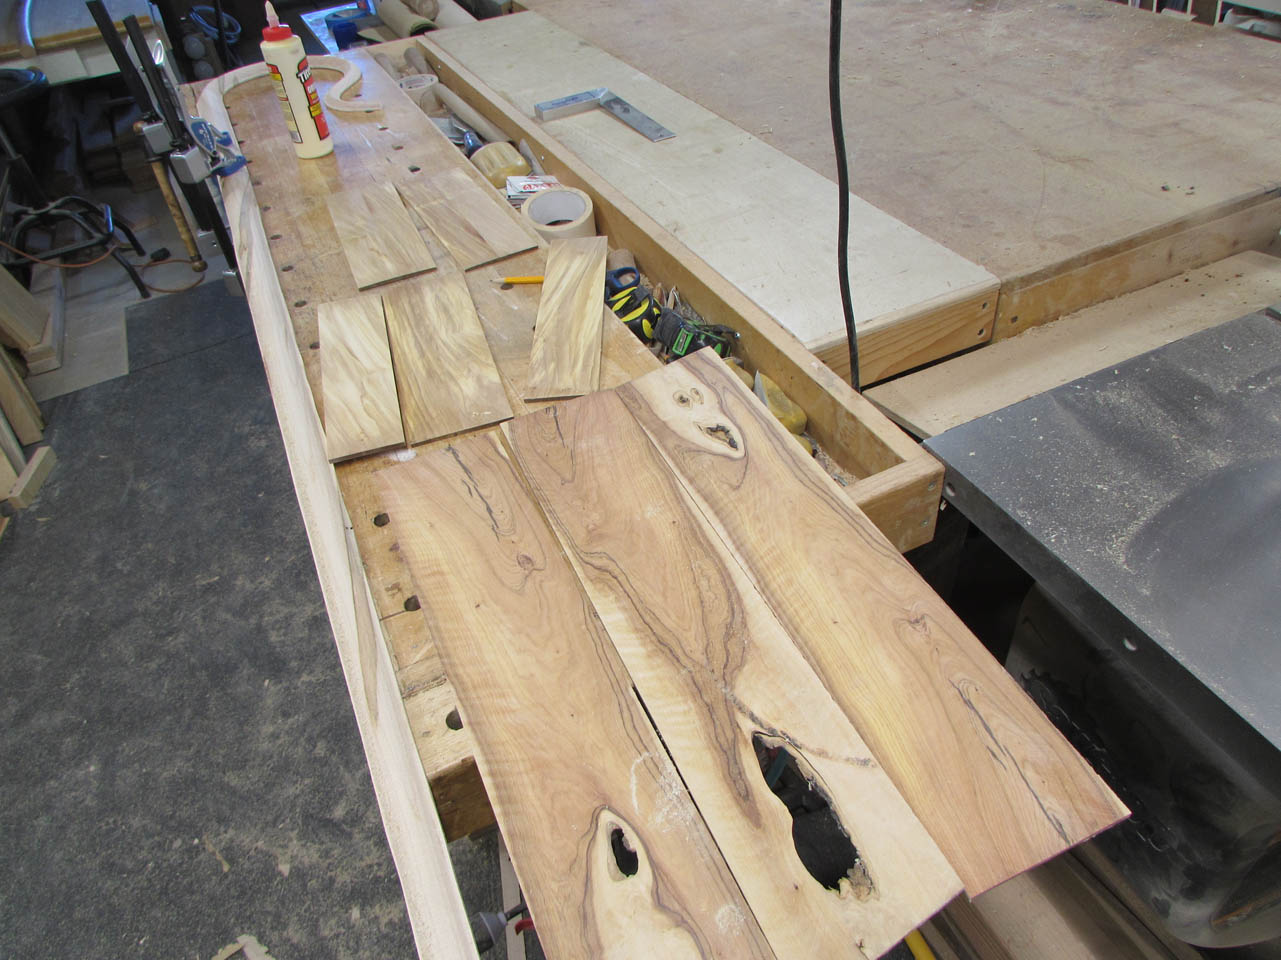
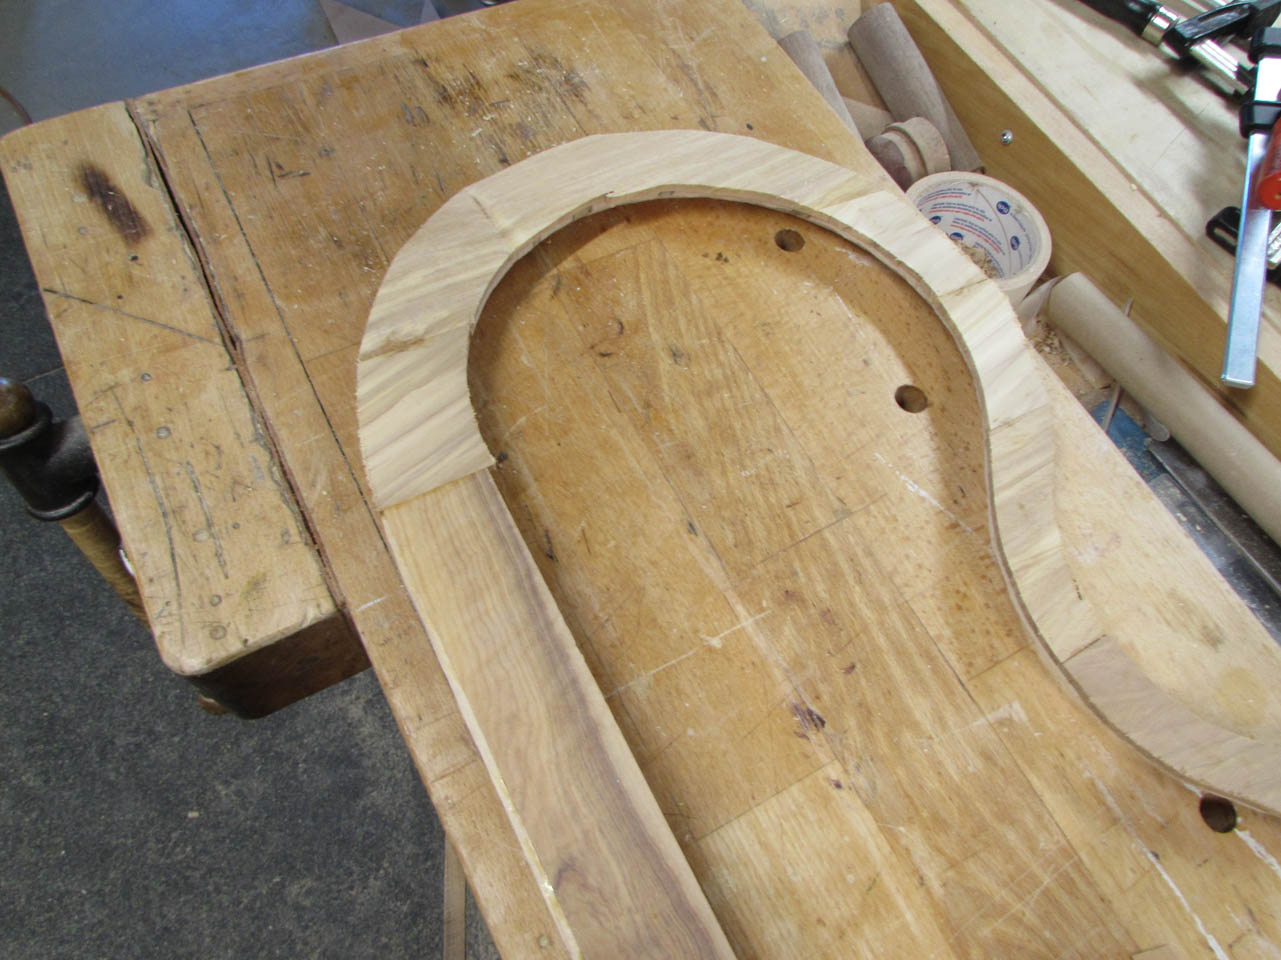
I cut and laid out all the pieces to the best orientation to strengthen across the grain at the top, along the grain at the connection, and down the straight portion of the shaft.


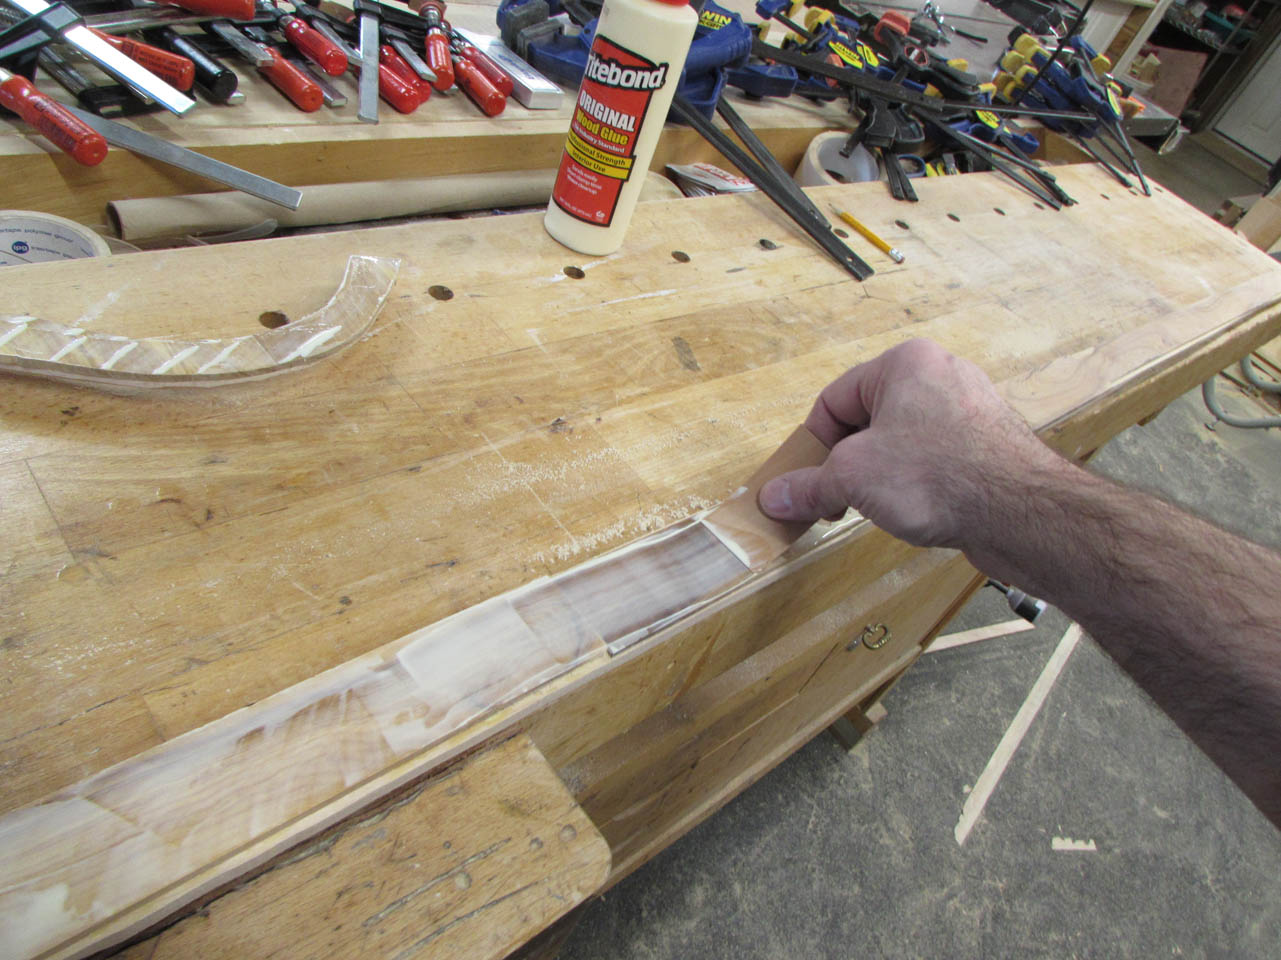
I evenly spread wood glue in a thin layer along the first half of the crosier.
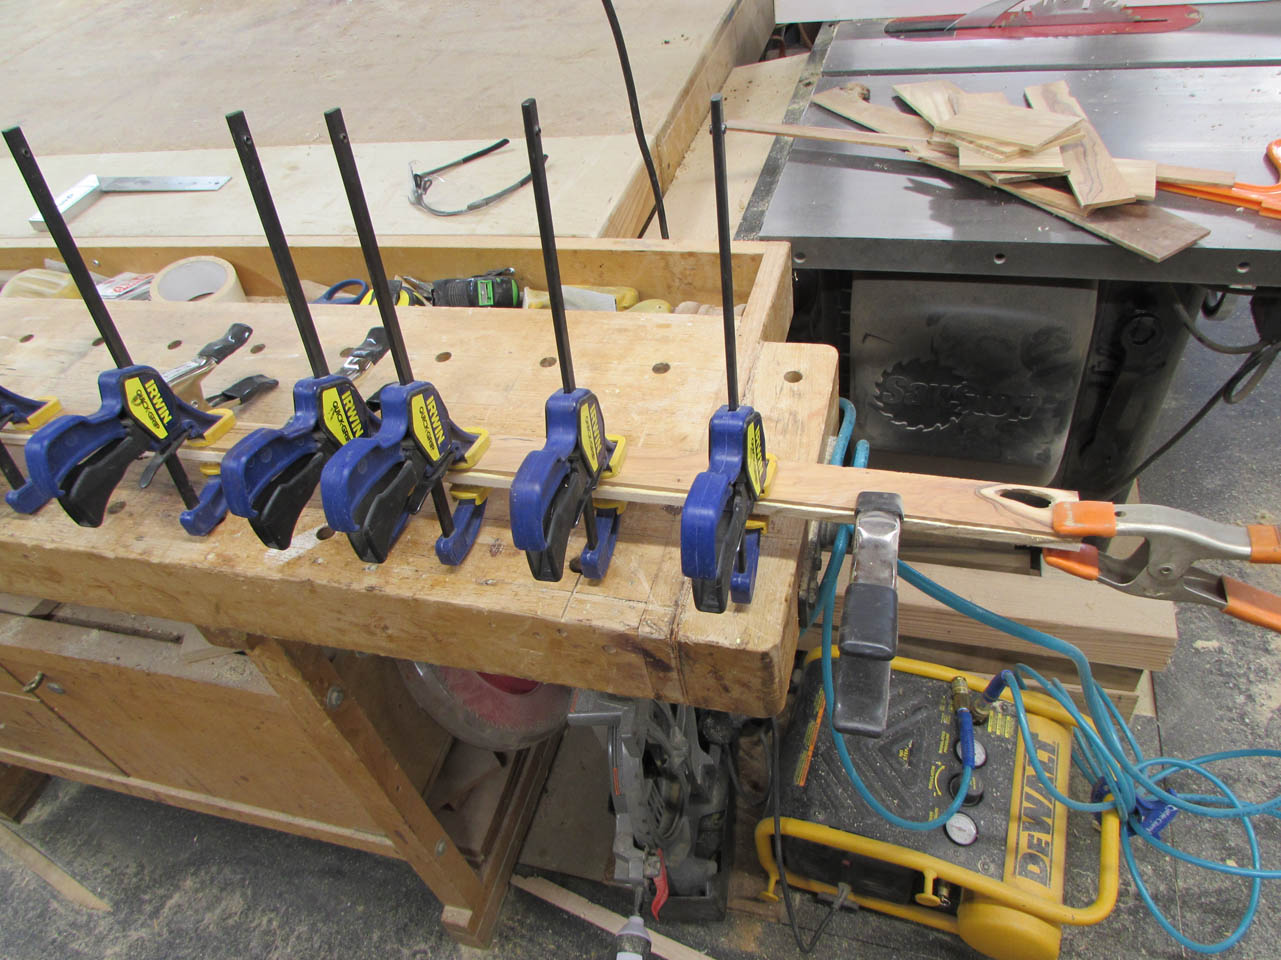
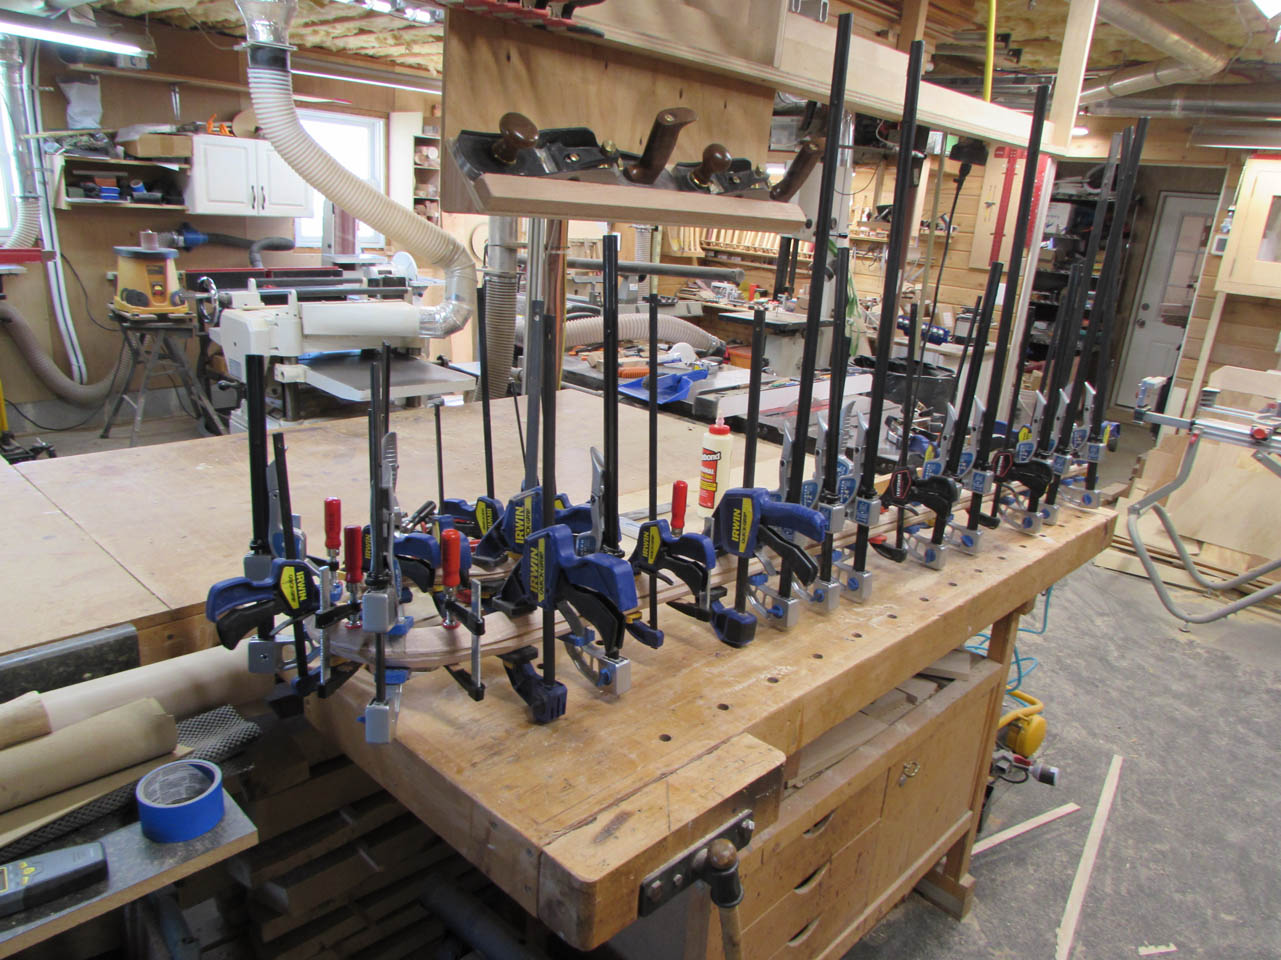
I attached the olive wood, adding a clamp about every 3 inches. This will hopefully give me even pressure and not leave any voids.
After about 35 clamps were attached, I left it for about an hour to set up.

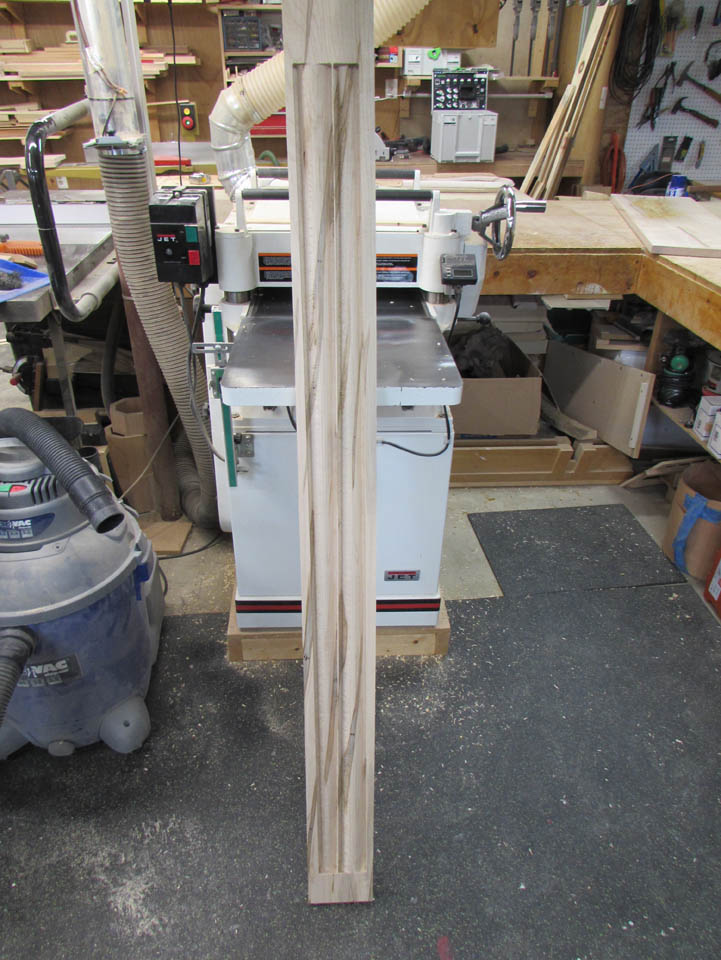
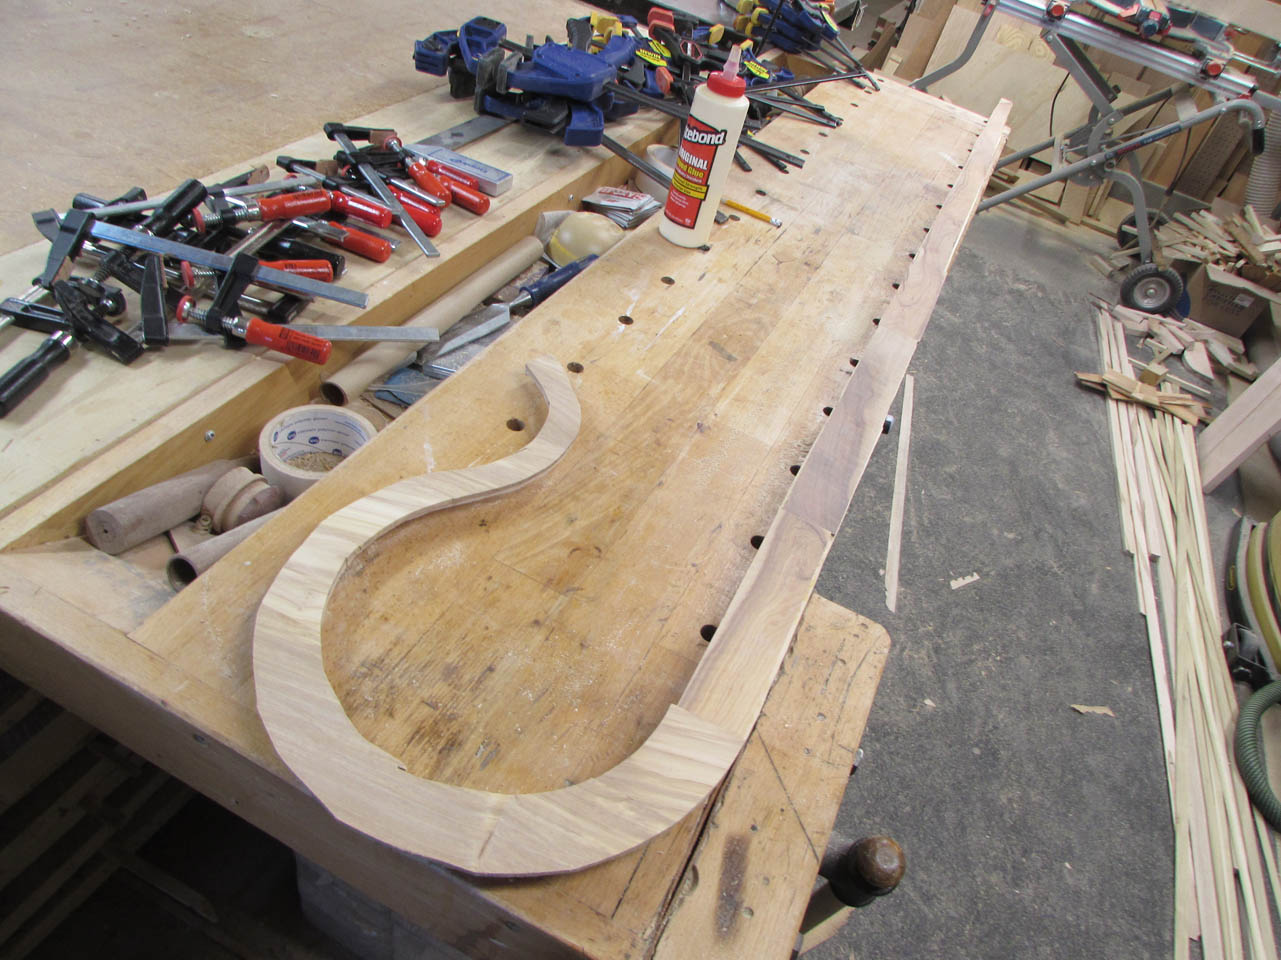
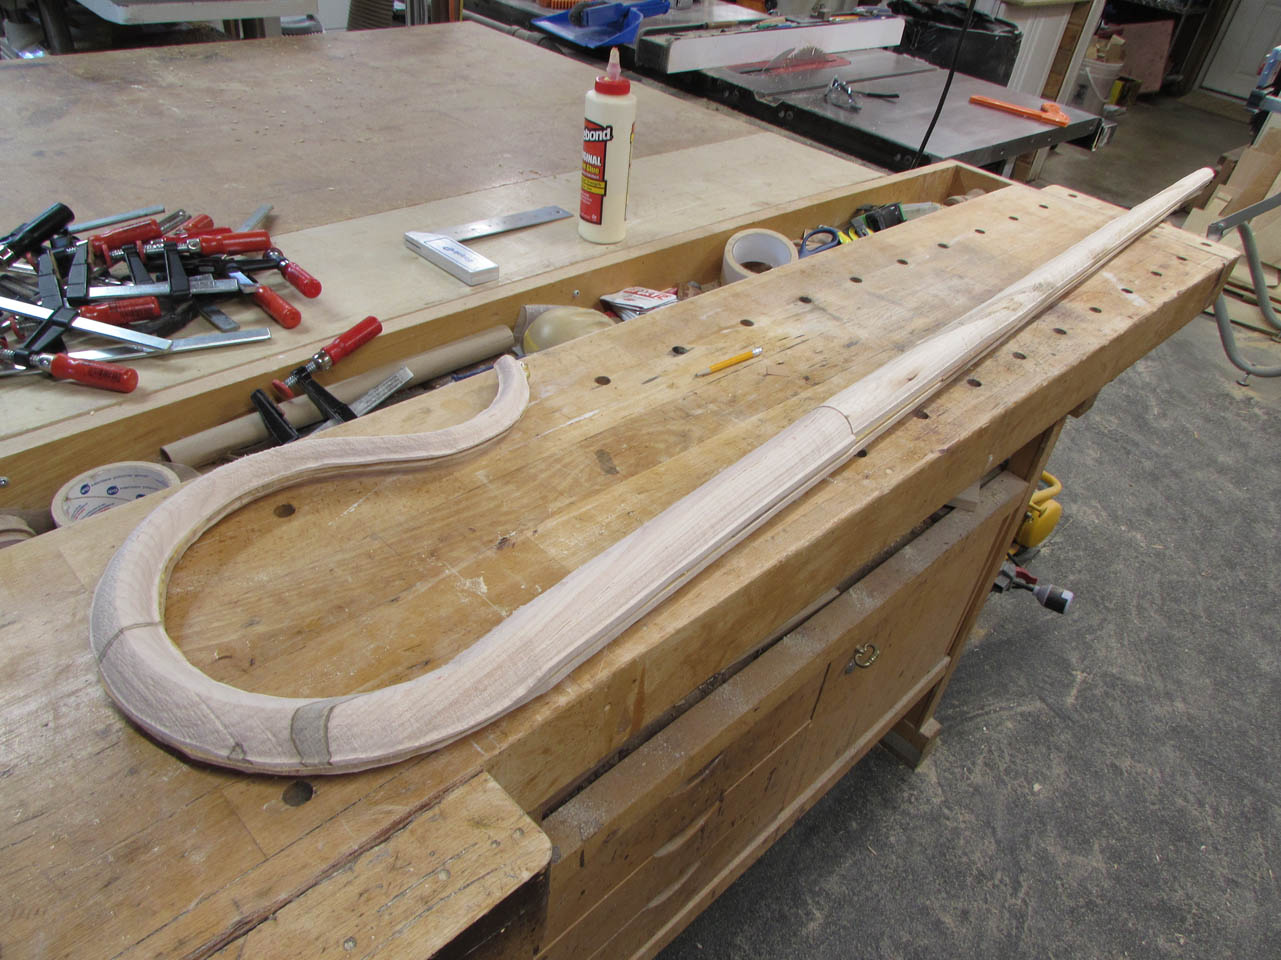
When it was dry enough to keep working, I pulled the clamps and cut away a lot of excess on the band saw. This will help me to align the next half when I glue it on.

I sanded the entire olive surface to make sure all the joints were smooth and flat.
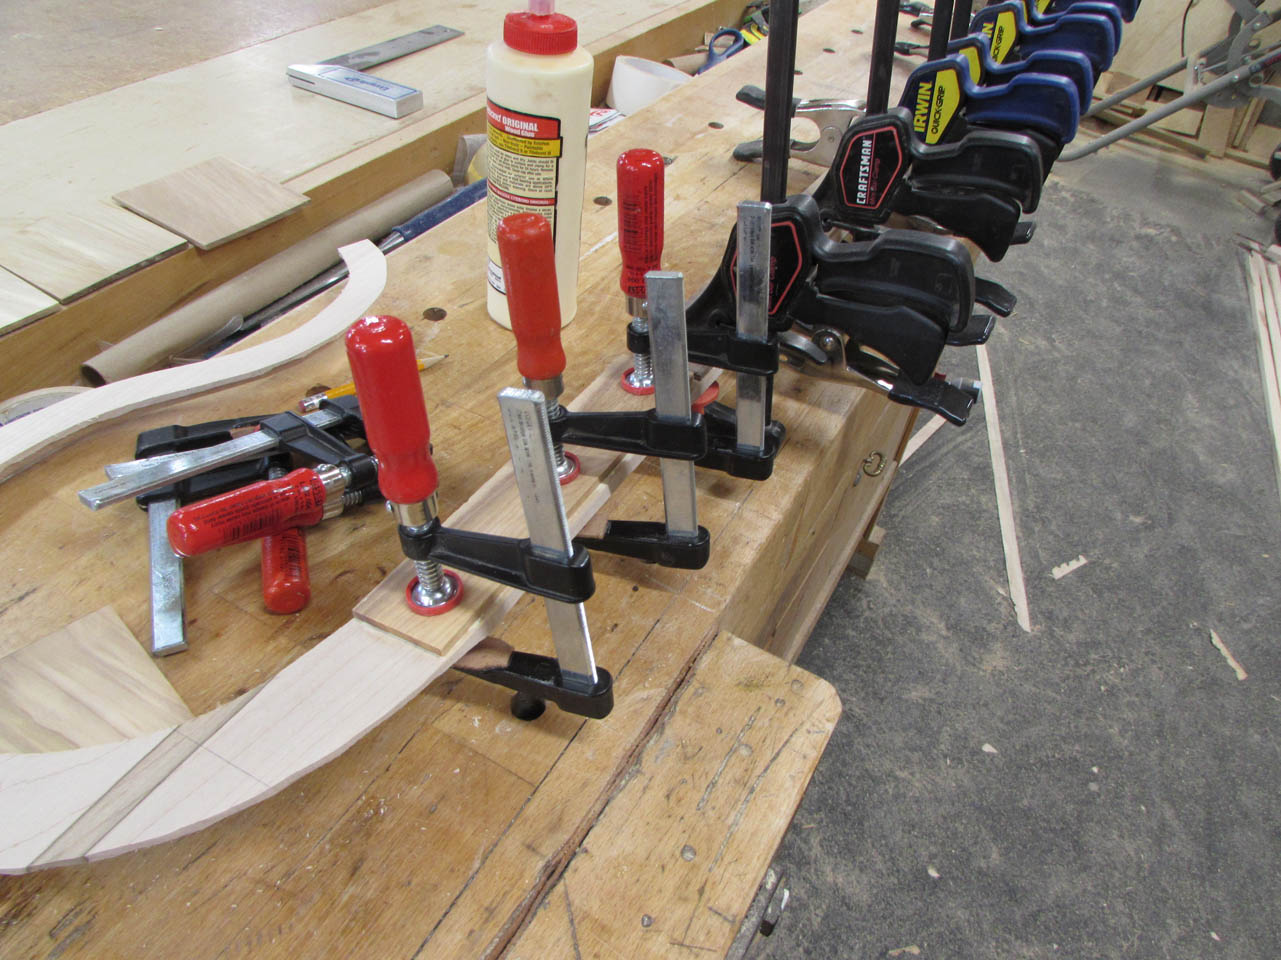
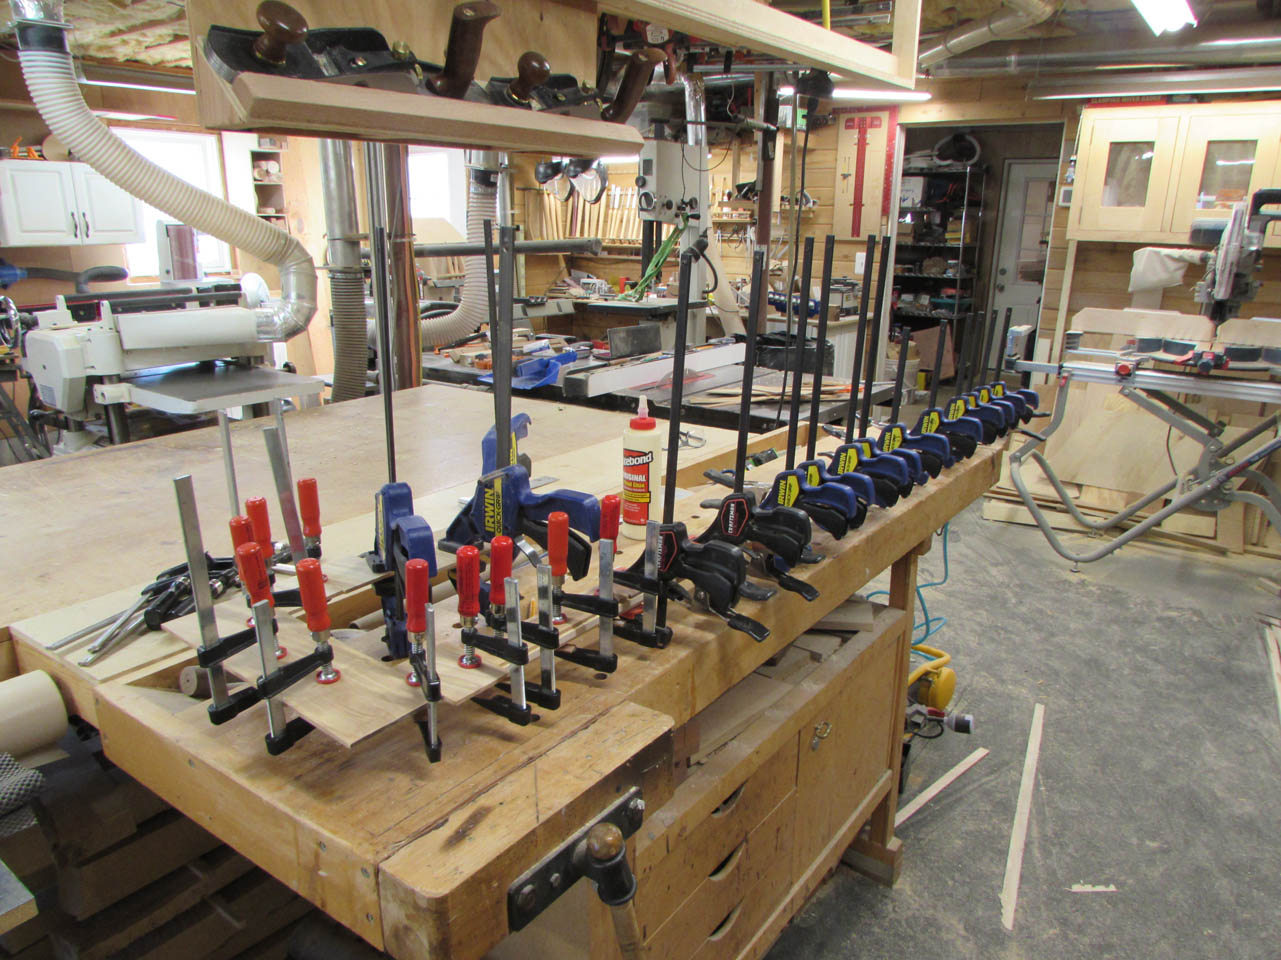
Then it was time to quickly spread glue along the entire length.
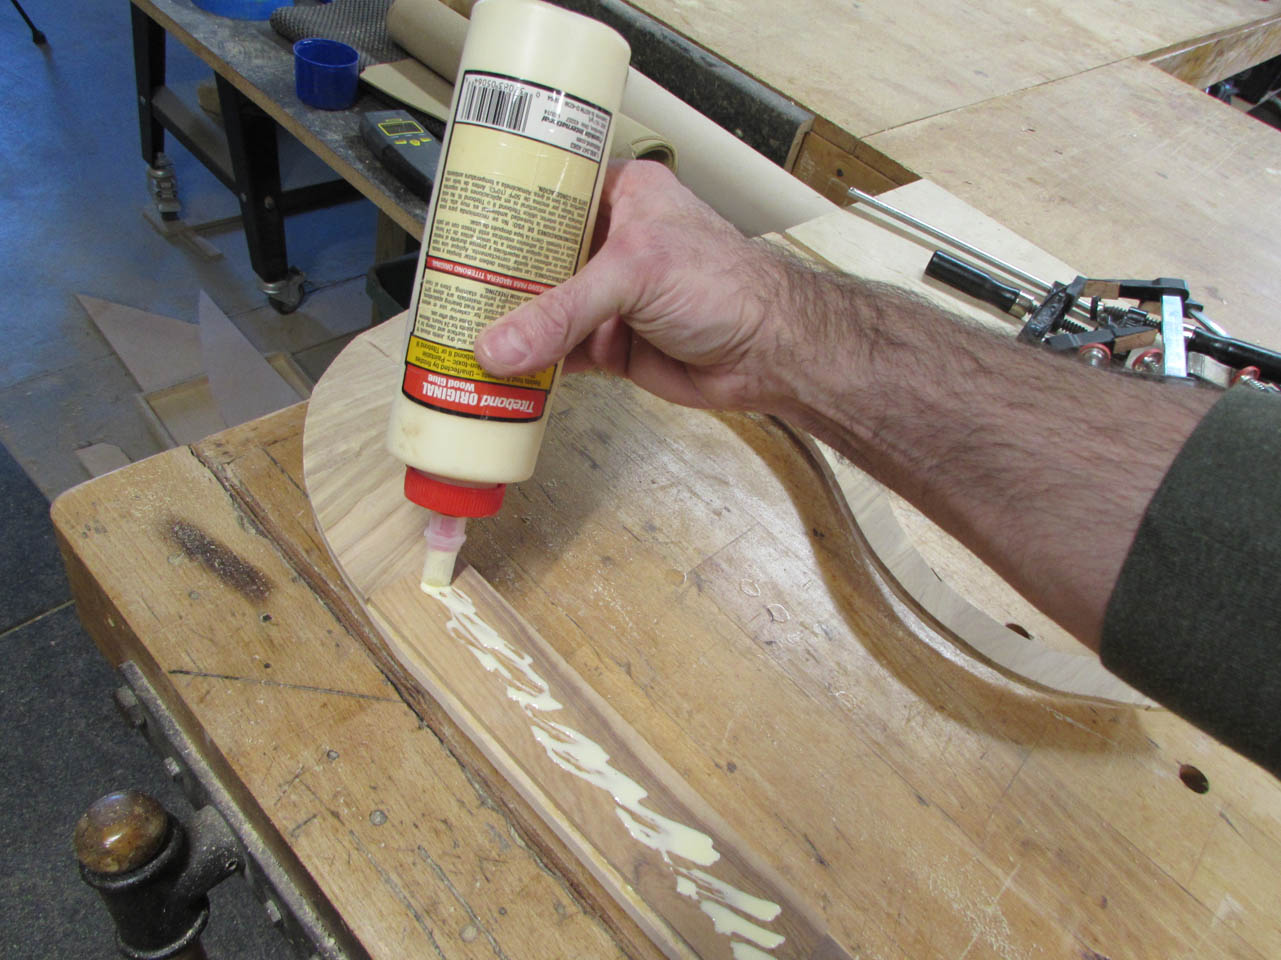
I worked quickly to spread an even amount because I only have a couple of minutes before the glue starts to dry and I have to get the other half on before that happens or it won’t stick.
After a couple more hours, I pulled the clamps and got ready for a lot of sanding and shaping.

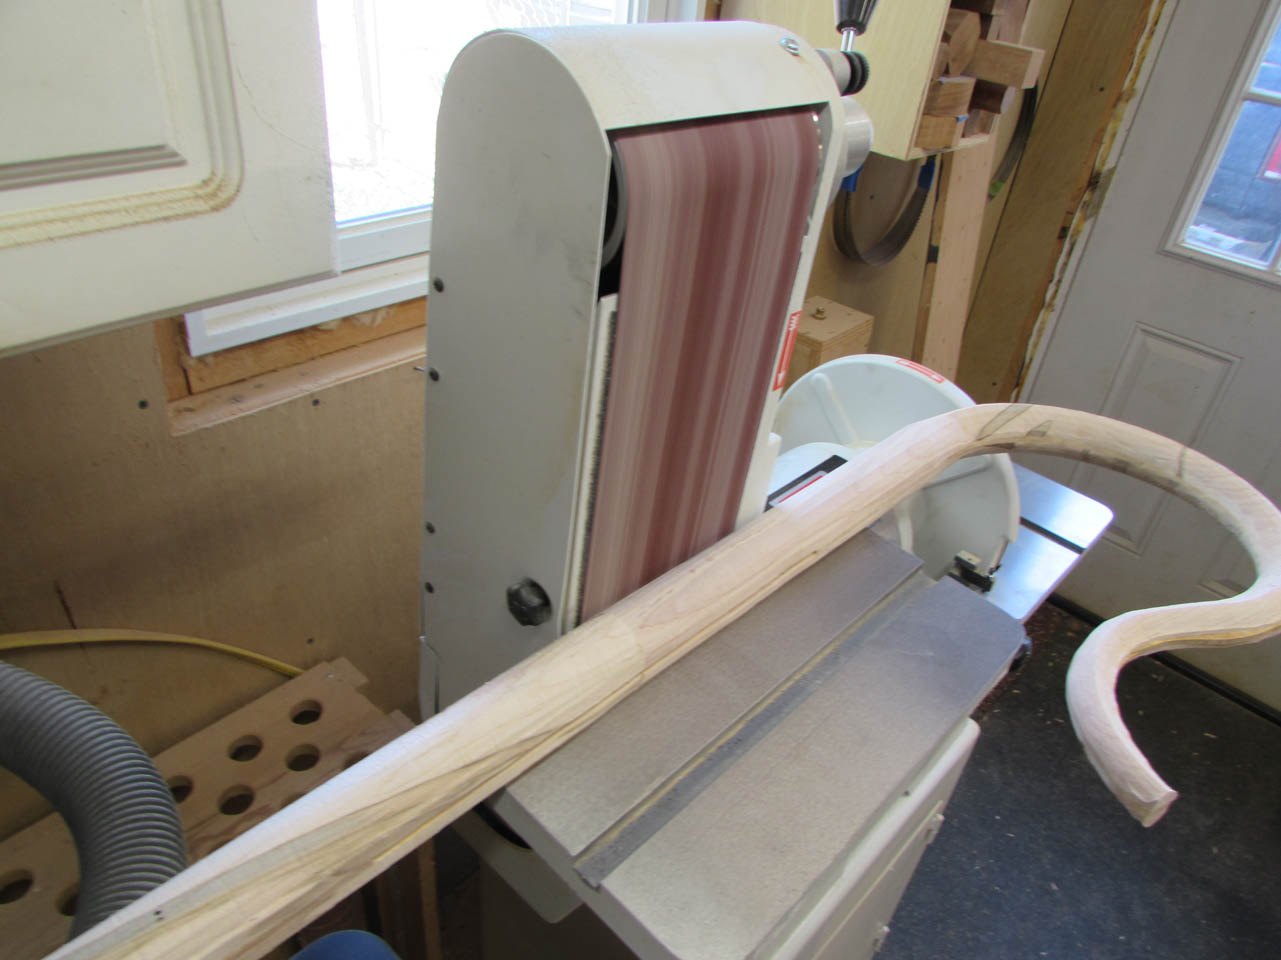
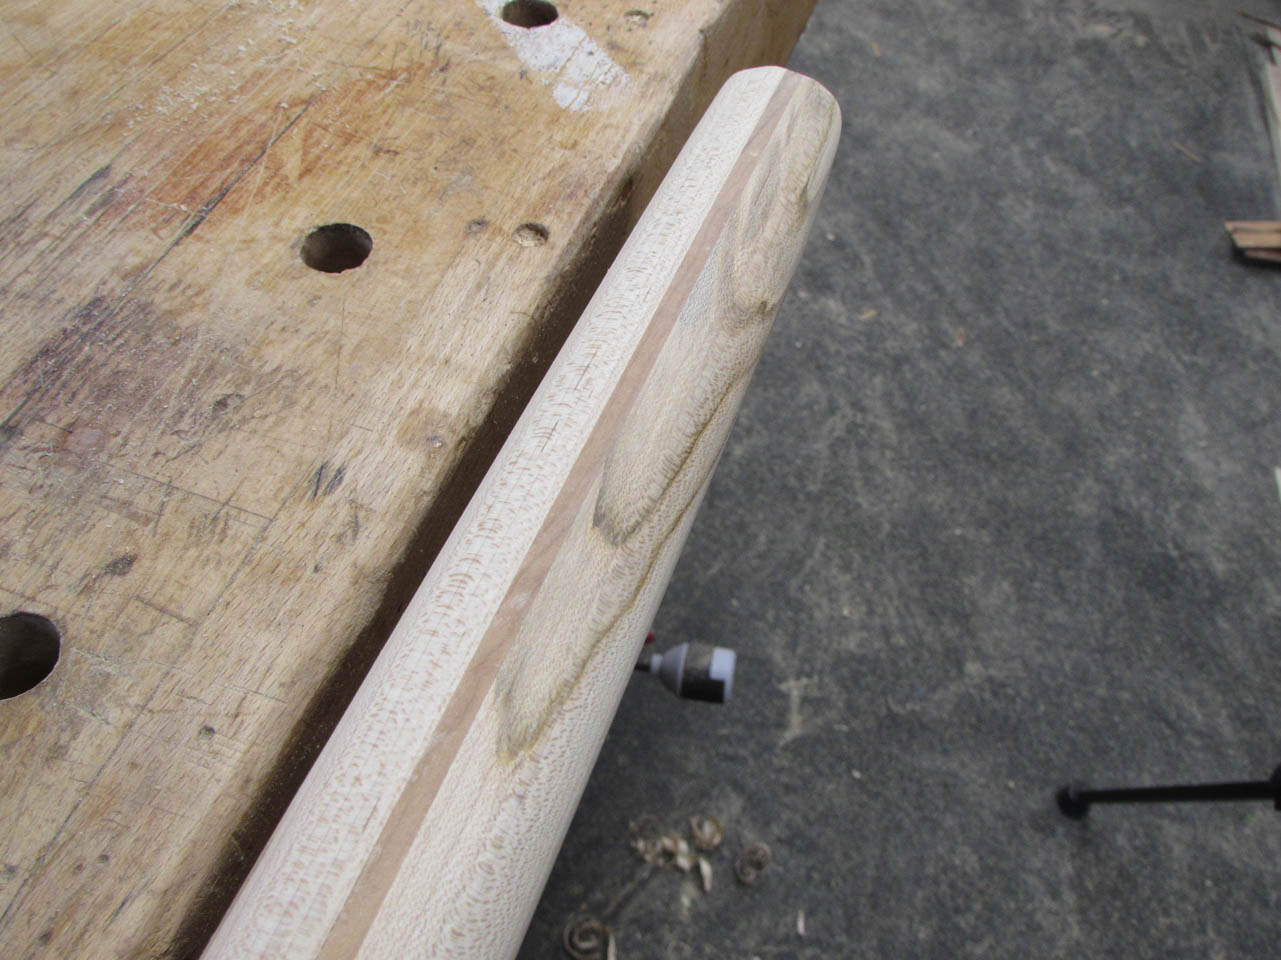
I worked with my spindle sander to clean up the joint around the curvy parts. Then I used the large belt sander to get some of the straighter parts a little closer to the final shape.
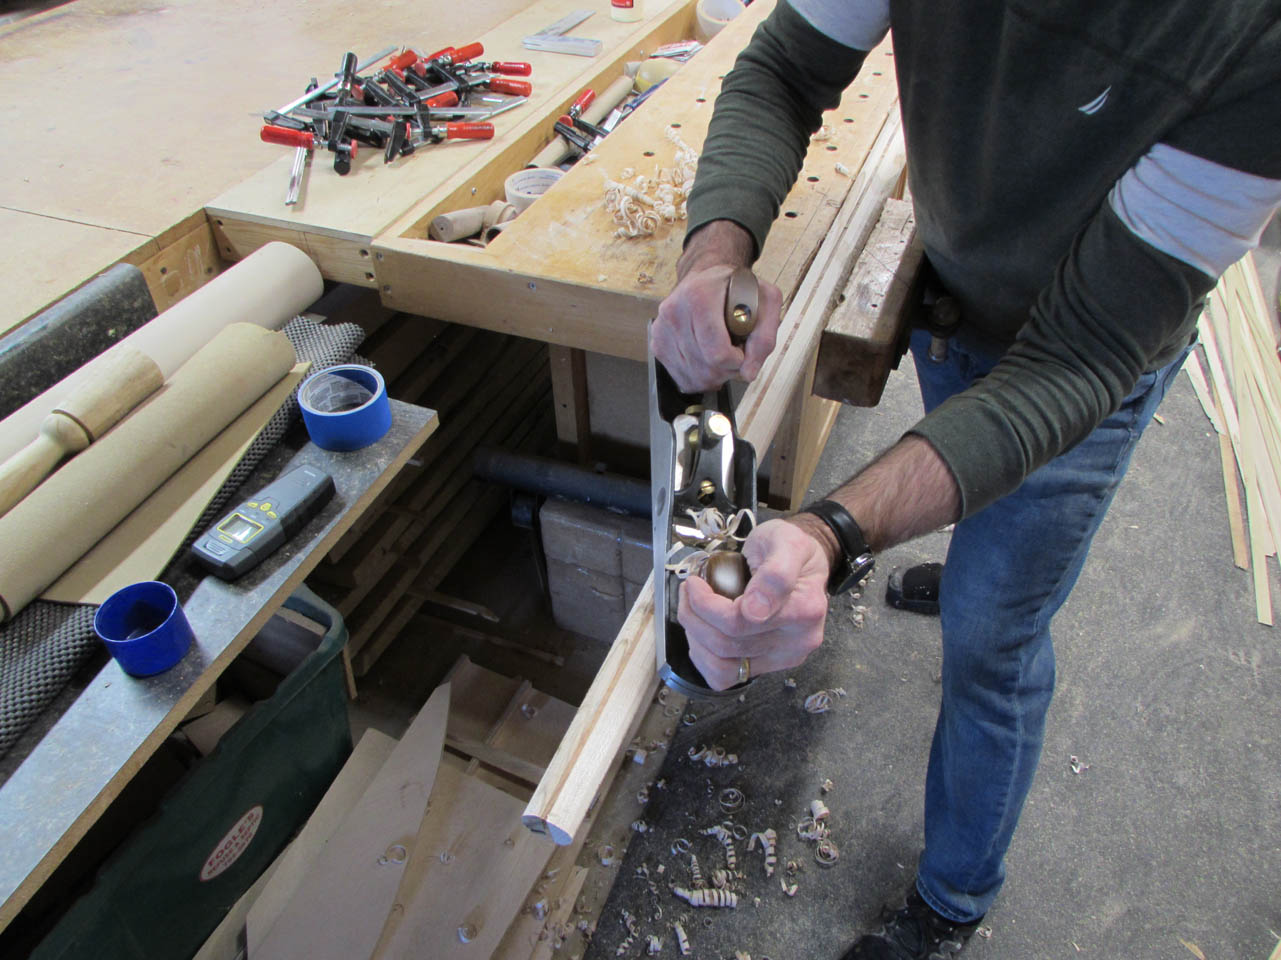
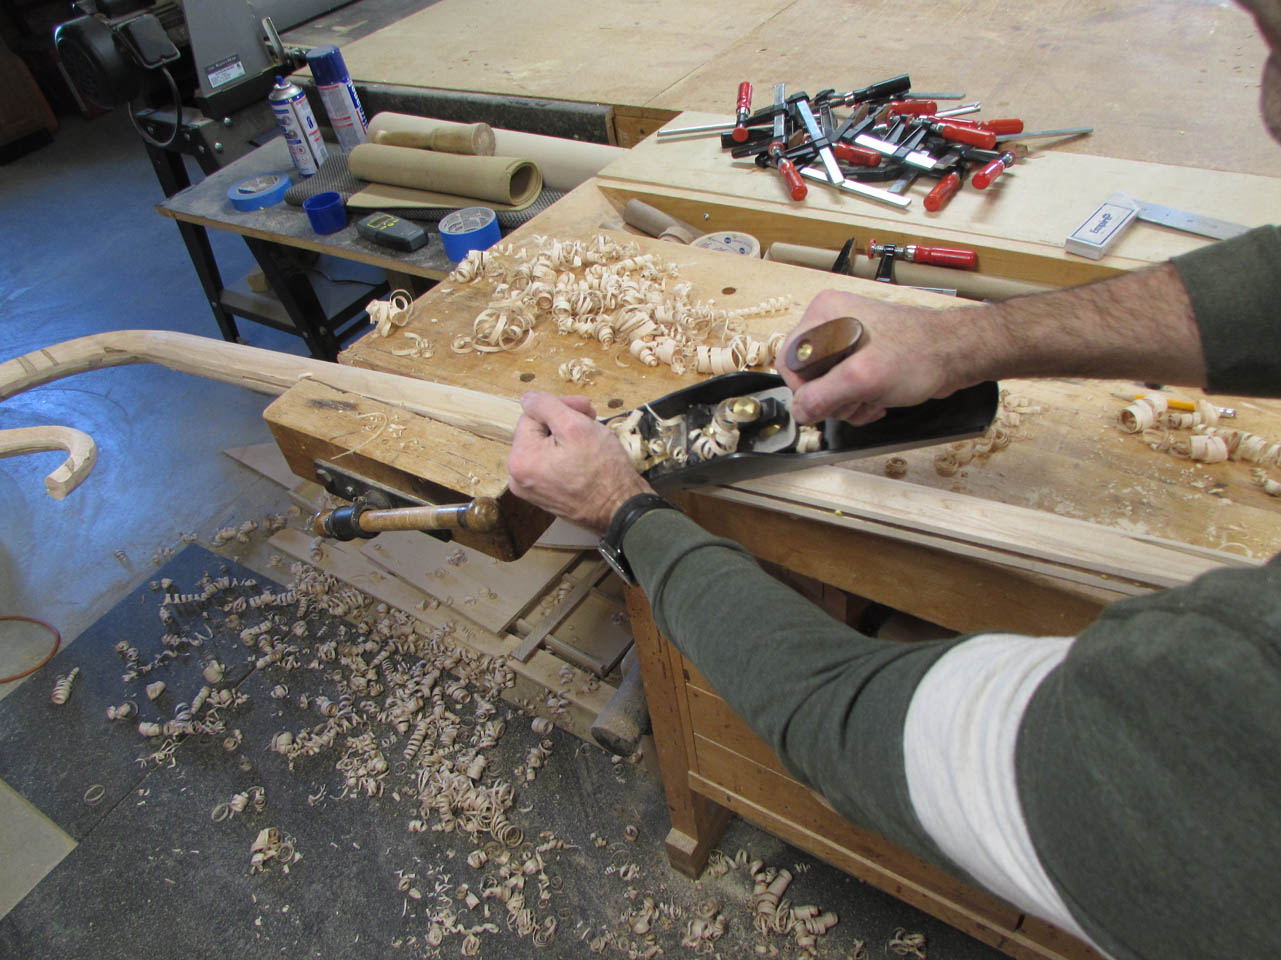
Next, I switched to the work bench and a jack plane to continue to finesse the seam where all three pieces come together.
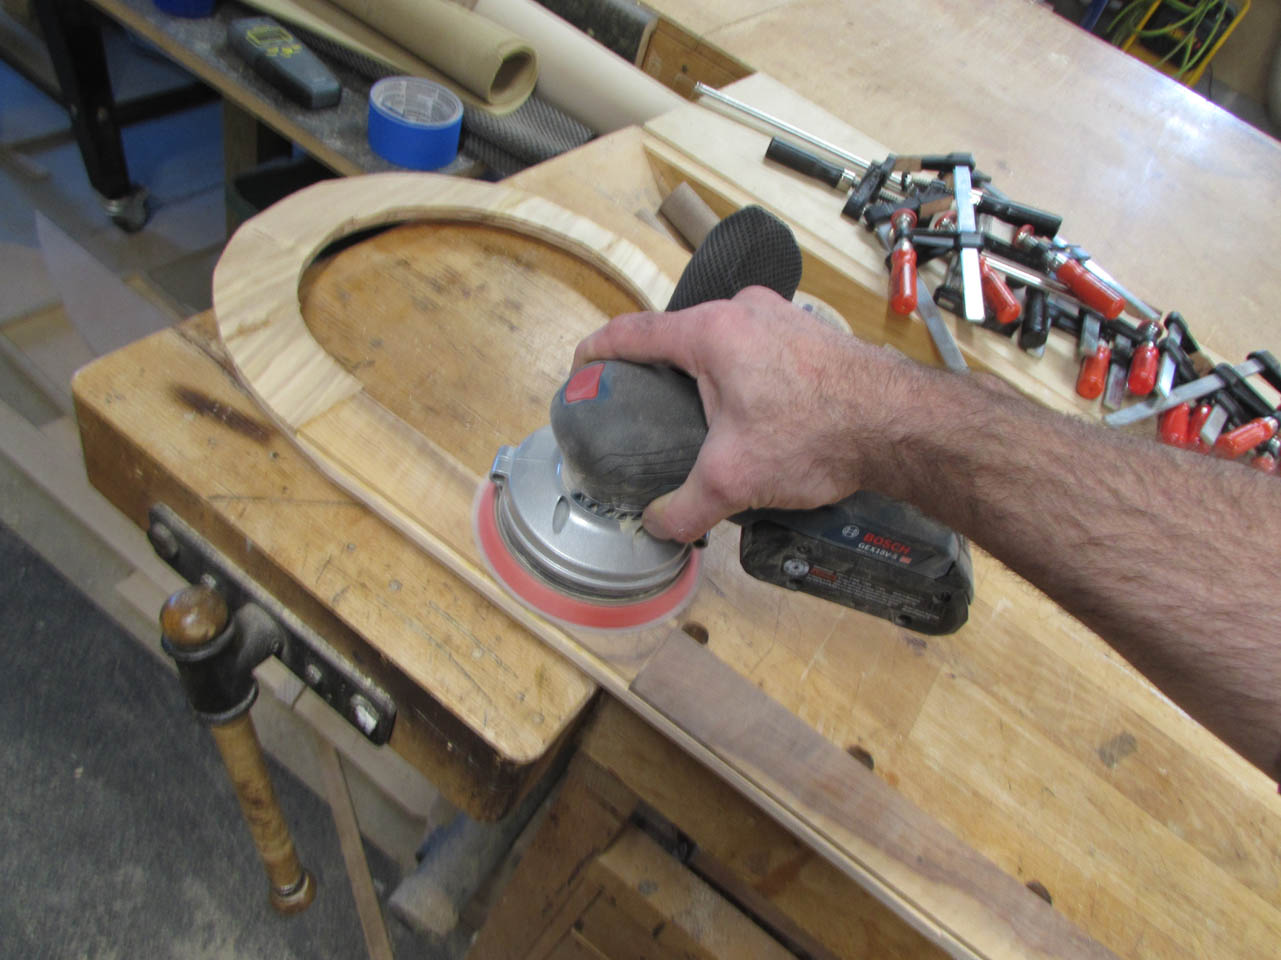
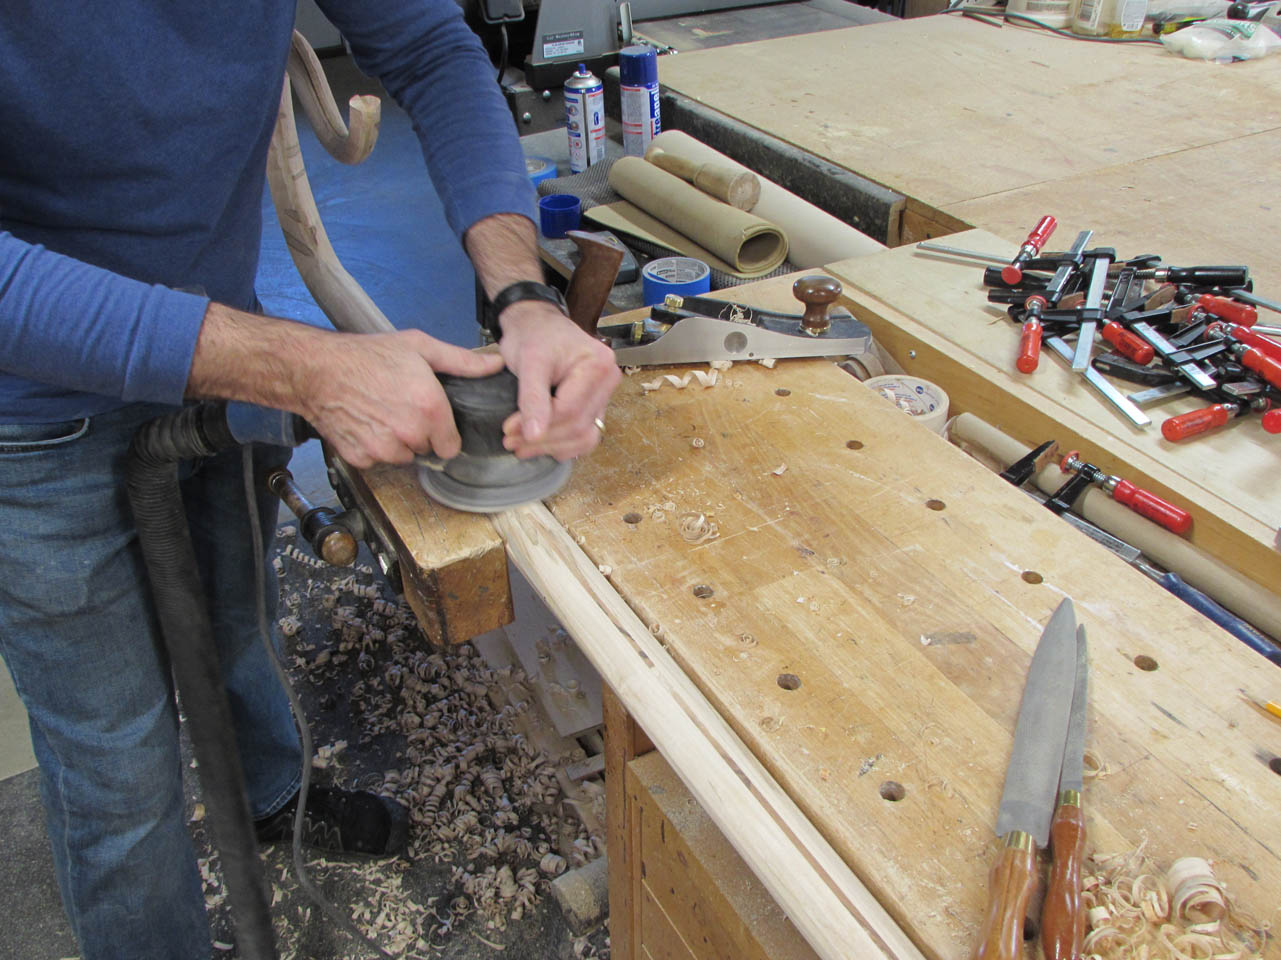
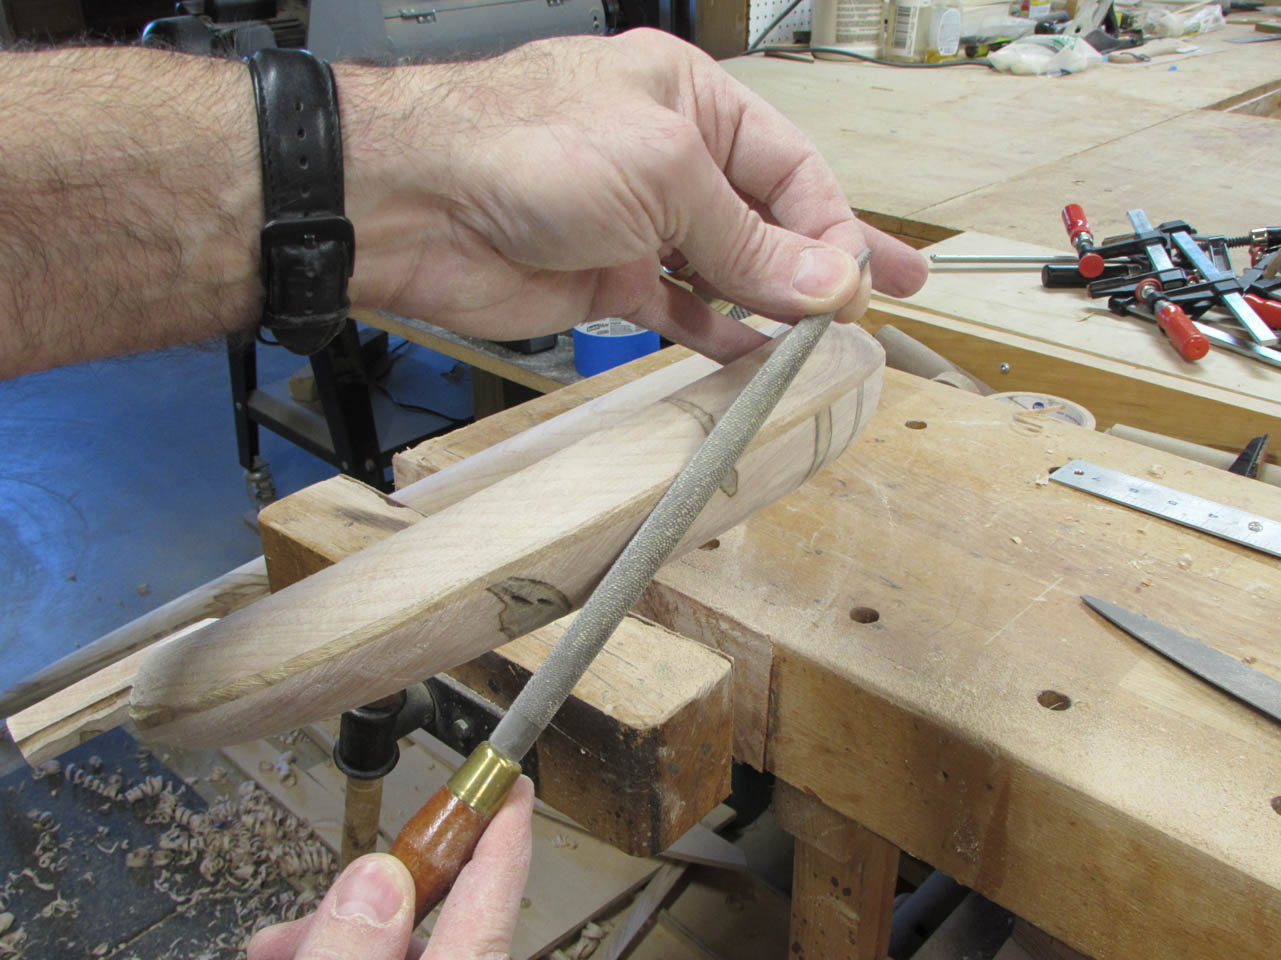
After that, I switched to hand rasps and my orbital sanders.
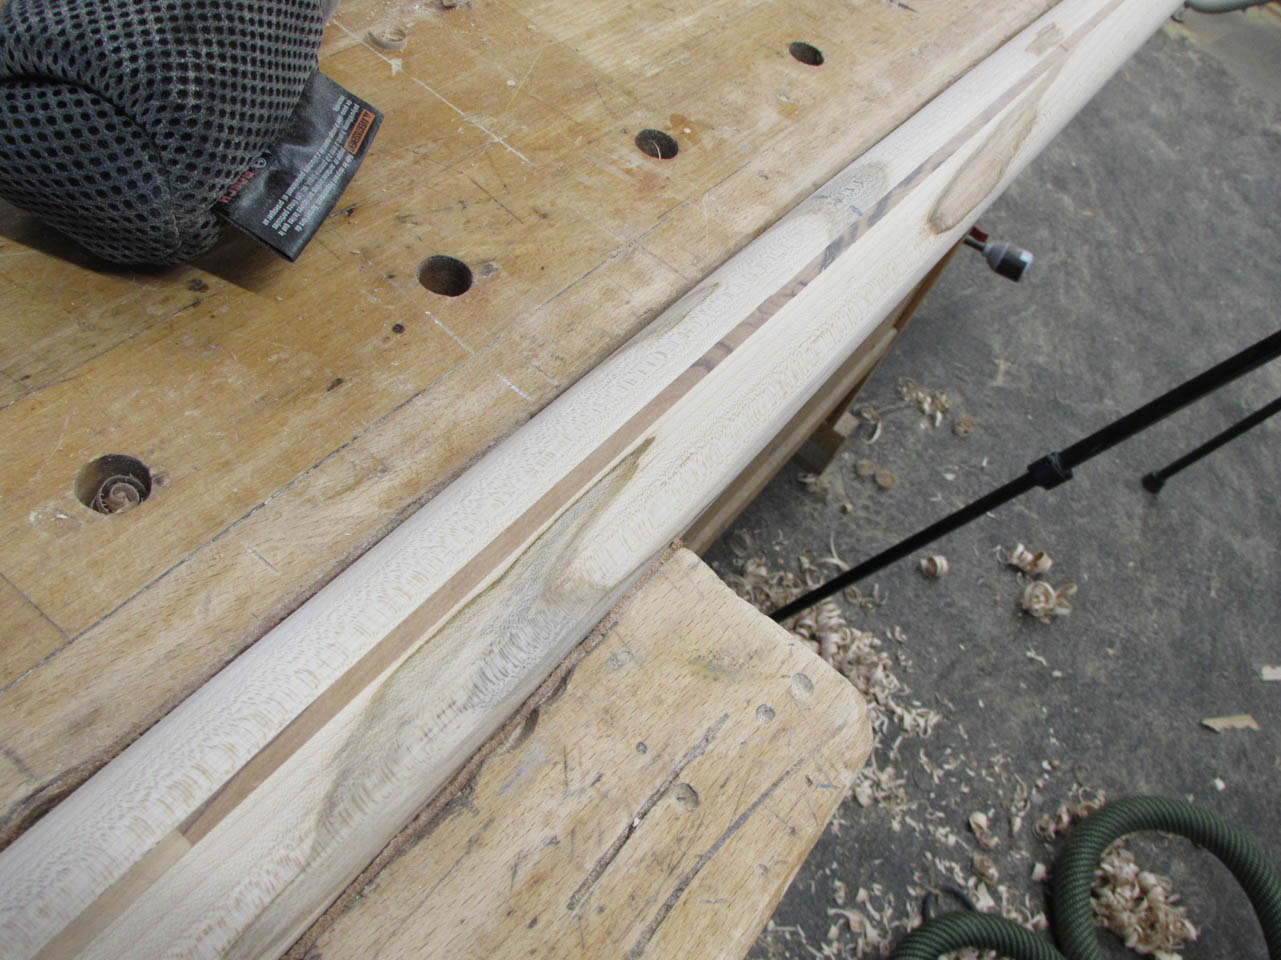
Things are finally starting to shape up and look smooth.
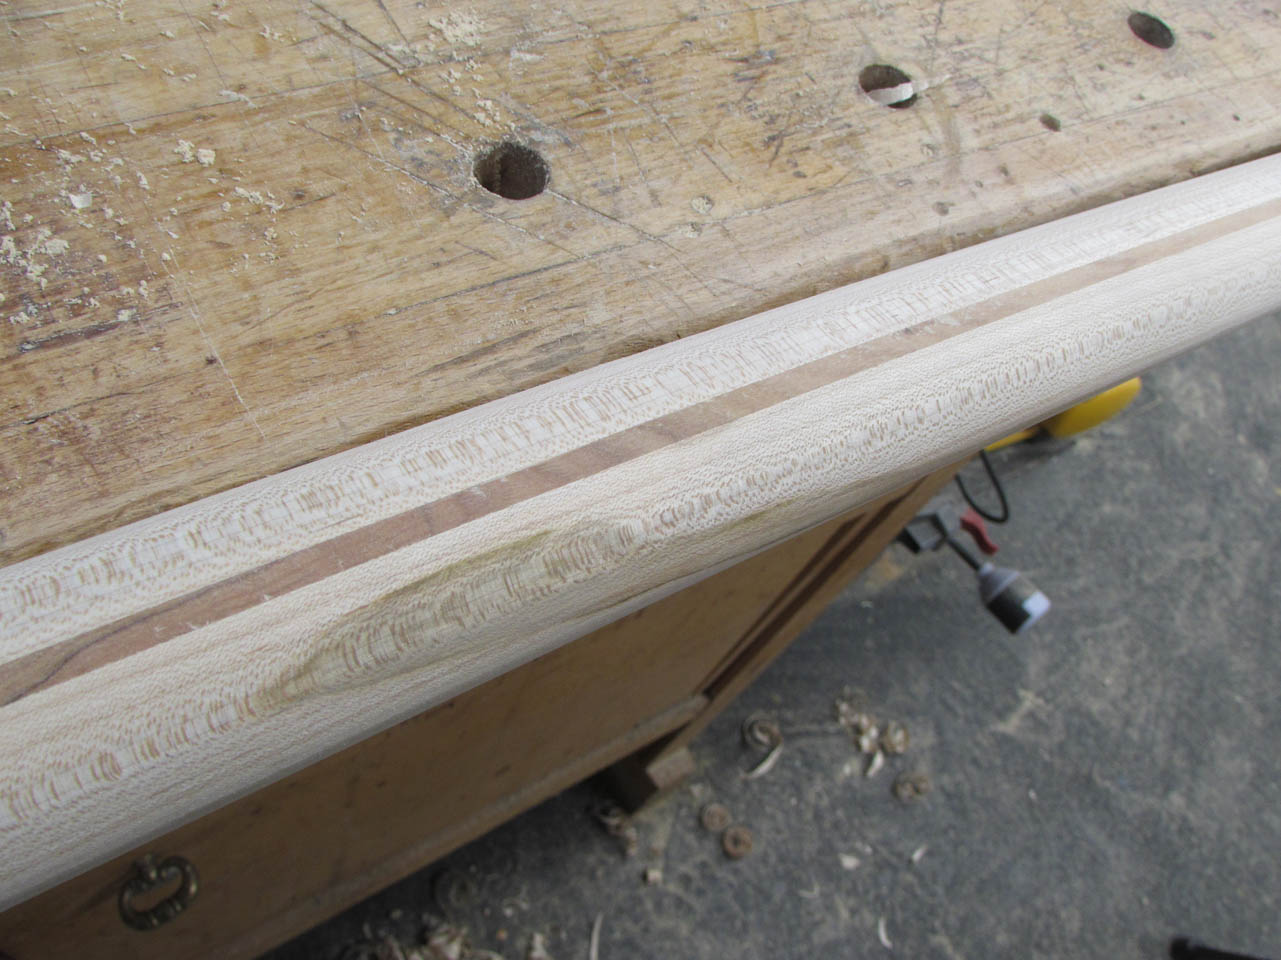
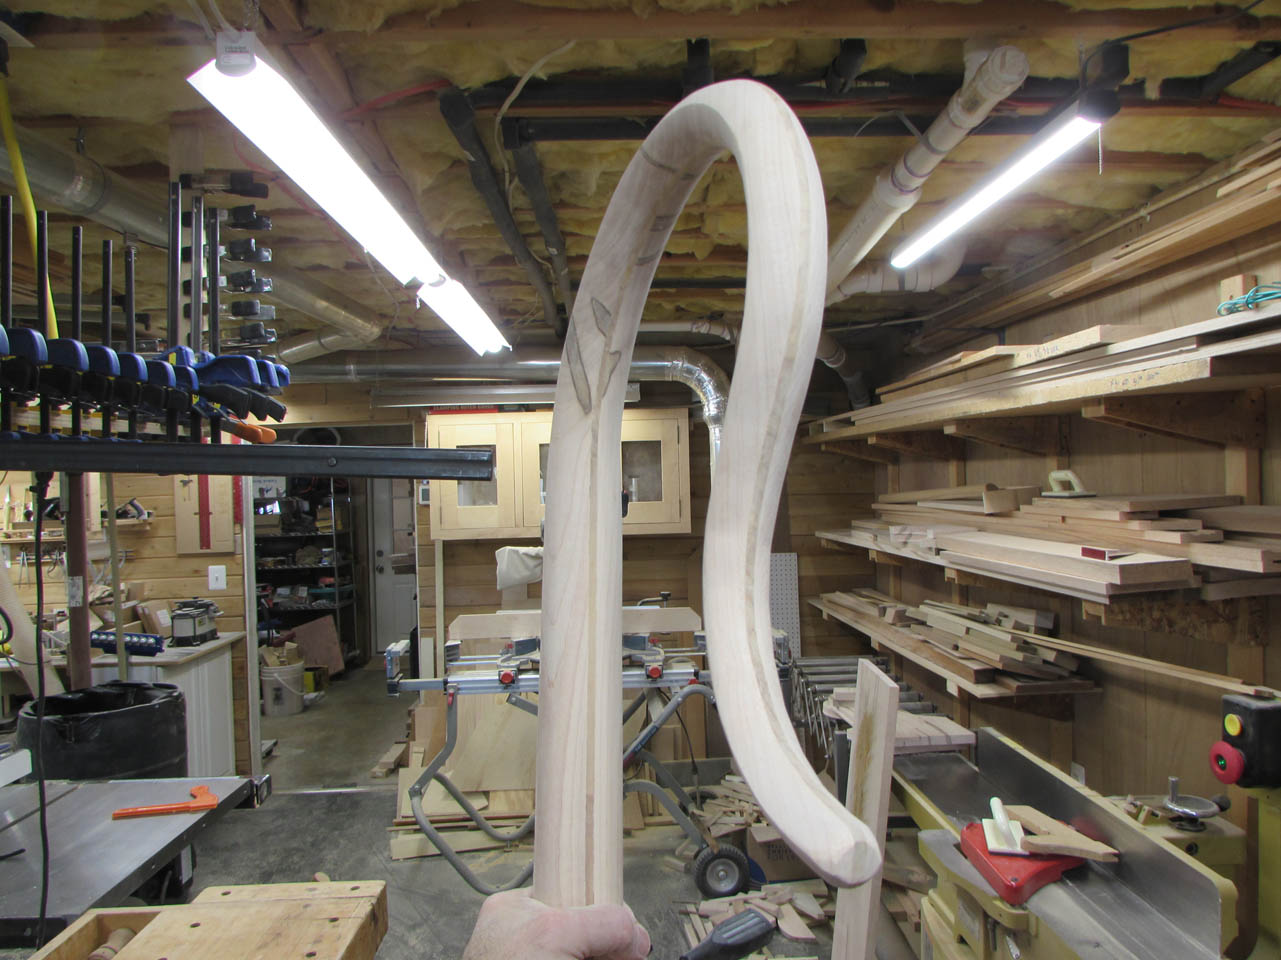
The olivewood in the center spreads apart the two half-round sides creating more of an elliptical cross-section. Most crosiers, staffs, and walking sticks are round. The oval shape makes it feel more substantial without adding a lot of weight. The shape and the fact that the two materials come from opposite sides of the world makes it fairly unique.
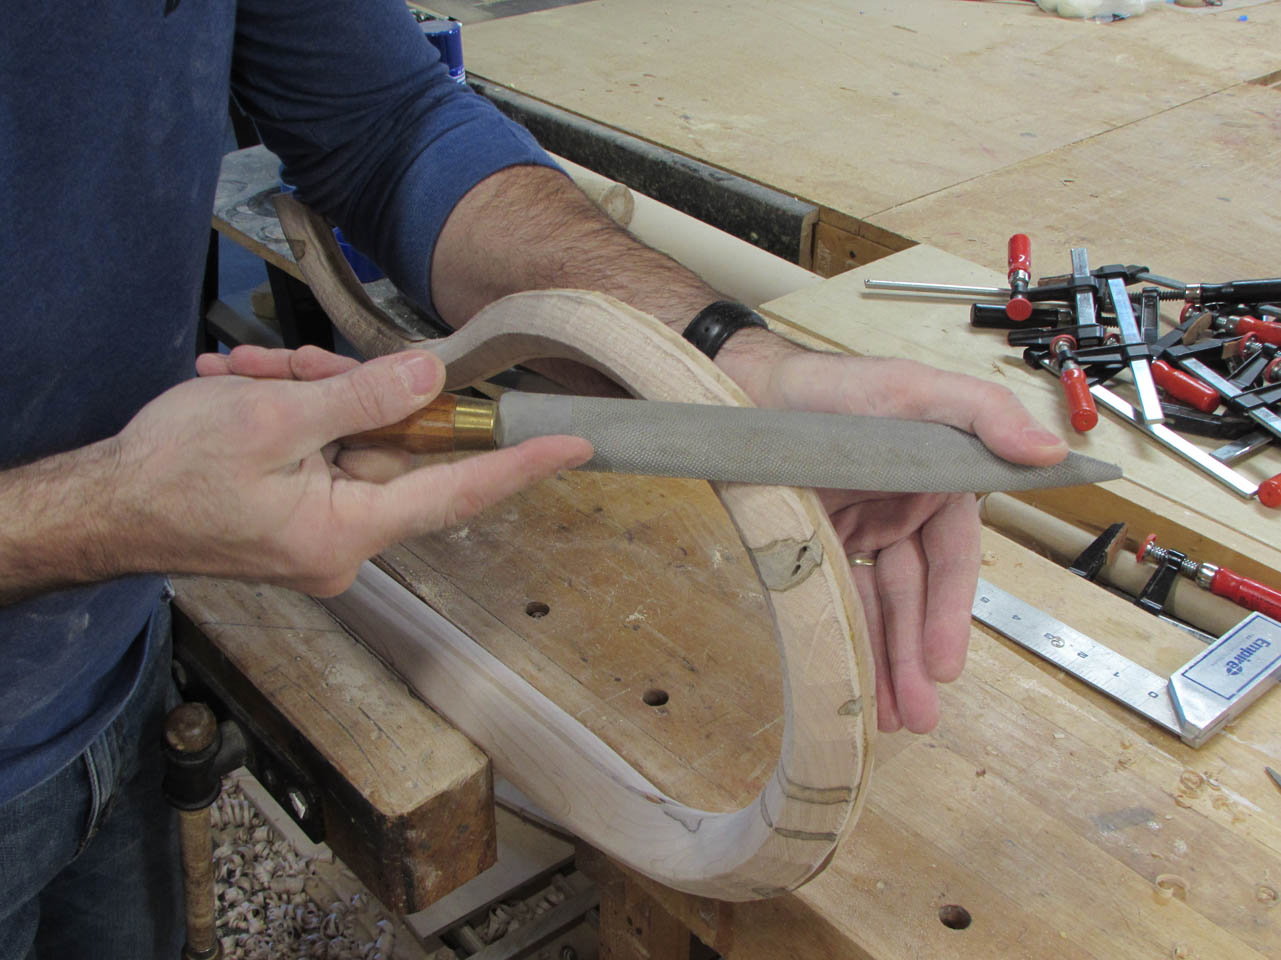
The curves and the multiple grain orientations also make it a pain to shape and smooth… Most of the curve will have to be final shaped by hand with a couple of rasps.
The mill marks from the rasps can be removed with my orbital sanders, but even though the orbital has a soft pad, the final sanding will have to be done by hand.

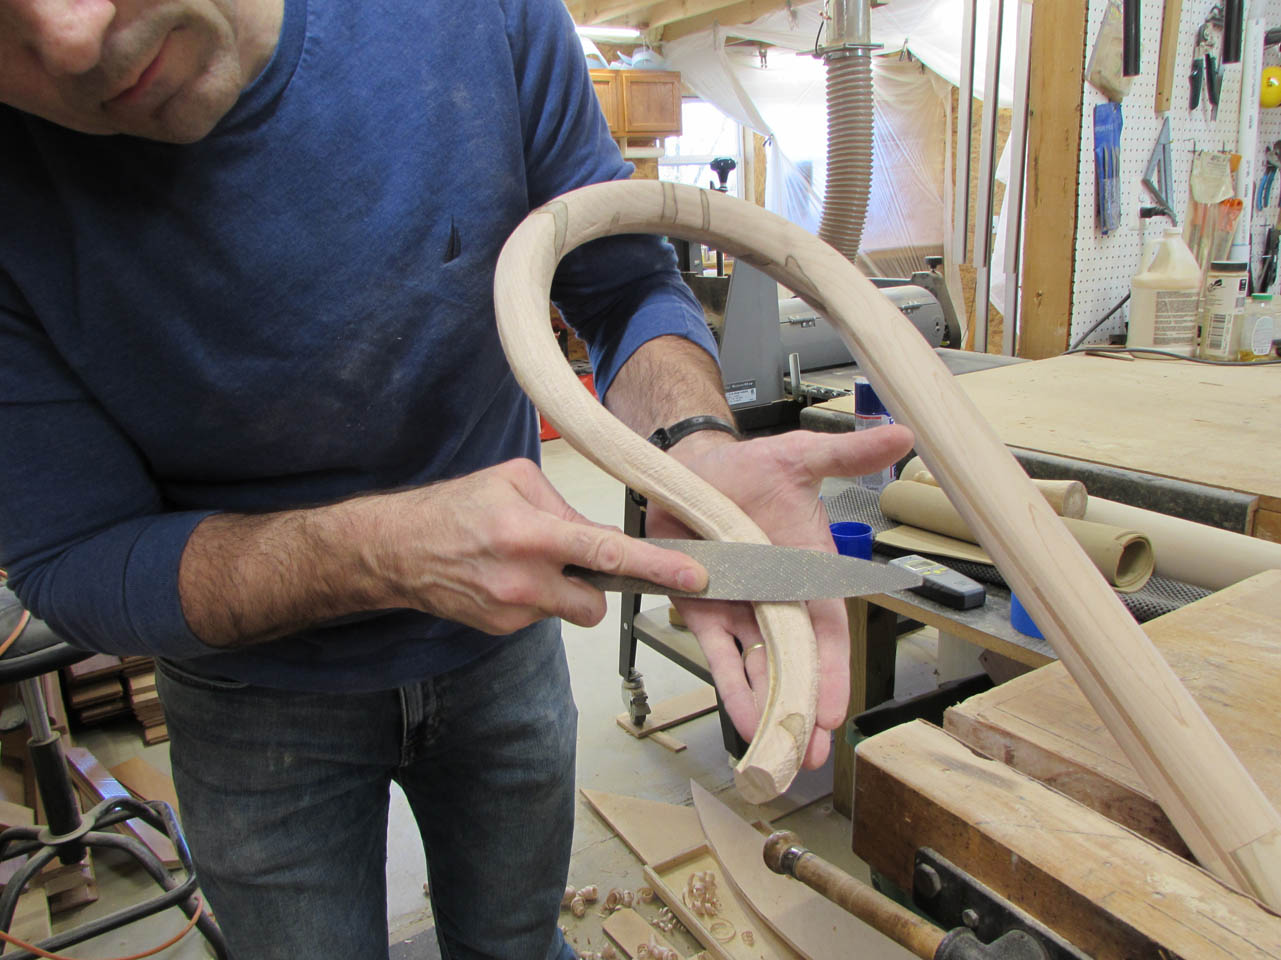
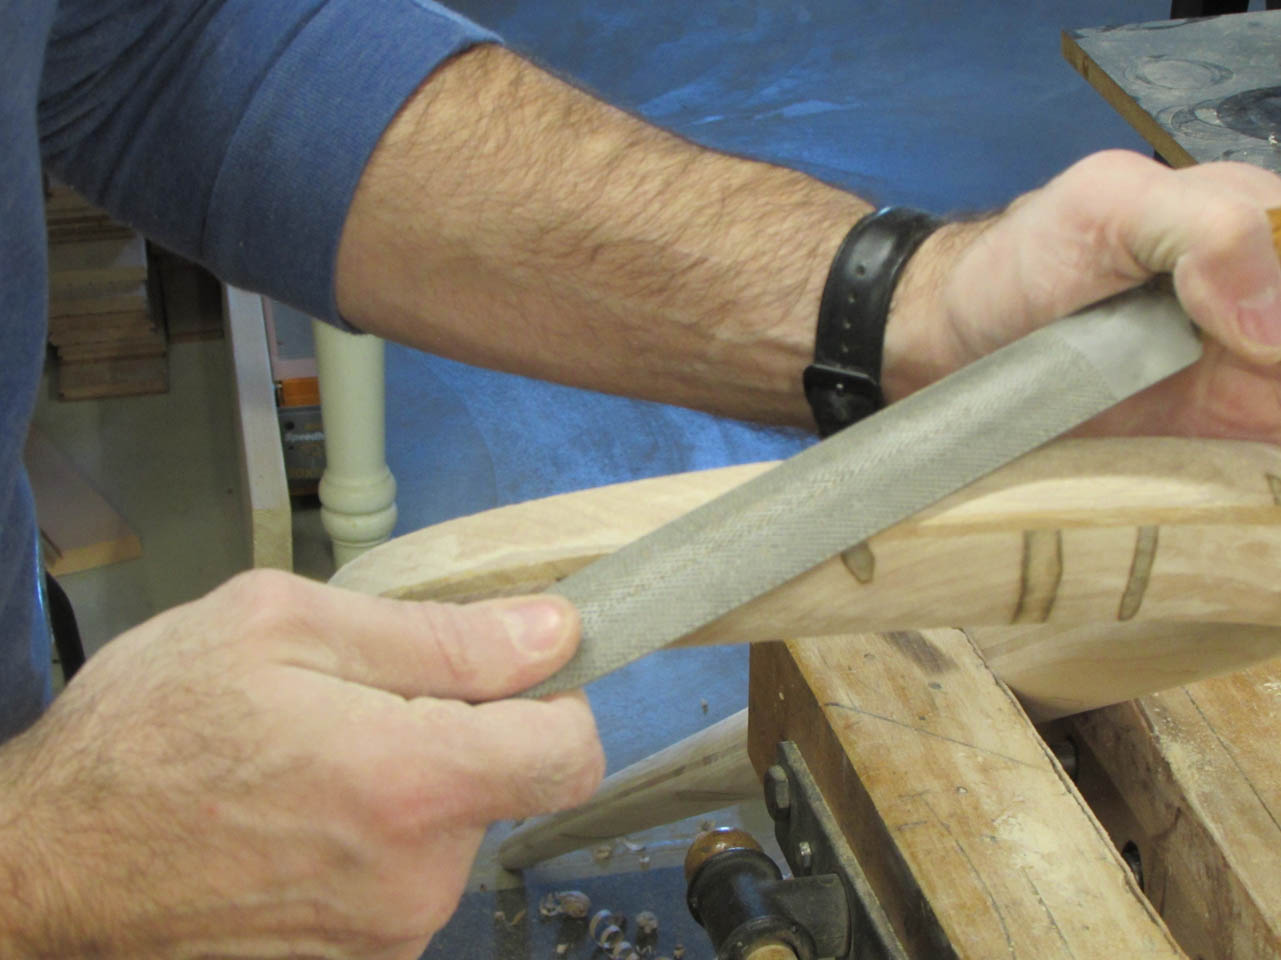
The very thin curved end took the most attention because the wood is tapered and springy. It really could not be held in place without bouncing around a lot. I am encouraged by how much abuse it would take without breaking. The cross-laminated design works really here.
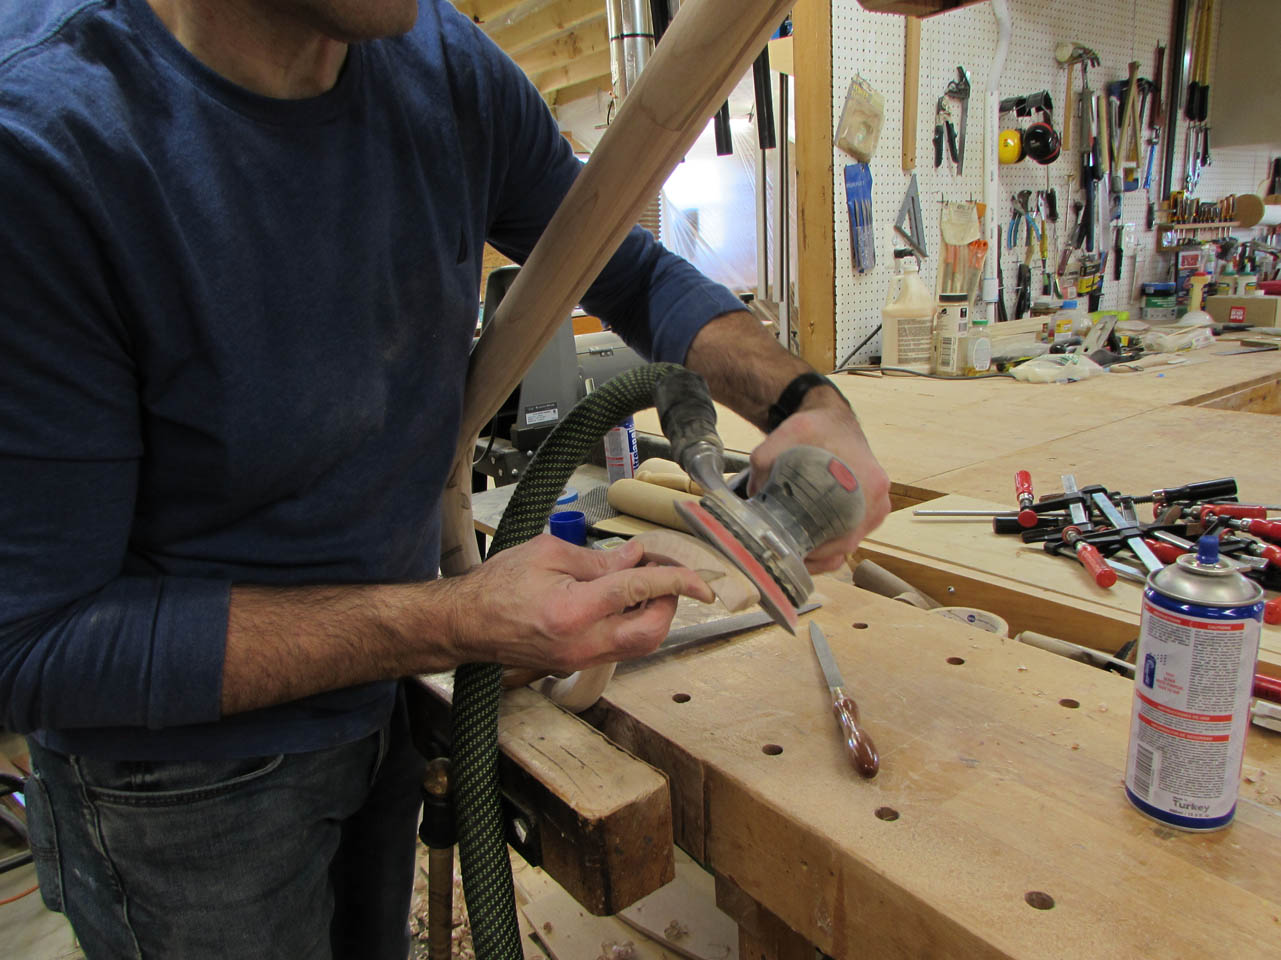
While I still have some final sanding left to do before finish is applied, I am very happy with the outcome so far.