
Marian procession bier – part 5
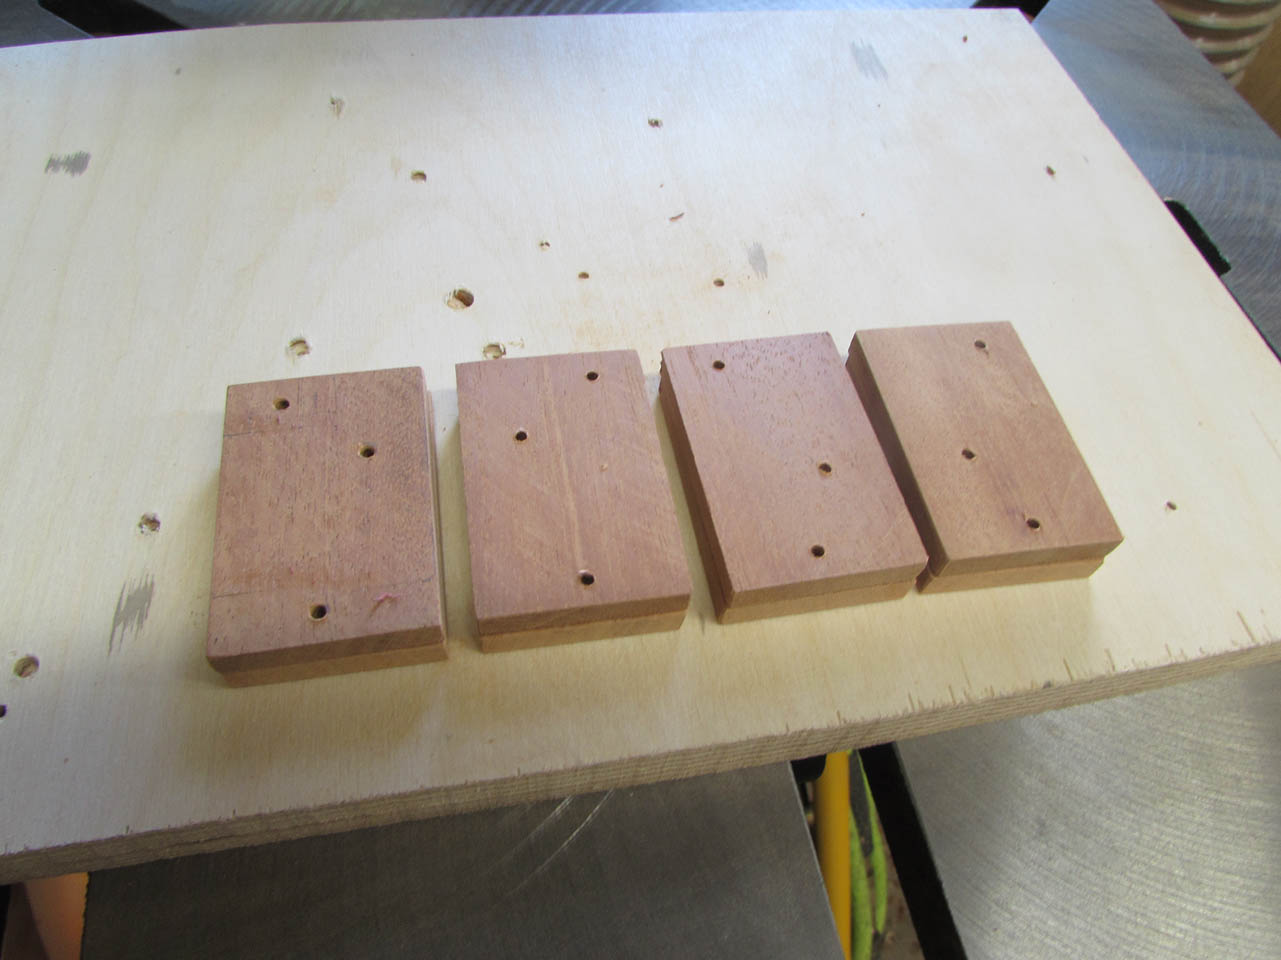
I made a plate yesterday and tested the fit on the rails. It looks like it will work well so I cut seven more so I can mount one to each end of each rail.
The next step is to cut down the rail sections.

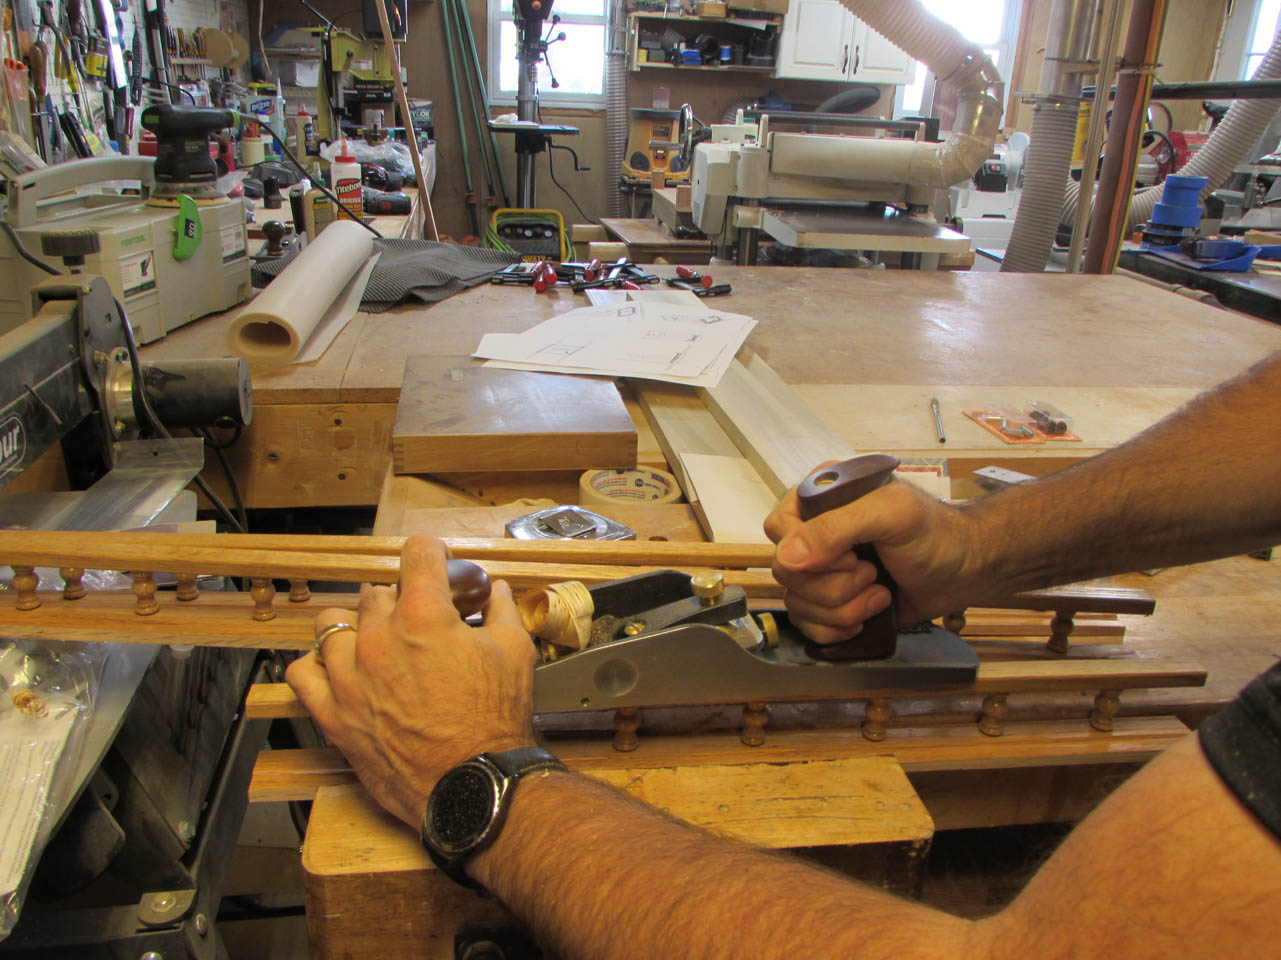
Since these rails already had finish applied to them, I use my jack plane to take off the layer of finish on the top of the rail. I will be gluing a dark stained piece to it later and it needs bare wood for the glue joint.


I lined the rail up with the end plate and marked the top and bottom of the rail where it contacted.
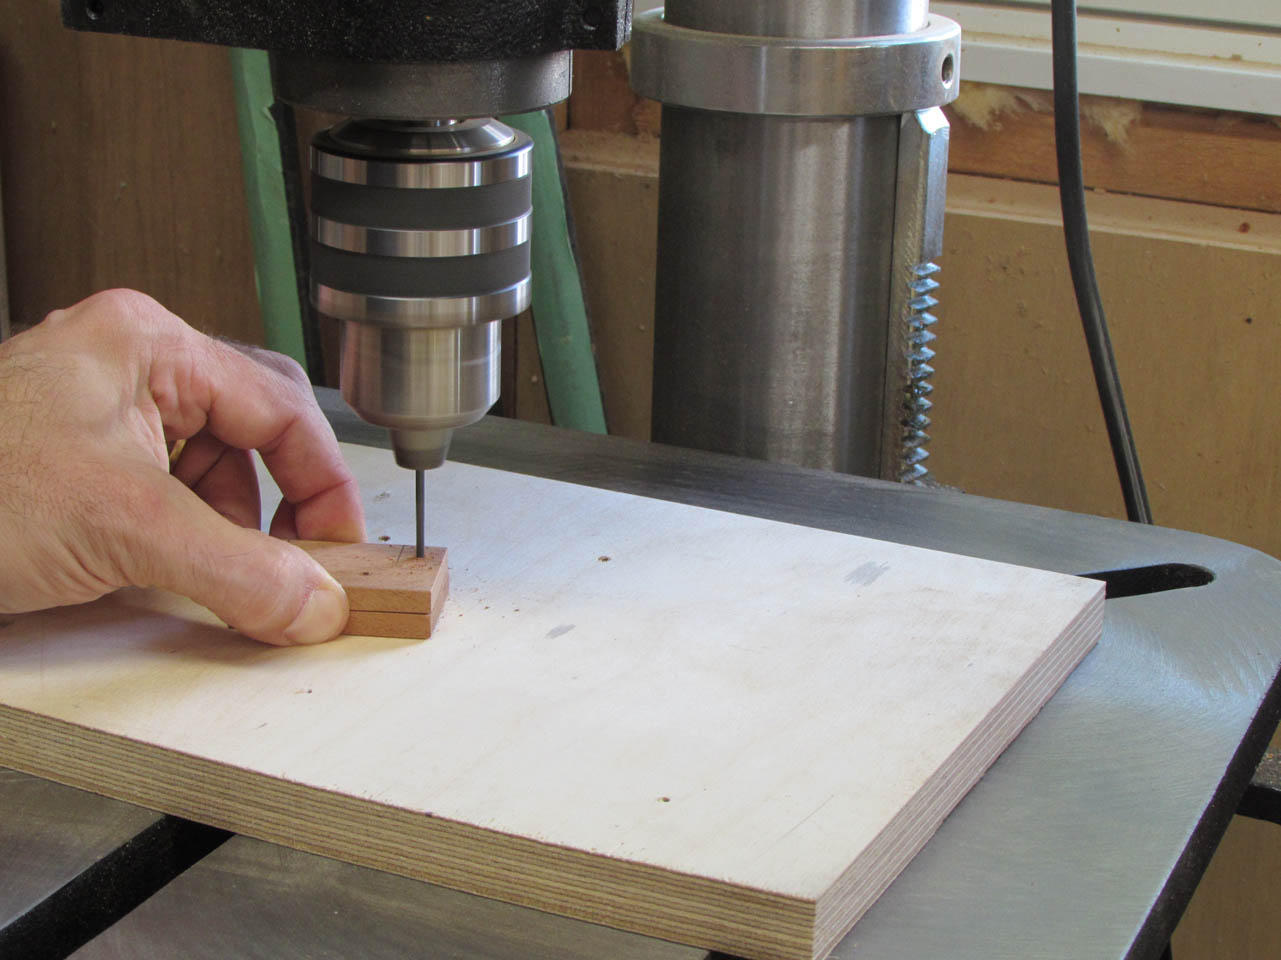
The part of the rail that butts up against the plate is end grain and that would not be a good glue joint so I intend to use screws to make the attachment. I pre-drill pilot holes into the area that will center on the top and bottom rails. I also drill a pilot hole for the attachment to the corner posts. I need to stagger them so they don’t line up at the corner and hit each other.
I intend to use a smaller style pocket hole screw that is a bronze color to better match the wood color when stained.
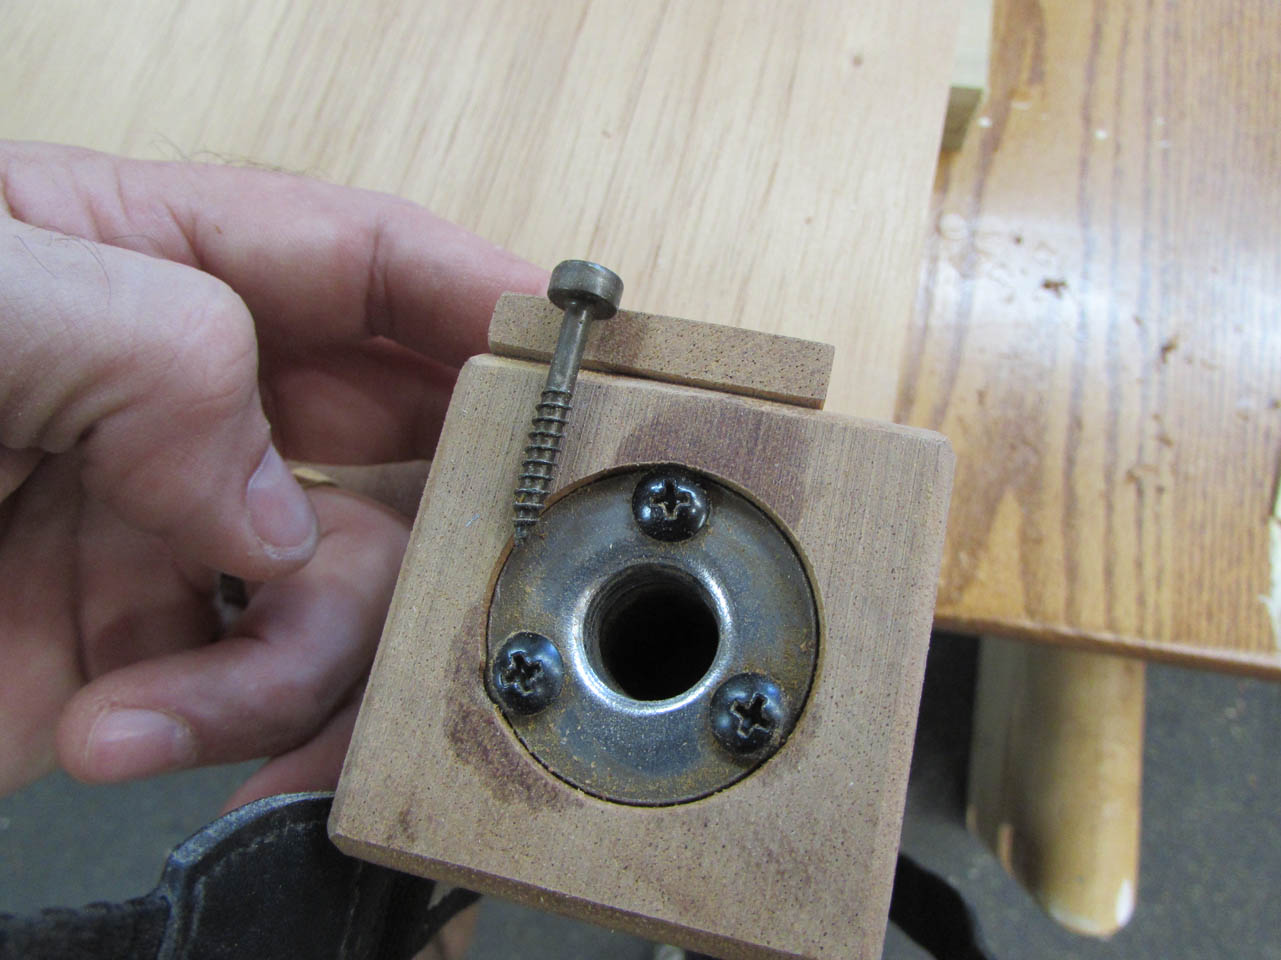

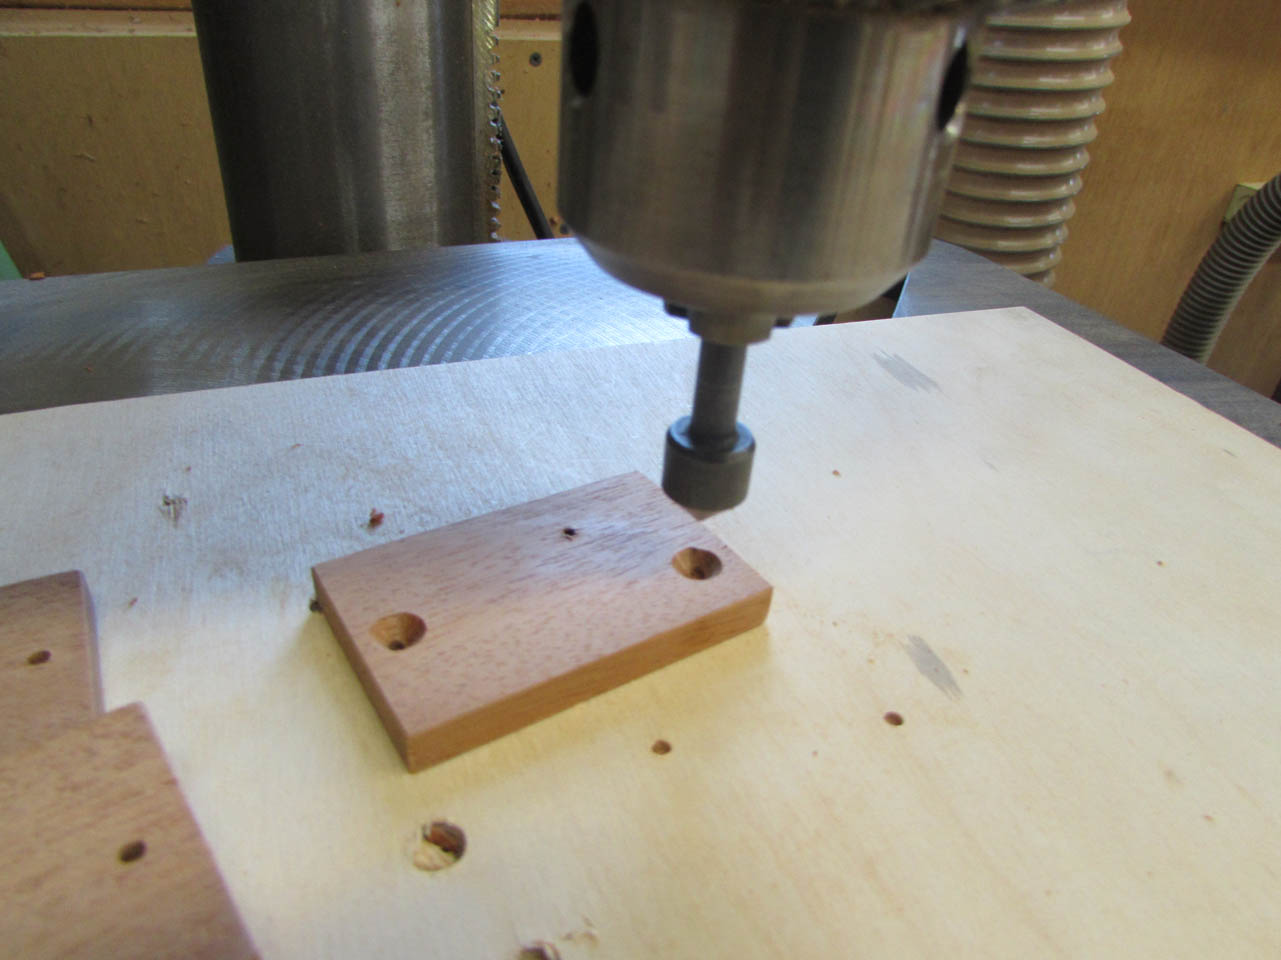
To hide the screw head, I drill a small counter-bore in the face of the plate.

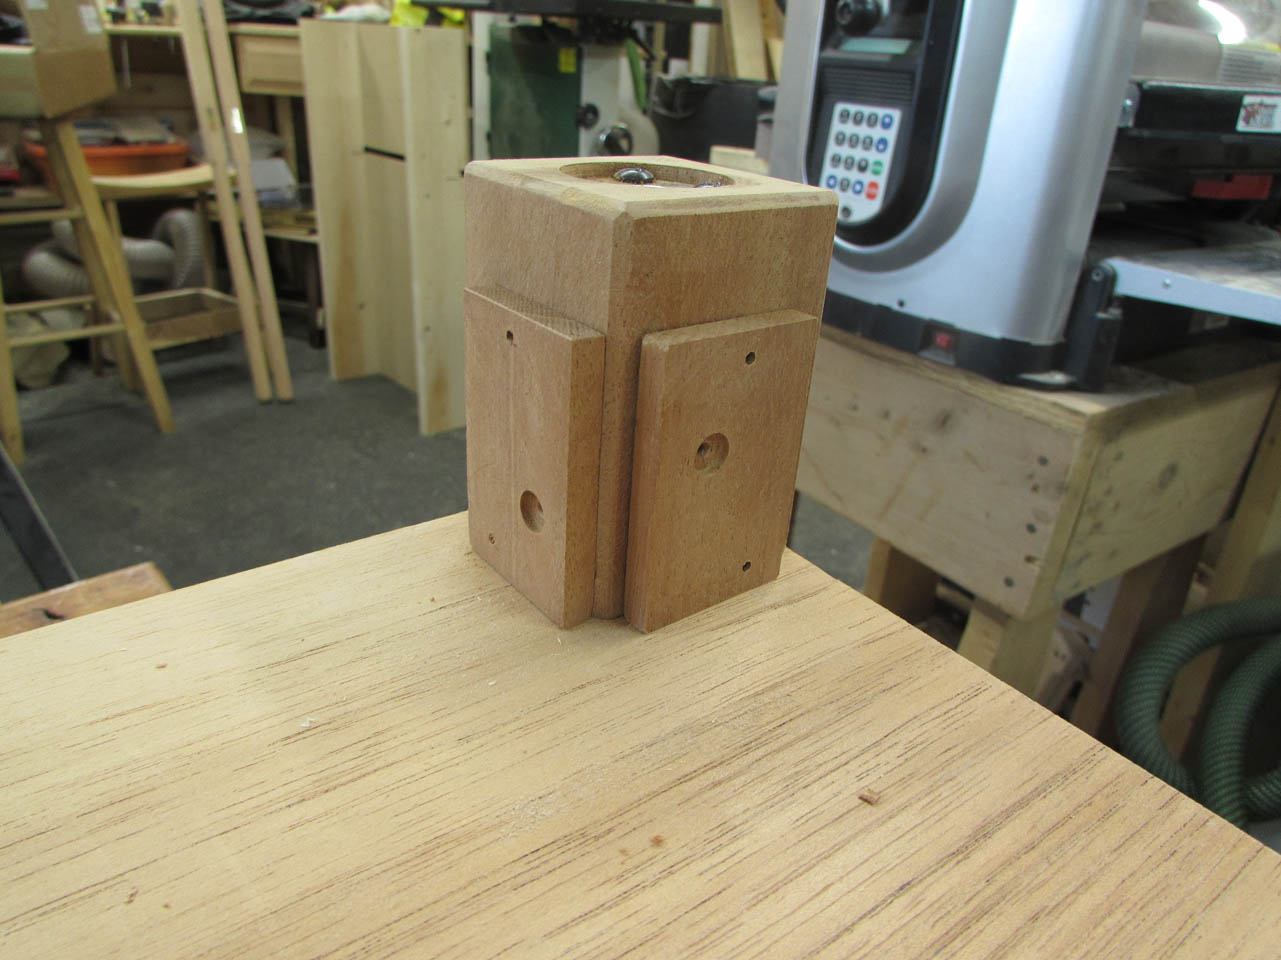
On the back side, I drilled a small counter-sink for the tiny screws that attach to the rails. See how the screws will miss each other in the picture below?
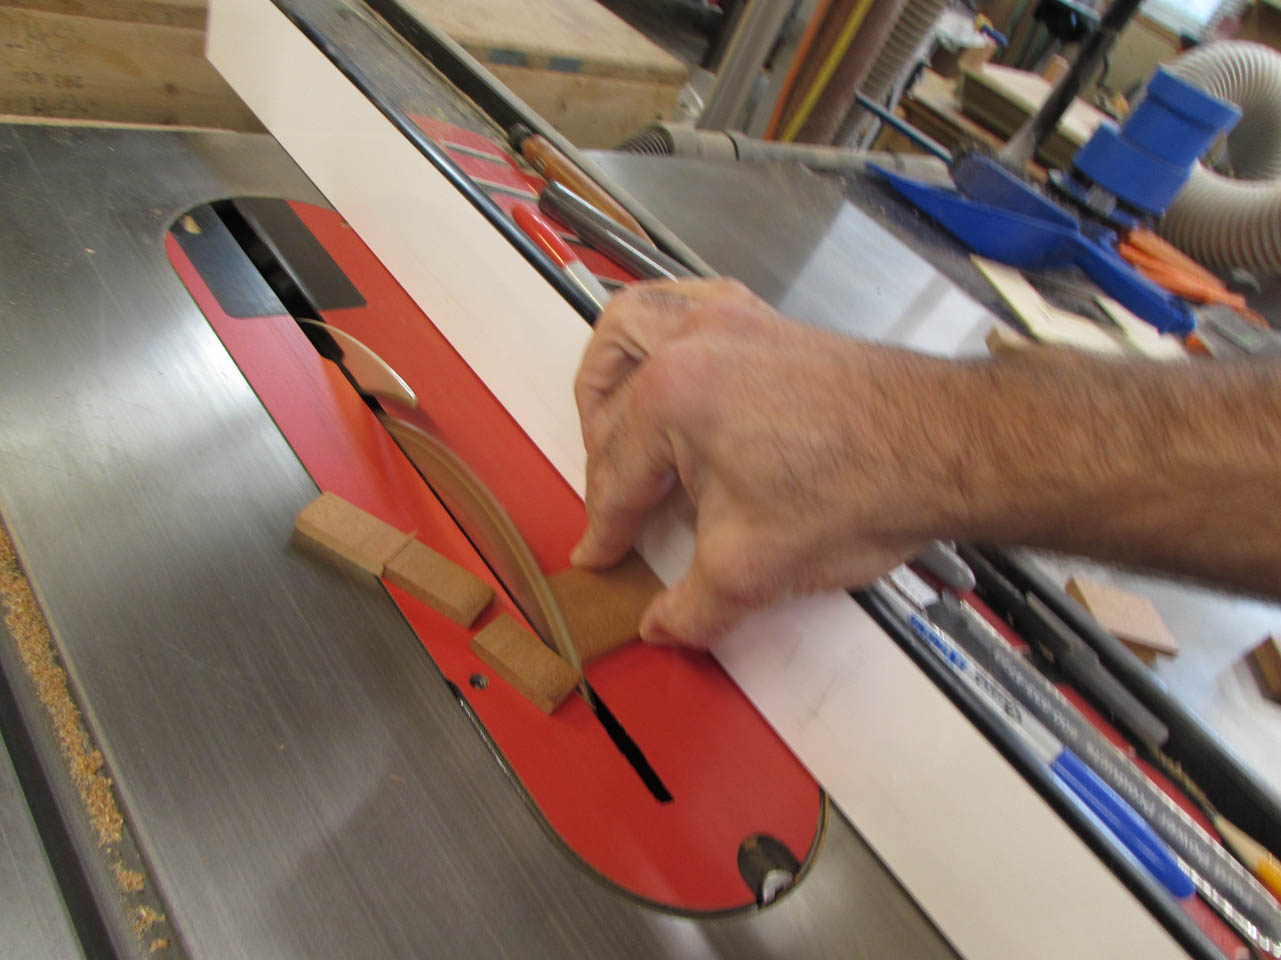
While cutting a few of these small plates, I had an accident.
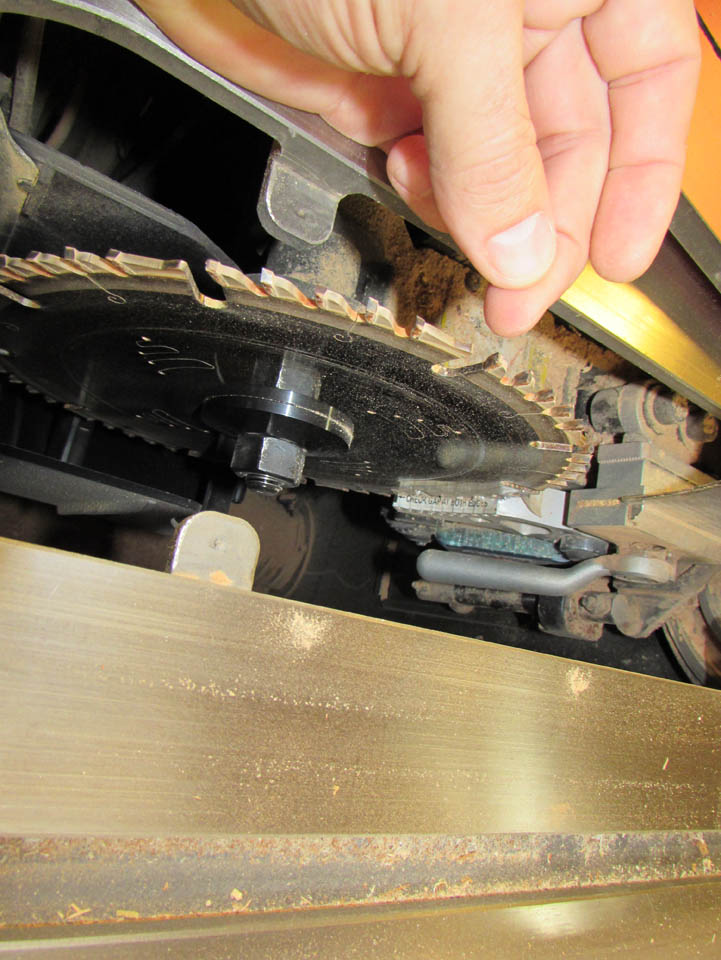
One of the thin pieces of wood I was cutting kicked back at me and let my finger hit the blade on the side. The good news is that the SawStop table saw did its job well and the blade vanished instantly into the saw cabinet the moment my finger touched the blade. This prevented me from continuing my forward momentum into the blade with my fingers. I felt the contact with the blade, but did not get even a single scratch on my finger. On a regular saw, this could have been far worse. As it is, I now need to replace both the brake and my saw blade, but better that than having to get my fingers sewed back on.

Luckily all of the pieces are cut that I need to install the rails, so while I am waiting for the new brake, I will go ahead and assemble everything.
First step is to locate the correct plate on each rail end so that the screws don’t align at each corner. Then I line up the plate and pre-drill a pilot hole and attach the small #4 wood screws, by hand.

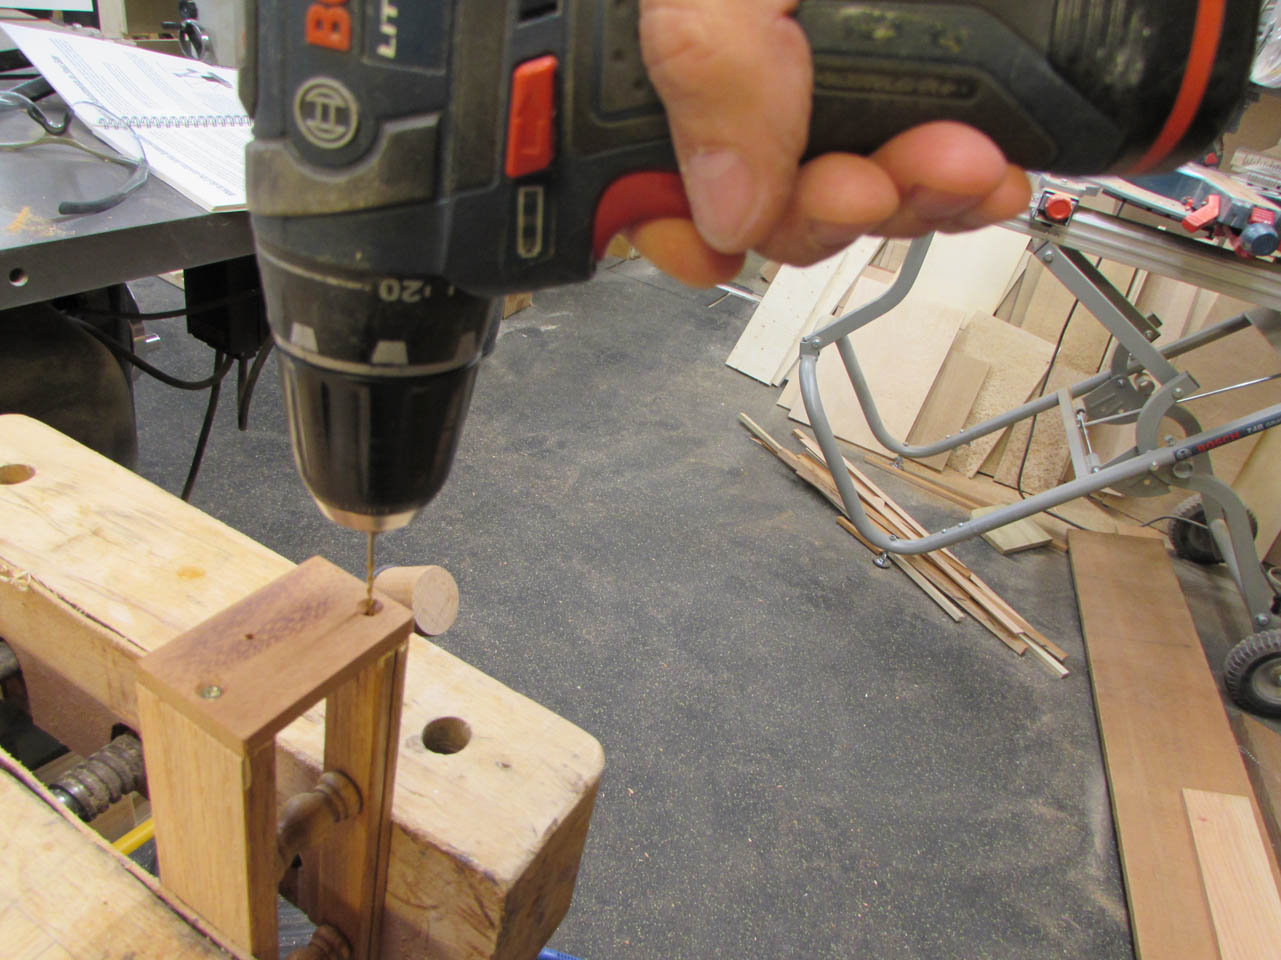
When they are all assembled, I dry-fit the rails in place and mark the center of the counter-bored hole to pre-drill the corner.


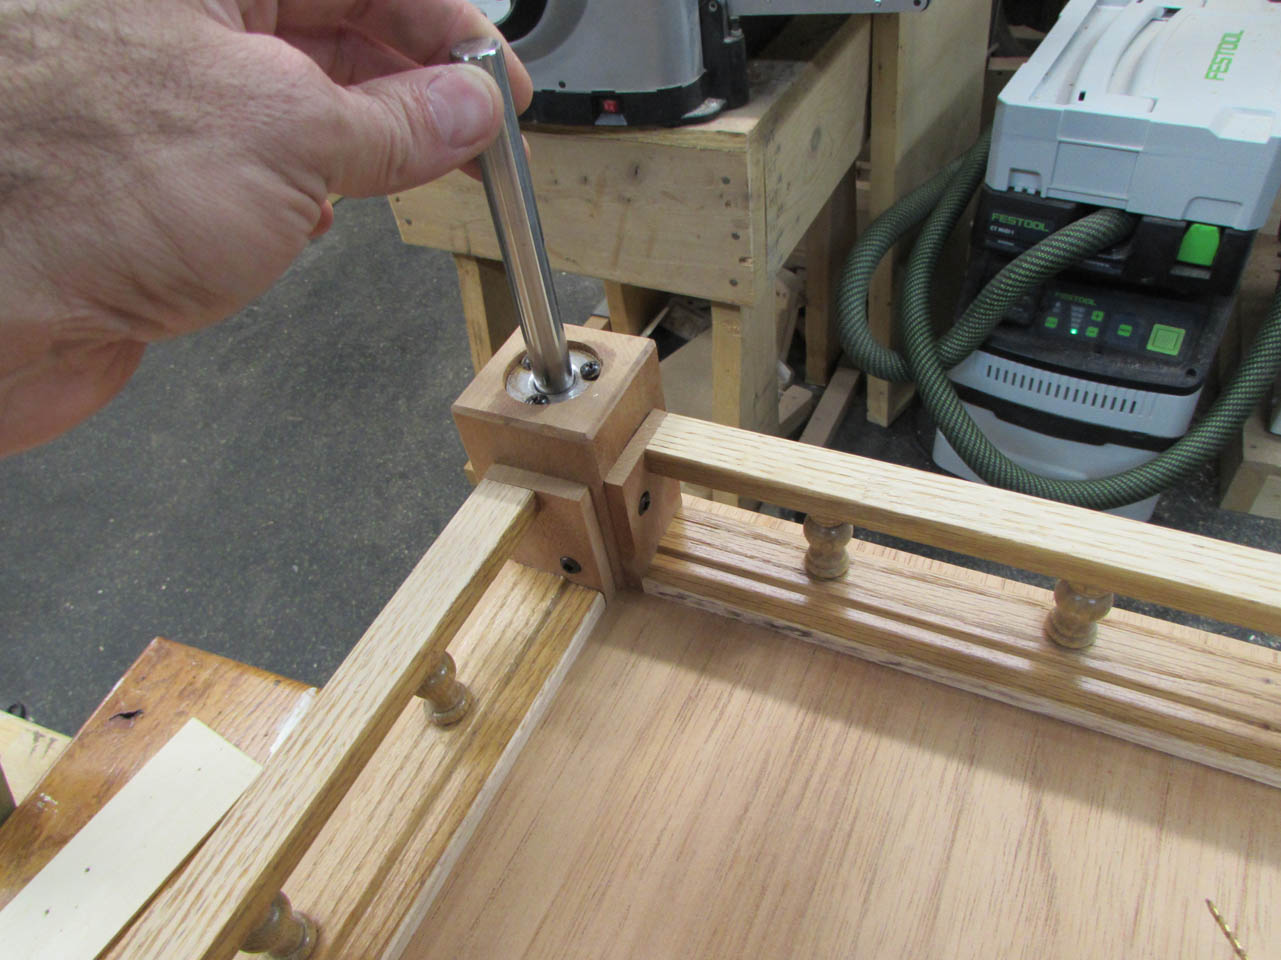
I moved the rail out of the way and drilled a small pilot hole, then used a long extension to screw the rail into place.
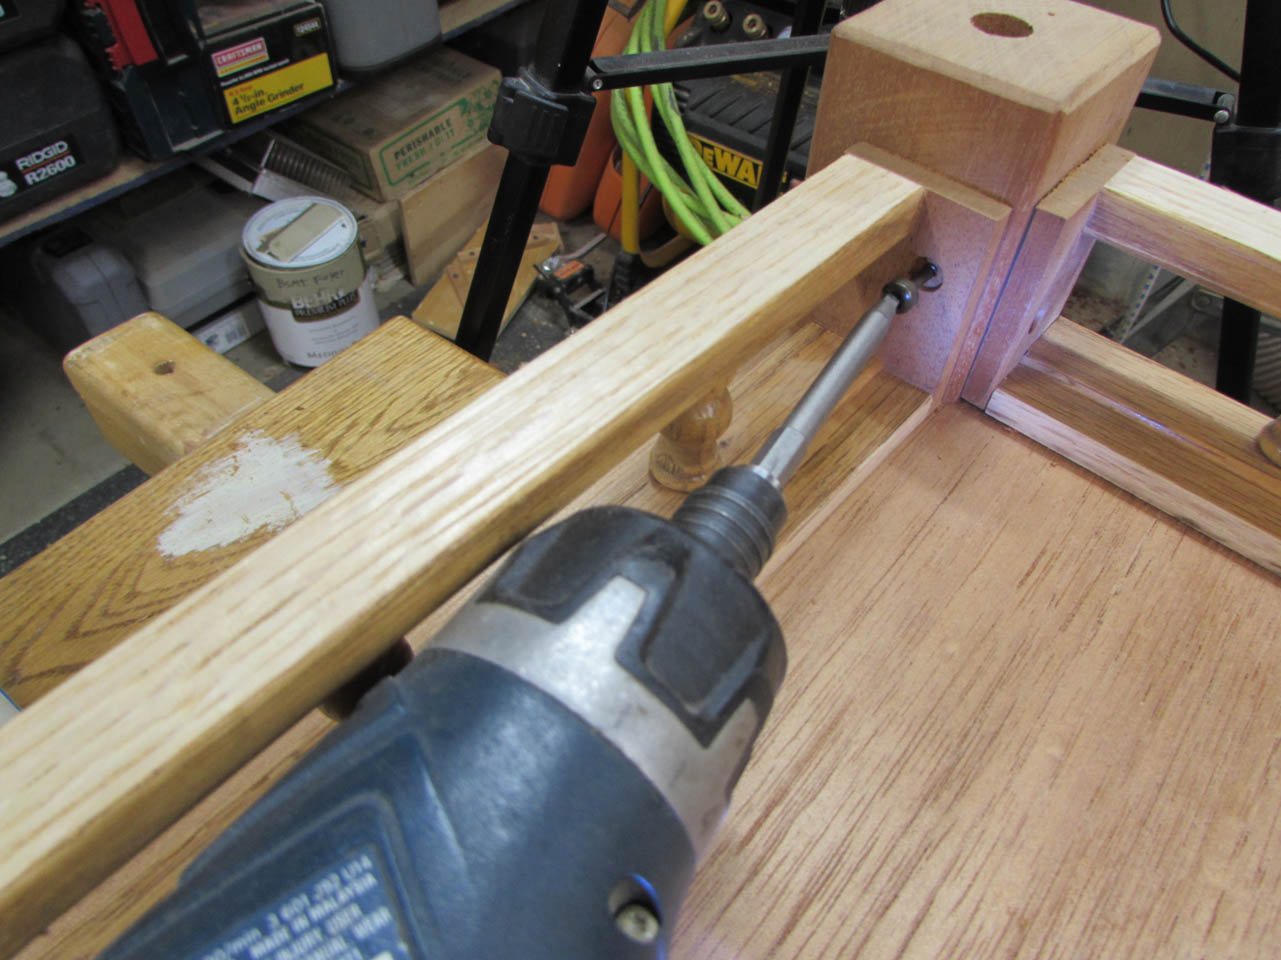

When all of the rails were installed, I dropped the steel posts into the corners to make sure none of the screws entered the center hole.
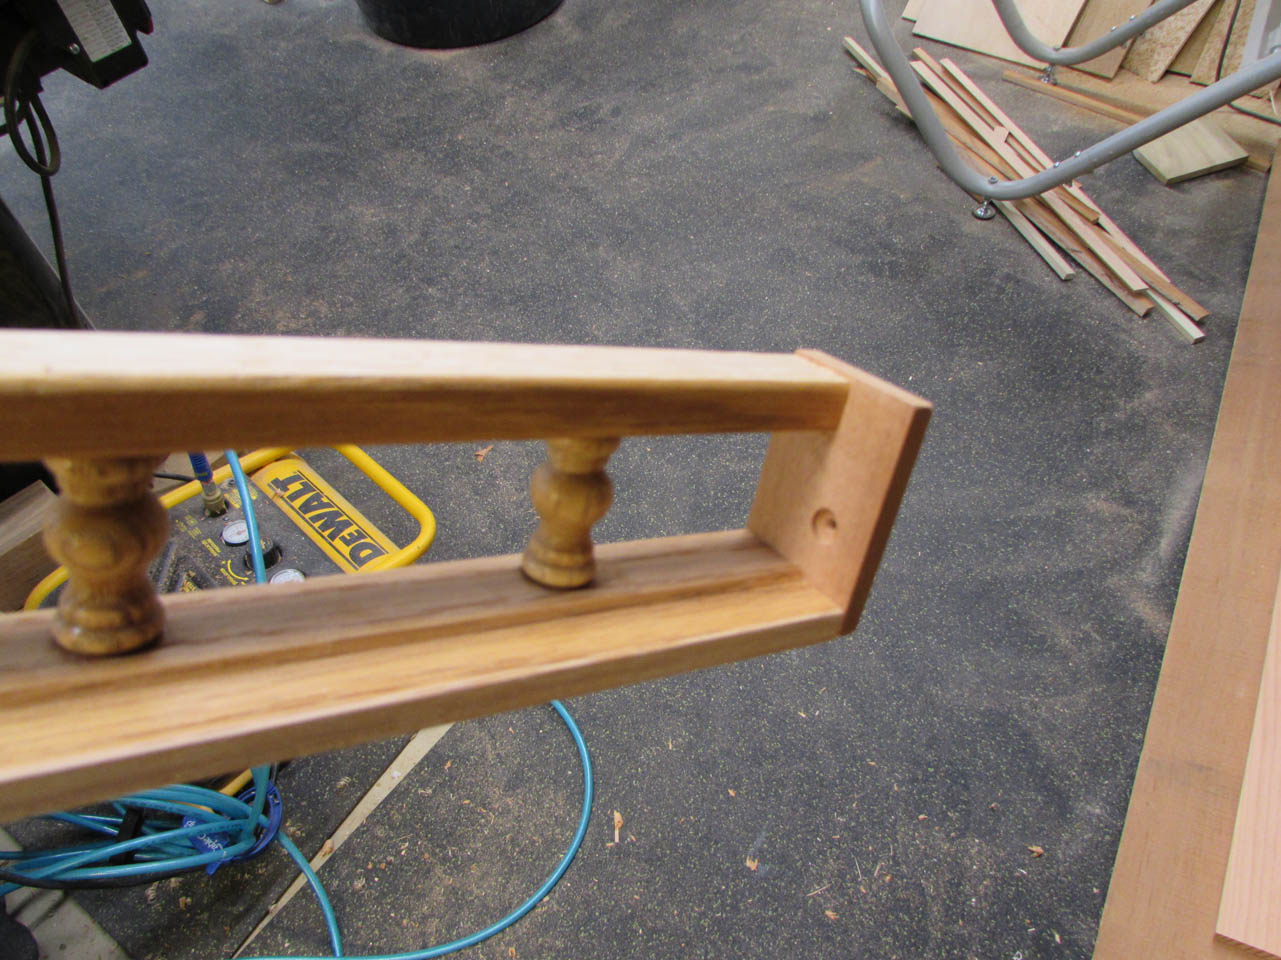
Here are the rails assembled.
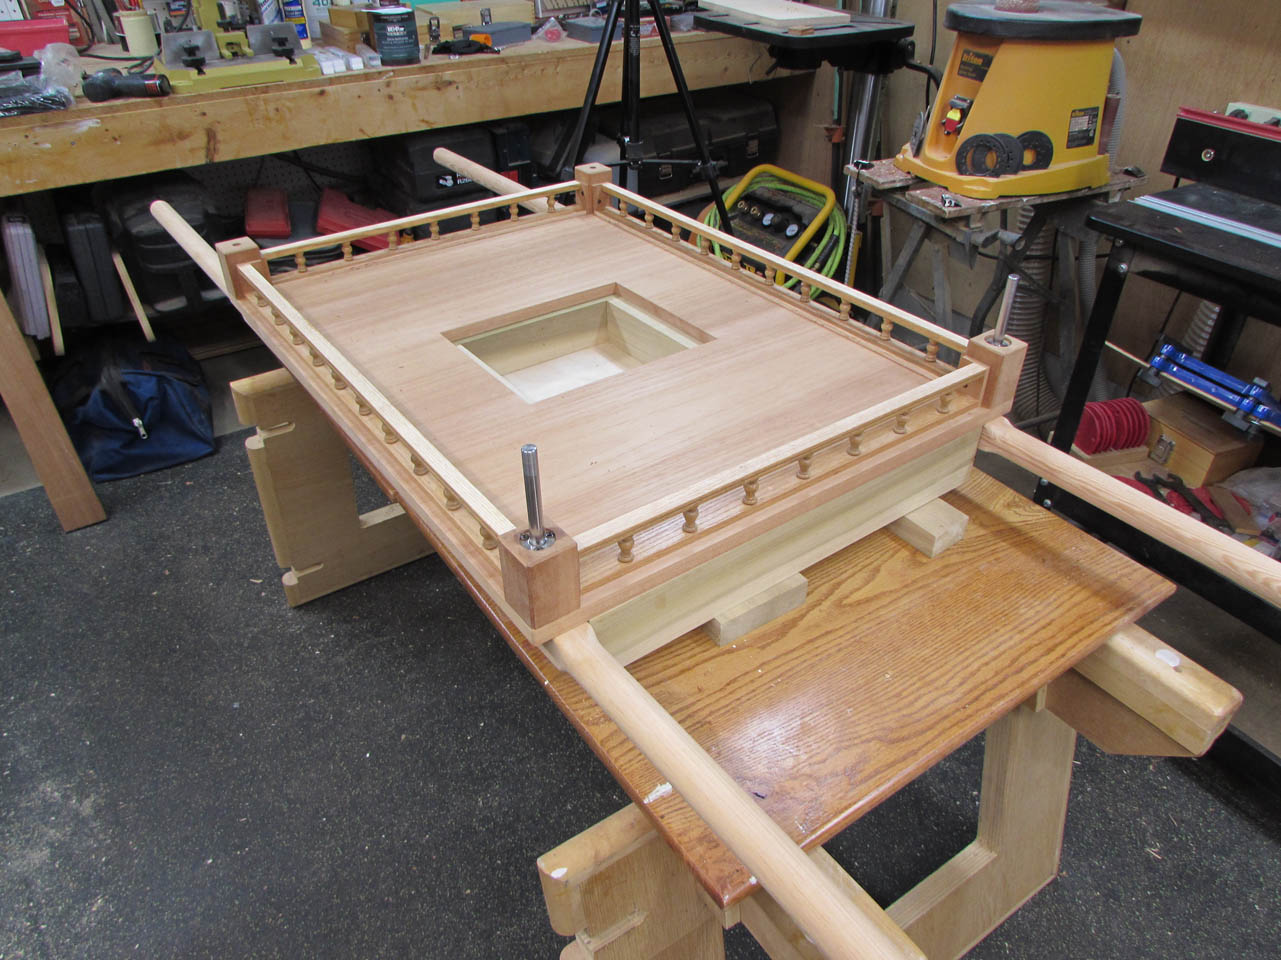
I think I am going to make a sapele rail cap for the top, but that requires a functioning table saw…
