
Marian procession bier – part 3
There are so many details on this project, I don’t really know what sequence to build it in. I will probably be working on at least two different things at the same time, throughout most of the build.
For example, I am going to start working on the vertical section of the cross right now, so I can get my CNC router carving the Marian symbol, then I will switch over to working on the bier top while that is running.
I did a test carve of the symbol yesterday to make sure it would carve in the anticipated location. It needs to be in the top 1/3 of the cross with the symbol oriented in the correct direction. I am glad that I did because it carved it backwards from what I expected. No worries, that was the point to the test carve. It should be correct this time…

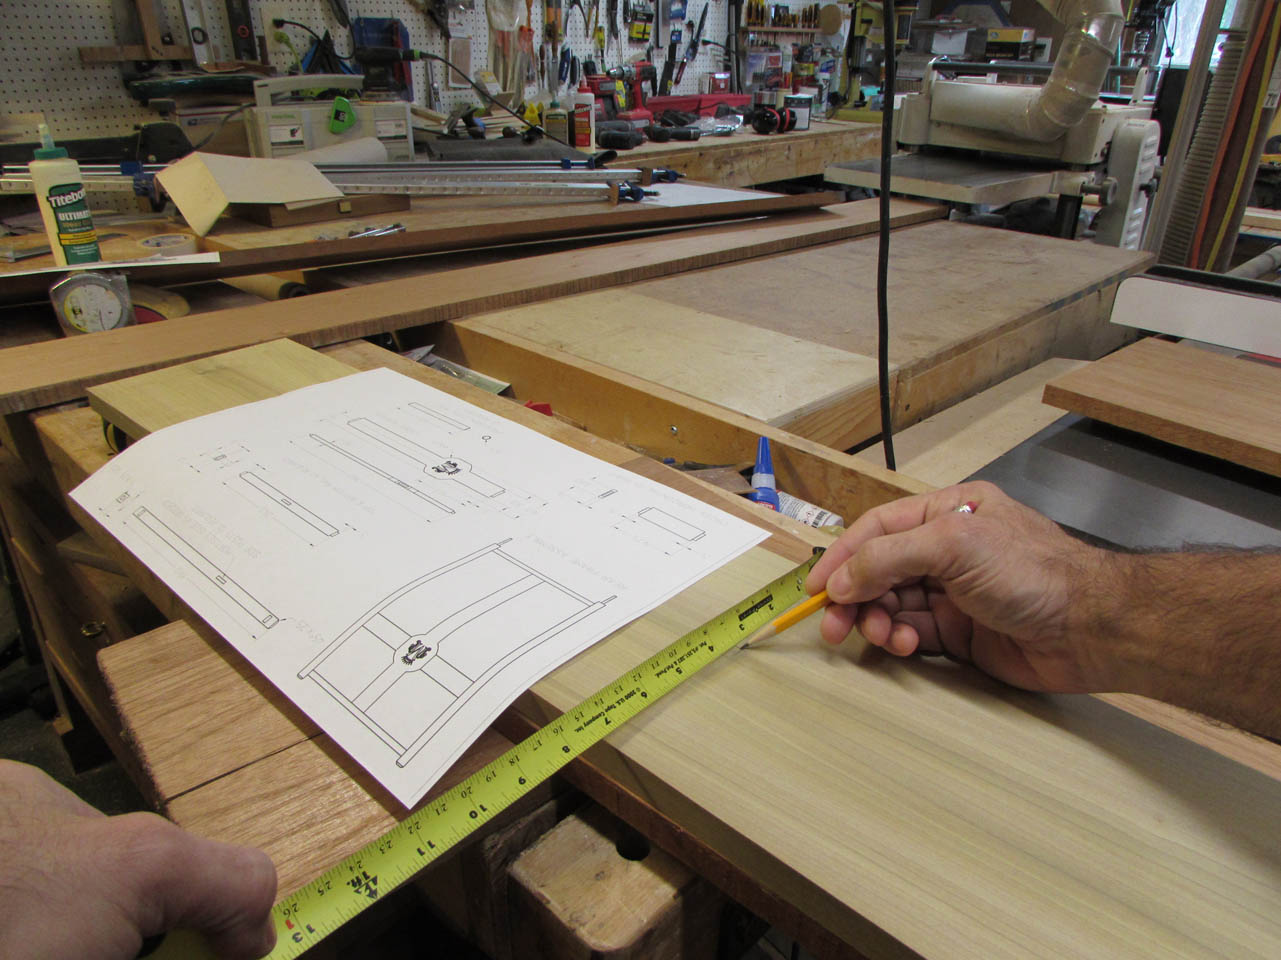
Once I was sure everything was carving along correctly, I started cutting down the Spanish cedar to make the top.

Not entirely sure how I want this to come together yet. I decided to cut enough 27″ish pieces to cover the top.

I jointed one edge of each board, then cleaned up the opposite side by cutting it off on the table saw.
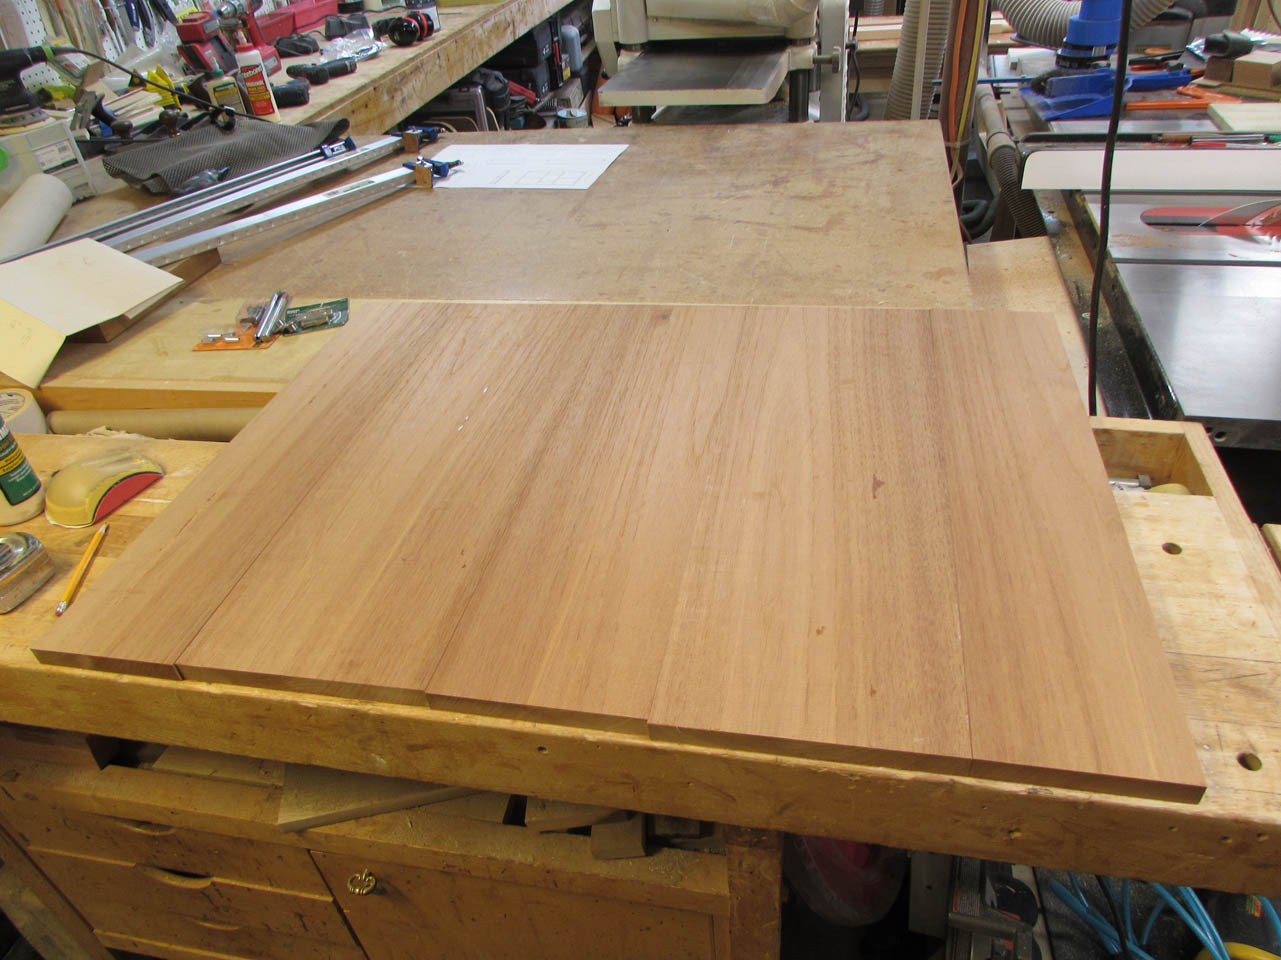
I placed all of the pieces together to see how the grain lined up. I think it looks fantastic.
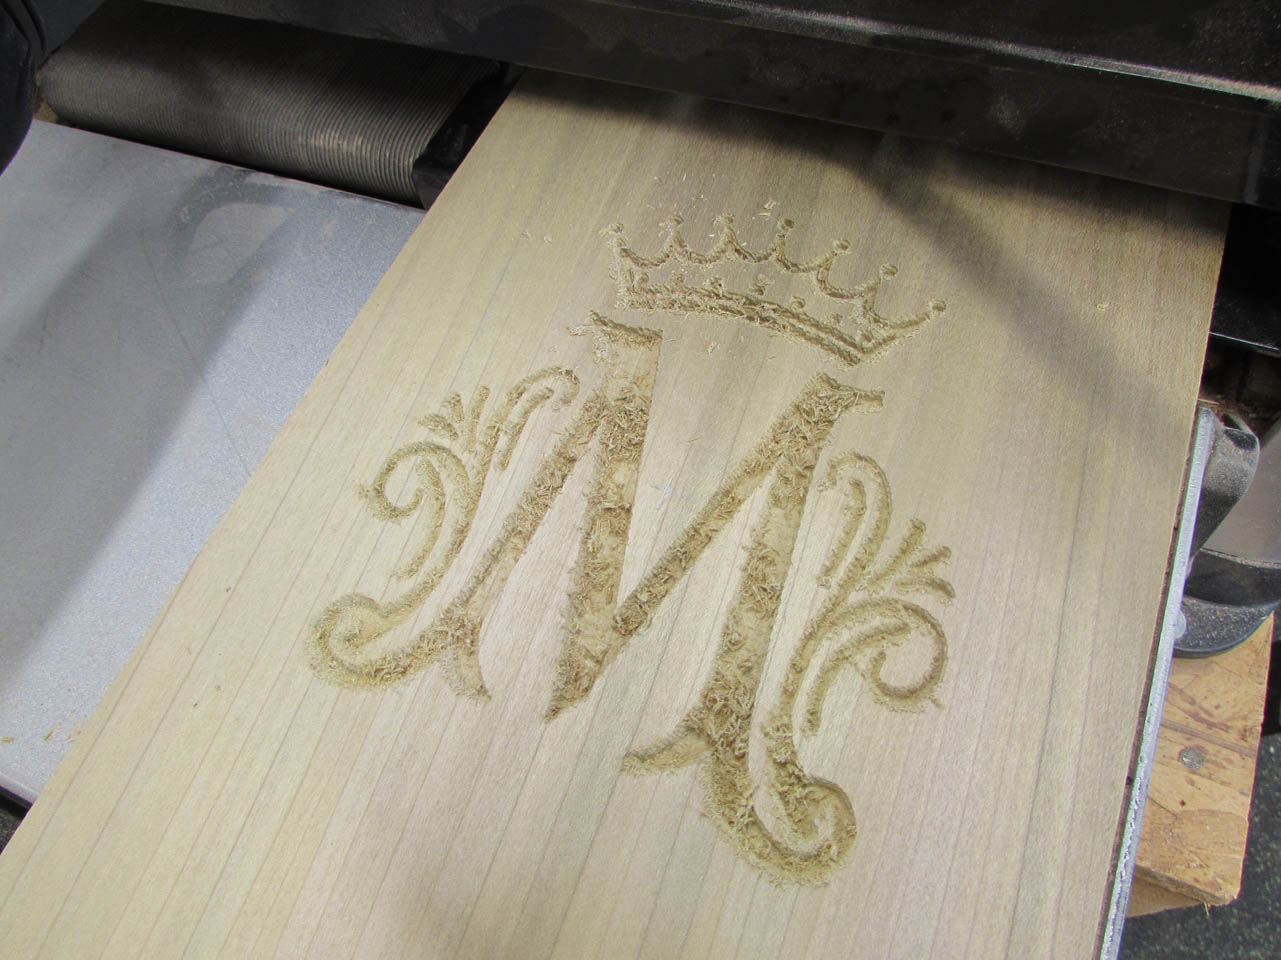
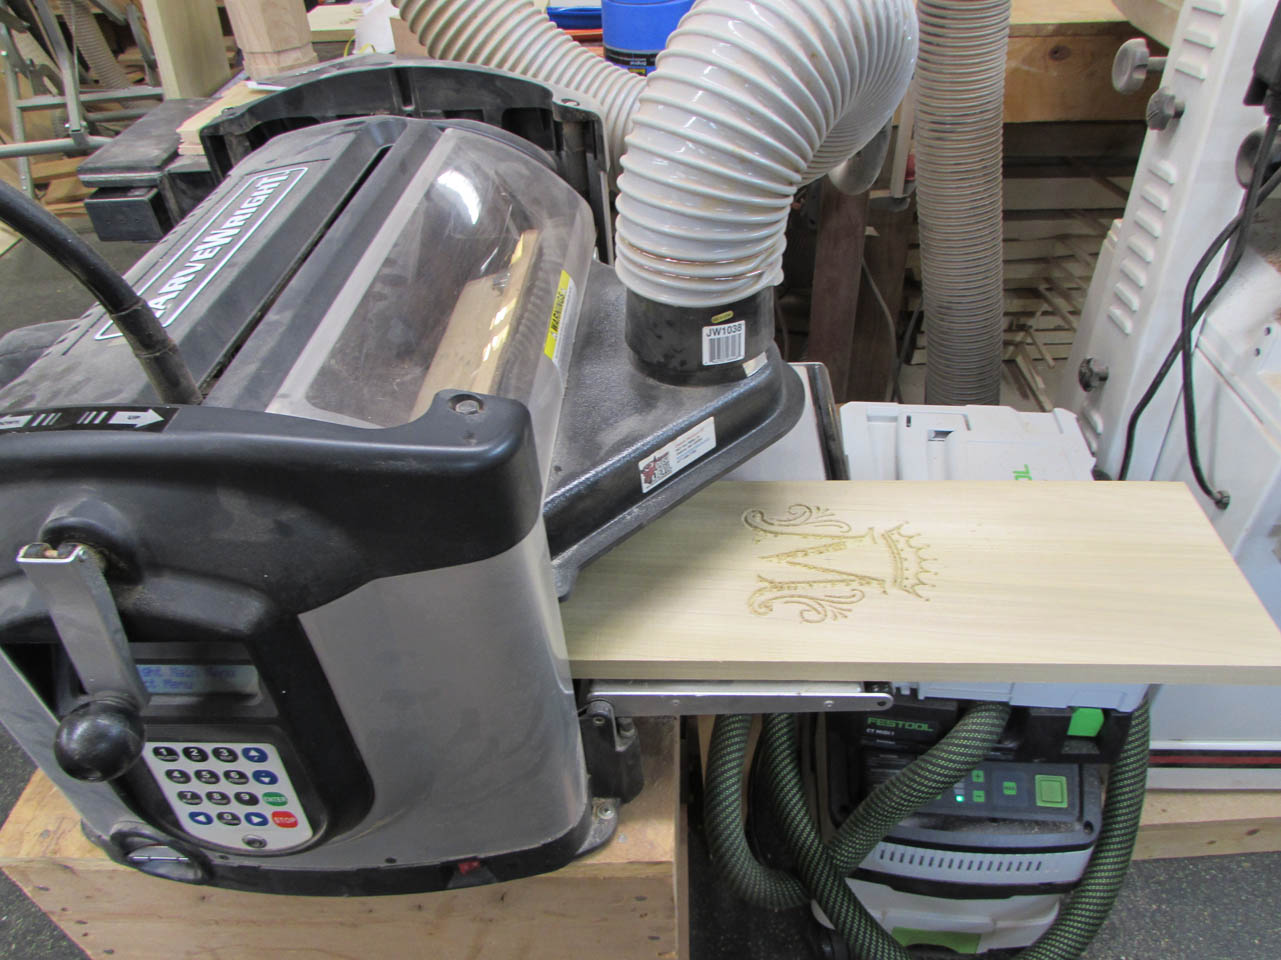
Meanwhile, the carve of the first side of the cross finished. Soft wood is always a bit fuzzy when routed. I placed my mop sander into the drill press and spun it up to about 2,000 rpms to sand off the fuzzys.

It does a beautiful job. Probably all the sanding that I will need to do on it because I will be painting the board and the symbol later. With that side done, I flipped the board over and placed it back in the CNC router to cut the same thing on the opposite side.


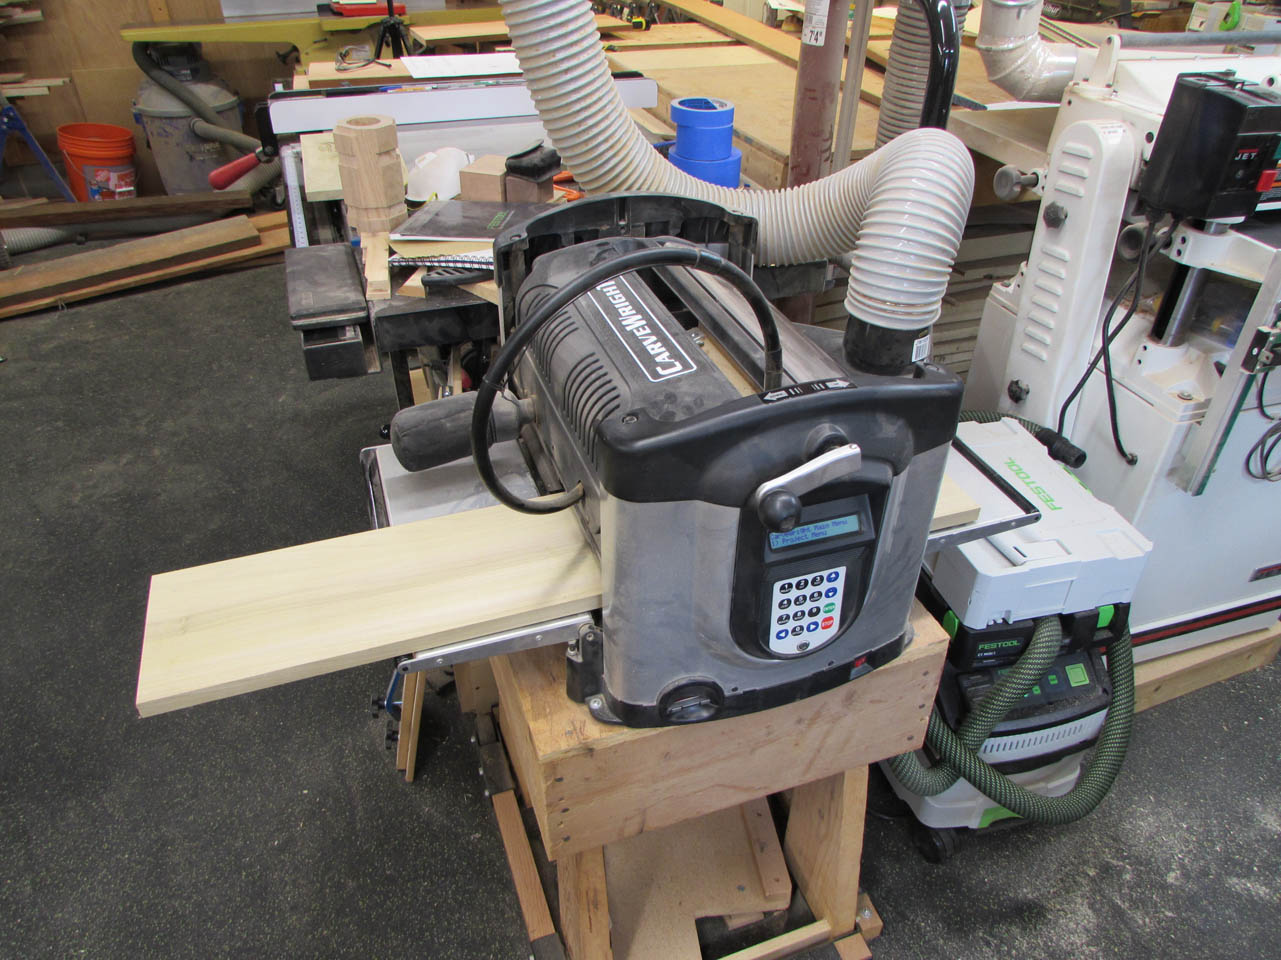
Back to my cedar boards. I ran them all through the planer and got them all down to 3/4″ thick.

Then I spread a bead of glue along each edge and lined them all up on some long clamps.

I clamped it along the top and bottom to prevent the board from wanting to curl. I also clamped the end of each joint so it would all stay level. This will save me from having to do a lot of sanding to hide the seams because the clamps won’t let the boards shift at all.

While that is drying, I pulled the cross off the CNC and sanded the second side, then set it aside to work on later. I also noticed that the dust collector was full after a couple days of planing down boards. Time to empty that…


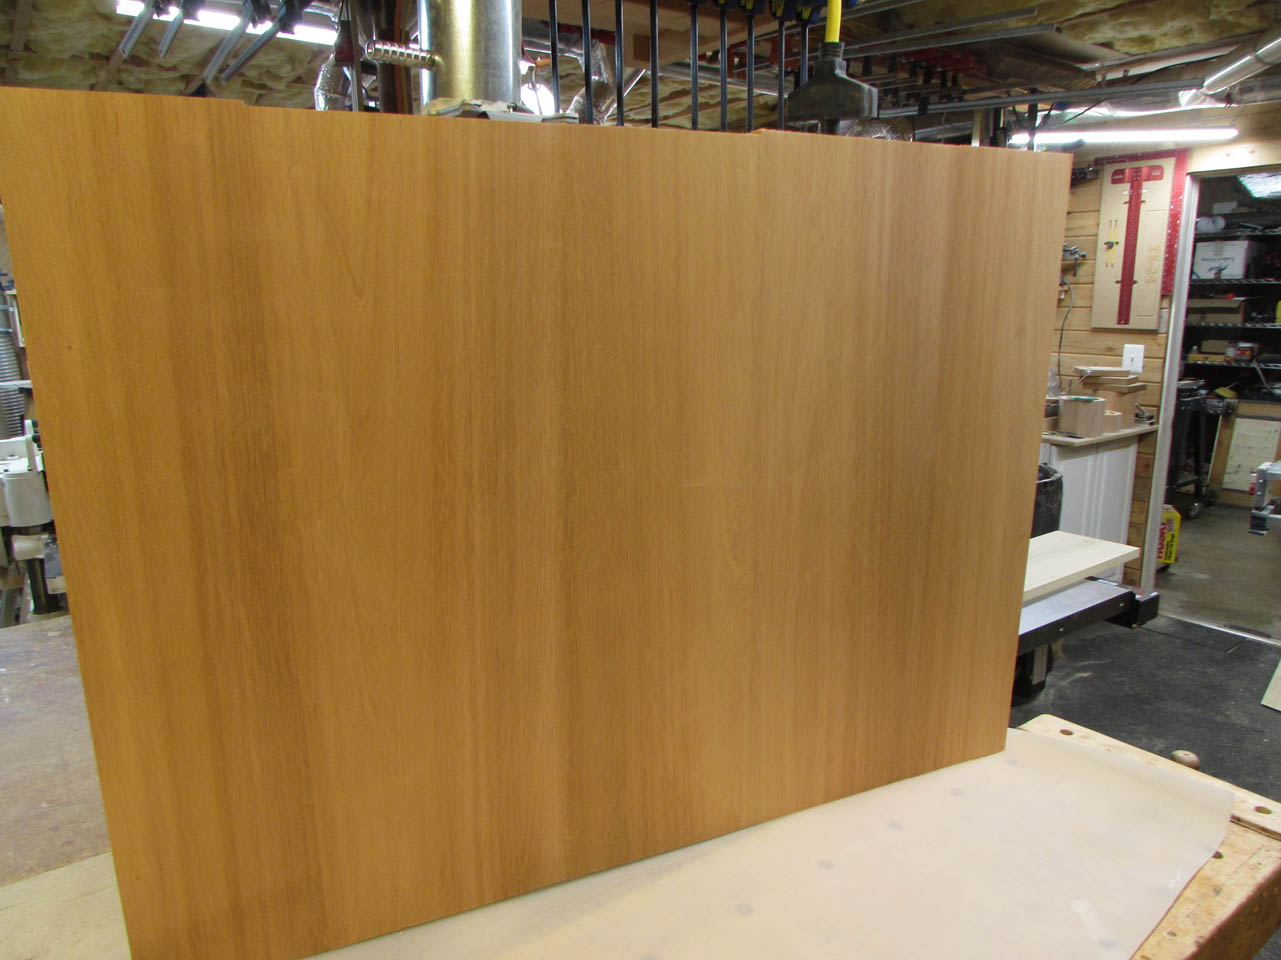
When the glue was dry enough, on my panel, I used a wide chisel to clean up the glue squeeze out, then hand sanded the face.
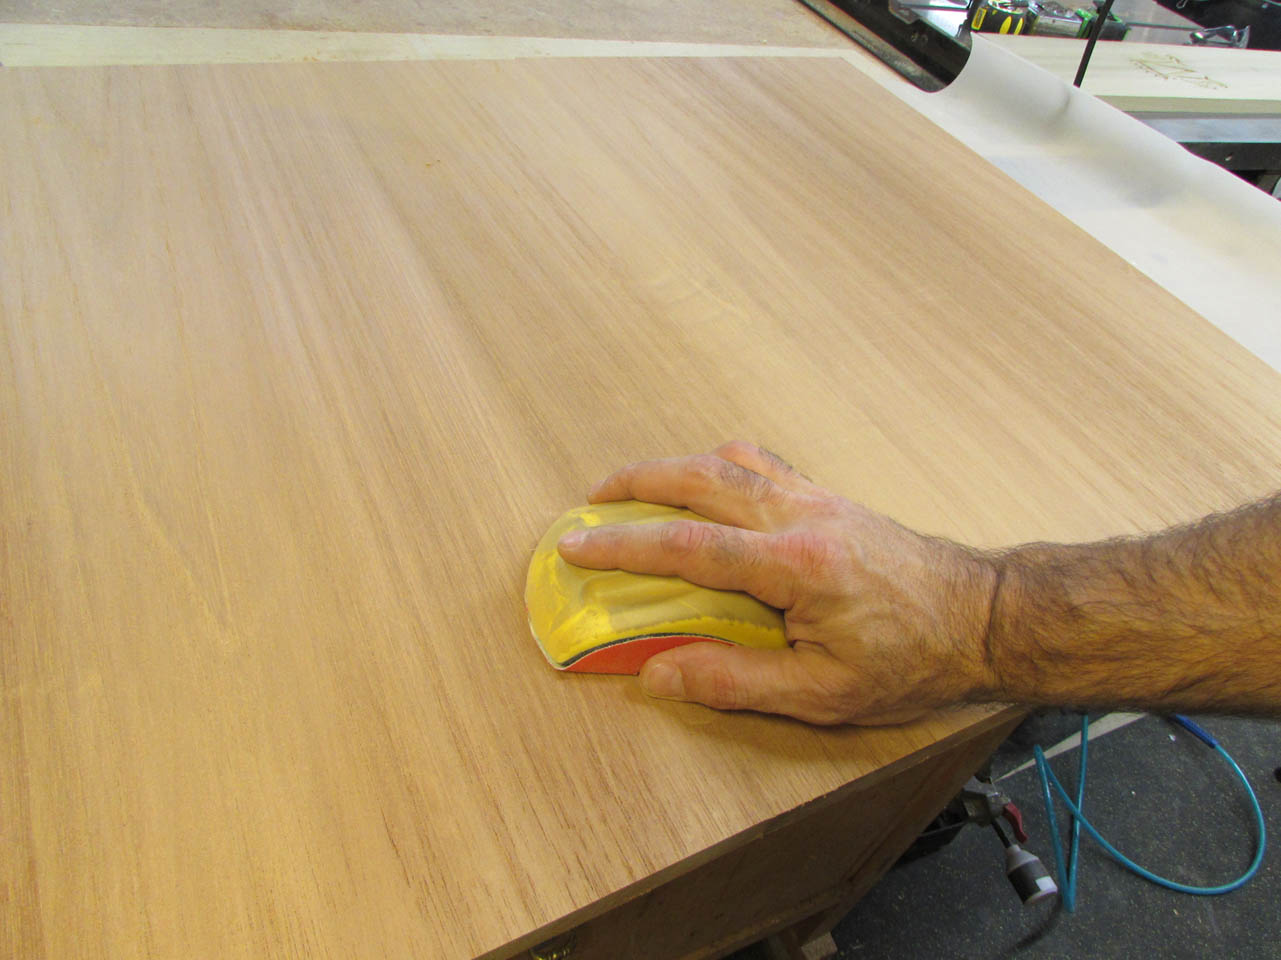
That board looks great.
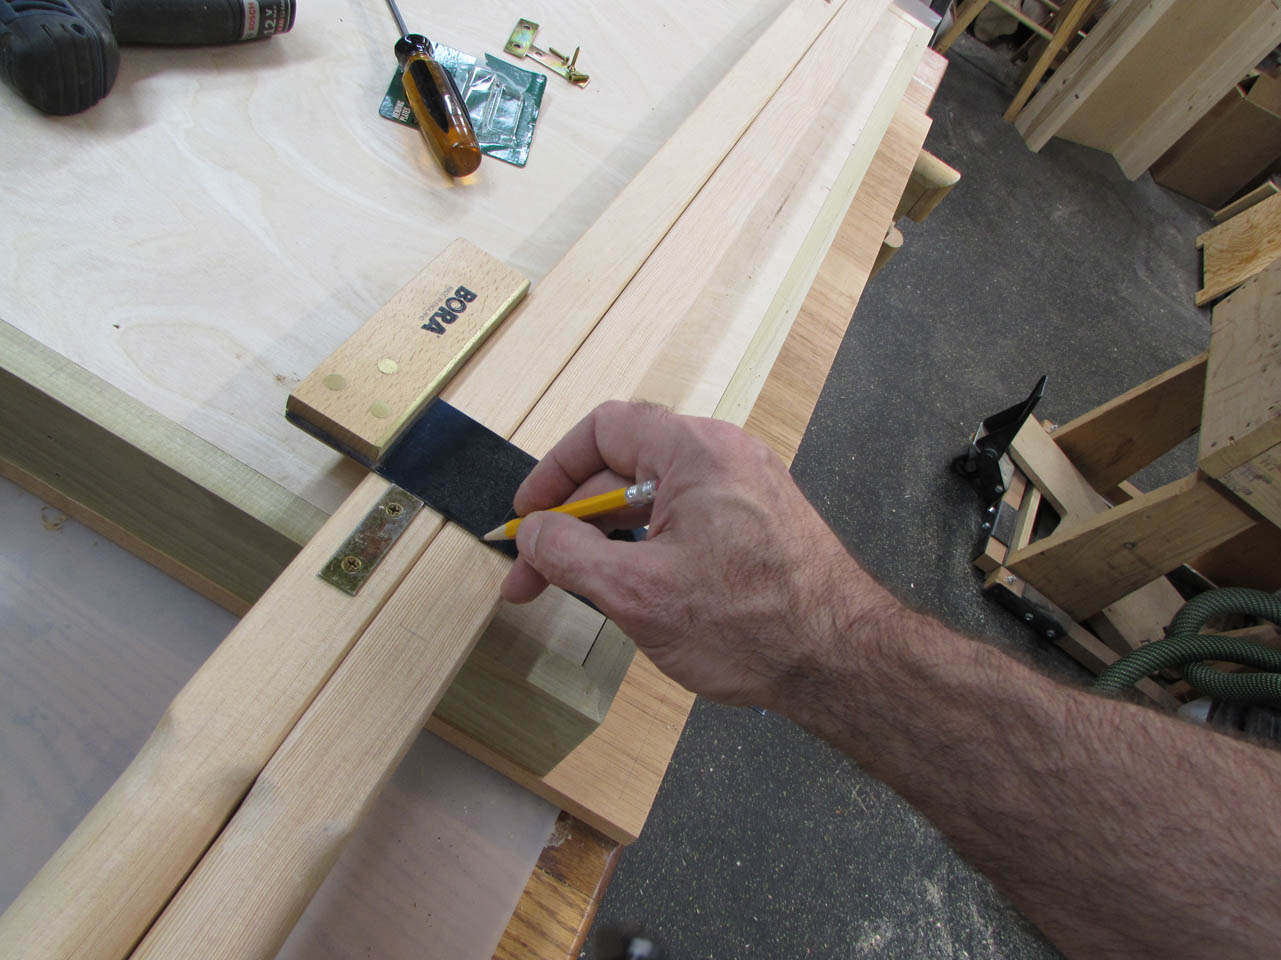
All of the boards were cut longer than the 27″ I need, so it is time to cut one edge straight. To do this, I clamped on a track for my track saw, and used a square to make sure the edge was 90° from the edge.

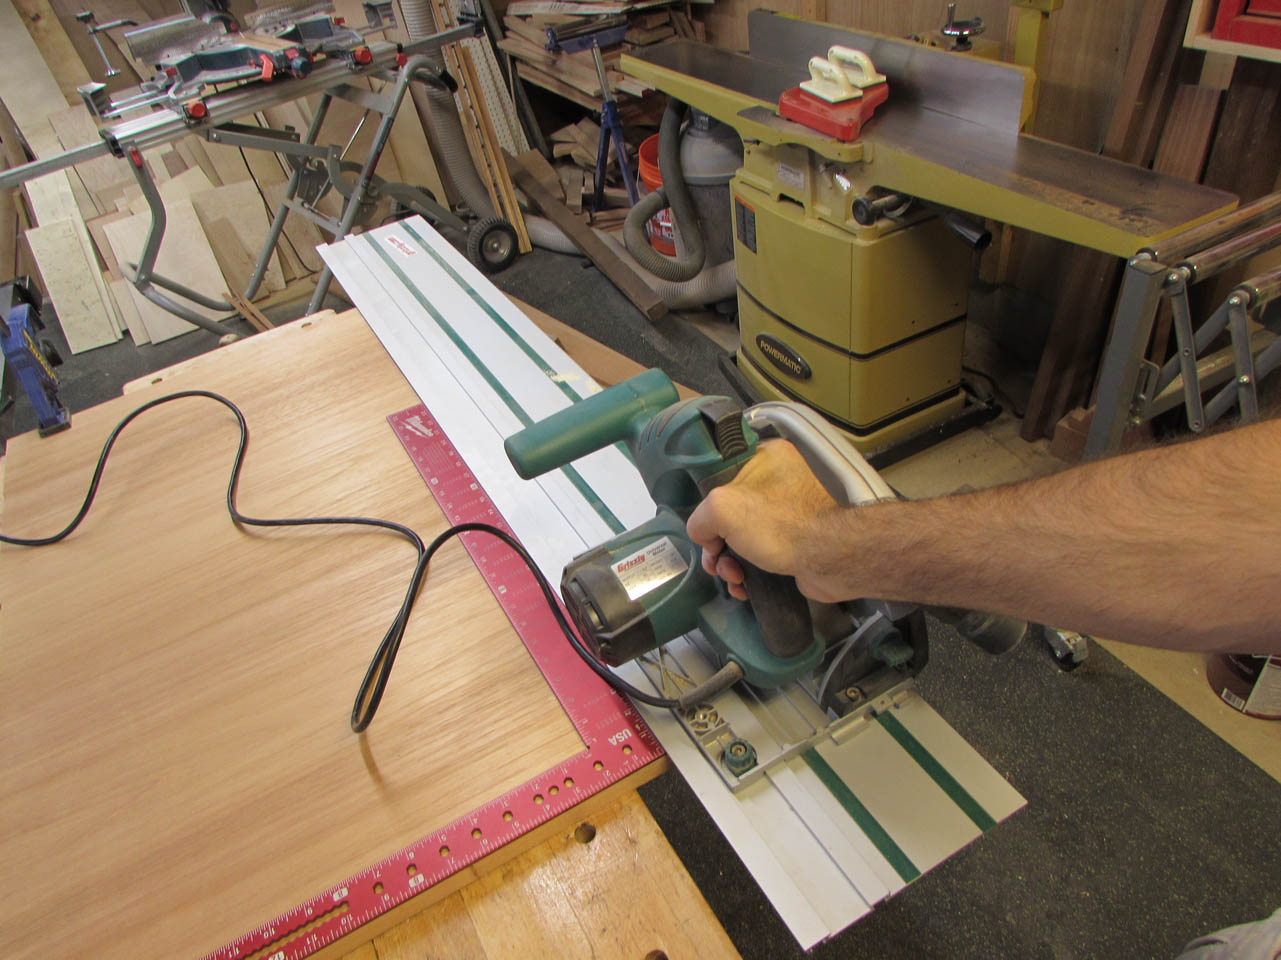
A quick cut with the saw and I have one good edge.

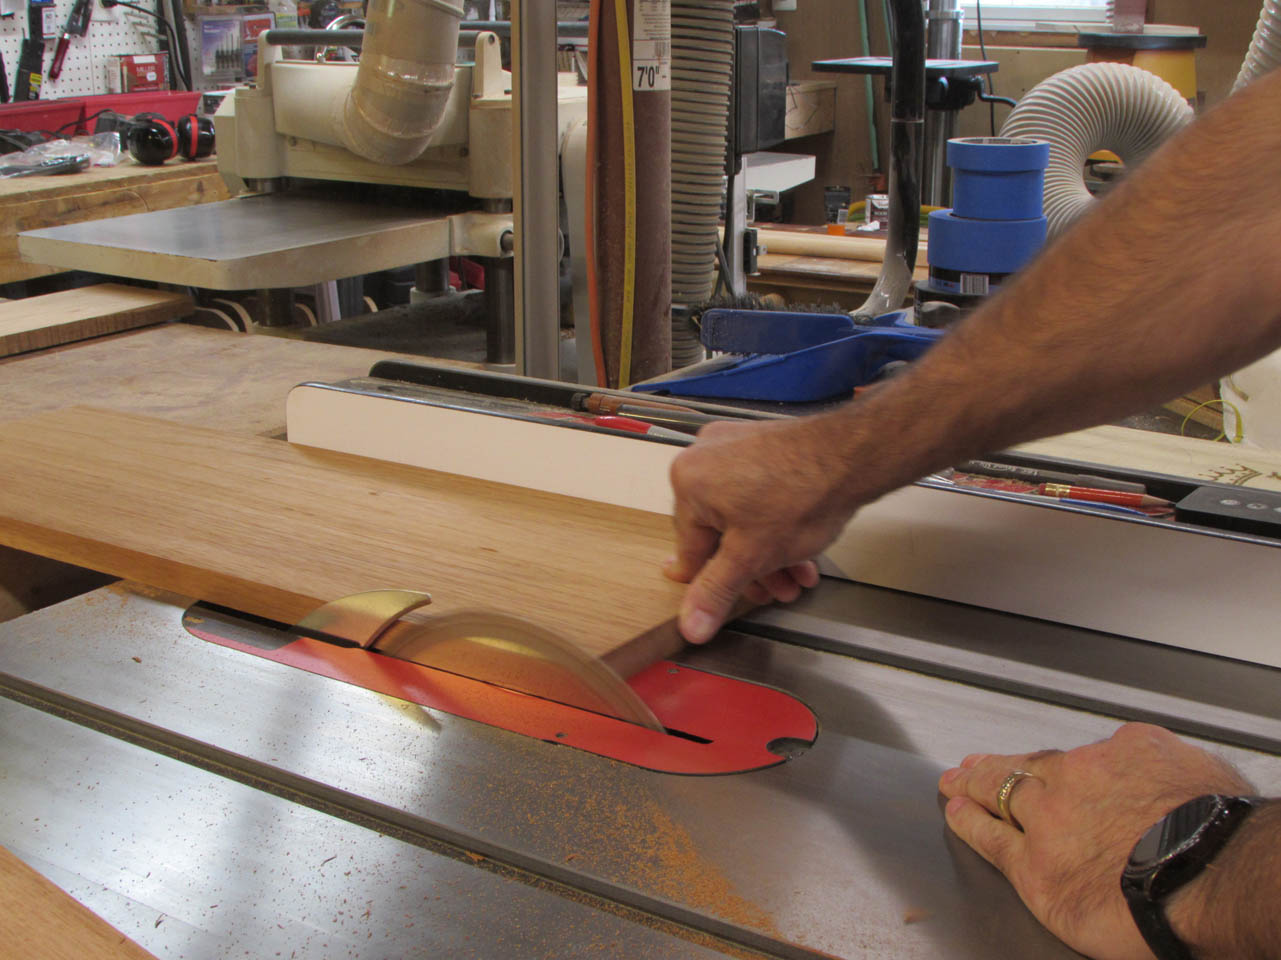
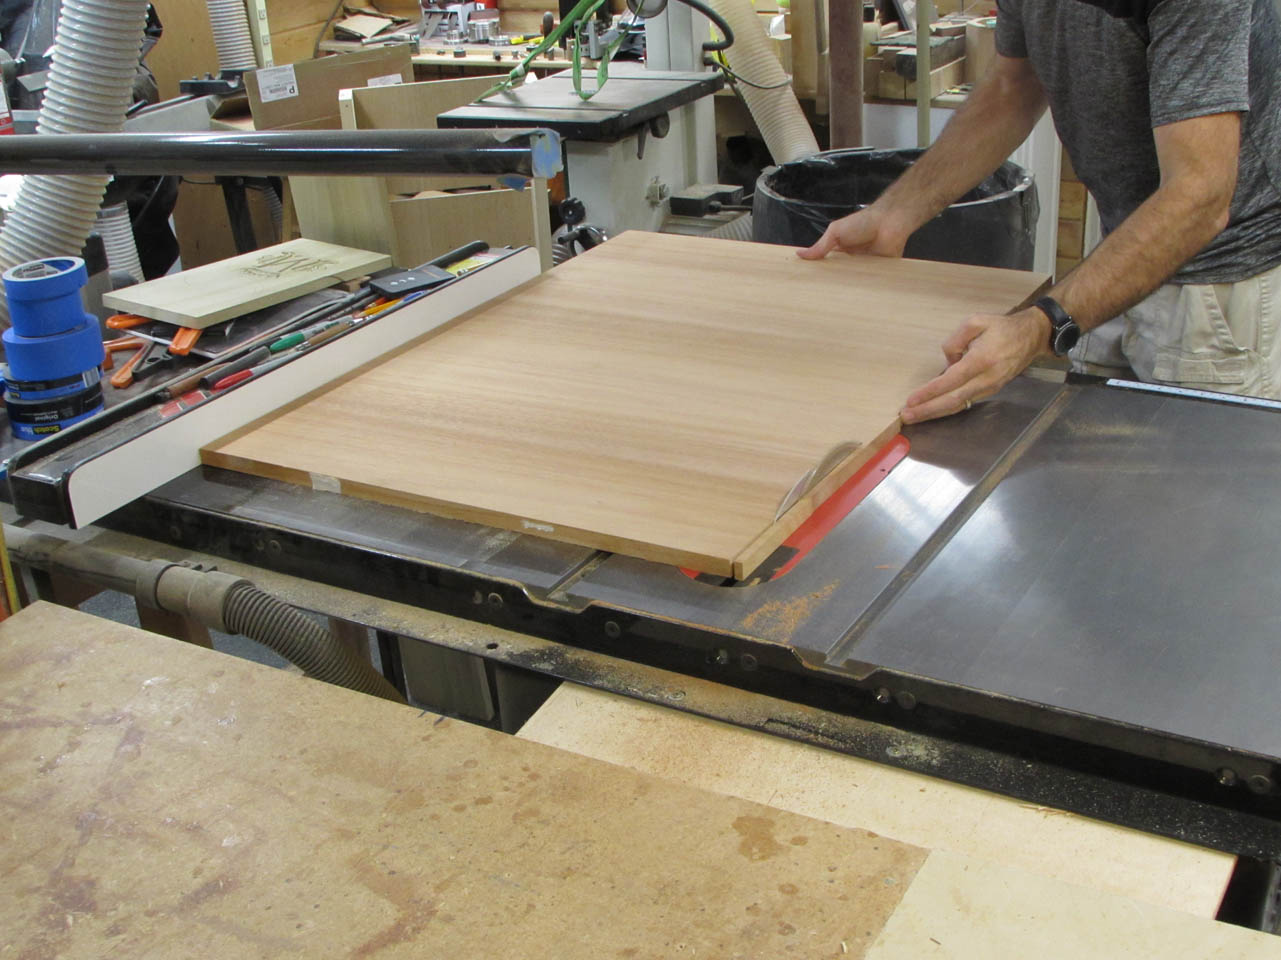
To get the opposite side perfectly parallel, I use my table saw.
Now that the panel is done, I need to re-saw it up into pieces again. Although, this time they will be the correct size, and because I book-matched the grain really well, it will all look like one piece of wood when it is reassembled.


Basically, I just needed to remove a hole from the center for the statue to sit in and that was the easiest way.
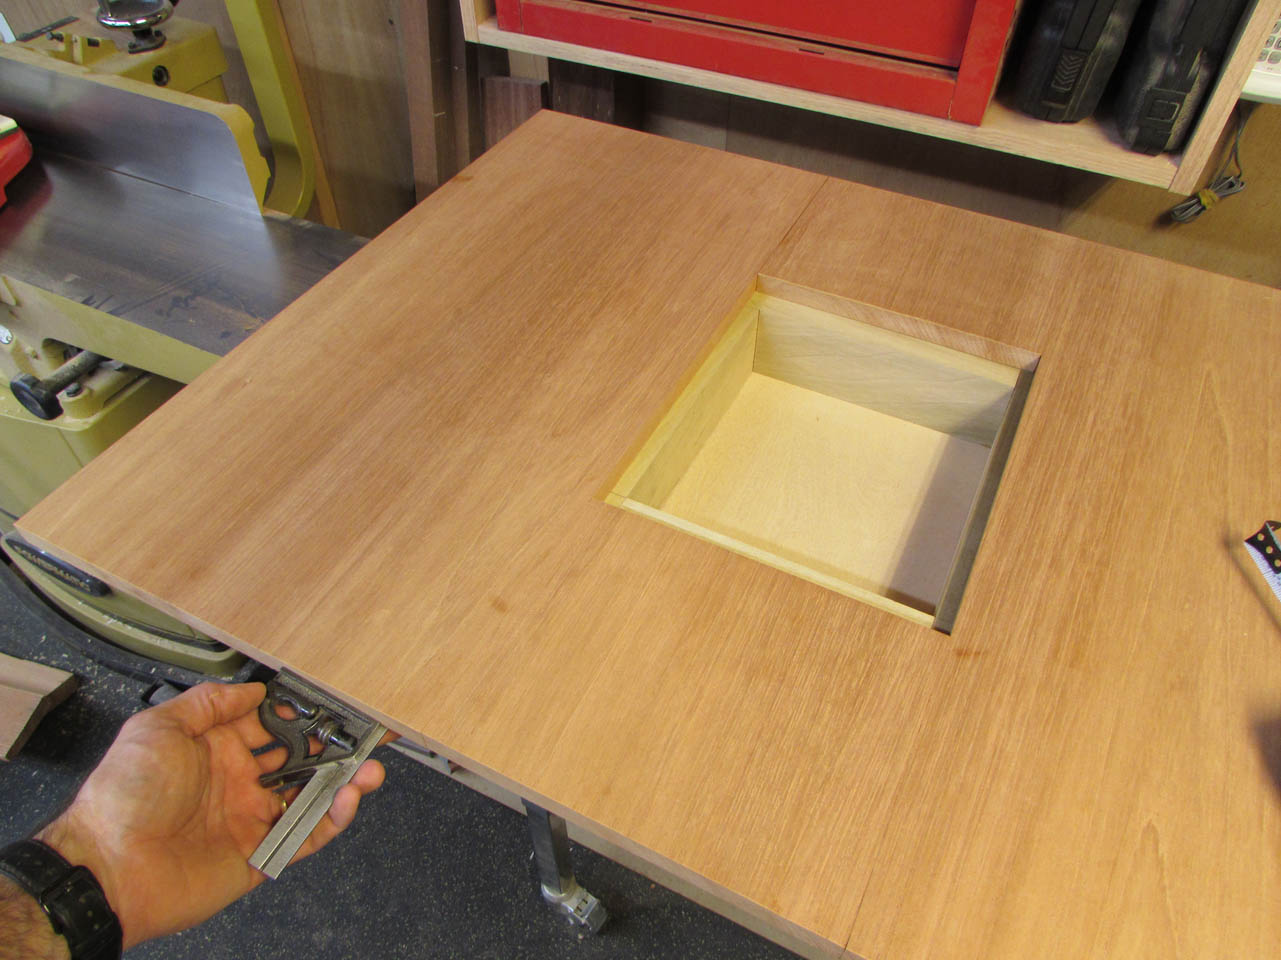
Time to glue it back together again.

I added a couple of clamps and let it dry.

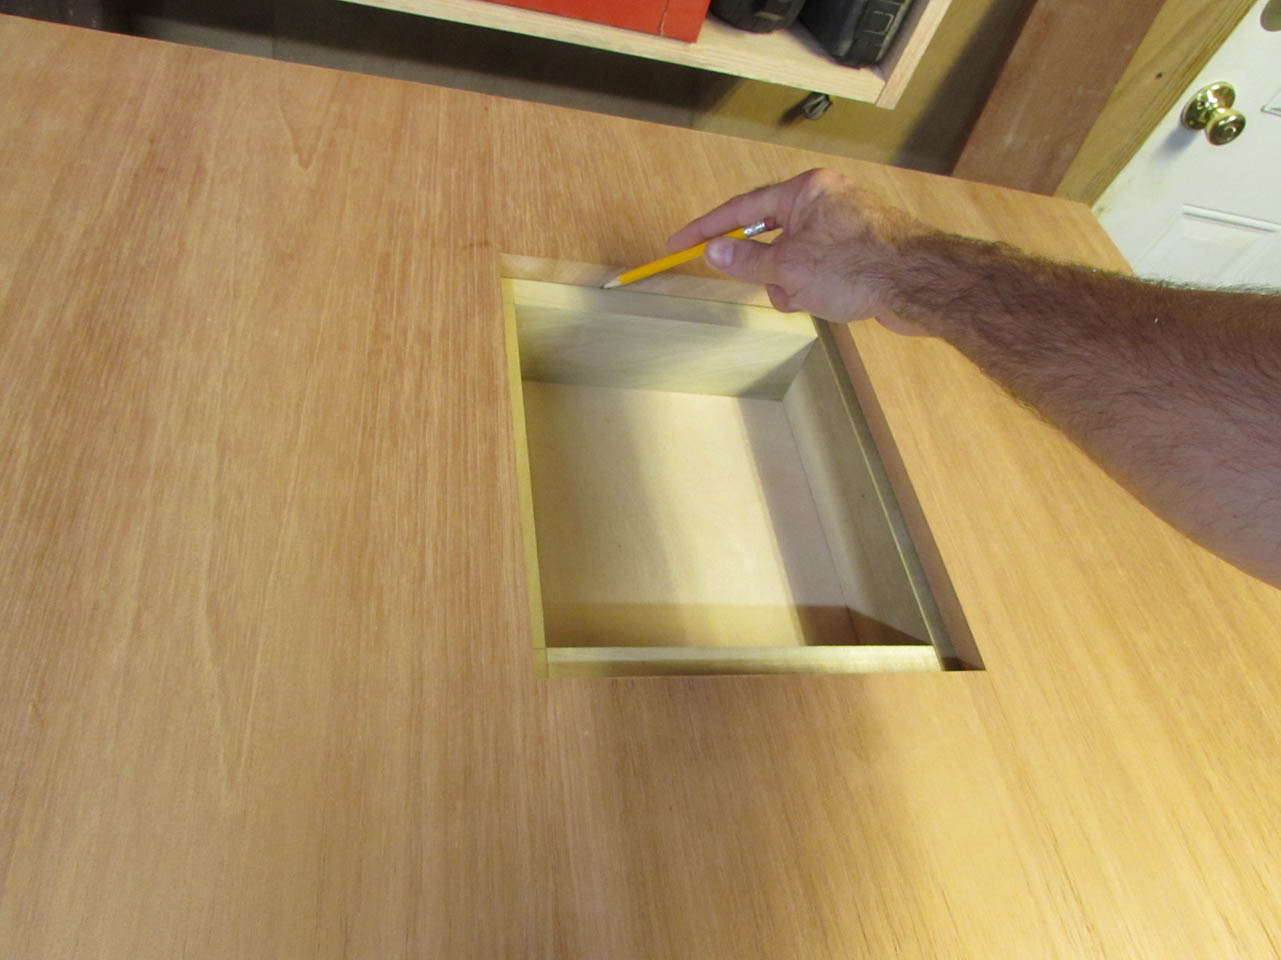
When it was dry, I made sure it was exactly centered and marked the edge of the hole and under the top, along the base.


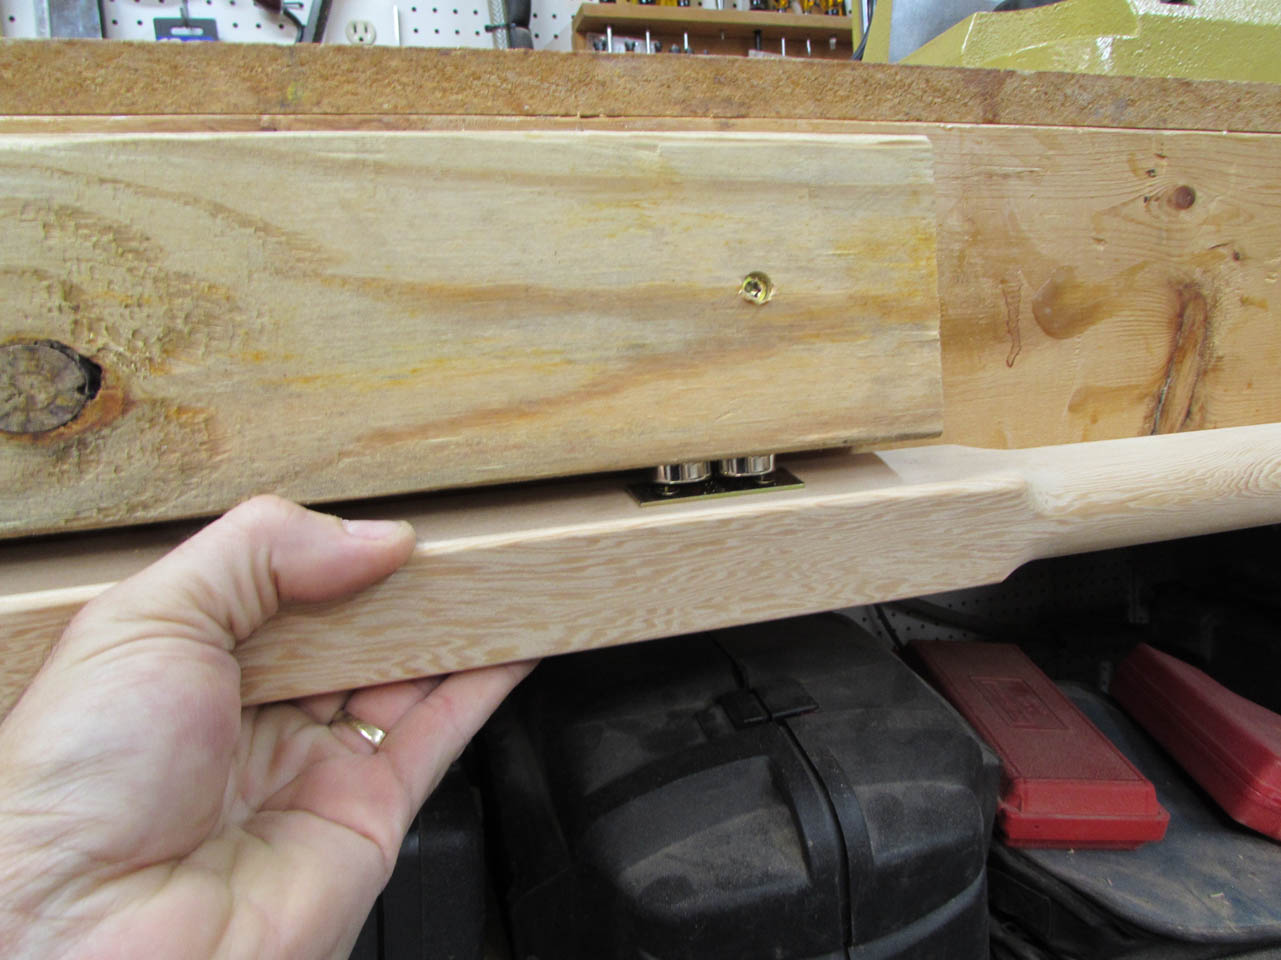
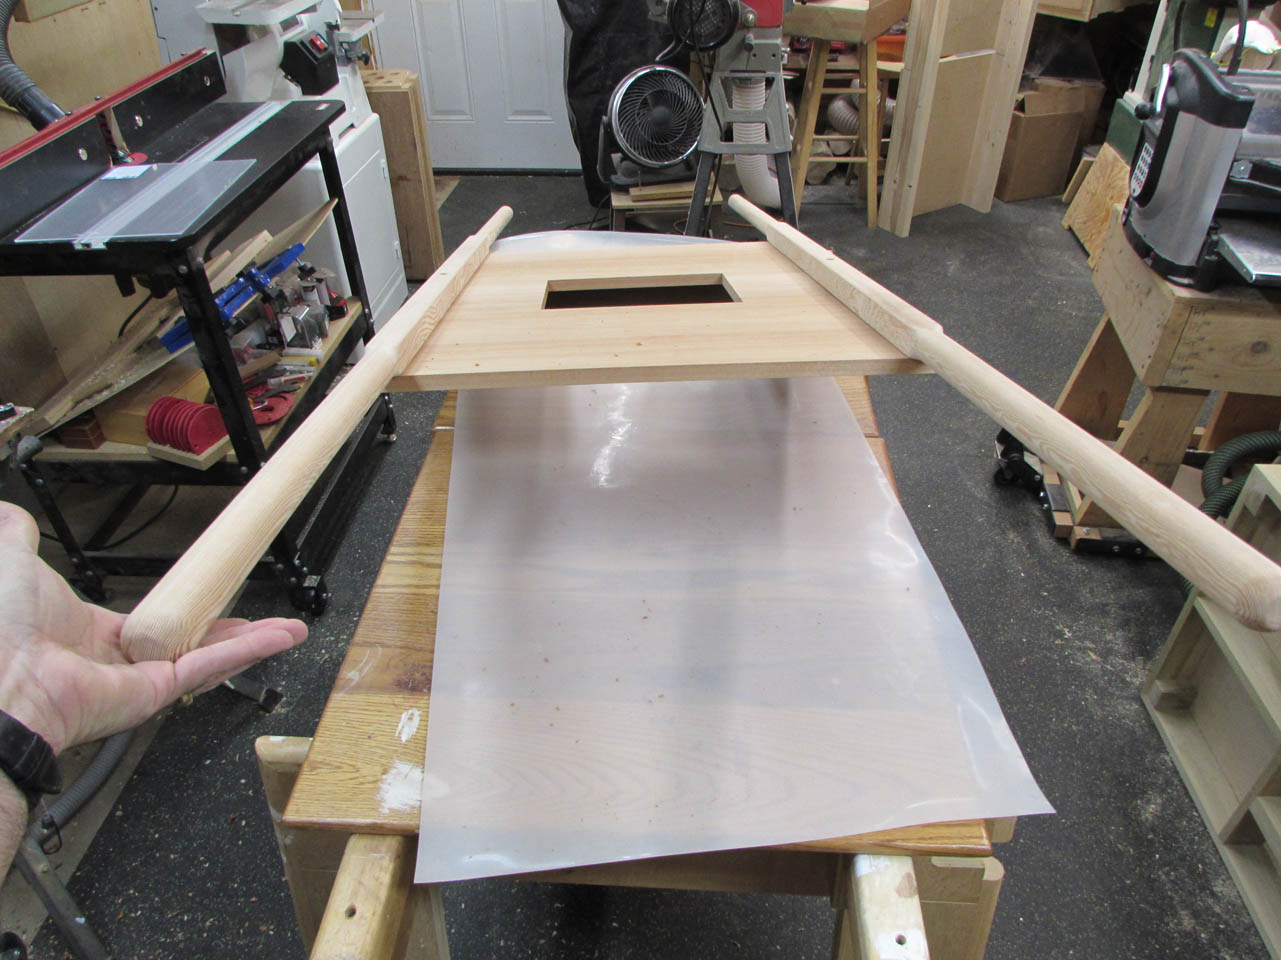
That allowed me to flip the whole thing over and line it all back up again easily. I also set the poles and the outside retainers in place to make sure everything fit as planned.
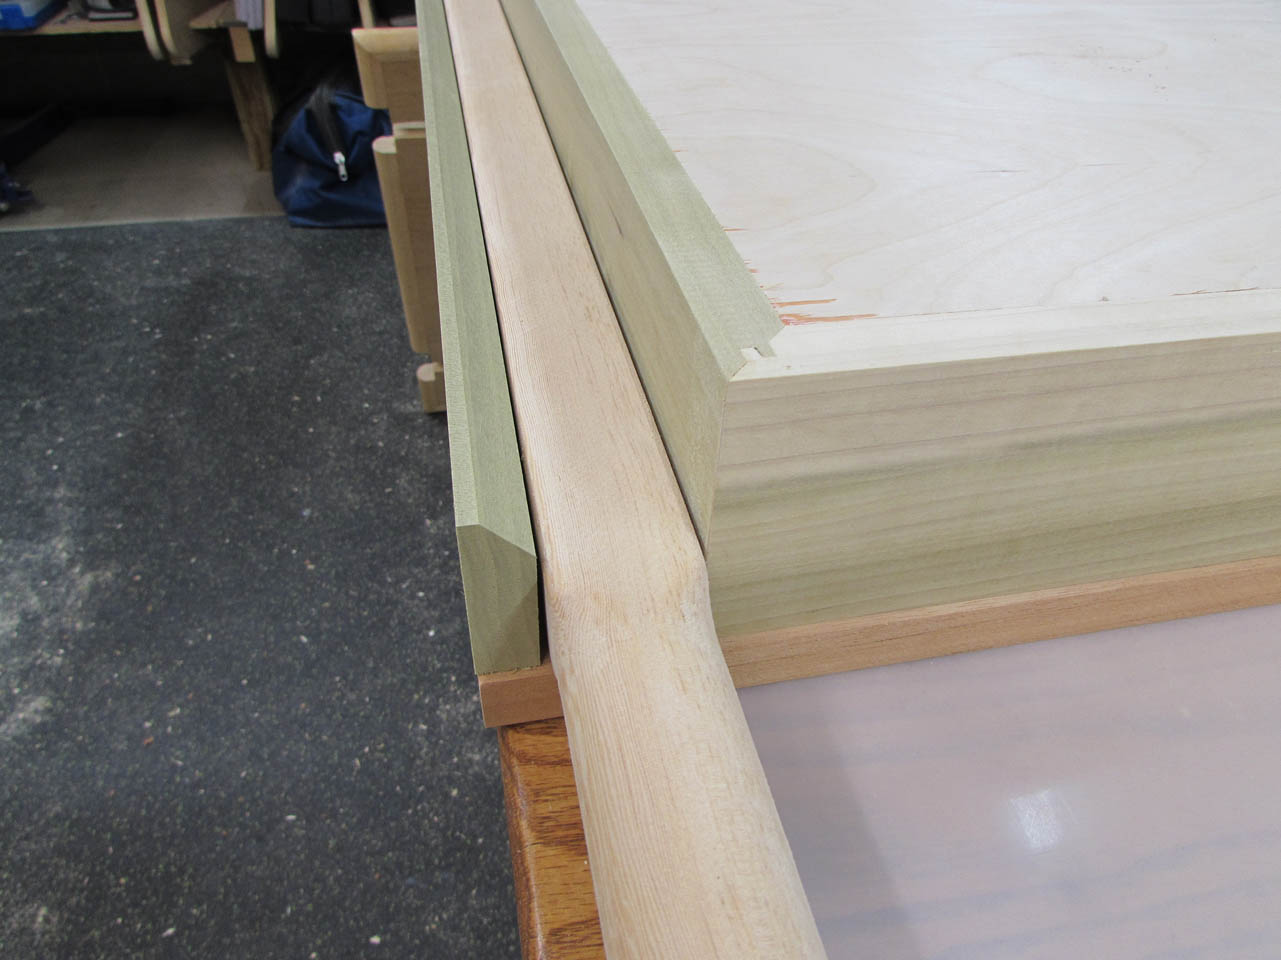
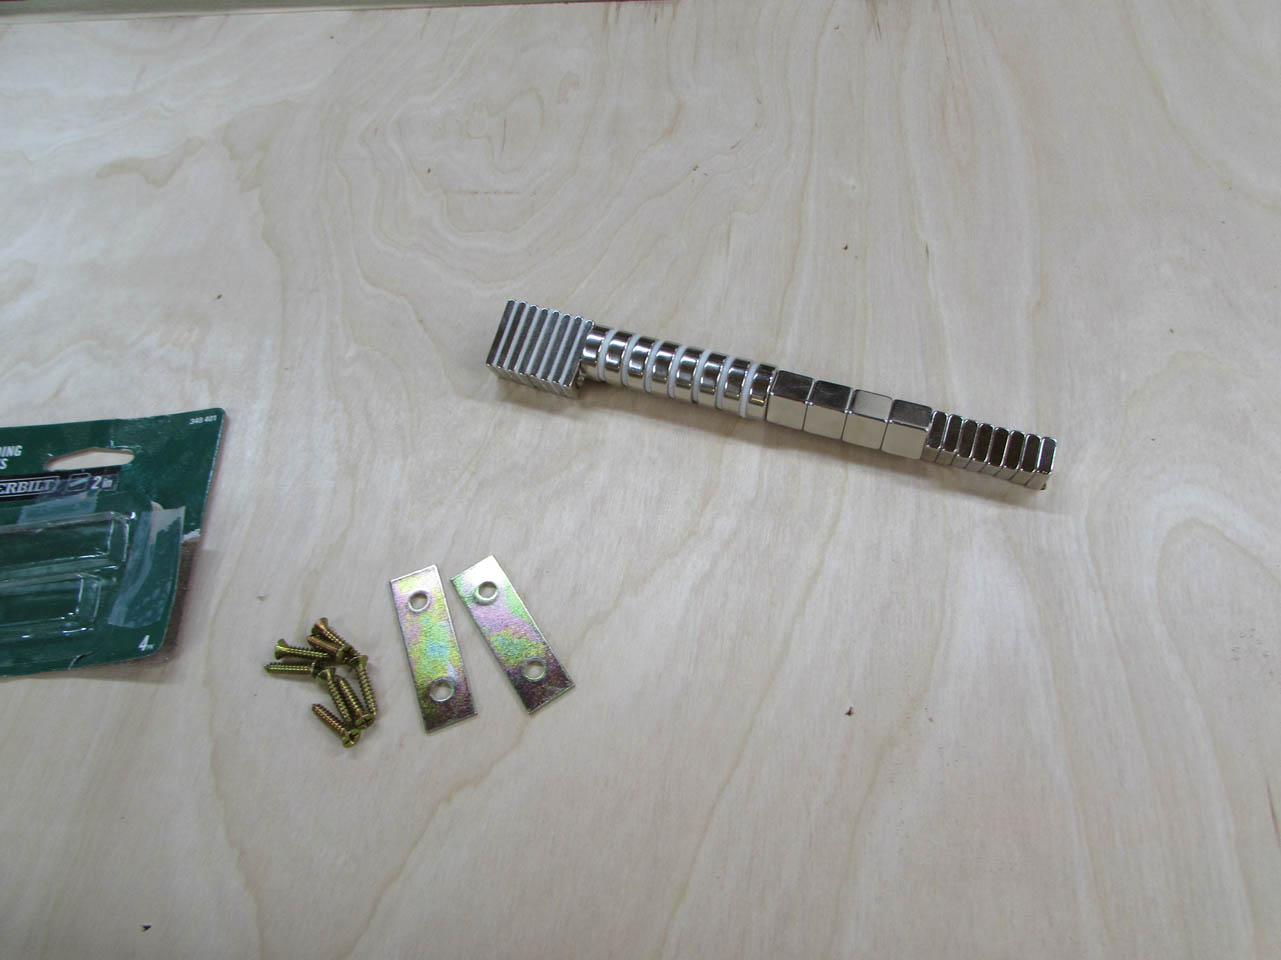
Remember this hardware? It is time to start adding steel and magnets to hold the removable rails in place.

I found a nice location for the steel plates that was in 4″ or so from the end. That will avoid the corner block, on the top, when I have to run screws up through the magnets.
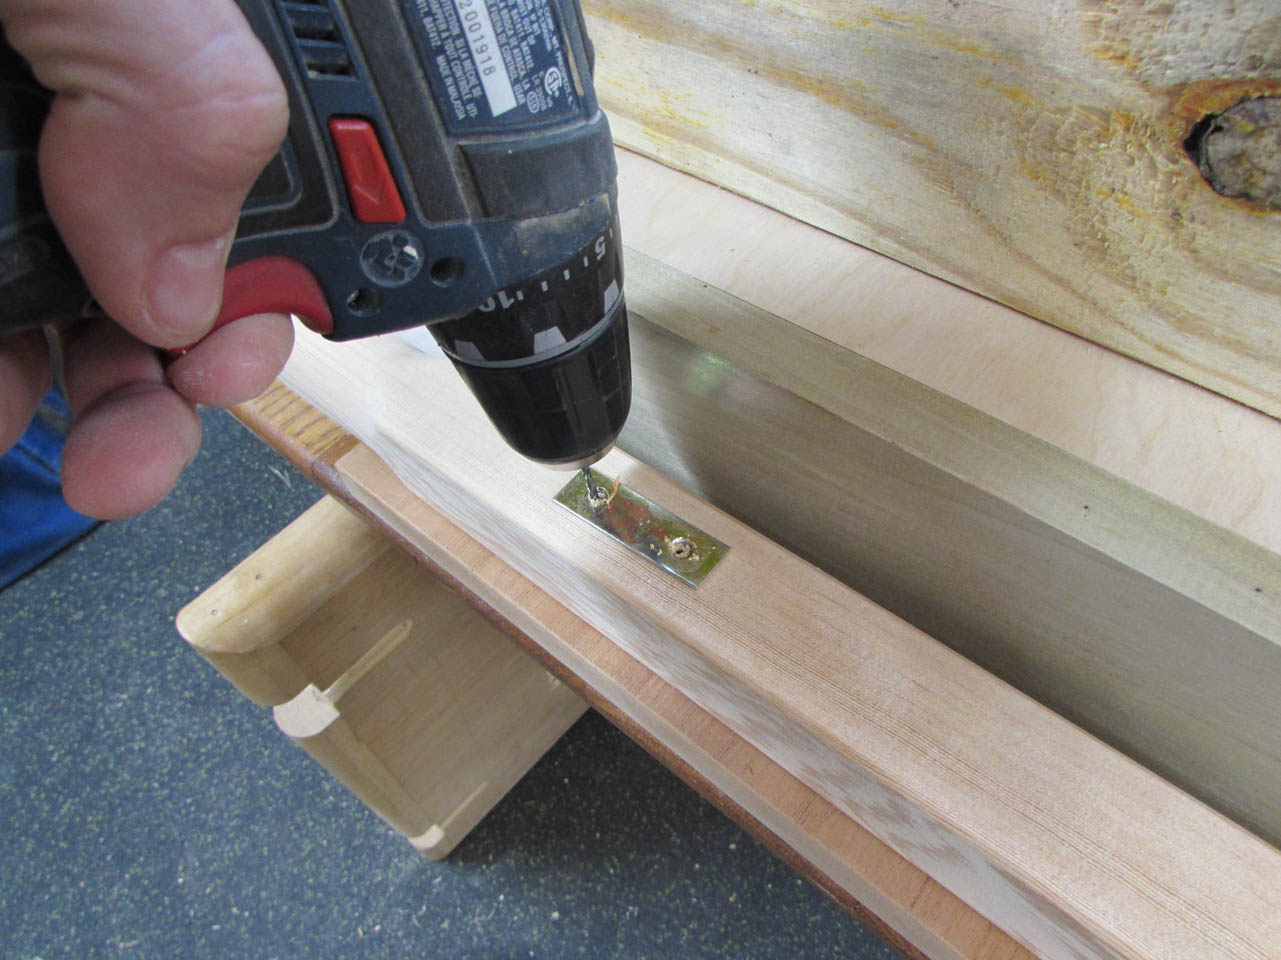
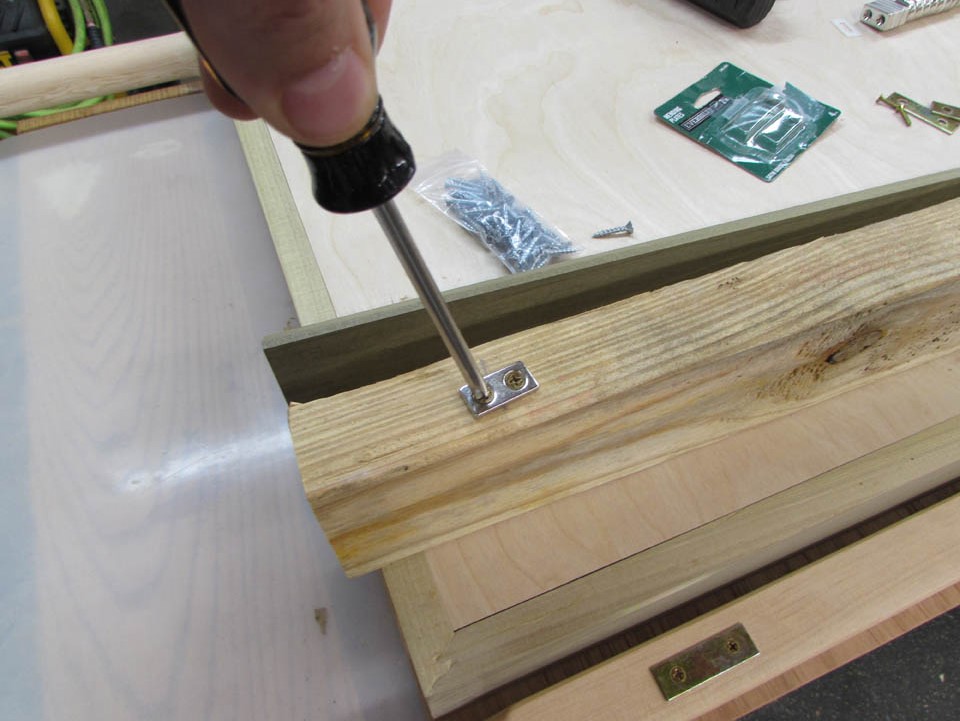
I pre-drilled and installed the steel plates on top of the poles.

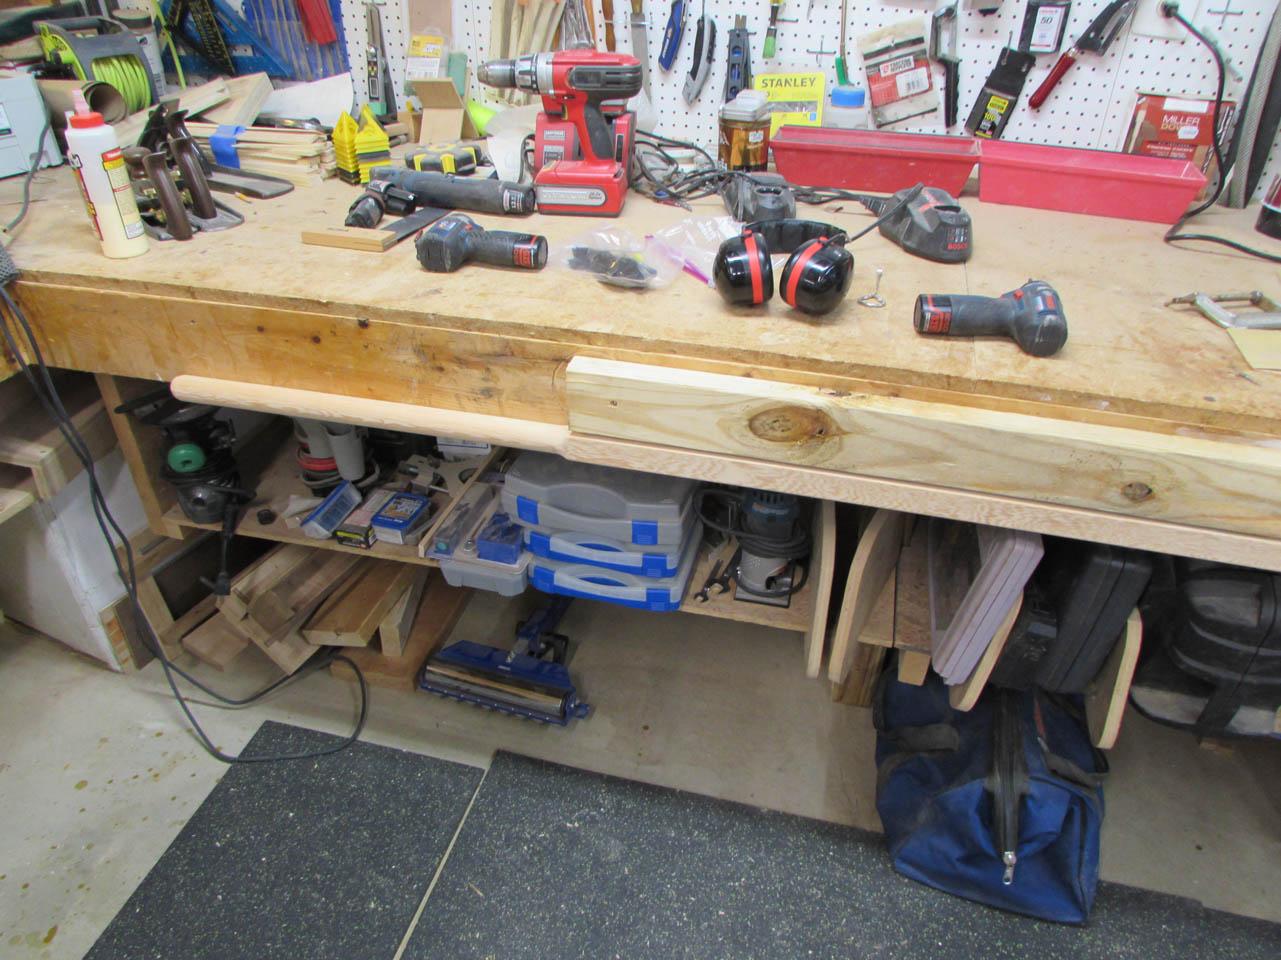
I am attaching some of the magnets to a 2″x4″ to test the holding strength. Be very careful with the magnets, they are very brittle, especially if you use a screw gun instead of a screwdriver…

I attached my test board to my bench and attached the pole.
I started with my light-weight 12 pound magnets. I wasn’t happy with the grip so I swapped them out for the 20 pound magnets.

I doubled up the square ones since my steel plate was 2″ long.
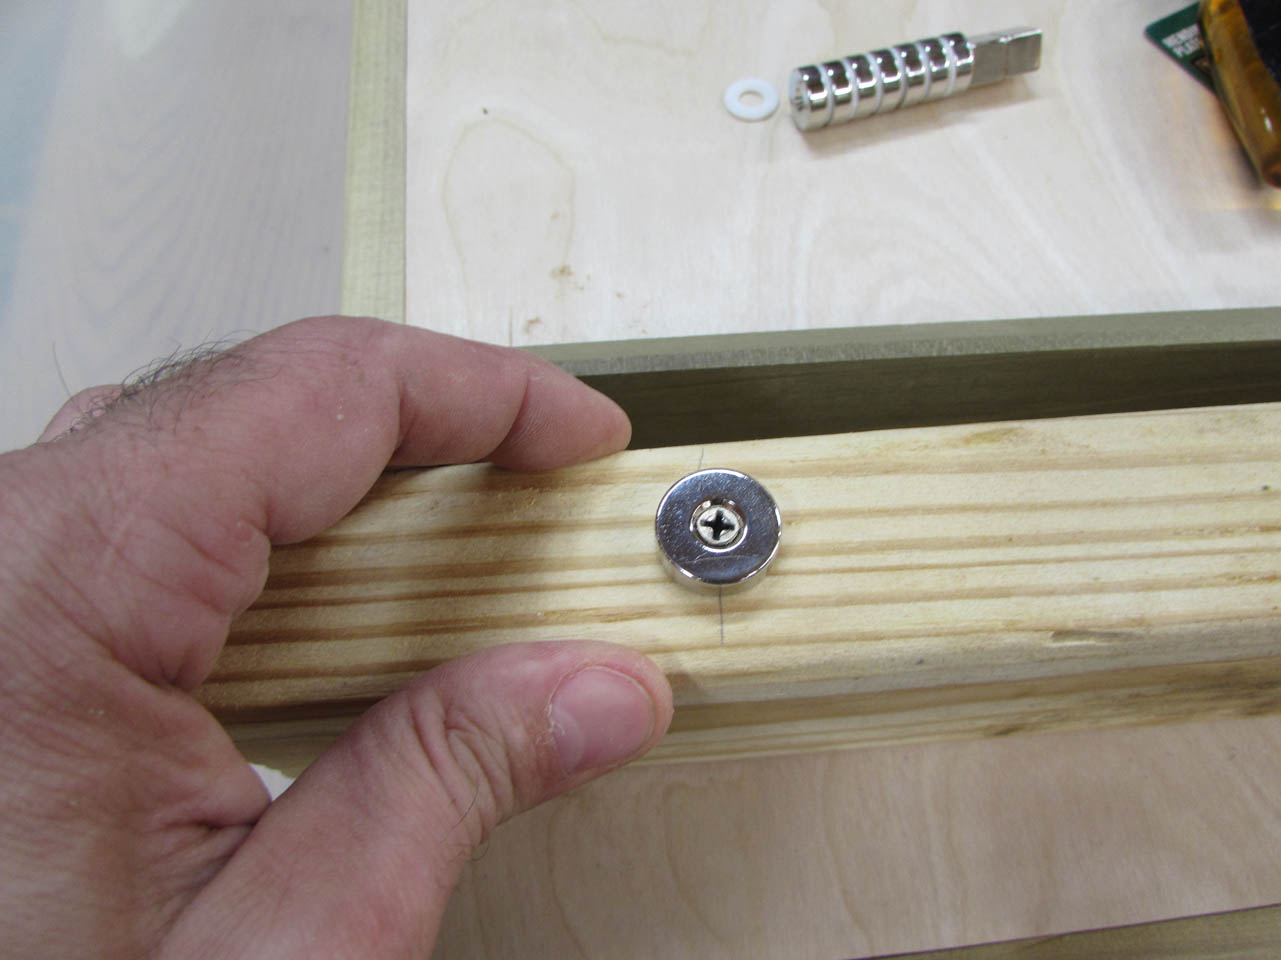

So, a bit of poor planning on my part. I liked the doubled-up square ones, but I only bought four of them. The round ones are the same pull, and I have eight of those, so I think that is the winner.

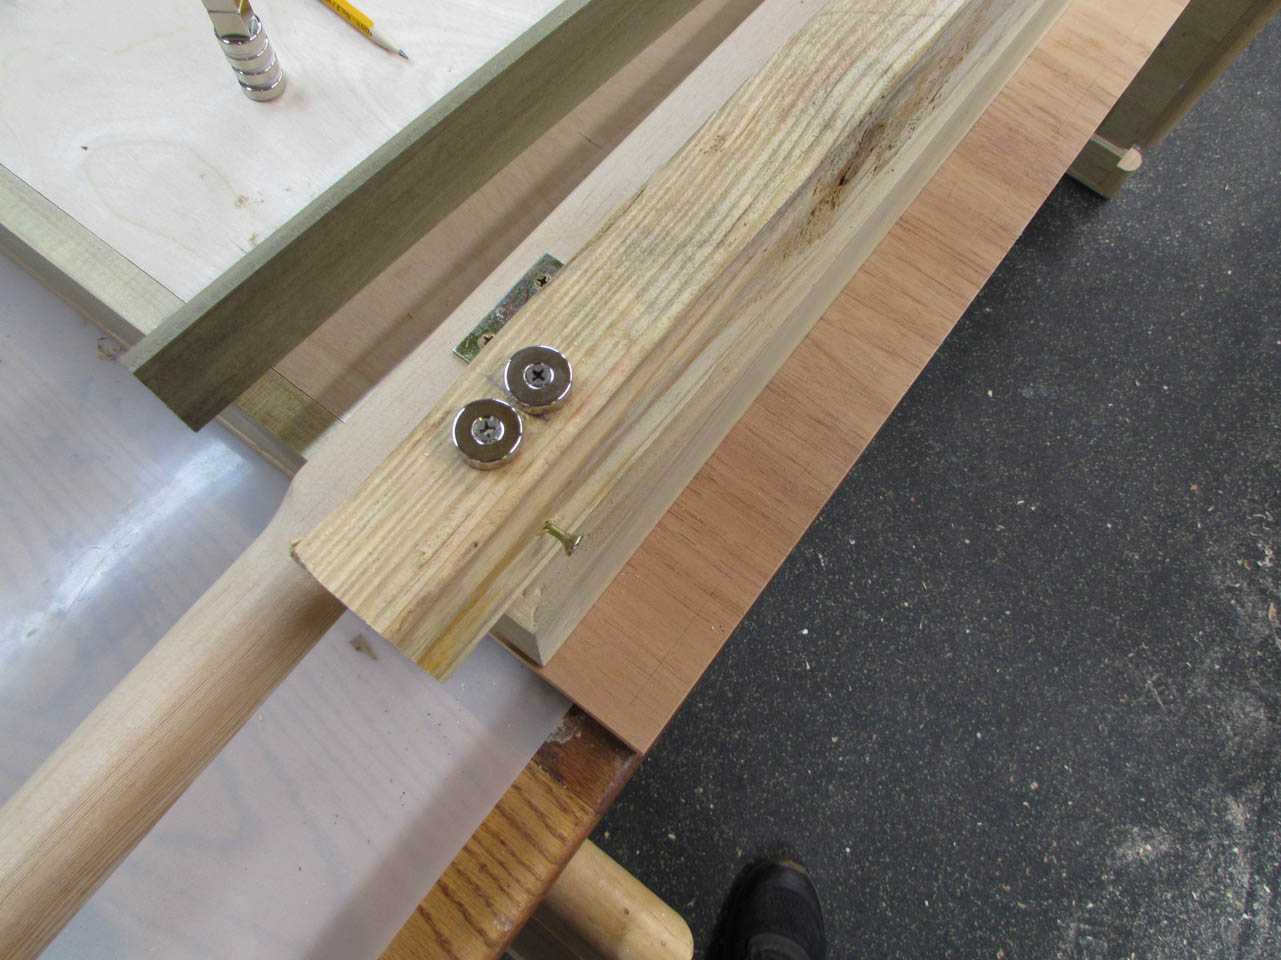
I went ahead and did a test anyway.
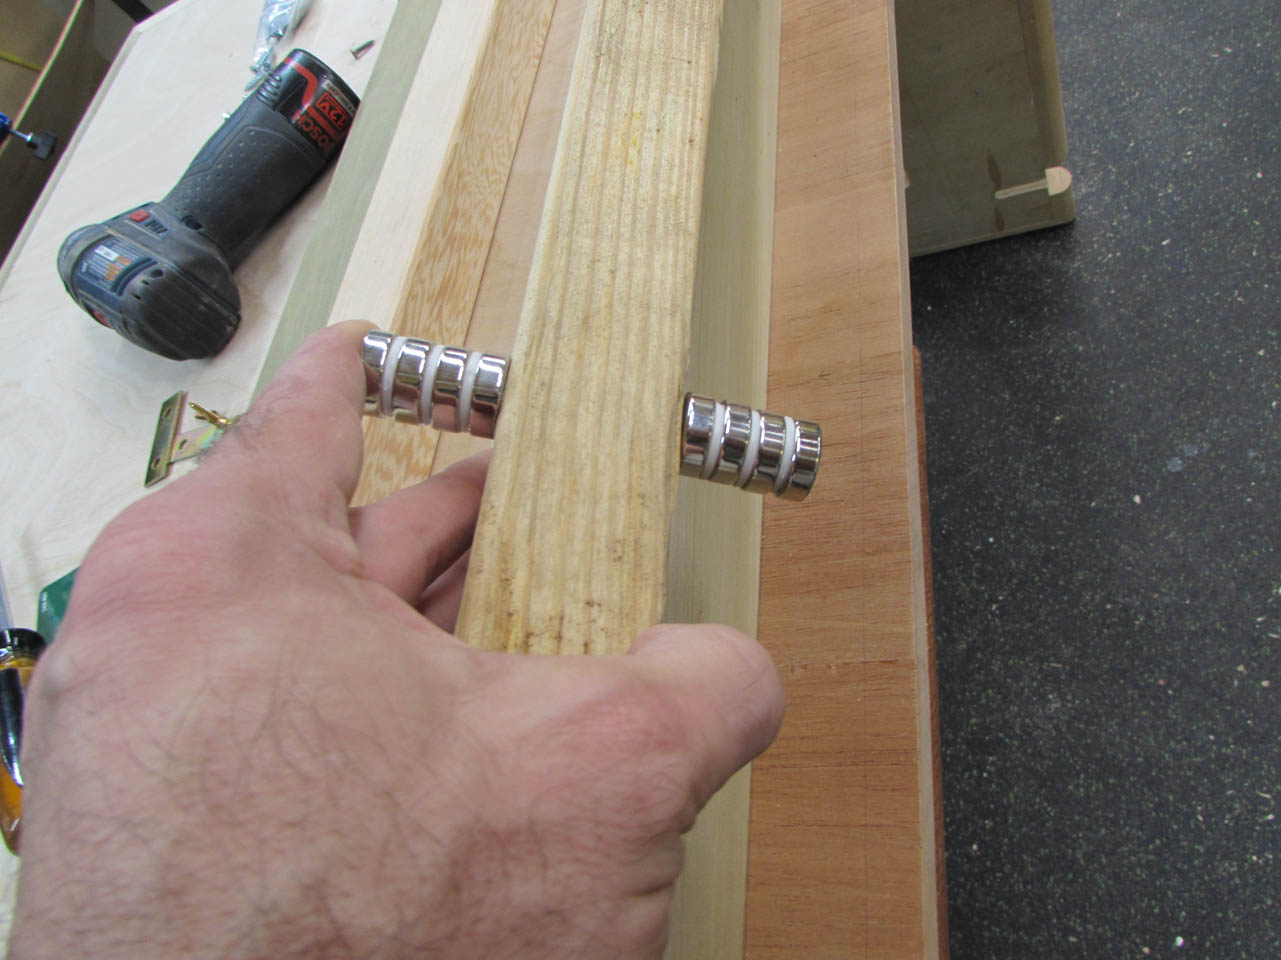
These little guys are strong. They hold really well. You can see how strong they are in the picture below. They pull on eachother through a 2″x4″.
I liked how the test went so I transferred the locations of the plates to the other pole and moved them to my bench so I can cut the recess for the plate later.
I laid out the first corner of the top with the magnet location, then had a better idea. I grabbed a thin piece of wood and made a template. Then I just held it in each corner and used an awl to punch center points for the drill.
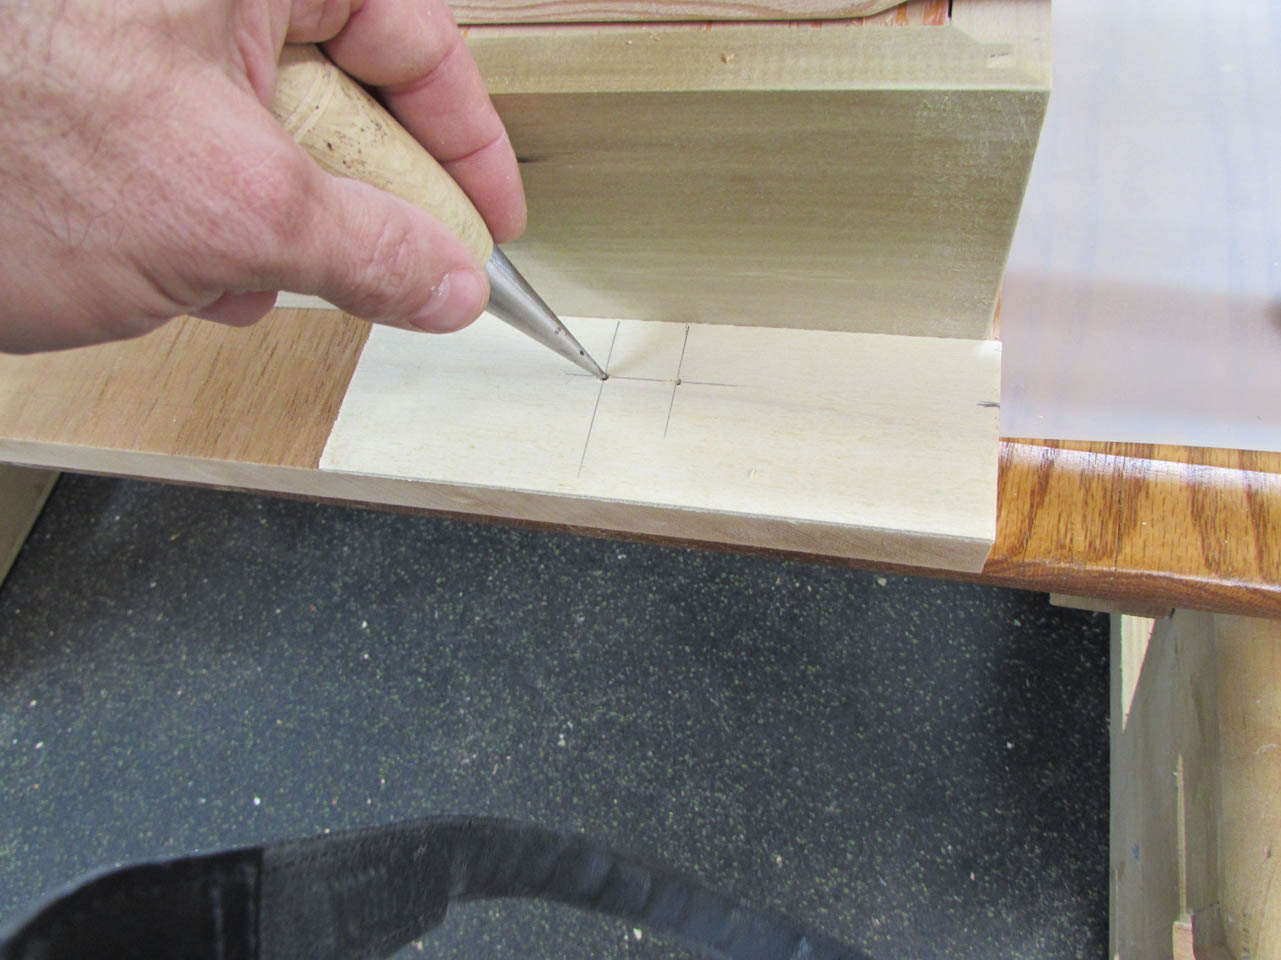
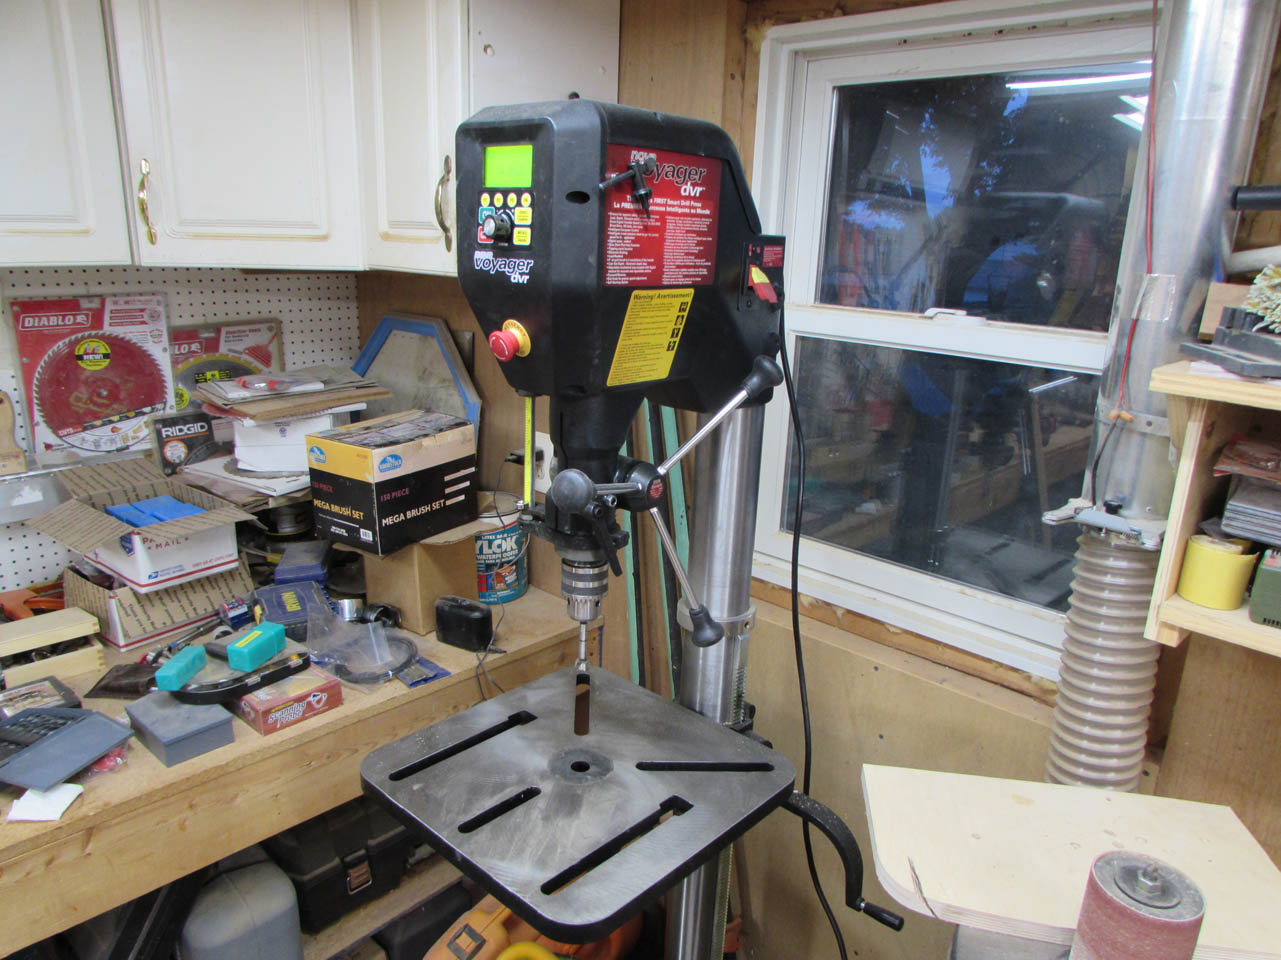
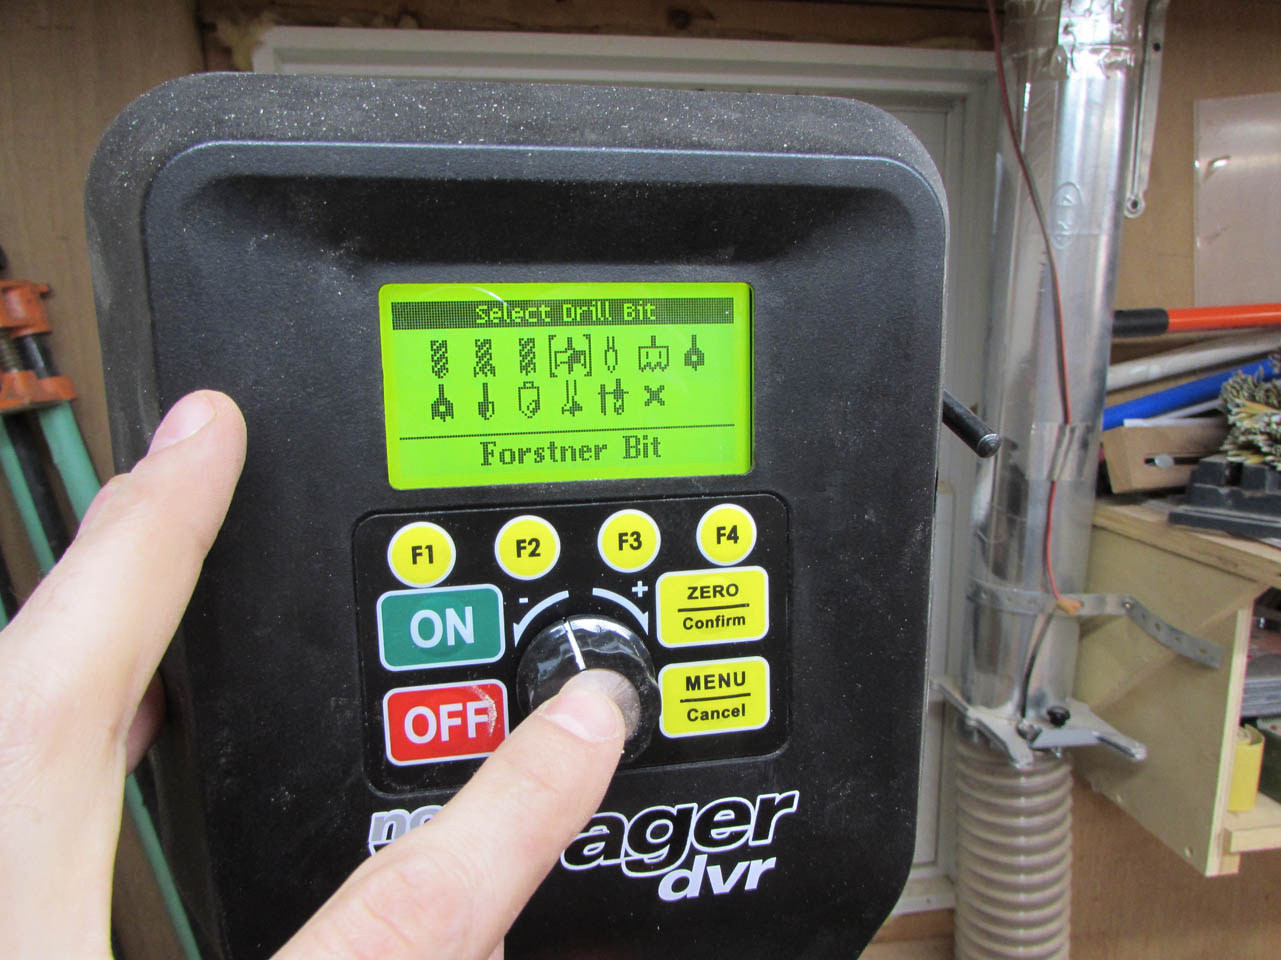
Have I mentioned that I got a new drill press yet? My Steel City died and the company went out of business so spare parts are not available. This baby has a brain! Fit and finish is not great on the cast parts, but the computer and motor are awesome. You can tell it what bit you are using, the type of material you want to drill, and it will select a speed that is appropriate. I didn’t trust it at first because I always used the slowest speed on the old drill press, but I tried what it suggested, and I got no tear-out what so ever. For most drilling operations (in wood), it recommends 1,200 – 2,500 rpms. I always thought that was too fast but I was wrong.
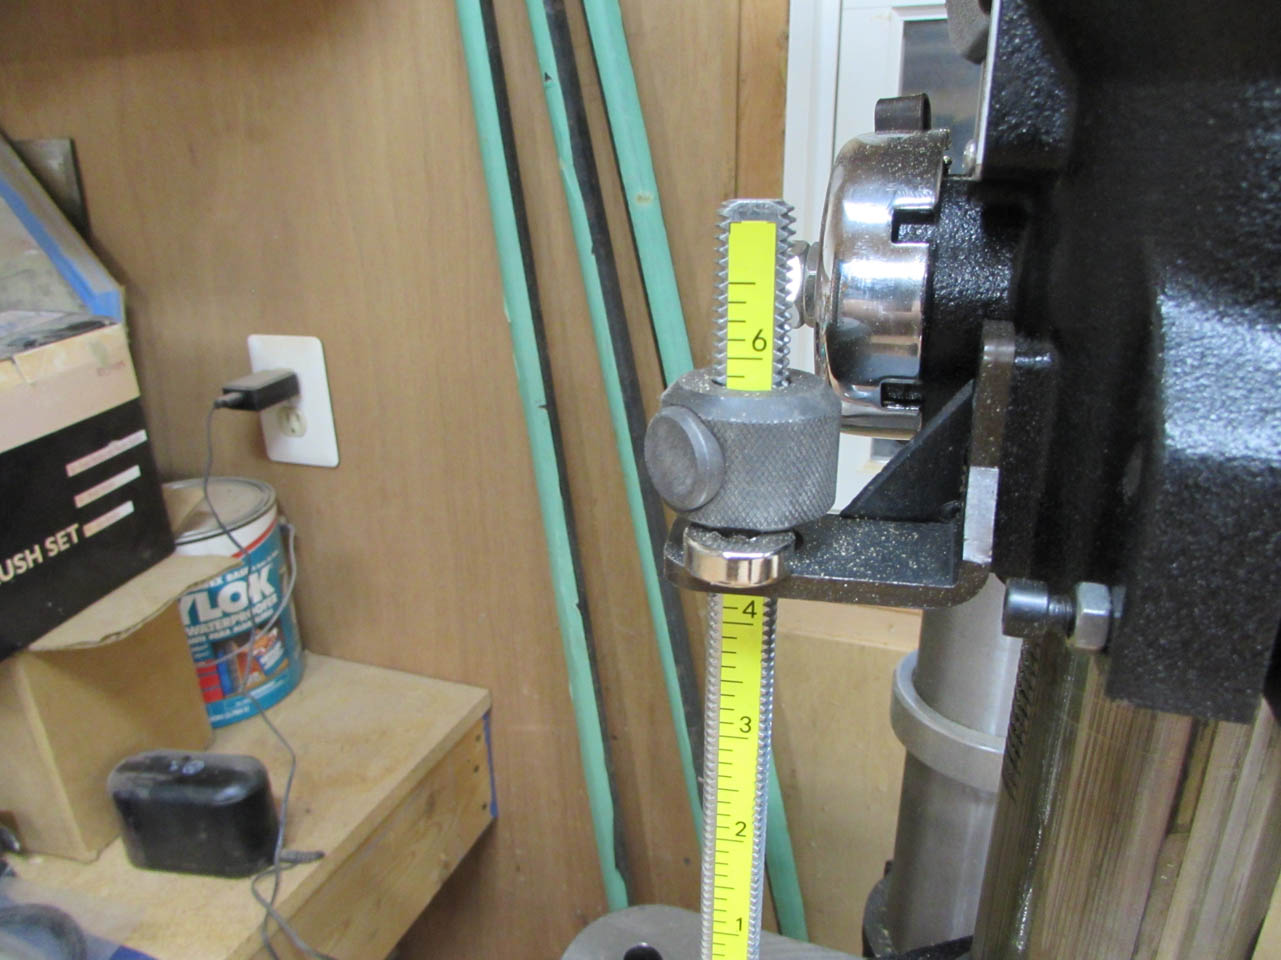
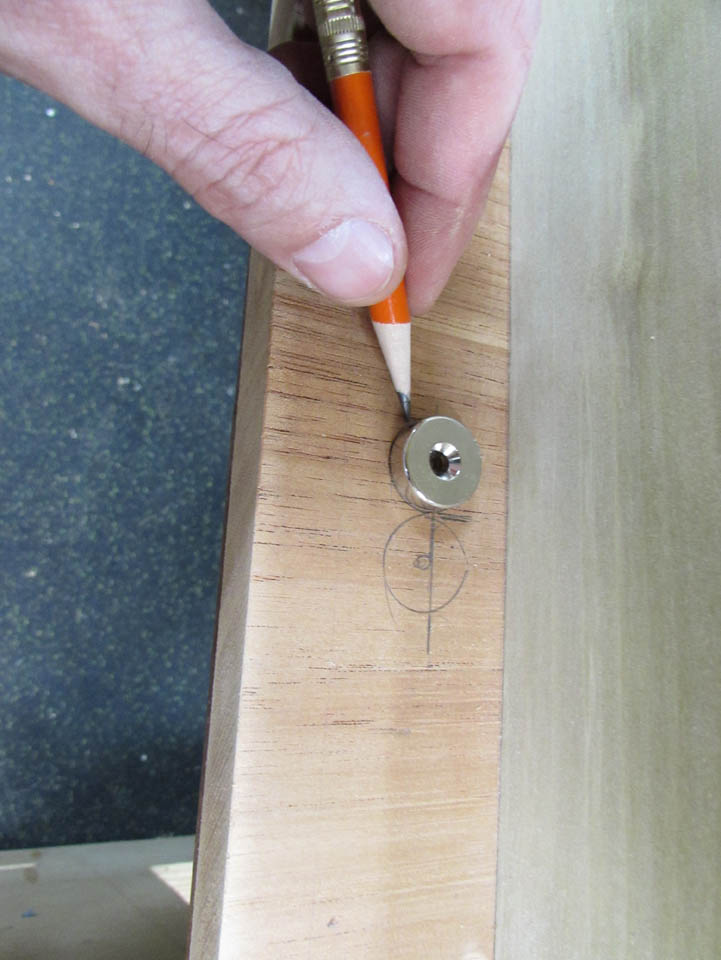
I also picked up a new tip the other day. You can set the drill depth for the magnet by using the magnet itself. Just lower your bit to the top of the wood and place the magnet on the ledge of the stop and bring the stop down to the magnet.
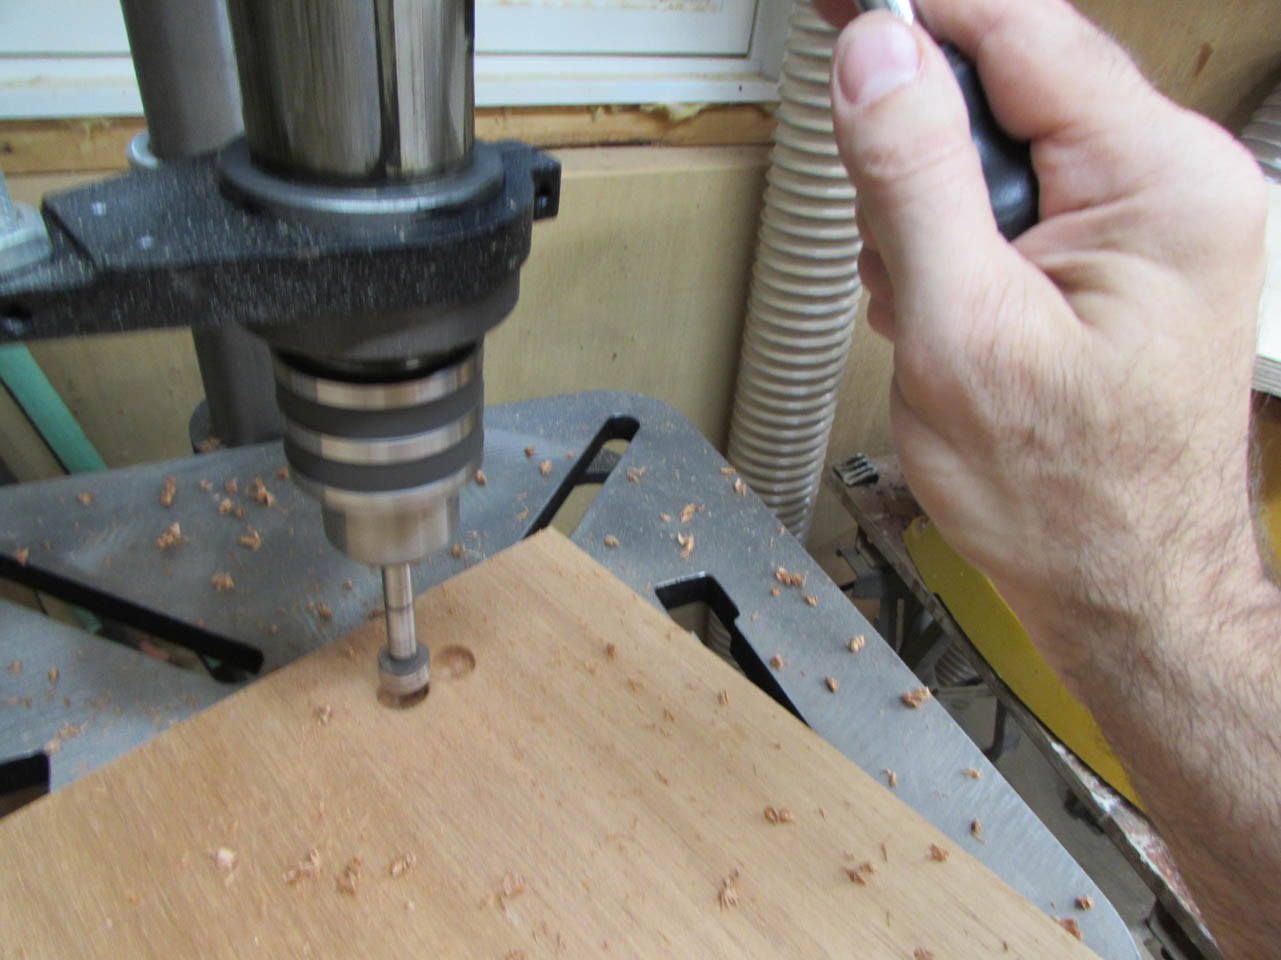
It worked perfectly. But, since I am going to epoxy these in, I lowered the hole a bit more to give me room.


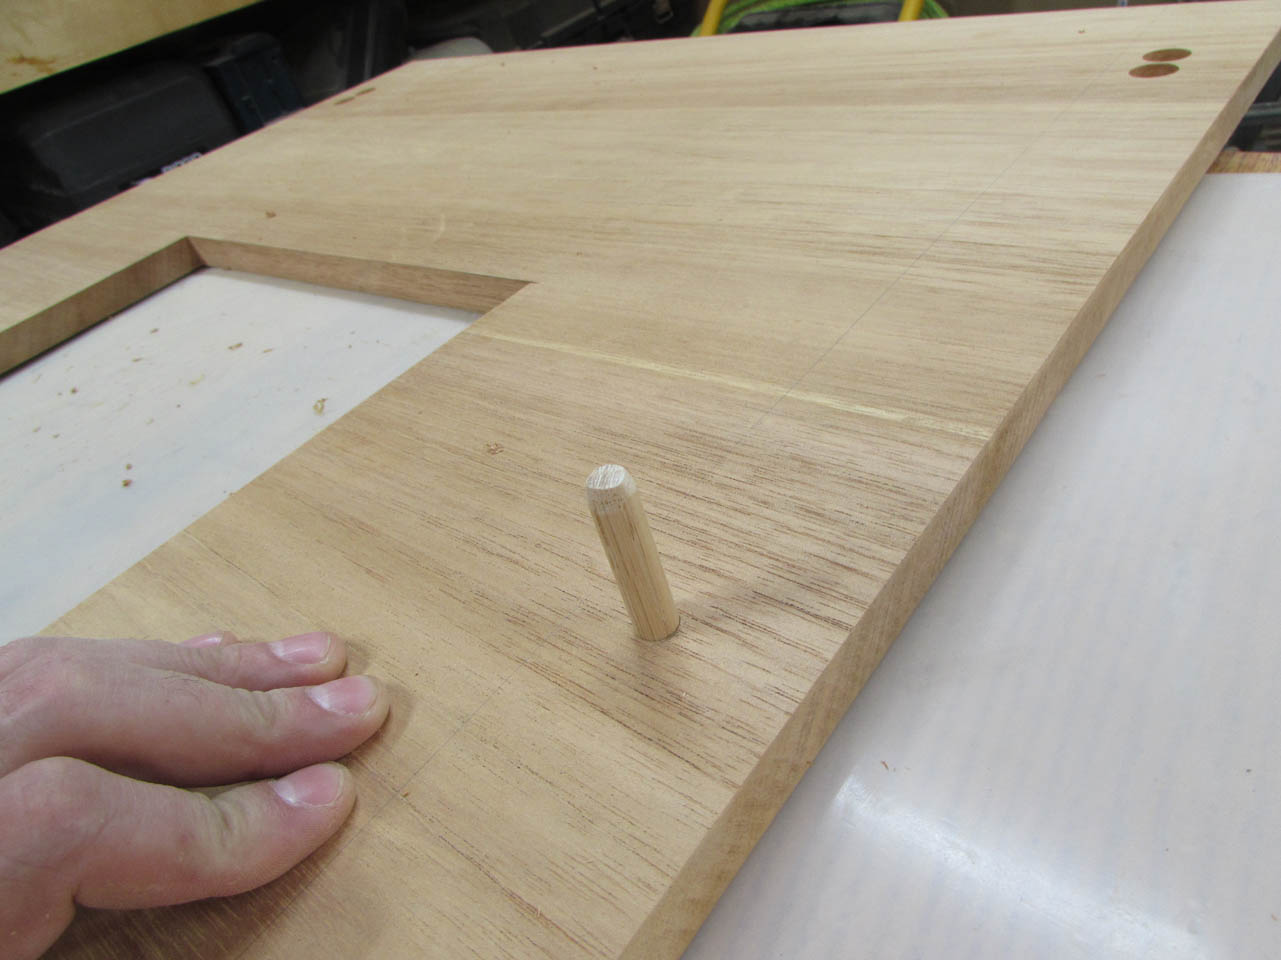
After all eight holes were drilled, I drilled a hole in the center of each side to place a short dowel. This will be a locator pin for the center of the pole. It will keep the pole from sliding accidentally off the magnets.


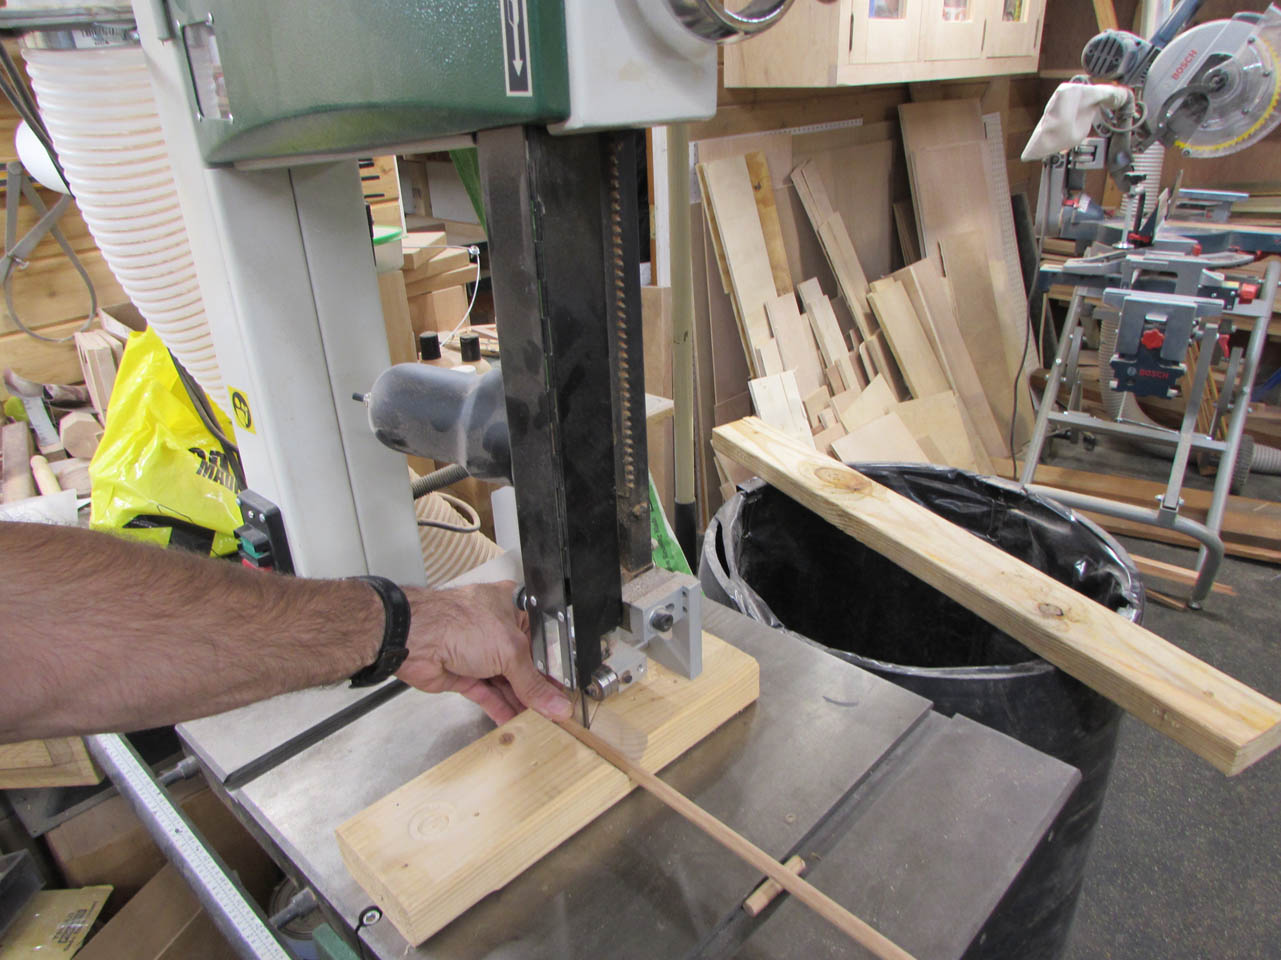
Once drilled, I set the dowel in the hole and marked the depth, then marked 1-1/4″ higher up to give me a cut-off line. I like to cut small dowels with a v-block, on the band saw. My fingers have to be way too close to use a miter saw.
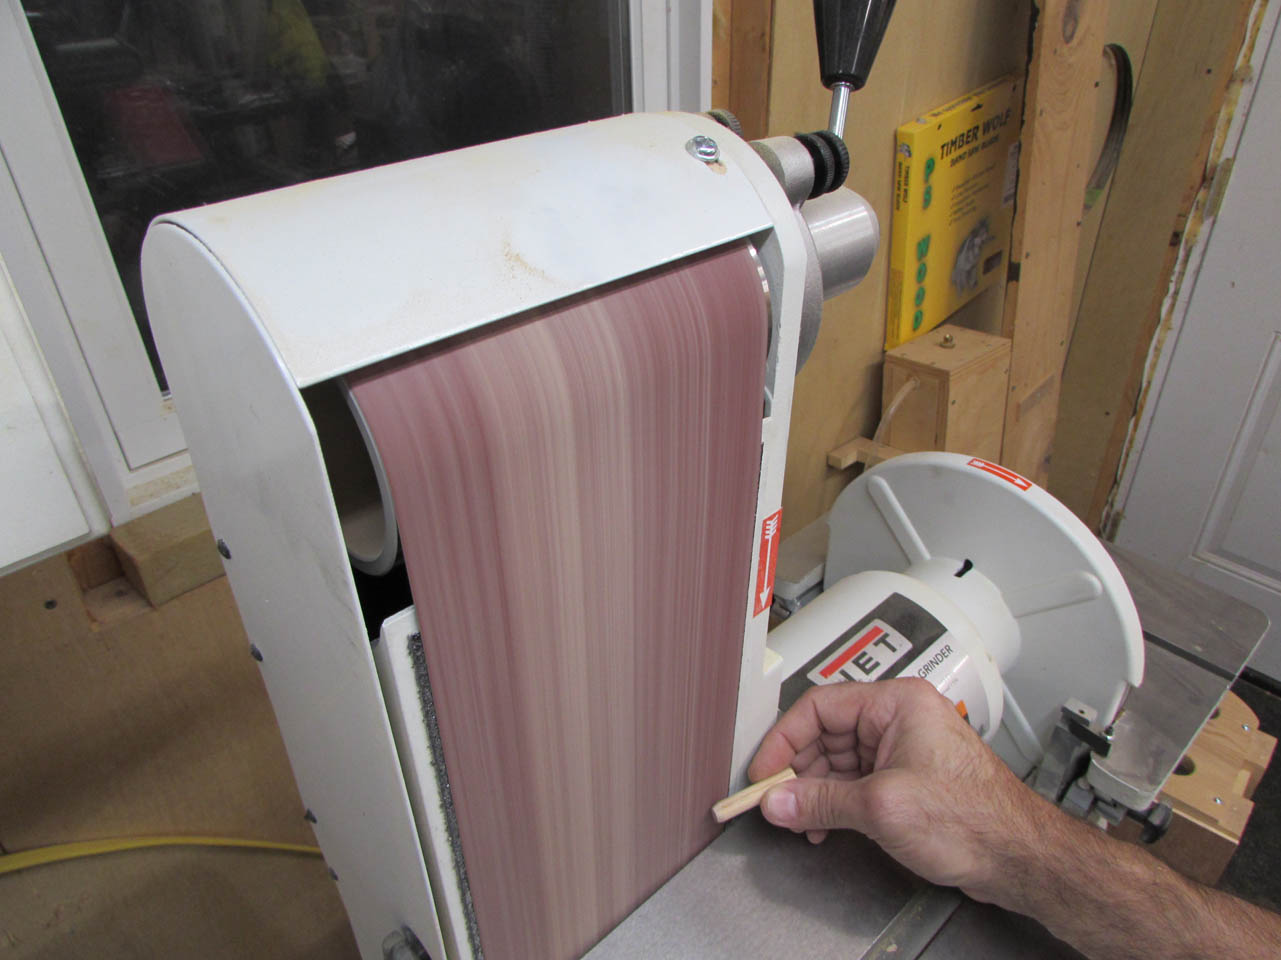
Then I taper one end slightly and a bit more on the other.
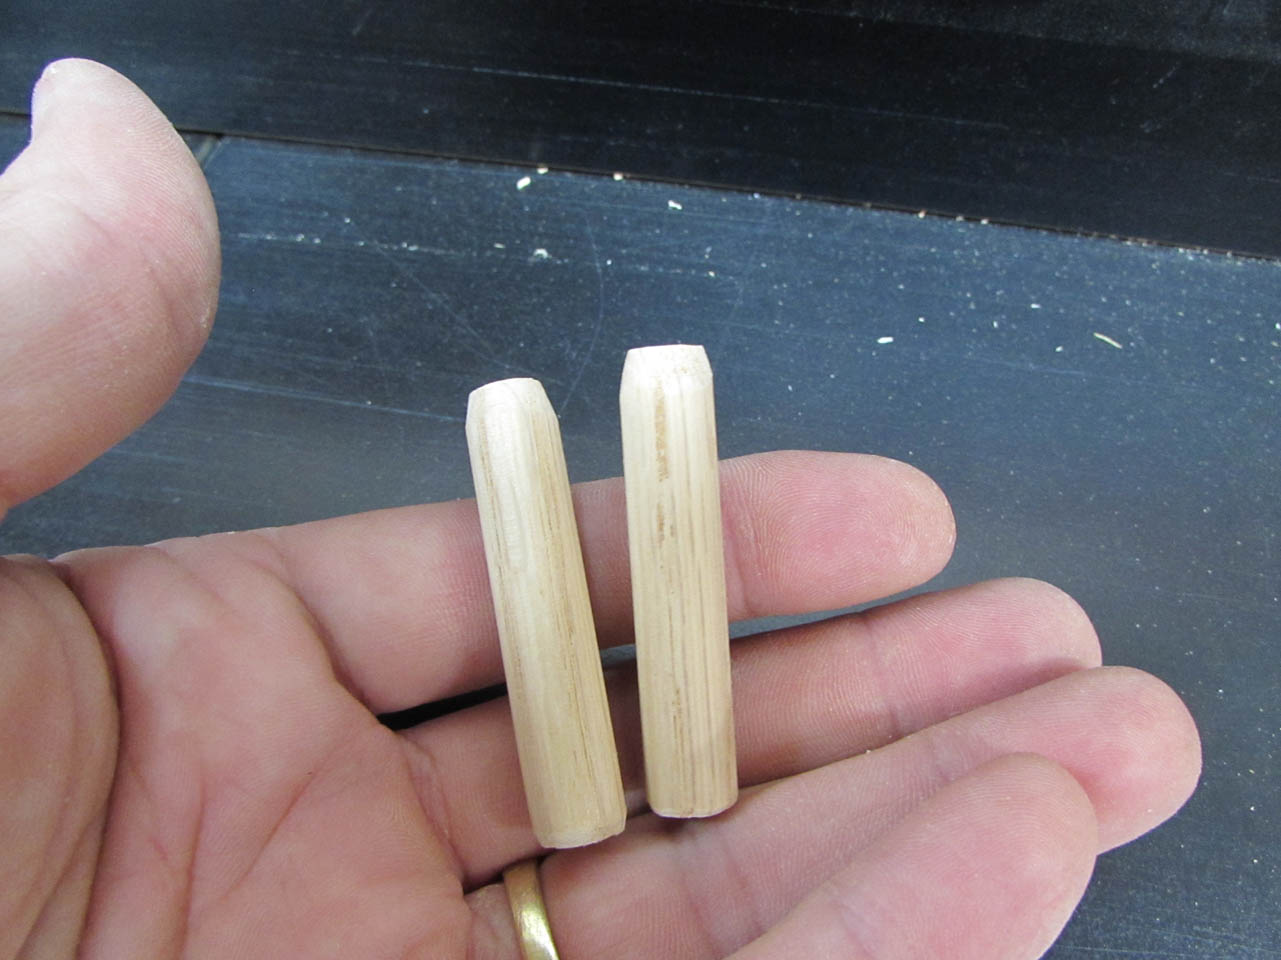
The bigger taper sticks out to make it a little easier to line up the pole.

I am using a 2-part epoxy that is designed to stick to both metal and wood, for attaching the magnets.


I will also be running screws through them as an added measure to keep them in place, but I will do that after they dry, I want to use longer screws and drill up into the rails I will install later.
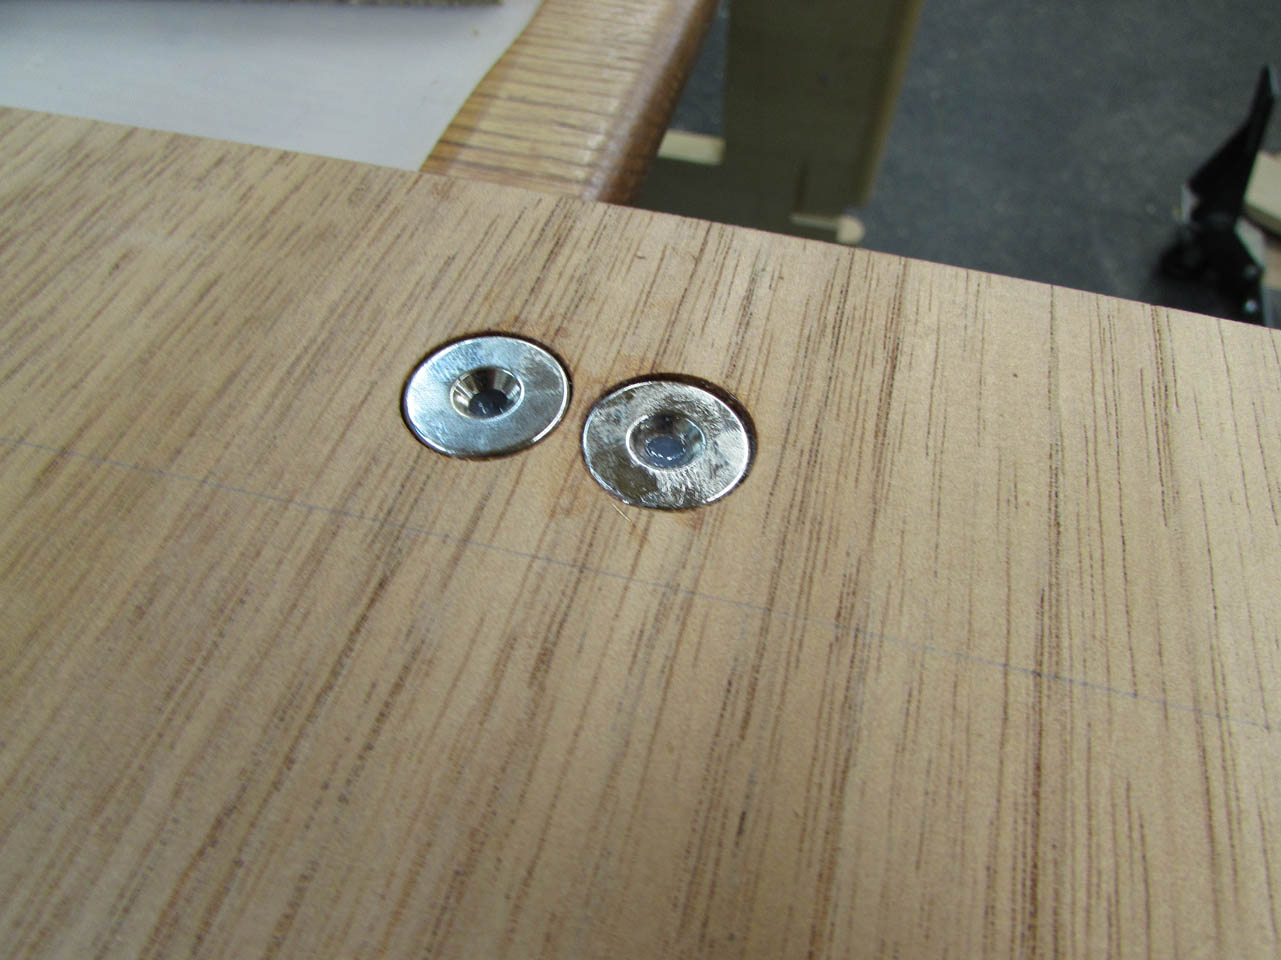
All the magnets are in place and drying. They should be set up in about 15 minutes or so.

I drill a slightly larger hole in the center of the poles and apply a bevel to the entrance to align easily with the dowel.

Then, while that is drying, I went back to my workbench to install the steel plates in the poles.

I need to create a shallow mortise so the plate sits flush with the surface. I use my chisels for this operation.

Sharp chisels on soft wood make it an easy task.

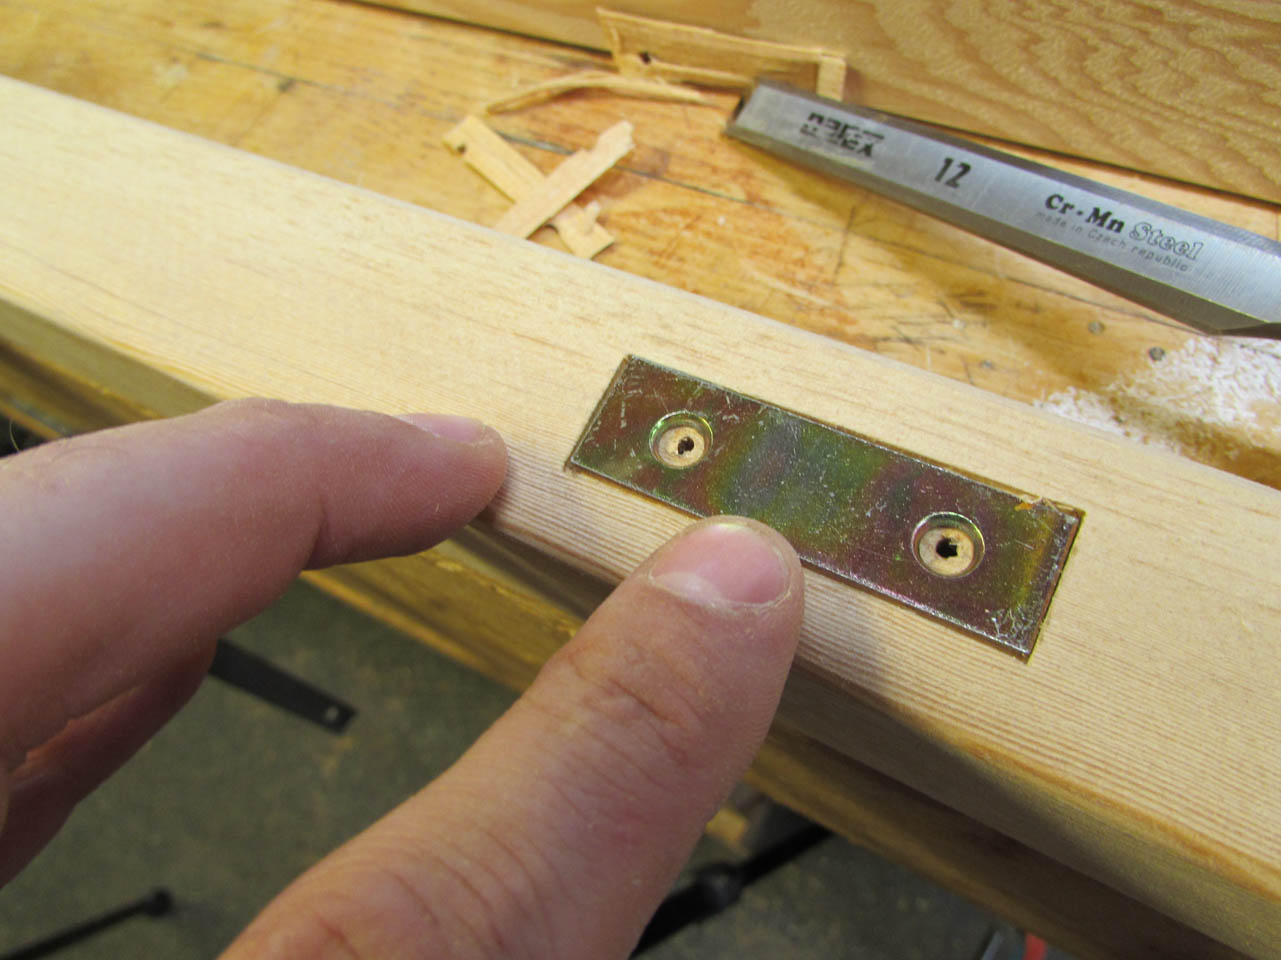
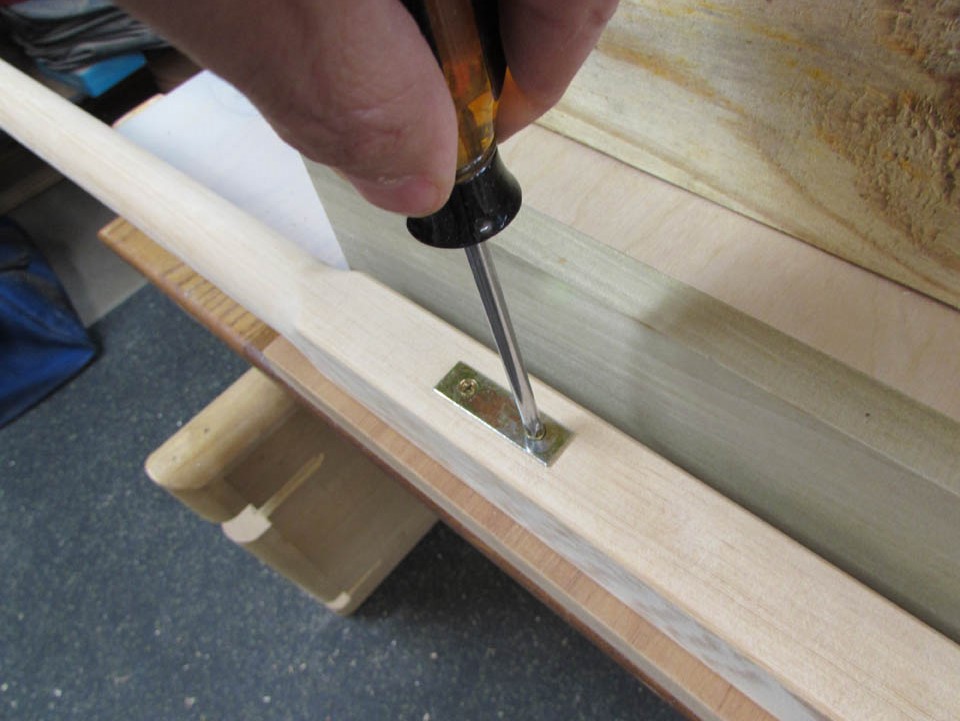
The plate fits snugly into the mortise and I hand-tighten the screws in place.

I set the poles on the magnets and lifted just one end of a pole. It held nicely to the magnet and lifted the entire assembly. The magnets only have to be strong enough to hold the poles in place so I am confident they will be good.

One more thing before I finish up for the night. The vertical board for the cross is supposed to only be 3″ wide and it is currently 6″. The only place that is supposed to be that wide is around the symbol. I set the table saw fence to remove the 1-1/2″ from each side. I also marked the edge of the saw blade, on the fence, so I don’t cut too far.
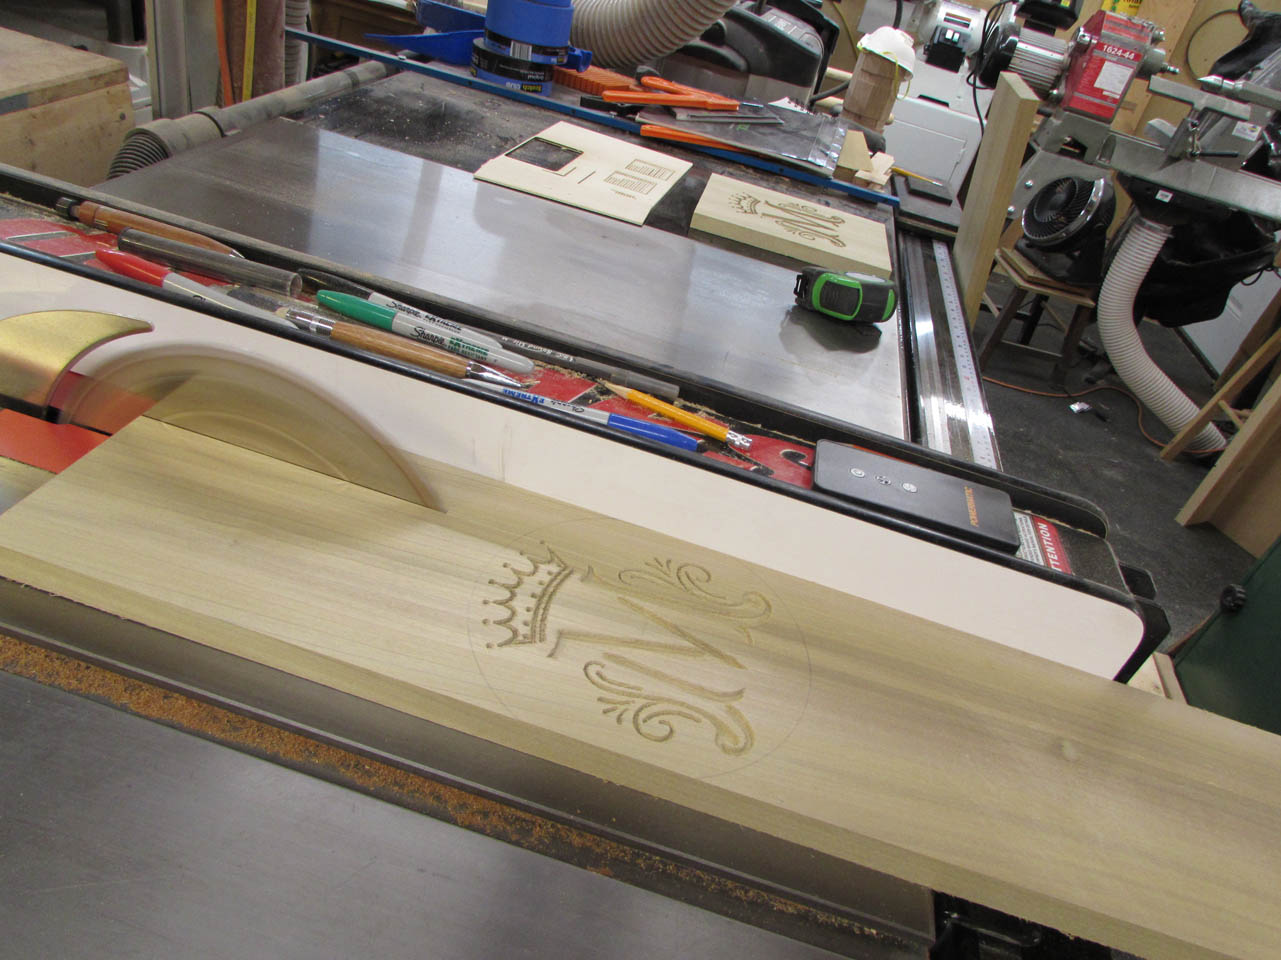
I cut up all four sides and left the area around the symbol alone.


I used a compass to clearly mark the circle I needed to cut, then used a board to mark the straight lines from the saw cut to the circle.


I used the band saw to finish the straight cuts and then cut the curves out.
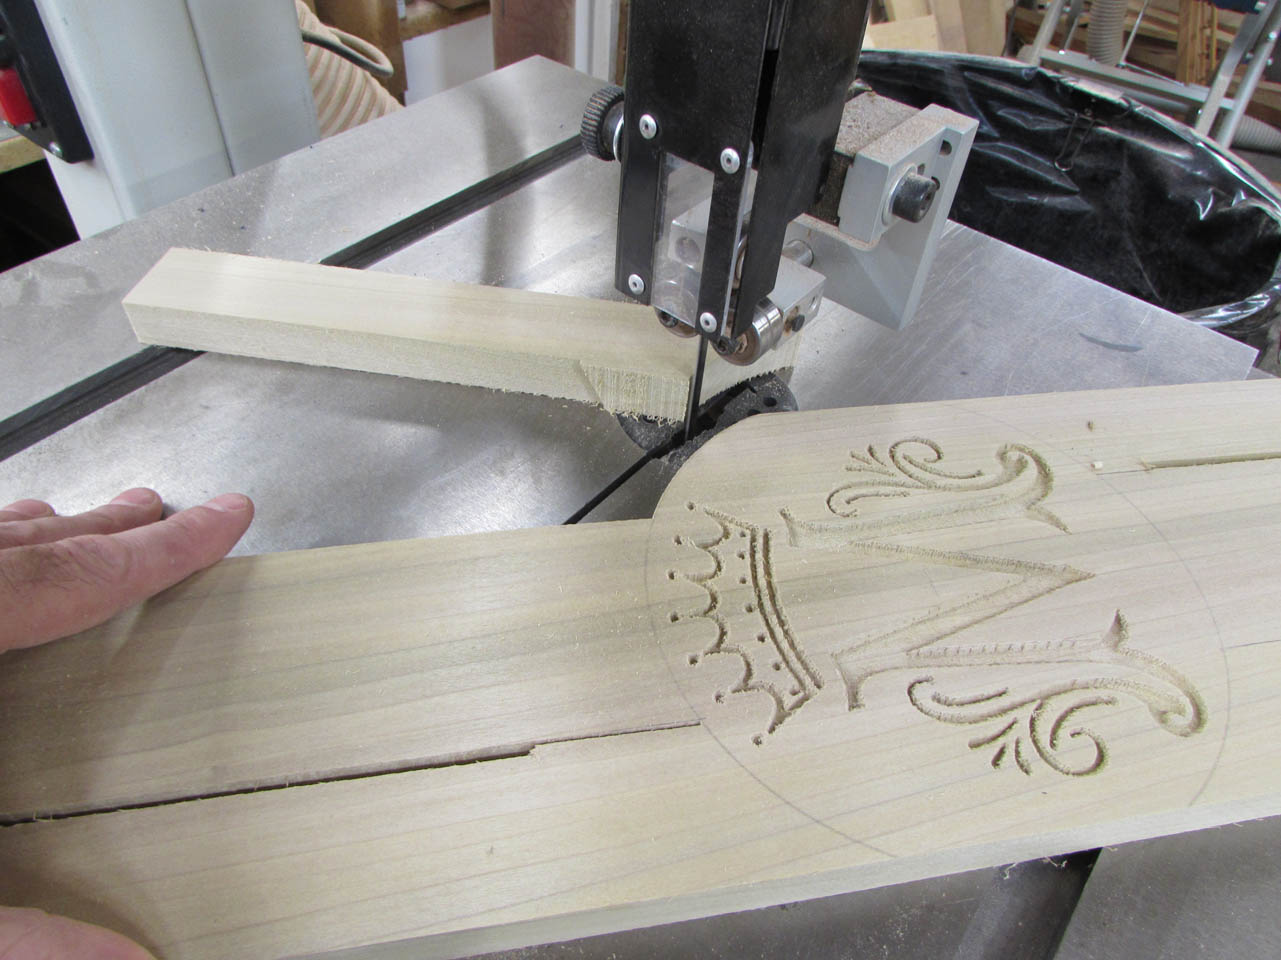
It still needs a bit of sanding around the curves, but it is taking shape.

Ok, that is enough for one day. It will be midnight soon…
