
Couch Console
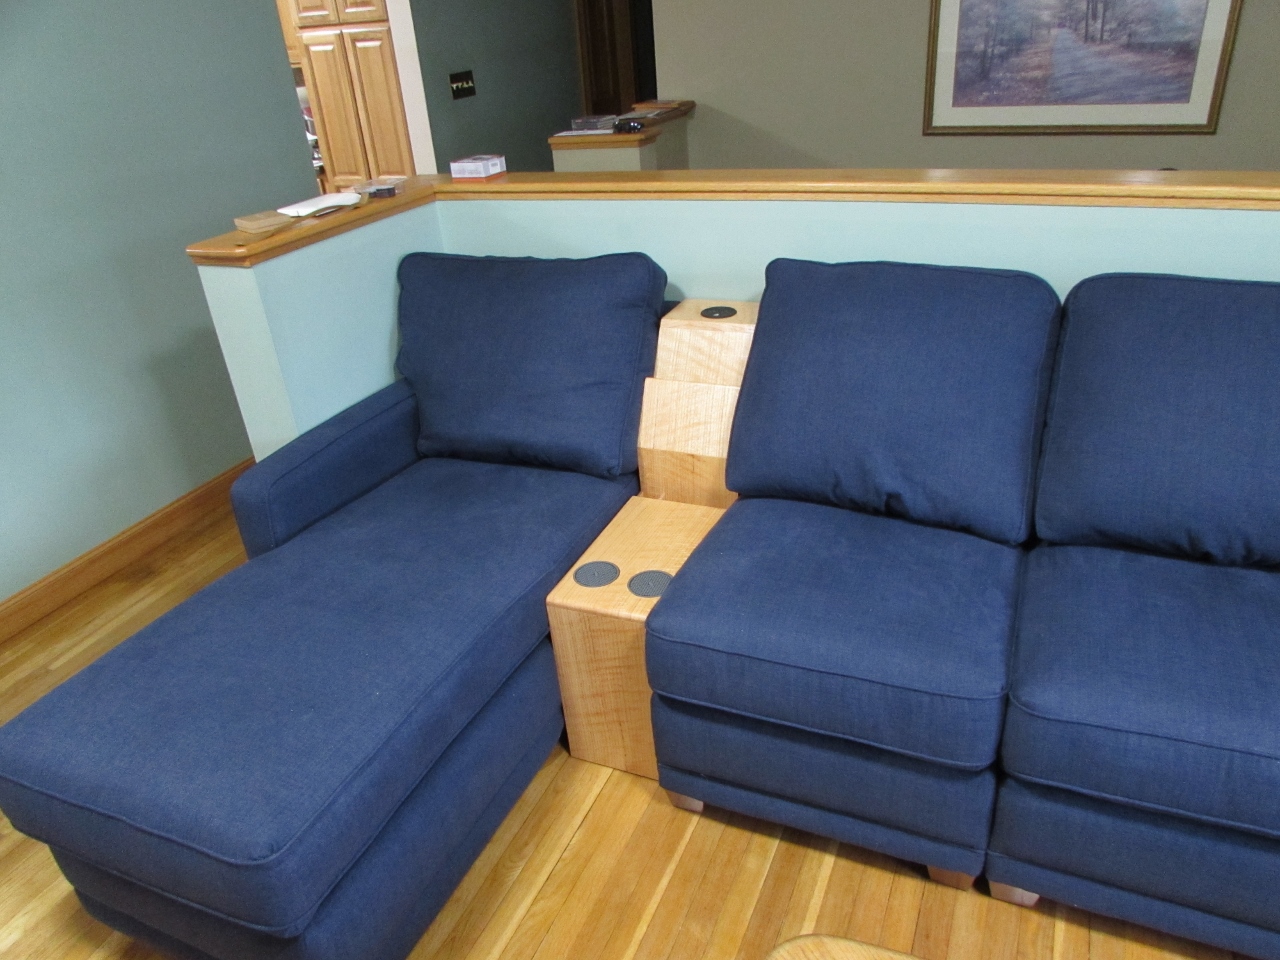
So here is the new couch in its new home. When we ordered the couch, we knew that it was about 12″ shorter than the length of the room. I was planning on a sofa table going on one end to hold the remotes and take up the remaining space. Separating the Chaise on the left and pushing it to the wall gave us a bit more space around the coffee table.
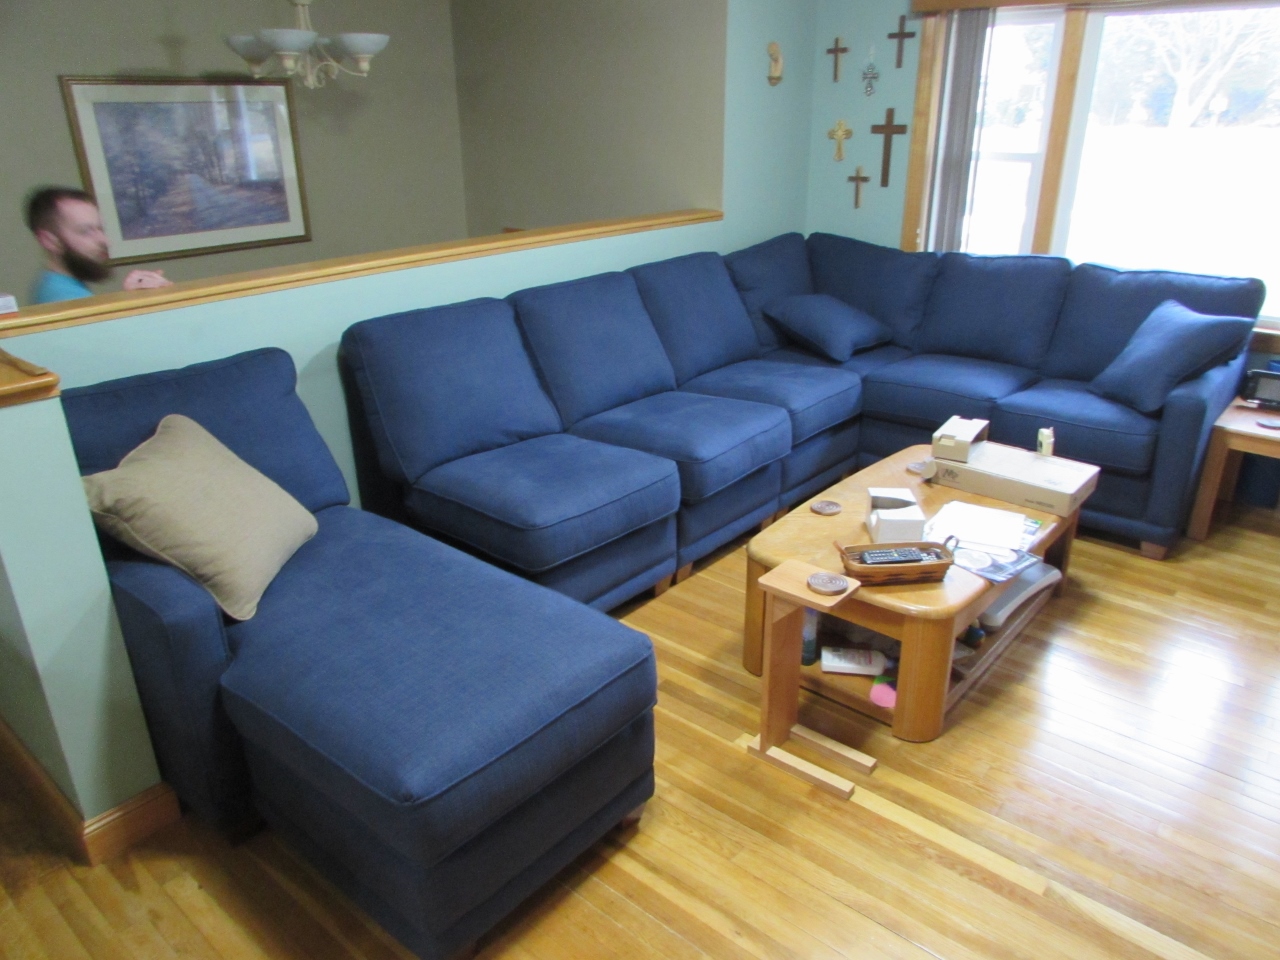
My wife liked this layout a little better so I designed a console that would fit in the gap. We needed something because all of our wall outlets were now blocked and we wanted the clutter off of the coffee table. I modeled something up and edited a photo of the couch to show my wife the concept.

With her approval, I drew up these plans: CONSOLE.pdf.

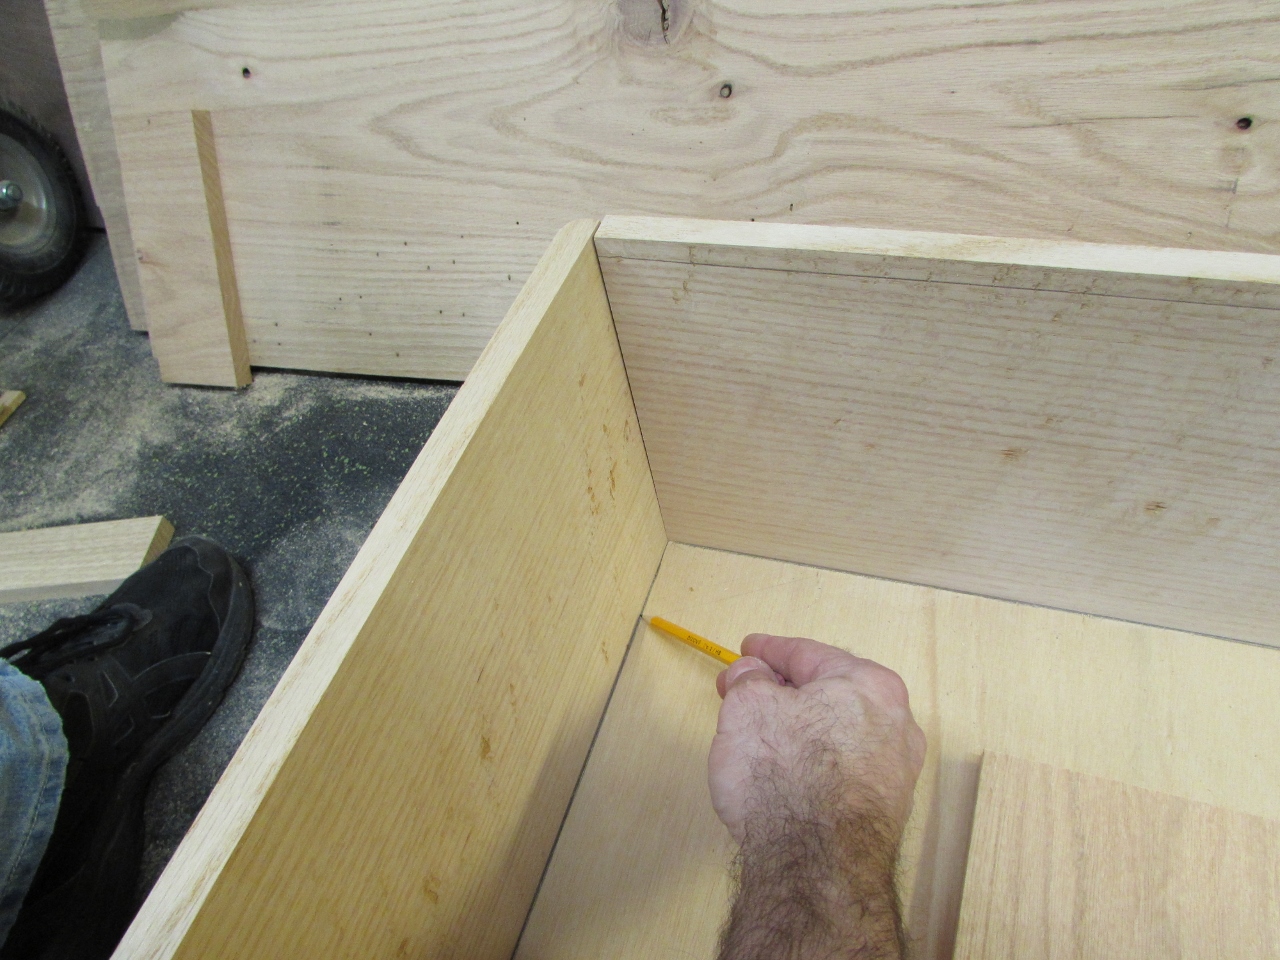
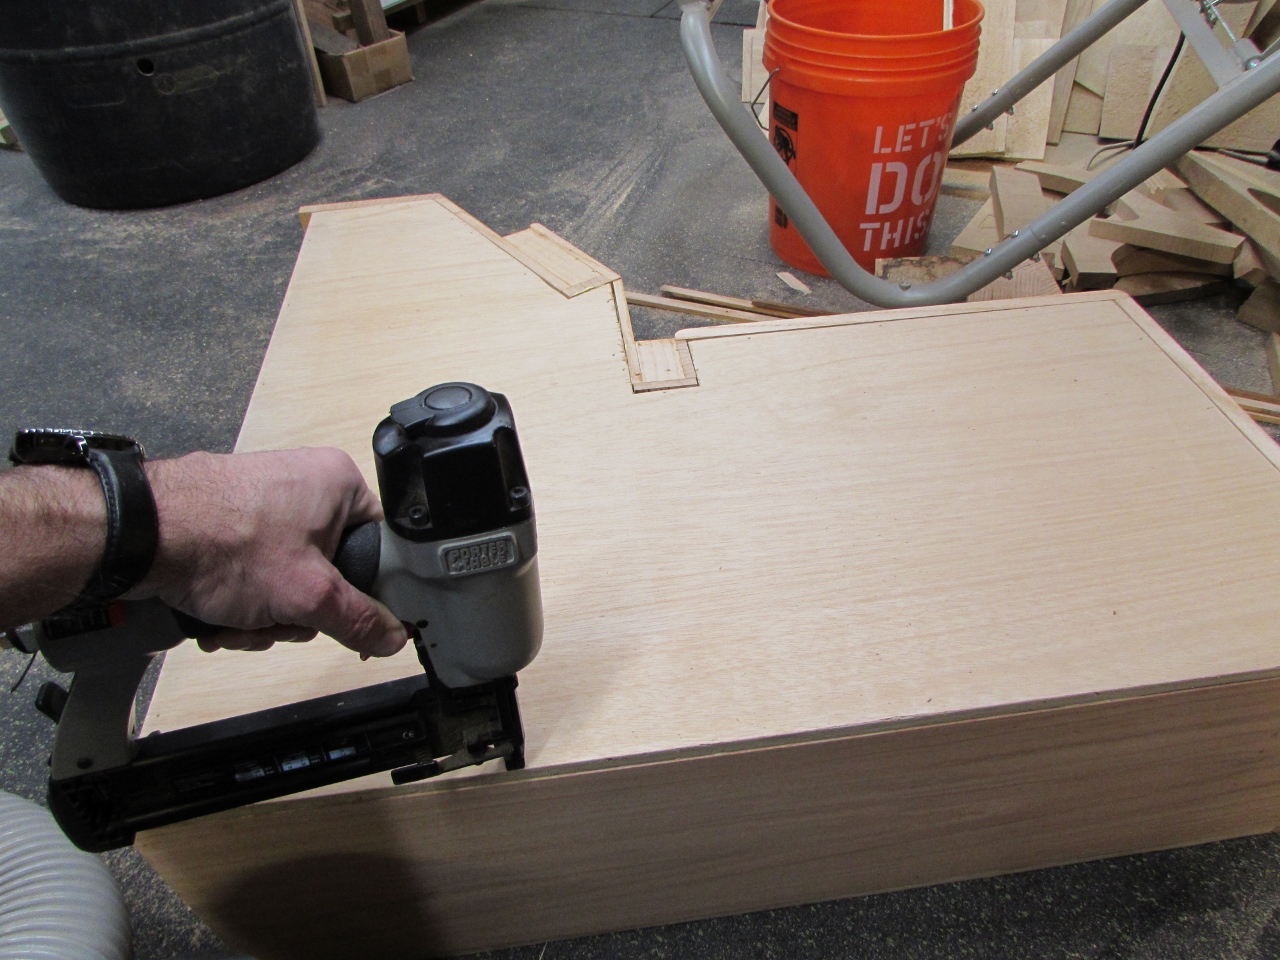
I figured the hardest part would be laying out the large plywood pieces so I did that first.
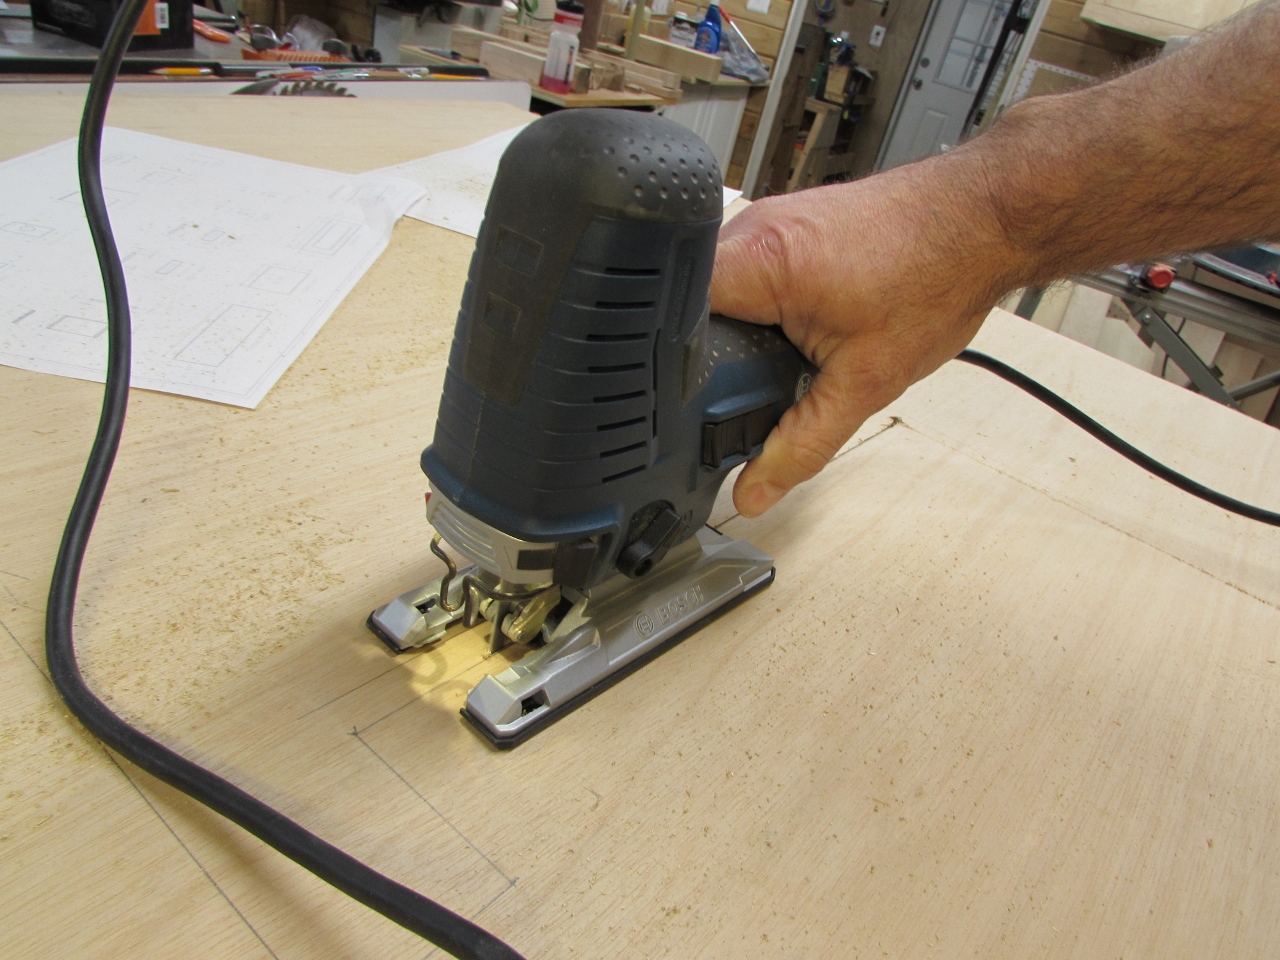
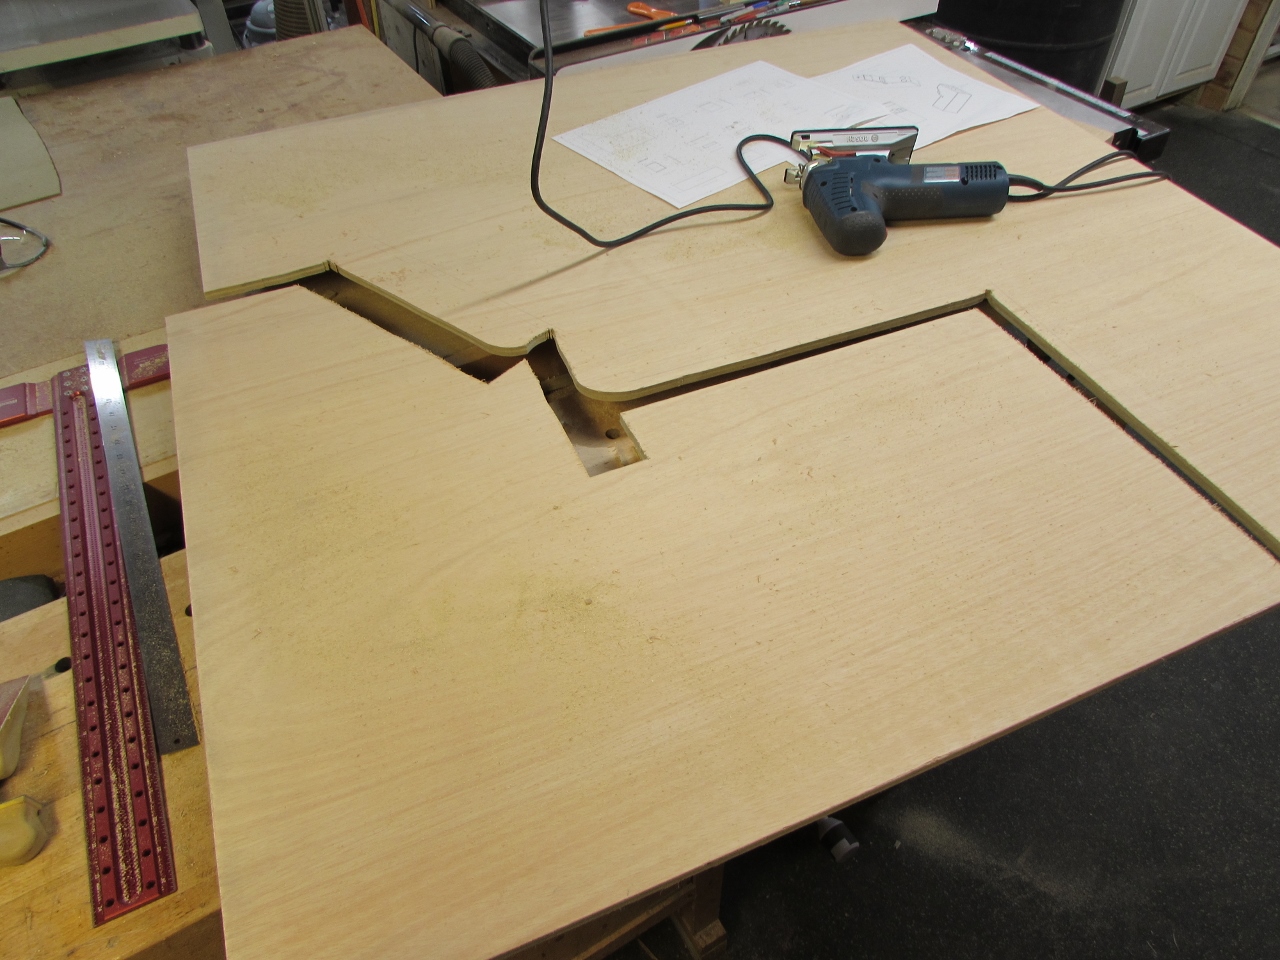
I cut out my outline with a jigsaw, then used the first side to trace out the second one.


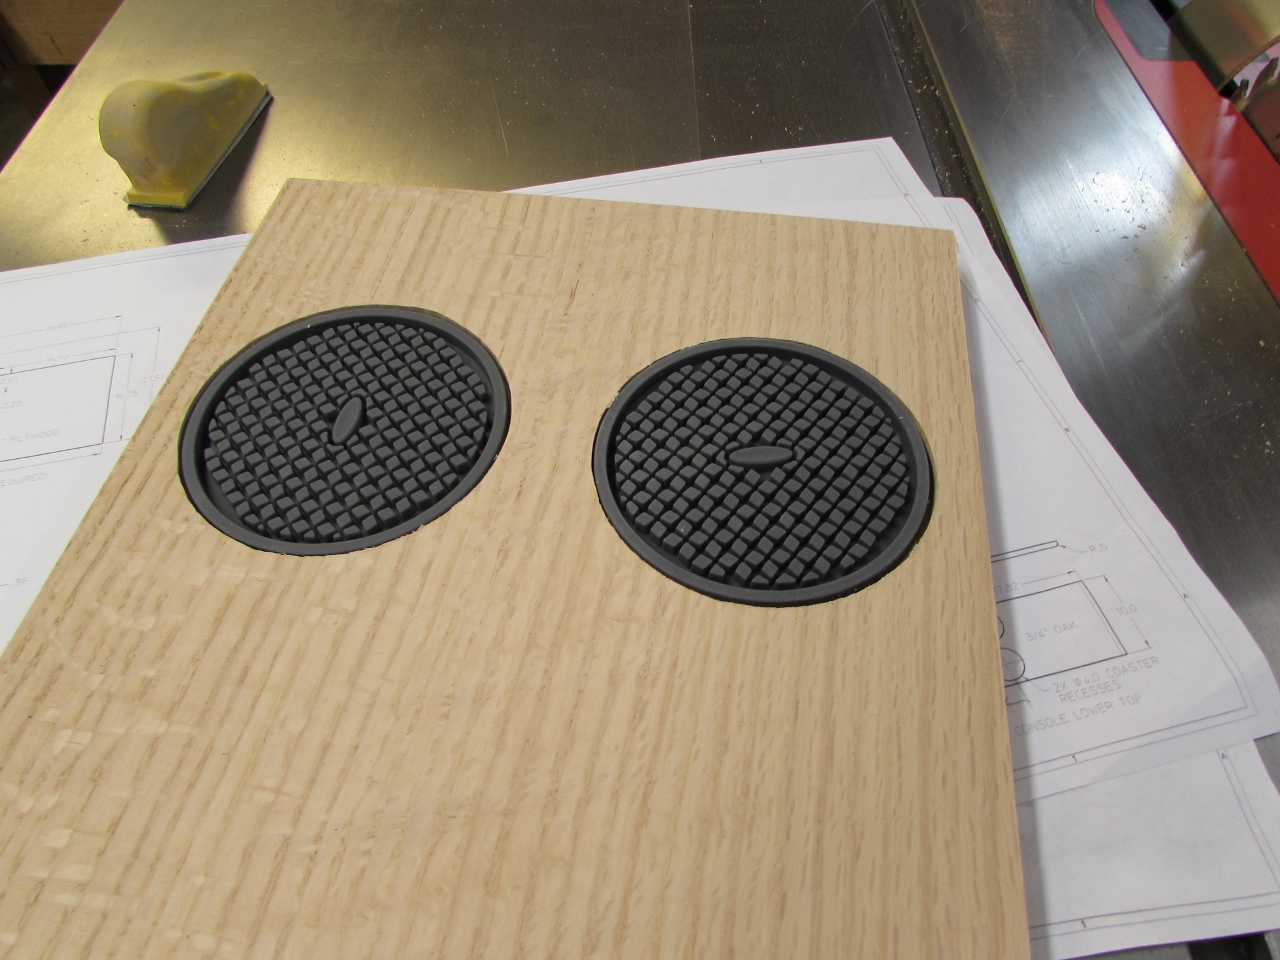
I decided to save myself some time and use my CNC to cut out the recesses for the Silicone drink coasters. I could have used my router but this allowed me to work on two pieces at the same time.
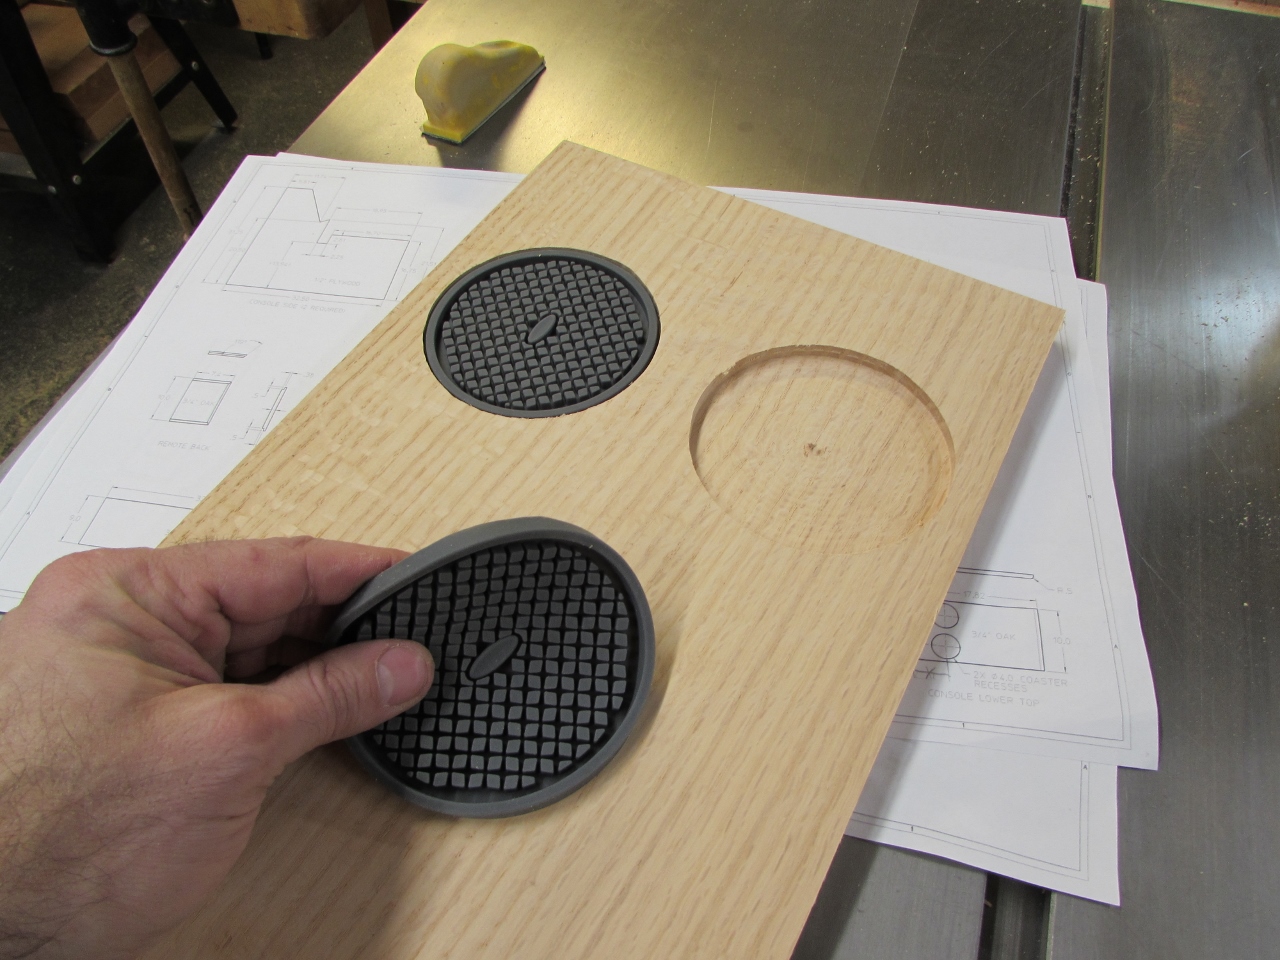
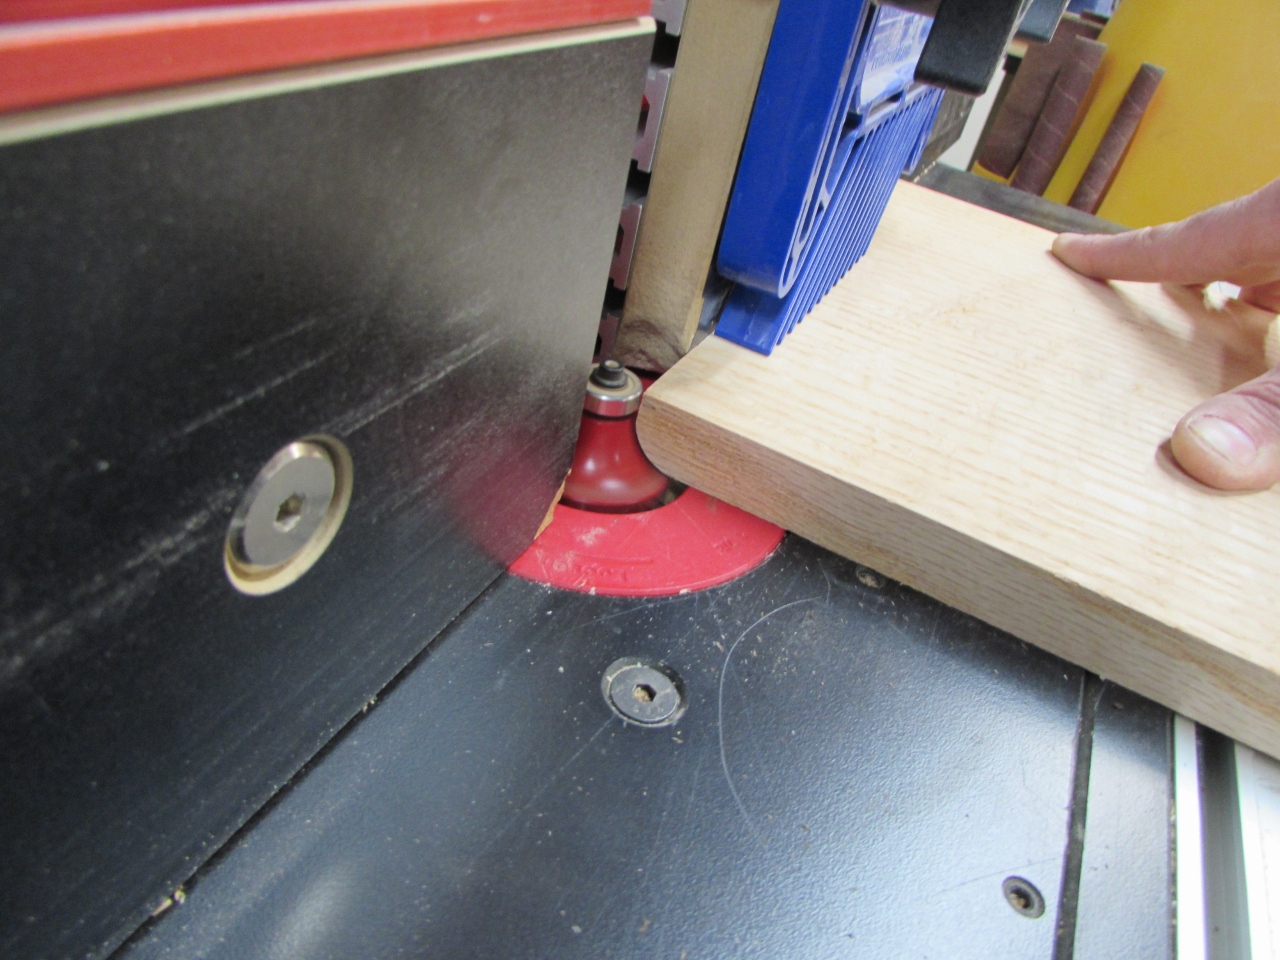
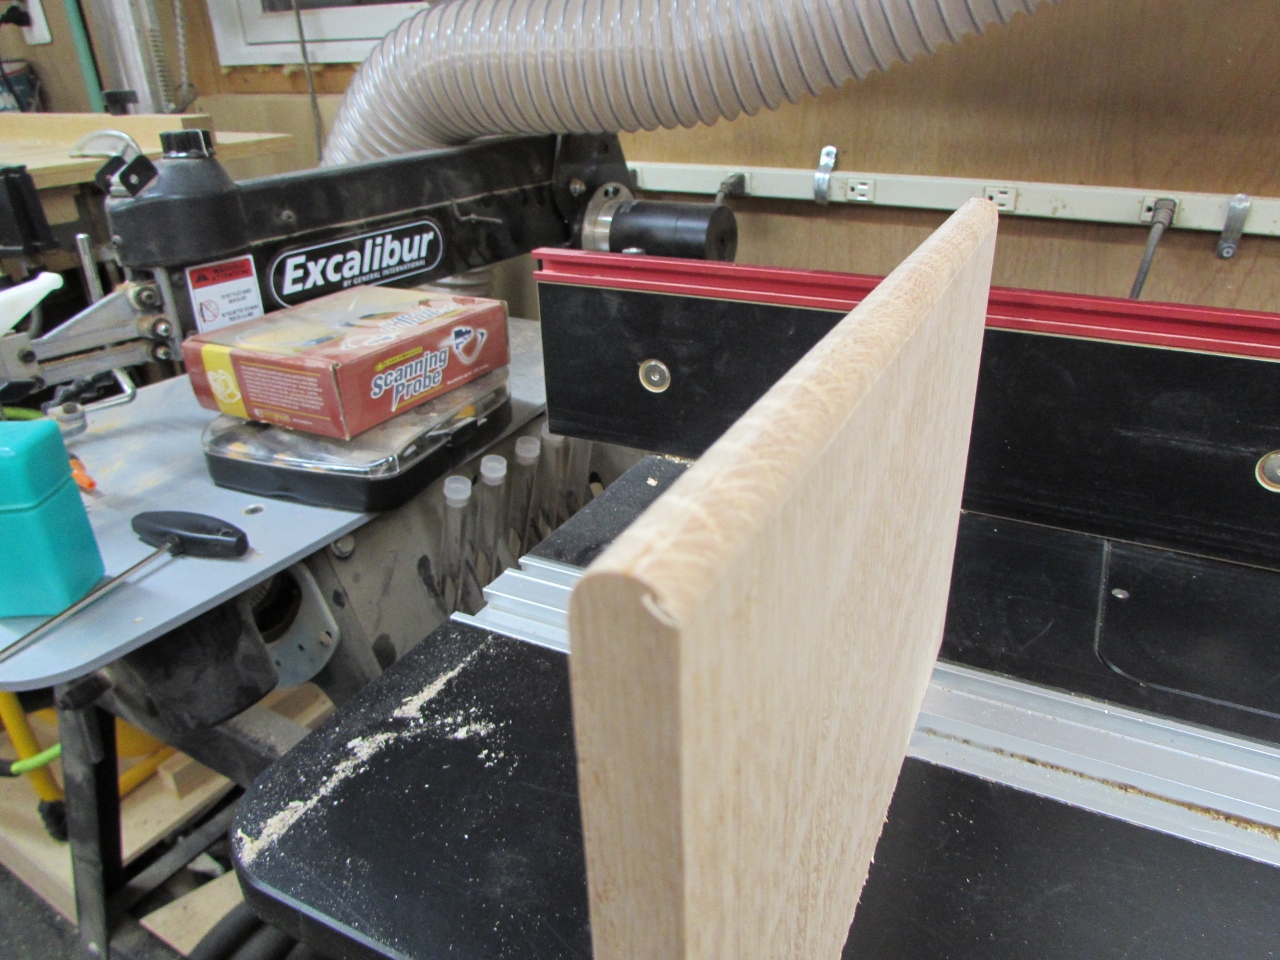
After they were cut out, I added the 1/2″ round to the front and back of that board.

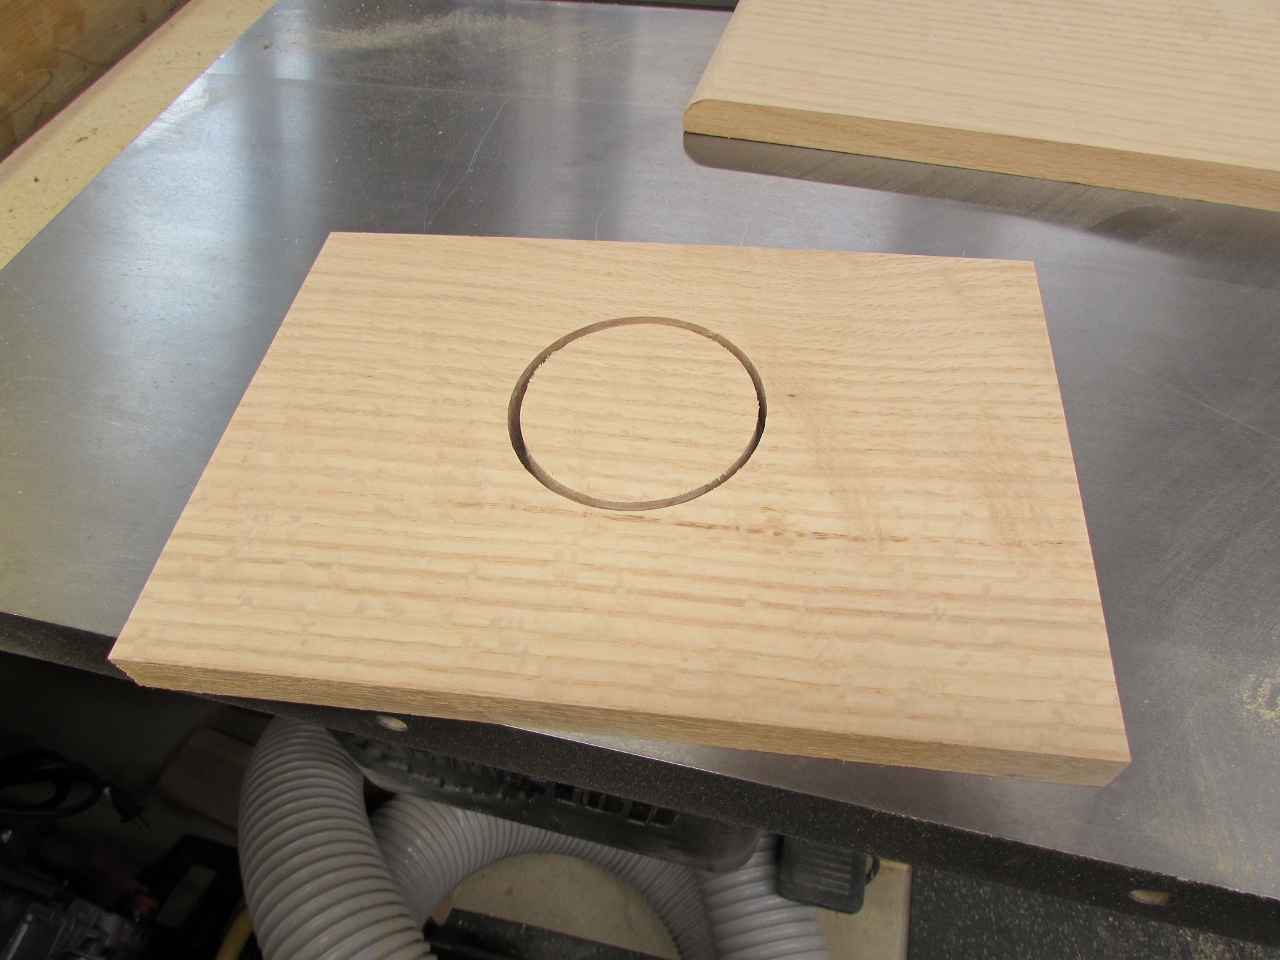
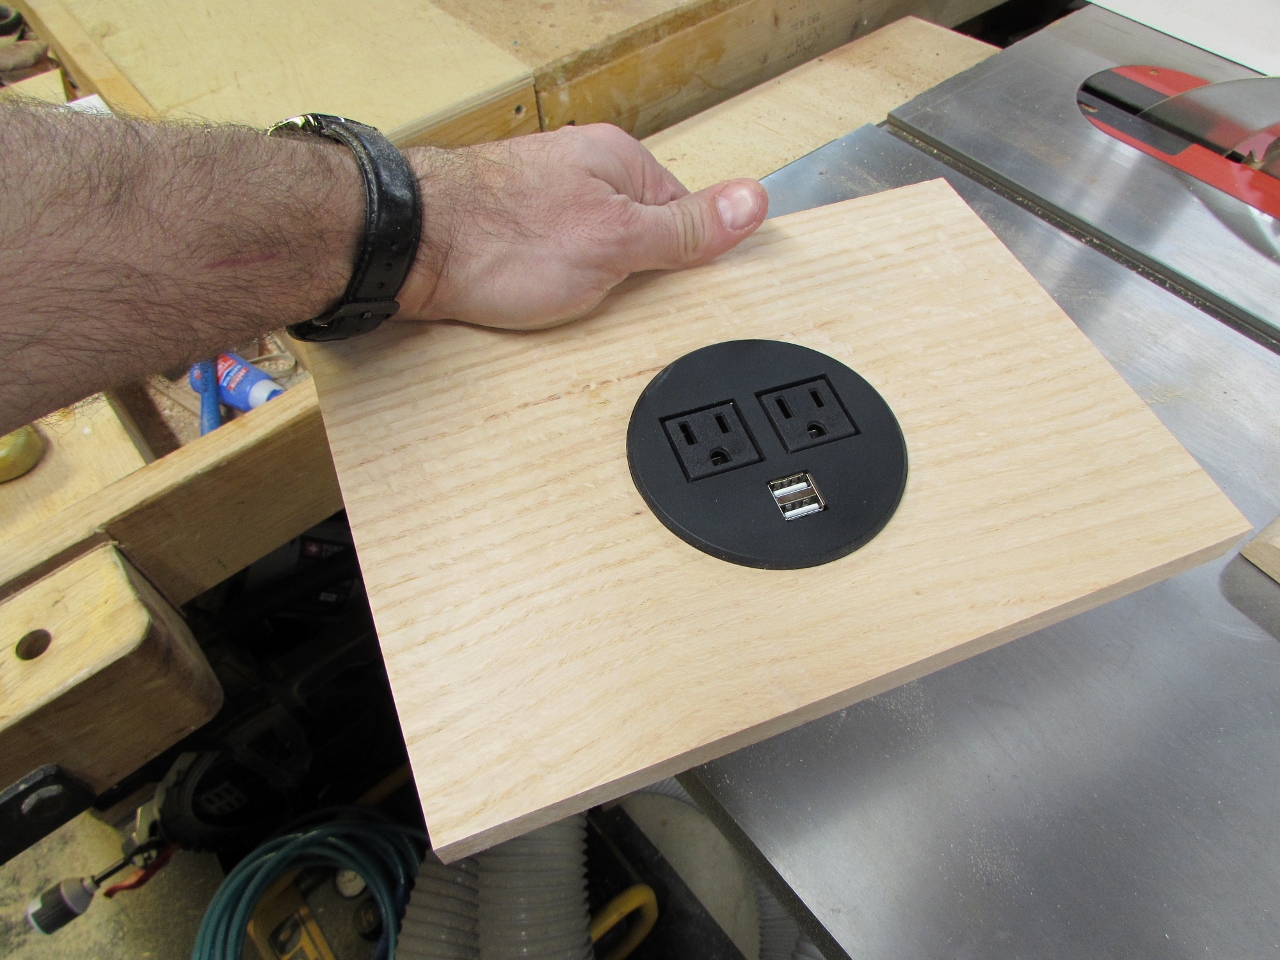
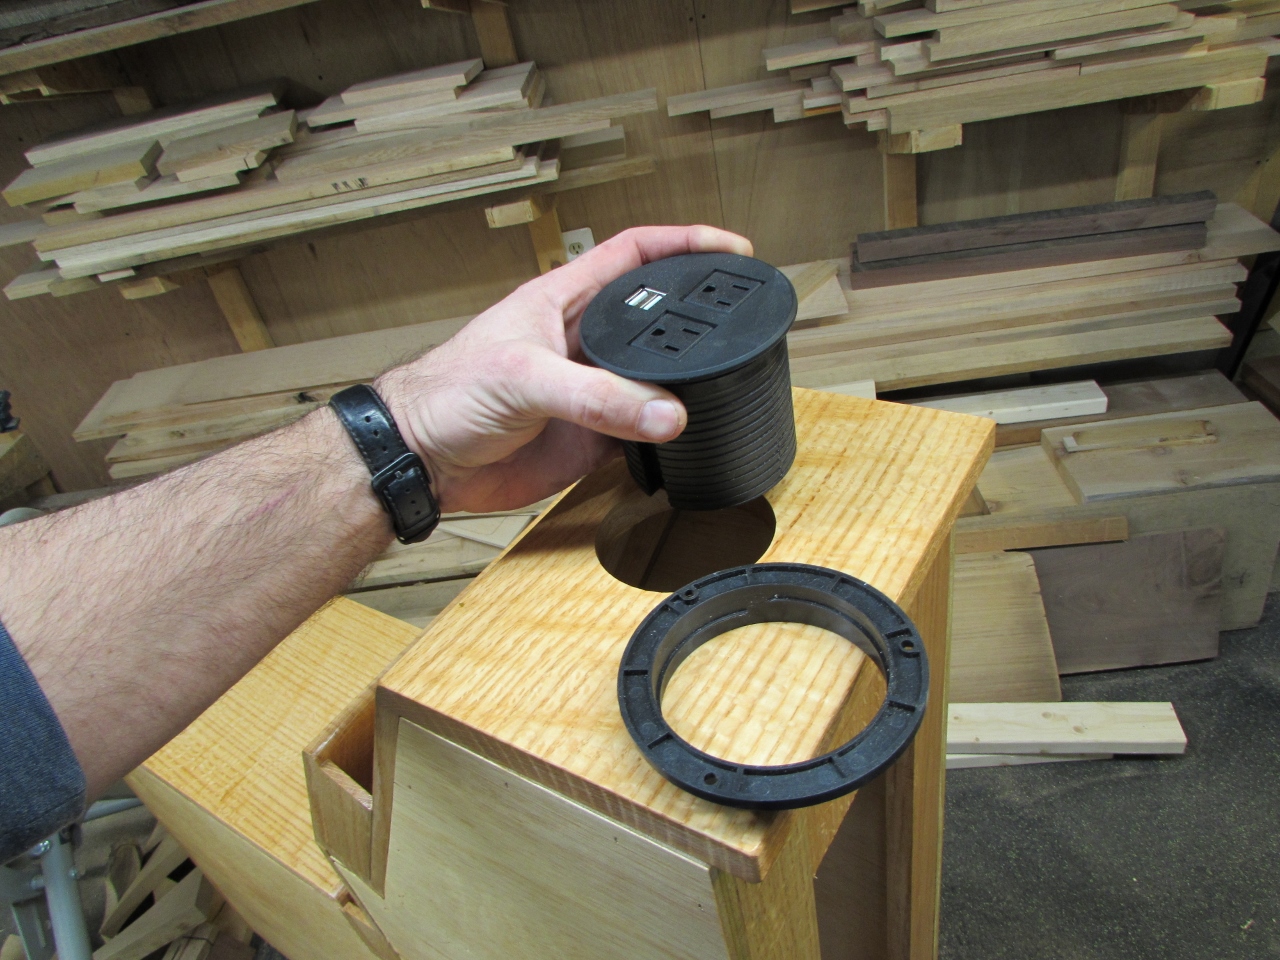
Then I used the CNC to cut a circle in the top piece for the outlet.

I found this really cool Surface mounted outlet on Amazon. It allows me to plug into the wall with a standard power cord and basically relocate the outlet to somewhere I can reach. There are also two USB ports for charging devices as well.

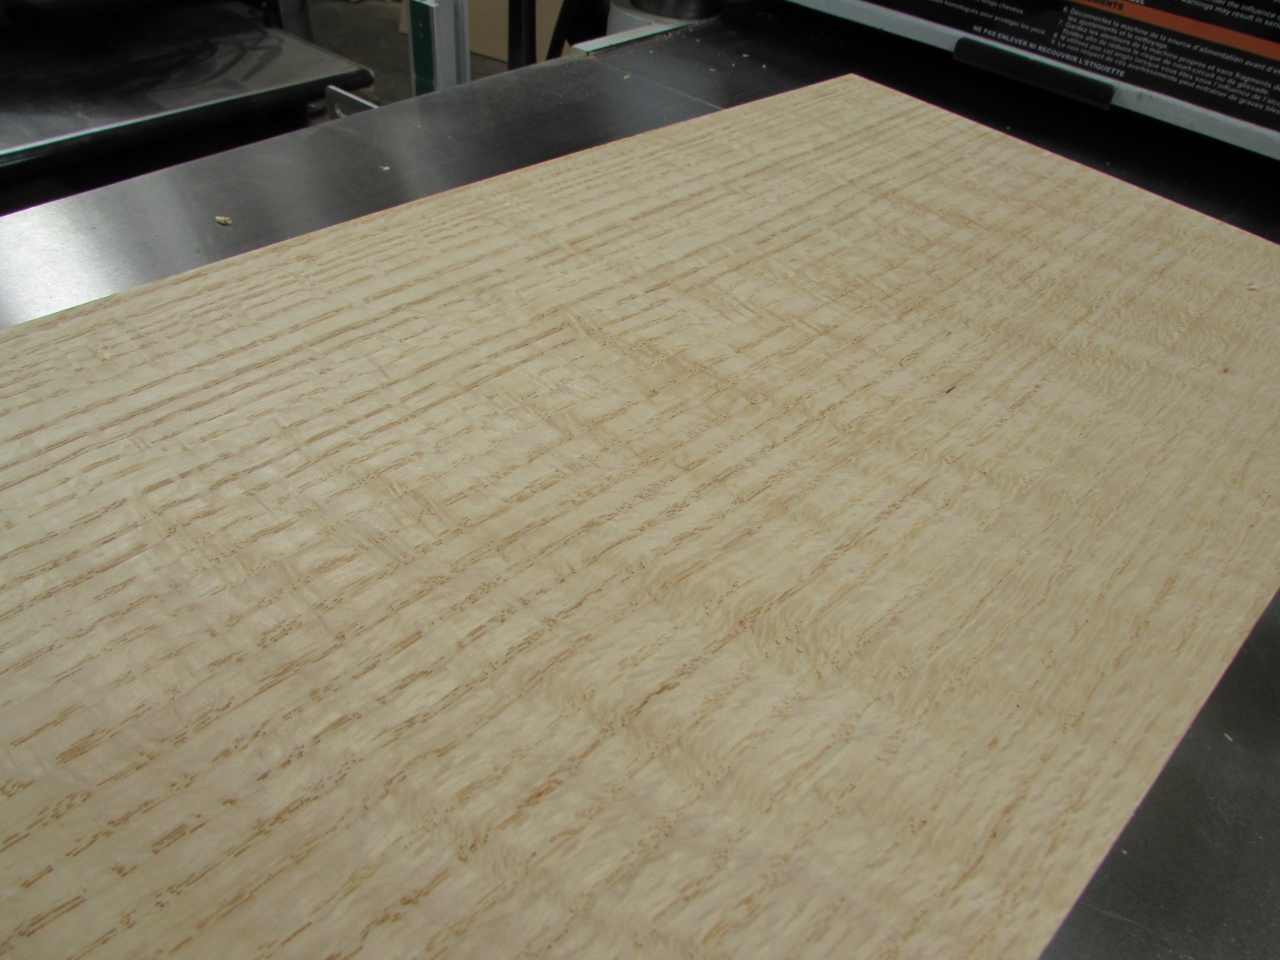
The majority of the wood for this console came from the board above. It was quarter-sawn with some beautiful grain, but there was a lot of tear-out from the straight blade planer that had cleaned it up last.
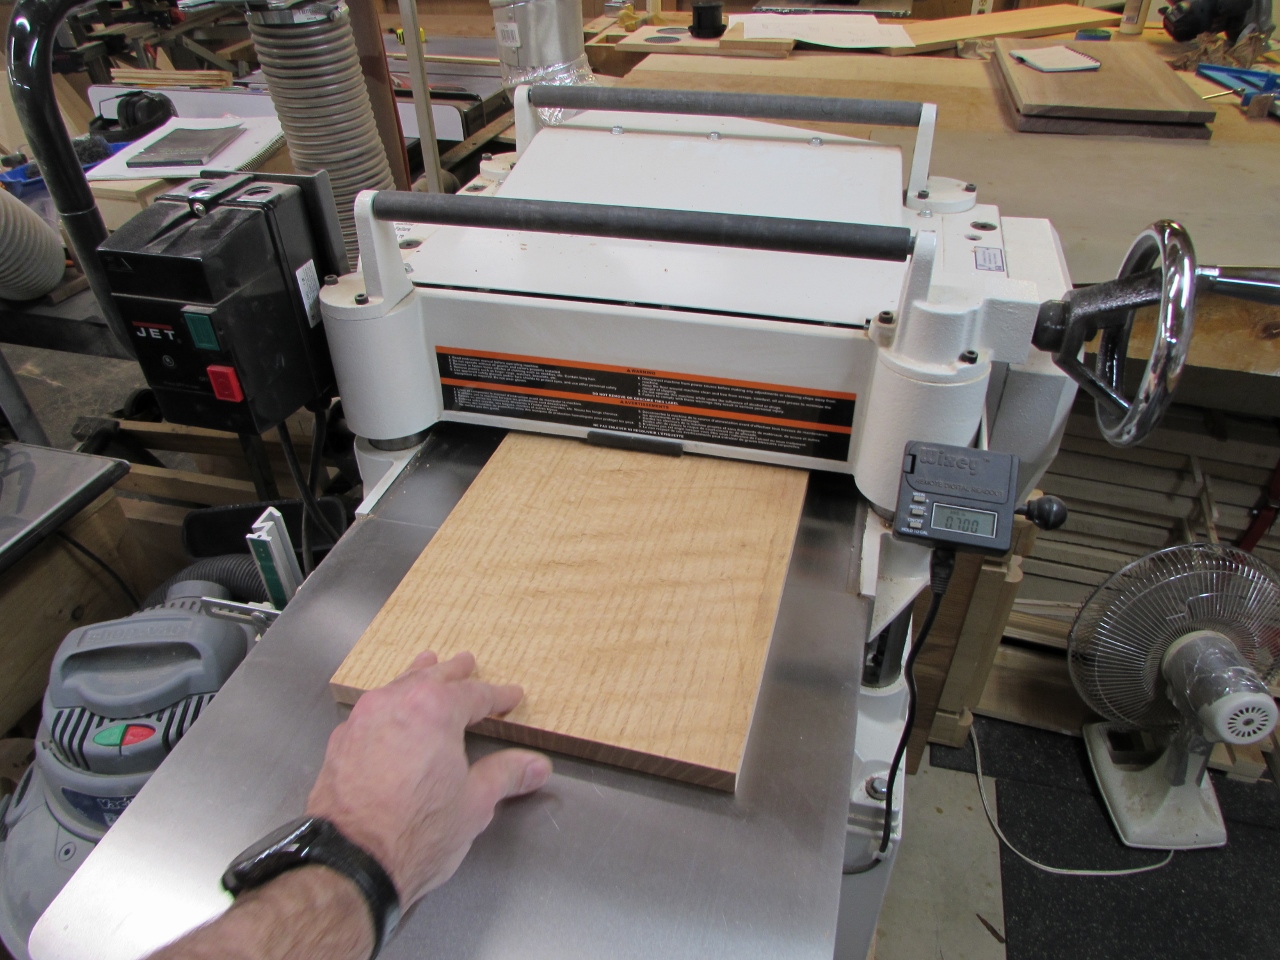
I ran it through my helical head planer and got a much better result.

The digital readout I added to the planer allows me to be very precise sizing the thickness of my boards.
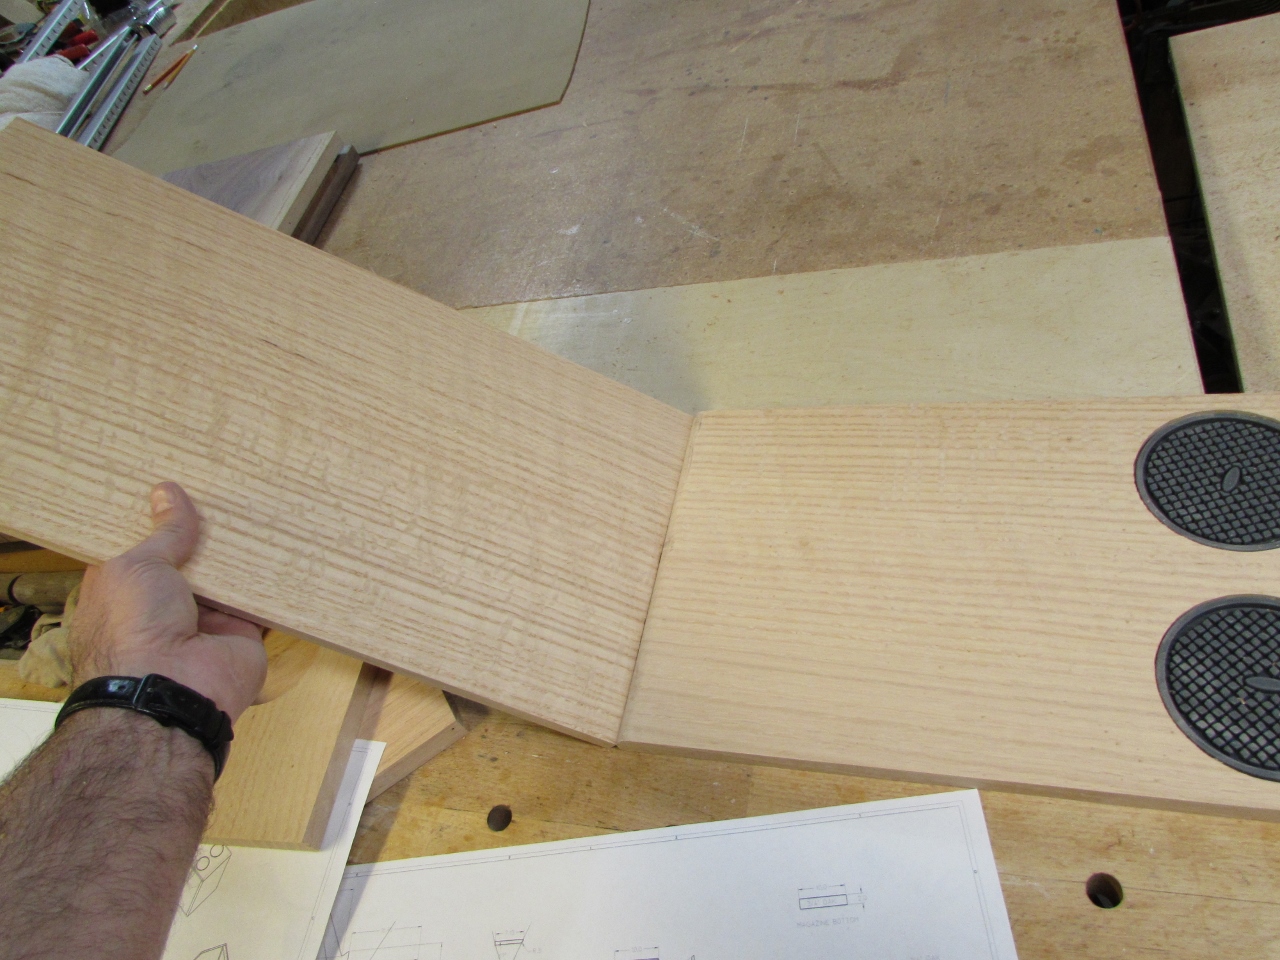
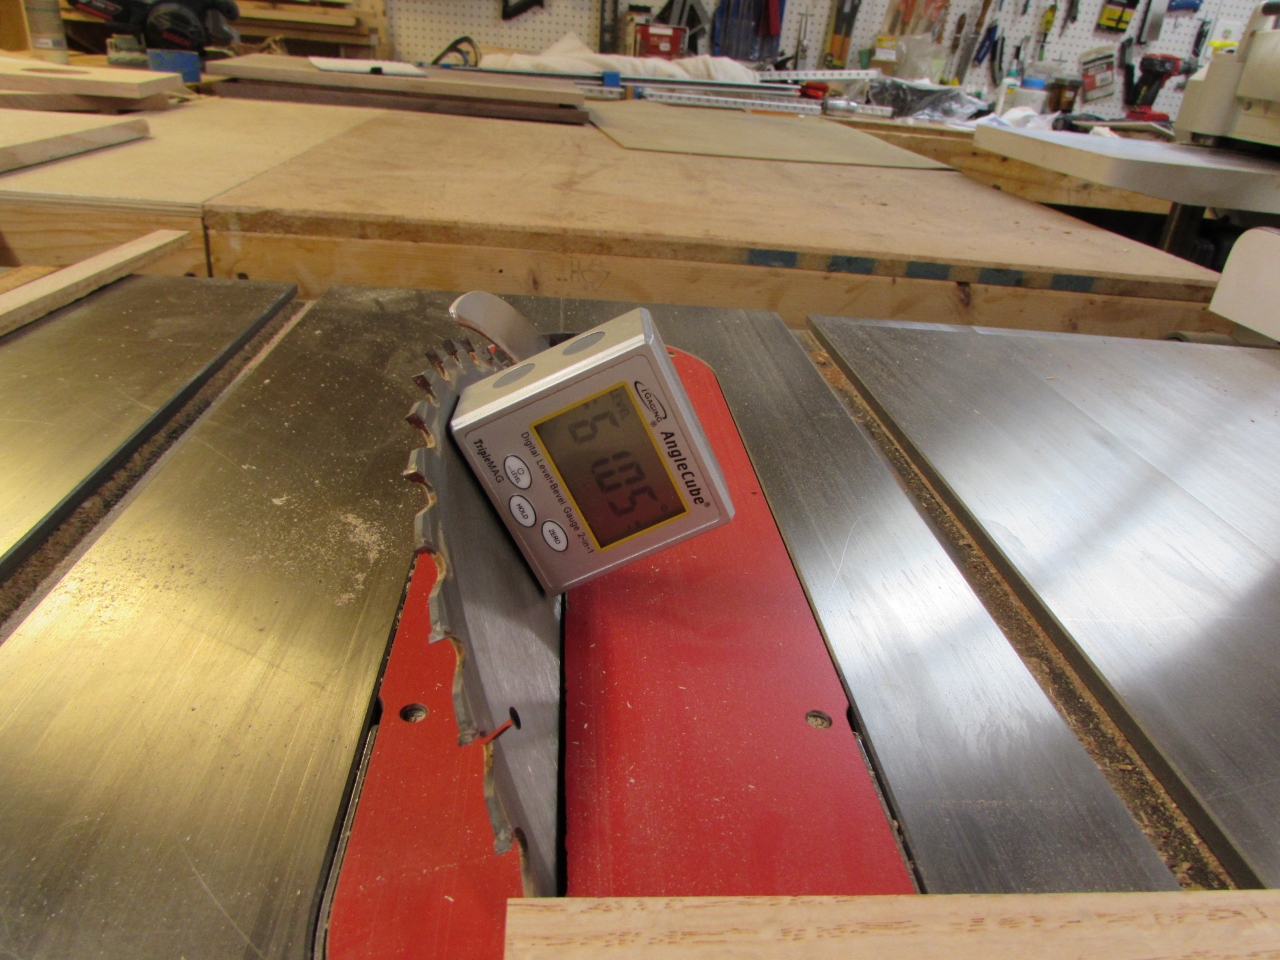
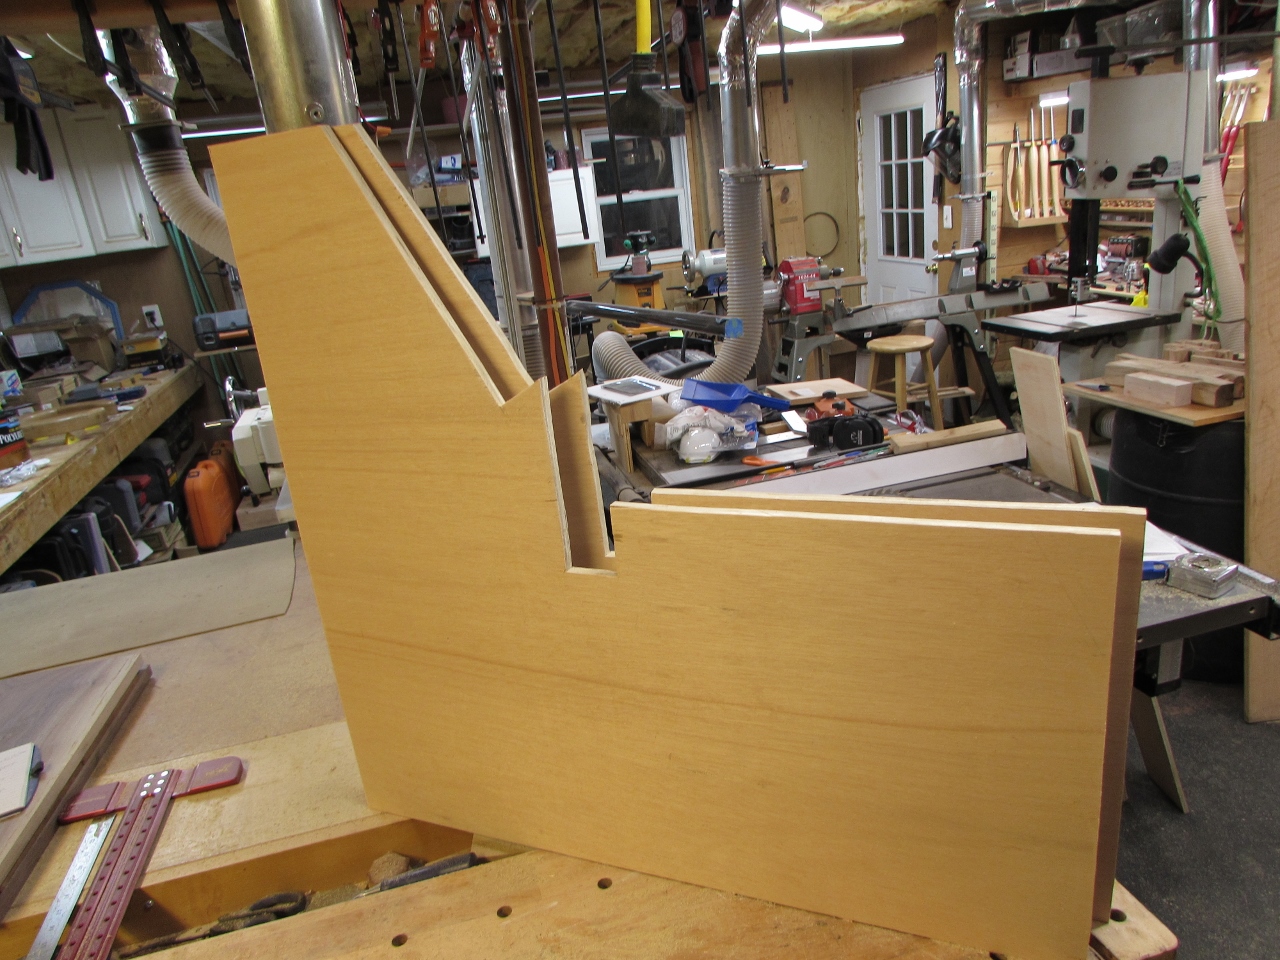
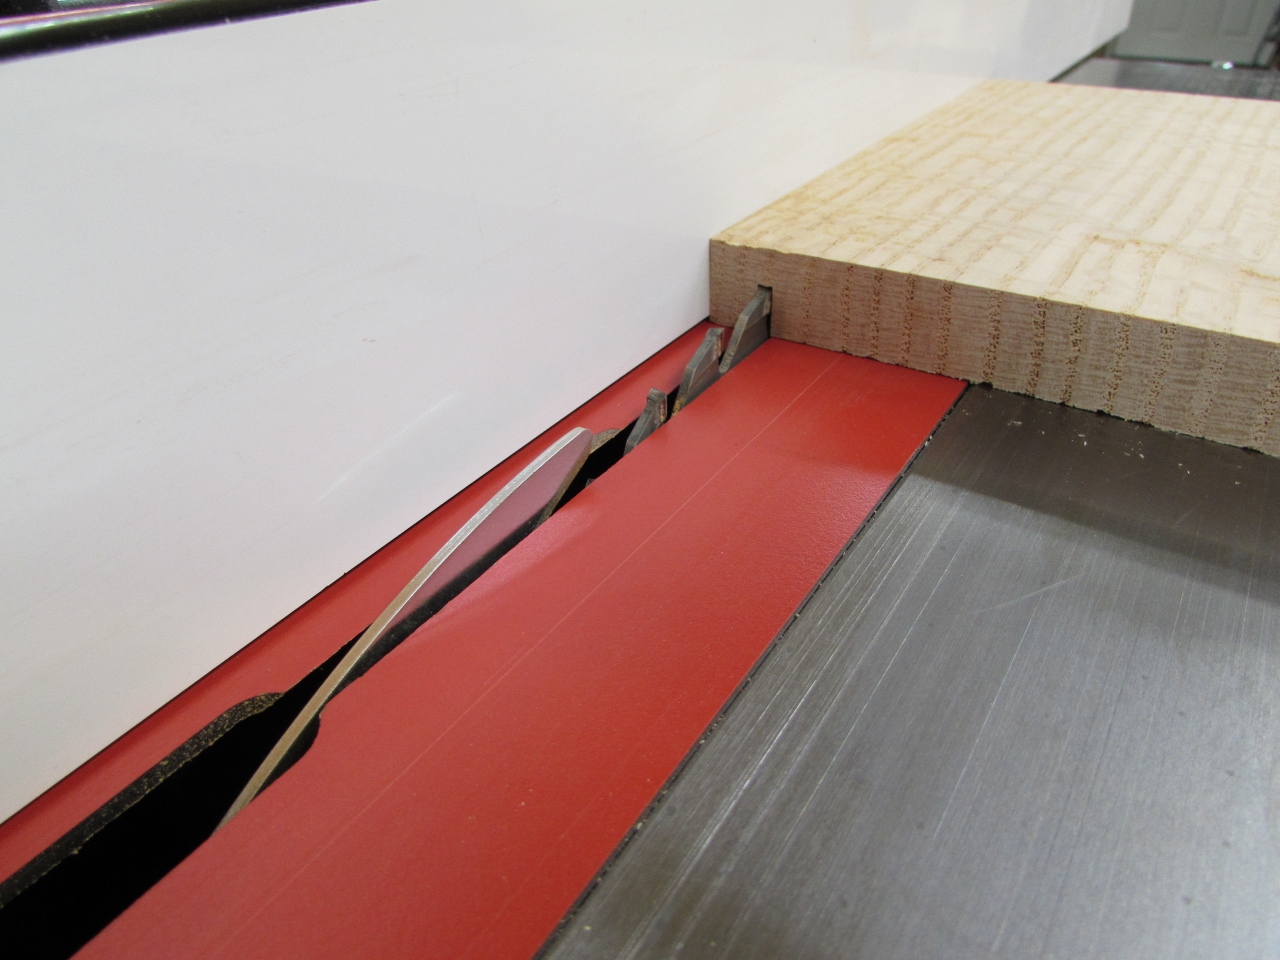
I used my digital angle finder to set my table saw blade angle to 61 degrees. I had three boards that needed this angle cut.
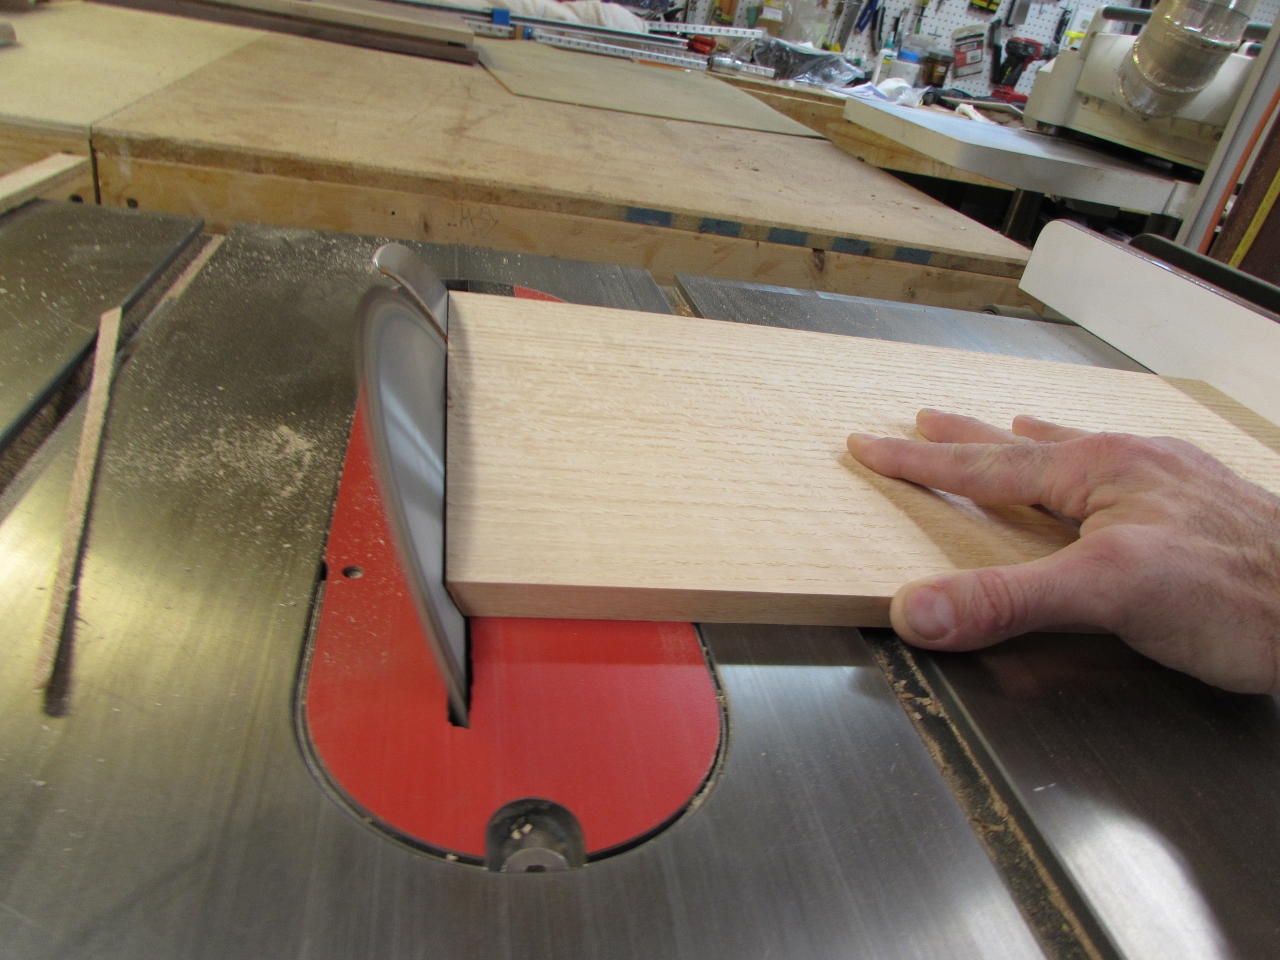

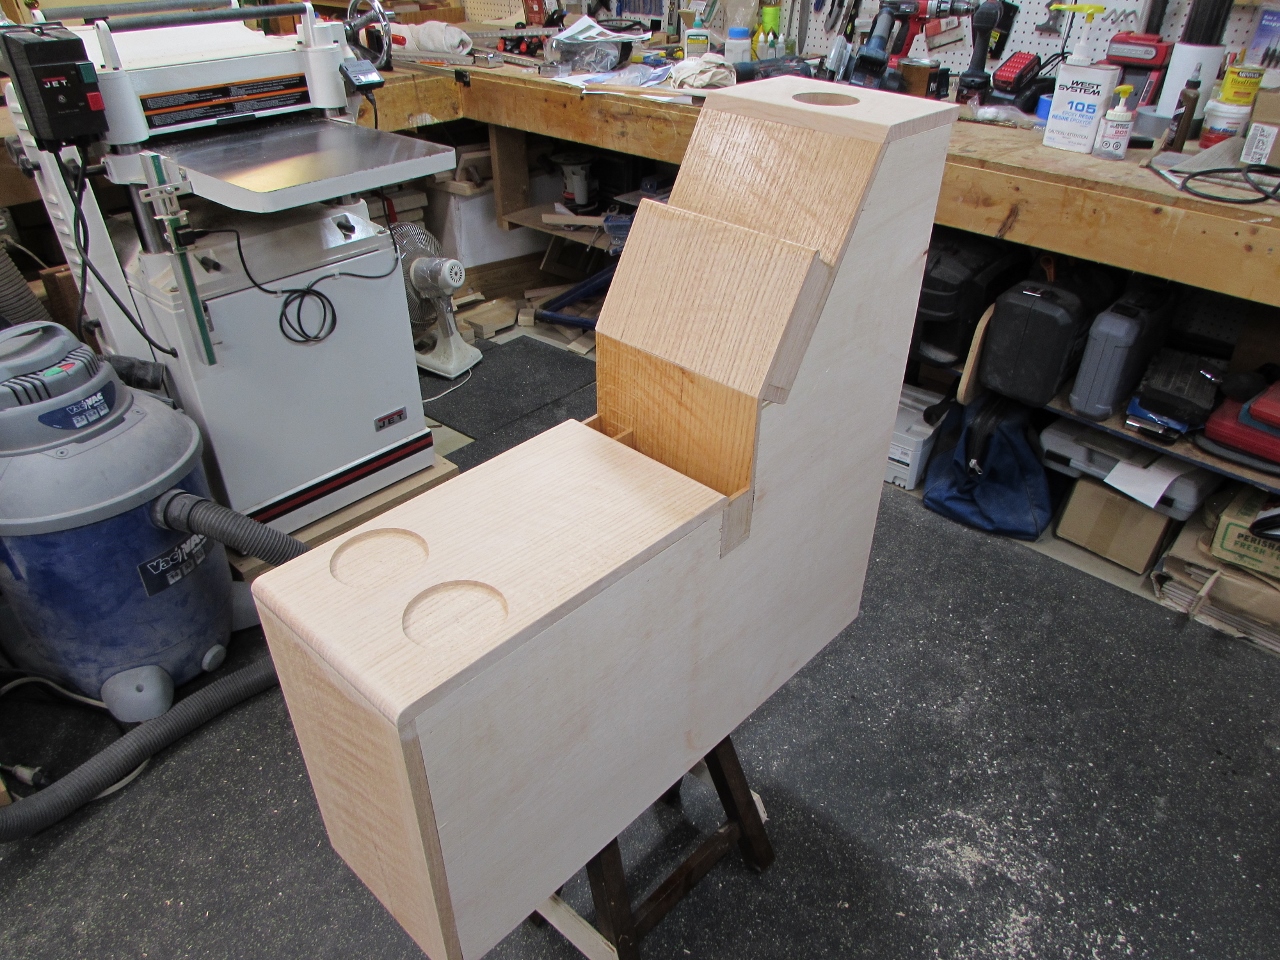
I used my 1/4″ round-over bit to radius both sides of the top of the magazine rack.

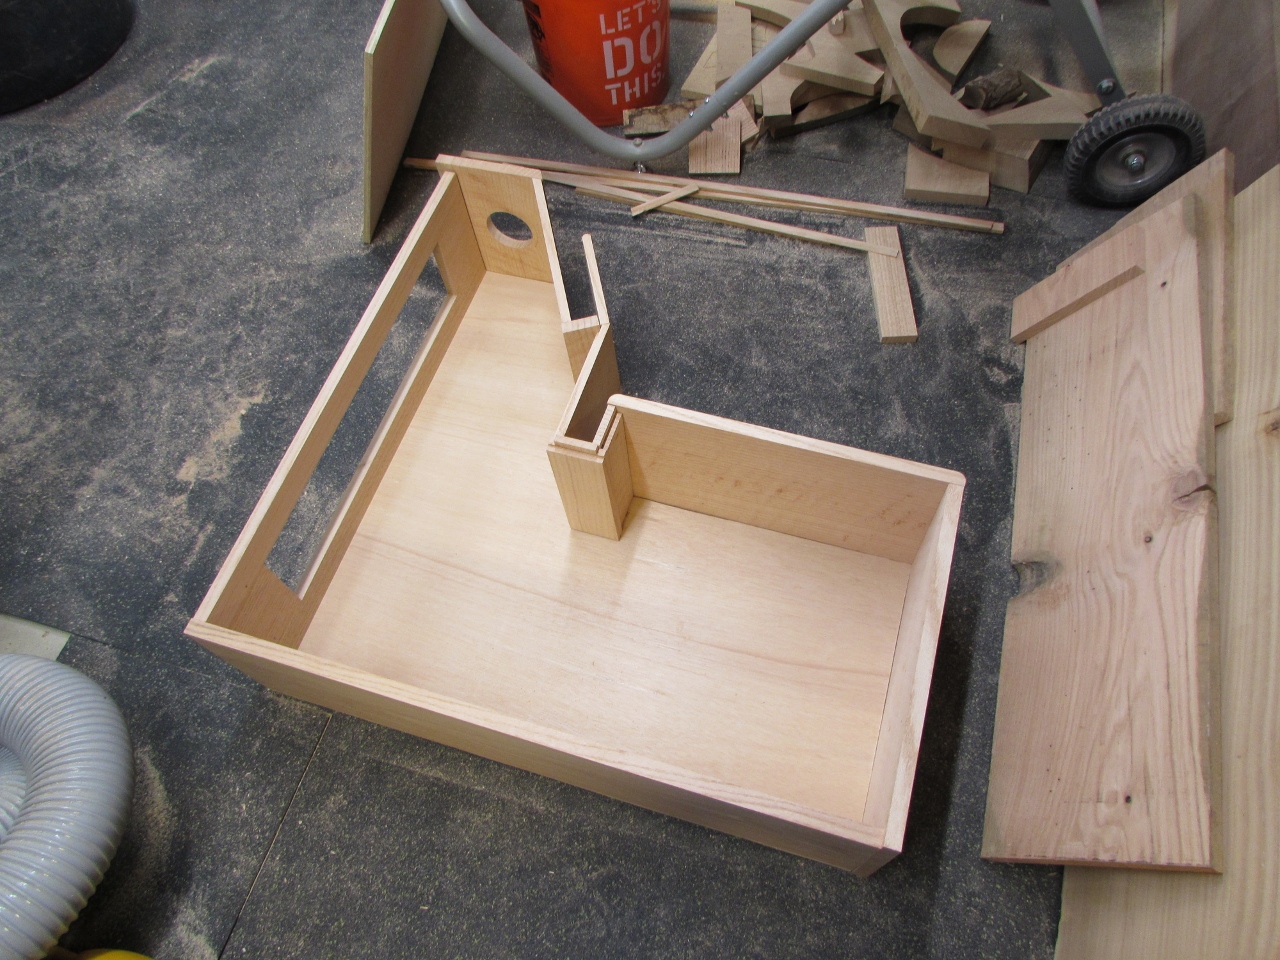
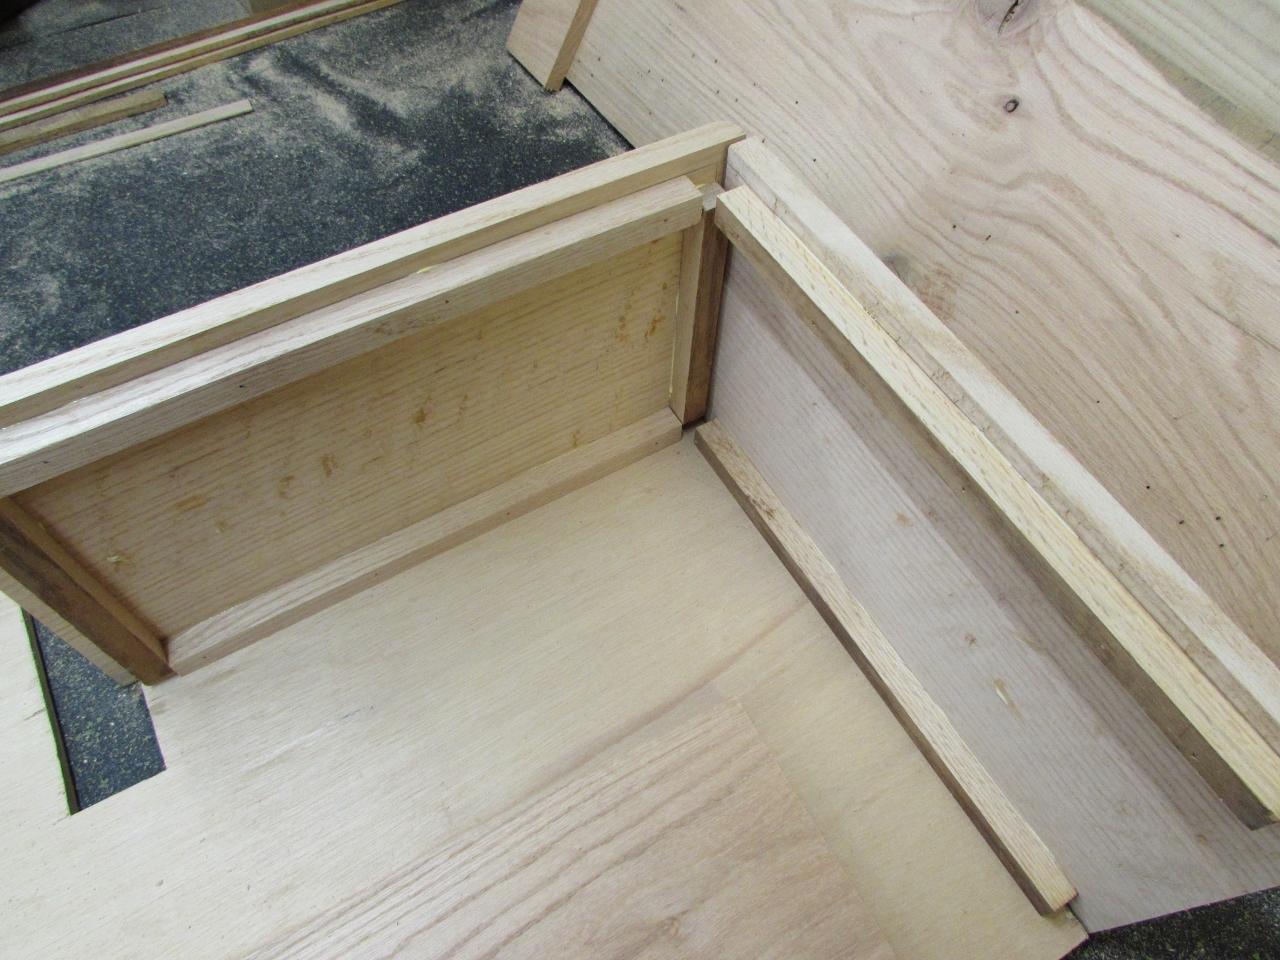
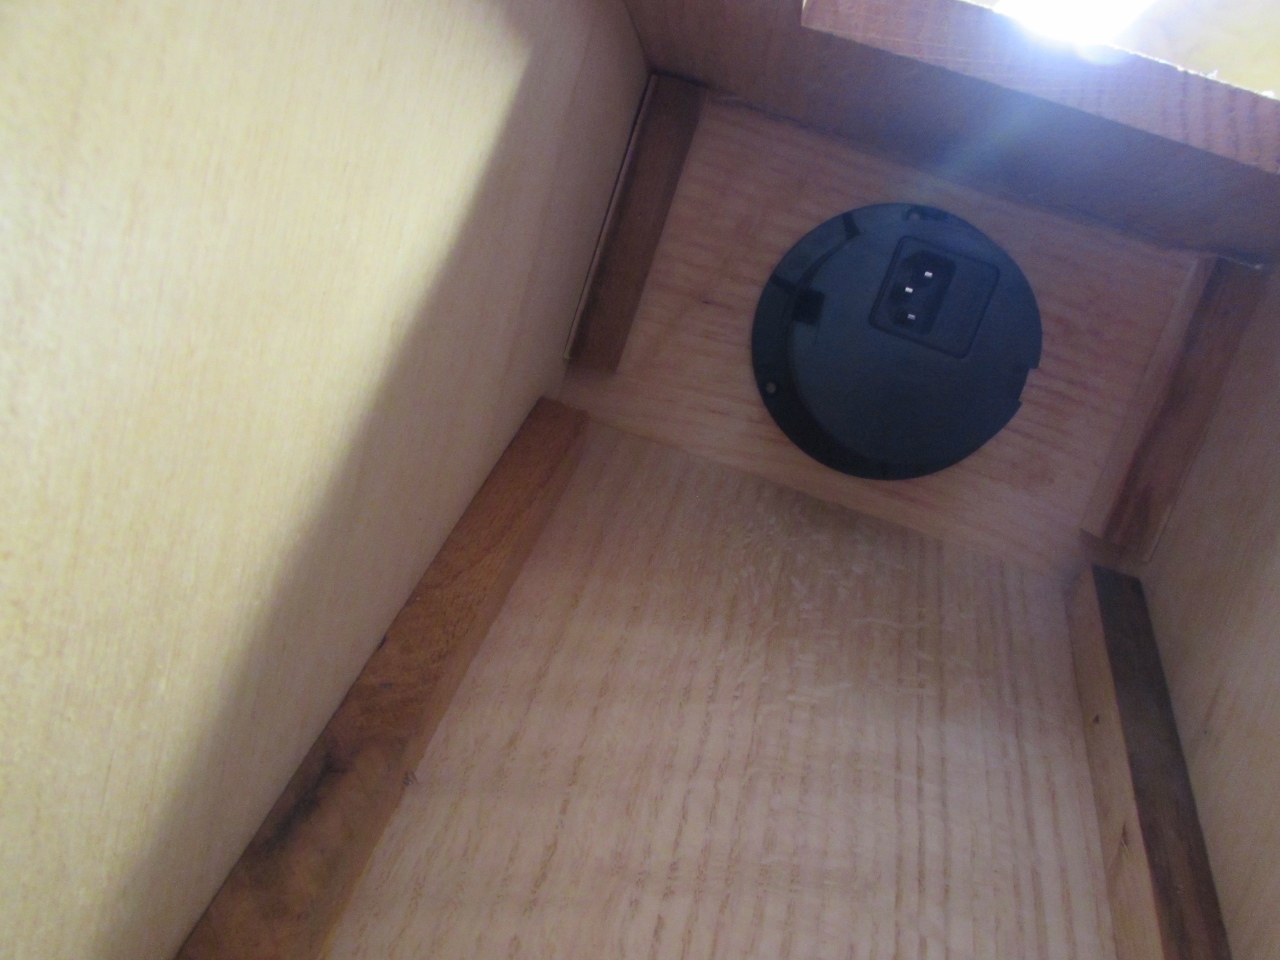
The rear of the console needs a large hole in it to install the surface mounted outlet, and to allow the power cord thru, so I just joined some scraps to create the back panel, then cut it down to size later.
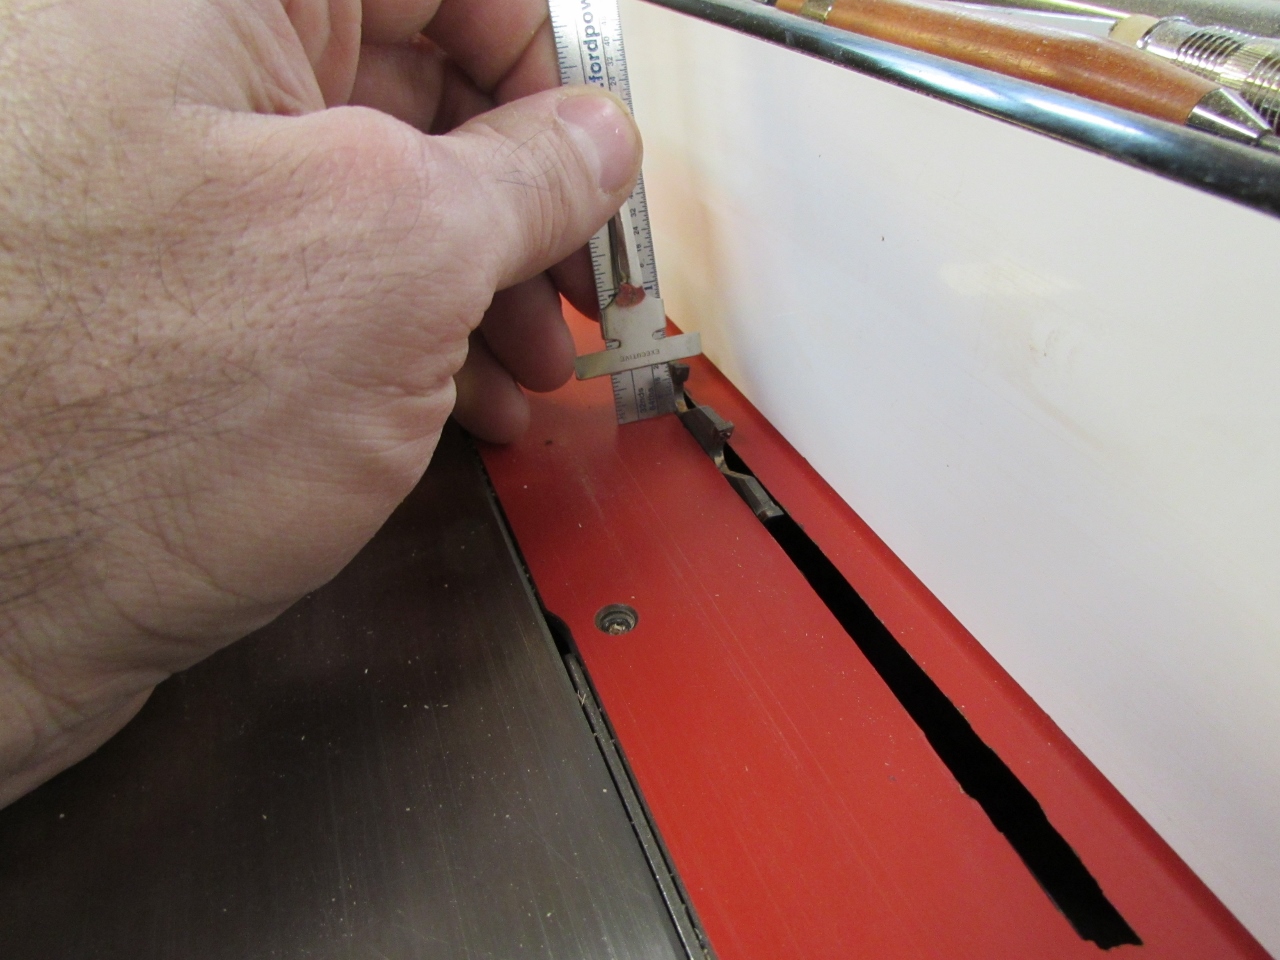
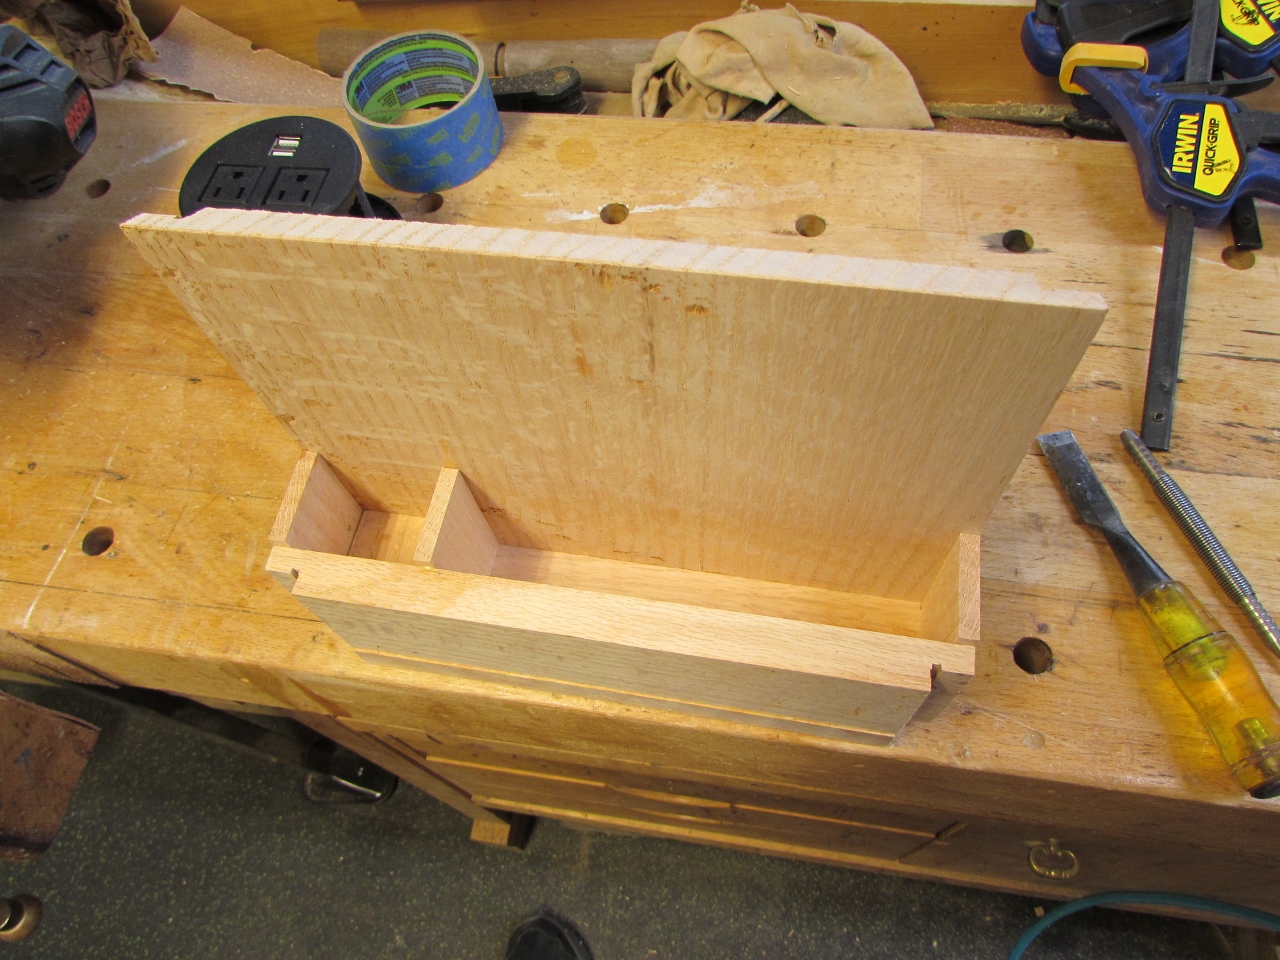
A few of the pieces, for the remote storage, needed rabbets cut into them so I set my table saw to the right depth and cut them out.

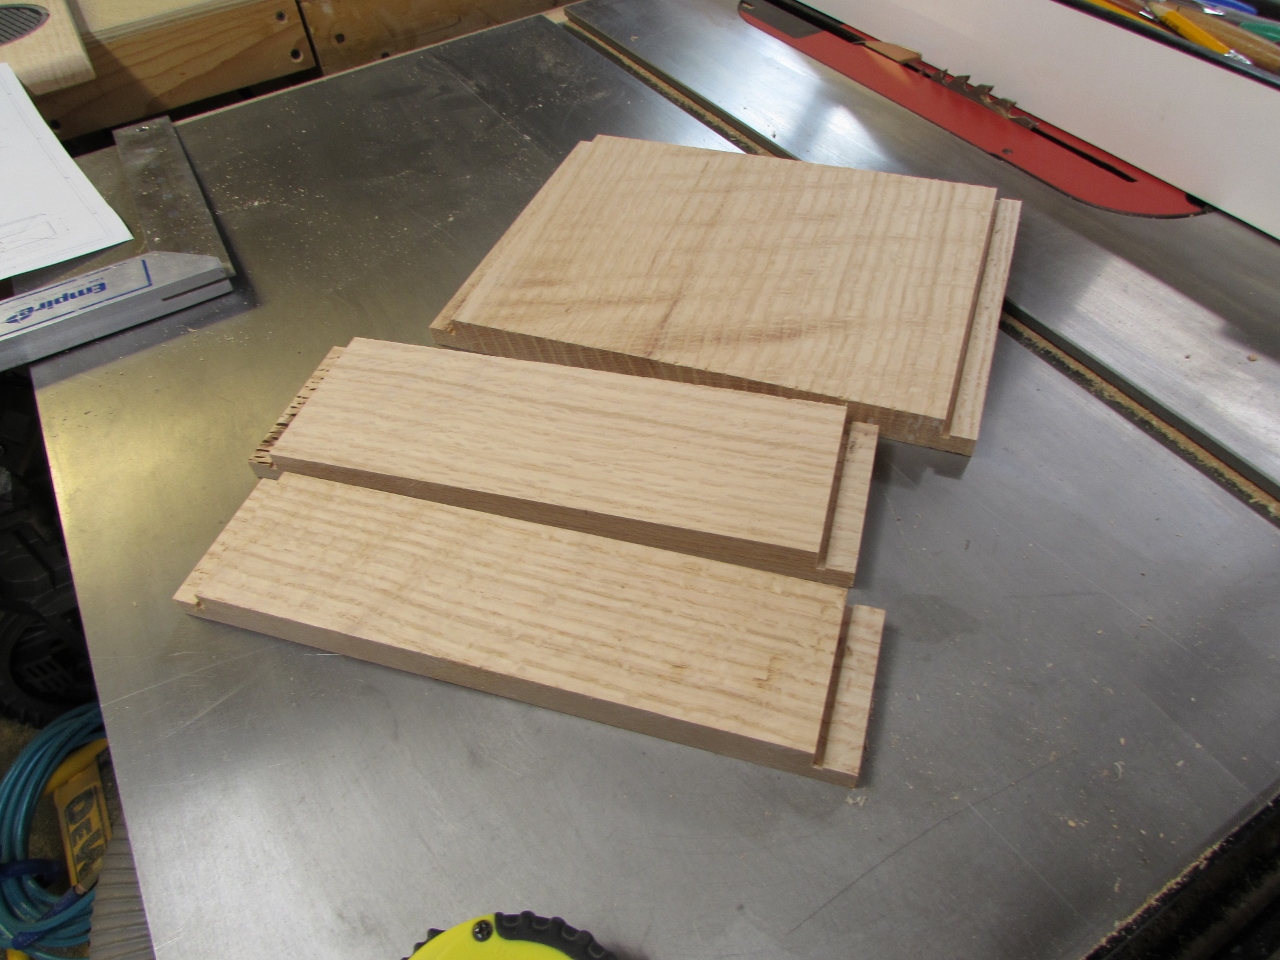

I also needed some 1/4″ thick pieces so I re-sawed down some scraps and ran them through the drum sander to clean them up.

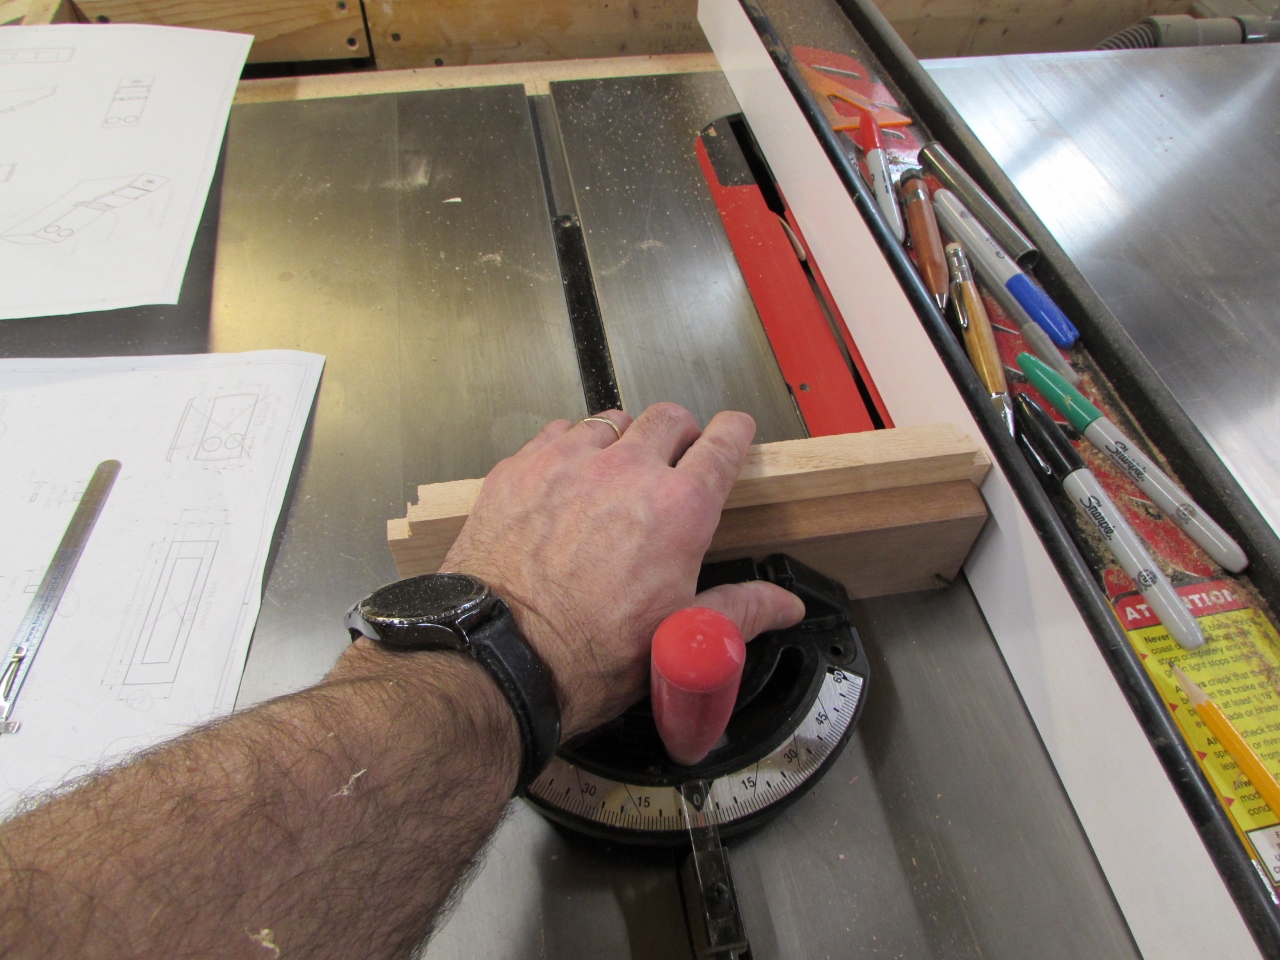
I used a sacrificial fence to cut the smaller pieces so they did not get sucked through the miter saw fence.

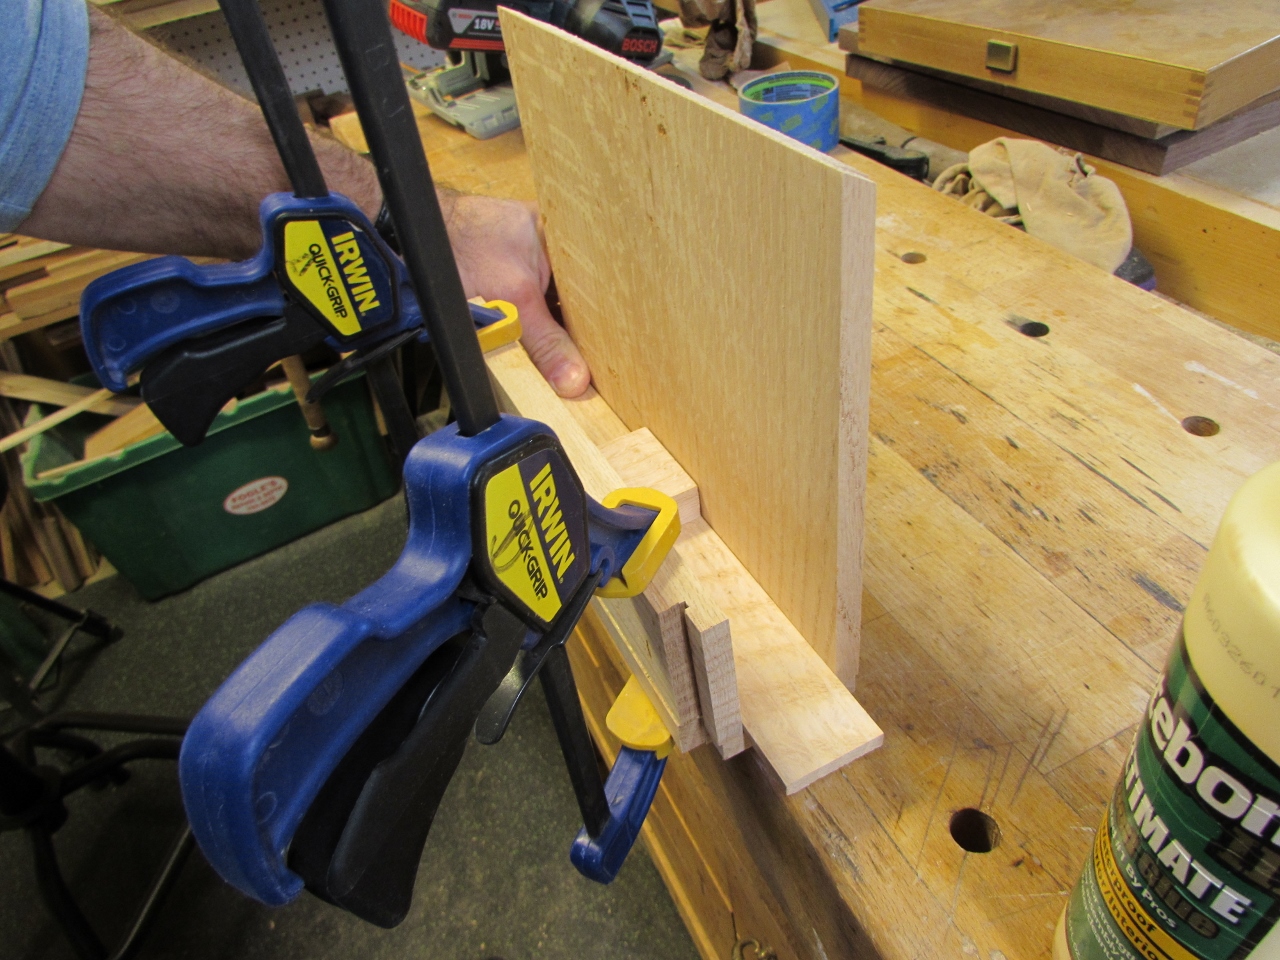
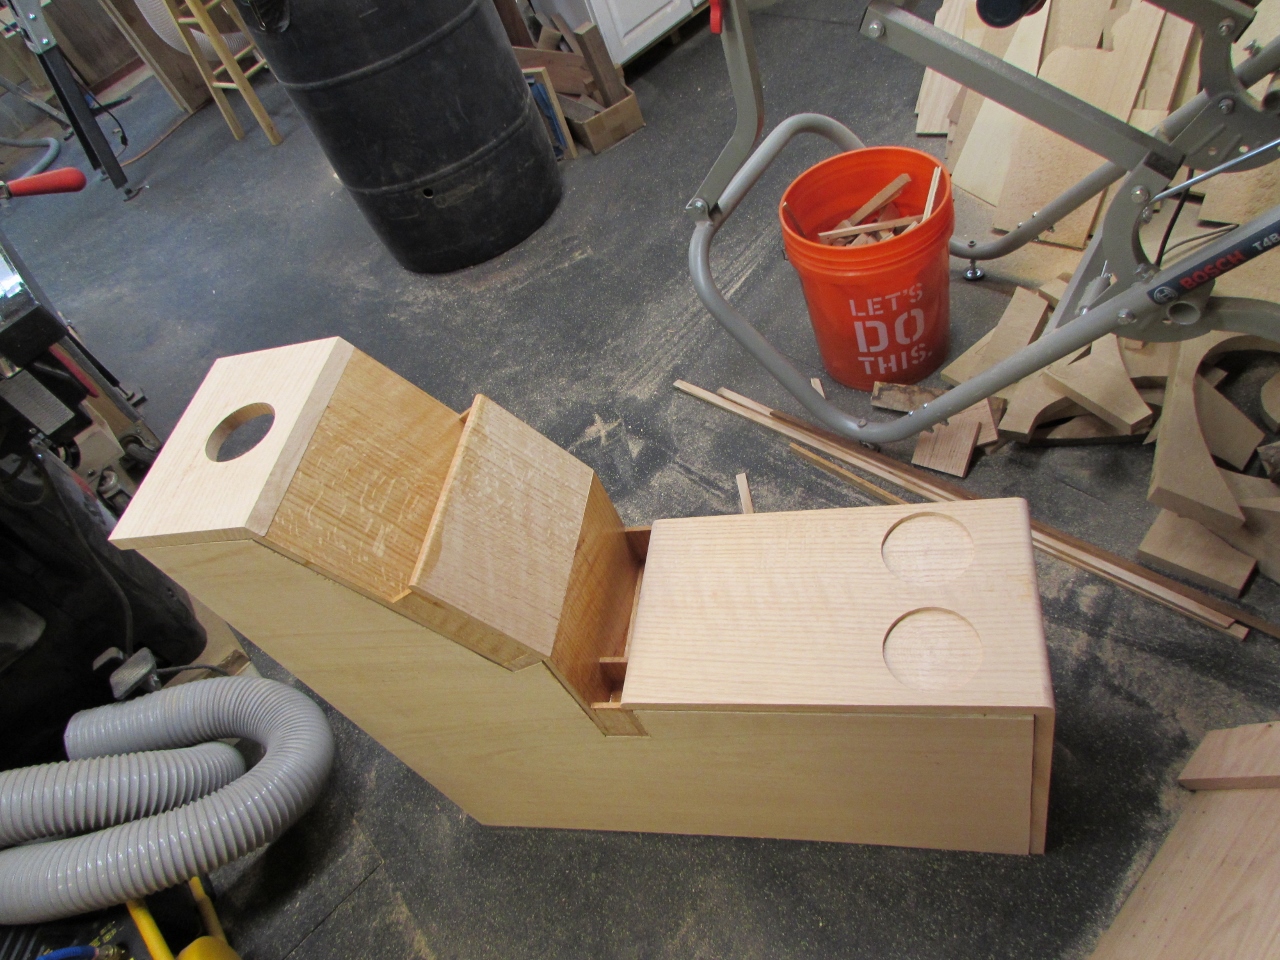
A few more tweaks to my rabbets and I could do a dry-fit.

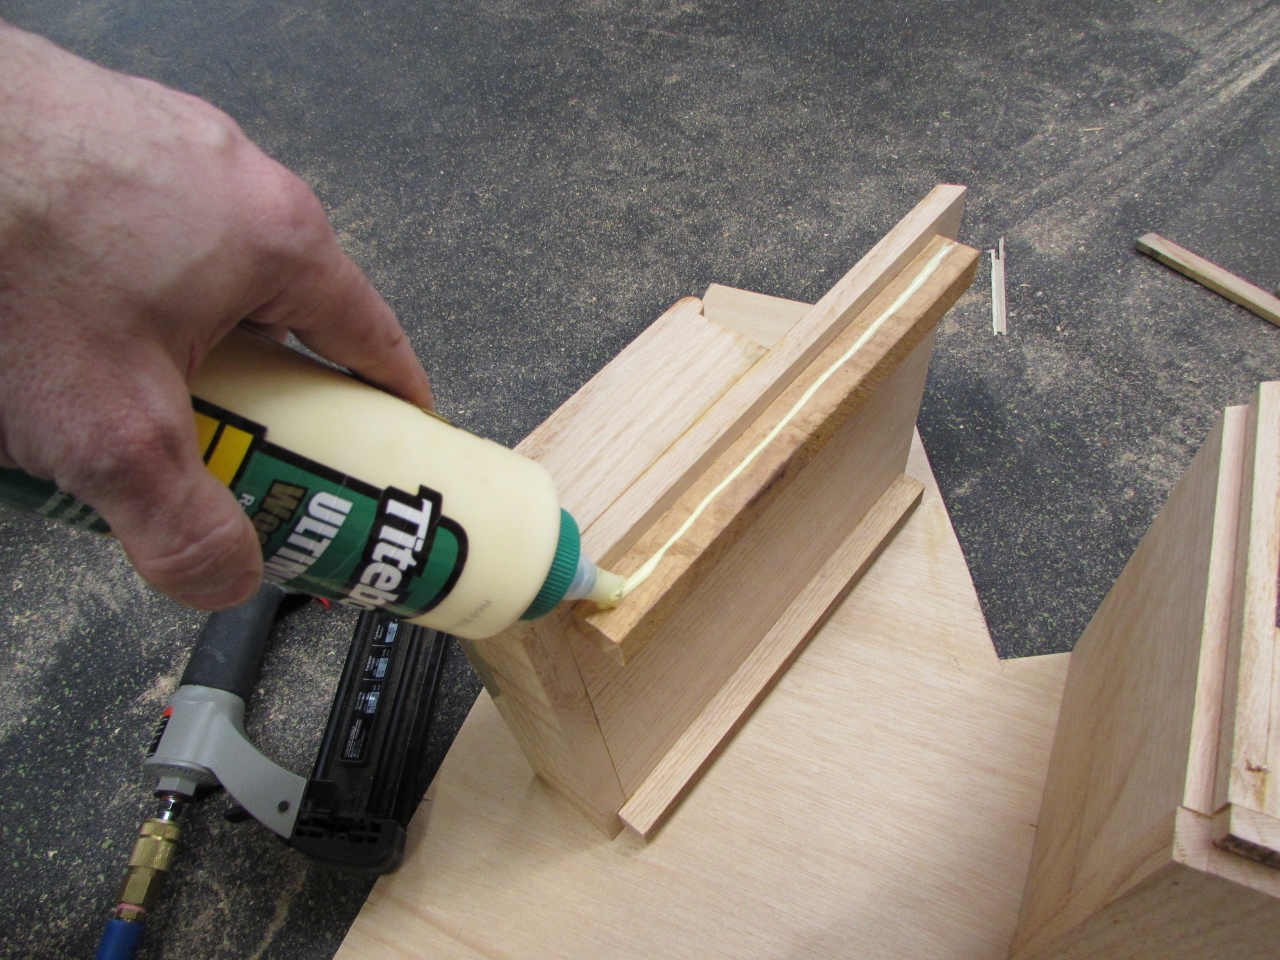
The glue-up for this could get complicated so I decided to do it a little at a time to simplify things.
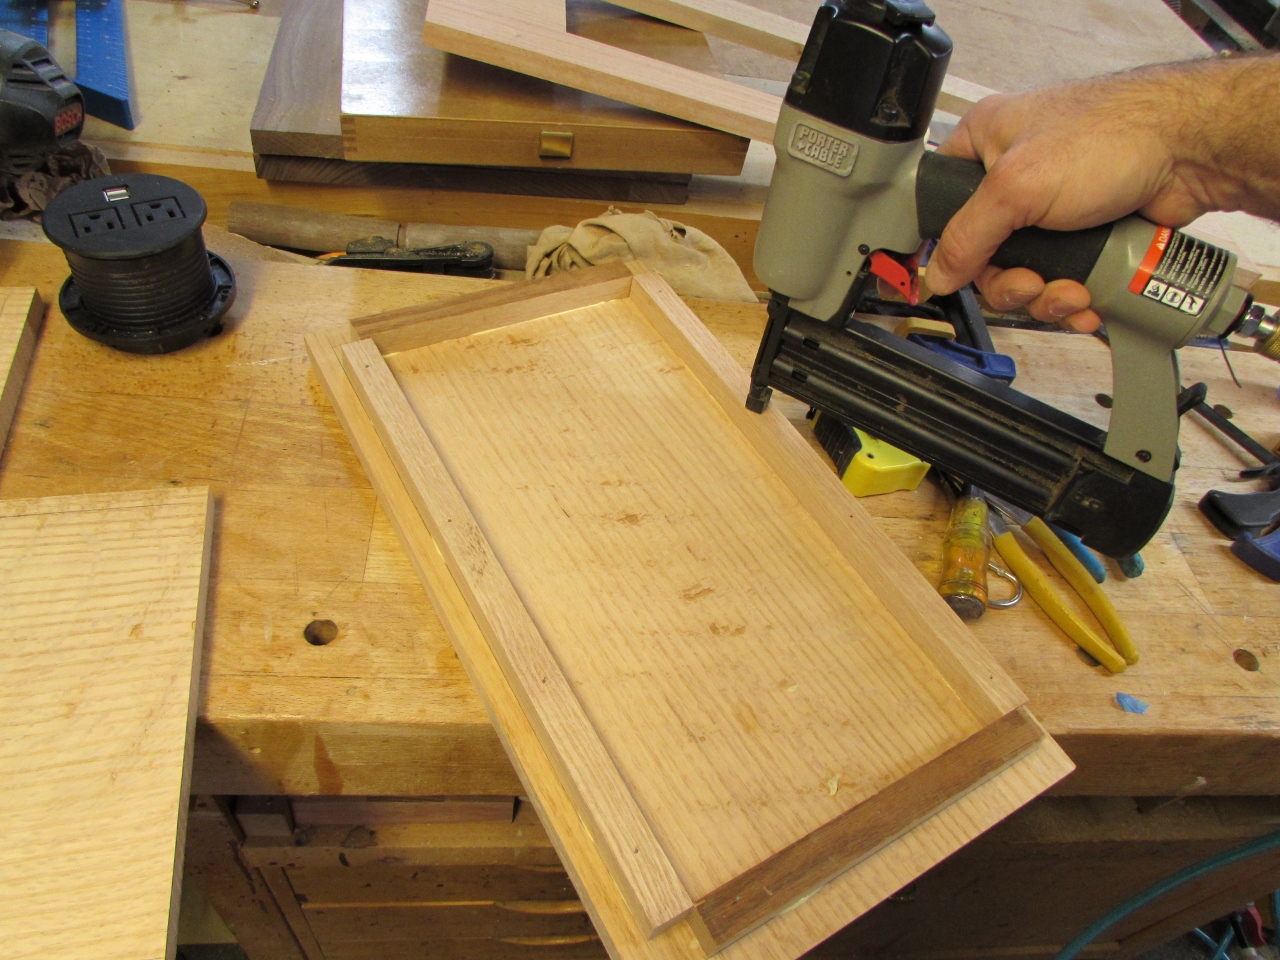
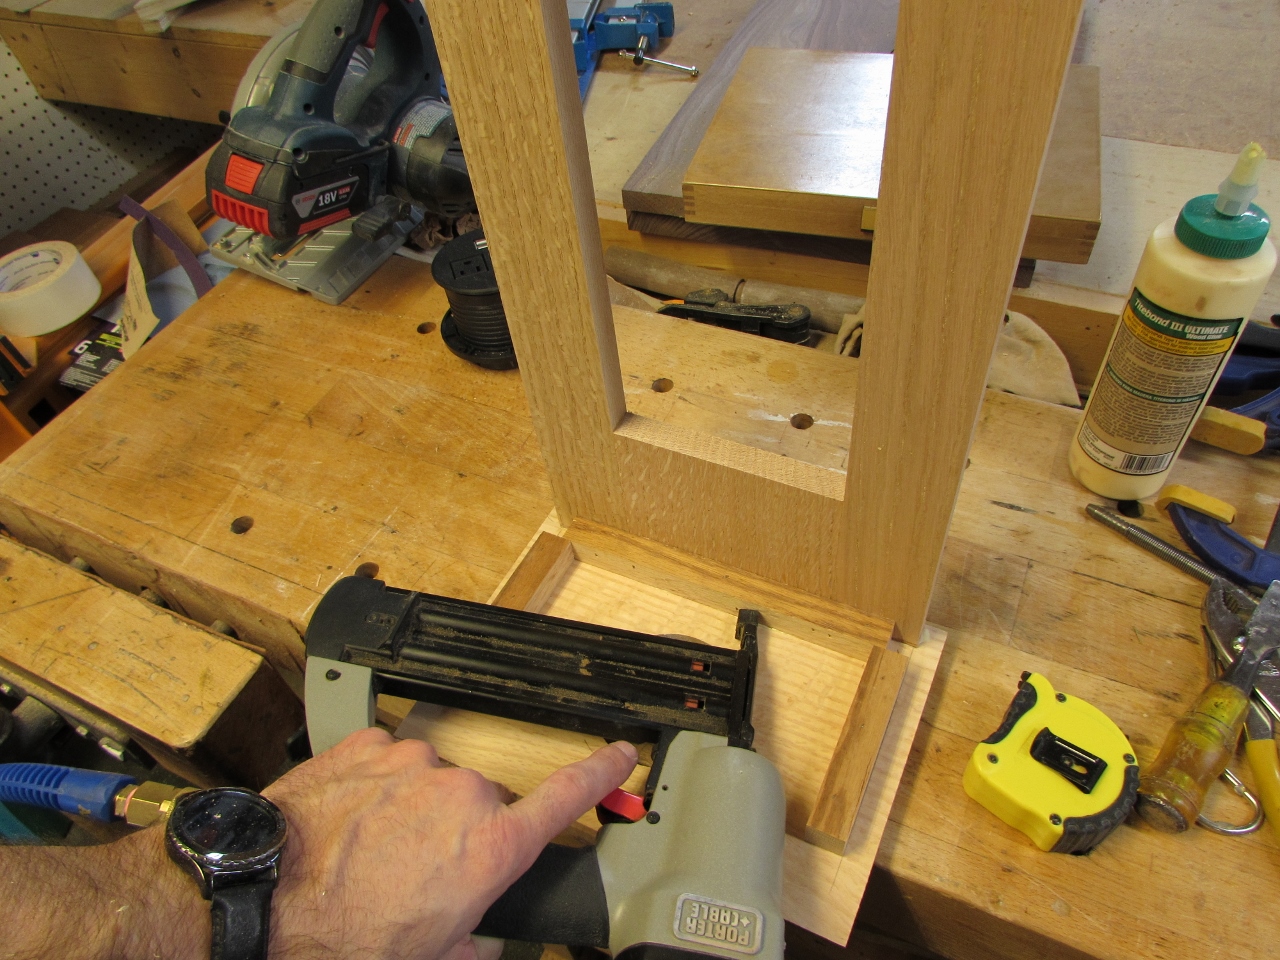
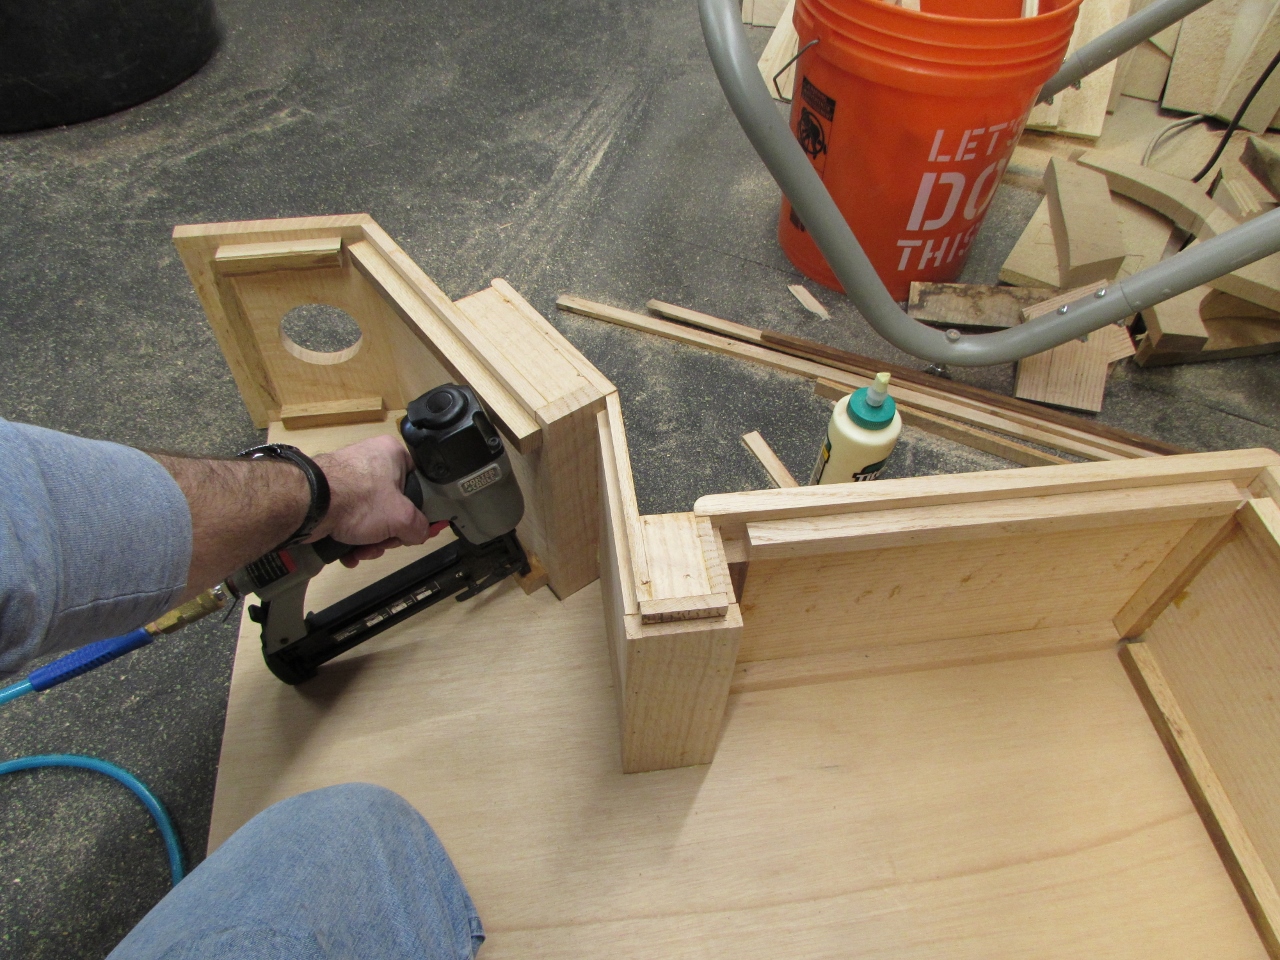
I used spacers to set the front and back of the remote storage pocket, then I glued the edges and used my brad nailer to hold everything together.
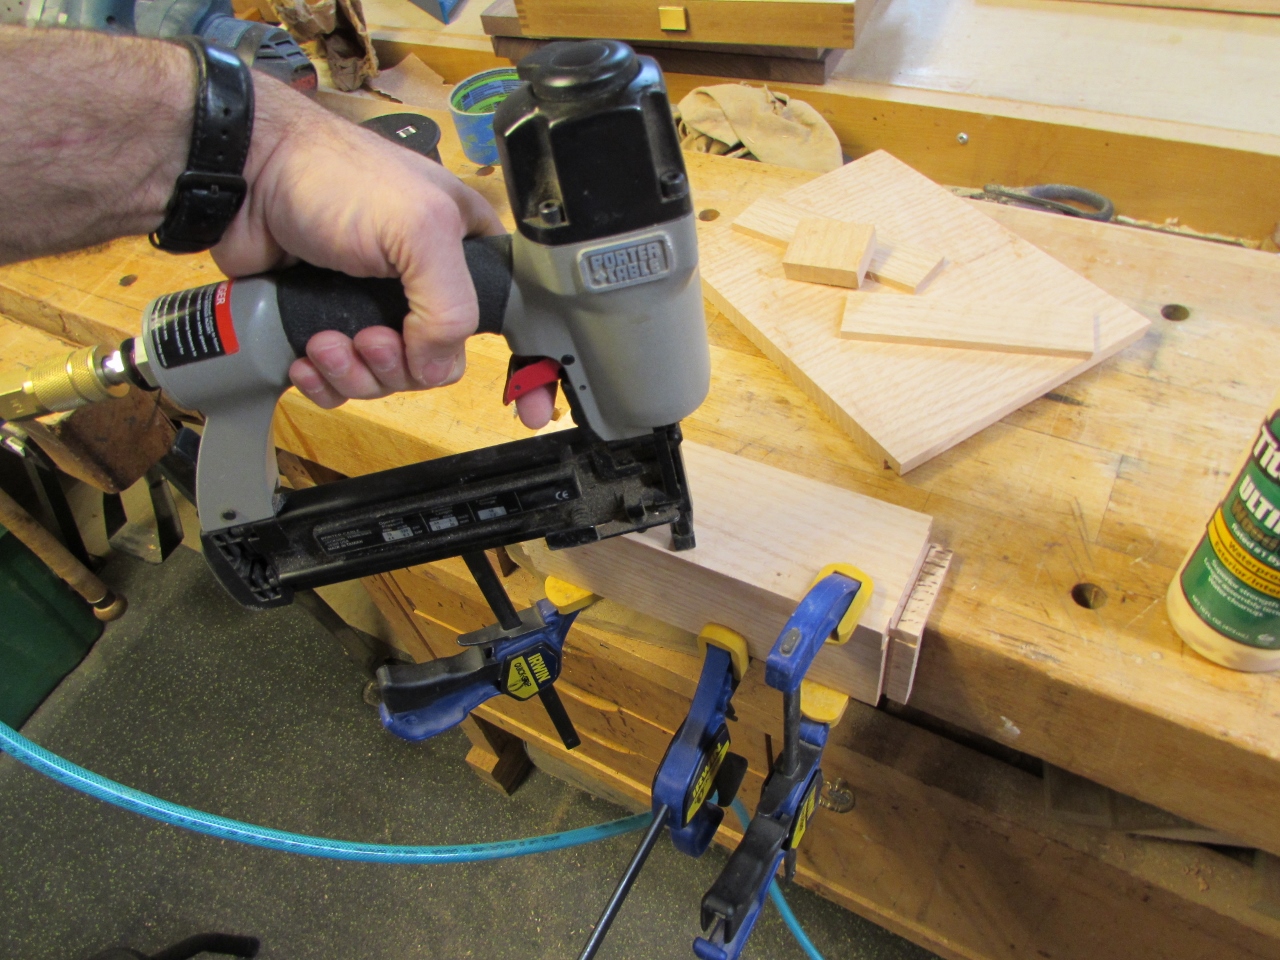
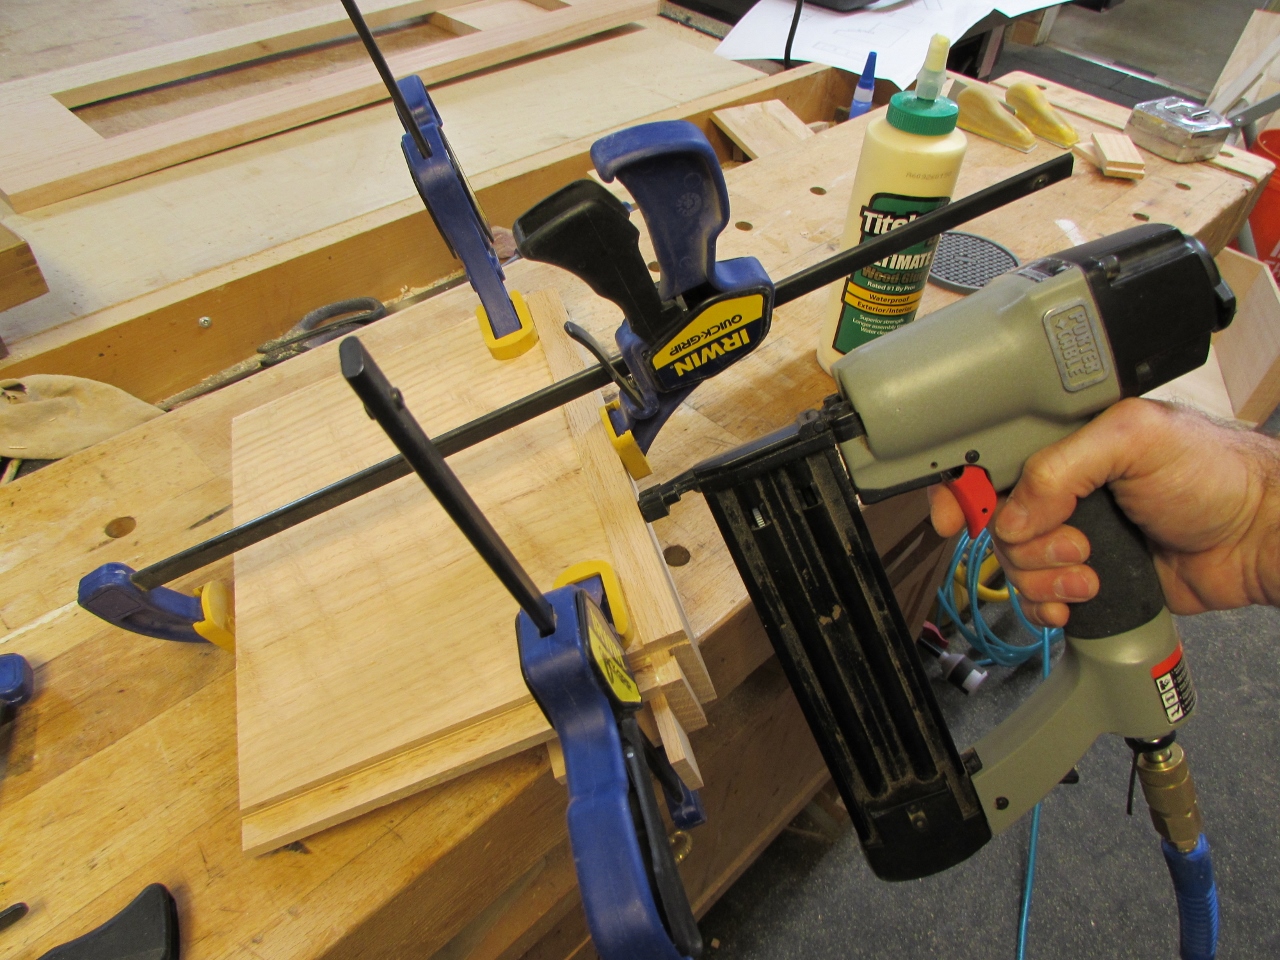
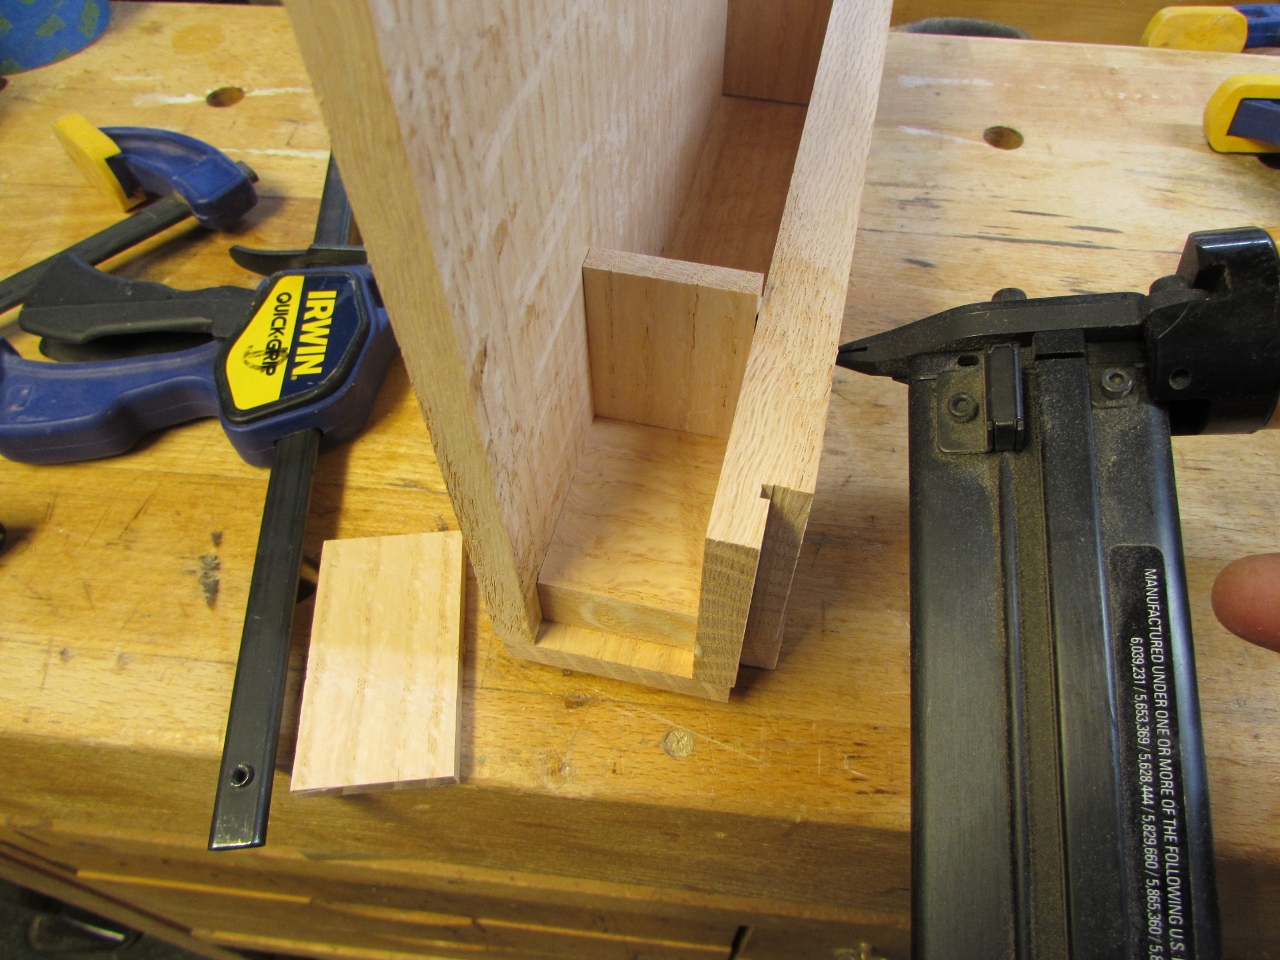
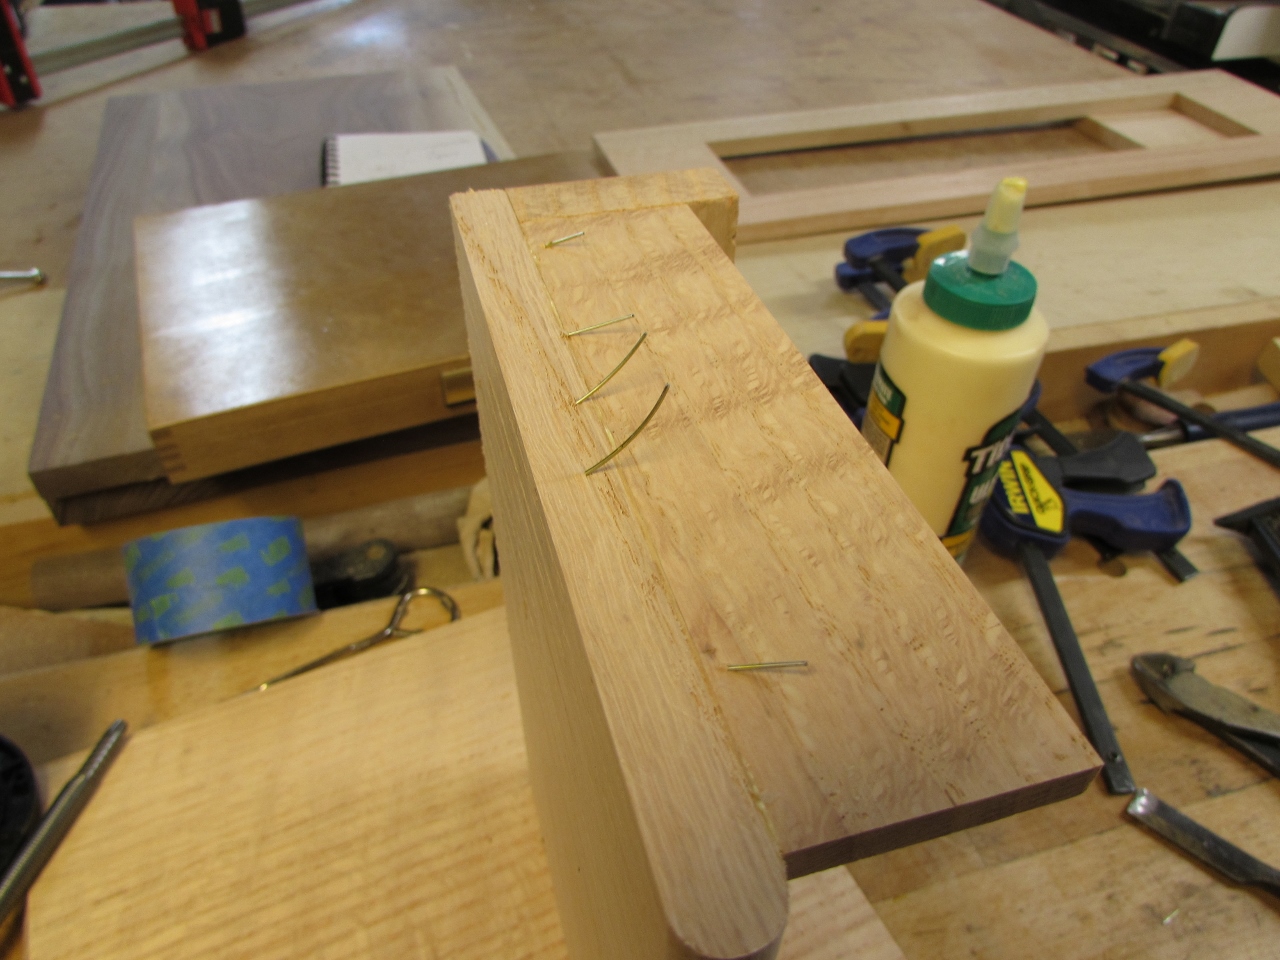
I used my 23 gauge pin nailer for the thinner dividers.

I tried using it on the front of the magazine pocket, but the grain kept guiding them out the side…

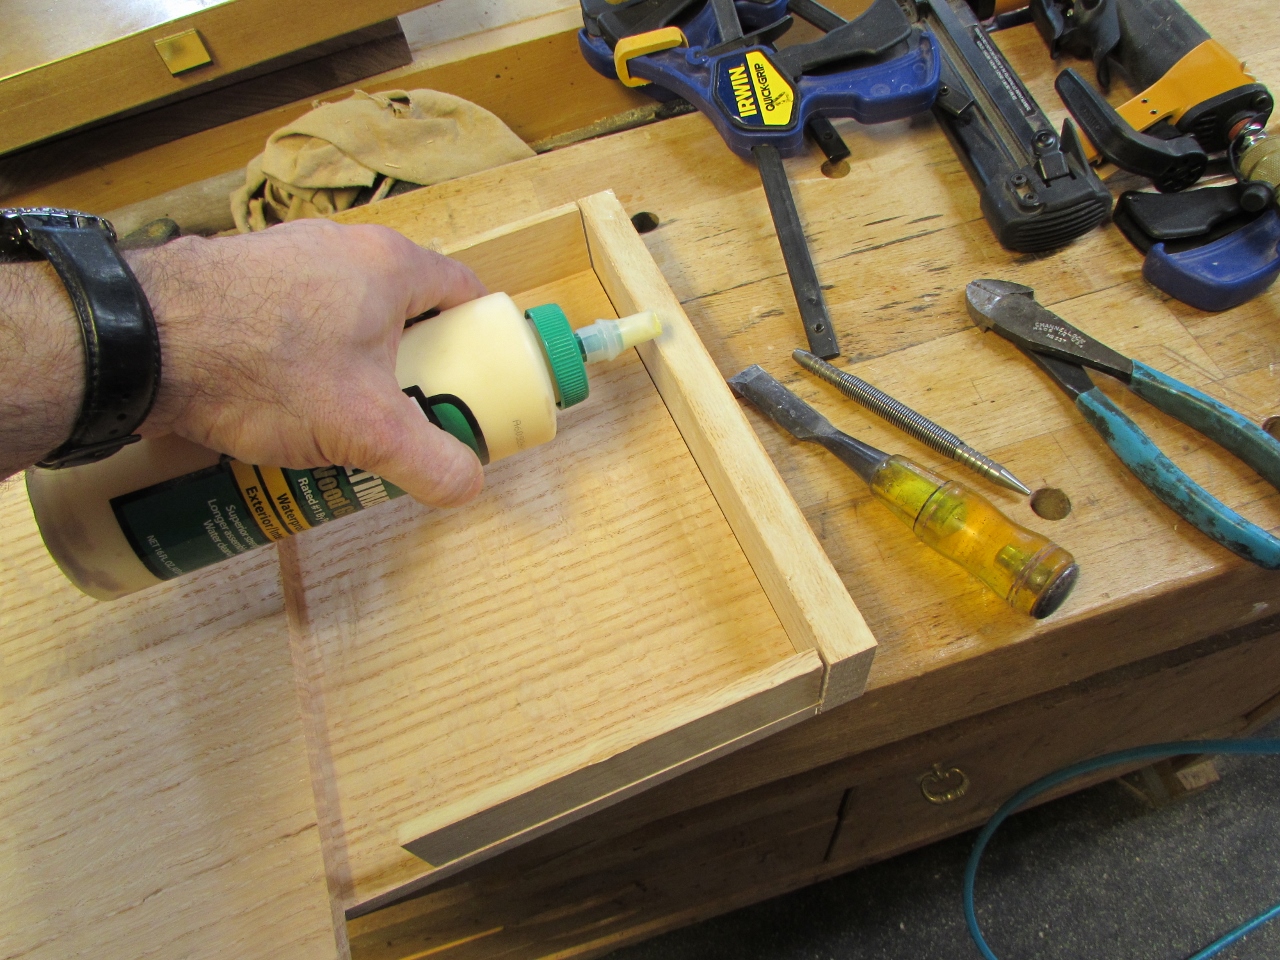
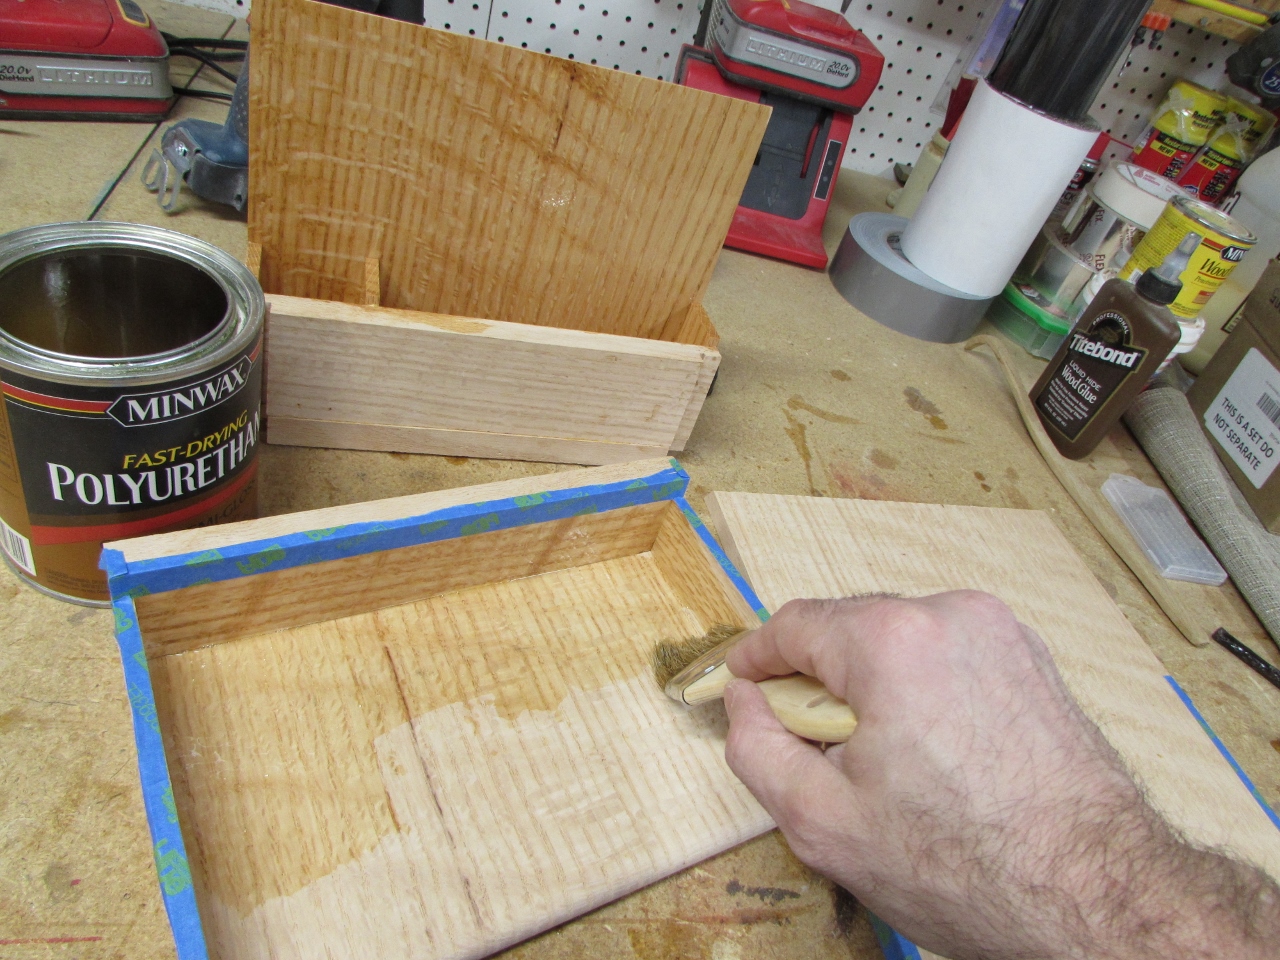
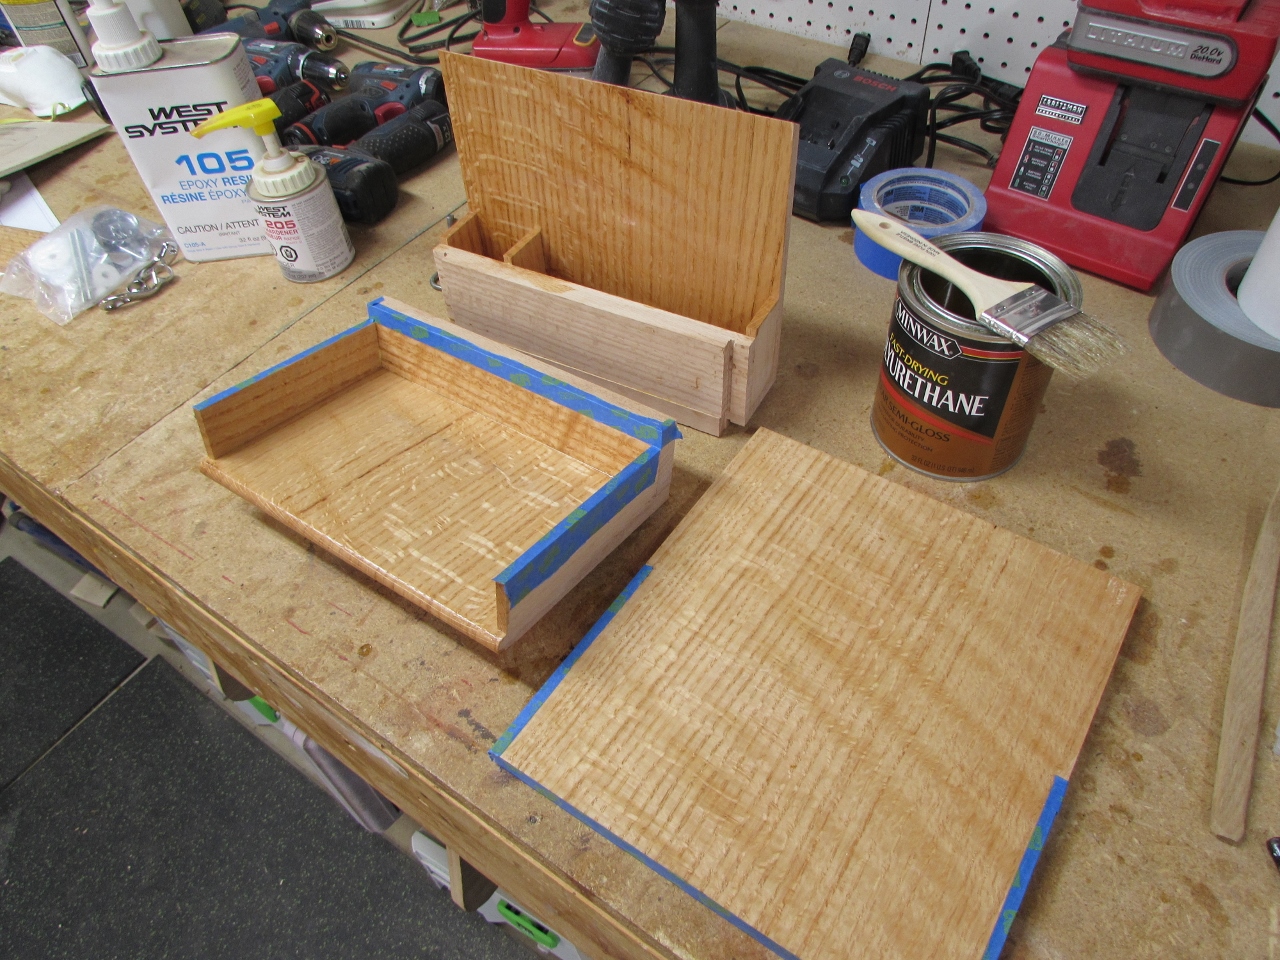
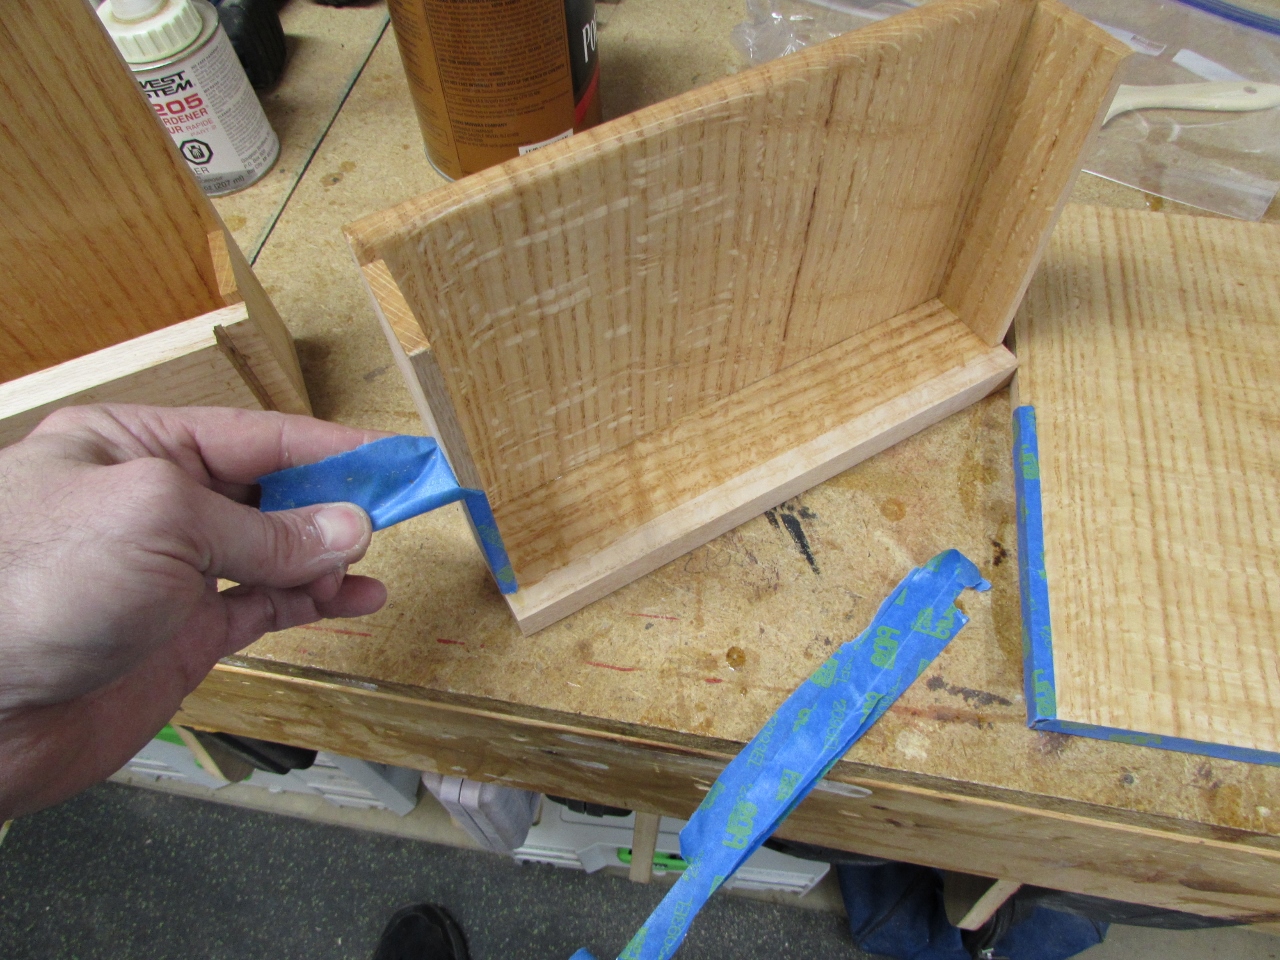
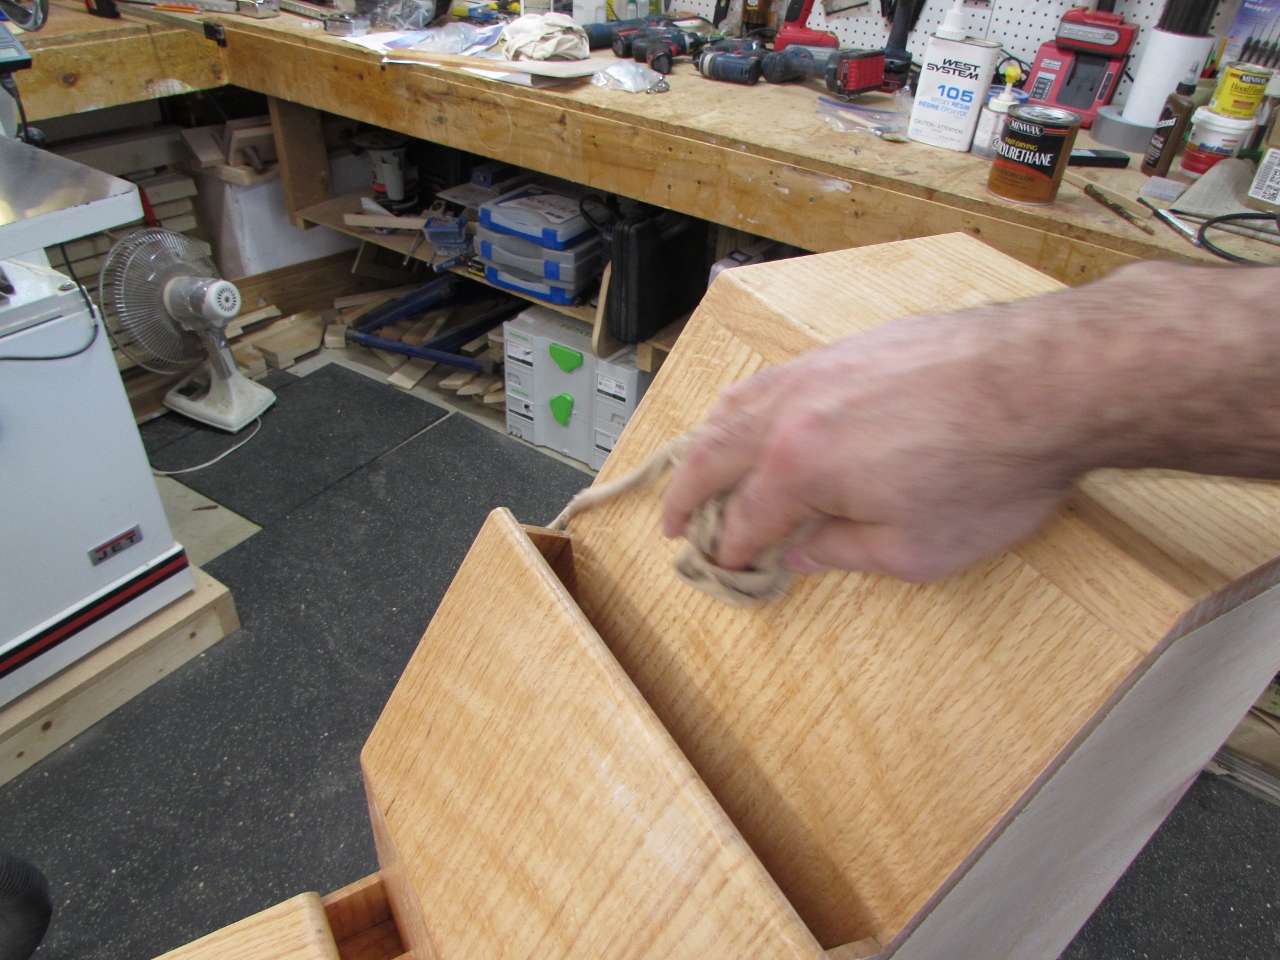
I decided to pre-finish the different pockets because they would be difficult to access later in the assembly. I masked off any areas that would be glued later.
While they were drying, I went back to work.
To more easily attach the plywood, I marked the plywood’s location on each piece of oak, then cut and attached 3/4″ strips, where I marked.

Nailing these on from the inside keeps the nails from being seen on the outside.
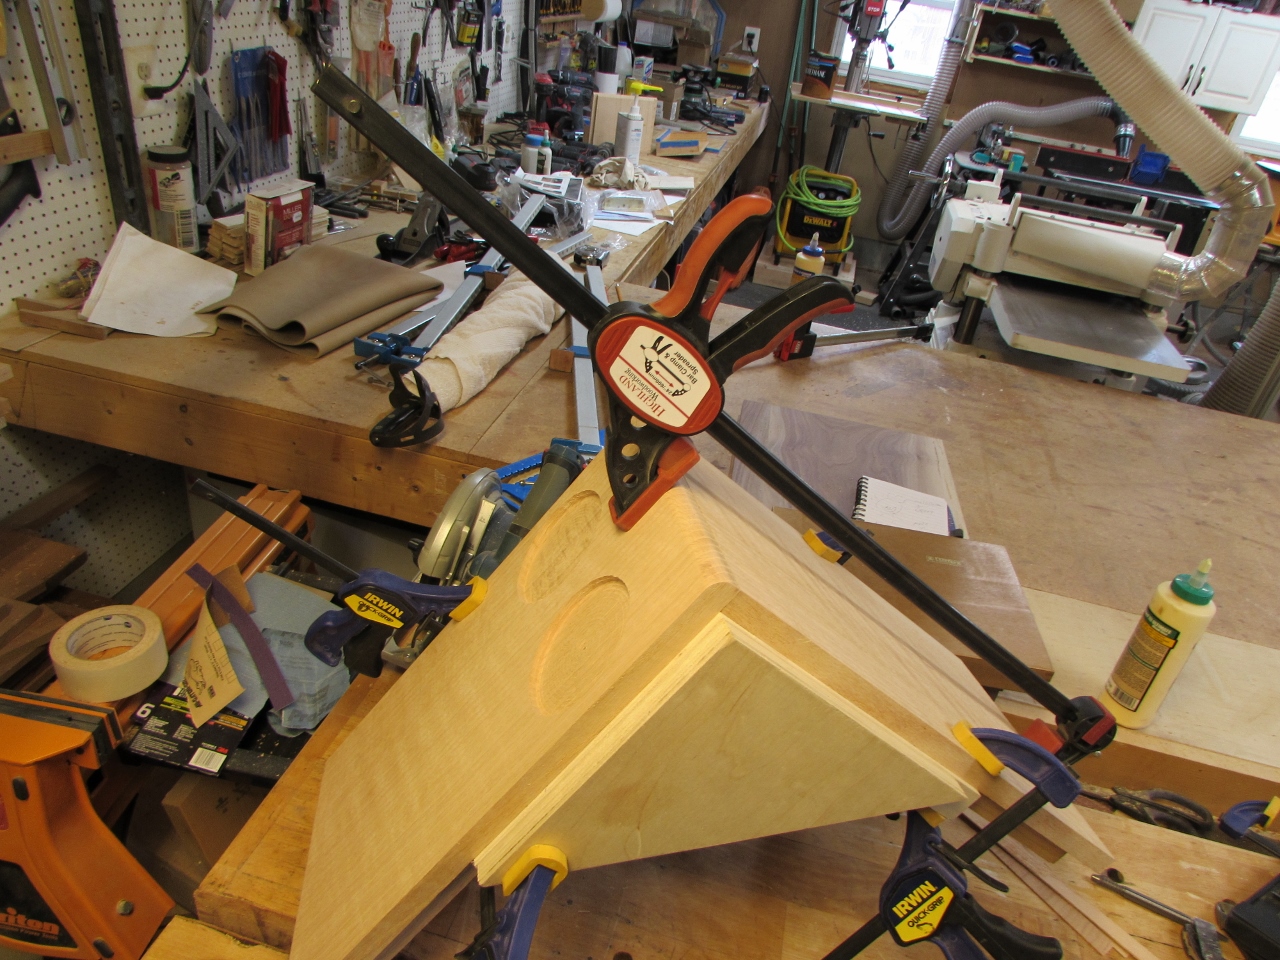
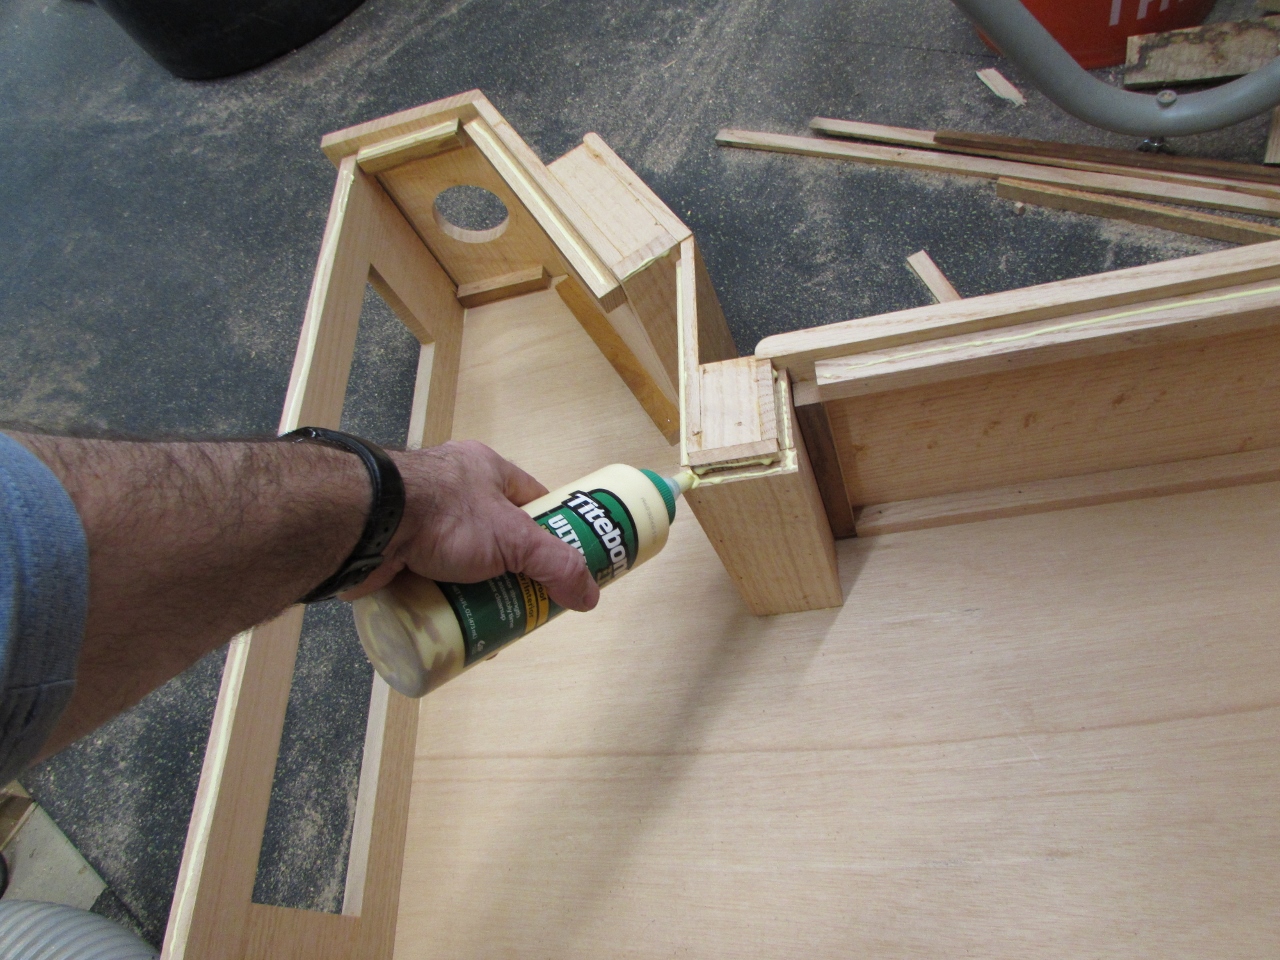
Next I put together a few more sub-assemblies. This allowed me to clamp the corners up square.
When my finish was dry, I did a final dry-fit.
Then it was time to glue and attach all of my flanges to the plywood.
Once the first side was attached, the second sheet of plywood could be nailed on from the outside. Neither side will be visible once it is installed in the couch so visible nails and gaps in the plywood won’t matter.
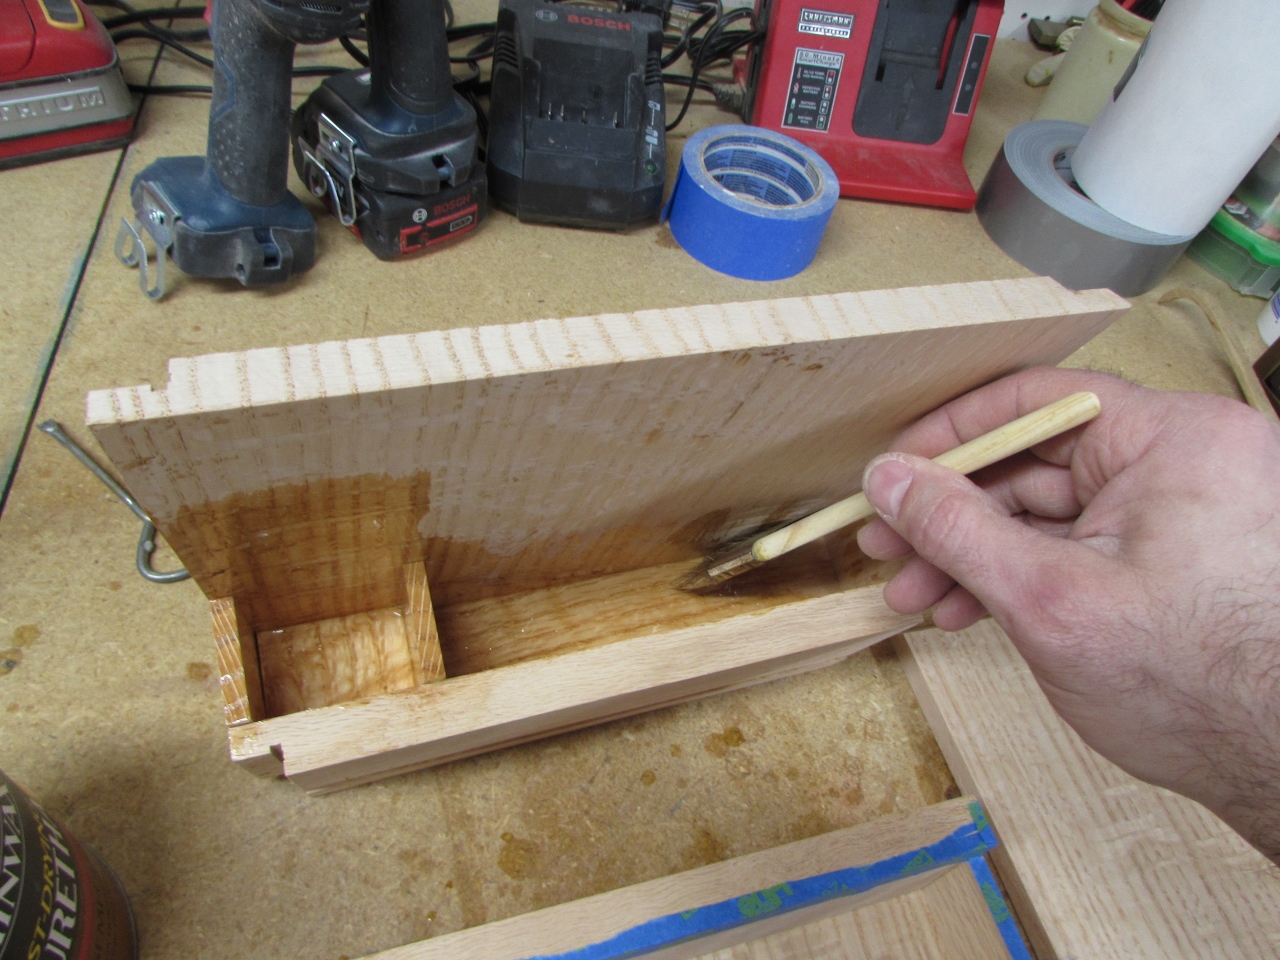
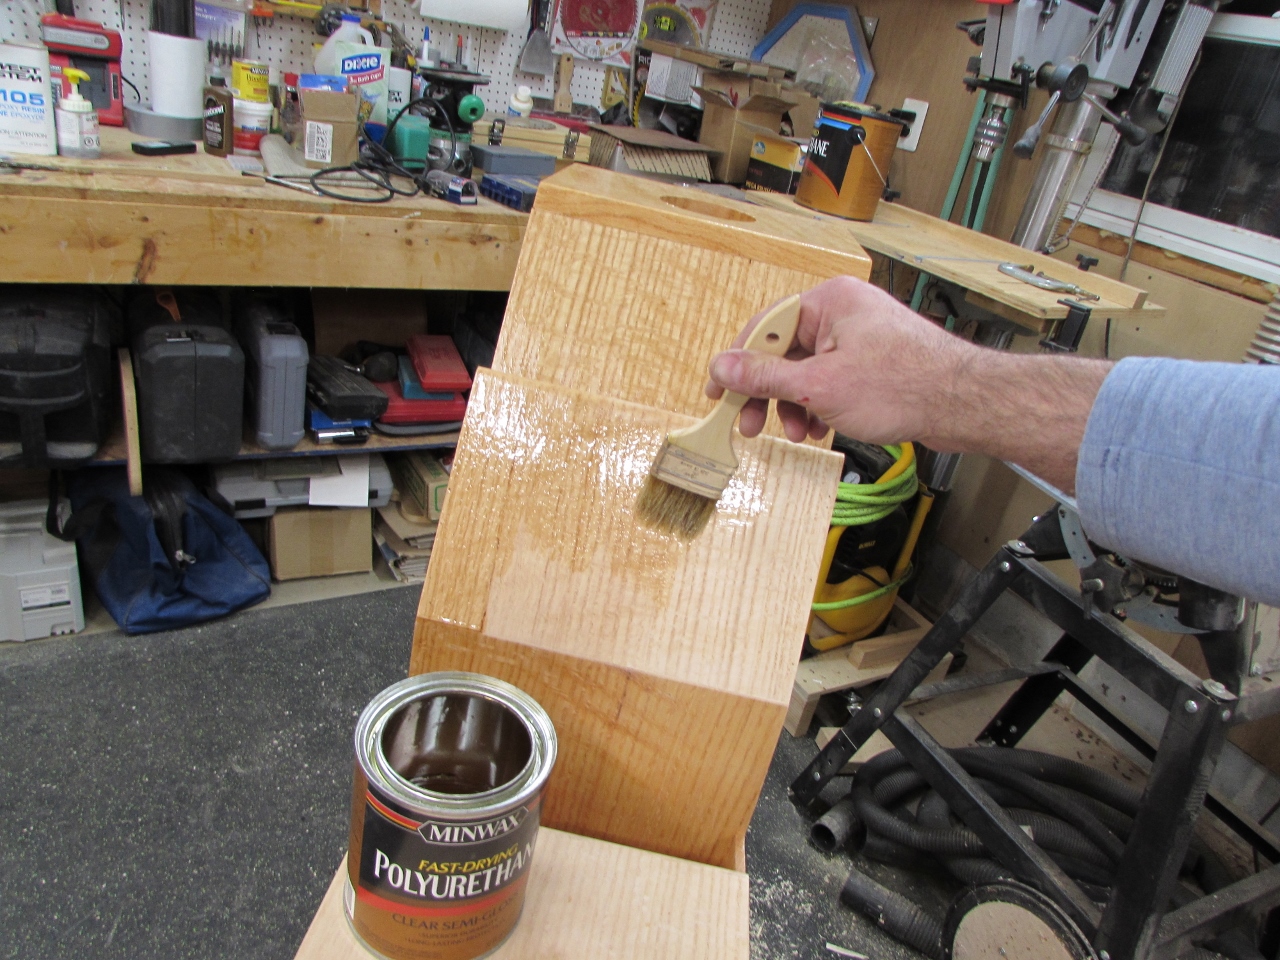
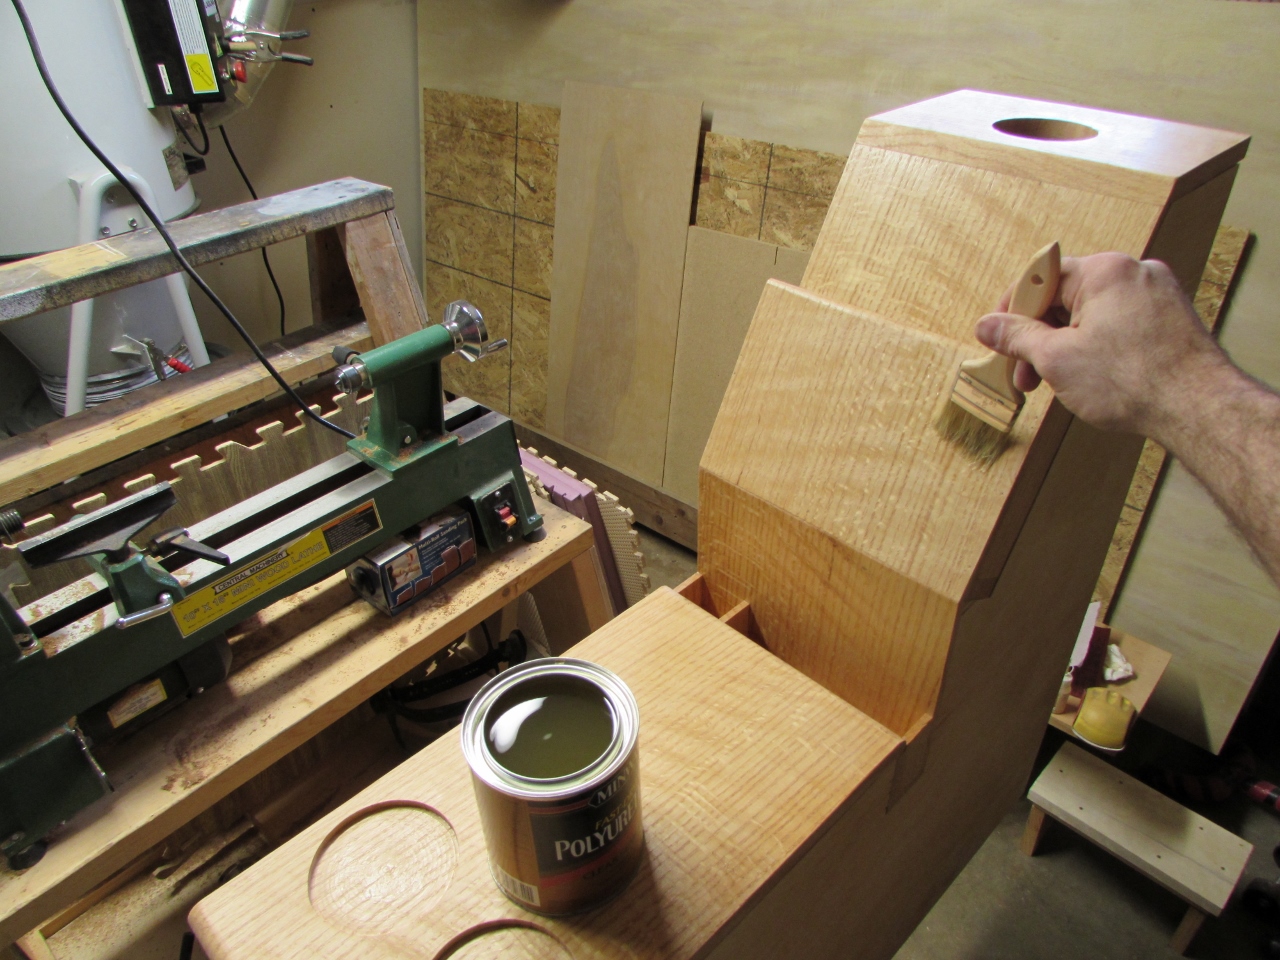
And here it is fully assembled. I added a coat of polyurethane to the outside surfaces and left it to cure overnight.
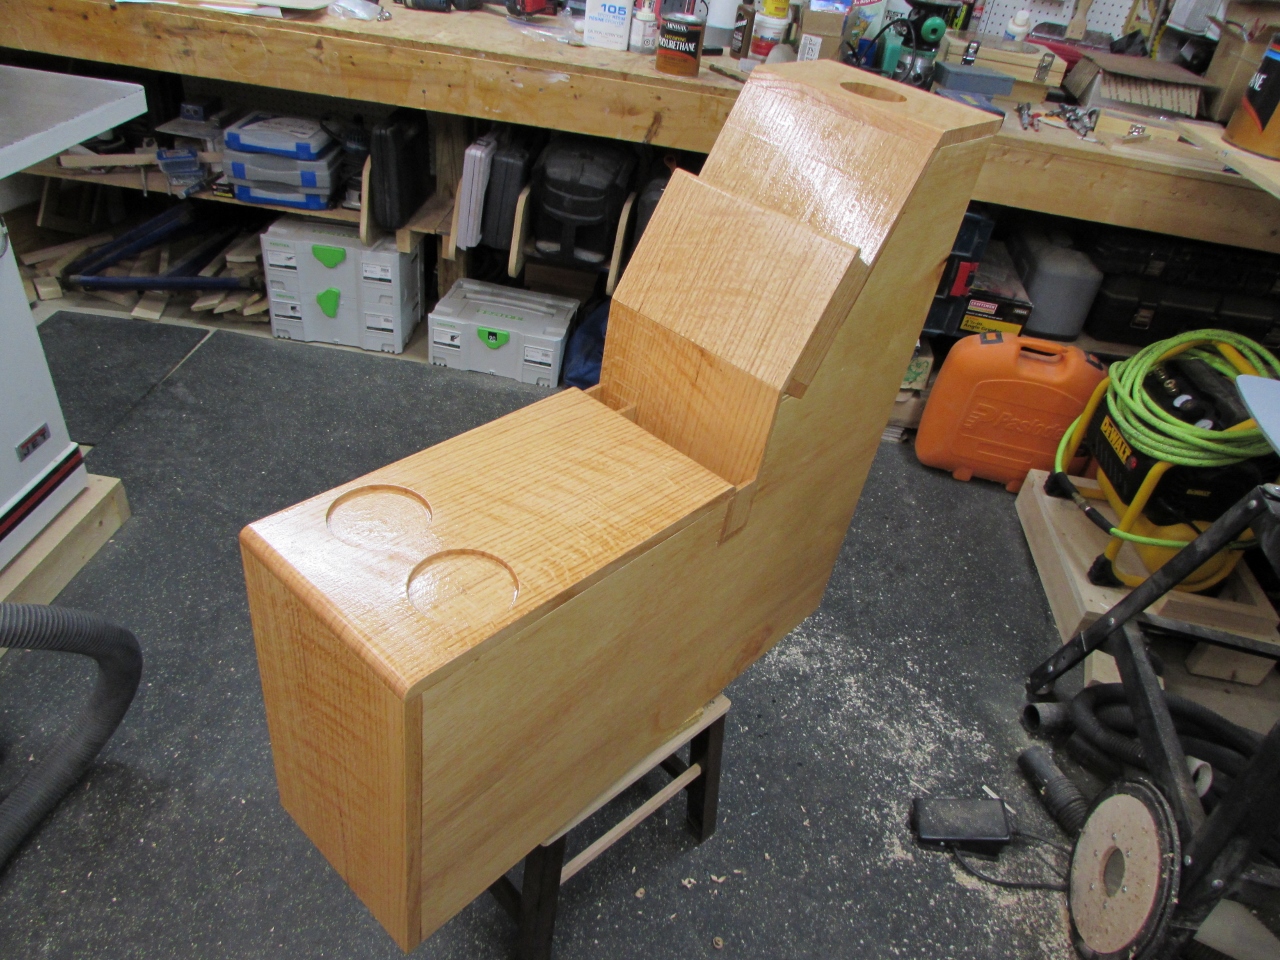
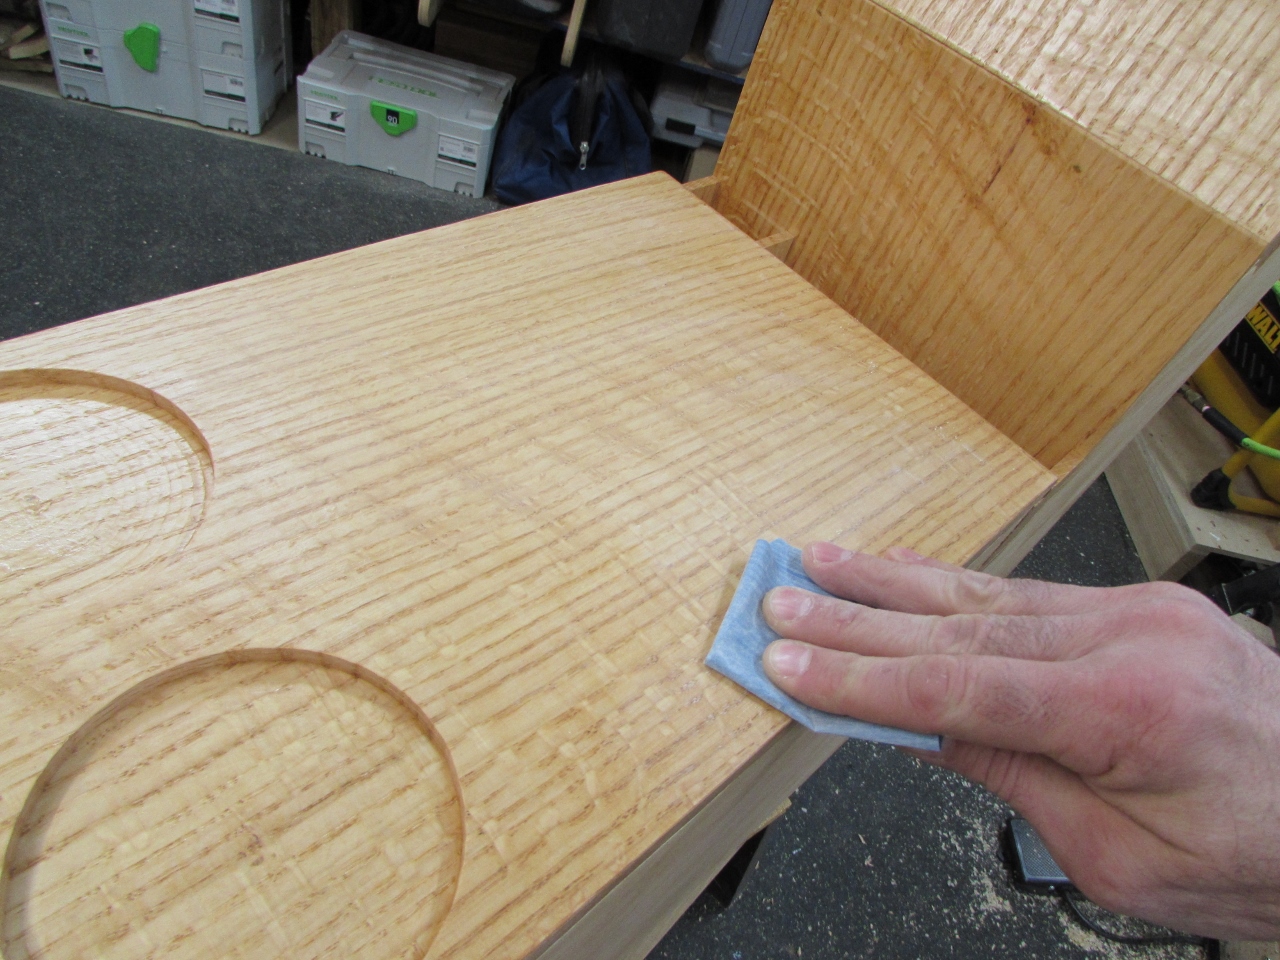
The next day, I sanded down the surface with 400 grit paper, then wiped away the dust.
I moved the console out to the garage, where my son works, so I could apply the second coat and then continue to work in my shop while it dried.

Before I could install the console, I had to move the couch and install a cord with a 90 degree plug that I purchased to plug into the flush mount receptacle. It came with a regular plug, but I wanted my couch to sit right up against the wall.
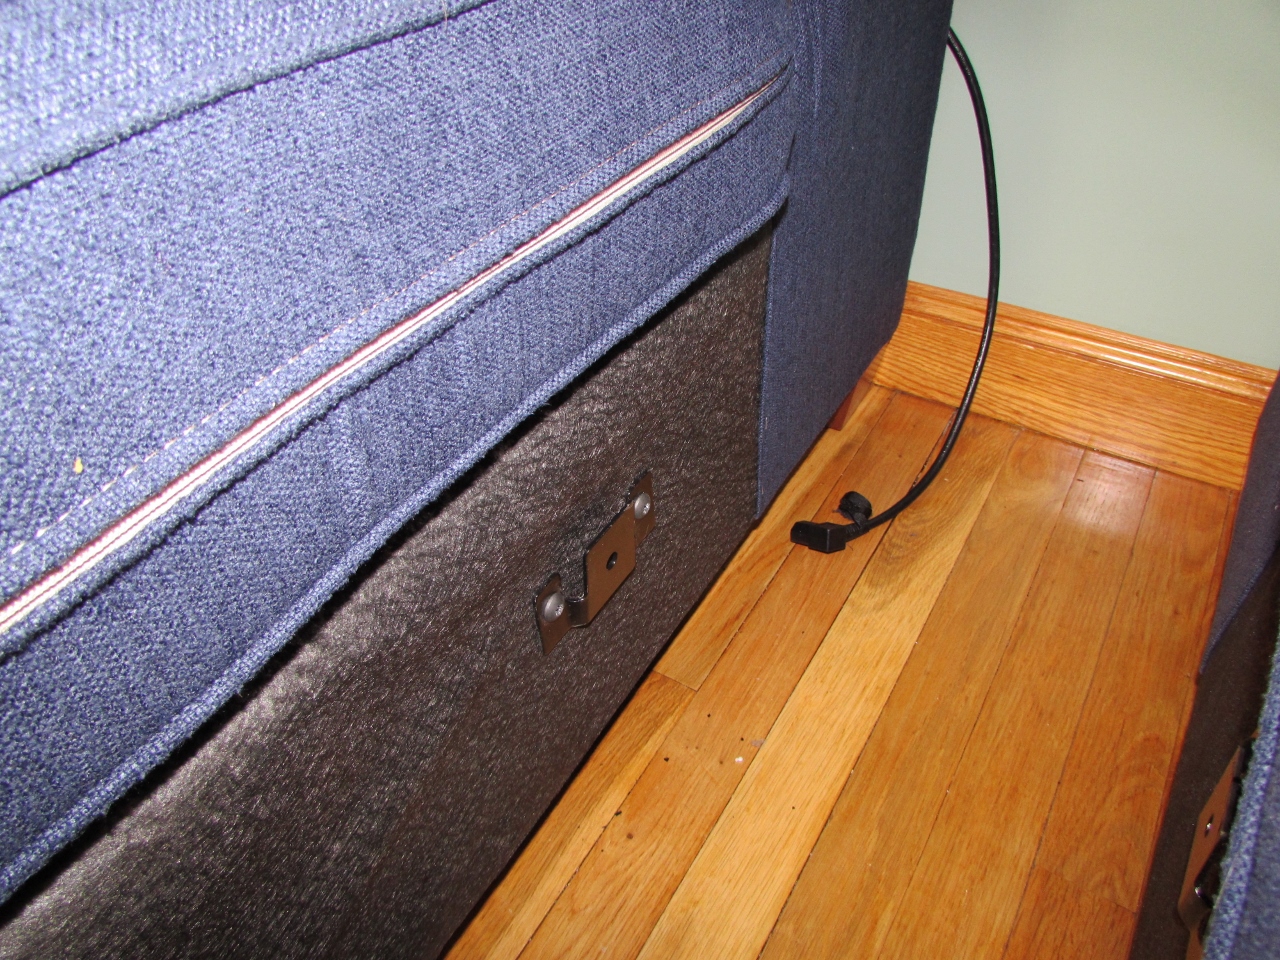
The couch came with connector clips to hold each section together.

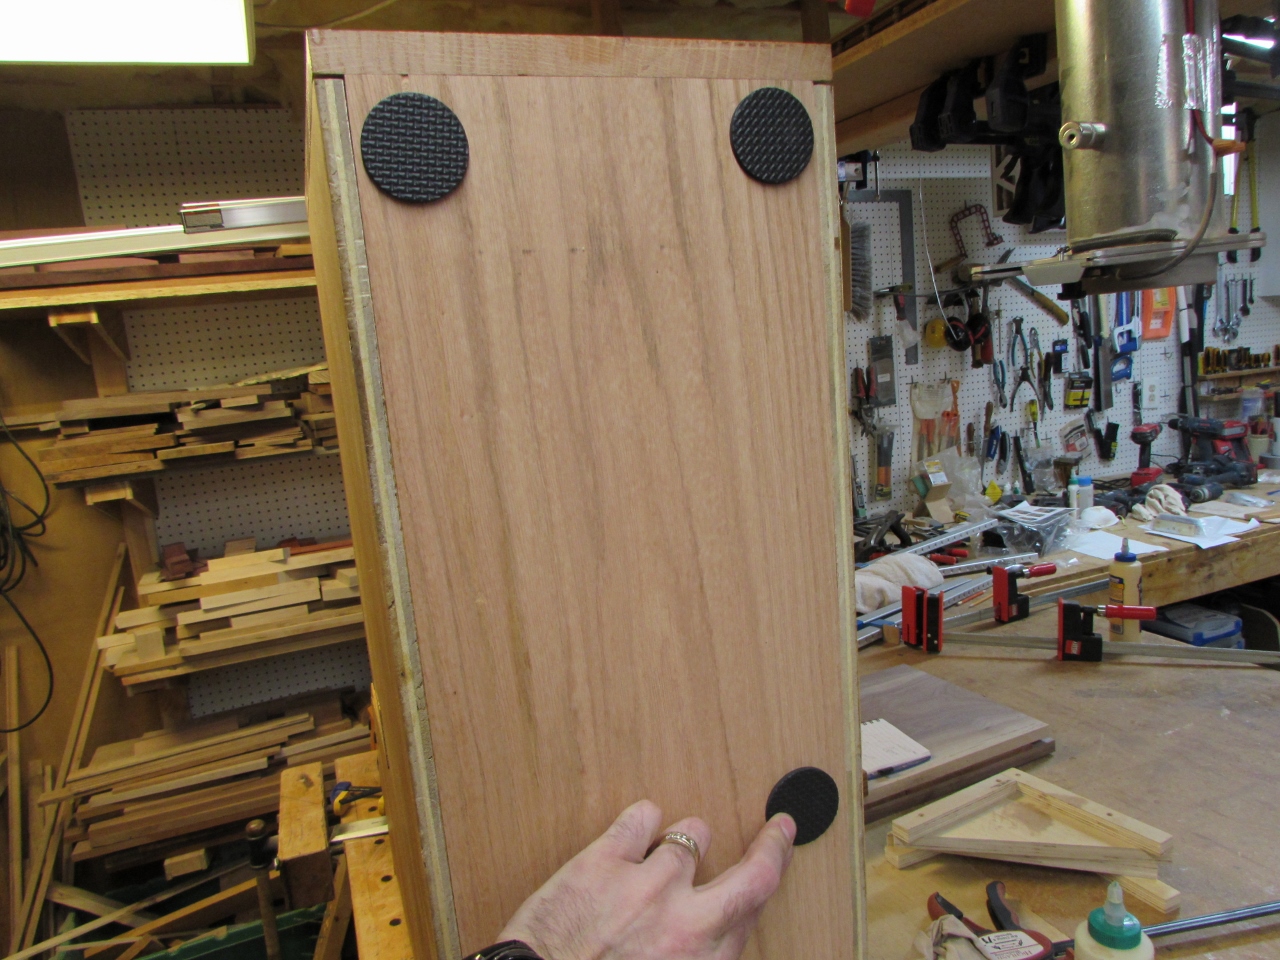
I found some similar Couch connectors on Amazon, so I ordered them. they also came with some padded feet which I will use on the bottom of the console.
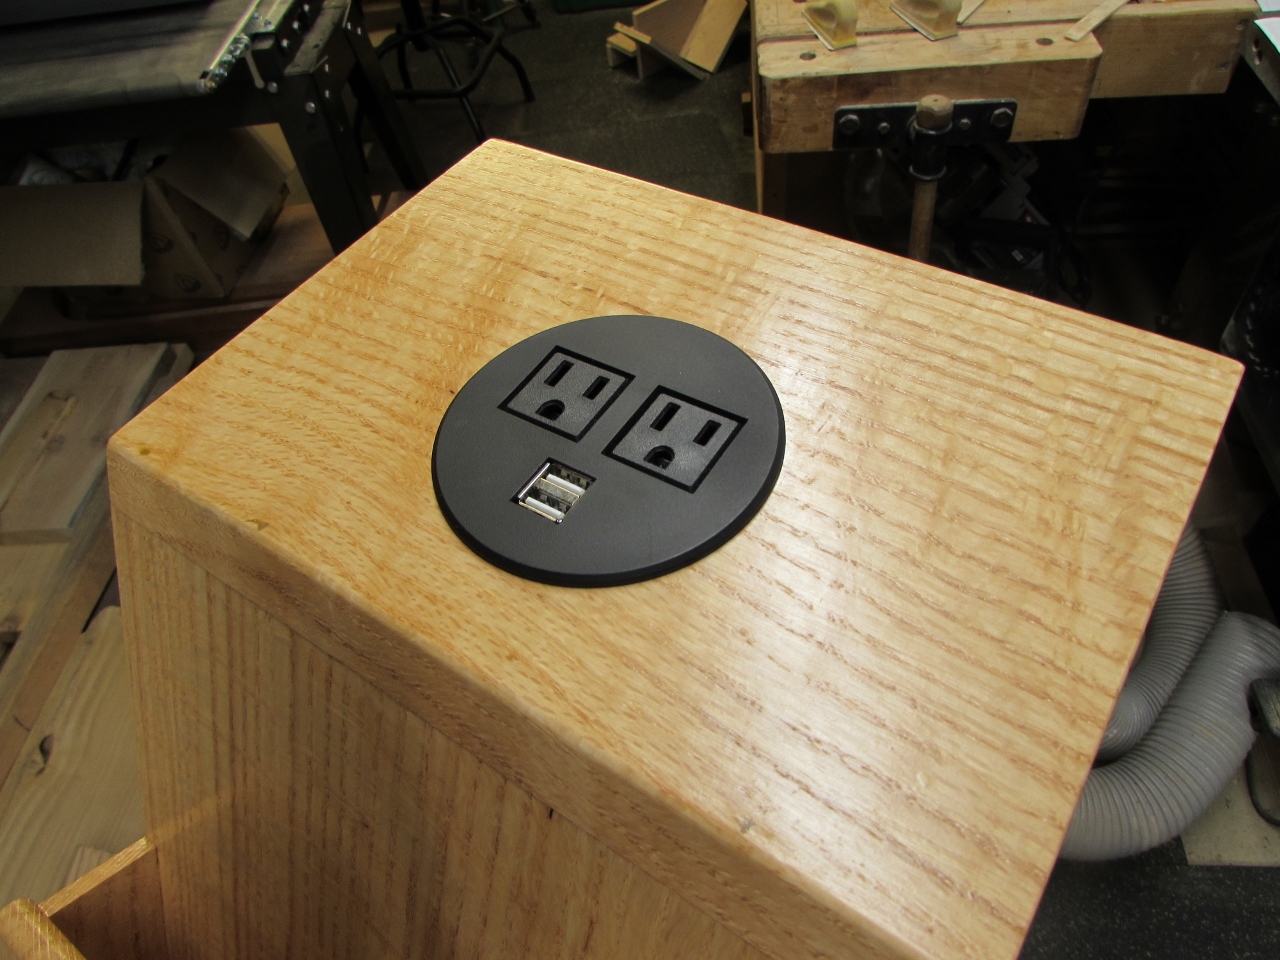
With the finish dry, I installed the receptacle in the top.
Then I attached those padded feet.

I marked the clip locations and attached one to each side of the console so they could drop into the ones on the couch.

It took a little work to get the power cord plugged in. I should have bought one that was a little longer.
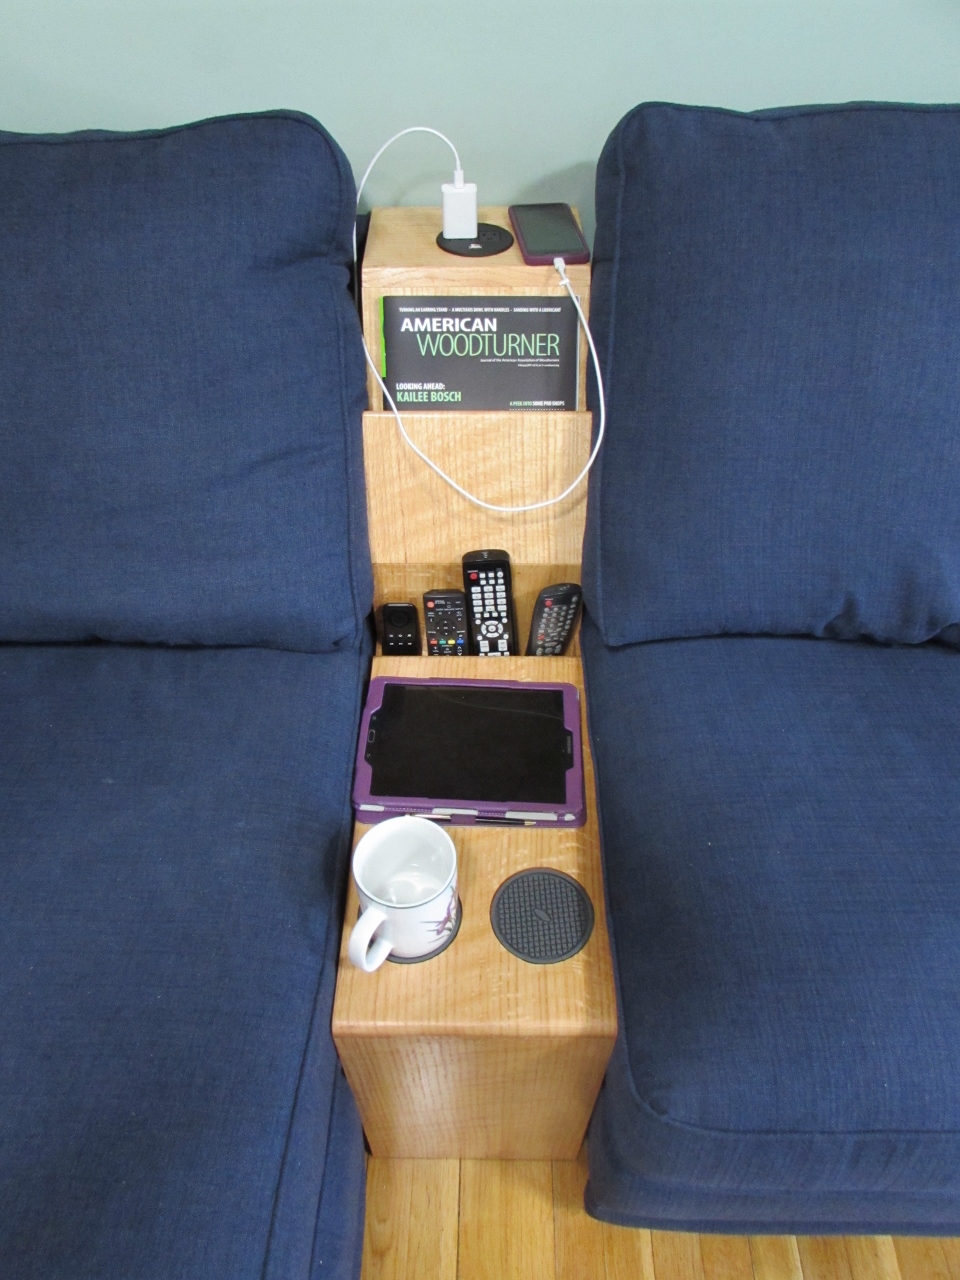
Installed, it looks pretty good and I have enough storage for everything I needed.
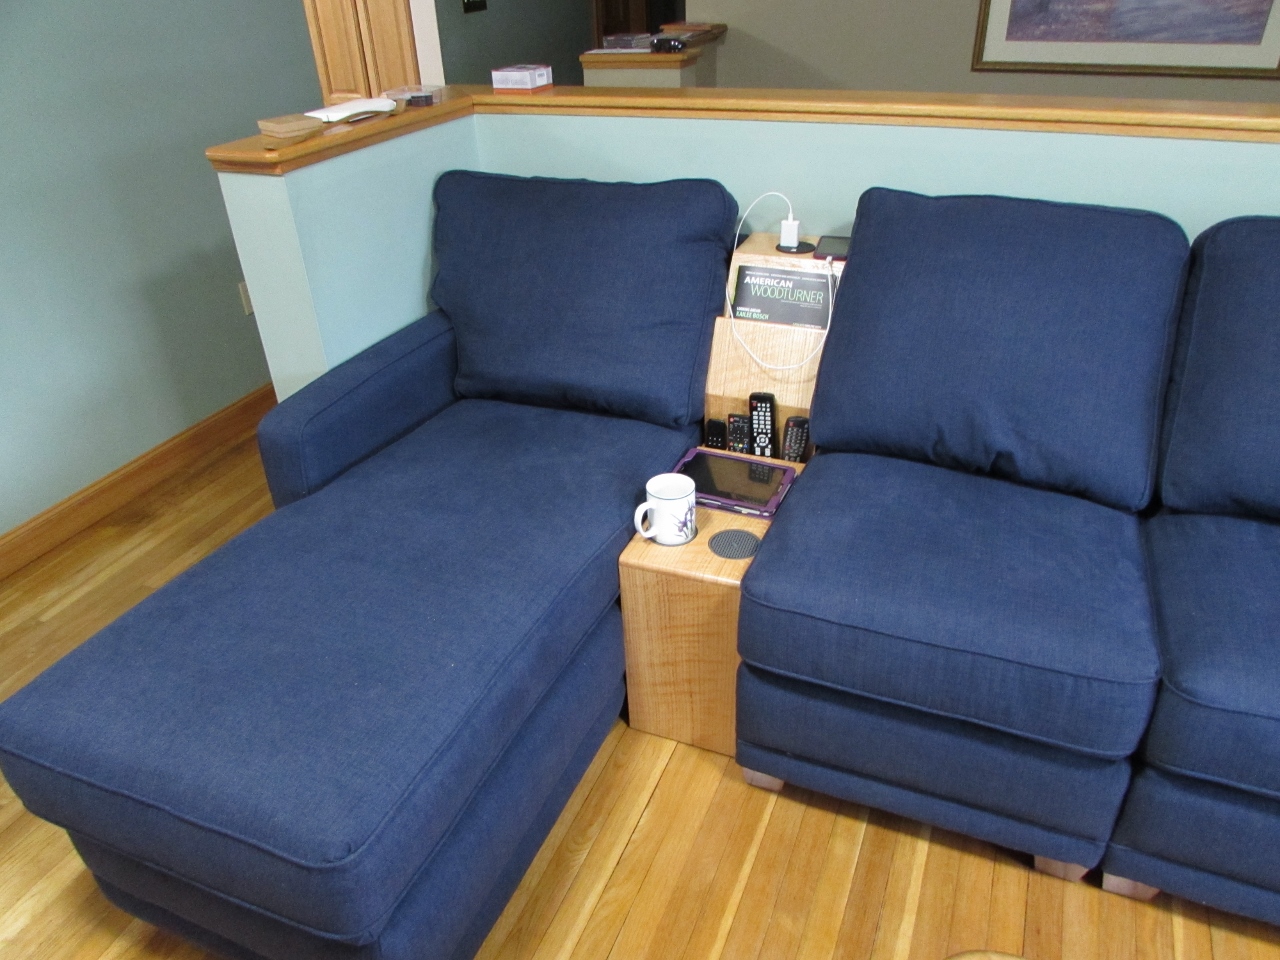
My wife is happy with it and it goes really well with the refinished floors.

And the coffee table is finally clean!
