
Handicap toilet seat
Here is an interesting project for you. My Mother-in-law’s new handicap height toilet (17″) is not tall enough. The current options available are limited. A riser that replaces the seat, that forces anyone who wants to use that toilet to sit down, and the design leaves a smaller hole than a normal seat offers. Your other option is to buy a riser for the base and have a plumber extend the flange up higher. That can get costly.

I told my in-laws to hold off for a couple of days while I worked on the problem. I decided to make a toilet seat that was tall enough for her, but not too tall that you couldn’t open it. I pulled together my last piece of 1-3/4″ thick white oak, and some scrap pieces of quarter-sawn white oak that were about 1″ thick. Then I grabbed a large pad of paper and traced the outline of one of my toilet seats, and placed an opening in the front like a lot of commercial toilet seats.
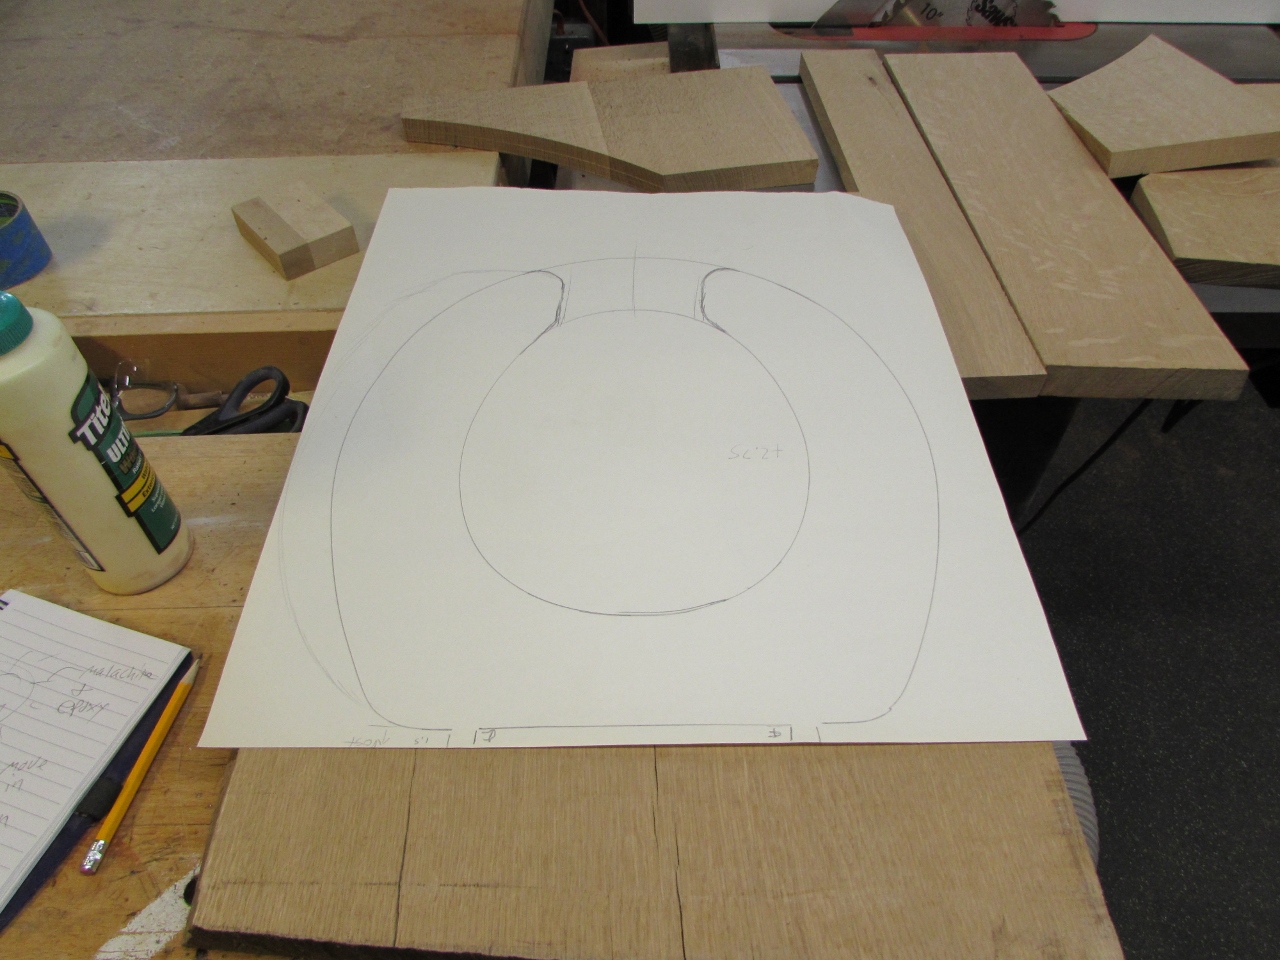
I trimmed out my simple pattern, and set it aside for later.

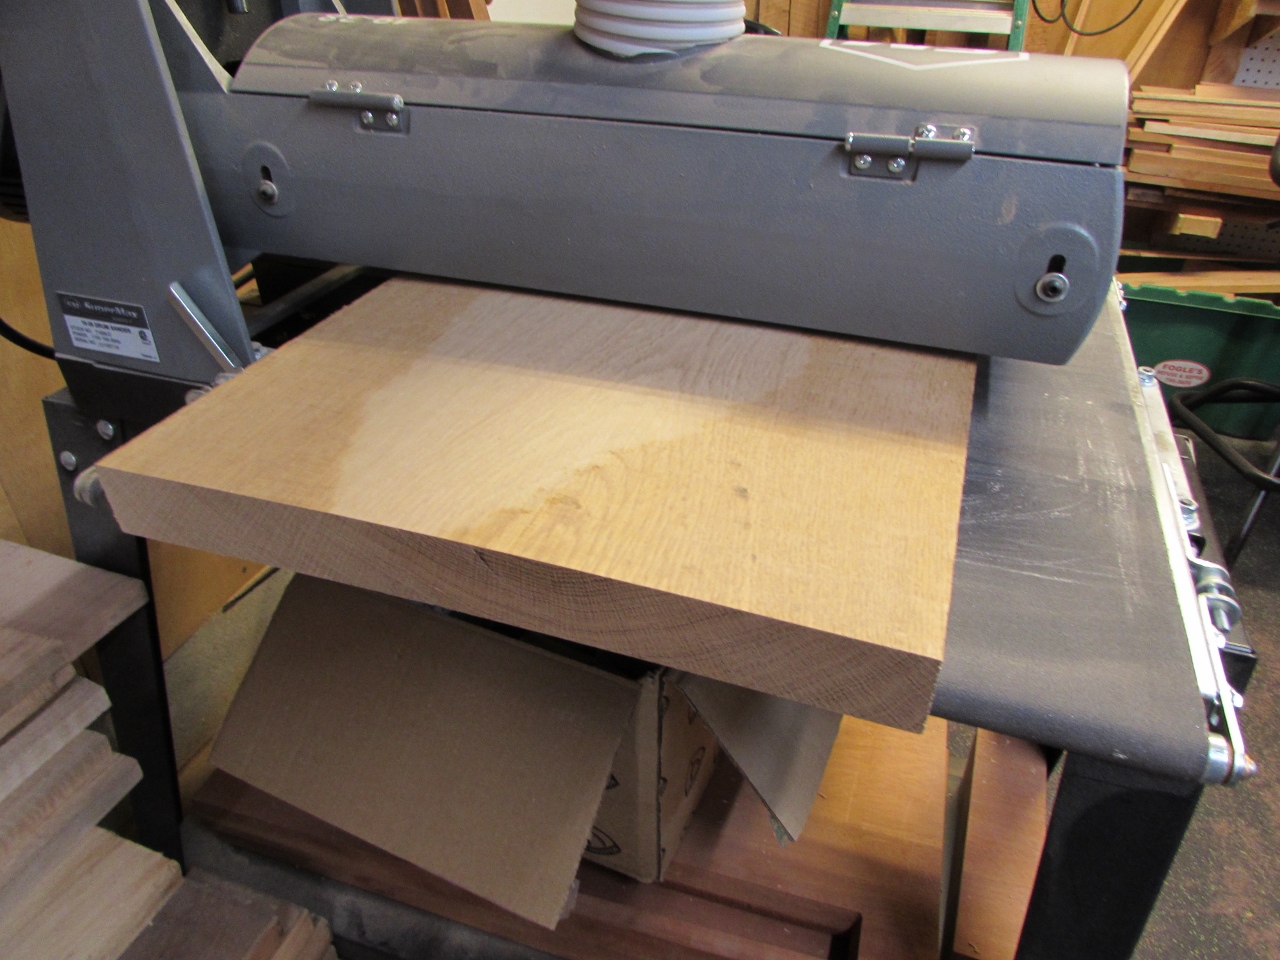
My thick piece of oak was cupped so I ran it through my drum sander several times until I had two flat sides. That left me with 1-1/2″ of material.


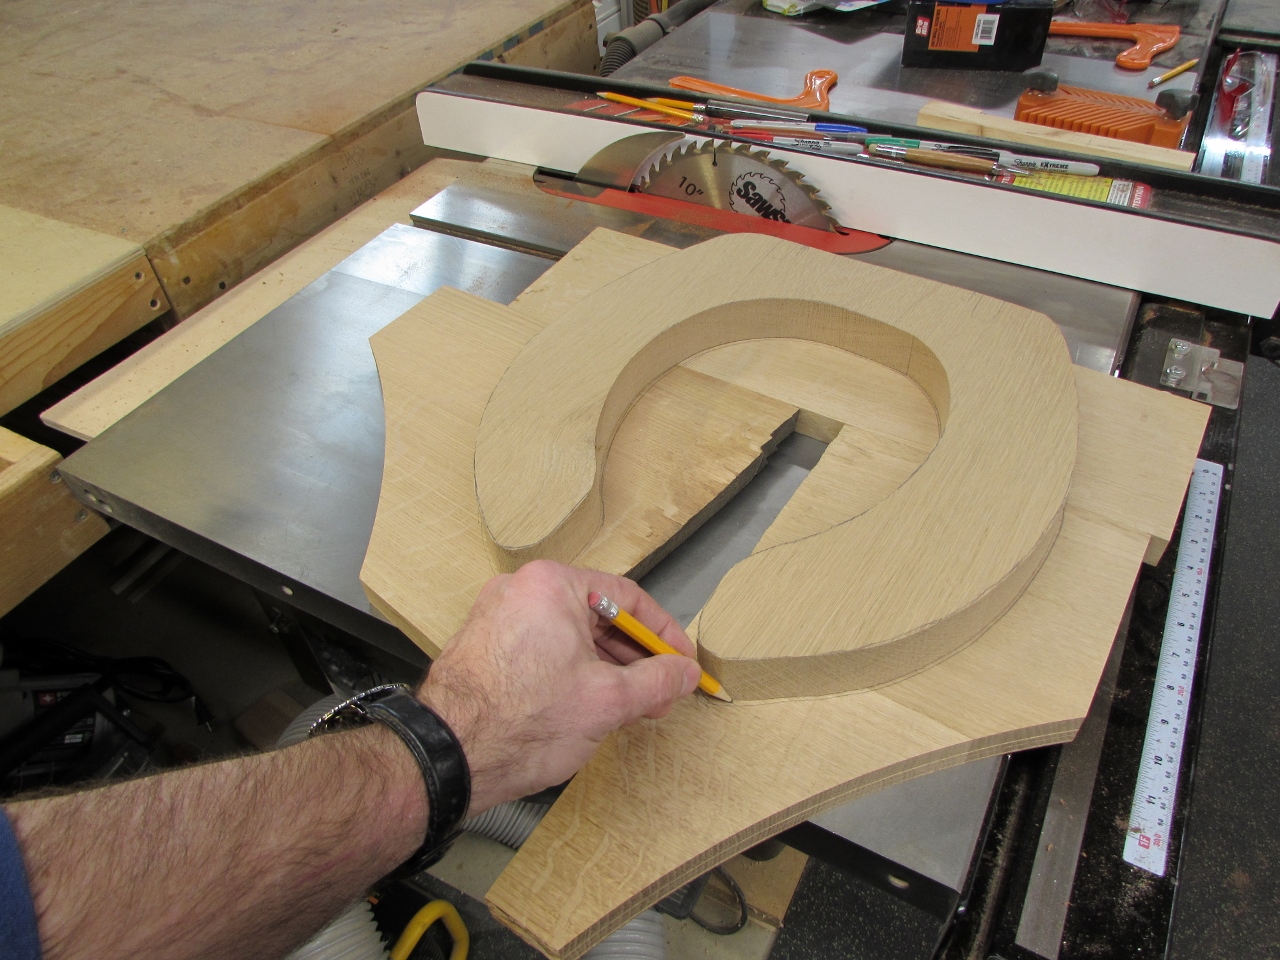
I laid my pattern down on the board and moved it around to avoid the knots and cracks in the wood, then I traced the edges.

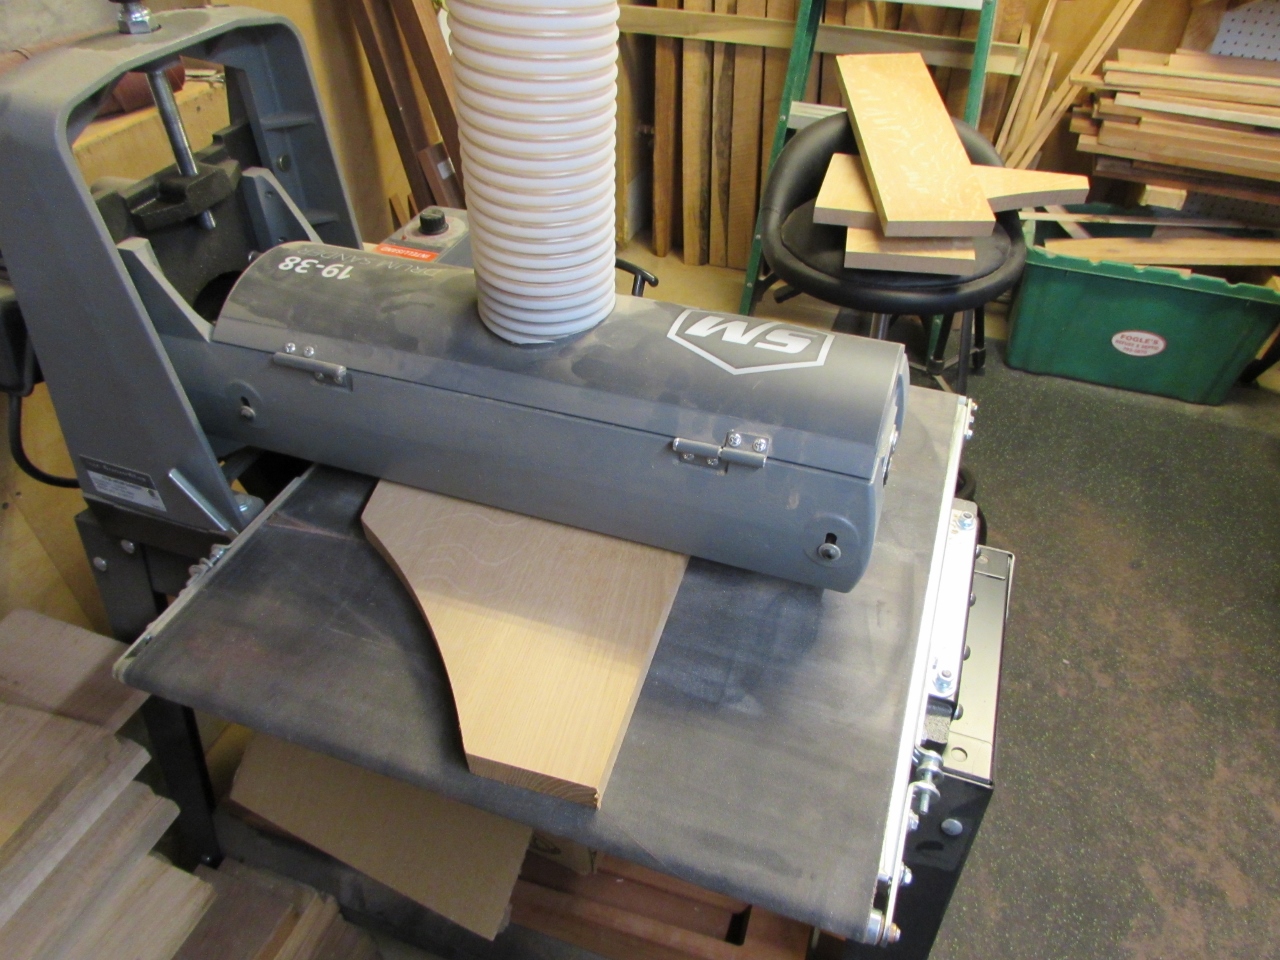
I flattened all of my quarter-sawn scraps and made sure they were all the same thickness, then laid them out to see if I had enough for another layer.


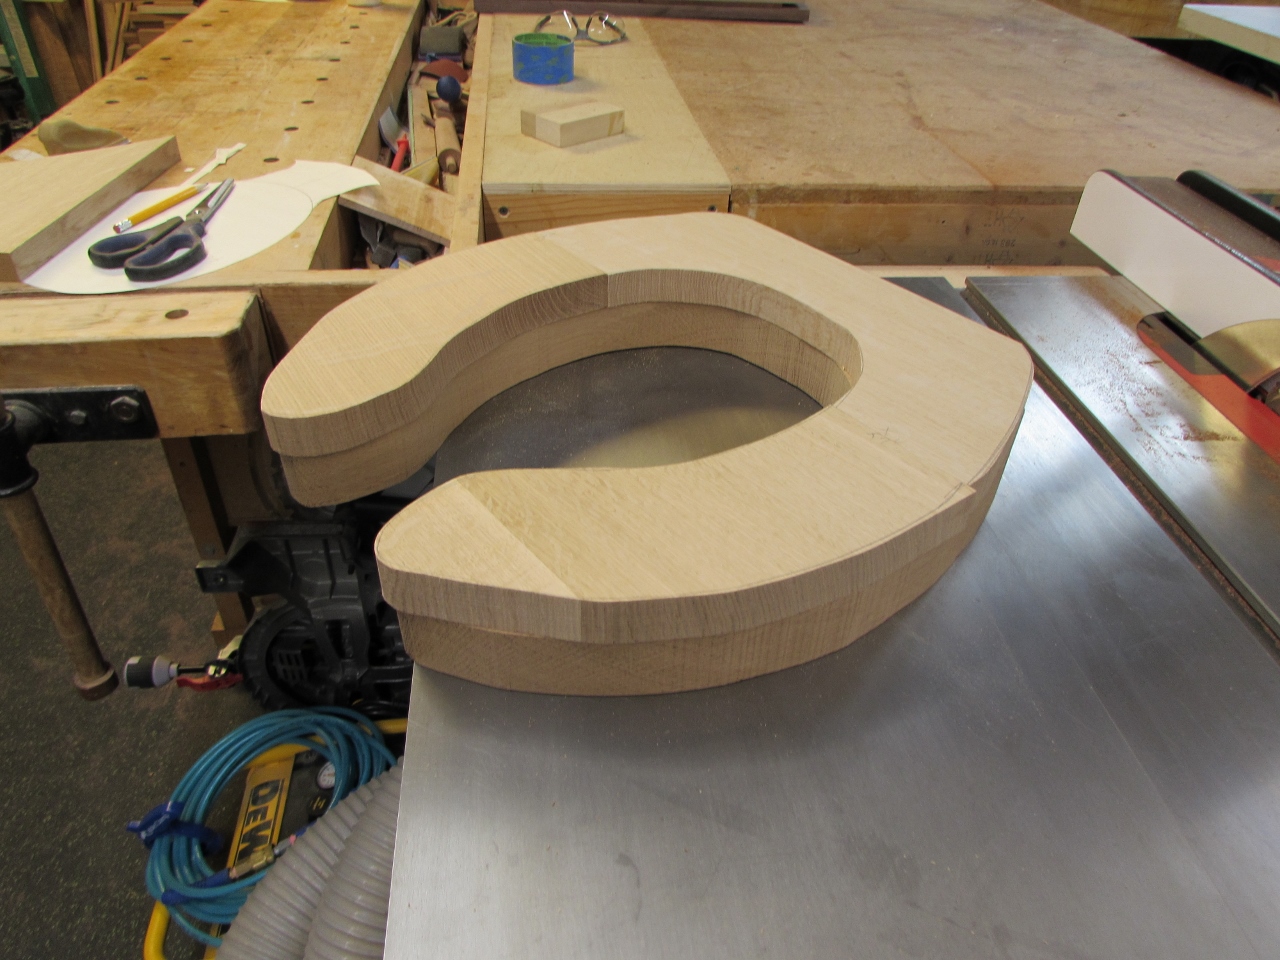
I roughly cut out the thicker piece, leaving at least 1/16″ past my pencil mark.

Then I traced the outline onto my quarter-sawn pieces and then cut them out on the band saw.
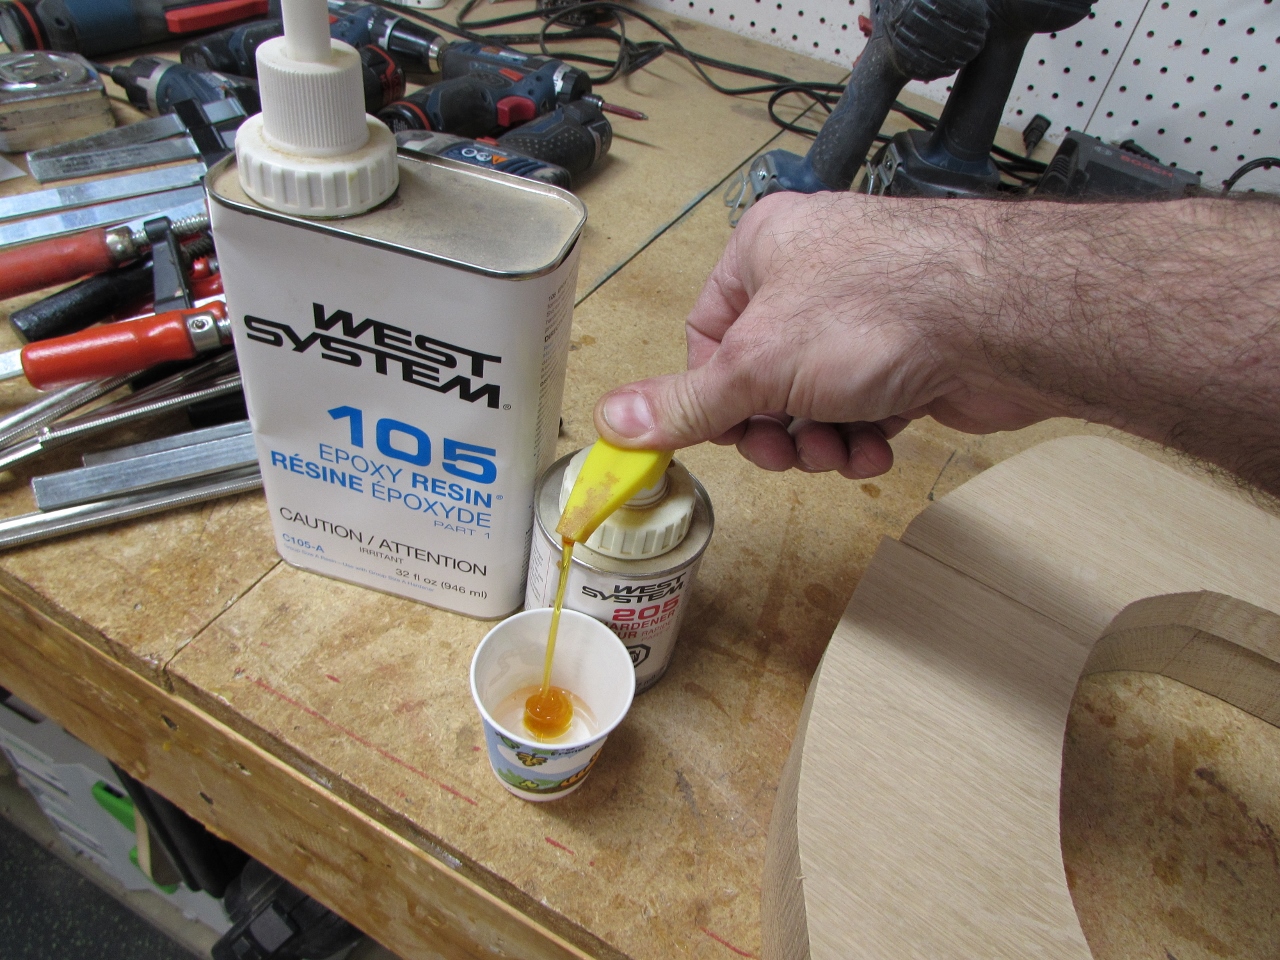
I decided to use epoxy to attach all of the pieces because it is water proof and will fill gaps between the boards.

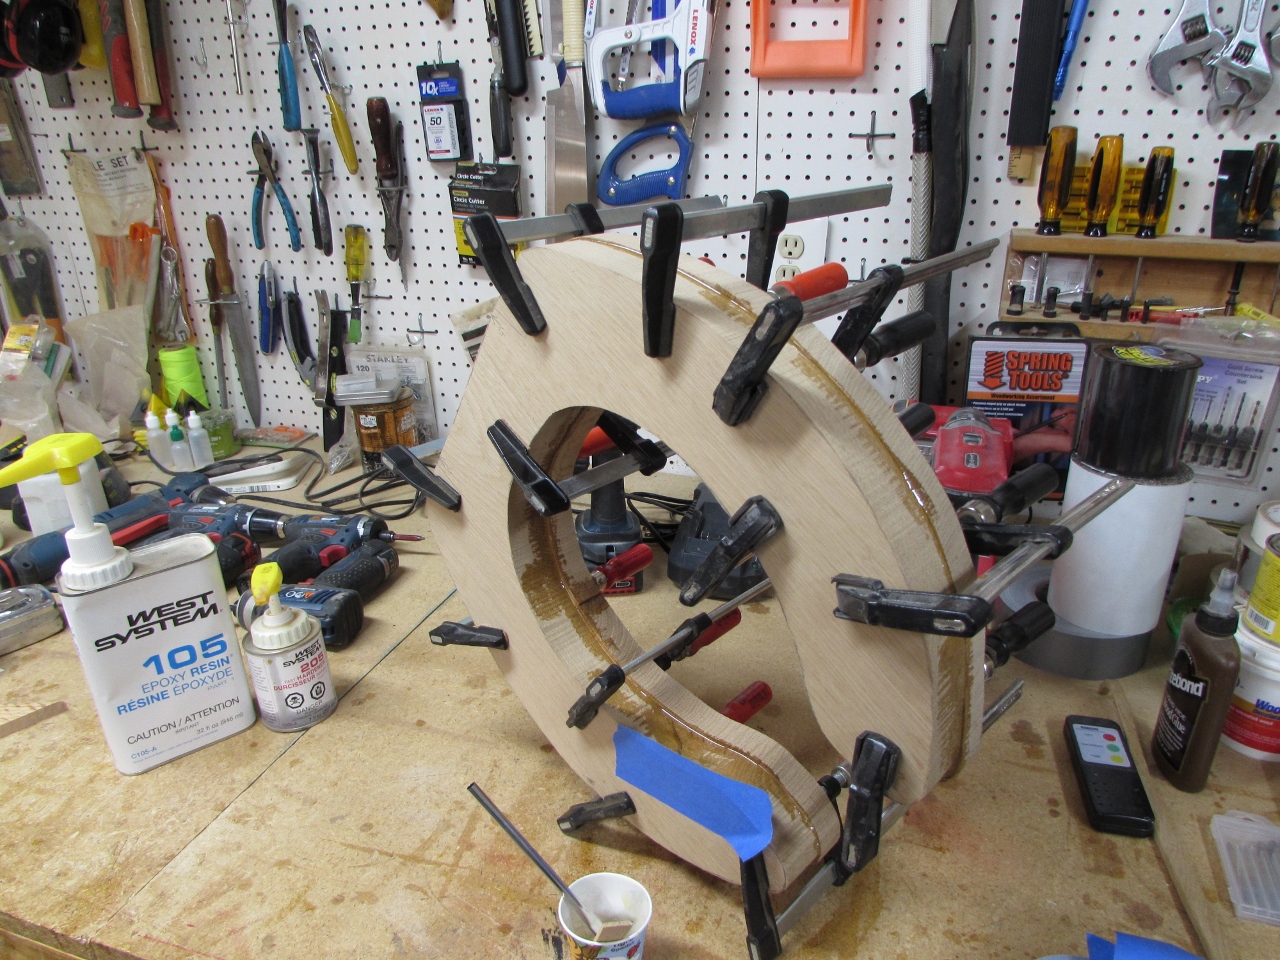
I painted the epoxy on and clamped the quarter-sawn pieces on with the grain running perpendicular to the bottom piece of oak. Hopefully this will prevent any splitting or cracking in the future.

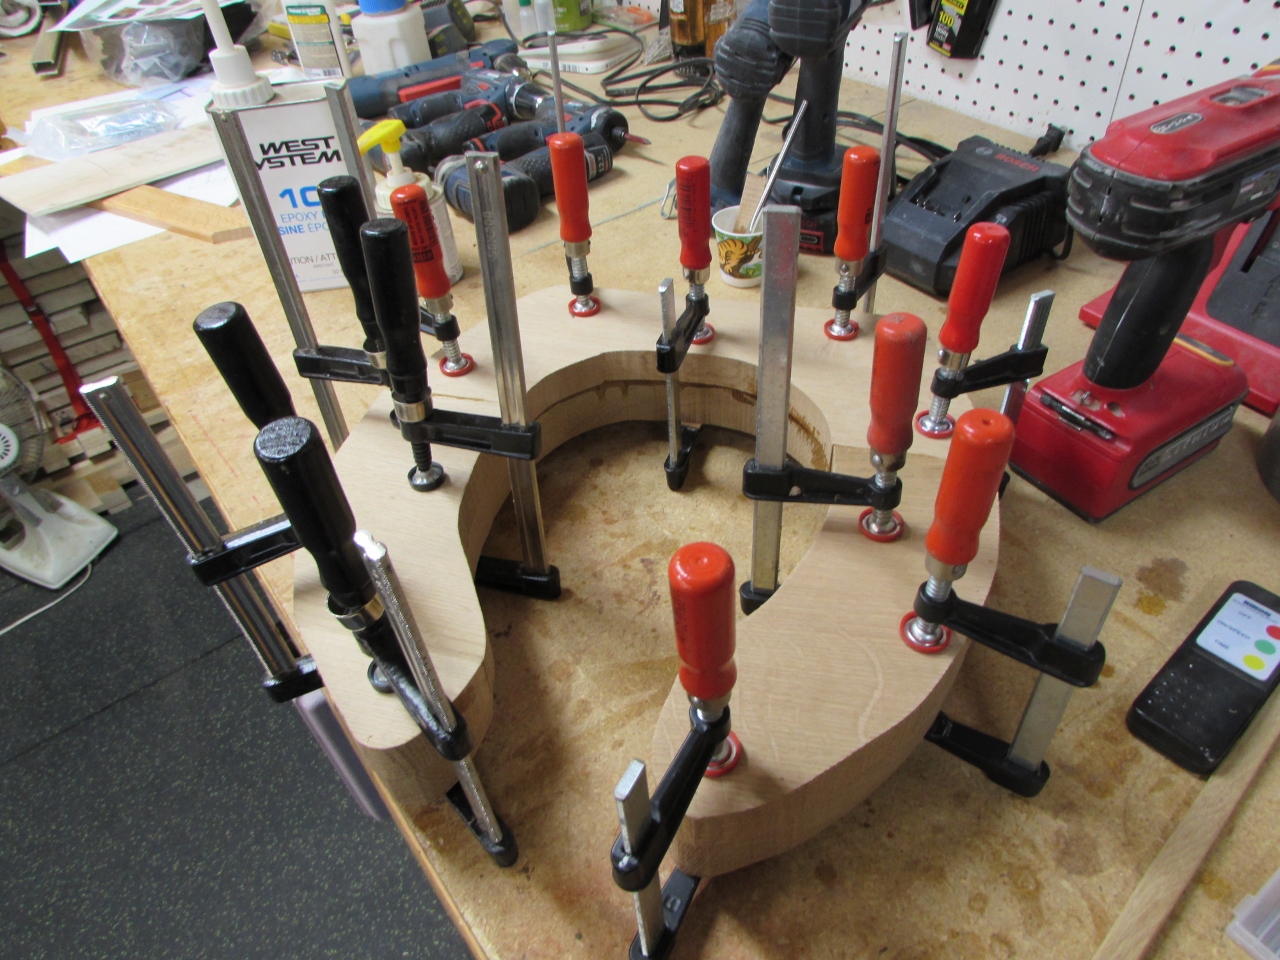
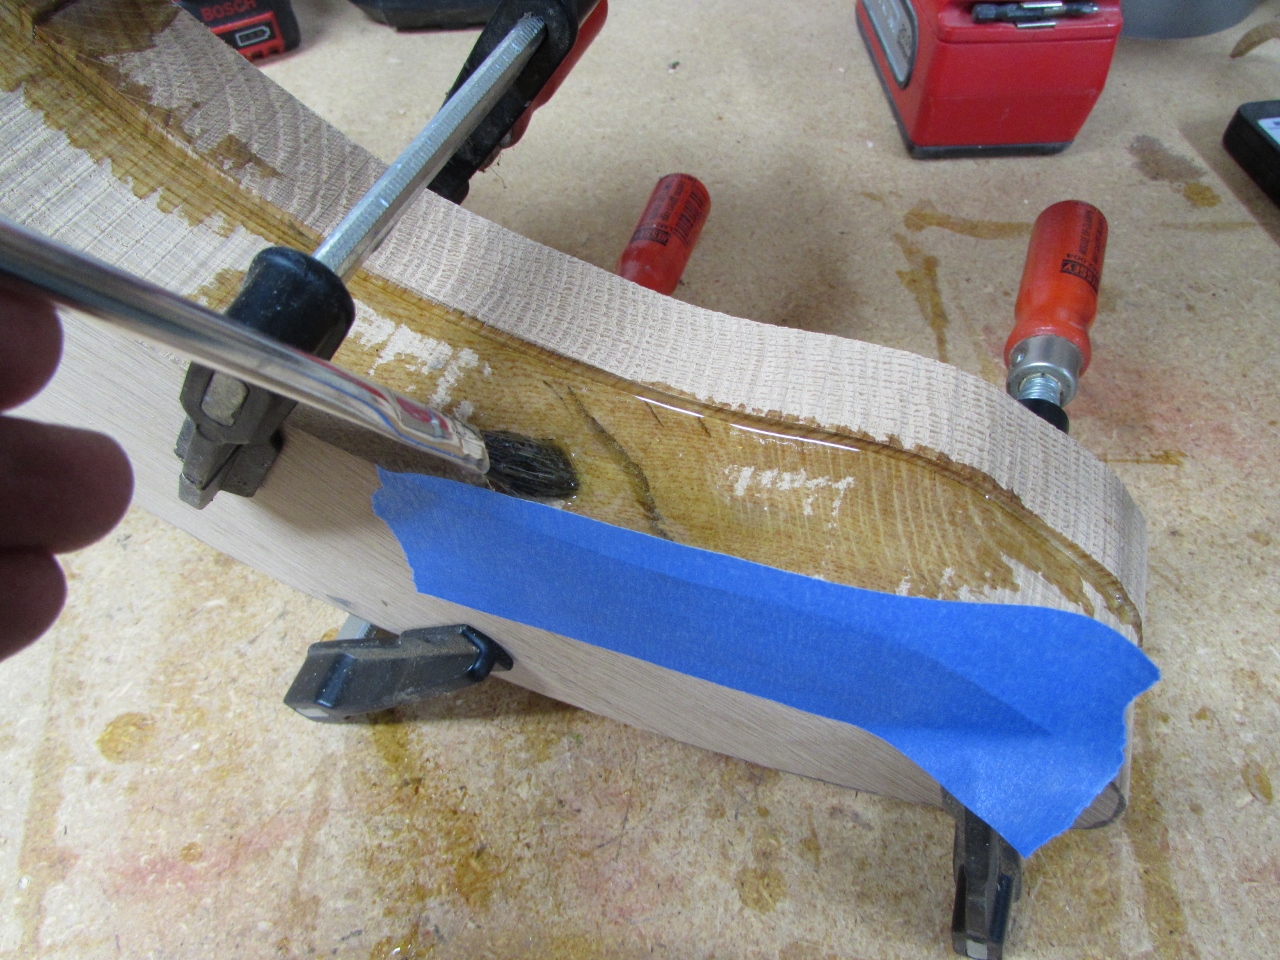
Once everything was clamped up, I noticed a large split that was part of the knot I cut away. I turned the seat on its side and added a piece of tape to wall off the open side, then poured more epoxy into the crack.
After everything was dried, the next day, I ran it through the drum sander to clean up the glue joint.

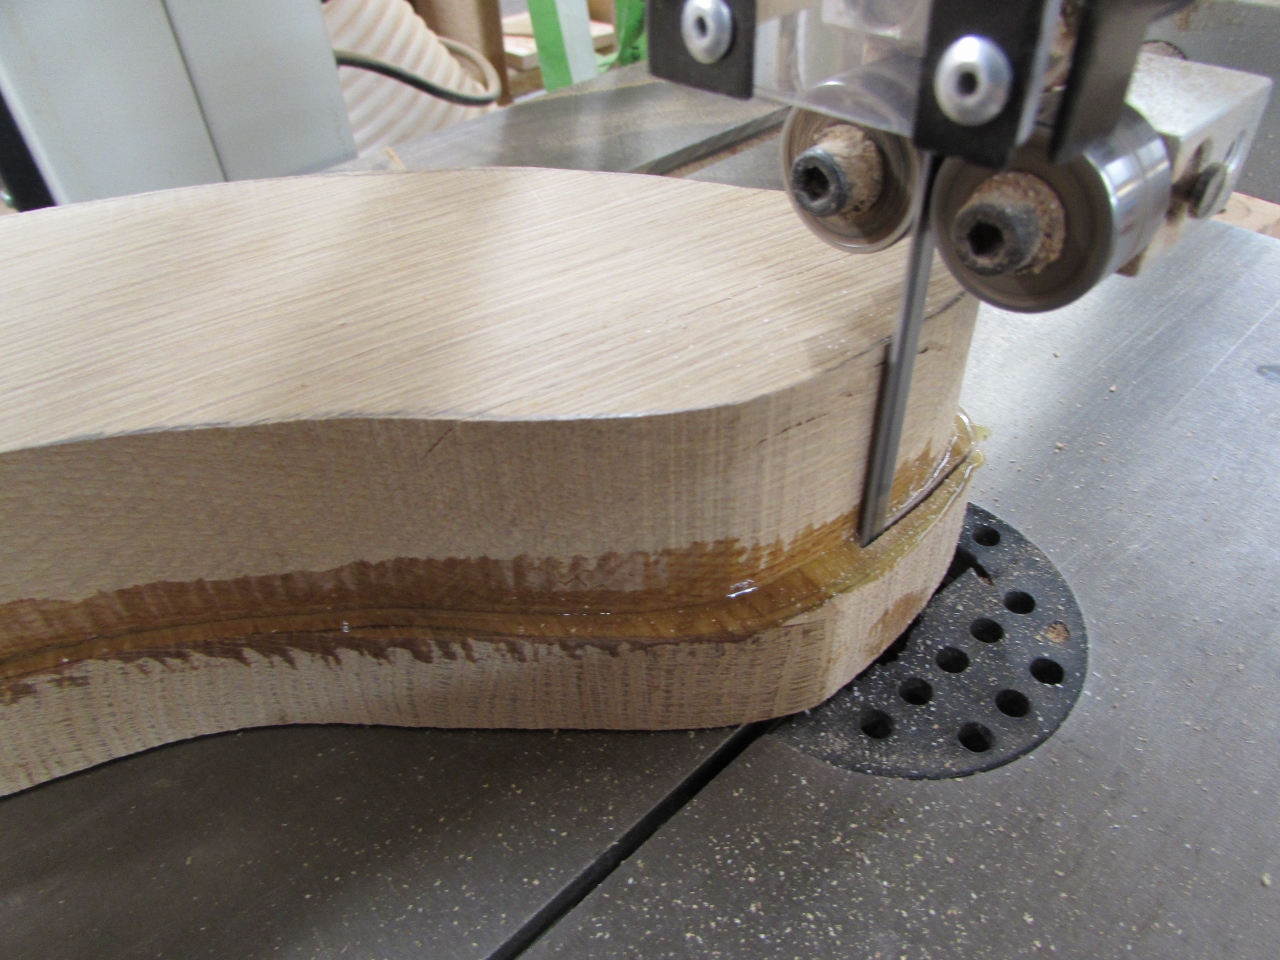
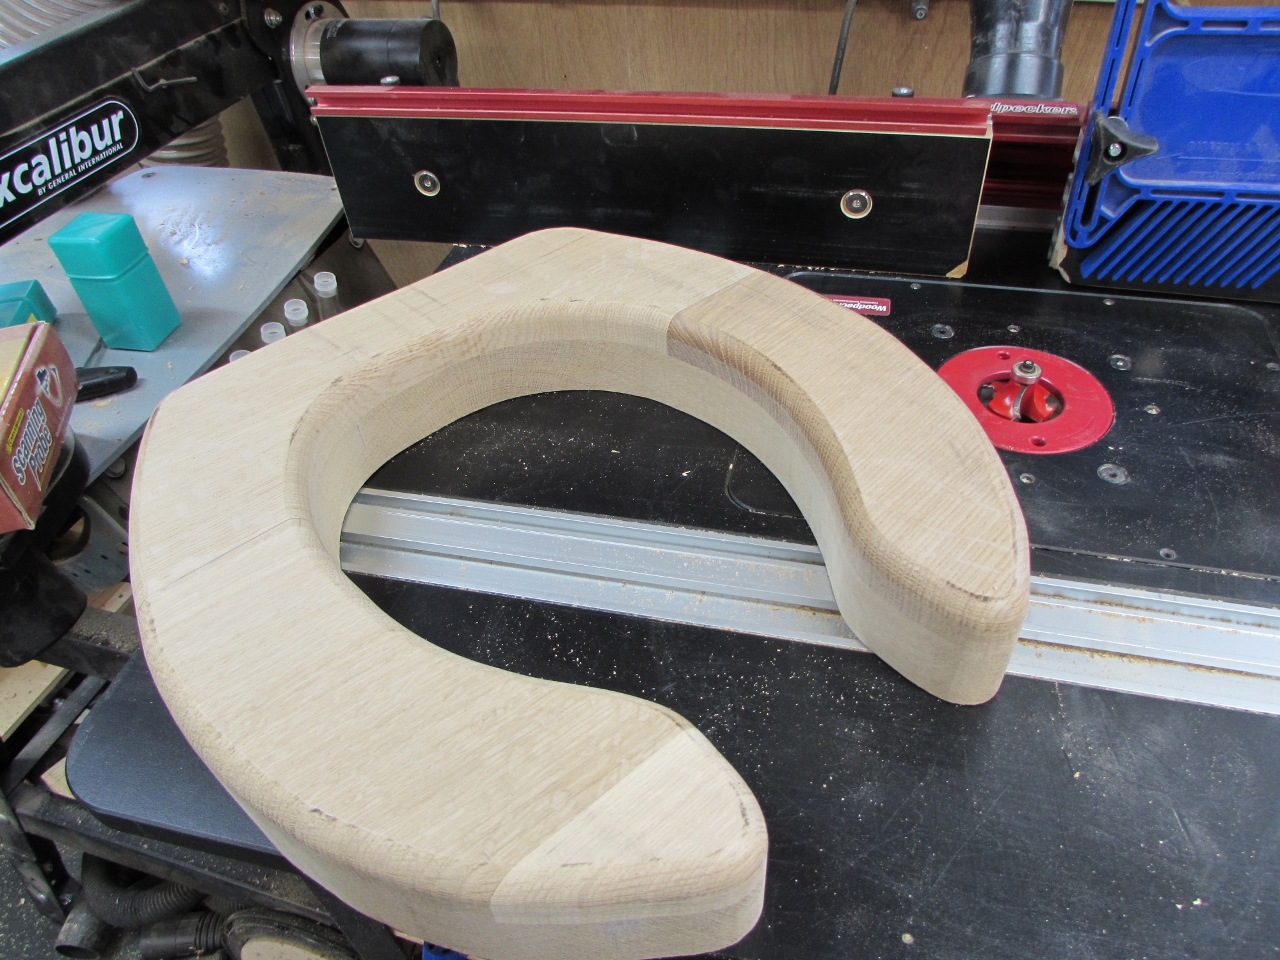
I used the band saw and my spindle sander to flush and smooth the edges all the way around the seat.

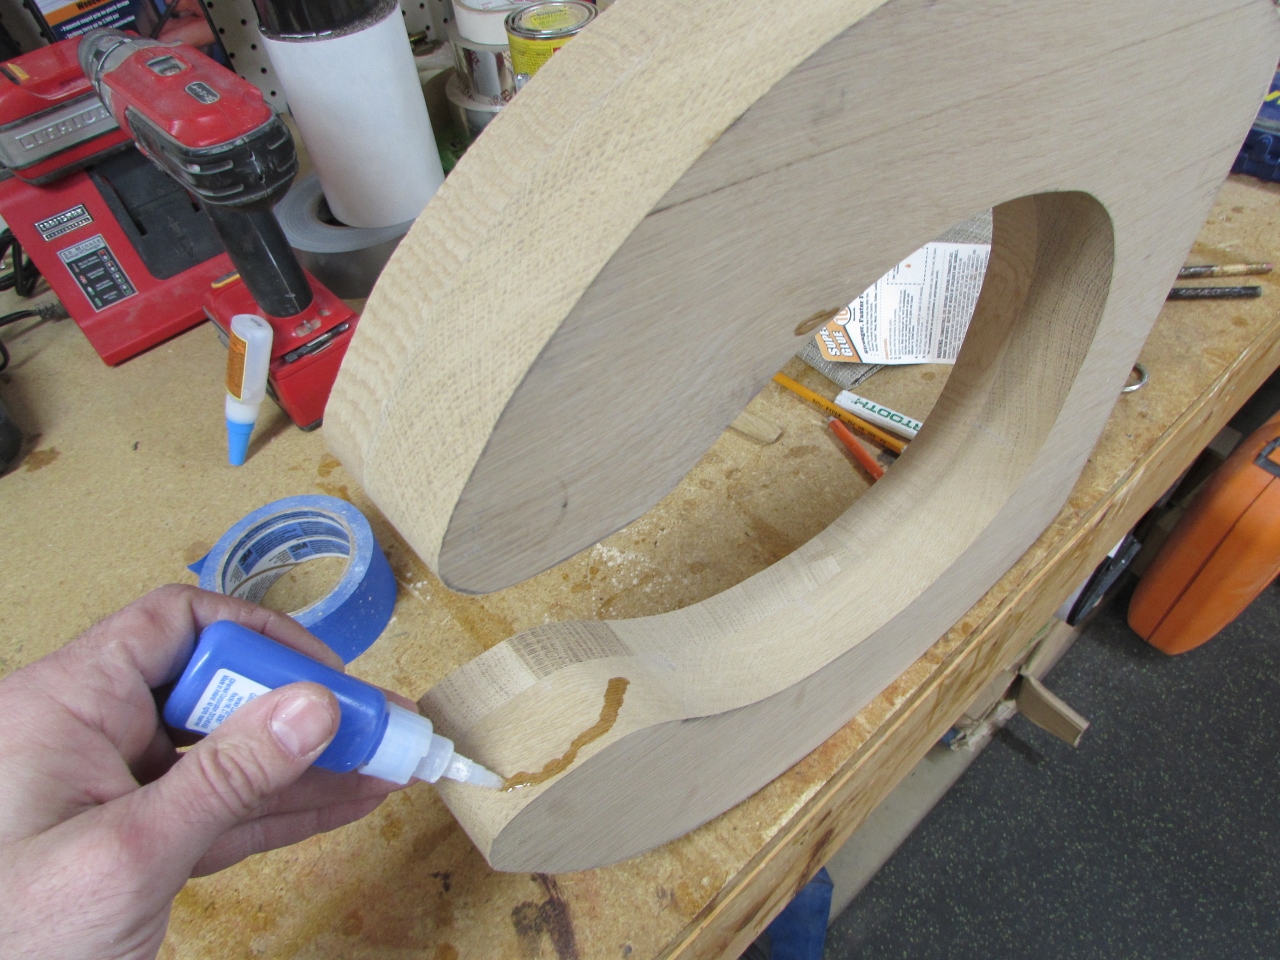
Anywhere I saw any additional cracks, I filled them with CA glue and sanded away the excess.


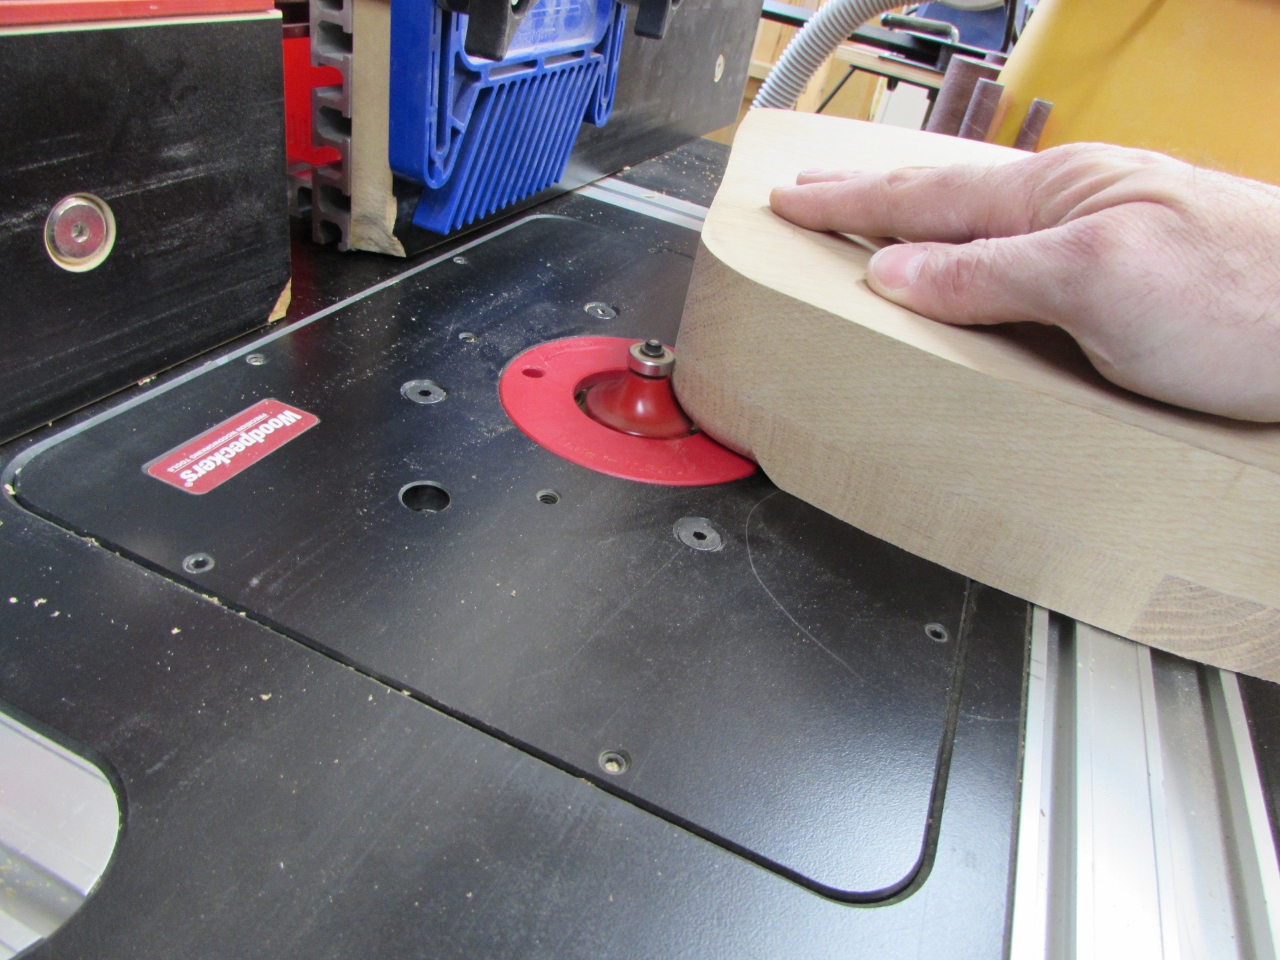
I used my 1/2″ round-over bit with four blades to radius the edges on the top of the seat.
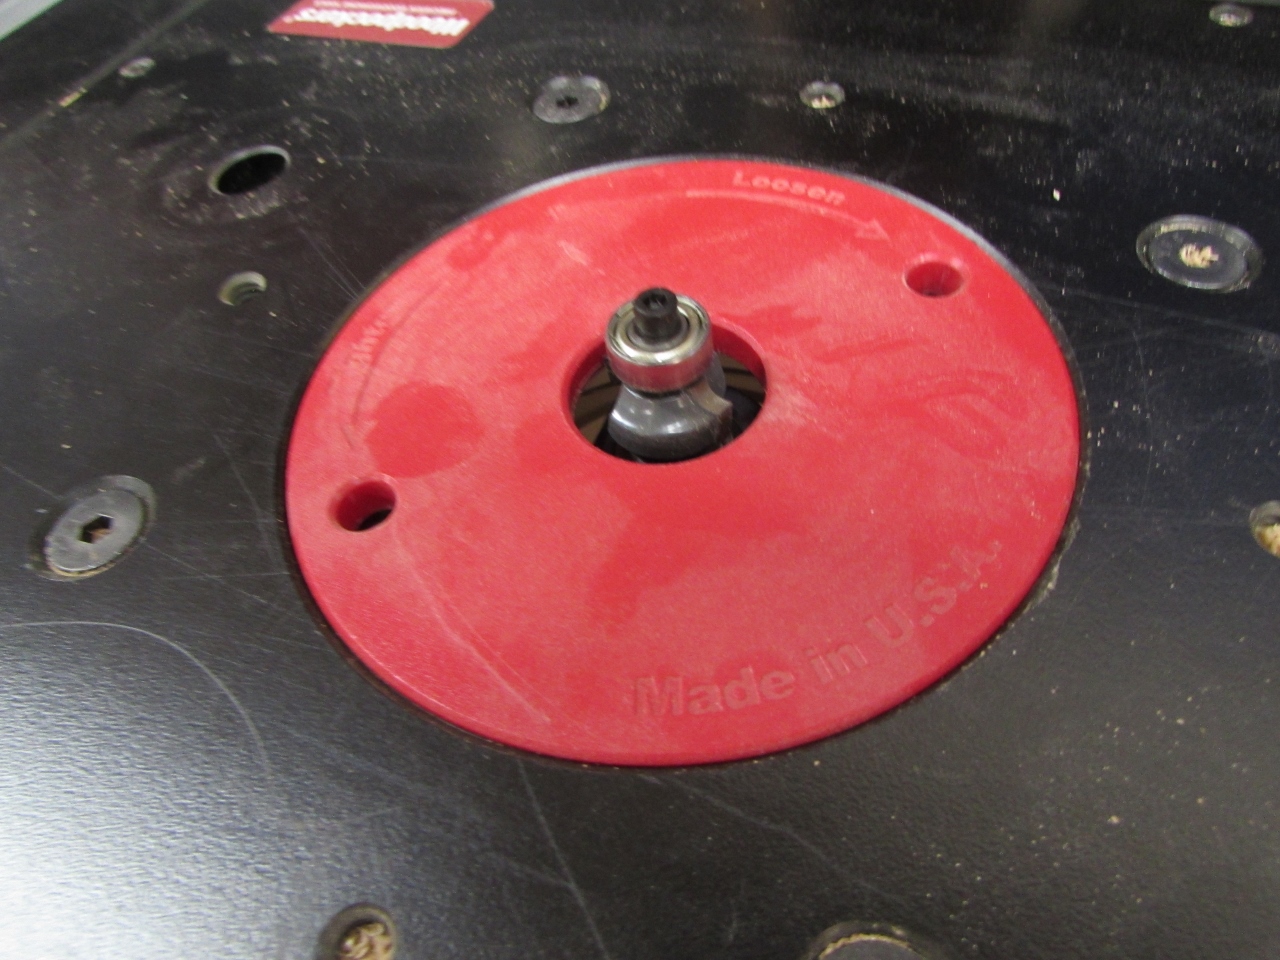
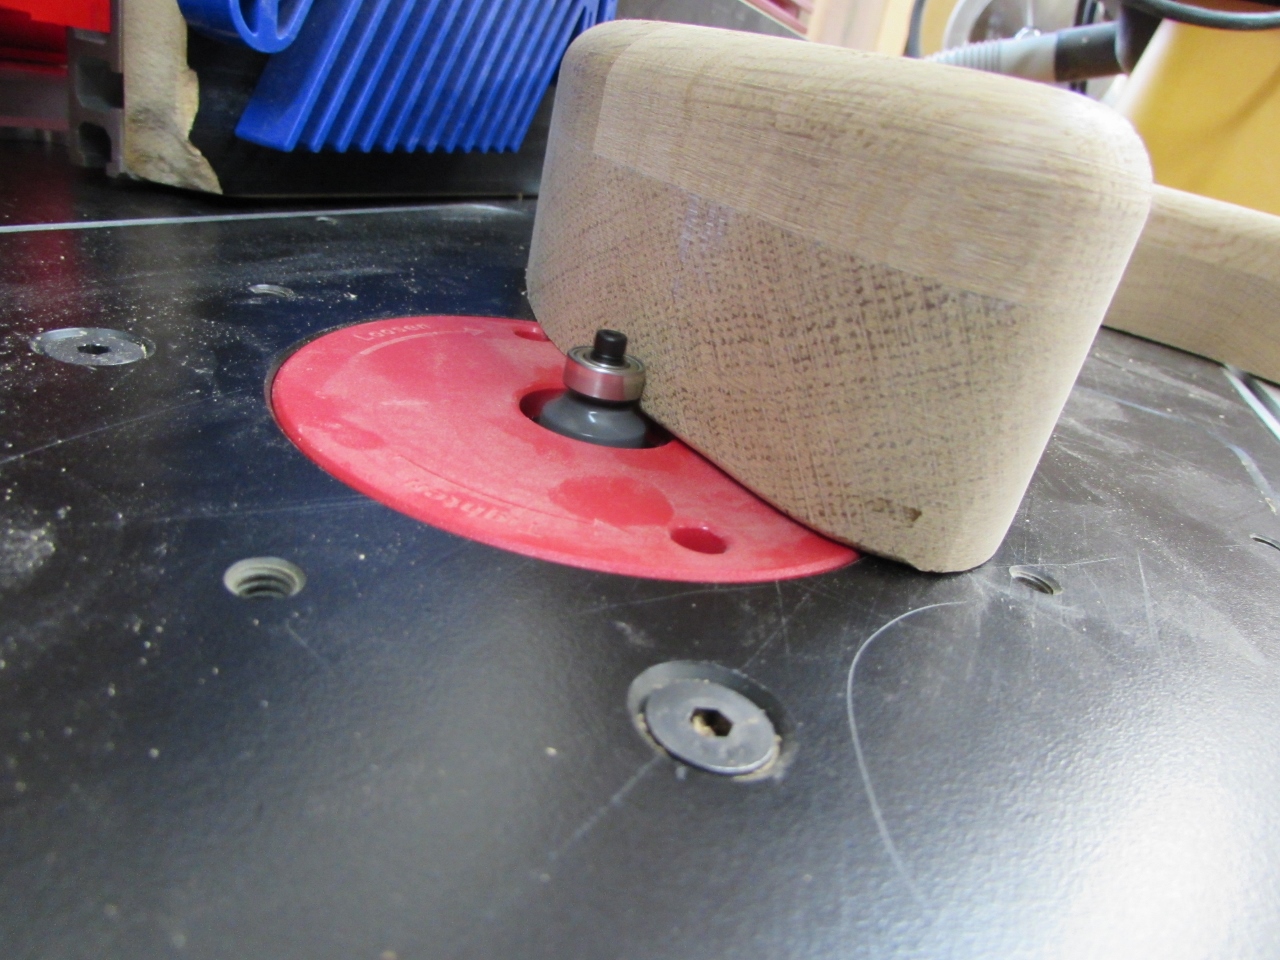
Just to break the edges on the bottom, I used a 1/8″ round-over bit.

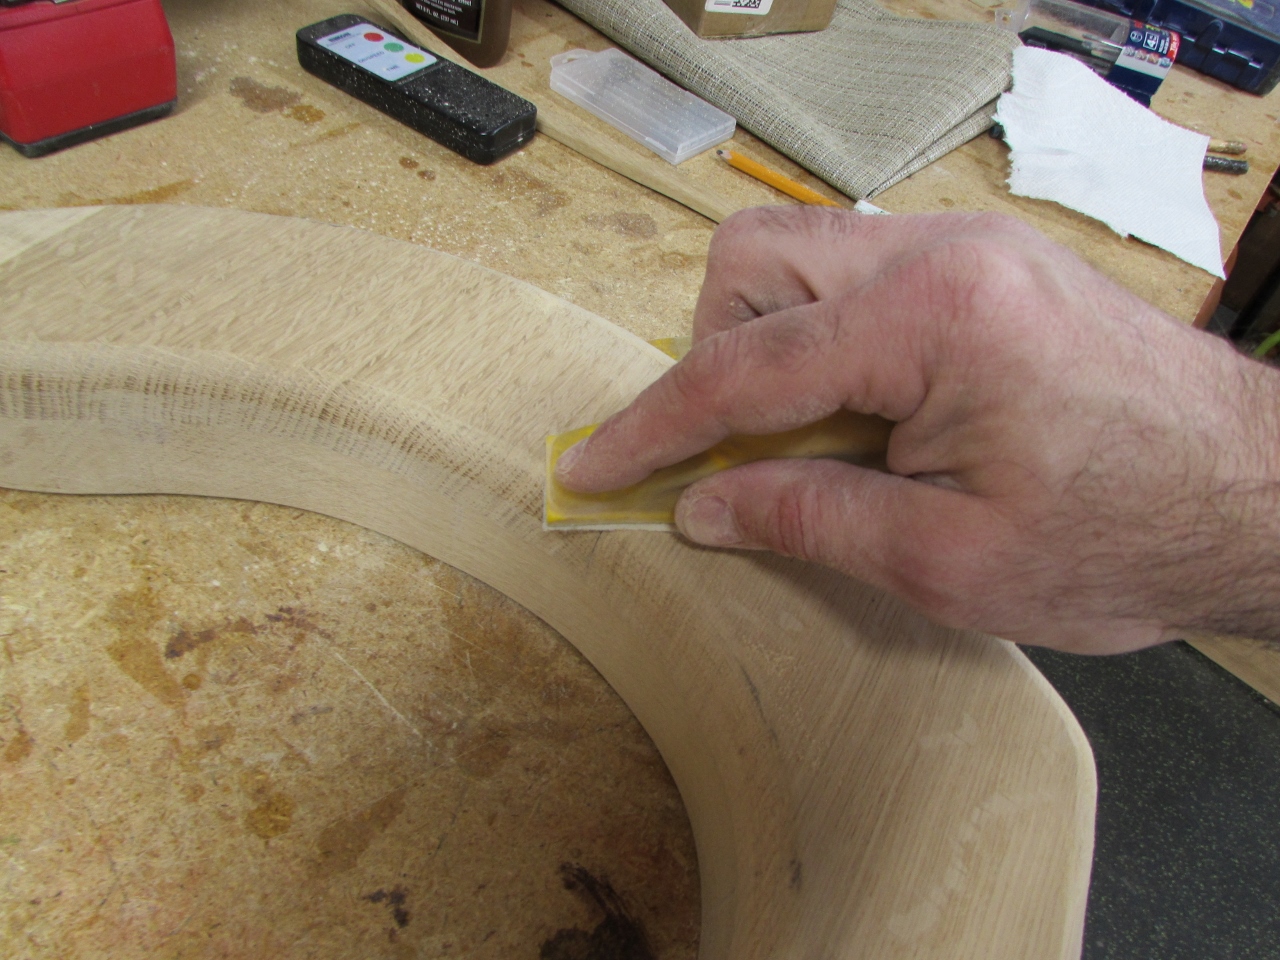
After a little clean-up with sand paper, I marked the hole locations for the toilet seat hinge.

I threw away the pieces for the lid. (I won’t have any use for them) Then I pre-drilled the mounting holes.
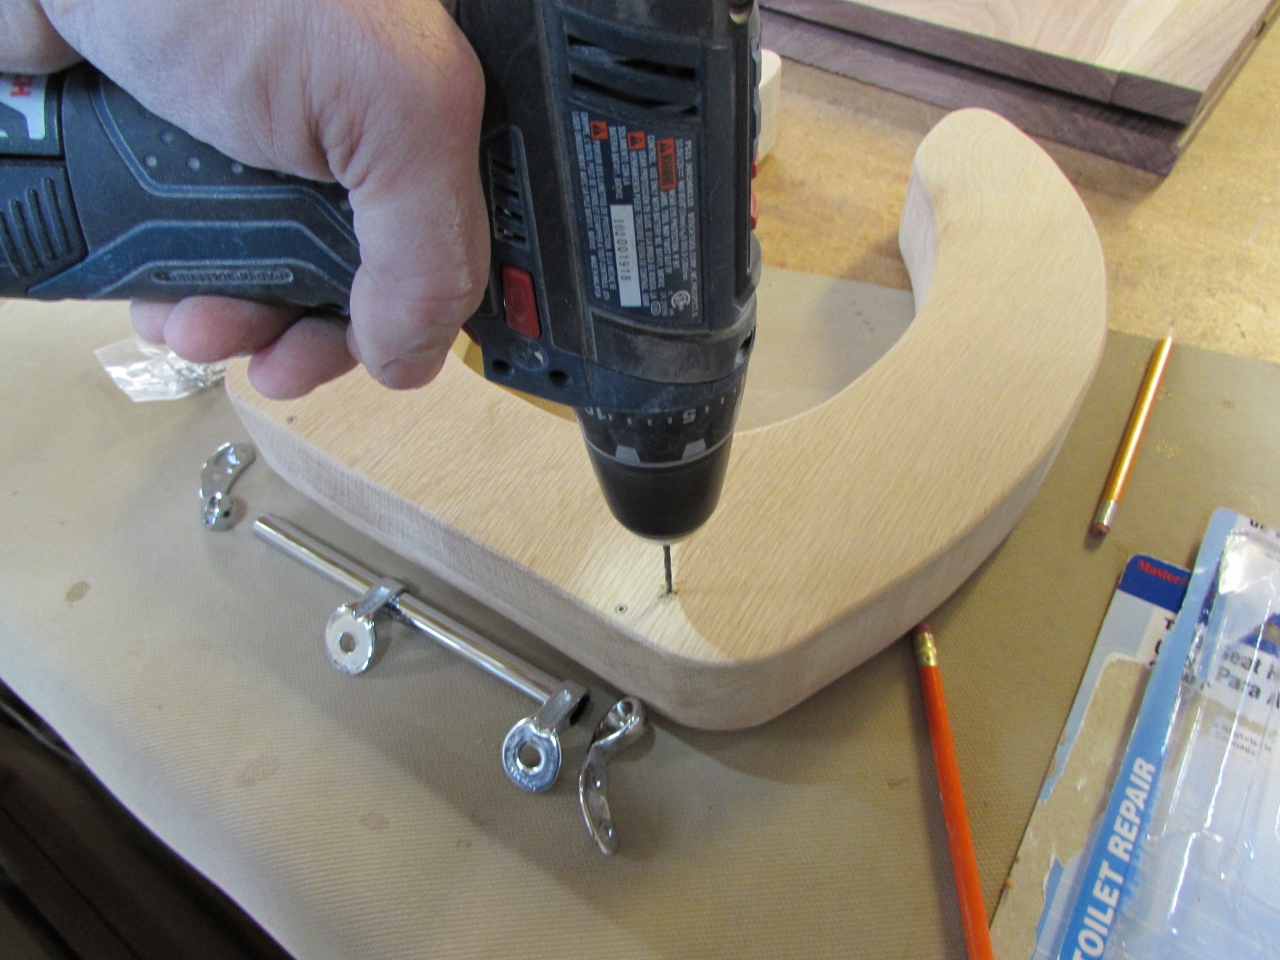

I carefully installed the screws by hand, so they would not get stripped out by my screw gun.

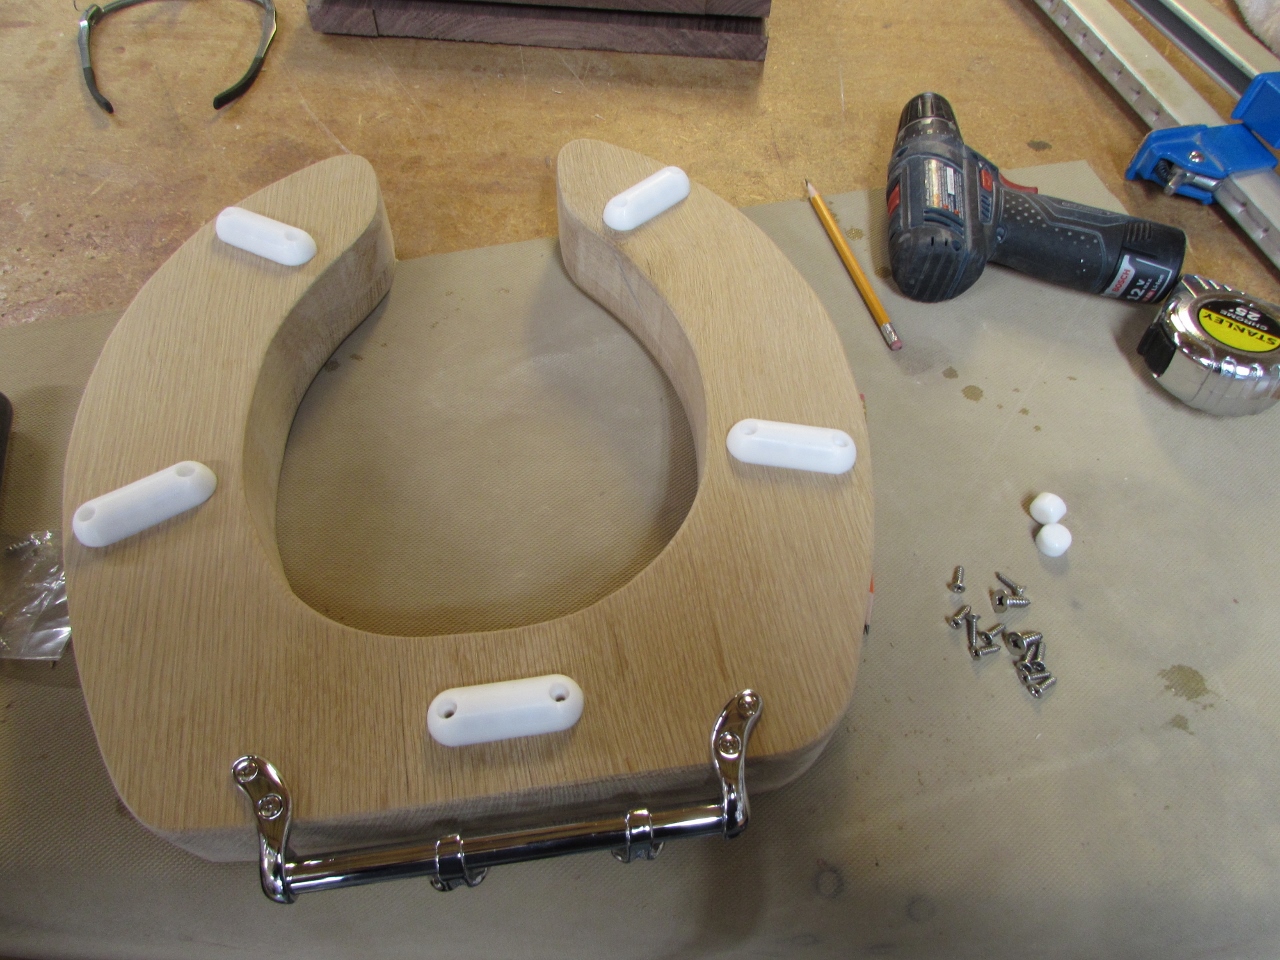
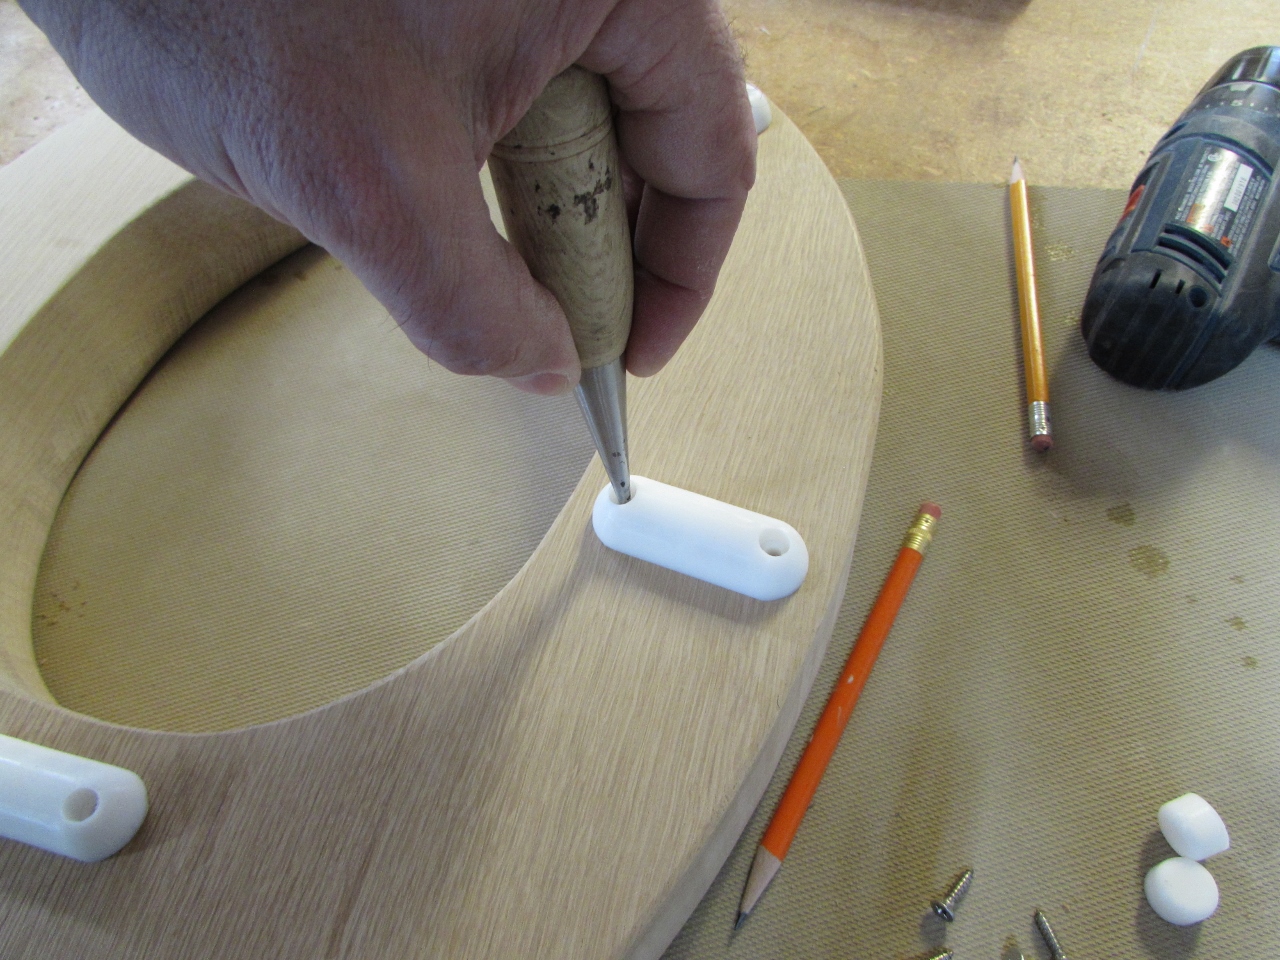
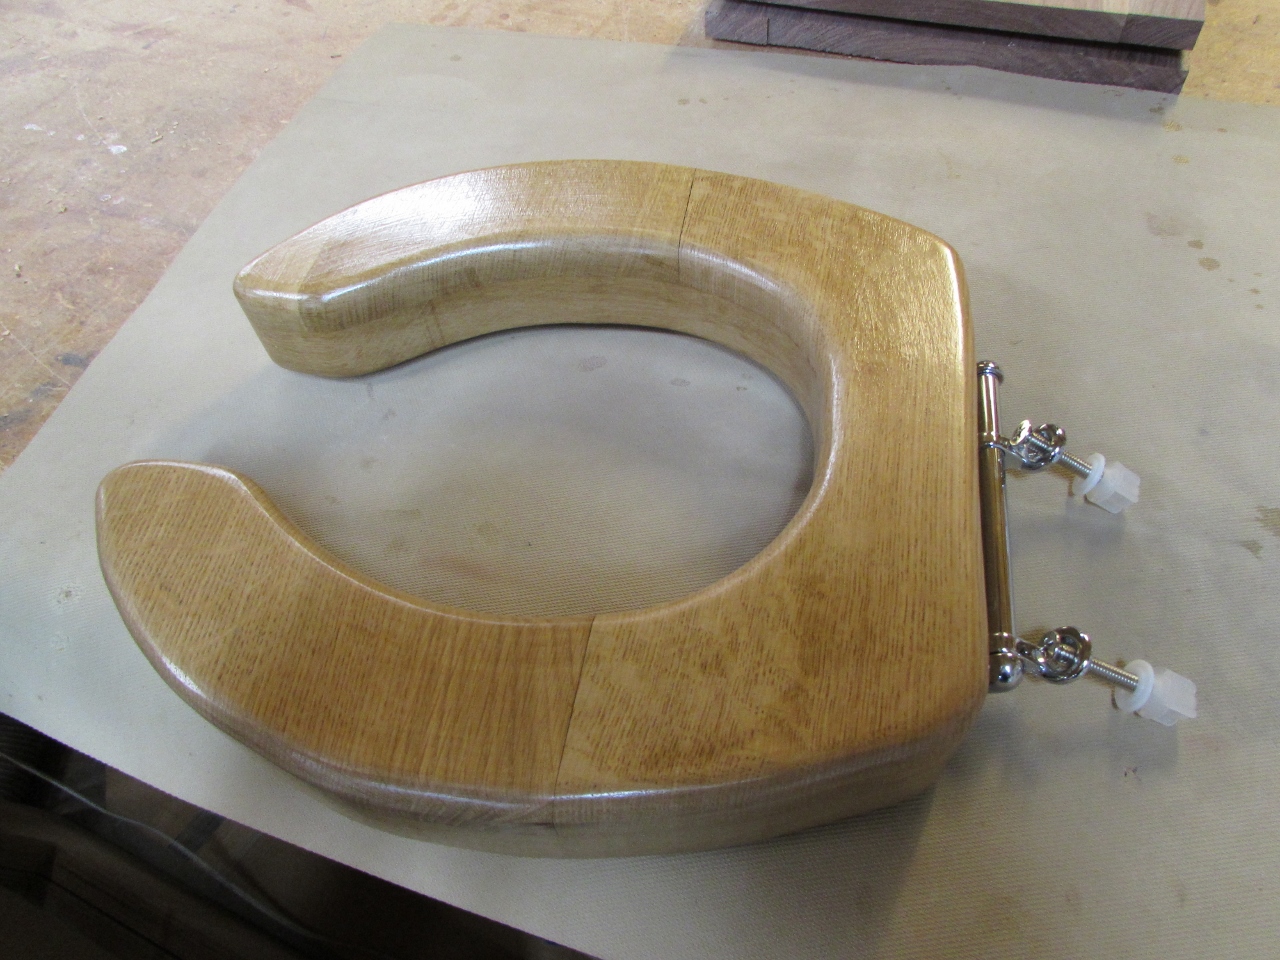
Next, I located and installed the toilet seat bumpers.
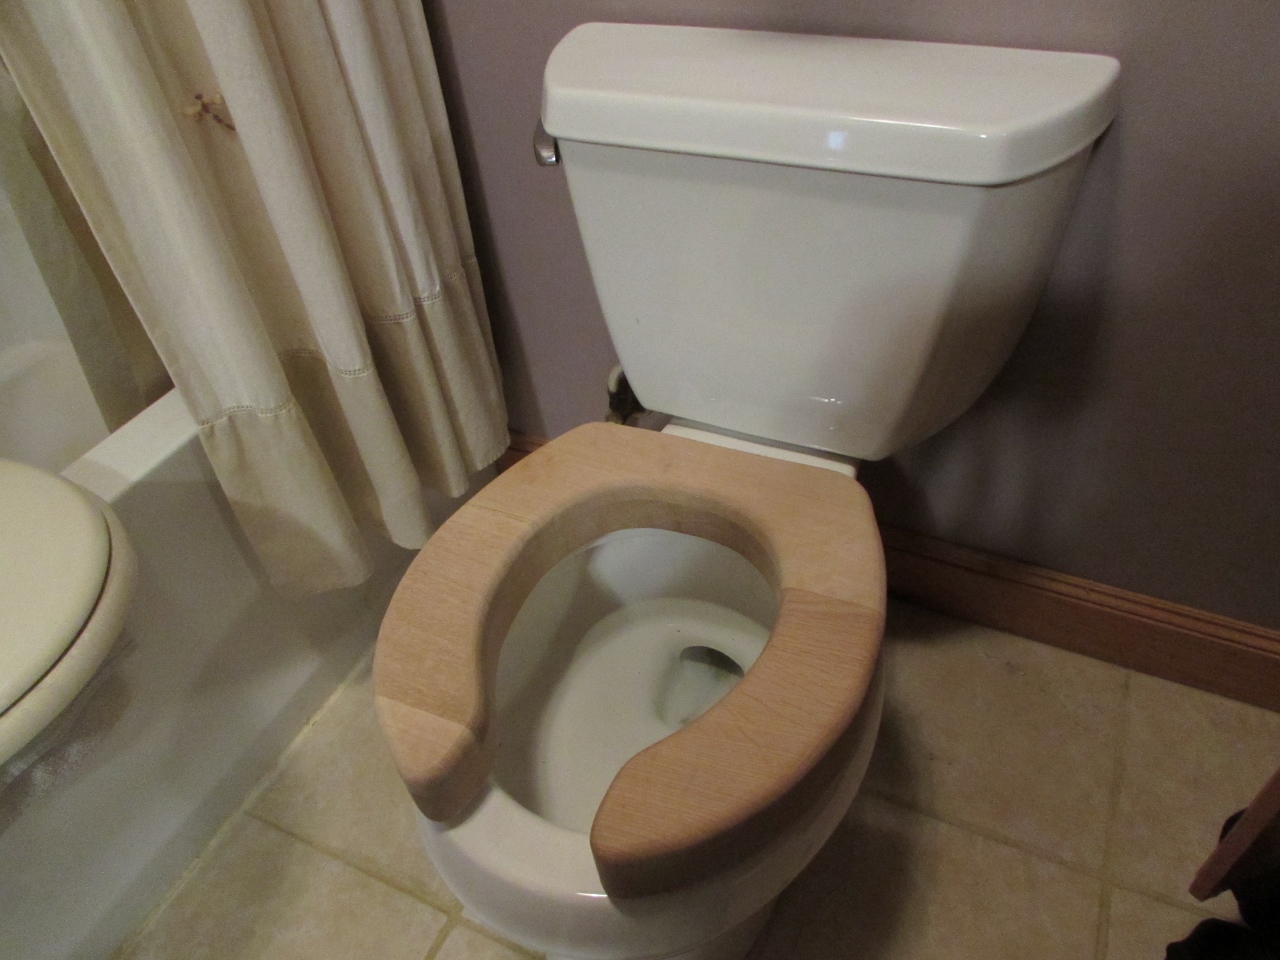
Then it was time for a test fit. The bumpers are 3/4″ thick and the seat itself is 2-1/2″ thick. Installed, it makes the seat 3-1/4″ taller, and without a lid, it opens and closes perfectly. It is a lot heavier than a standard seat, so don’t drop it…

I am happy with the fit, so it is time to finish it up.
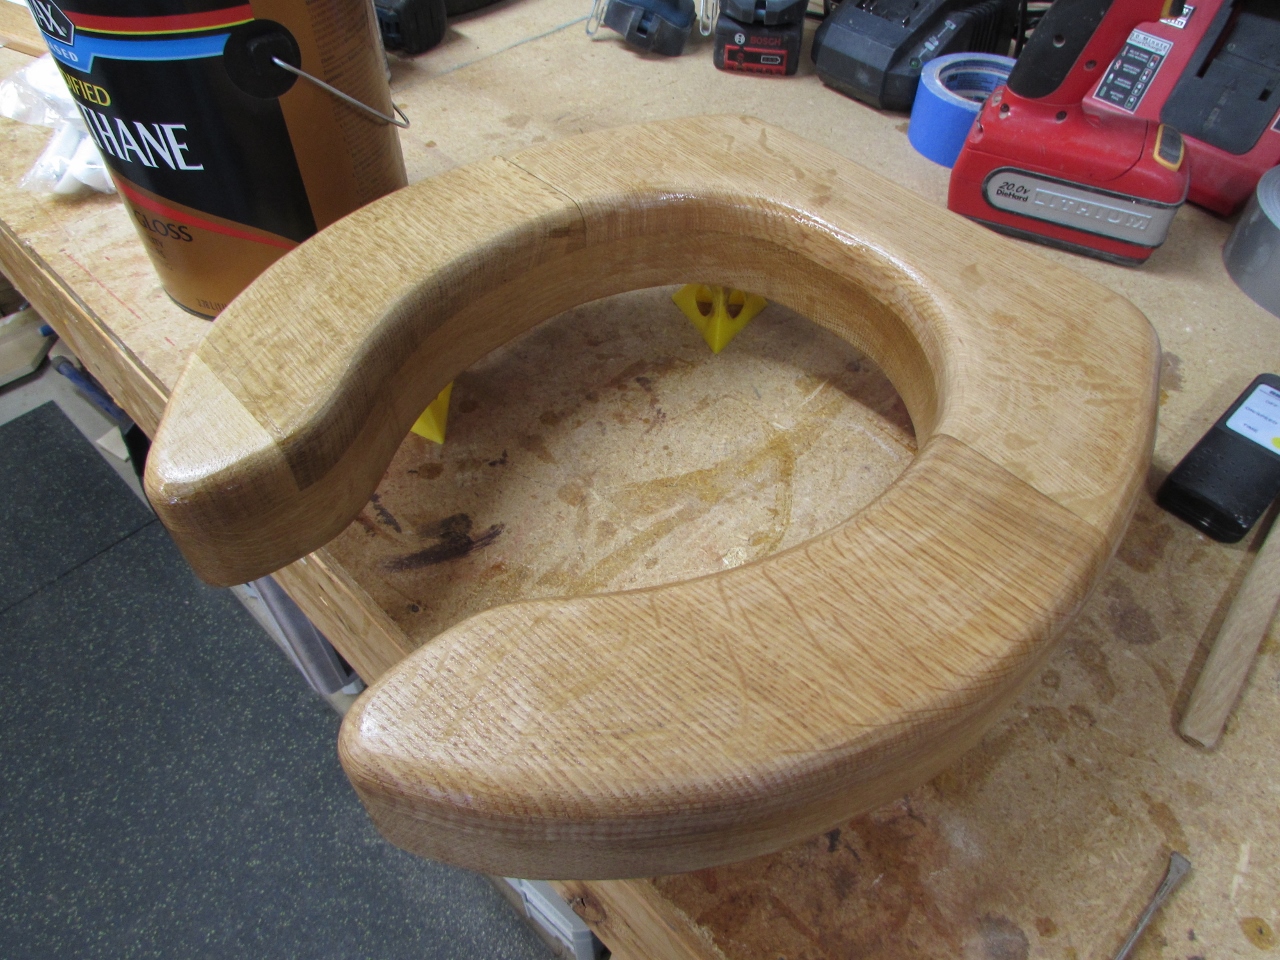
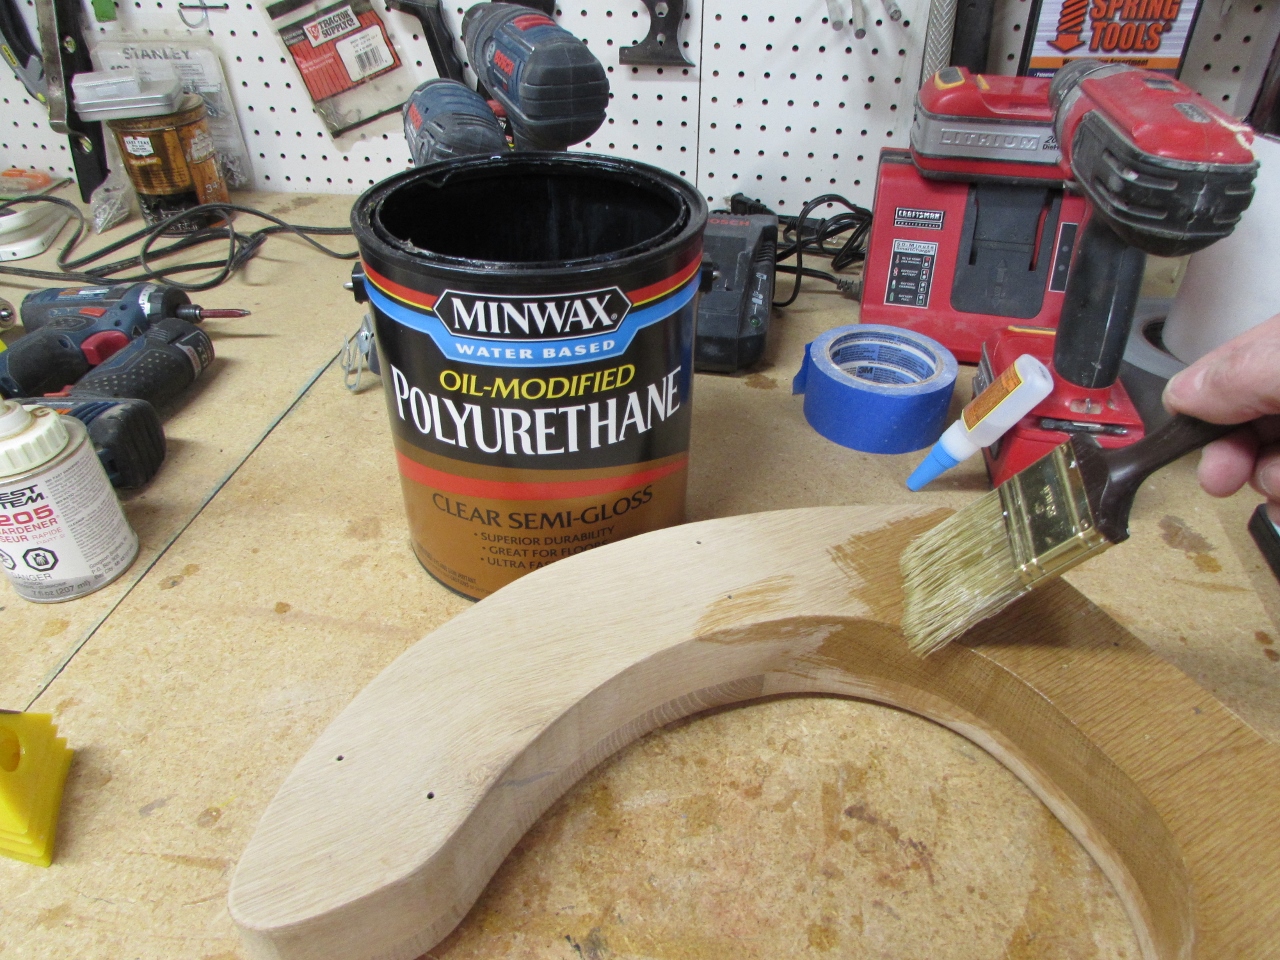
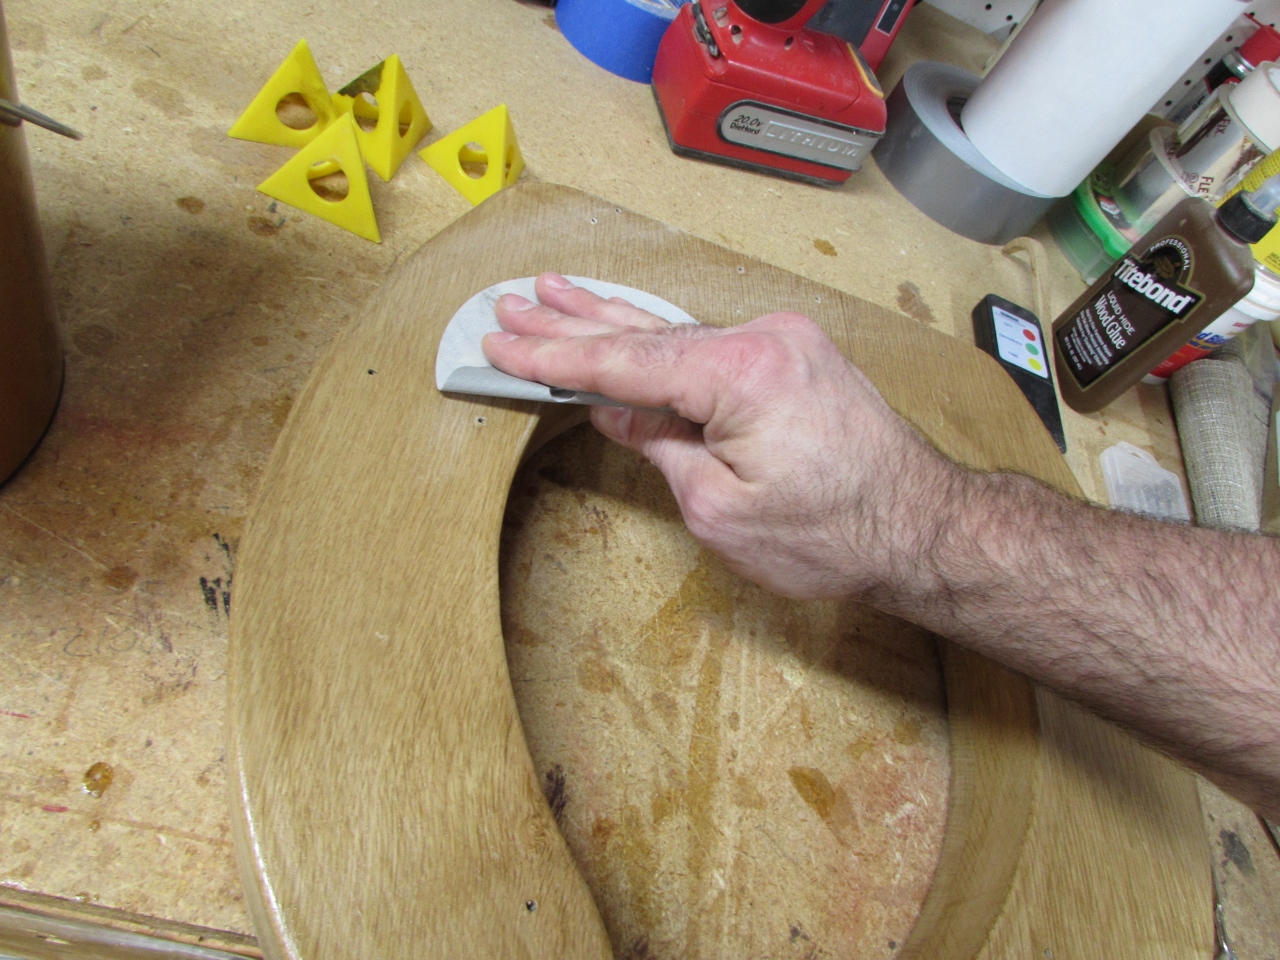
I applied three coats of an oil modified, water based finished, sanding between each coat.
I was pleasantly surprised when I got the warm look of an oil-based poly with the 2-hour dry time of a water-based poly.


I didn’t take a picture of the final installation, but I have had some very favorable feedback so far from my in-laws.
A weird project, I know, but it is something that is needed, given the options that are out there. I hope someone else makes one and lets me know if they think of anything that could make this better.
