
Pass-through window shelves
To finish my friend, Margie’s kitchen, she wanted to add some shelves to the kitchen pass-through window. We adjusted the opening to make it smaller, allowing for an additional cabinet to be installed. Once that was done, I had the dimensions to start. I asked Margie to give me a shelf layout on some graph paper while I acquired the wood.
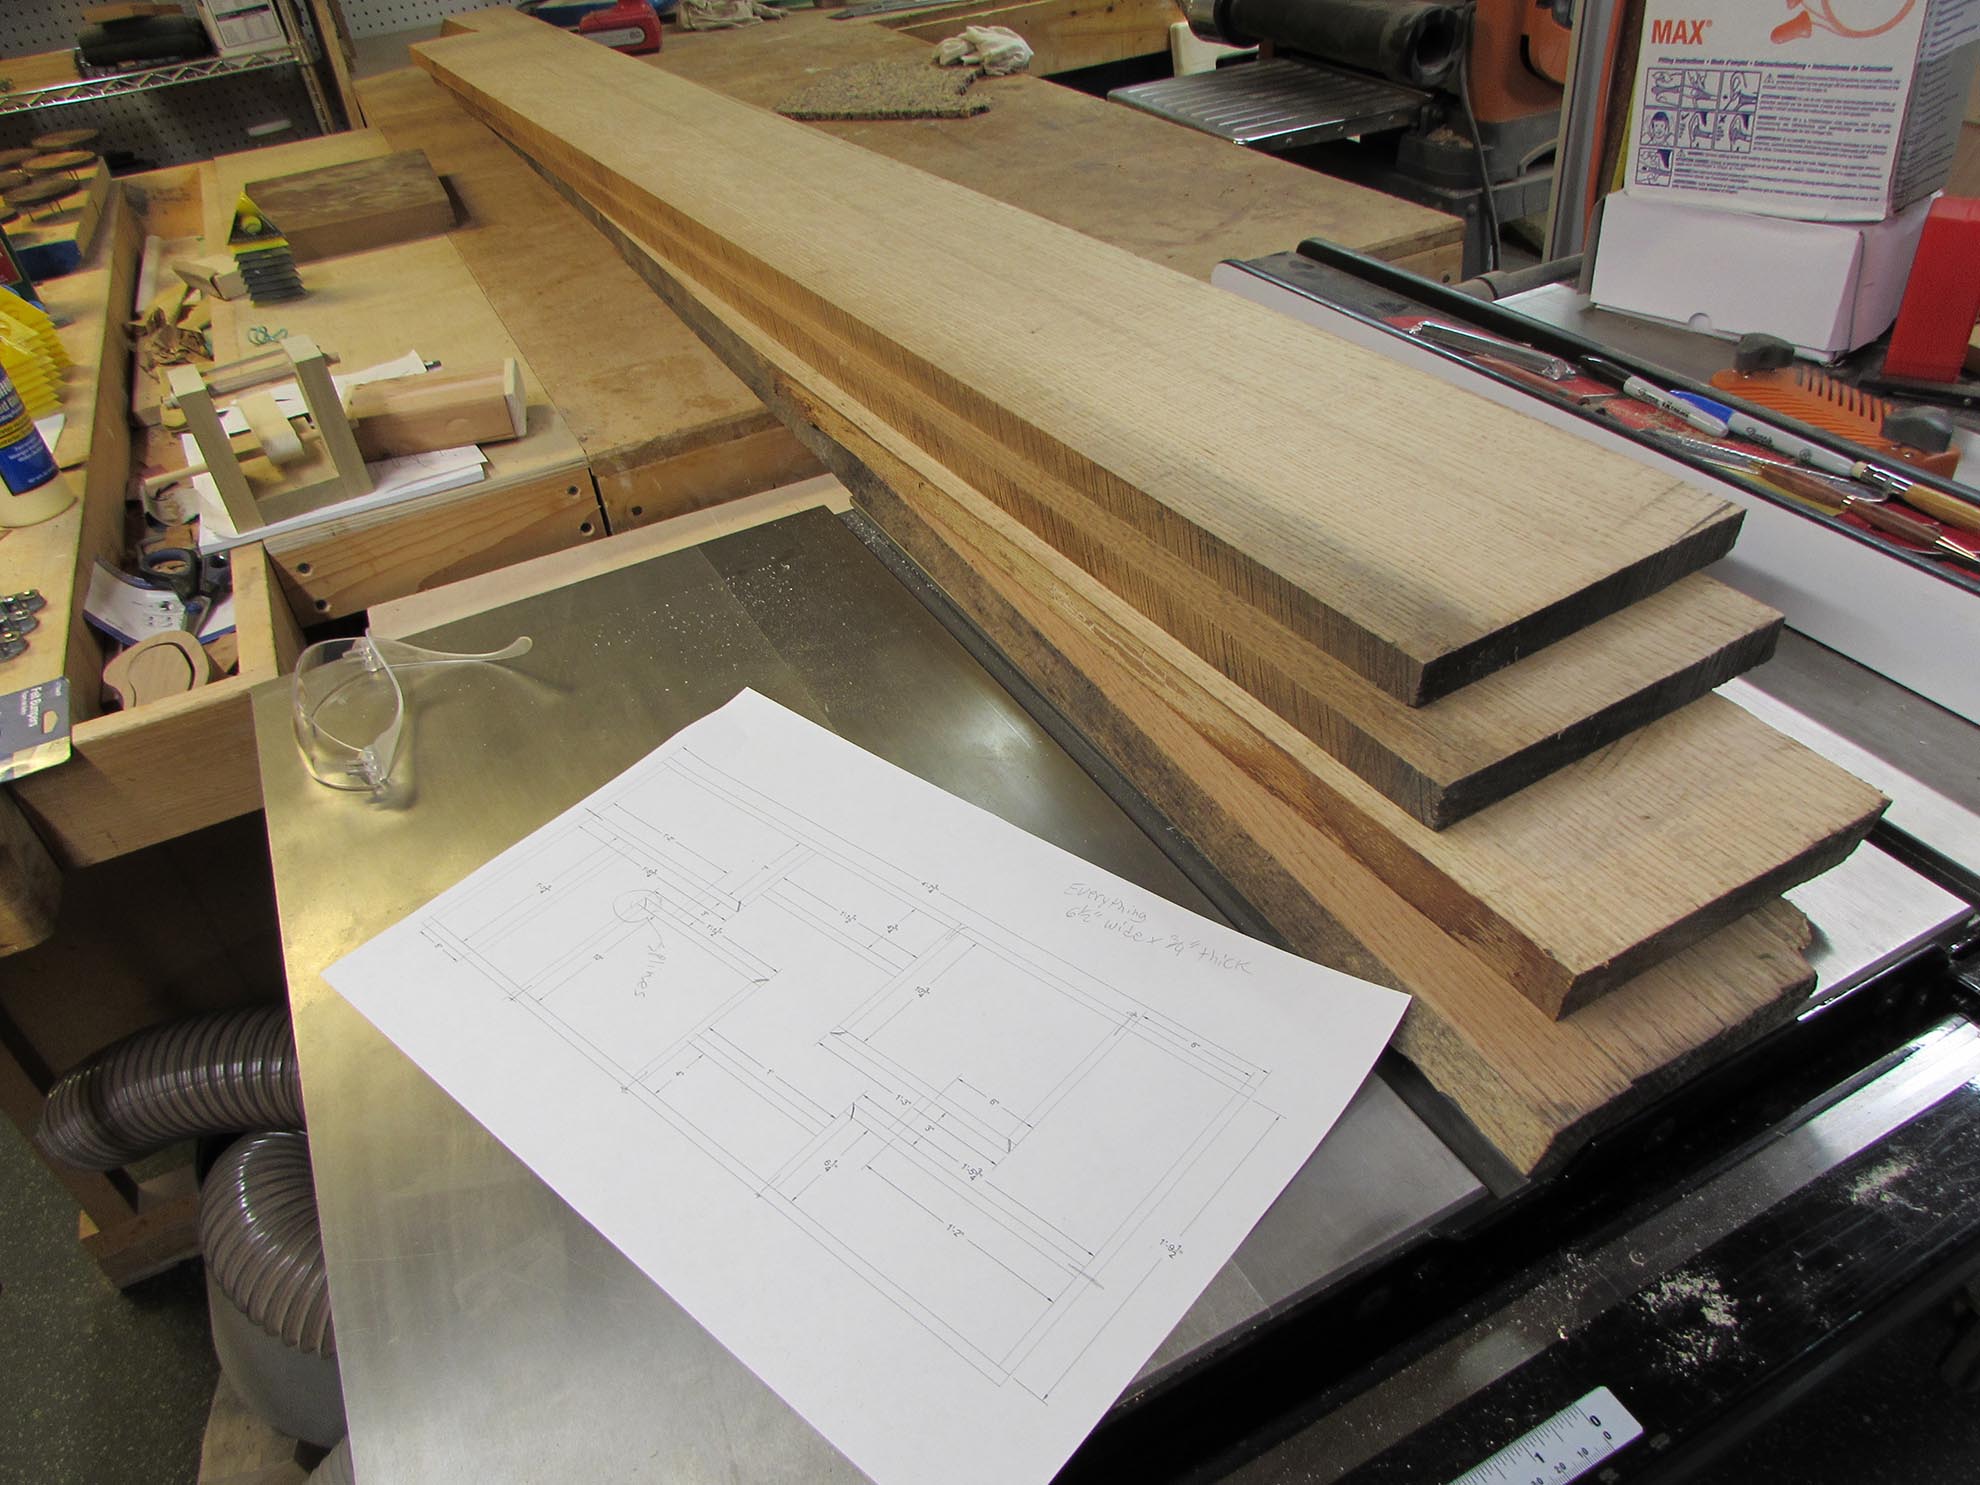
I am using some beautiful quarter-sawn oak on this project. The stuff I have is 5/4″ thick, but that is too thick for these shelves. We decided on 3/4″ so I am re-sawing the boards to get them closer to the required thickness.

I start by cutting them all to the required 6-1/2″ width, then did most of my re-sawing on the table saw.

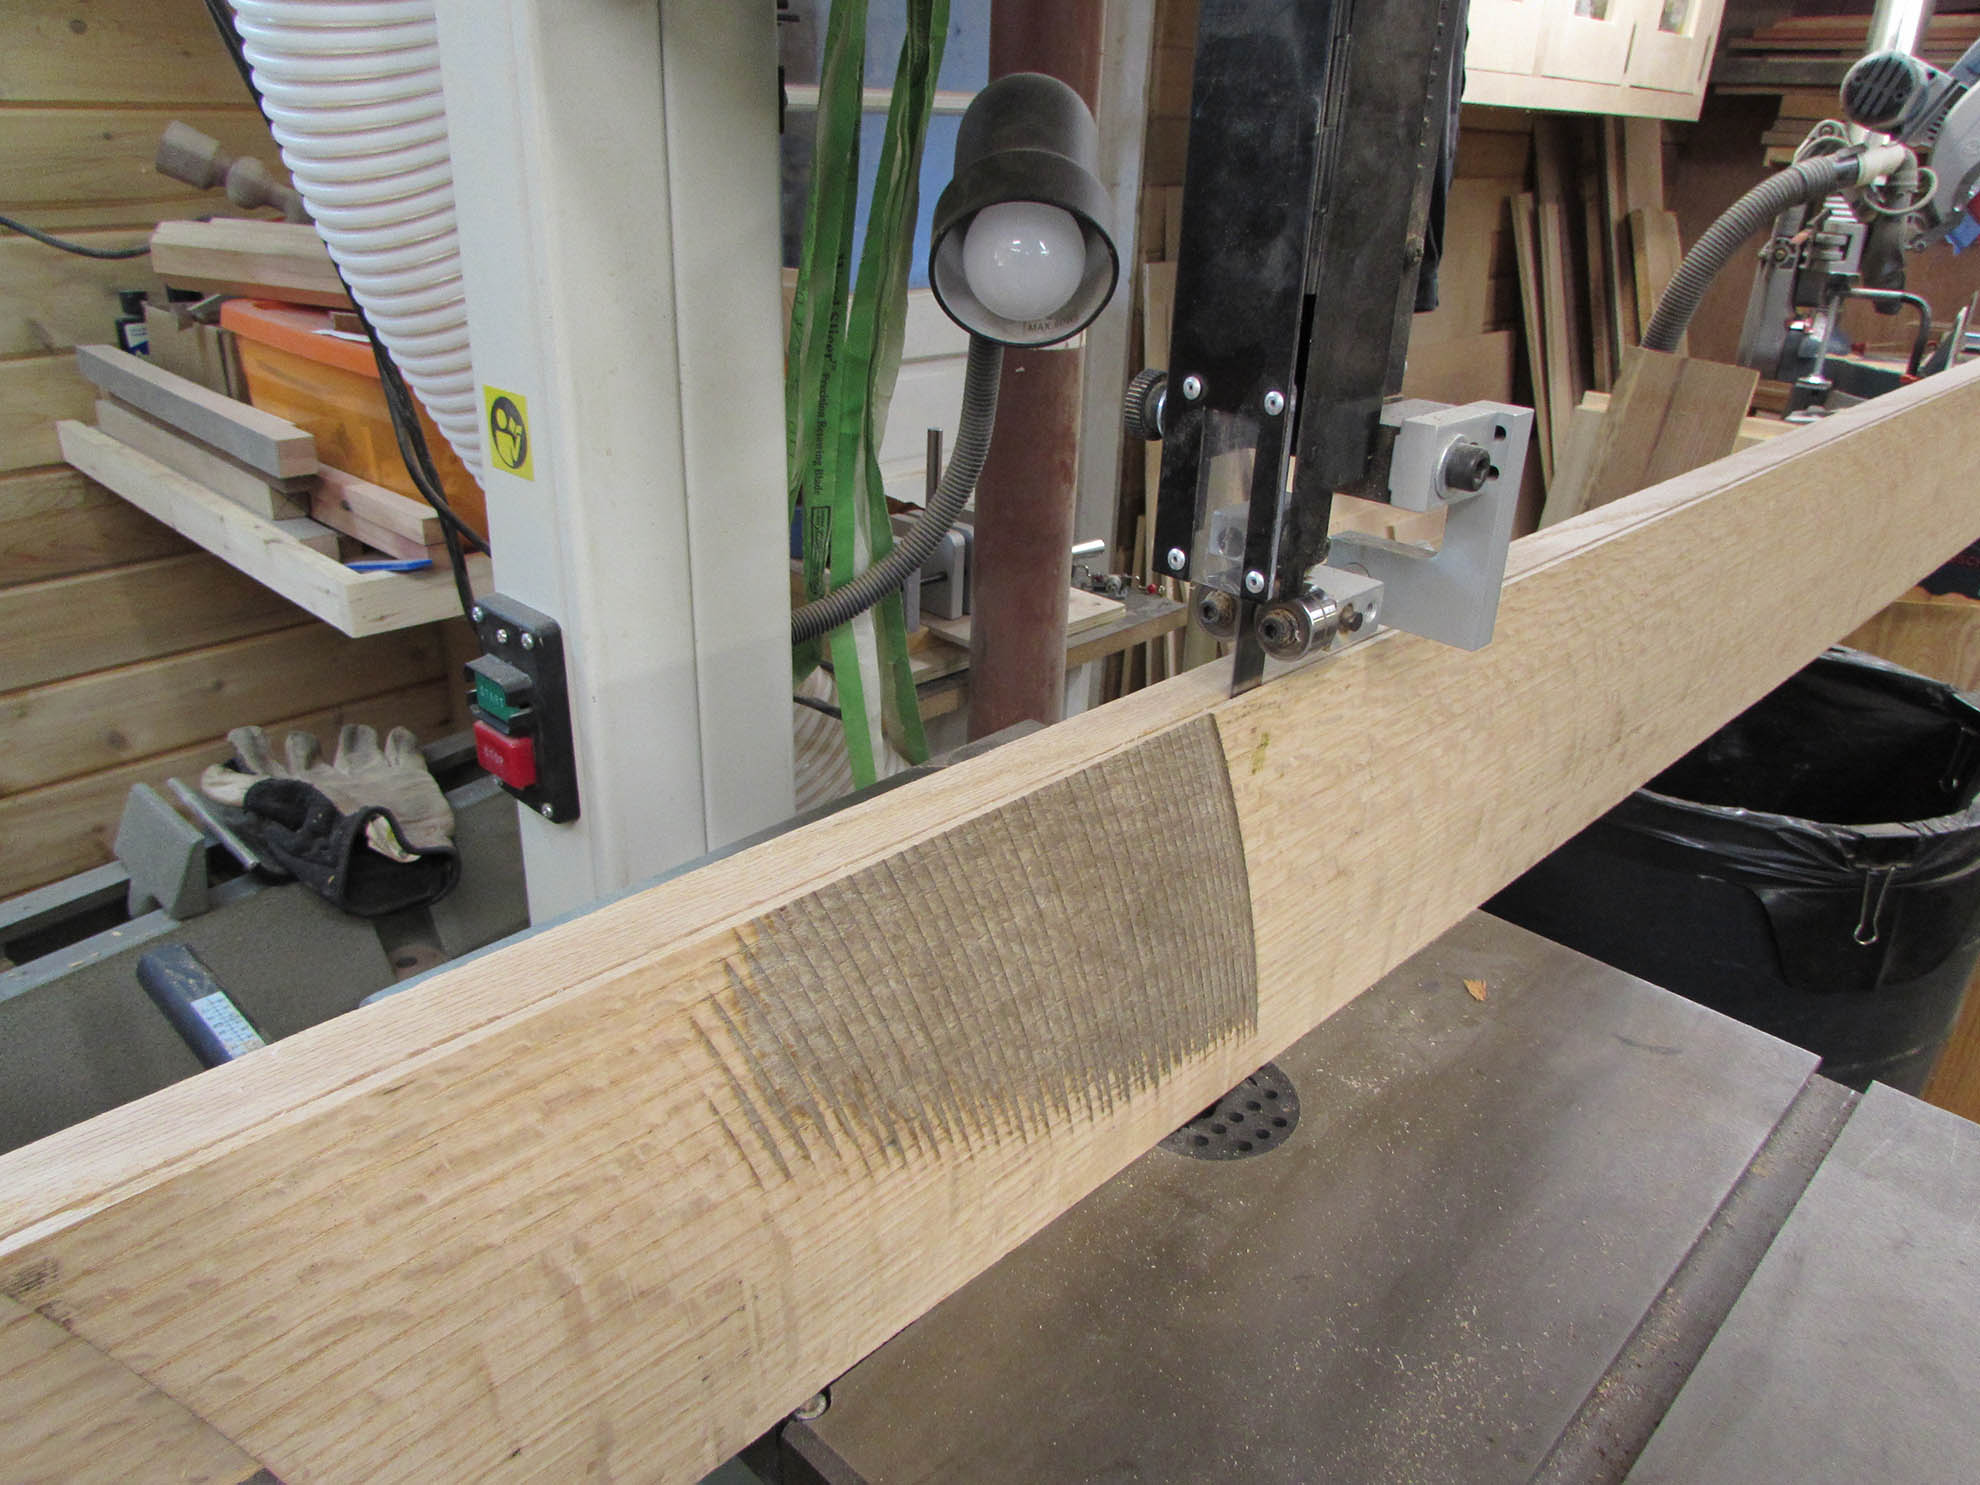
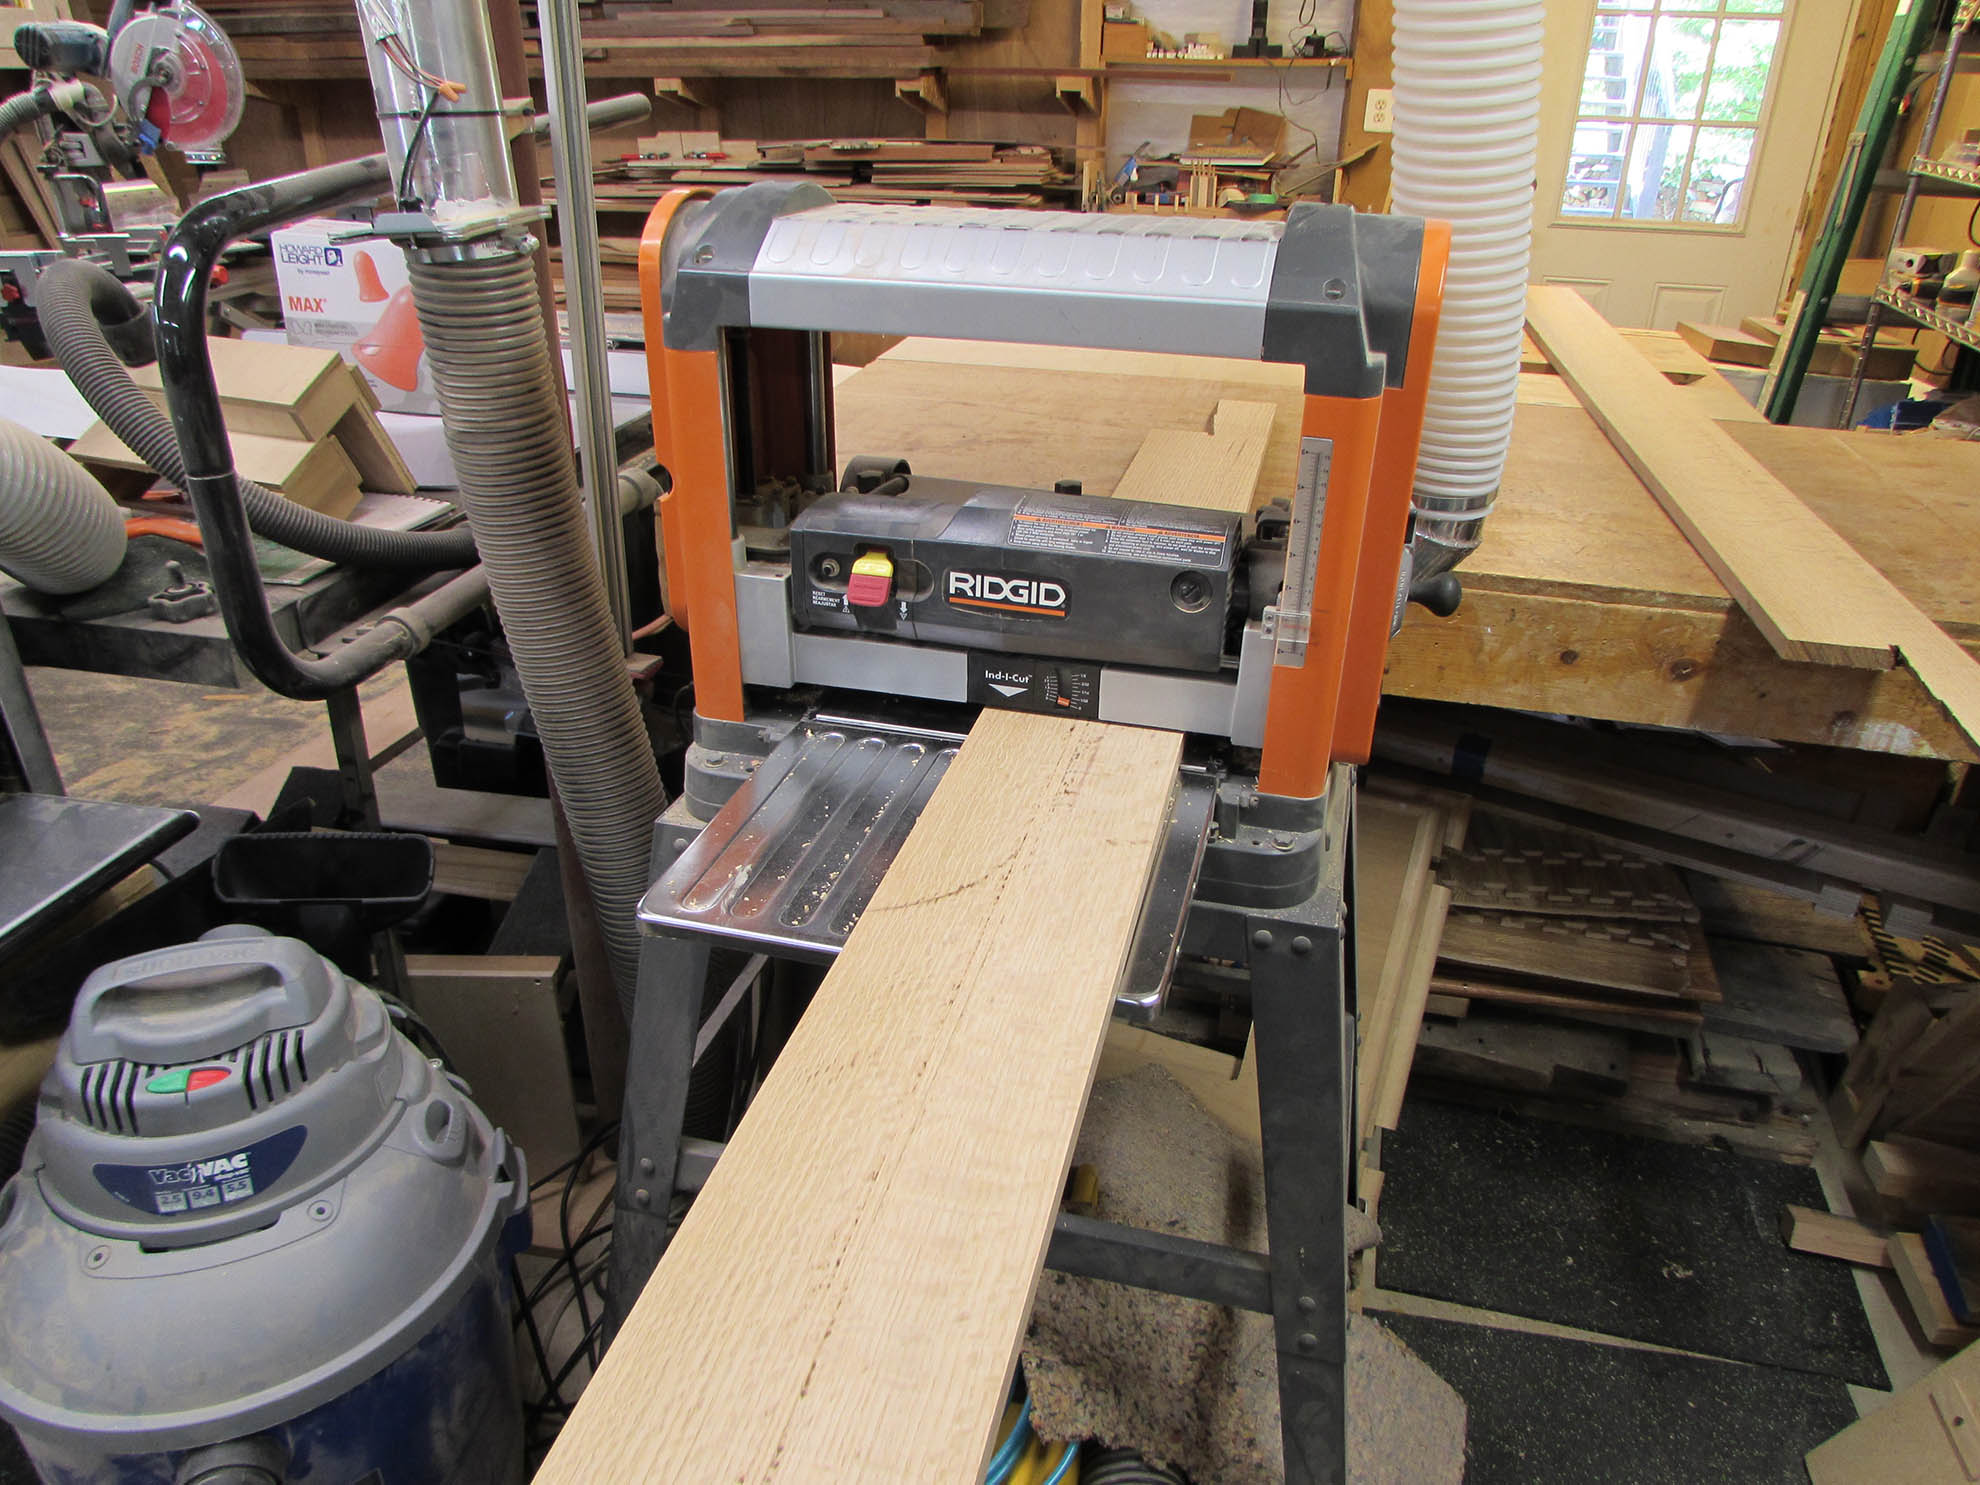
I finished up the re-saw on the band saw, then planed my boards down to 3/4″ thick.
With everything milled to size, I started cutting my shelves to length. I started with the boxes.
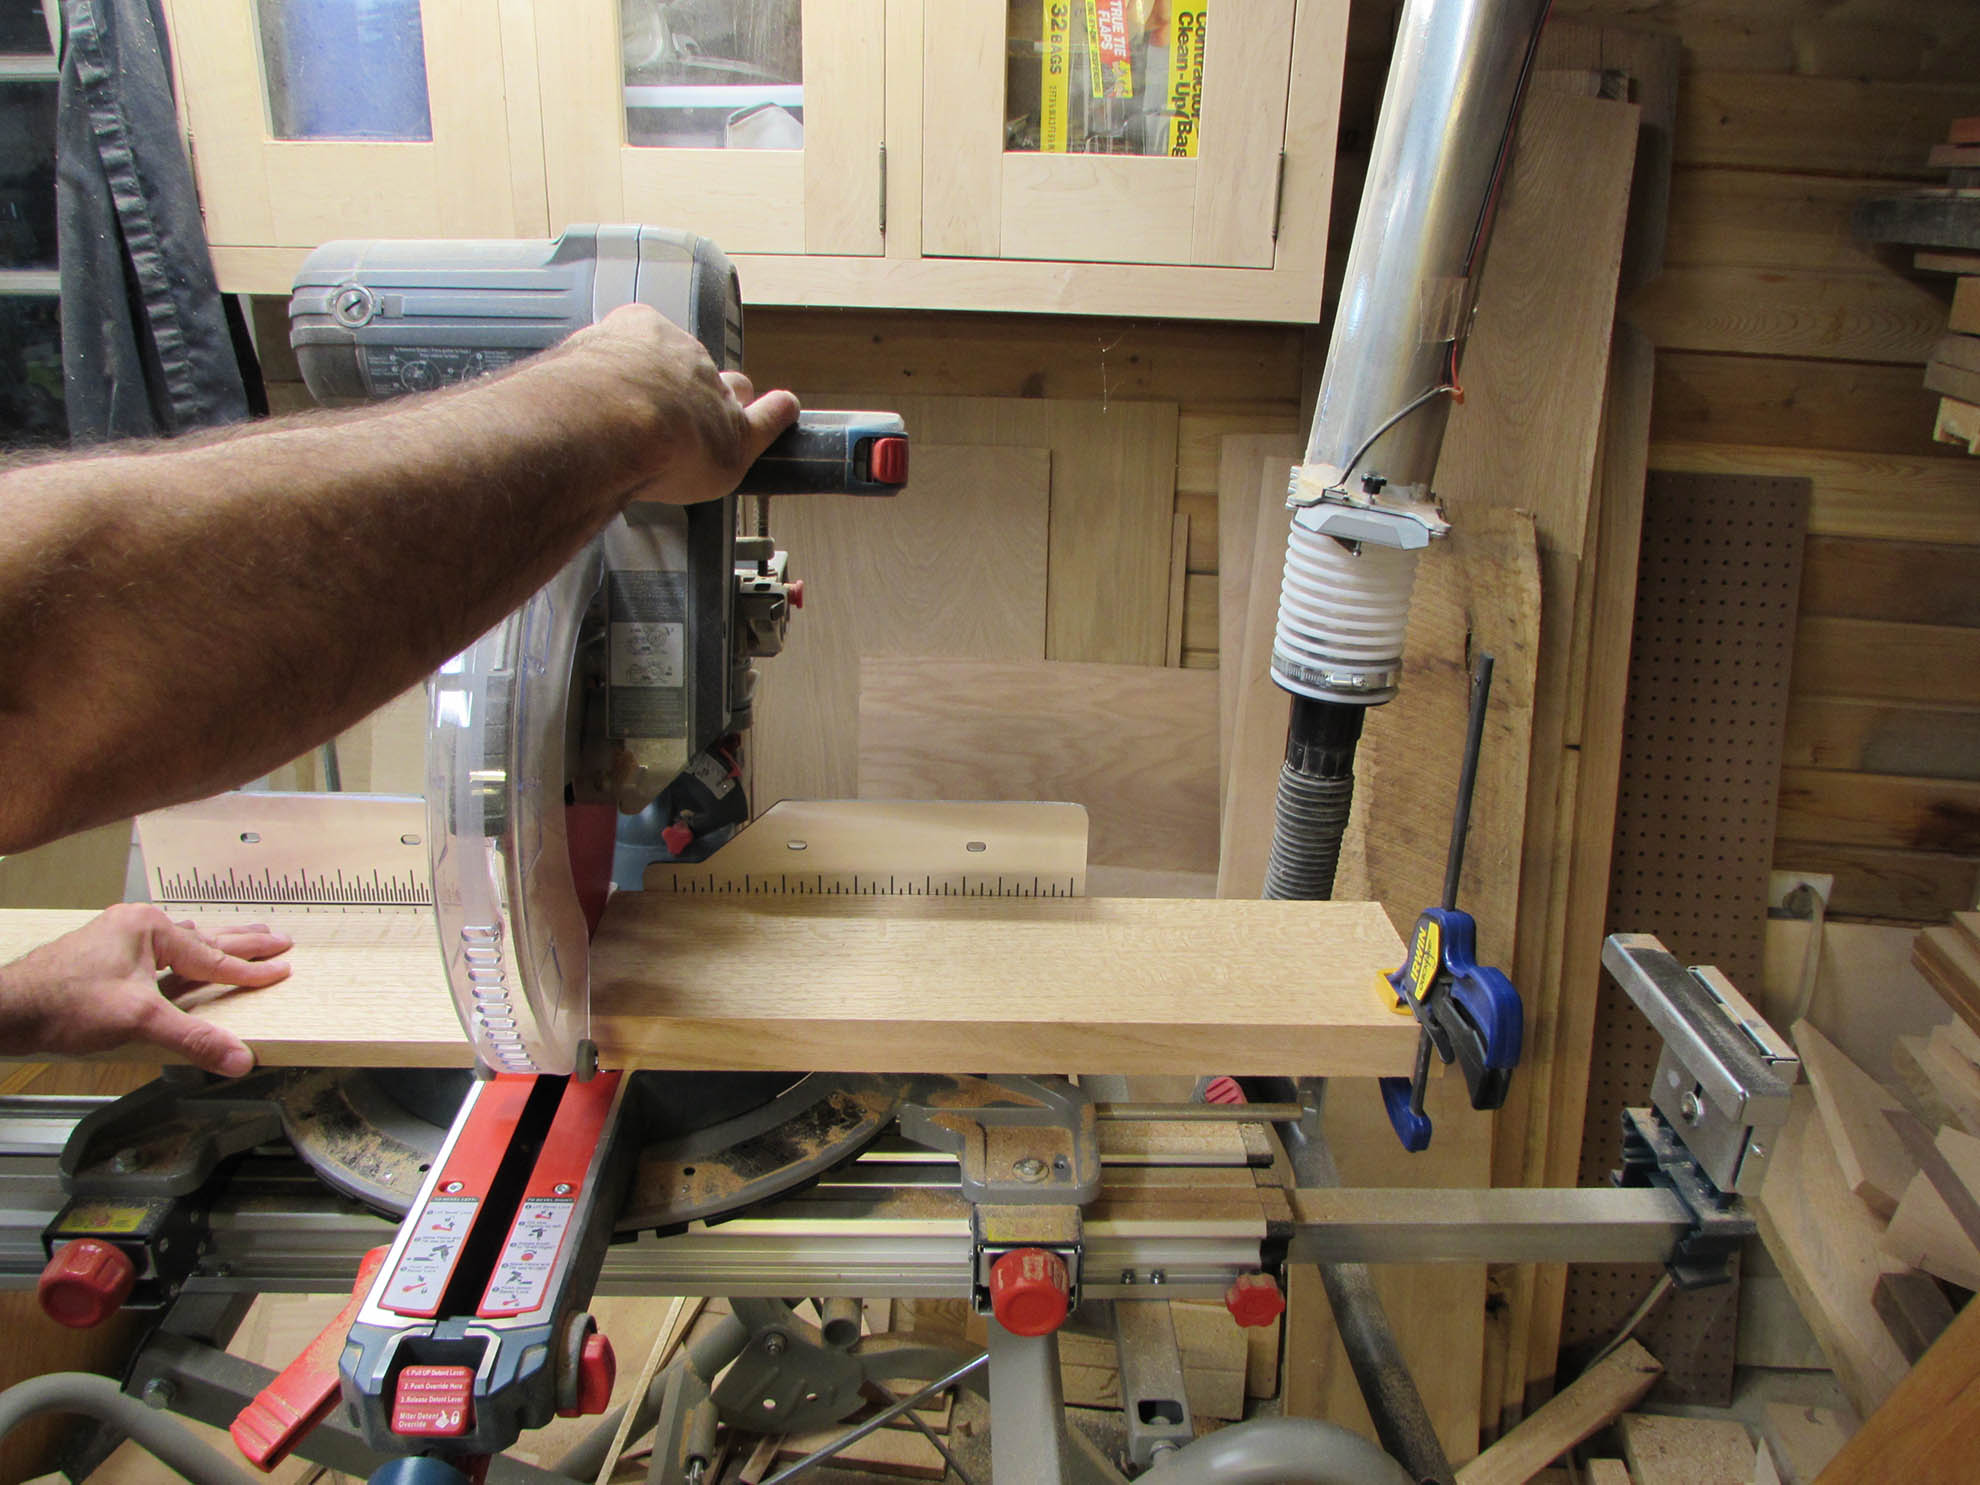
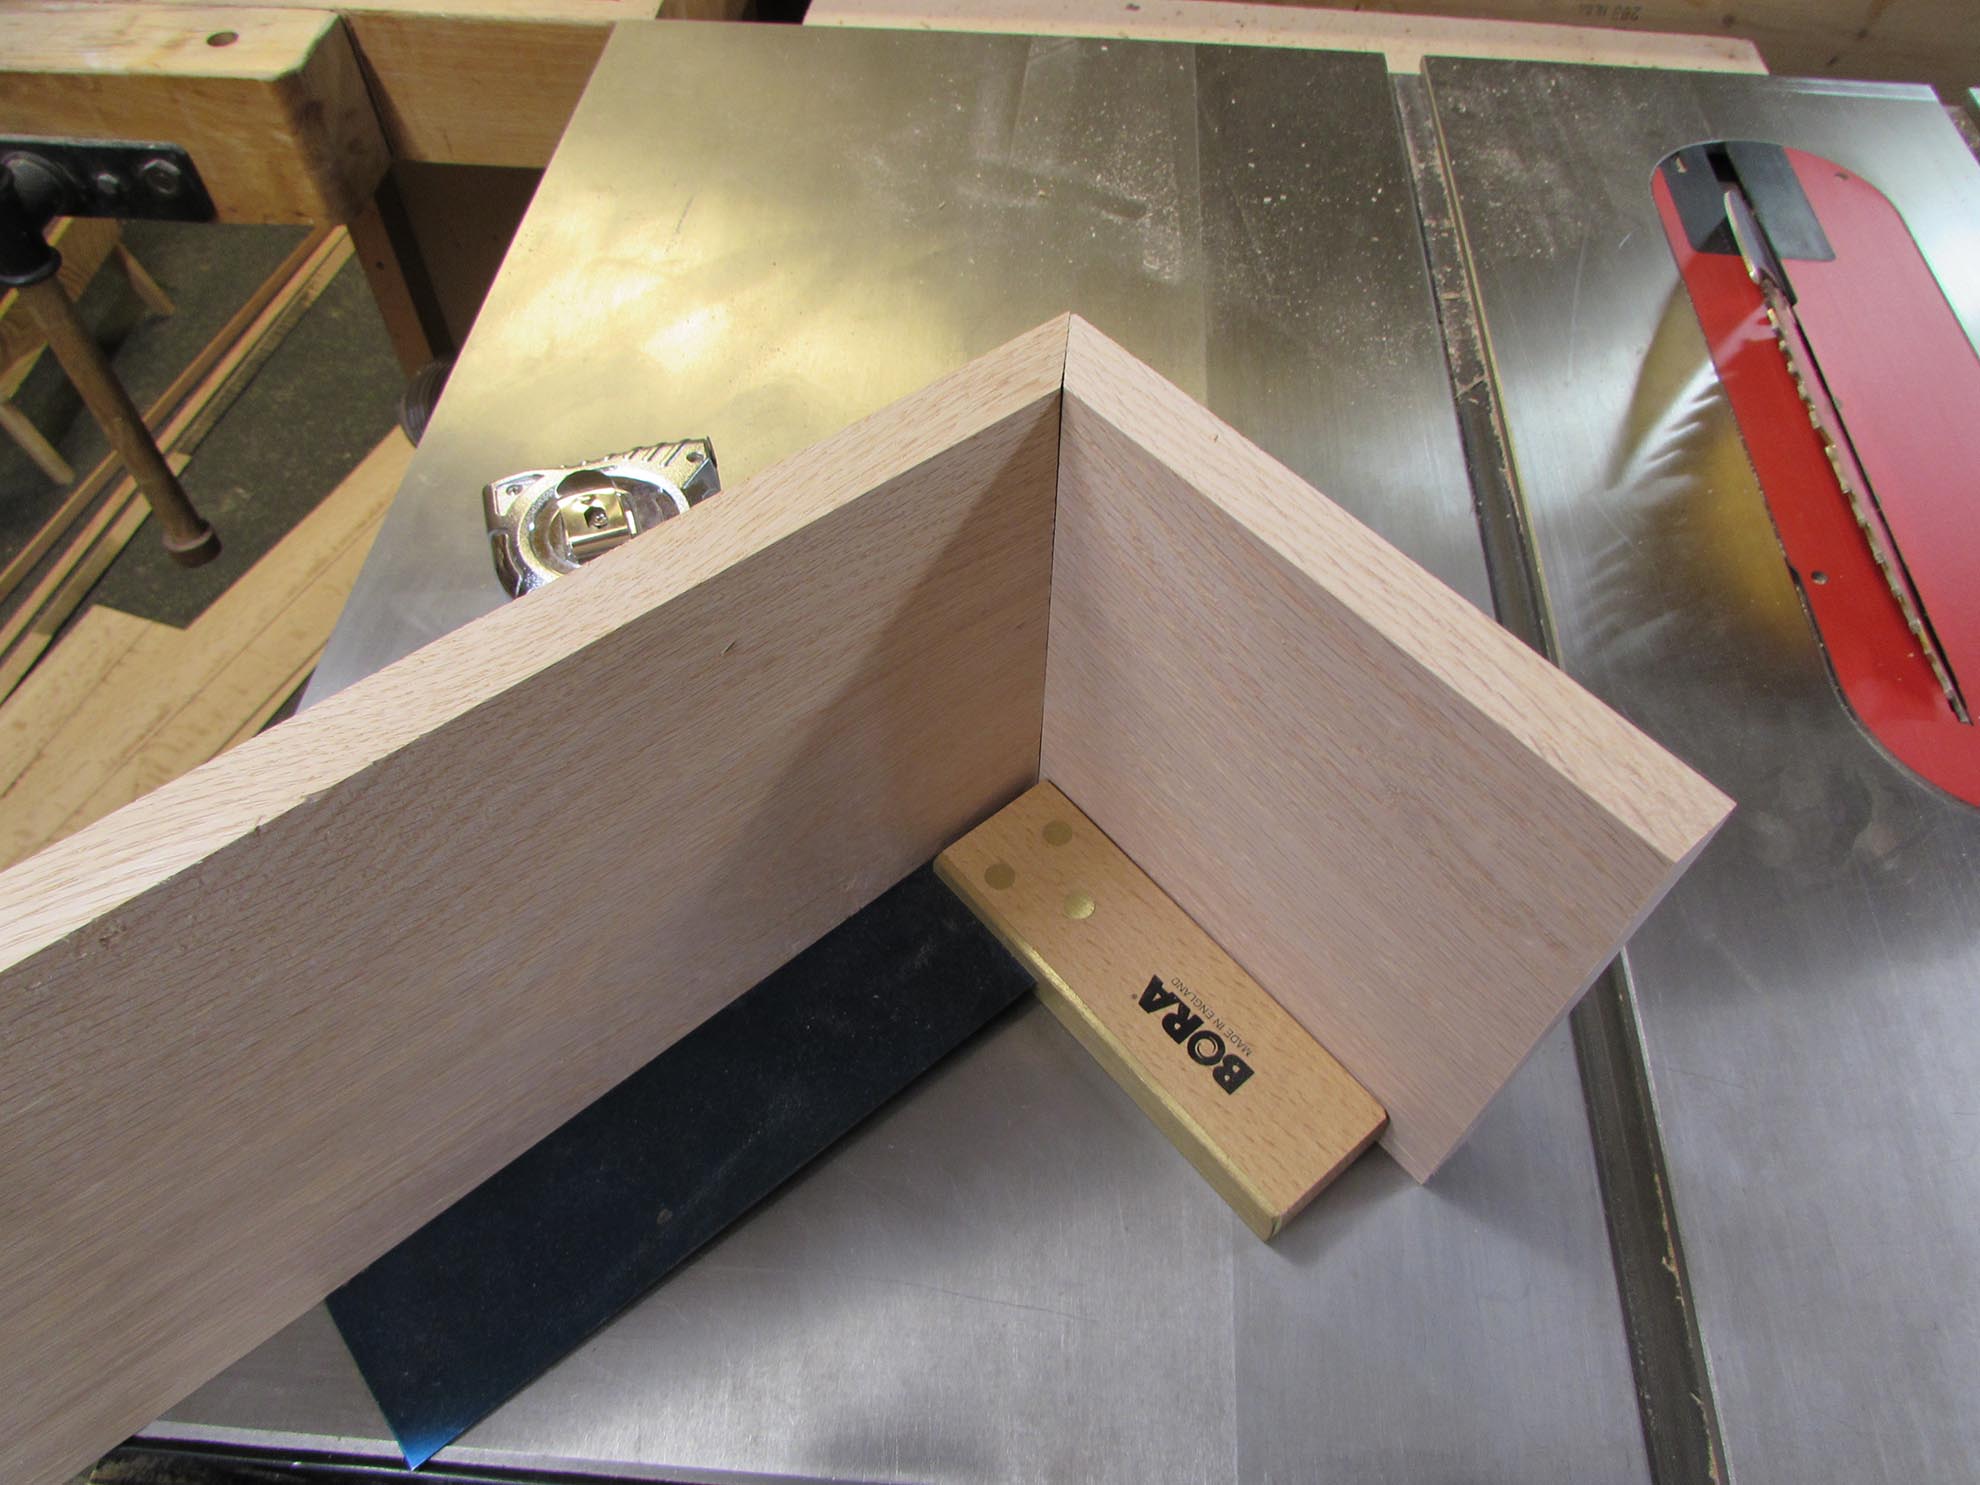
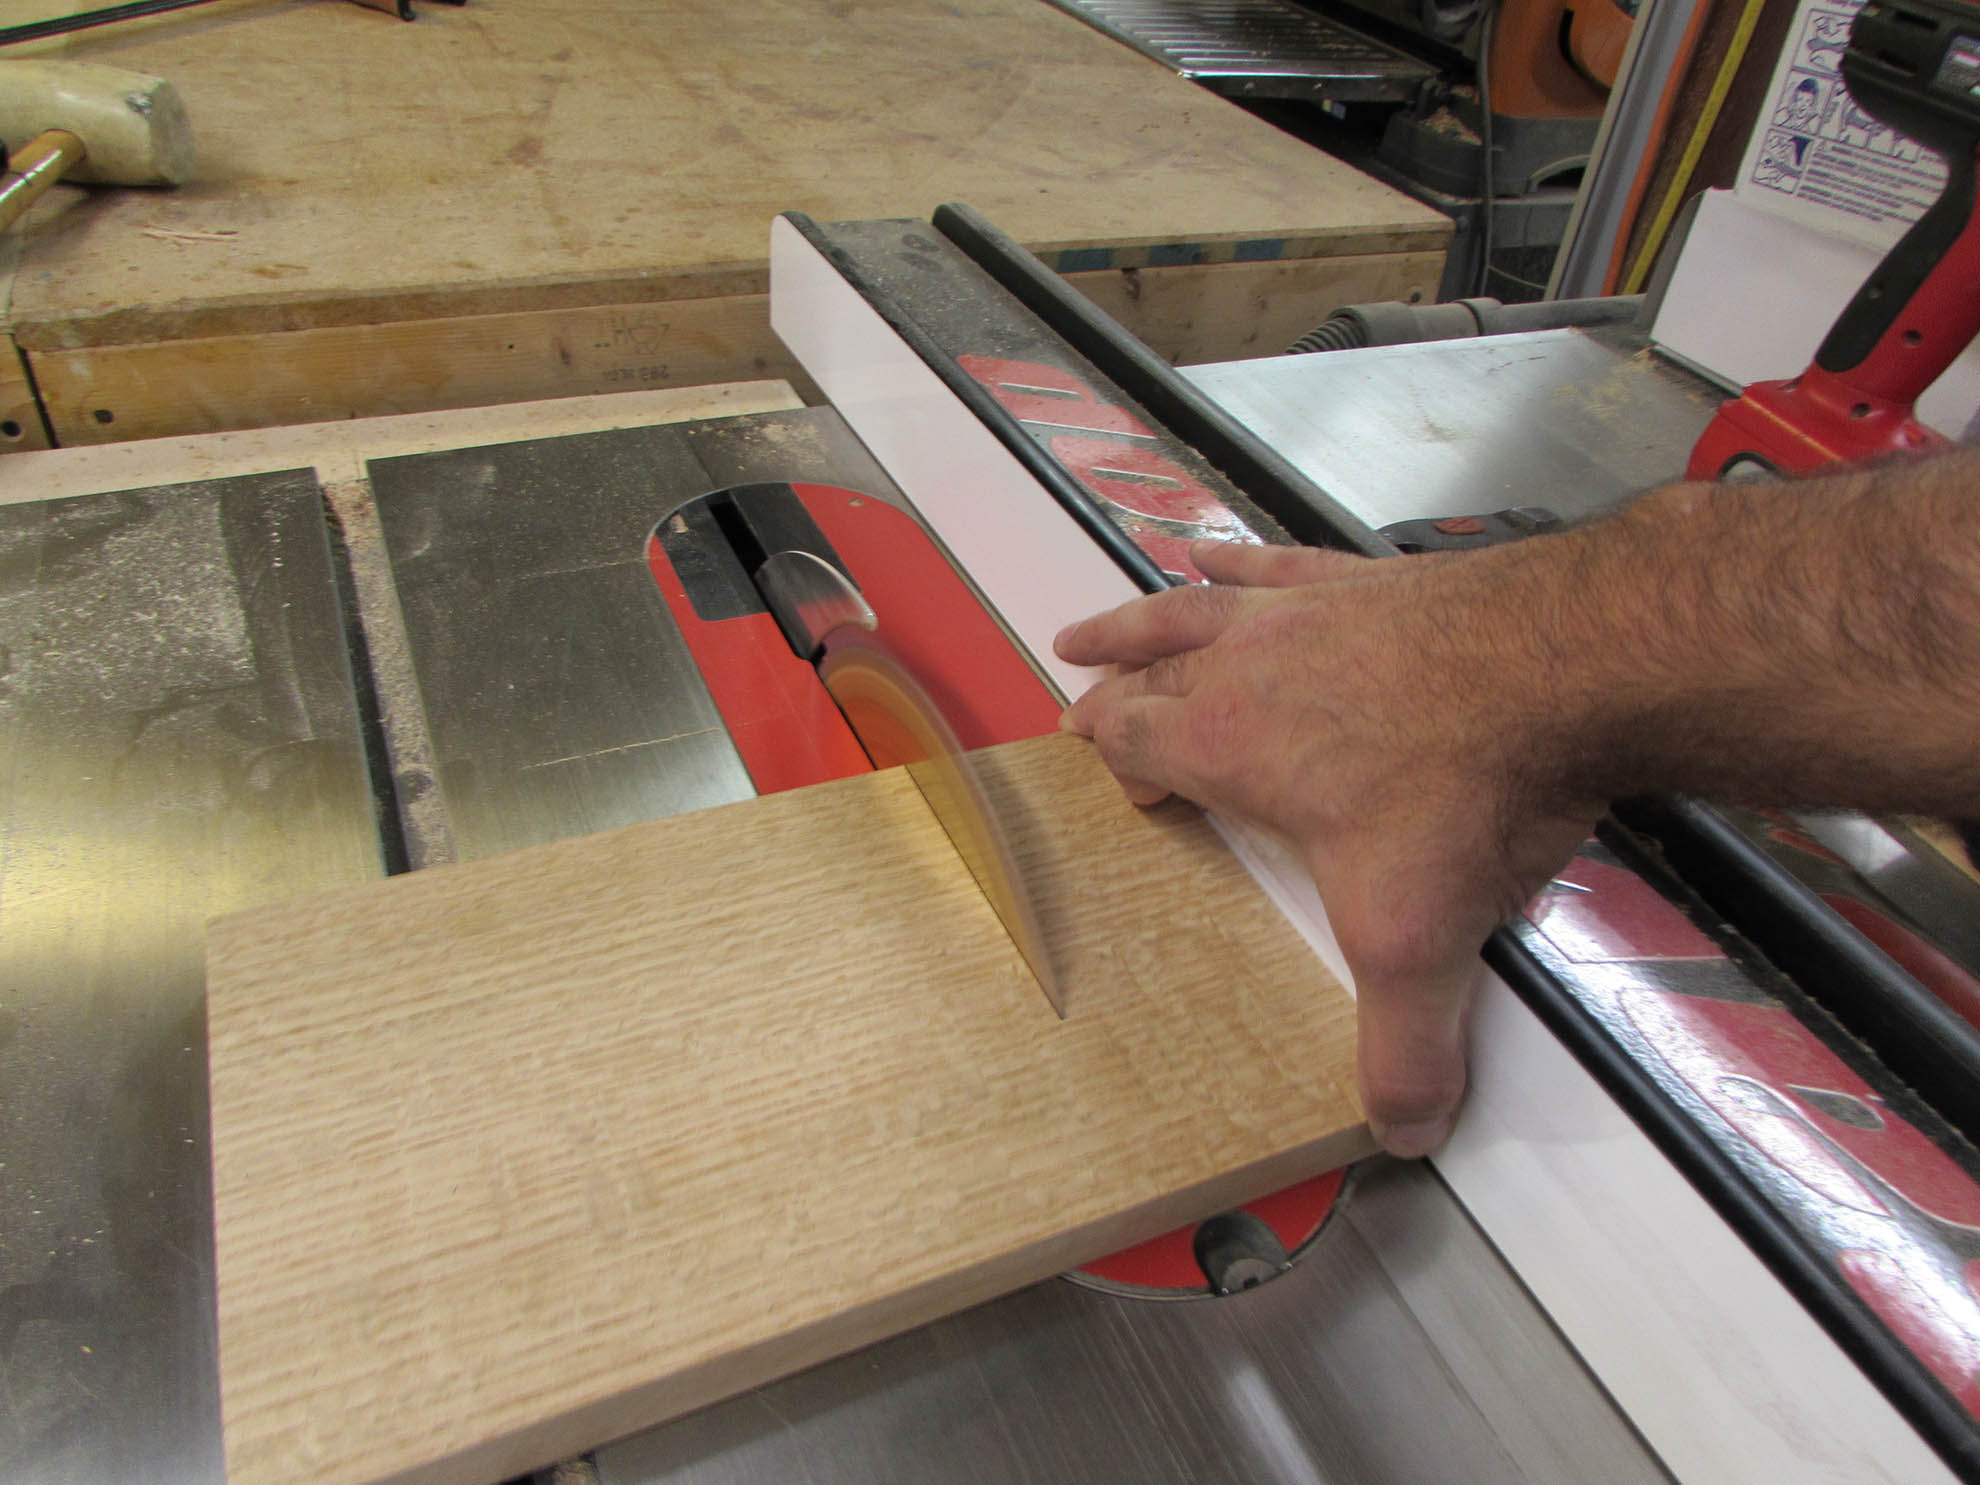
The boxes will have mitered corners, because I think they will look nicer.
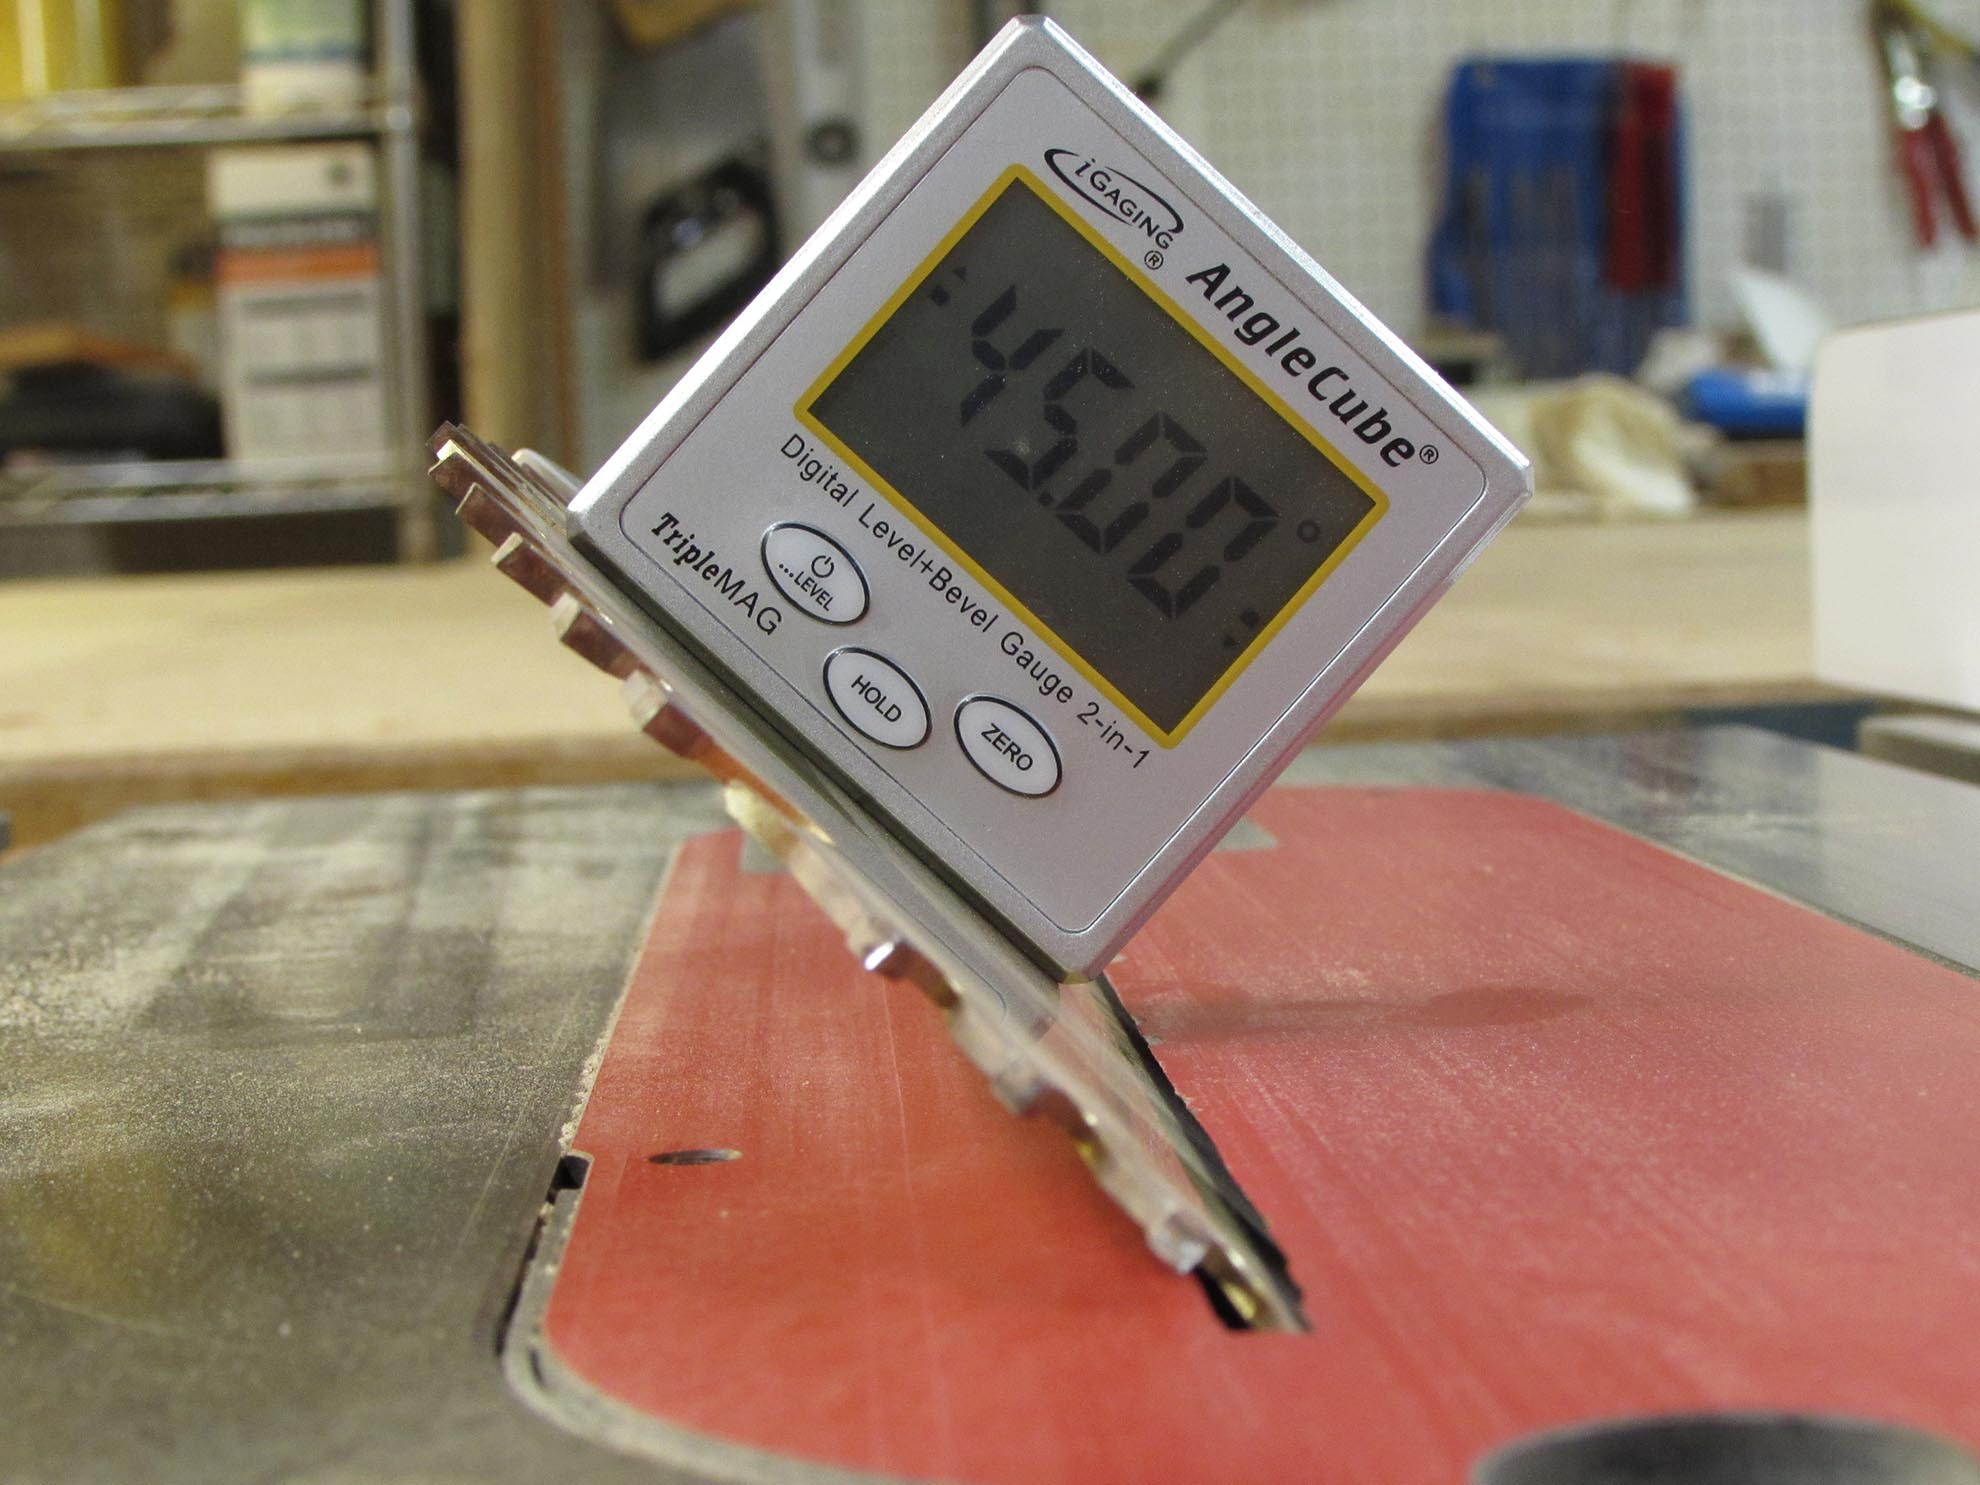
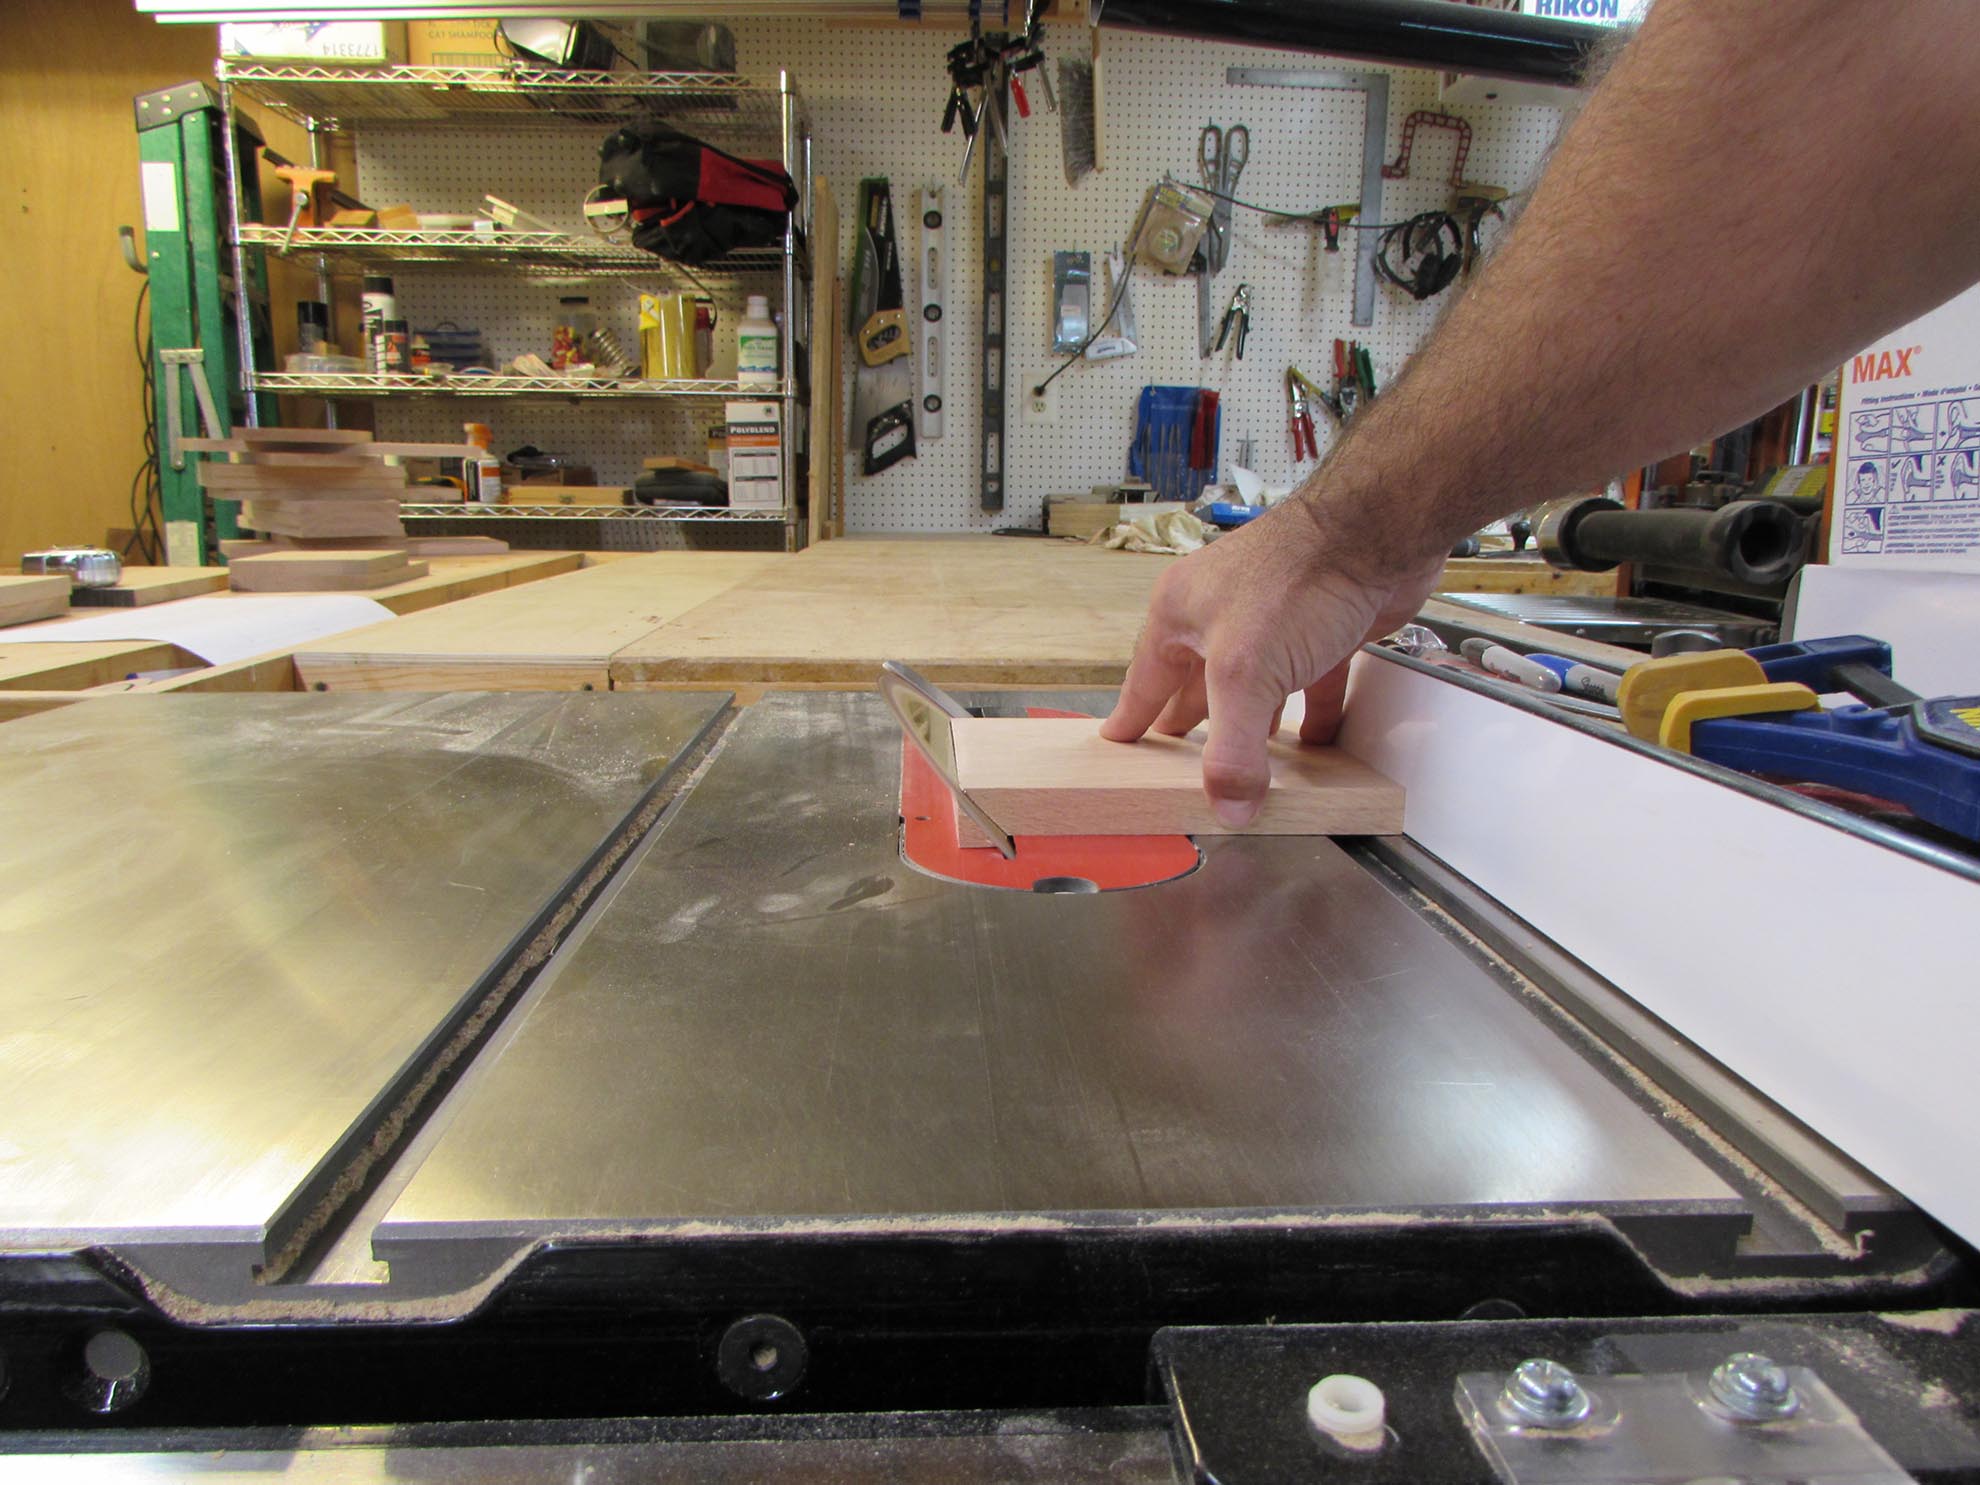
I set my table saw blade to 45 degrees and started cutting my boxes to size.
I am going simple on the joinery with this project.

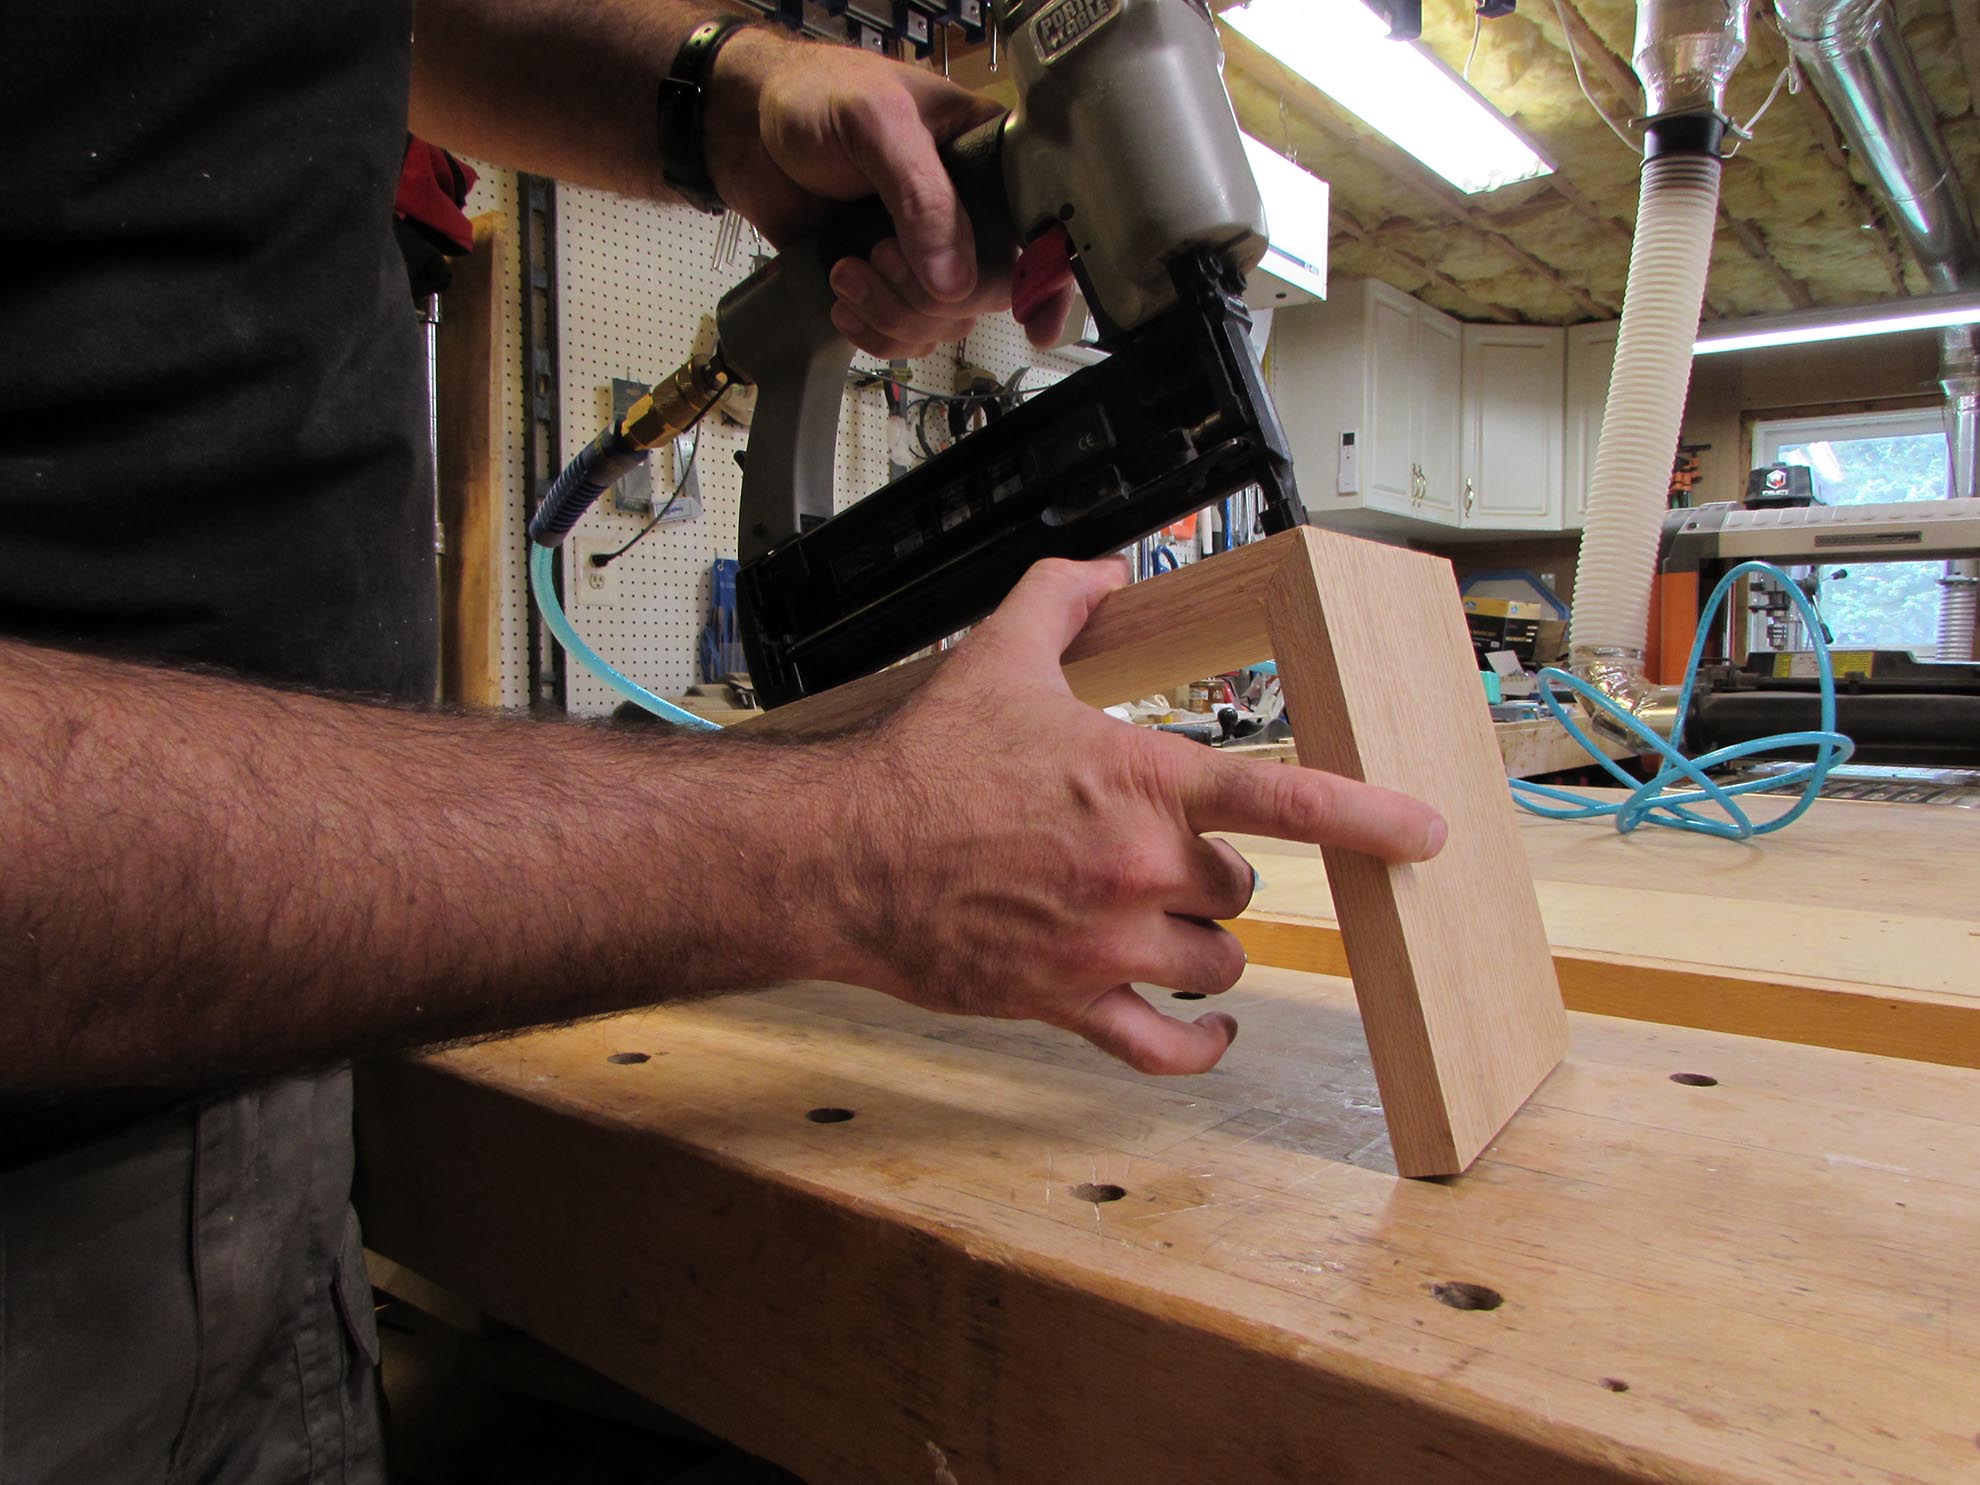
The miters were glued, then held together with brad nails, while they dried.
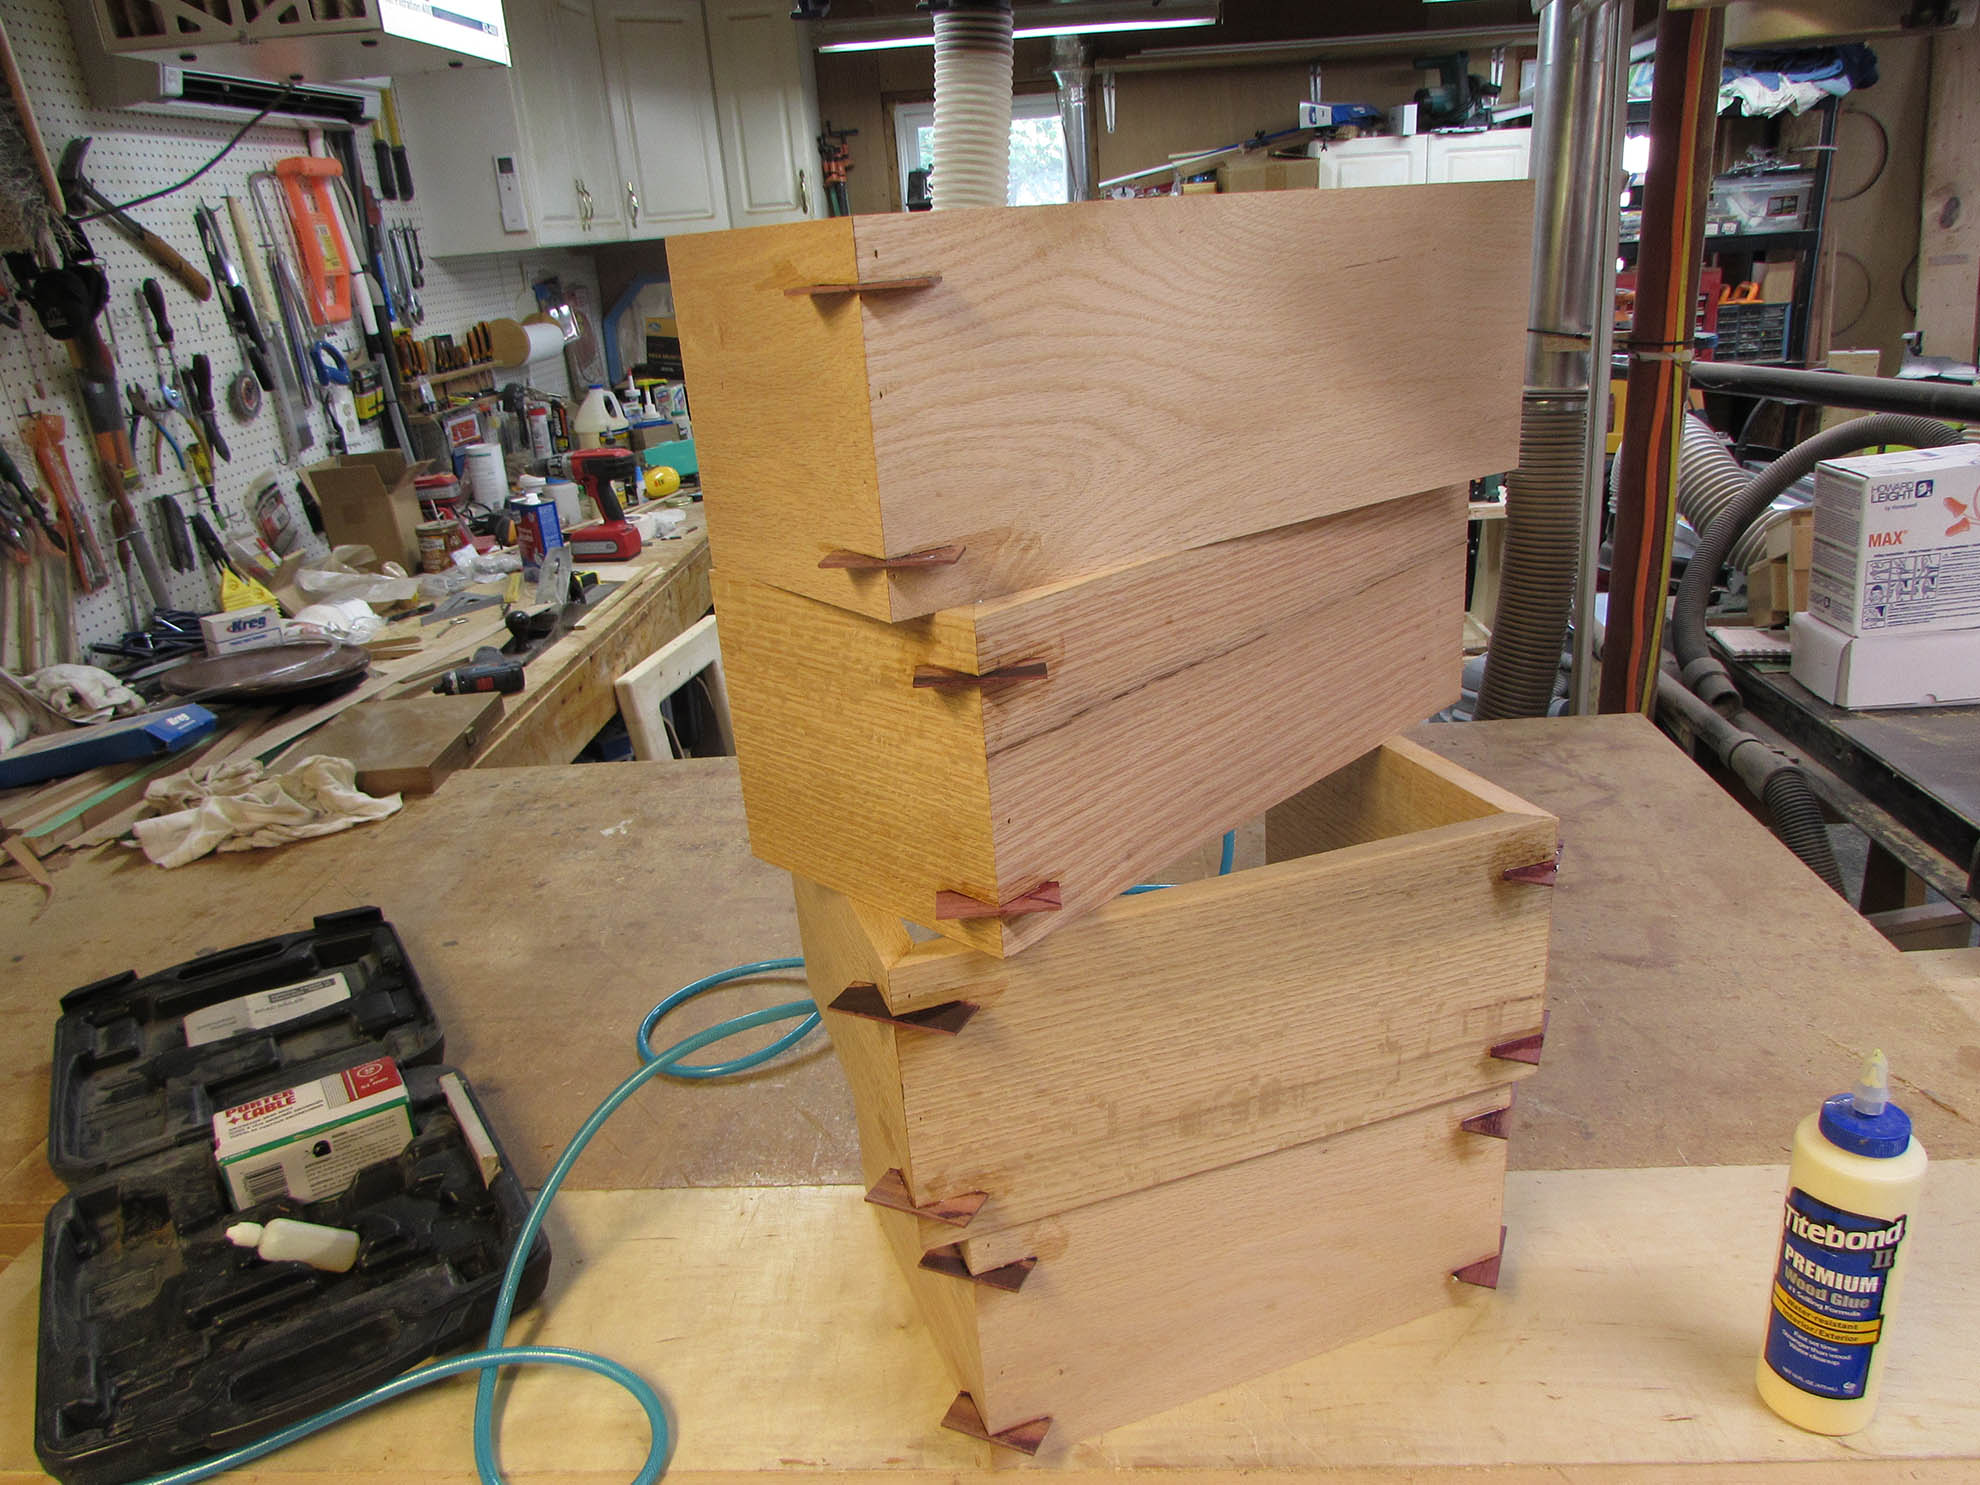
Since this isn’t the strongest joint, I decided to add a couple of splines to each corner.
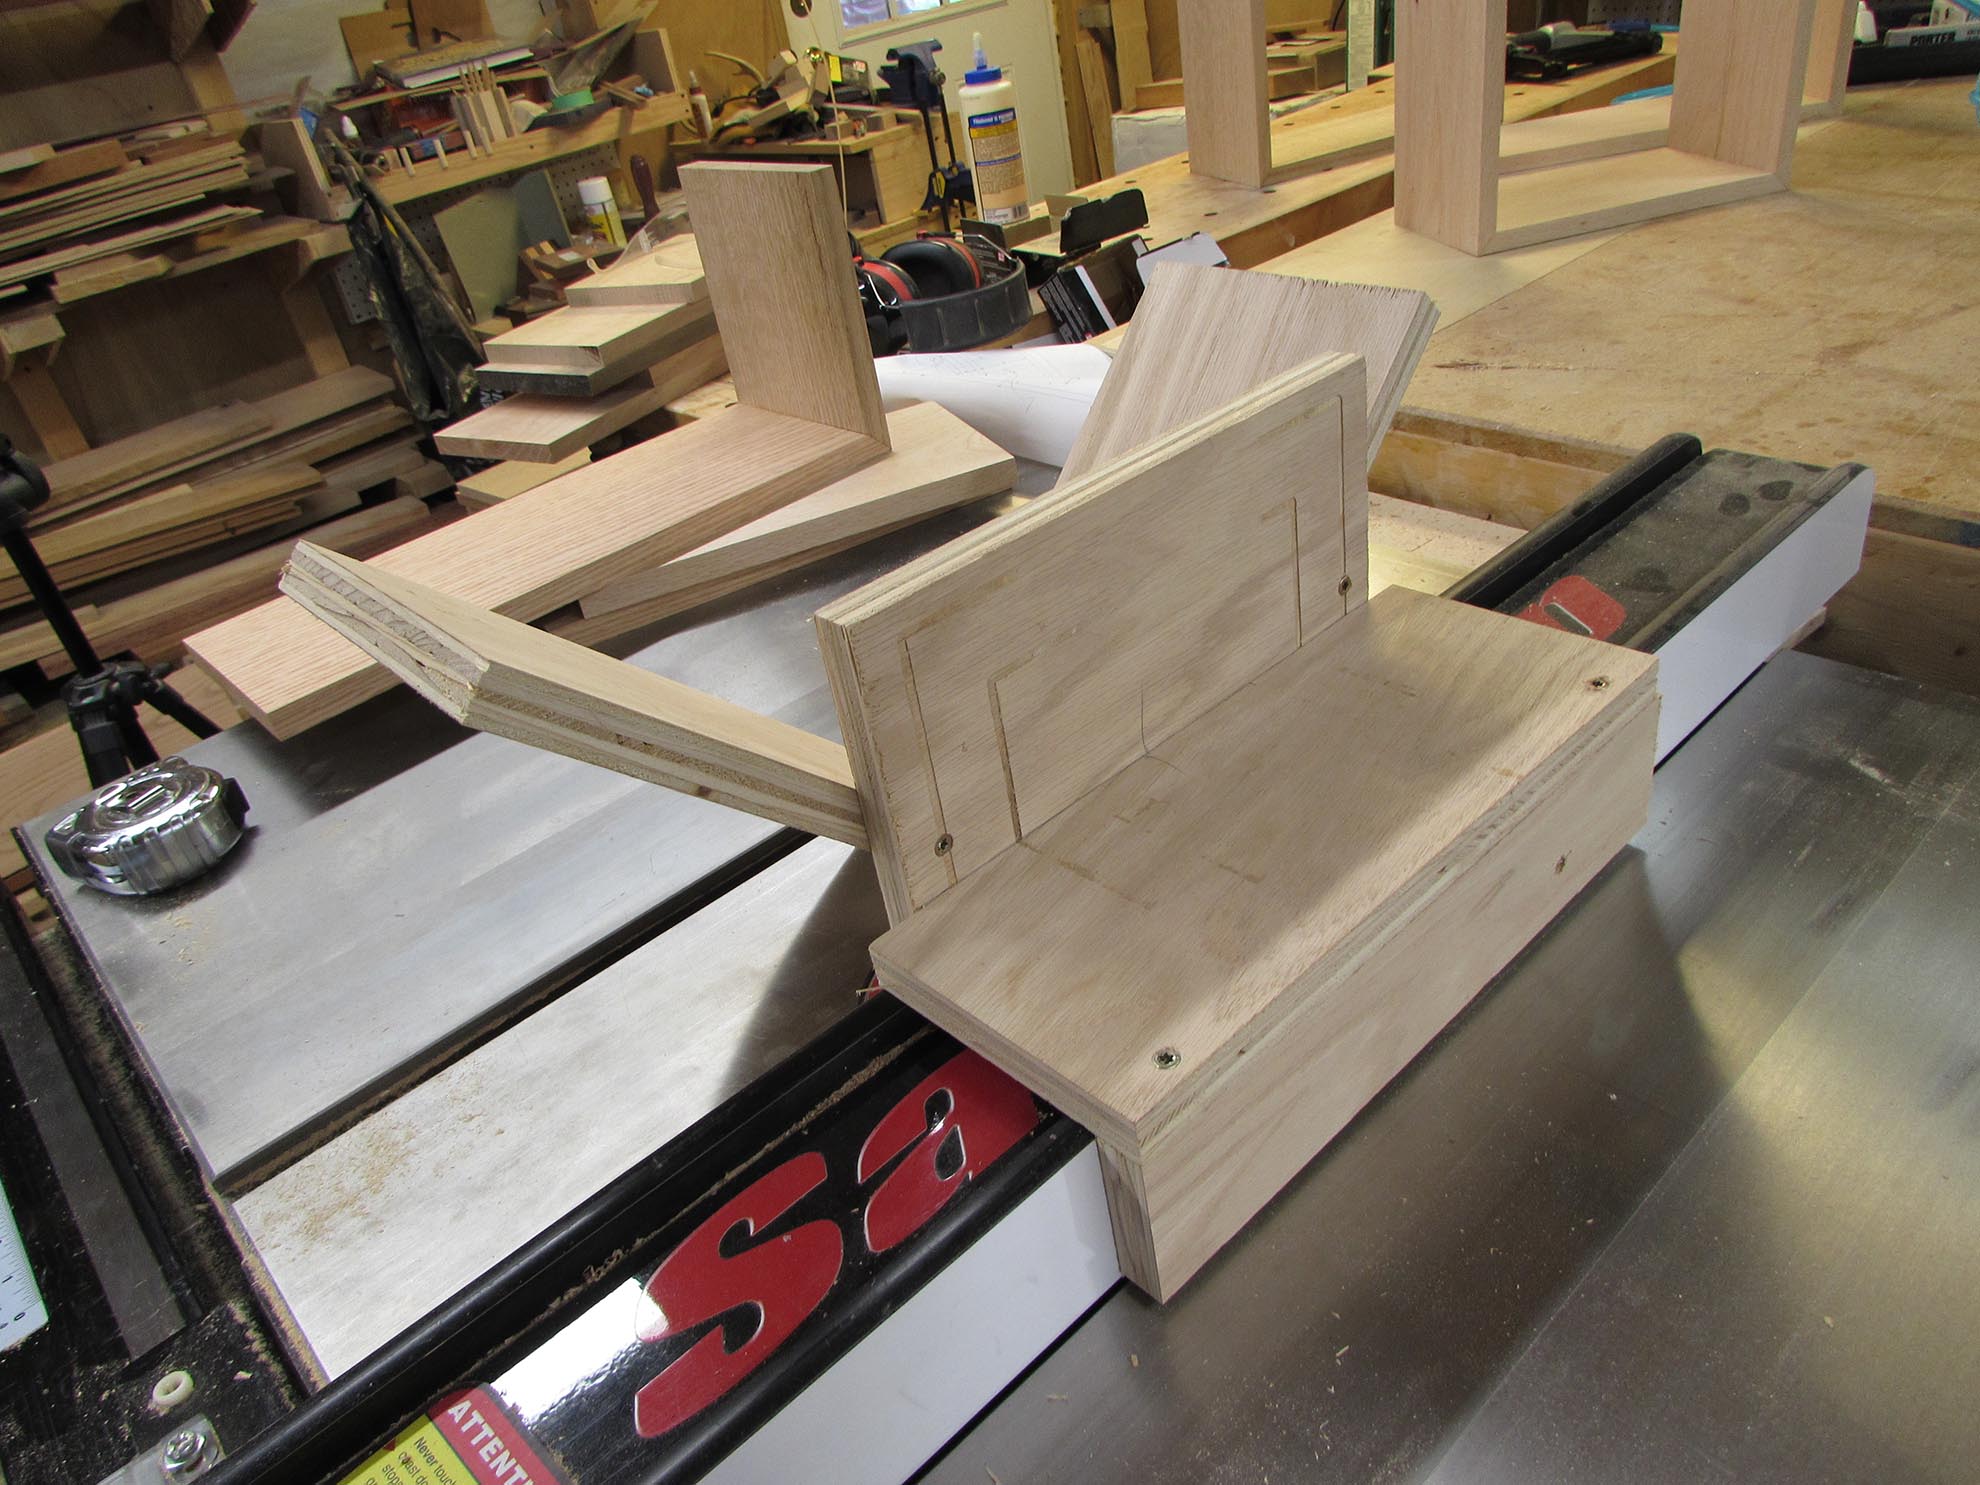
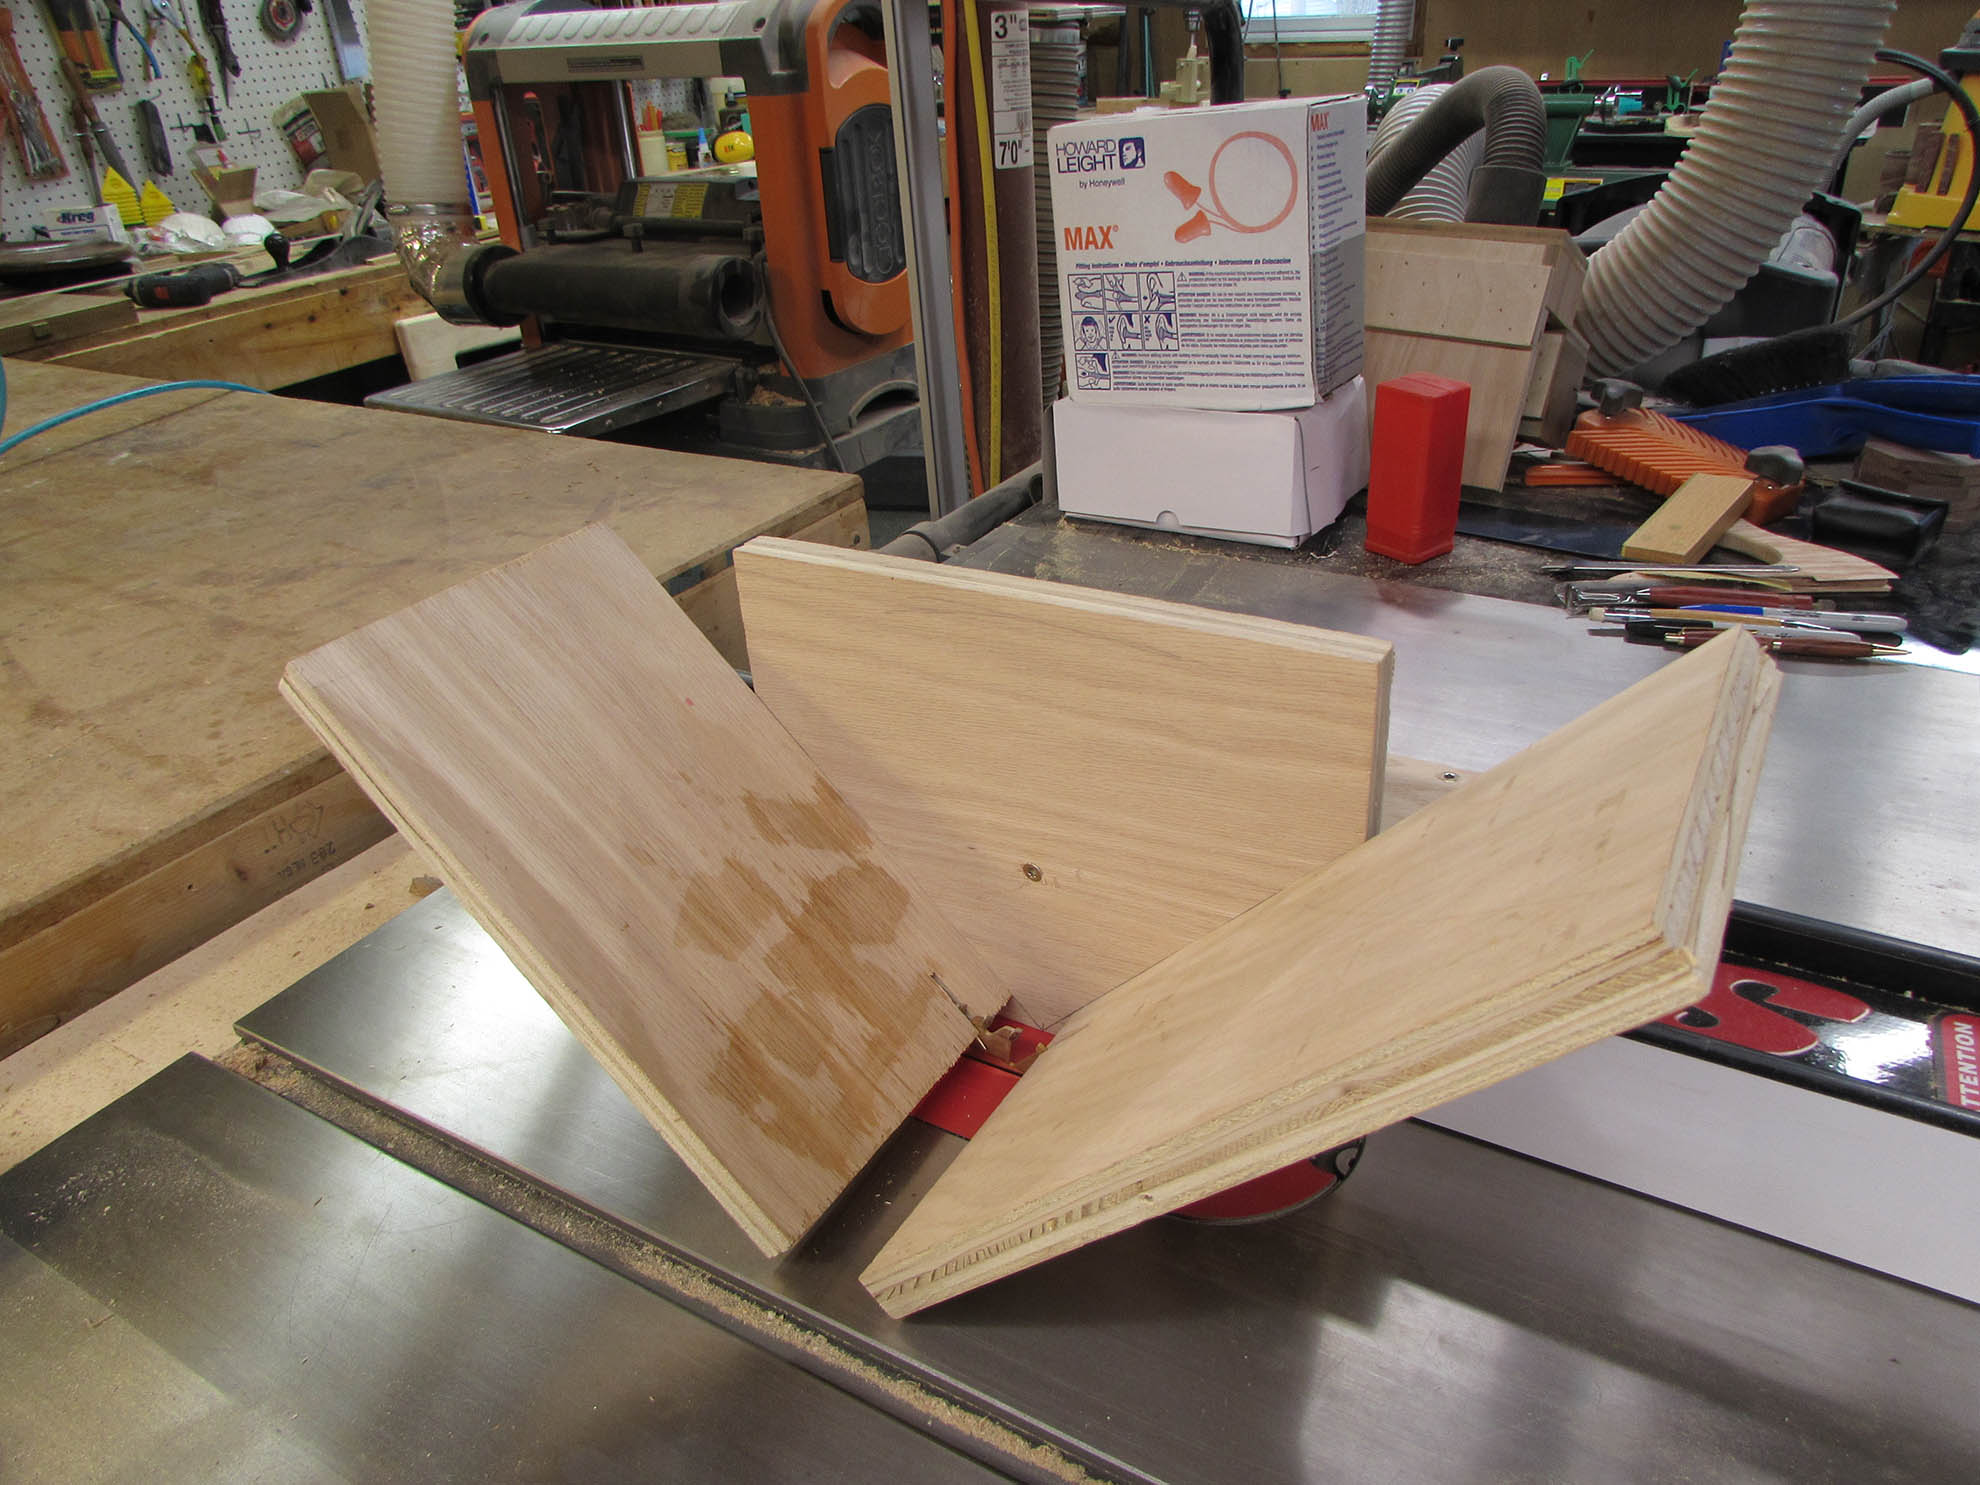
I used some scrap plywood to make a spline cutting jig, for the table saw.
It only took about 5 minutes, but it worked surprisingly well.
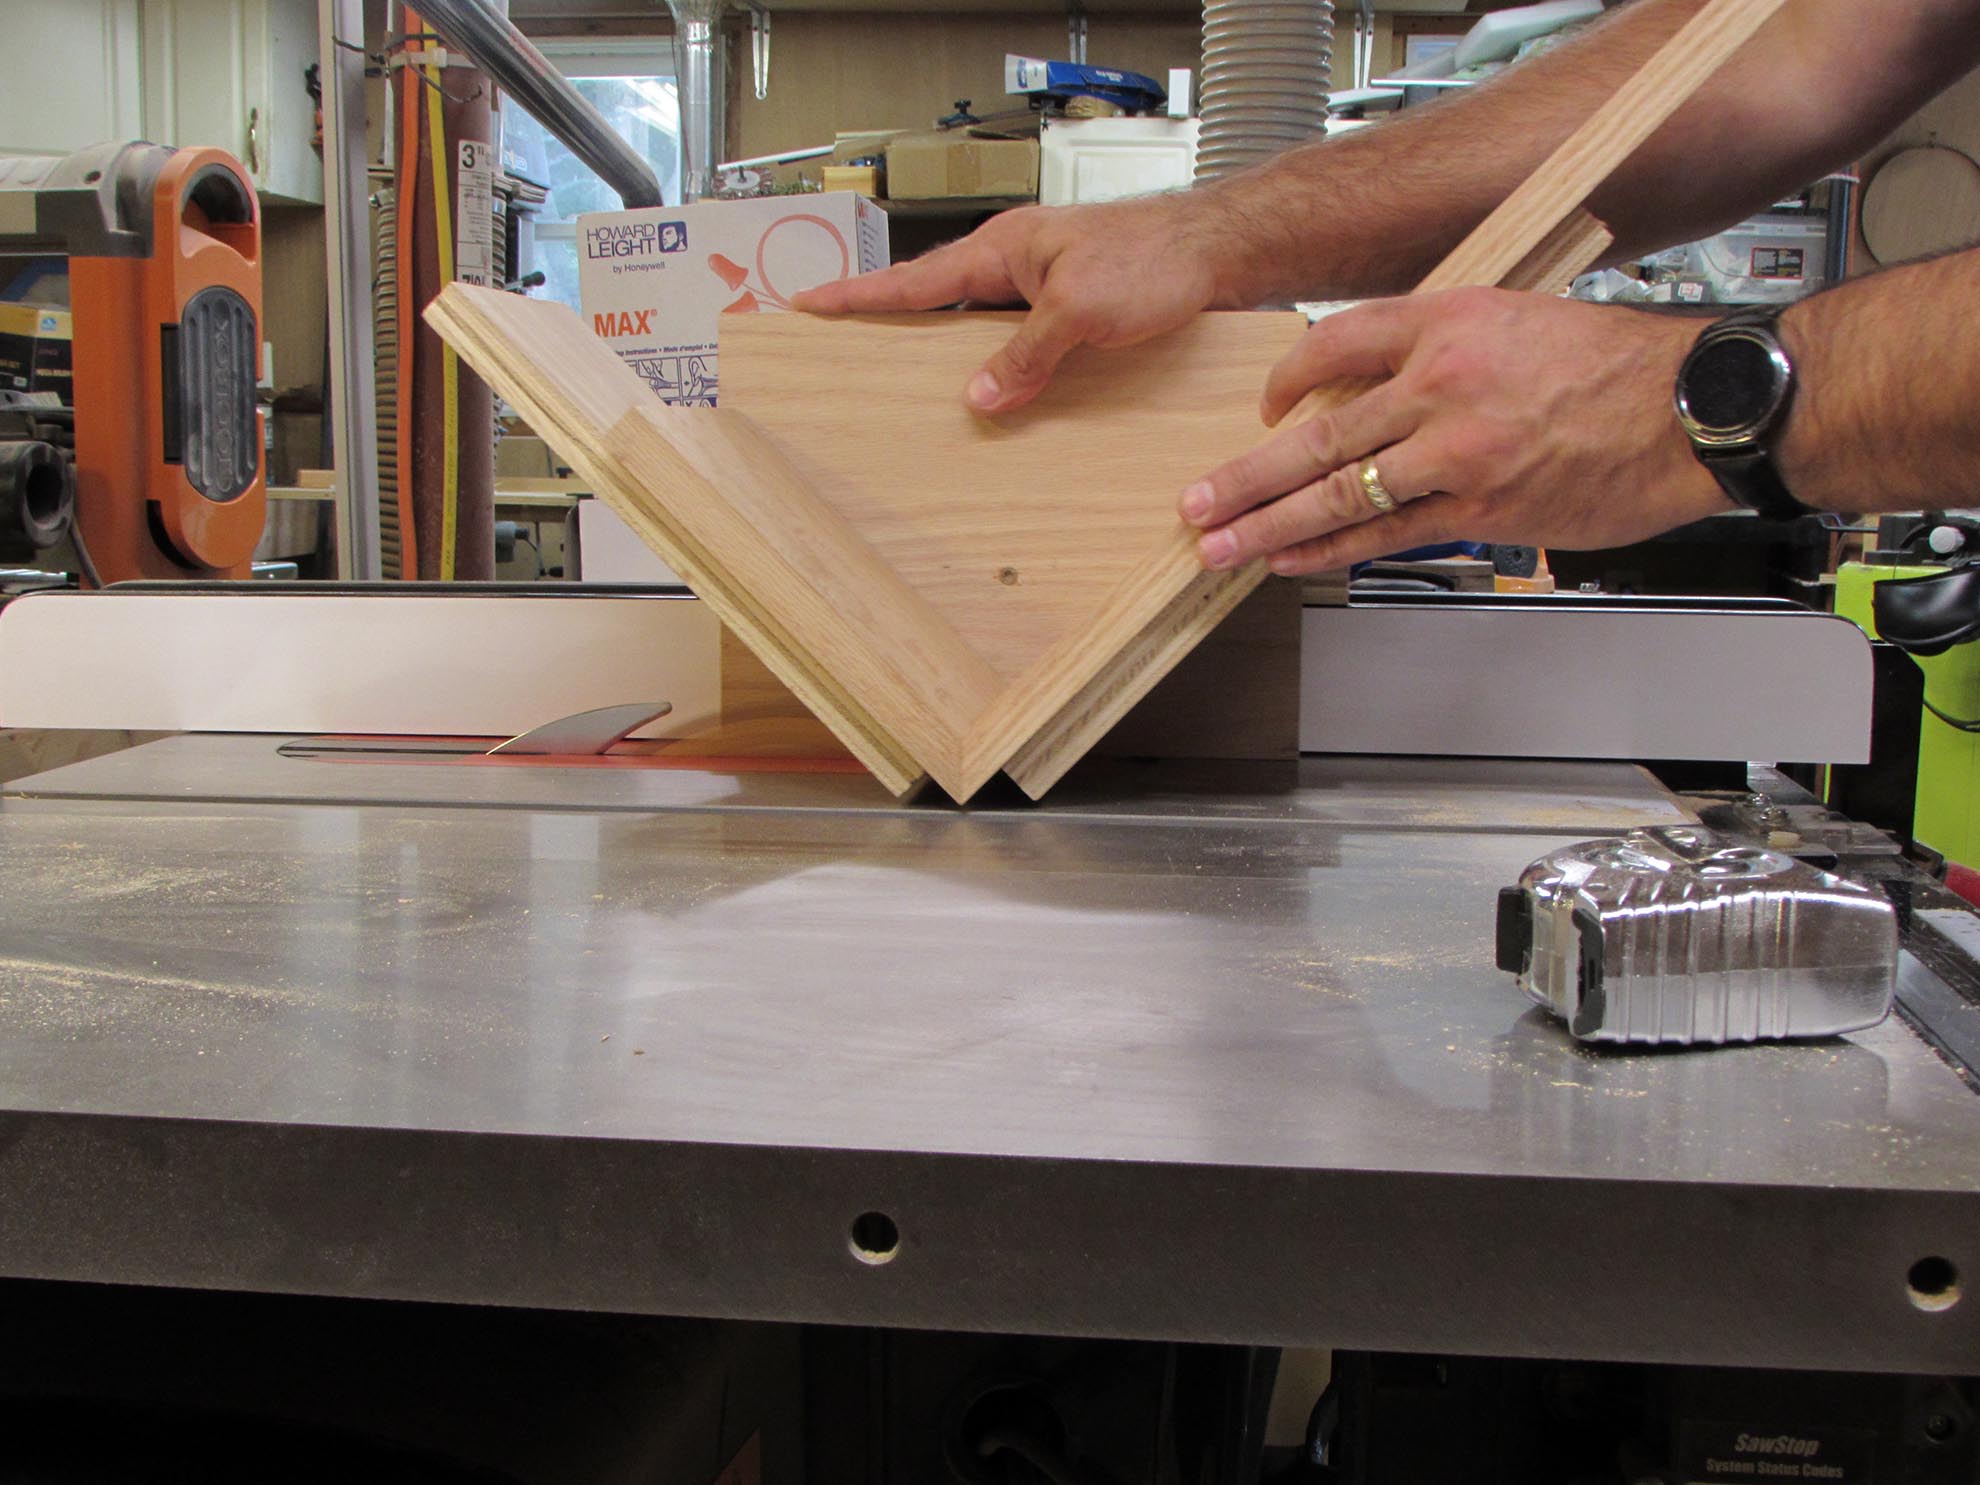
I made a pass down one side, then flipped the shelf around and cut a matching slot in the opposite side.
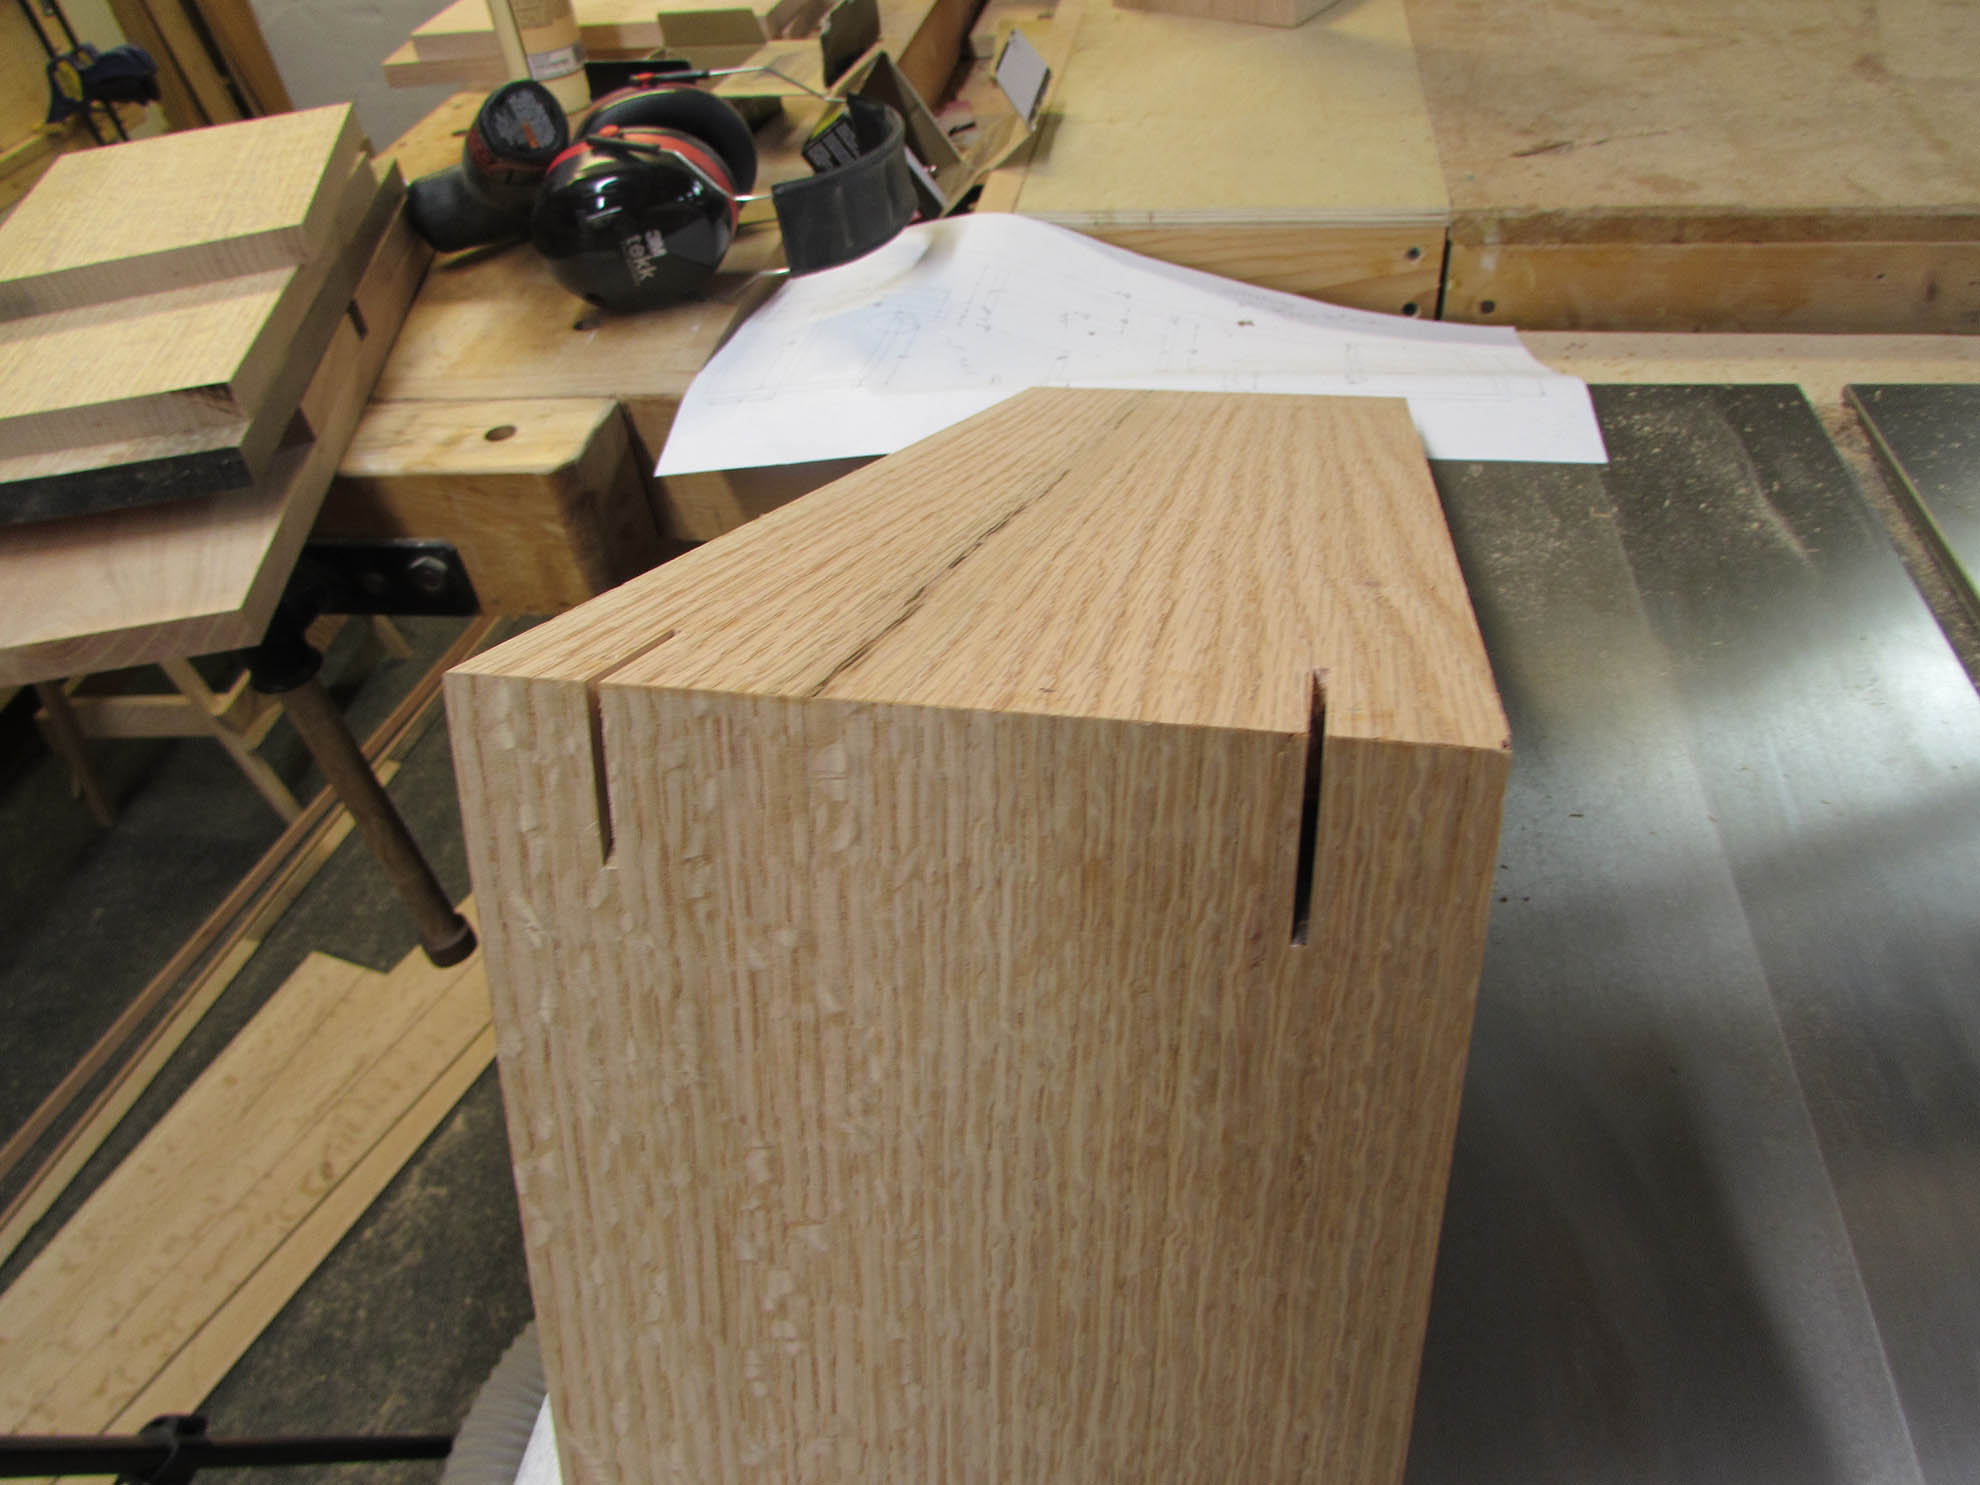
For contrast, I found some scrap purpleheart to make my splines with.

I set a piece in the slot to mark the length.

Then I cut a dozen pieces.

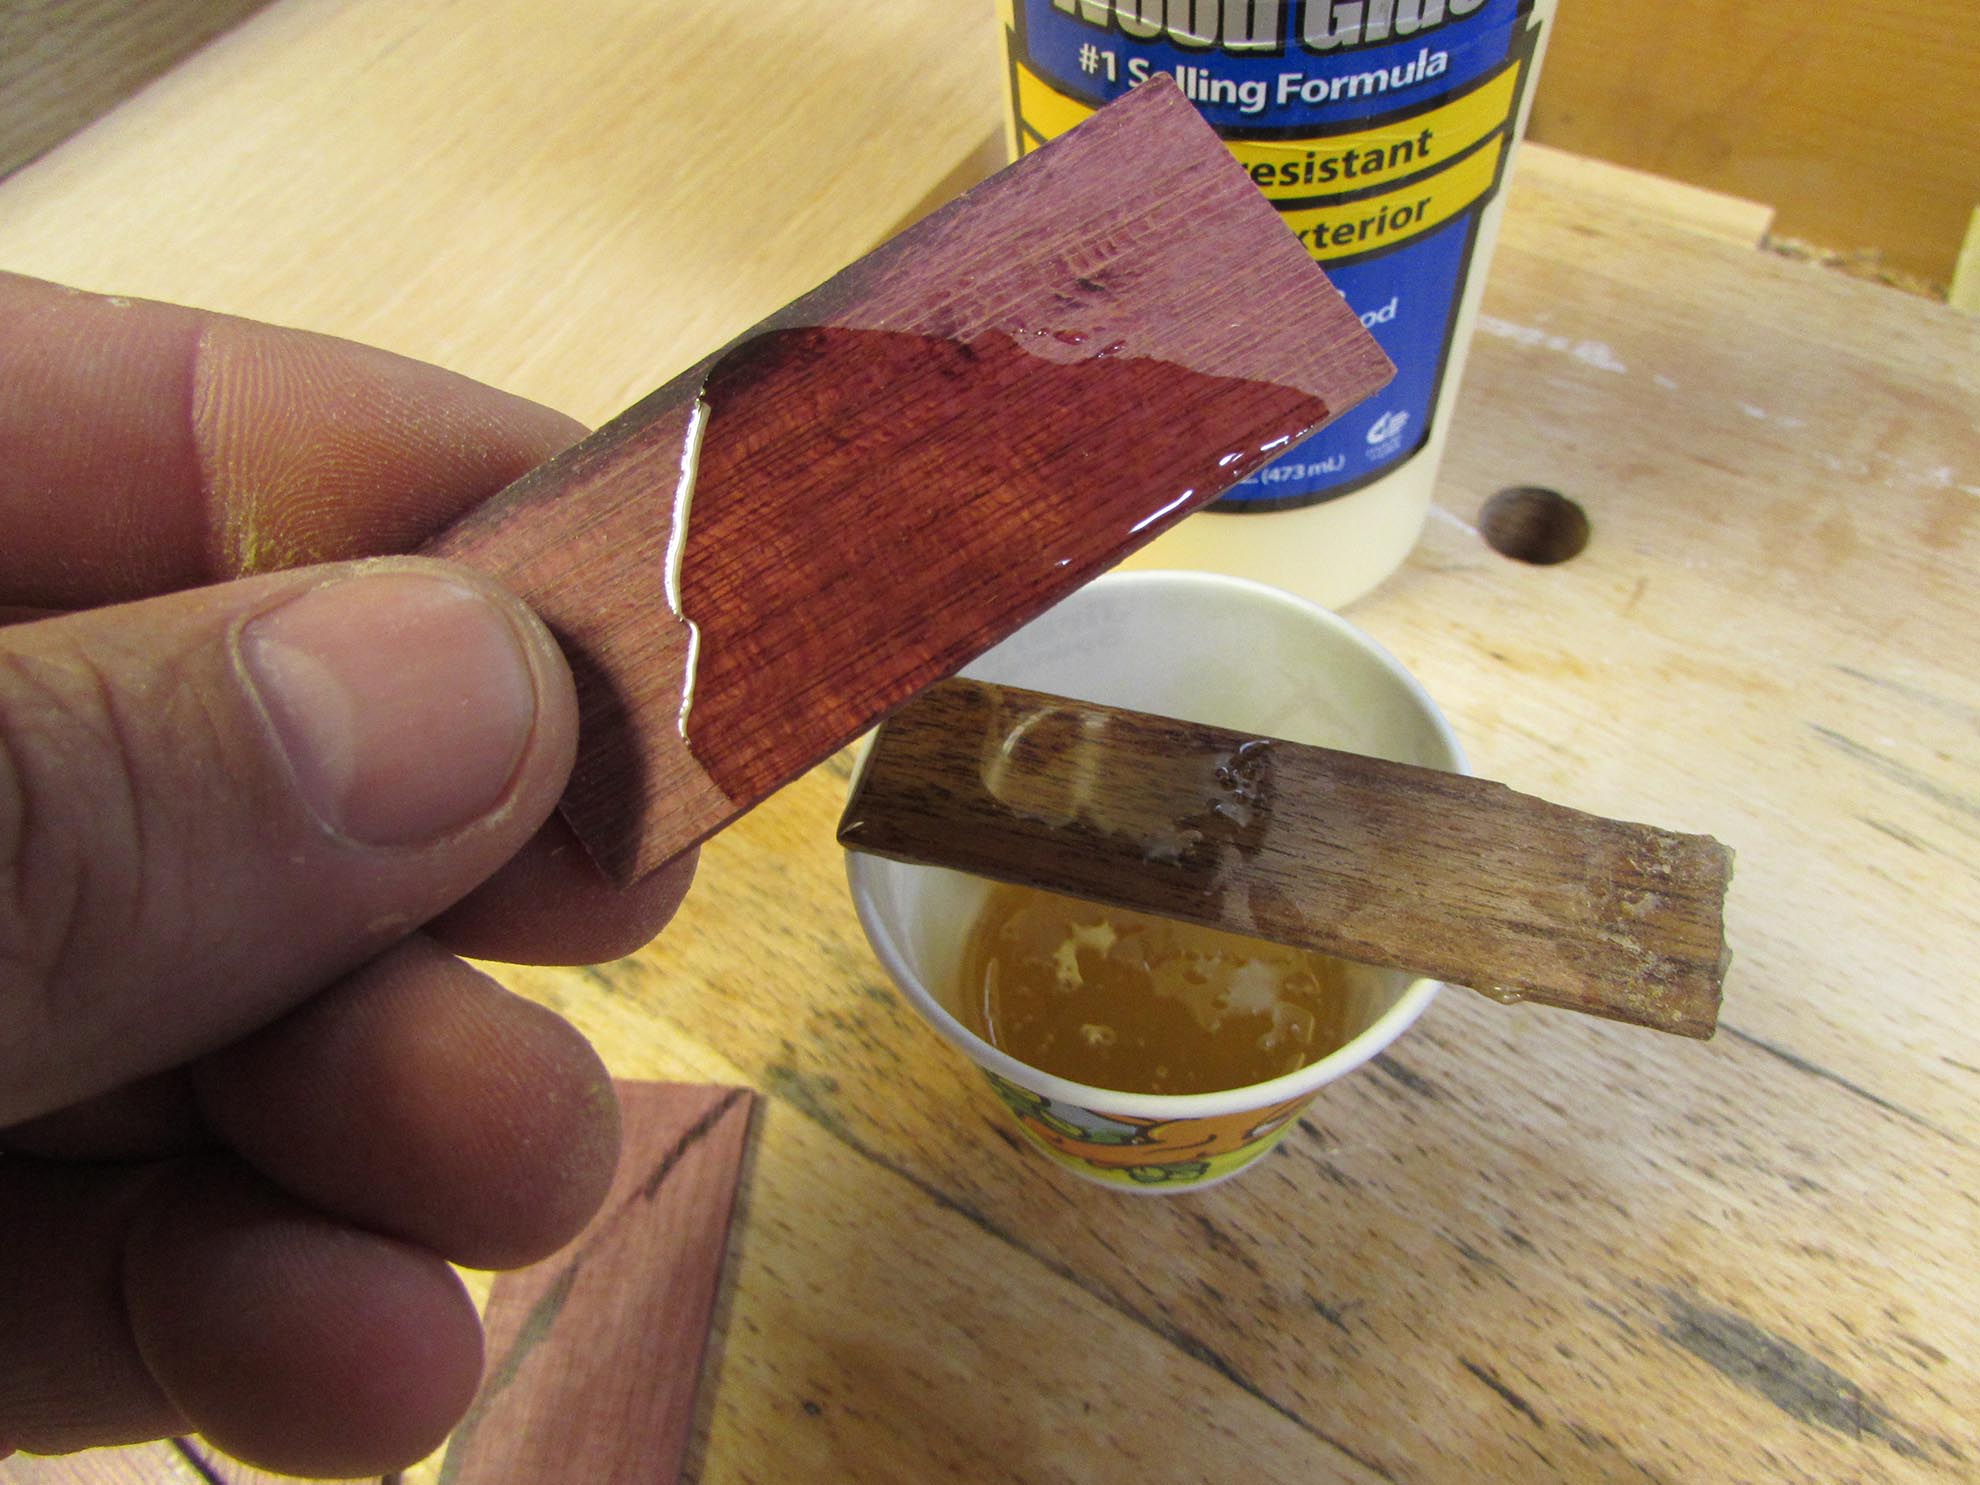
To make sure they held in place well, I mixed up some epoxy and coated the slot as well as the spline.

I knew it would make a mess with so much epoxy, but I wanted to make sure all the gaps were filled.
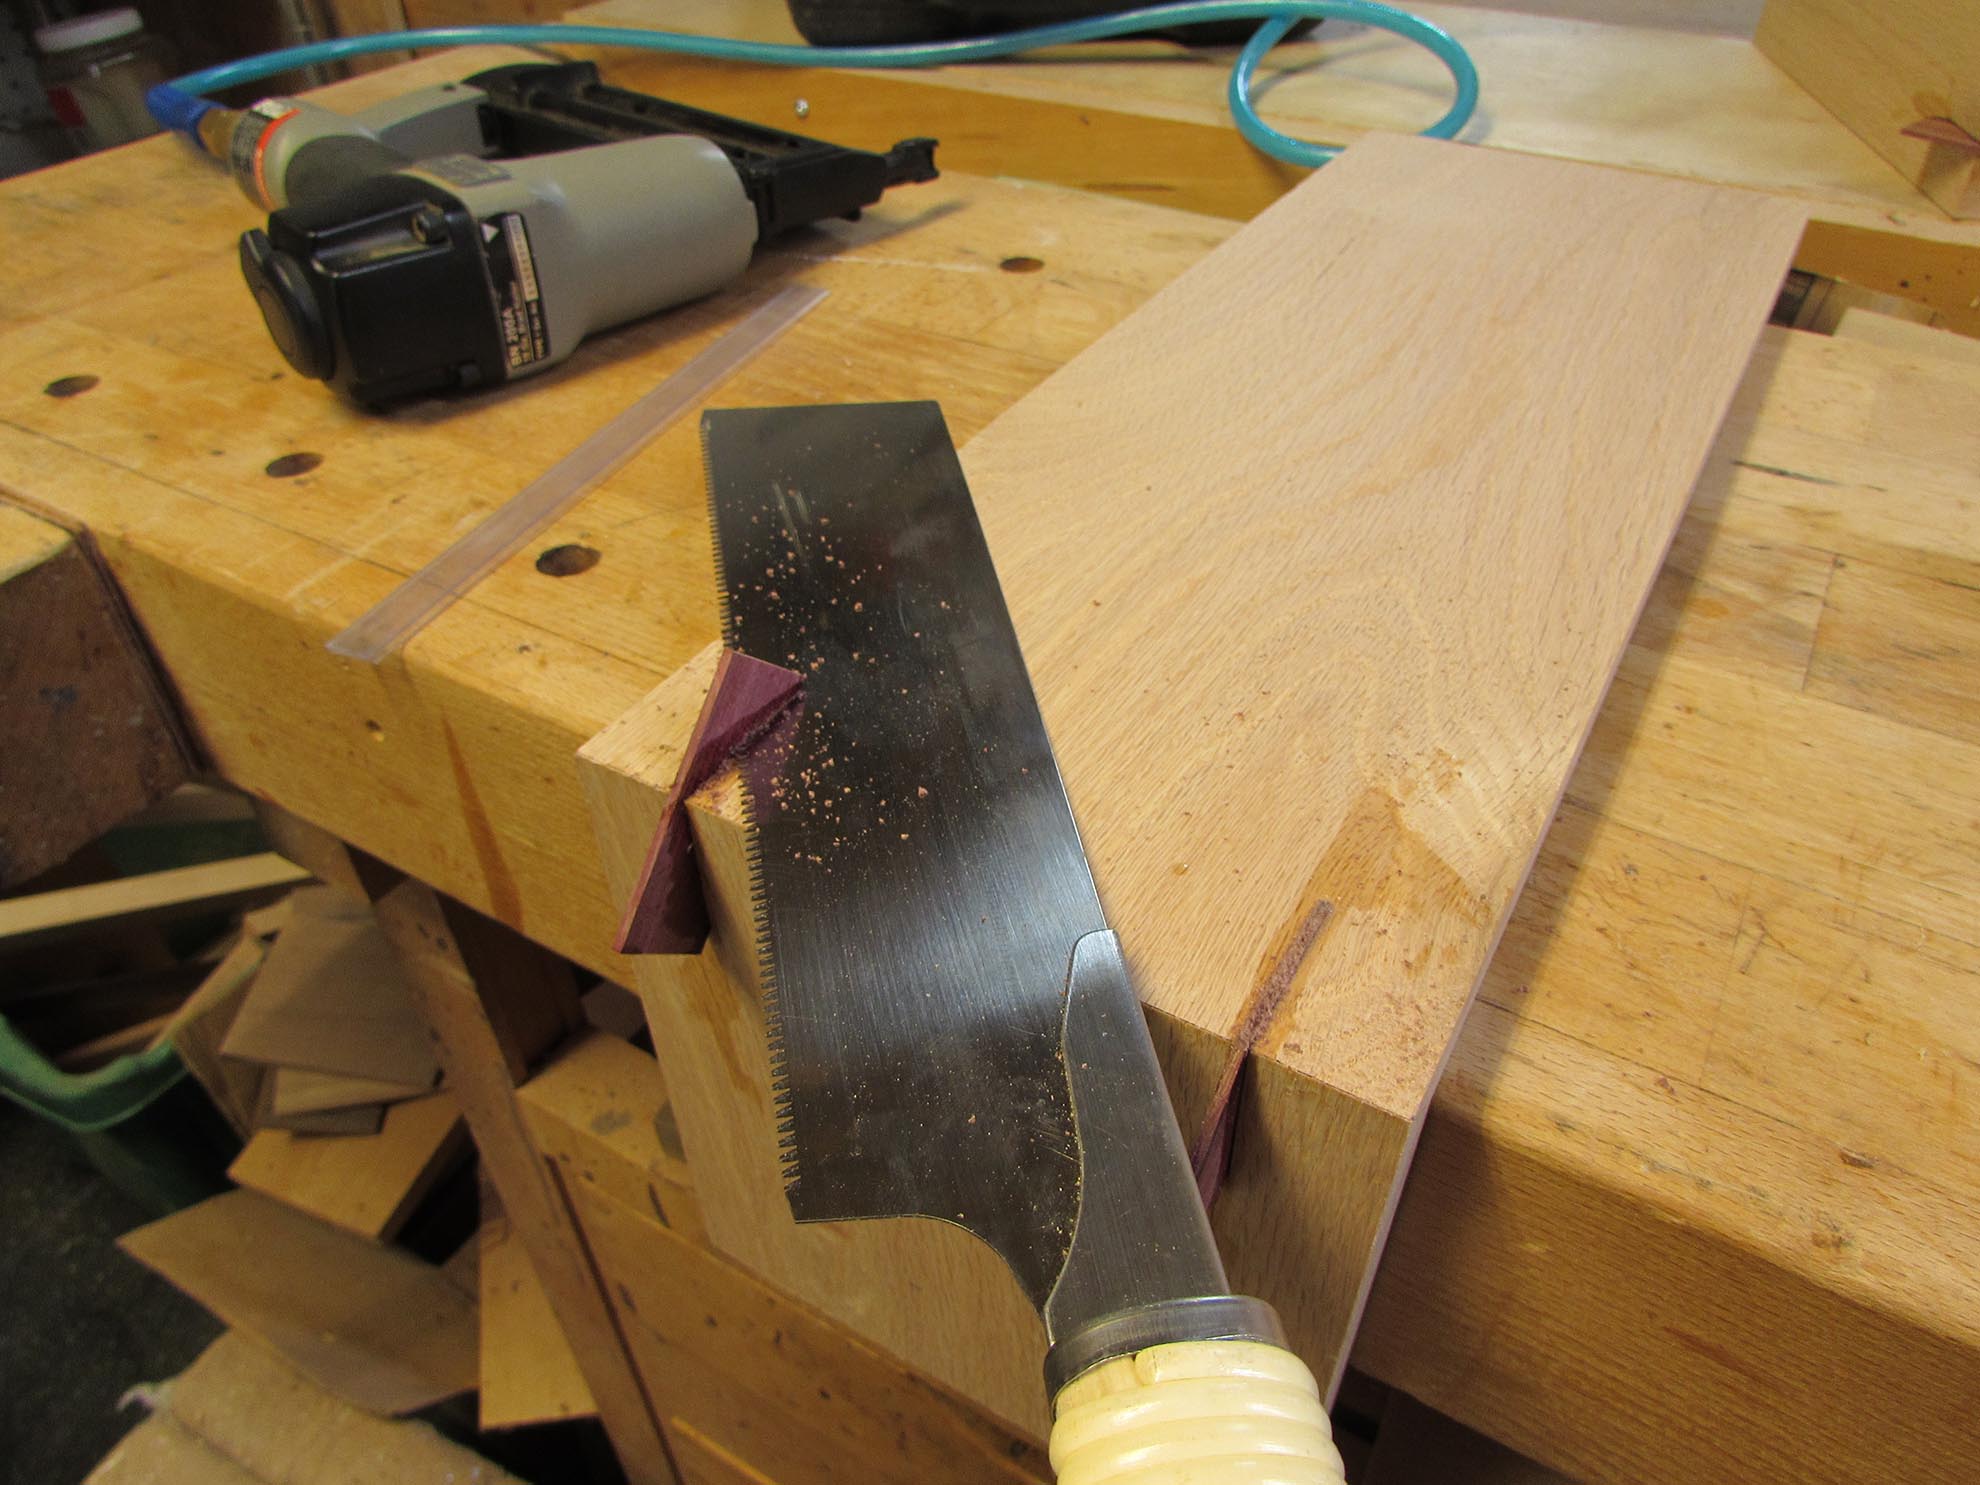
I trimmed away the excess with my pull saw.
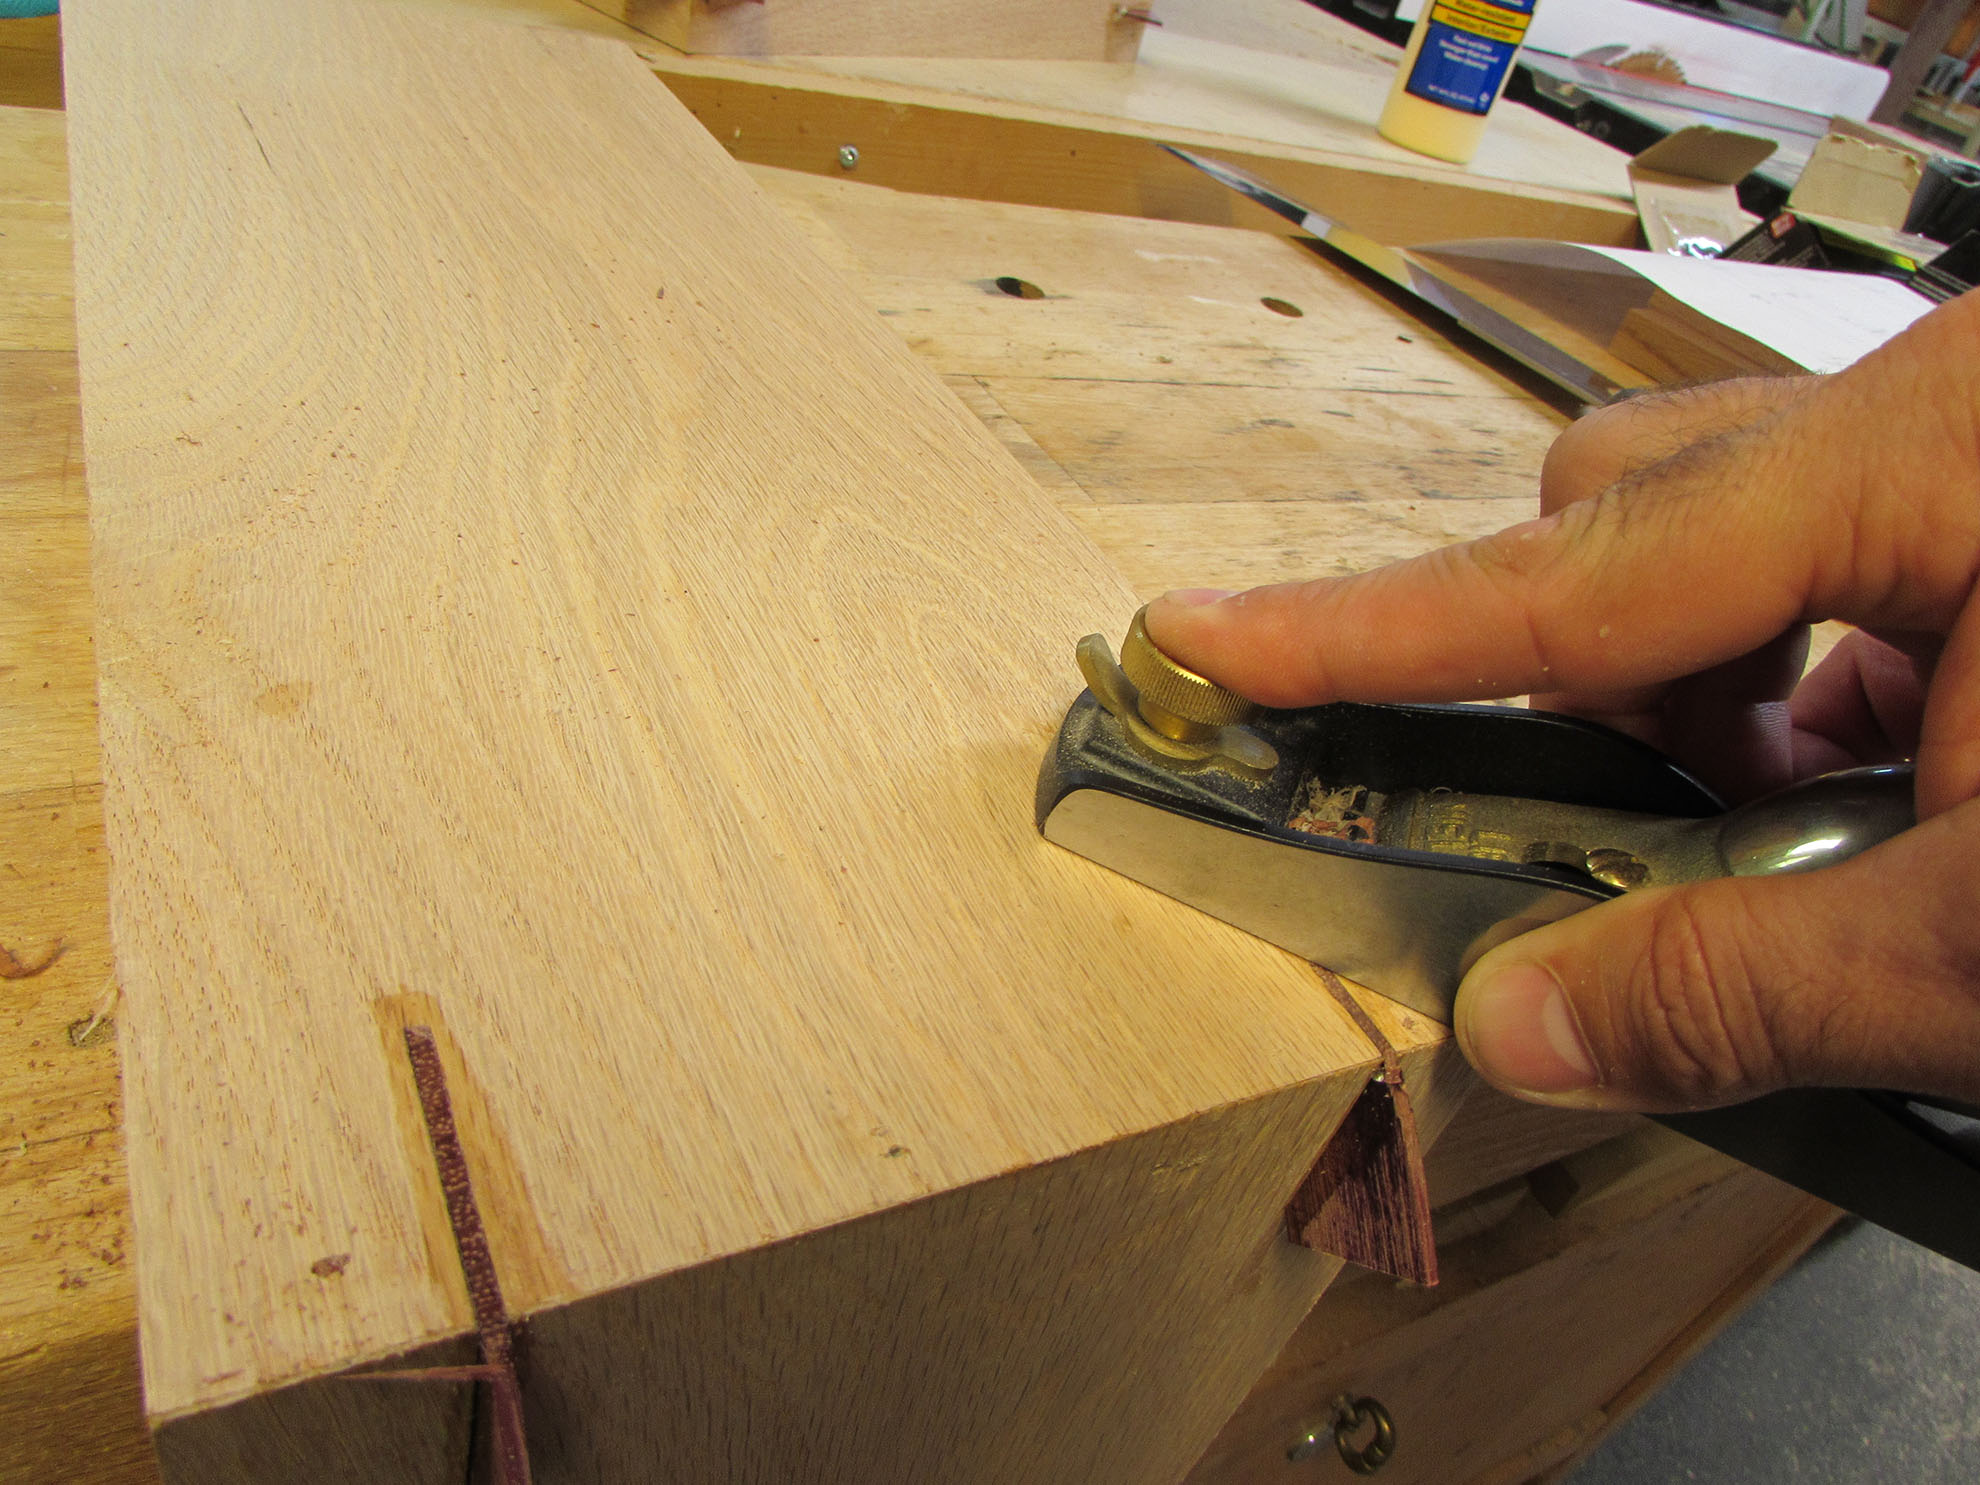
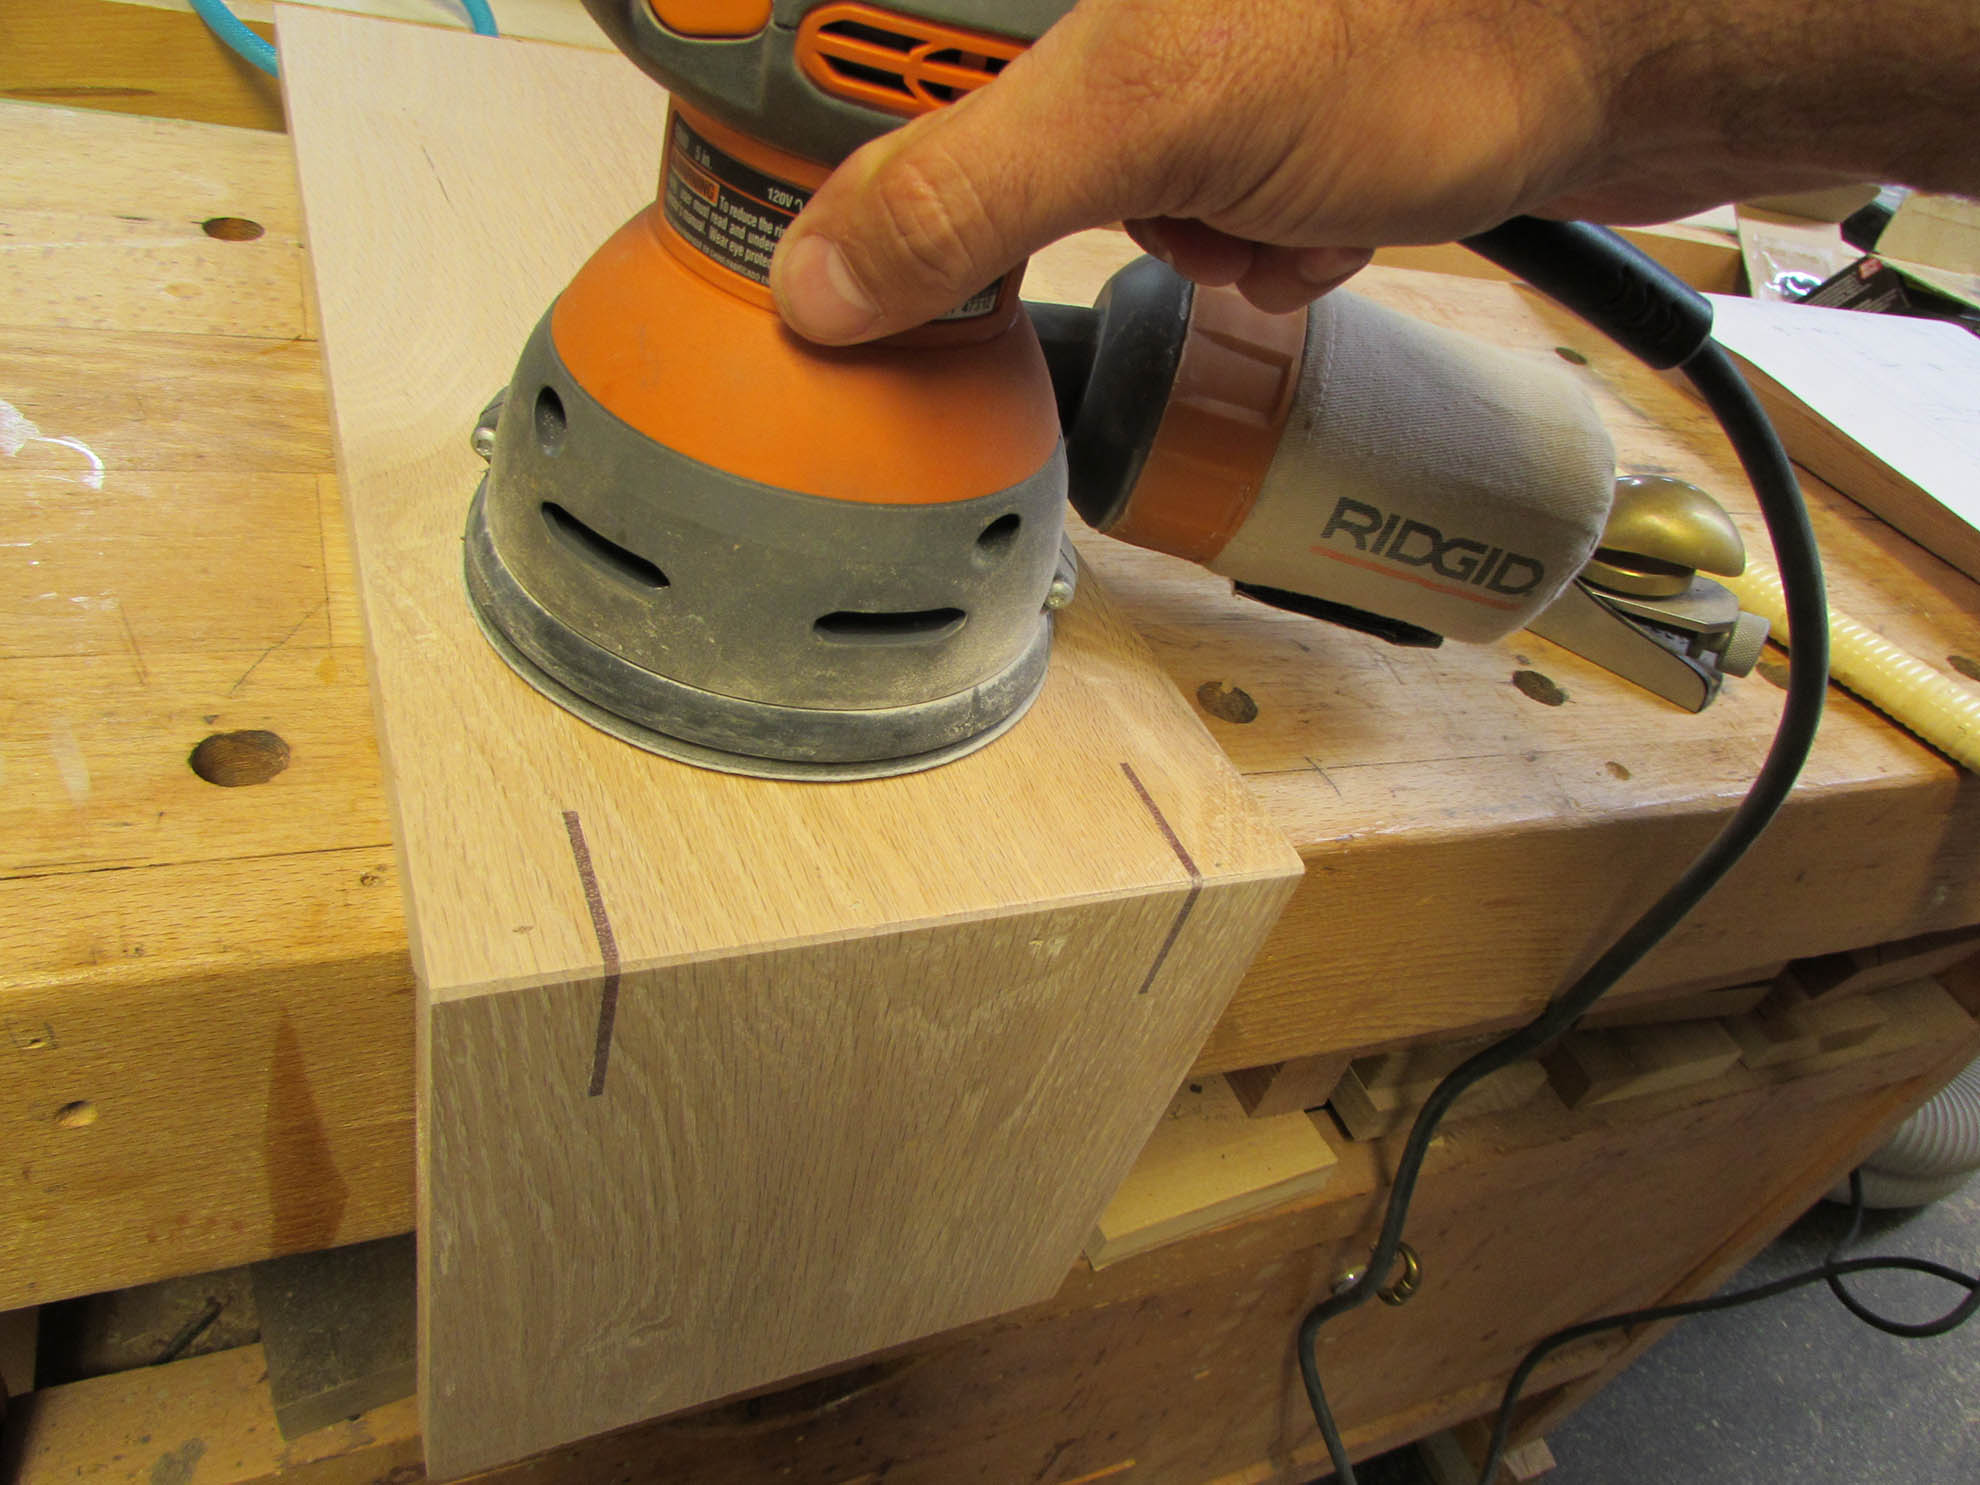
Then used my block plane and orbital sander to finish removing the excess epoxy.

With all of my mitered corners done, I moved on to the outer casing.
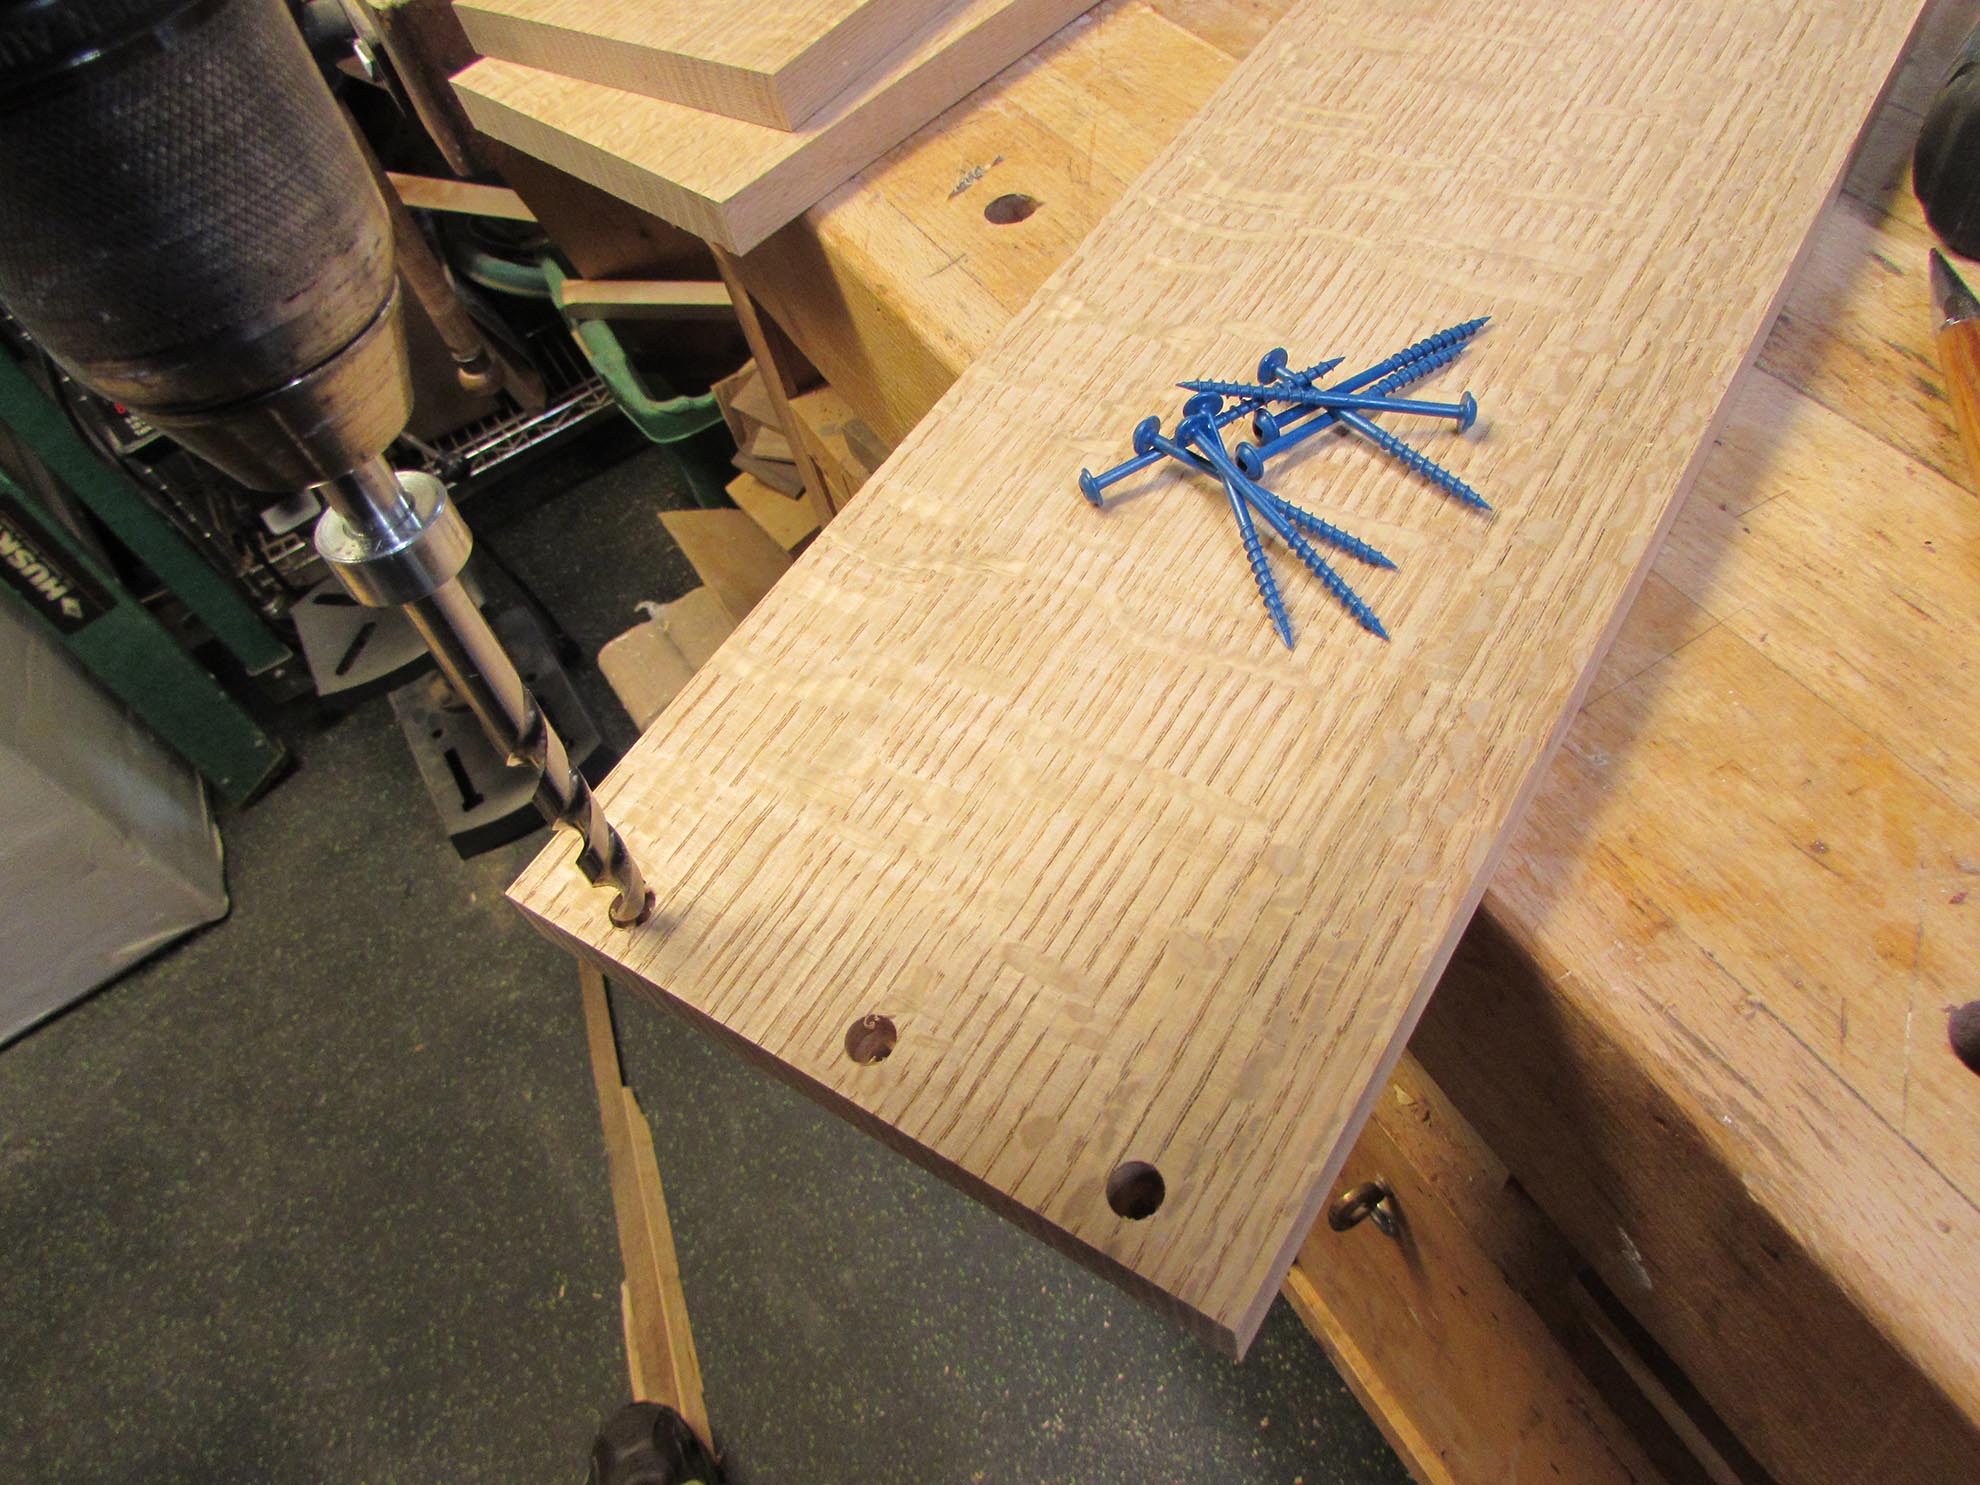
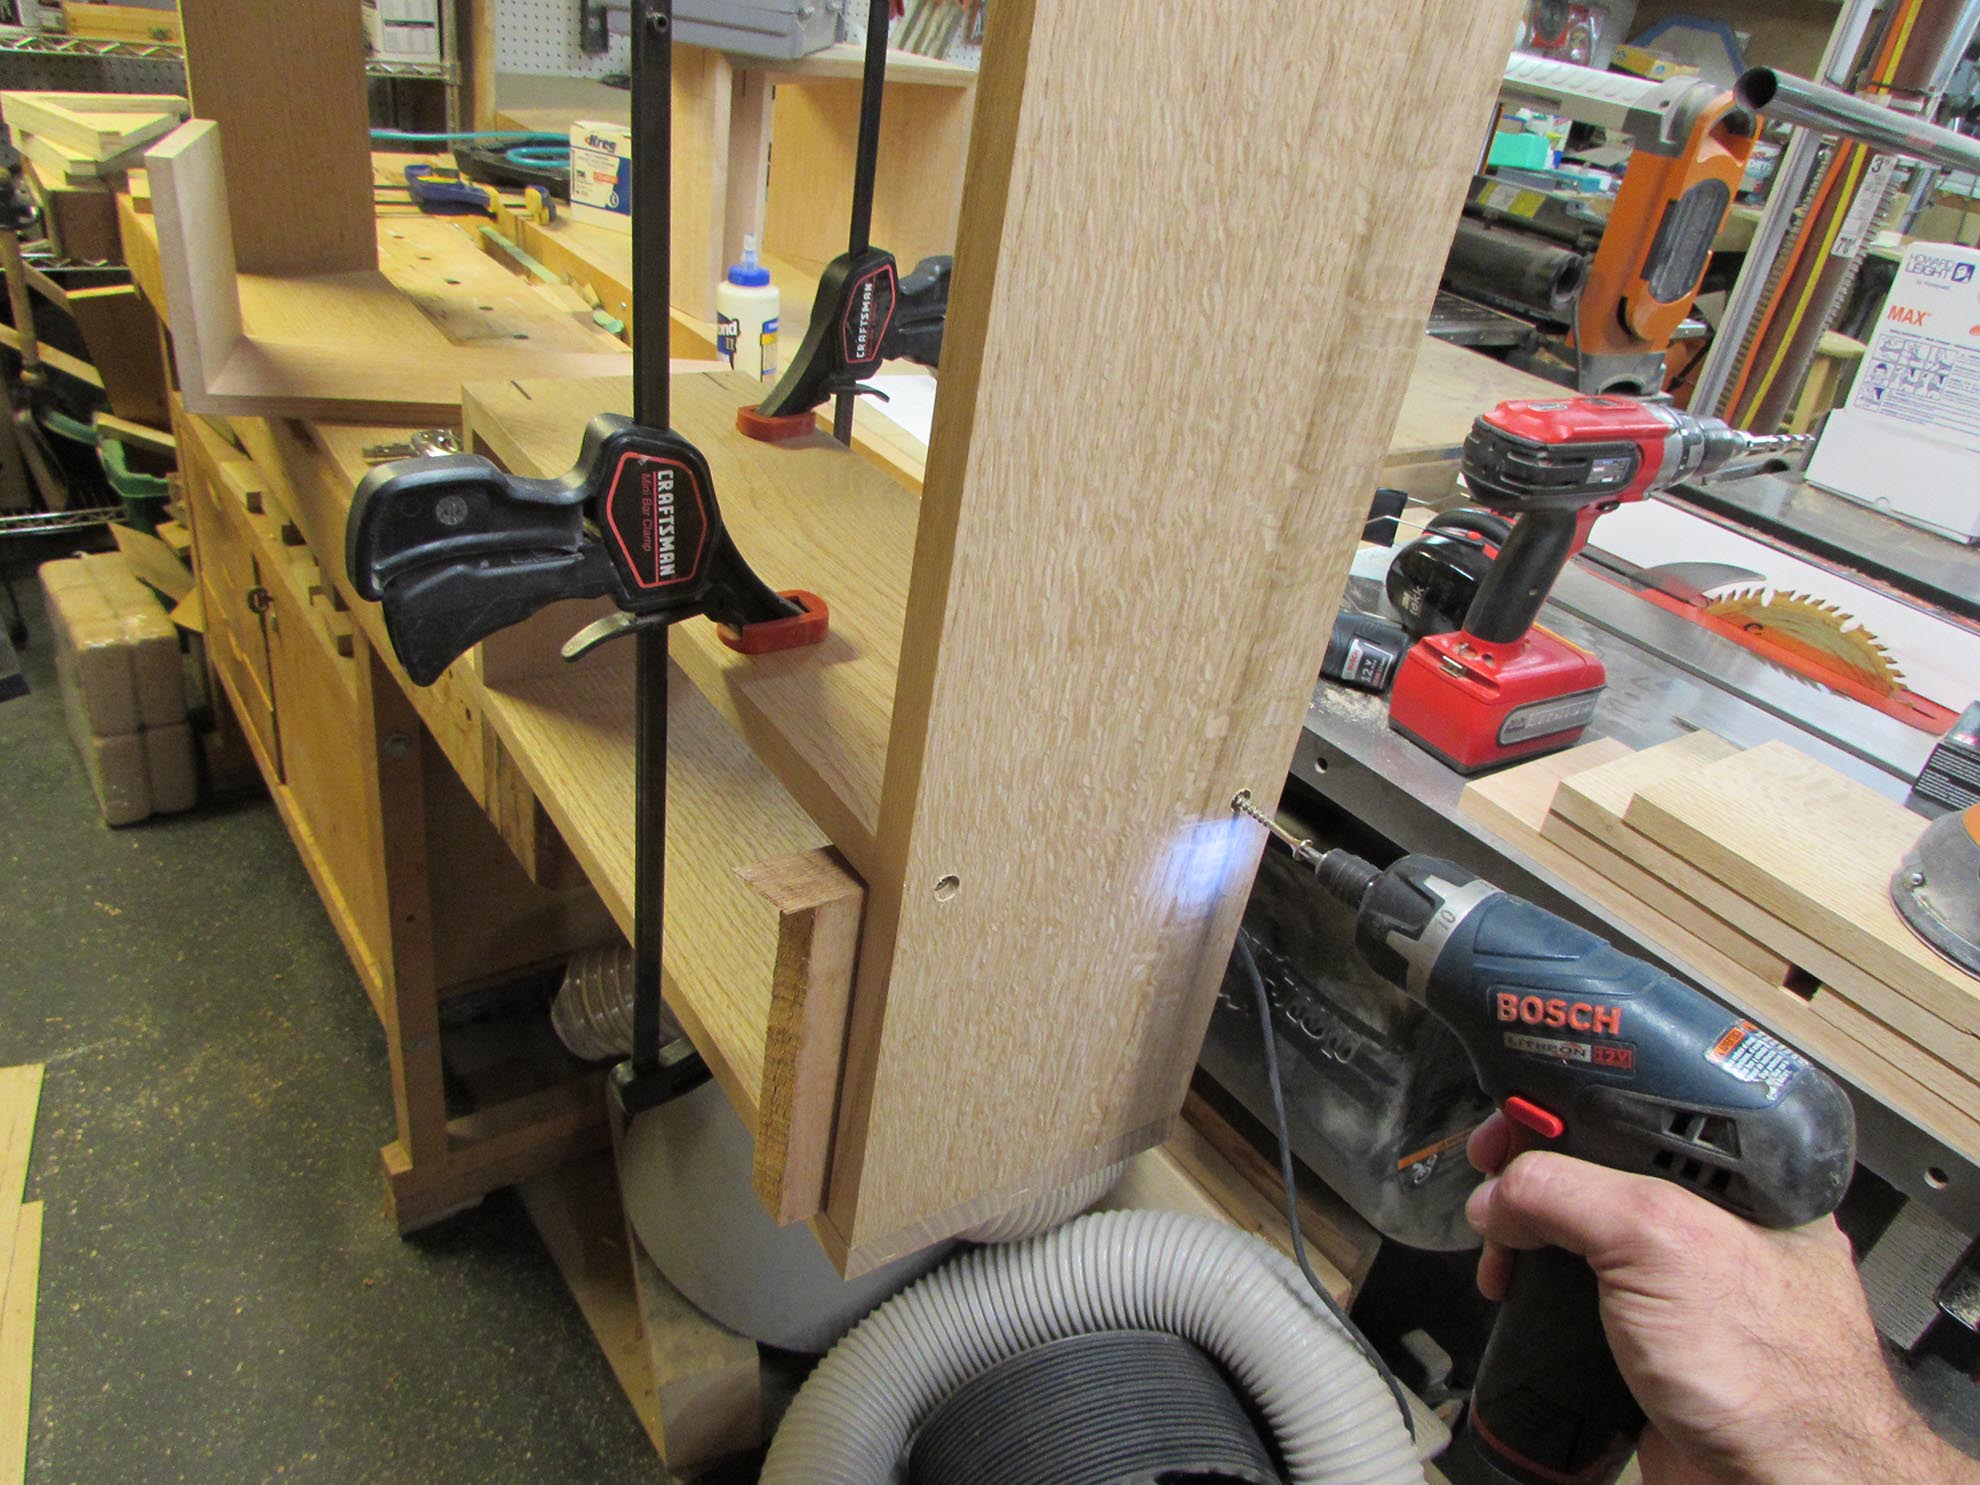
Since the outside of the casing will be completely hidden, I am using pocket hole screws to hold it together. I pre-drilled counter-bores at each hole location to create a square shoulder for the screws to draw-up to.

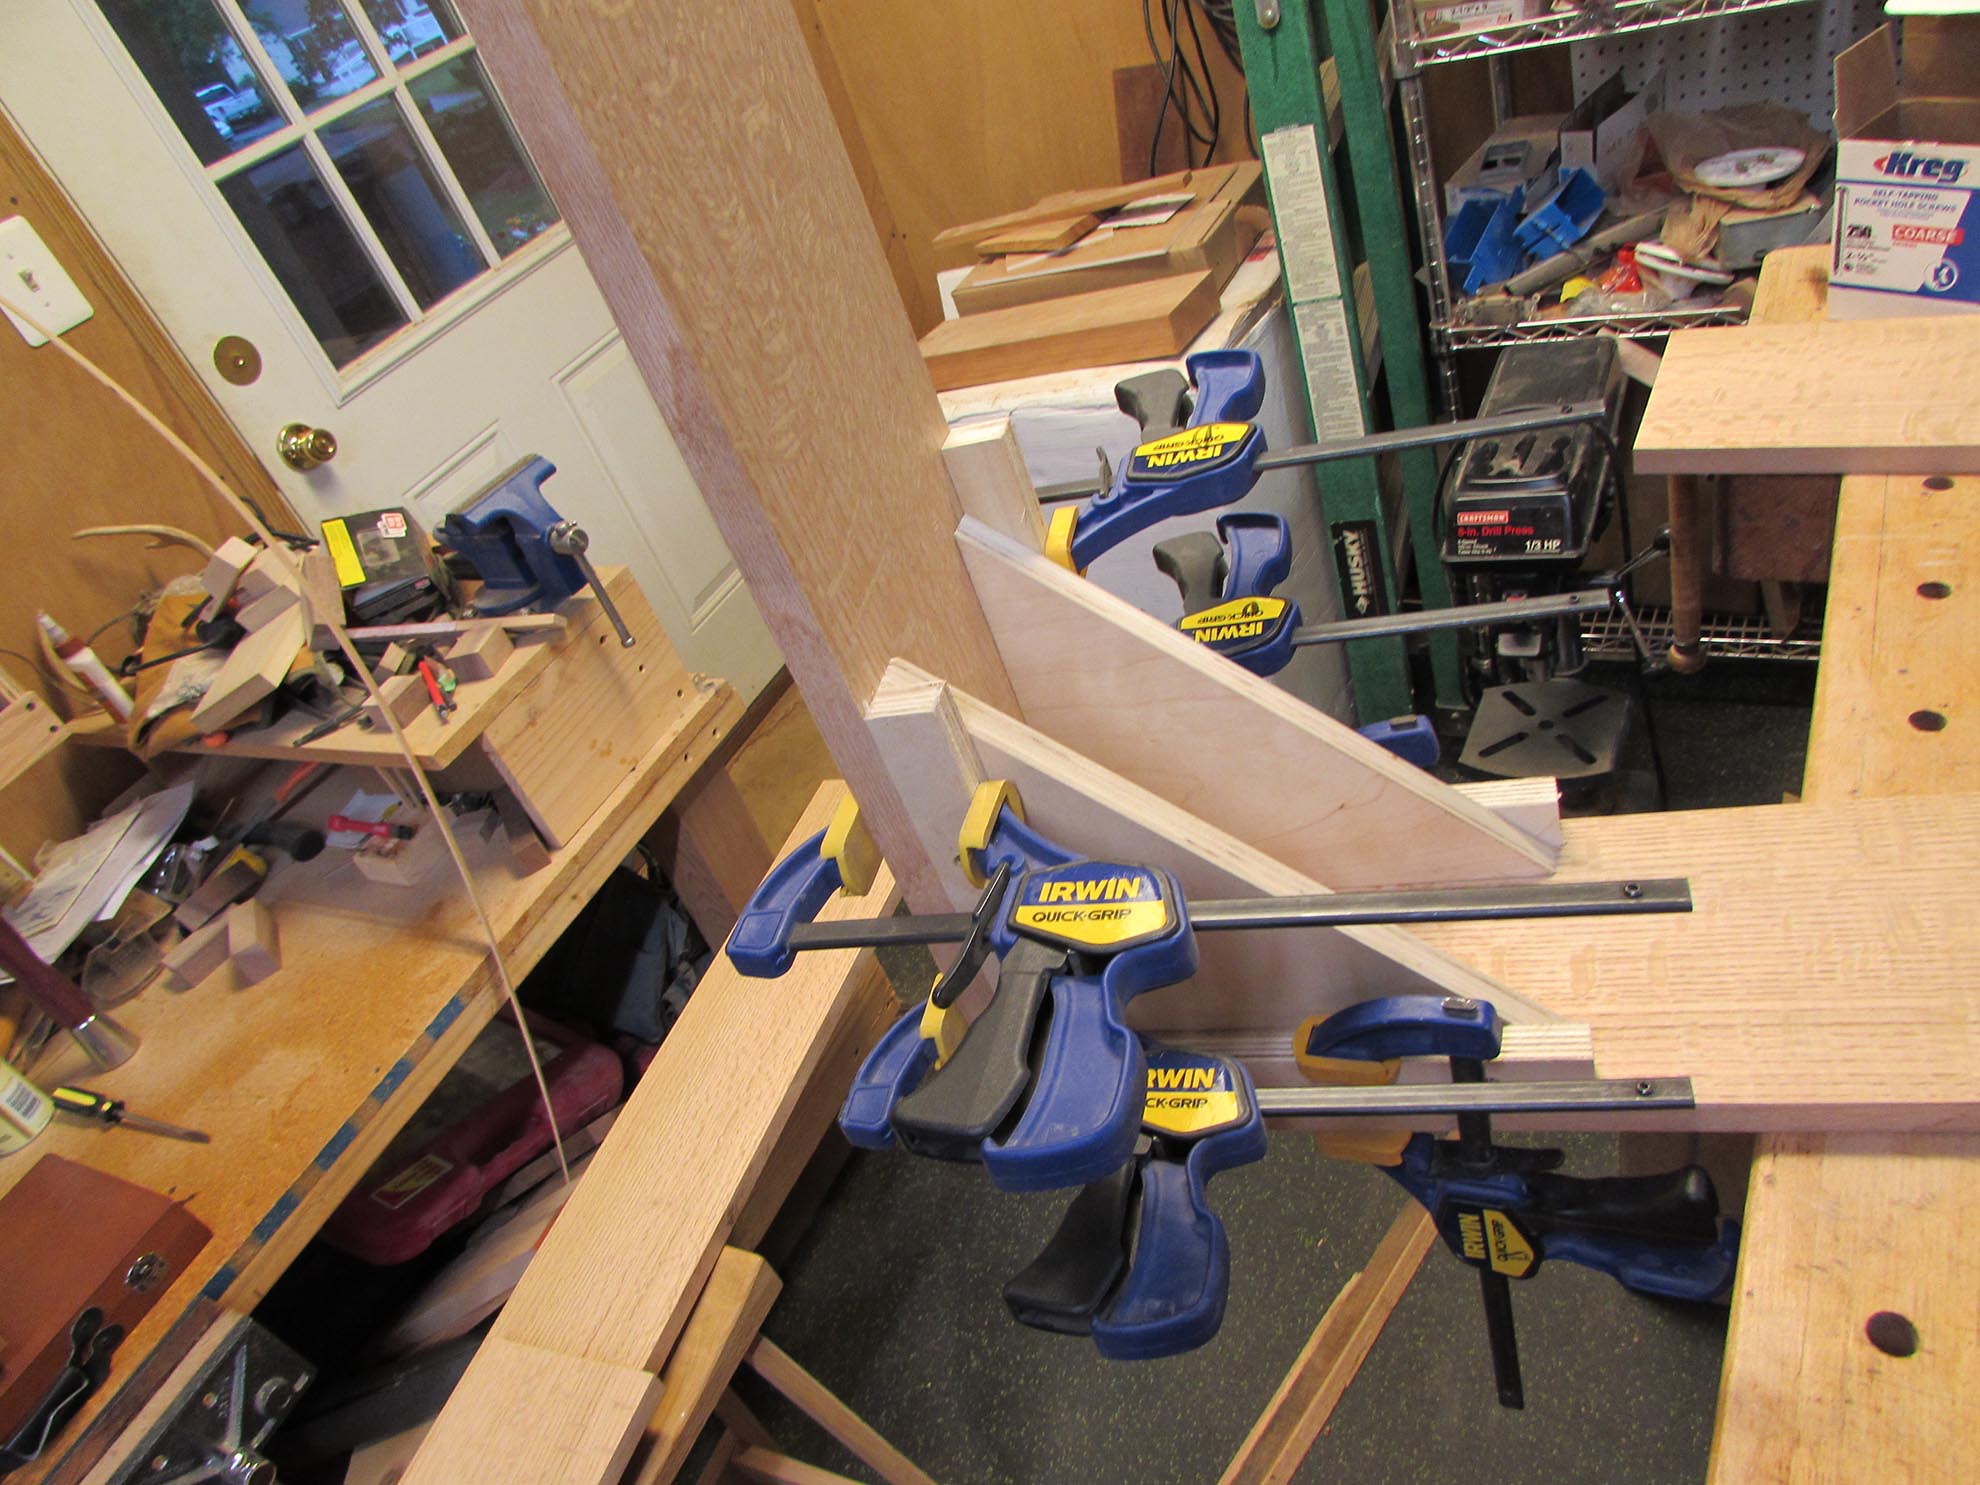
Next, I clamped two pieces together, using some home-made clamping squares.
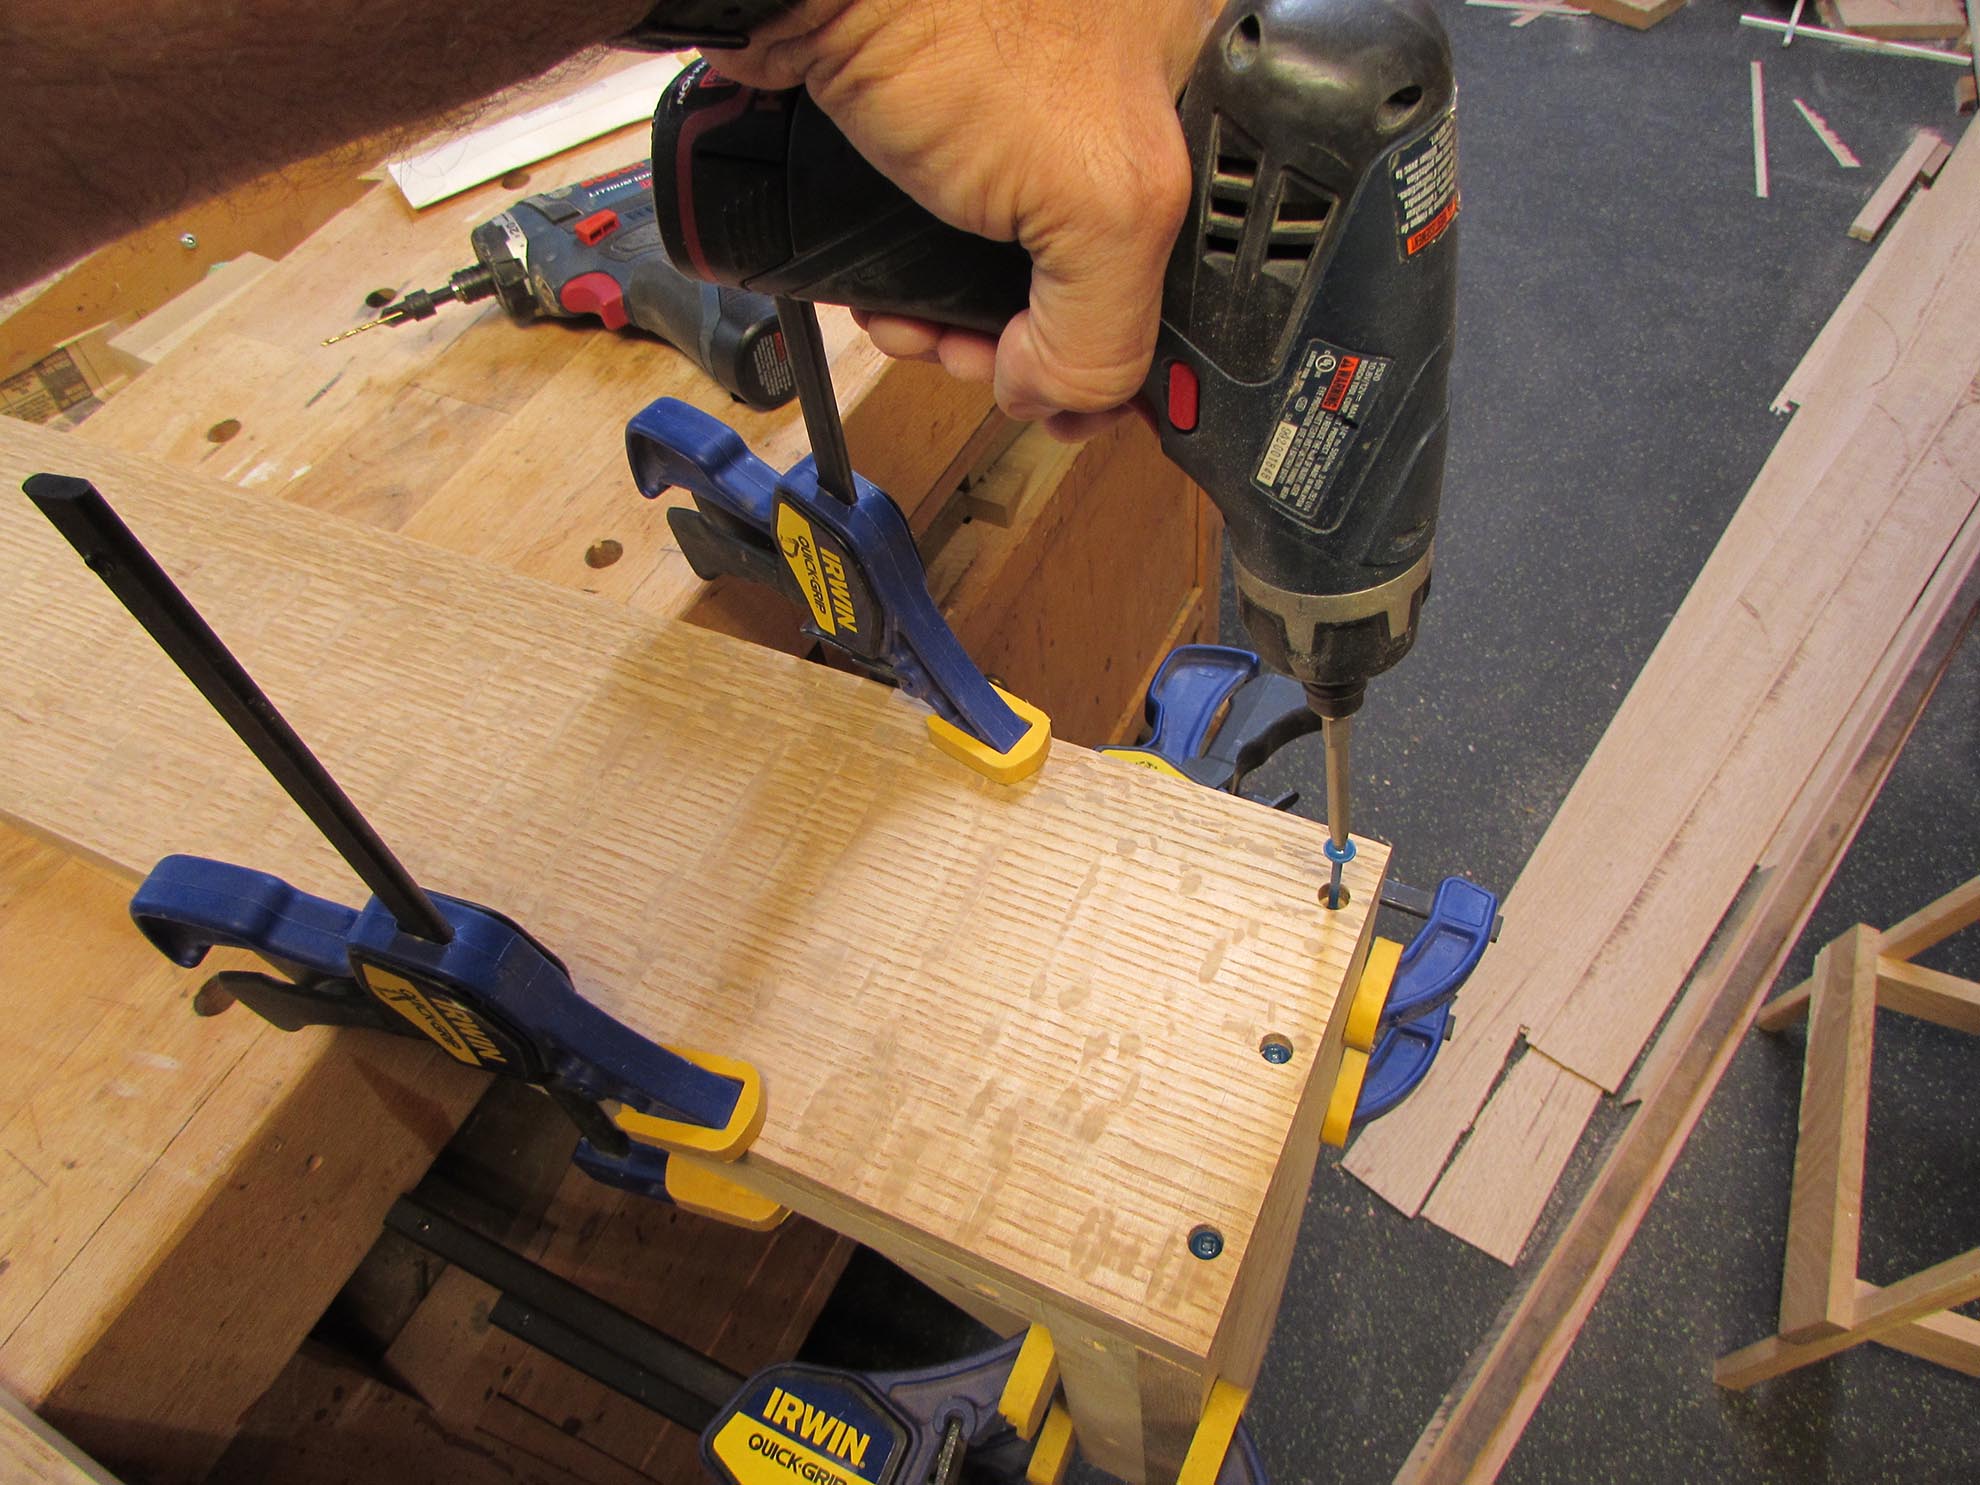
I drilled pilot holes in all of the counter-bored holes, to help prevent any splitting from the screws.

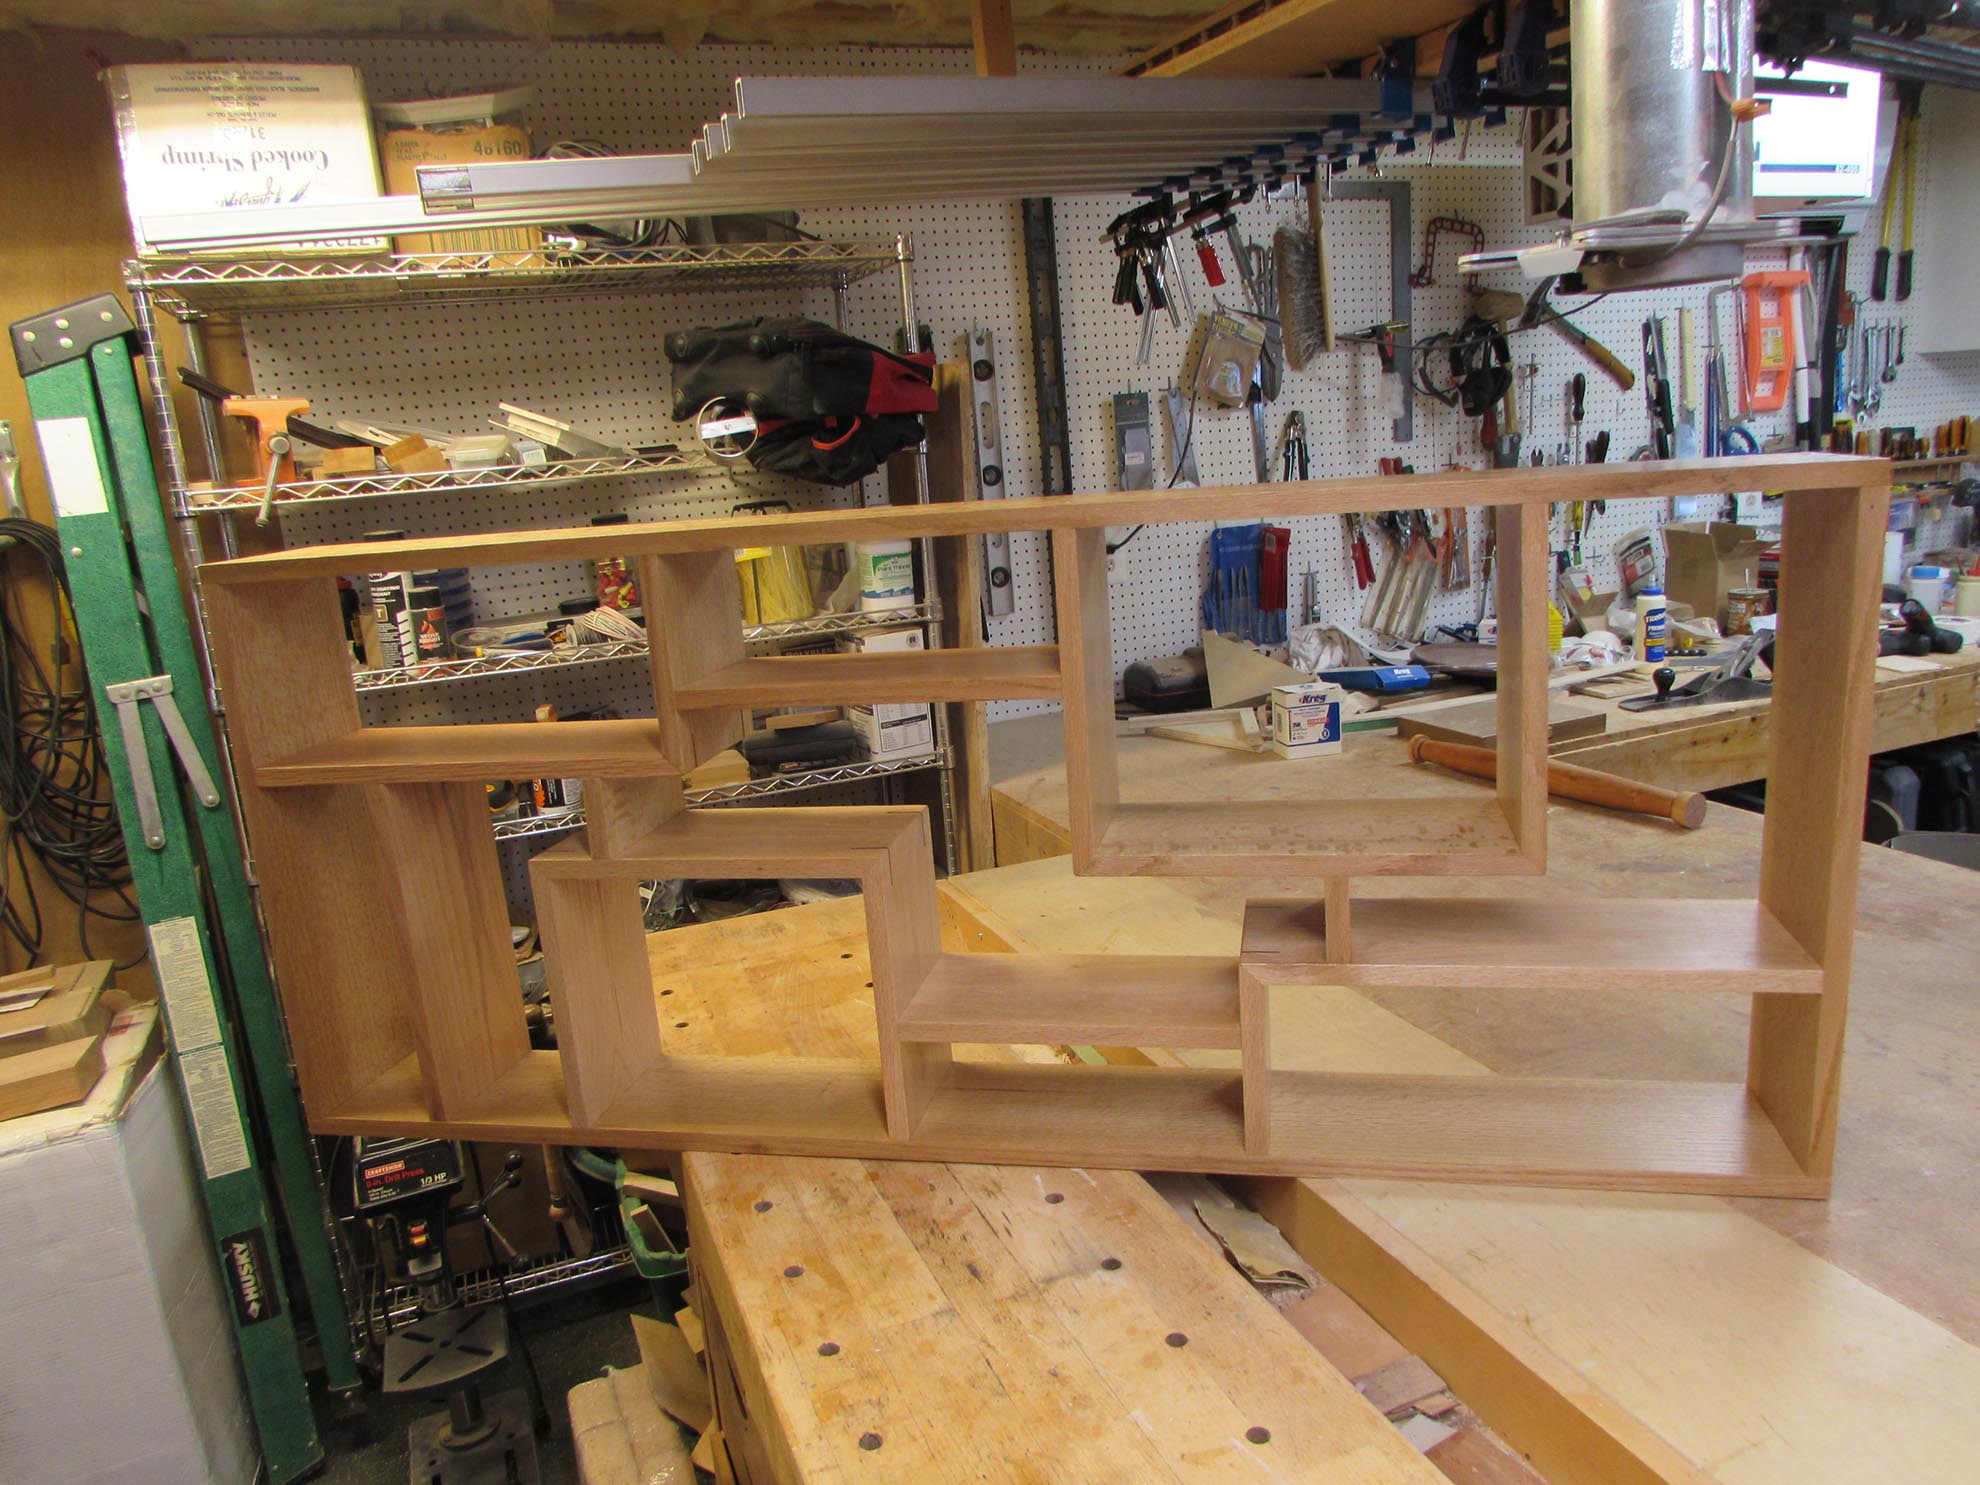
Then I screwed the corner together, repeating this three more times to make the frame for the shelves.
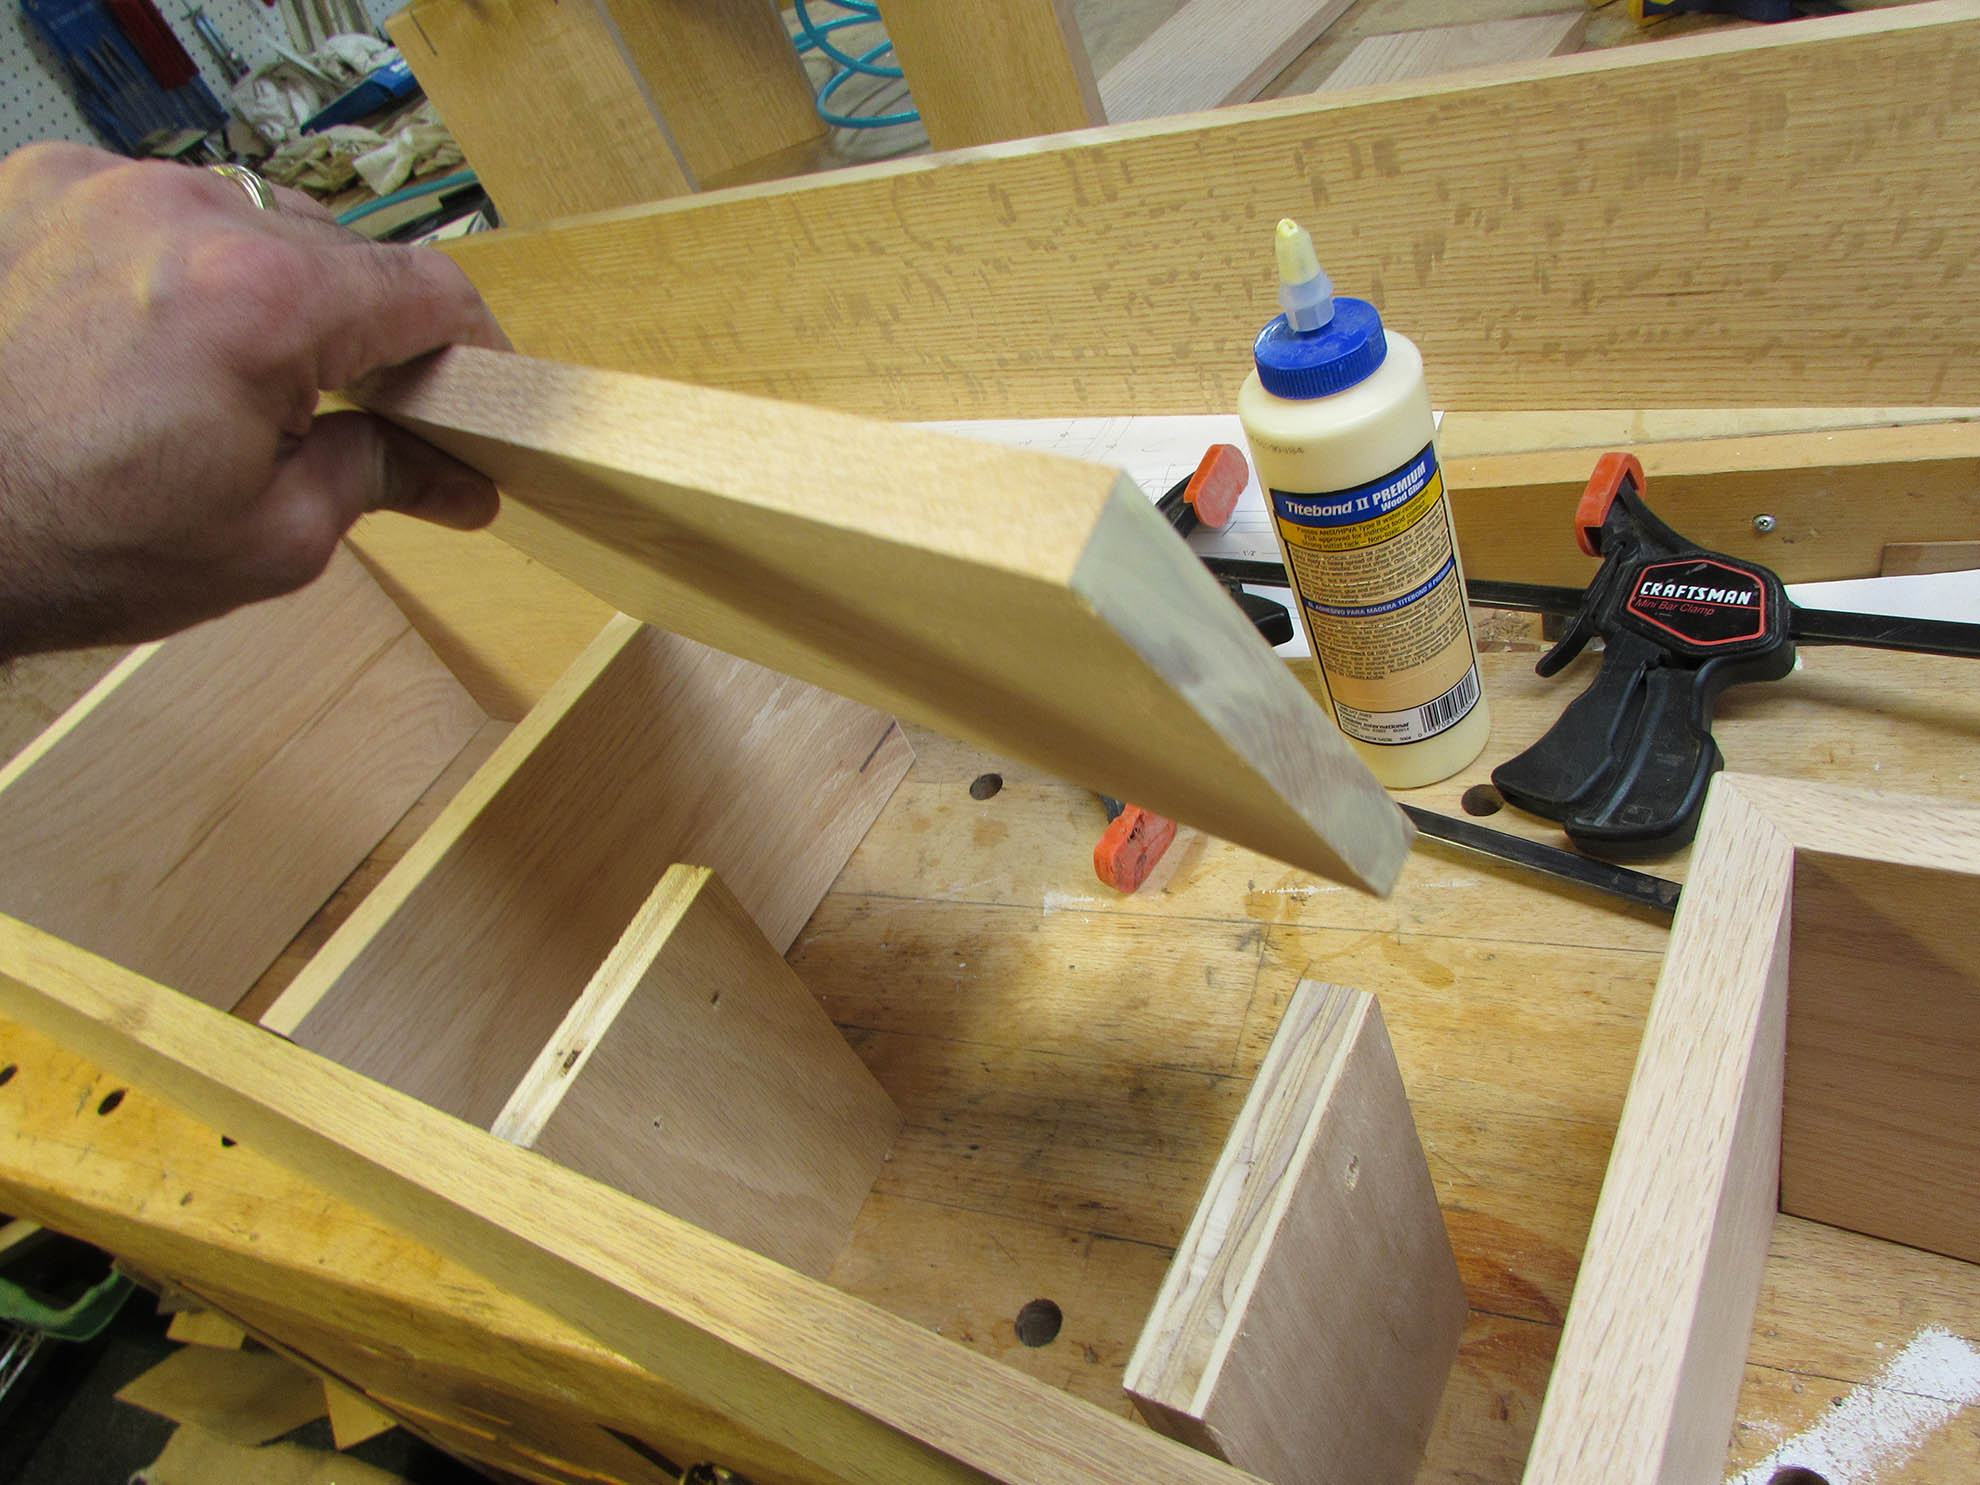
With the casing complete, I next need to install the shelves that were mitered together. The three-sided boxes were easy, but the “L” shaped ones required a spacer to hold the correct elevation.

Once the shelves were located and clamped in place, I pre-drilled and counter-sunk them and attached them with 2-1/2″ wood screws. I also applied a bit of glue to the ends of the shelves. I am not sure if it will help anything, but it cannot hurt.
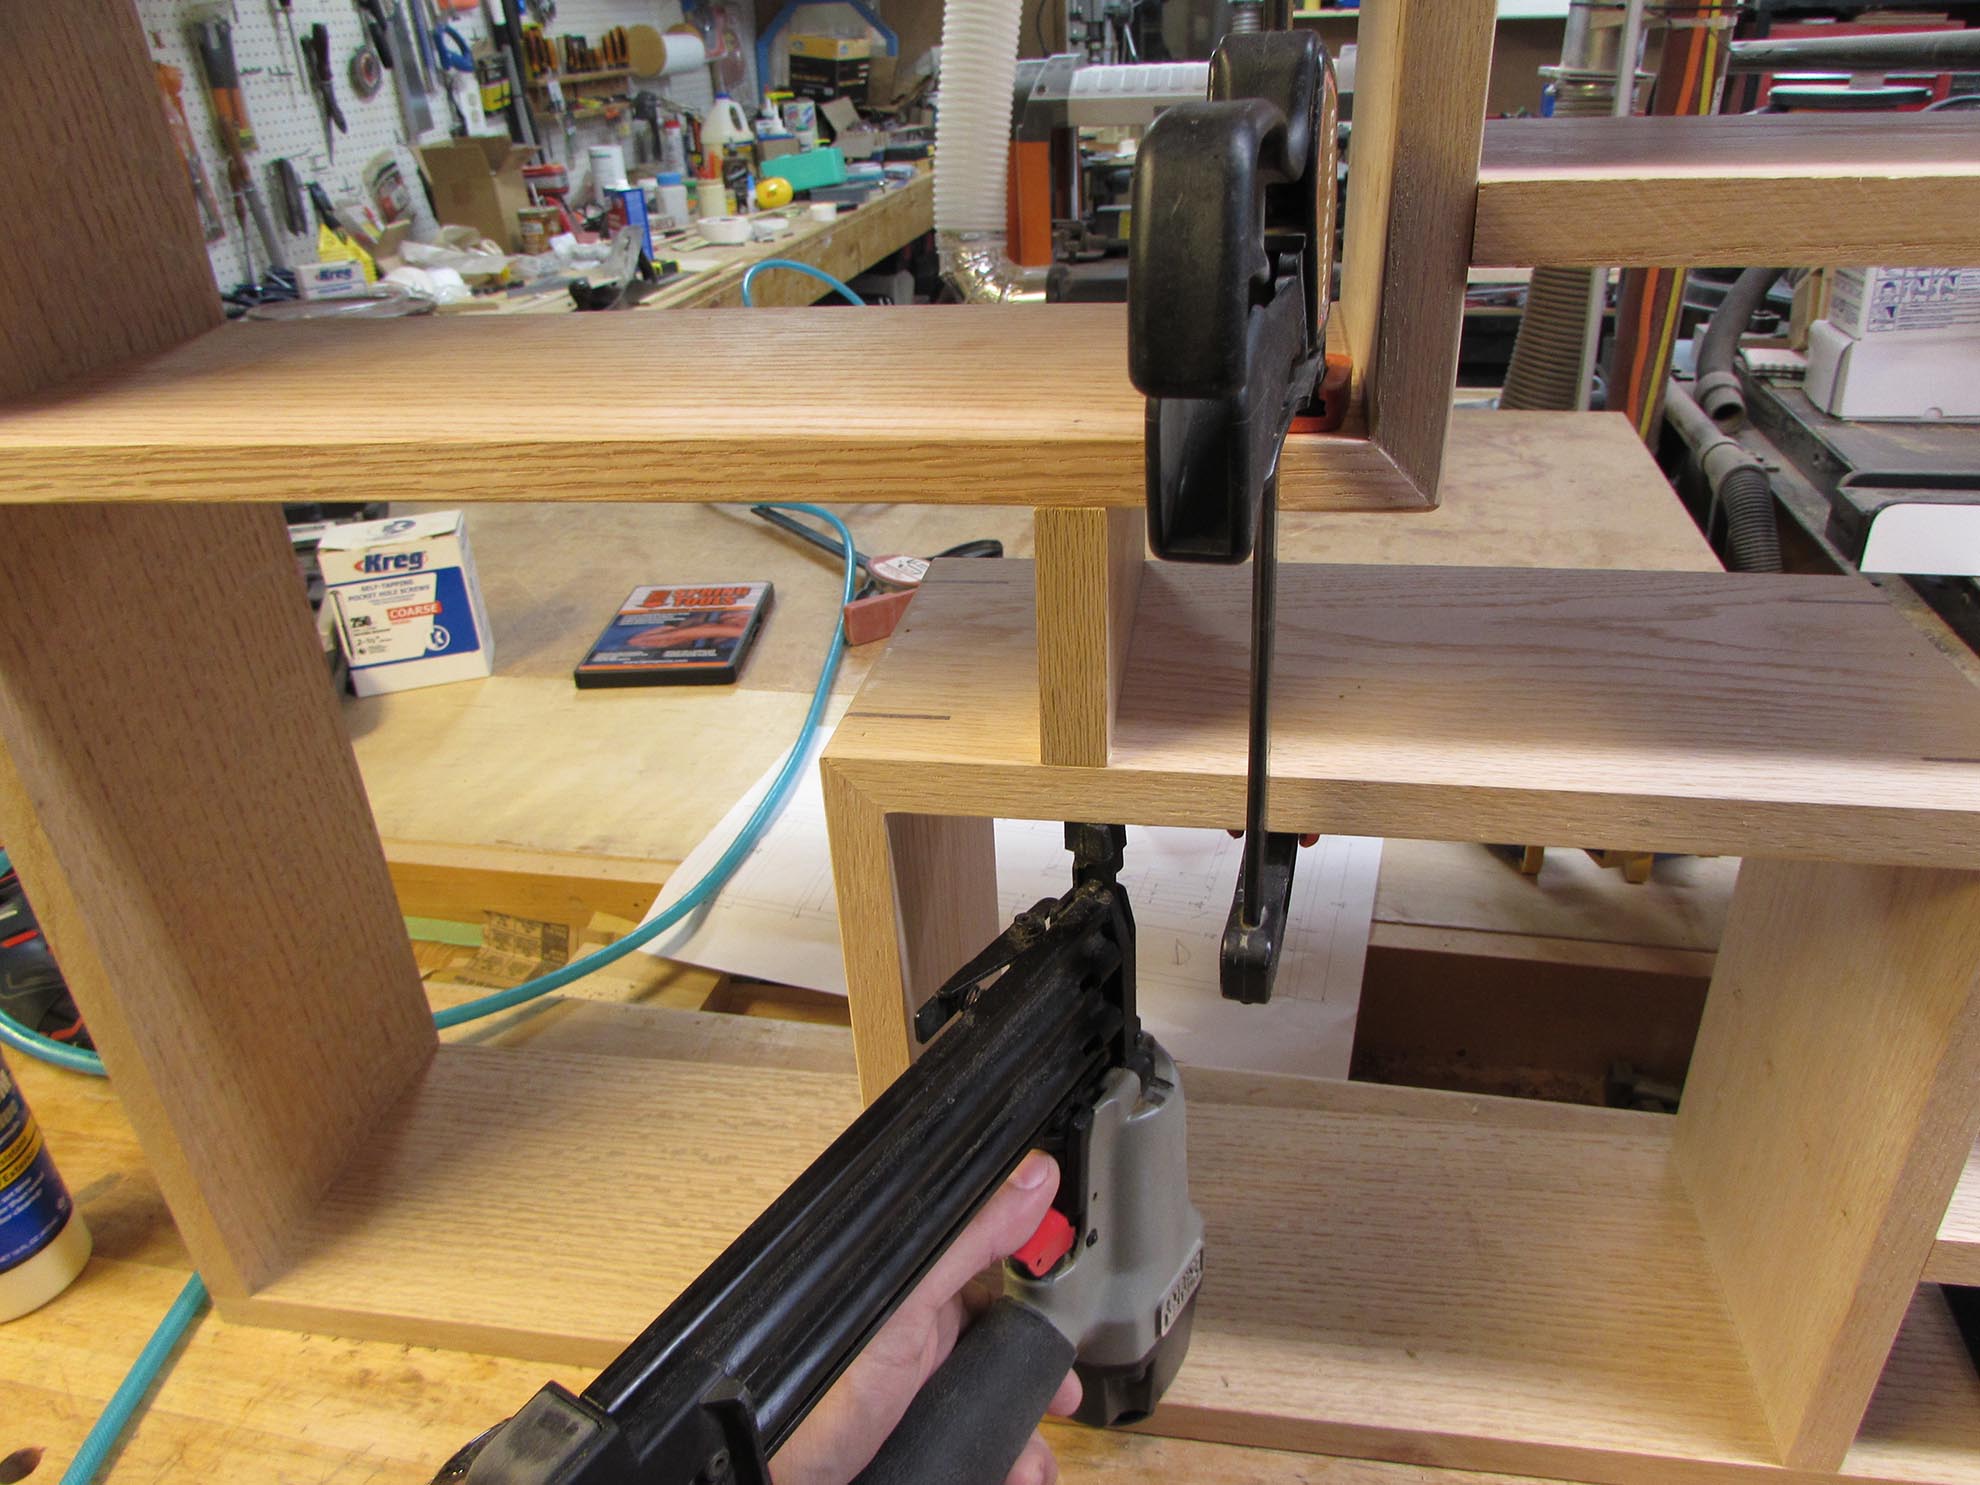
For the shelves that floated between the boxes, I used two spacers to support them.

After gluing and clamping them in place, I used my 18 gauge brad nailer to pin them in place until the glue dried.
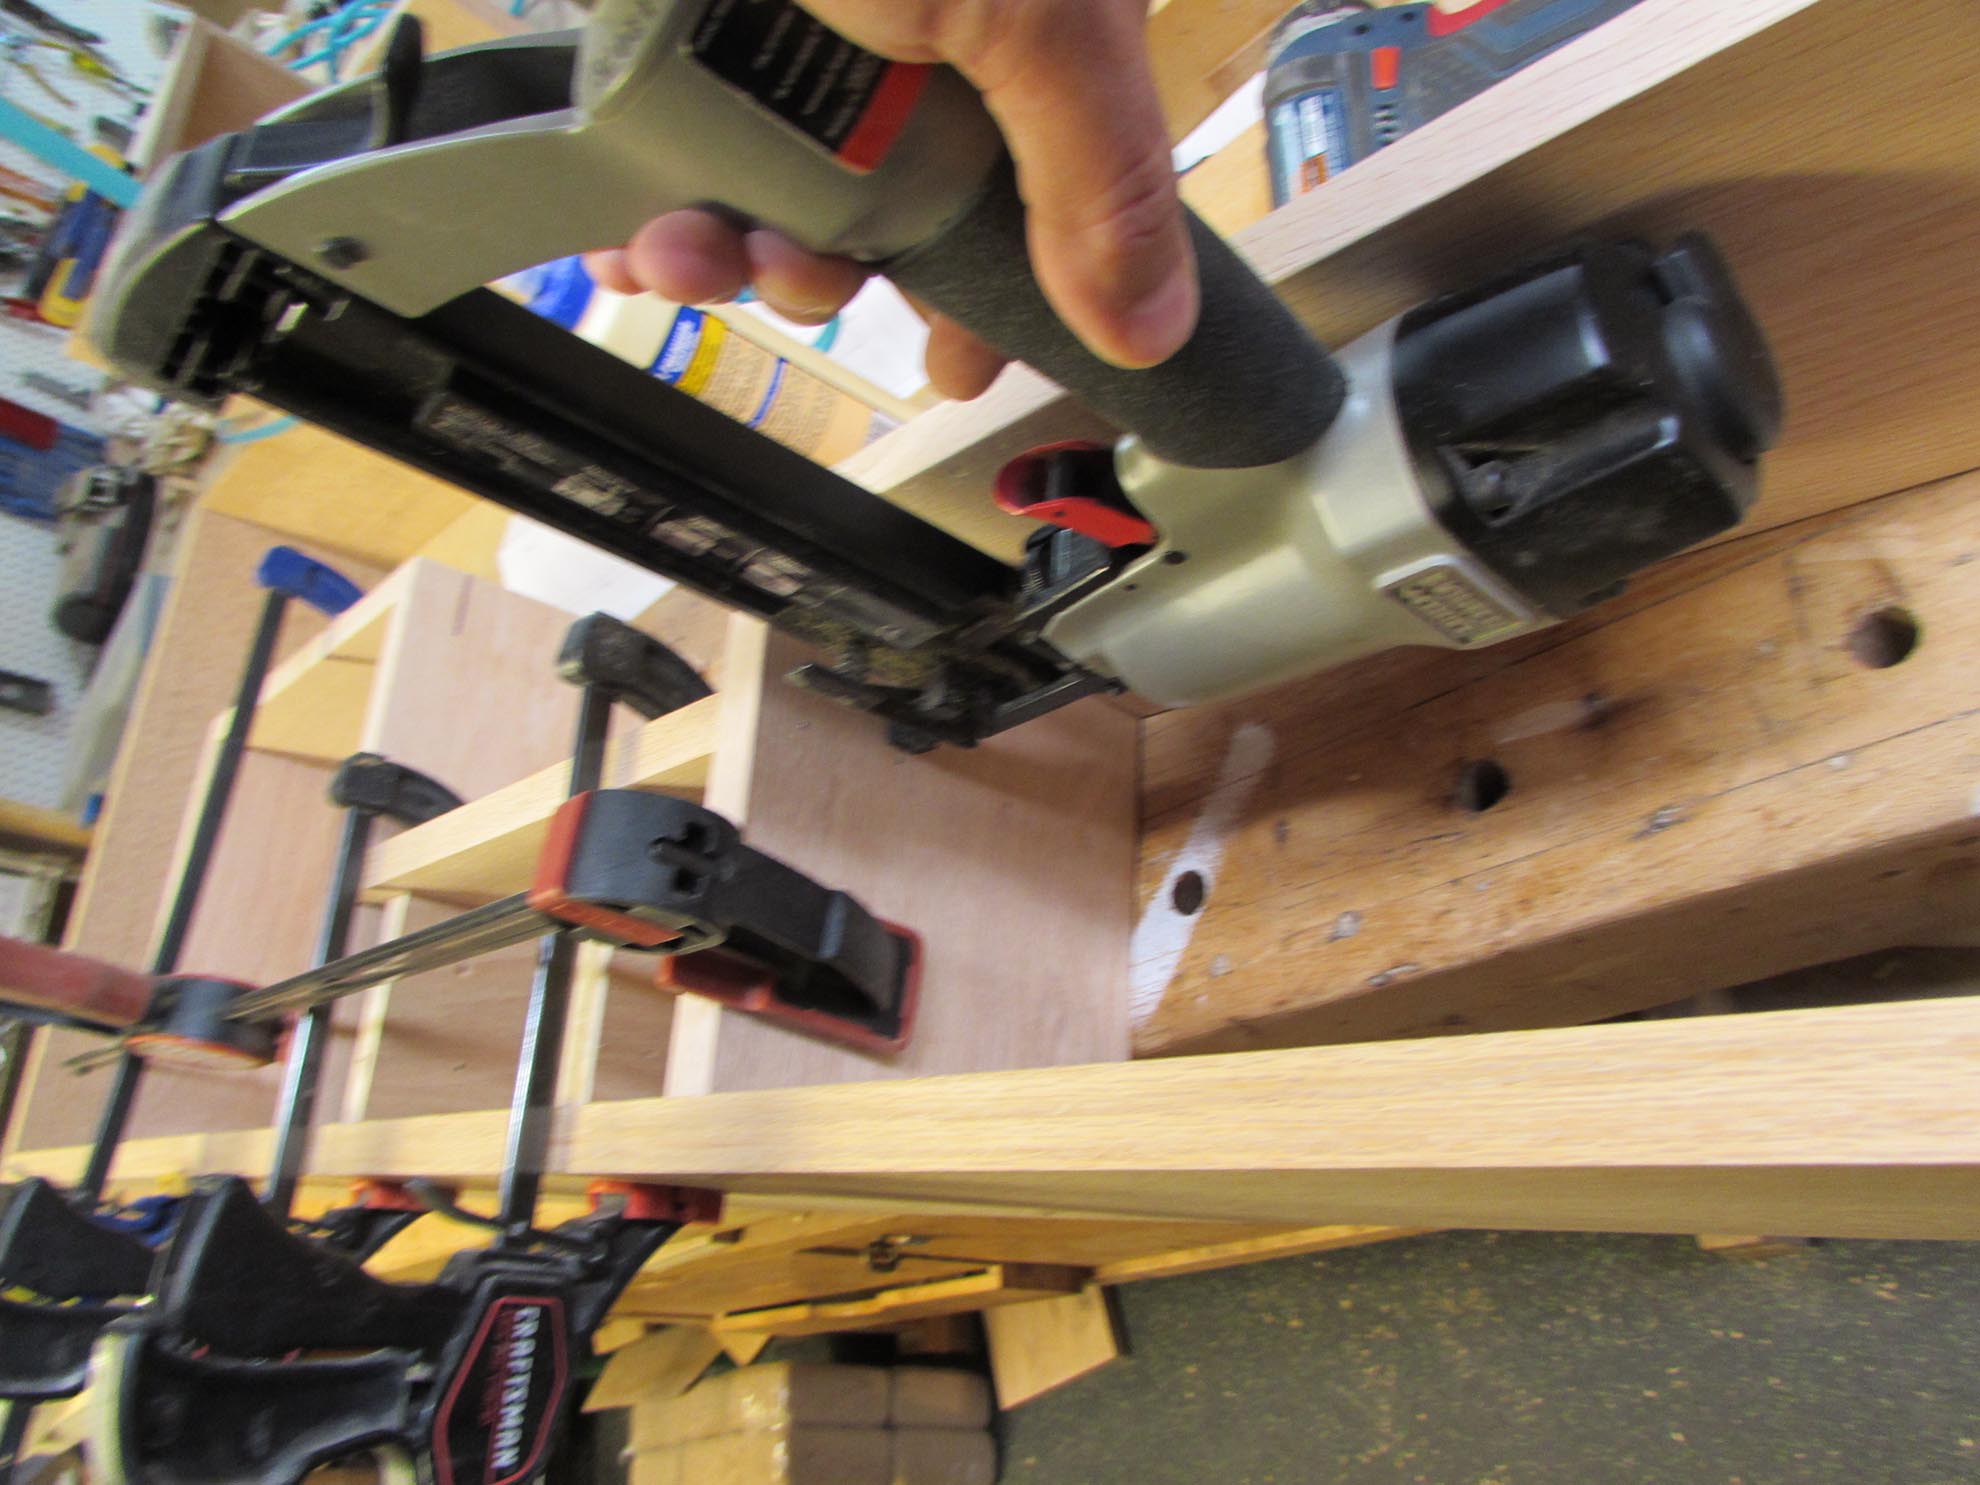
If these shelves were holding more than a couple of small decorations, I would have probably cut dados to support a significantly heavier load. Since that is not necessary, A few brad nails saves a lot of work.
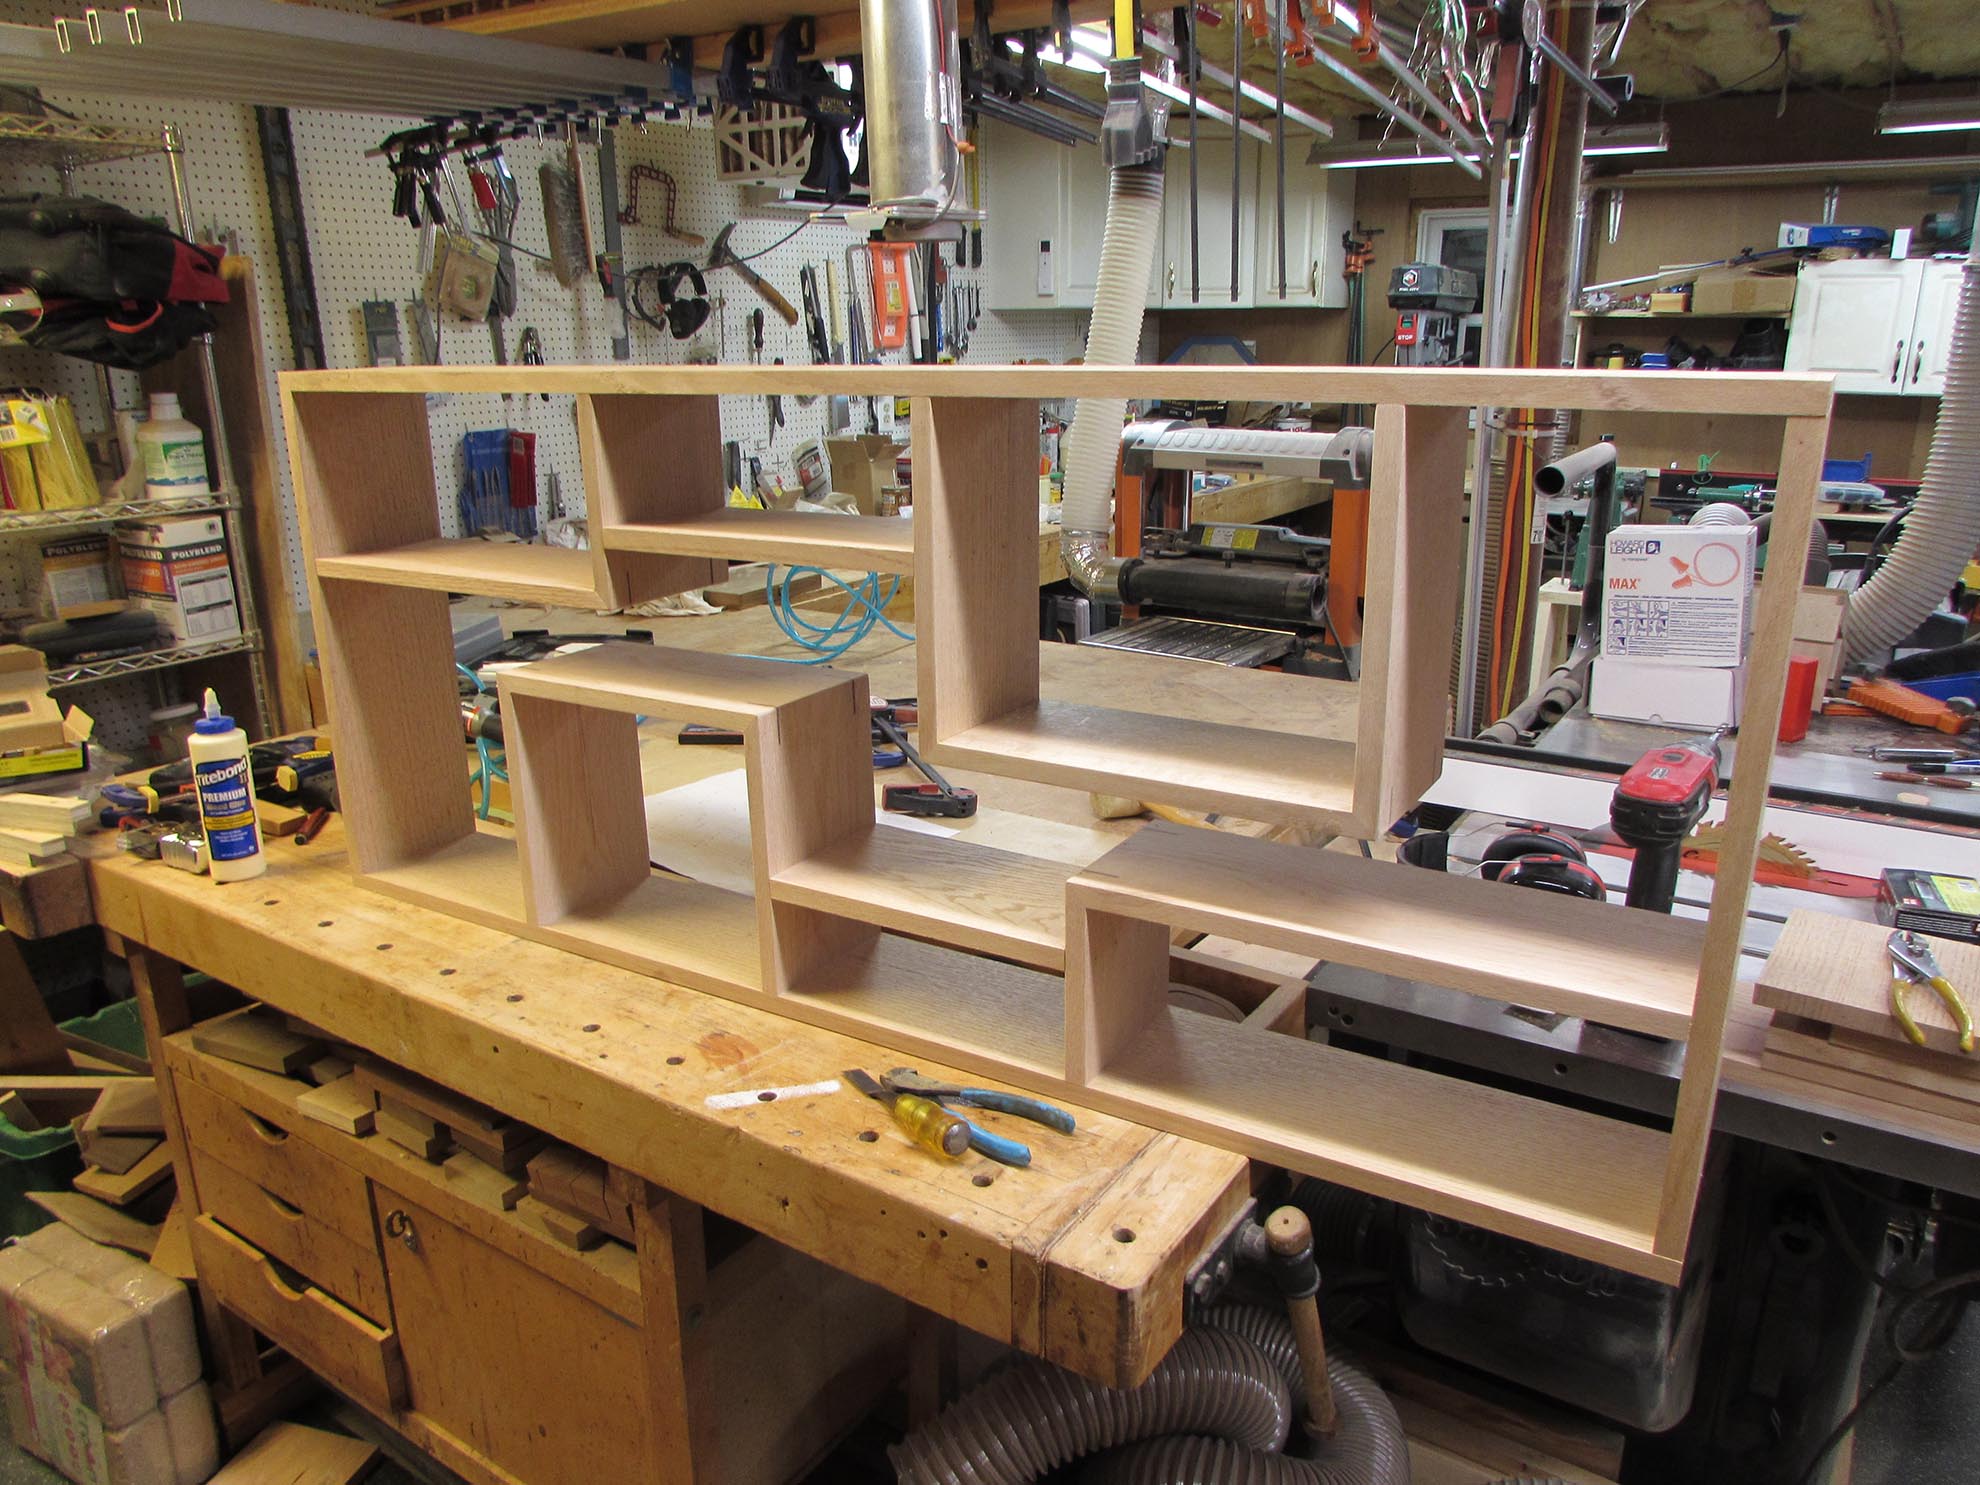
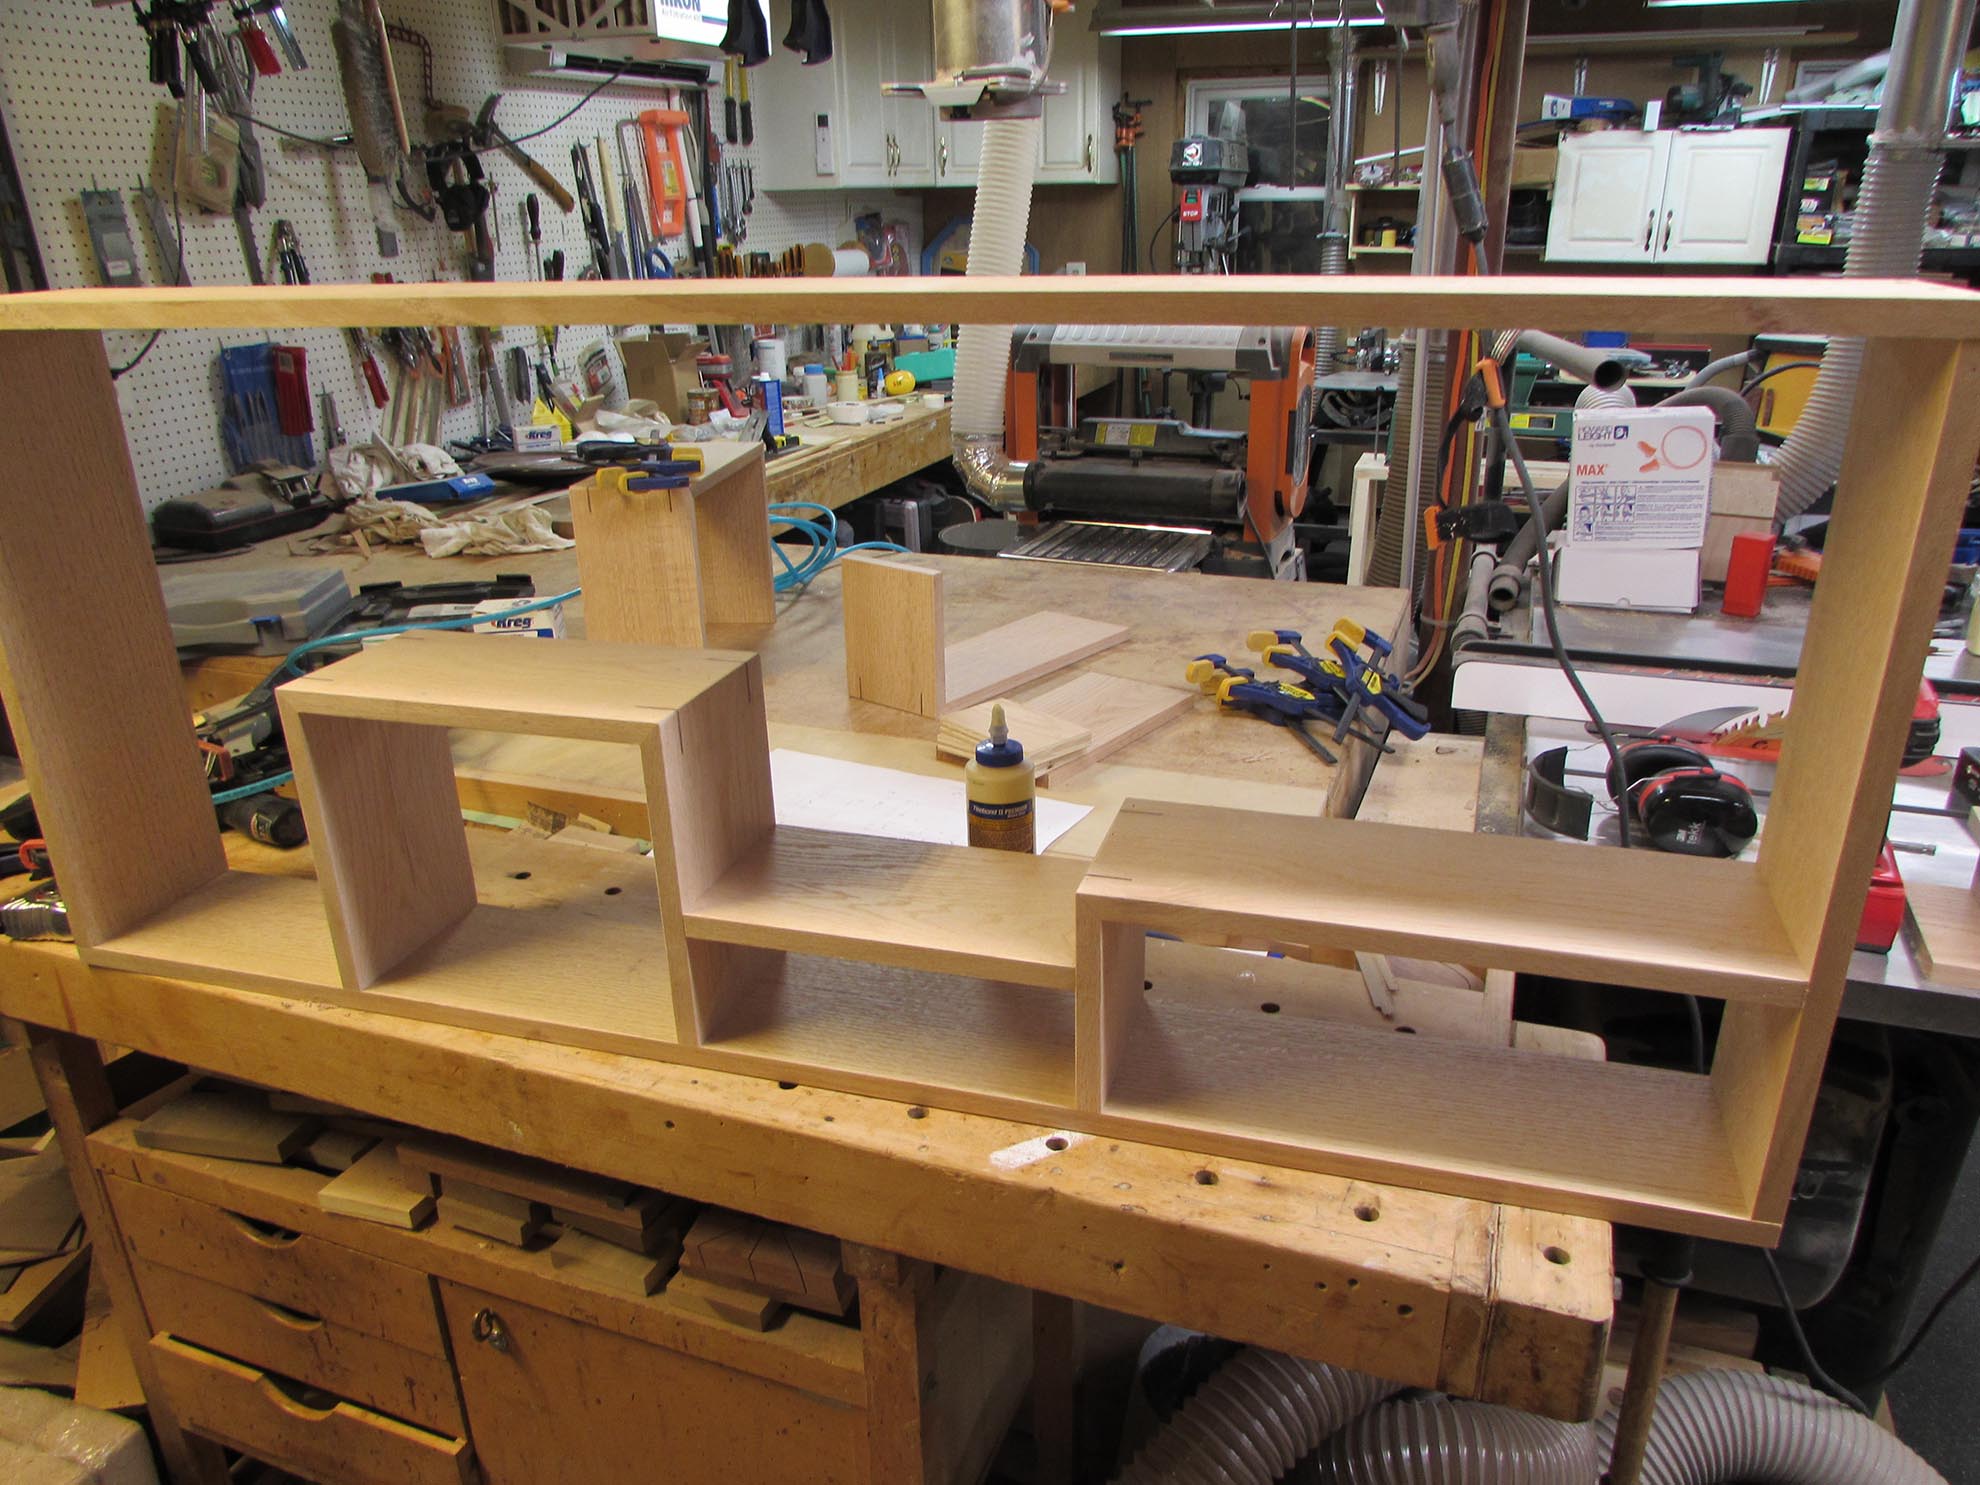
The boxes and floating shelves are all in place, now I only have the three vertical boards left to install.
They are cut and installed similar to the horizontal shelves, but the access for the nail gun is limited.
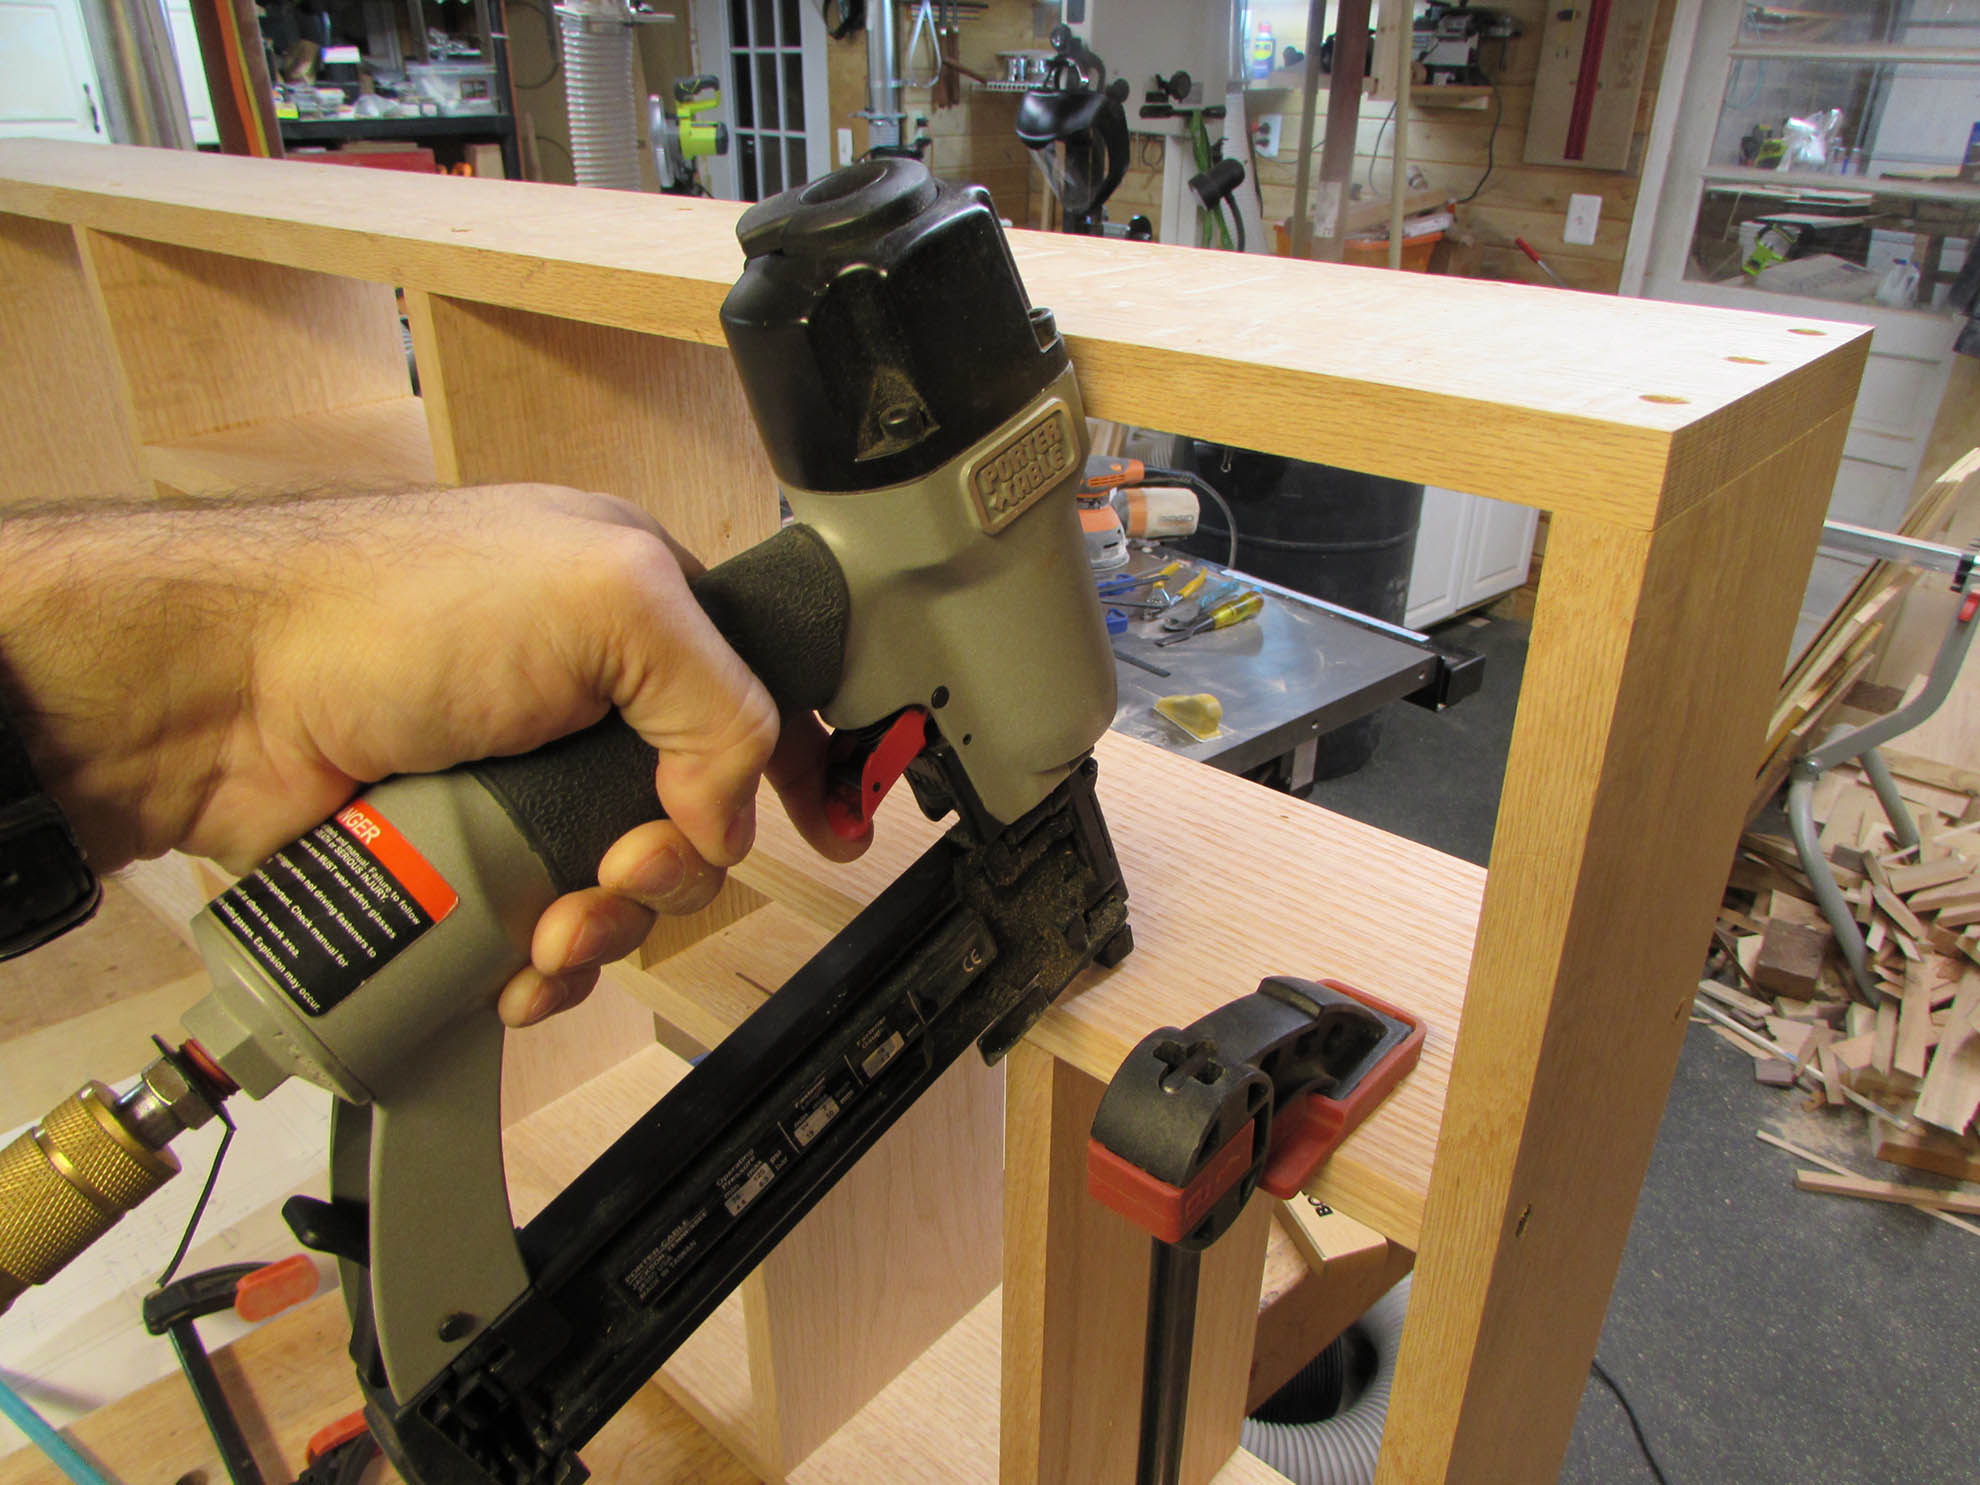
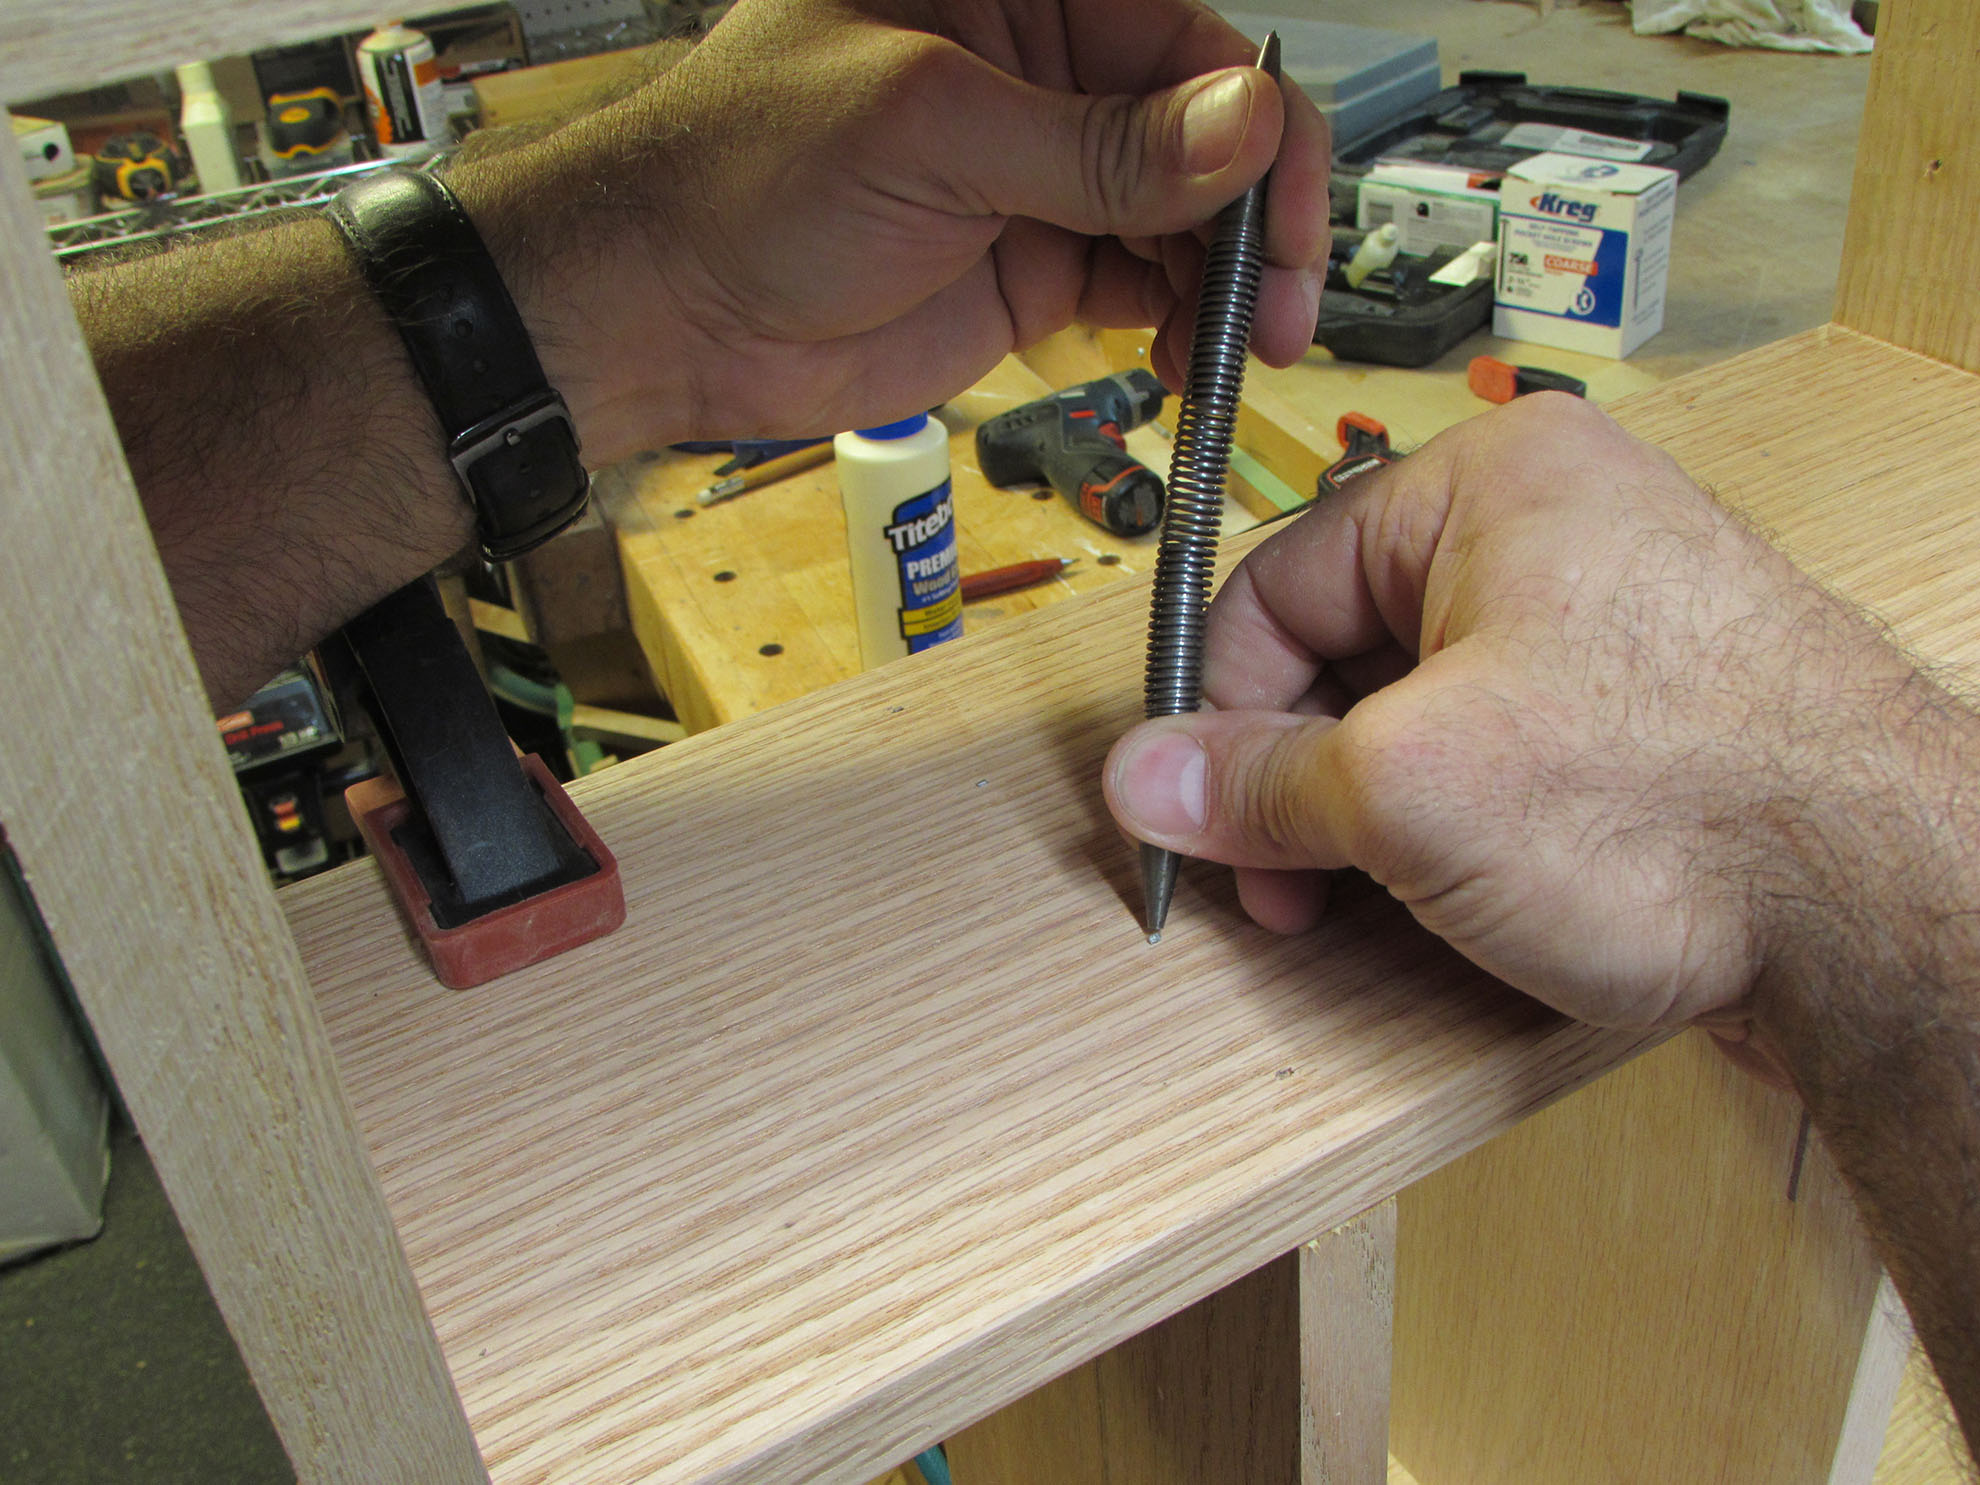
Since the nail gun is not perpendicular to the surface, some of the nail heads stick up. Access to set the nails is also limited preventing the use of a hammer. In these cases I rely on a unique tool that I found at the Woodworking show. Spring tools have weighted ends with different heads. When you pull them apart, then release them, the top end effectively hammers back into the bottom end. This allows me to set my brad heads with only an inch of pull. Far more effective and less damaging than trying to hammer in a confined space.
After a little touch-up sanding, the shelf is complete.

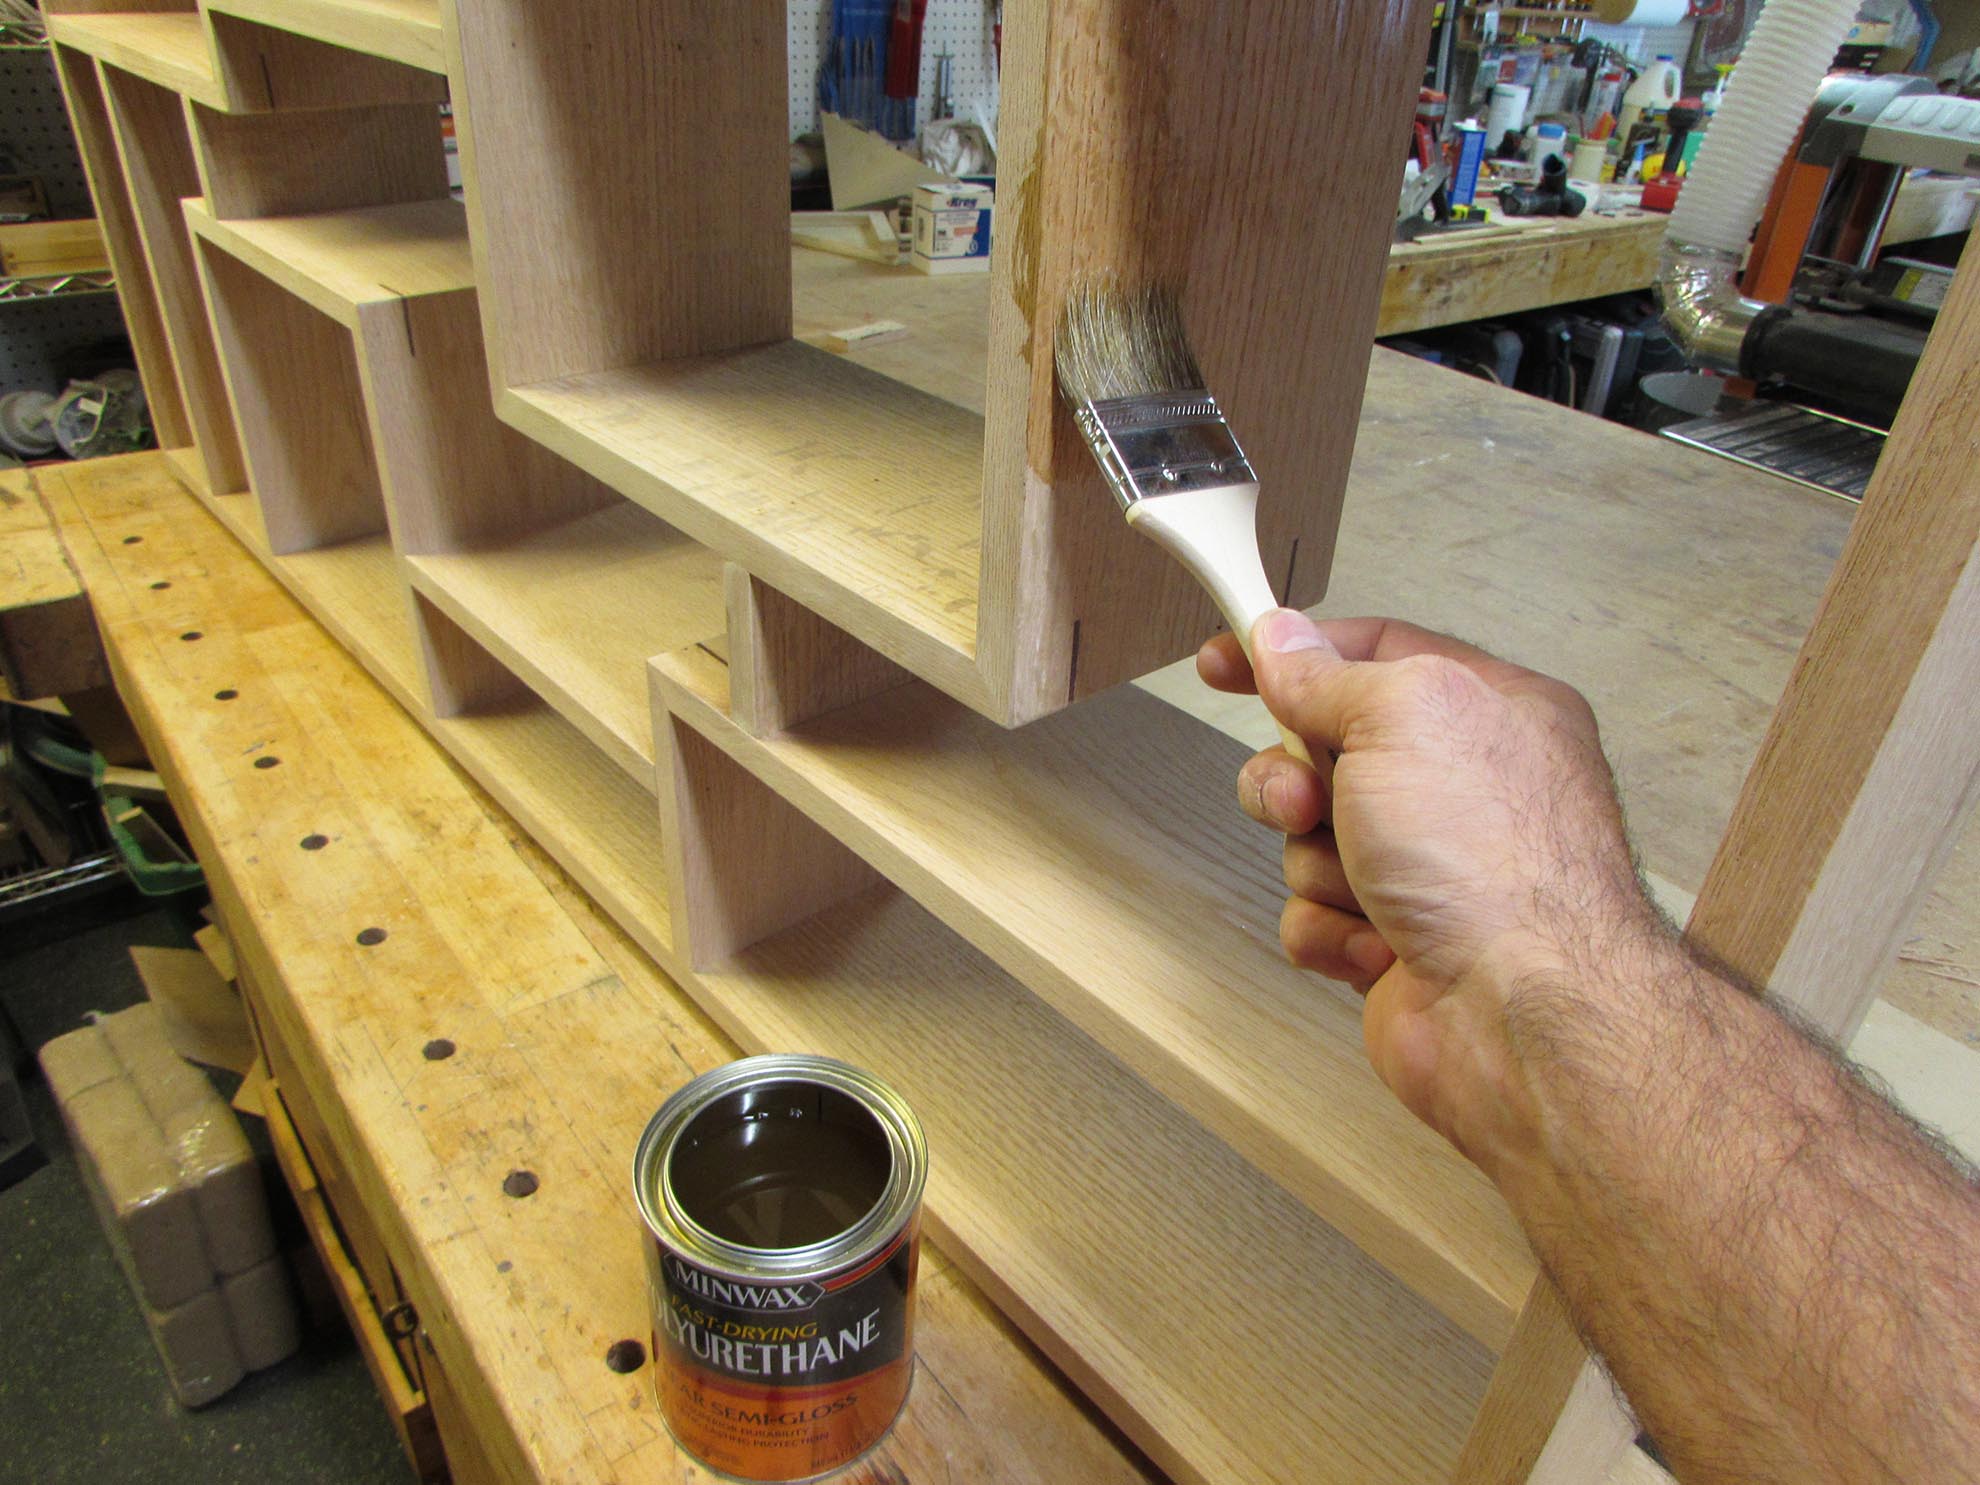
To match the kitchen, I am sticking with the natural color of the oak, but using a solvent-based polyurethane to give it a warmer golden tone.
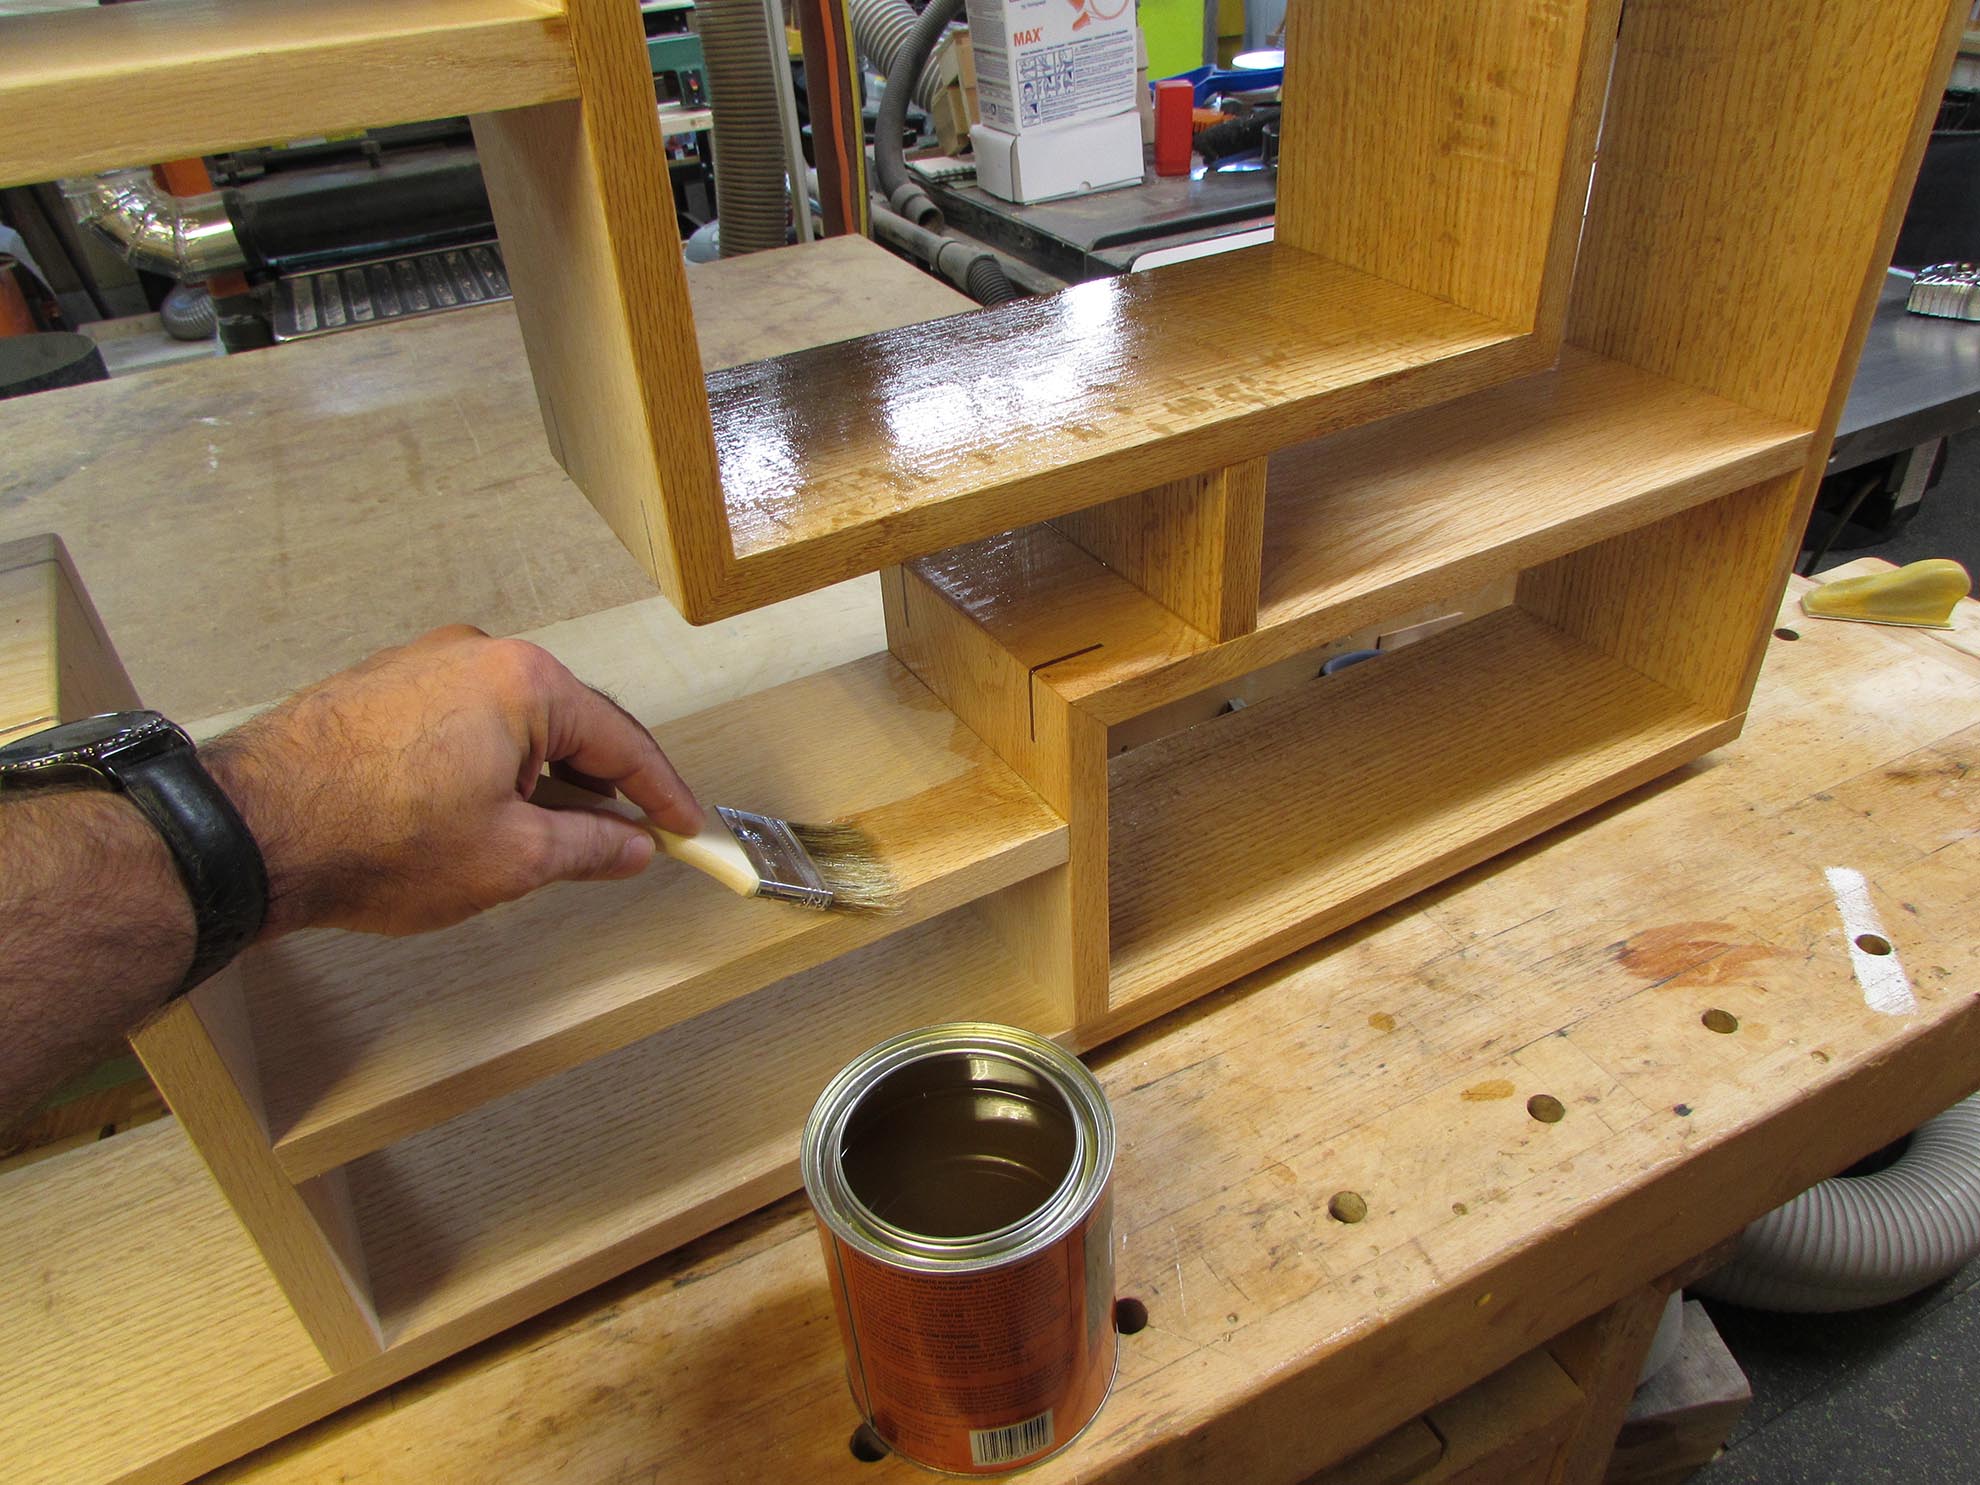

After the first coat, I sand the entire project with 400 grit paper to smooth all the finish down.

Then add the second coat.

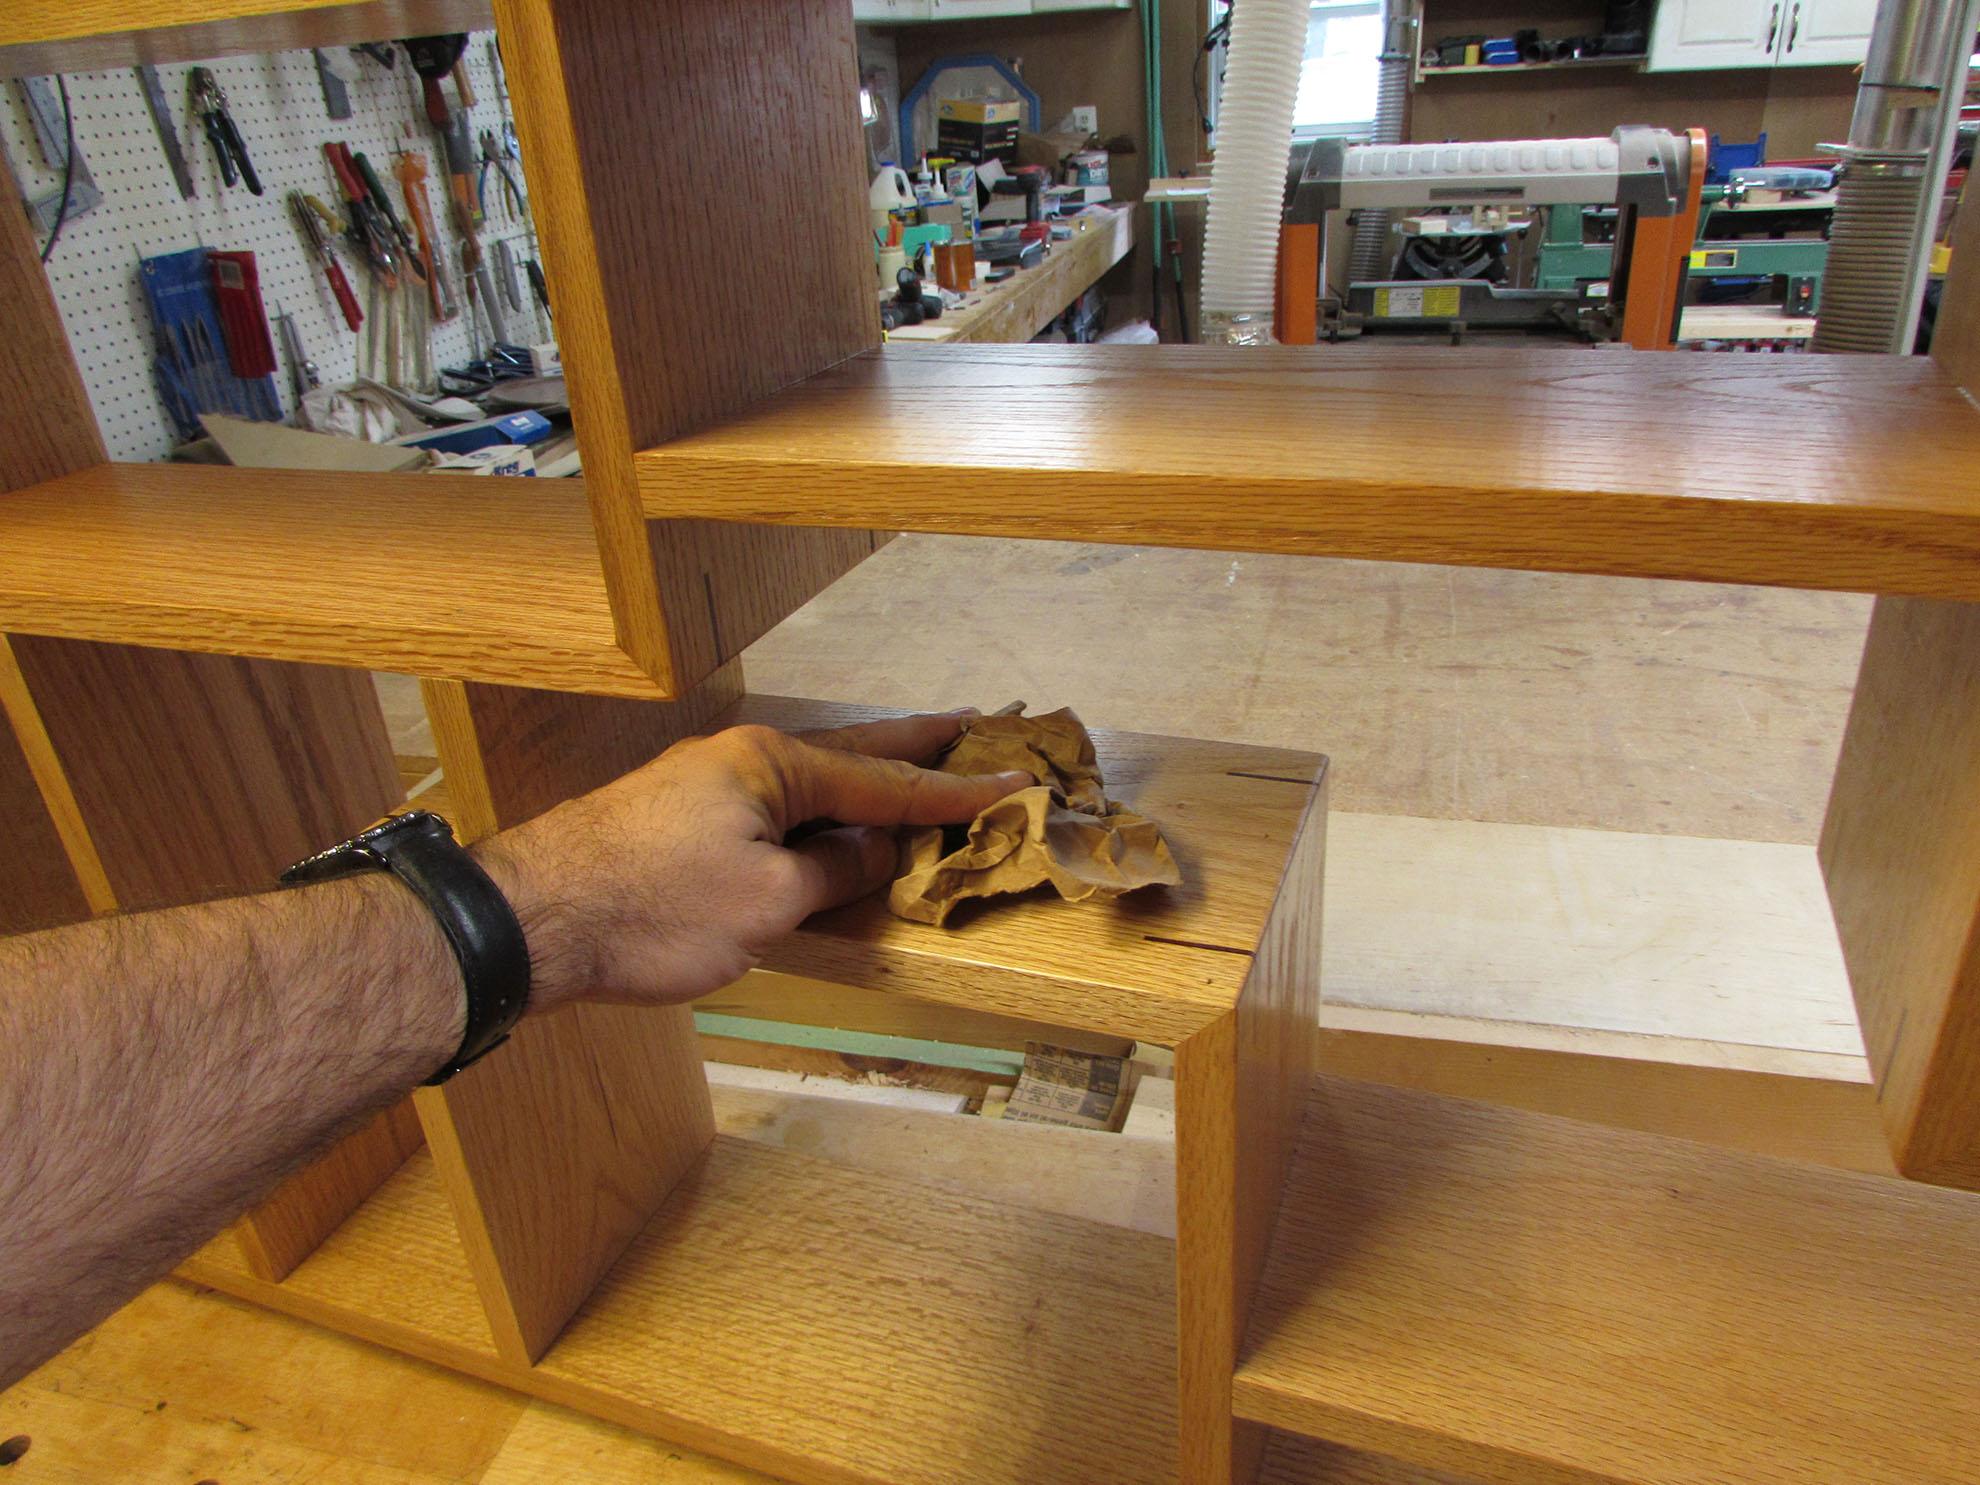
After the second coat is dry, I rub all the finished surfaces down with some brown paper to buff it out and smooth away any dust nibs that stuck to the finish while it dried.
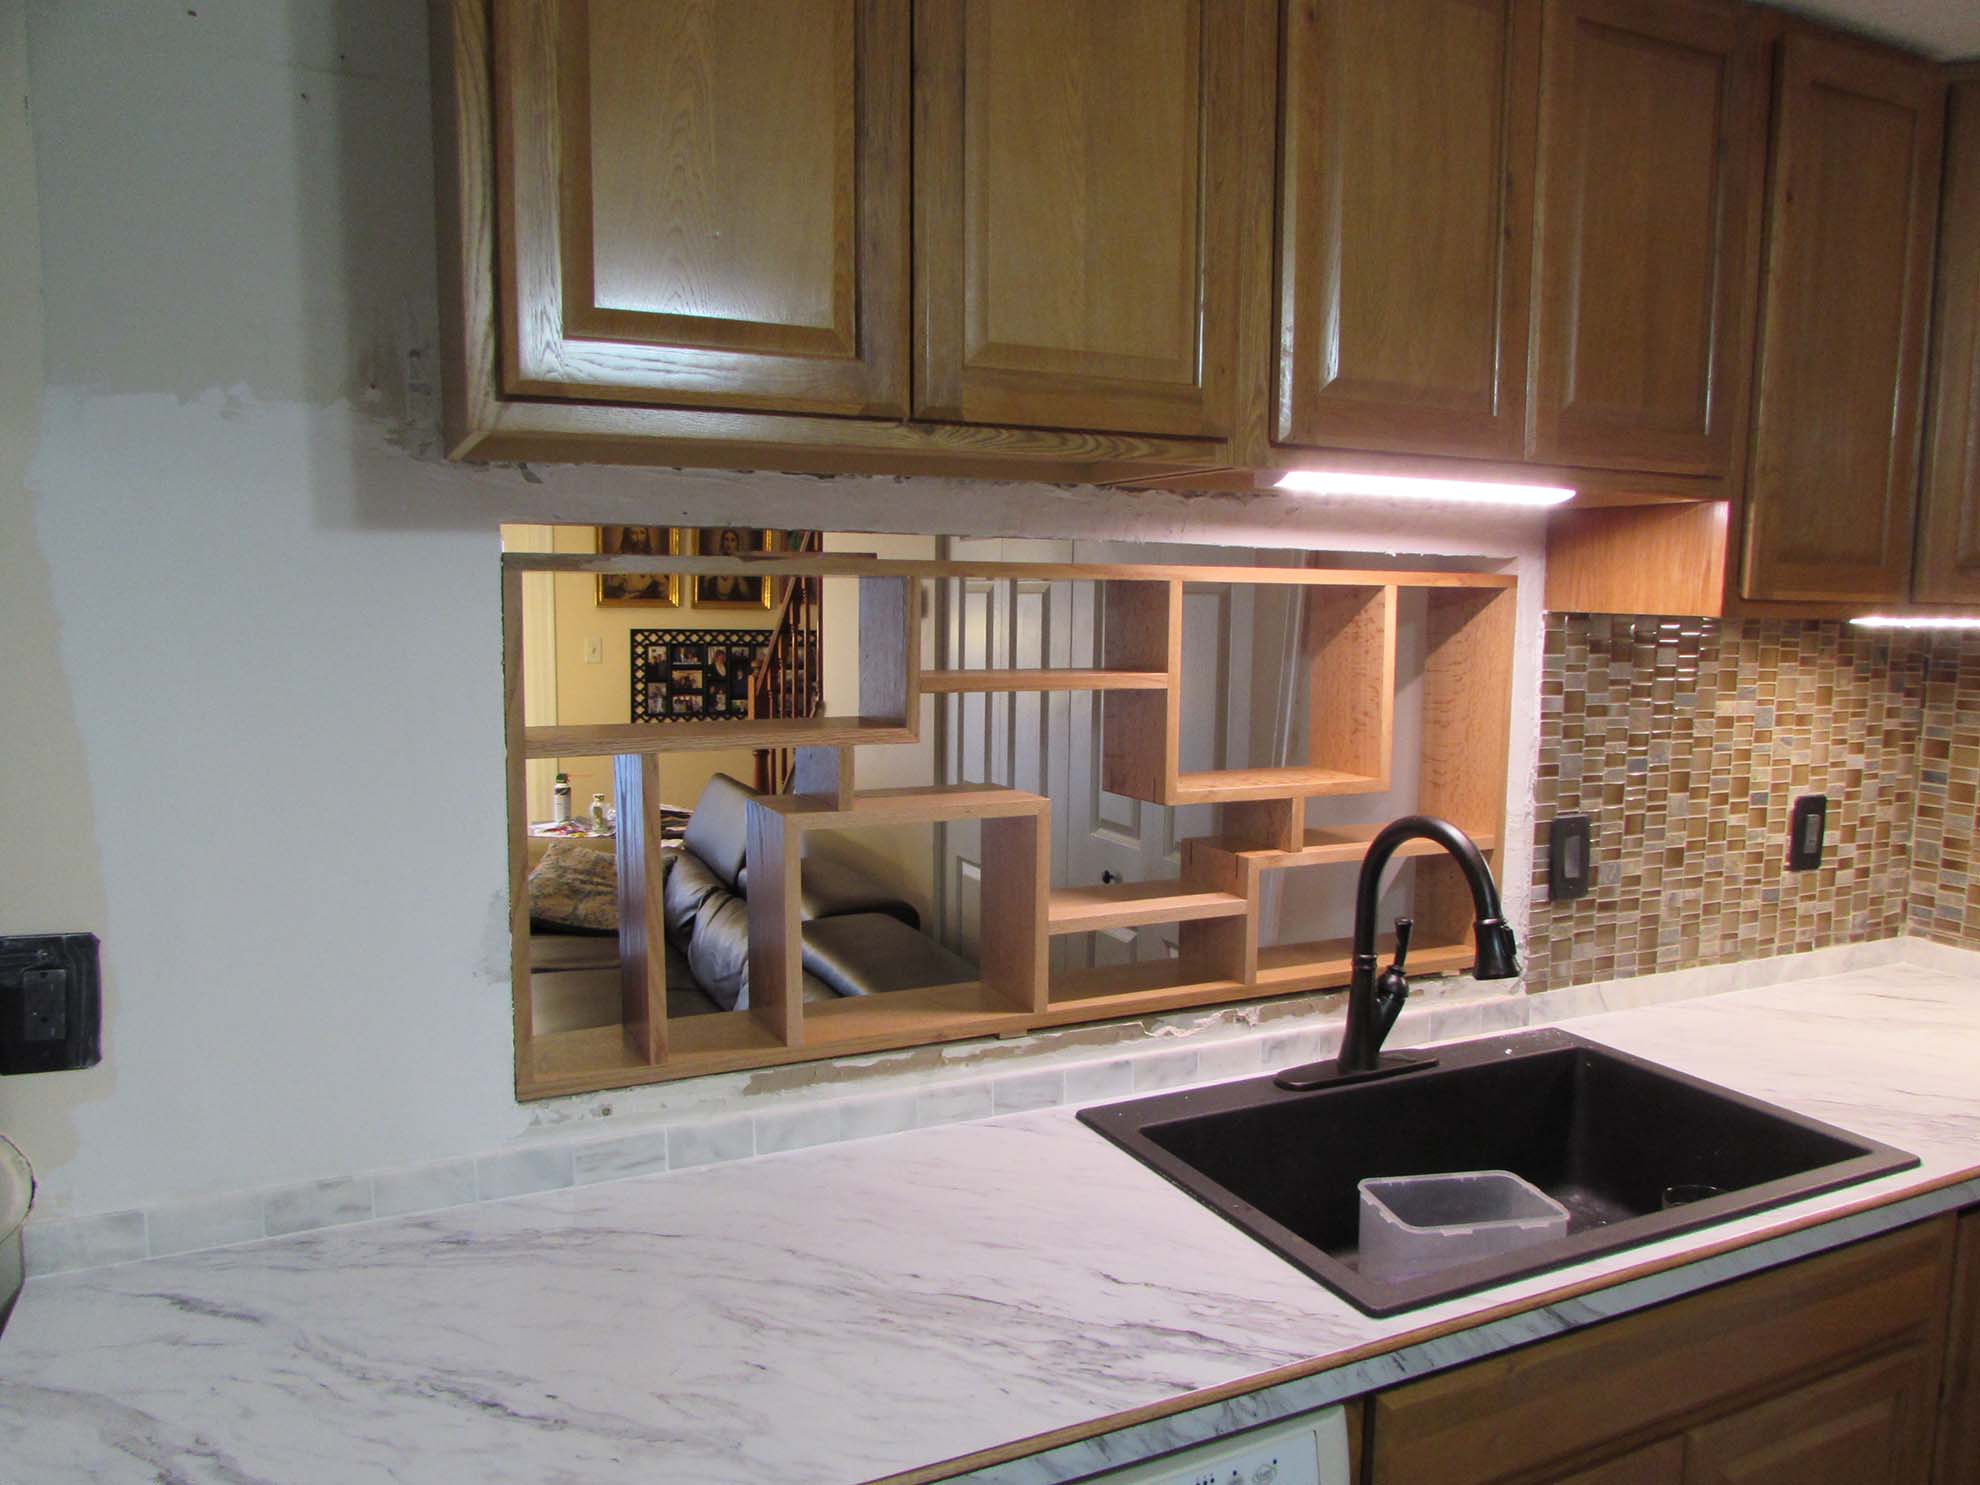
A few days later, after the fumes from the finish had dissipated, I installed the finished shelf in Margie’s kitchen.

I took a few measurements, and made some trim to fit the space, then installed the trim and the final cabinet, on the end.
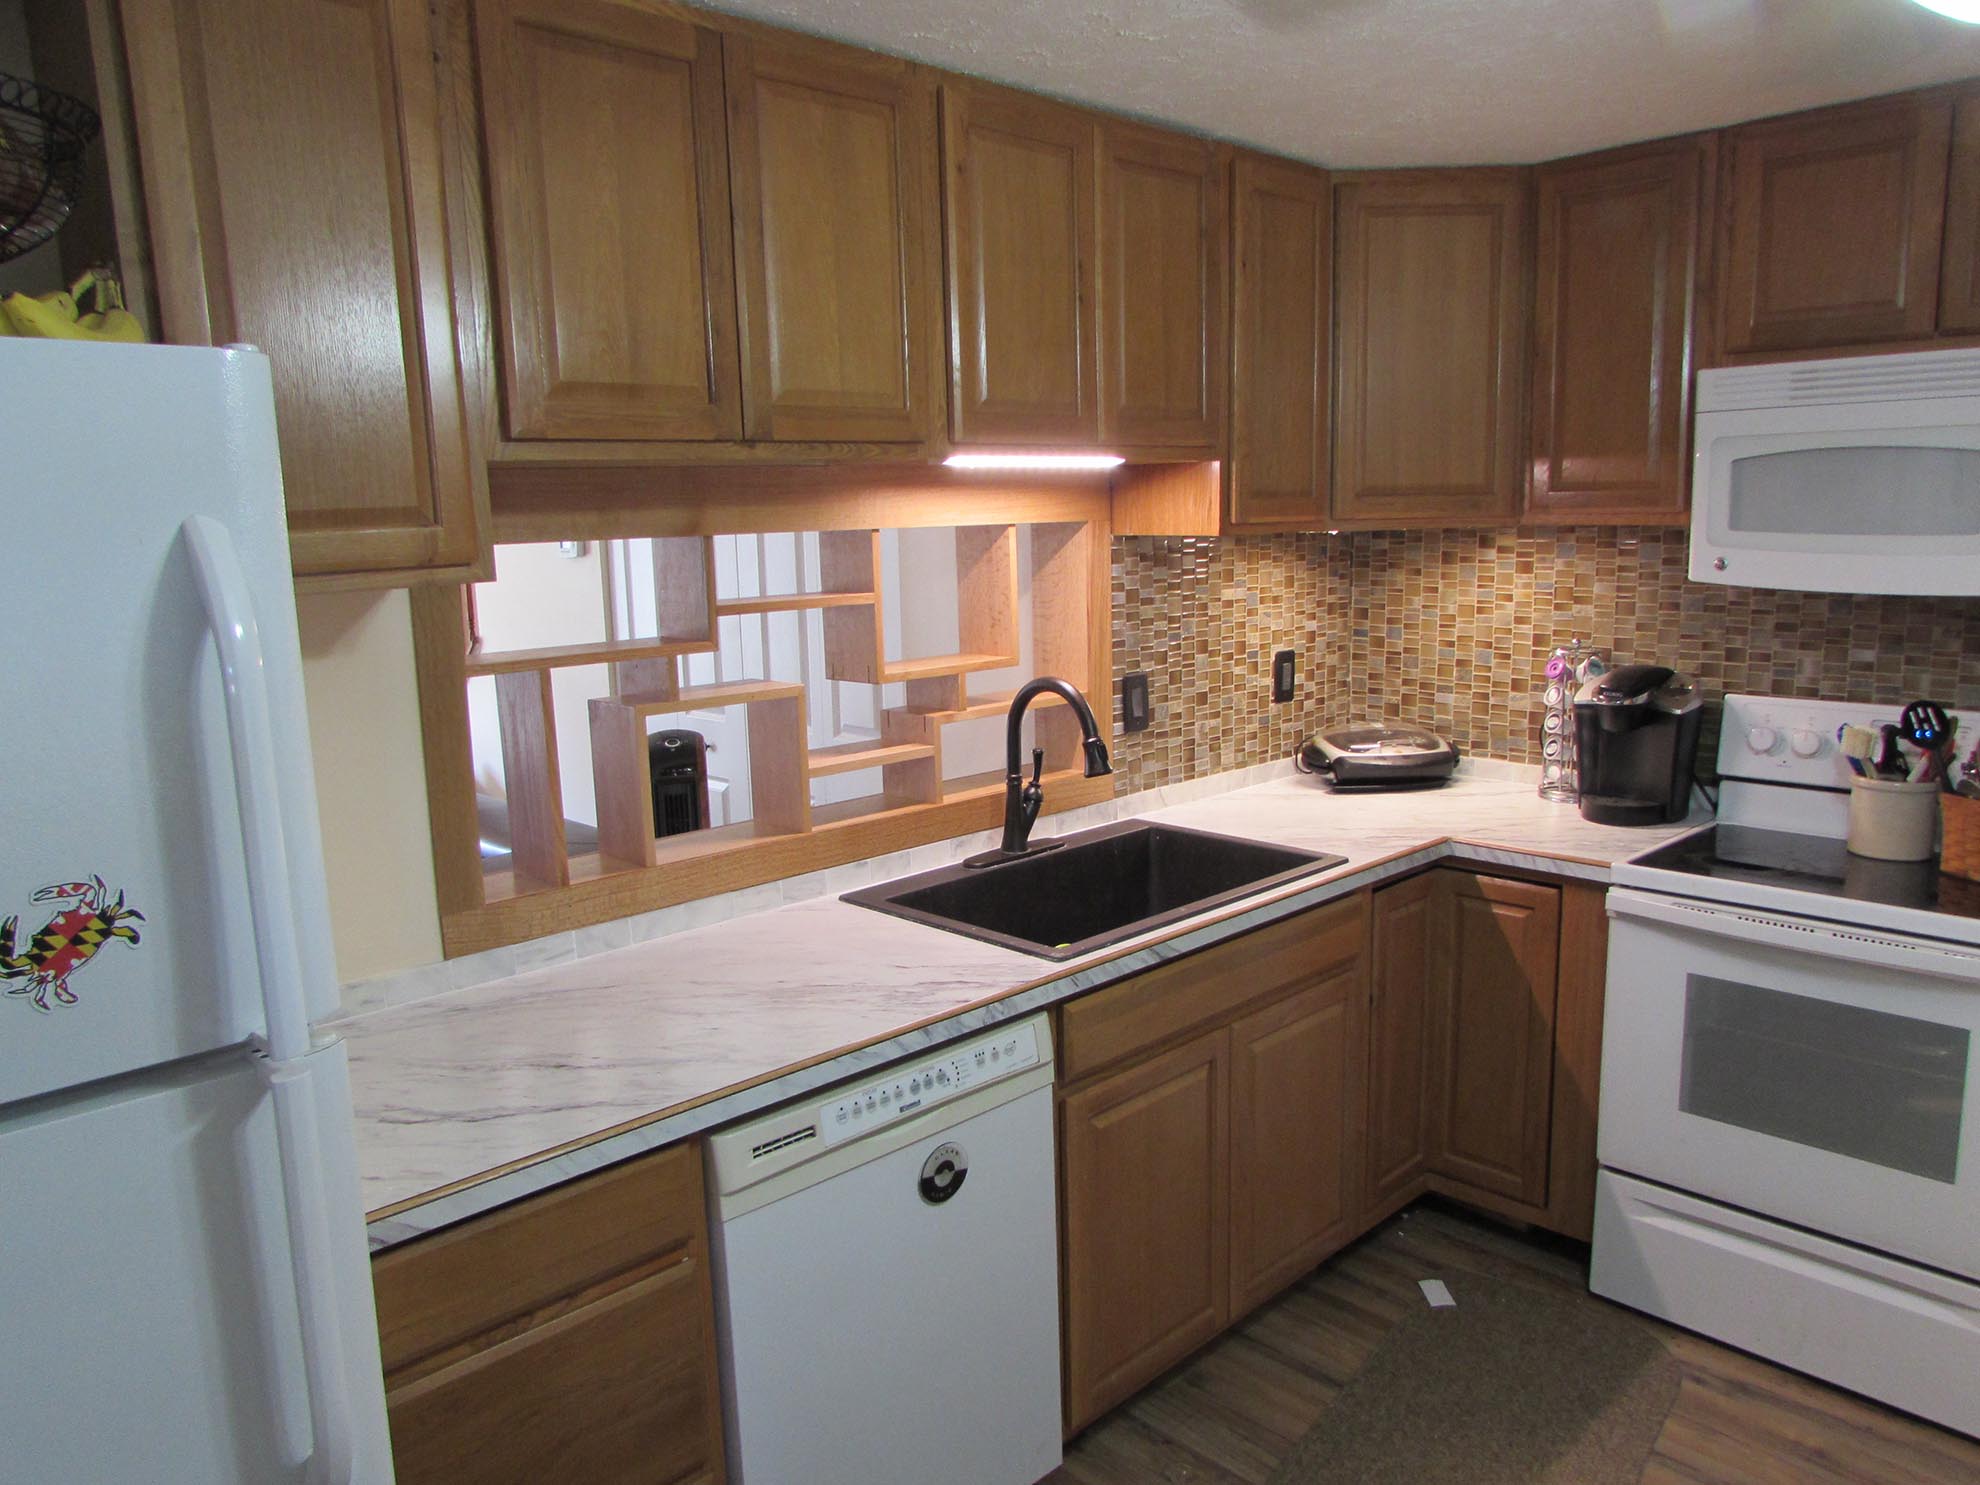
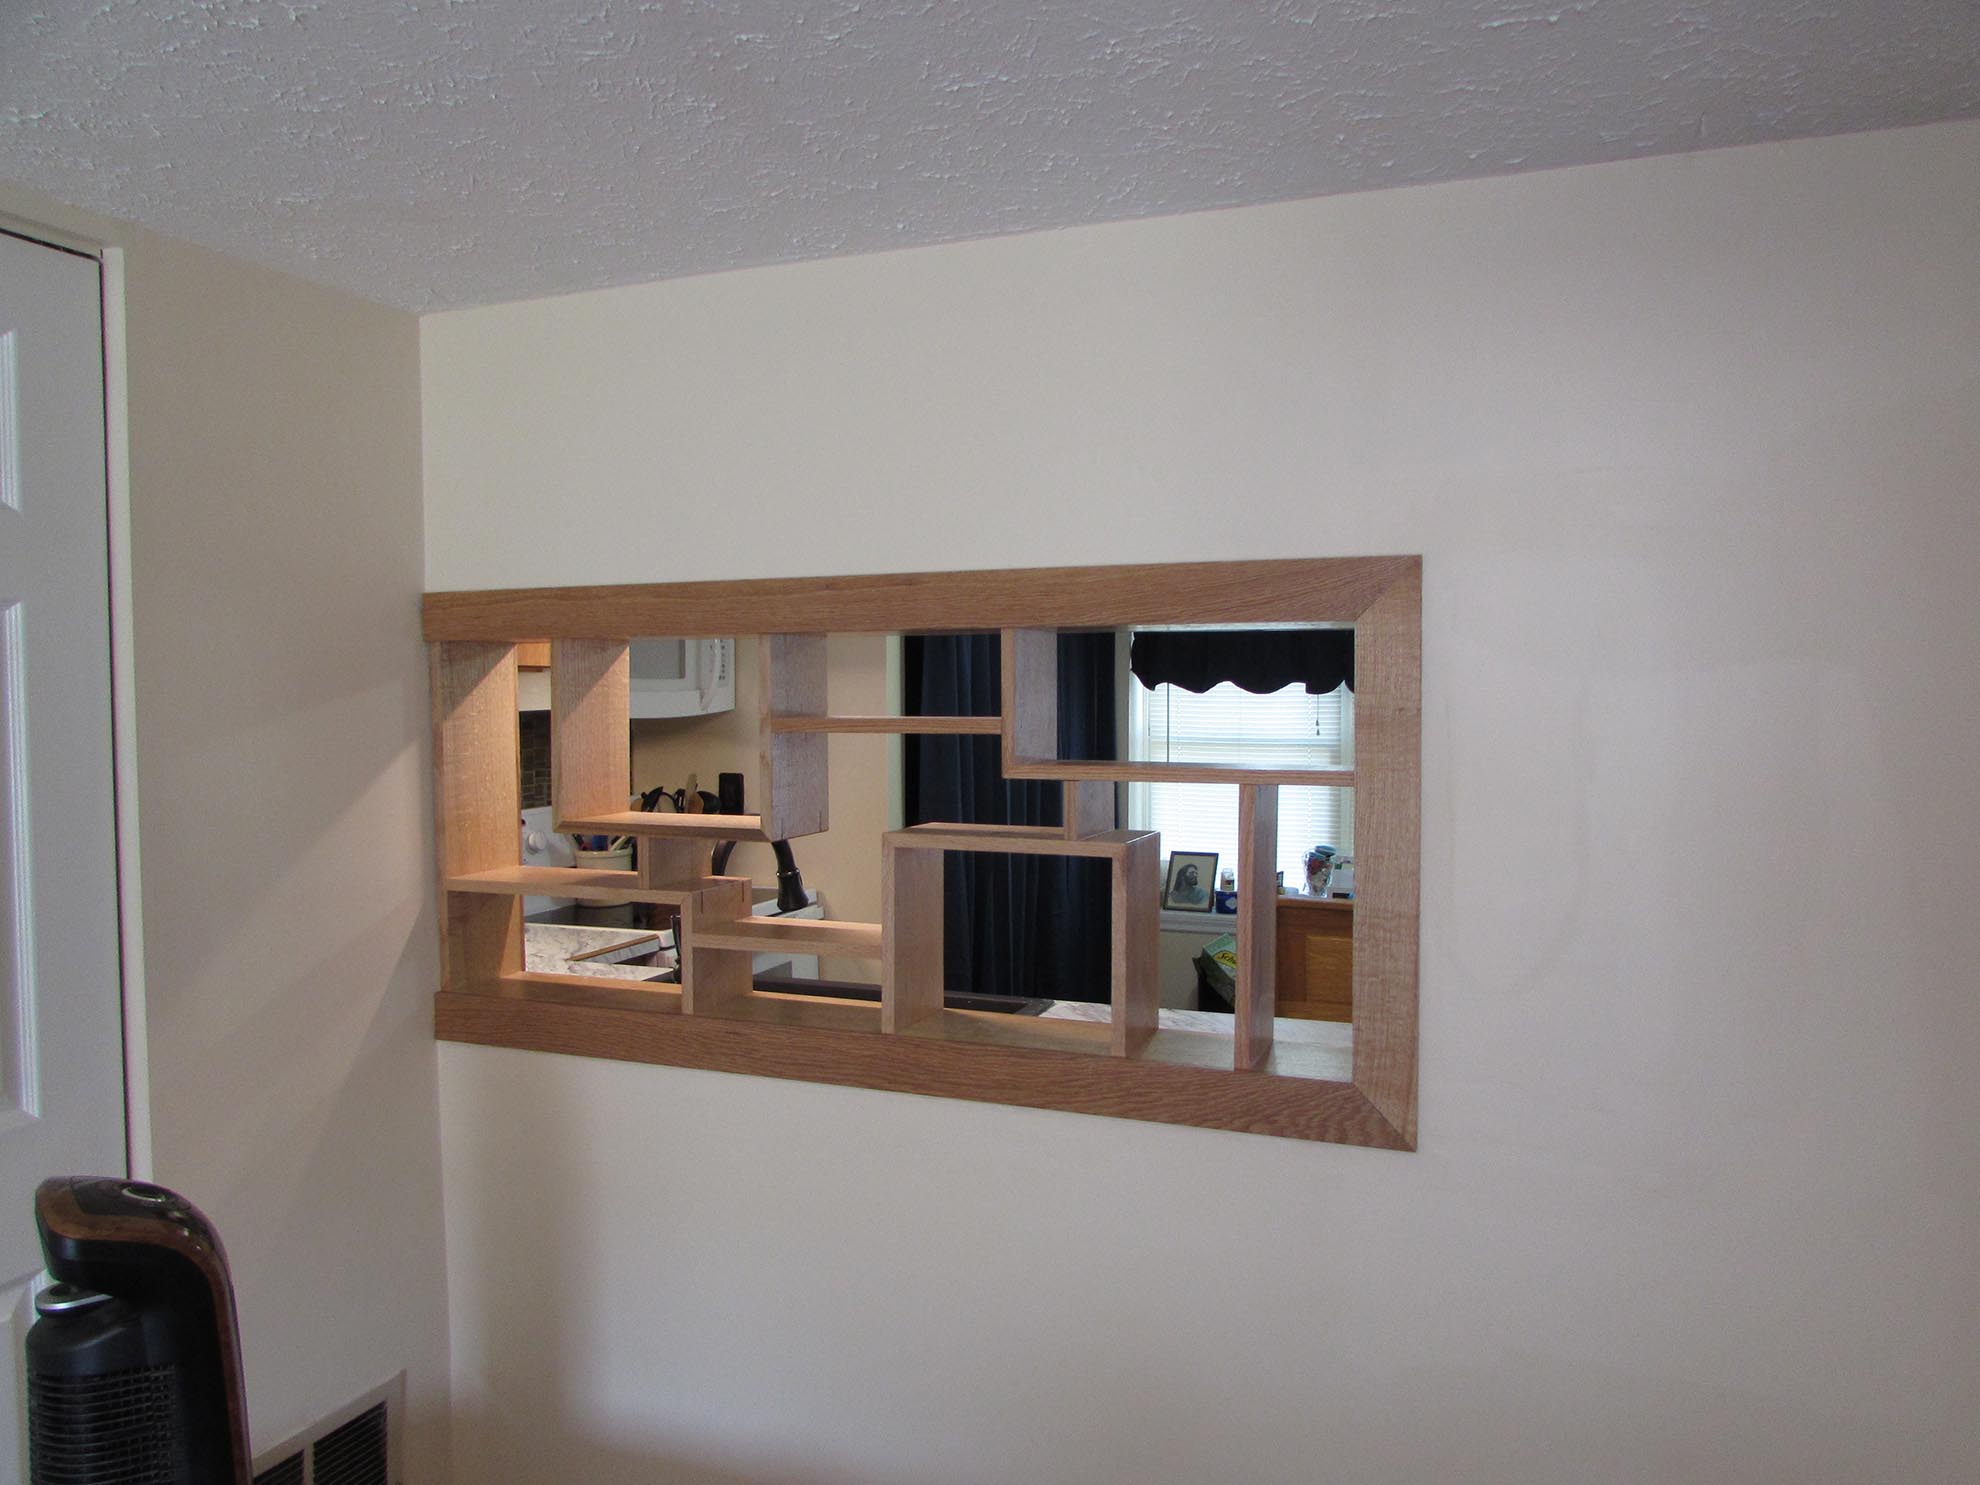
I think it turned out nice. The shelf layout is unique and it goes very nicely with the kitchen.

And of course, I screwed up the last piece of trim, which is the tiny piece that goes in the corner, against the wall. For some reason I made it 1″ too short… It actually works out well that I did because it will require a slight taper to fit perfectly against the wall and I hadn’t taken that into account. The final piece is cut and finished, and drying in my shop now. I will just have to find some time to run out and install it…

Turned out great. I was thinking of putting some display niches in the hallway leading to my shop This would work better because of the various sizes and there is only 1 opening to be cut. What are the dimensions of your unit?
Dave
________________________________
Thanks Dave, This shelf was 23″ tall x 54-3/4″ wide. If you click on the first photo, to blow it up, you can see my dimensions on the drawing.
You did a very nice job, however I would prefer keeping a clear pass through window. The customer is always right, I can see many other places to use your plan/work. Than ks for demonstrating your good work, you are a very good teacher/instructure. I do appreciate the time and effort you put into your website, I continue to learn from you, as I am sure others do.